




Crochet for Beginners: The Complete Guide to Learning Your First Stitches
If you’ve been scrolling Pinterest looking at cozy granny square blankets and chunky crochet scarves and thinking “I wish I could make that,” this is your sign to just start....

If you’ve been scrolling Pinterest looking at cozy granny square blankets and chunky crochet scarves and thinking “I wish I could make that,” this is your sign to just start. Crochet for beginners looks intimidating from the outside, all those loops and abbreviations and pattern terms, but the truth is you only need to learn a handful of moves before you’re making real, usable things.
I remember sitting on my couch with a hook and a ball of dollar store yarn, absolutely convinced I was doing it wrong because my chain kept twisting. Turns out that’s just what happens when you hold your yarn too loose. Every beginner hits a few of these little walls, and this guide is built to help you get past them faster than I did.
Here’s everything you need to go from complete beginner to finishing your first project, without the overwhelm.
What You Actually Need to Start Crocheting
You do not need a full craft room setup or a shopping cart full of supplies. This is one of the best things about crochet as a hobby, it’s genuinely one of the cheapest crafts to try.
The basics:
- One crochet hook, size 5.0mm or 5.5mm (labeled H-8 or I-9 in US sizing). This size is easy to see, easy to hold, and works well with beginner-friendly yarn.
- A skein of worsted weight yarn (labeled “4” on the packaging), in a light, solid color. Save the dark colors and fuzzy novelty yarns for later. Light, smooth cotton or acrylic yarn lets you actually see your stitches while you’re learning.
- Scissors
- A yarn needle (sometimes called a tapestry needle) for weaving in ends later
That’s genuinely it. A hook, yarn, scissors, and a needle will get you through your first several projects. If you want to grow your kit later, stitch markers and a small measuring tape are the next things worth adding.
Understanding Yarn Weight and Hook Size (Without the Overwhelm)
You don’t need to memorize a chart, but it helps to know this one relationship: thicker yarn needs a bigger hook, thinner yarn needs a smaller hook. Every yarn label has a small number in a yarn skein icon (usually 1 through 7) that tells you the weight, and most labels even suggest a hook size range right on the packaging.
For your first project, stick with a worsted weight (4) yarn and a 5.0mm to 5.5mm hook. It’s the most forgiving combination there is.
How to Hold Your Hook and Yarn
This part feels awkward for almost everyone at first, and that’s completely normal.
Hold the hook like a pencil, resting it between your thumb and index finger. Some people prefer holding it like a knife, gripped in the palm. Neither is “correct,” so try both for a few minutes and see which feels less tense in your hand.
For the yarn, drape it over your index finger, under your middle finger, and lightly around your pinky. This is what creates tension, and tension is what keeps your stitches even. Too loose and your work looks sloppy and holey. Too tight and your hand will cramp and your fabric will curl. Somewhere in the middle is what you’re aiming for, and it takes a few rows to find that sweet spot.
Learning the Slip Knot and Foundation Chain
Every single crochet project, no matter how advanced, starts the exact same way.
Slip knot
Make a loop with your yarn, pull the working end through that loop, and slide it onto your hook. Snug it up so it moves freely but doesn’t fall off.
Foundation chain
Yarn over the hook (wrap the yarn from back to front), then pull that wrap through the loop already on your hook. That’s one chain stitch. Repeat this same motion again and again to build your foundation chain, which is essentially the base row that everything else gets built on top of.
For your first practice round, chain 20 stitches. Don’t worry about it looking perfect. The goal here is just muscle memory.
The Basic Stitches Every Beginner Should Learn First
You don’t need to learn every crochet stitch that exists. You need these four, in this order, and you’ll be able to make almost any beginner pattern on Pinterest.
1. Chain stitch (ch)
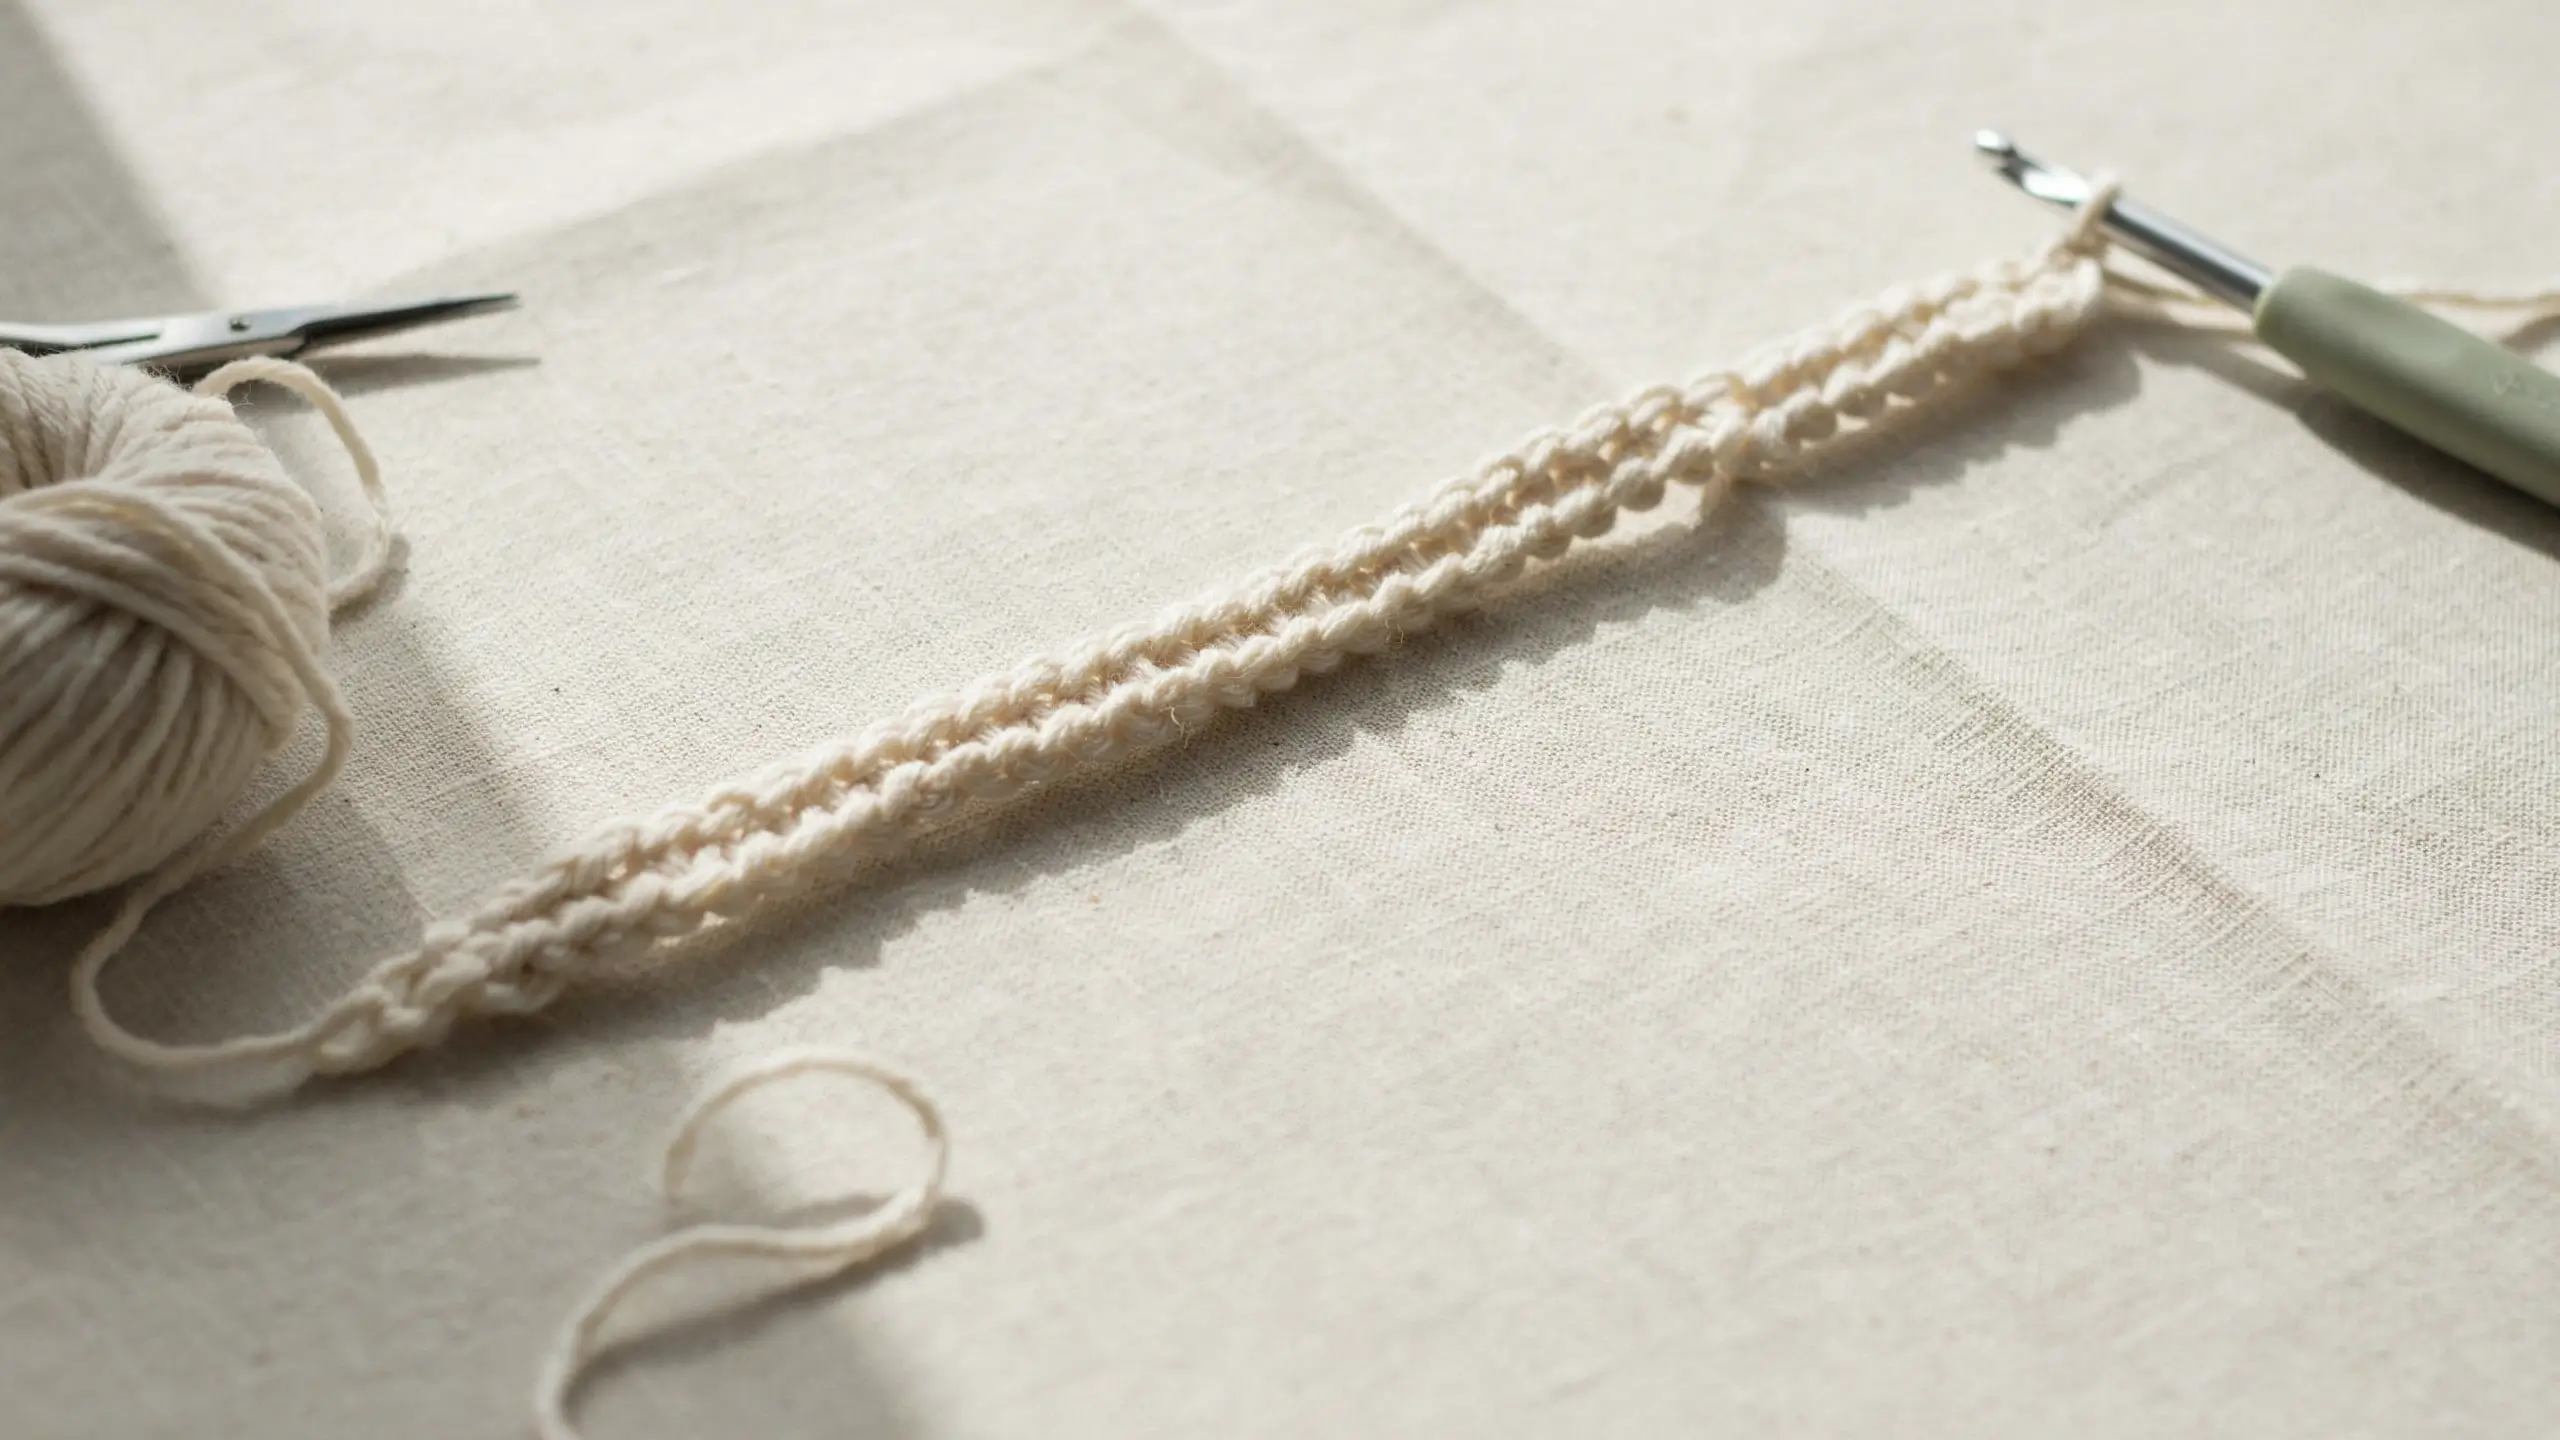
The building block stitch you just practiced above. Used to start rows and to add height or spacing within a pattern.
2. Single crochet (sc)
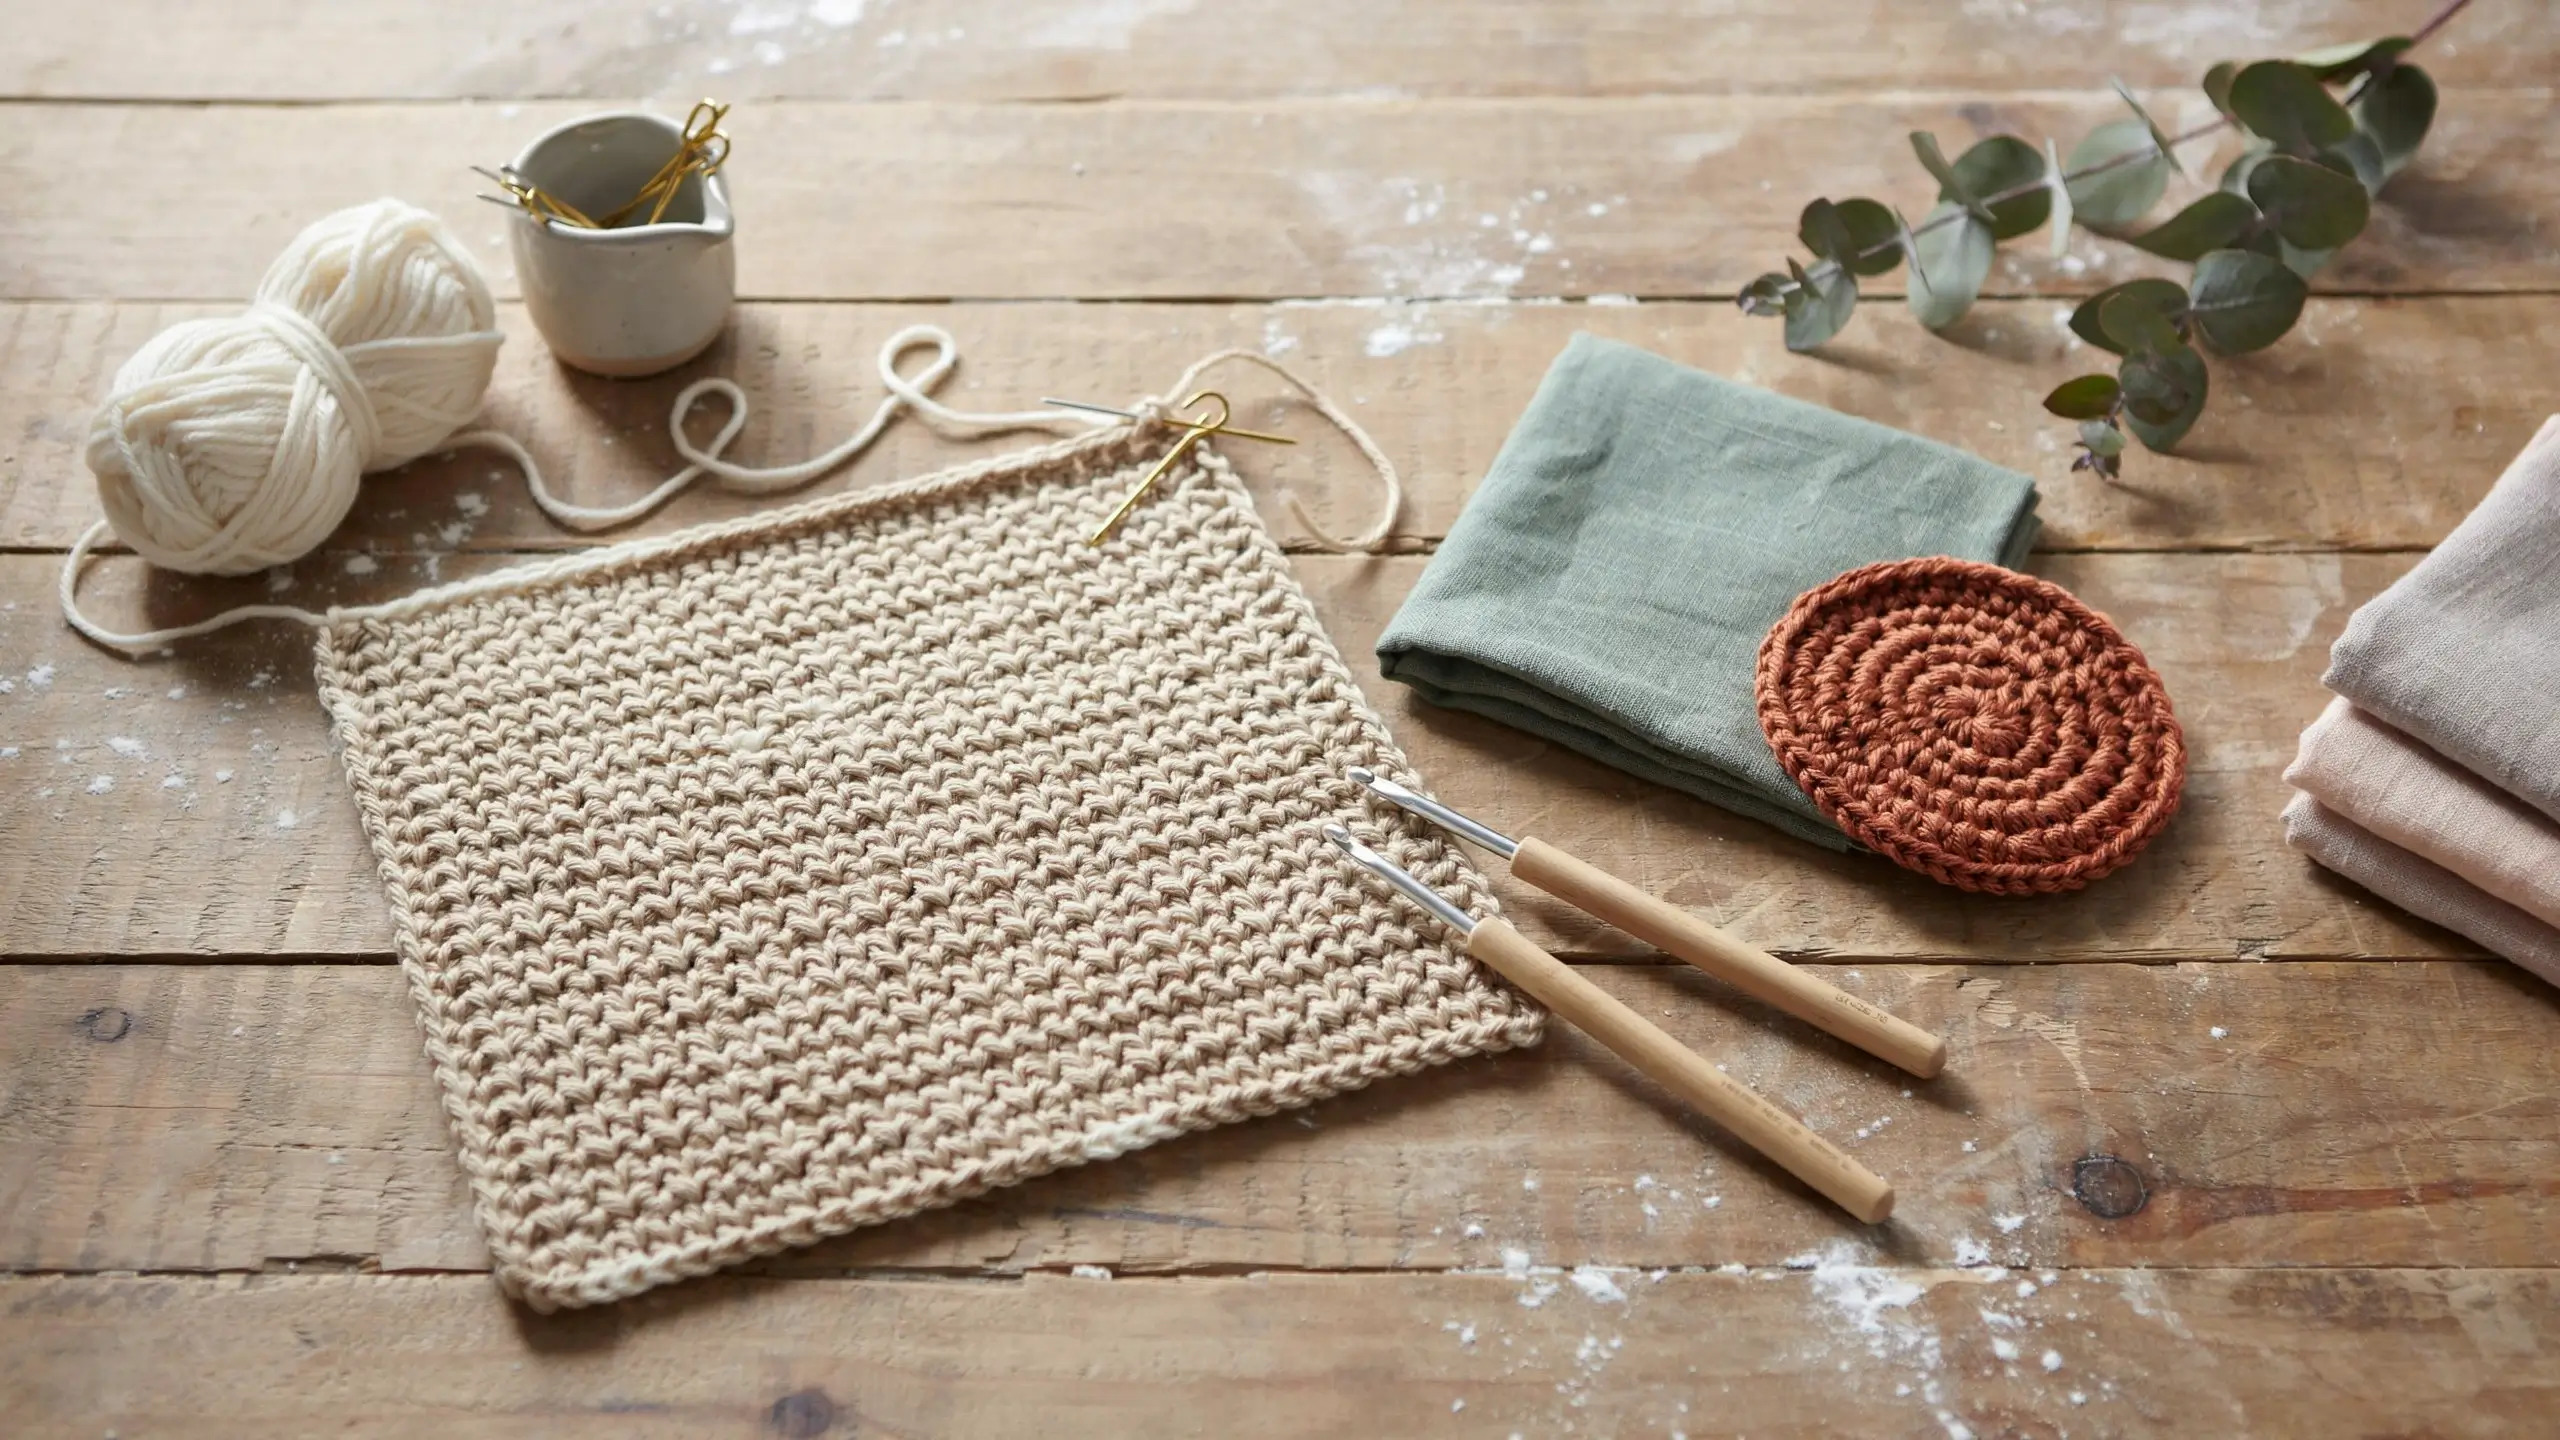
The tightest, most beginner-friendly stitch. Insert your hook into a stitch, yarn over, pull through (two loops on your hook now), yarn over again, pull through both loops. This is the stitch used for washcloths, coasters, and amigurumi because it creates a dense, sturdy fabric.
3. Half double crochet (hdc)
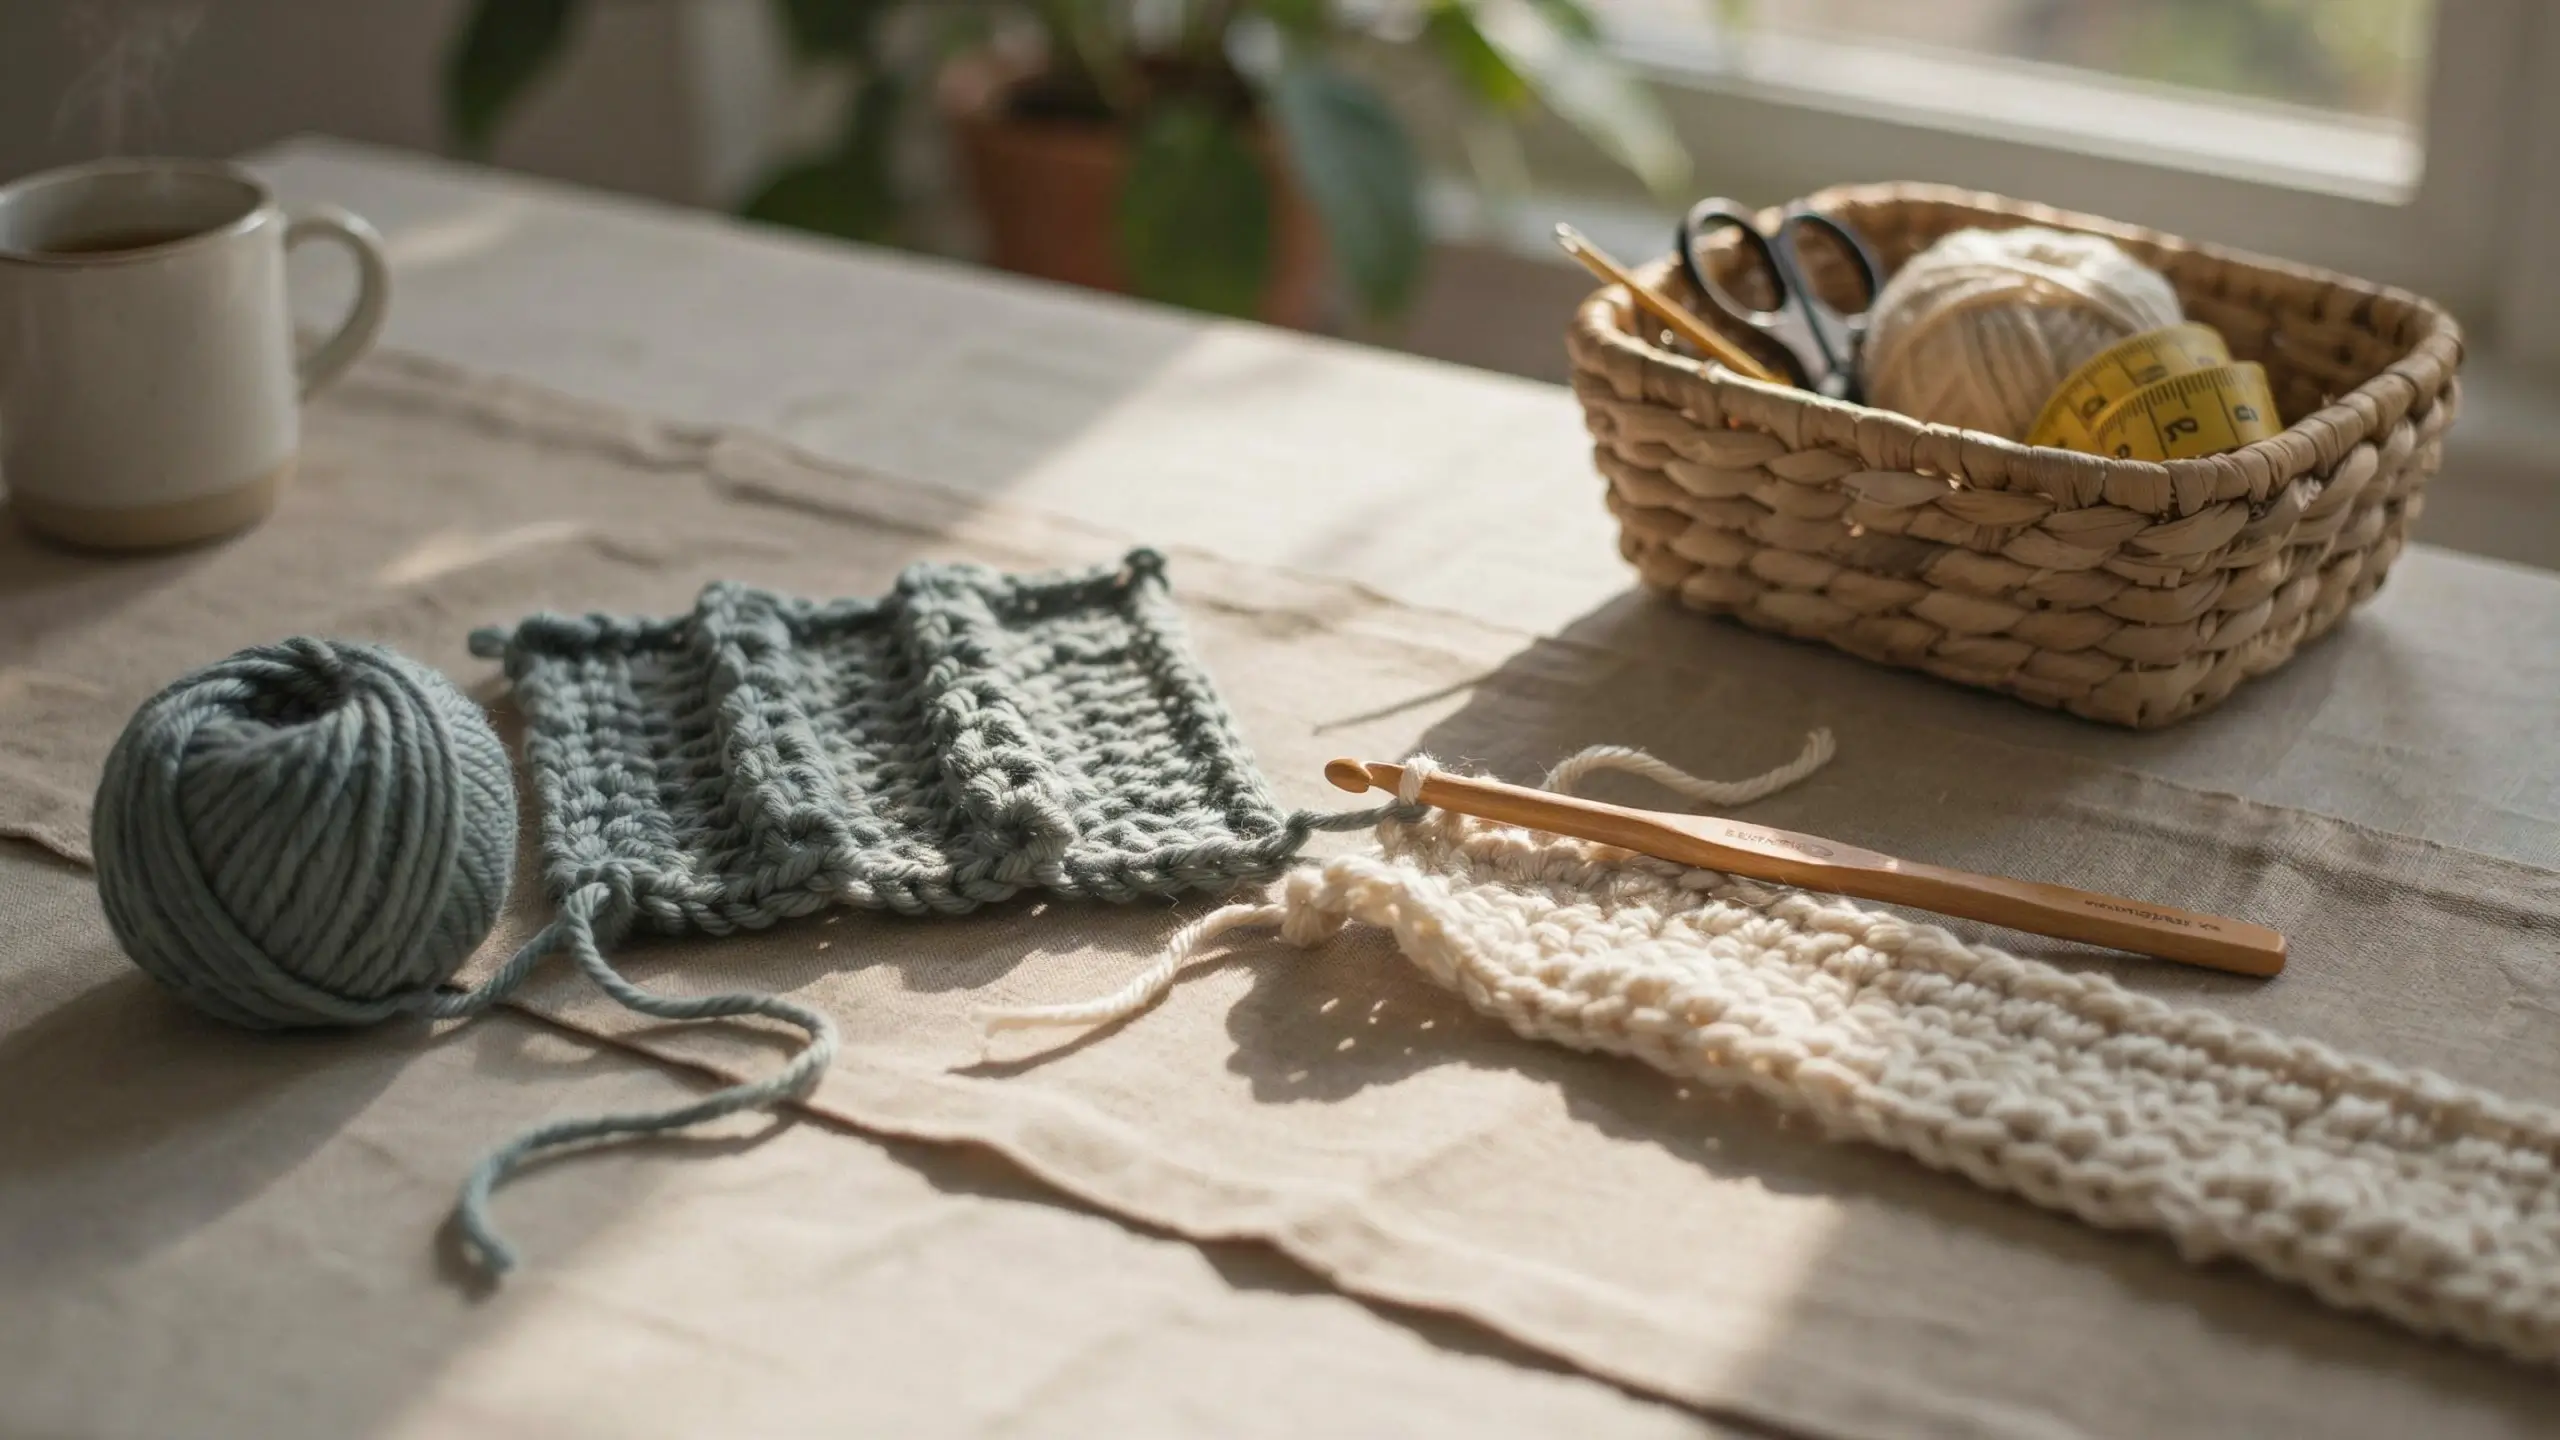
Yarn over before you insert your hook, then insert into the stitch, yarn over and pull through (three loops on your hook), yarn over one more time and pull through all three loops at once. This stitch works up faster than single crochet and has a slightly softer drape, great for scarves and simple blankets.
4. Double crochet (dc)
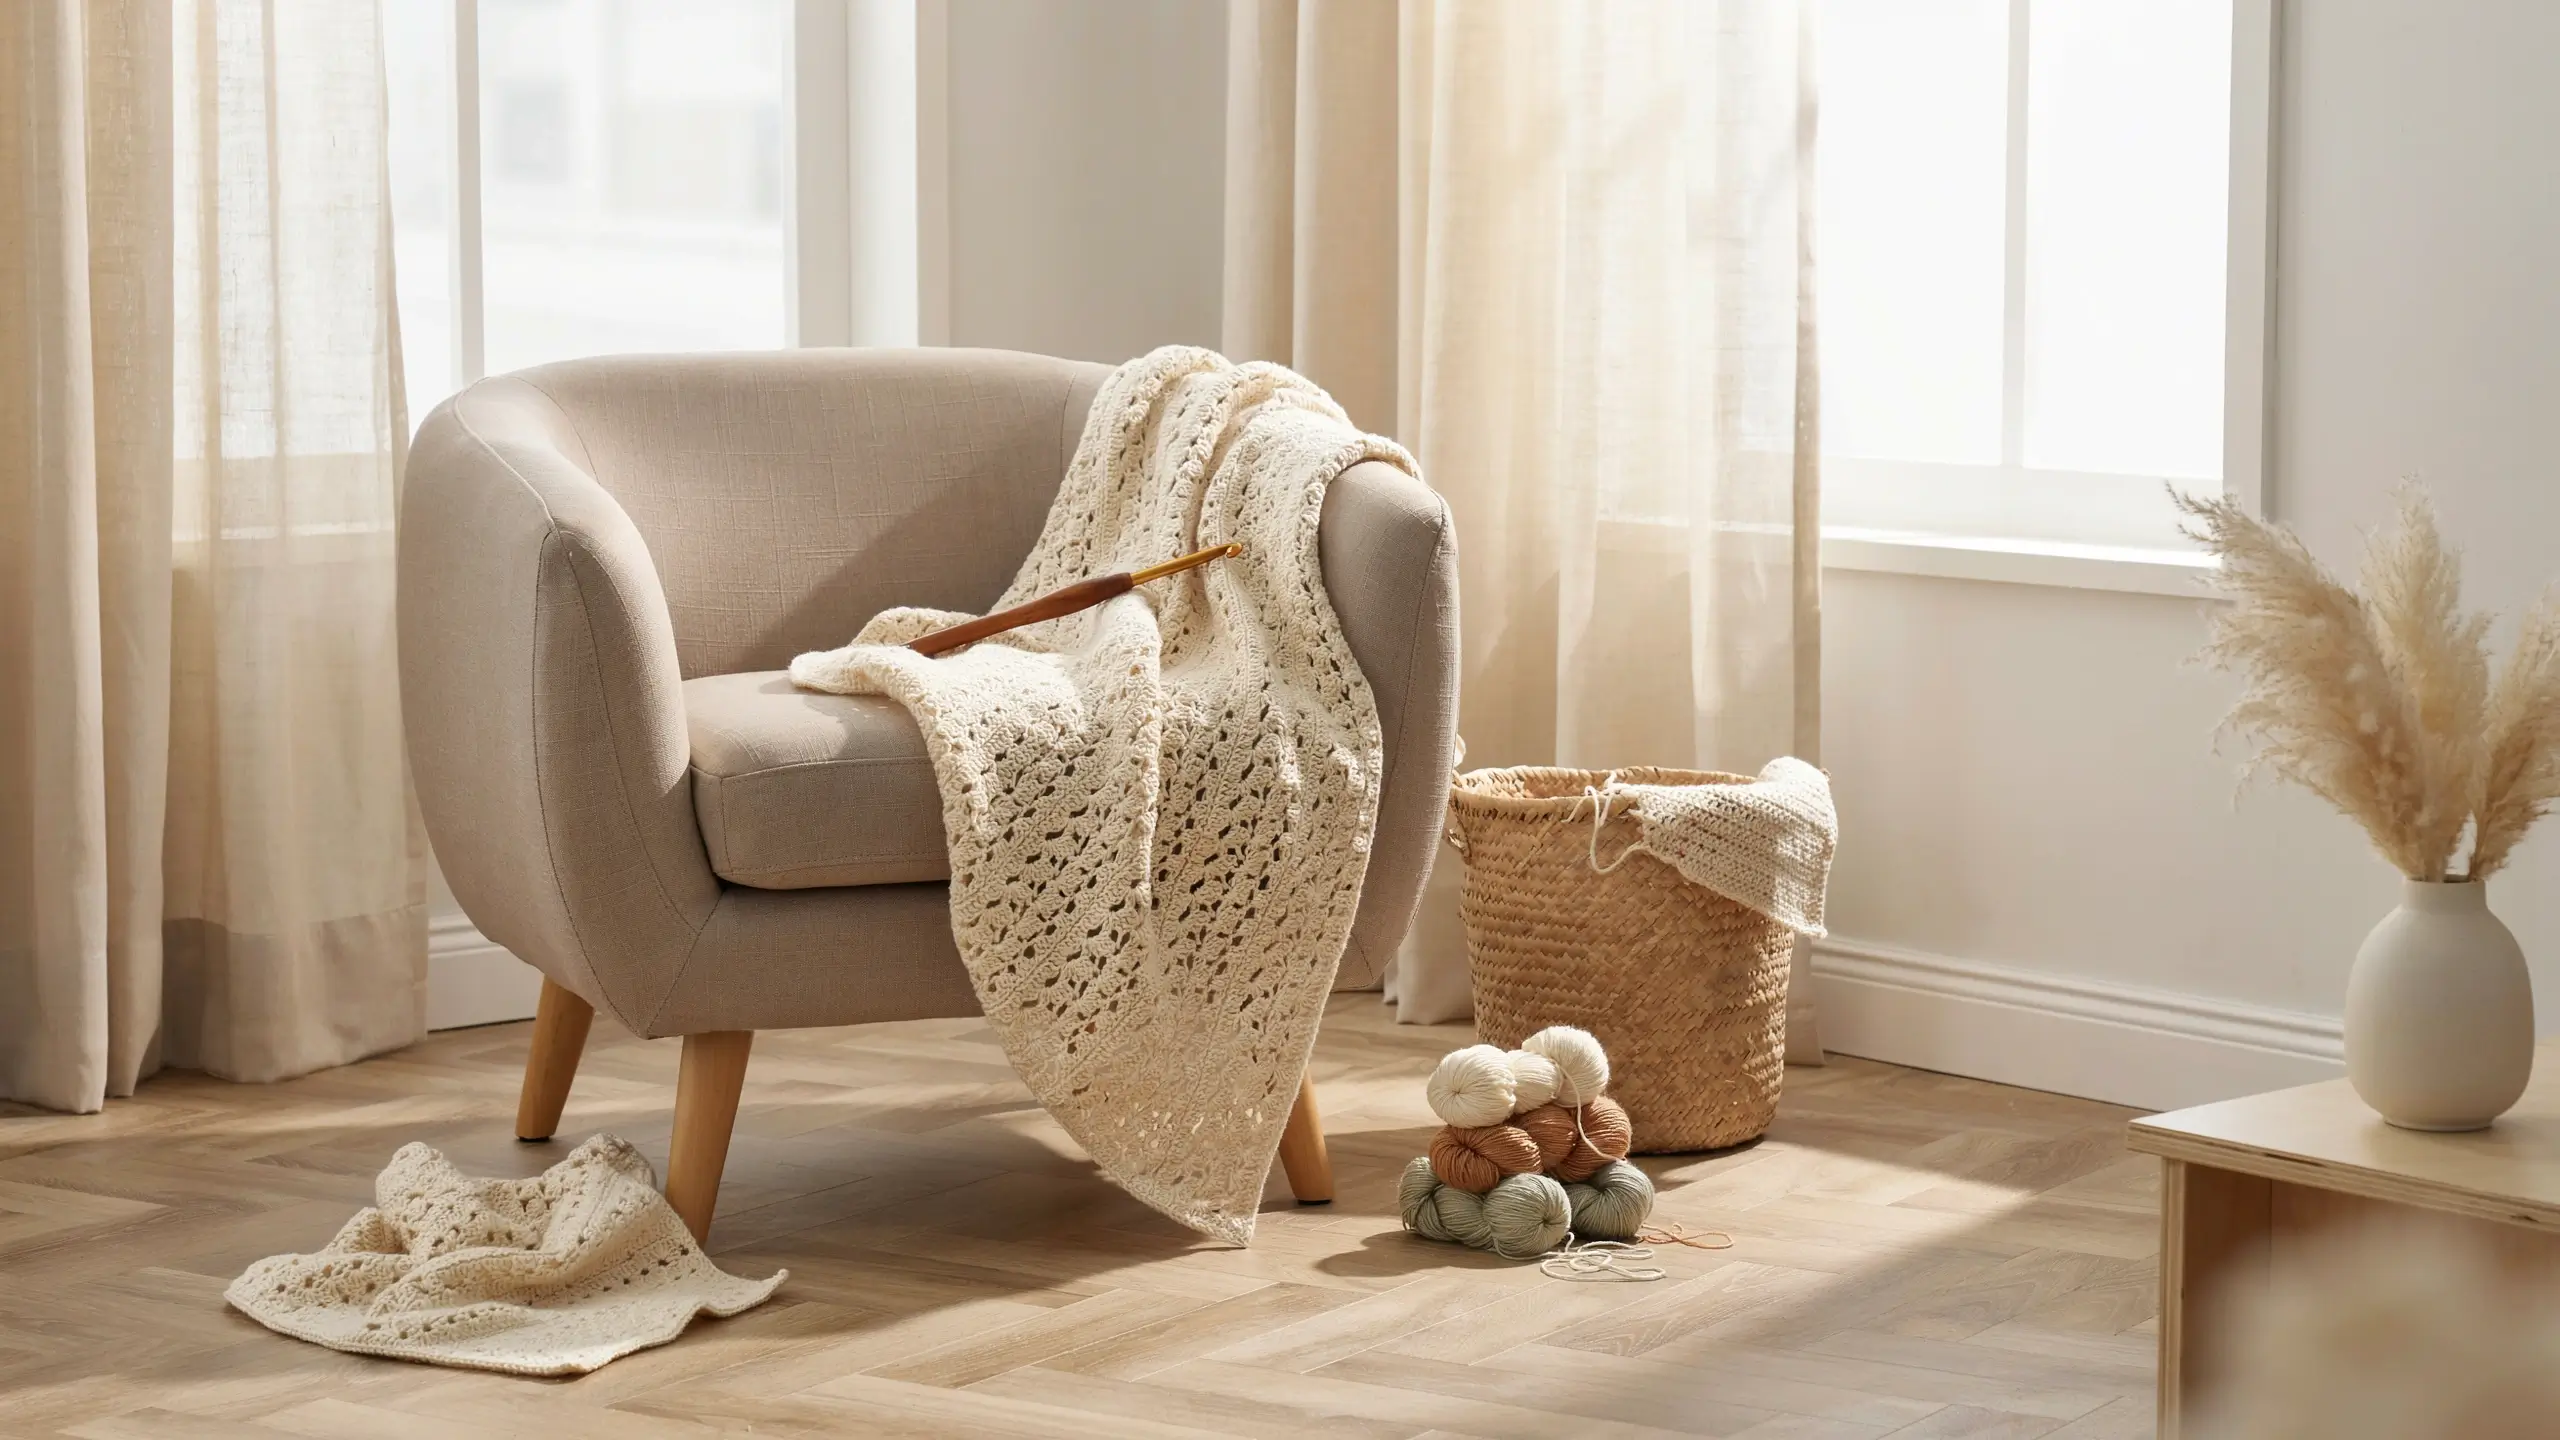
Same starting motion as half double, but you pull through the loops in two steps instead of one. This creates a taller, more open stitch, ideal for lightweight blankets, wraps, and anything you want to finish a little quicker.
Practice each stitch across a full row of your foundation chain before moving to the next one. Don’t rush this part. Muscle memory is everything in crochet, and rushing the fundamentals is what leads to uneven, frustrating early projects.
How to Read a Beginner Crochet Pattern
Pattern abbreviations look like a secret code at first, but they’re actually very repetitive once you know a few of them.
| Abbreviation | Meaning |
|---|---|
| ch | chain |
| sc | single crochet |
| hdc | half double crochet |
| dc | double crochet |
| st(s) | stitch(es) |
| sl st | slip stitch (used to join rounds or move without adding height) |
| rep | repeat |
| [ ] or ( ) | repeat everything inside the brackets the number of times listed after it |
A line like “Row 1: Ch 15, sc in 2nd ch from hook and each st across” simply means: chain 15, skip the first chain, and single crochet into every chain after that. Once you crochet through your first pattern this way, the next one reads much easier.
One more thing worth knowing early: US and UK crochet terms are different, even though they use the same abbreviations. A UK “double crochet” is a US “single crochet.” If a pattern feels off or too dense compared to the picture, check whether it’s written in UK terms.
Common Beginner Mistakes (and How to Fix Them)
- Losing count of stitches. Use a stitch marker (or even a bobby pin) at the start and end of each row until counting becomes second nature.
- Uneven edges. This almost always means you’re accidentally skipping the first or last stitch in a row. Slow down and count your total stitches at the end of every single row while you’re learning.
- Curling fabric. Usually a tension issue. Loosen your grip slightly and give it a few more rows, it often evens out as you relax into the rhythm.
- Giving up on a “boring” swatch. Practice swatches don’t have to go to waste. Turn them into a coaster, a mug rug, or sew a few together for a small zipper pouch.
- Buying the wrong hook size for the yarn. If your fabric looks stiff and tight, size up your hook. If it looks loose and holey, size down.
Easy First Projects for Beginners
Once you’re comfortable with your stitches, pick a small project instead of jumping straight into a blanket. Small wins keep you motivated, and these projects use almost no yarn, so they’re a great way to practice without a big investment.
1. A single crochet washcloth
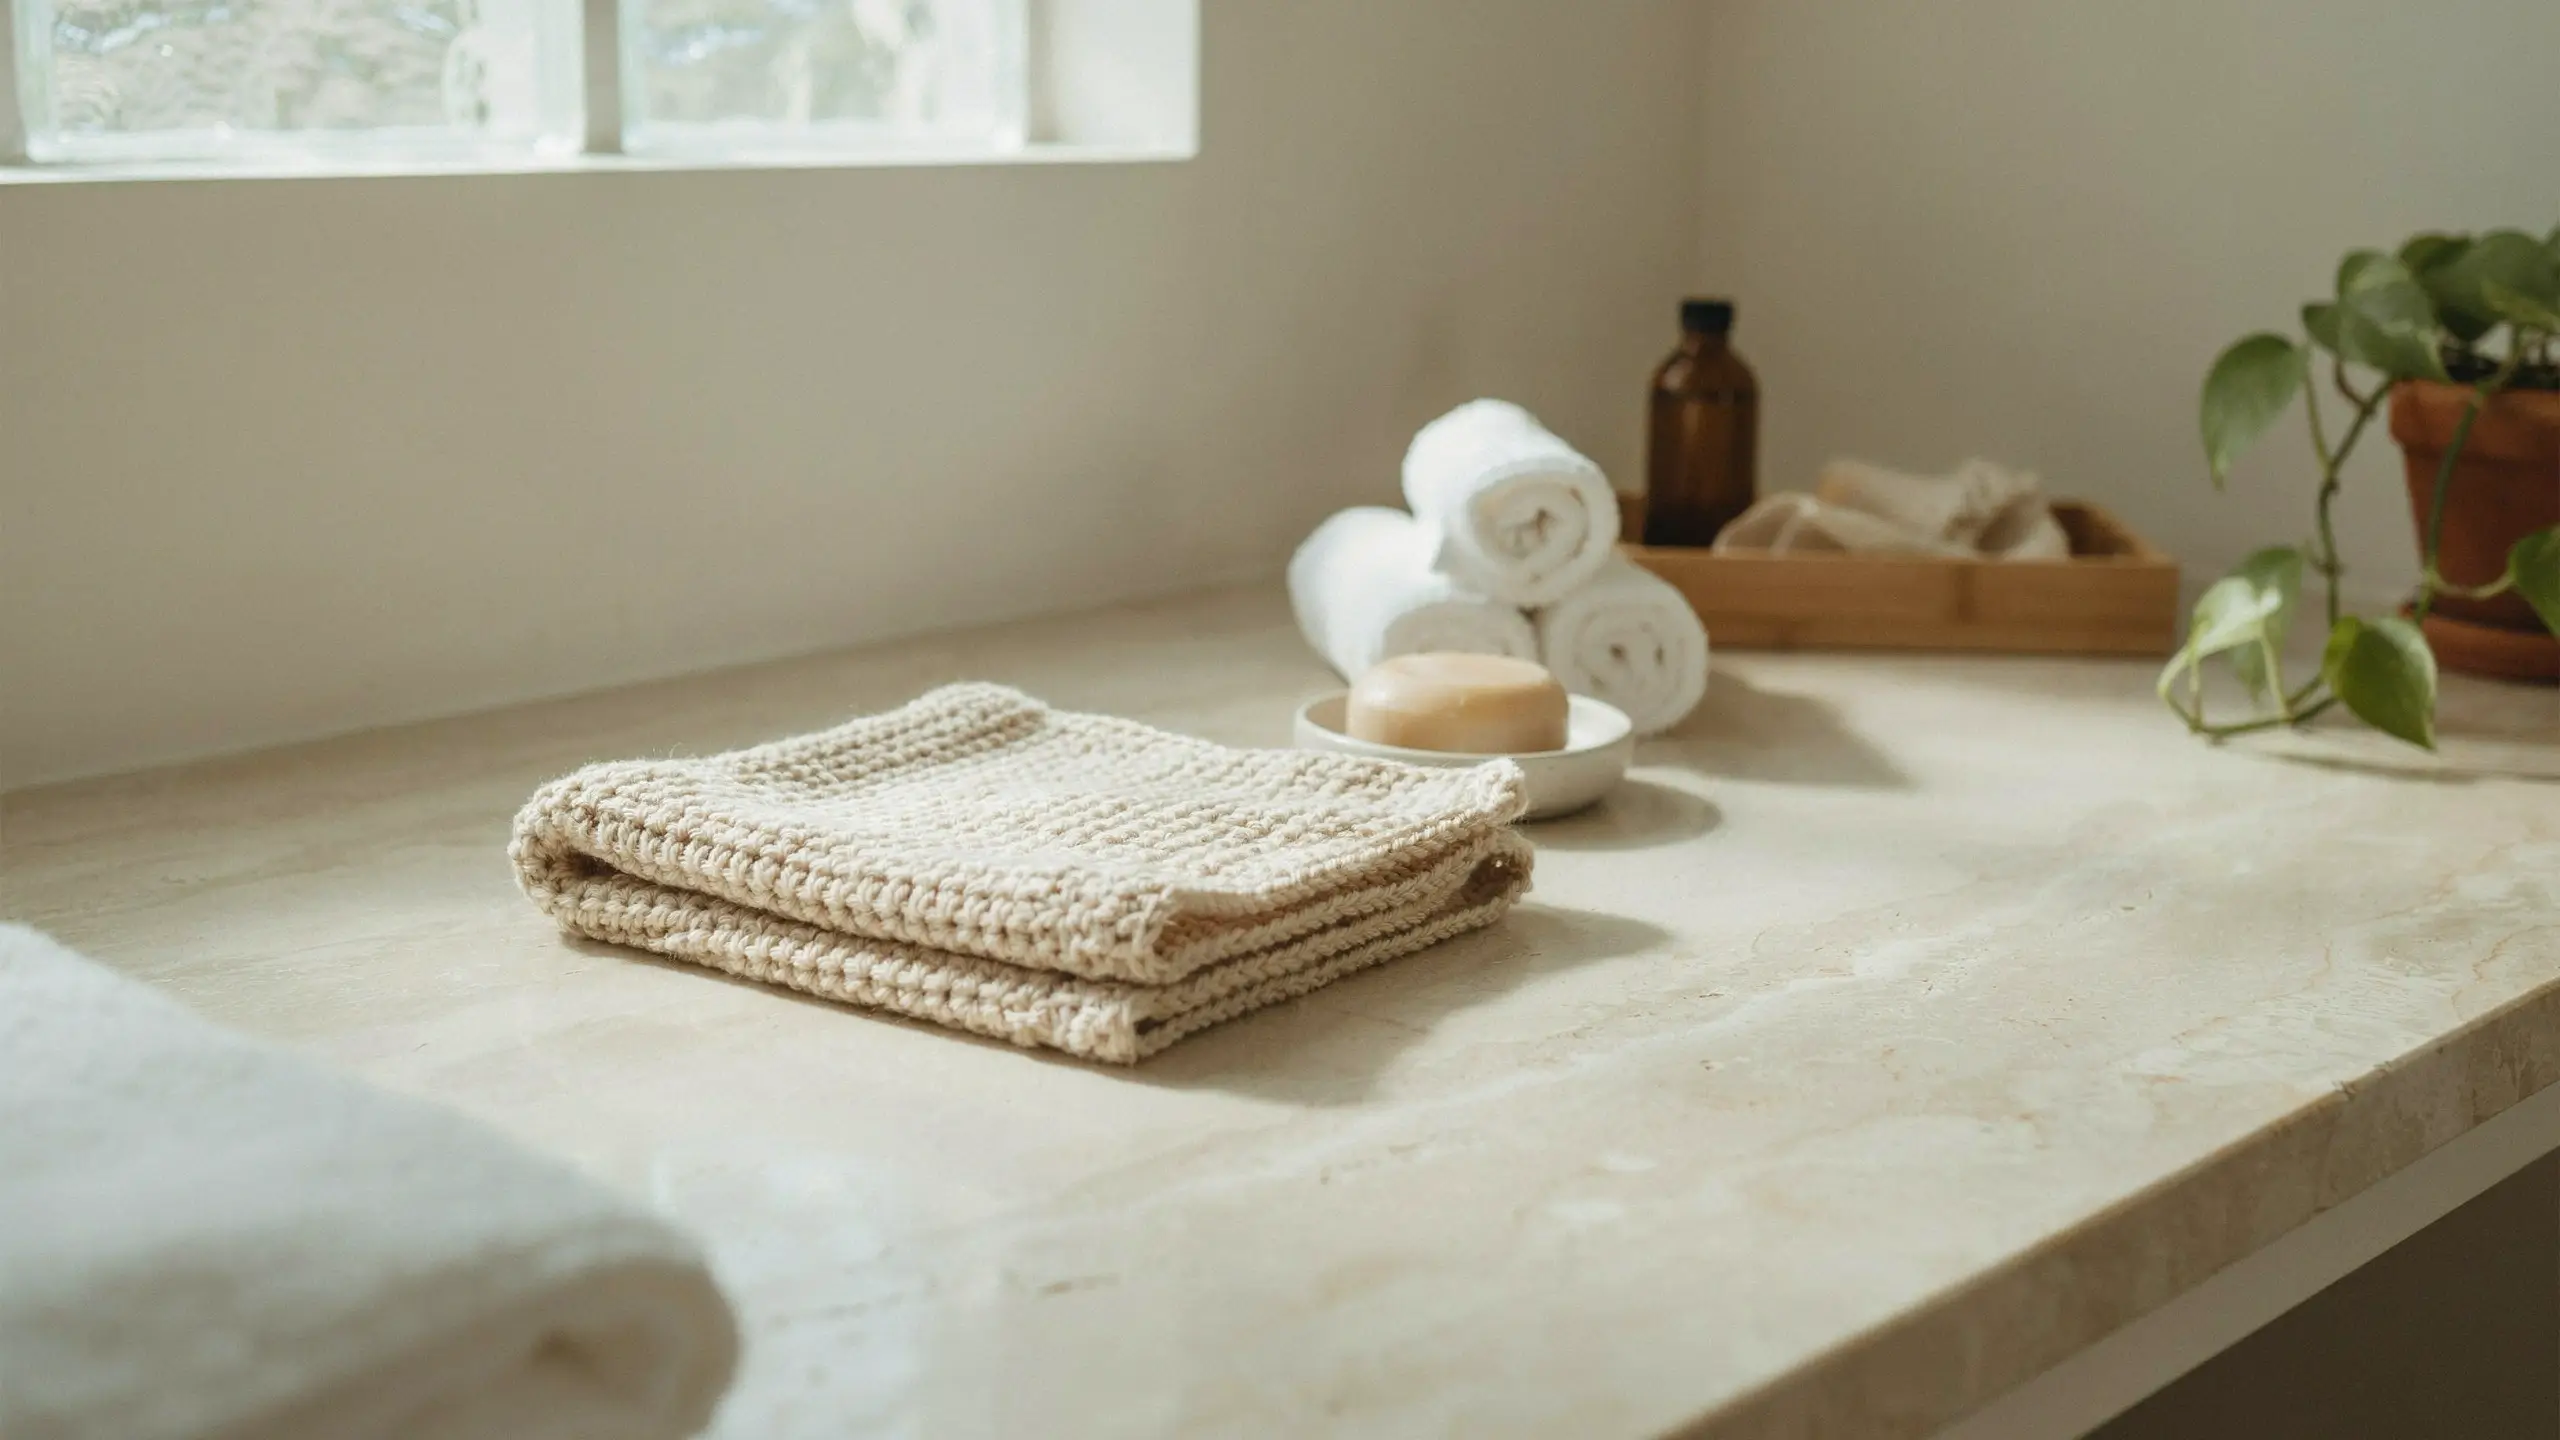
Chain 30, single crochet across each row until it’s square. This is the project almost every crochet teacher recommends first because it teaches straight rows, even tension, and turning without any shaping at all.
2. A granny square
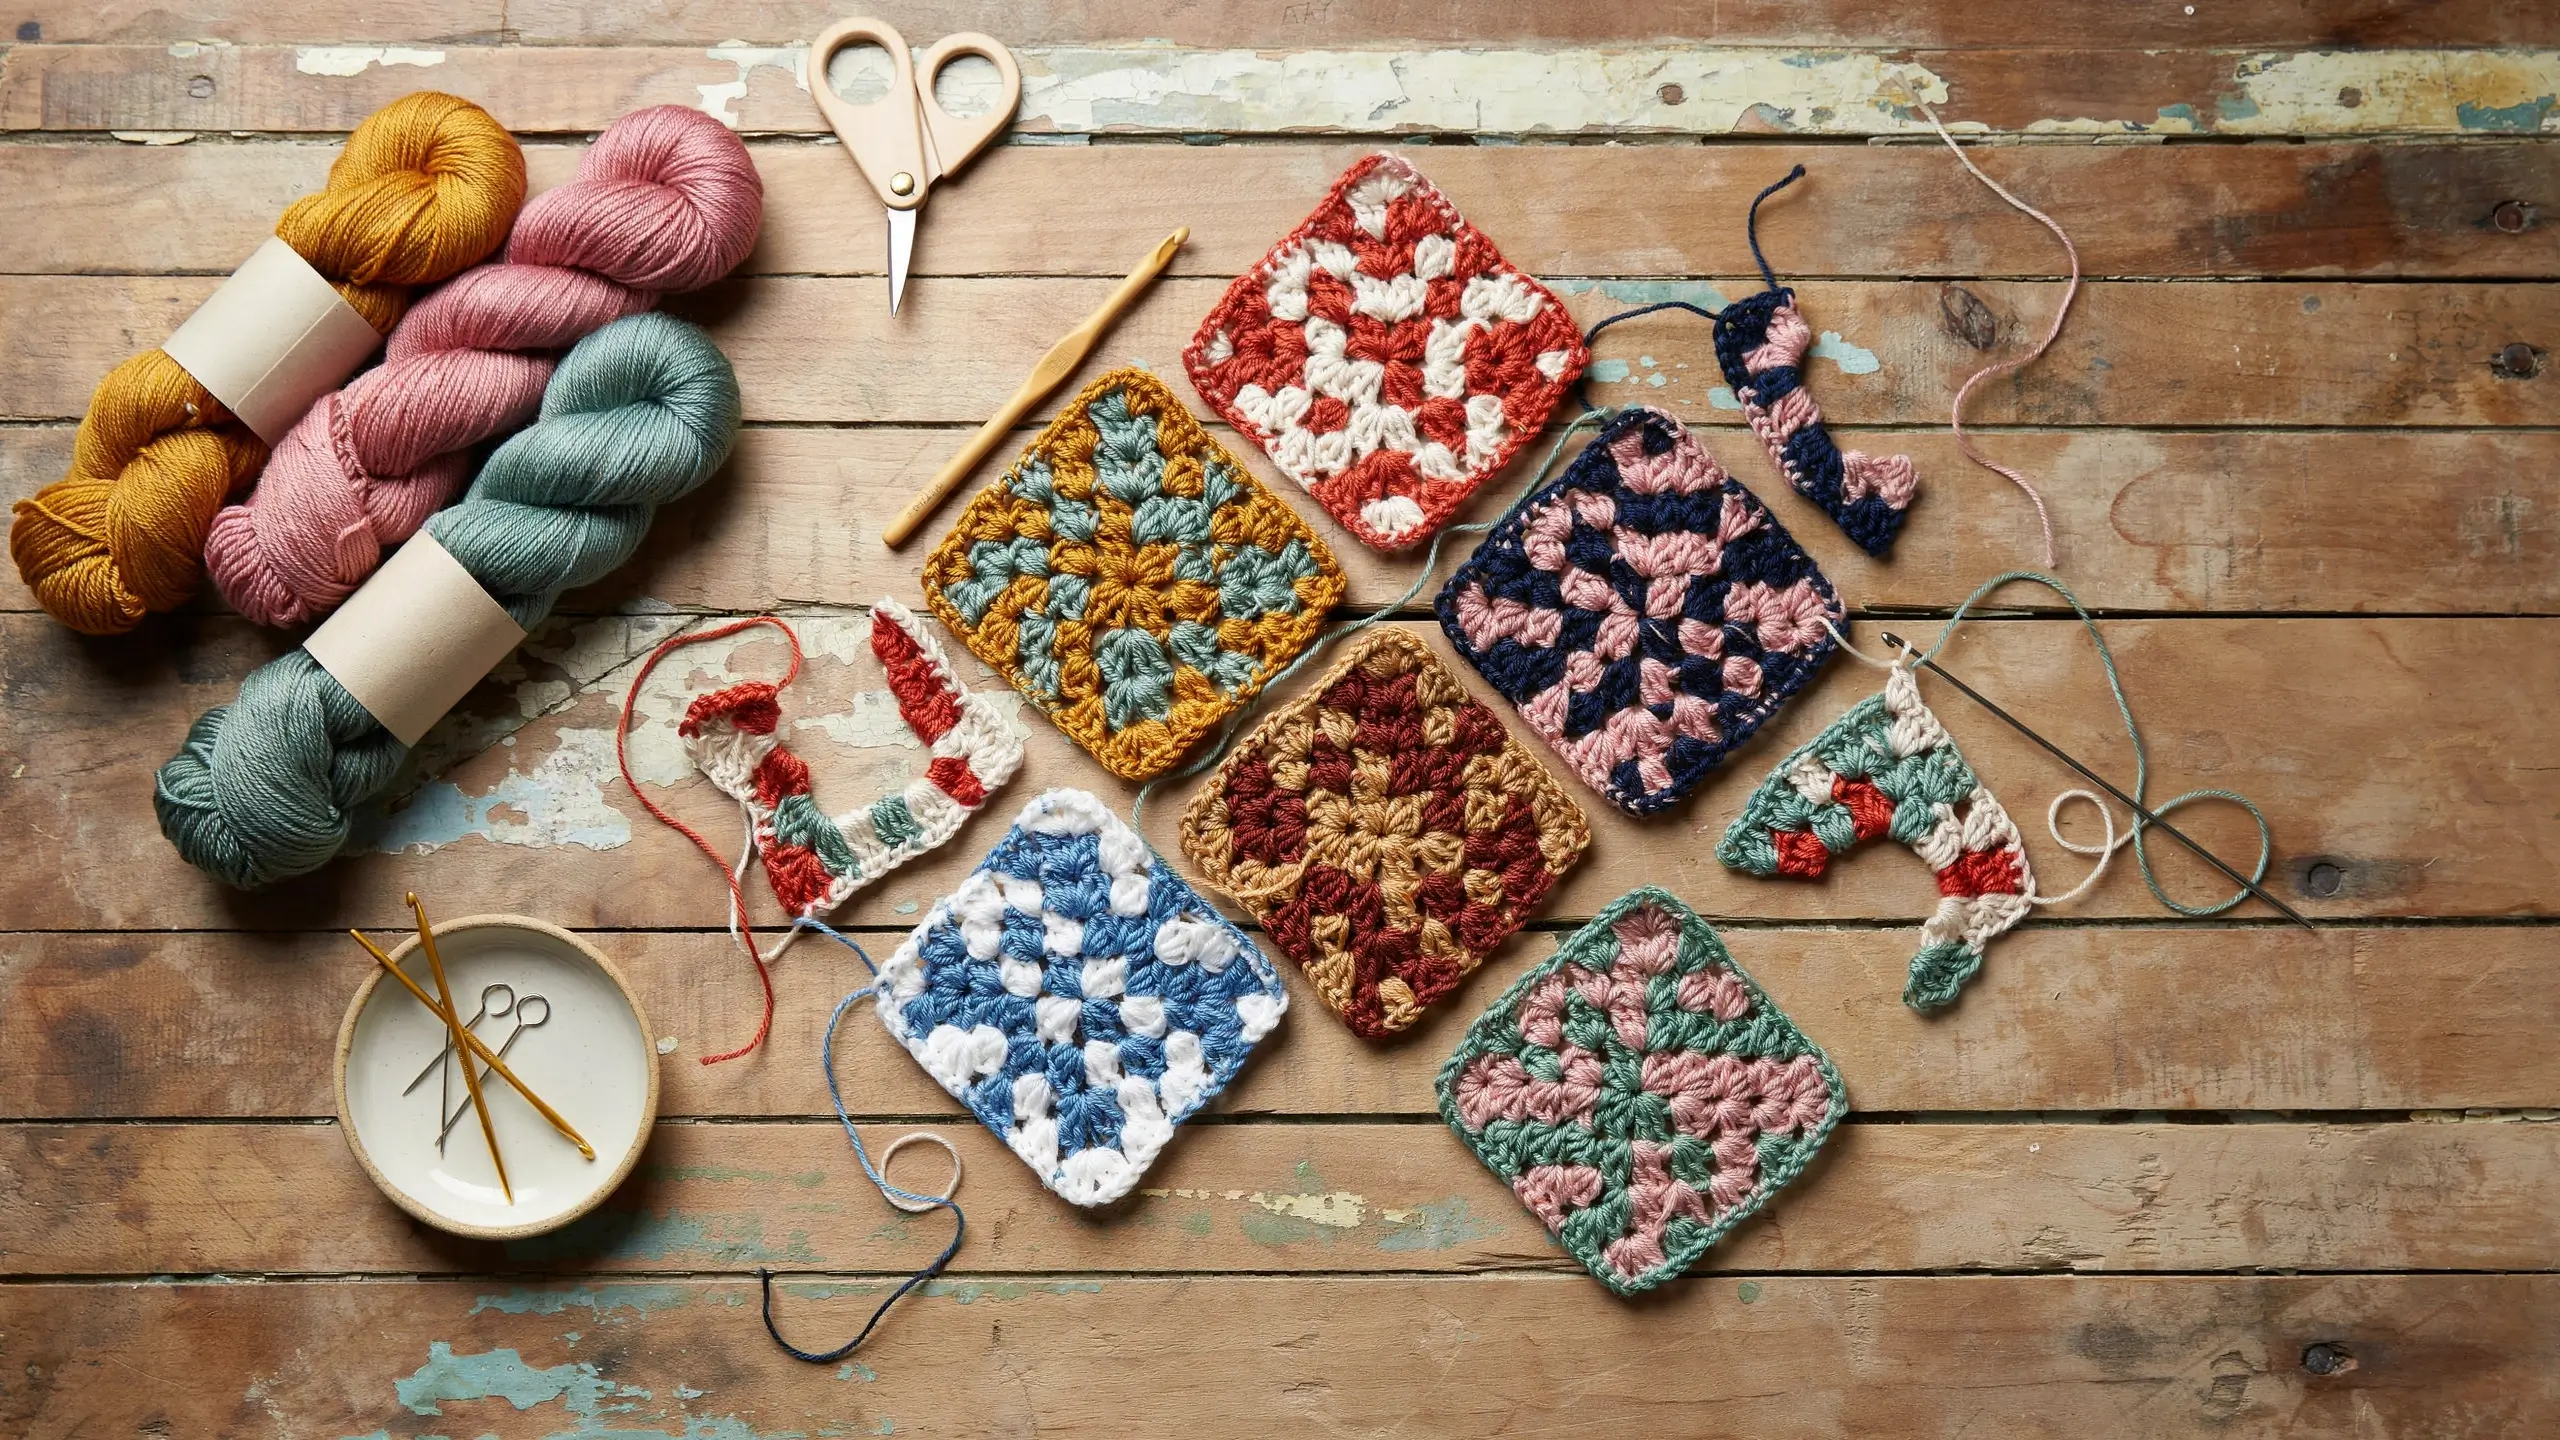
The most iconic beginner project on Pinterest for a reason. One granny square teaches you to work in the round, and once you can make one, you can make a hundred and turn them into a blanket, a pillow cover, or a tote bag.
3. A simple scarf
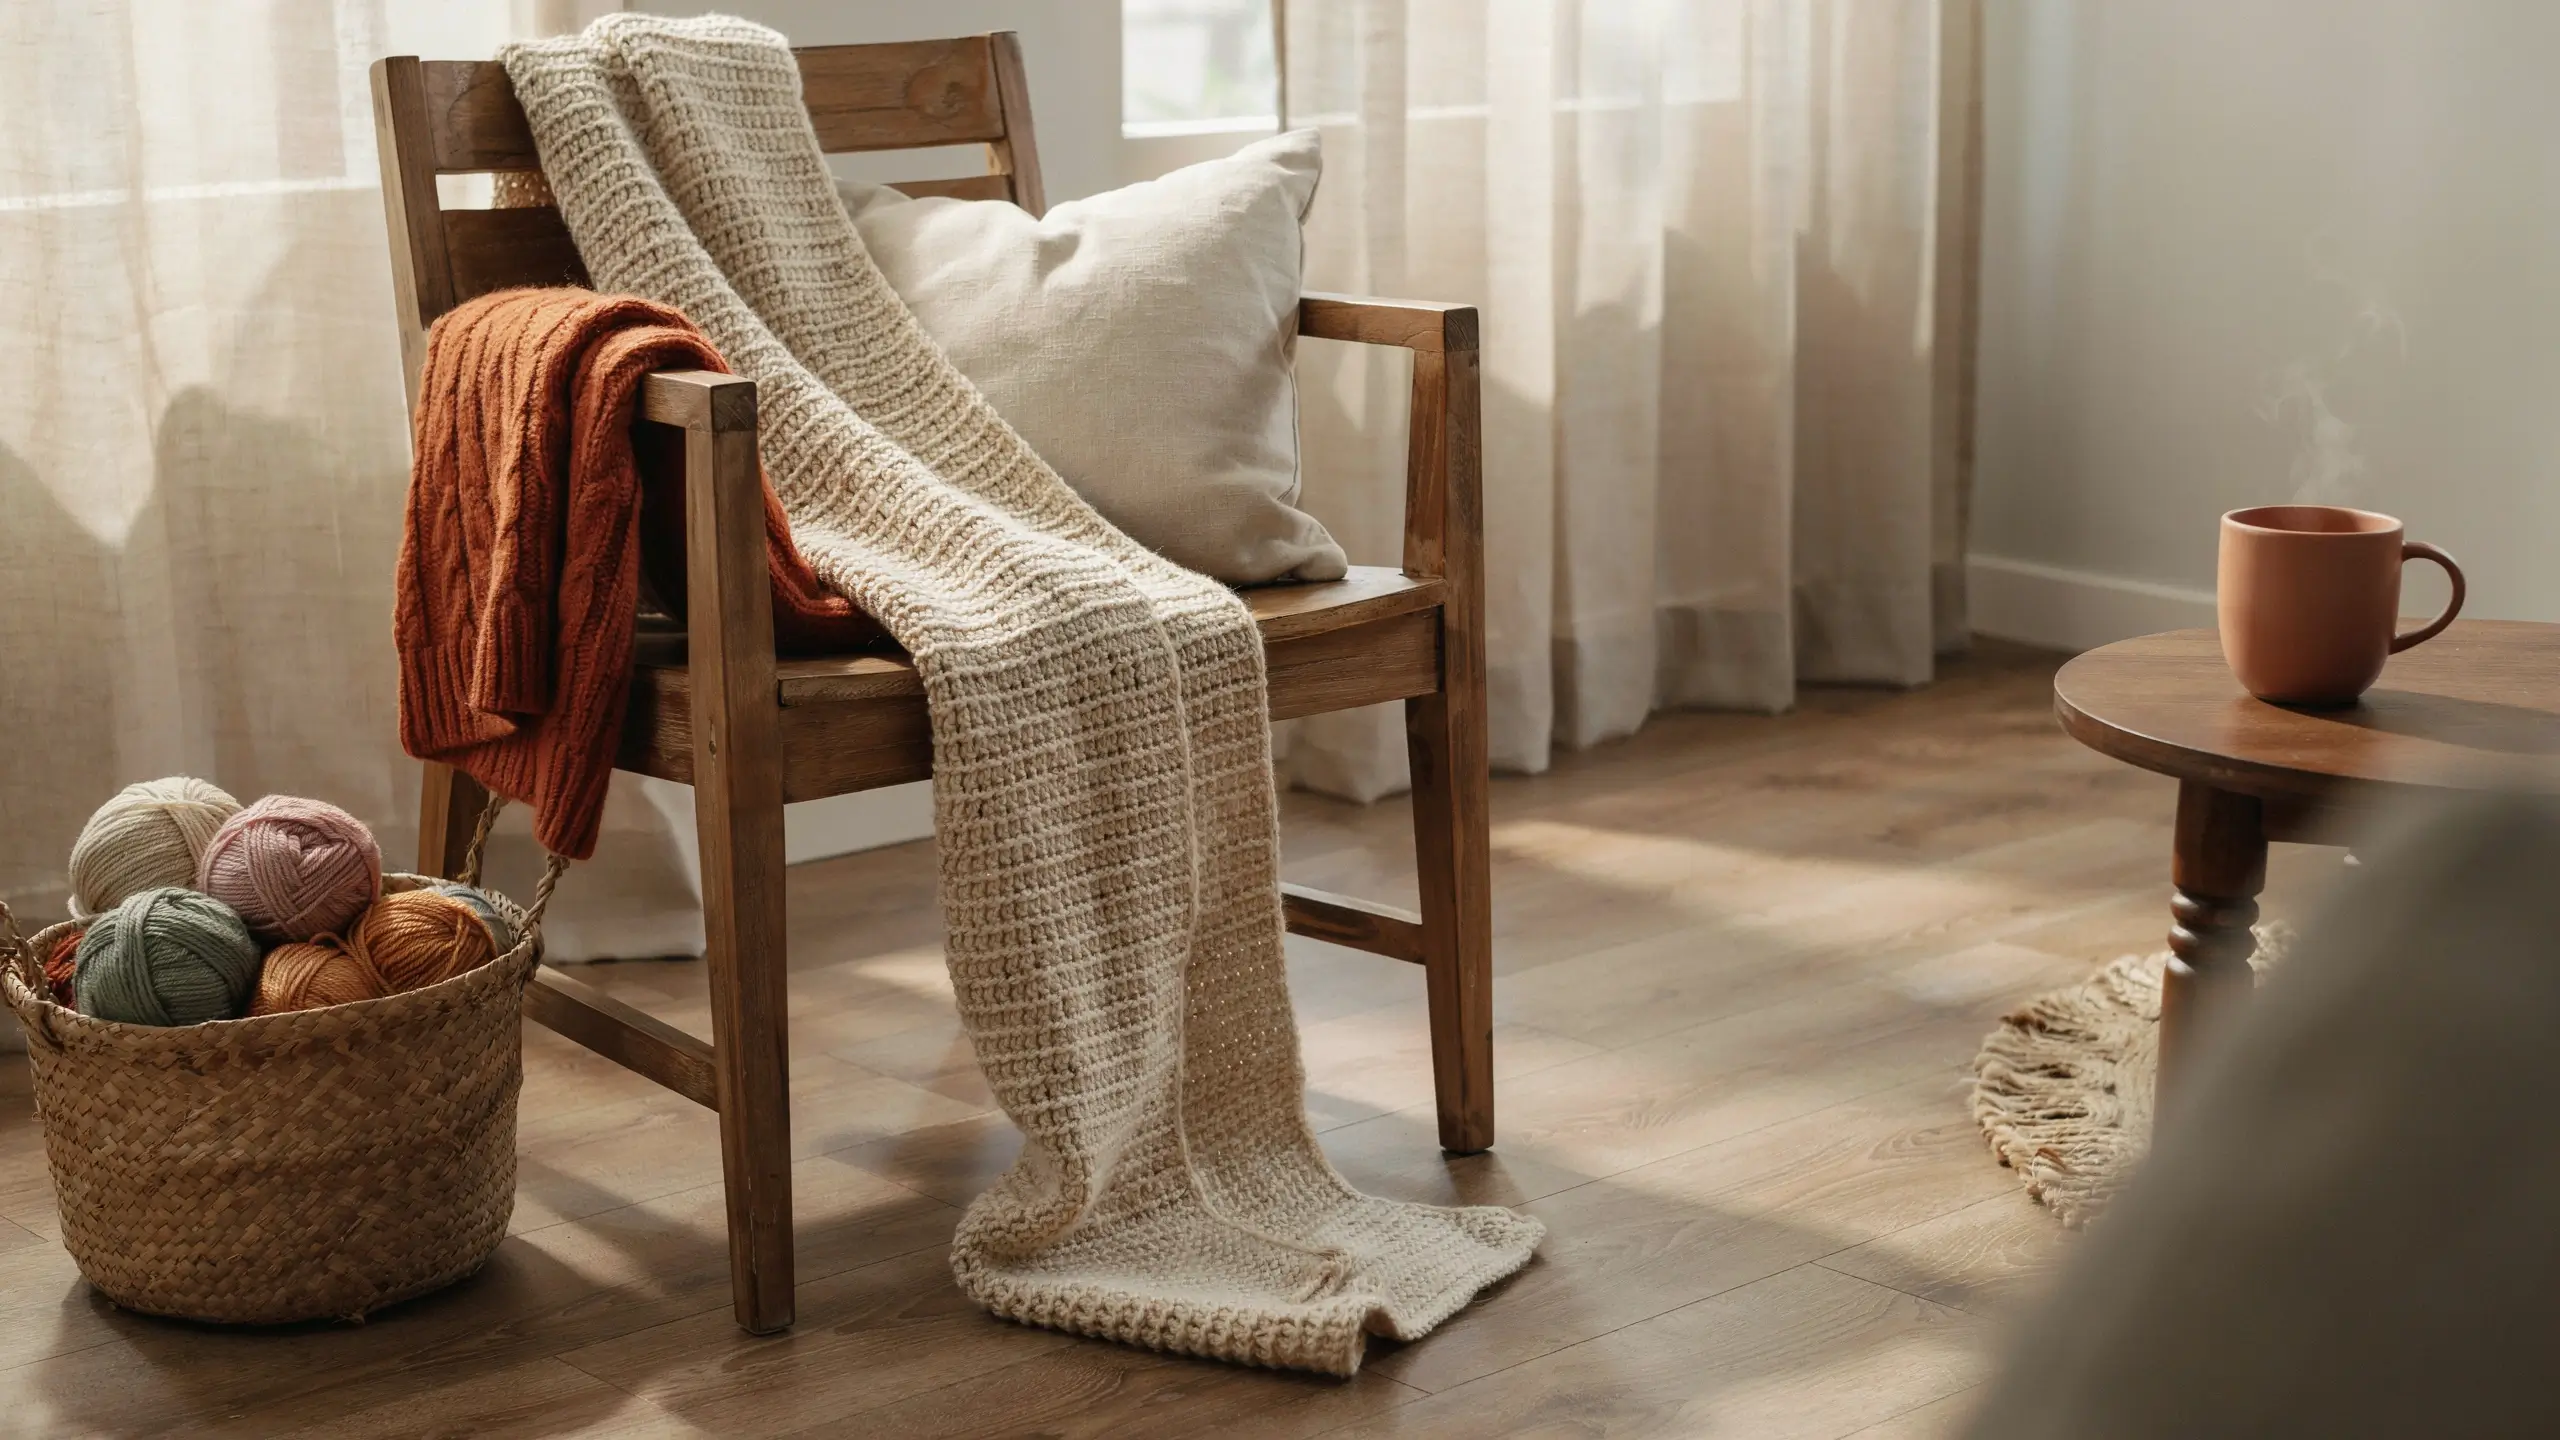
Chain a length you like, then work rows of half double crochet until it reaches your desired length. Minimal shaping, maximum payoff, and a genuinely wearable finished piece.
4. A market tote or drawstring bag
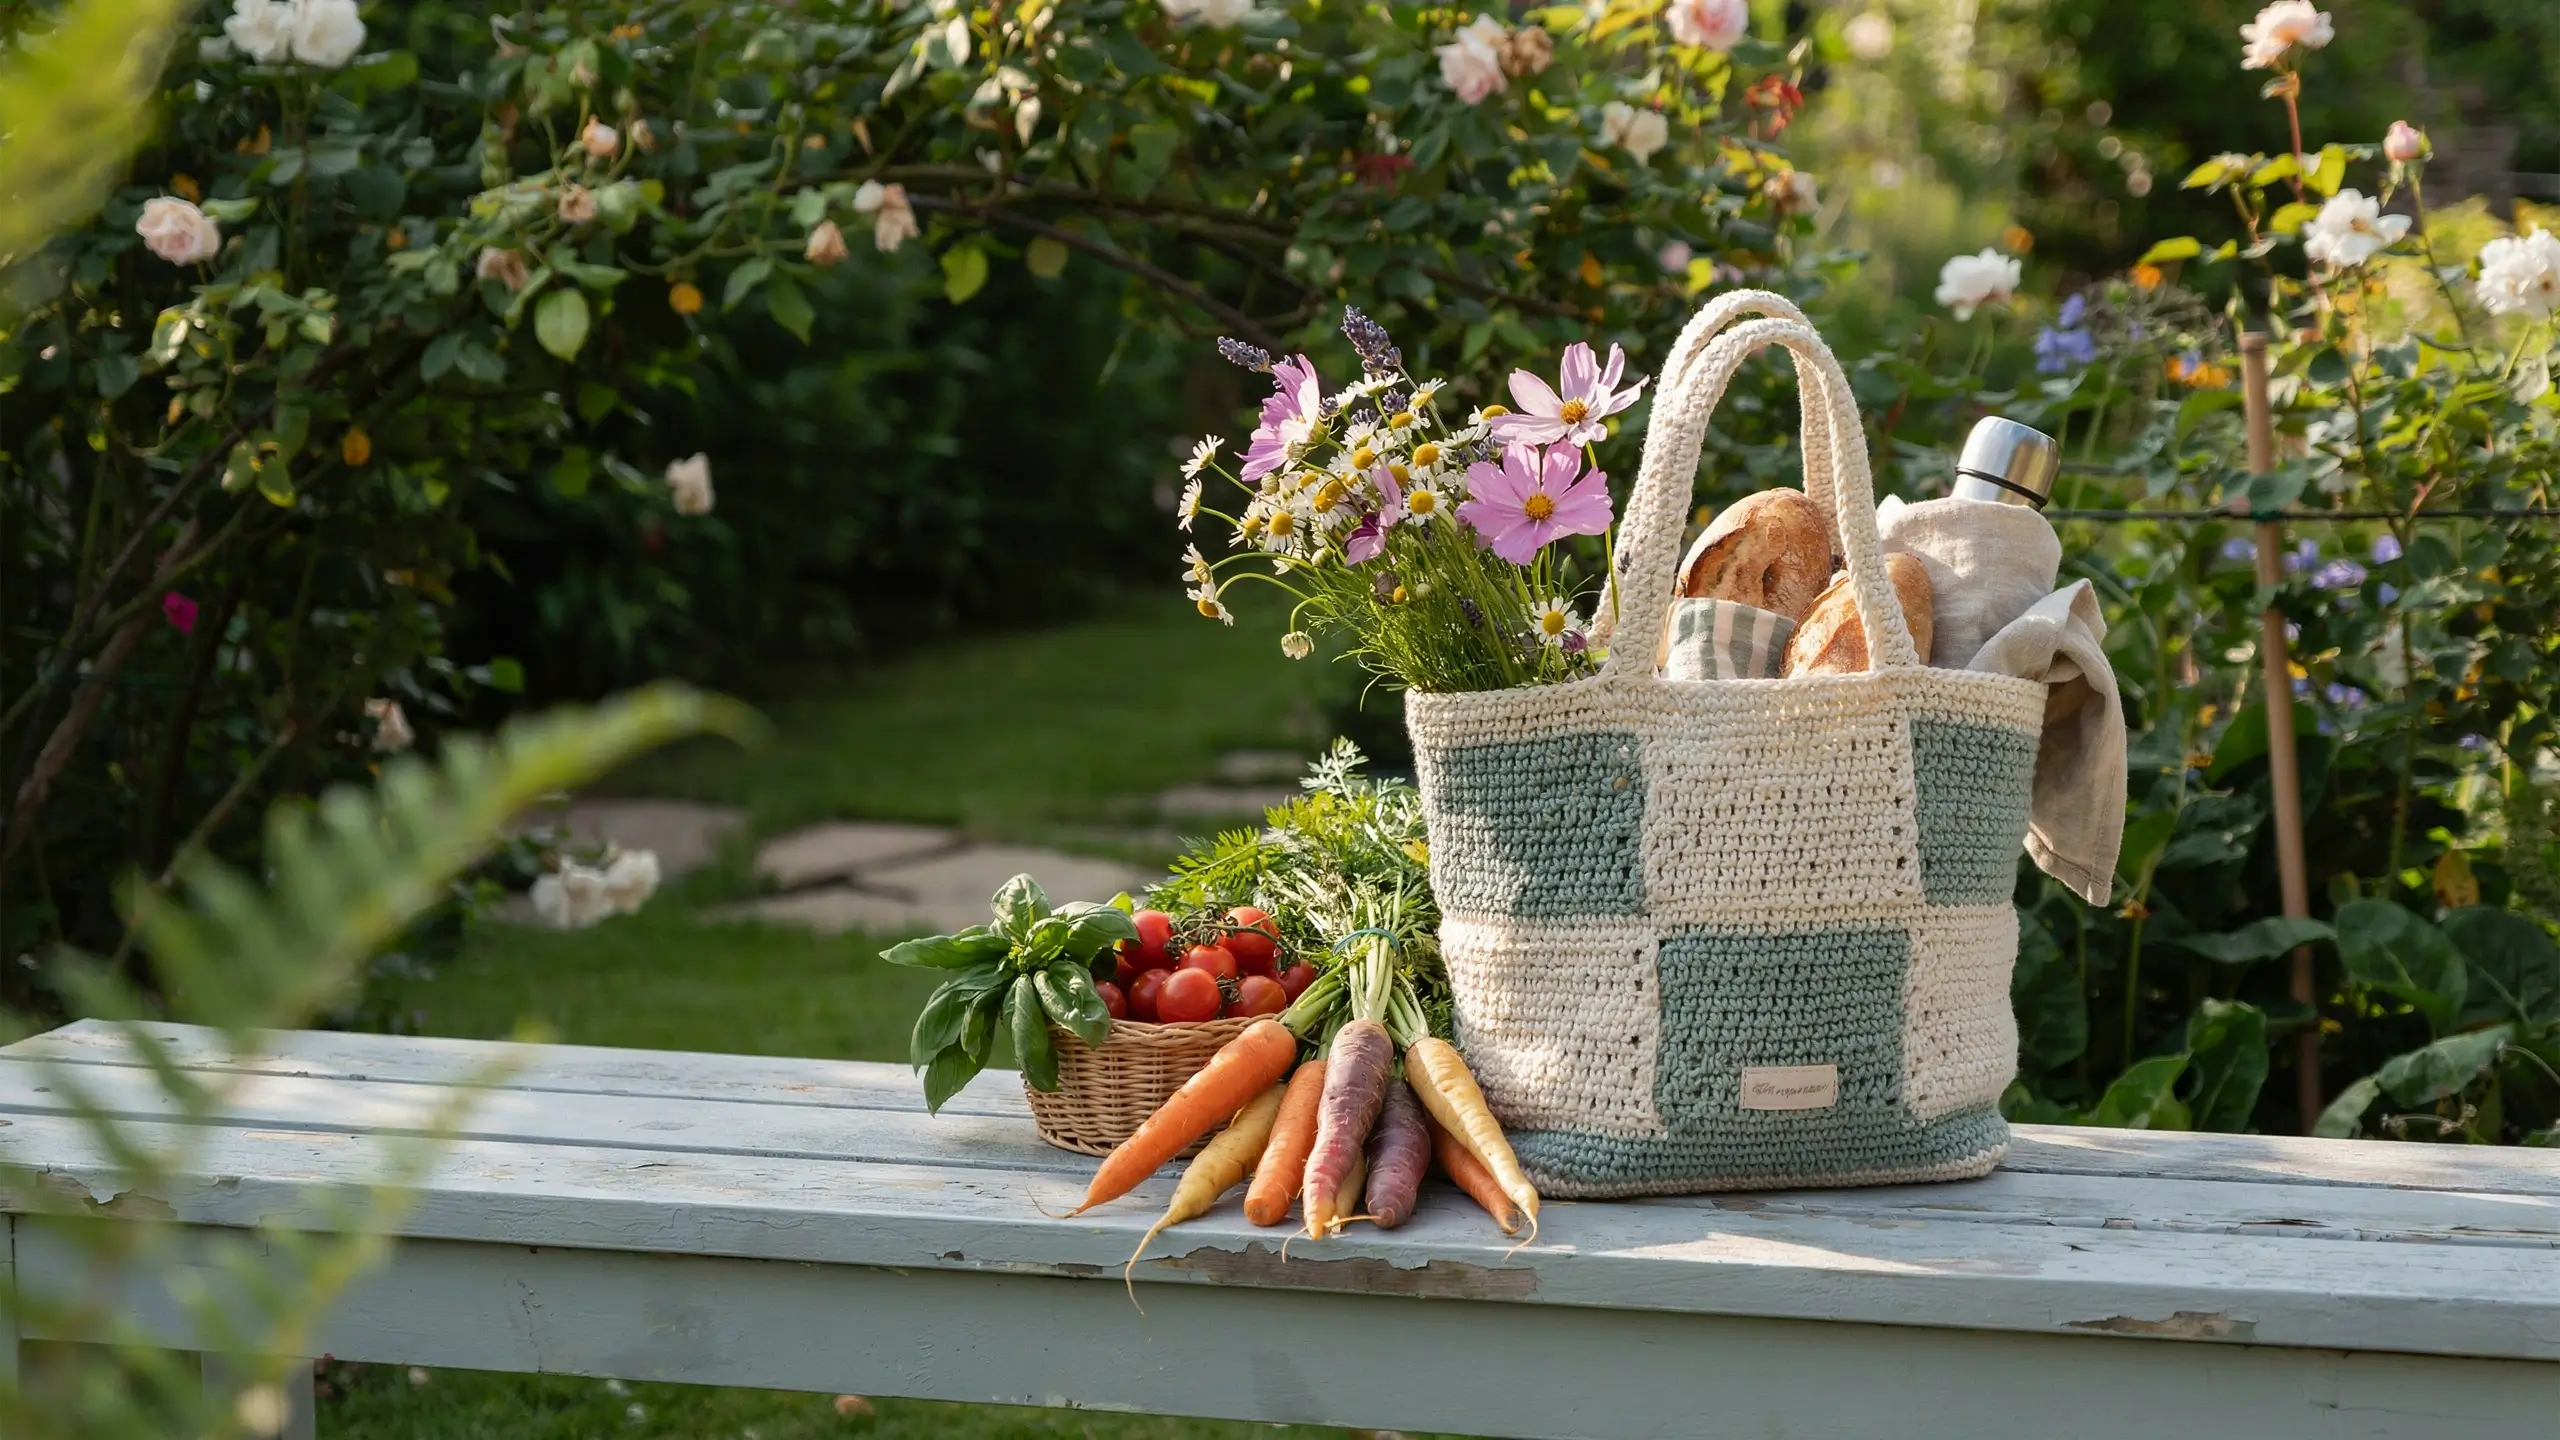
Great next step after the washcloth because it introduces working in the round without any increases or decreases to worry about.
5. A beanie
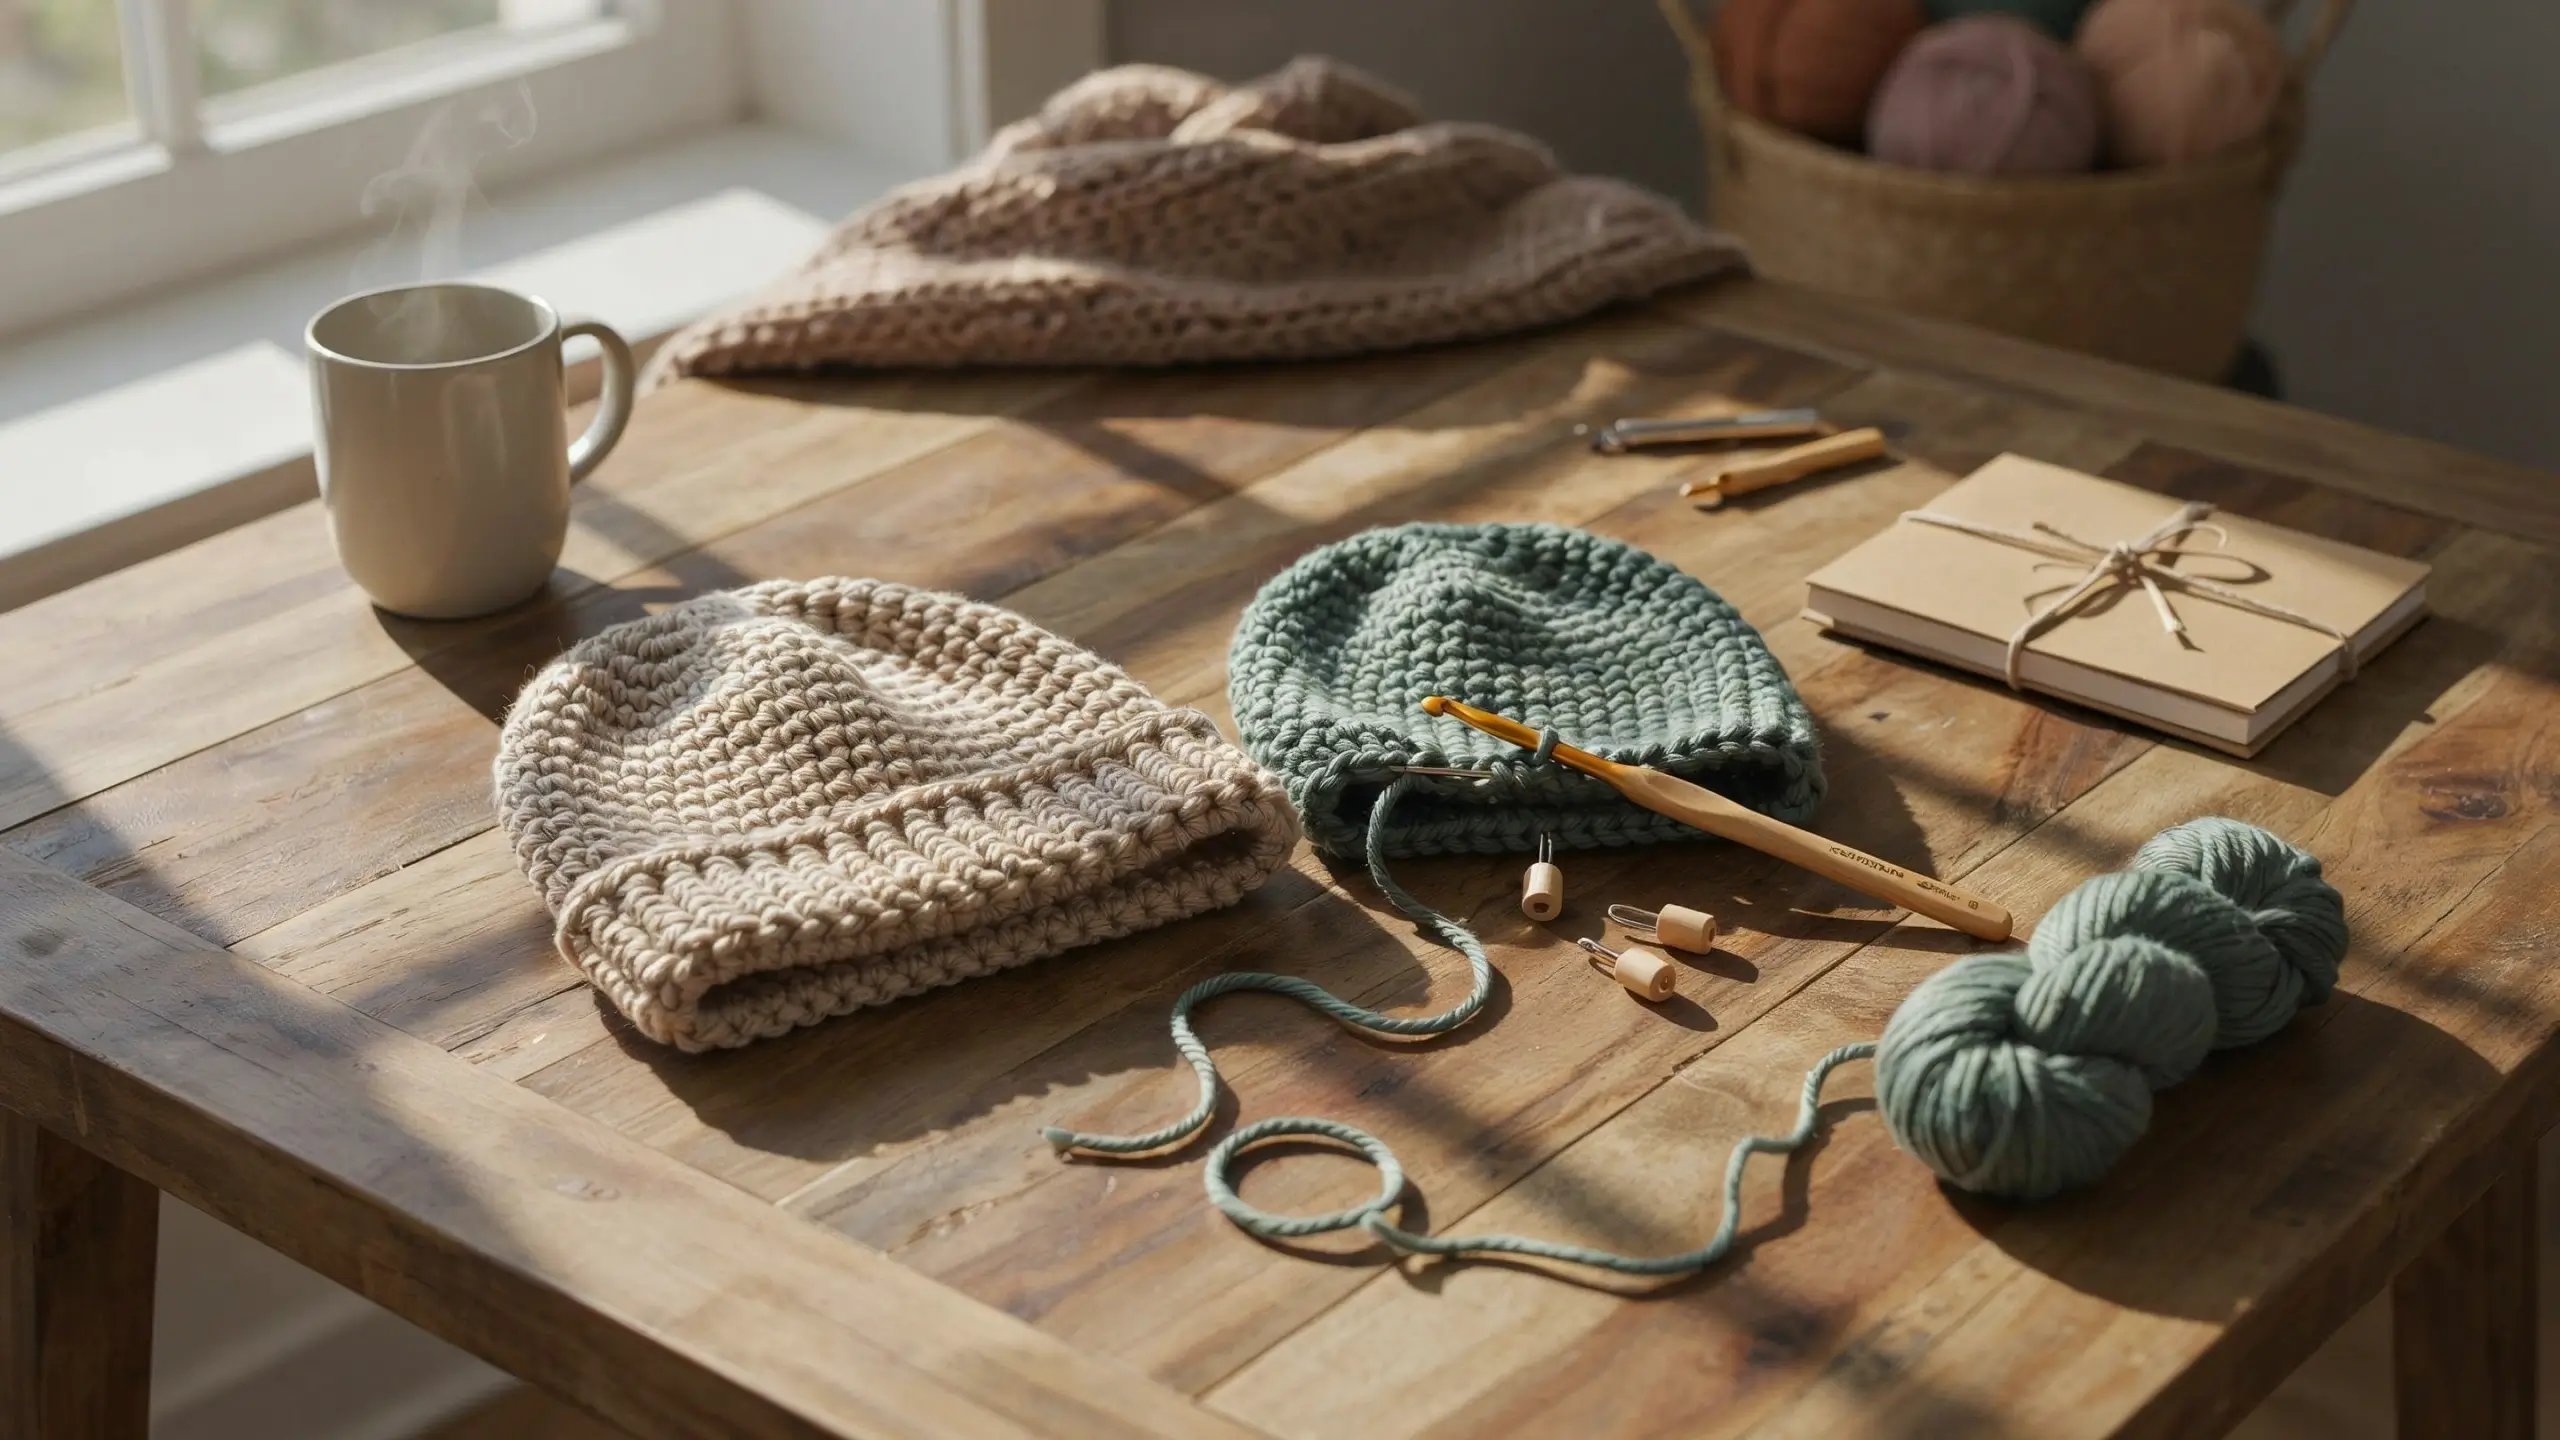
A slightly bigger challenge that teaches increases, decreases, and how to join rounds. Save this one for after you’ve finished two or three flat projects.
6. Amigurumi (small stuffed crochet toys)
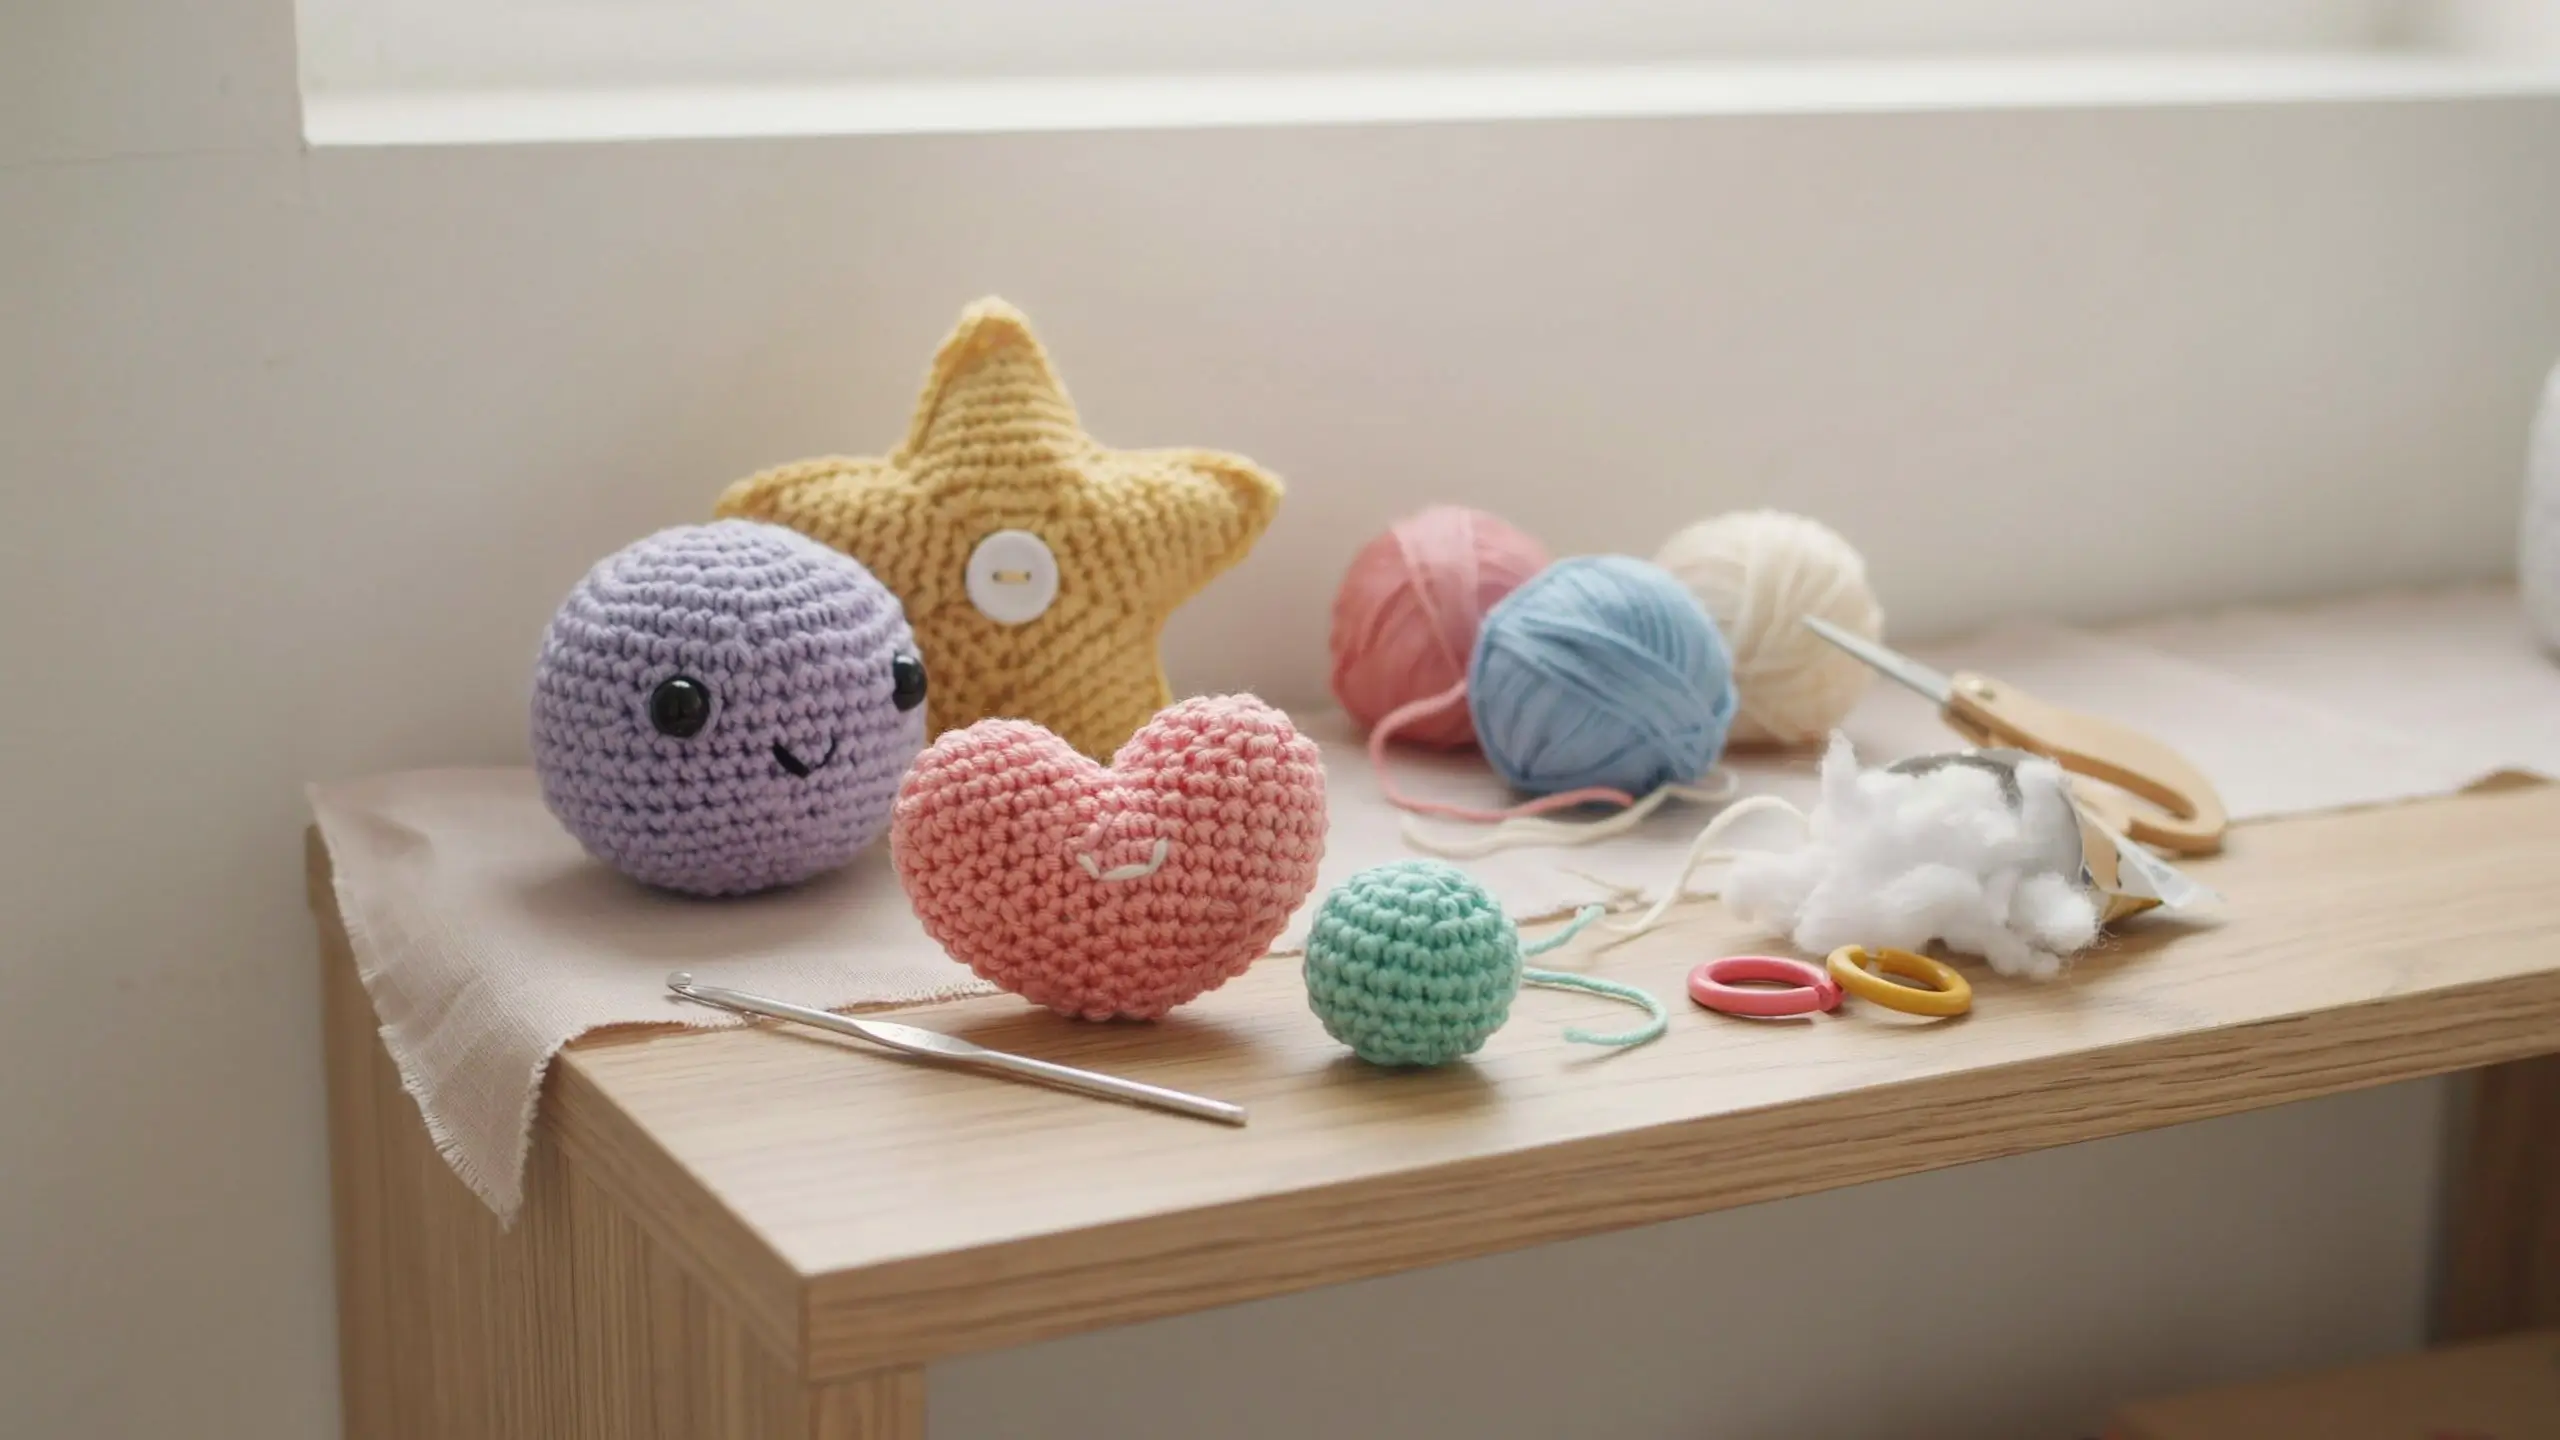
If you want something giftable and fun, tiny amigurumi projects like a heart, star, or simple round shapes are a good low-pressure way to practice single crochet in the round.
How Long Does It Take to Learn Crochet?
Most beginners can comfortably chain and single crochet within their first hour of practice. Feeling confident enough to follow a simple pattern usually takes a few sessions over one to two weeks, and that’s with just twenty or thirty minutes at a time. Crochet has a real learning curve in the first few days, then it gets noticeably easier once your hands remember the motions without you thinking about them.
Be patient with your first swatch. It is not supposed to look like the finished project in the photo. It’s supposed to teach your hands what tension and rhythm feel like.
Final Thoughts
Learning crochet for beginners really comes down to patience with yourself and a willingness to practice the same few motions until they feel natural. You don’t need fancy tools, a big budget, or a craft room to get started, just a hook, some yarn, and a little bit of time each day. Before long you’ll be the one pinning your own finished projects instead of just saving other people’s.
Start with your chain, get comfortable with single crochet, and pick one small project to finish this week. That’s genuinely all it takes to go from “I wish I could crochet” to “I made this.”
What’s the first thing you want to crochet? Tell me in the comments, I’d love to hear where you’re starting and cheer you on.


No Comment! Be the first one.