




15 Simple 1-Hour Crafts for Adults That Look Like They Took All Day
There’s a particular kind of restlessness that sets in on a slow Sunday afternoon, or after a long week when your brain is too fried for anything productive but your hands still want...

There’s a particular kind of restlessness that sets in on a slow Sunday afternoon, or after a long week when your brain is too fried for anything productive but your hands still want to make something. That’s exactly when a good one-hour craft saves you.
Not a kids’ craft. Not a Pinterest project that quietly requires three days, a heat press, and a glue gun you don’t own. Something you can start and finish in the time it takes to watch a couple of episodes of whatever you’ve got queued up, with a genuinely pretty result sitting on your table by the end.
These simple 1-hour crafts for adults are the ones that actually deliver. Every single idea here is beginner-friendly, uses supplies you can find at any craft store, and wraps up in under sixty minutes. A few are giftable. Most double as home decor. All of them are more satisfying than doom-scrolling.
What to Have on Hand Before You Start
You don’t need a dedicated craft room or a massive supplies haul. Most of these projects pull from a short list of basics. If you stock these, you’ll be ready to start almost any project on this list the same day:
Mod Podge (matte or gloss), acrylic paint in a few neutrals, a set of foam brushes, air-dry clay, twine, a hot glue gun, rubbing alcohol, nail polish in a couple of colors, basic beading supplies, a wooden dowel, scissors, and a package of assorted decorative paper napkins.
Build the kit gradually. Once you have it, starting a craft becomes a ten-minute setup instead of a whole errand.
15 Simple 1-Hour Crafts for Adults
1. Nail Polish Marble Bookmarks
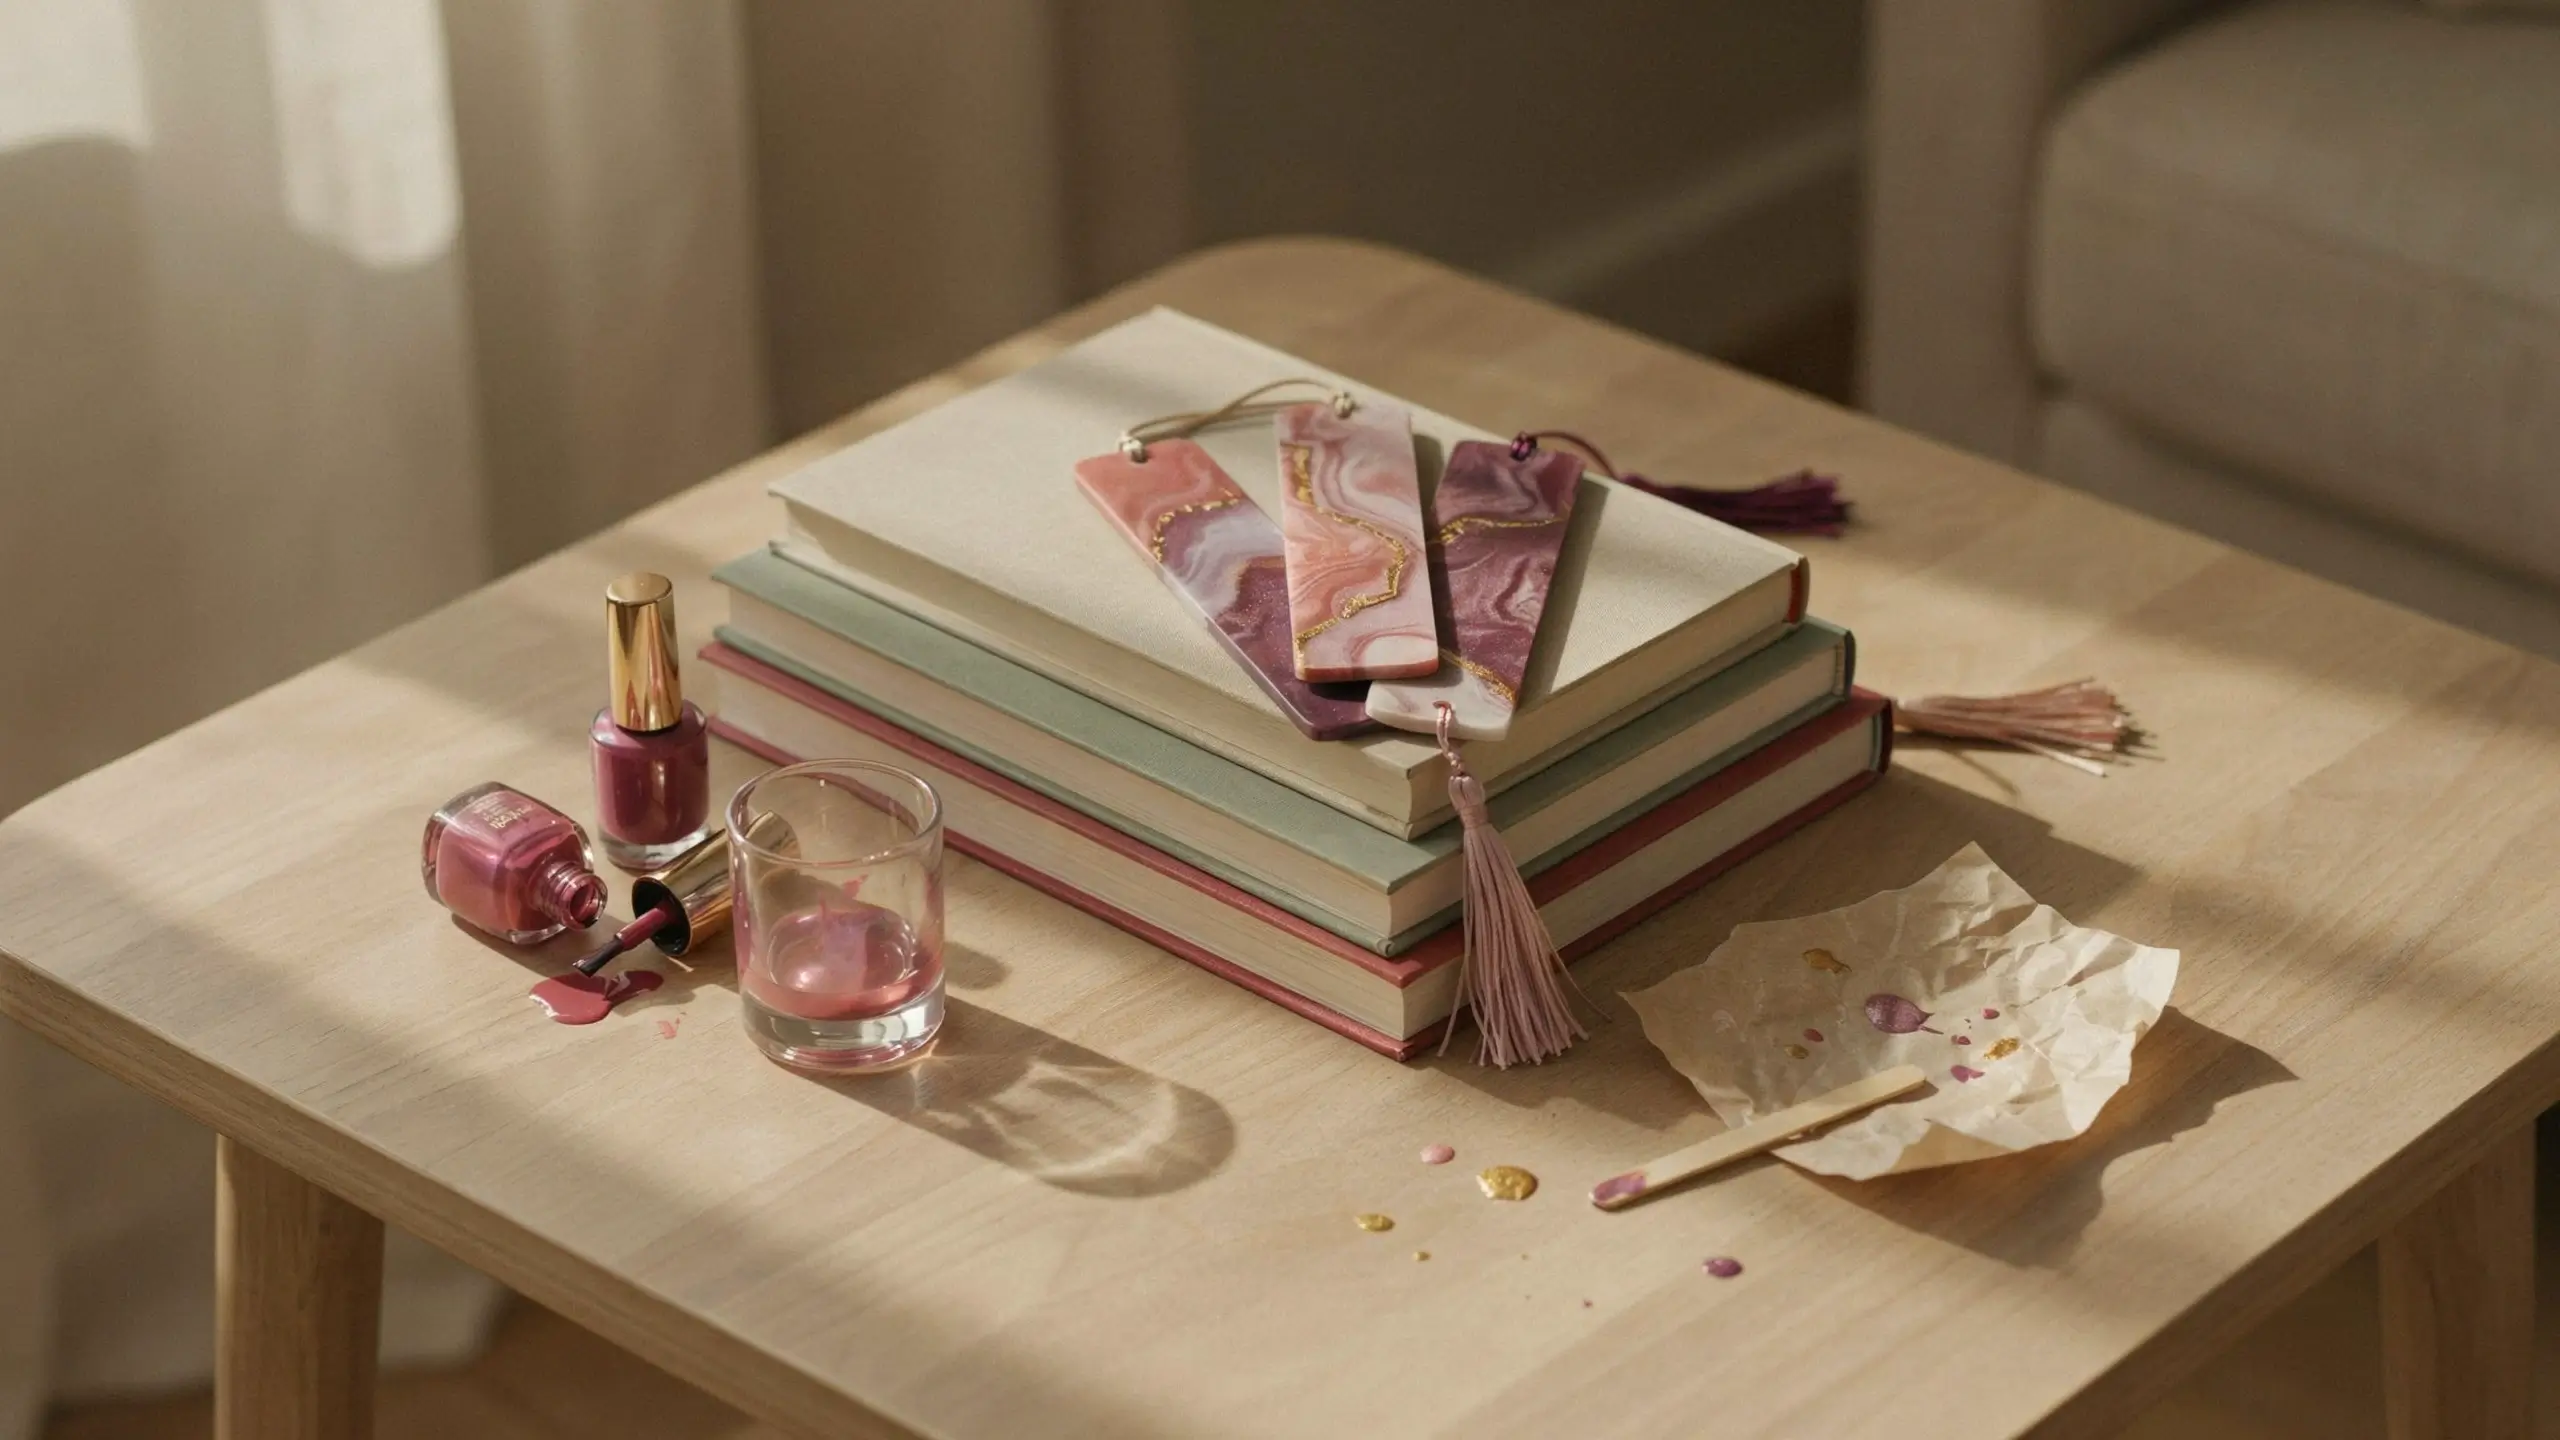
These look like something from an upscale stationery shop, and they take about twenty minutes start to finish. Fill a disposable plastic cup or an old baking dish with room-temperature water. Drop three or four nail polish colors onto the surface, swirl gently with a toothpick, then dip heavyweight cardstock strips (cut to bookmark size, roughly 2 by 7 inches) into the water and lift straight up. The polish adheres instantly. Let dry flat for ten minutes, punch a hole at the top, thread through a tassel or a length of ribbon, and you’re done.
What makes it work: Use colors in the same family (dusty pink, mauve, deep plum) for an elegant look, or go bold with black and gold for a modern style. Warm water keeps the polish spreadable longer. Work quickly once the polish hits the water; it dries fast.
Time: 20 minutes active, 10 minutes drying. Great for: Gifting, craft nights, making in batches.
2. Decoupage Wooden Tray
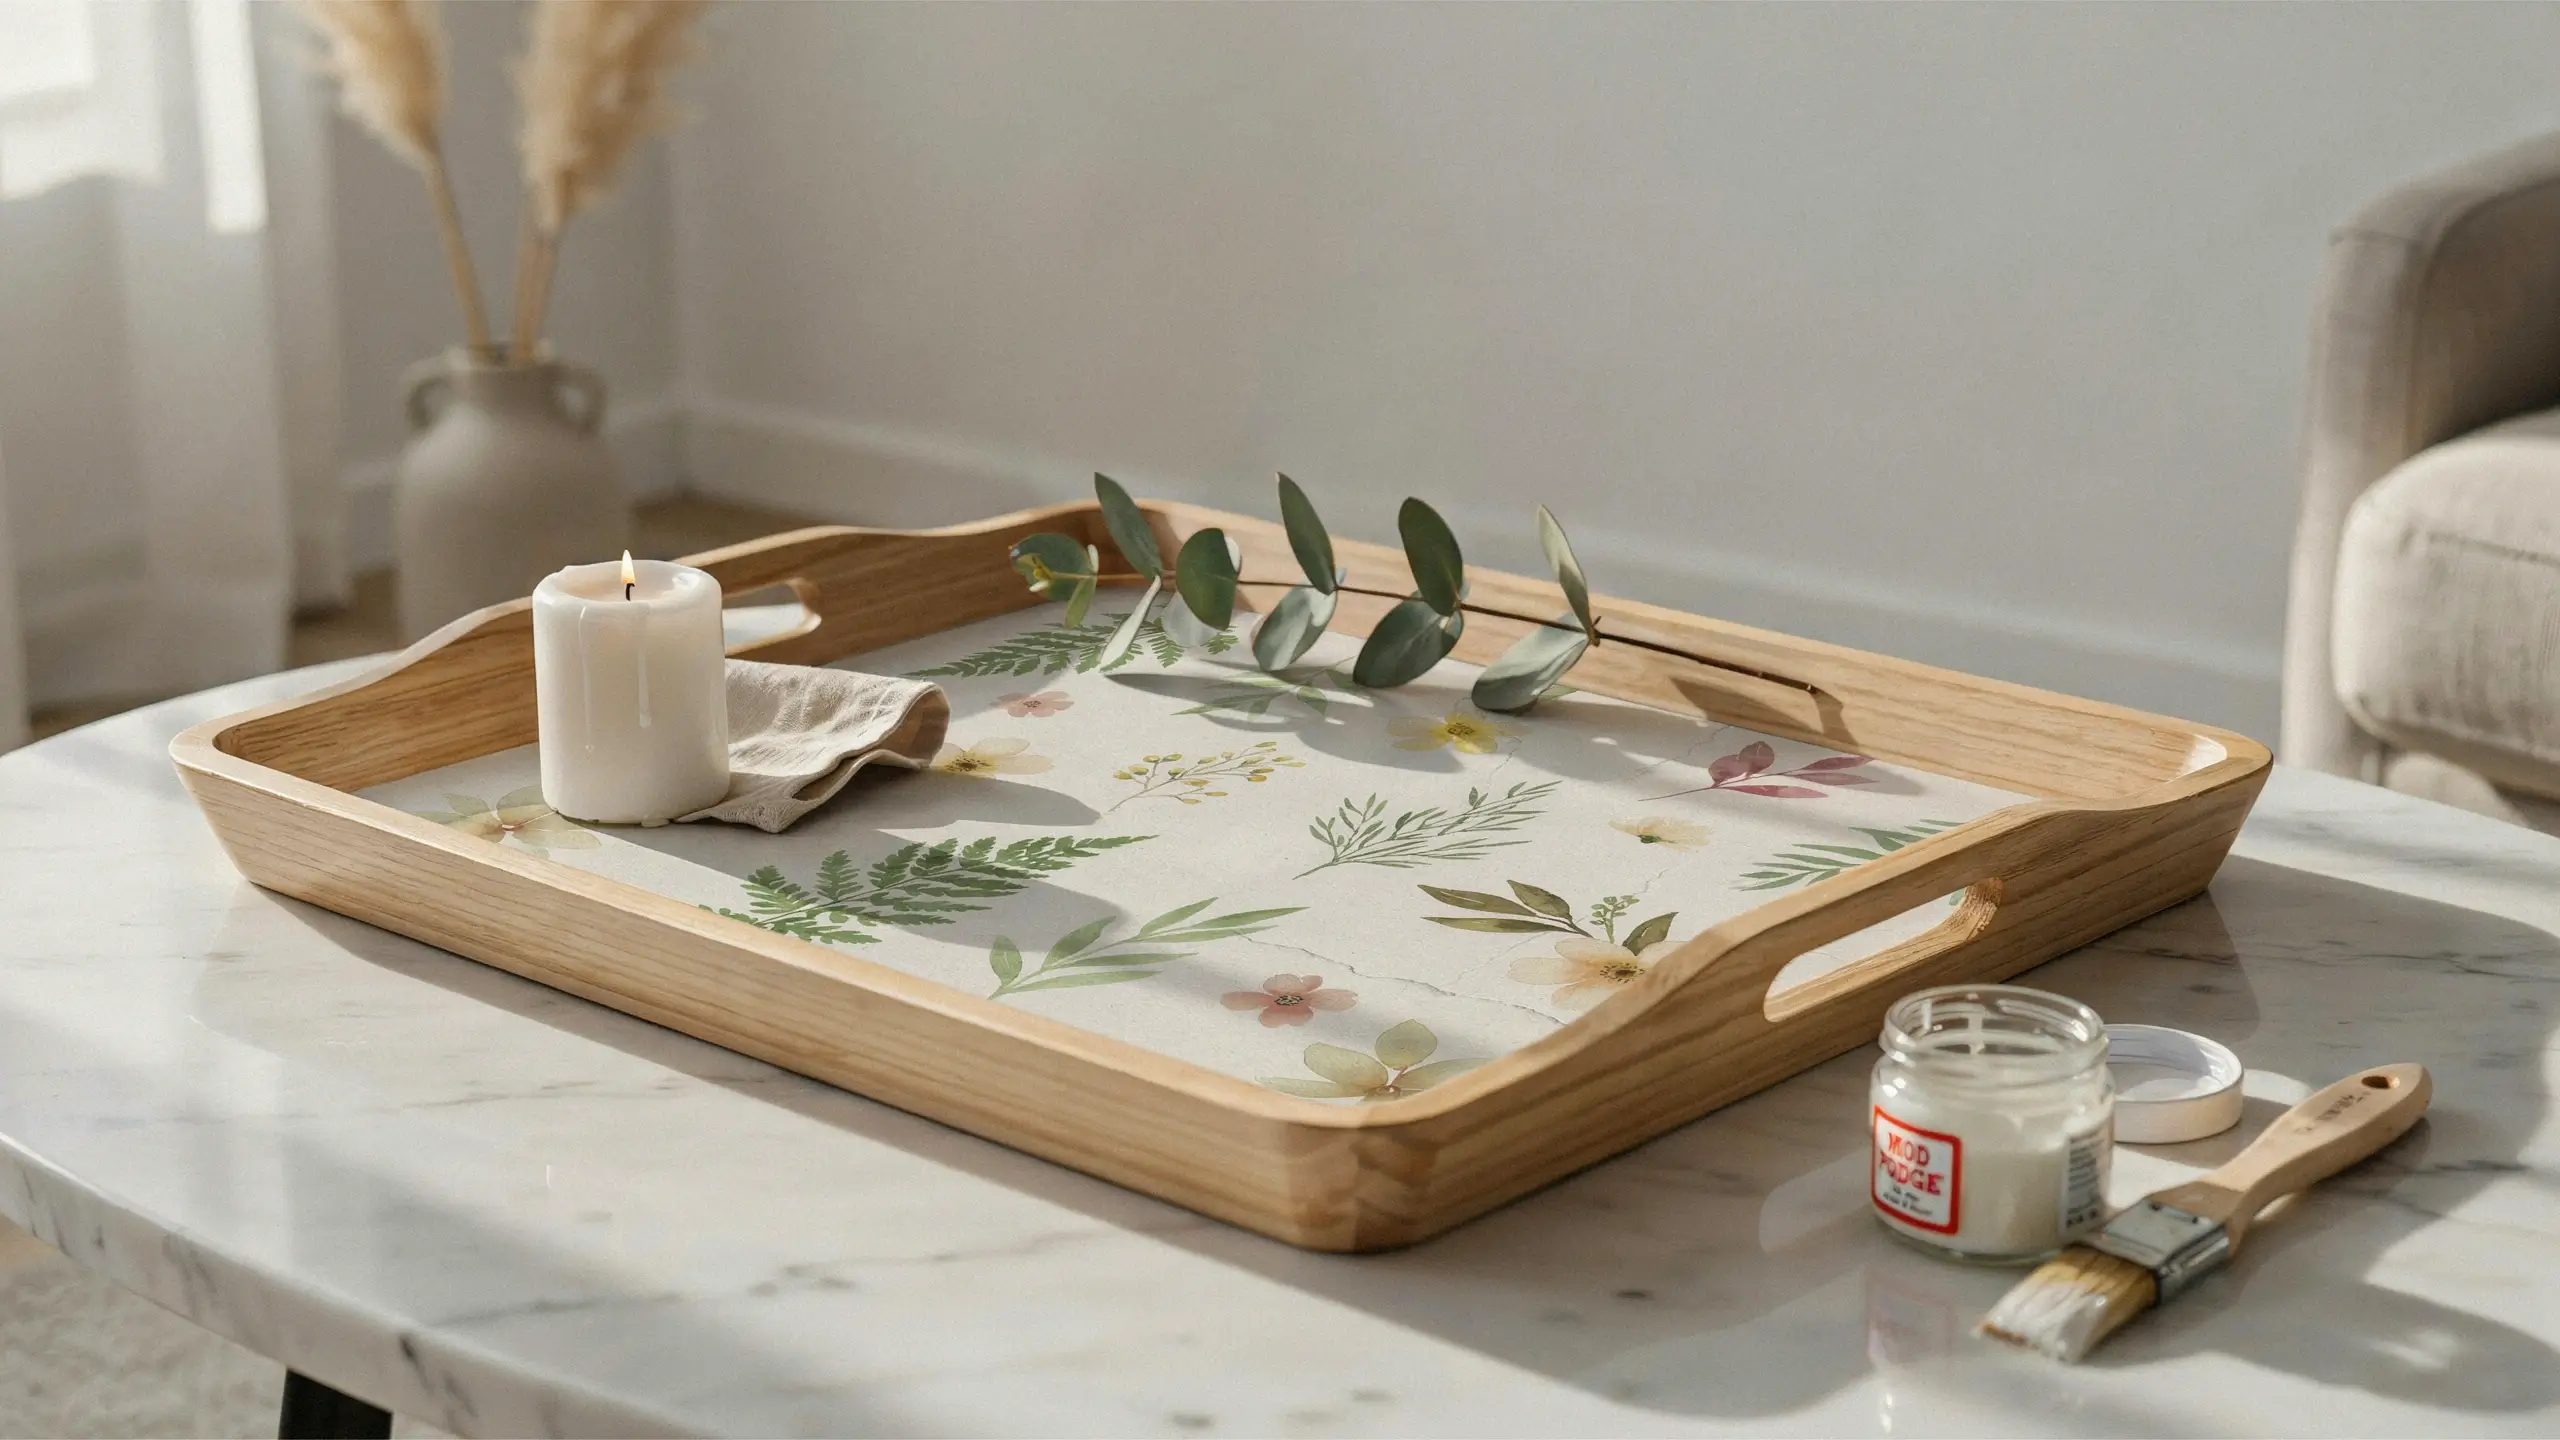
Wooden serving trays from the dollar section or craft store are one of the most satisfying blank canvases out there. Choose a decorative paper napkin with a pattern you love (floral, abstract, striped), separate just the top printed layer from the plain layers underneath, and brush Mod Podge over the tray surface. Lay the napkin layer down carefully, smooth out bubbles with your fingers, and apply another coat of Mod Podge on top. Add two to three sealing coats total, letting each one dry for ten minutes.
What makes it work: The key is separating the napkin layers. The top printed layer is thin enough to adhere without wrinkling; the thicker full napkin creates lumps. Use vintage-style botanical napkins for a high-end look. Add a coat of brush-on varnish at the end if you plan to actually use the tray.
Time: 45 to 60 minutes including drying between coats. Great for: Coffee table styling, gifting, entryway catch-all trays.
3. Simple Yarn Wall Hanging
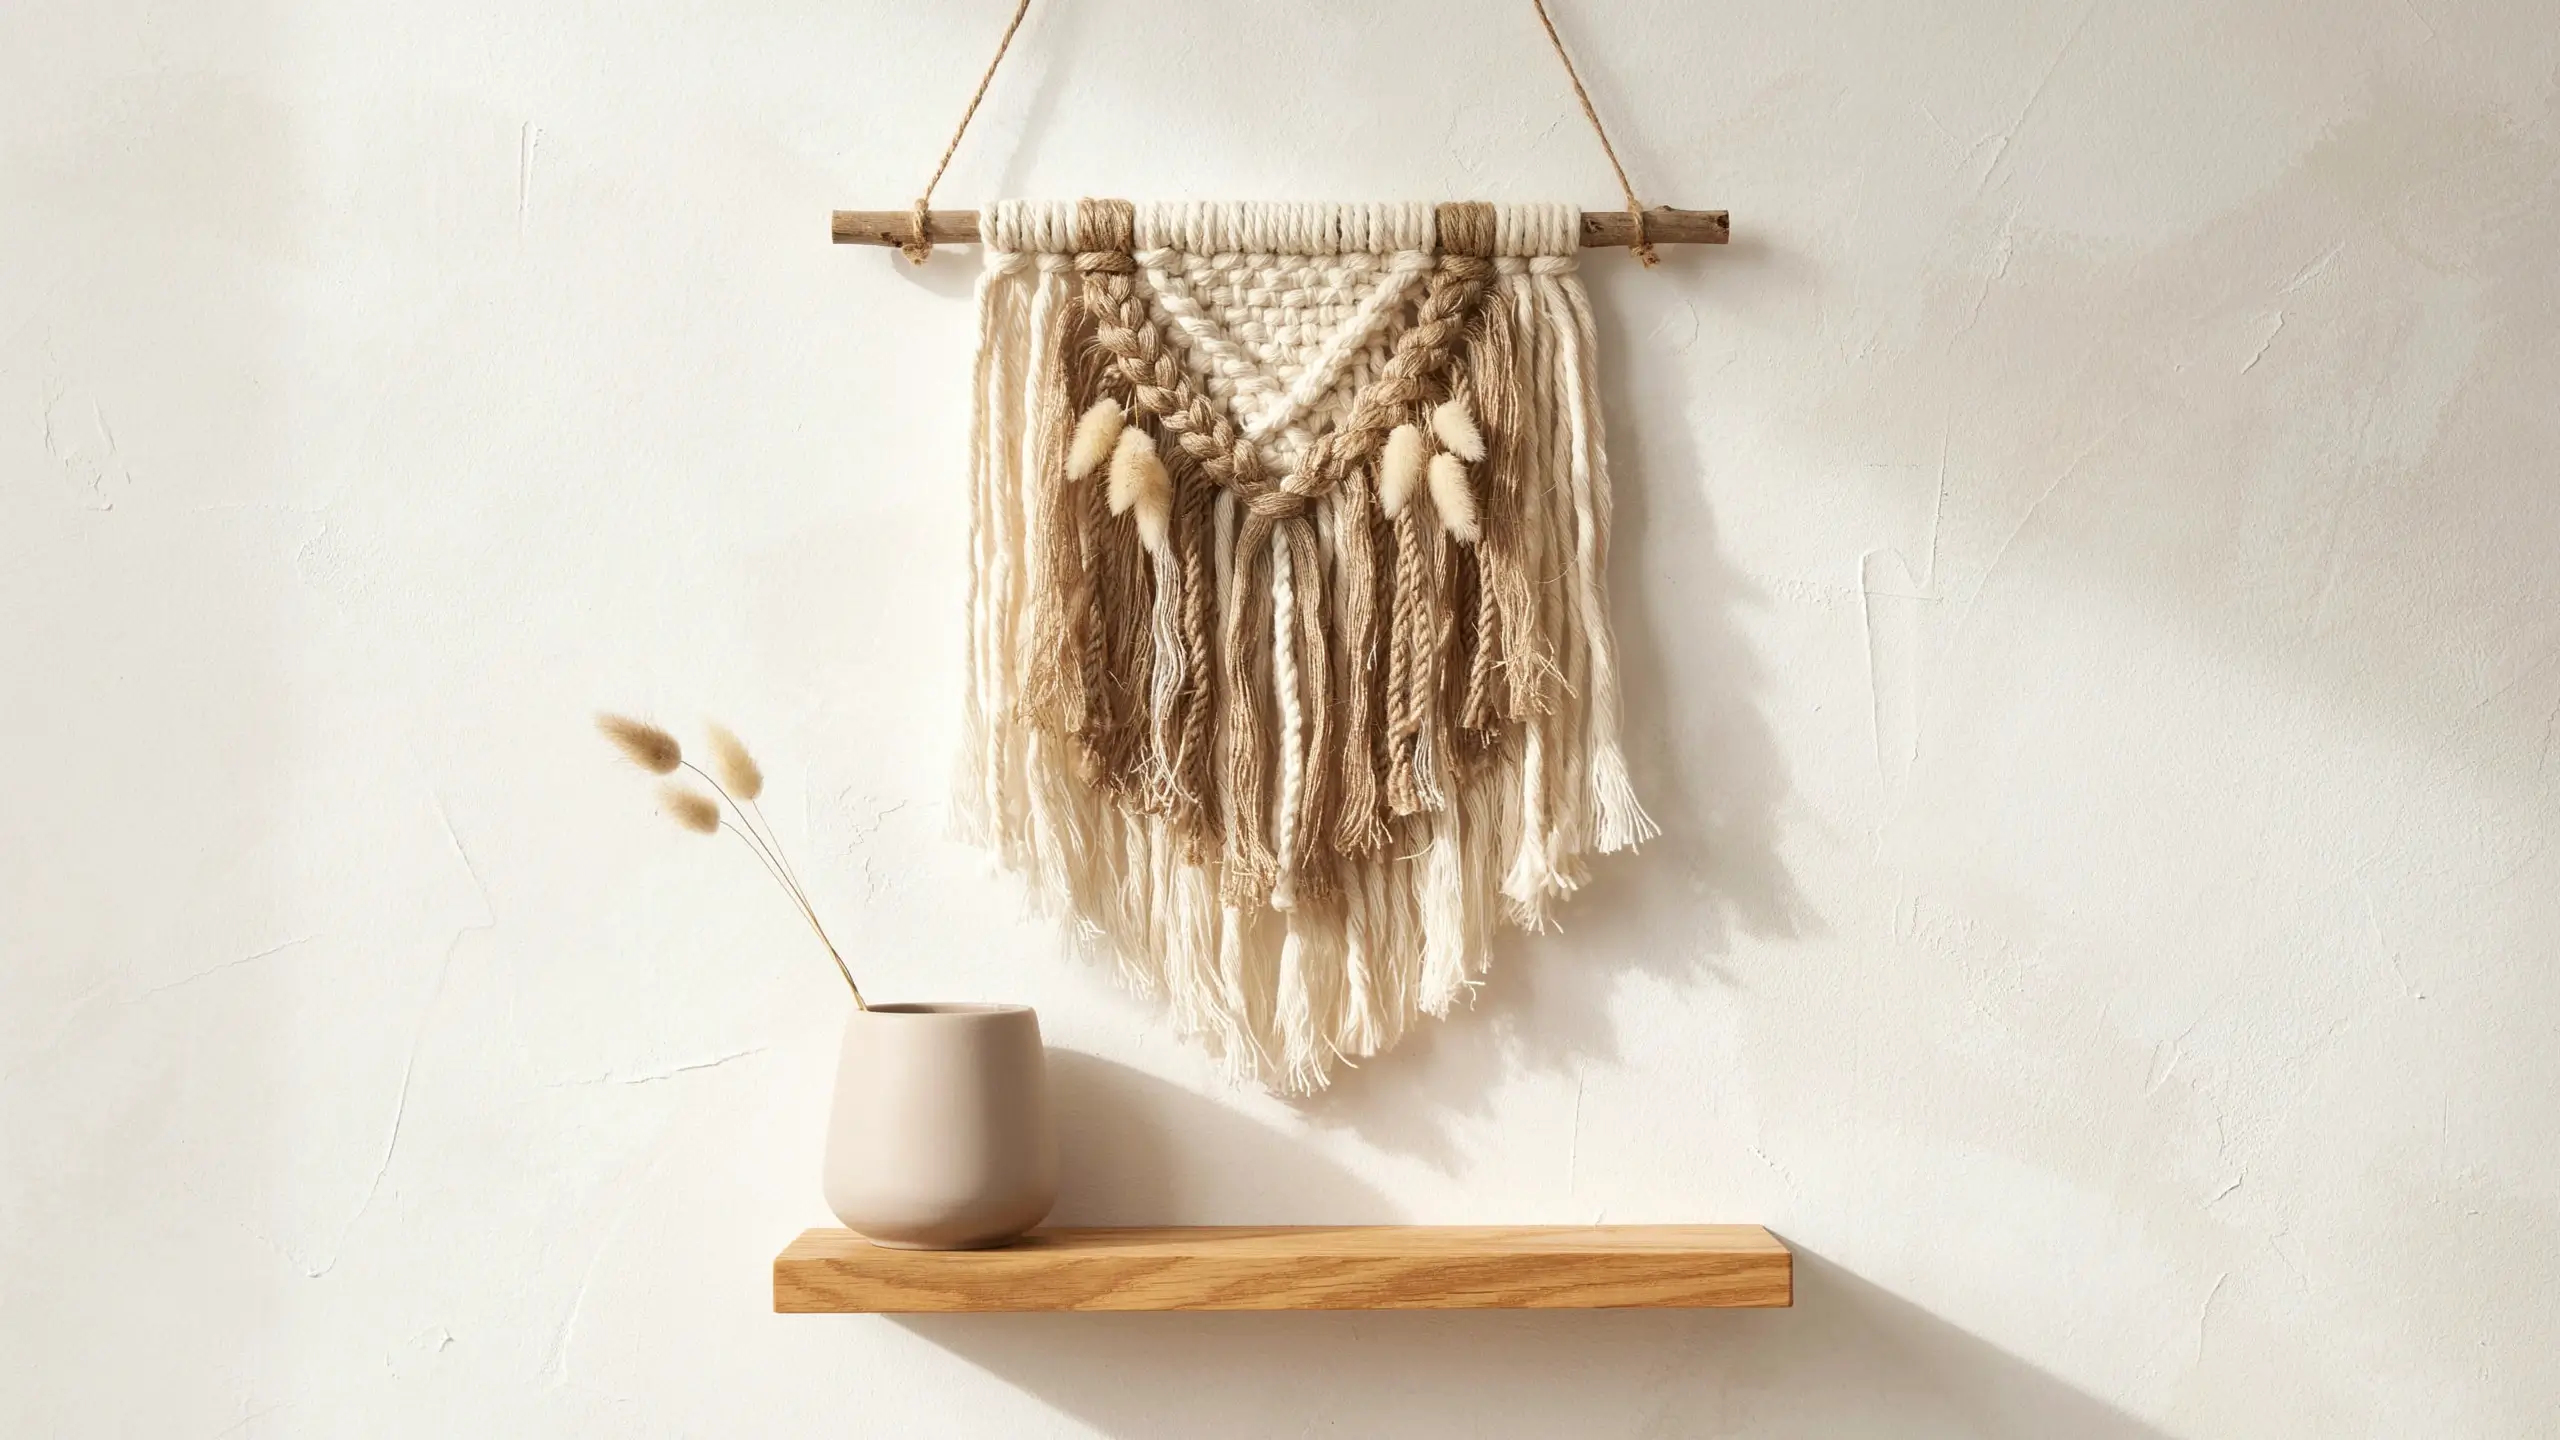
This is the most Pinterest-perfect craft on the list and it genuinely only requires a wooden dowel, a skein of chunky yarn, scissors, and about forty-five minutes. Cut yarn lengths to roughly double the finished size you want (for a twelve-inch hanging, cut twenty-four-inch pieces). Fold each piece in half over the dowel and pull the ends through the loop. Repeat across the dowel until it’s full. Then trim the bottom into a shape: straight edge, V-shape, or fringe.
What makes it work: Mixing two or three neutral tones of yarn (cream, oatmeal, caramel) looks more intentional than a single color. You can braid sections, add knots, or weave in dried pampas grass for a boho look. No weaving experience needed whatsoever.
Time: 45 to 55 minutes. Great for: Gallery walls, bedroom decor, above-headboard styling.
4. Air Dry Clay Trinket Dish
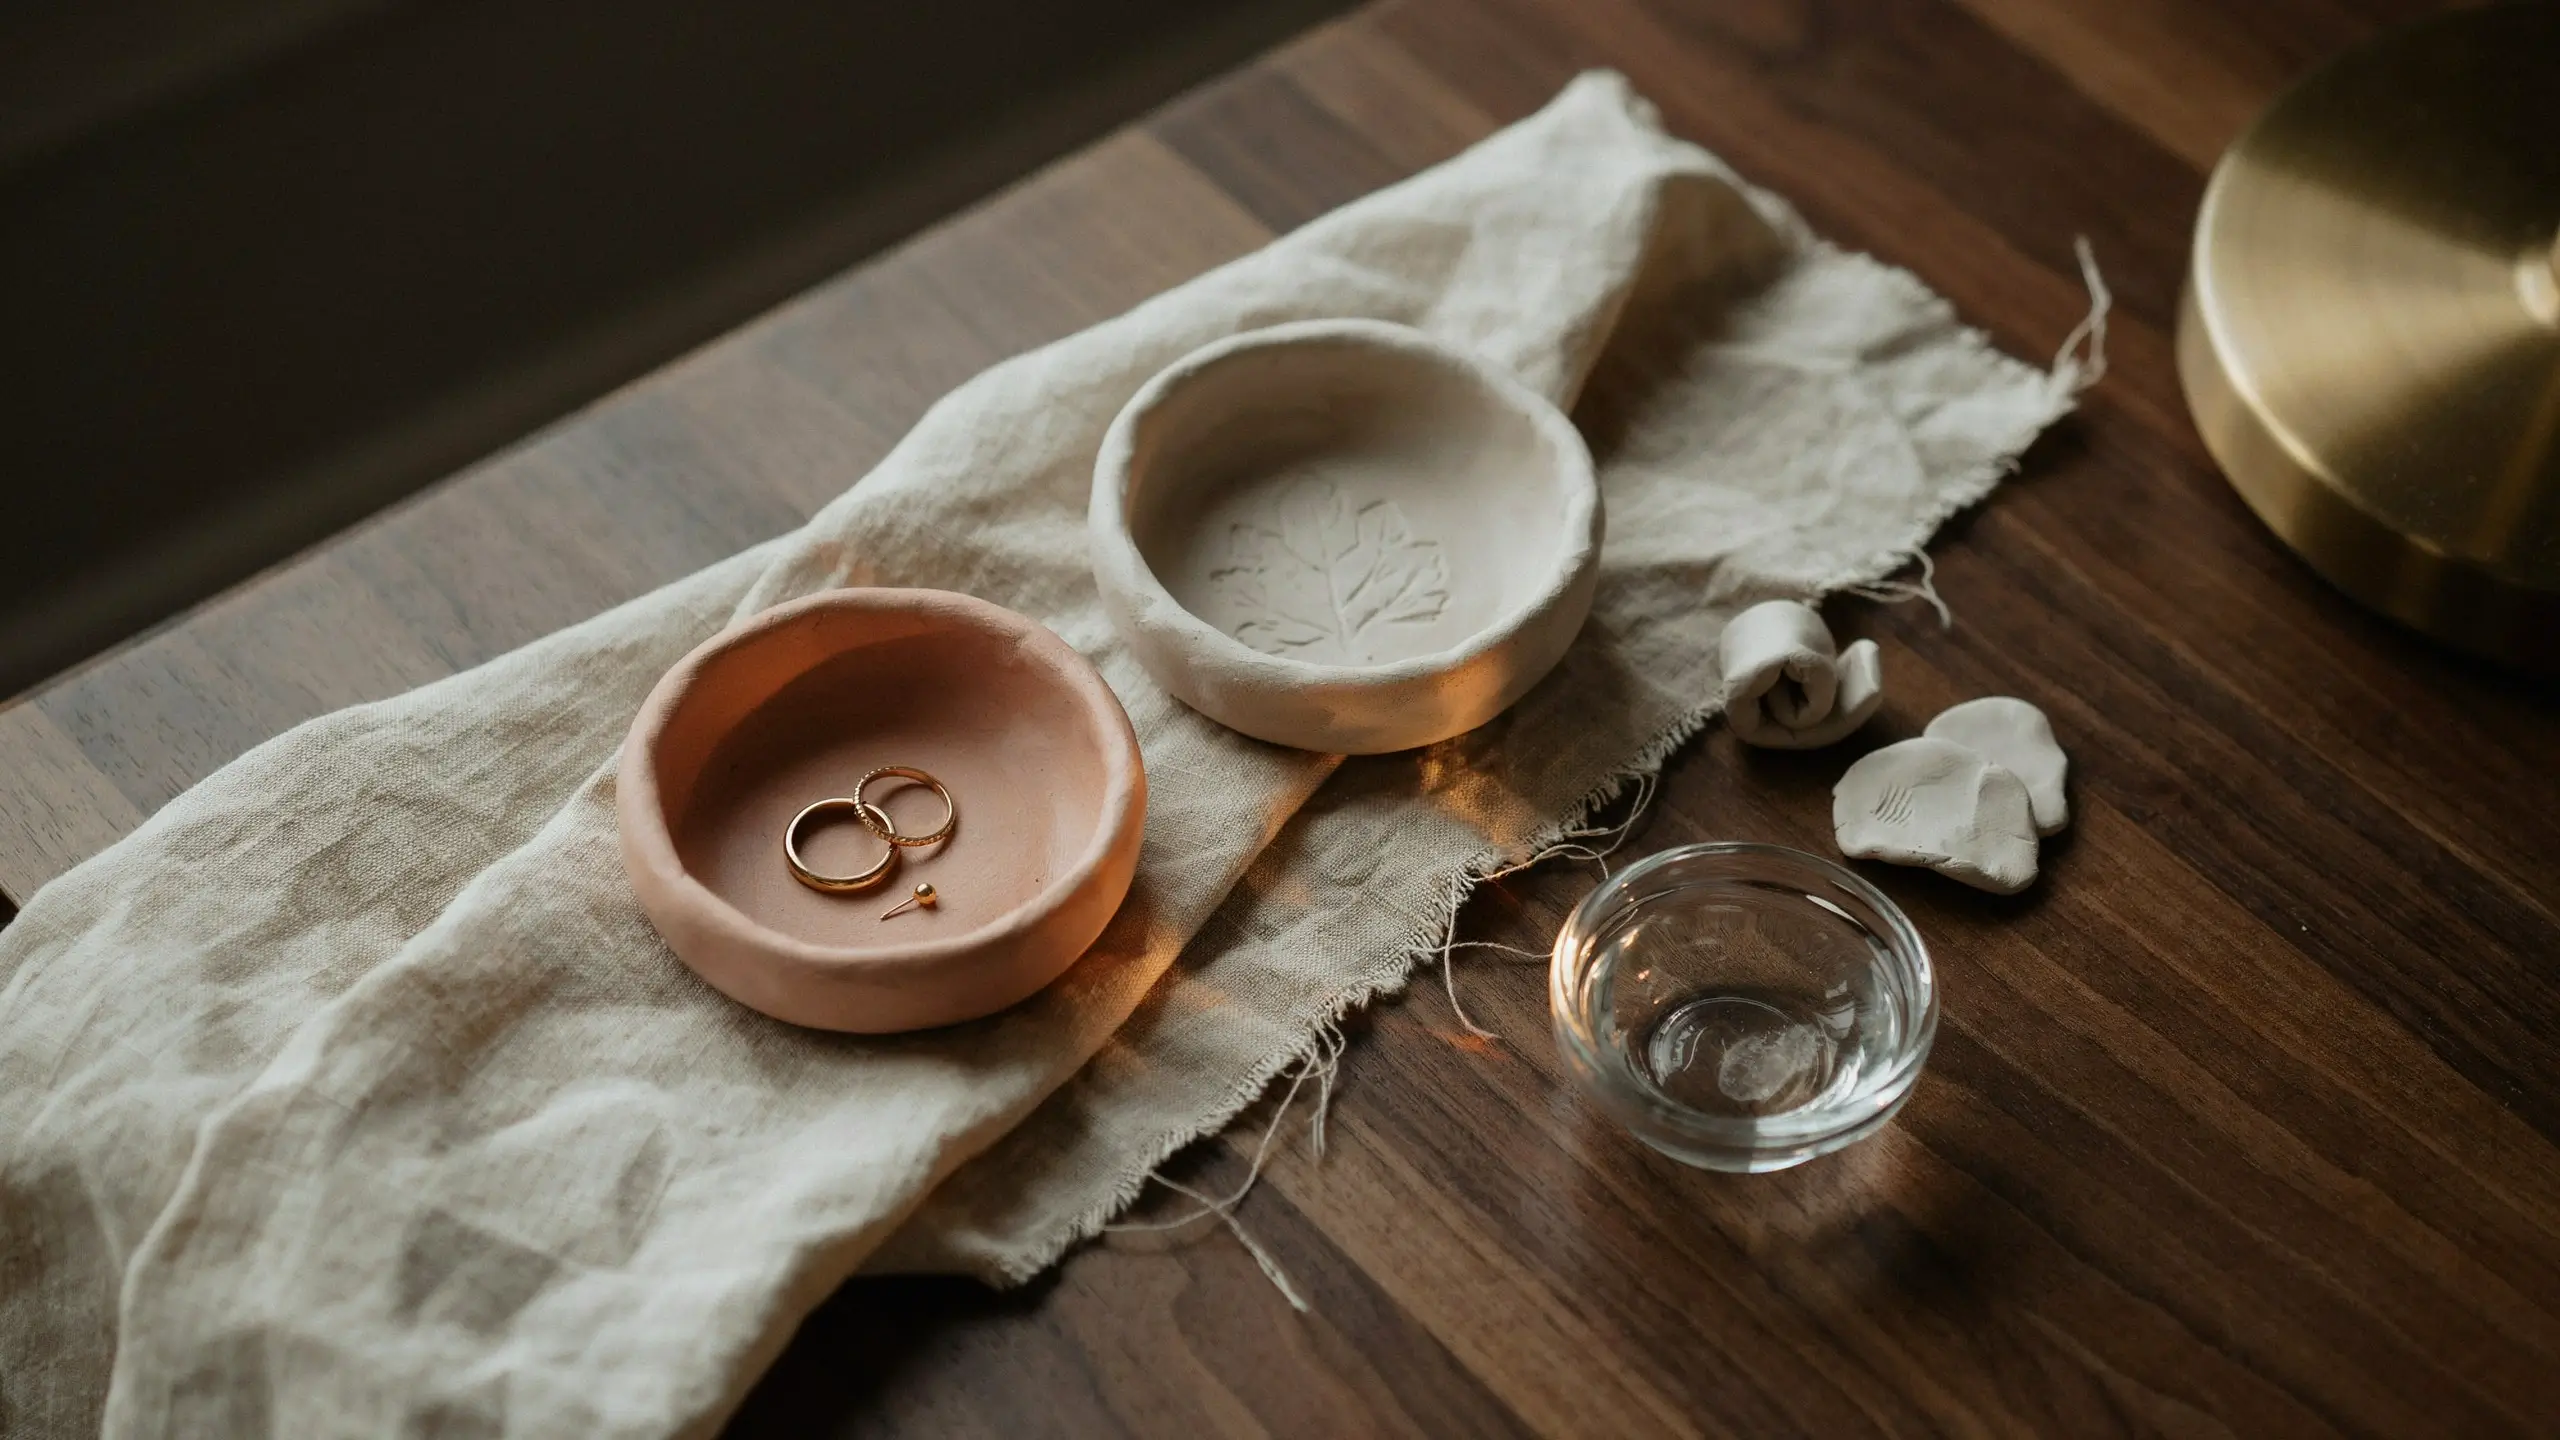
Few crafts are as meditative as working with air-dry clay, and a small pinch pot or trinket dish is the perfect beginner project. Take a golf ball-sized amount of air-dry clay, roll it smooth between your palms, and press your thumb into the center. Work the walls up slowly, rotating the piece as you go, until you have a small bowl shape. Smooth the rim with a damp finger. Press a small leaf or lace fabric piece into the inside before setting it to dry for a texture impression. Paint once fully dry (overnight), or leave it natural.
What makes it work: Keep the walls even, at least a quarter inch thick, so it doesn’t crack while drying. Place on a flat surface and don’t move it until the underside is set. A coat of clear nail polish or Mod Podge after painting seals and protects it nicely.
Time: 20 to 30 minutes to shape; painting the next day adds another fifteen. Great for: Jewelry storage, ring dishes, candle holders, gifting.
5. Geometric Painted Terracotta Pots
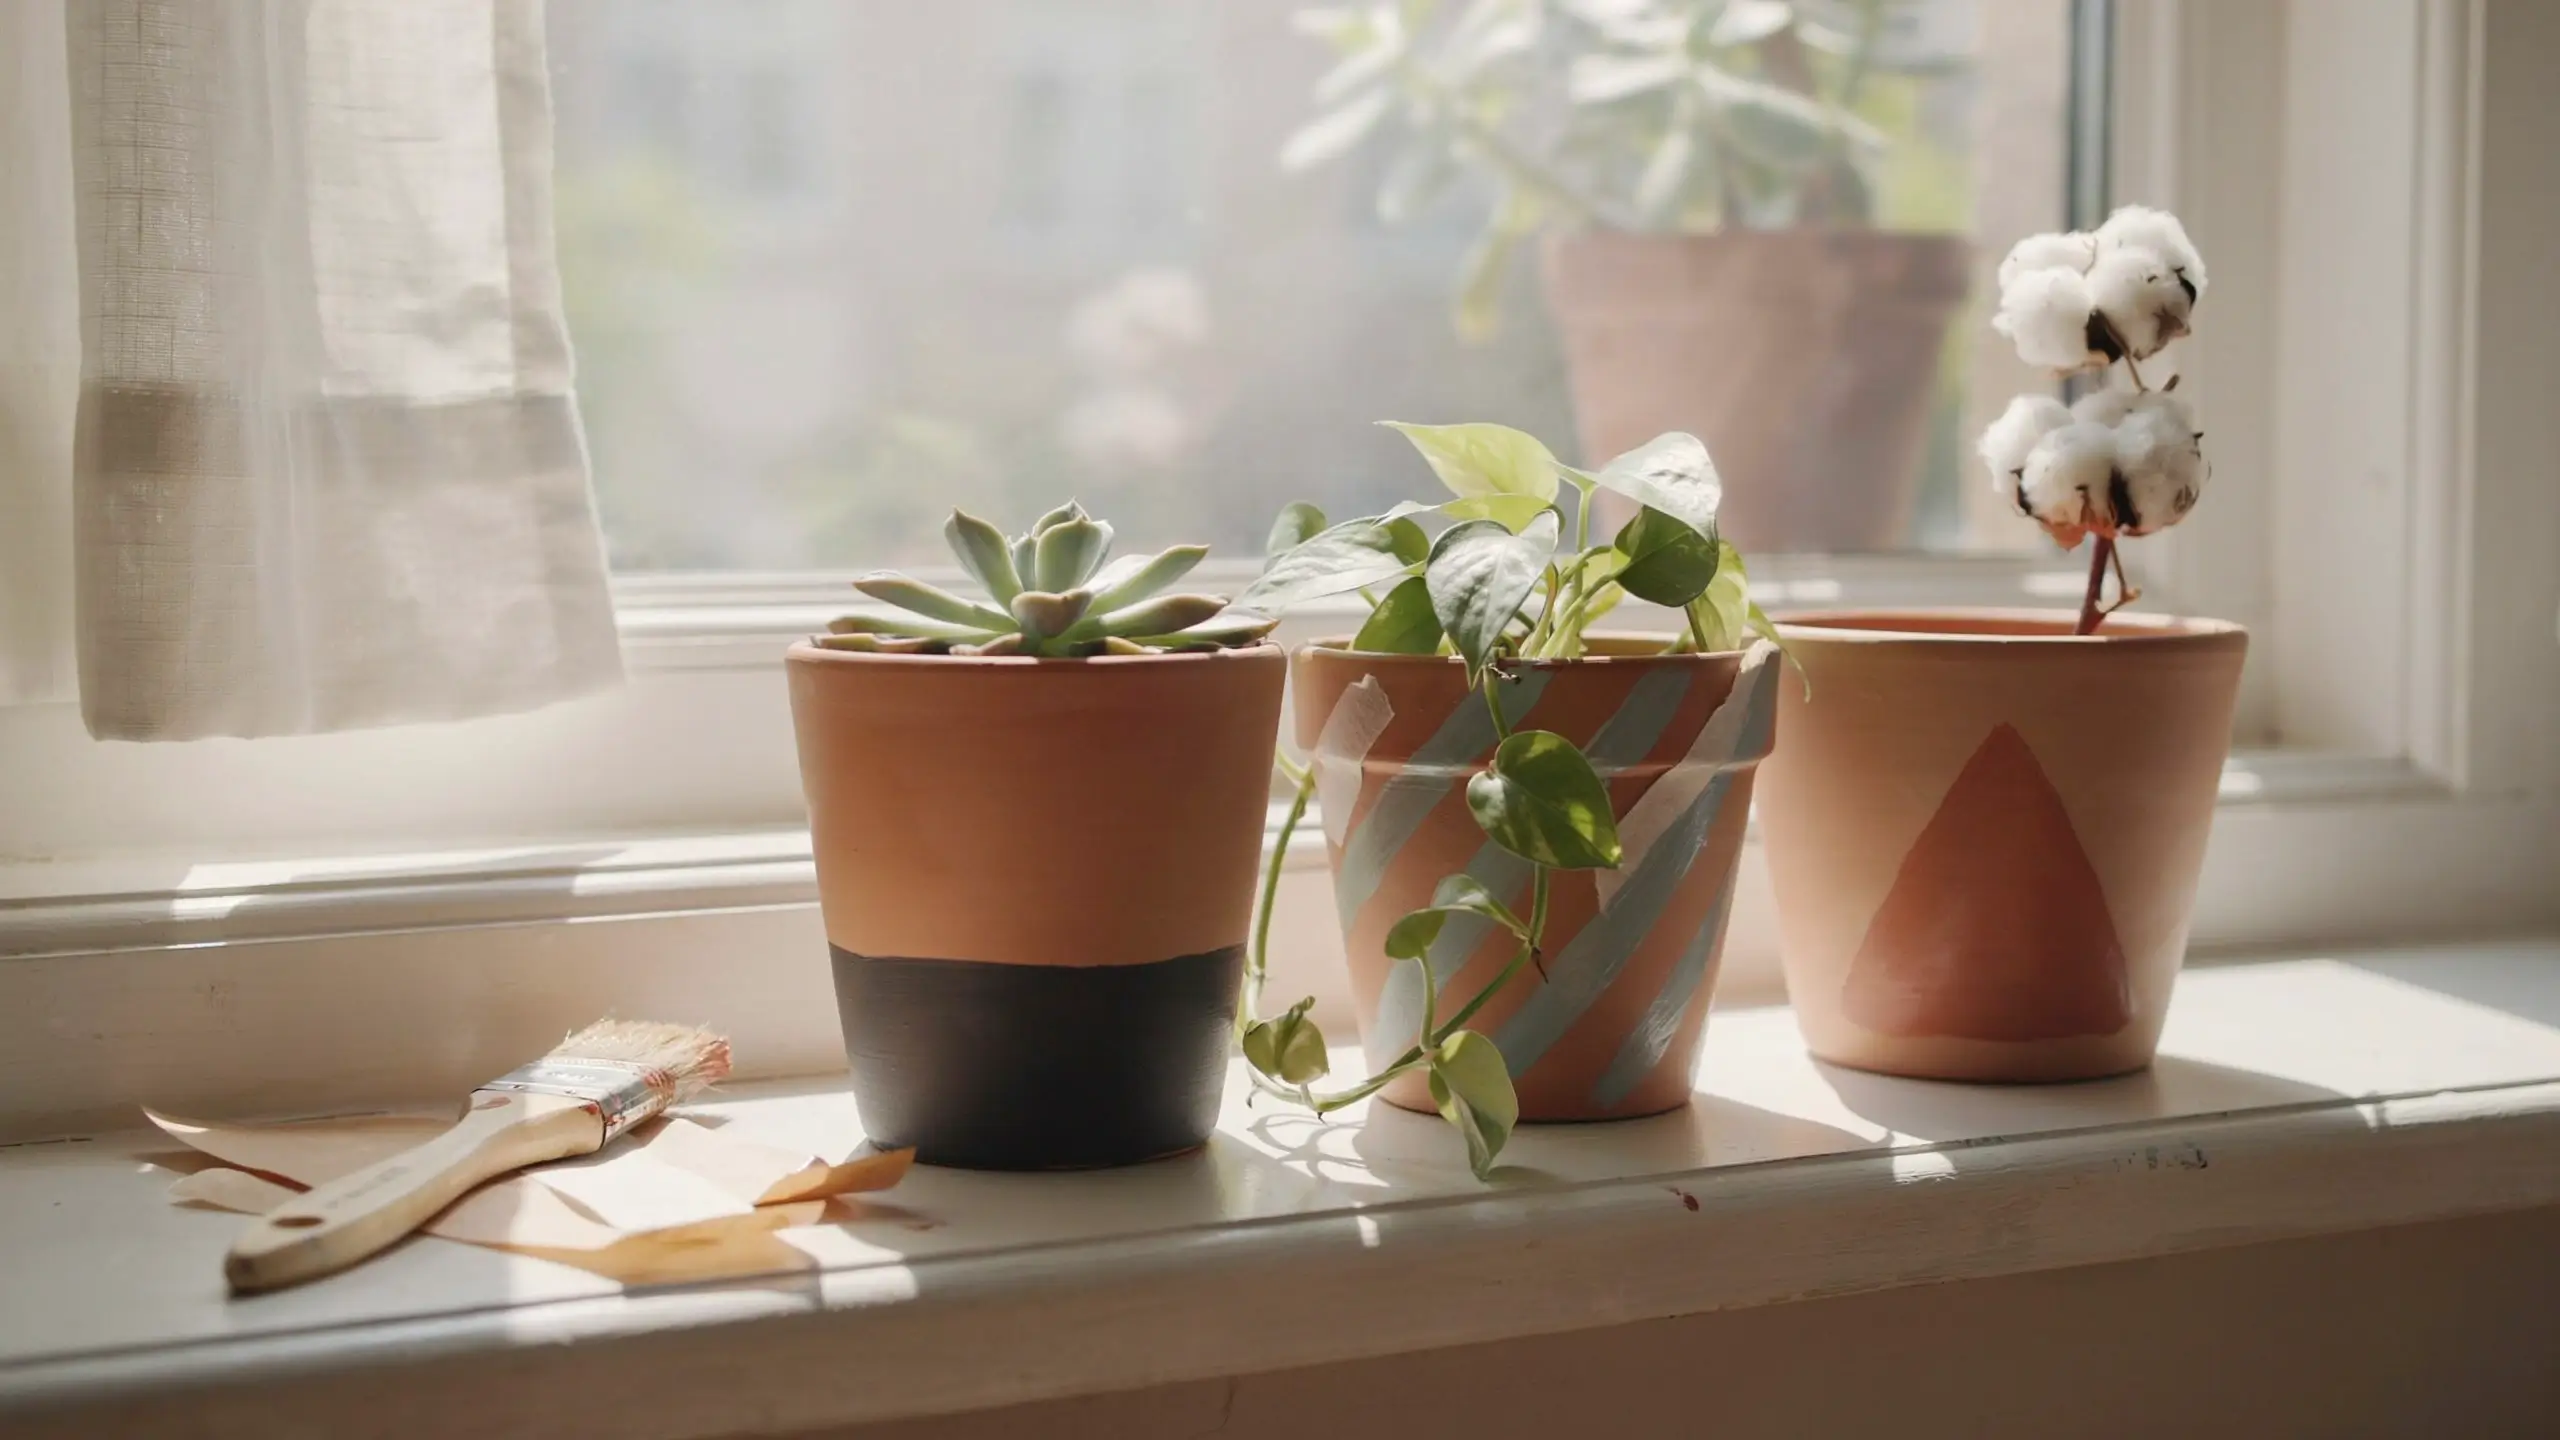
Plain terra cotta pots from the garden center or dollar store become genuinely stylish home accessories with just a bit of painter’s tape and acrylic paint. Tape off geometric sections of the pot (angled stripes, triangles, or a simple half-dip look), paint with two coats of your chosen color, and peel the tape while the second coat is still slightly wet for clean lines. The classic combination is matte black on the lower third with natural terra cotta showing above, but dusty sage, soft white, and earthy rust all look beautiful too.
What makes it work: Seal with a matte spray sealer if the pot will hold a real plant, so the paint holds up to watering. For indoor-only or faux plant pots, sealing is optional.
Time: 30 to 40 minutes. Great for: Plant styling, windowsill decor, gifting as part of a plant kit.
6. Stamped Linen Tea Towels
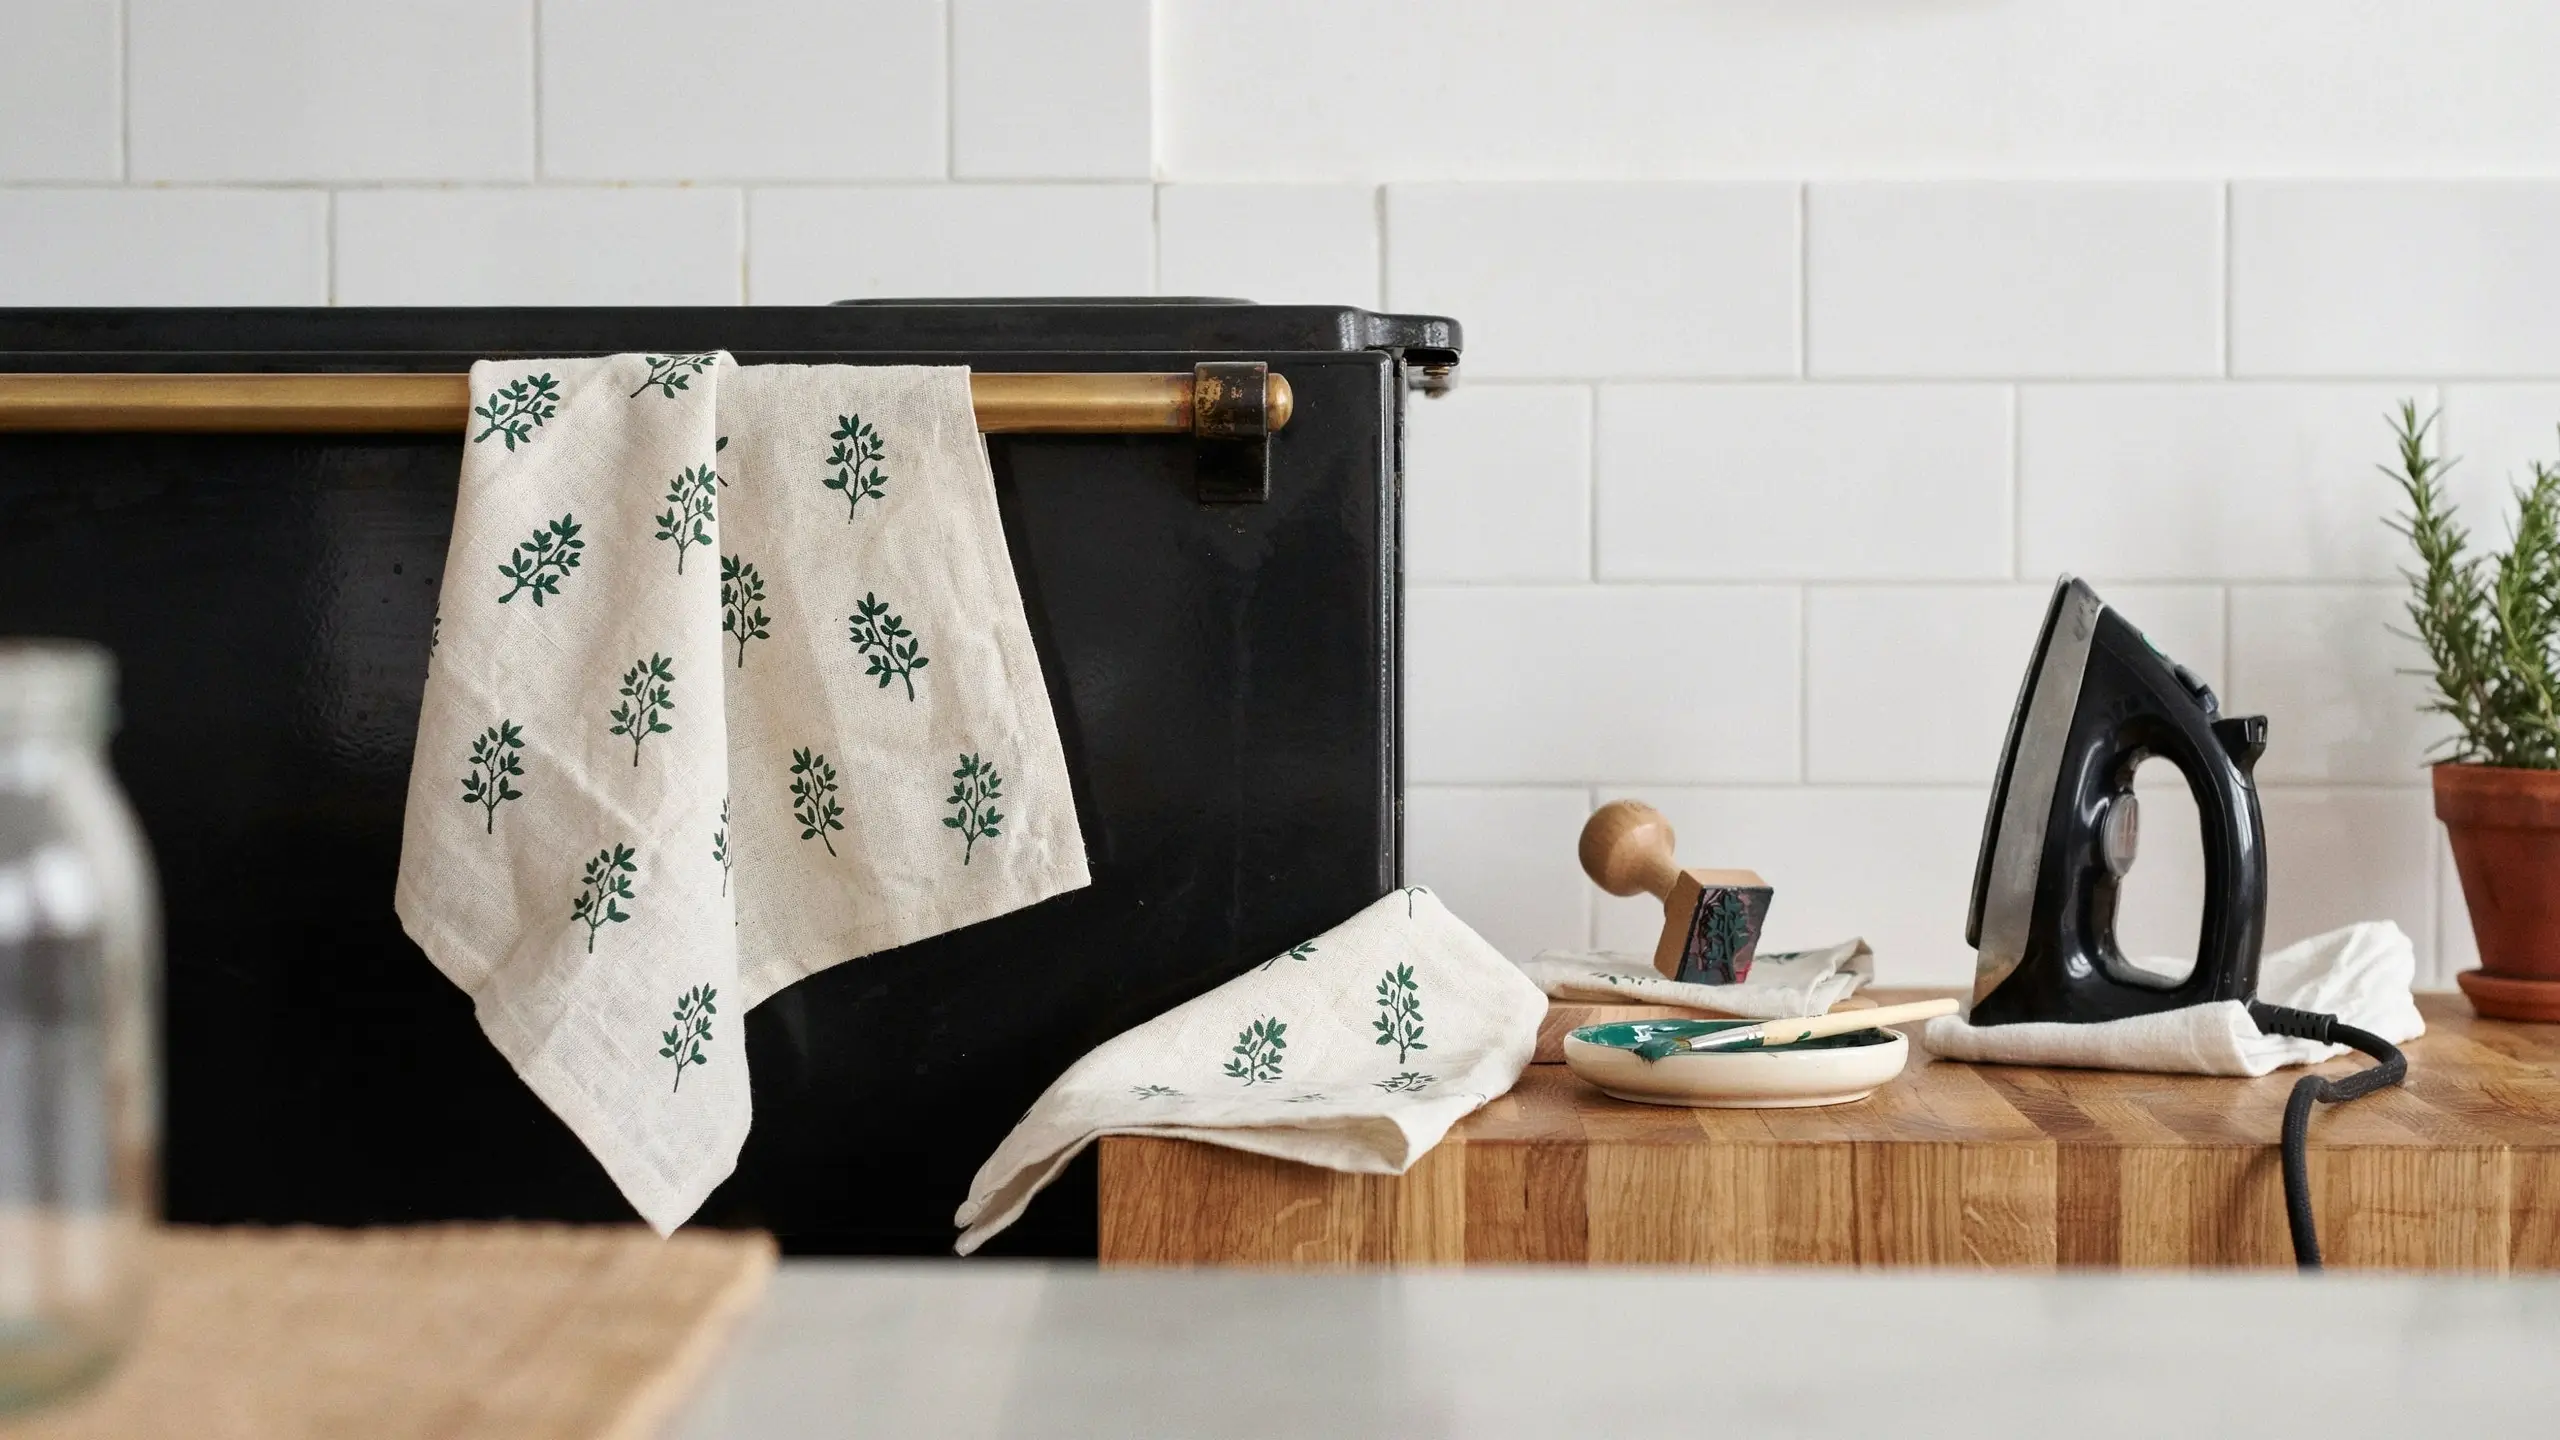
This one feels far fancier than it should be. Buy plain white or natural linen-cotton blend kitchen towels (IKEA’s Tekla dish cloths work perfectly and cost almost nothing). Lay flat on a protected surface, choose a rubber stamp in a shape you love, press firmly into fabric paint, and stamp a repeating pattern across the towel. Common choices: small botanical sprigs, lemon slices, geometric shapes, or a single bold word.
What makes it work: Fabric paint, not regular acrylic, is essential here. Regular acrylic cracks after washing. Press the stamp straight down without rocking it for a clean impression. Heat-set with an iron on the back of the cloth after the paint dries (usually thirty minutes) to make it washable.
Time: 40 minutes including drying and heat-setting. Great for: Gifting, hostess gifts, kitchen styling, selling at craft fairs.
7. Alcohol Ink Pour Cards and Art Panels
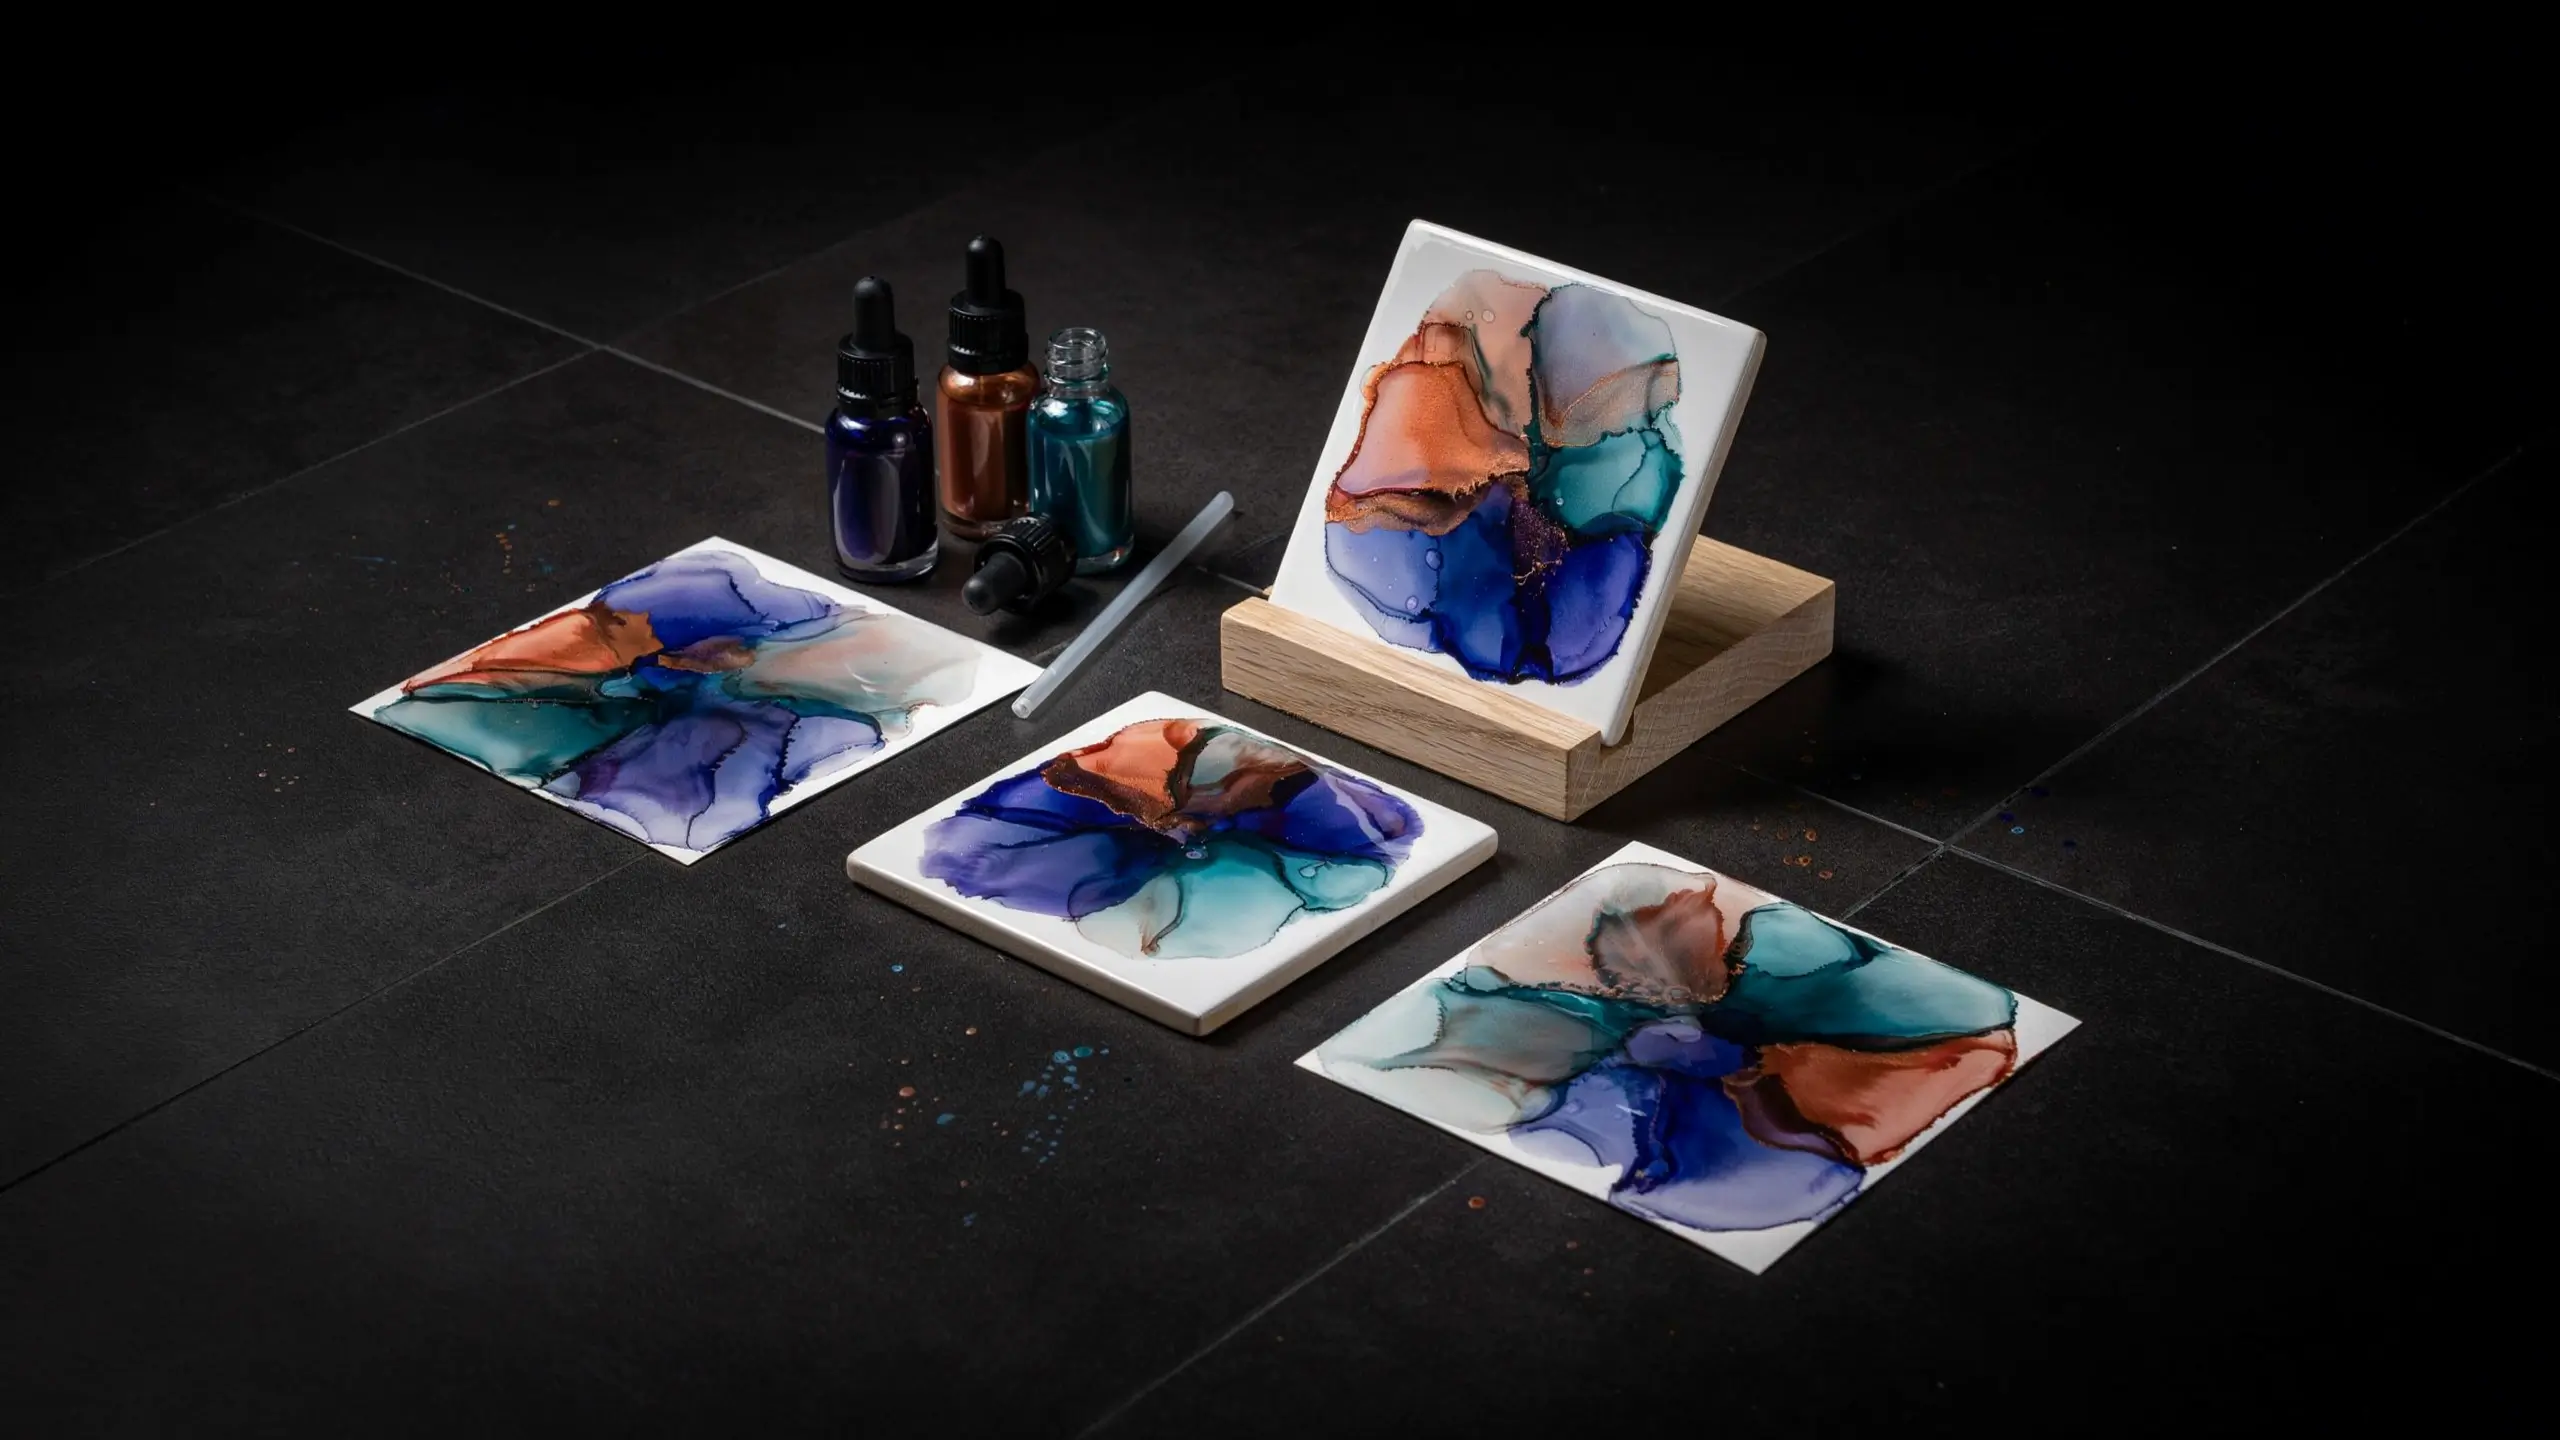
Alcohol ink on yupo paper or ceramic tiles is pure joy. The inks move on their own, blend in wild, painterly ways, and create results that honestly look like something from a gallery wall. Drip two or three ink colors (try indigo, copper, and white) onto a small tile or piece of yupo paper, tilt to let them merge, and use a straw to blow gently and push the inks into organic shapes. Add a few drops of rubbing alcohol to create bursting, cellular patterns.
What makes it work: Work on a flat surface first to let the colors pool, then tilt for movement. The white ink (or white wash alcohol ink fluid) creates contrast and helps colors pop. Frame finished pieces on yupo paper, or display tiles in a small wooden stand.
Time: 25 to 35 minutes. Great for: Wall art, coasters (seal with resin), greeting cards.
8. Mini Macramé Plant Hanger
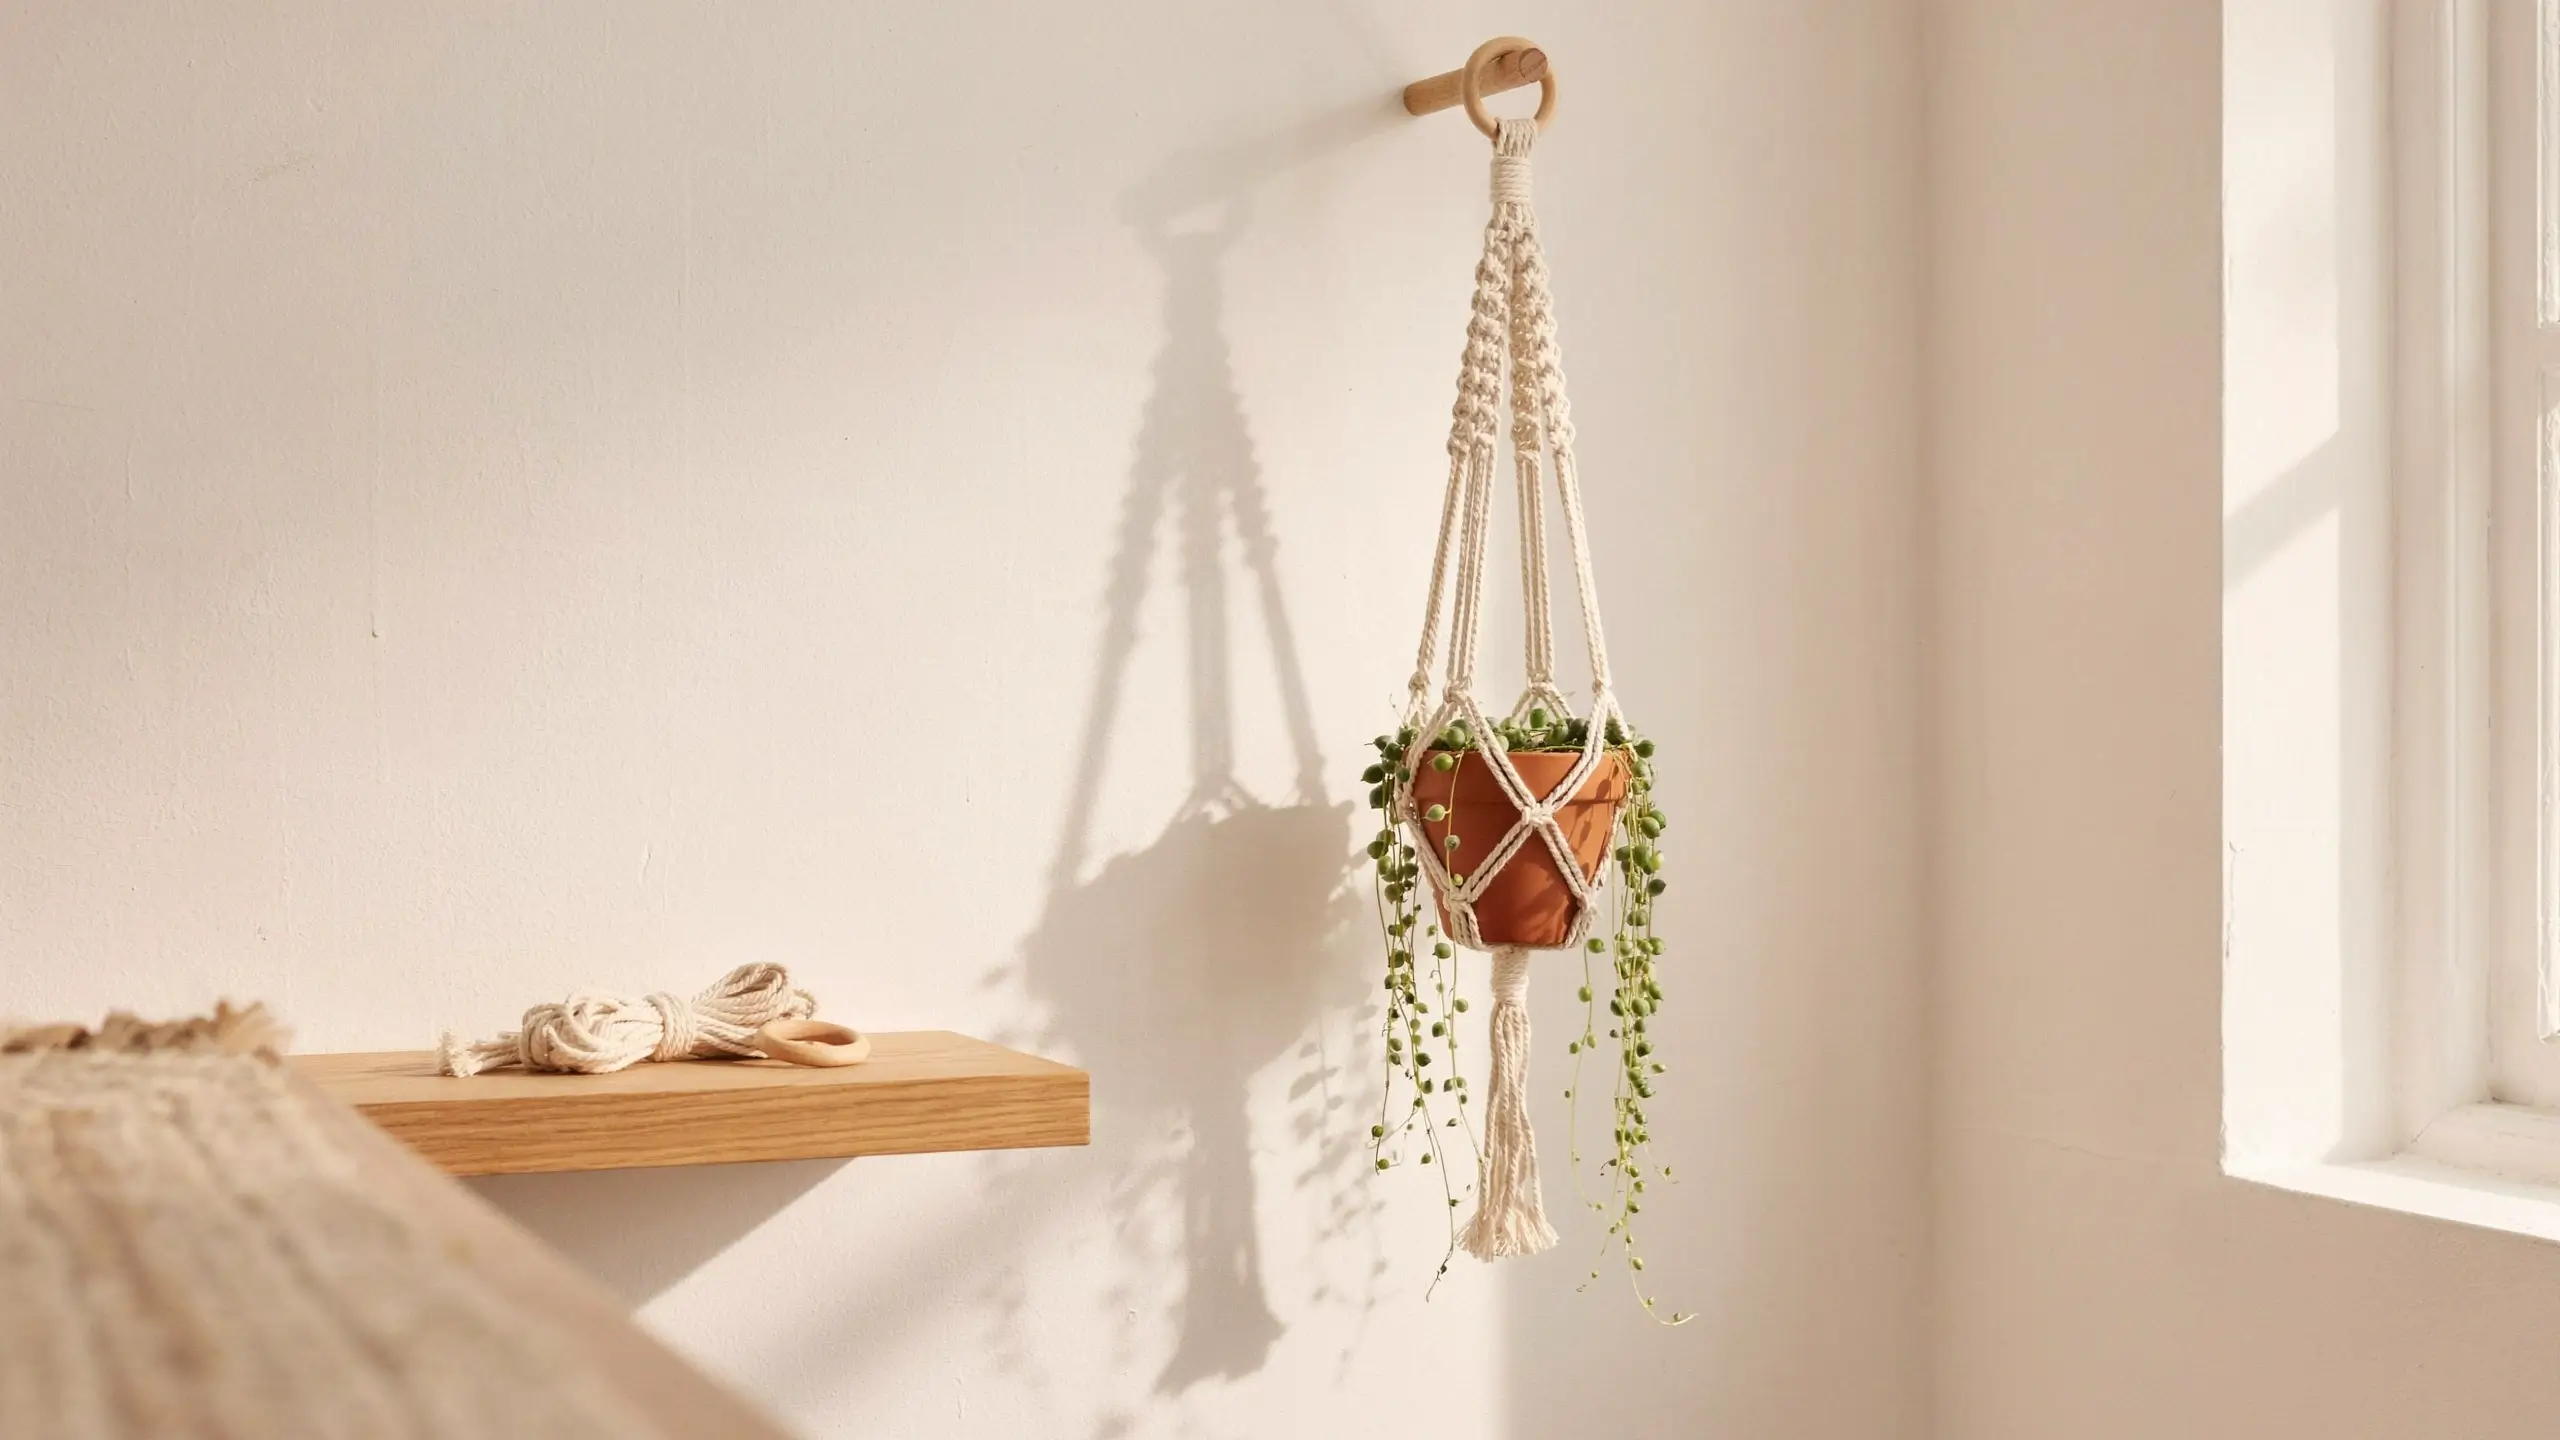
The basic version of this classic craft is genuinely beginner-accessible and takes under an hour. You need macramé cord (3mm or 5mm works well for beginners), a wooden ring or metal ring as a hanging point, and scissors. Cut eight lengths of cord, each about five feet long. Fold in half and attach to your ring using lark’s head knots. Work square knots in pairs down the cords, then bring sections together to create the cradle where your pot sits. Gather all cords below and tie a finishing knot.
What makes it work: Natural cotton rope is easiest to work with; synthetic cords can be slippery. Practice one square knot before starting so the motion feels natural. Small four-inch terra cotta pots or air plants sit perfectly in a mini hanger.
Time: 45 to 60 minutes. Great for: Indoor plant styling, bedroom corners, gifting to plant parents.
9. Seed Bead or Chunky Bead Bracelet
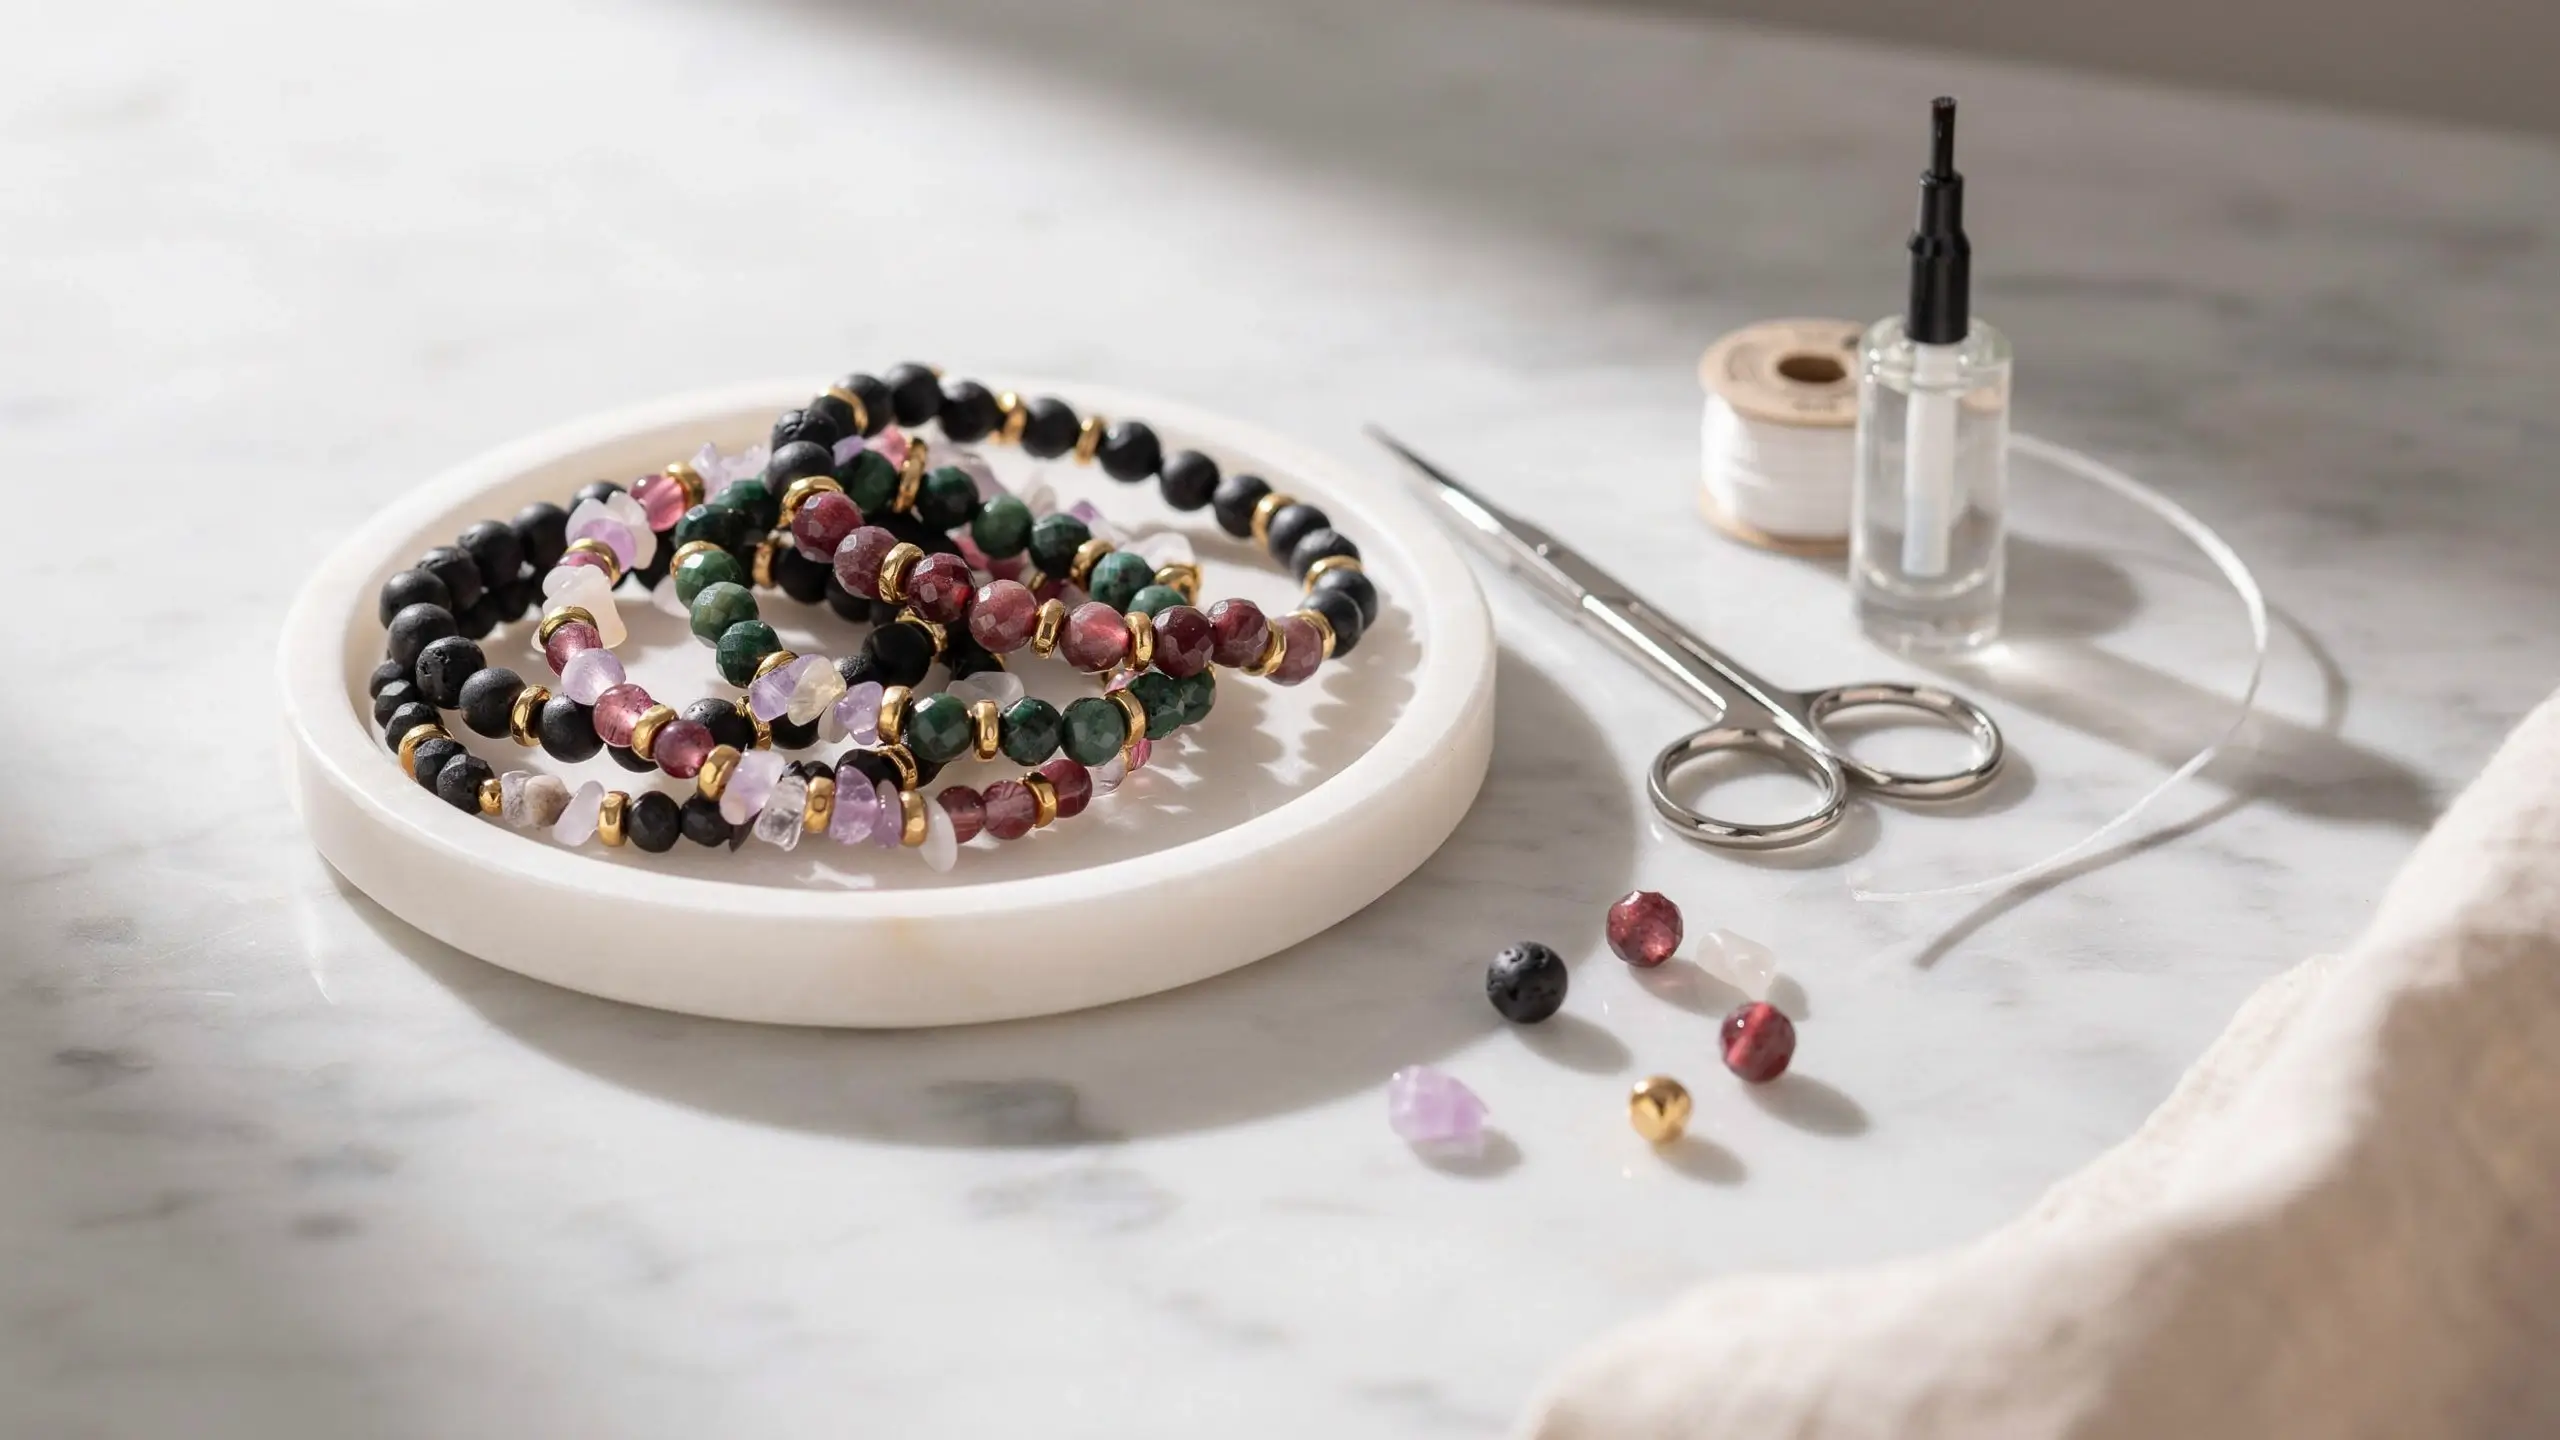
Adult bead jewelry has had a serious moment, and the current aesthetic is far from the plastic bead bracelets of childhood. Think Czech glass beads, matte black or gold spacers, semi-precious chips, and natural stone roundels strung on elastic cord. Measure your wrist, add an inch, and cut your elastic. String beads in a pattern you like, tie a surgeon’s knot, and tuck the knot into an adjacent bead with a dab of clear nail polish to secure.
What makes it work: Stack three to five bracelets for the look everyone is currently obsessed with. Mixing textures (matte with glossy, metal with stone) looks more intentional than matching the same bead throughout. Stretch magic cord holds better than most alternatives.
Time: 20 to 35 minutes per bracelet. Great for: Personal wear, layering gifts, craft night groups.
10. Wax Seal Stationery Set
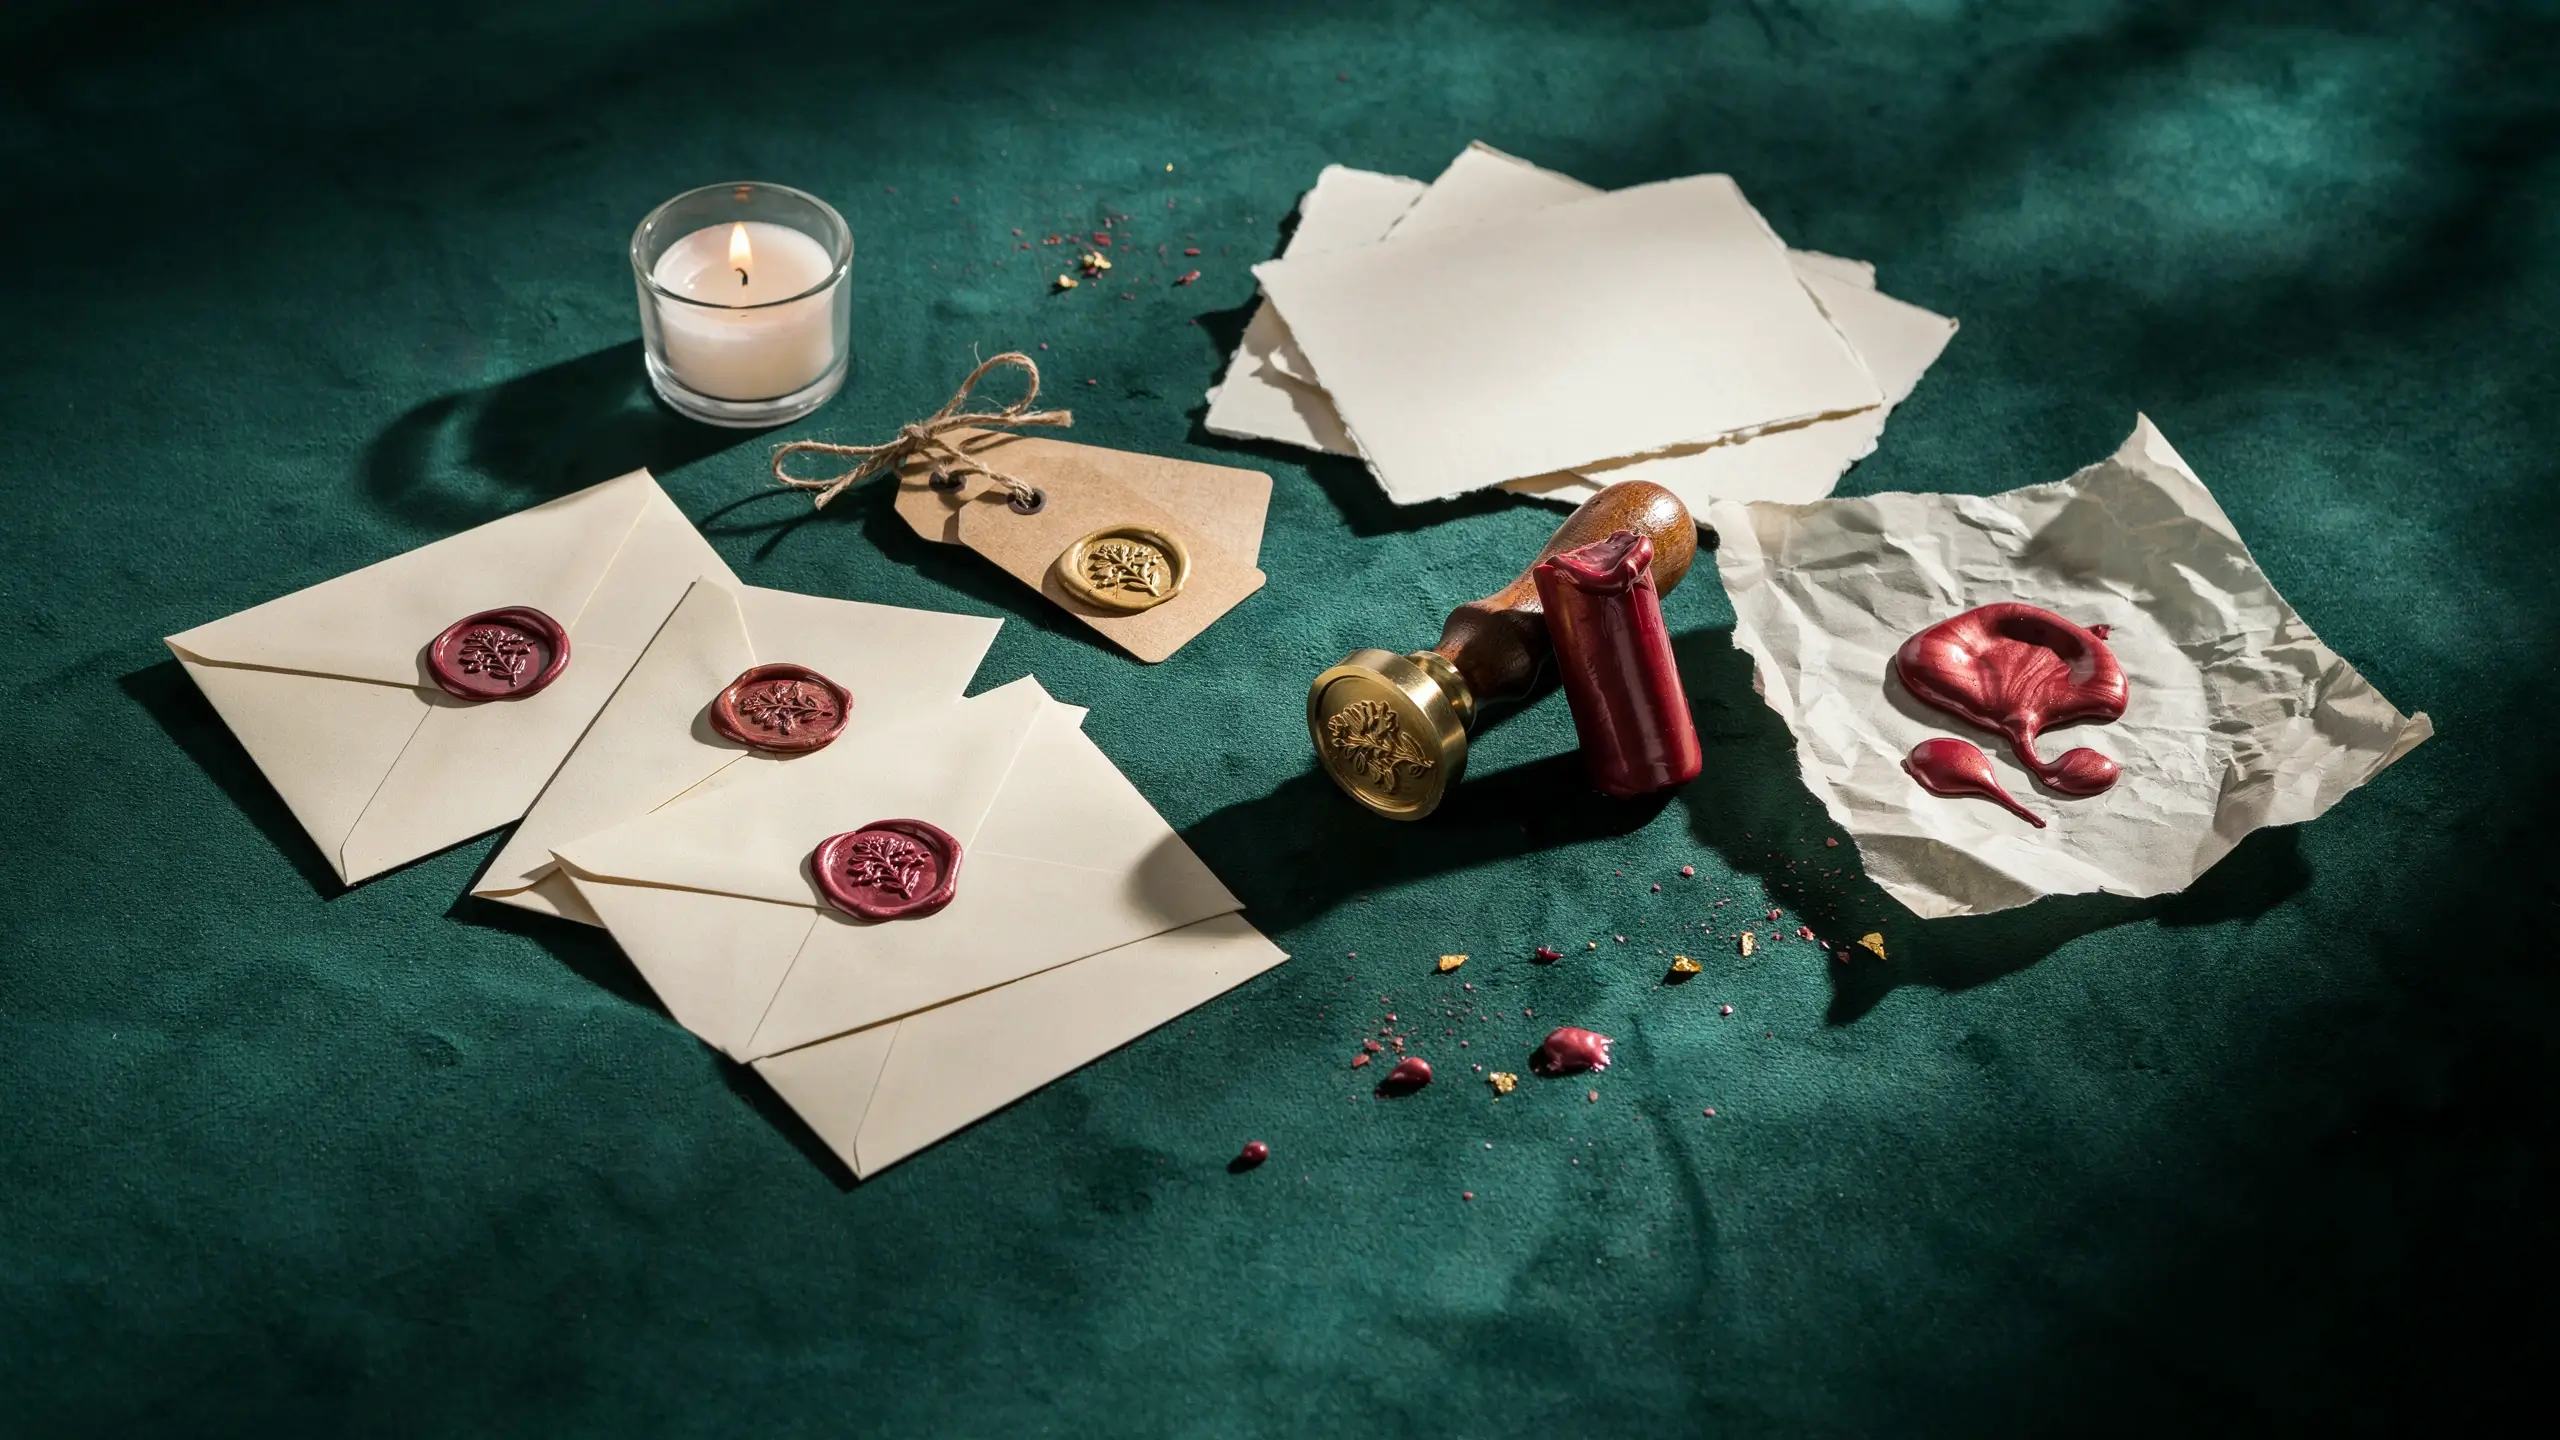
Wax seal kits have come down dramatically in price and learning to use one takes about five minutes. Melt the wax stick into a small pool on kraft card stock, cardstock envelopes, or gift tags, and press your chosen stamp into the wax quickly. Lift straight up. The impression sets in about thirty seconds.
Spend an hour making a full set: gift tags, notecards, envelope seals, and bookmark strips. Use one stamp with different colored wax for a cohesive look, or vary the stamps for a mismatched charm.
What makes it work: Press the stamp firmly and hold it still for three full seconds before lifting. A slightly cool stamp creates cleaner impressions than a warm one, so dip it in a cup of cold water between uses. Wax seal kits from Etsy shops are often better quality than mass-market ones.
Time: 45 to 60 minutes for a full set. Great for: Gift wrapping supplies, stationery gifts, wedding favors.
11. No-Sew Knotted Throw Pillow Cover
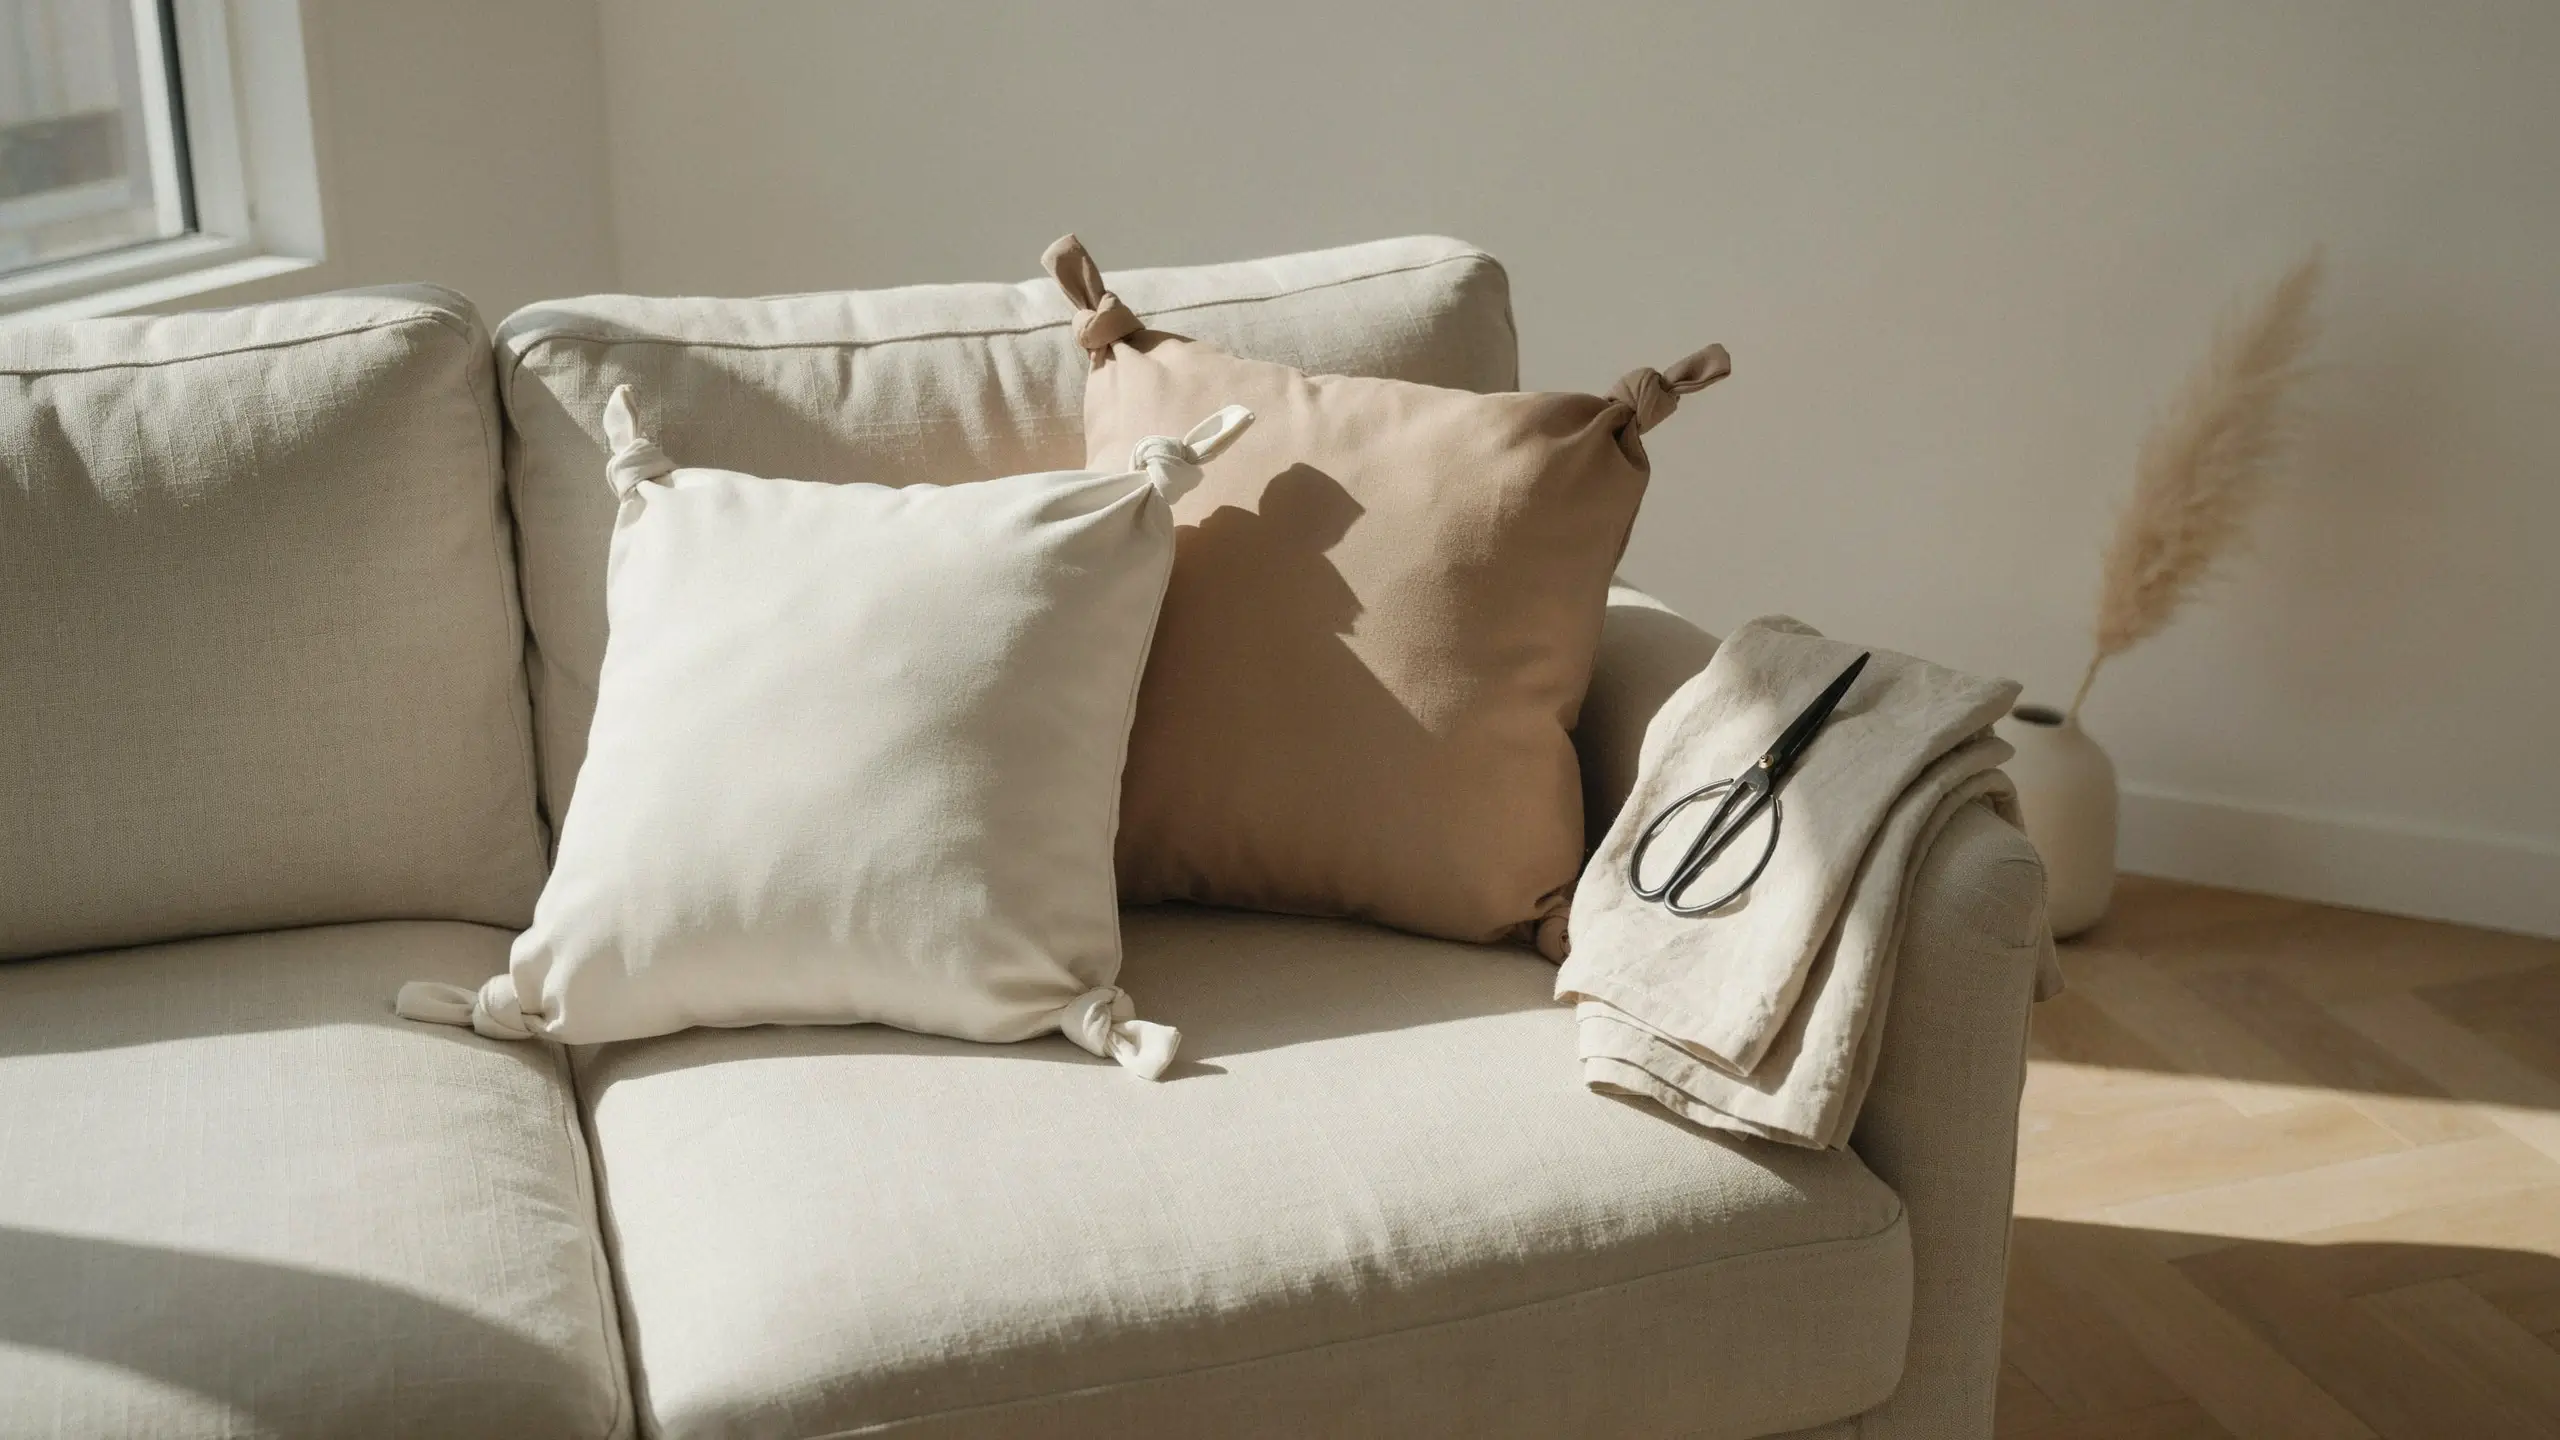
If you’ve ever seen those knotted corner pillows all over Instagram and thought they required a sewing machine, good news. You need one piece of fabric (jersey fabric works best because it doesn’t fray), cut to twice the size of your pillow insert plus about eight extra inches on each side. Lay the fabric flat, place your insert in the center, and tie opposite corners together in a simple double knot. Adjust the gathers so they sit evenly, and you have a genuinely pretty pillow cover in about fifteen minutes.
What makes it work: Jersey fabric, a linen-cotton blend, or even a cotton t-shirt material works best. Avoid anything too stiff, which won’t gather attractively. Neutral tones like ivory, clay, oatmeal, or sage green all look beautiful.
Time: 10 to 20 minutes. Great for: Bedroom refresh, living room update, budget decorating.
12. Pressed Flower Framed Art
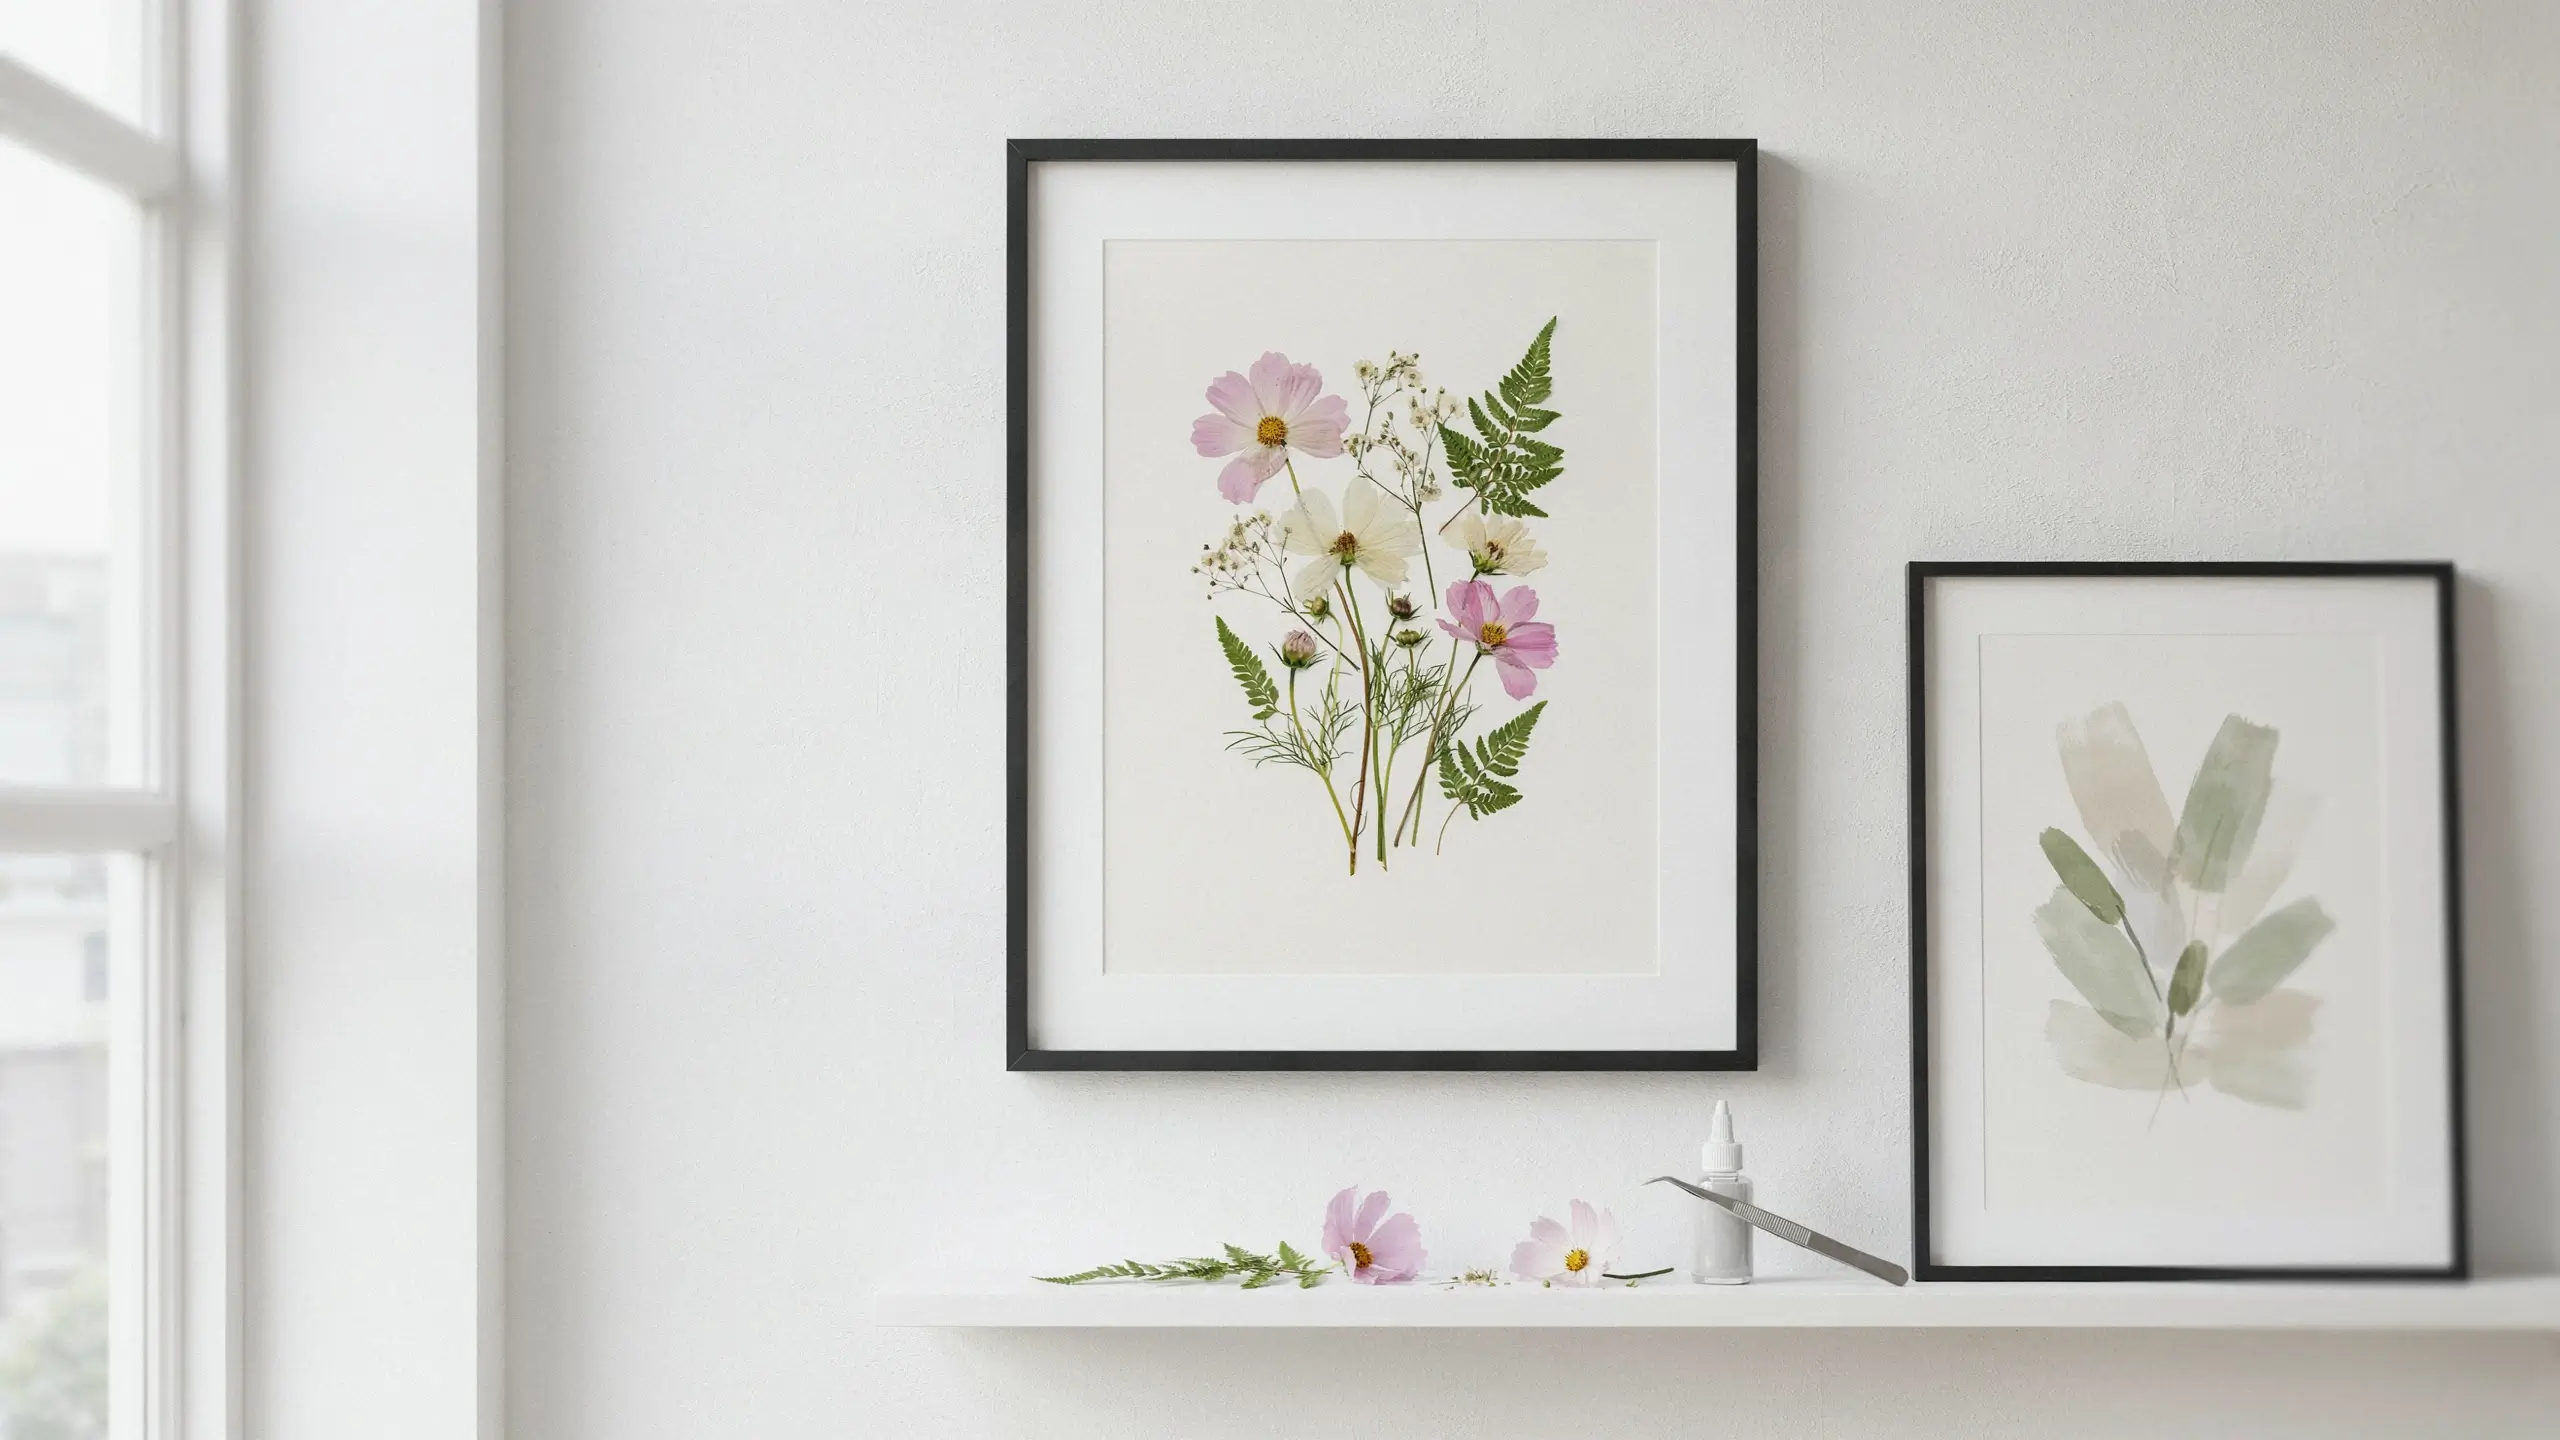
If you have flowers you pressed a few weeks ago (or even store-bought dried flowers), framing them into art takes almost no time. Arrange pressed blooms, fern fronds, and leaves on watercolor paper or heavyweight cream cardstock, experiment with layouts before committing, then adhere with a tiny dot of craft glue or PVA. Let dry flat, then place into a simple frame. A thin black or white frame lets the botanicals speak for themselves.
What makes it work: Mix scales. Pair a large statement bloom (like a pressed cosmos or flat pansy) with tiny buds and trailing stems. Leave generous white space around the arrangement; it makes the whole thing look more intentional. Ready-made dried flower packs from craft stores work beautifully if you don’t have anything pre-pressed.
Time: 30 to 45 minutes. Great for: Gallery walls, gifting, nursery decor, bedroom art.
13. Mod Podge Photo Coasters
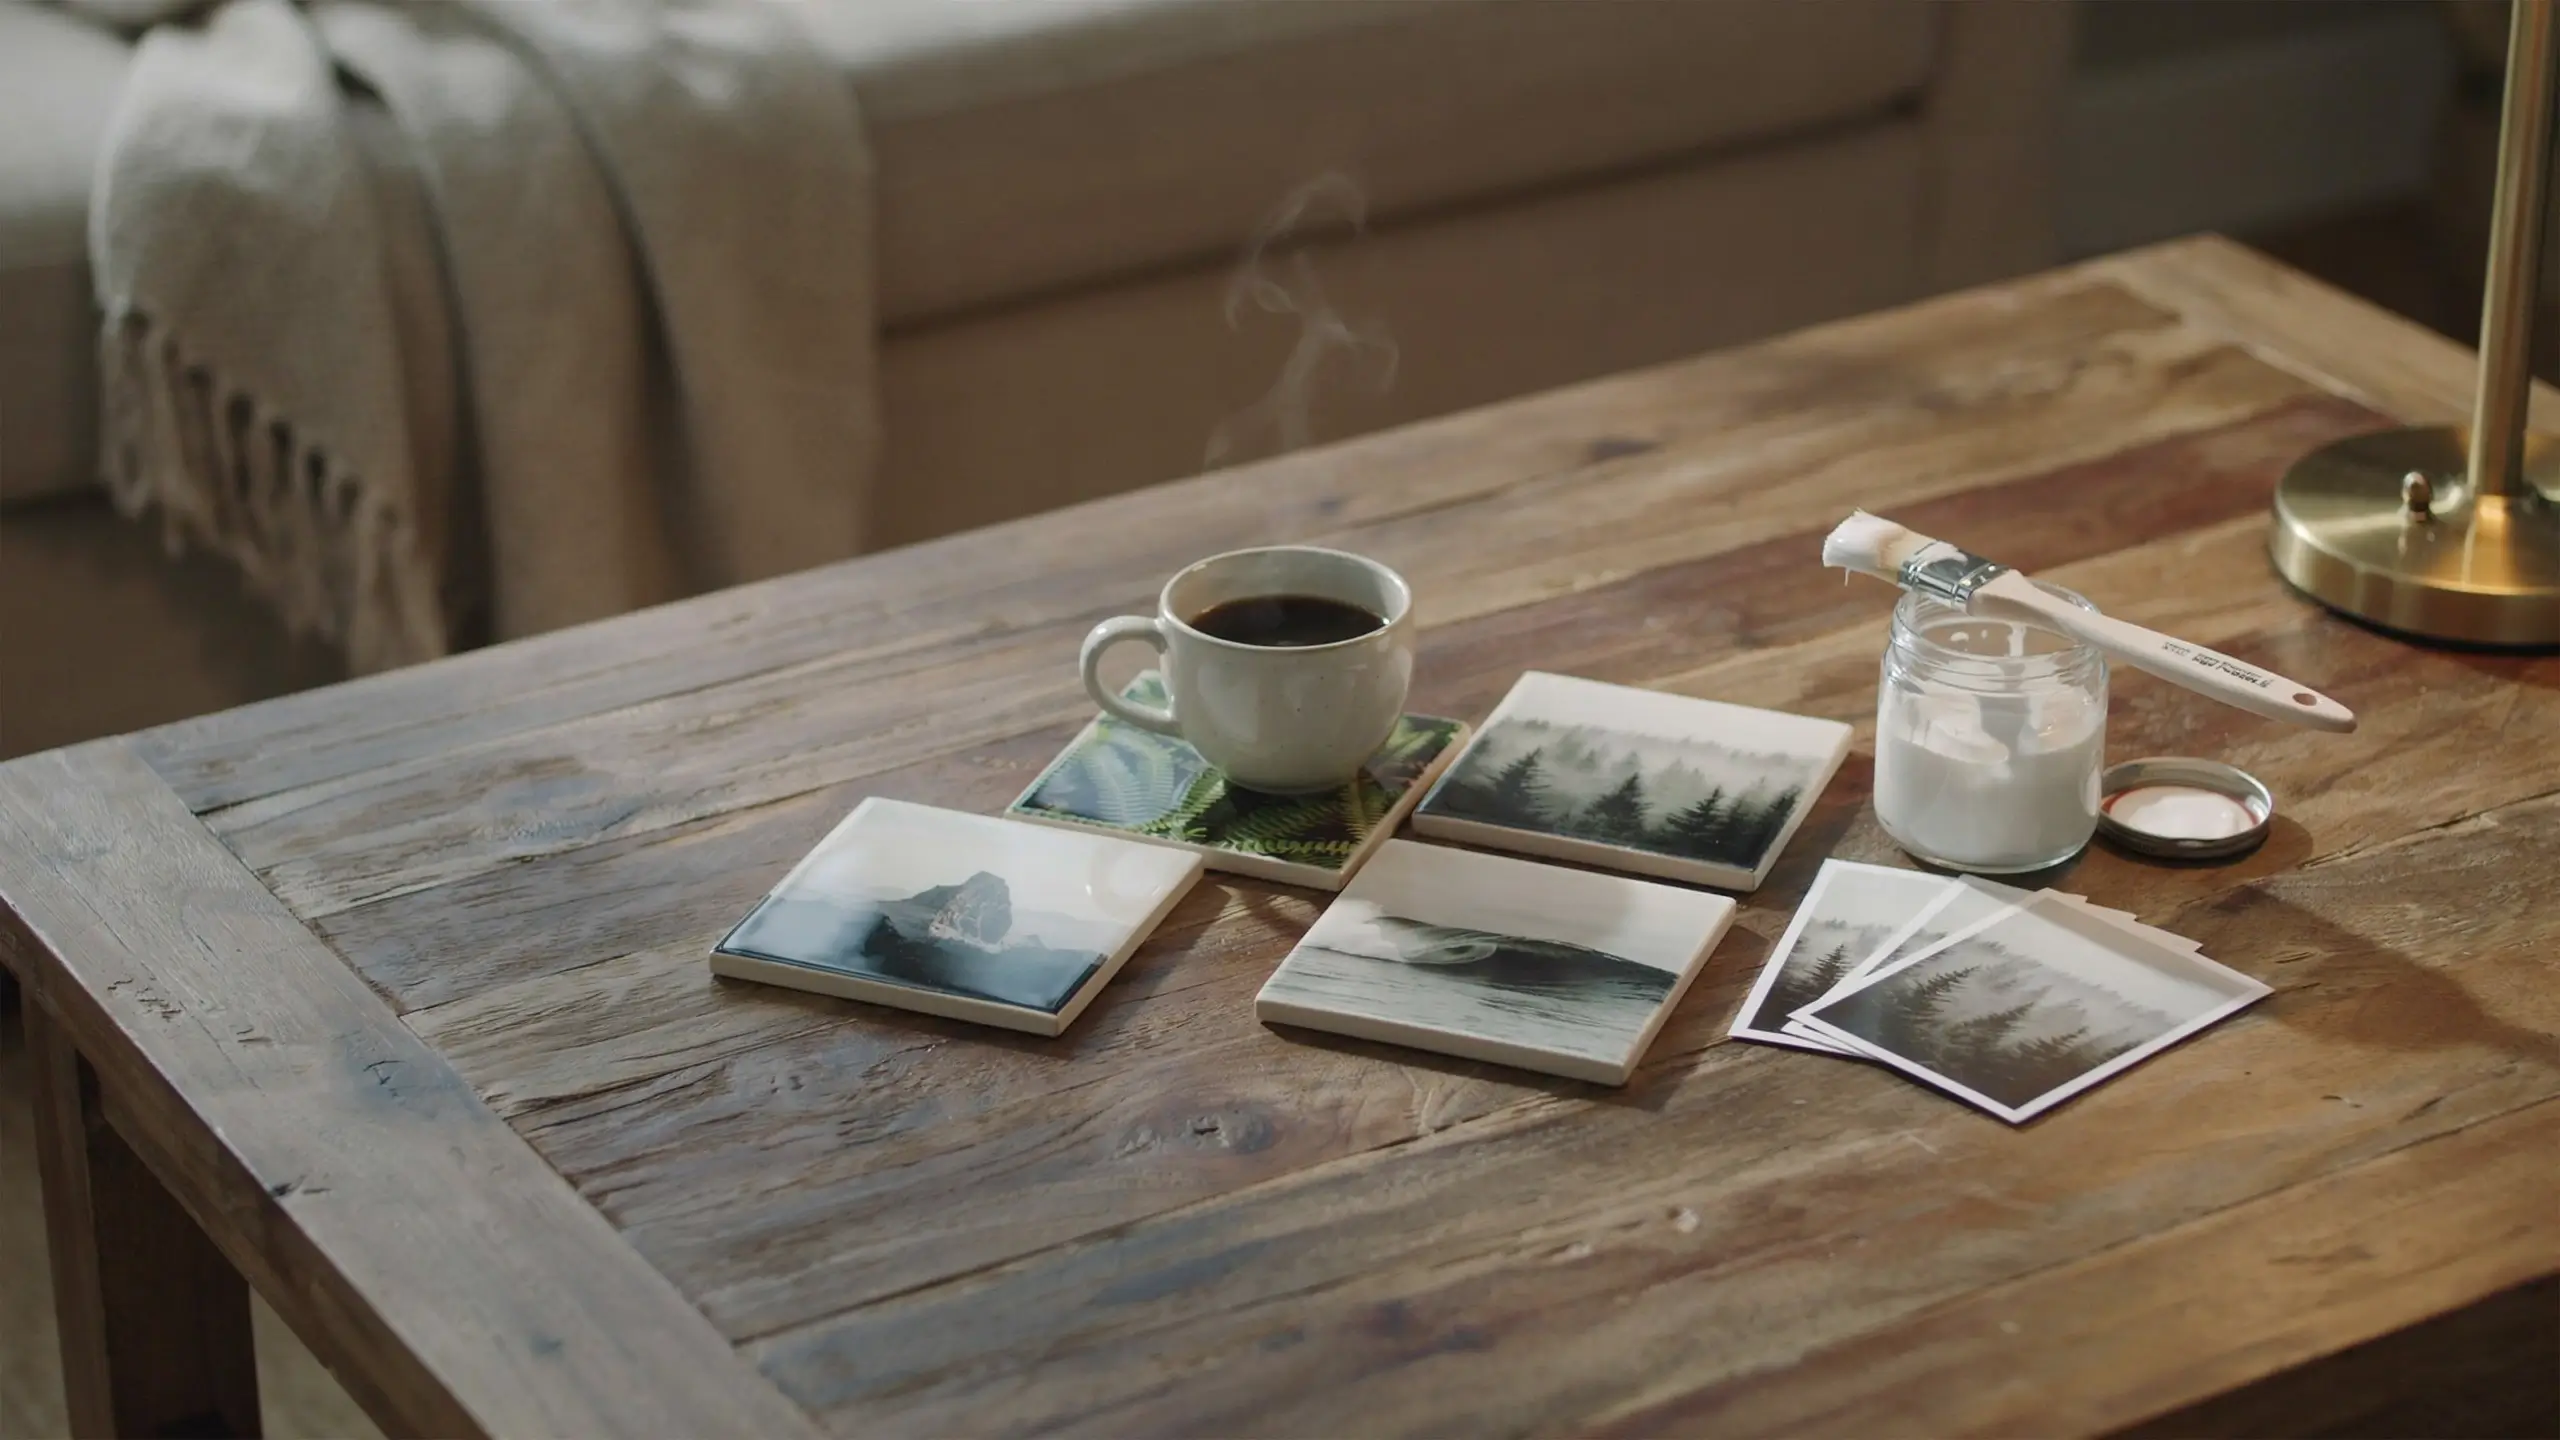
Ceramic tile coasters from the hardware store (usually four inches square, sold in boxes of very cheap plain white tiles) make excellent photo coasters. Print photos on regular printer paper at slightly smaller than four inches square, cut to fit, and adhere to the tile with Mod Podge. Apply two to three sealing coats on top, letting each dry. Add adhesive felt pads to the bottom.
What makes it work: Print photos on matte paper rather than glossy for better adhesion. Apply Mod Podge in thin, even coats and let each one dry fully before adding the next. Seal with a waterproof sealer or resin coat on top if they’ll be in regular use.
Time: 50 to 60 minutes with drying time. Great for: Gifting, personalized home gifts, sets for weddings or housewarming.
14. Twine-Wrapped Bottle Vases
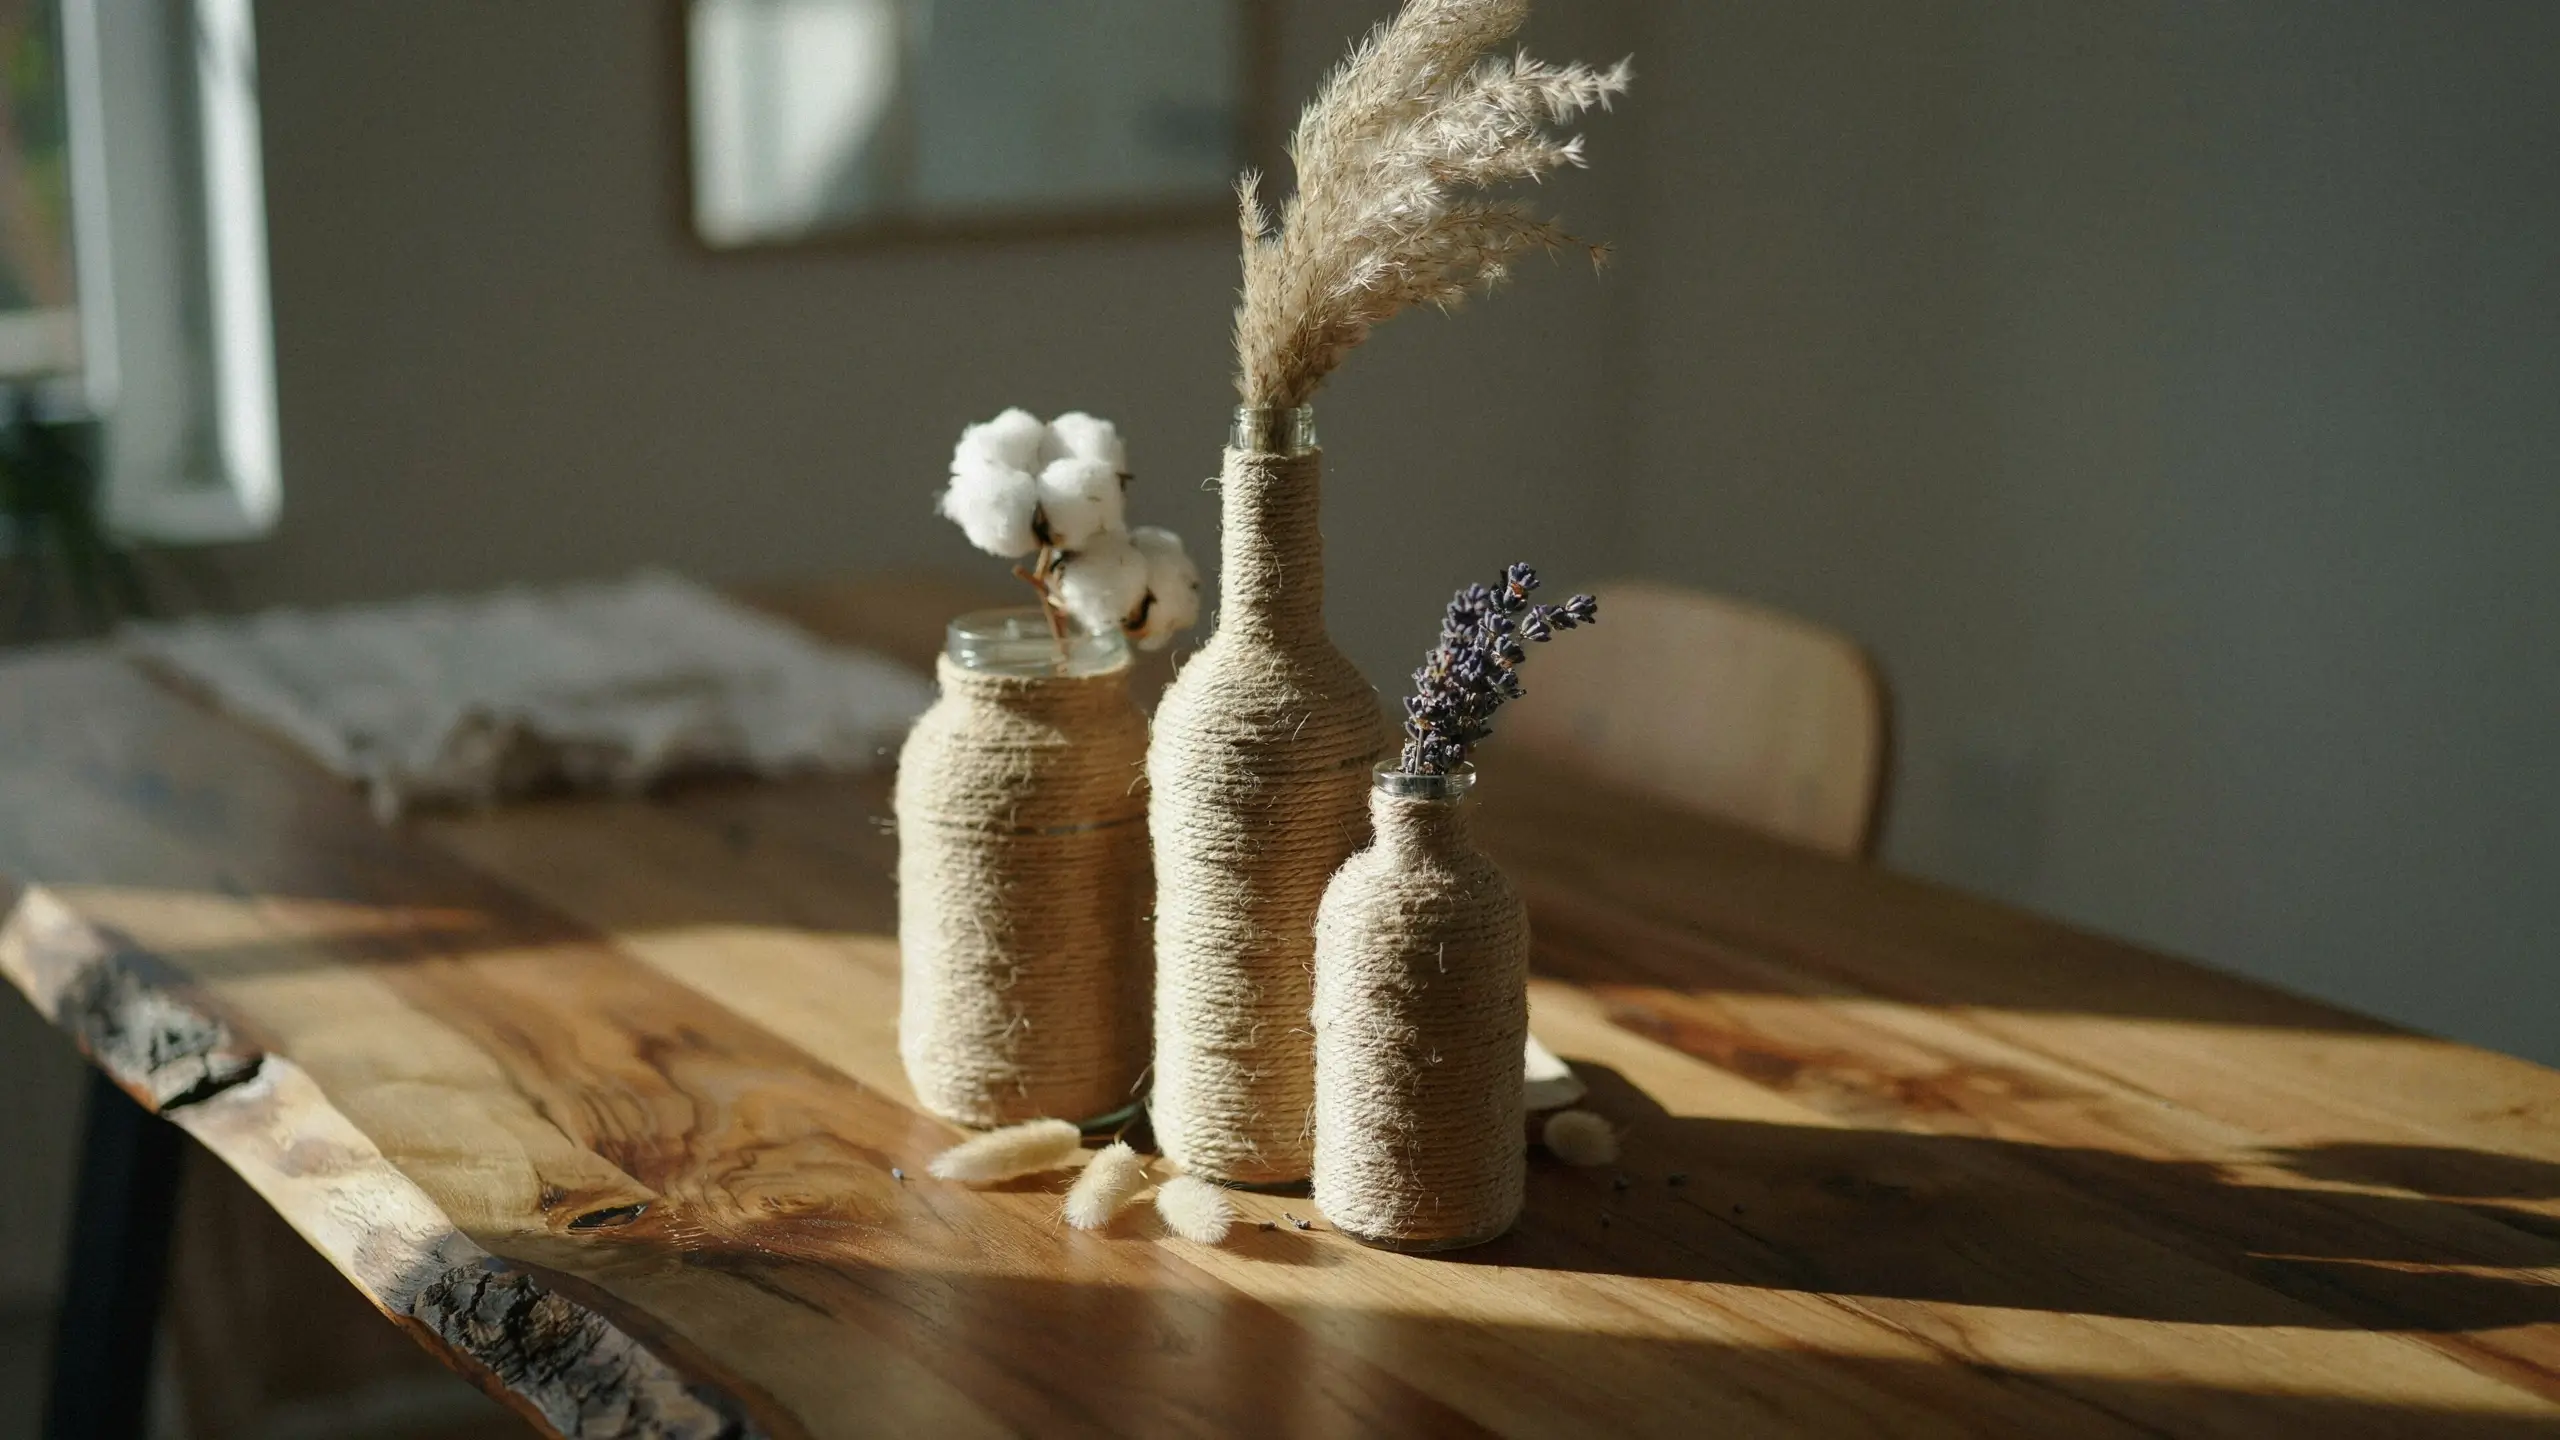
Empty wine bottles, sauce jars, or thrifted glass bottles take on a completely different character when wrapped in natural twine or jute rope. Apply a thin line of hot glue to the glass, press the twine in, and continue wrapping in tight rows from the base upward. Work in sections, keeping the rows pressed snugly against each other as you go. Finish at the top of the bottle and tuck the end under a previous row.
What makes it work: Wrap consistently; gaps or loose rows look messy. For a mixed-media look, leave an inch or two of glass exposed at the top and wrap the rest. Tuck in a dried stem of pampas grass or cotton stems for an effortless boho table display.
Time: 25 to 45 minutes depending on bottle size. Great for: Table centerpieces, shelf styling, seasonal decor.
15. Ribbon Photo Display Board
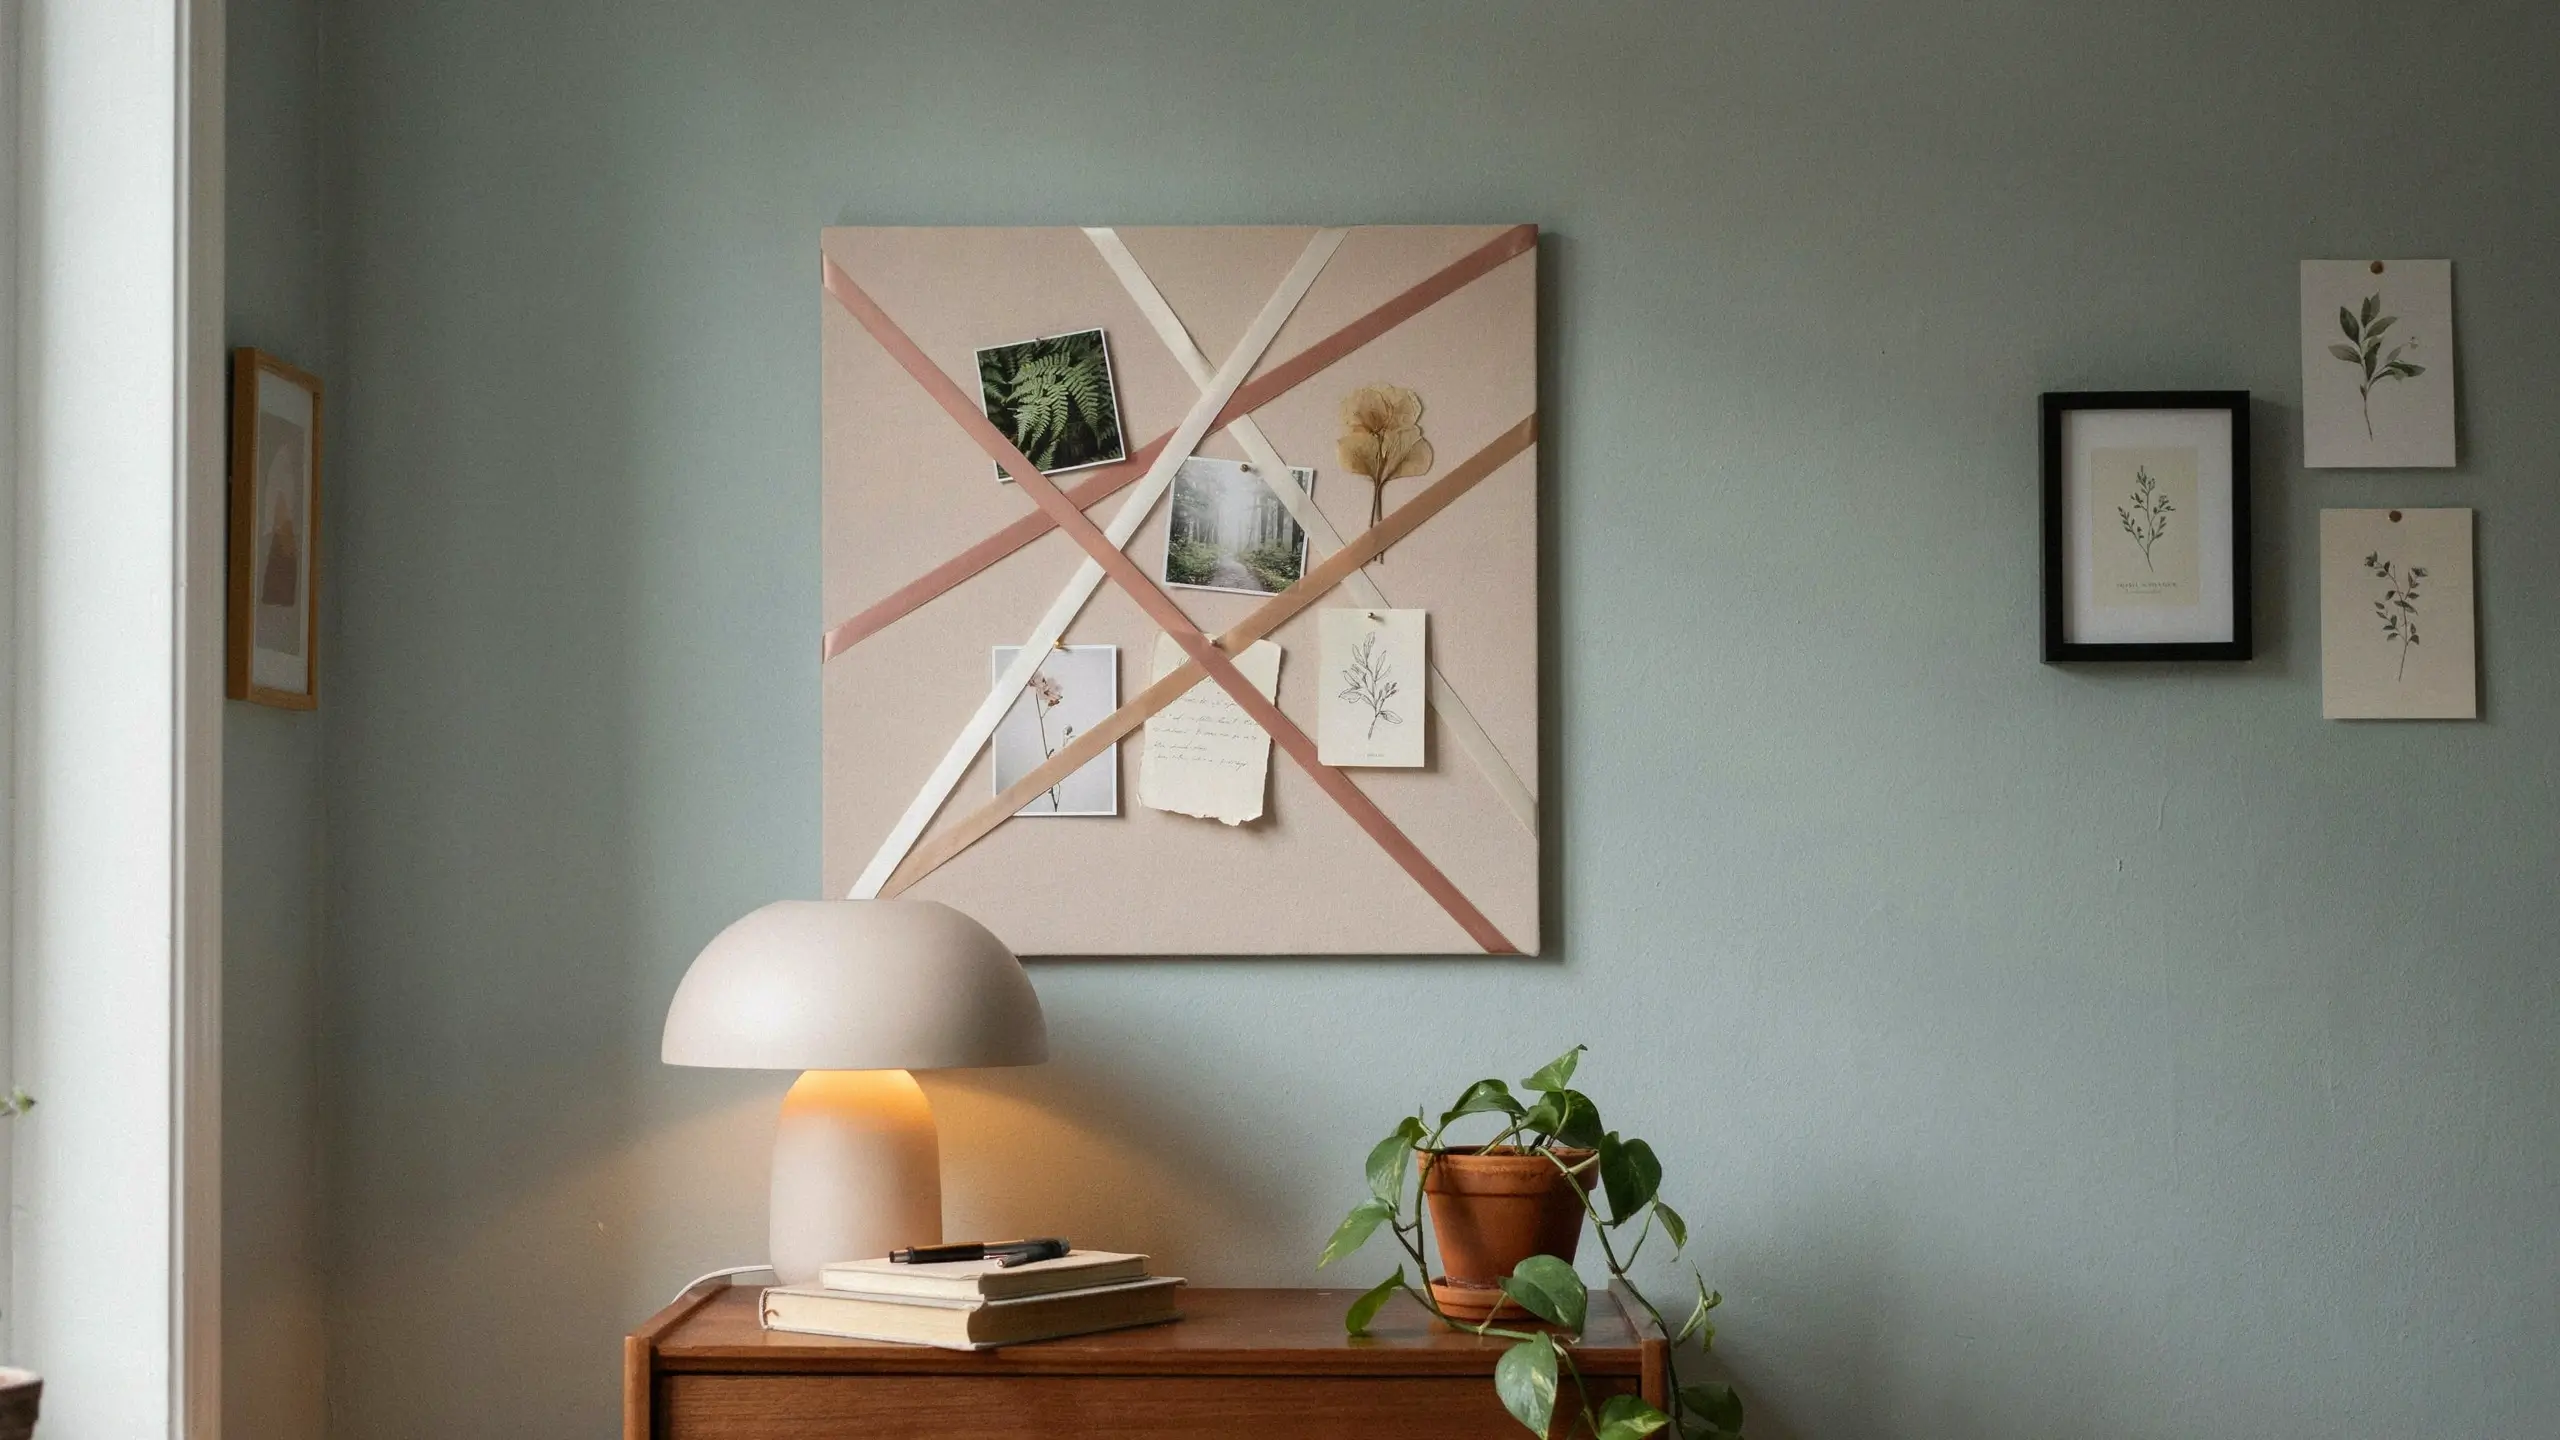
Take a corkboard or a piece of plywood (a twelve-by-sixteen-inch size is manageable), paint it in a soft color, and staple or tack several lengths of grosgrain ribbon diagonally across the surface in a criss-cross pattern. Tuck photos, cards, pressed flowers, and notes behind the ribbon at the crossing points without any pins or frames needed. Hang on the wall with a sawtooth hanger or a picture wire.
What makes it work: Alternate ribbon widths and colors for a layered look. This is a project that grows over time, each photo or note a new layer. It’s especially satisfying in a bedroom, home office, or nursery.
Time: 40 to 55 minutes. Great for: Gallery walls, home offices, gifting to students or newly moved-in friends.
Mistakes to Avoid on Your First Craft Session
Skipping the prep step. Messy workspaces create messy results. Lay down parchment paper, protect your table, and gather everything before you start. Running mid-project to find scissors or the right brush costs time and momentum.
Using the wrong paint. Acrylic paint for fabric projects will crack and peel after one wash. Use fabric paint on textiles and seal clay or wood projects properly. It’s a small detail that makes a big difference in how long your result lasts.
Giving up at the ugly middle phase. Almost every craft looks a little rough halfway through. The alcohol ink looks muddy before it dries. The yarn wall hanging looks lumpy before it’s trimmed. The decoupage tray looks wrinkled before the Mod Podge sets. Trust the process and don’t judge until it’s fully finished.
Making the project too big for your skill level. The first time you try a new technique, make something small. A small trinket dish teaches you clay better than an ambitious vase. A six-inch yarn wall hanging teaches you the technique before you commit to a two-foot version. You can always scale up once the method makes sense.
Rushing the drying time. Every single time someone reports a disappointing craft result, a rushed dry time is usually part of the story. Let the Mod Podge dry. Let the clay set. Let the paint cure before you handle the piece.
These Projects Are Worth Your Hour
Crafting as an adult isn’t about the end product, though a beautiful new piece of wall art or a handmade gift for a friend certainly doesn’t hurt. It’s about giving your brain a different kind of task, something tactile and satisfying and completely yours.
These simple 1-hour crafts for adults are designed to give you that payoff without sending you down a supplies rabbit hole or leaving you with an unfinished project gathering dust. Start with whichever one you can begin tonight with what you already have. You’ll probably find yourself three crafts in before the evening is over.
If you make one of these, I’d love to hear how it went. Drop a comment below and tell me which one you tried, and whether you’d add it to your regular rotation.
Have a craft night coming up? Save this post so you can pull it up when you’re ready to get started.

No Comment! Be the first one.