




DIY Balloon Arch: The Easy Step-by-Step Guide Anyone Can Follow
The first time I tried to build a balloon arch, I ended up with a saggy, lopsided garland that looked more like a deflated caterpillar than a party backdrop. I had no idea balloons needed to be...

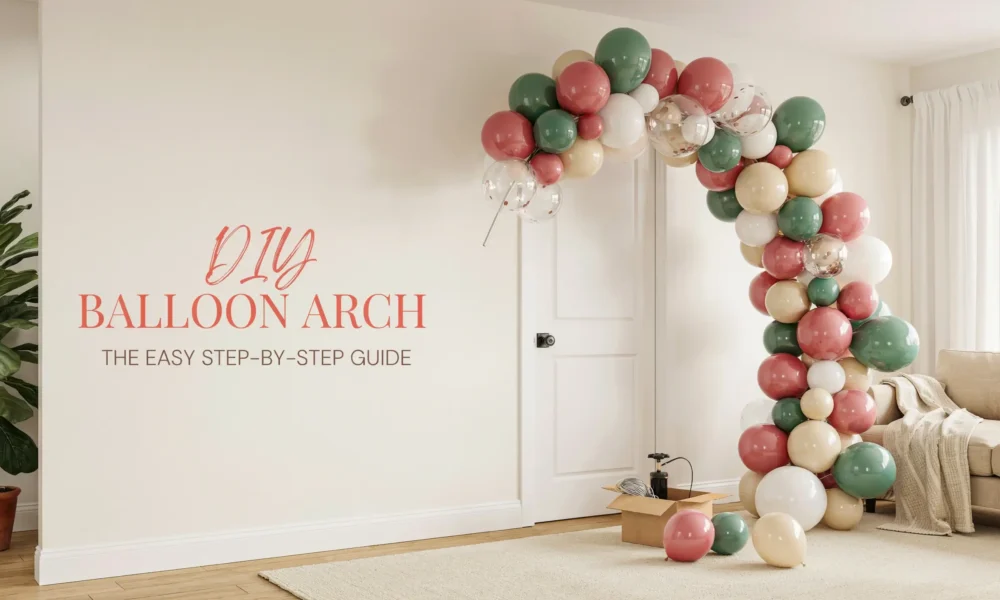
The first time I tried to build a balloon arch, I ended up with a saggy, lopsided garland that looked more like a deflated caterpillar than a party backdrop. I had no idea balloons needed to be different sizes, that the strip had to be found from the center, or that “just tape it to the wall” is basically asking for a mid-party collapse.
A DIY balloon arch is one of those projects that looks intimidating from the outside but is genuinely doable at home, even if you have never touched a balloon pump in your life. You do not need to hire a balloon artist or spend a small fortune on event decor. You need the right supplies, a plan for your color palette, and about an hour or two of patience.
This guide walks you through the whole process, from picking balloons to mounting the finished arch so it actually survives the party. I am also sharing the mistakes that trip up most beginners, because I made almost all of them myself.
What Exactly Is a DIY Balloon Arch (And How Is It Different From a Garland)?
Before you start buying supplies, it helps to know what you are actually making. A balloon arch usually refers to balloons attached to a curved frame, standing on its own to form a doorway or entrance piece. A balloon garland is the same idea but draped flat, like over a dessert table, along a wall, or across a mantel. Most home tutorials, including this one, use the same building method for both. The only real difference is whether you attach your finished strip to a frame or lay it along a surface.
If your event is by a doorway, staircase, or photo backdrop spot, go with a frame. If you are decorating a table, wall, or shelf, a garland draped in place will look just as good with less equipment.
Supplies You Will Need
- Latex balloons in 2 to 4 colors, mixed in three sizes (5 inch, 11 inch, and 16 inch work well together)
- A few clear or confetti balloons for texture, if you like that look
- A balloon decorating strip (sometimes called garland tape), found at party stores or online
- A hand pump or electric balloon inflator
- Fishing line or clear thread
- Command hooks or removable adhesive strips (for wall mounting)
- A balloon arch frame, stand, or arch kit, if you want a freestanding arch
- Glue dots for filling gaps
- Scissors and a small step stool
You can find balloon arch kits that bundle the strip, balloons, and glue dots together, which is worth it if this is your first attempt. It takes the guesswork out of matching your color ratio.
How to Make a DIY Balloon Arch, Step by Step
1. Plan Your Color Palette First
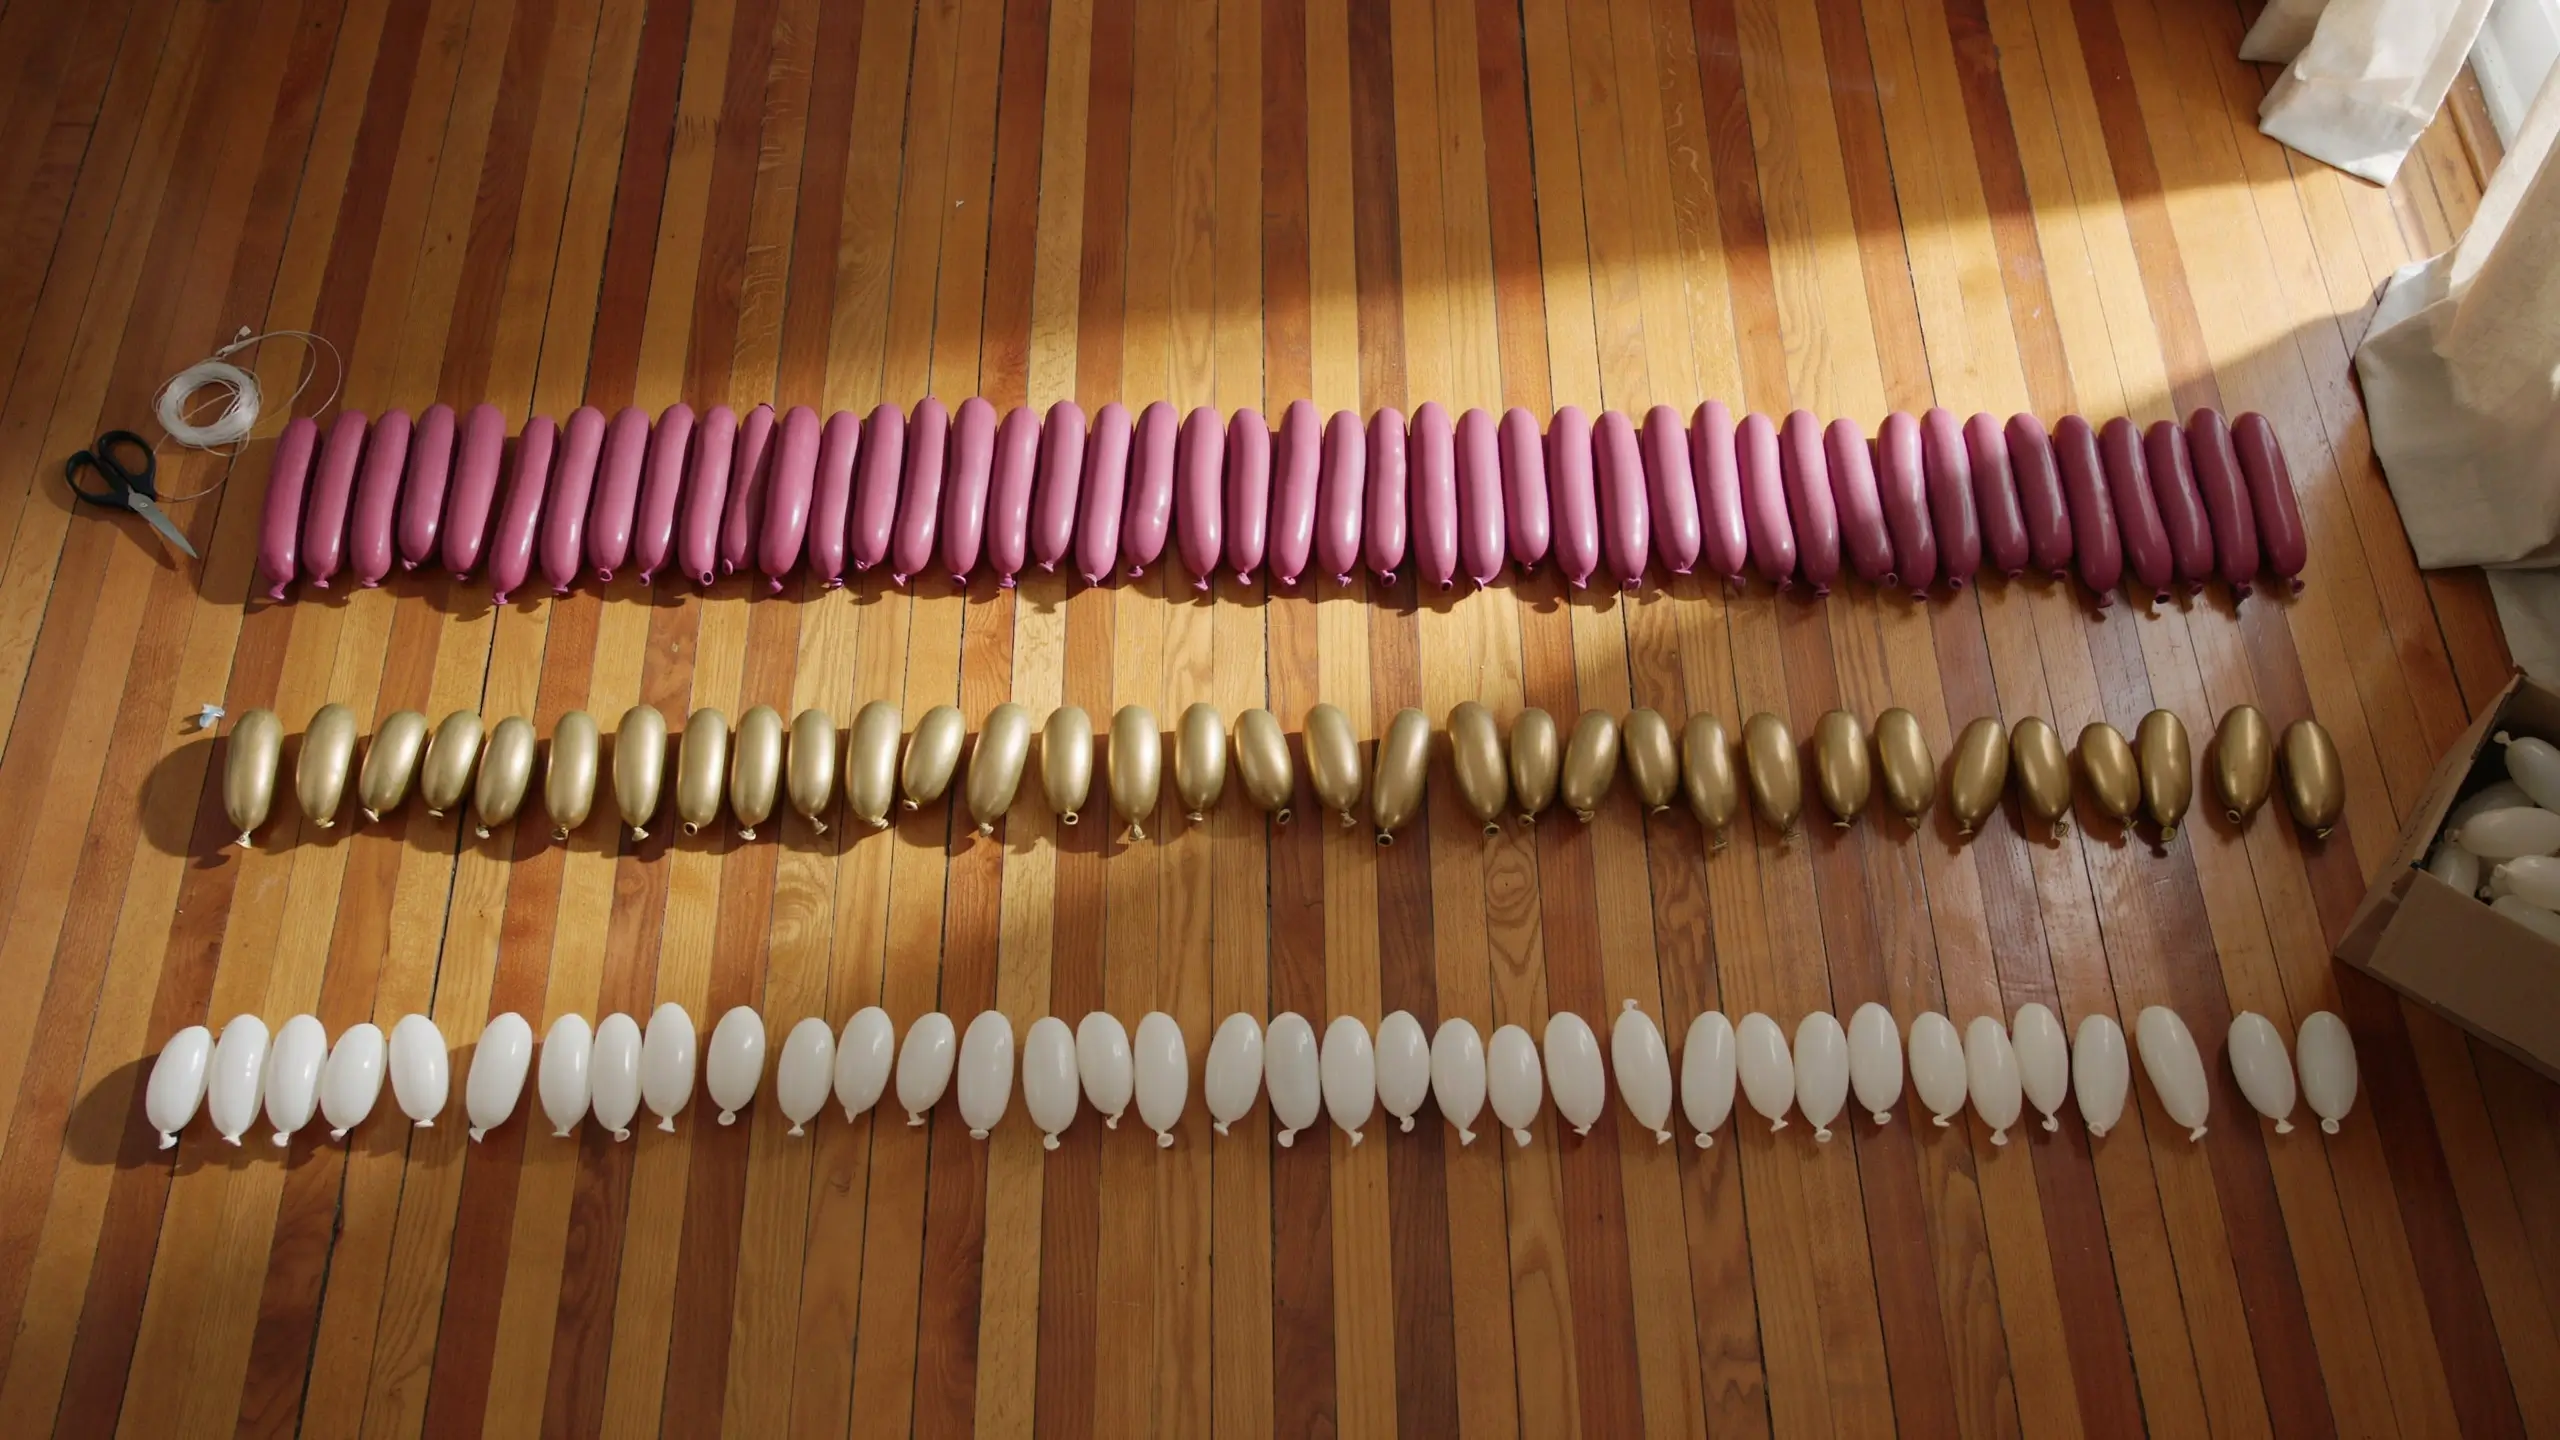
Pick two or three main colors and one or two accent colors. A good ratio to start with is 60 percent of your primary color, 30 percent of your secondary color, and 10 percent accents like clear, metallic, or confetti balloons. Lay a few balloons out on the floor in that ratio before you inflate anything. It is much easier to adjust a plan on paper than to redo a strip you have already built.
2. Inflate Your Balloons in Mixed Sizes
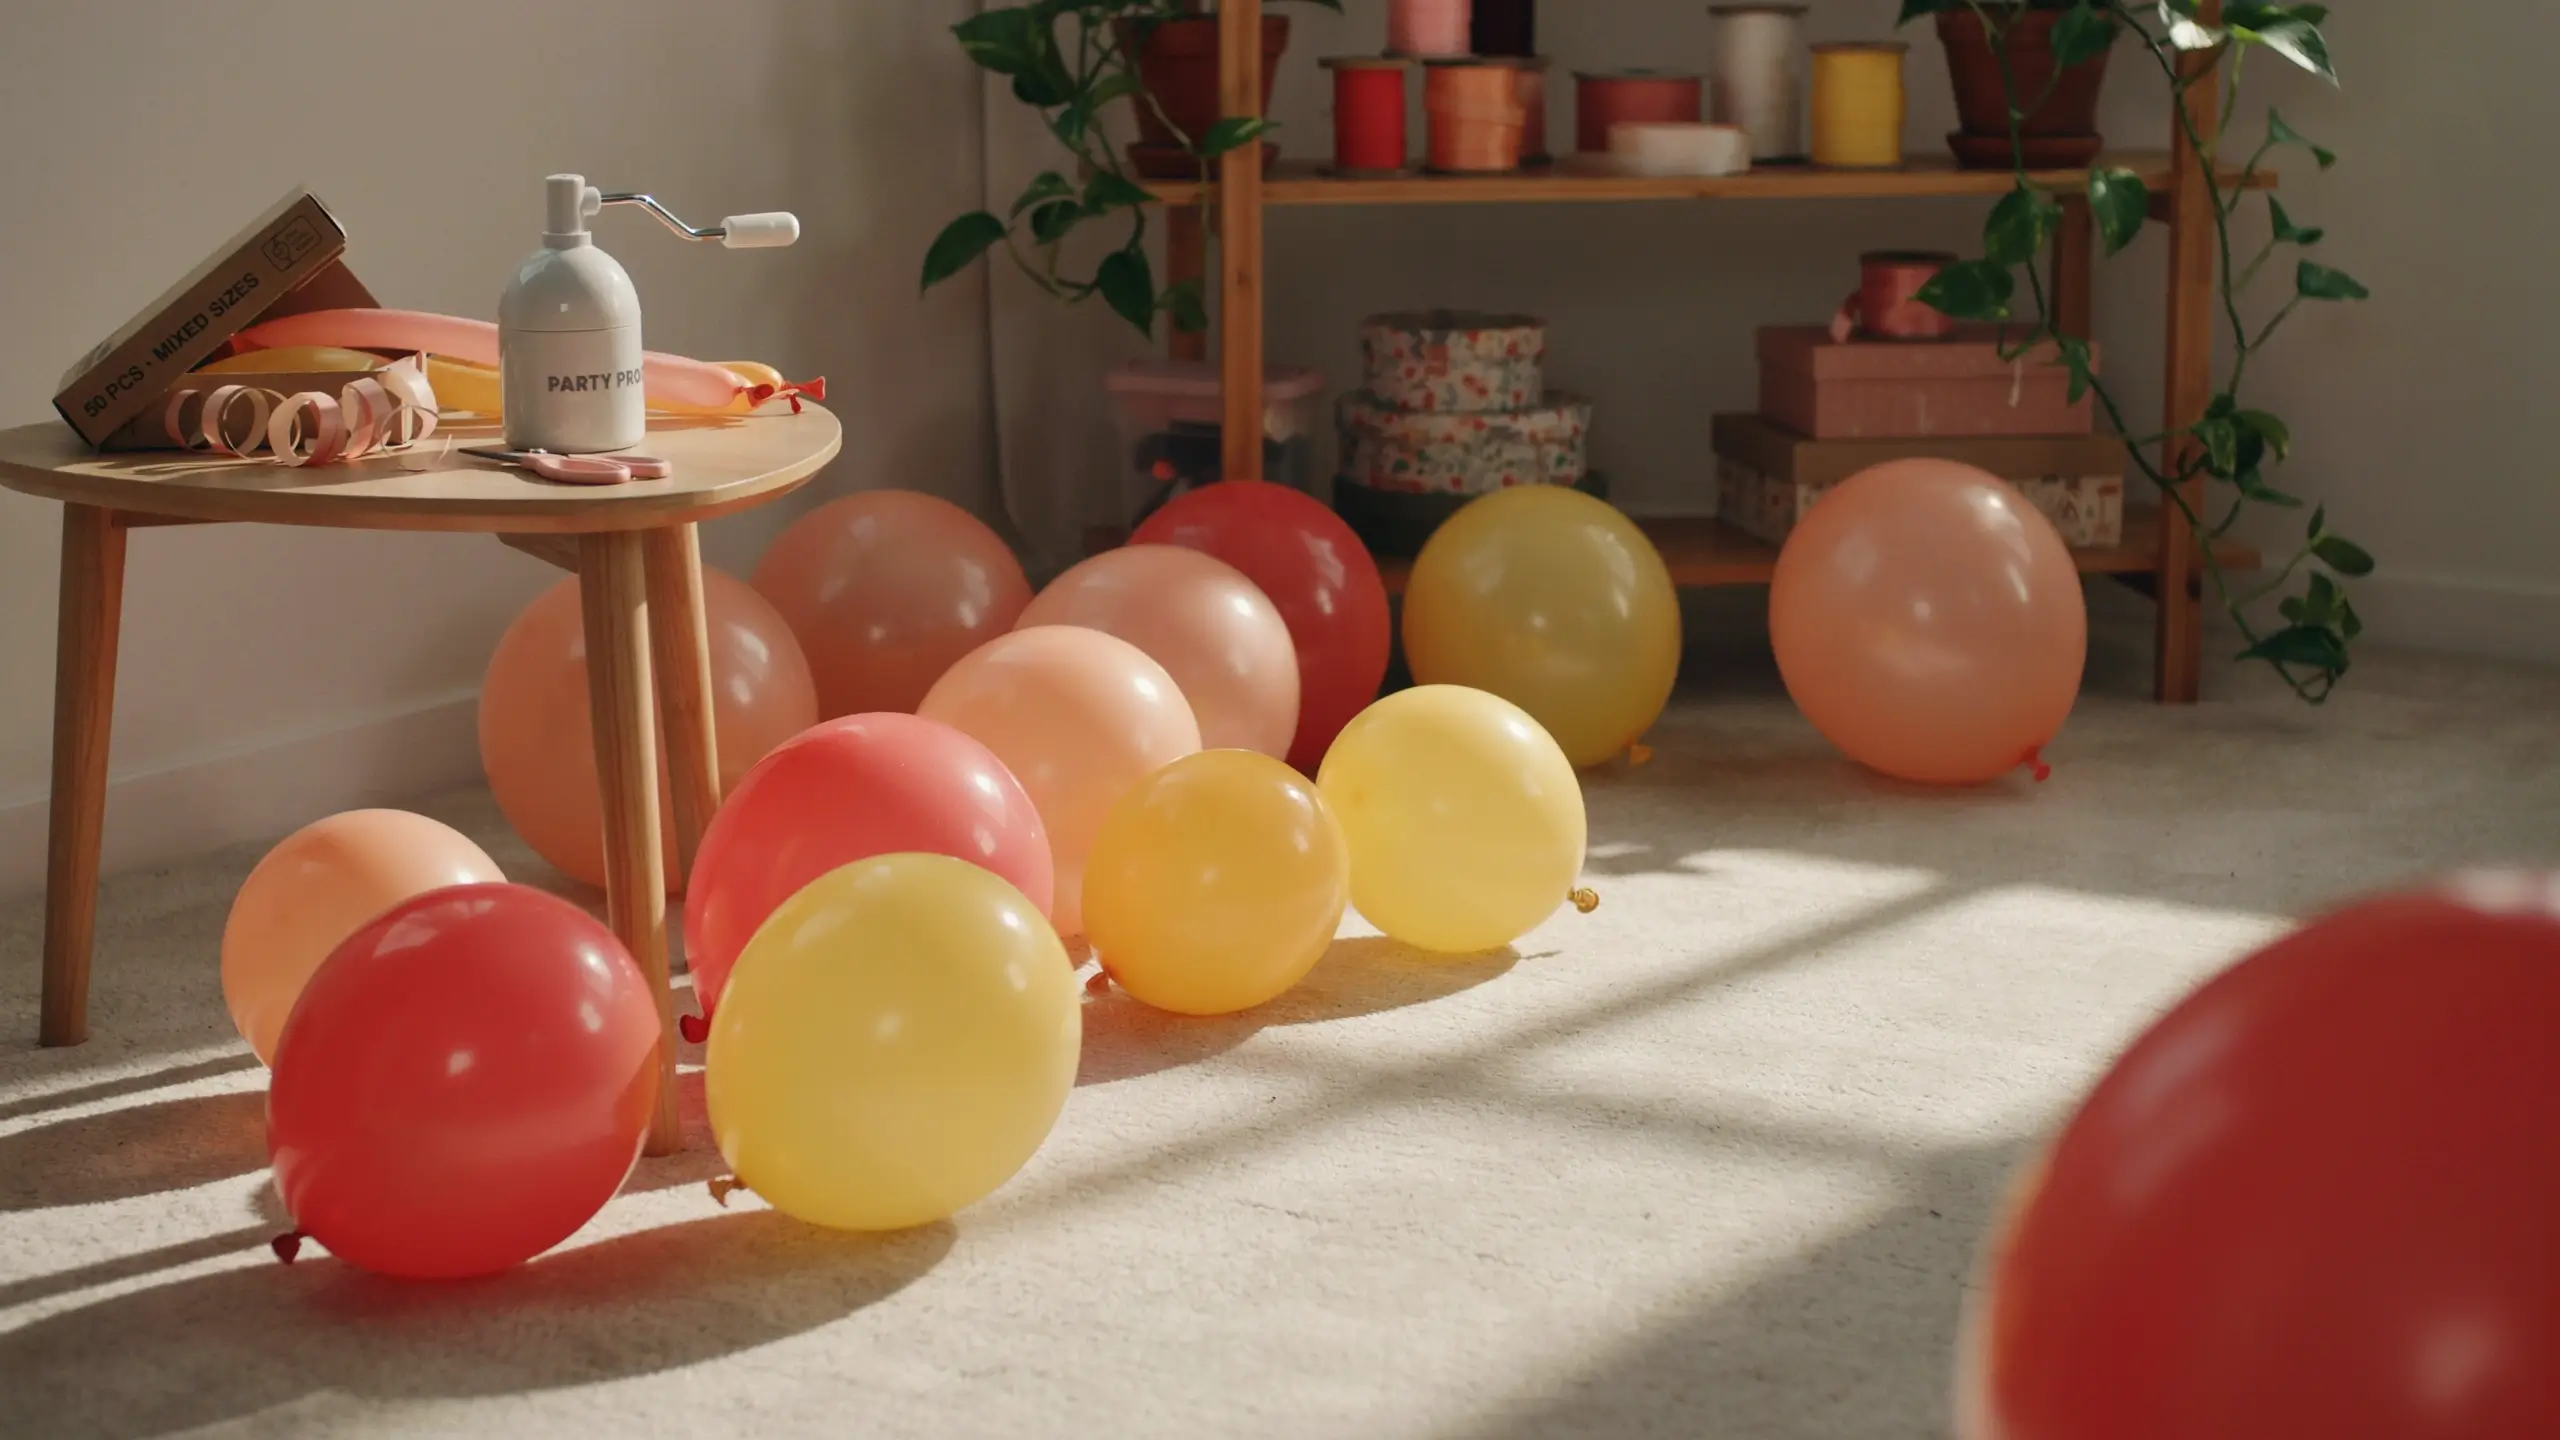
Use your pump to blow up balloons in a range of sizes rather than making them all the same. Mixing 5 inch, 11 inch, and 16 inch balloons is what gives an arch that full, organic look instead of a flat row of identical circles. Aim for balloons that feel firm but still have a little give. Overinflated balloons stretch the latex thin and are far more likely to pop once the room warms up.
If you are inflating the day before your event, slightly under-inflate everything. Balloons expand a bit in warm rooms, so leaving a little room helps prevent surprise pops later.
3. Find the Center of Your Decorating Strip
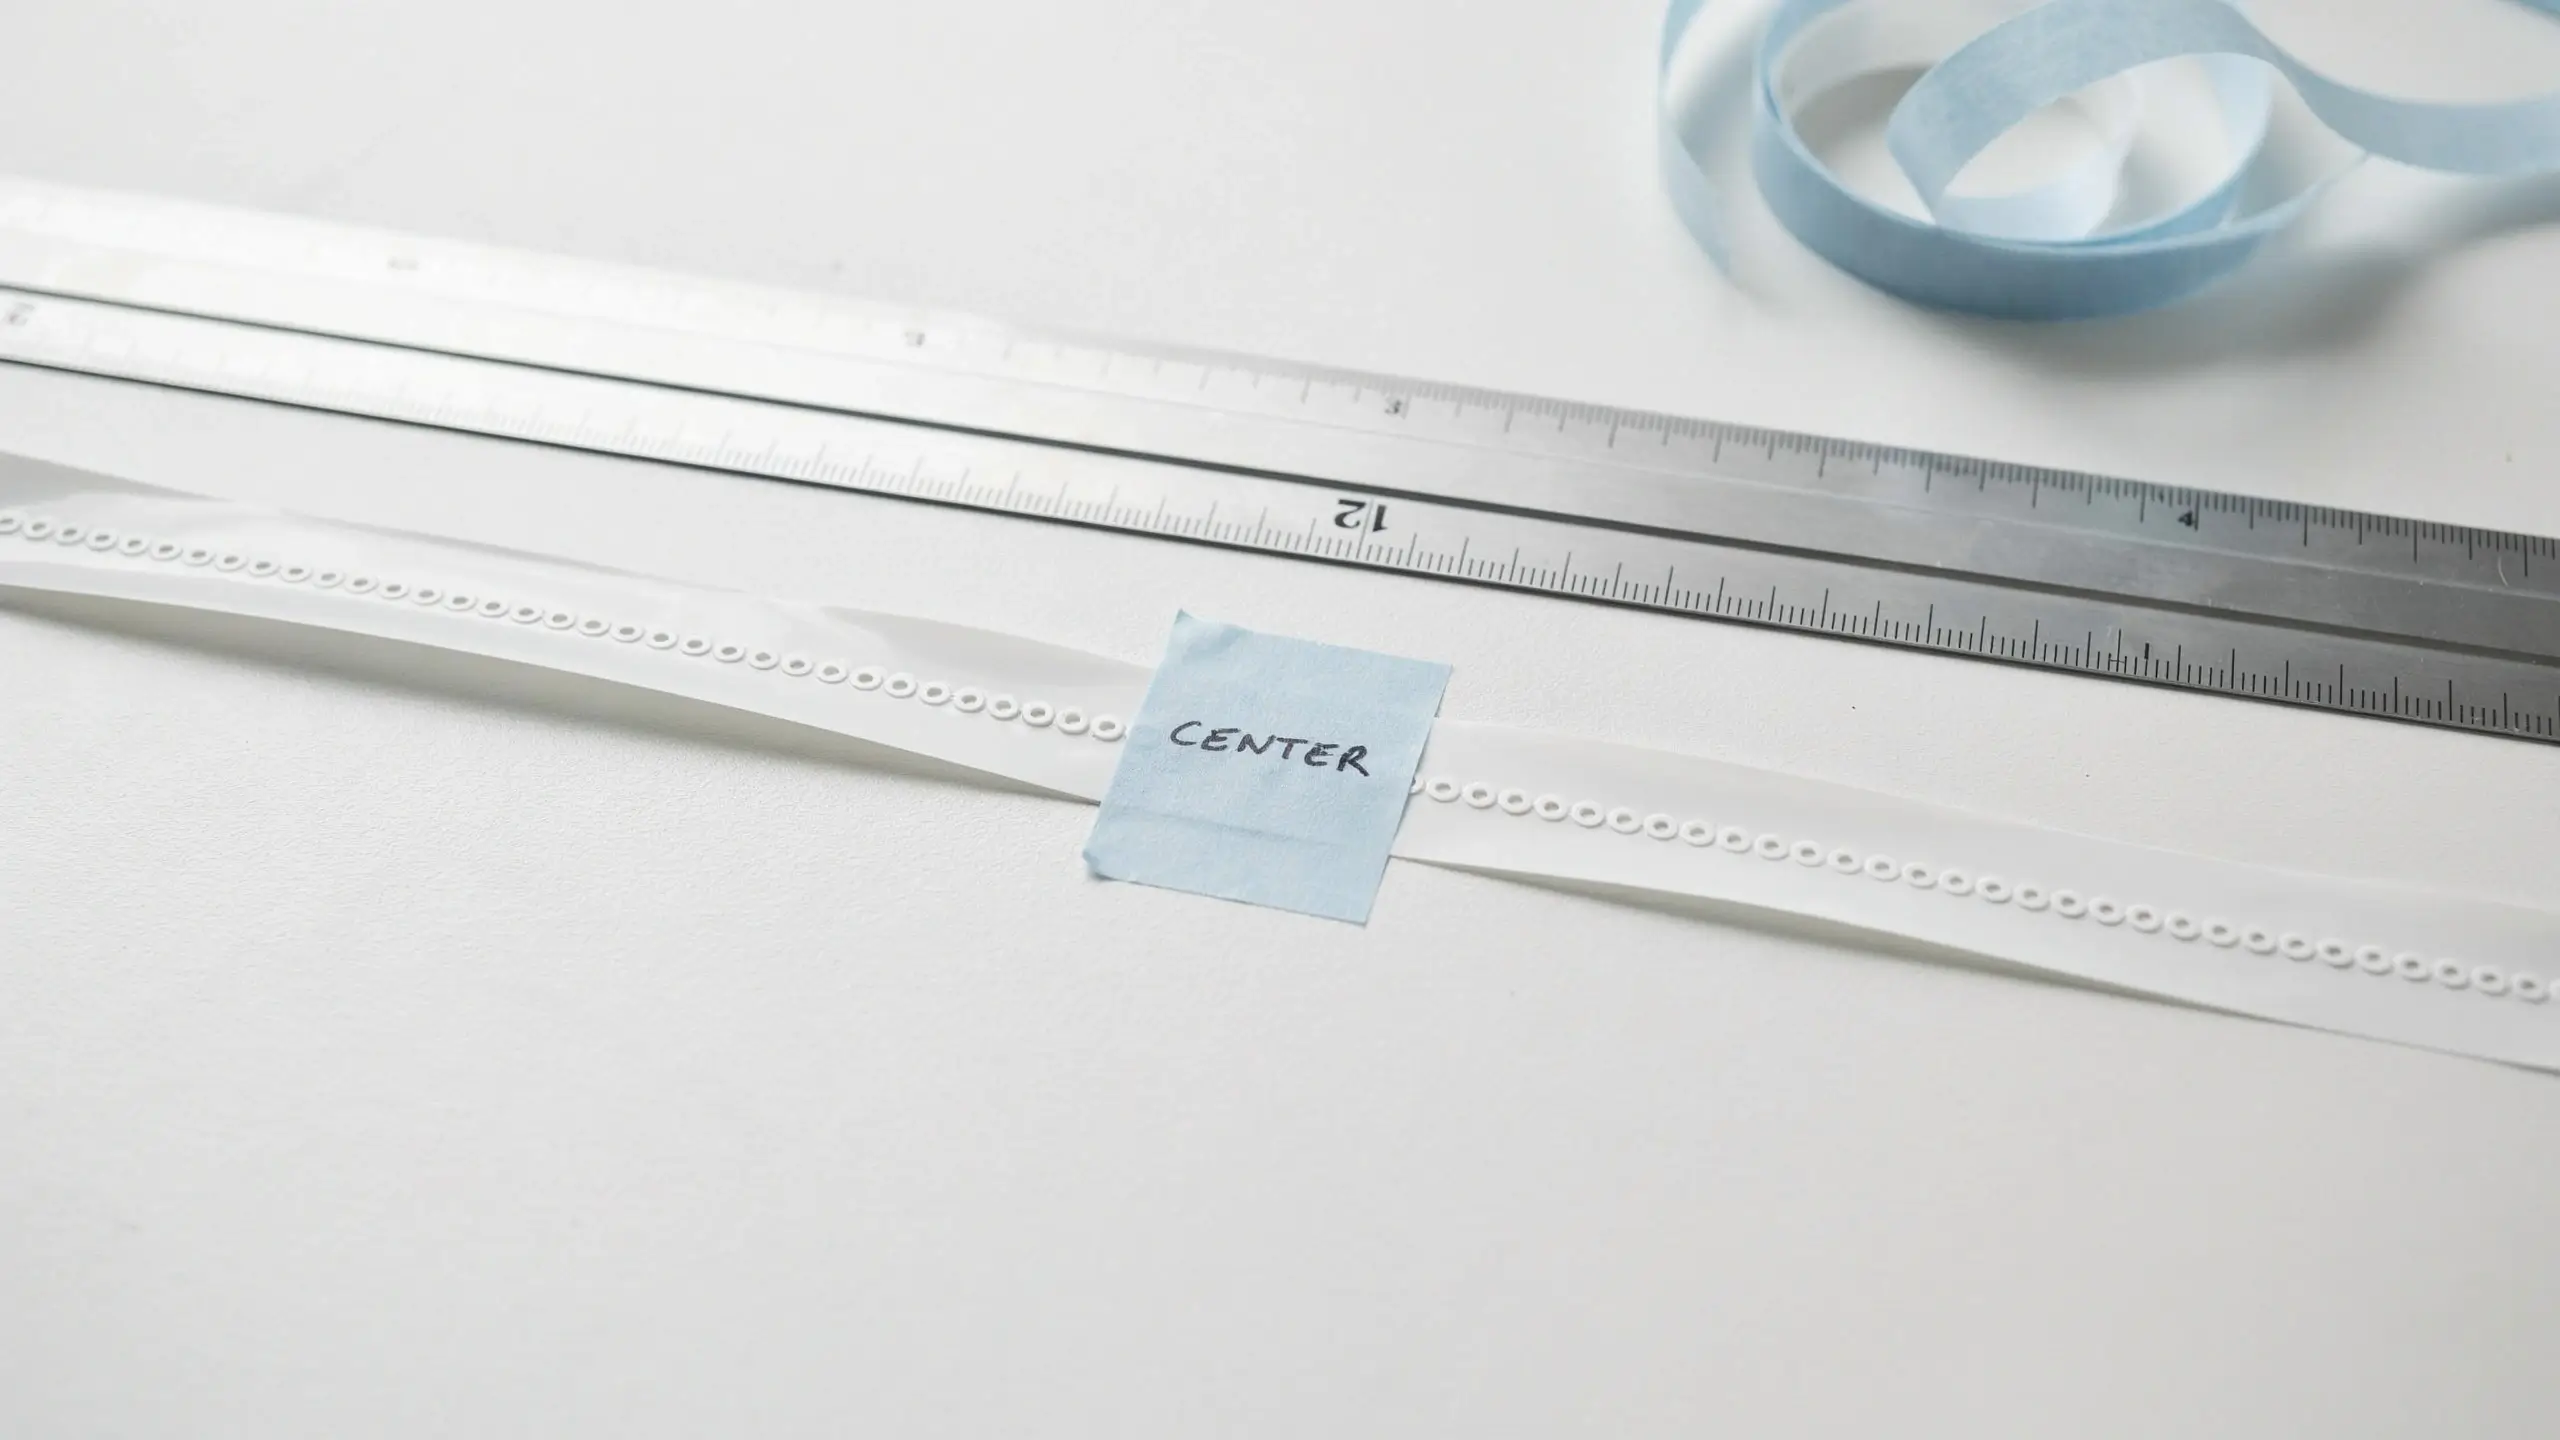
Hold both ends of your balloon strip and slide your hand along it until you reach the middle loop. Mark that spot with a small piece of tape. This becomes the top center point of your arch, and working outward from it in both directions keeps your color pattern even on each side.
4. Tie Balloons in Clusters, Not One by One
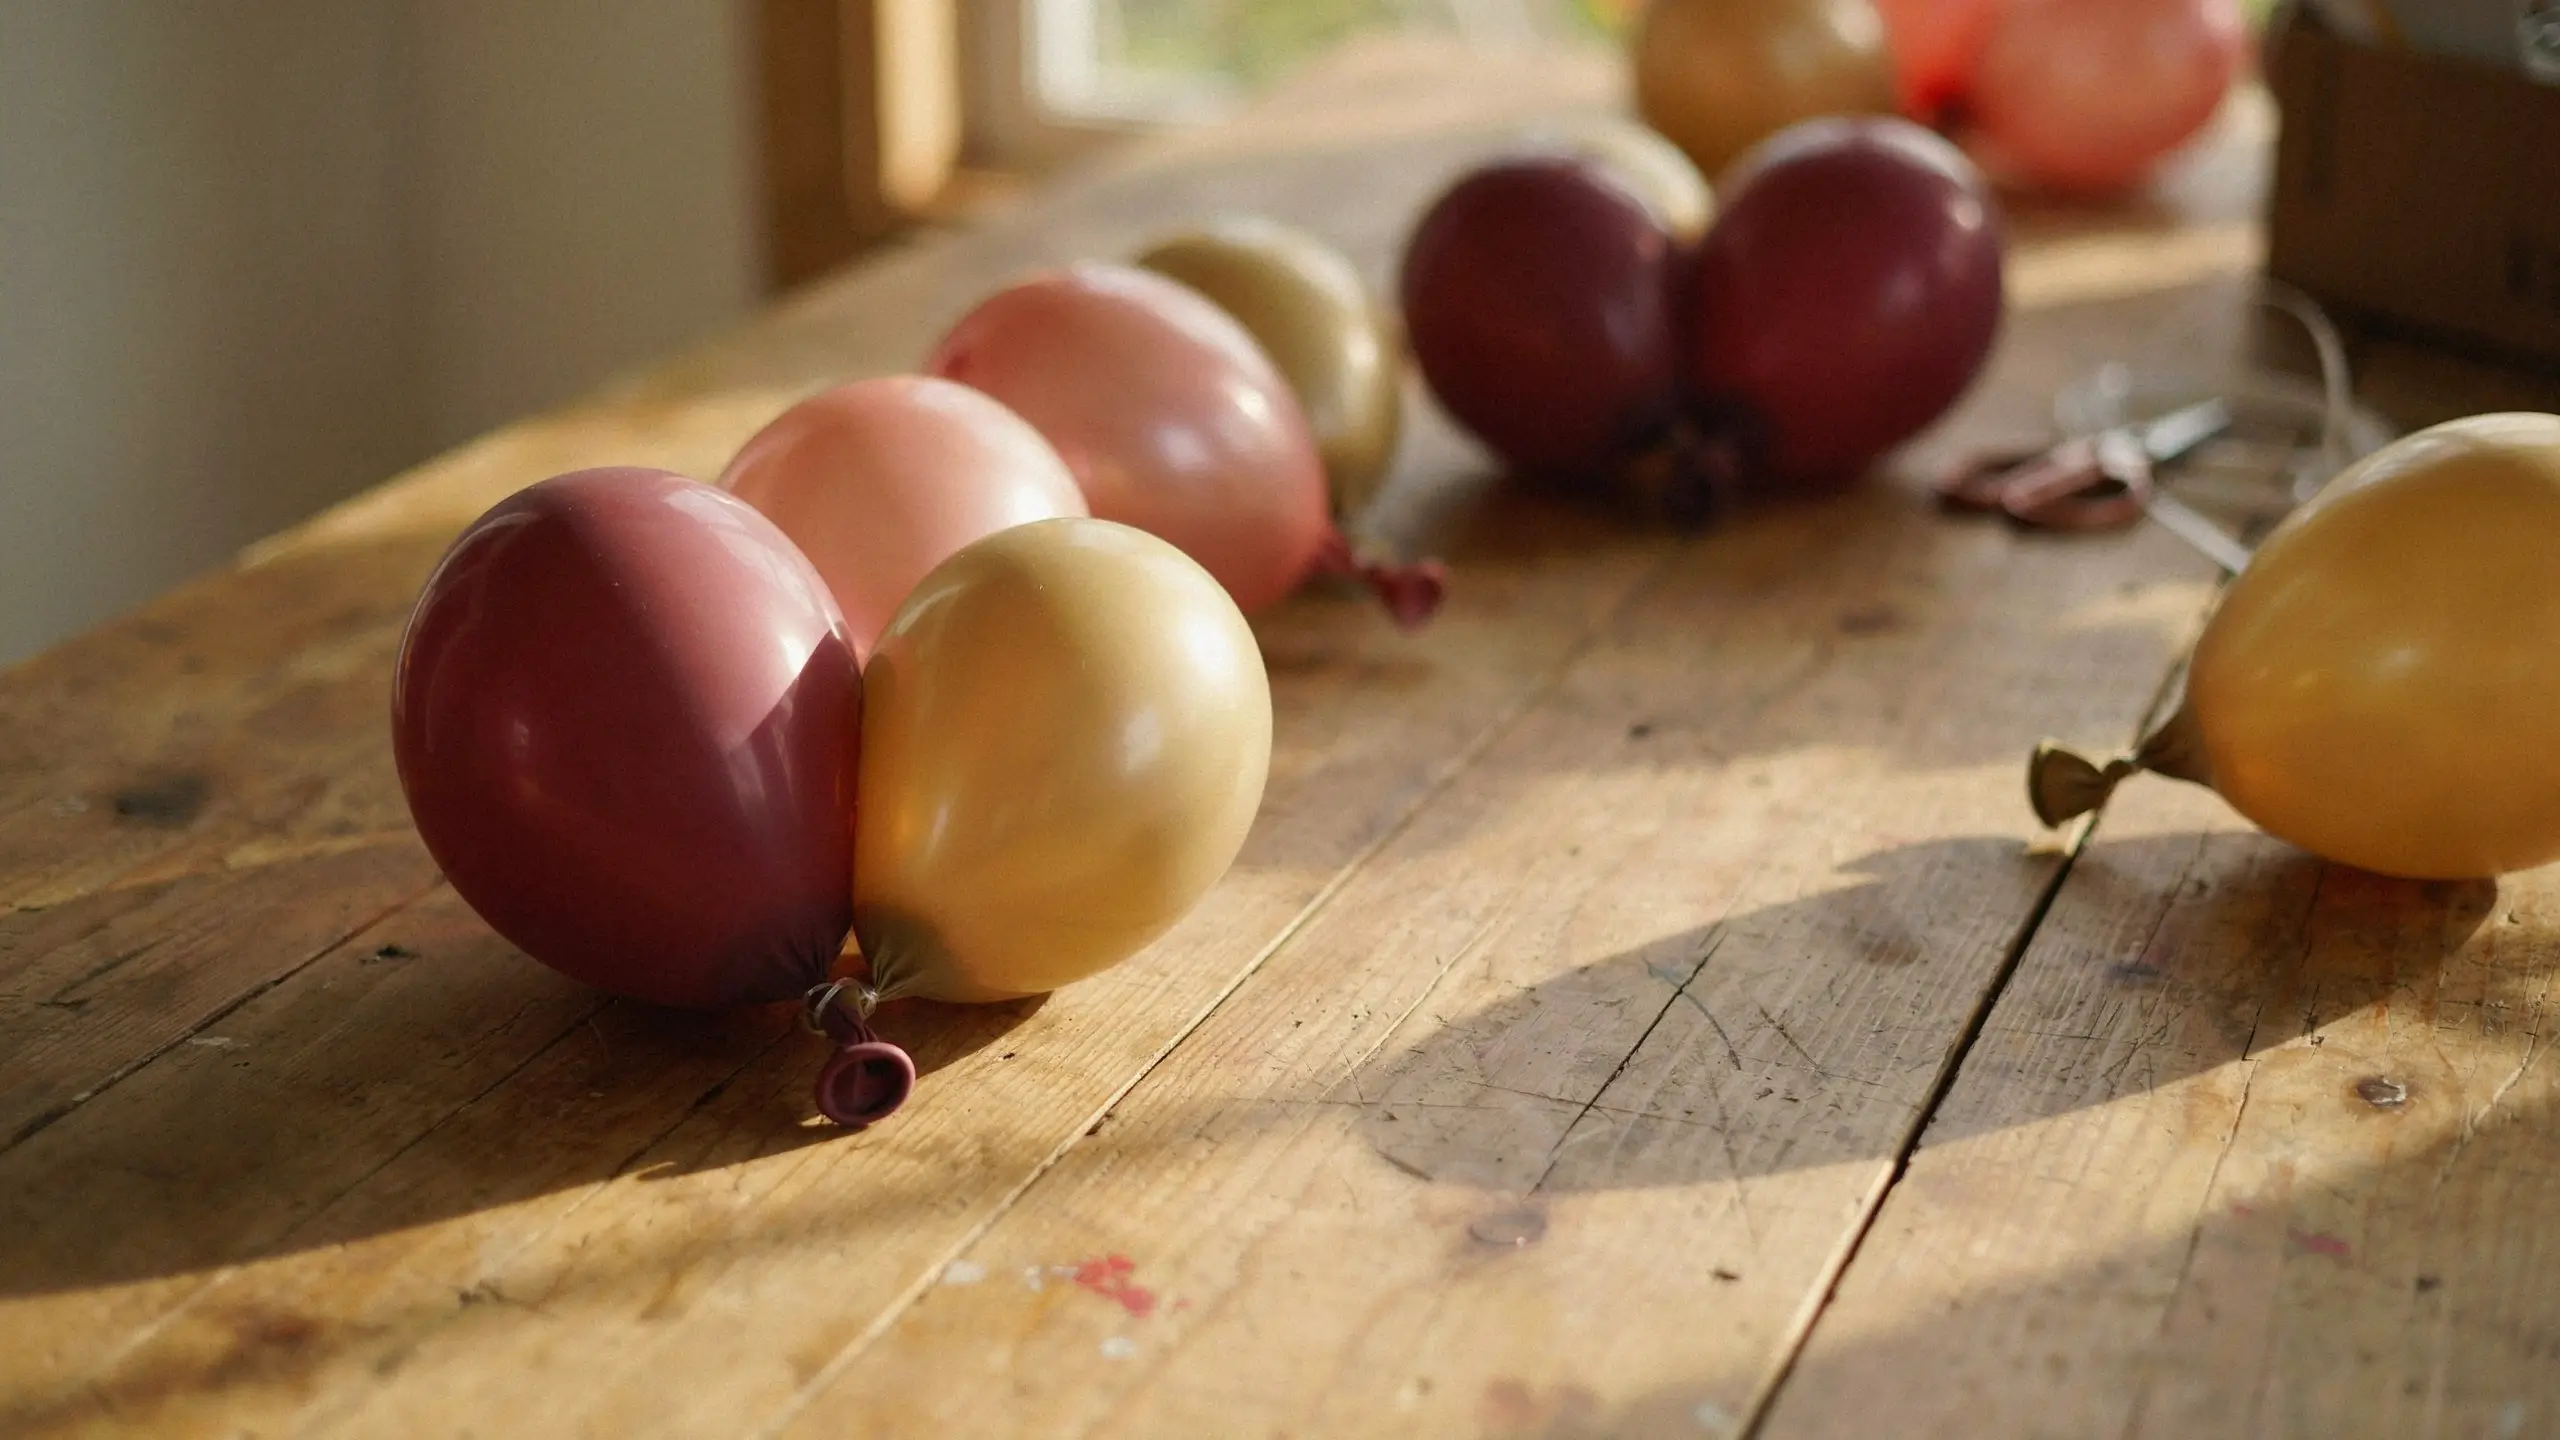
Instead of threading single balloons onto the strip, tie two or three balloons together at the neck first, then attach that little cluster to the strip. This is the trick that makes arches look full instead of thin and gappy. Alternate your cluster sizes and colors as you go, working from the center out toward each end.
5. Thread the Clusters Onto the Strip
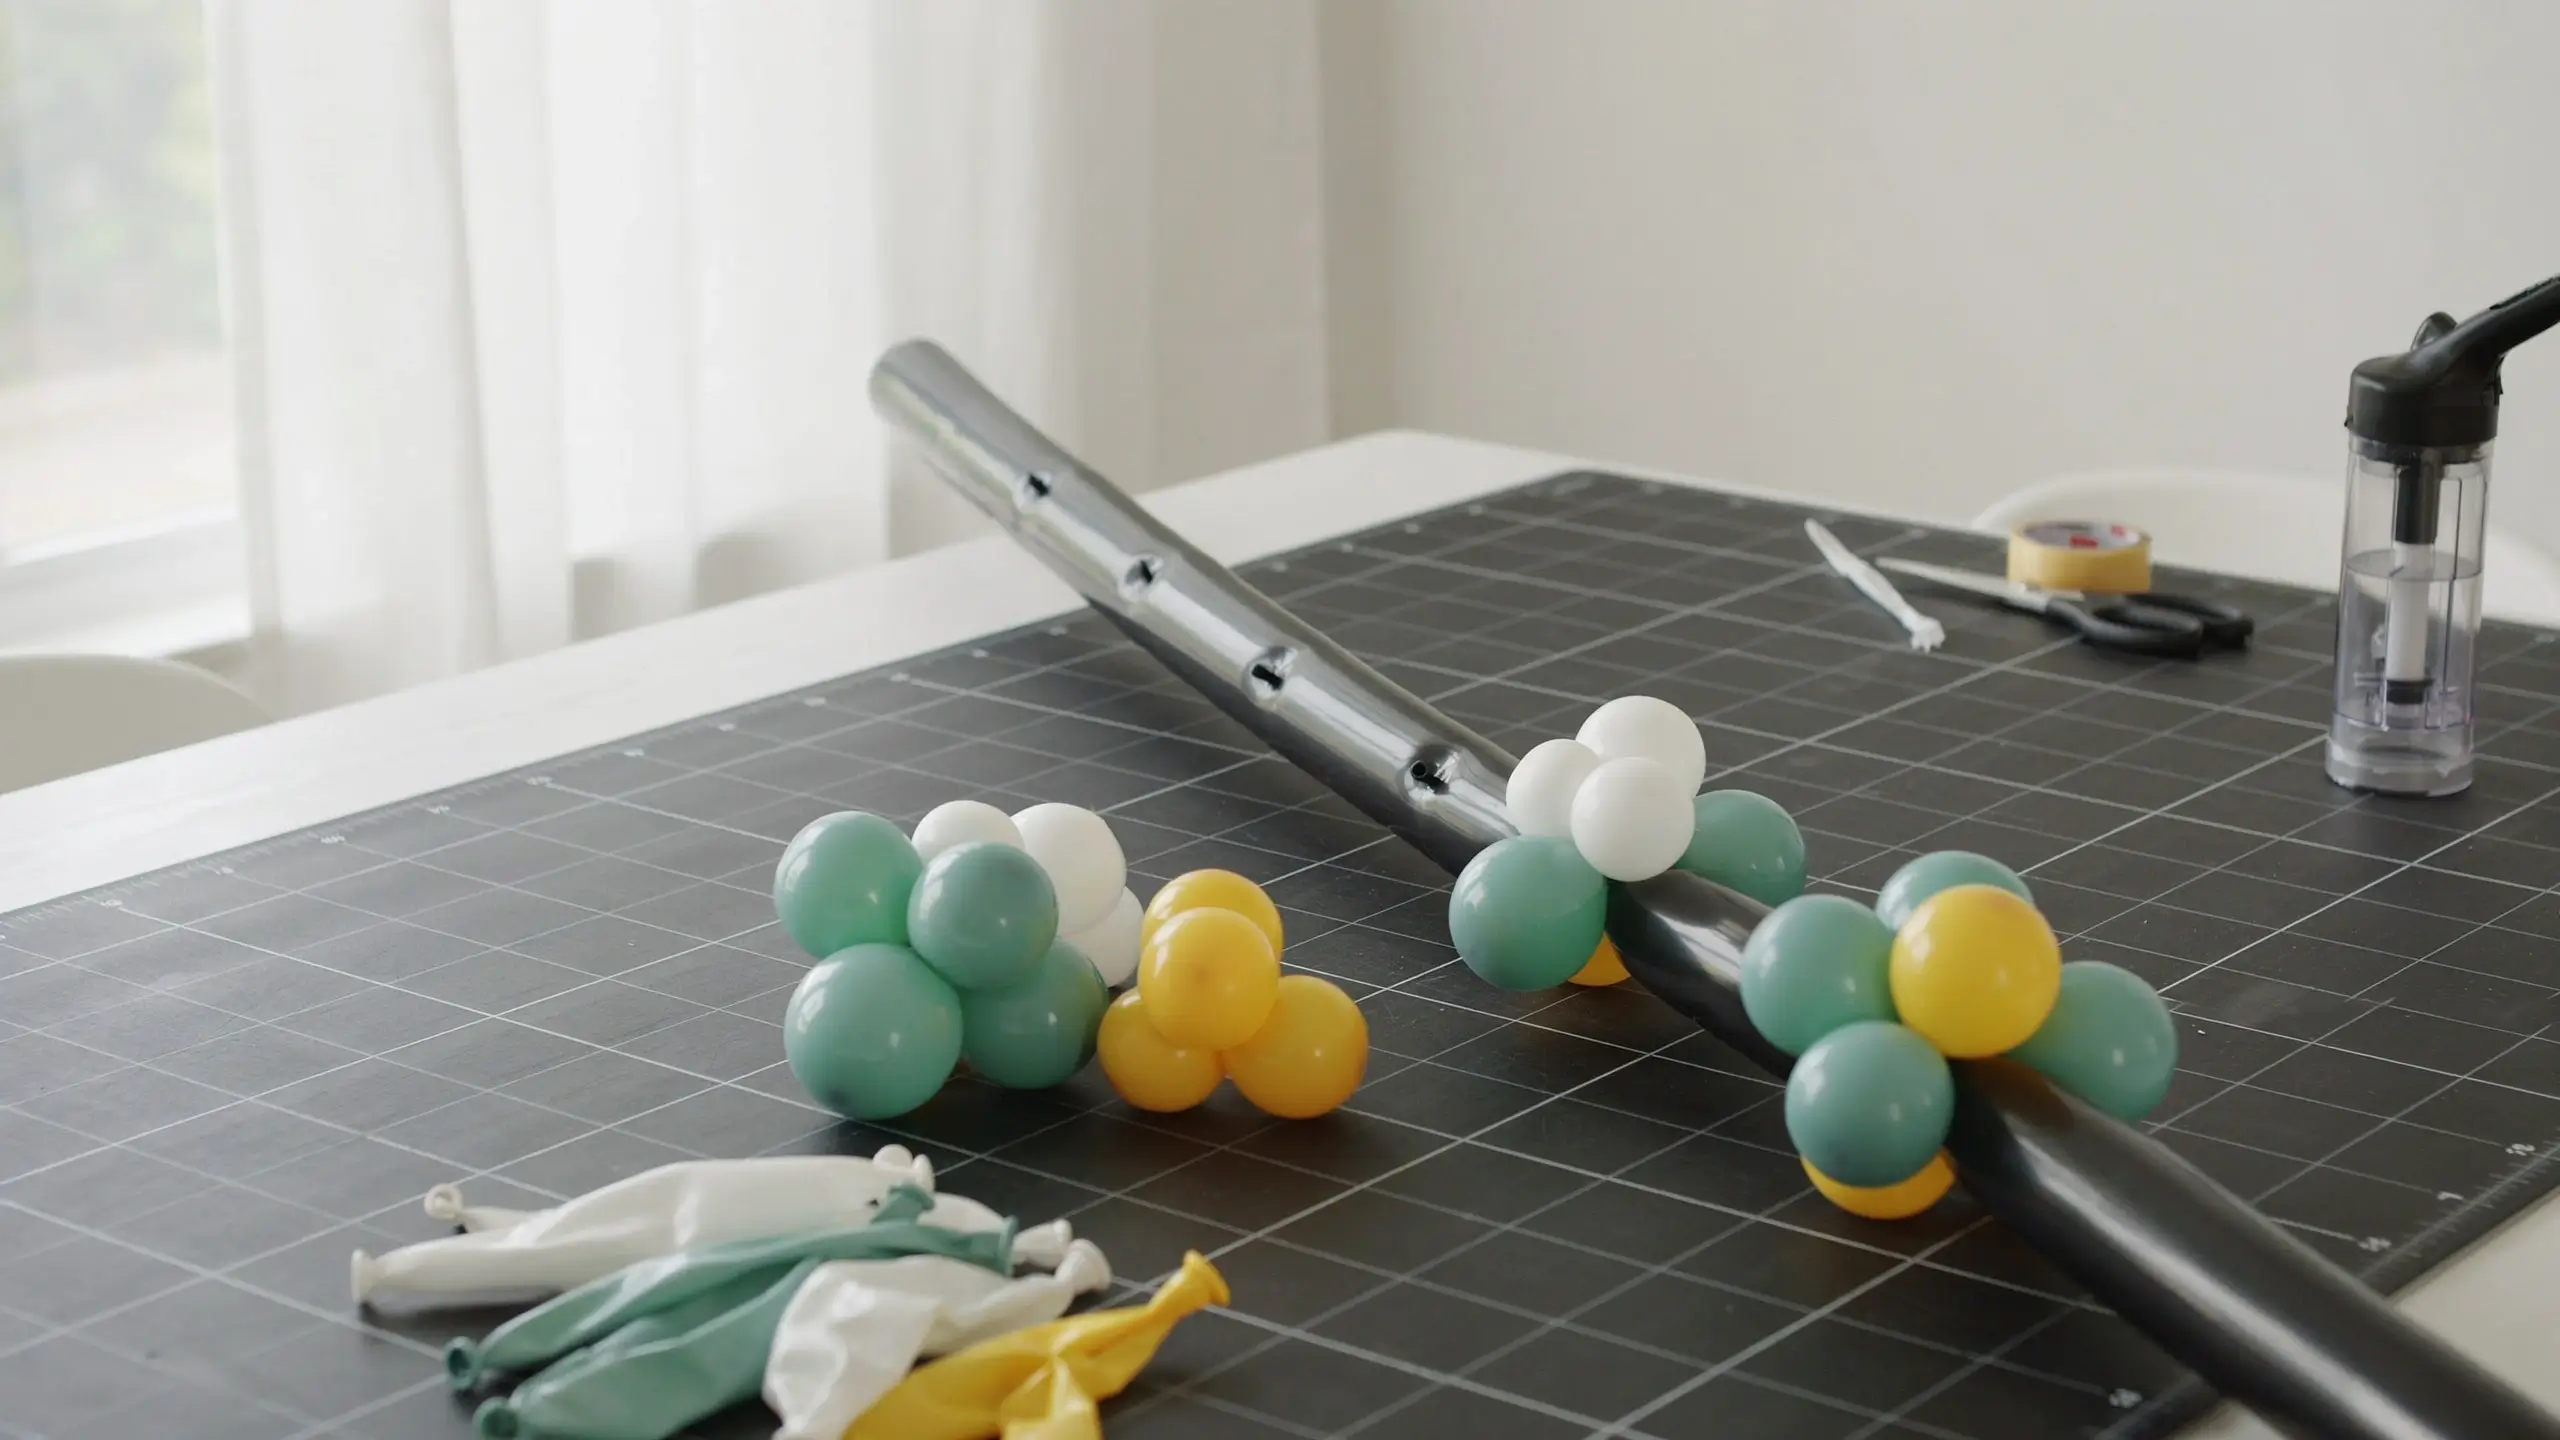
Push the tied necks of each cluster through the holes in the decorating strip, skipping a hole or two between clusters so the balloons have room to puff out rather than getting squished flat. Step back and check your progress every ten or so balloons. It is much easier to catch a color imbalance or a gap early than to fix it once the whole strip is done.
6. Fill Gaps With Mini Balloons
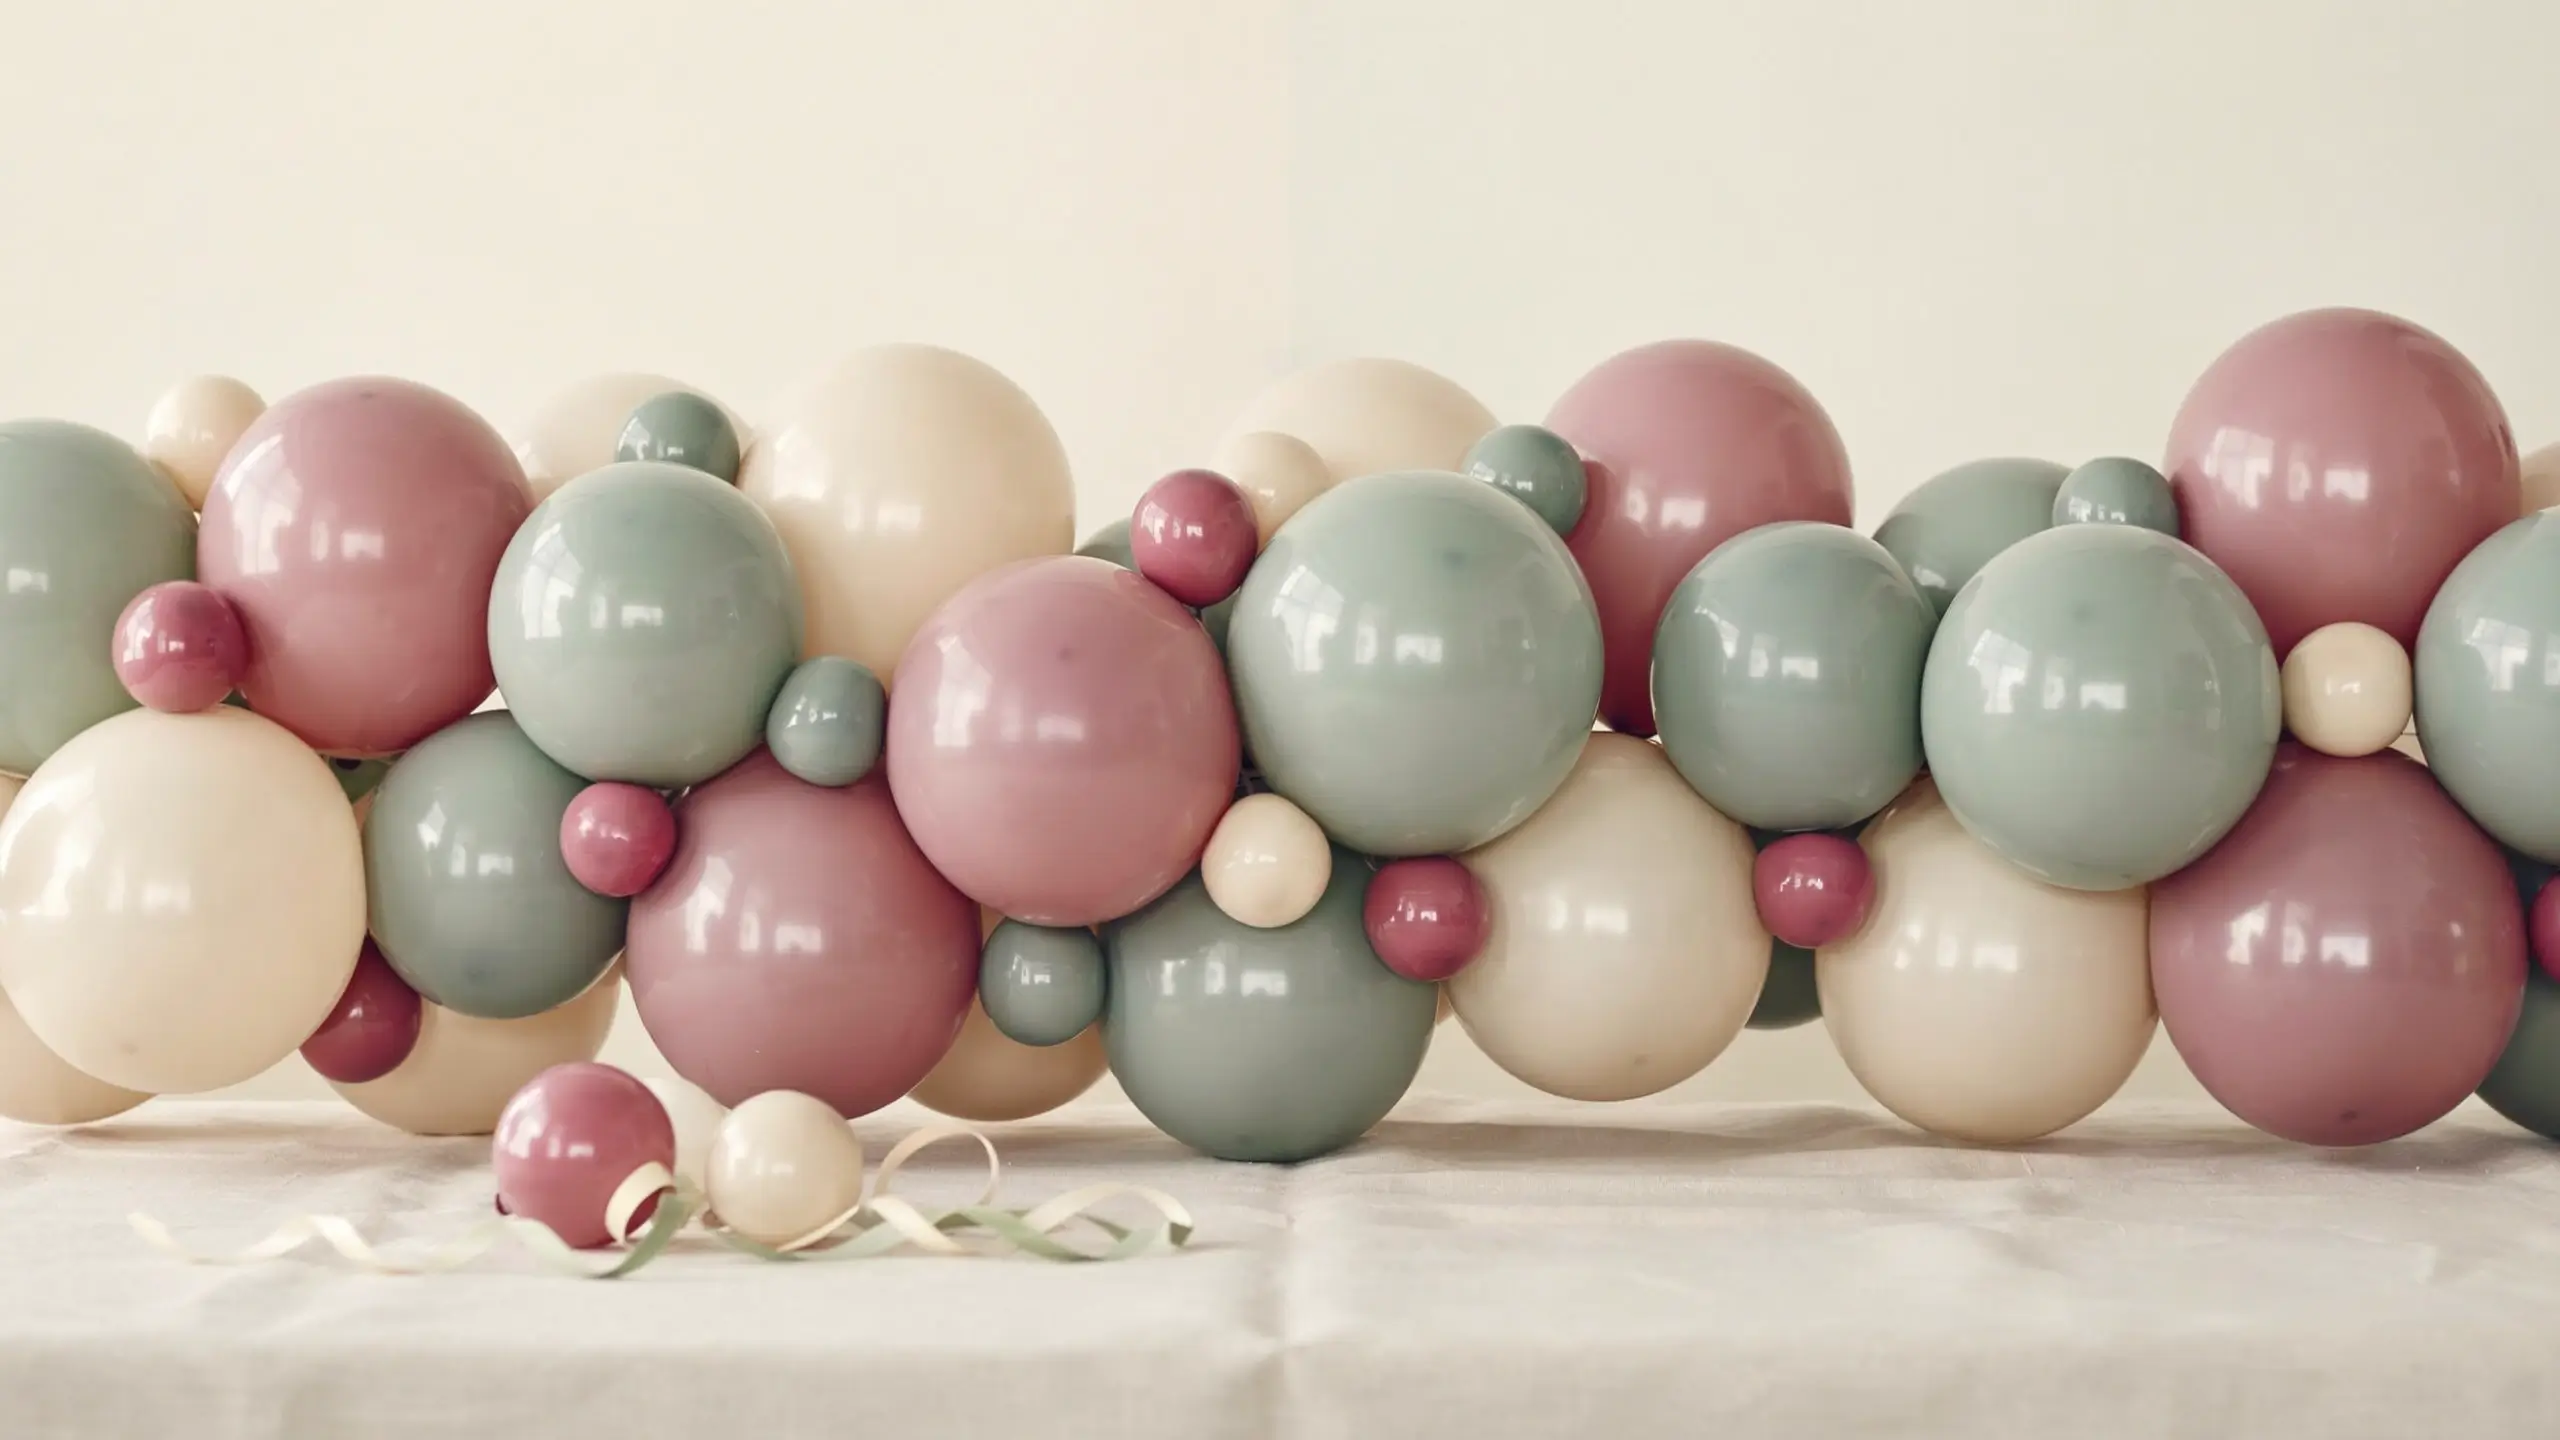
Once your main clusters are attached, go back through with small 5 inch balloons and tuck them into any visible gaps. This step is easy to skip when you are tired of blowing up balloons, but it makes a bigger difference than almost anything else on this list. Gaps are what make a homemade arch look homemade in the wrong way.
7. Mount the Strip to Your Frame or Wall
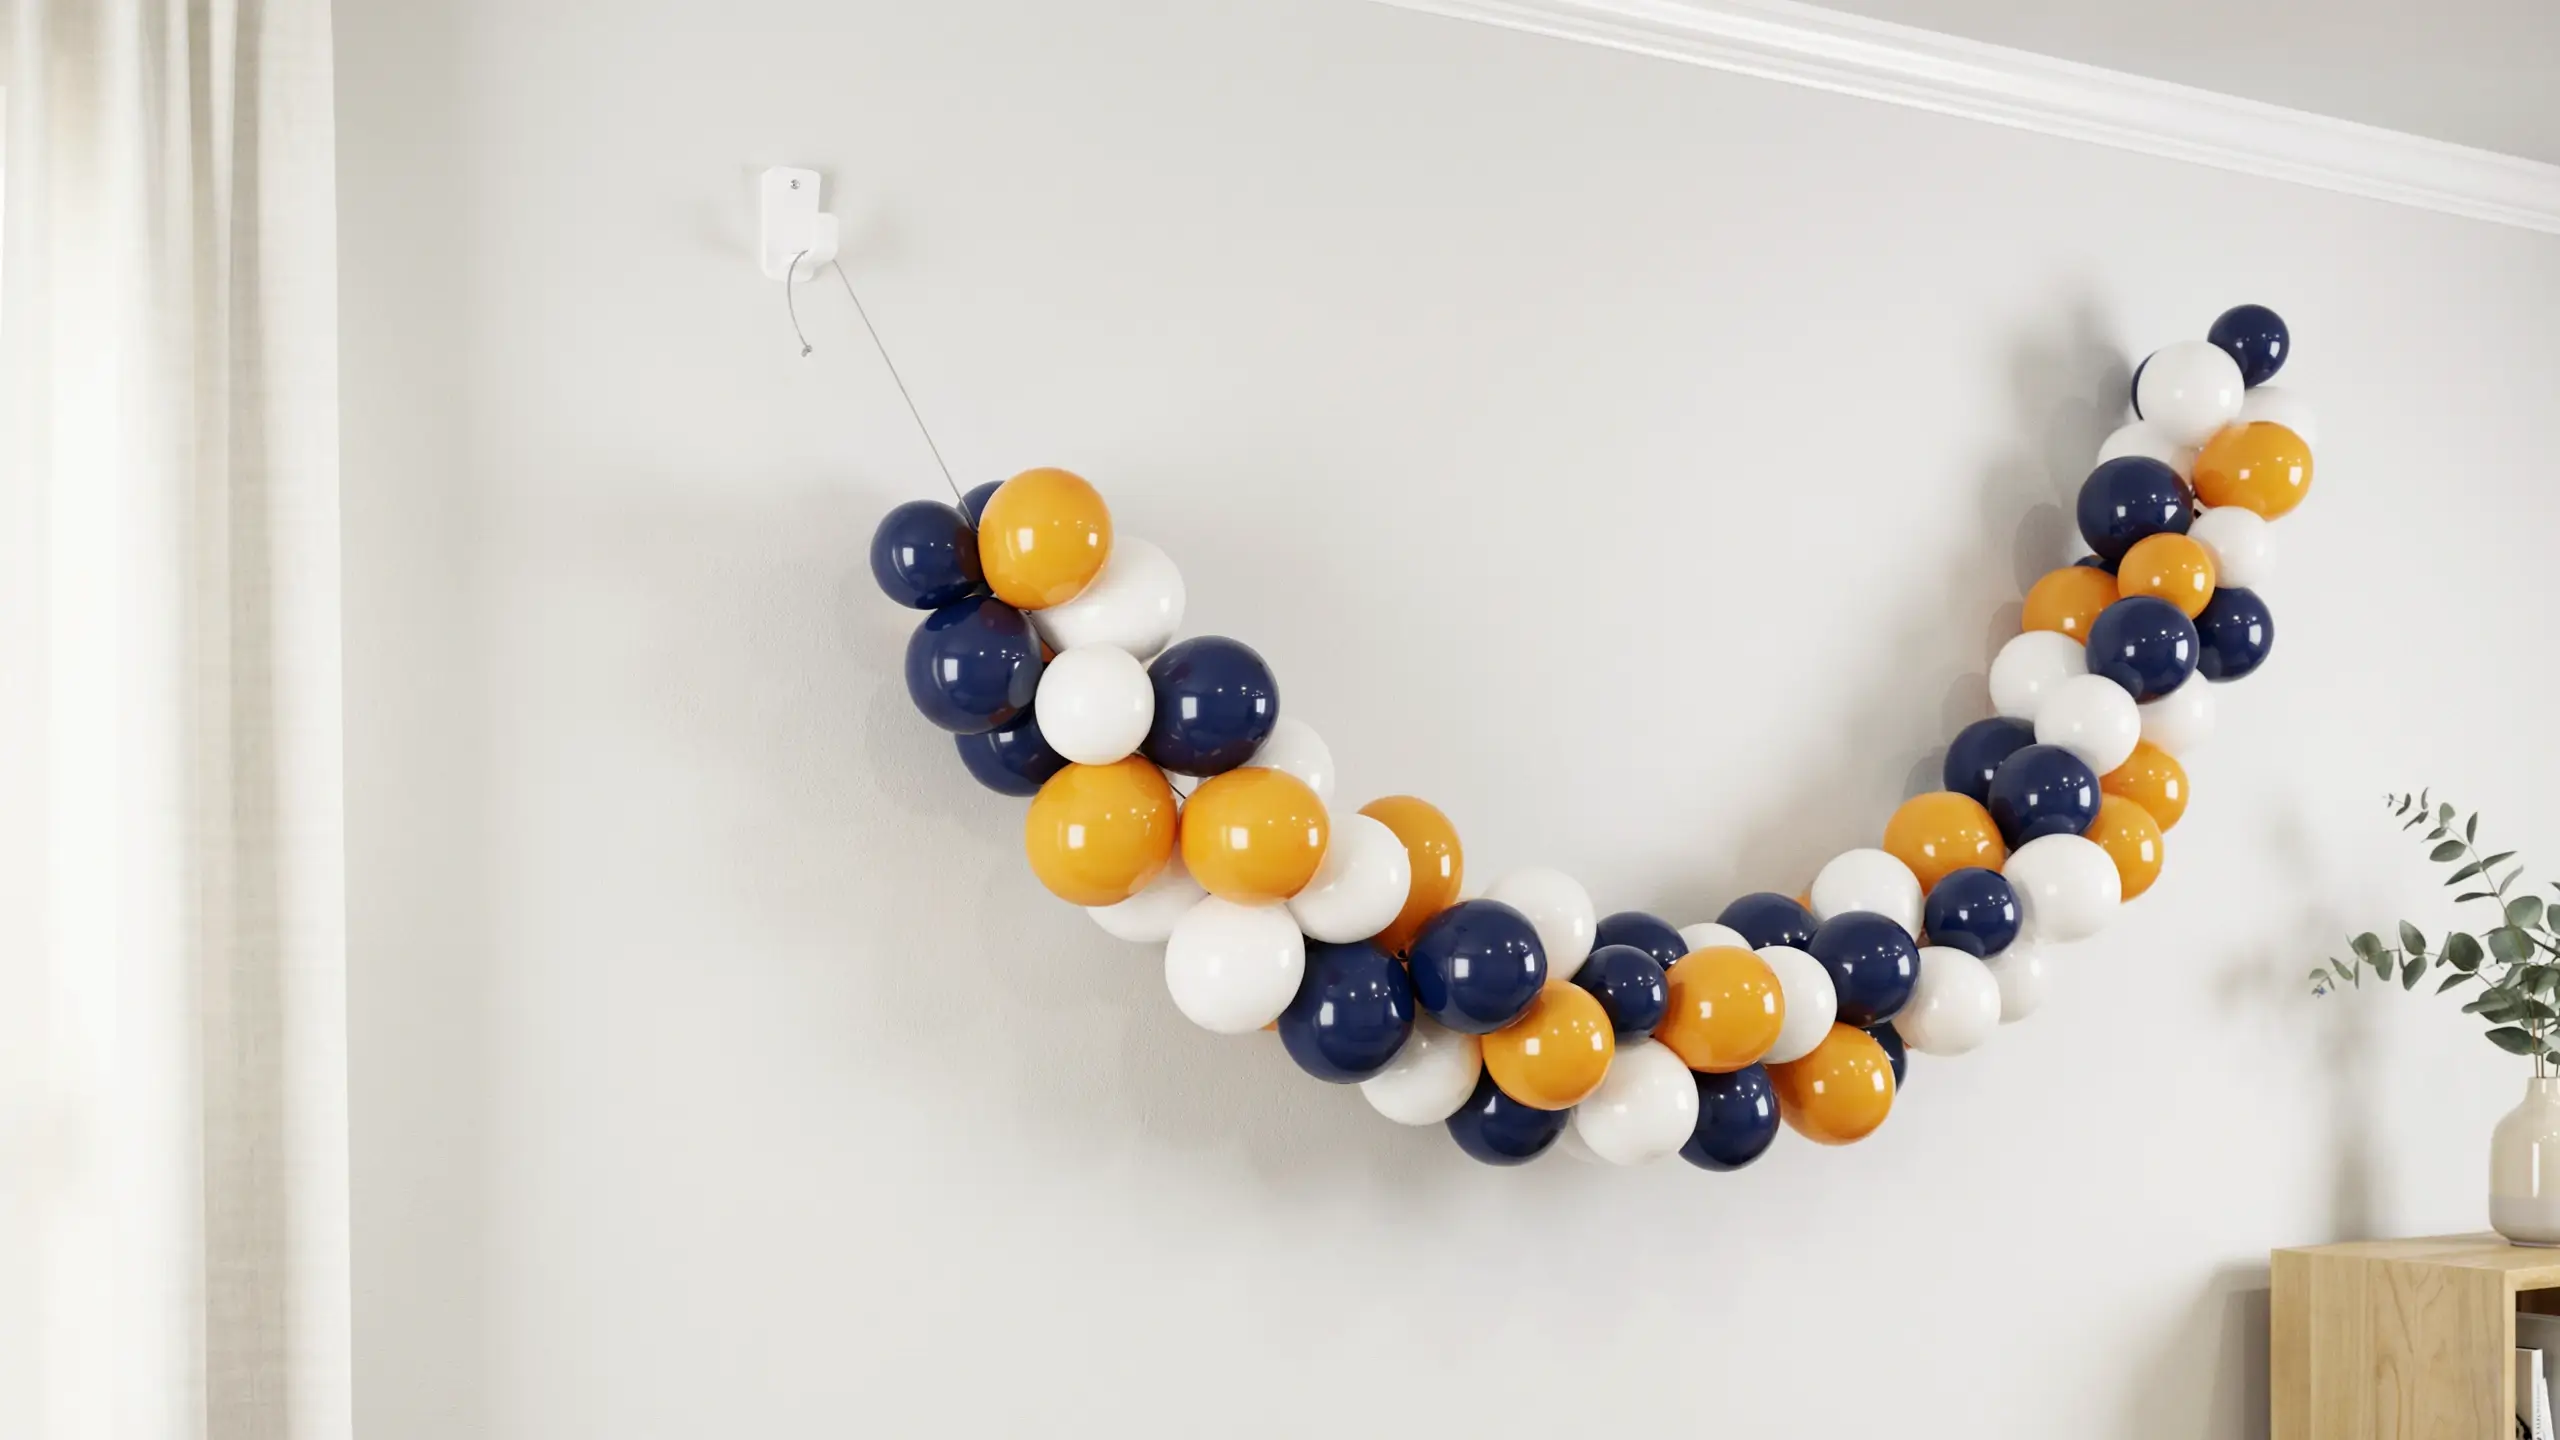
For a freestanding arch, use zip ties to attach your strip to the frame at a few points along the curve, keeping the strip centered as you go. For a flat garland, use command hooks placed at each end and along the top, then loop fishing line through the strip and around the hooks. Command hooks are the safest option for rentals or walls you cannot drill into, and they come off clean when the party is over.
8. Add Any Final Touches
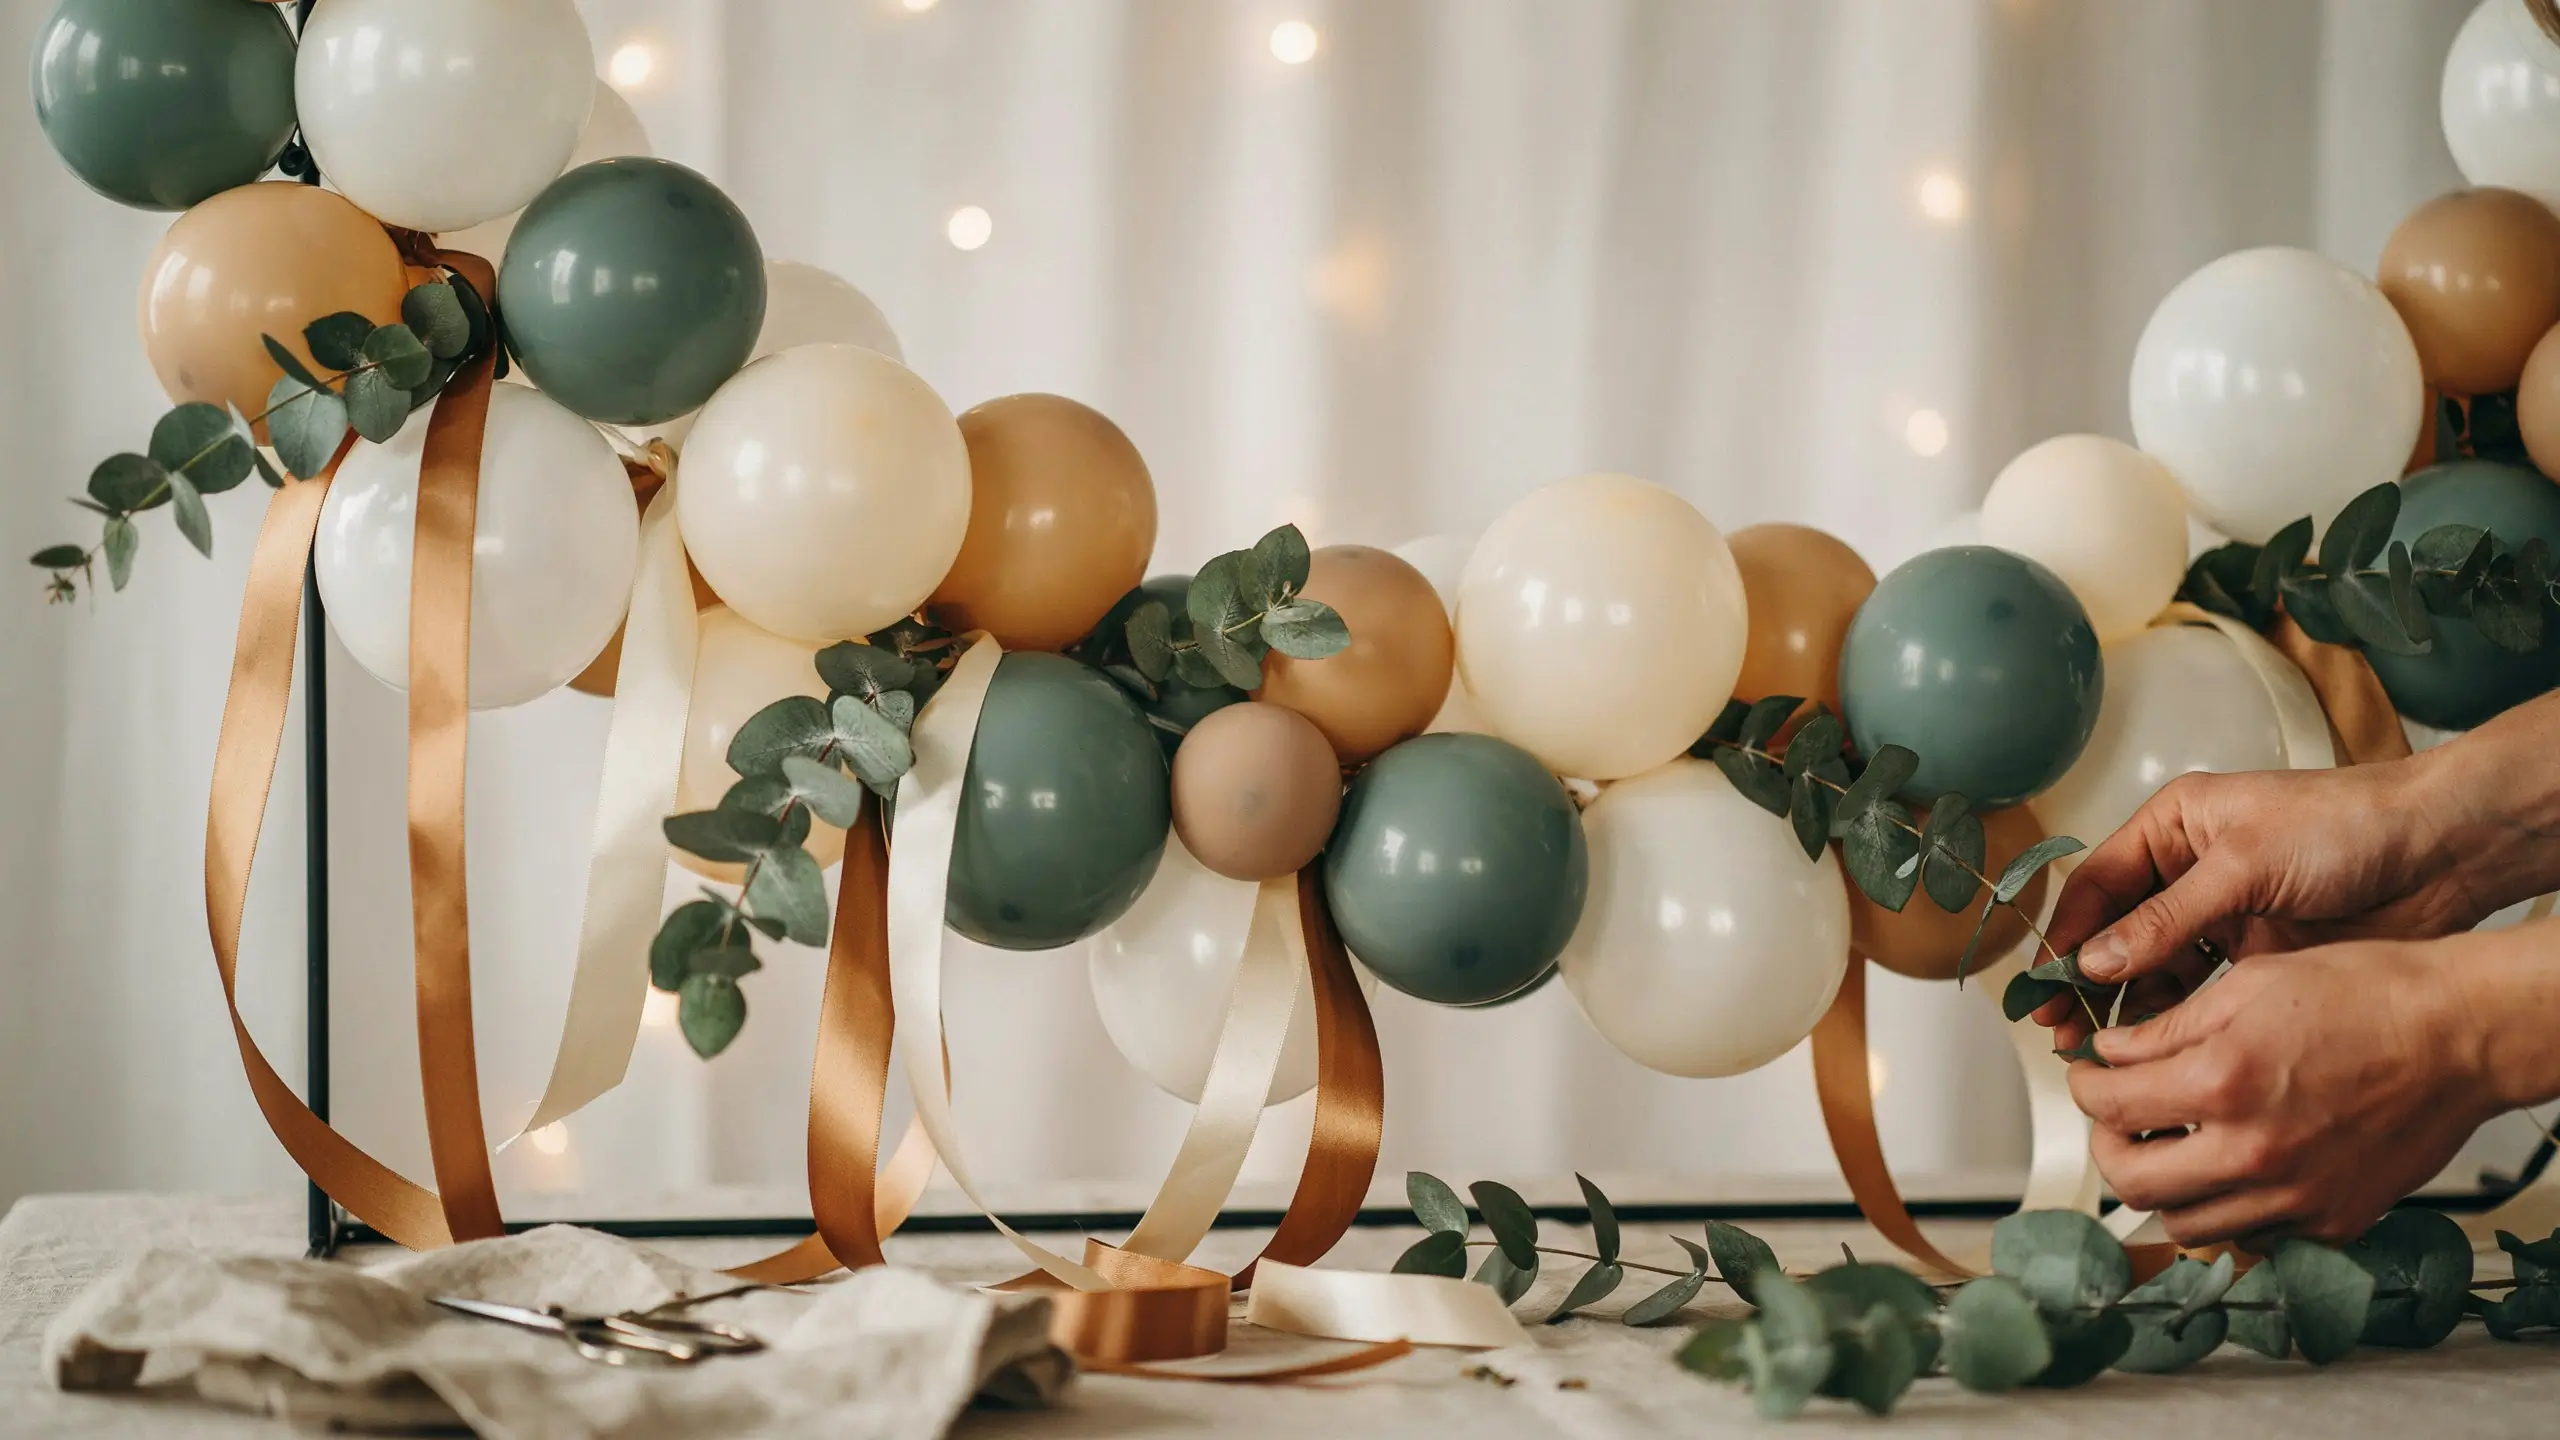
This is the moment to tuck in faux greenery, ribbon streamers, a fabric banner, or a few number or letter balloons if your arch is for a birthday. Add these last so they do not get buried under the balloon clusters.
Balloon Arch Style Ideas to Try
- Organic and airy: Loose clusters with visible gaps, mixed matte and pearl finishes, and a neutral palette like sage, cream, and terracotta.
- Bold and graphic: Two high-contrast colors like navy and marigold, tightly packed with no gaps, for a modern statement look.
- Pastel and dreamy: Soft pinks, lilacs, and blush tones with a few clear balloons mixed in, perfect for a baby shower or bridal event.
- Metallic accent: A mostly neutral arch with gold or rose gold foil balloons scattered through for shine without going overboard.
- Half arch: Balloons clustered heavier on one side and tapering off toward the other, great for a corner or an asymmetrical photo backdrop.
Mistakes to Avoid
- Overinflating your balloons. A stretched, shiny balloon is a balloon that is about to pop. Leave a little give.
- Using all one balloon size. This is the fastest way to end up with a flat, thin-looking garland instead of a full arch.
- Skipping the mini balloons. Gaps are the biggest giveaway of a rushed arch.
- Taping directly to painted walls or wallpaper. Command hooks and removable strips protect your walls and your security deposit.
- Setting it up outdoors on a hot, sunny day. Heat expands the air inside balloons and can cause a wave of pops within minutes. If your event is outside, set up in shade and as close to start time as possible.
- Forgetting a repair kit. Keep a few spare balloons, extra glue dots, and your pump nearby during the event in case one pops.
How Far in Advance Can You Build a Balloon Arch?
Most latex balloon arches hold up well for 24 hours if they are kept indoors, away from direct sunlight and temperature swings. If you are building the day before, slightly under-inflate your balloons and store the finished arch flat in a cool room until it is time to hang it. Hanging your decorating strip up a week ahead of time, before you add balloons, also helps it uncurl so it lies flatter once you start building.
Final Thoughts
A DIY balloon arch is one of those projects where the process looks a lot messier than the result. Once your clusters are tied, your gaps are filled, and it is mounted in place, nobody can tell it did not come from a professional balloon artist. Start with your color plan, take your time on the cluster step, and do not skip the mini balloons.
Have you tried making your own balloon arch? I would love to hear what worked for you, or what you would do differently next time. Drop a comment below and let me know.

No Comment! Be the first one.