




Handmade Teacher Gifts Kids Can Make at Home (No Craft Store Required)
It’s the night before Teacher Appreciation Week and you just remembered. Or it’s the last day of school and your kid wants to give their teacher something that isn’t another gift...

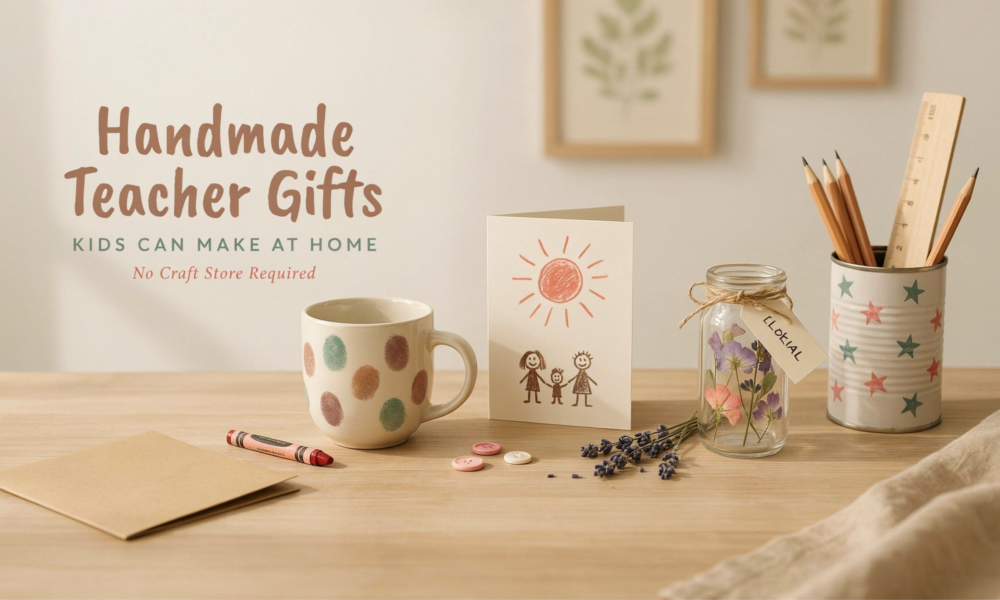
It’s the night before Teacher Appreciation Week and you just remembered. Or it’s the last day of school and your kid wants to give their teacher something that isn’t another gift card. Either way, you don’t need a craft store run, a Cricut, or a printer full of downloads to pull this off.
Every idea below uses things you probably already have around the house: mason jars, paint, cardboard, pantry ingredients, and stuff from the yard. The goal is a gift that clearly came from your child’s hands, not from a shopping cart. Ask most teachers and they’ll tell you the same thing: the obviously kid-made gifts are the ones they actually keep.
Here are real, doable handmade teacher gifts kids can make at home, sorted by what kind of “made at home” they are. Each one lists exactly what you need, how to make it, what age it suits, and the one mistake that trips people up.
What Actually Makes a Handmade Gift Feel Special
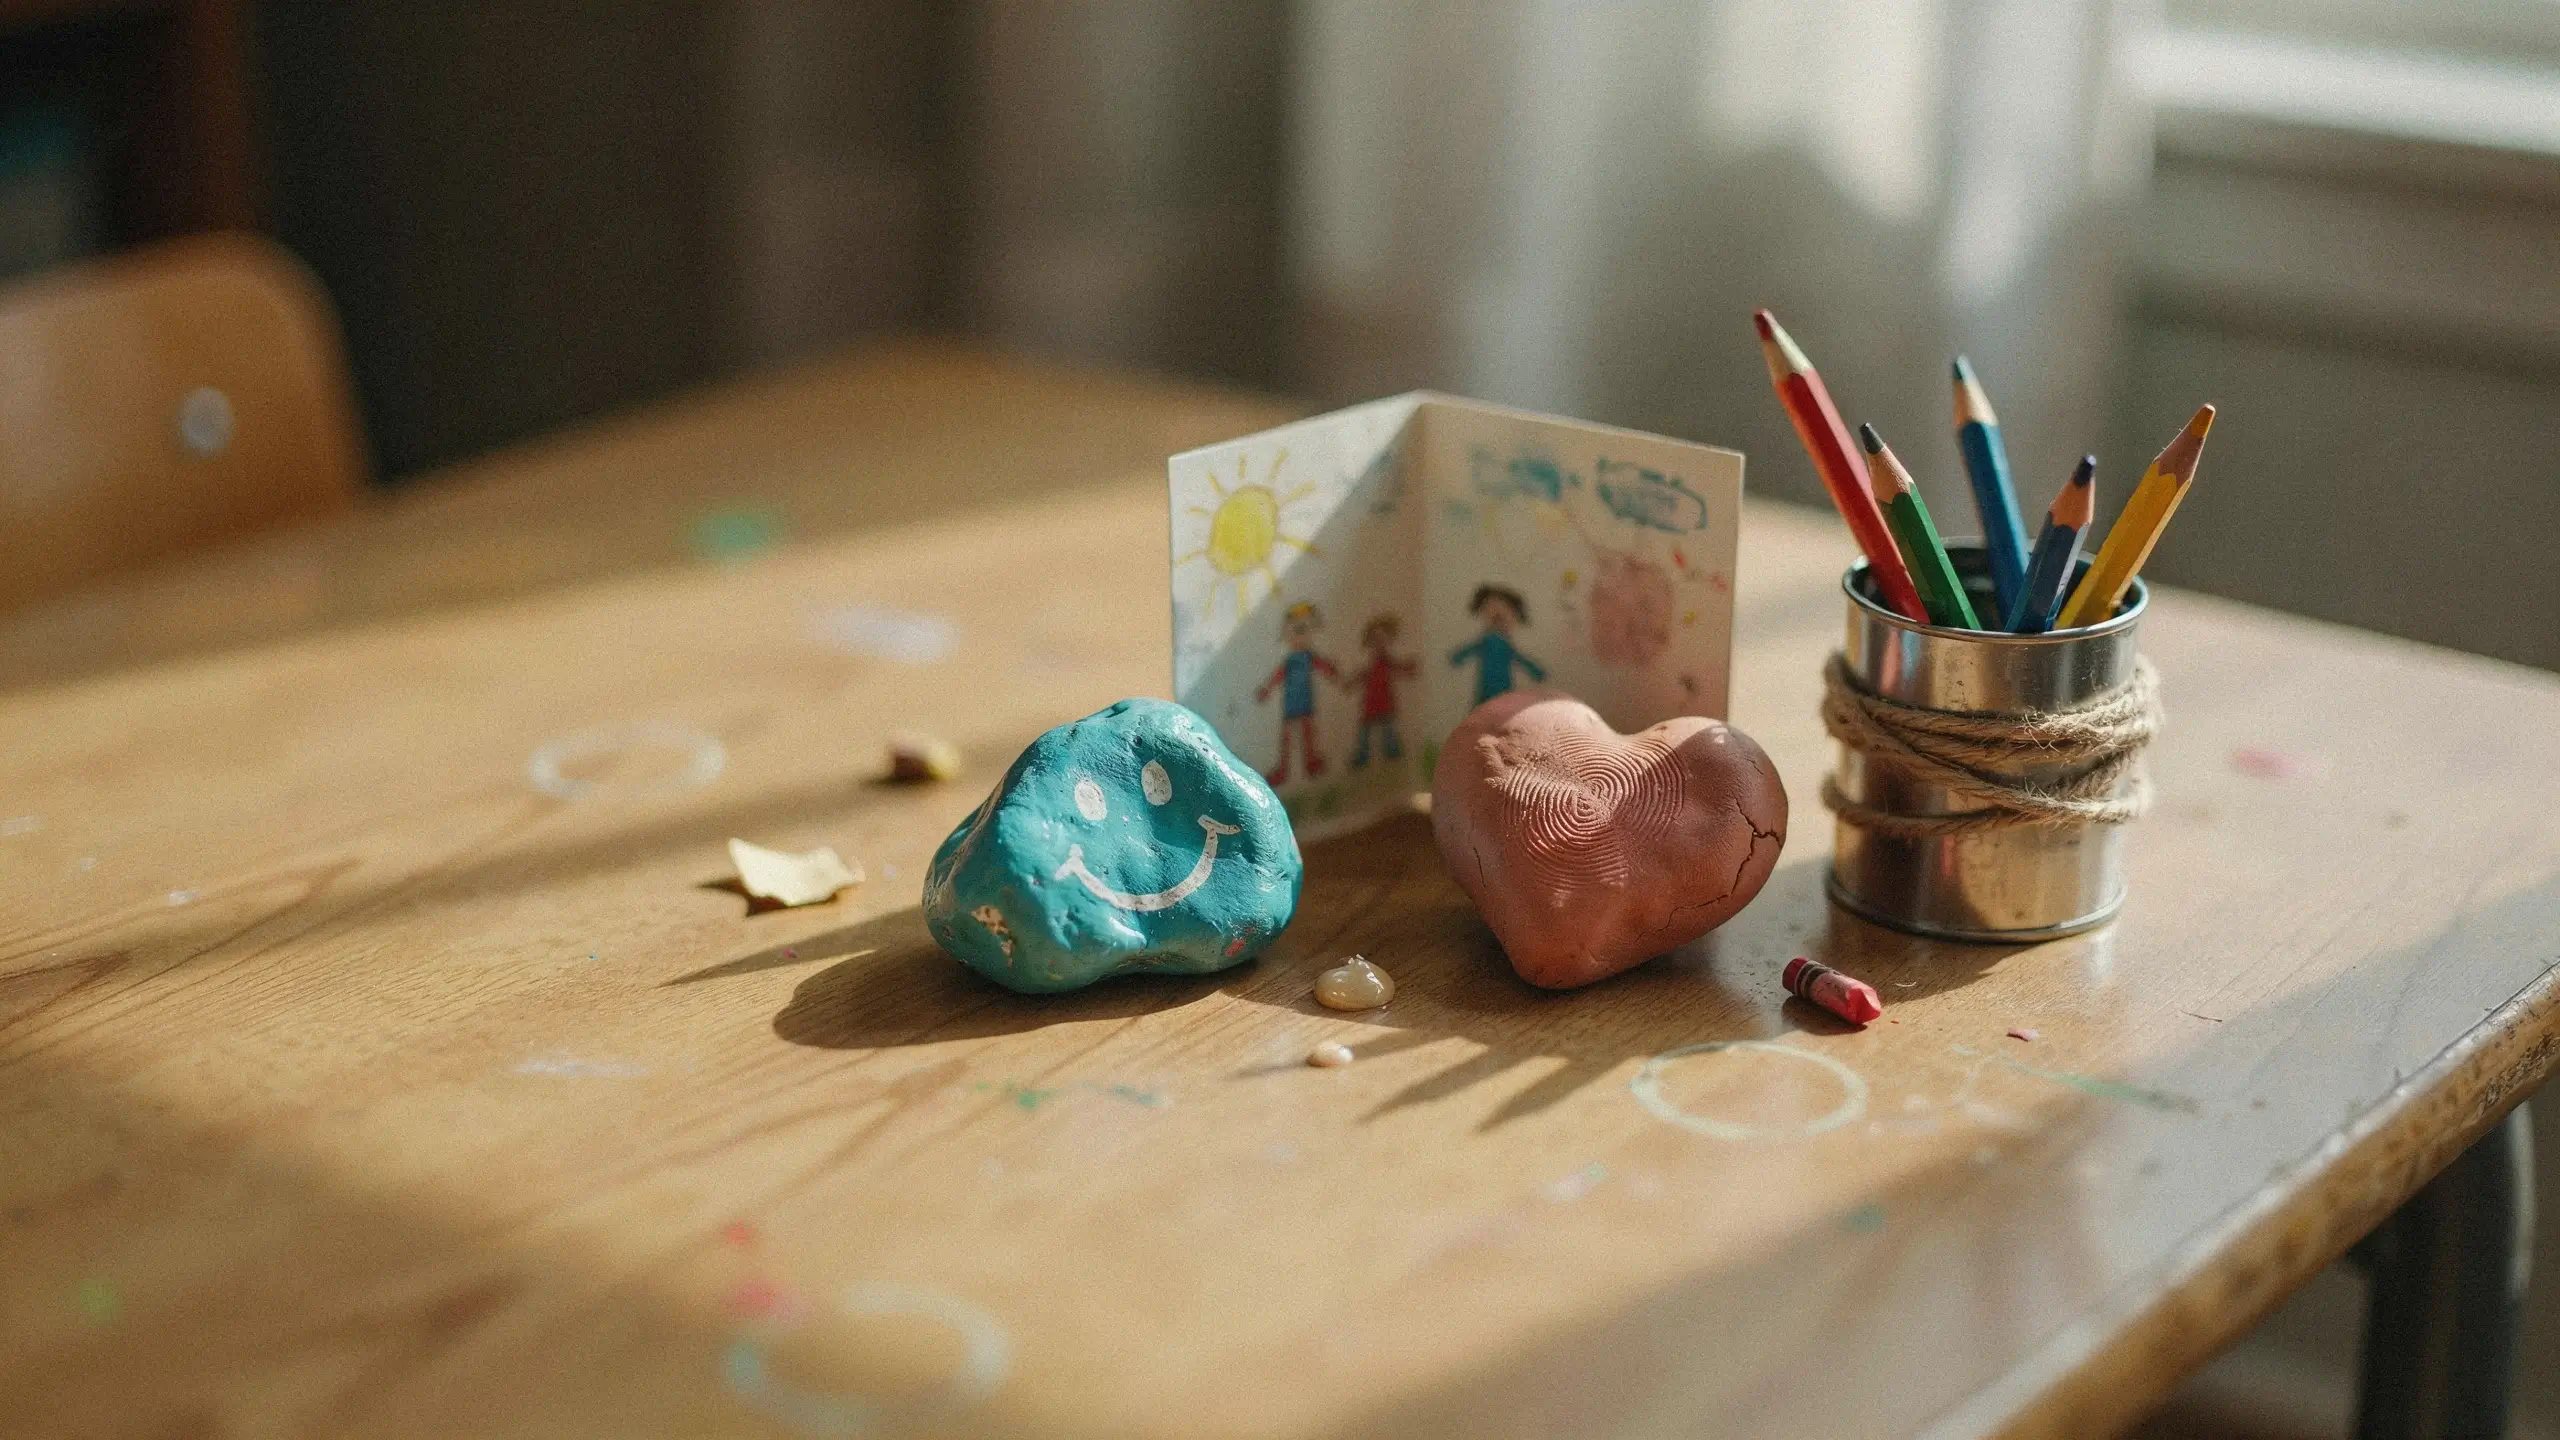
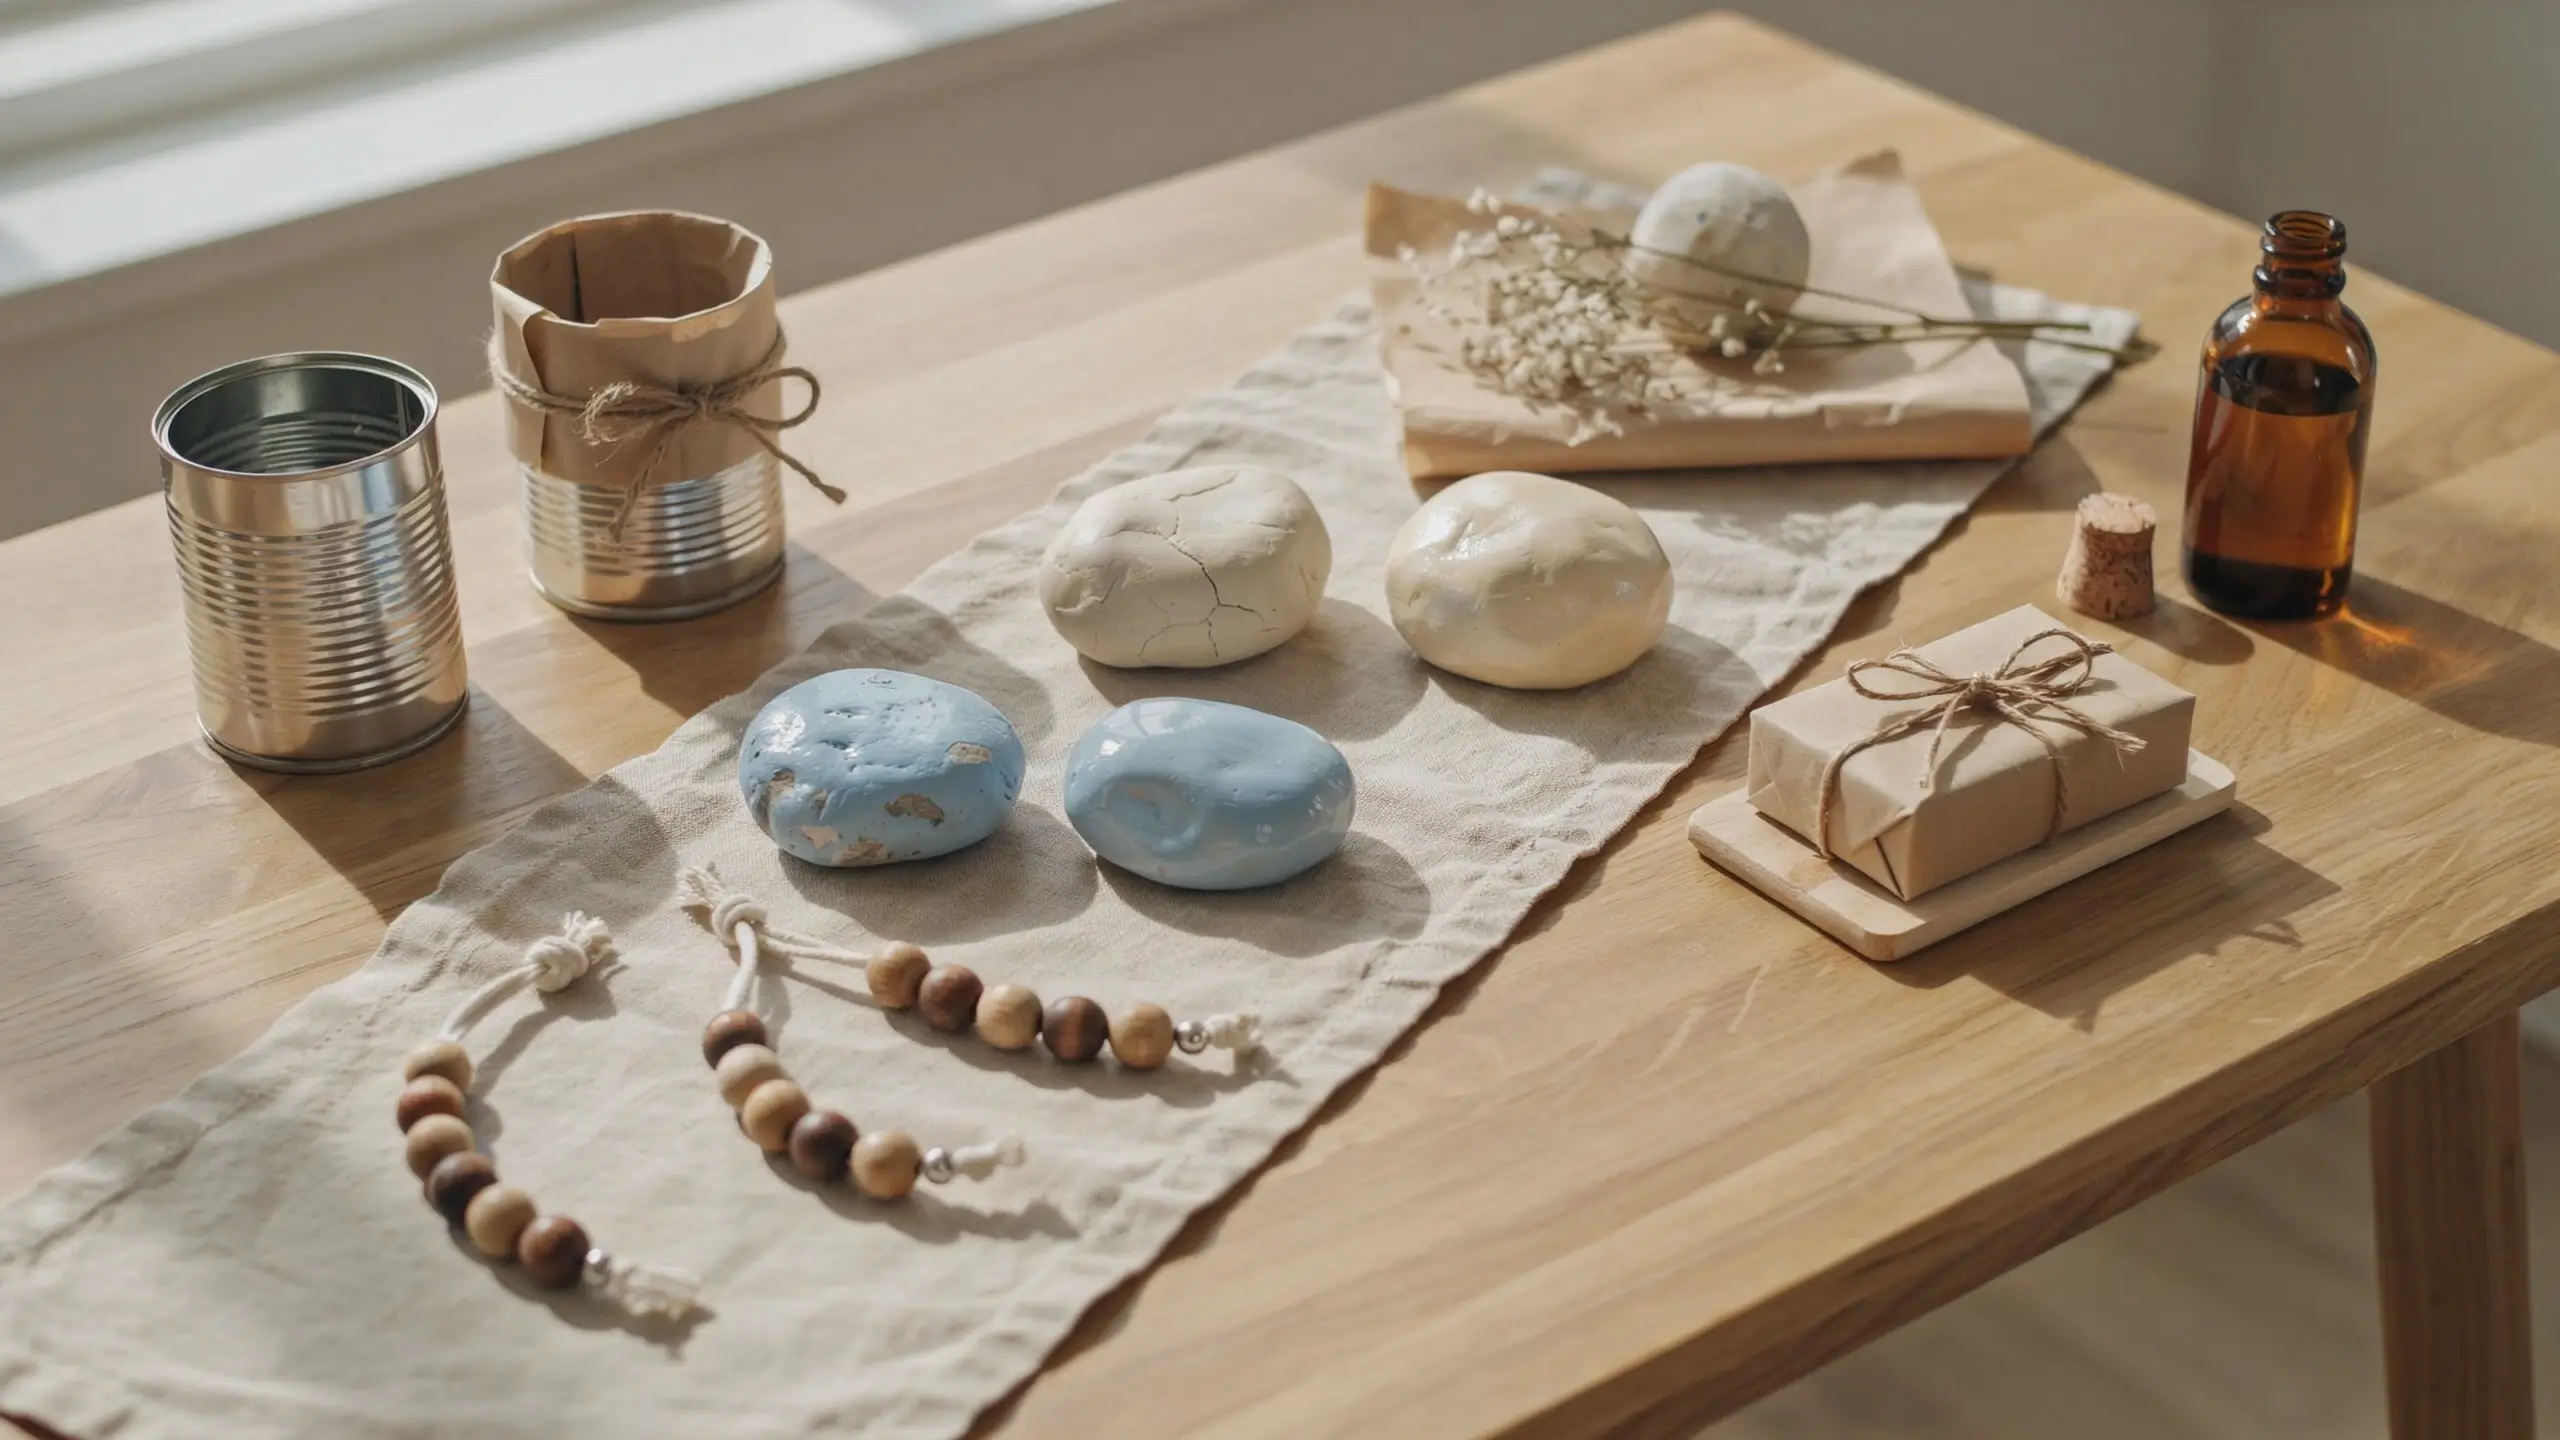
Teachers get a lot of candles and coffee mugs. What sticks with them is proof that one specific kid made one specific thing, just for them. A slightly wobbly painted rock with a real signature usually means more than a perfect store display.
Keep three things in mind as you go through this list. Let the imperfections show instead of fixing them. Always include your child’s name and grade somewhere on the gift, since most teachers see well over a hundred kids across all their classes in a year. And pick something the teacher can actually use or display, not just something that looks cute for five minutes and then sits in a drawer.
Quick Age Guide: What Your Kid Can Actually Handle
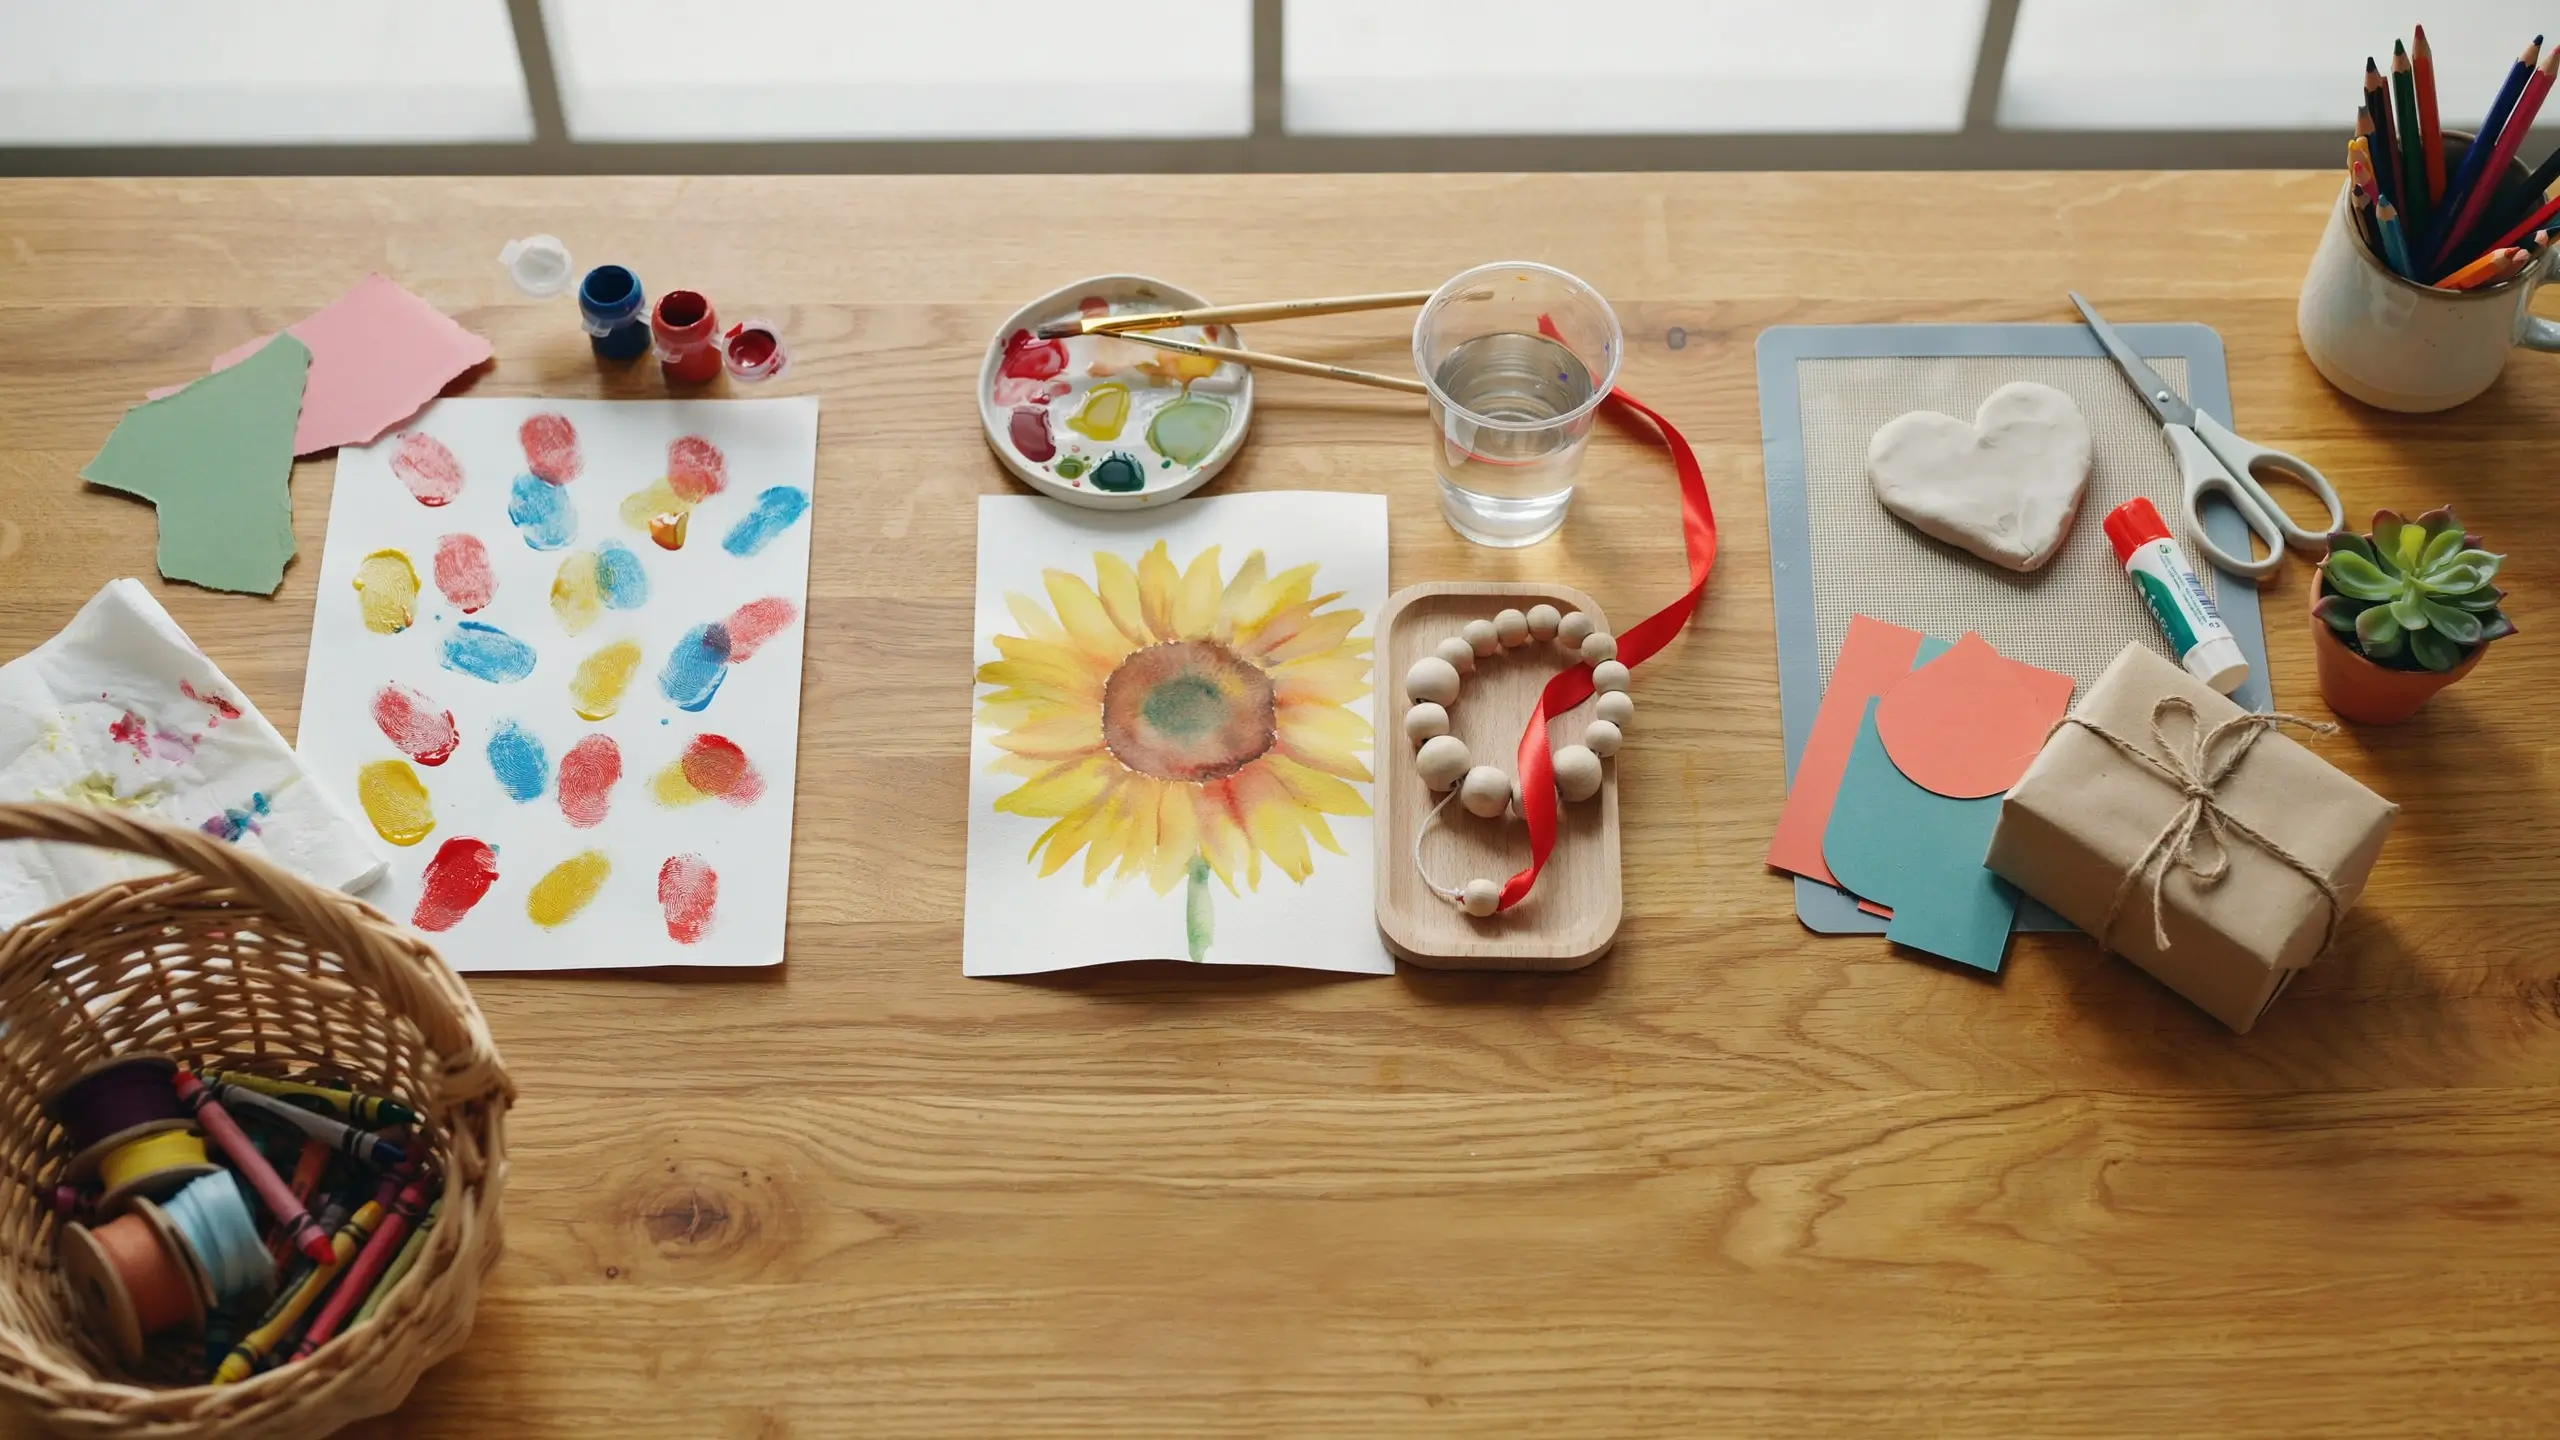
- Toddlers and preschool (ages 2 to 4): handprints, fingerprint dot painting, tearing paper for a collage, pressing pre-cut shapes into place. An adult handles any cutting, hot glue, or oven time.
- Elementary (ages 5 to 10): painting, tracing, simple stringing or lacing, measuring ingredients, writing short notes. Most steps below work with light supervision at this age.
- Tweens (11 and up): can handle almost everything solo, including cutting, gluing, more detailed painting, and writing a full card in their own words. This is the age where the kitchen and nature projects really shine, since they need patience more than skill.
Kid-Made Art Keepsakes
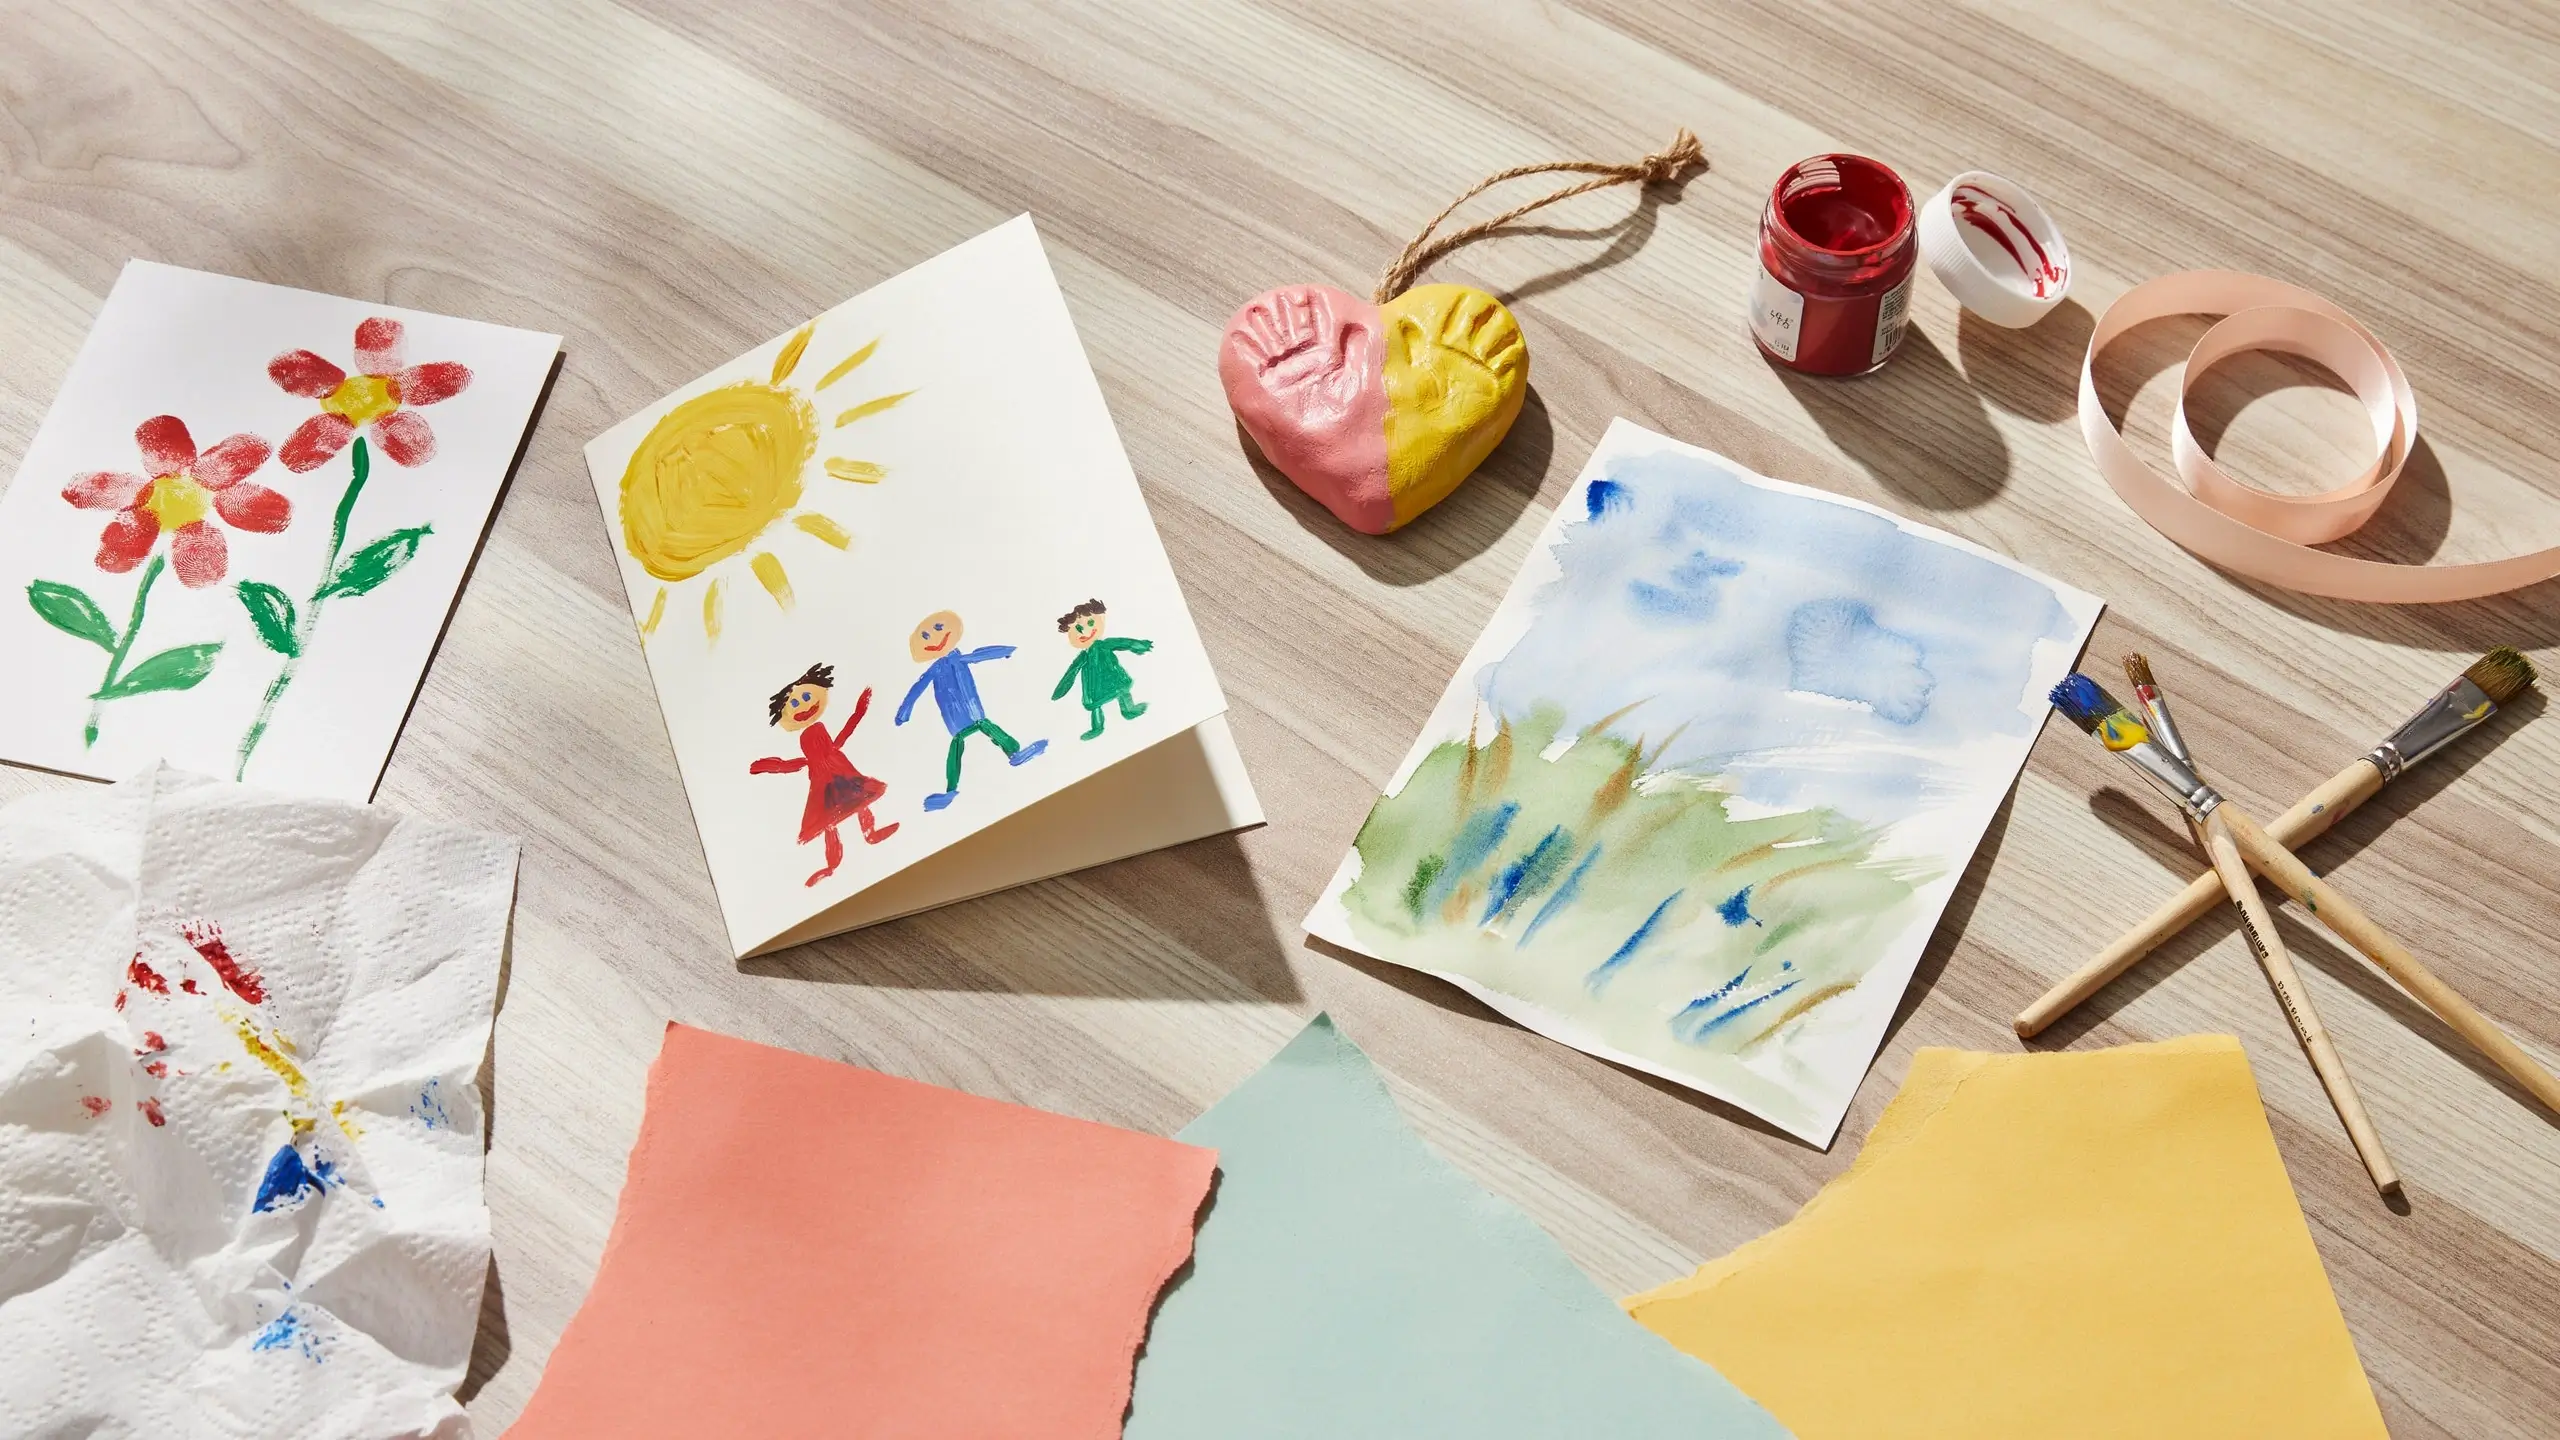
These use art supplies you already have on hand: paint, paper, and a little patience for drying time.
1. Fingerprint Keepsake Ornament
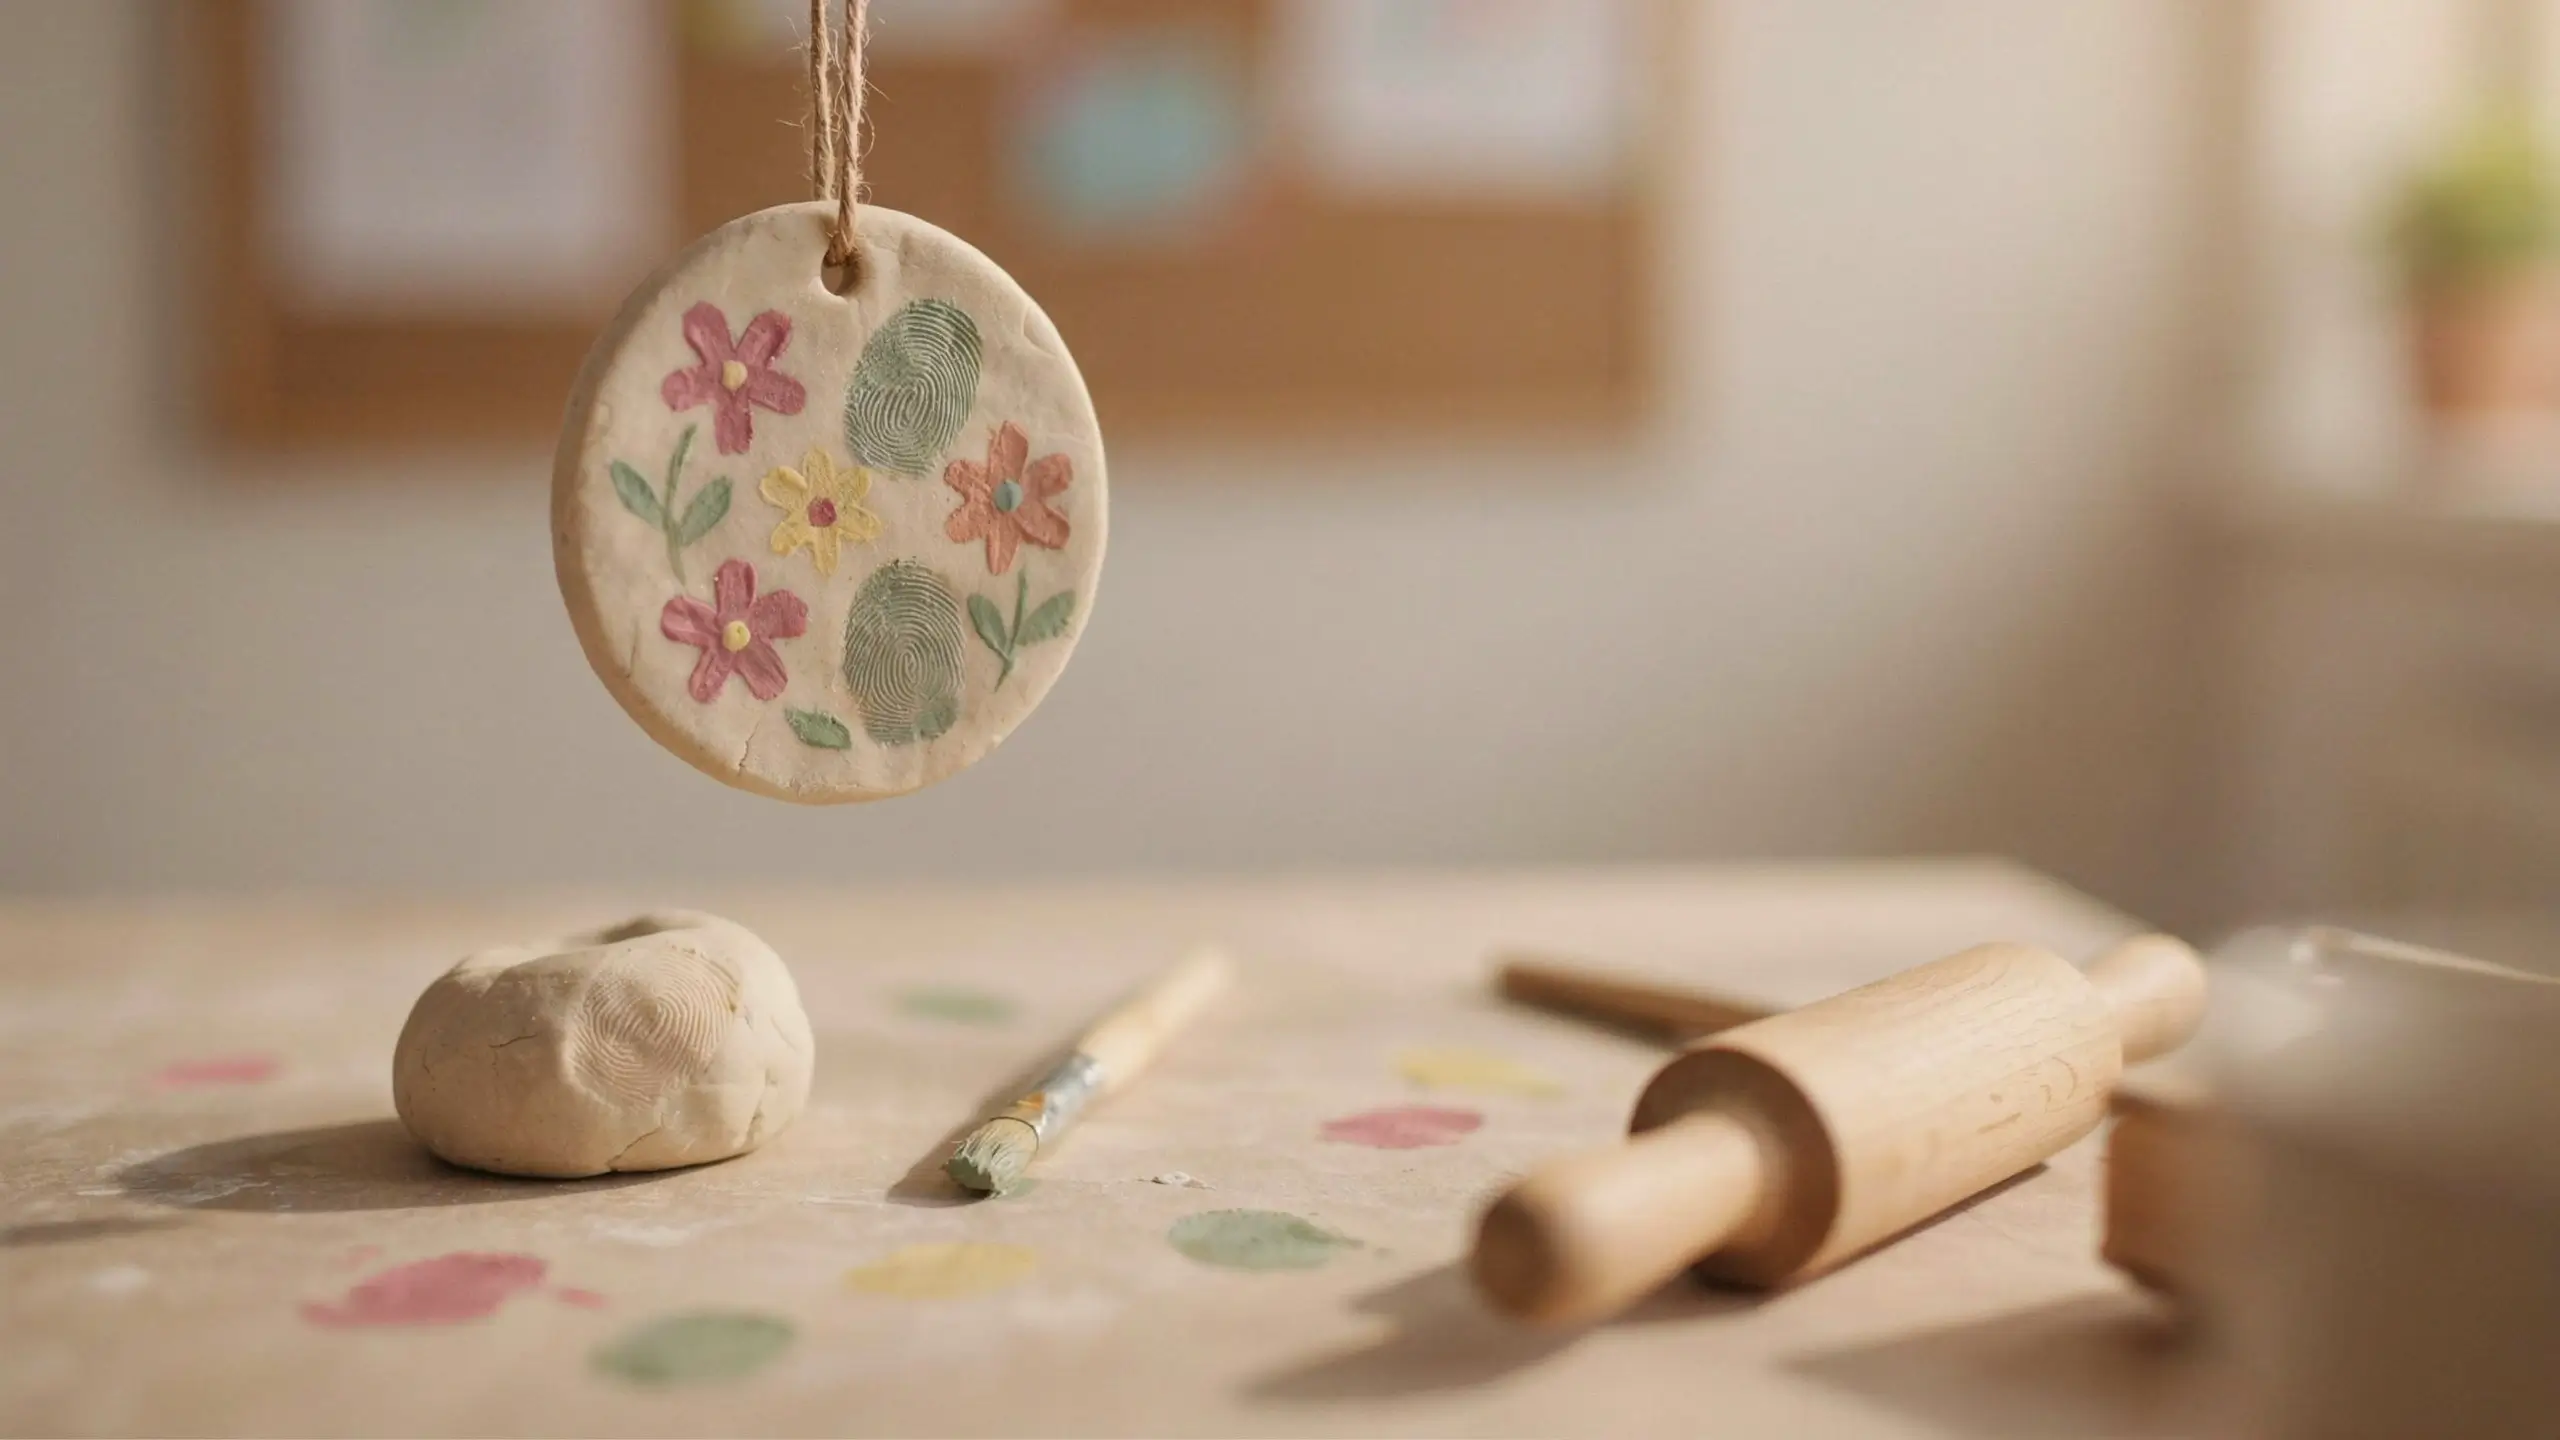
What you need: air-dry clay or homemade salt dough (flour, salt, water), acrylic or washable paint, a straw for a hanging hole, ribbon.
How to make it: Mix and roll the dough flat, then cut a circle, leaf, or heart shape with a cookie cutter or the rim of a cup. Have your child press their fingerprints into the shape to form flowers, a tree, or a simple pattern. Poke a hole near the top with the straw before it dries. Let it air dry for 24 to 48 hours, then paint the details once it’s fully hardened. Thread ribbon through the hole for hanging.
Age: elementary, with an adult mixing the dough and handling drying time.
Pinterest tip: photograph it hanging from a doorknob or against a plain wall. This is the kind of image that gets saved for “gift ideas” boards year after year.
Mistake to avoid: don’t rush the drying step. Painting over dough that’s still soft in the middle causes cracks later.
2. Watercolor Bookmark, No Laminator Needed
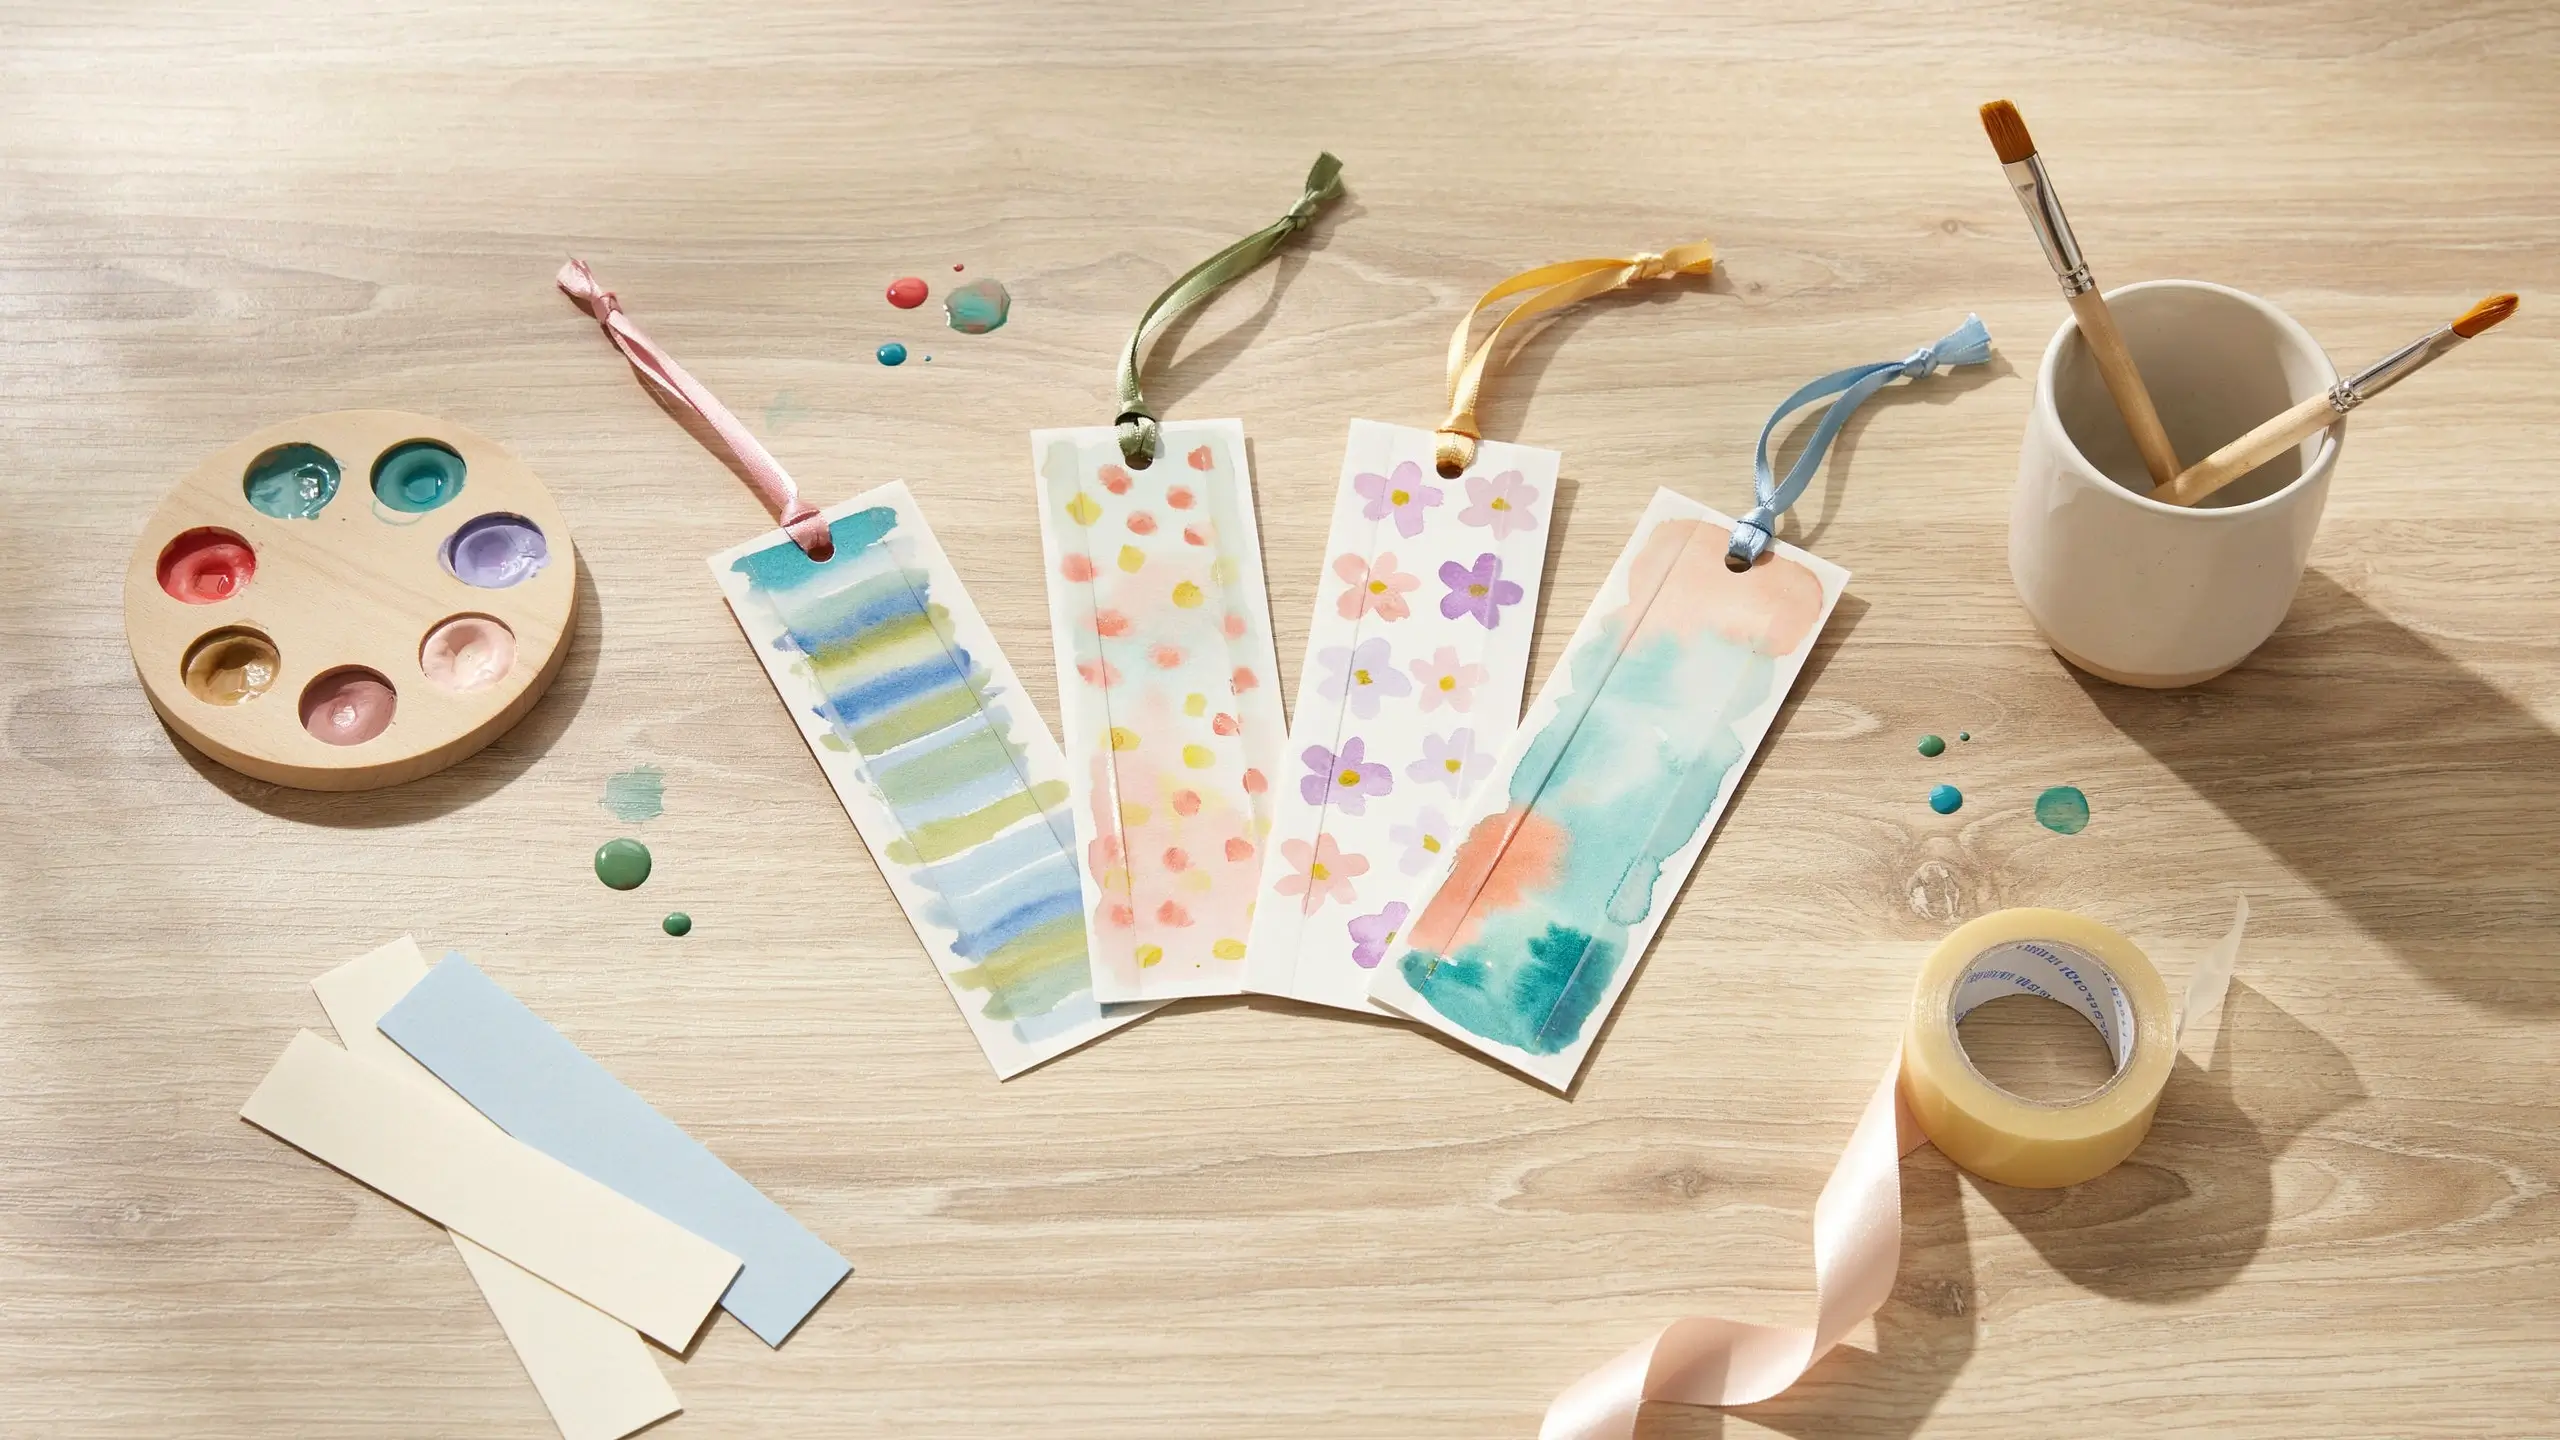
What you need: cardstock or a cut-up cereal box, watercolor paints or markers, clear packing tape or contact paper, hole punch, ribbon.
How to make it: Cut cardstock into bookmark strips, roughly 2 by 6 inches. Let your child paint or color a design and let it dry completely. Cover both sides with clear packing tape or contact paper to make it waterproof and sturdy, which does the same job as laminating without needing a machine. Trim the edges, punch a hole, and tie on a ribbon tassel.
Age: any age for the painting part, with help taping for younger kids.
Pinterest tip: fan out three or four finished bookmarks for a colorful flat-lay photo.
Mistake to avoid: taping over paint that’s only mostly dry traps moisture underneath and smears the design.
3. Marbled Paperweight Rock
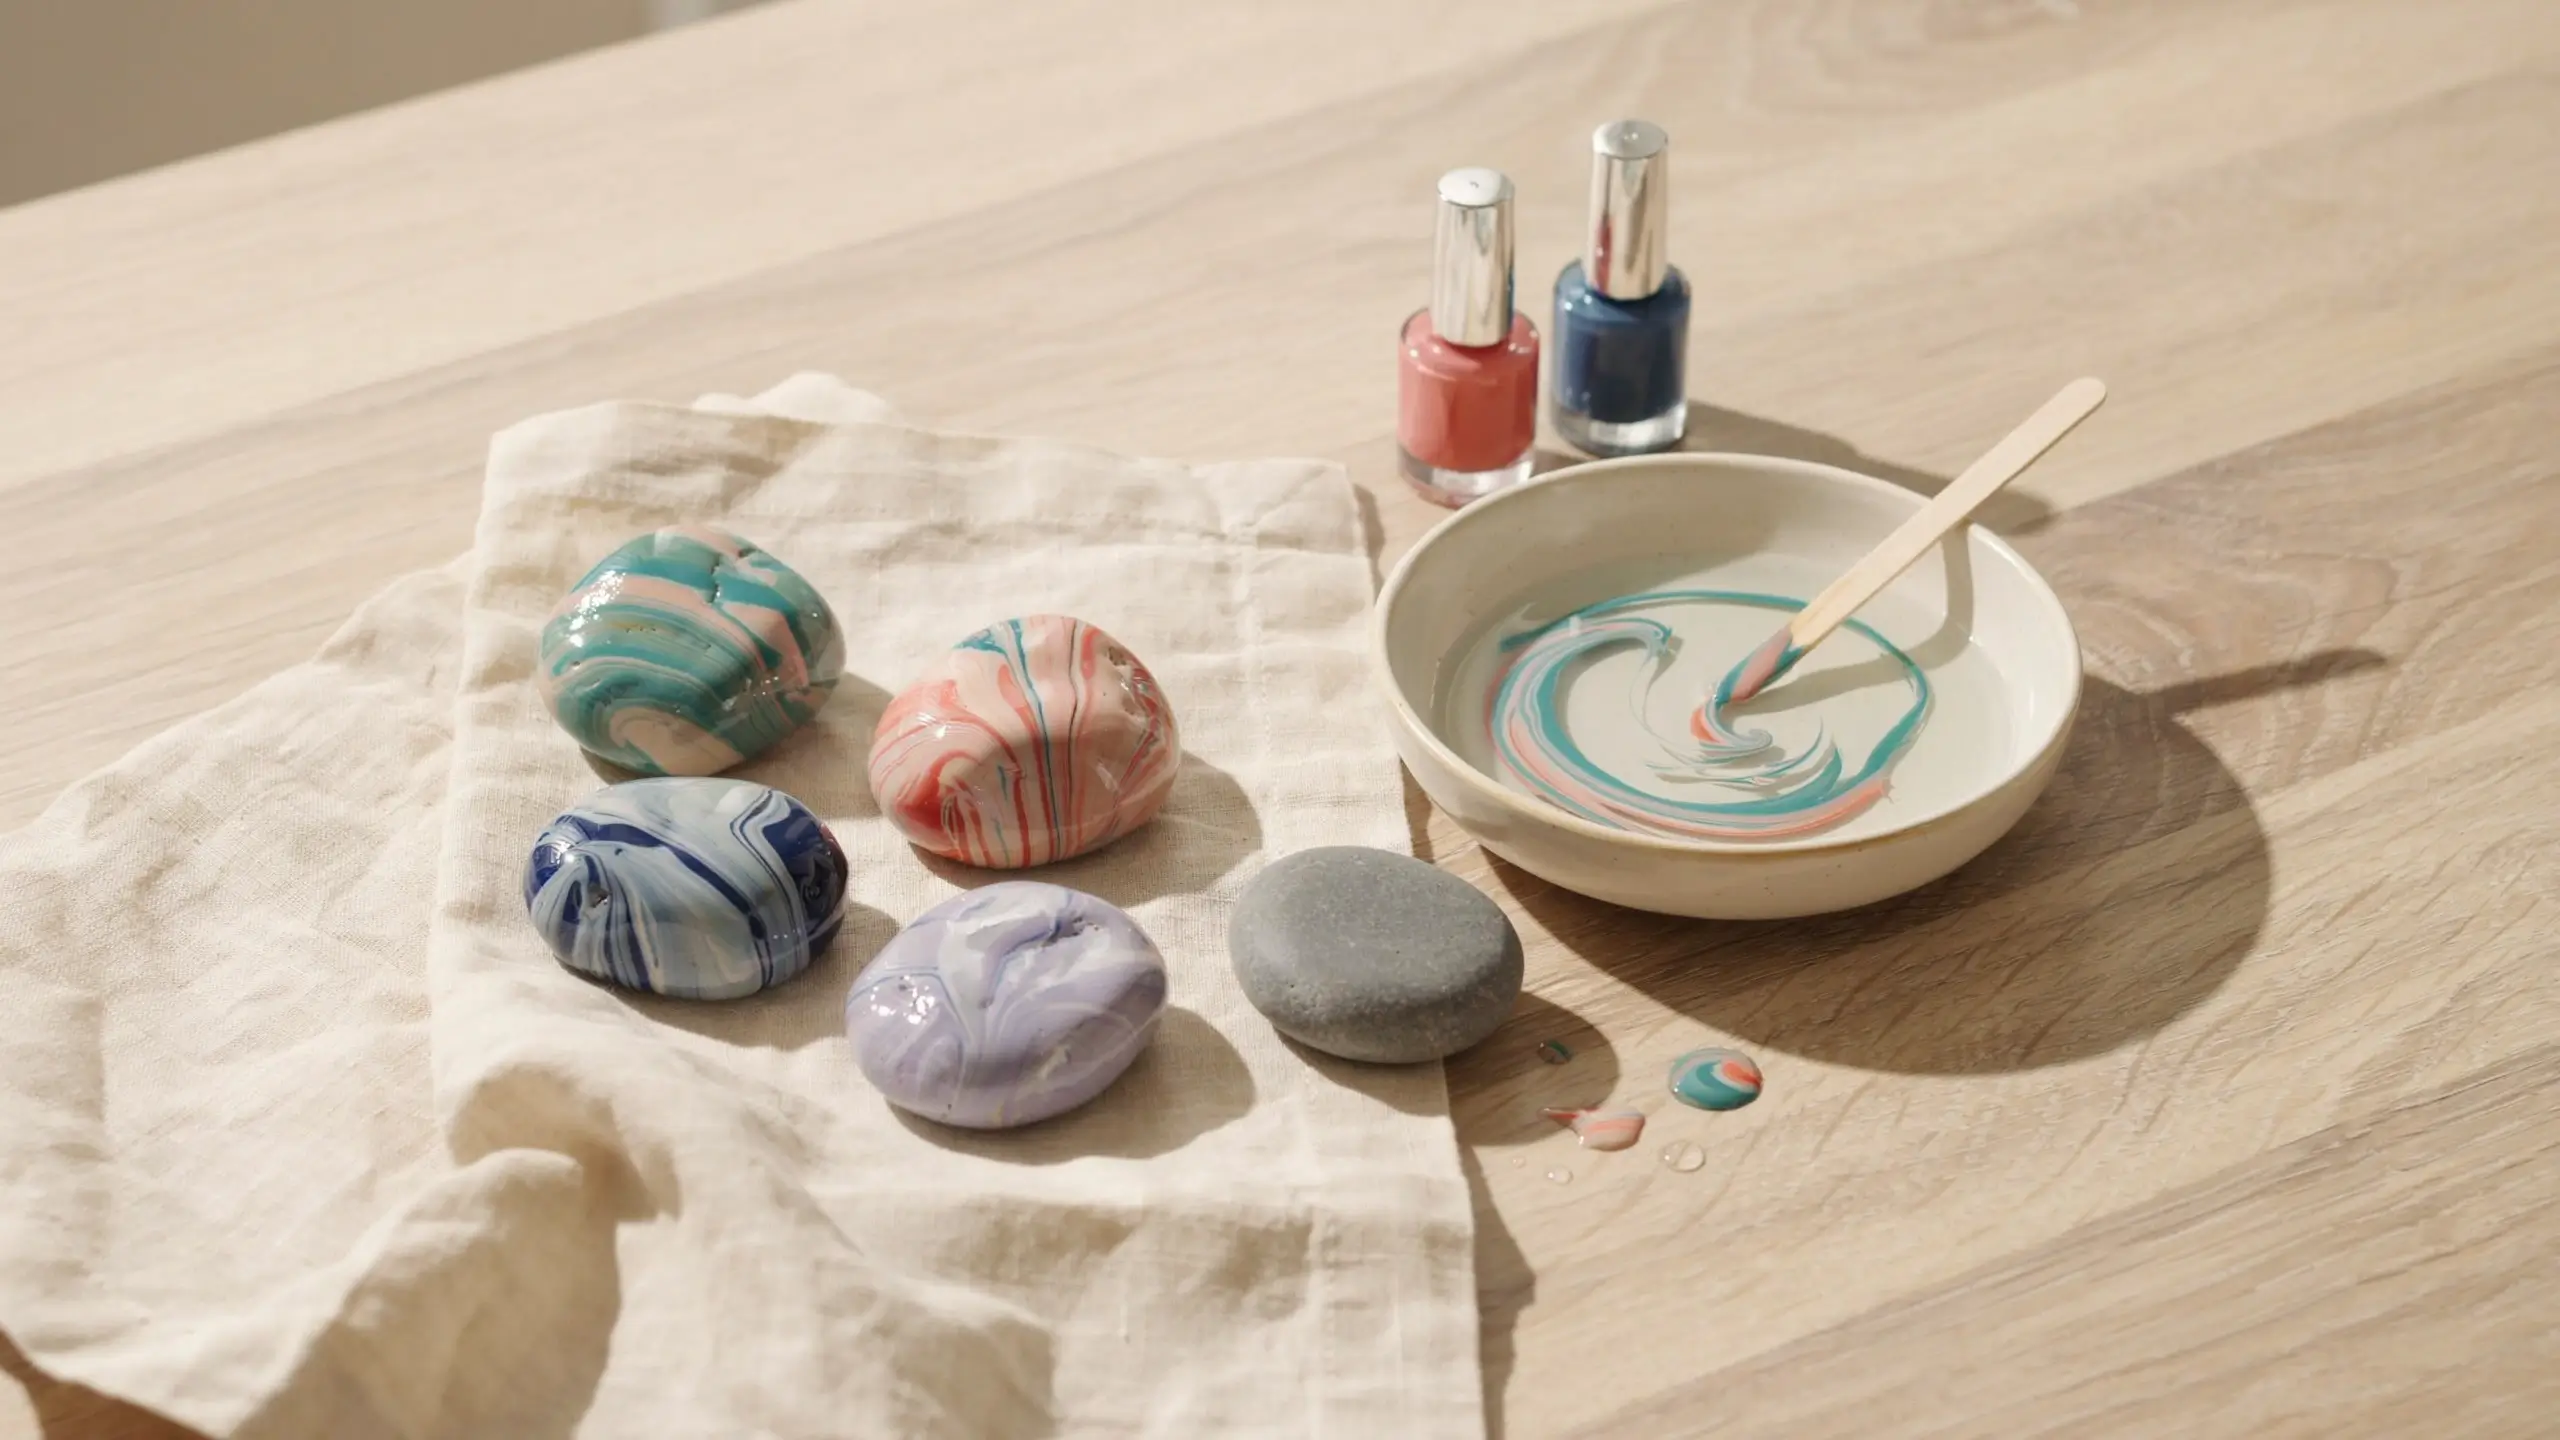
What you need: a smooth rock from the yard, a bowl of water, a couple drops of nail polish in two or three colors, a toothpick.
How to make it: Fill a bowl with room temperature water. Drop small amounts of nail polish onto the surface, where it spreads into a thin film. Swirl gently with a toothpick to marble the colors together. Dip the rock in and roll it through the film so it picks up the pattern, then let it dry on a paper towel for about an hour.
Age: elementary and up, with an adult handling the nail polish.
Pinterest tip: photograph three or four finished rocks together in different color combinations side by side.
Mistake to avoid: too much polish clumps instead of marbling. A couple drops per color is enough.
Upcycled Gifts Made From Things You’d Normally Toss
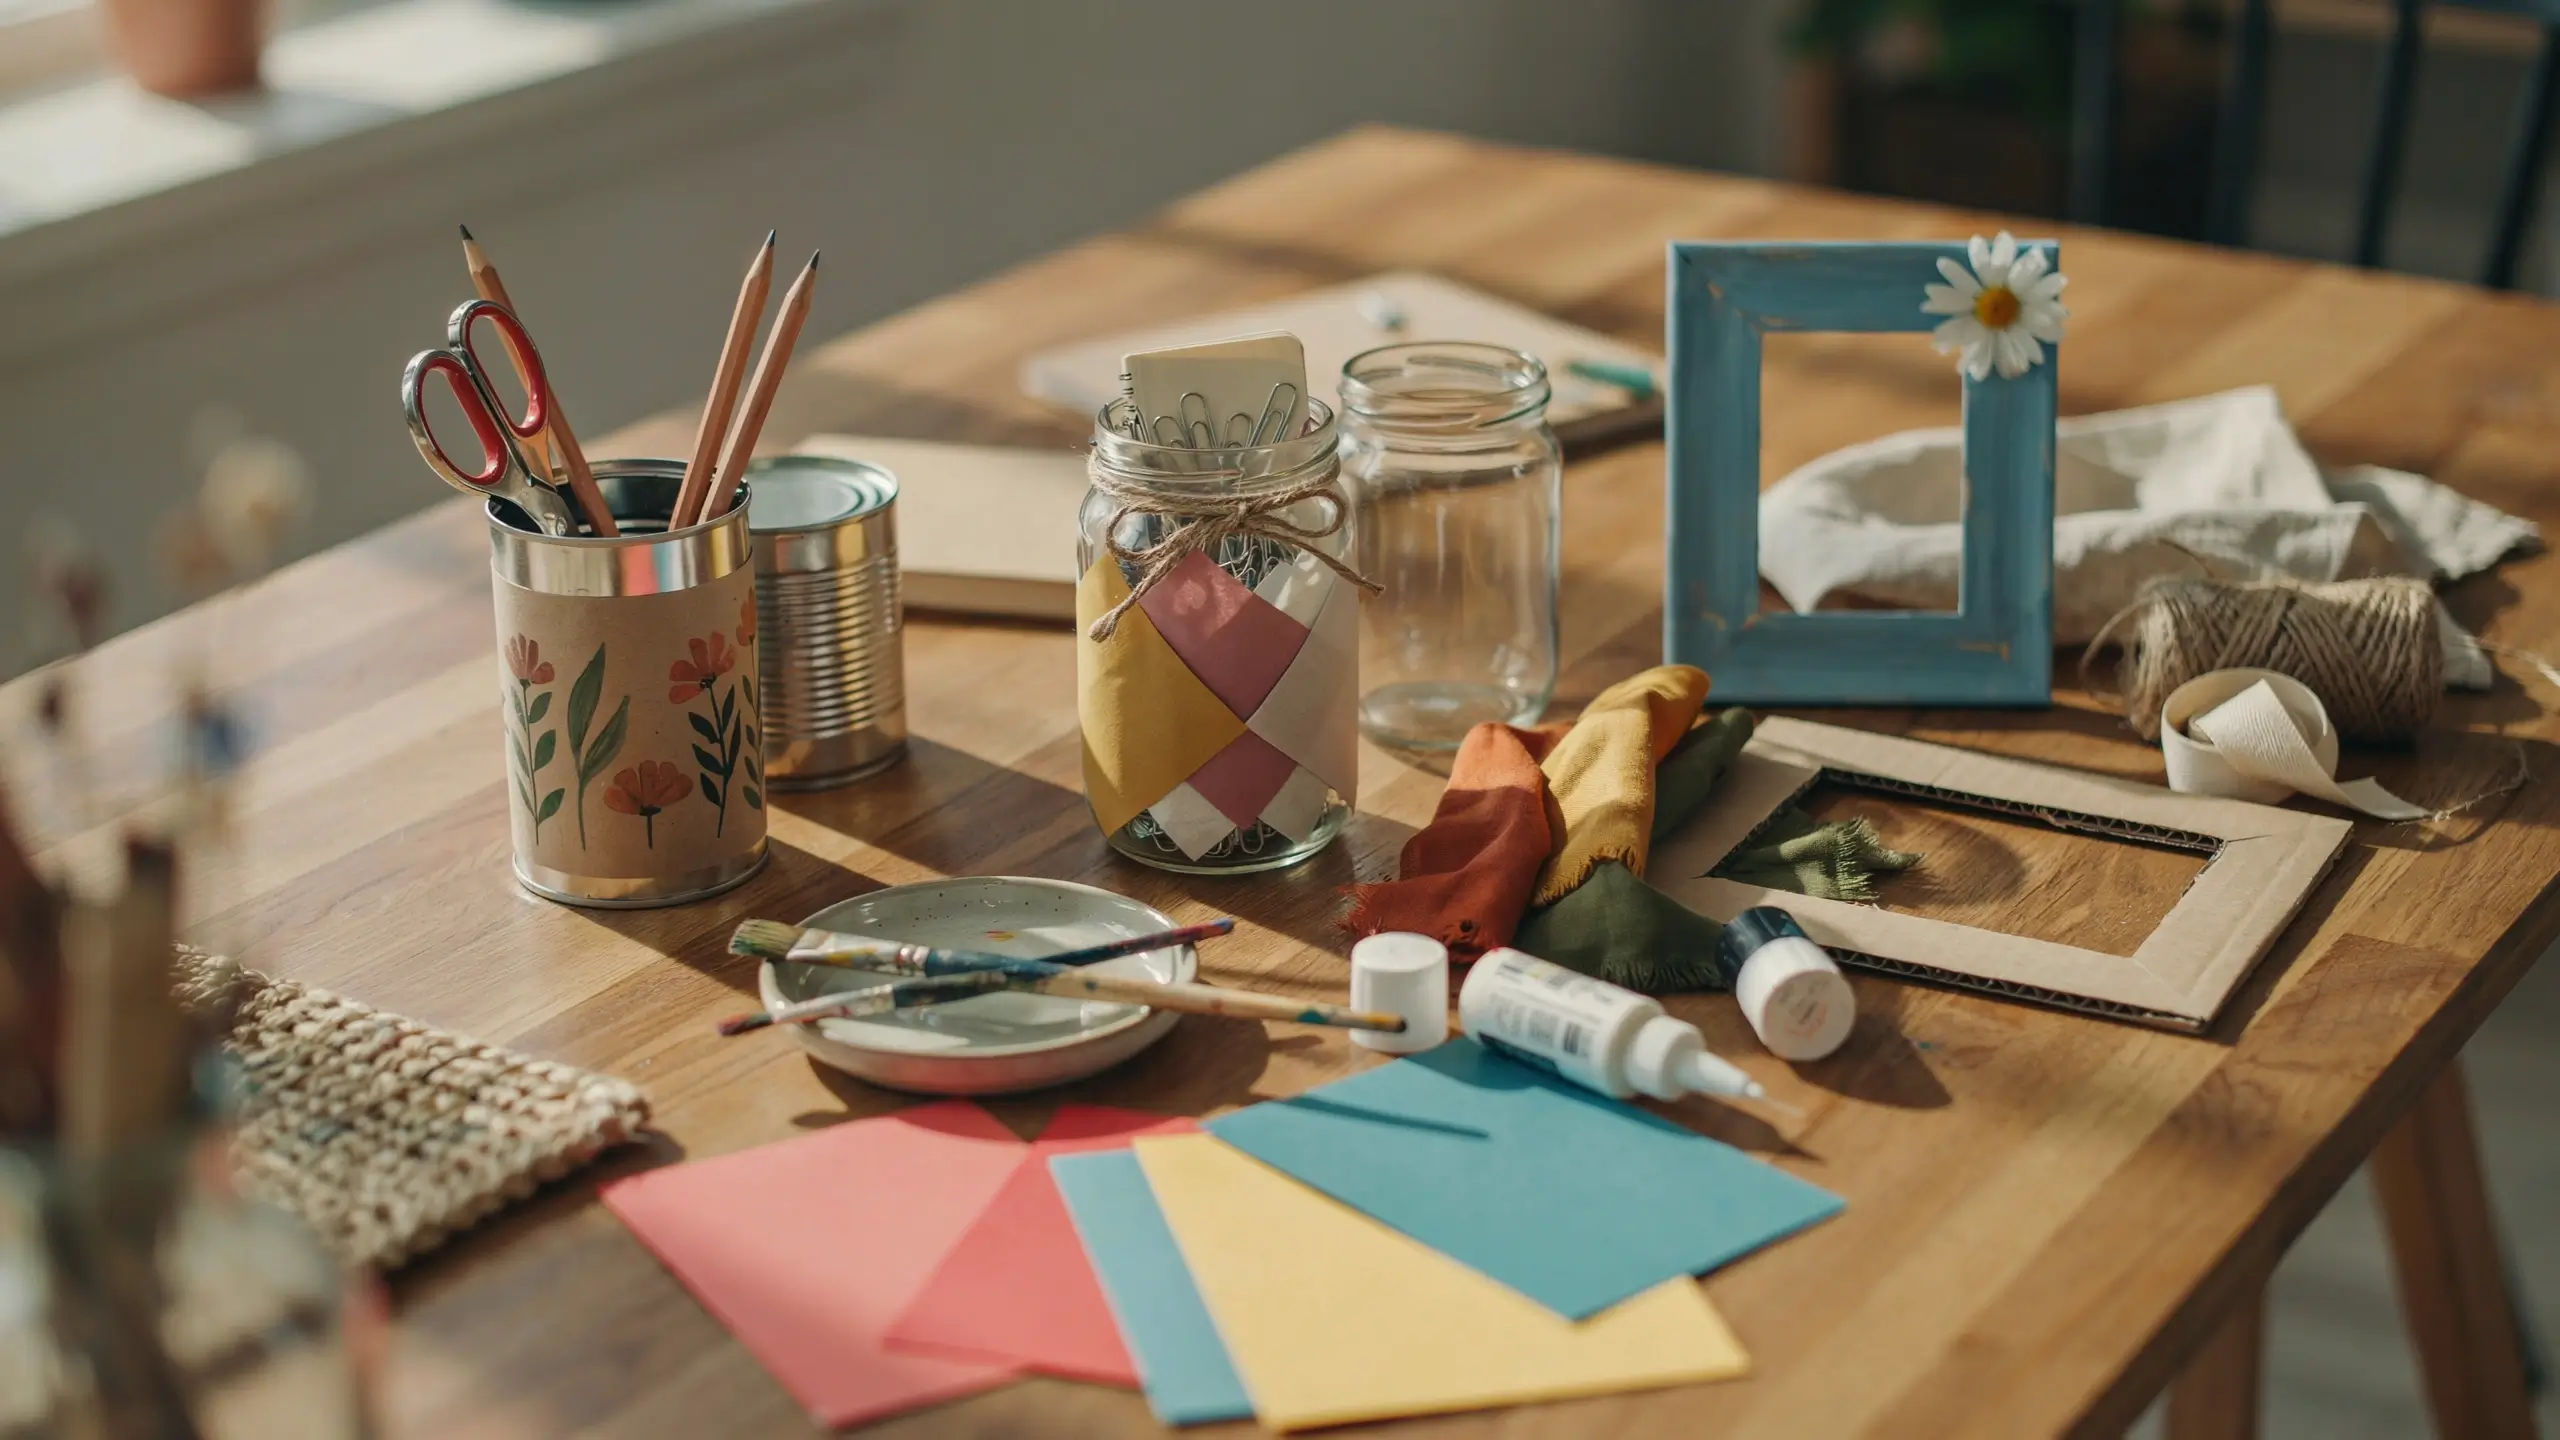
No new materials here, just containers and scraps you already have.
4. Tin Can Pencil and Brush Holder
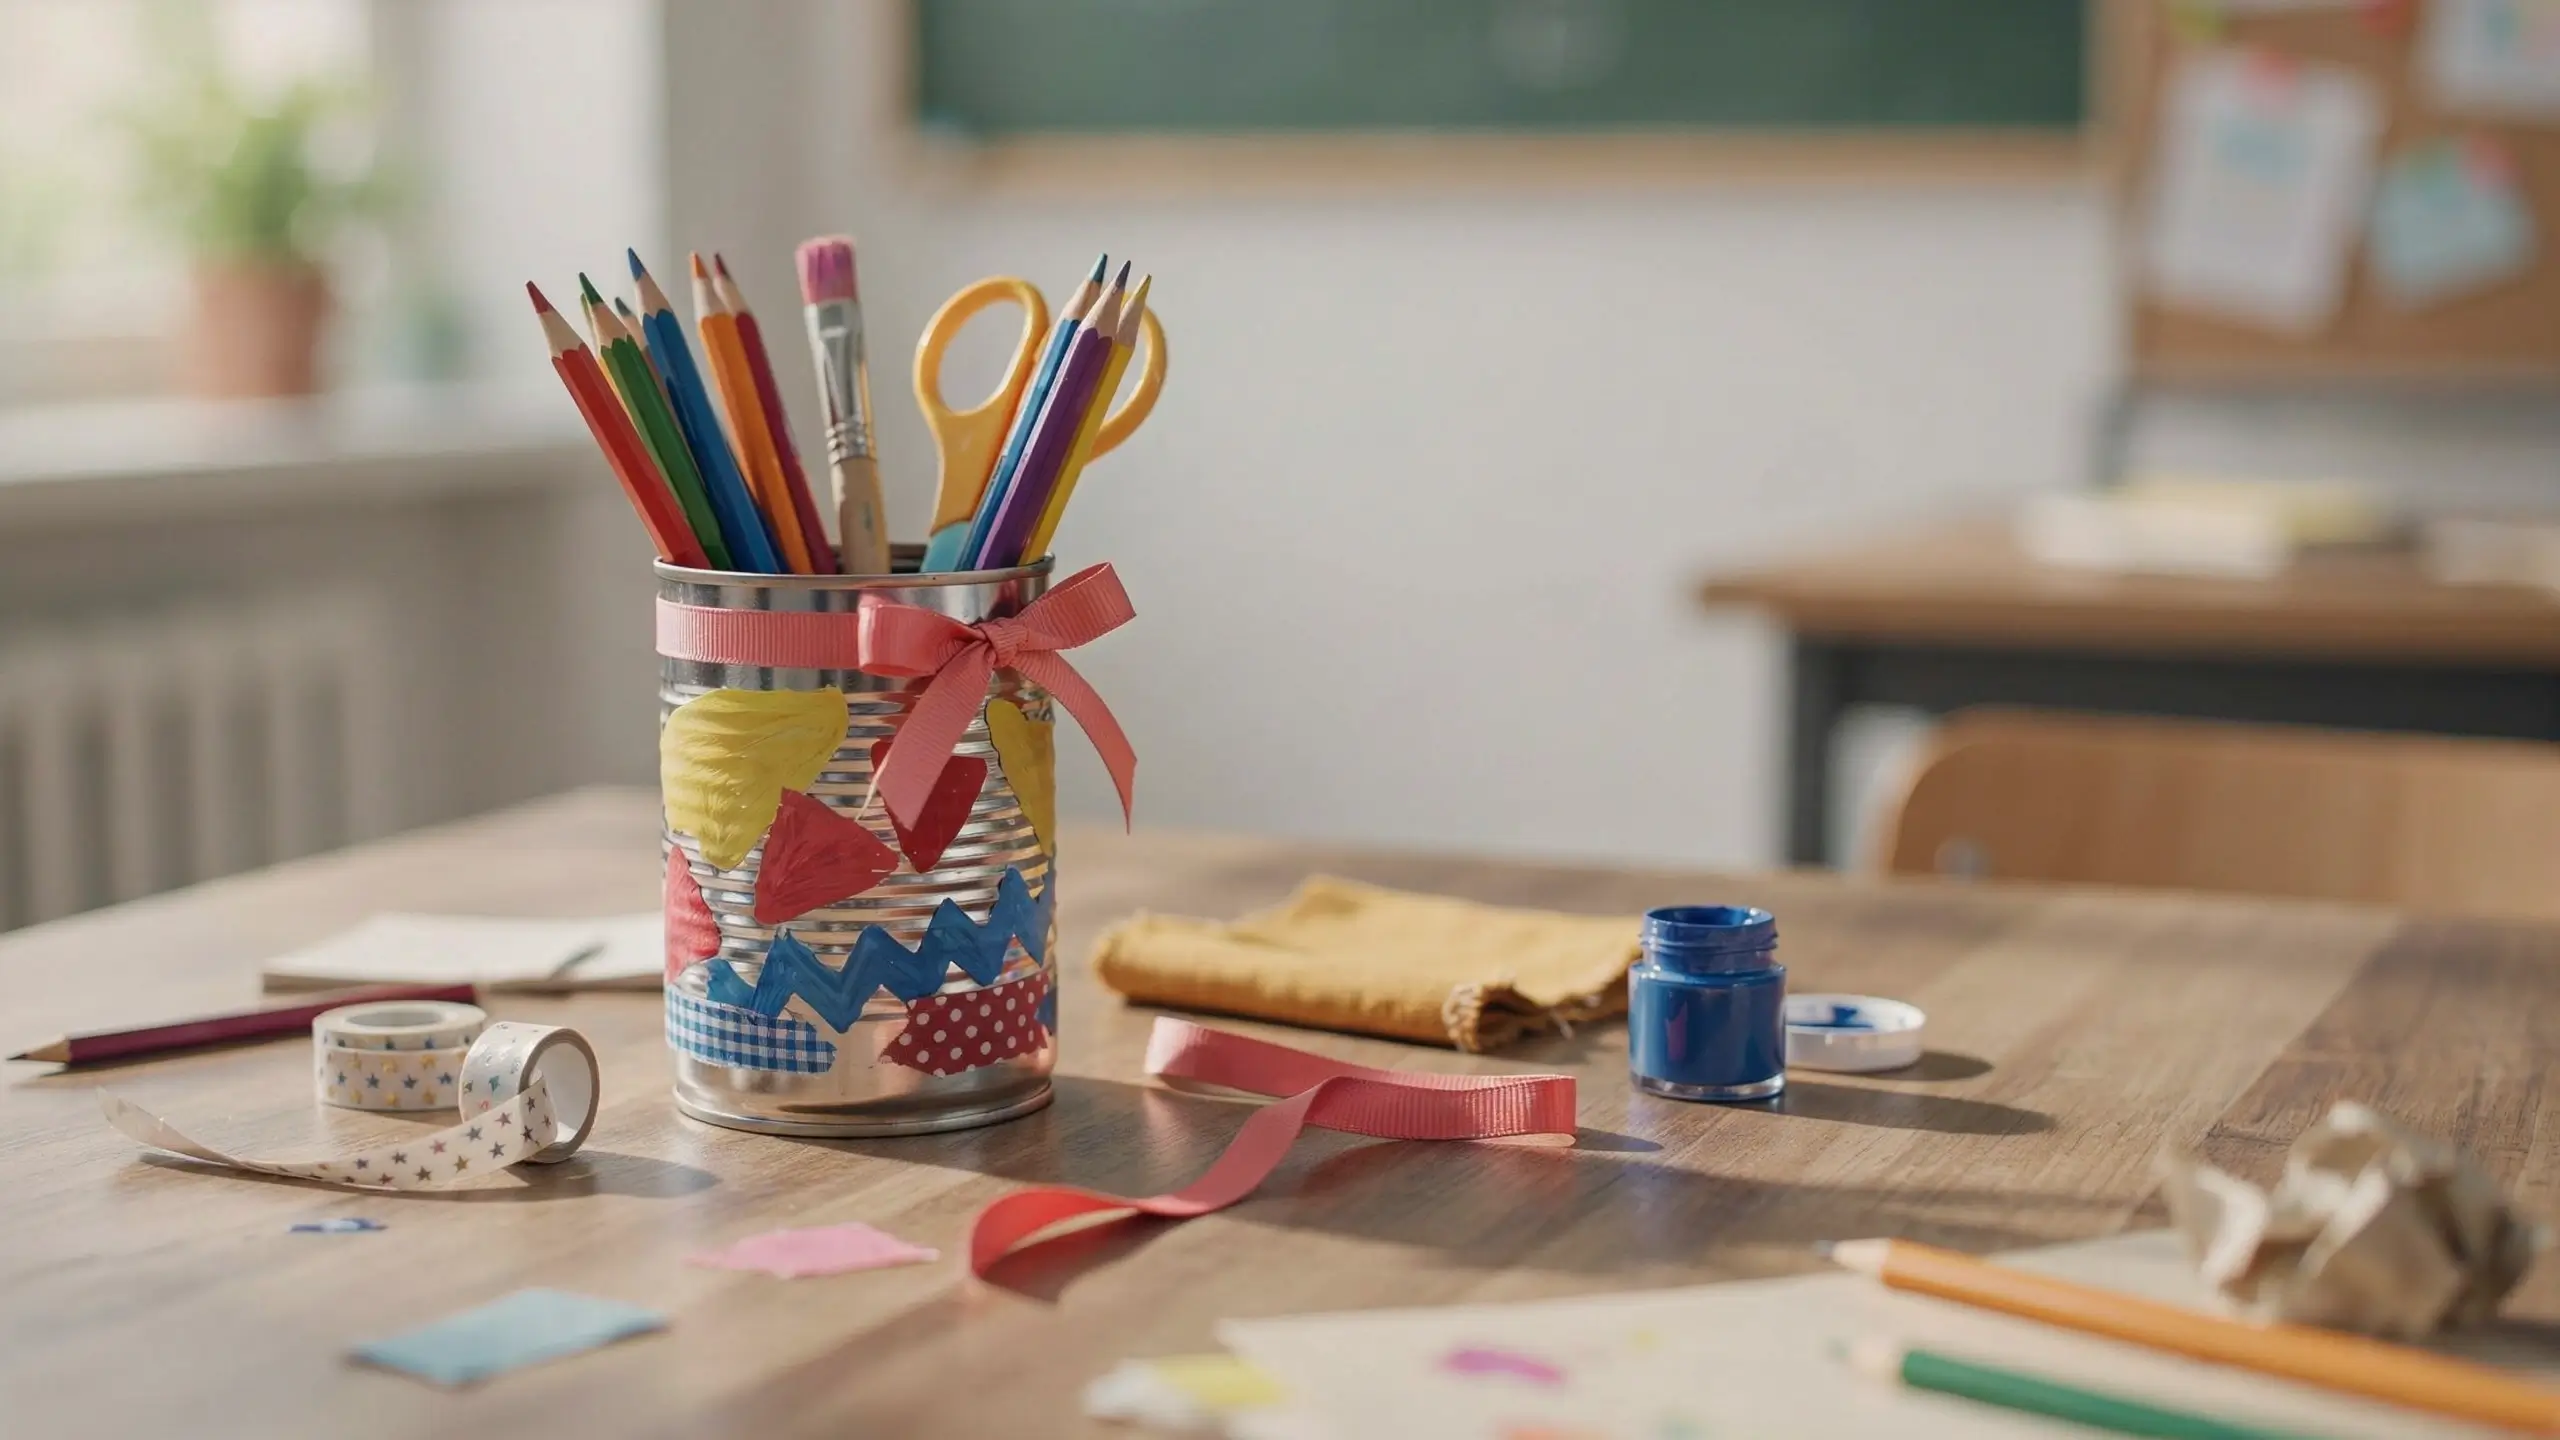
What you need: a clean, empty can with the label removed, acrylic paint or fabric scraps, hot glue, ribbon.
How to make it: Wash and dry the can, then run a finger along the rim to check for sharp edges (sand it down or cover it with washi tape if needed). Let your child paint the outside or wrap it in fabric or washi tape. Glue on a ribbon band near the top and let everything dry before filling it with pens or paintbrushes.
Age: elementary, with an adult checking the can rim first.
Pinterest tip: style the finished can with colorful pencils fanned out for an instant desk-organizer look.
Mistake to avoid: skipping the rim check. It’s the one real safety step in this whole project, so don’t skip it.
5. Mason Jar Desk Caddy
What you need: any clean jar you already have, acrylic paint or Mod Podge with torn tissue paper, twine.
How to make it: Paint the outside of the jar, or decoupage torn tissue paper scraps onto the glass with Mod Podge. Let it dry completely, then tie twine or ribbon around the neck. Fill it with markers, paperclips, or a small plant cutting.
Age: any age for painting, tweens can manage the decoupage version on their own.
Pinterest tip: photograph it on a windowsill so light comes through if the paint is a bit translucent.
Mistake to avoid: painting the inside of the jar makes it hard to actually use for storage. Keep the paint on the outside.
6. Cardboard Photo Frame
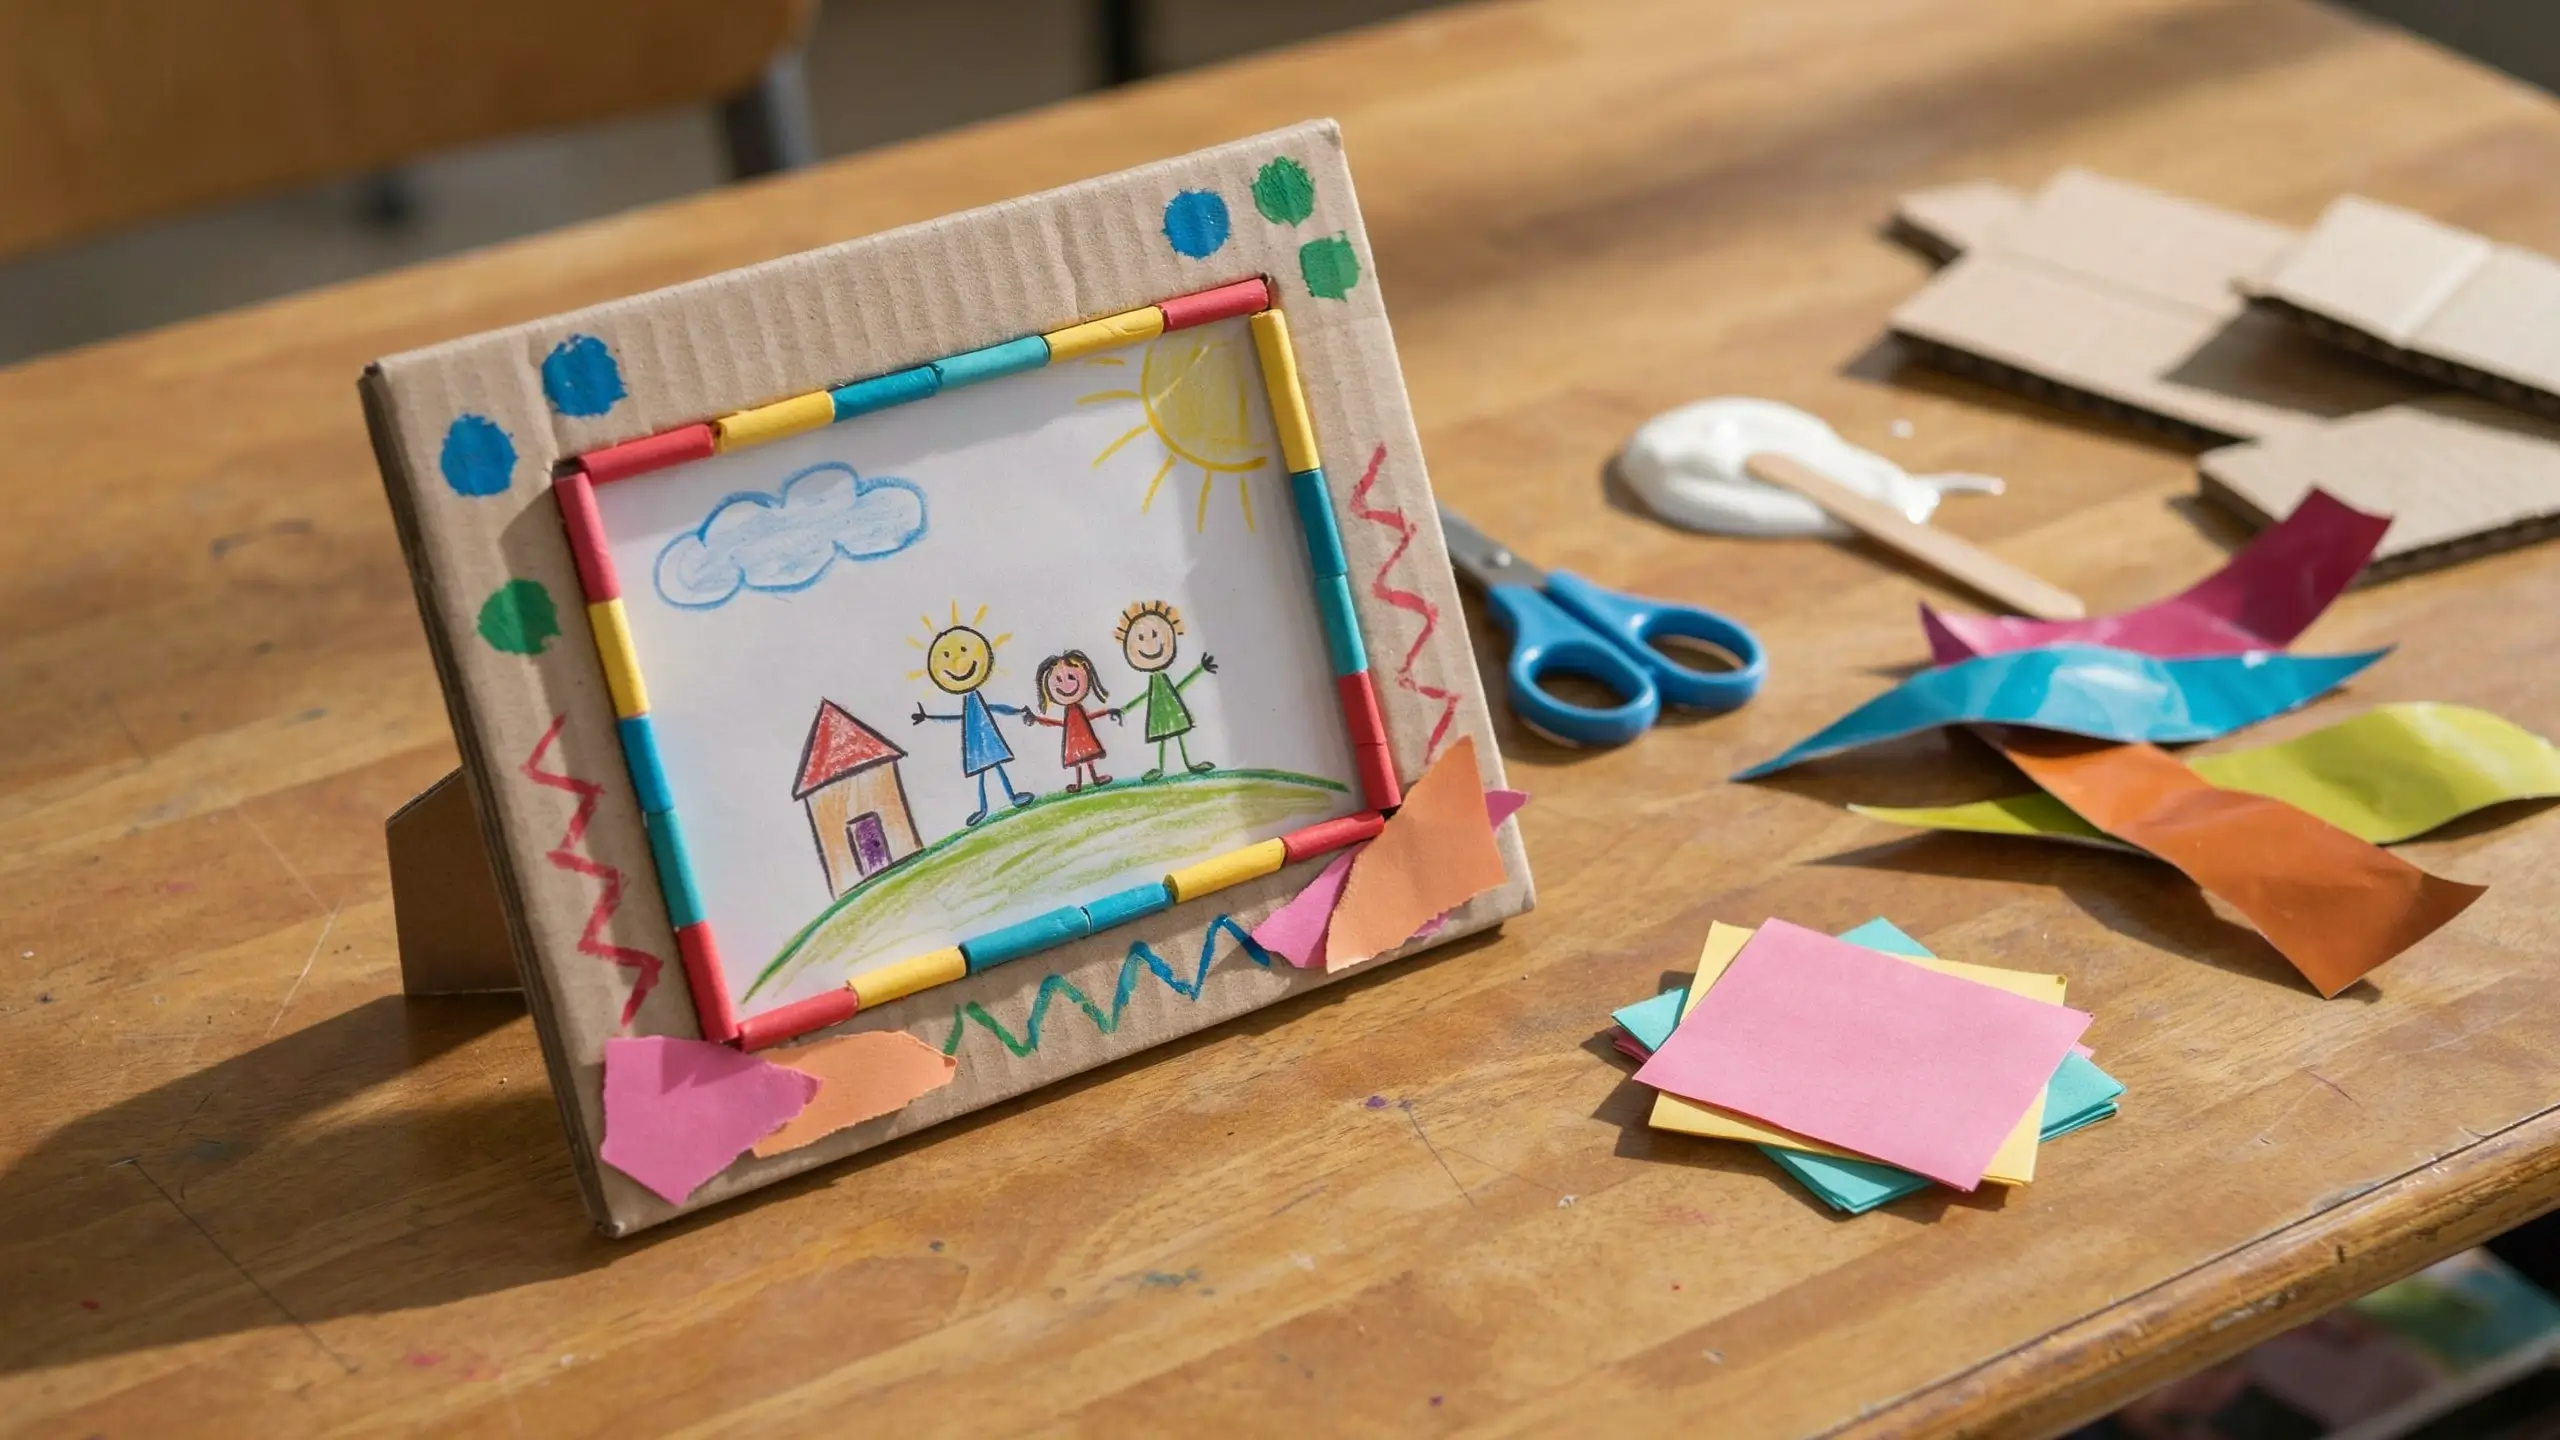
What you need: a cereal box or shipping box cut into a frame shape, magazine strips or construction paper, glue, a photo or class drawing.
How to make it: Cut a frame shape from cardboard, a rectangle with a smaller rectangle removed from the center. Let your child cover it with rolled paper strips, paint, or handprints. Glue a photo or a drawing behind the opening, then tape a folded cardboard strip to the back as a stand.
Age: elementary, with an adult pre-cutting the cardboard.
Pinterest tip: style it next to a small potted plant for a full “teacher desk gift” flat lay.
Mistake to avoid: check with the teacher’s preference on displaying individual student photos. A drawing of the whole class is a safer default if you’re not sure.
Kitchen-Made Gifts
Because a teacher will rarely turn down something homemade to eat.
7. Cookie Mix in a Jar
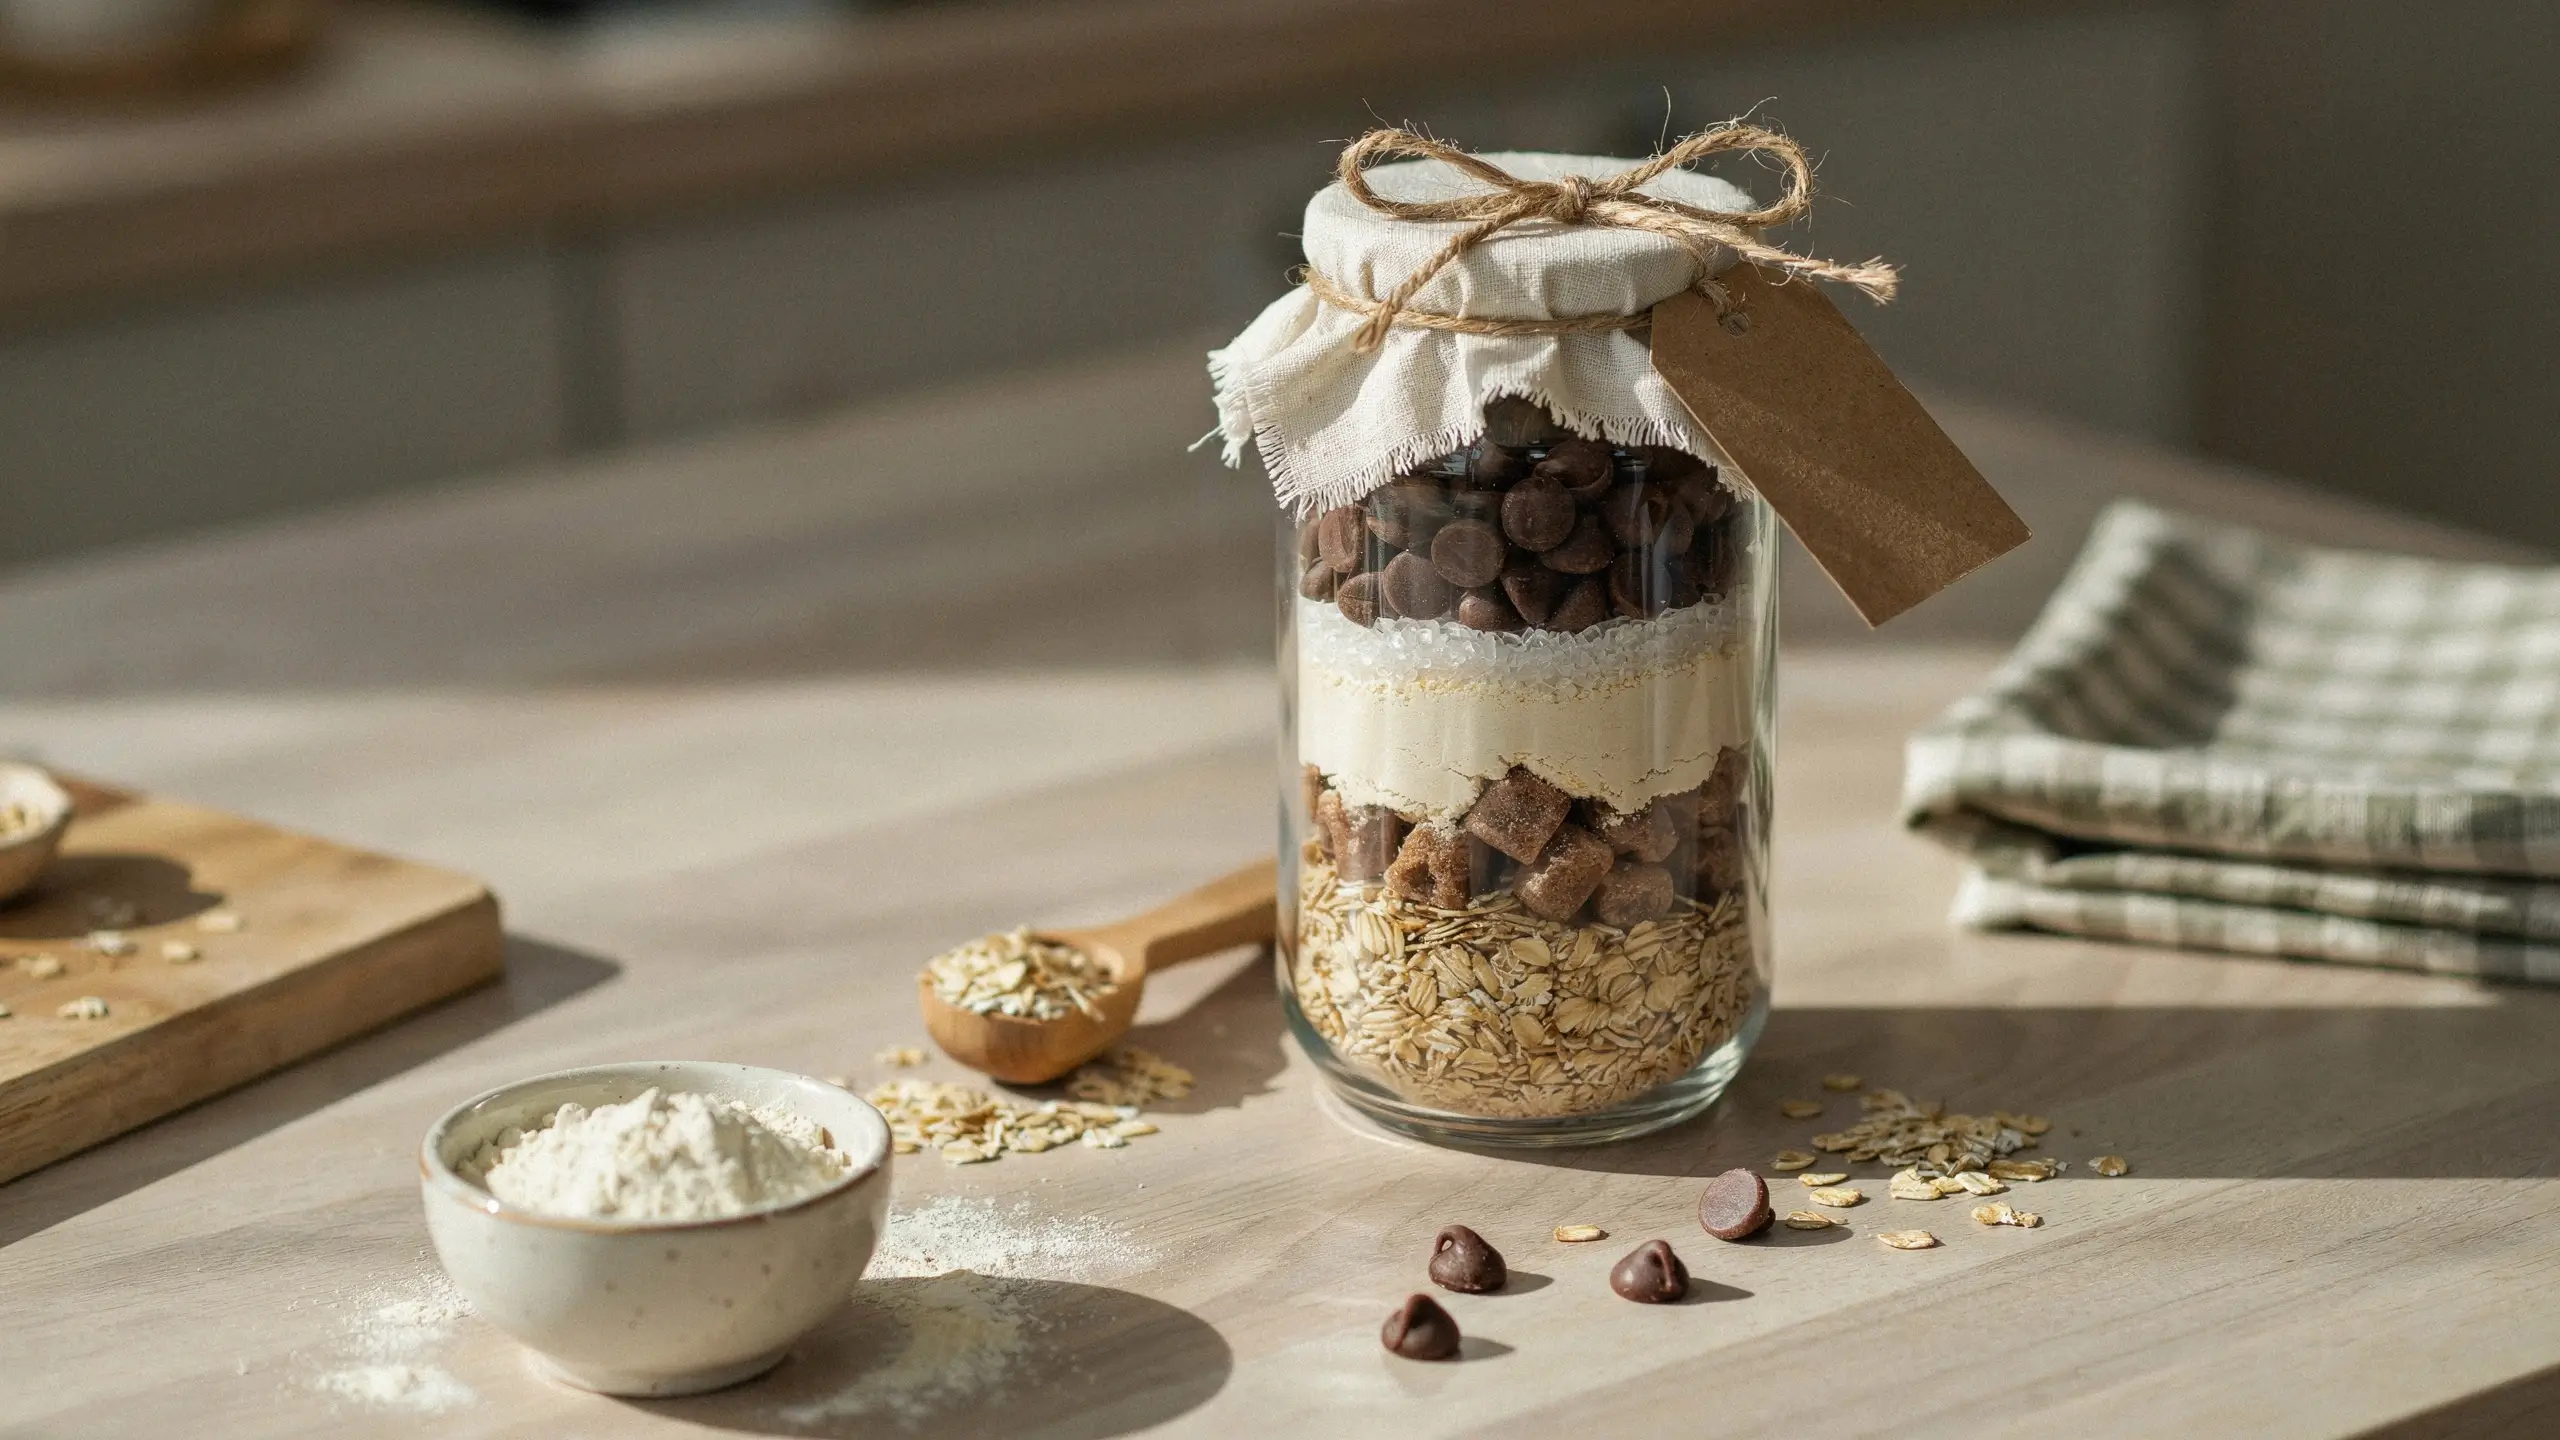
What you need: a clean glass jar, dry ingredients for a cookie recipe (flour, sugar, brown sugar, chocolate chips, oats), a recipe card, fabric and twine for the lid.
How to make it: Layer the dry ingredients in the jar in the order the recipe lists them, pressing each layer down gently before adding the next. This creates the striped effect that makes these jars so popular. Write out the remaining wet ingredients and baking instructions on a card and tie it to the jar.
Age: elementary can measure and pour with supervision.
Pinterest tip: the striped jar is one of the most saved images in this entire category. Photograph it upright with the recipe tag facing forward.
Mistake to avoid: leaving off the baking temperature and time on the card. That’s the detail people forget most.
8. Homemade Sugar Scrub
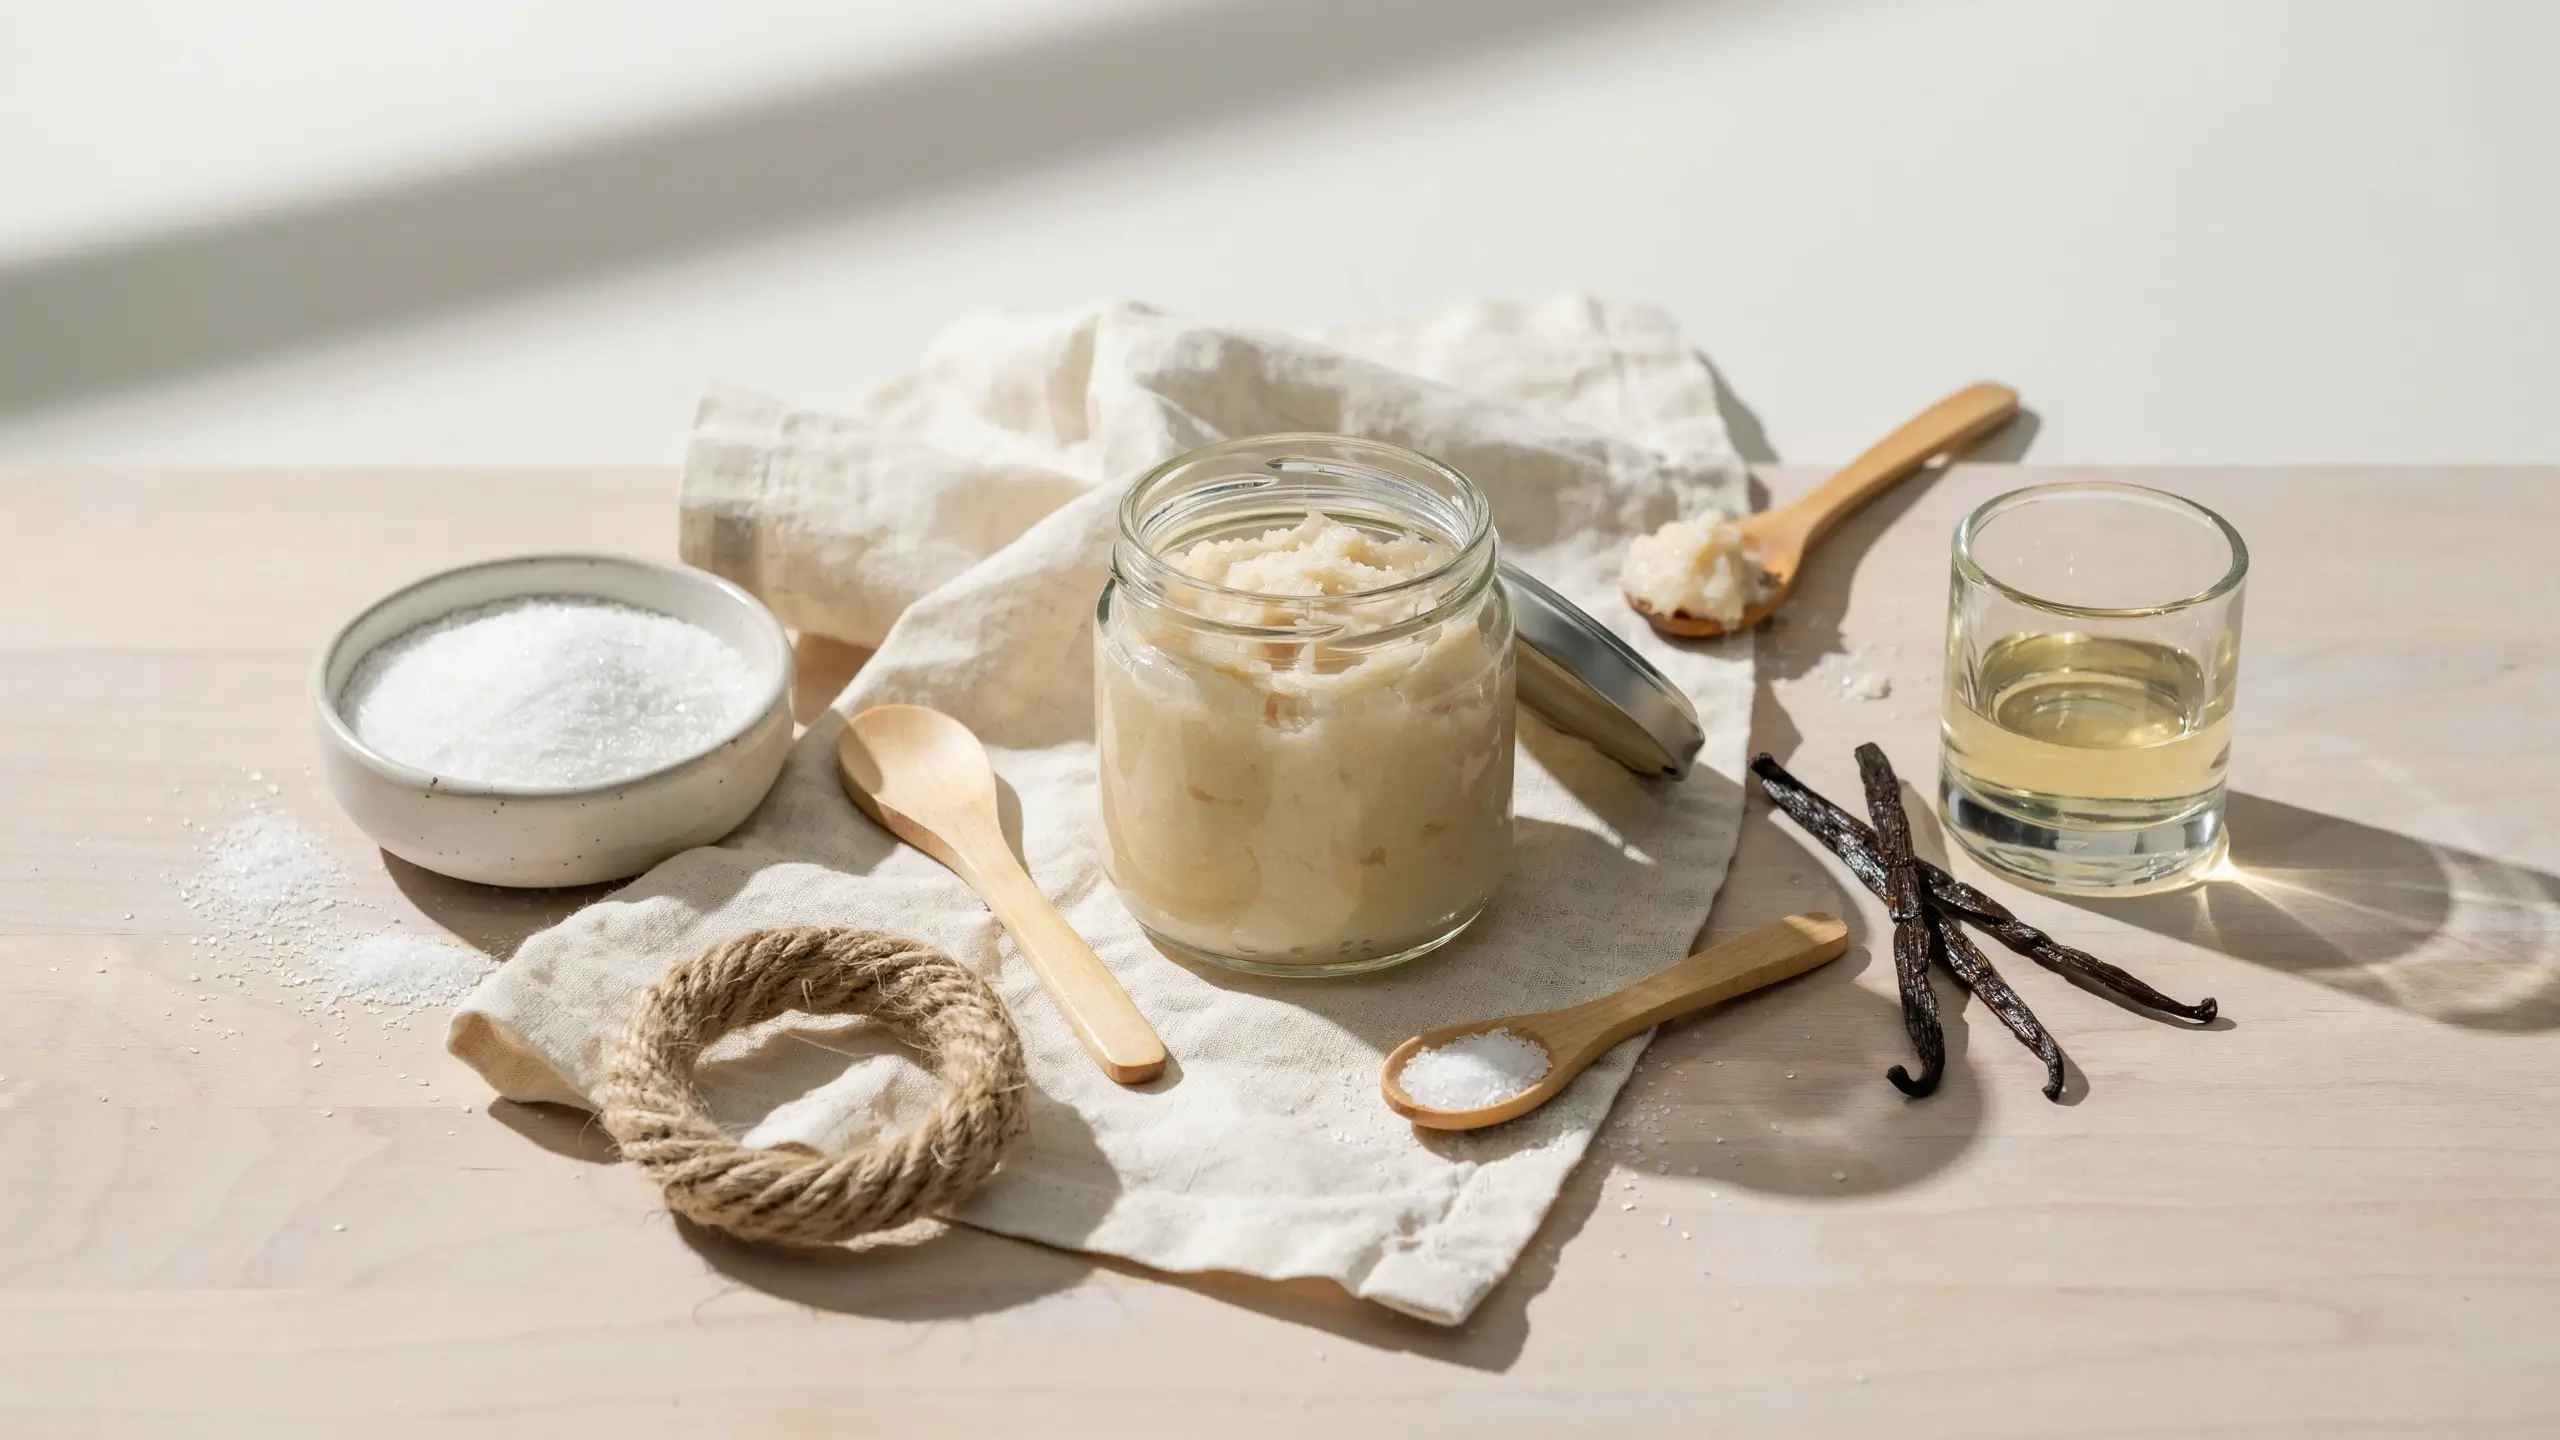
What you need: sugar, a mild oil like coconut or olive oil, a few drops of vanilla extract, a small reused jar.
How to make it: Mix one cup of sugar with about half a cup of oil, then stir in a few drops of vanilla. Let your child stir until it reaches a wet-sand texture, then spoon it into the jar and seal.
Age: elementary and up. This is one of the safest kitchen projects since no heat is involved.
Pinterest tip: tie a small wooden spoon to the jar with twine for a styled photo.
Mistake to avoid: skip strong essential oils unless you know the teacher doesn’t have a scent sensitivity. Plain vanilla is the safer choice.
9. “You’re Sweet” Treat Jar
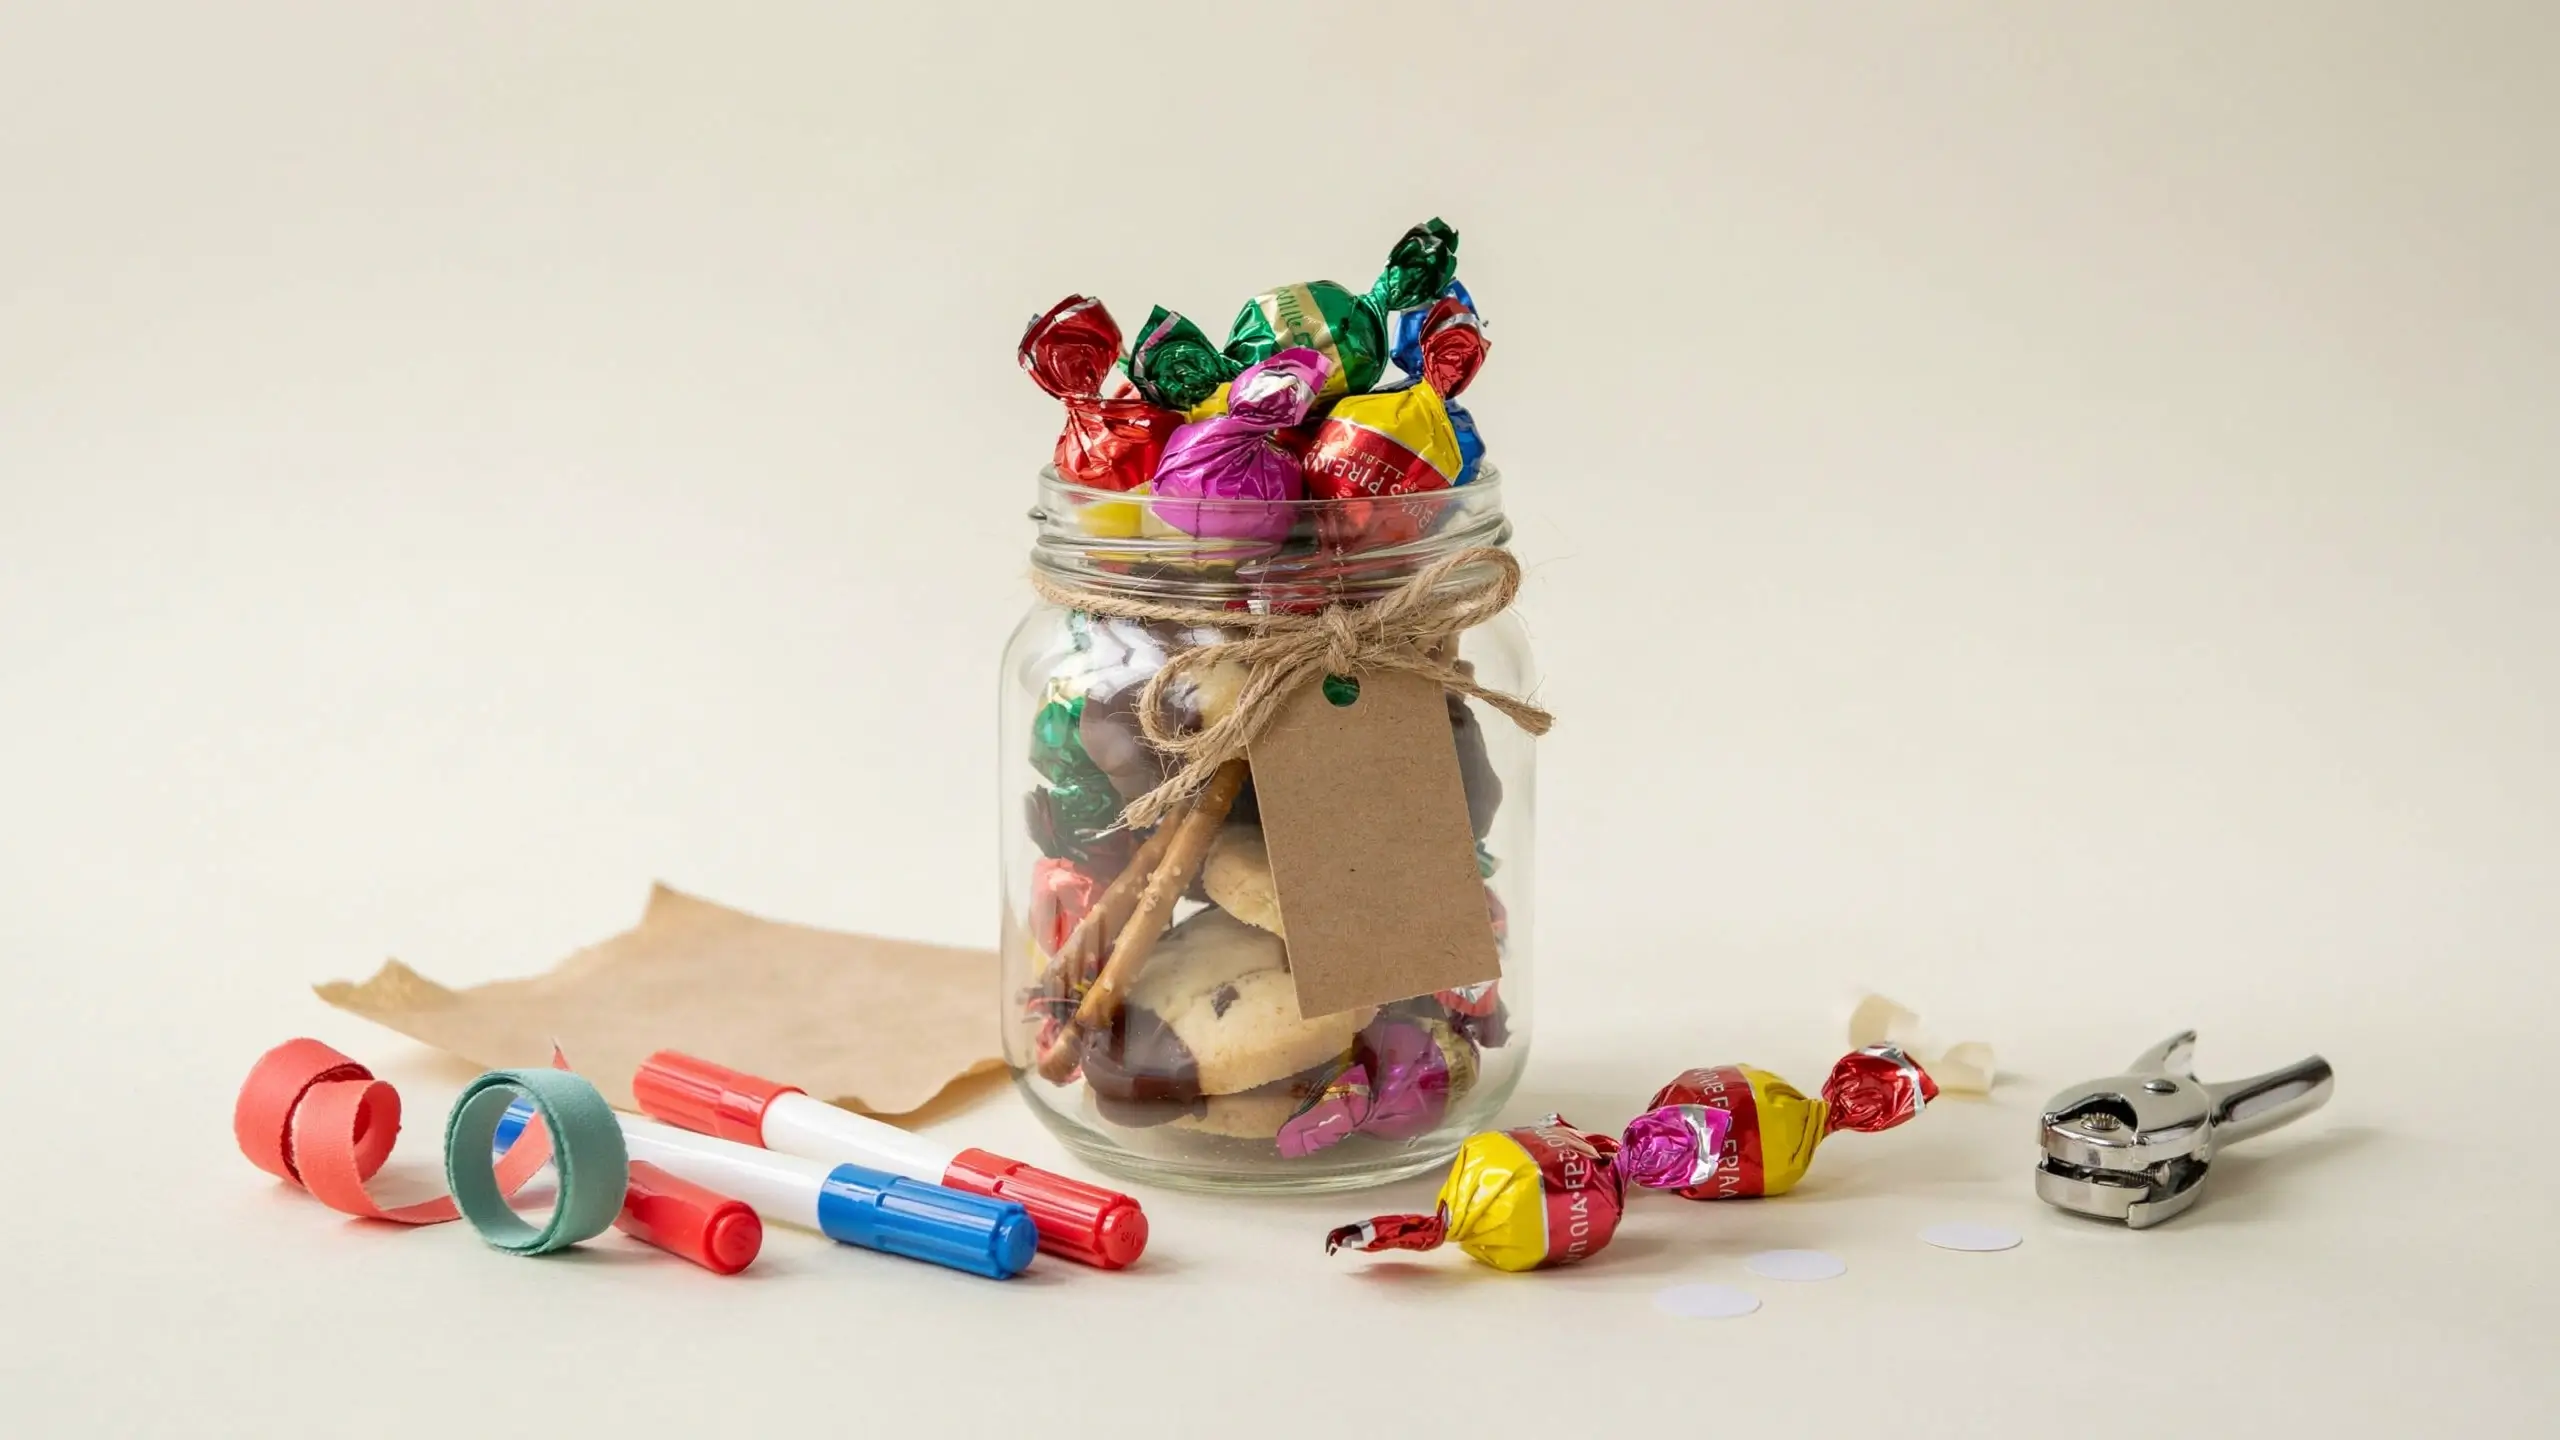
What you need: a small jar, individually wrapped candy or a homemade treat, a handwritten tag.
How to make it: Fill the jar with candy or wrapped treats and write a short tag to go with it, something like “thanks for making learning sweet.” Tie it on with ribbon or twine.
Age: any age. This is the fastest option on the list for a rushed morning.
Pinterest tip: candy in a clear jar photographs well against a plain background. Let the colors do the work.
Mistake to avoid: check for nut-based candy if you’re unsure about classroom allergy rules. Nut-free options are the safer bet.
Nature-Made Gifts
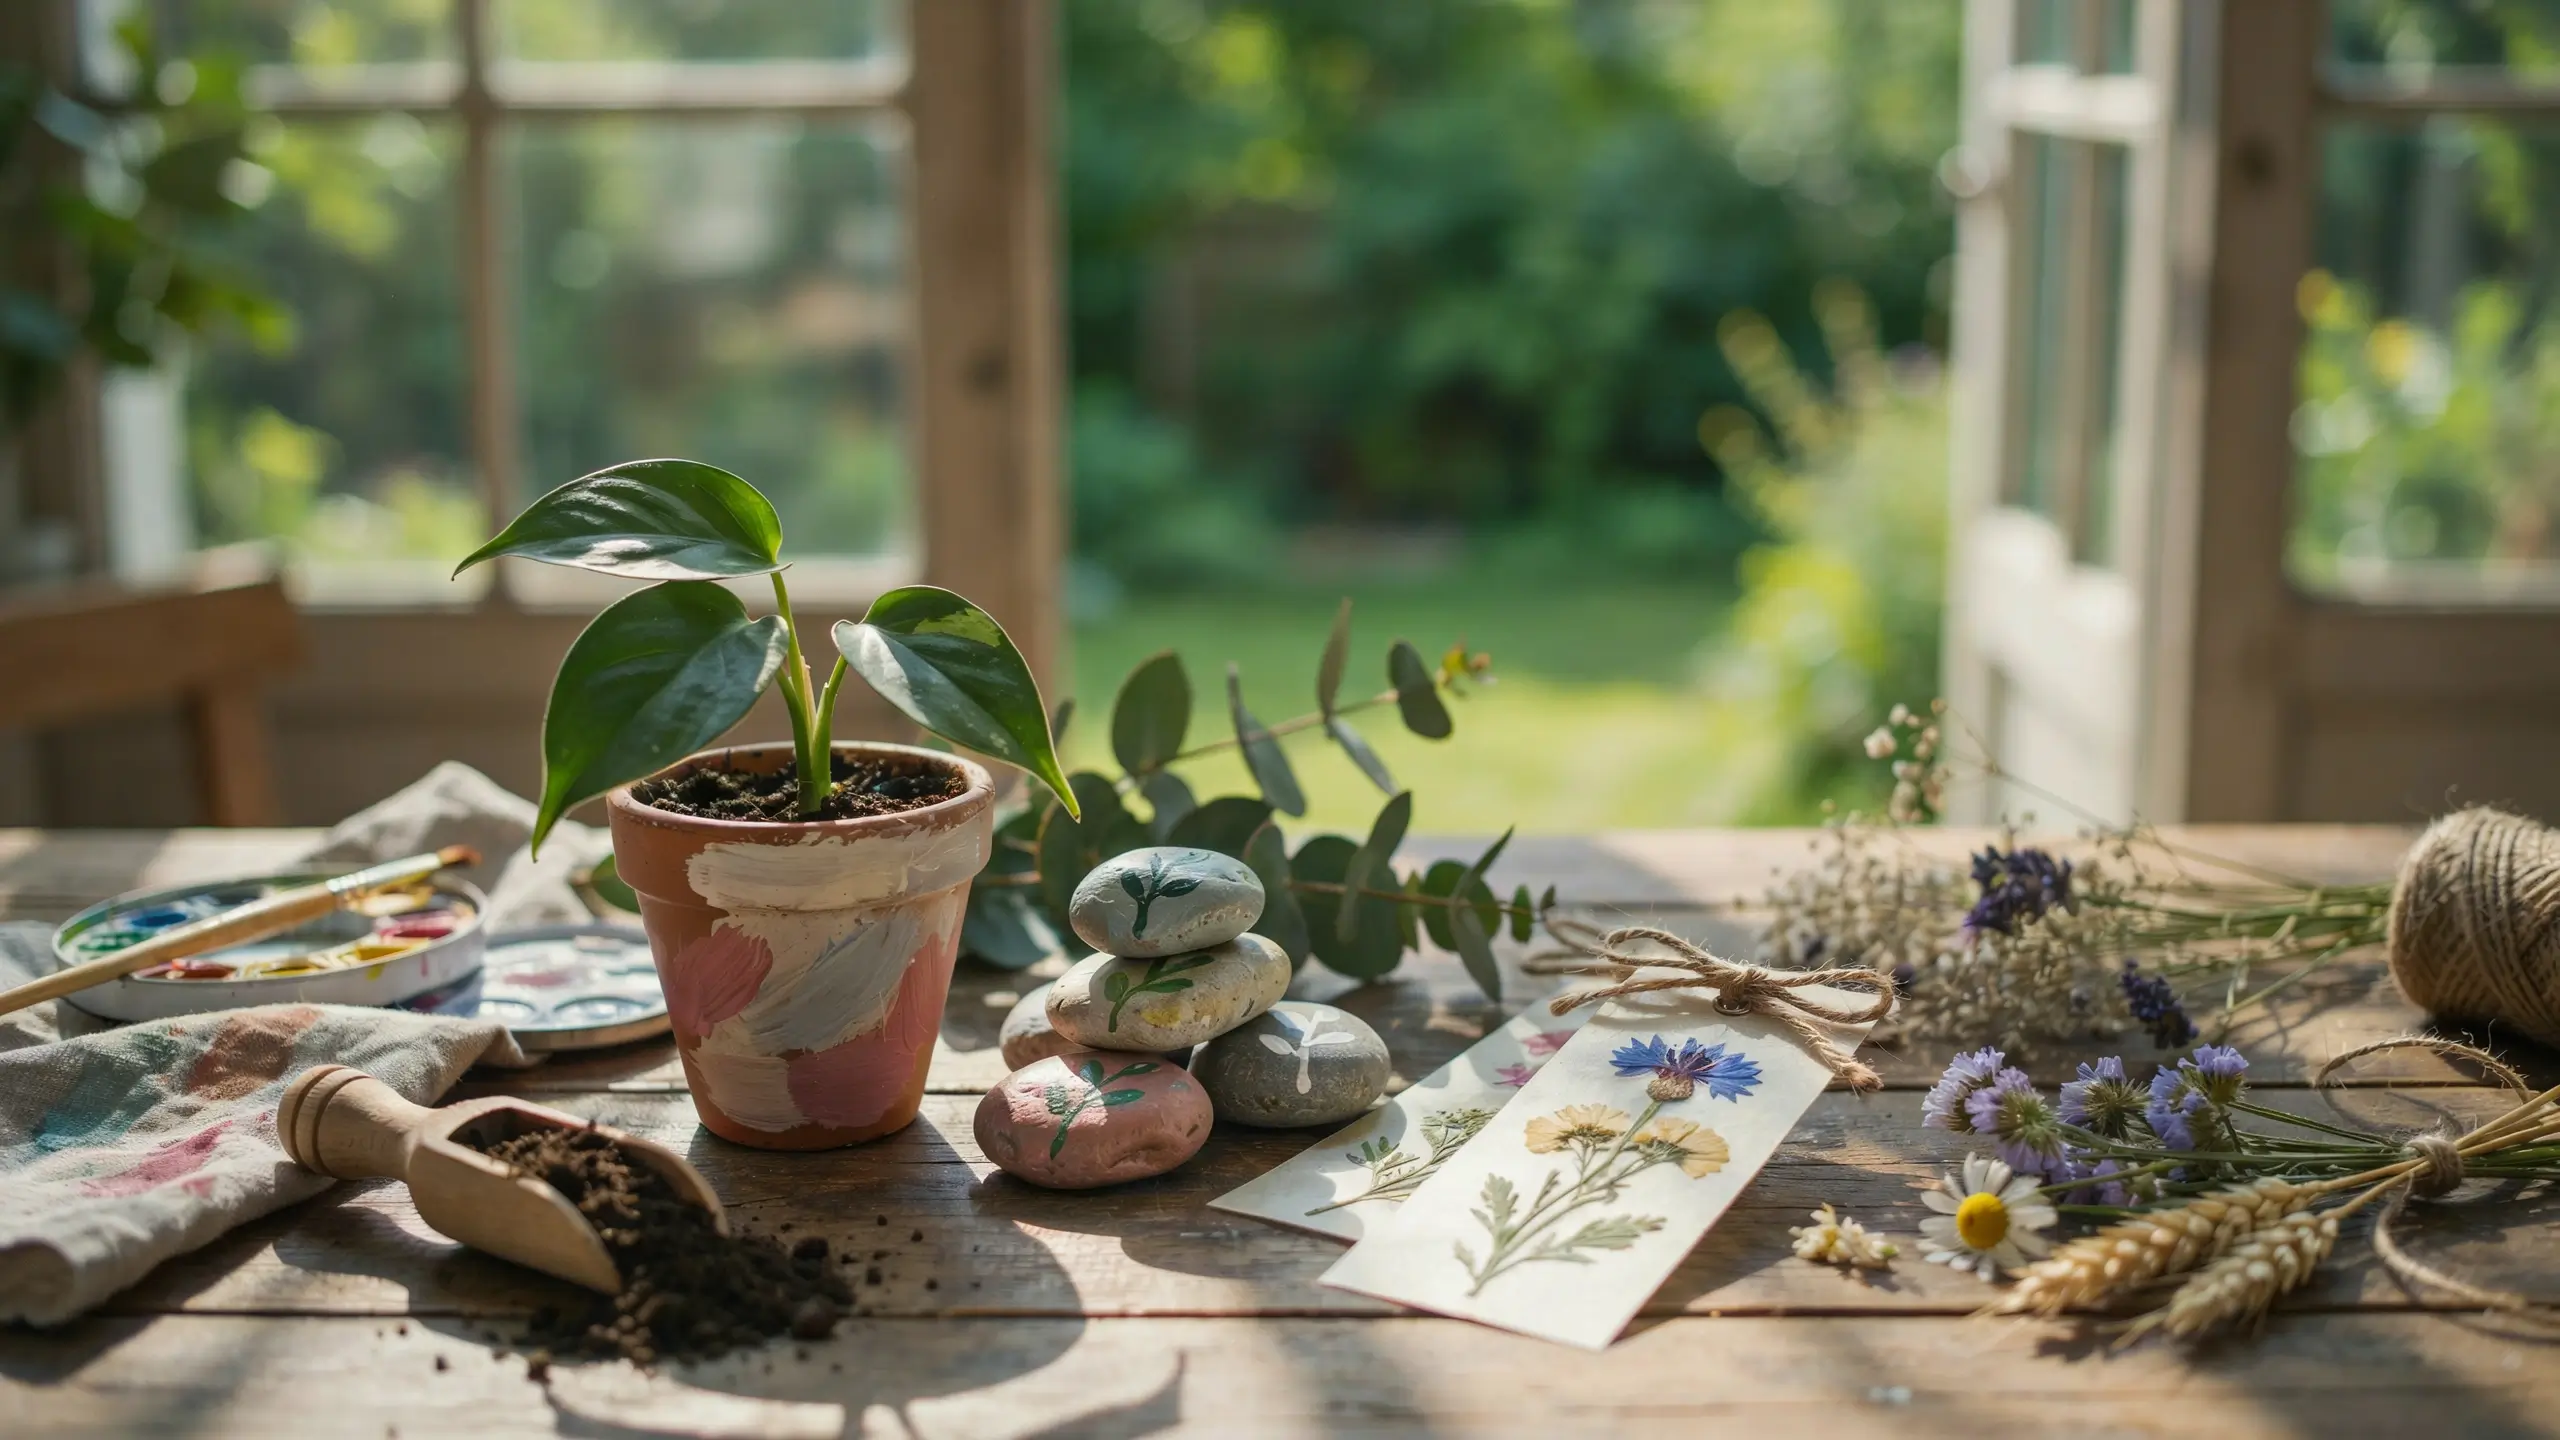
Free materials, straight from the yard.
10. Pressed Flower Bookmark or Card
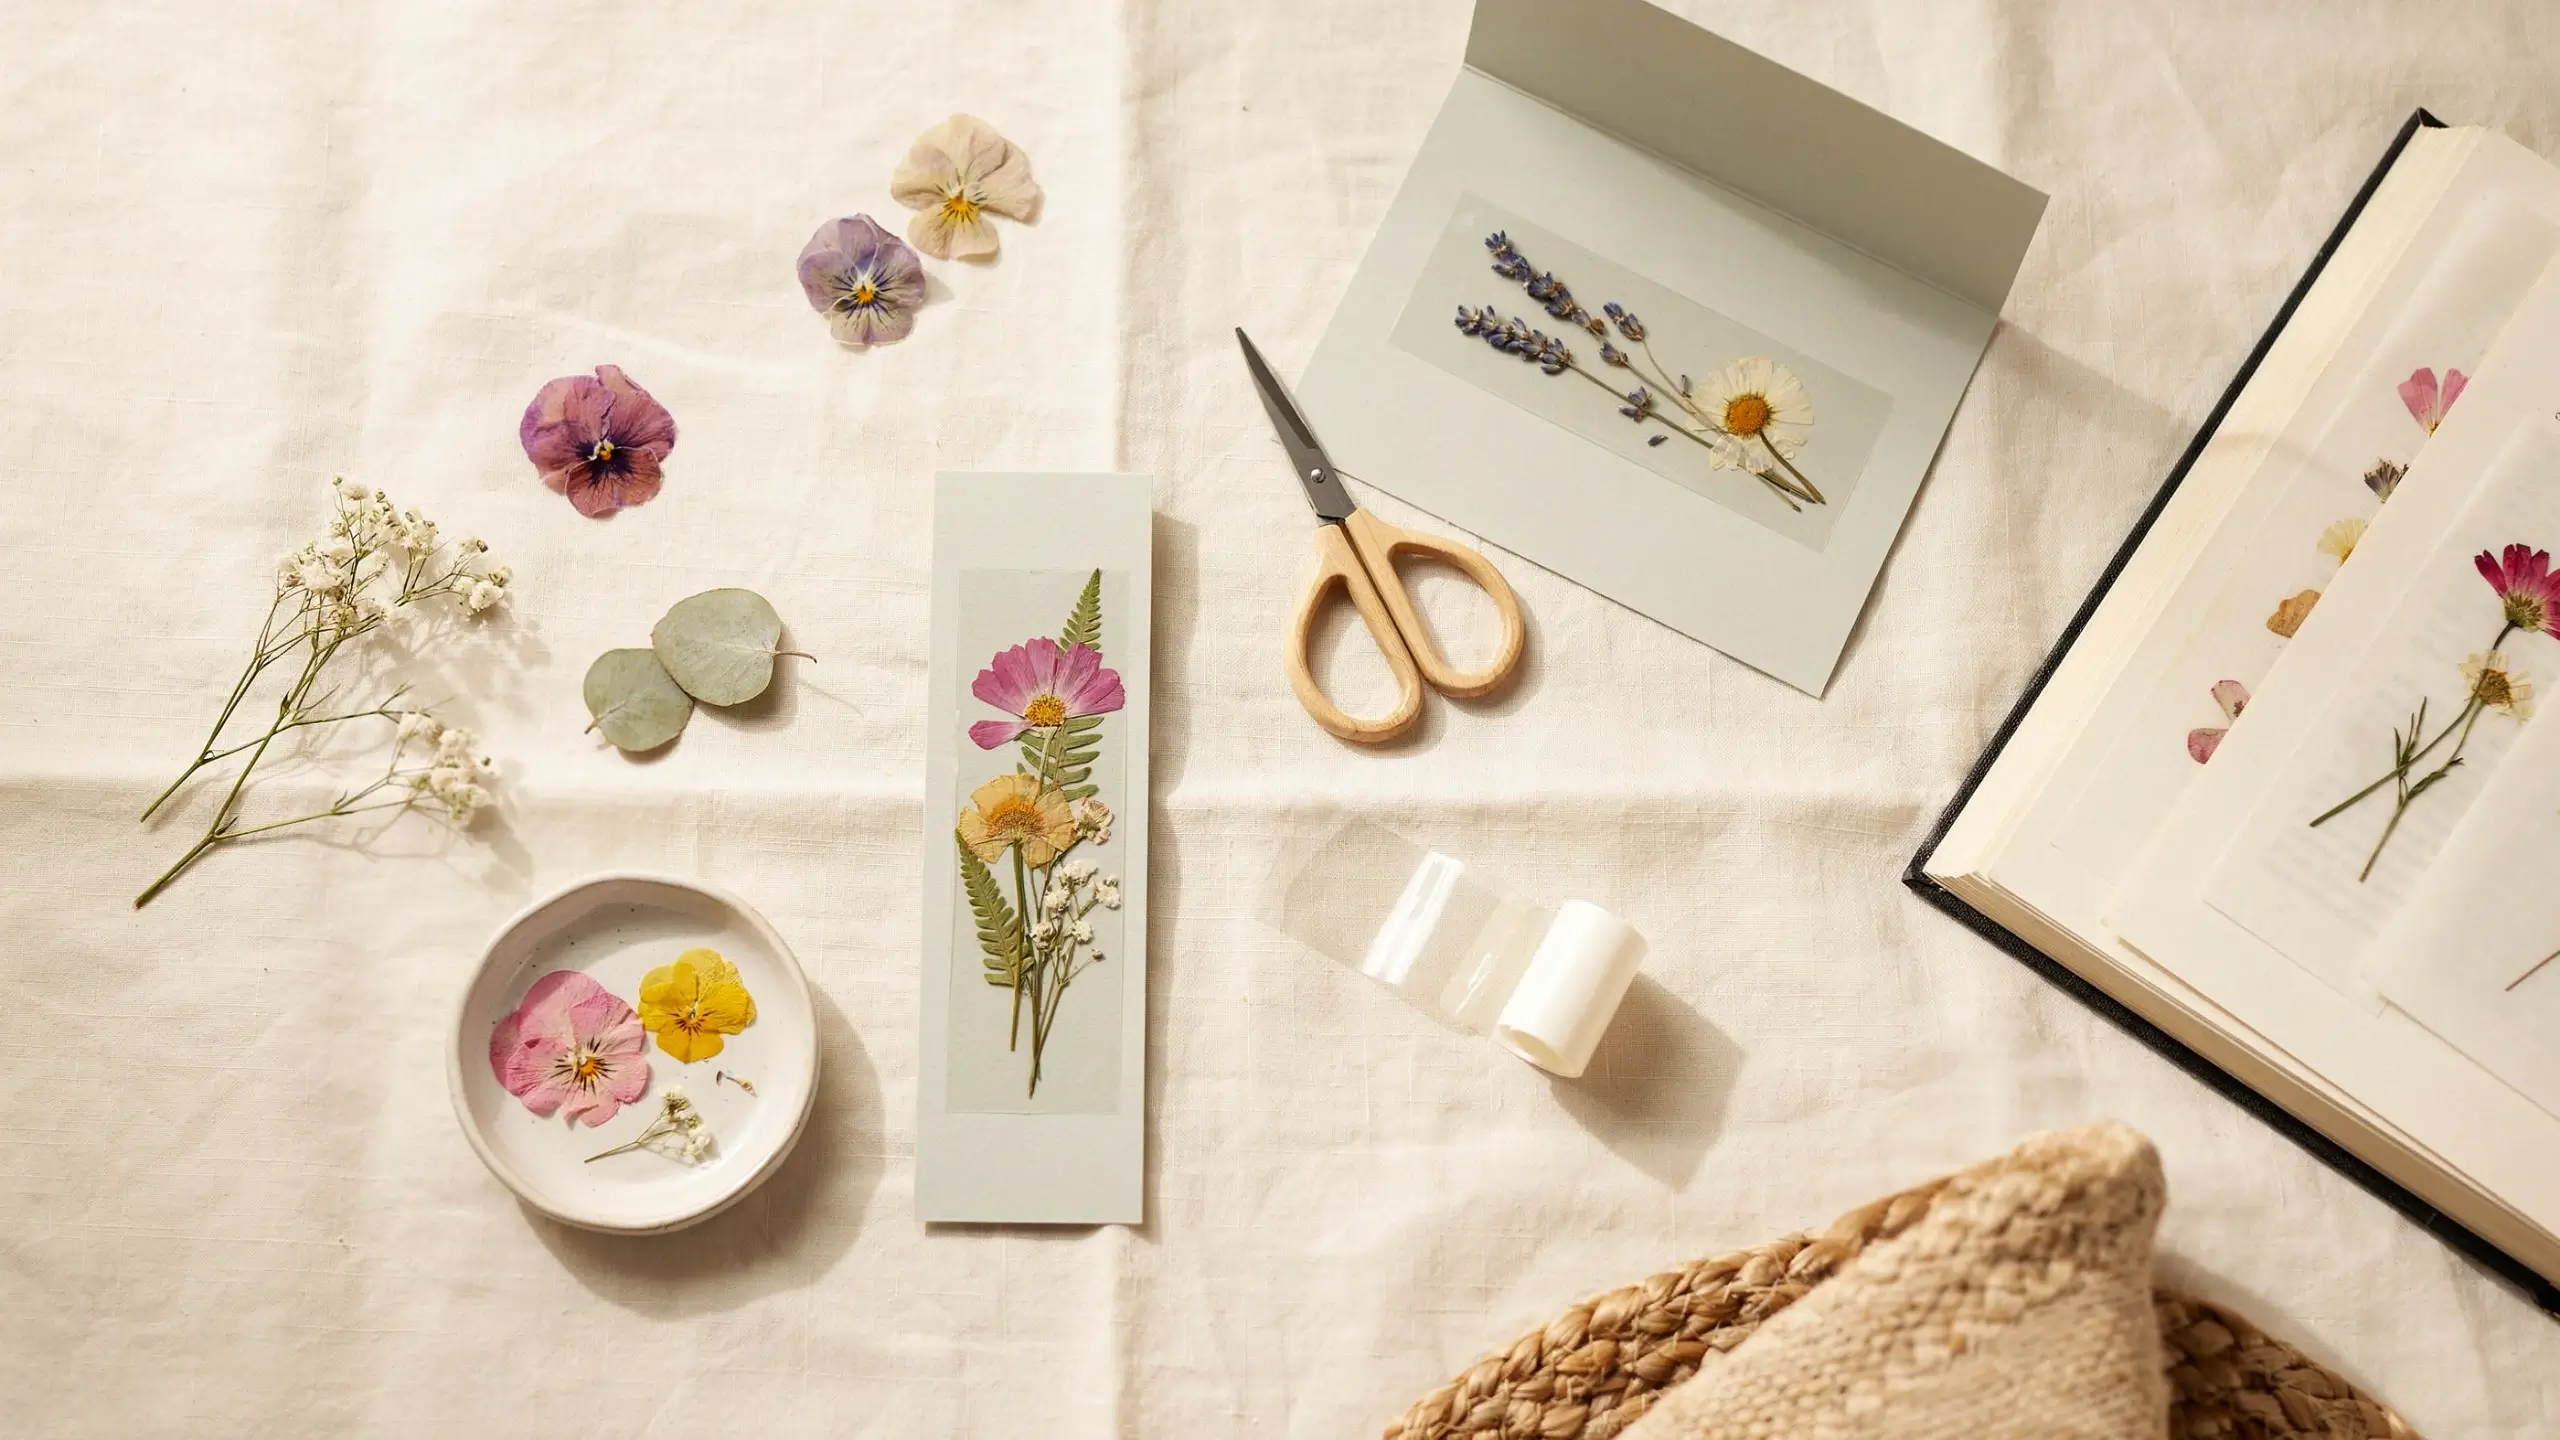
What you need: flowers or leaves from the yard, wax paper, a heavy book, cardstock, clear tape or contact paper.
How to make it: Press flowers between sheets of wax paper inside a heavy book for about a week. Once they’re flat and fully dry, arrange them on cardstock and cover with clear contact paper to hold them in place and protect them, then trim to size.
Age: elementary and up. Start this one early since the pressing takes patience.
Pinterest tip: a single pressed flower under contact paper on a plain white card is a clean, high-save image.
Mistake to avoid: rushing the pressing time. Flowers pressed for only a day or two are still damp and will mold once sealed under the tape.
11. Painted Pot With a Seed or Cutting
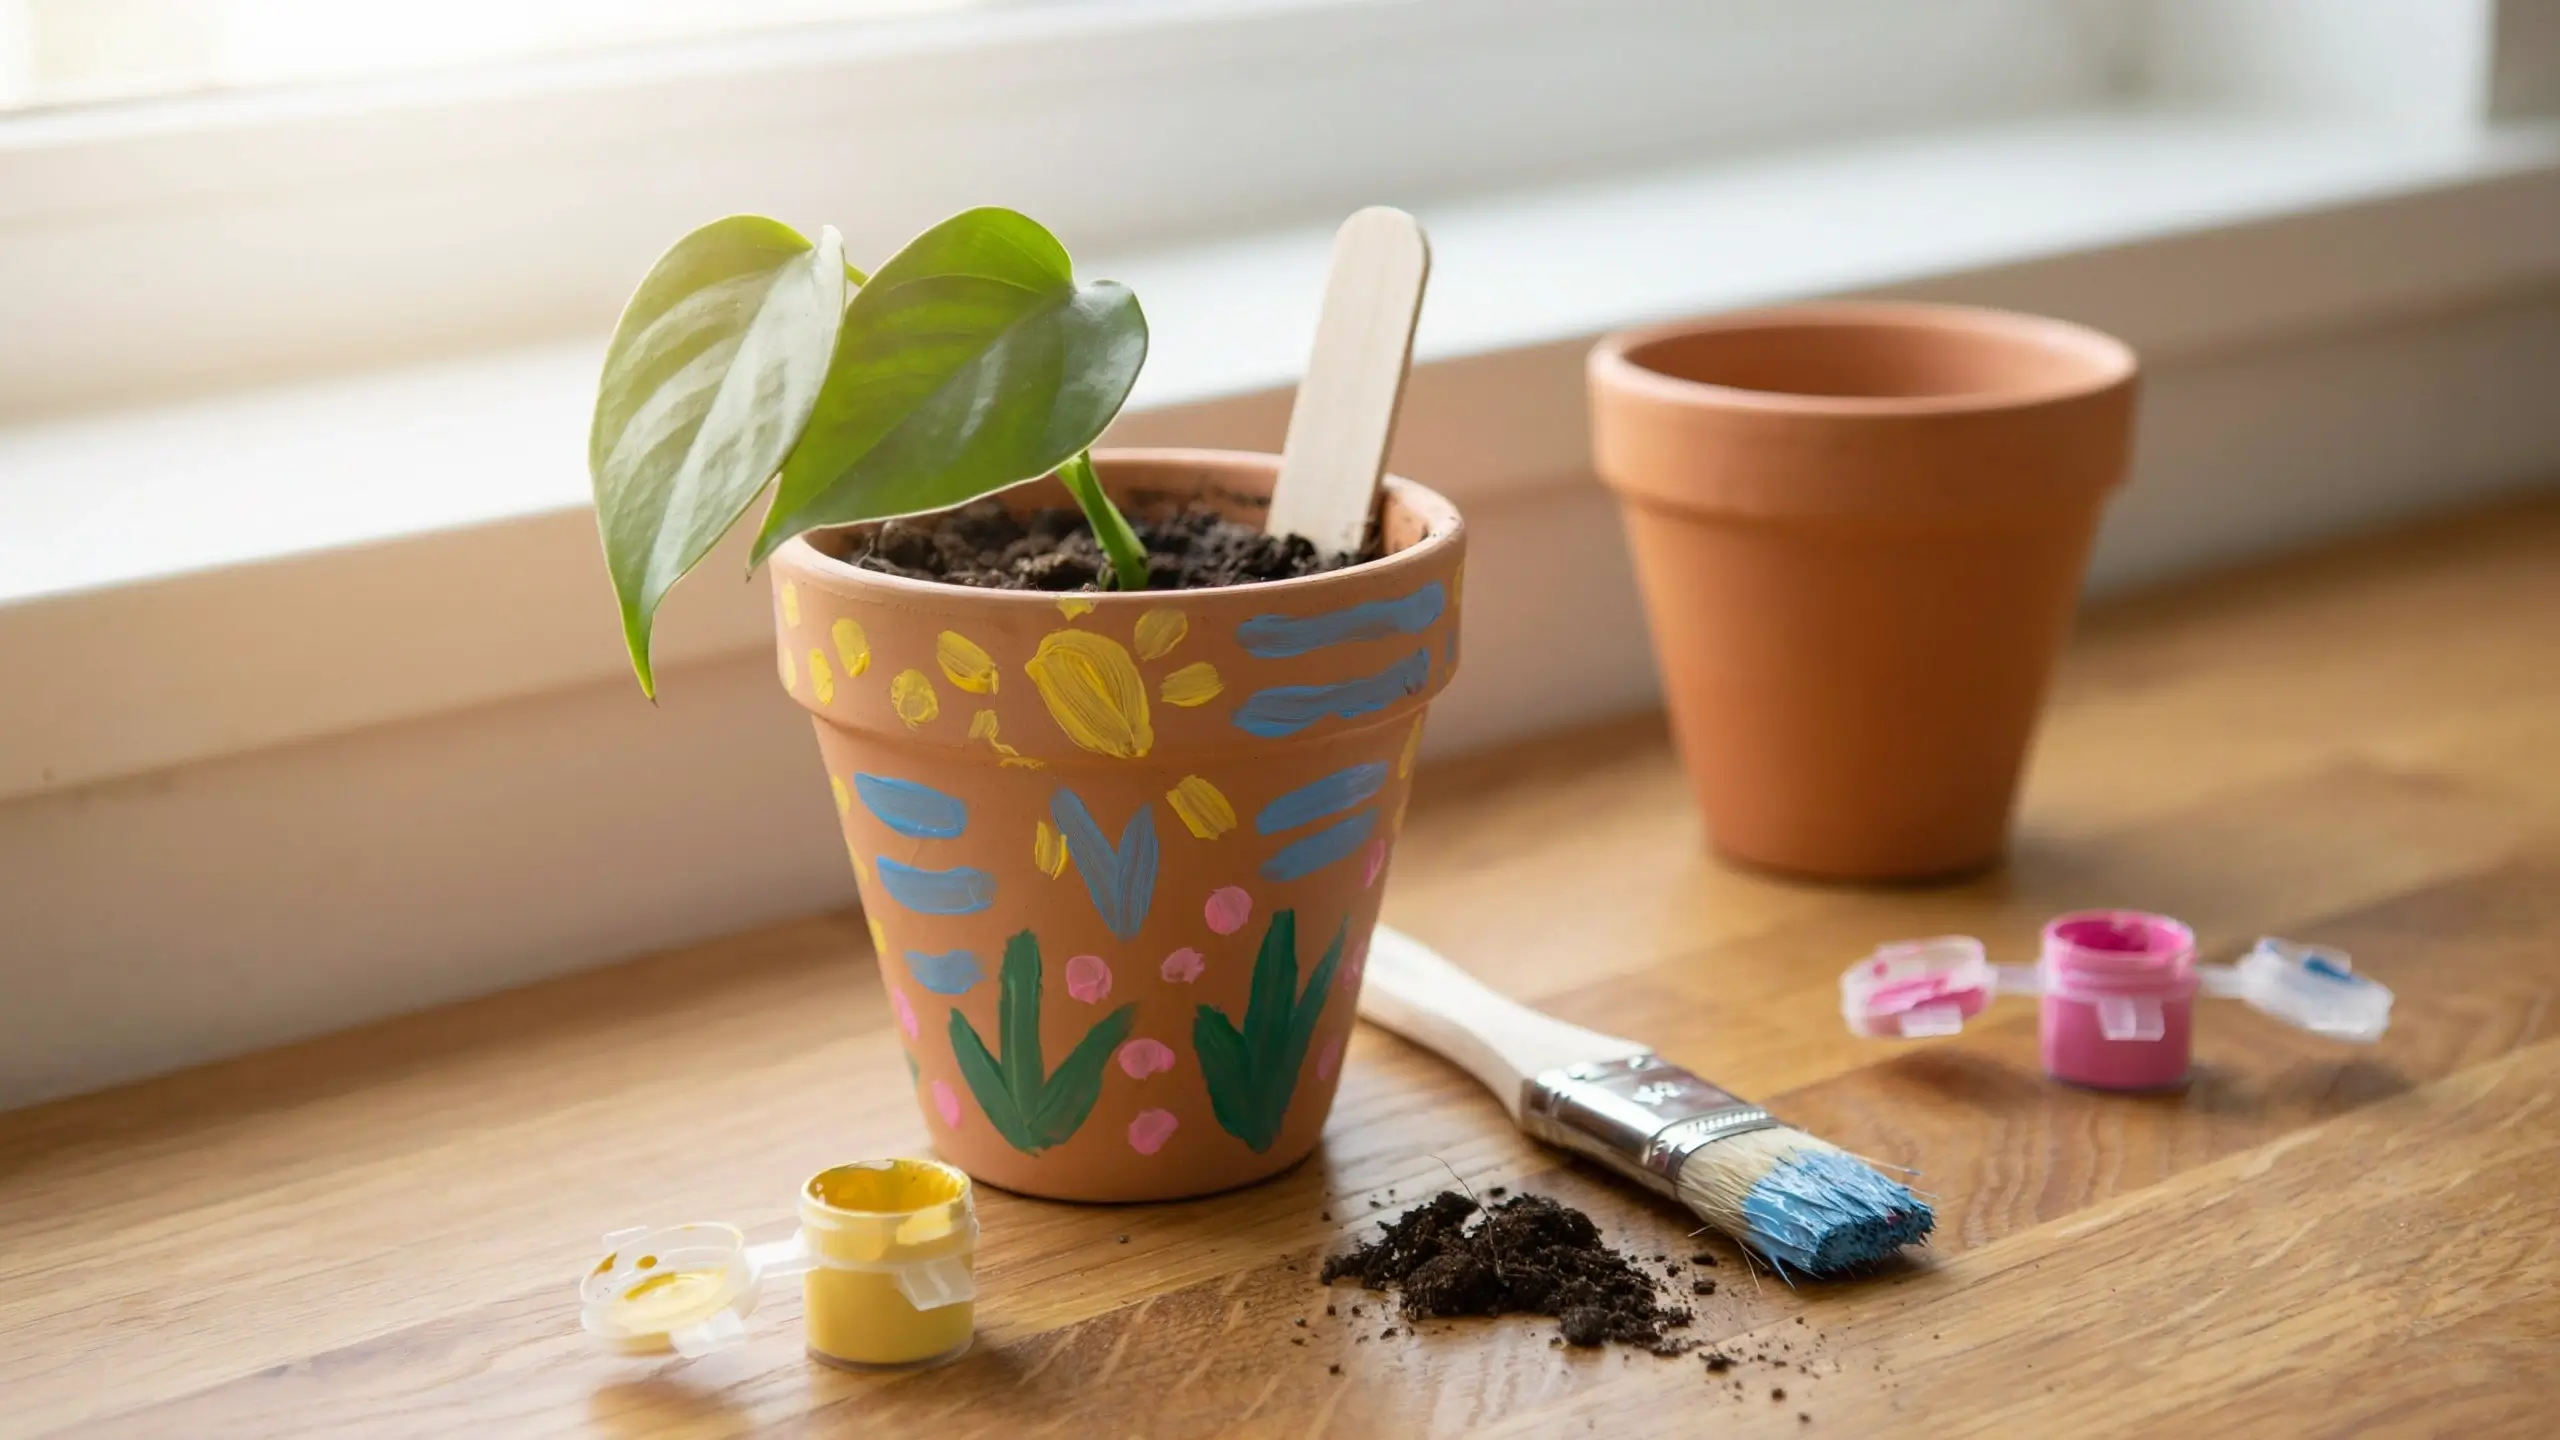
What you need: a small terracotta pot or a cleaned yogurt cup with drainage holes poked in, acrylic paint, a plant cutting or easy houseplant like a succulent or pothos.
How to make it: Paint the pot however your child likes and let it dry completely. Add soil and the plant, then write “thanks for helping me grow” on a small stick or paper tag propped in the soil.
Age: any age for painting, with an adult handling the planting for younger kids.
Pinterest tip: photograph it on a wood surface in natural light. Plant gifts are consistently some of the highest-saved images in this whole topic.
Mistake to avoid: picking a plant that needs a lot of care. A succulent or pothos cutting survives classroom neglect far better than a delicate flower.
12. Rock Garden Marker Set
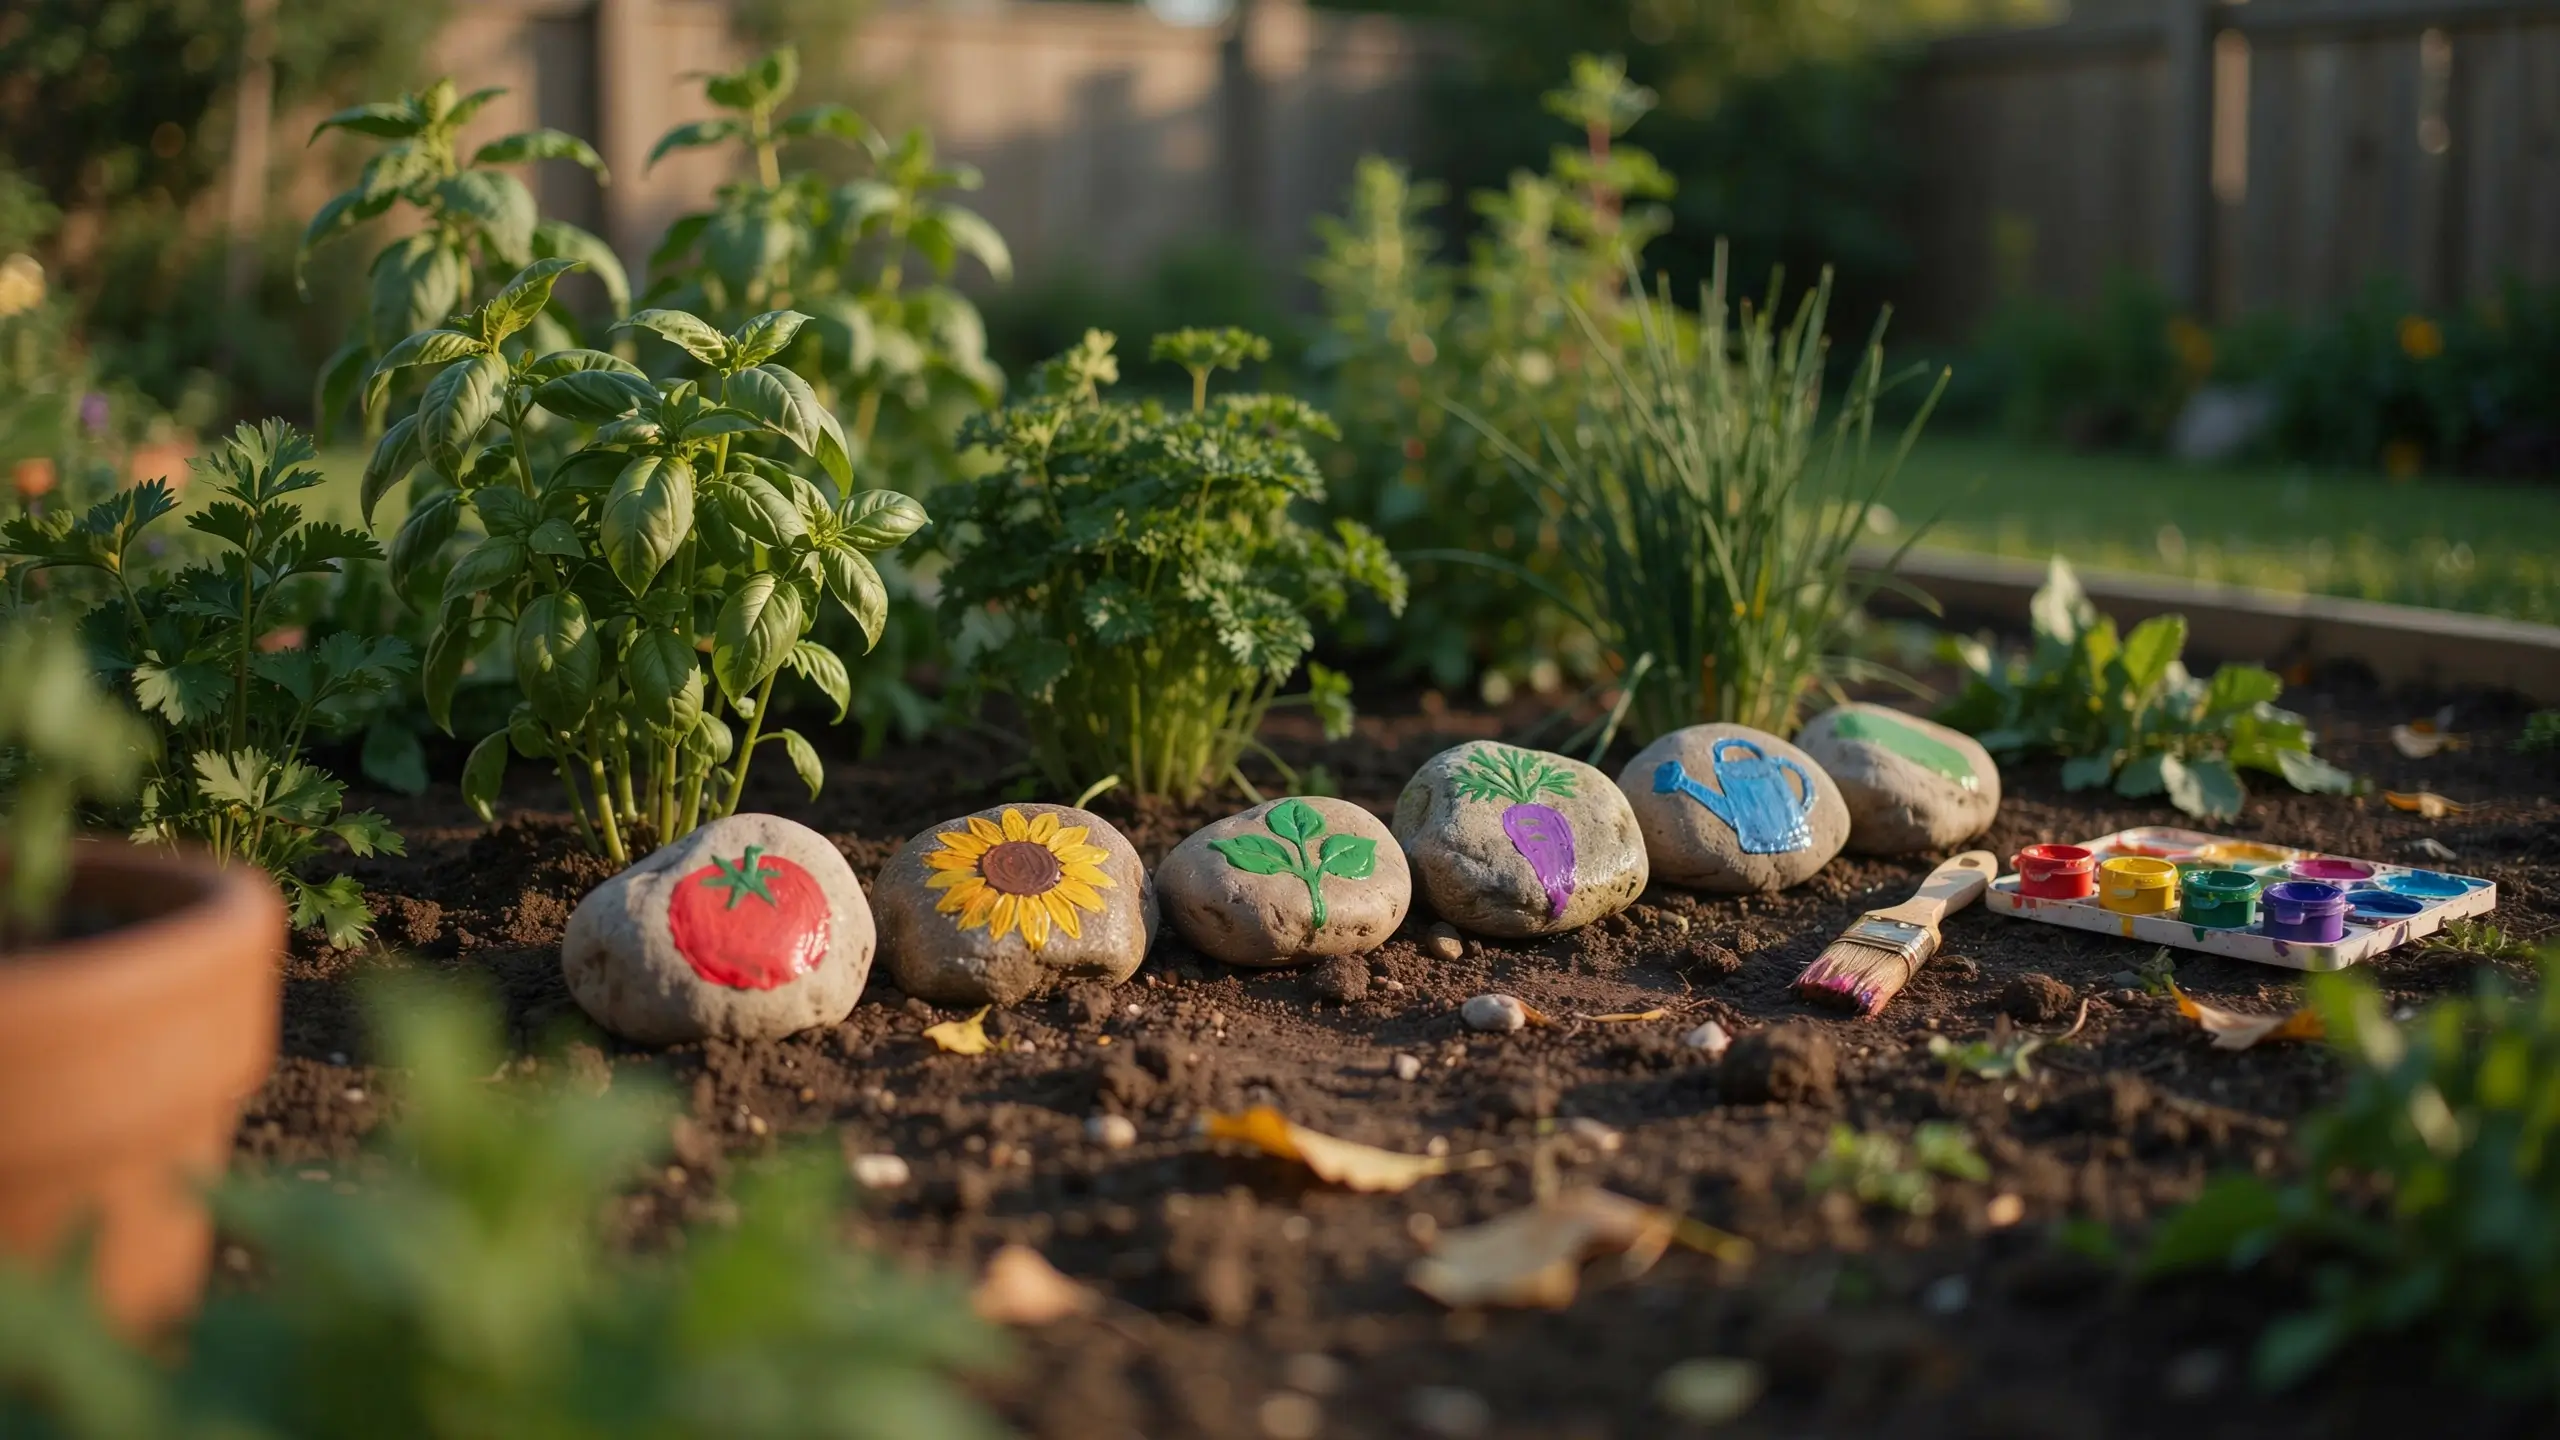
What you need: three to five smooth rocks, acrylic paint, a paint pen or a toothpick dipped in paint.
How to make it: Wash and dry the rocks, paint a base coat, and let it dry. Add a simple design or lettering, then seal with clear spray if the rocks will end up outdoors.
Age: elementary and up.
Pinterest tip: line the rocks up in a row for the photo so they read as a set rather than one lone rock.
Mistake to avoid: skipping the sealant. Unsealed paint chips fast once these are outside.
Practical Gifts a Teacher Will Actually Use
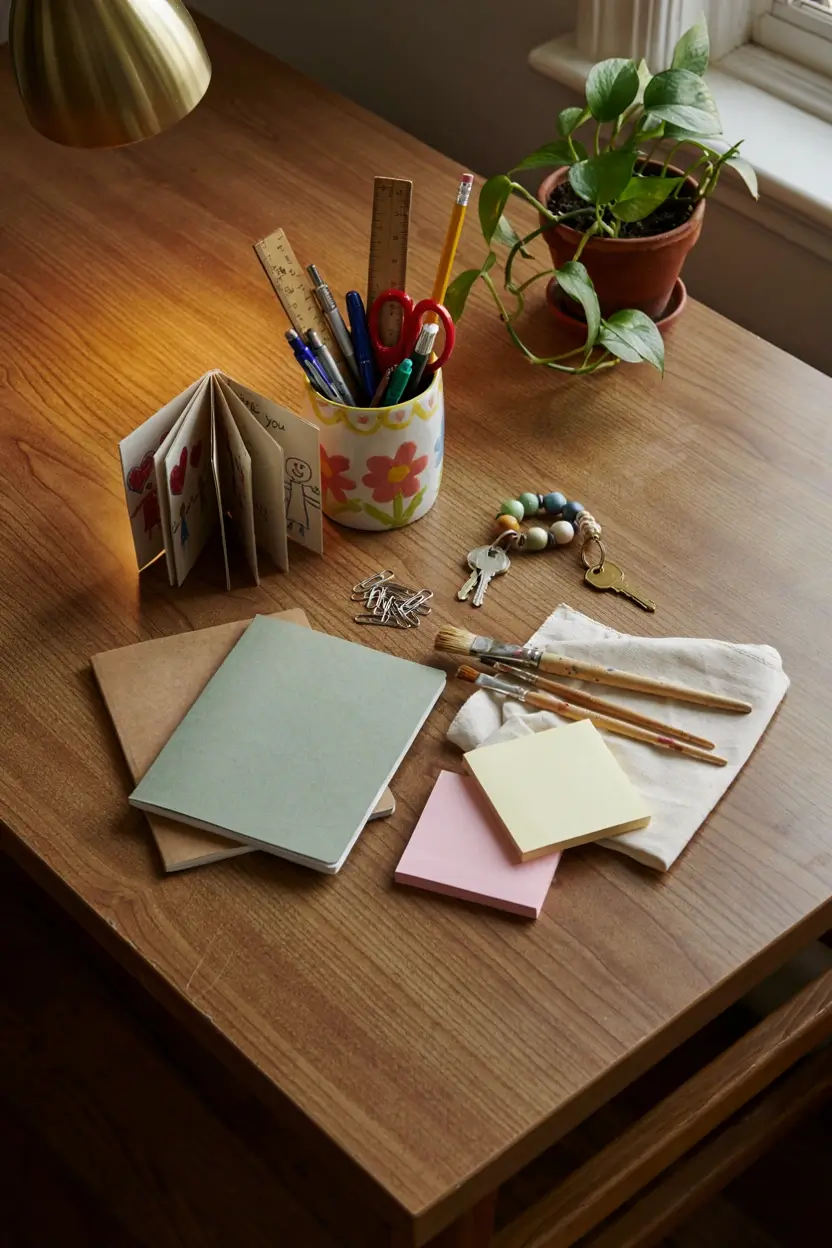
13. Decorated Pencil Cup
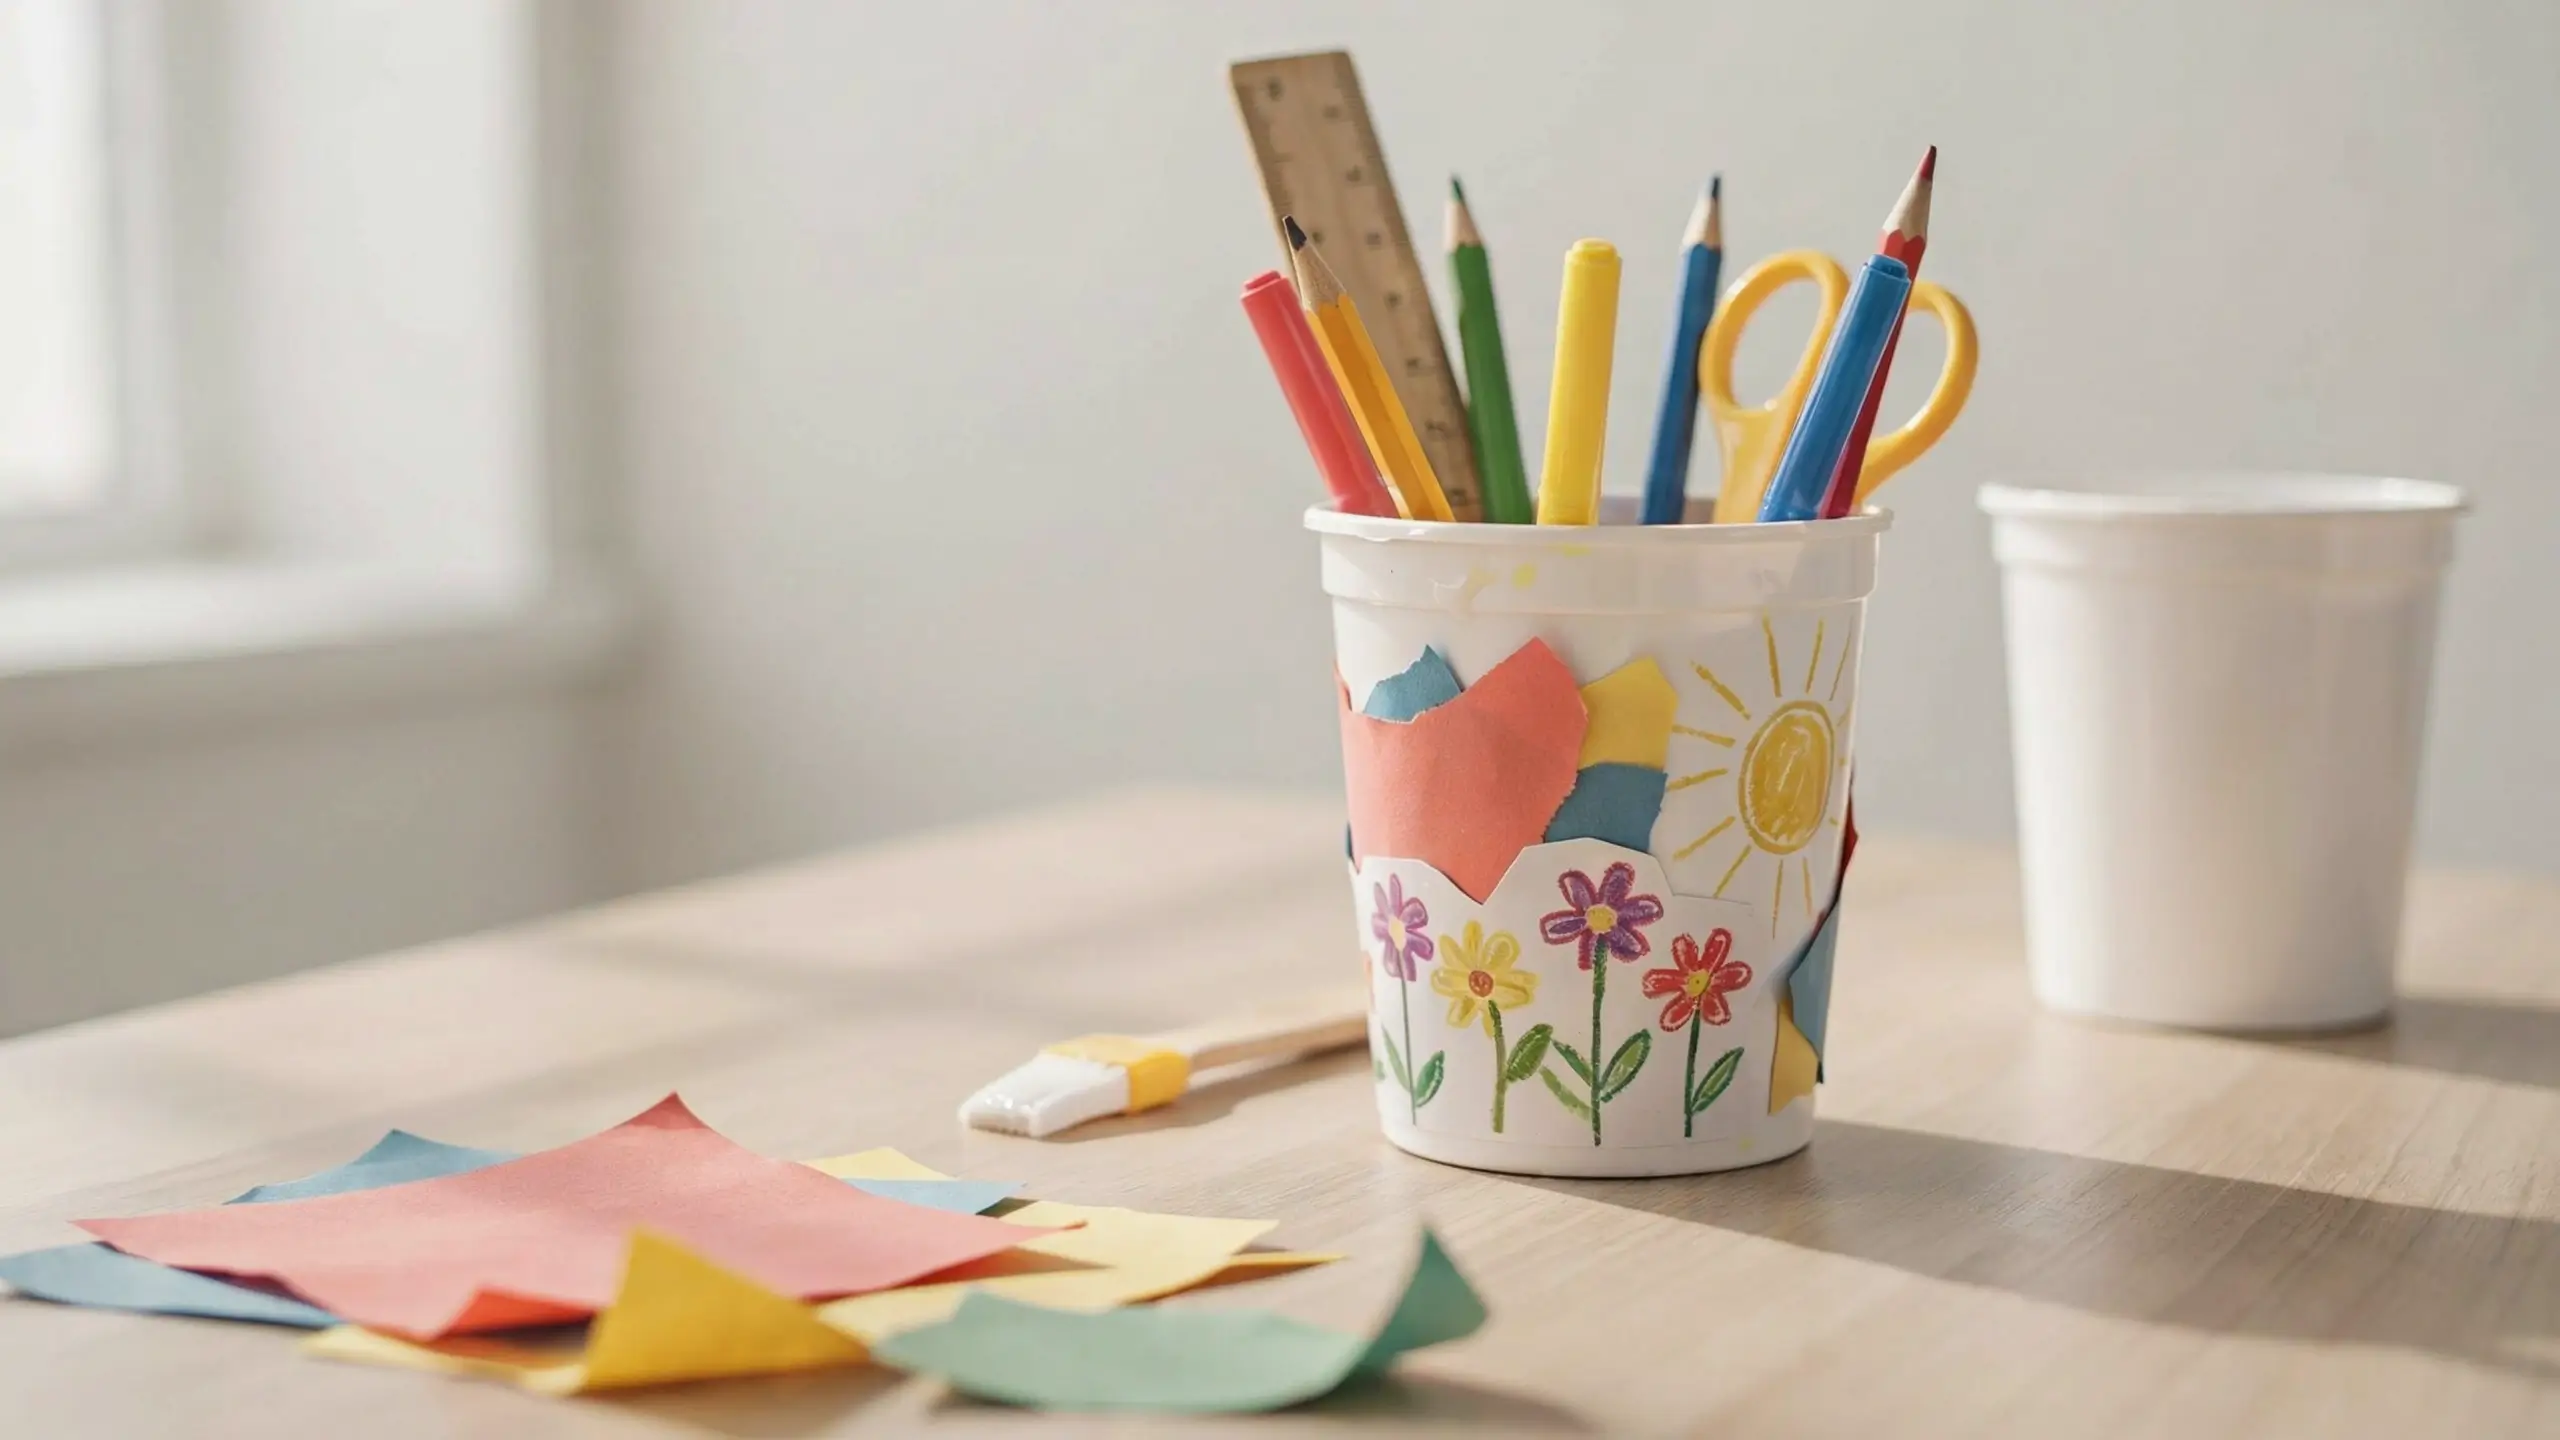
What you need: any container you’re not using, like a yogurt tub or coffee canister, paint or fabric scraps, Mod Podge.
How to make it: Clean and dry the container, then cover it in paint, fabric, or a collage of your child’s own drawings. Let it dry fully and fill it with pens, scissors, or rulers as a starter gift.
Age: any age.
Pinterest tip: fill it with colorful supplies for the photo so it reads as ready-to-use rather than empty.
Mistake to avoid: rough fabric edges make this look unfinished. Fold any raw edges under before gluing.
14. “All About You” Thank-You Booklet
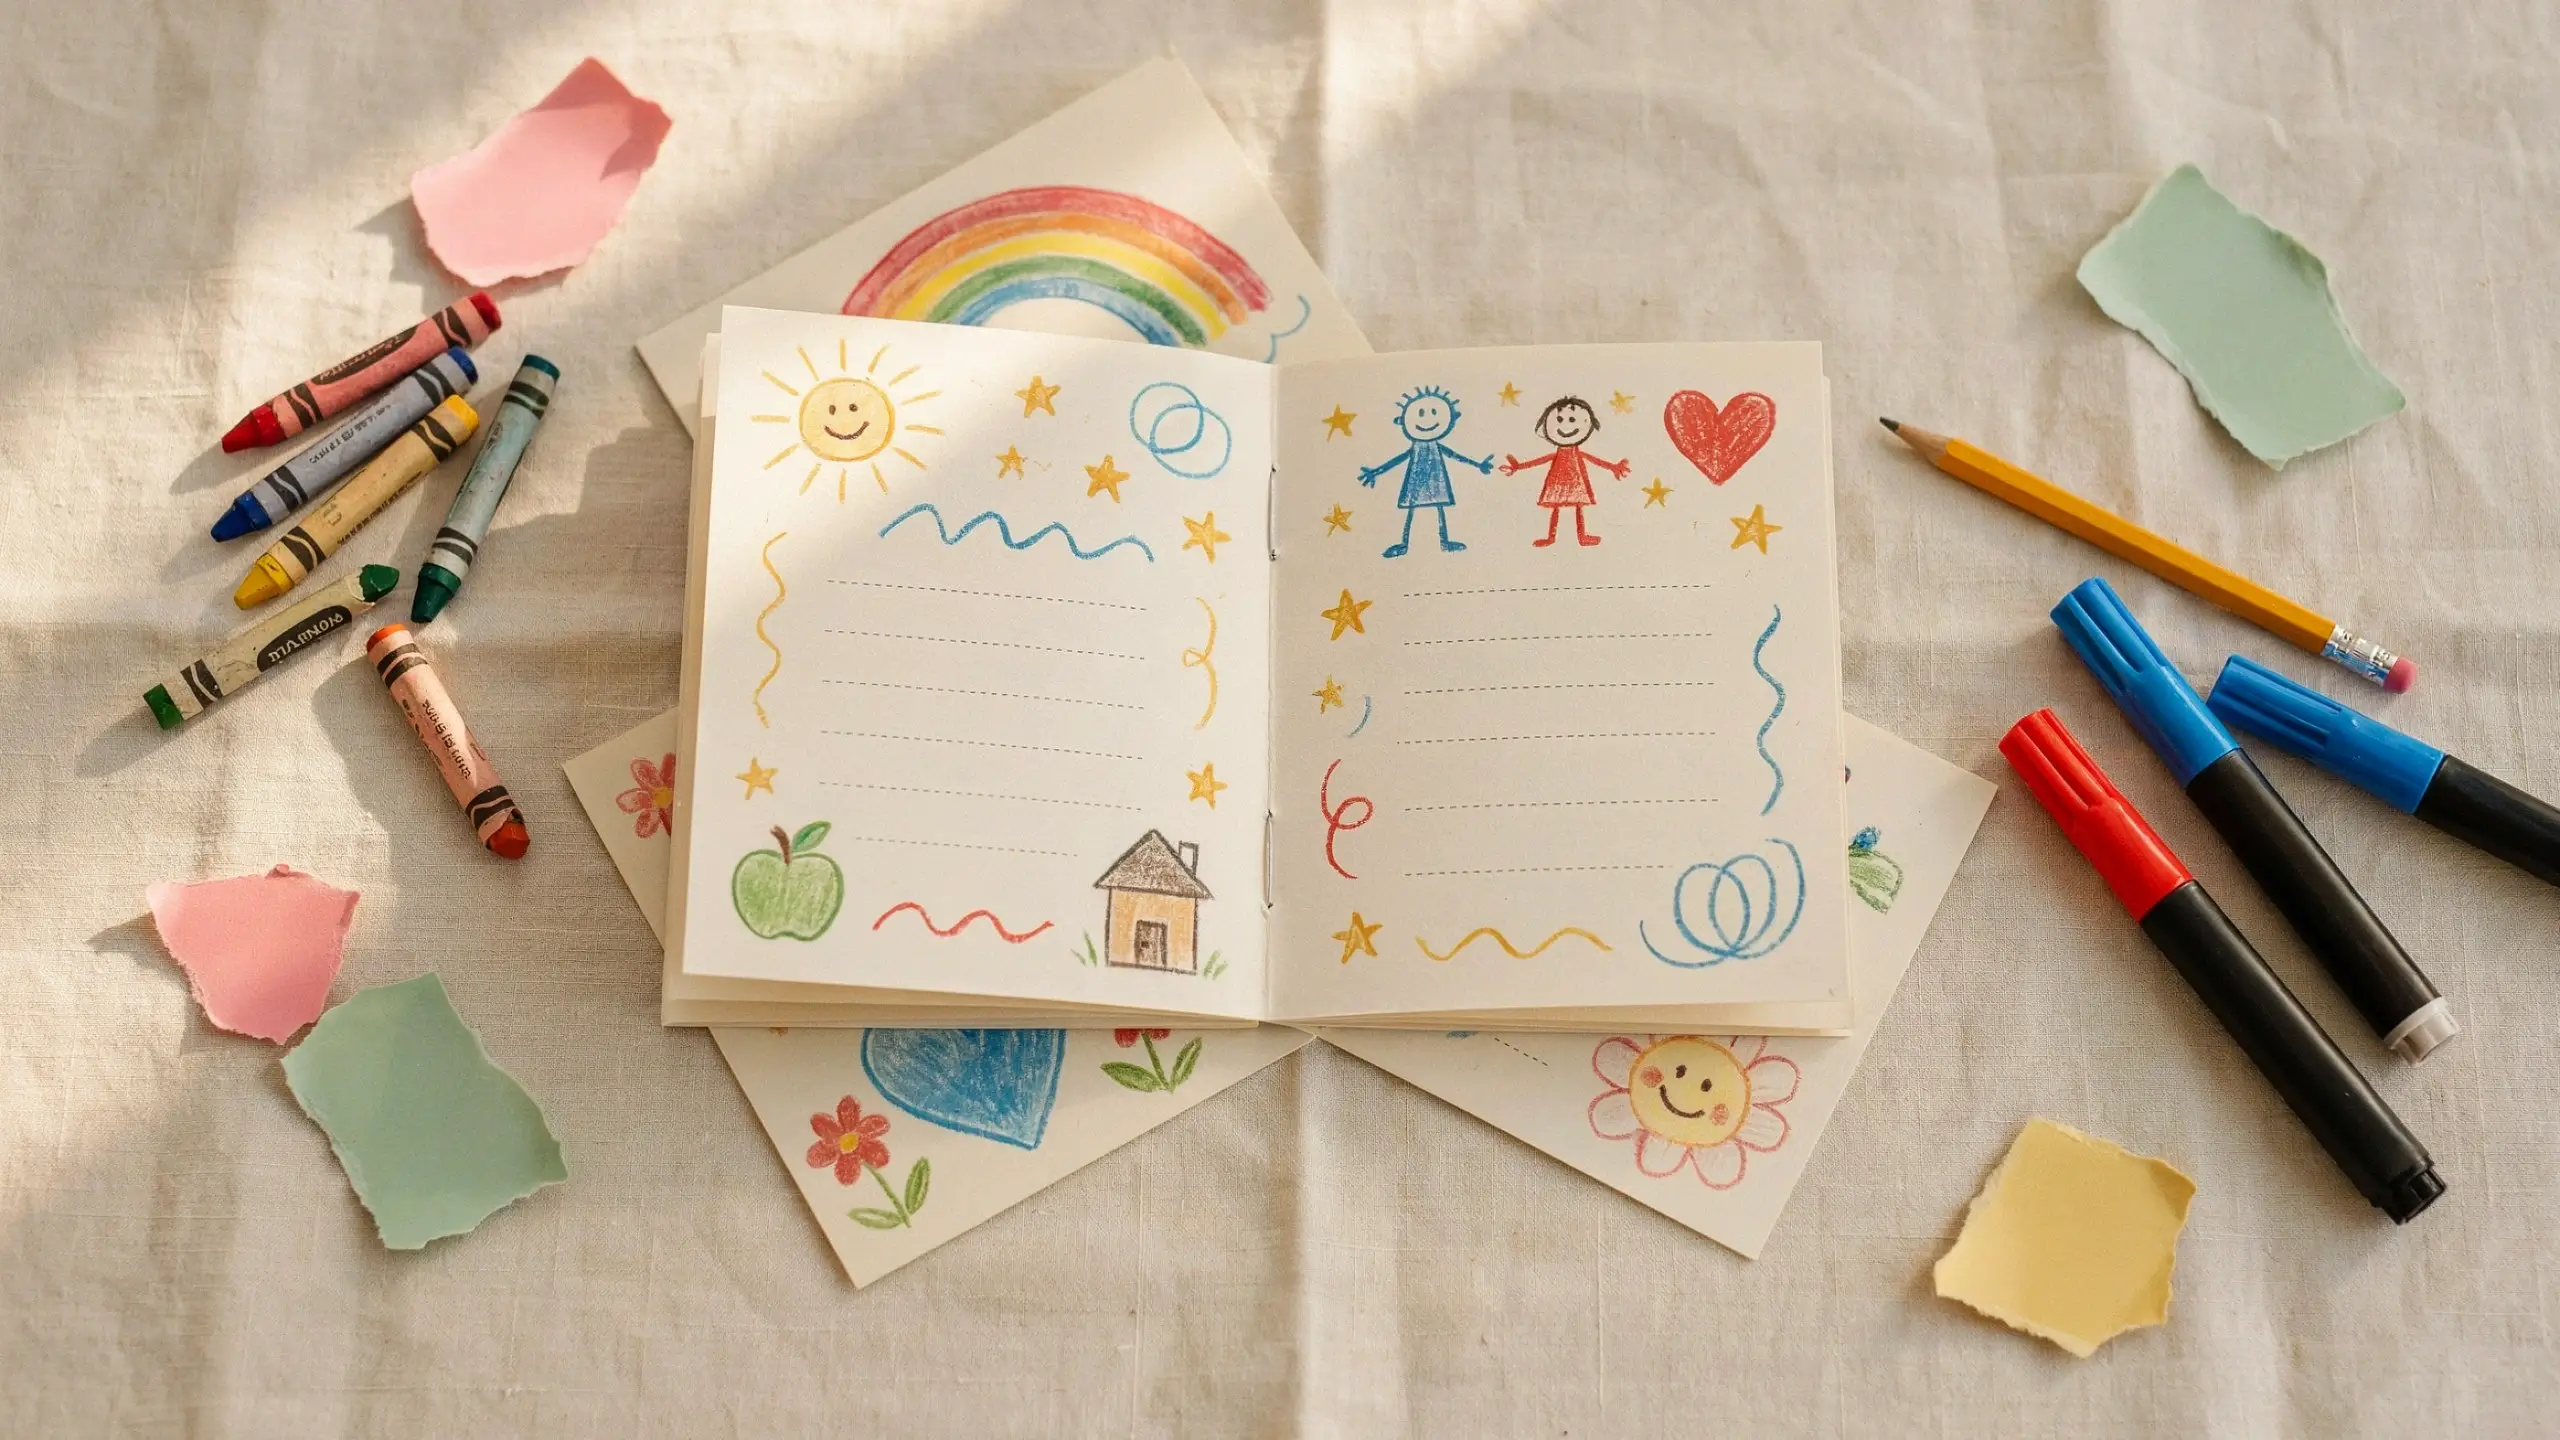
What you need: two or three sheets of paper folded and stapled into a small booklet, crayons or markers.
How to make it: Fold the paper in half and staple along the spine. Have your child draw or write one thing they’re thankful for on each page, a favorite lesson, a joke the teacher tells, a memory from the year. Decorate the cover with the teacher’s name.
Age: any age. This scales from simple scribbles to full sentences depending on the child.
Pinterest tip: photograph it open to a favorite page instead of closed. The handwriting and drawings are the whole appeal here.
Mistake to avoid: don’t over-correct your child’s spelling or wording. The real voice is what makes this gift land.
15. Beaded Keychain or Bookmark Tassel
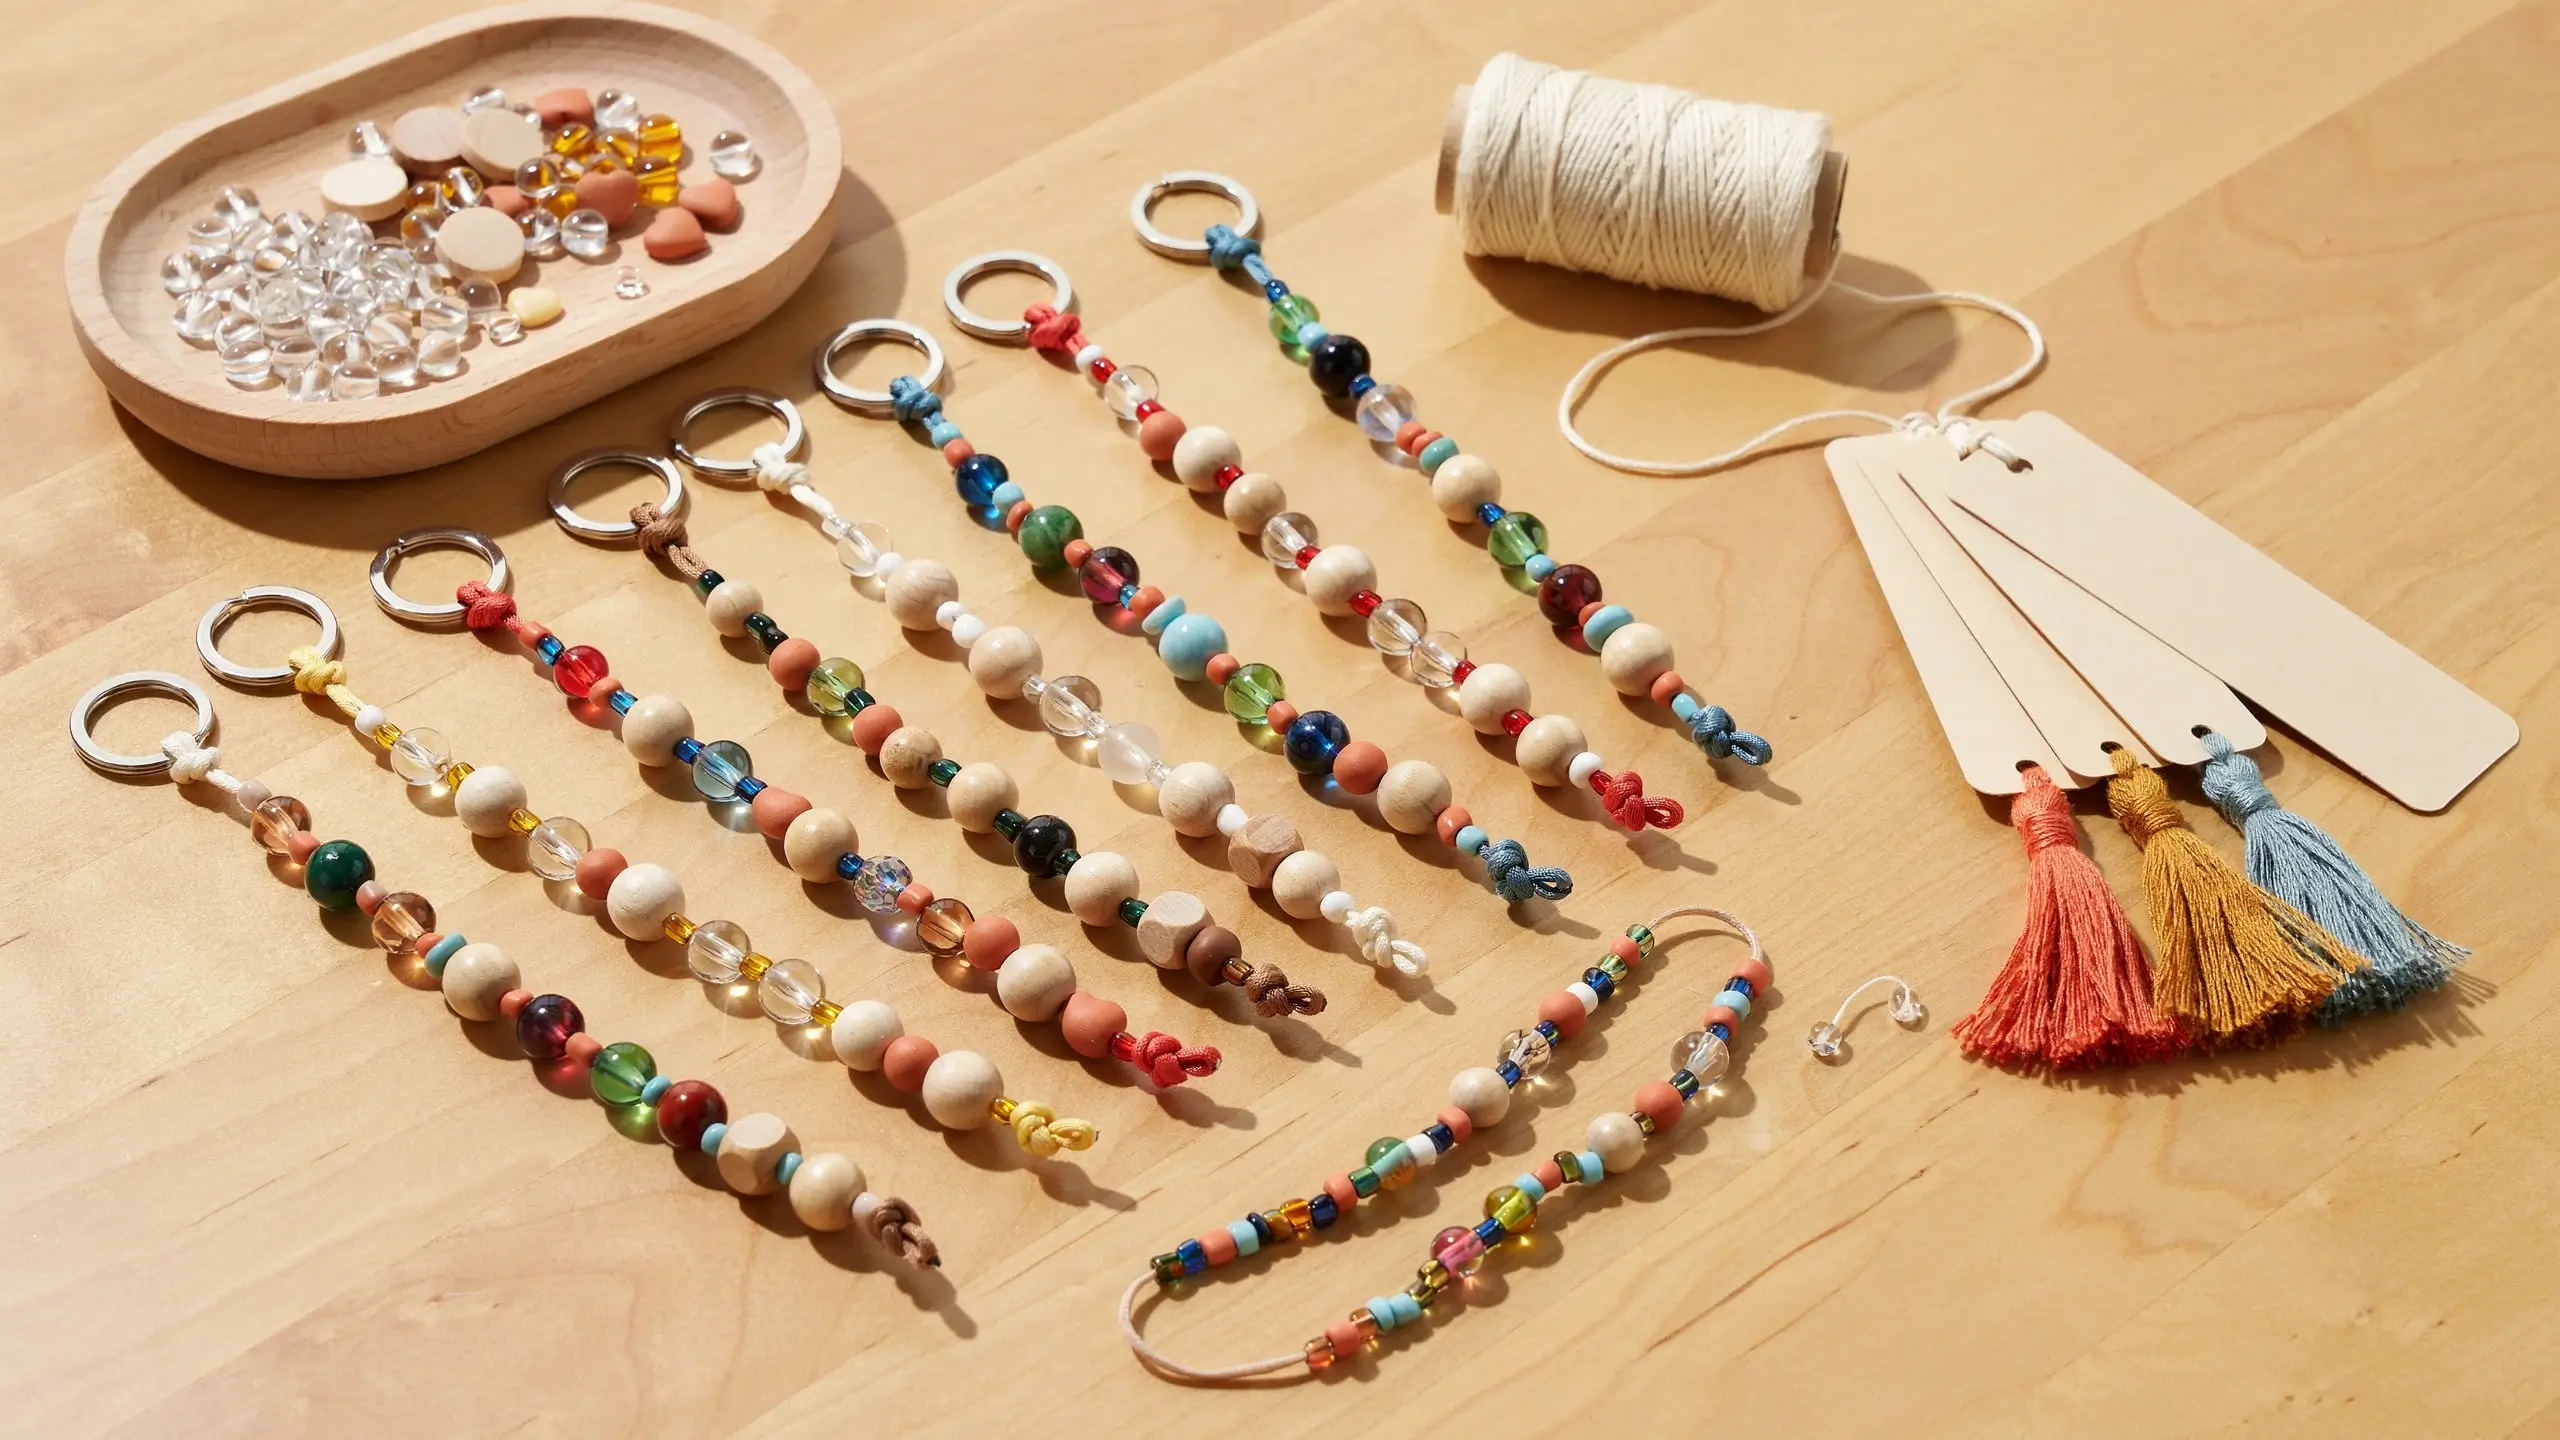
What you need: leftover beads and elastic cord or embroidery floss, a keyring or a bookmark cut from cardstock.
How to make it: String beads onto the cord in a pattern and tie off securely. Attach it to a keyring or the top of a bookmark, adding a heavier bead at the bottom for weight.
Age: elementary and up. Good practice for fine motor skills.
Pinterest tip: lay several finished keychains in a fan shape for a colorful, save-worthy photo.
Mistake to avoid: loose knots come undone fast. Tug-test every finished piece before calling it done.
Genuinely Last-Minute Options (Under 10 Minutes)
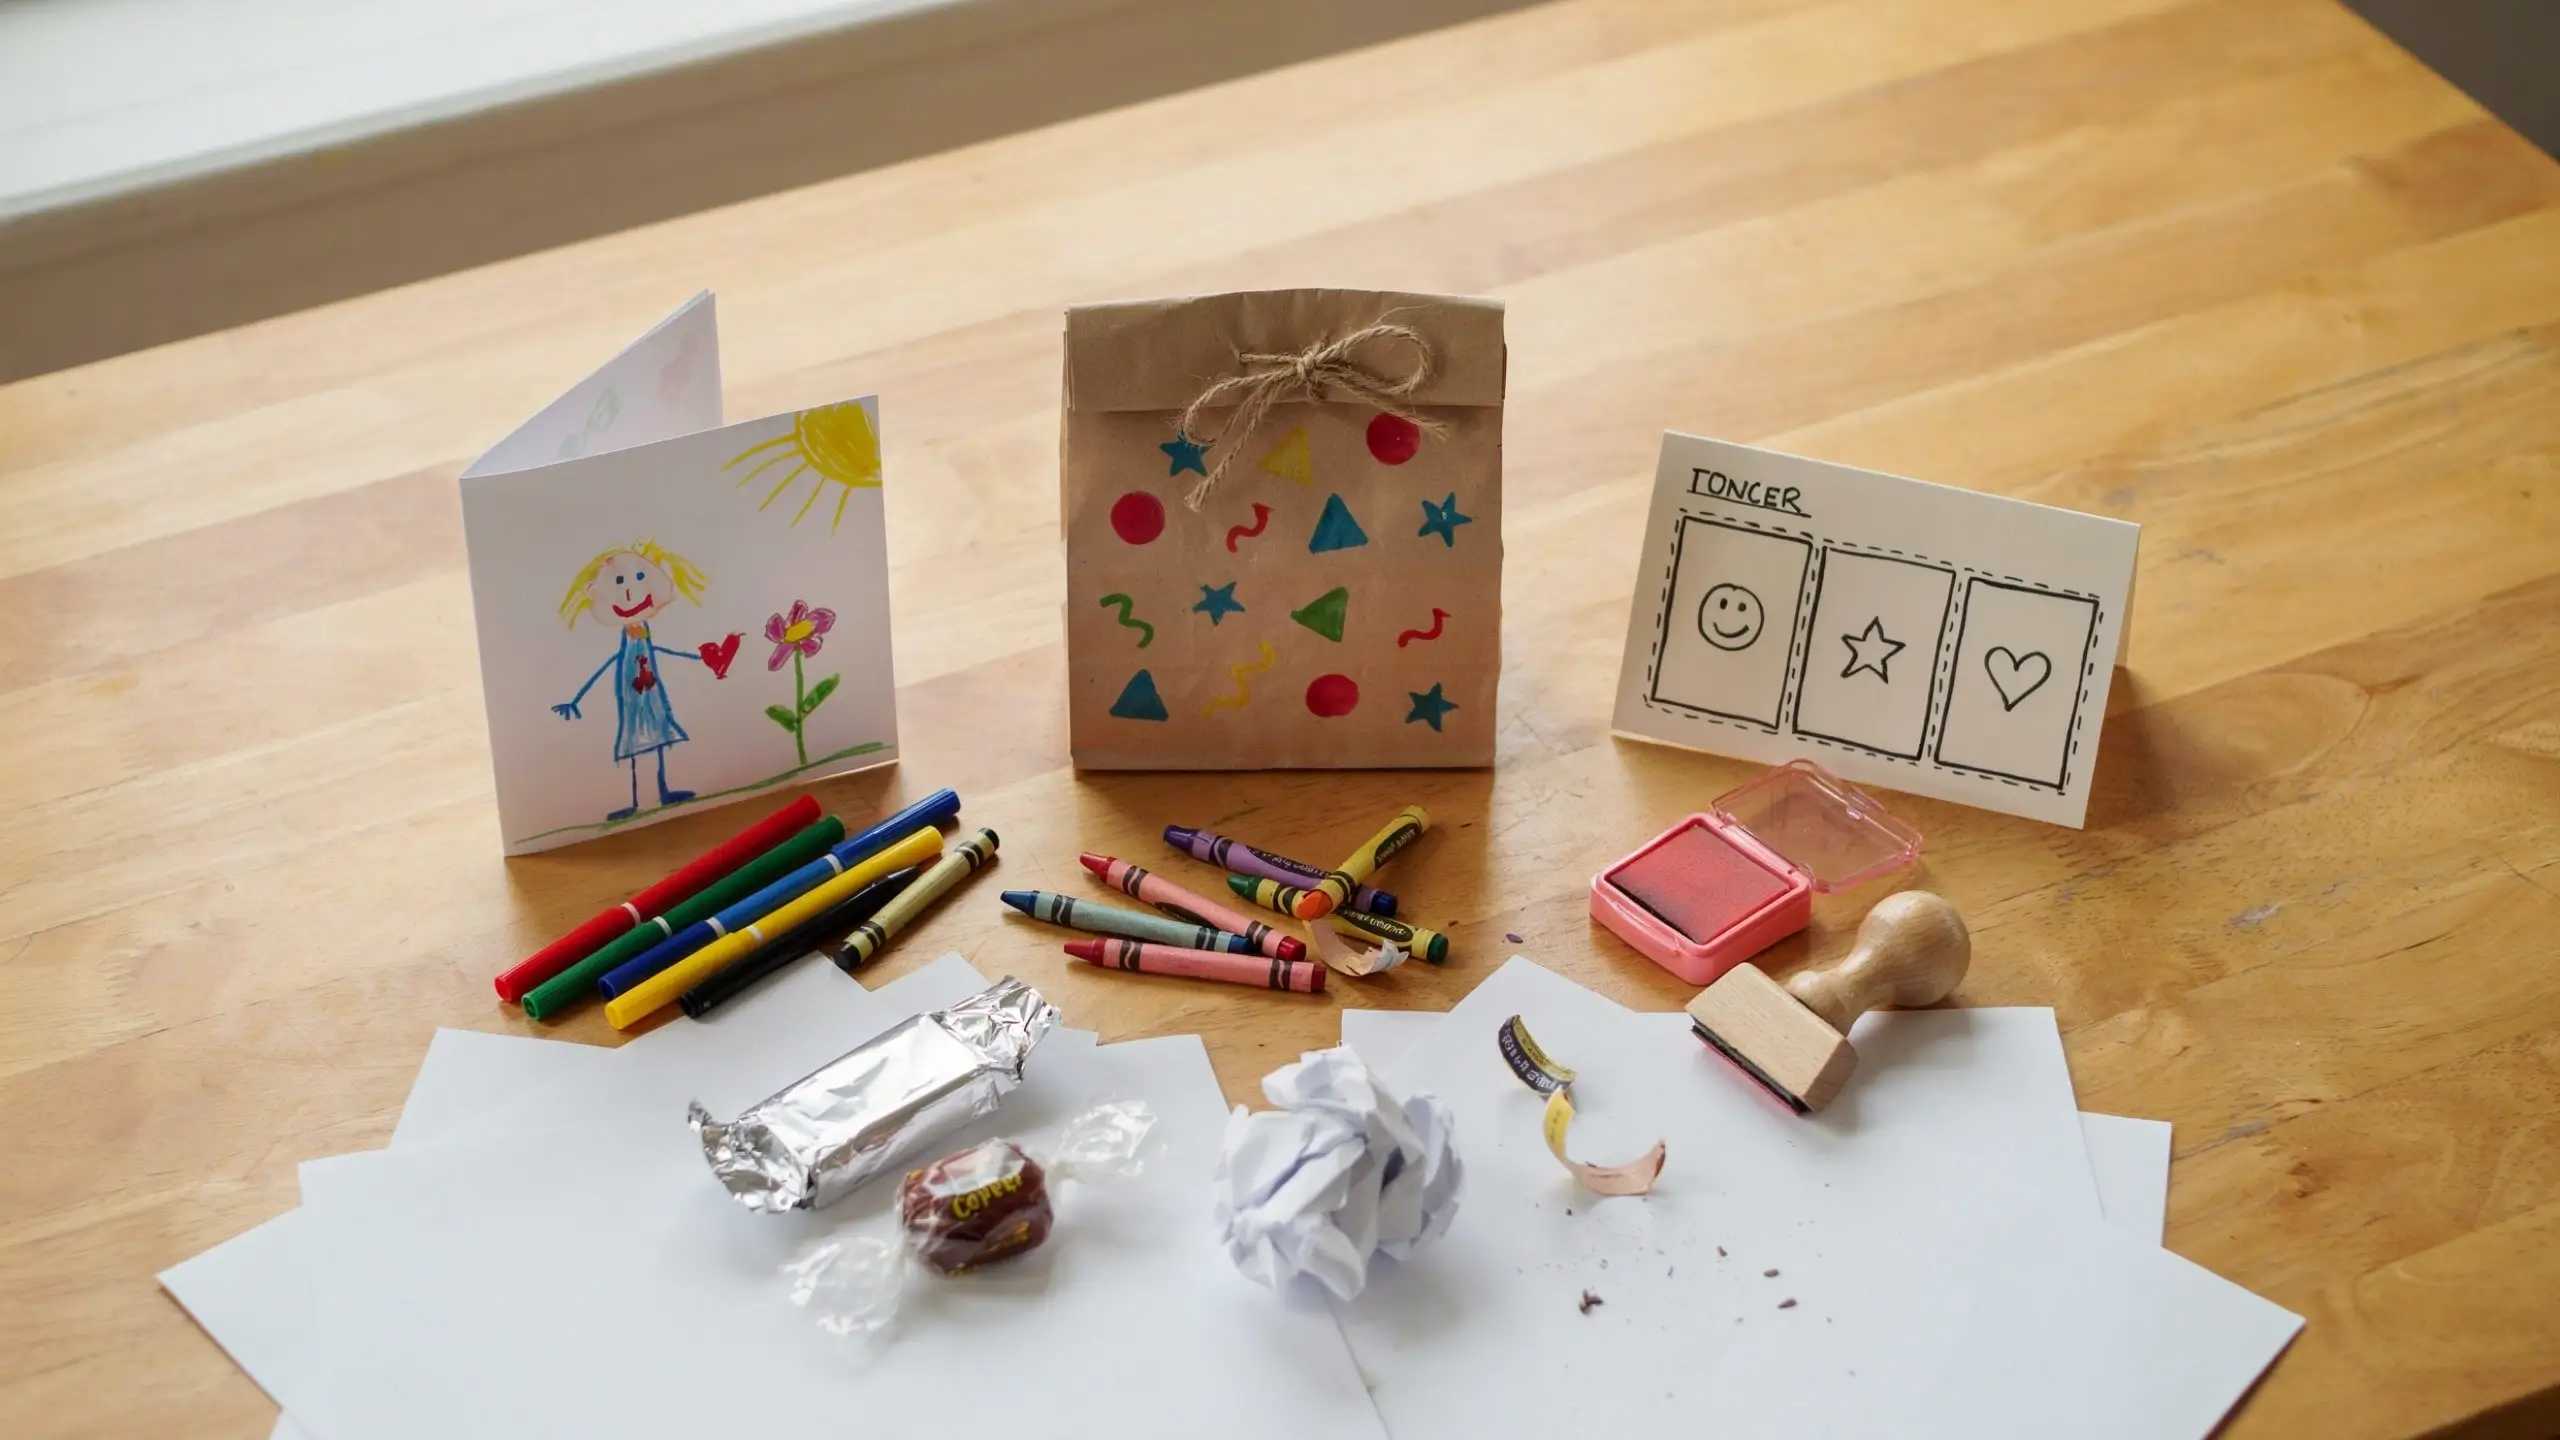
Some mornings there’s no time for drying steps or curing time. These three still count as handmade and take almost nothing:
- A folded paper card with a handwritten note and a quick drawing
- A brown paper lunch bag decorated with marker or stamps, filled with a treat and tied with string
- A hand-drawn “coupon,” like one free classroom doodle or one homework high-five
When to Give a Handmade Teacher Gift
National Teacher Appreciation Day falls on the Tuesday of the first full week of May, with the rest of Teacher Appreciation Week built around it. Plenty of families also give something during the first week of school, before winter break, or on the last day of the school year in June.
None of these dates are required. A handmade gift on a random Tuesday in October means just as much as one timed to a calendar event.
How to Package It Without Buying Anything New
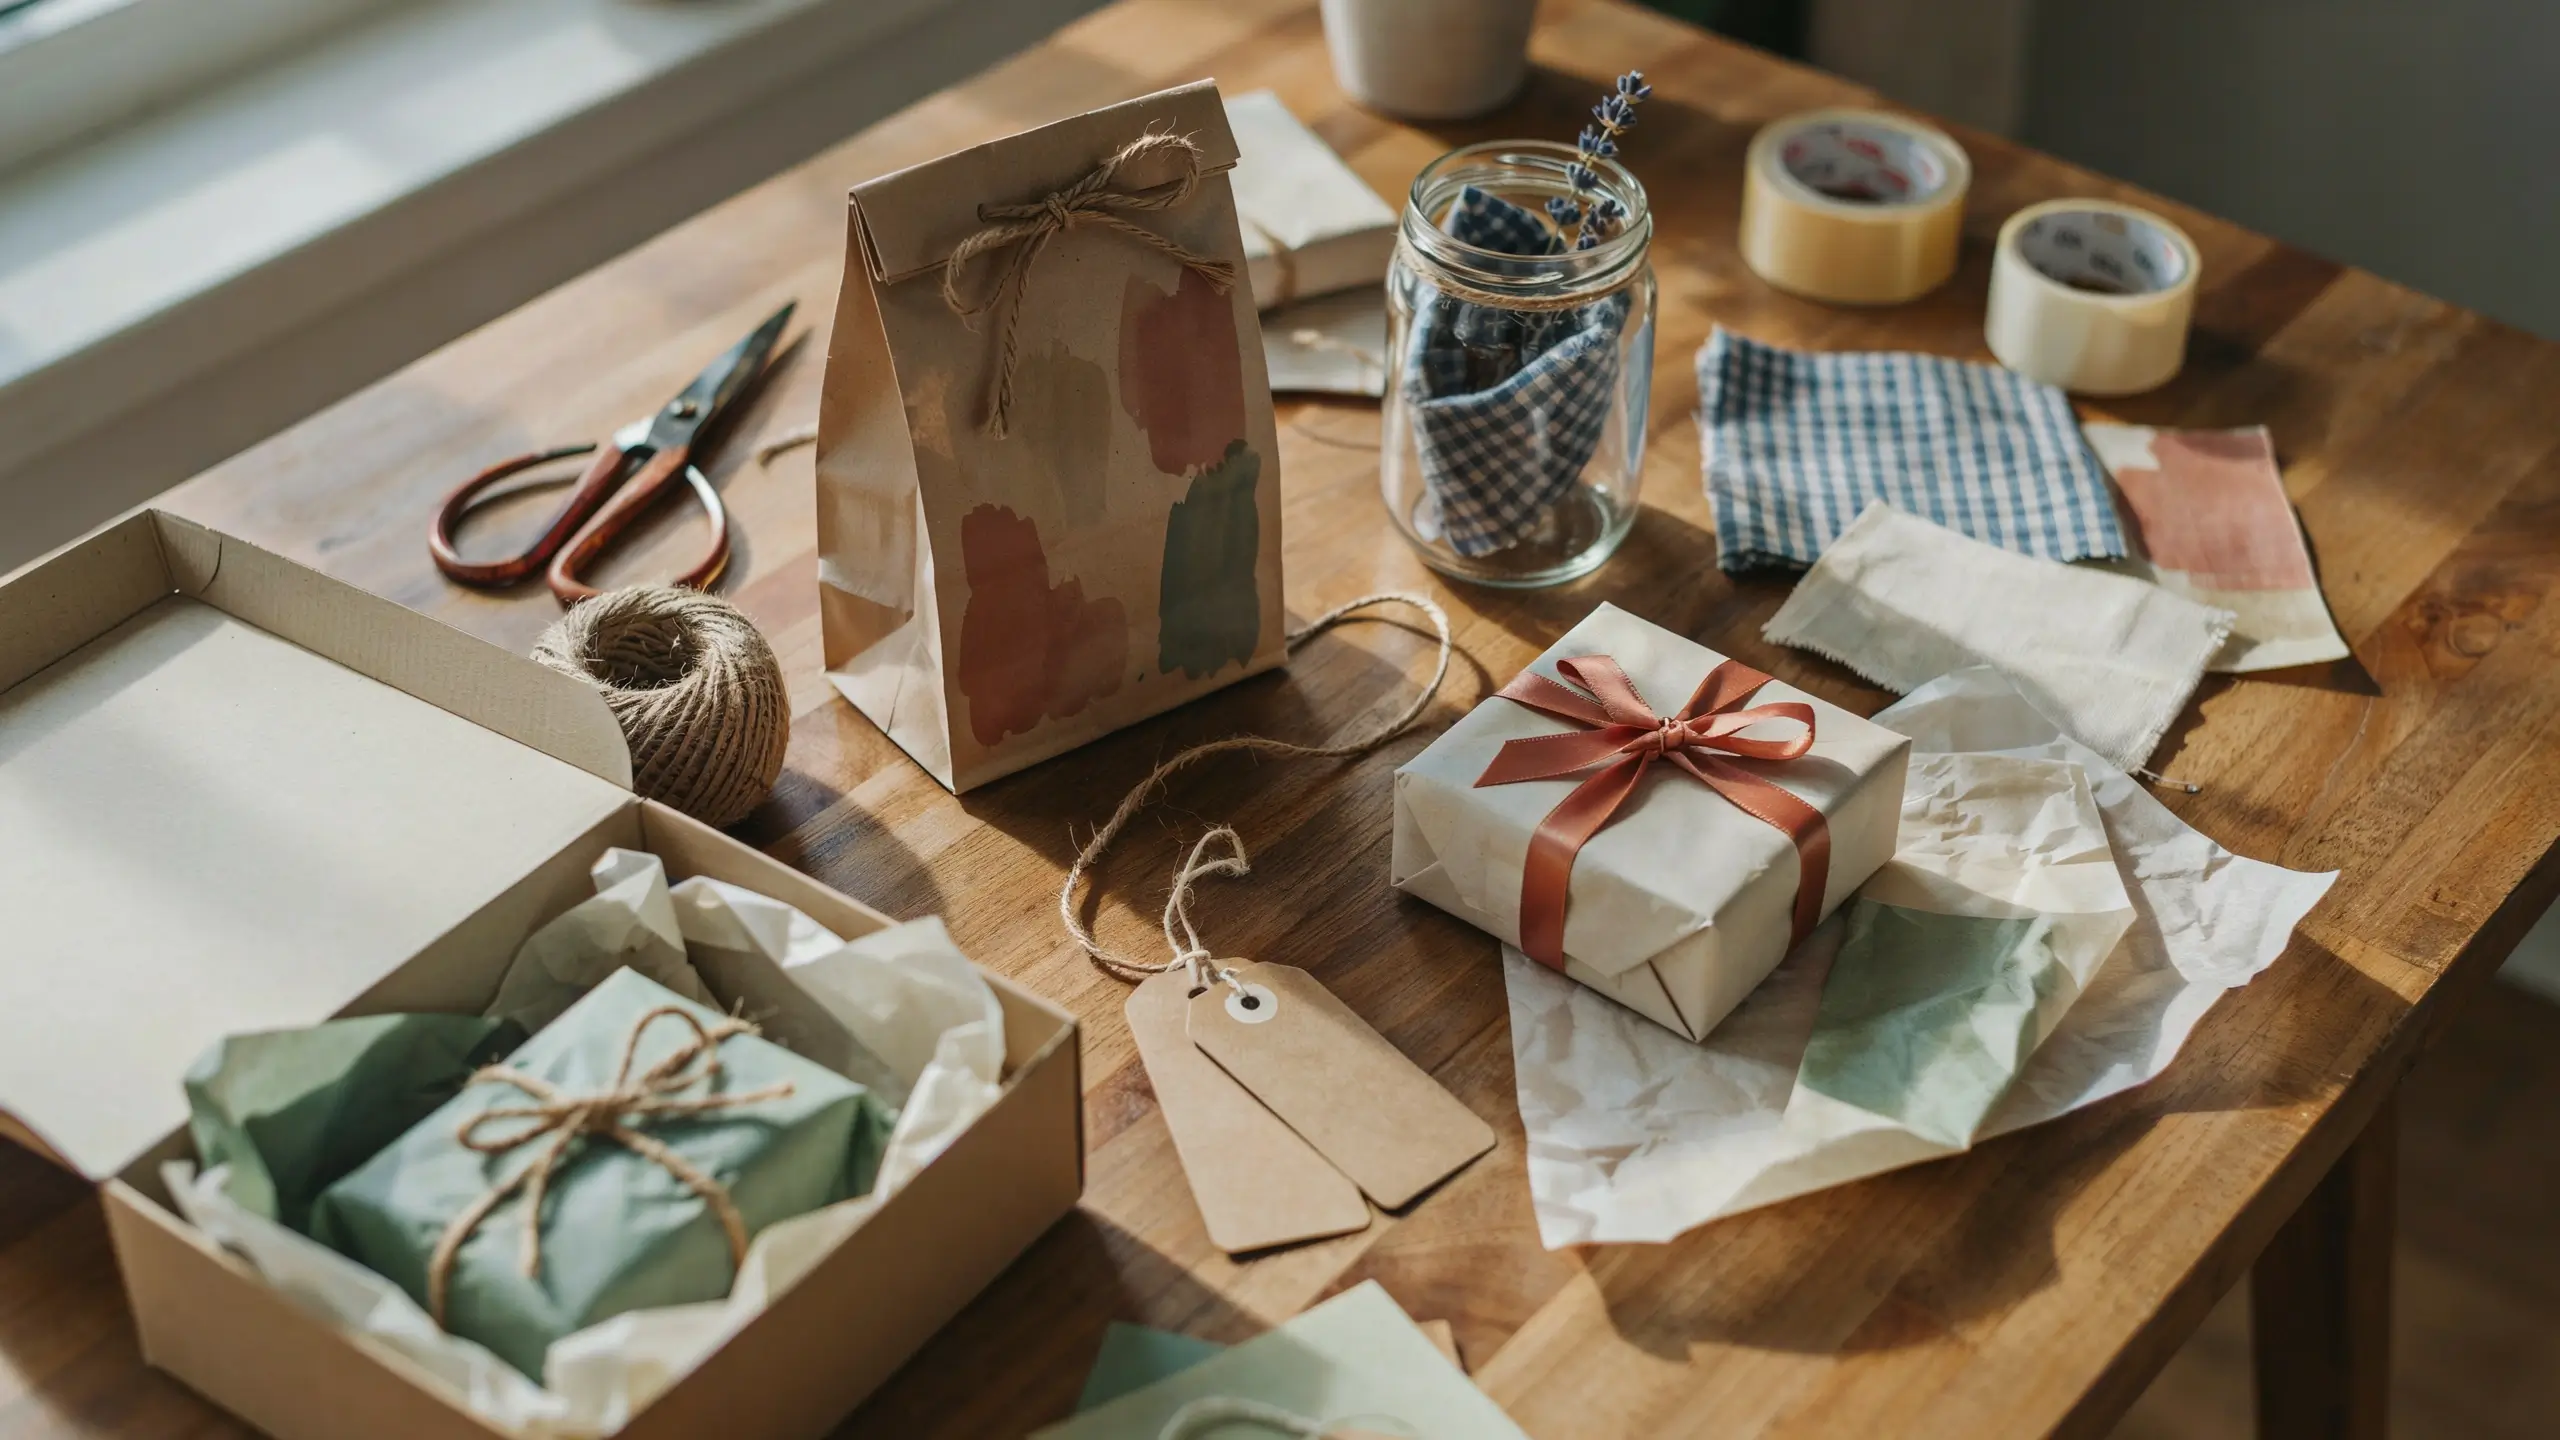
- A brown paper bag, stamped or painted by hand
- A mason jar lid with a fabric scrap tucked under the ring instead of the flat lid
- Leftover tissue paper, smoothed out and reused
- Twine or ribbon saved from other gifts or packages
- A recycled shoebox lined with tissue paper as a makeshift gift box
Mistakes to Avoid With Handmade Teacher Gifts
- Skipping the name and grade. Teachers see a huge number of kids across all their classes every year. A gift without a name attached loses a lot of its meaning.
- Choosing a scent without asking. Essential oils, scented candles, and strong perfumes can be a real problem for teachers with sensitivities. A plain or lightly-vanilla option is the safer route.
- Ignoring allergy concerns on edible gifts. Nut-based candy or homemade treats with nuts can be an issue depending on the classroom. When in doubt, go nut-free.
- Over-managing the craft. A slightly wobbly, clearly kid-made project reads as more sincere than one an adult quietly finished for them.
- Picking something the teacher can’t actually use. Anything that ends up in a drawer isn’t doing its job. Aim for display-worthy or genuinely useful in the classroom.
- Forgetting drying or curing time. Dough ornaments, painted rocks, and pressed flowers all need real time to set. Start a day or two earlier than you think you’ll need.
Read Also
- [Teacher Appreciation Week Gift Basket Ideas on a Budget]
- [Easy Kids Crafts Using Things Already in Your Recycling Bin]
- [Simple Homemade Gifts for Grandparents Kids Can Make]
Common Questions
What is a good homemade gift for a teacher?
Anything the teacher can actually use or display tends to land best: a painted pencil holder, a cookie mix in a jar, or a small potted plant with a handwritten tag all fit that mark without costing much.
Can kids make a teacher gift without buying anything?
Yes. Recycled containers, pantry ingredients, paint you already own, and things from the yard cover most of the ideas above without a single trip to the store.
When should you give a teacher a handmade gift?
Teacher Appreciation Week in early May is the most common time, along with the first week of school, winter break, and the last day of the school year. A gift outside those dates is just as meaningful.
What if my child is too young to make a detailed craft?
Stick to fingerprint or handprint art, torn paper collage, or letting them press pre-cut shapes into place. An adult can handle any cutting or hot glue in the background.
Are homemade gifts okay instead of a gift card?
Most teachers say the handmade, clearly kid-made gifts are the ones they remember and keep, more than another gift card added to a stack of others.
Final Thoughts
You don’t need every idea on this list, just one that matches how much time you actually have this week. Pick a category, gather what’s already sitting in a drawer or the recycling bin, and let your child do most of the work themselves. The slightly imperfect ones are usually the favorites anyway.
Which handmade teacher gift is your kid making this year? Tell me in the comments, I’d love to hear how it turns out.



No Comment! Be the first one.