




How We Finally Fixed Our Camper’s Ugly Curtains (No Sewing Machine Required)
If you’ve ever stepped inside a used camper for the first time and felt your stomach drop at the window treatments, you already know exactly what I’m talking about. Ours came with saggy,...


If you’ve ever stepped inside a used camper for the first time and felt your stomach drop at the window treatments, you already know exactly what I’m talking about. Ours came with saggy, sun-bleached valances in a shade I can only describe as “expired oatmeal,” hung on strings that had melted from years of summer heat. They didn’t open right. They didn’t close right. And honestly, they made the whole camper feel like it belonged in a storage lot instead of on a road trip.
We told ourselves we’d “get to it eventually.” That eventually turned into two full camping seasons of staring at droopy fabric every time we sat down for coffee. This is the story of how we finally fixed our camper’s ugly curtains, what we tried that flopped, and the simple, no-sew method that actually stuck (literally).
Why Camper Curtains End Up So Ugly in the First Place
It’s not just your camper. Almost every RV and travel trailer rolls off the factory line with the same tired formula: beige valances, thin vinyl-backed fabric, and a curtain track system that was clearly designed by someone who never had to use it.
Manufacturers use these fabrics because they’re cheap, fire-rated, and easy to install on a production line. Nobody’s picking them for how they’ll look five or ten years down the road. Add years of sun exposure through the windows and you get exactly what we had: faded, stiff, slightly crunchy curtains that smell a little like a thrift store no matter how many times you wash them.
Once you know that, the ugly curtains stop feeling like a personal failure and start feeling like a very fixable, very common problem.
The Fixes We Tried First (And Why They Failed)
Before we landed on something that worked, we went through a few rounds of trial and error. I’m including this part because I don’t think enough camper blogs are honest about the stuff that doesn’t work.
Attempt One: Fabric Glue and Hem Tape
We tried using iron-on hem tape to shorten the original valances and freshen them up without buying new fabric. It held for about a week, then the heat inside the camper (parked in direct sun, windows closed) melted the adhesive and the hems came apart at the first bump in the road.
Attempt Two: Cheap Tension Rods With Clip Rings
These worked fine parked in the driveway. The second we hit the highway, the vibration walked the rod right out of its mounting points and the whole curtain ended up in a pile on the dinette bench. If your camper actually travels (not just sits at a campground), a basic tension rod alone is not going to cut it.
Attempt Three: Keeping the Valances and Just Adding Fabric on Top
This looked okay for about a day. But layering new fabric over the old, stiff valance made the window area feel heavier and smaller, not fresher. It also didn’t solve the actual issue, which was that the hardware itself was falling apart.
Every one of these taught us something, mainly that any camper curtain fix has to survive heat, vibration, and moisture, not just look nice for a photo.
The No-Sew Fix That Finally Worked
Here’s what actually solved it for us, and what I’d recommend to anyone else staring at their own dated camper curtains.
What You’ll Need
- New fabric (we used a mid-weight cotton blend, more on choosing fabric below)
- Fabric fusing tape or hem tape (for a no-sew hem)
- An iron
- Curtain rings with clips
- A tension rod rated for at least double the weight of your fabric, or adhesive curtain rod holders rated for indoor use
- Heavy-duty adhesive hooks (the kind rated for several pounds, not the small picture-hanging size)
- Rubbing alcohol and a cloth, for cleaning the wall or window frame before sticking anything to it
- Fabric scissors and a measuring tape
- Clothespins or binder clips, to hold fabric in place while the hem tape sets
1: Take Out the Old Valances and Hardware Completely
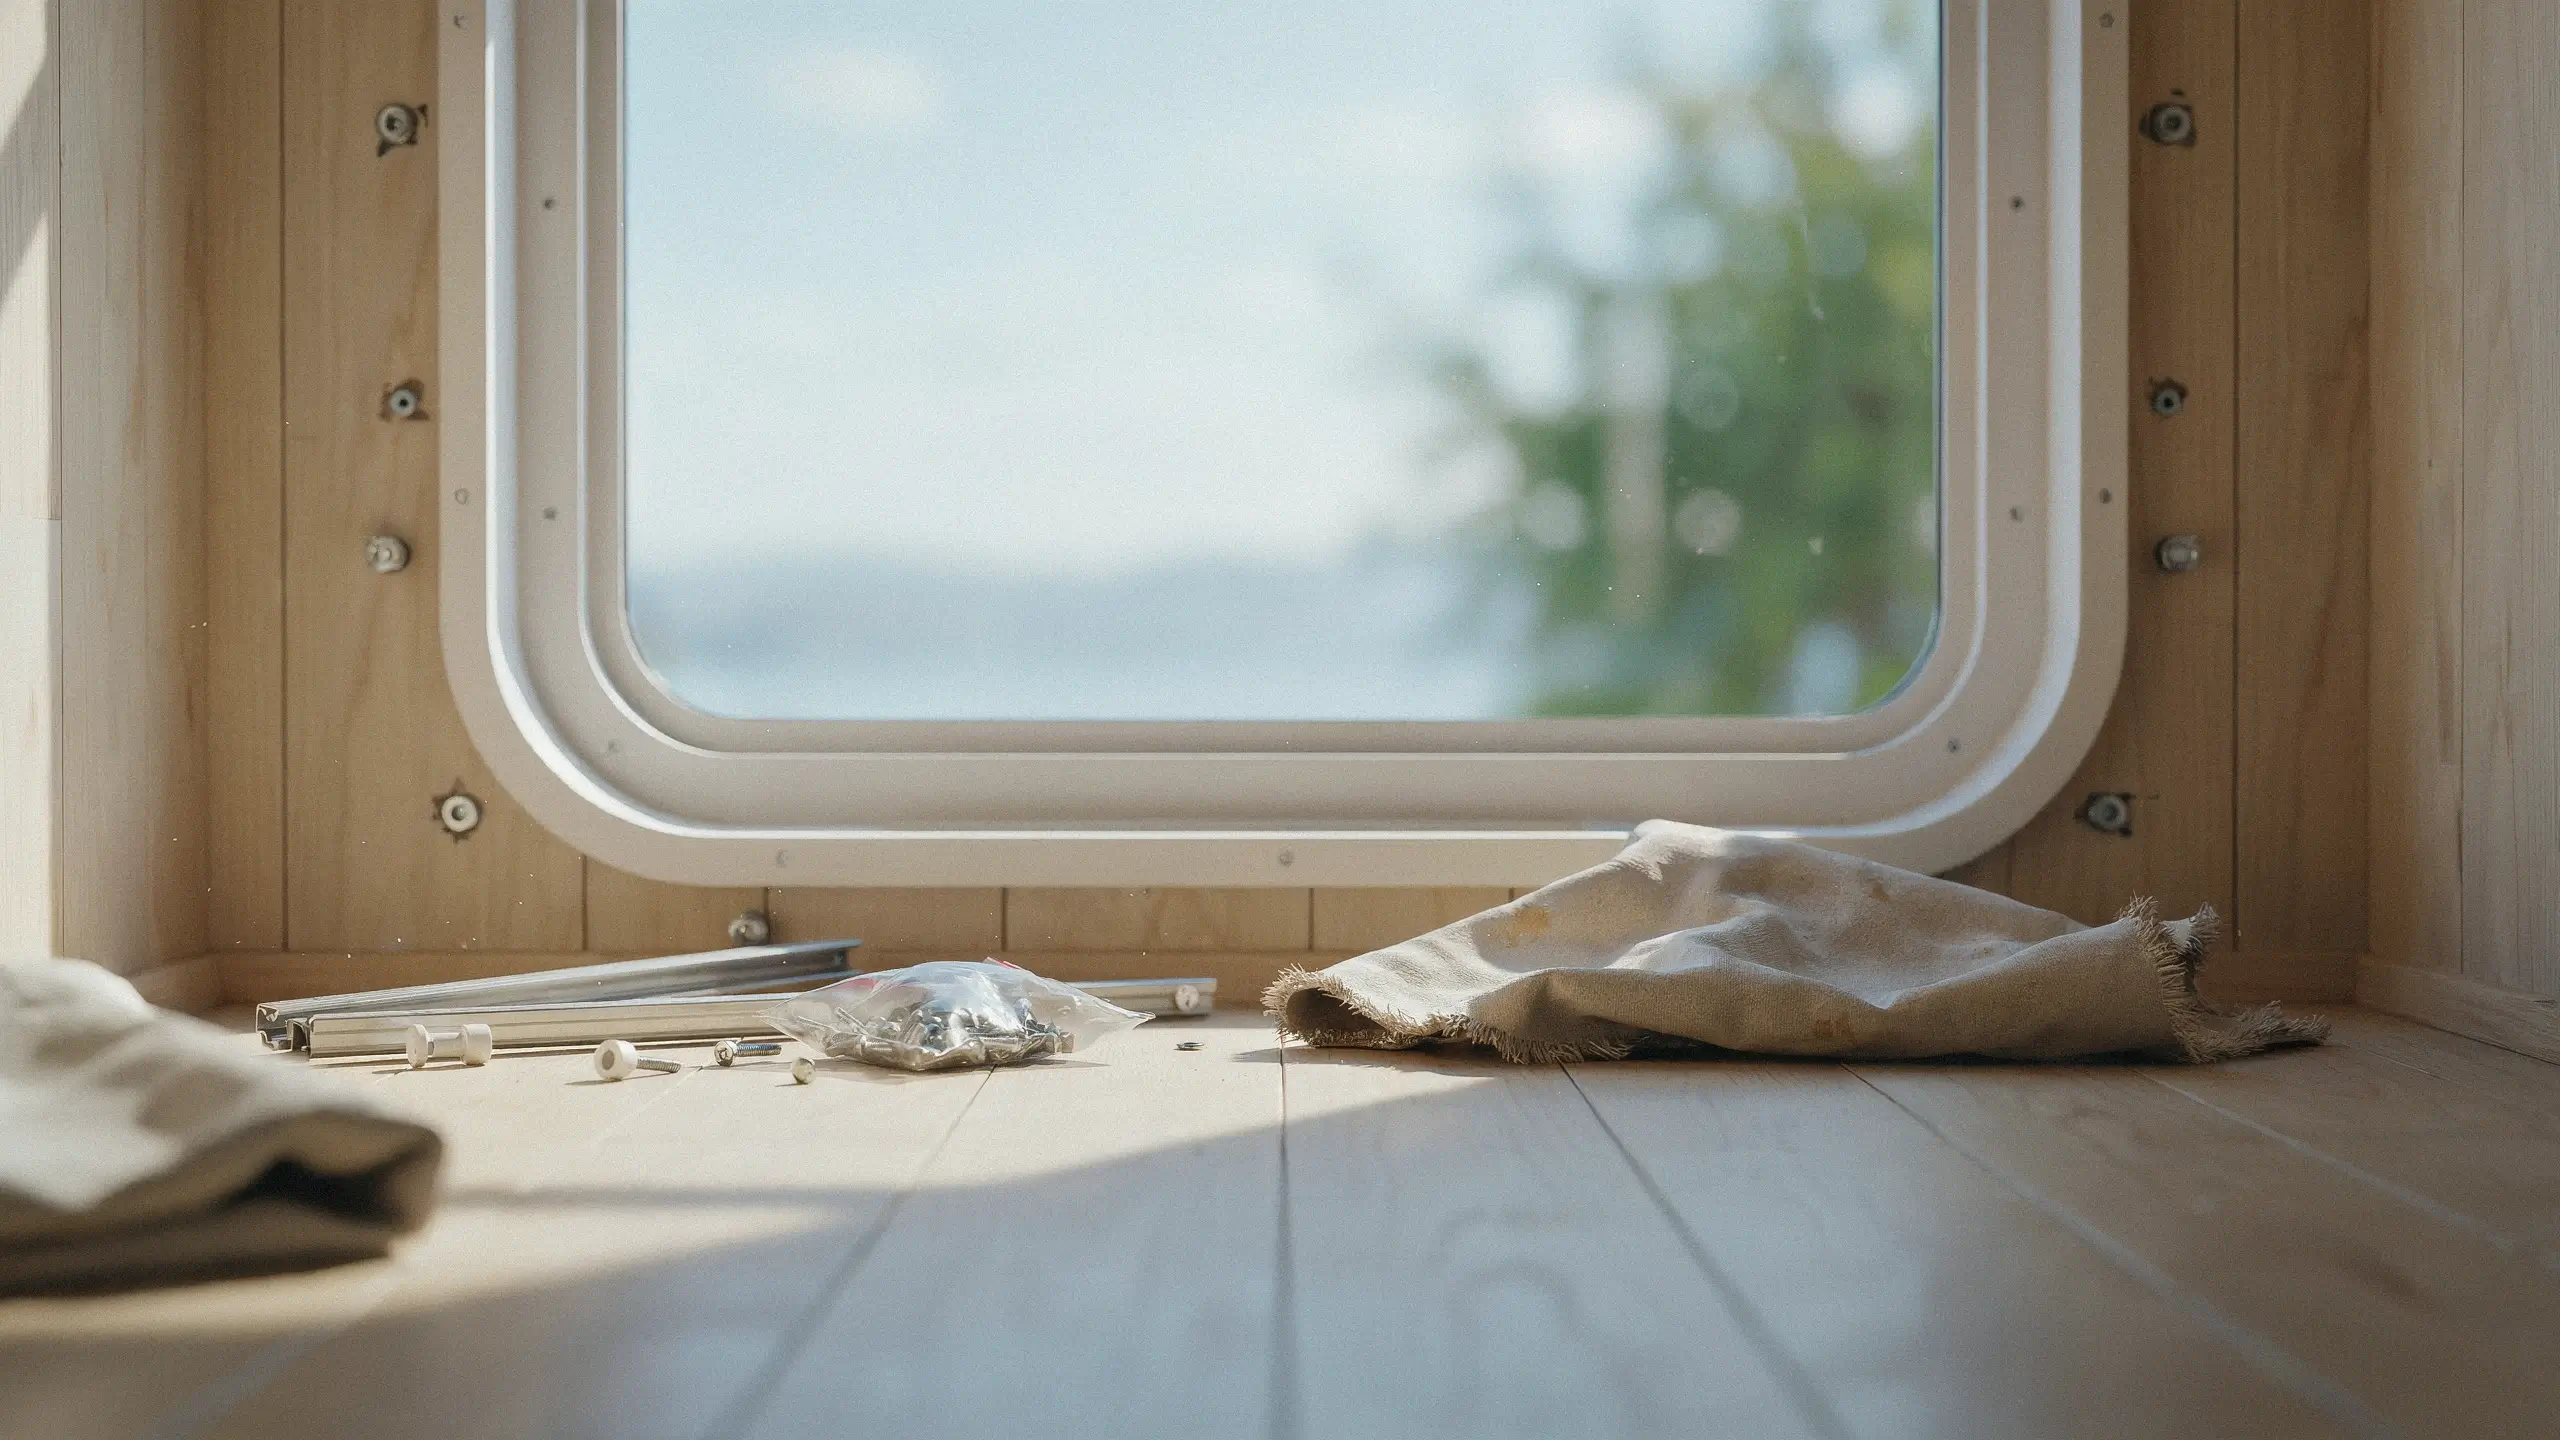
Don’t just push the old ones aside. Pull the whole valance system down, including any tracks, strings, or backing board. You want a clean, flat surface to work with, and you’ll get a much better sense of what your window actually looks like without the extra bulk.
If your valances are stapled or screwed to a cornice board, save the screws in a labeled bag. You may want to reuse that hardware for the rod mounts.
2: Measure Every Window Individually
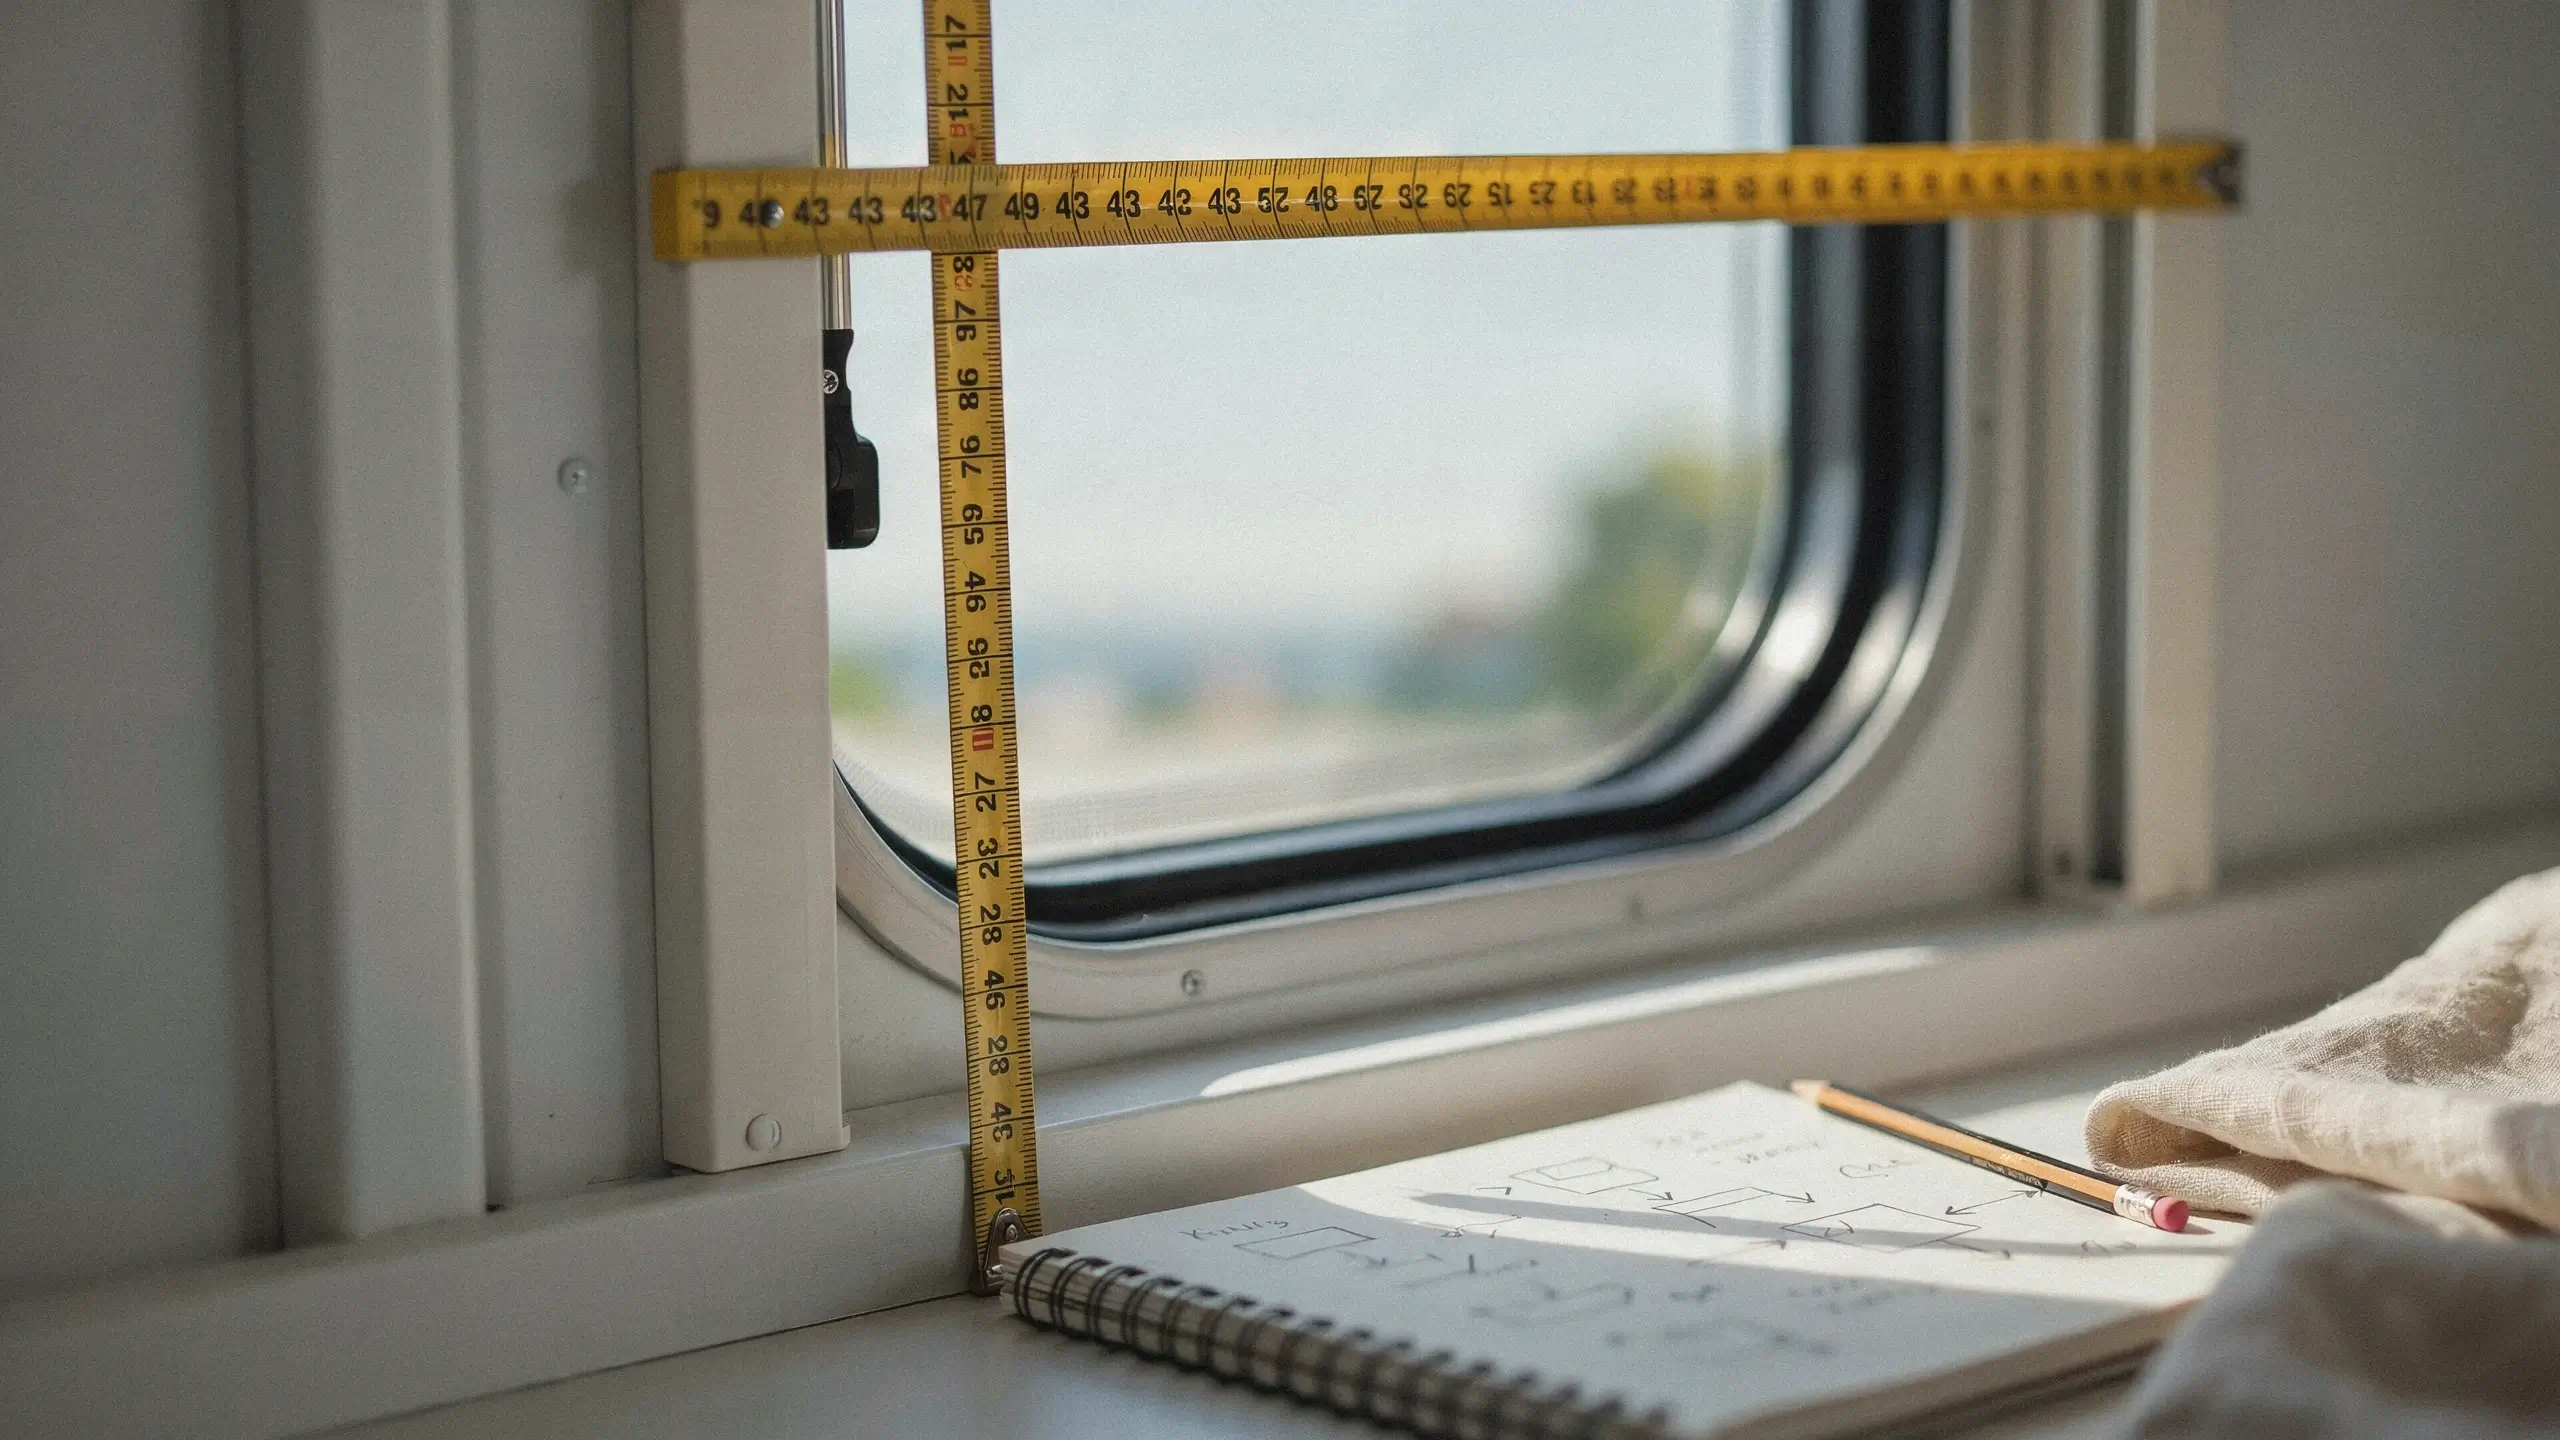
Camper windows are almost never identical, even ones that look the same size. Measure the width and height of each window opening, then add roughly 8 inches to the height and double the width for gentle gathering. If you want a fuller, more “real house curtain” look, use two and a half times the width instead.
Write these measurements down window by window. This step alone will save you from cutting fabric wrong and wasting money, which is the single most common mistake in this project.
3: Cut and Hem the Fabric Without a Sewing Machine

Cut your fabric to size, then fold over about an inch on each edge. Instead of sewing, run a strip of fusing tape inside the fold and press with a hot iron to seal it. Hold the seam with clothespins for a few seconds after ironing so it sets flat instead of curling.
For the top edge, fold over about 2 inches to create a sturdy lip. This is what your curtain rings will clip onto, so make sure this fold is pressed firmly and fully sealed.
4: Mount the Hardware Without Drilling Extra Holes
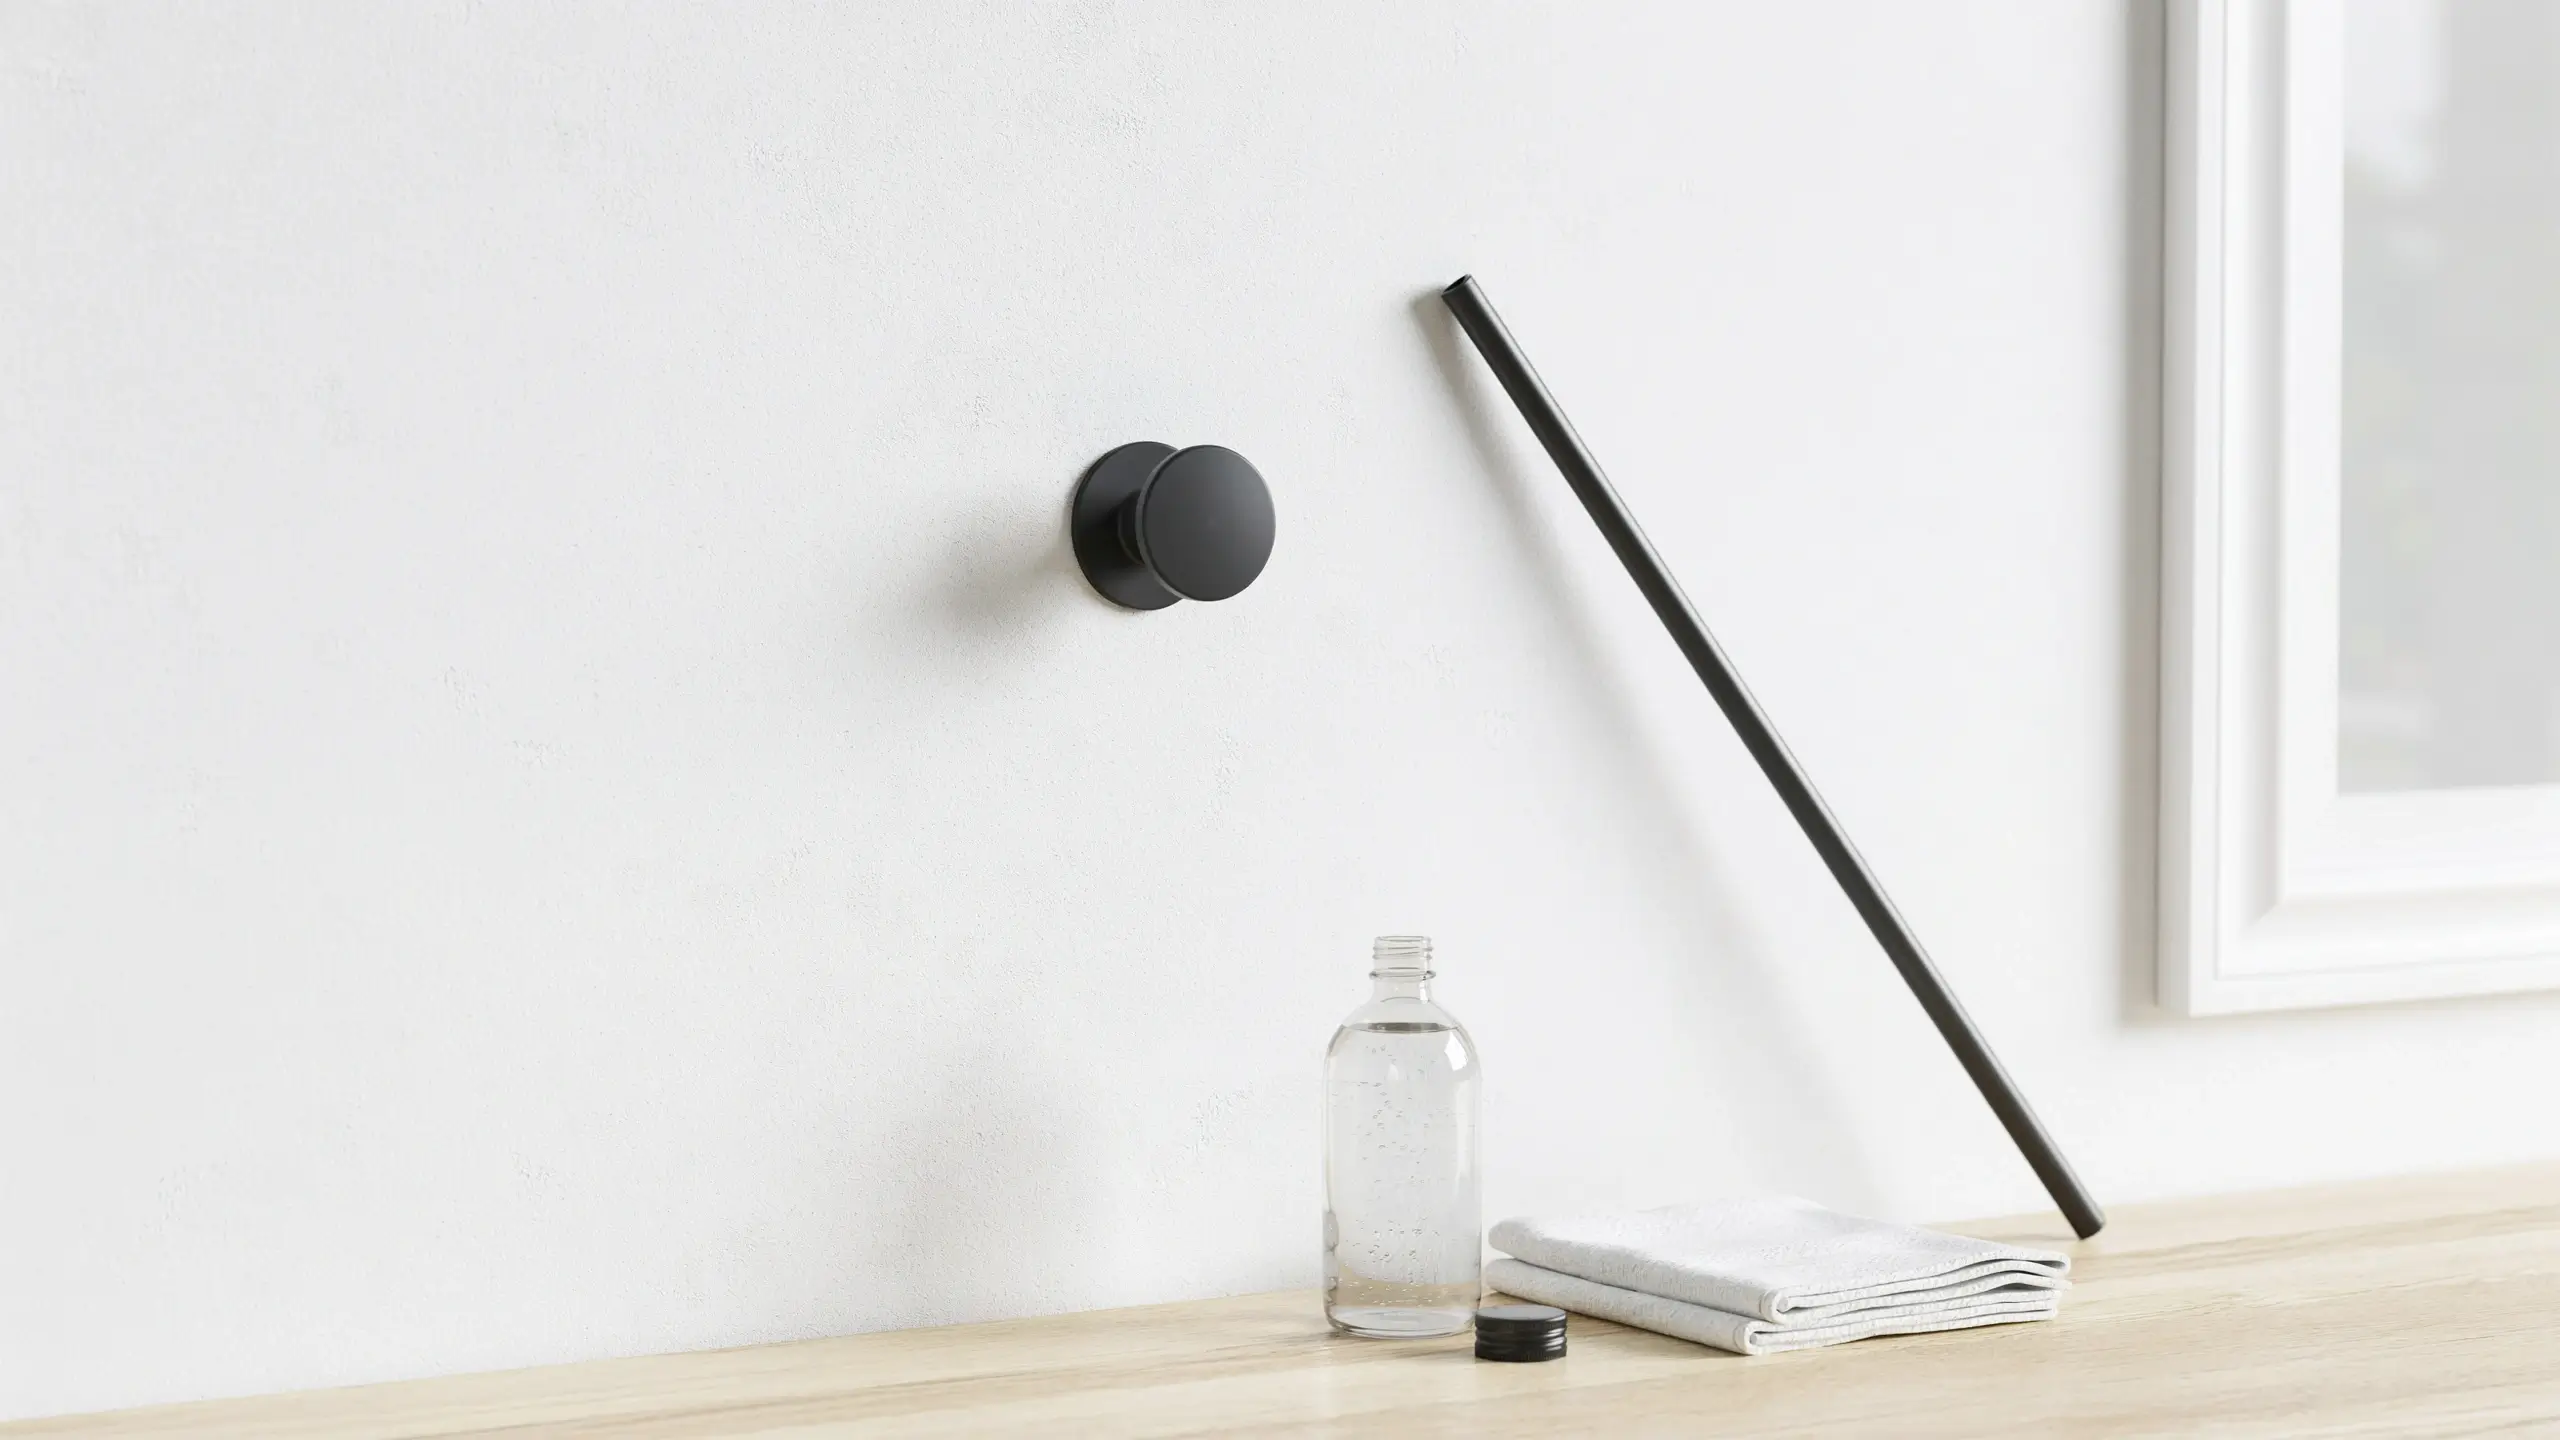
This is the part everyone gets stuck on, and the part that made our first two attempts fail.
If your camper already has curtain rod brackets built into the cornice, use those. Just replace the rod itself with something sturdier, and skip the tension-only option if your camper travels often.
If you don’t have existing hardware, use heavy-duty adhesive hooks rated for indoor use, cleaned onto the wall with rubbing alcohol first so the adhesive actually bonds. Let the hooks cure for the full time listed on the packaging (usually a few hours) before hanging anything, even if it seems dry sooner. Rushing this step is exactly why our earlier attempts fell apart on the road.
5: Clip on Your Curtains and Test Them Before Your Next Trip
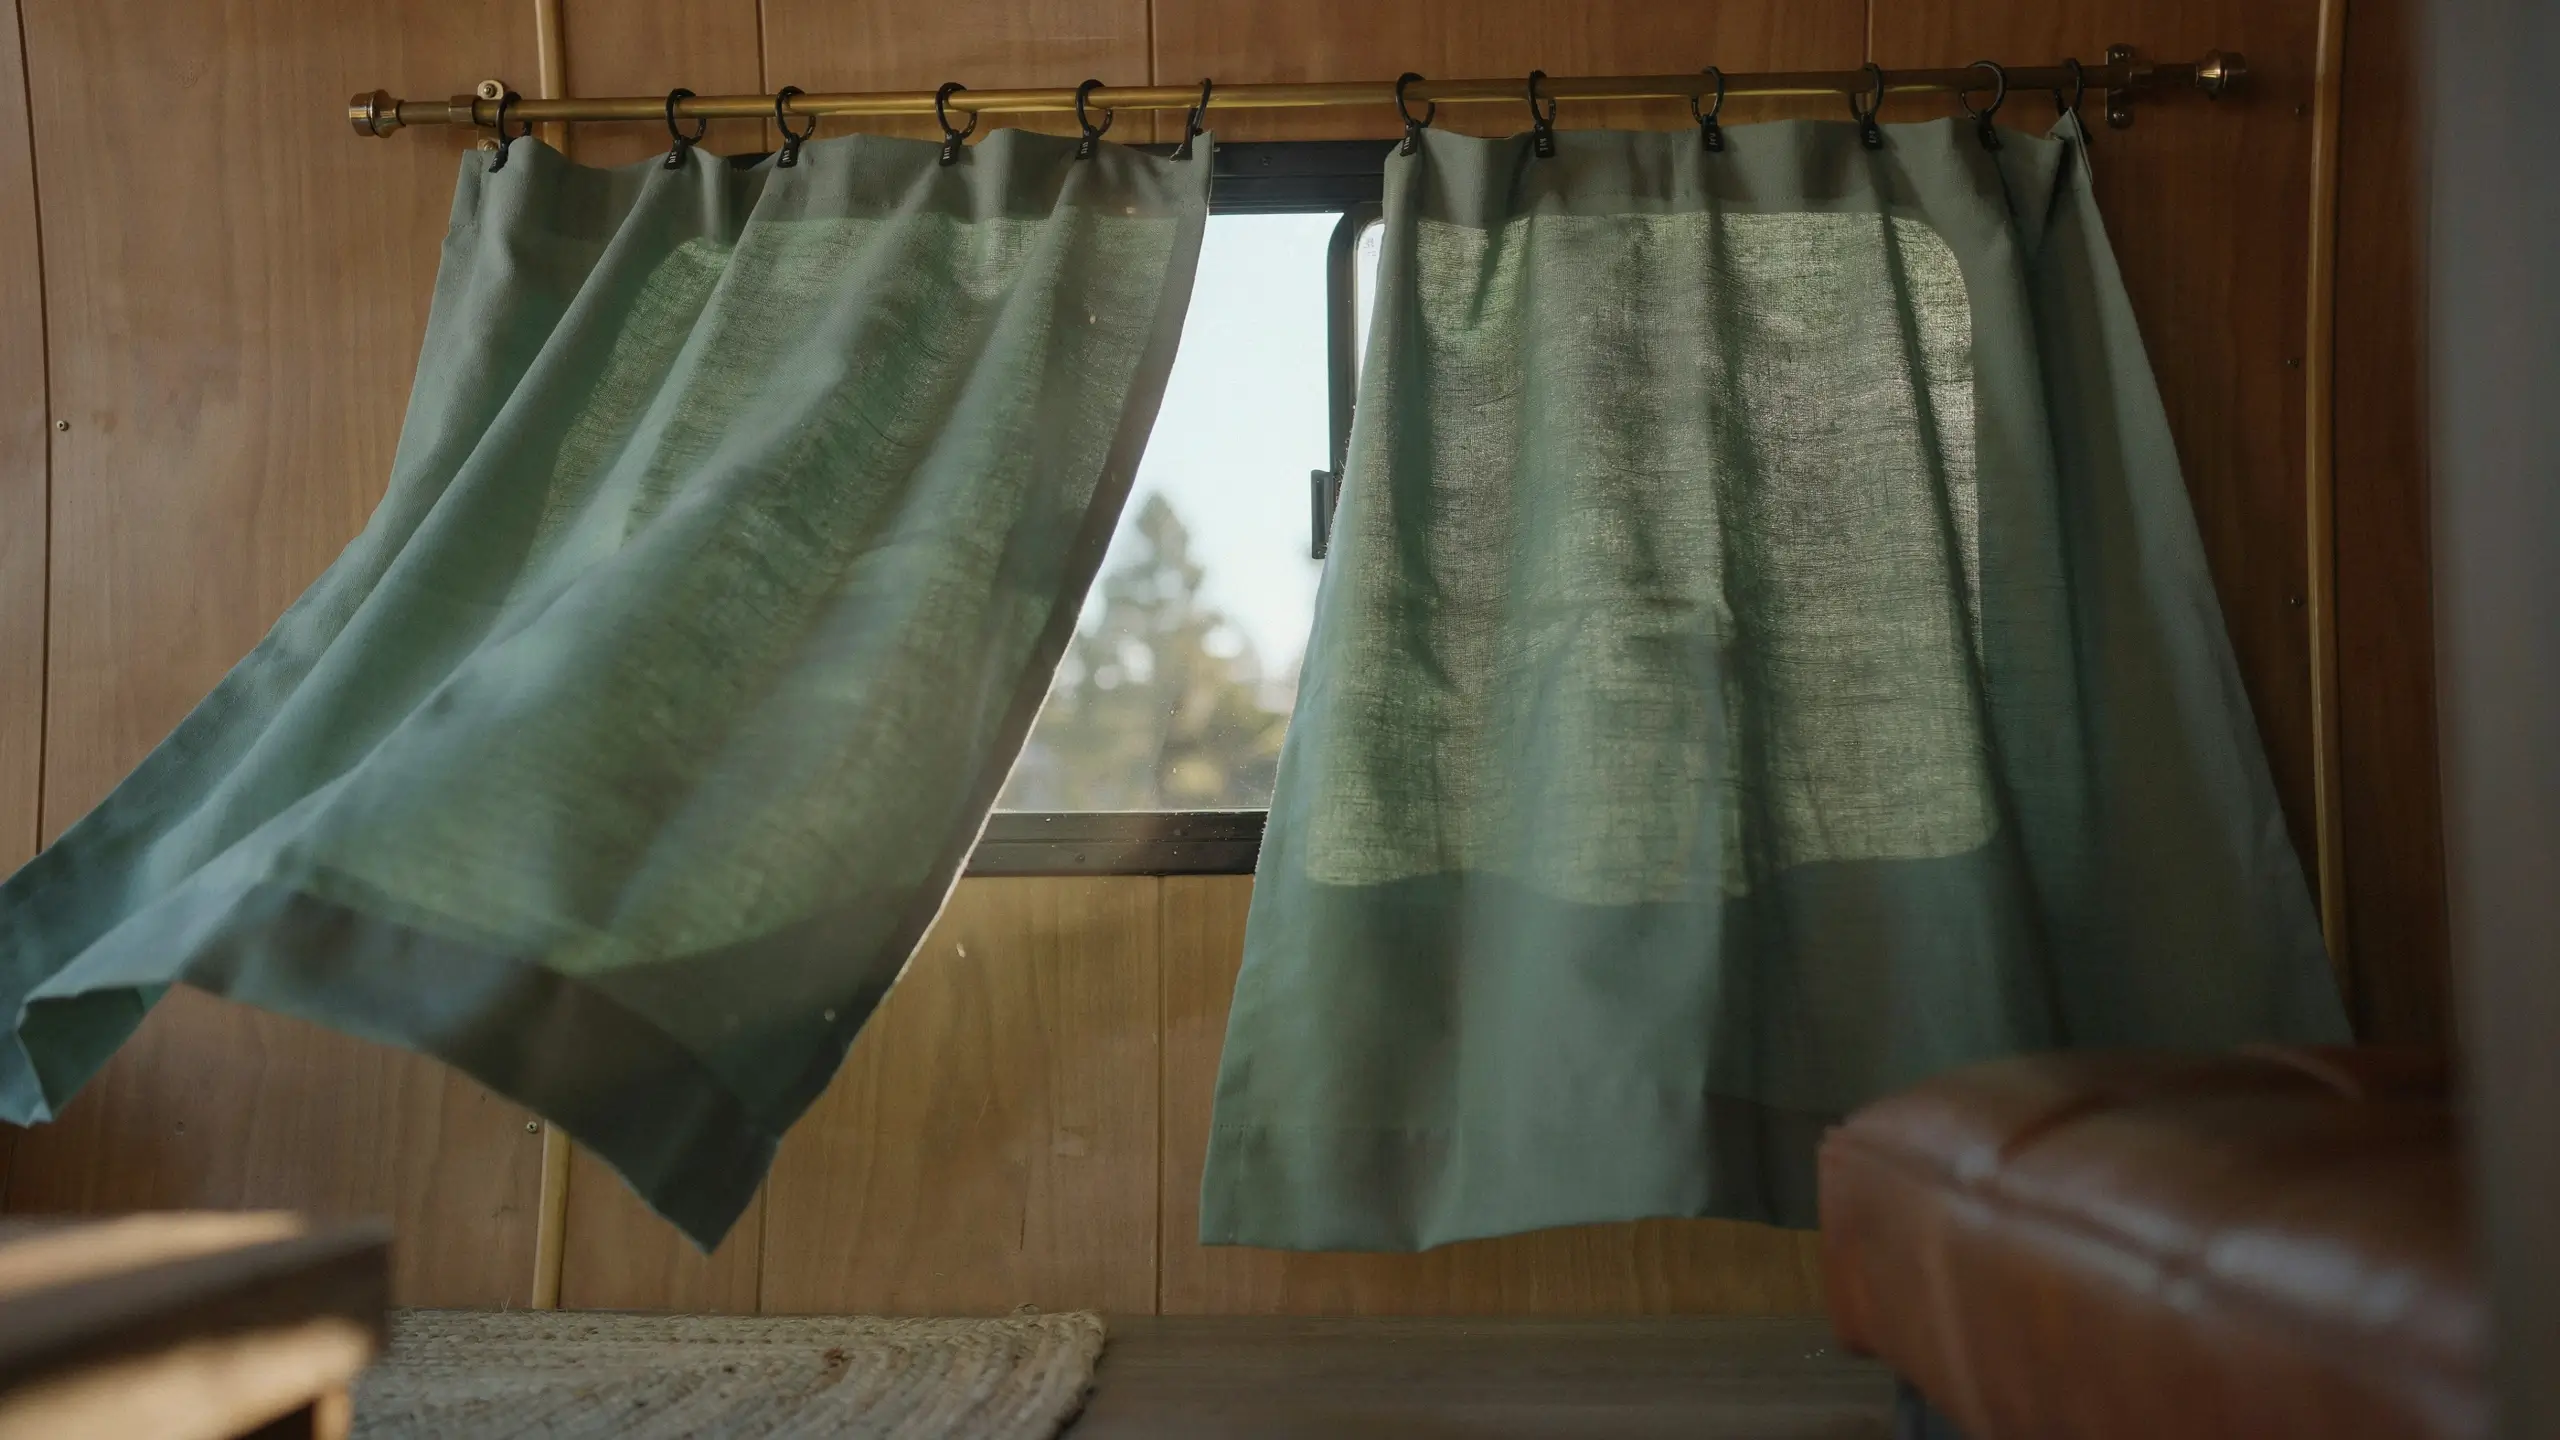
Attach the curtain rings to the top hem, then clip them onto the rod. Before you pack up for a real trip, open and close each curtain a few times and give the rod a gentle shake to mimic road vibration. Better to catch a loose hook in your driveway than fifty miles down the highway.
Choosing Fabric That Actually Looks Good (and Holds Up)
This is where you get to have fun, and where most campers go from “dated rental” to “actually kind of charming.”
Light and Airy
A sheer or lightweight cotton in white, cream, or soft sage makes a small camper feel bigger and brighter. This was our final choice, paired with a simple blackout panel behind it for bedroom windows.
Pattern With Personality
Small-scale florals, gingham, or a subtle stripe read as intentional rather than busy in a small space. Skip large, bold prints unless your camper is on the larger side, since they can visually shrink a tight interior.
Blackout Lining for Bedrooms
If privacy or sleeping past sunrise matters to you, add a blackout fabric layer behind your main curtain fabric. Cut it to the same size and treat it as one combined panel when hemming.
Budget Option That Still Looks Intentional
Inexpensive bed sheets or pillowcases work surprisingly well as curtain fabric and already come with finished edges on at least two sides, which cuts your hemming work in half.
A Few Alternatives If Sewing (Even No-Sew) Still Isn’t Your Thing
Not every camper needs full curtain panels. Depending on your windows and how much privacy you actually need, a few other options are worth considering.
- Removable window film. Frosted or tinted privacy film applies directly to the glass and skips fabric entirely. It’s fully reversible and works well for windows you rarely need to open or close for light control.
- Roll-up shades. Pre-made day and night shades can often be trimmed to fit and mounted with the same adhesive hardware, giving you a cleaner, more built-in look than curtains.
- Lace or table runner panels. For a softer, vintage feel, a lace table runner pinned or tension-rodded across the window adds texture without much cost or effort.
- Paint the existing cornice. If your valance box itself is solid but just the wrong color, a coat of chalk paint or fabric paint can freshen it up while you decide on curtains later.
Mistakes to Avoid
- Skipping the “let it cure” step on adhesive hardware. This is the number one reason DIY camper curtains fail on the road.
- Using fabric that’s too heavy for a basic tension rod. Heavier fabric needs a rated rod or additional support points.
- Forgetting to measure each window separately. Camper windows vary more than you’d expect, even in the same unit.
- Choosing fabric with no thought to sun exposure. Direct sunlight will fade darker or more saturated colors faster than lighter ones, so keep that in mind for south-facing windows.
- Not testing the curtains before a trip. Always give hardware a shake test before you hit the road with it.
The Real Difference It Made
I won’t pretend new curtains fixed everything about our old camper. The cabinets are still oak-colored and a little dated, and the floor is next on our list. But swapping out those saggy, melted-string valances for fabric we actually chose made the whole space feel like ours instead of feeling borrowed.
That’s really what this project comes down to. Camper curtains are a small thing that touches almost every window you look at, every single trip. Fixing them doesn’t take a big budget or sewing skills you don’t have. It just takes the right hardware, fabric that fits your space, and a little patience while the adhesive cures.
If you’ve been putting off your own camper’s ugly curtains the way we did for two summers, consider this your sign to finally tackle it this weekend.
Have you fixed up your own camper curtains, or are you still living with the factory ones? I’d love to hear what worked (or didn’t) for you in the comments below.




No Comment! Be the first one.