




How to Replace a Light Switch: A Beginner’s Step-by-Step Guide (Plus Upgrade Ideas Worth Saving)
Something about a bad light switch is deeply annoying in a way that sneaks up on you. You flip it and nothing happens. Or it clicks but flickers. Or it wobbles when you touch it and makes a tiny...

Something about a bad light switch is deeply annoying in a way that sneaks up on you. You flip it and nothing happens. Or it clicks but flickers. Or it wobbles when you touch it and makes a tiny crackling sound that you’re almost certain isn’t normal. You start avoiding that room without quite realizing it.
Here’s the good news: replacing a light switch is one of the most approachable home electrical projects there is. You don’t need experience, a big toolbox, or a half-day blocked off. Most standard switch replacements take under 30 minutes, cost between $3 and $15 for the switch itself, and give you a result that looks and feels brand new.
This guide covers everything you need, from identifying what kind of switch you have, to swapping it safely, to upgrading to a dimmer or smart switch if you want something more exciting than a plain toggle. Let’s get into it.
How Do You Know Your Light Switch Actually Needs Replacing?

Before you pull anything apart, it helps to confirm the switch is the real problem. A lot of people replace a switch only to find the light still doesn’t work, because the issue was actually the bulb, the fixture, or a tripped breaker.
Here are the signs that genuinely point to the switch itself:
- The switch feels loose or spongy when you press it, or doesn’t click firmly into place
- You hear buzzing, popping, or crackling from the switch (this one needs immediate attention)
- The switch plate is warm or hot to the touch on a regular non-dimmer switch
- There are scorch marks or discoloration around the switch or on the plate
- The light flickers even with a new bulb in a fixture that’s otherwise fine
- The switch simply stopped working with no other obvious cause
If the switch is warm, sparking, or has any burn marks, turn off the breaker for that room immediately and don’t use that switch until it’s replaced.
What You’ll Need Before You Start
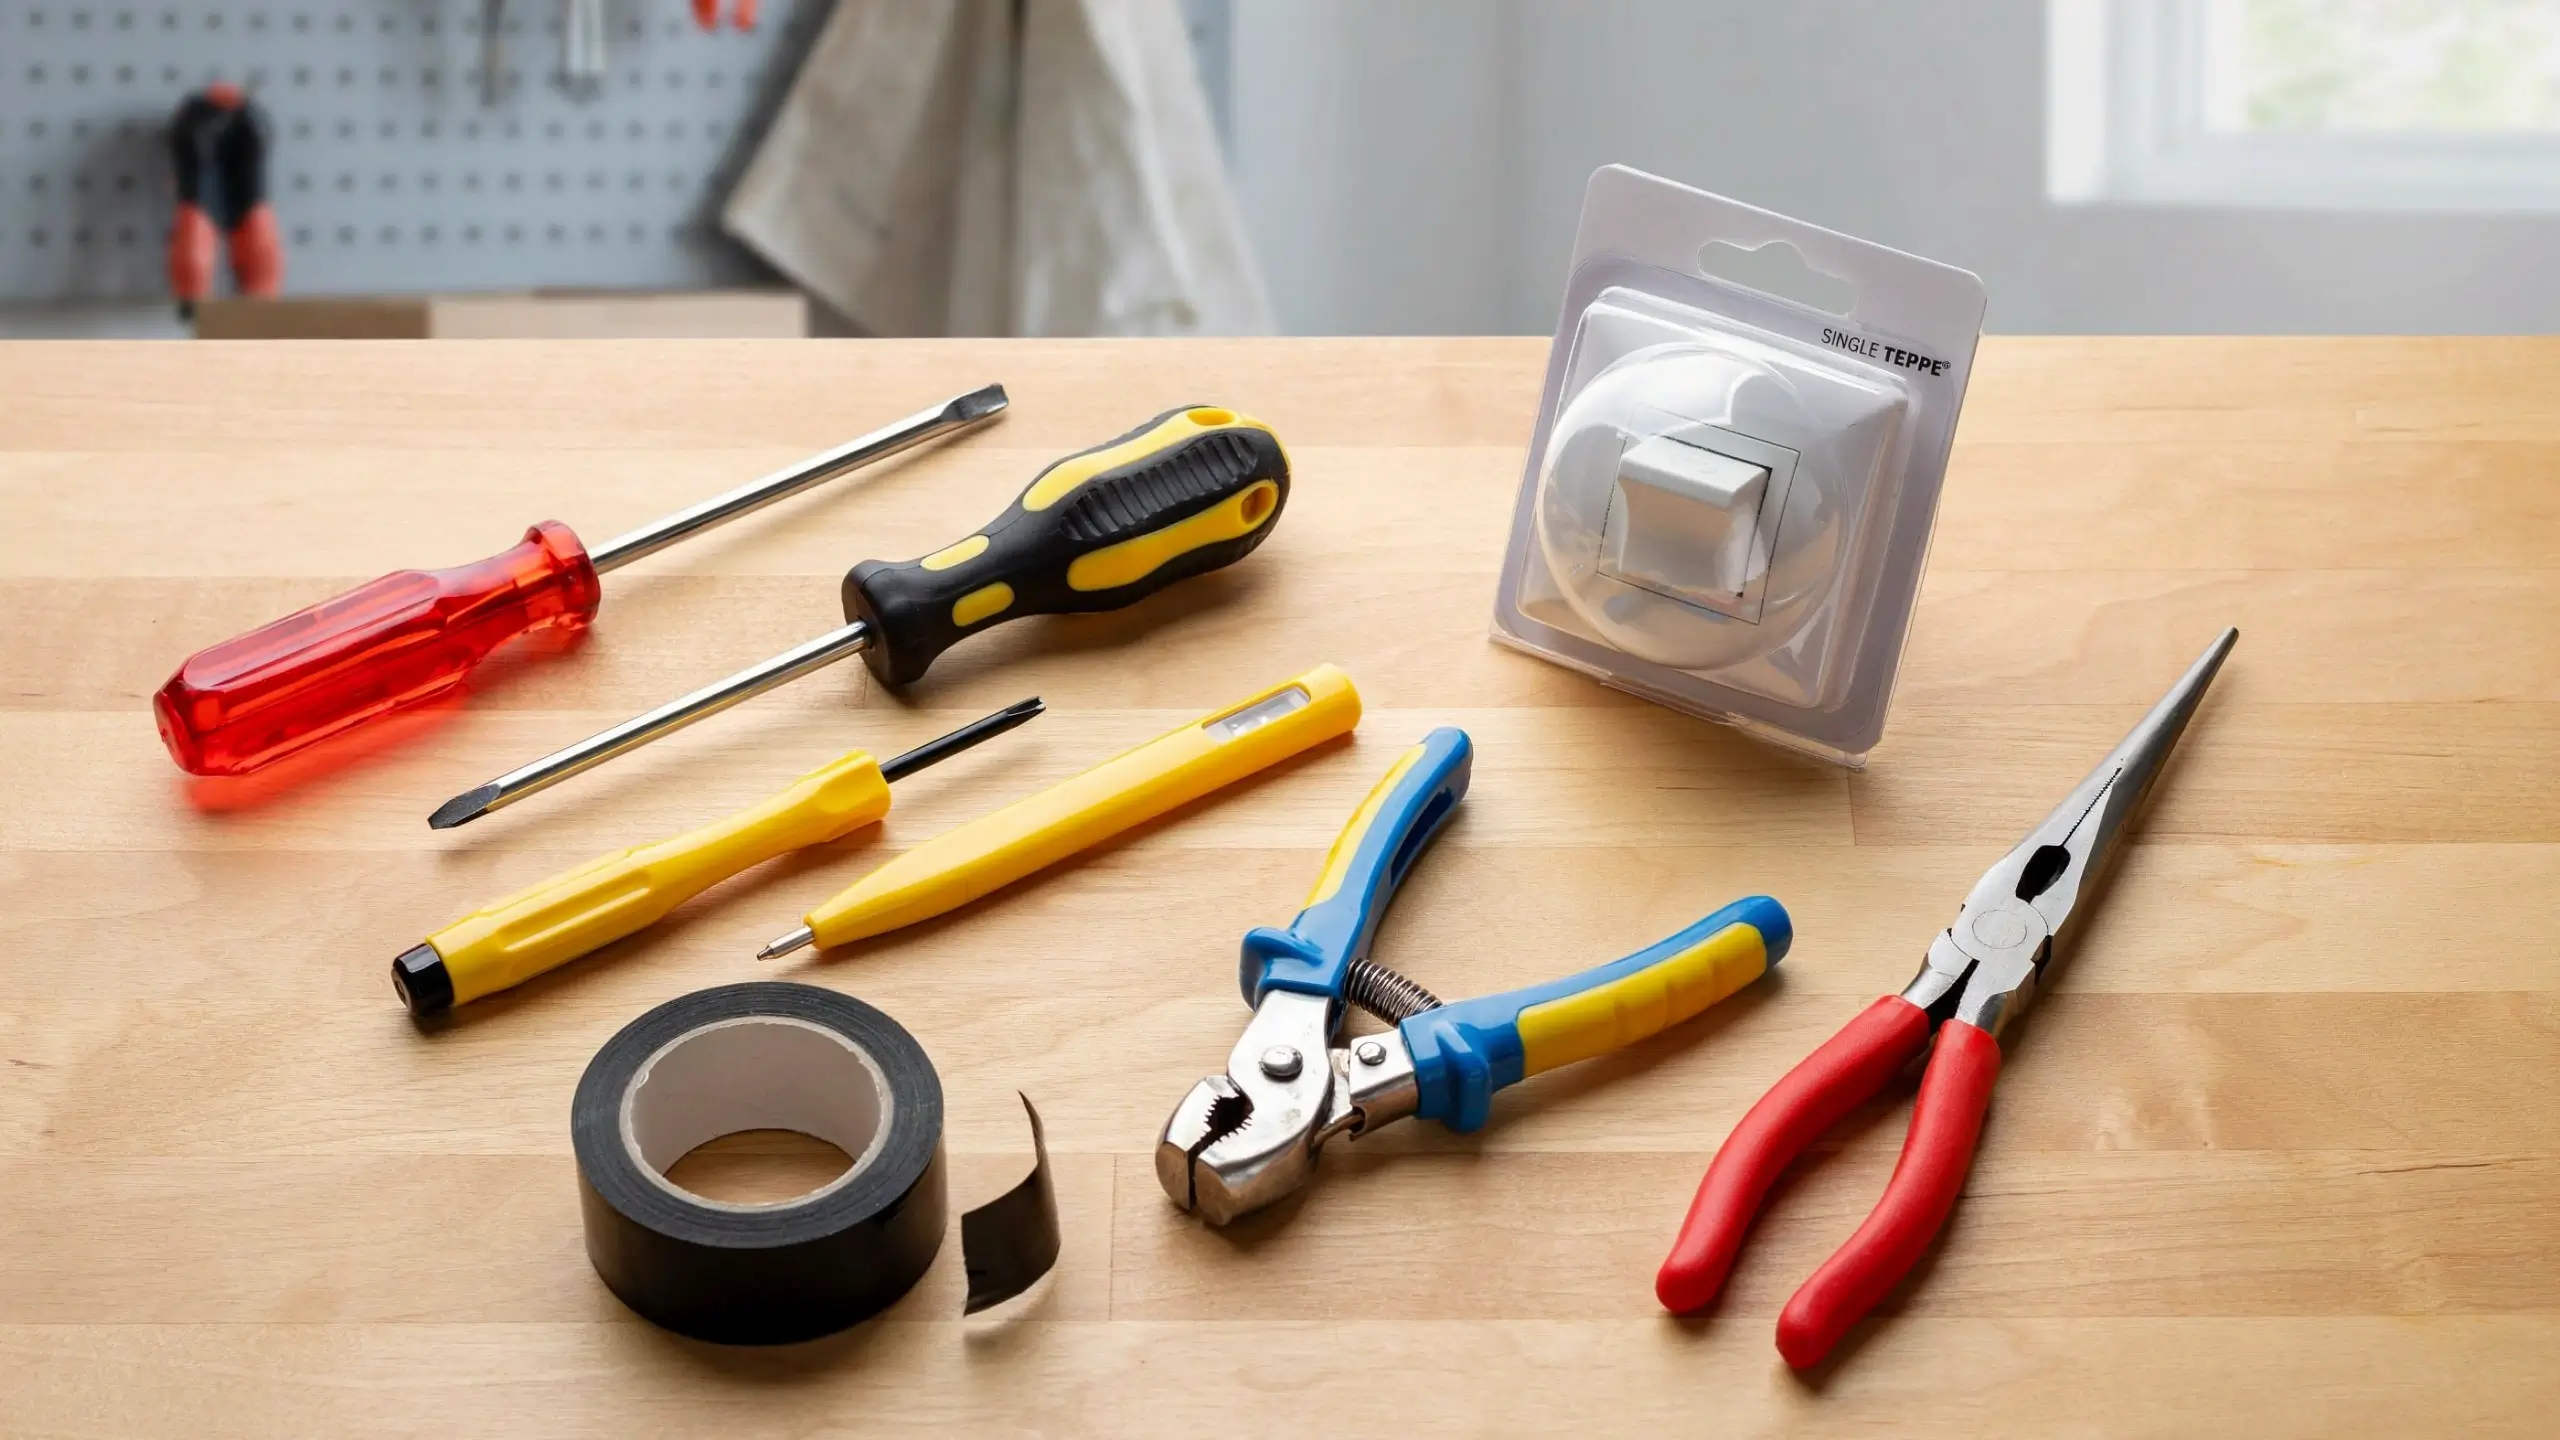
Gather everything first. You don’t want to be hunting for a screwdriver with your hand inside an electrical box.
Tools
- Flathead screwdriver
- Phillips head screwdriver
- Non-contact voltage tester (this is the one non-negotiable tool, around $15–$20 at any hardware store)
- Needle-nose pliers
- Wire stripper (only if the wire ends look corroded or damaged)
- Electrical tape
Materials
- New light switch (match the type you already have, more on this below)
- Screws, if not included with the new switch
- New switch plate cover, optional but a good excuse for an upgrade
A non-contact voltage tester is the tool that confirms power is actually off before you touch anything. It beeps or lights up near a live wire without you needing to touch the wire itself. Please don’t skip this step.
First: Know What Type of Switch You Have
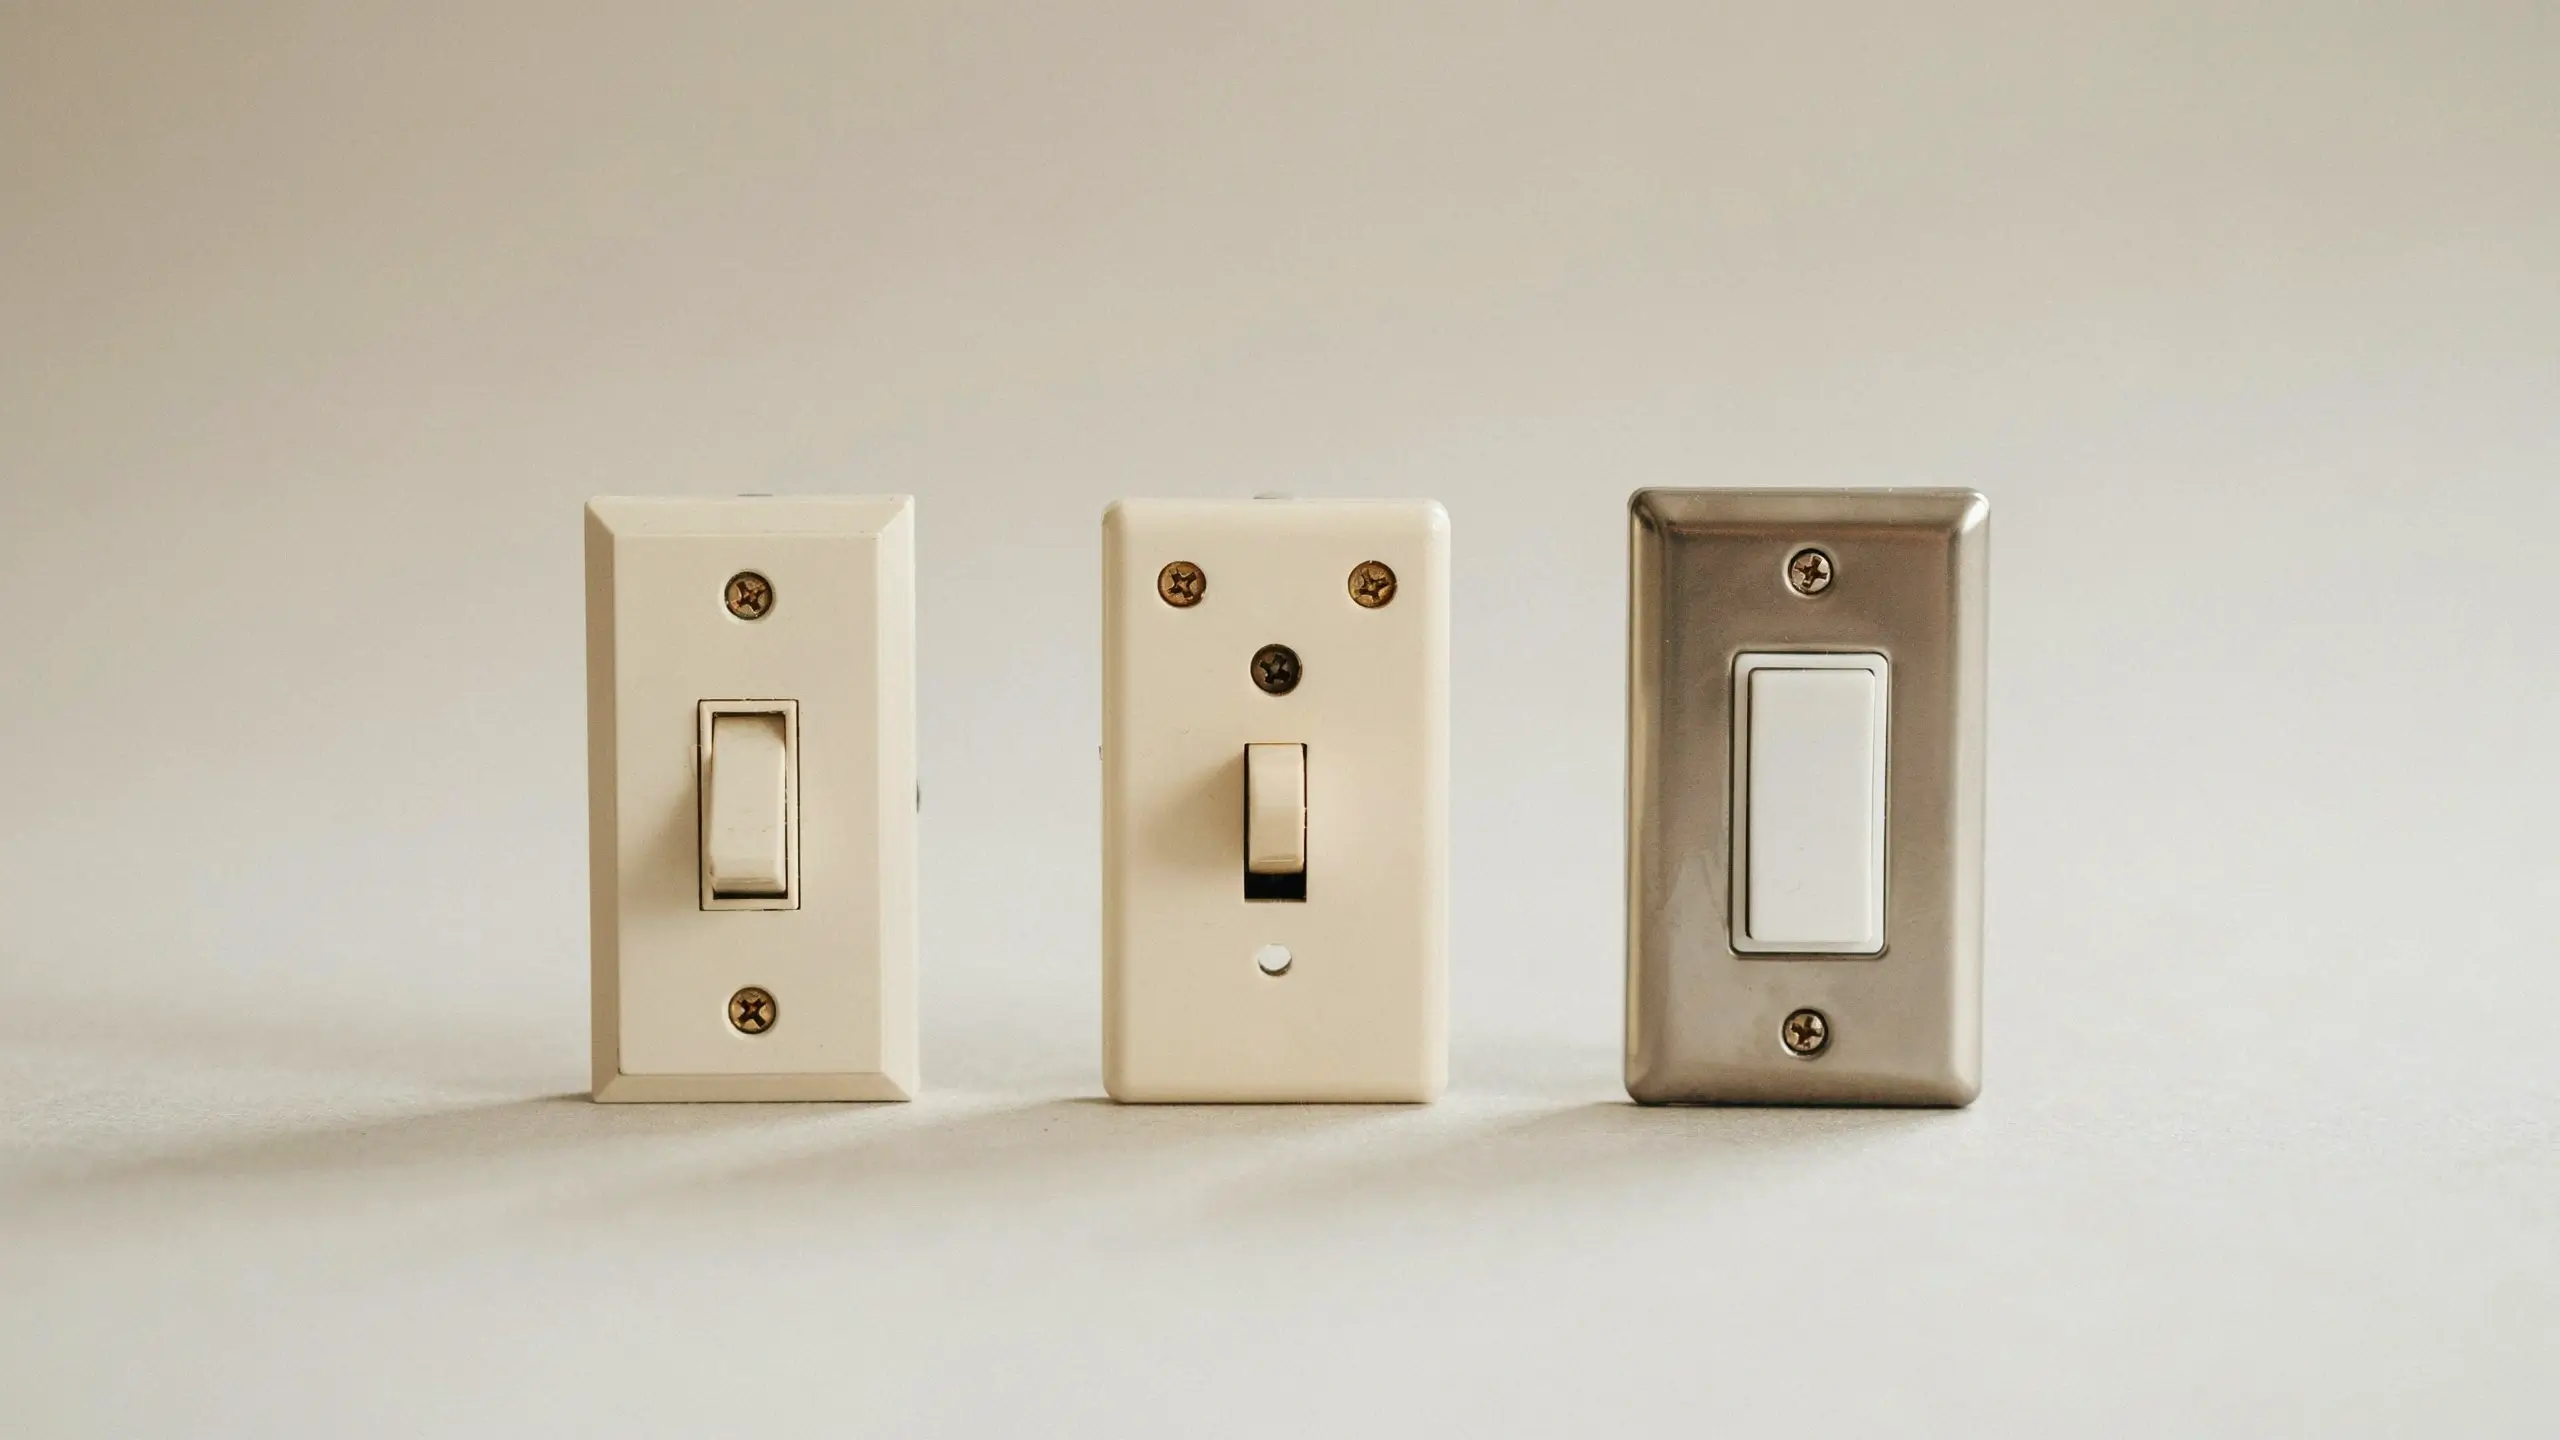
This is the step most guides rush through, but it matters. Installing the wrong type of switch creates wiring problems that are frustrating to troubleshoot.
Single-Pole Switch
The most common type in any home. It controls one light from one location. When you look at it, you’ll see two brass screws on the sides and usually one green screw at the bottom for the ground wire. The switch body often has “ON” and “OFF” stamped on it.
3-Way Switch
This is what you have when two different switches control the same light, like at the top and bottom of a staircase or on both ends of a long hallway. A 3-way switch has three terminal screws: two brass ones and one darker-colored “common” screw. Replacing a 3-way switch correctly requires a little more attention to wire placement, covered below.
4-Way Switch
Much less common. Only shows up in the middle of a circuit with two 3-way switches on either end. If you have four or more wires attached to your current switch, stop and do a bit more research before proceeding, or call an electrician.
Dimmer Switch
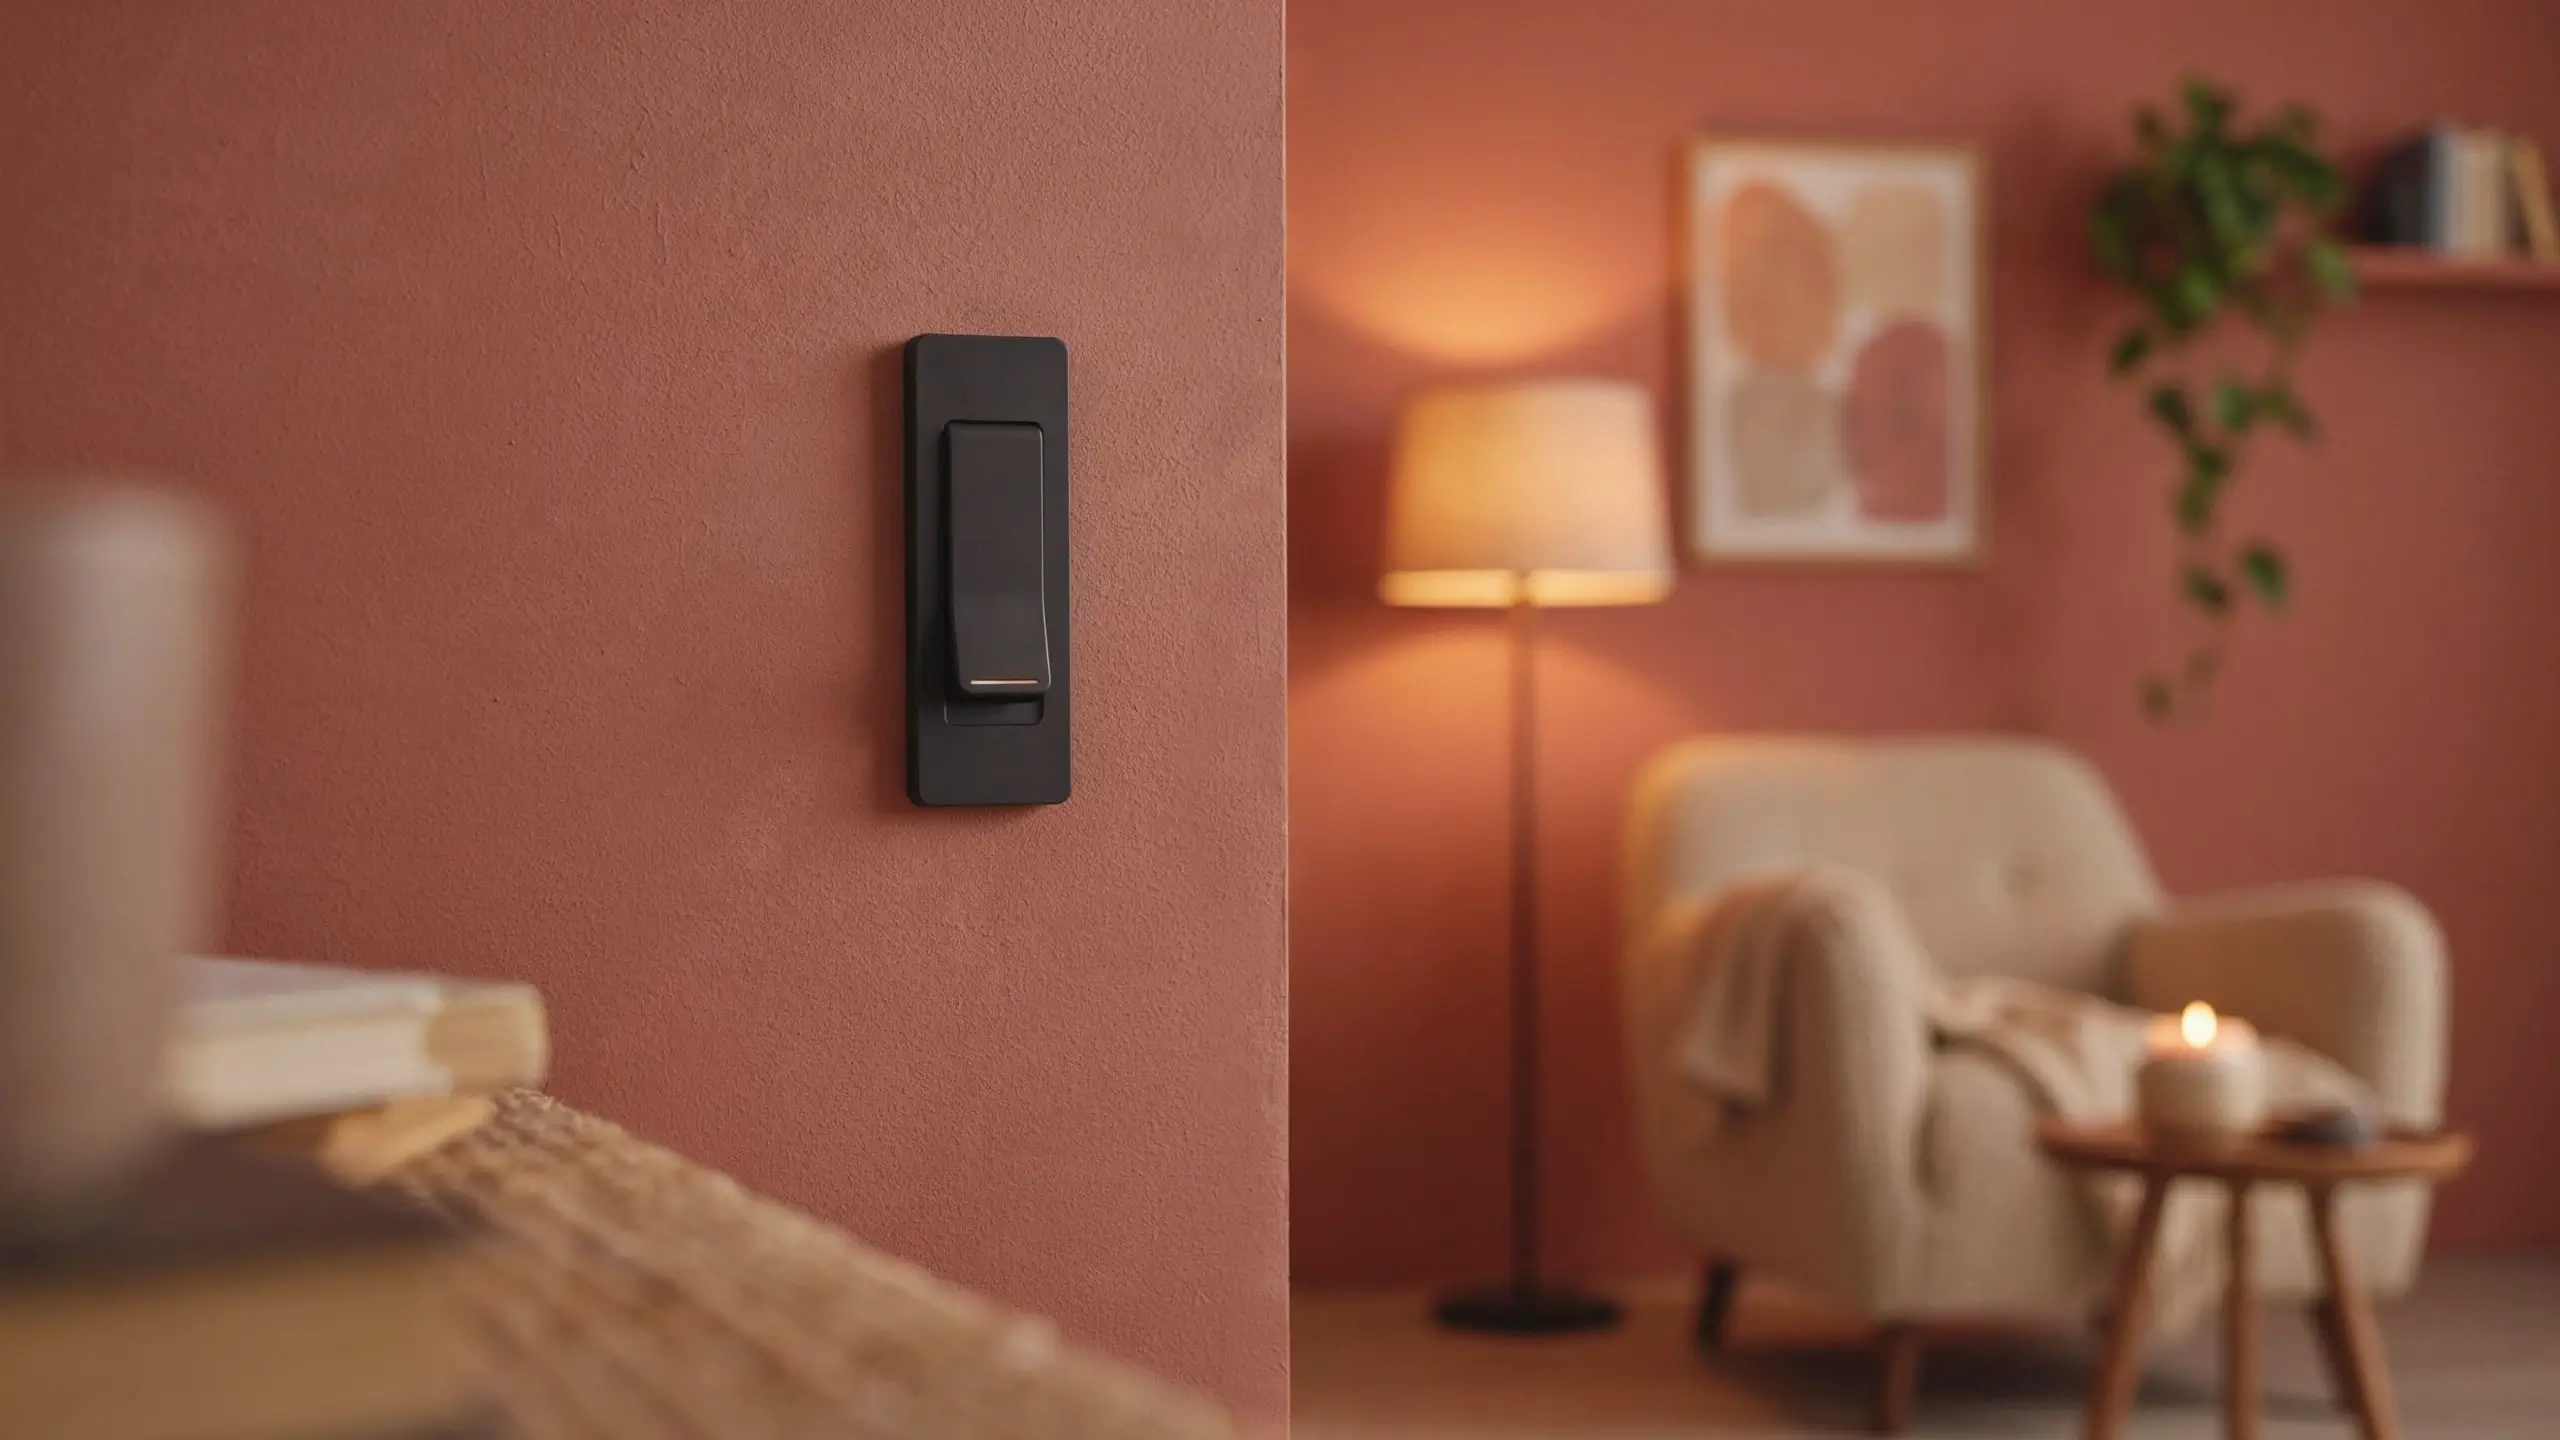
Not technically a separate “type” in terms of wiring, but dimmers have different installation requirements than standard switches and need to be matched to your bulb type. More on this in the upgrade section.
Step-by-Step: How to Replace a Light Switch
Step 1: Turn Off the Power at the Breaker
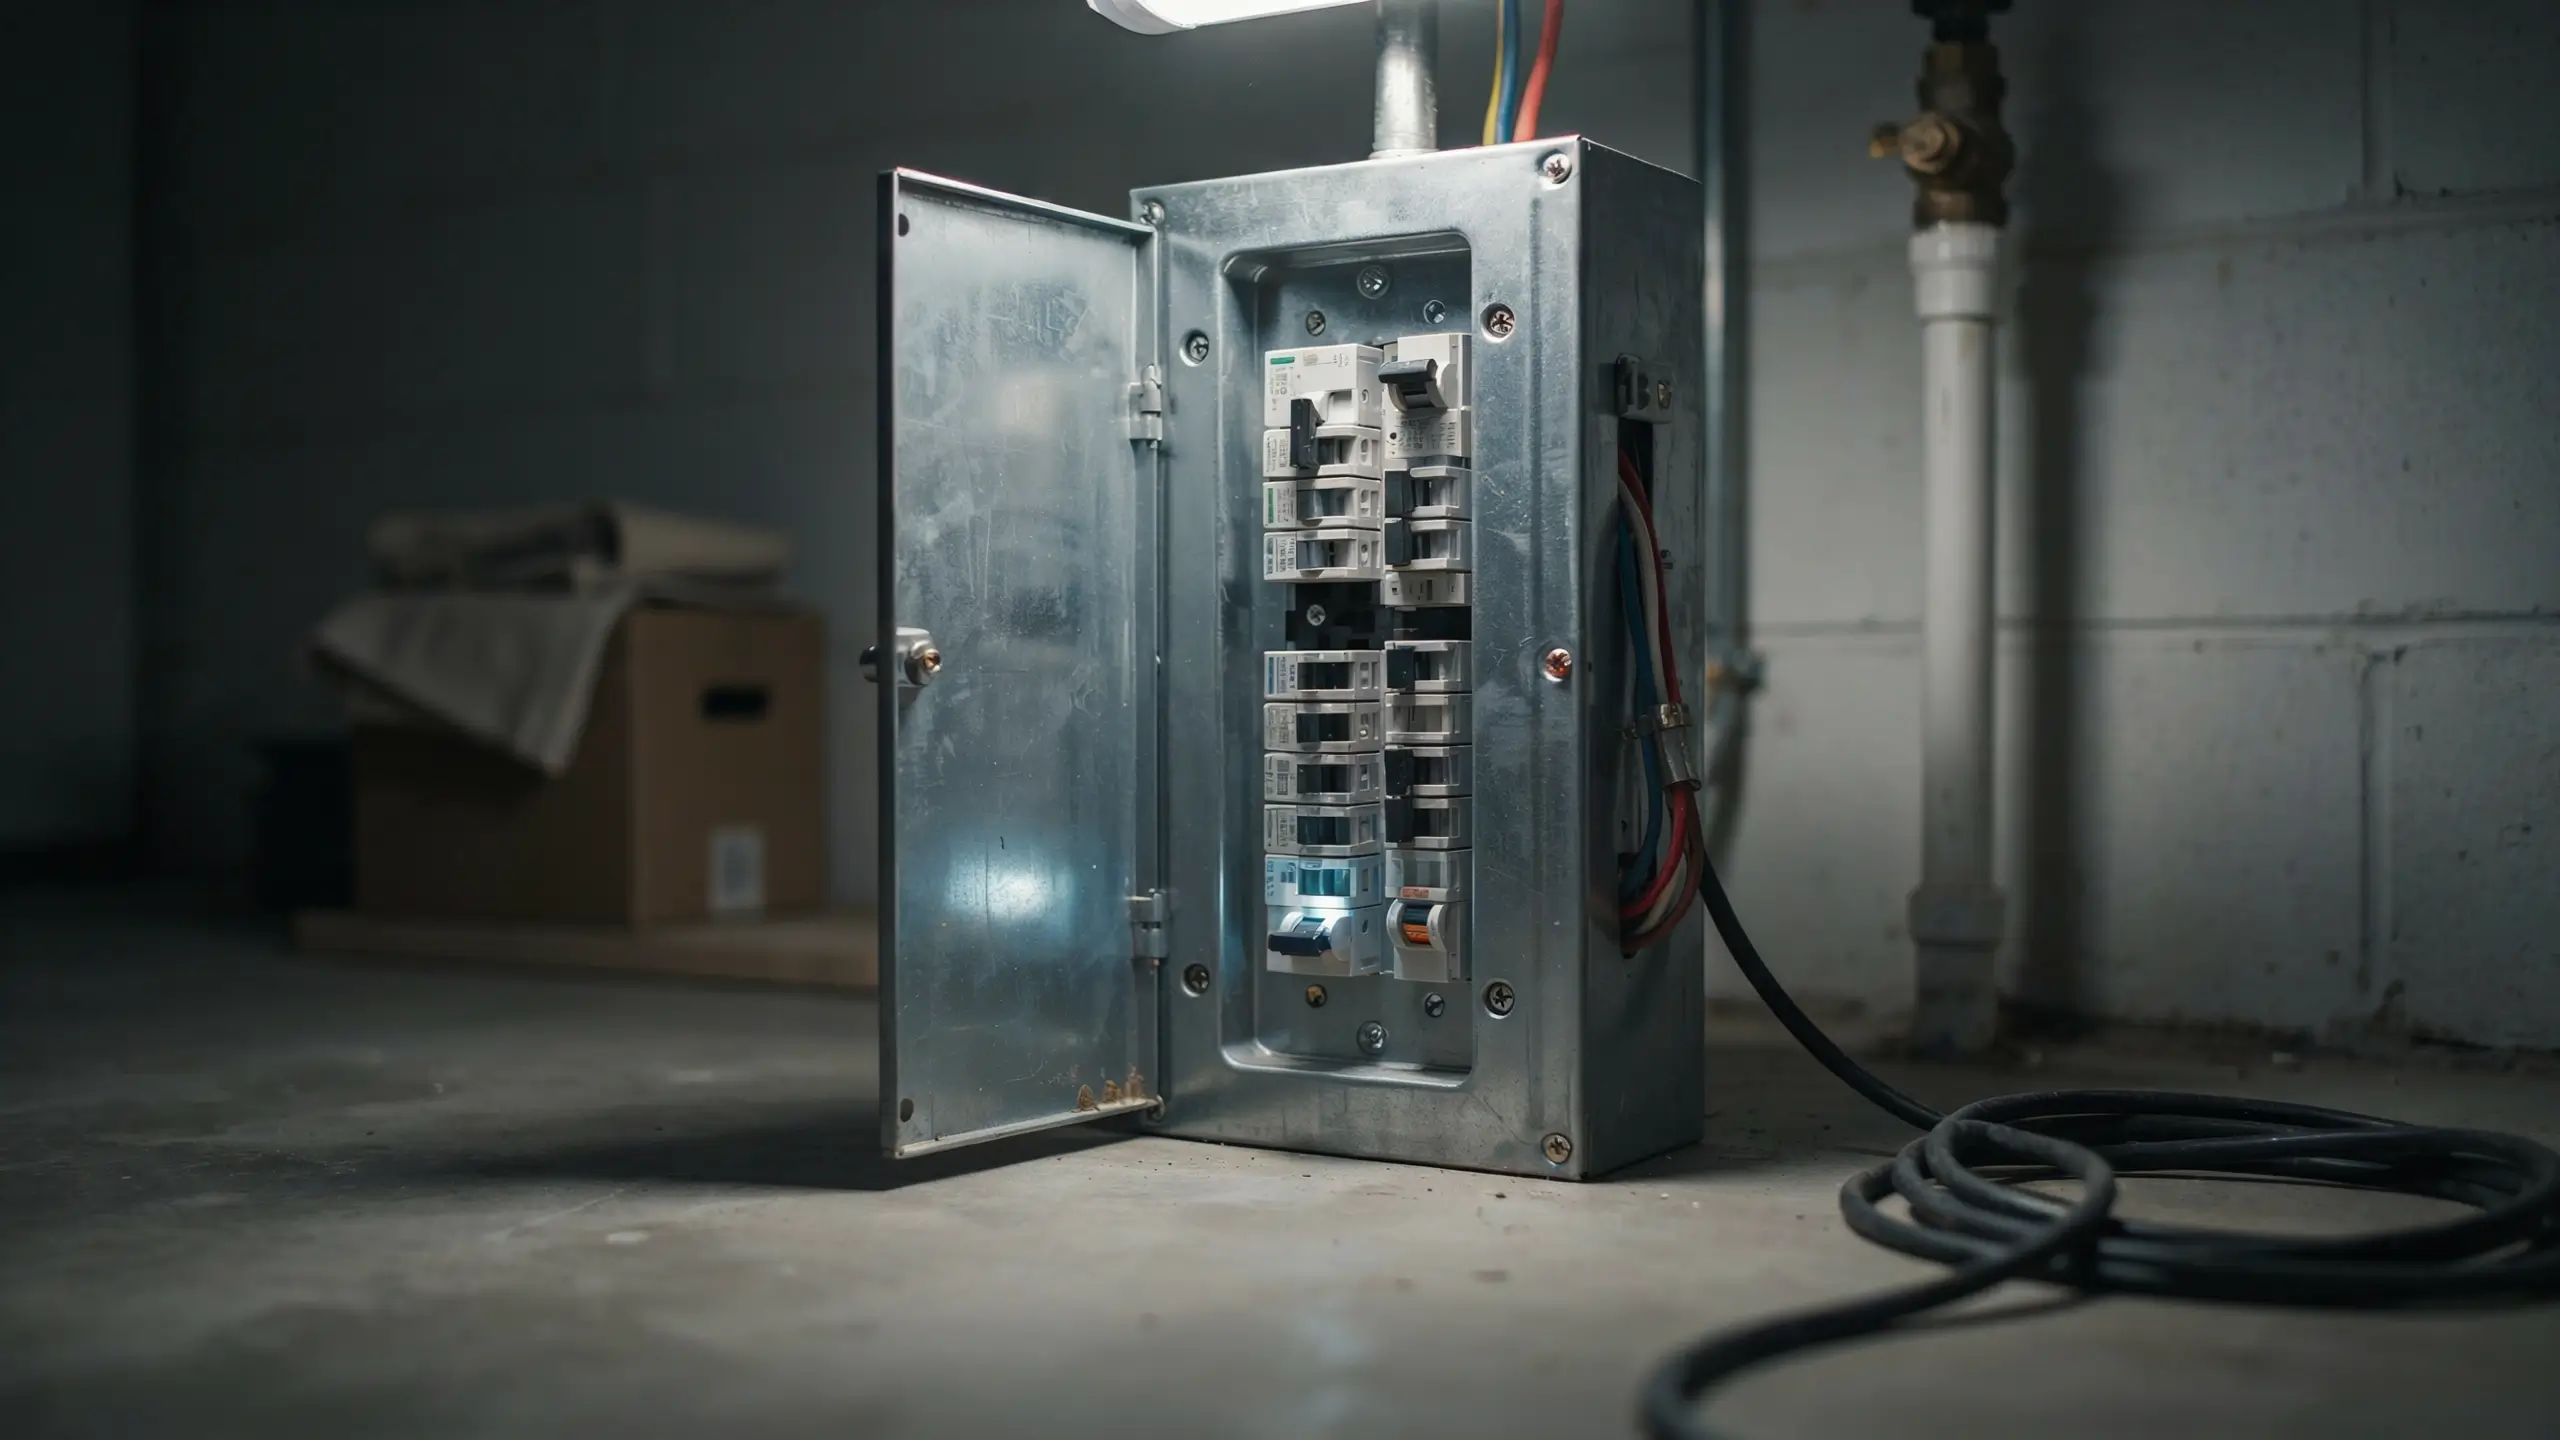
Go to your electrical panel and flip the breaker that controls the room or circuit where the switch is. If the breakers aren’t labeled clearly, you can turn on the light that the switch controls and flip breakers one at a time until the light goes off.
Once you think you’ve found the right breaker, go back to the switch and flip it to confirm the light doesn’t come on.
Step 2: Confirm the Power Is Actually Off
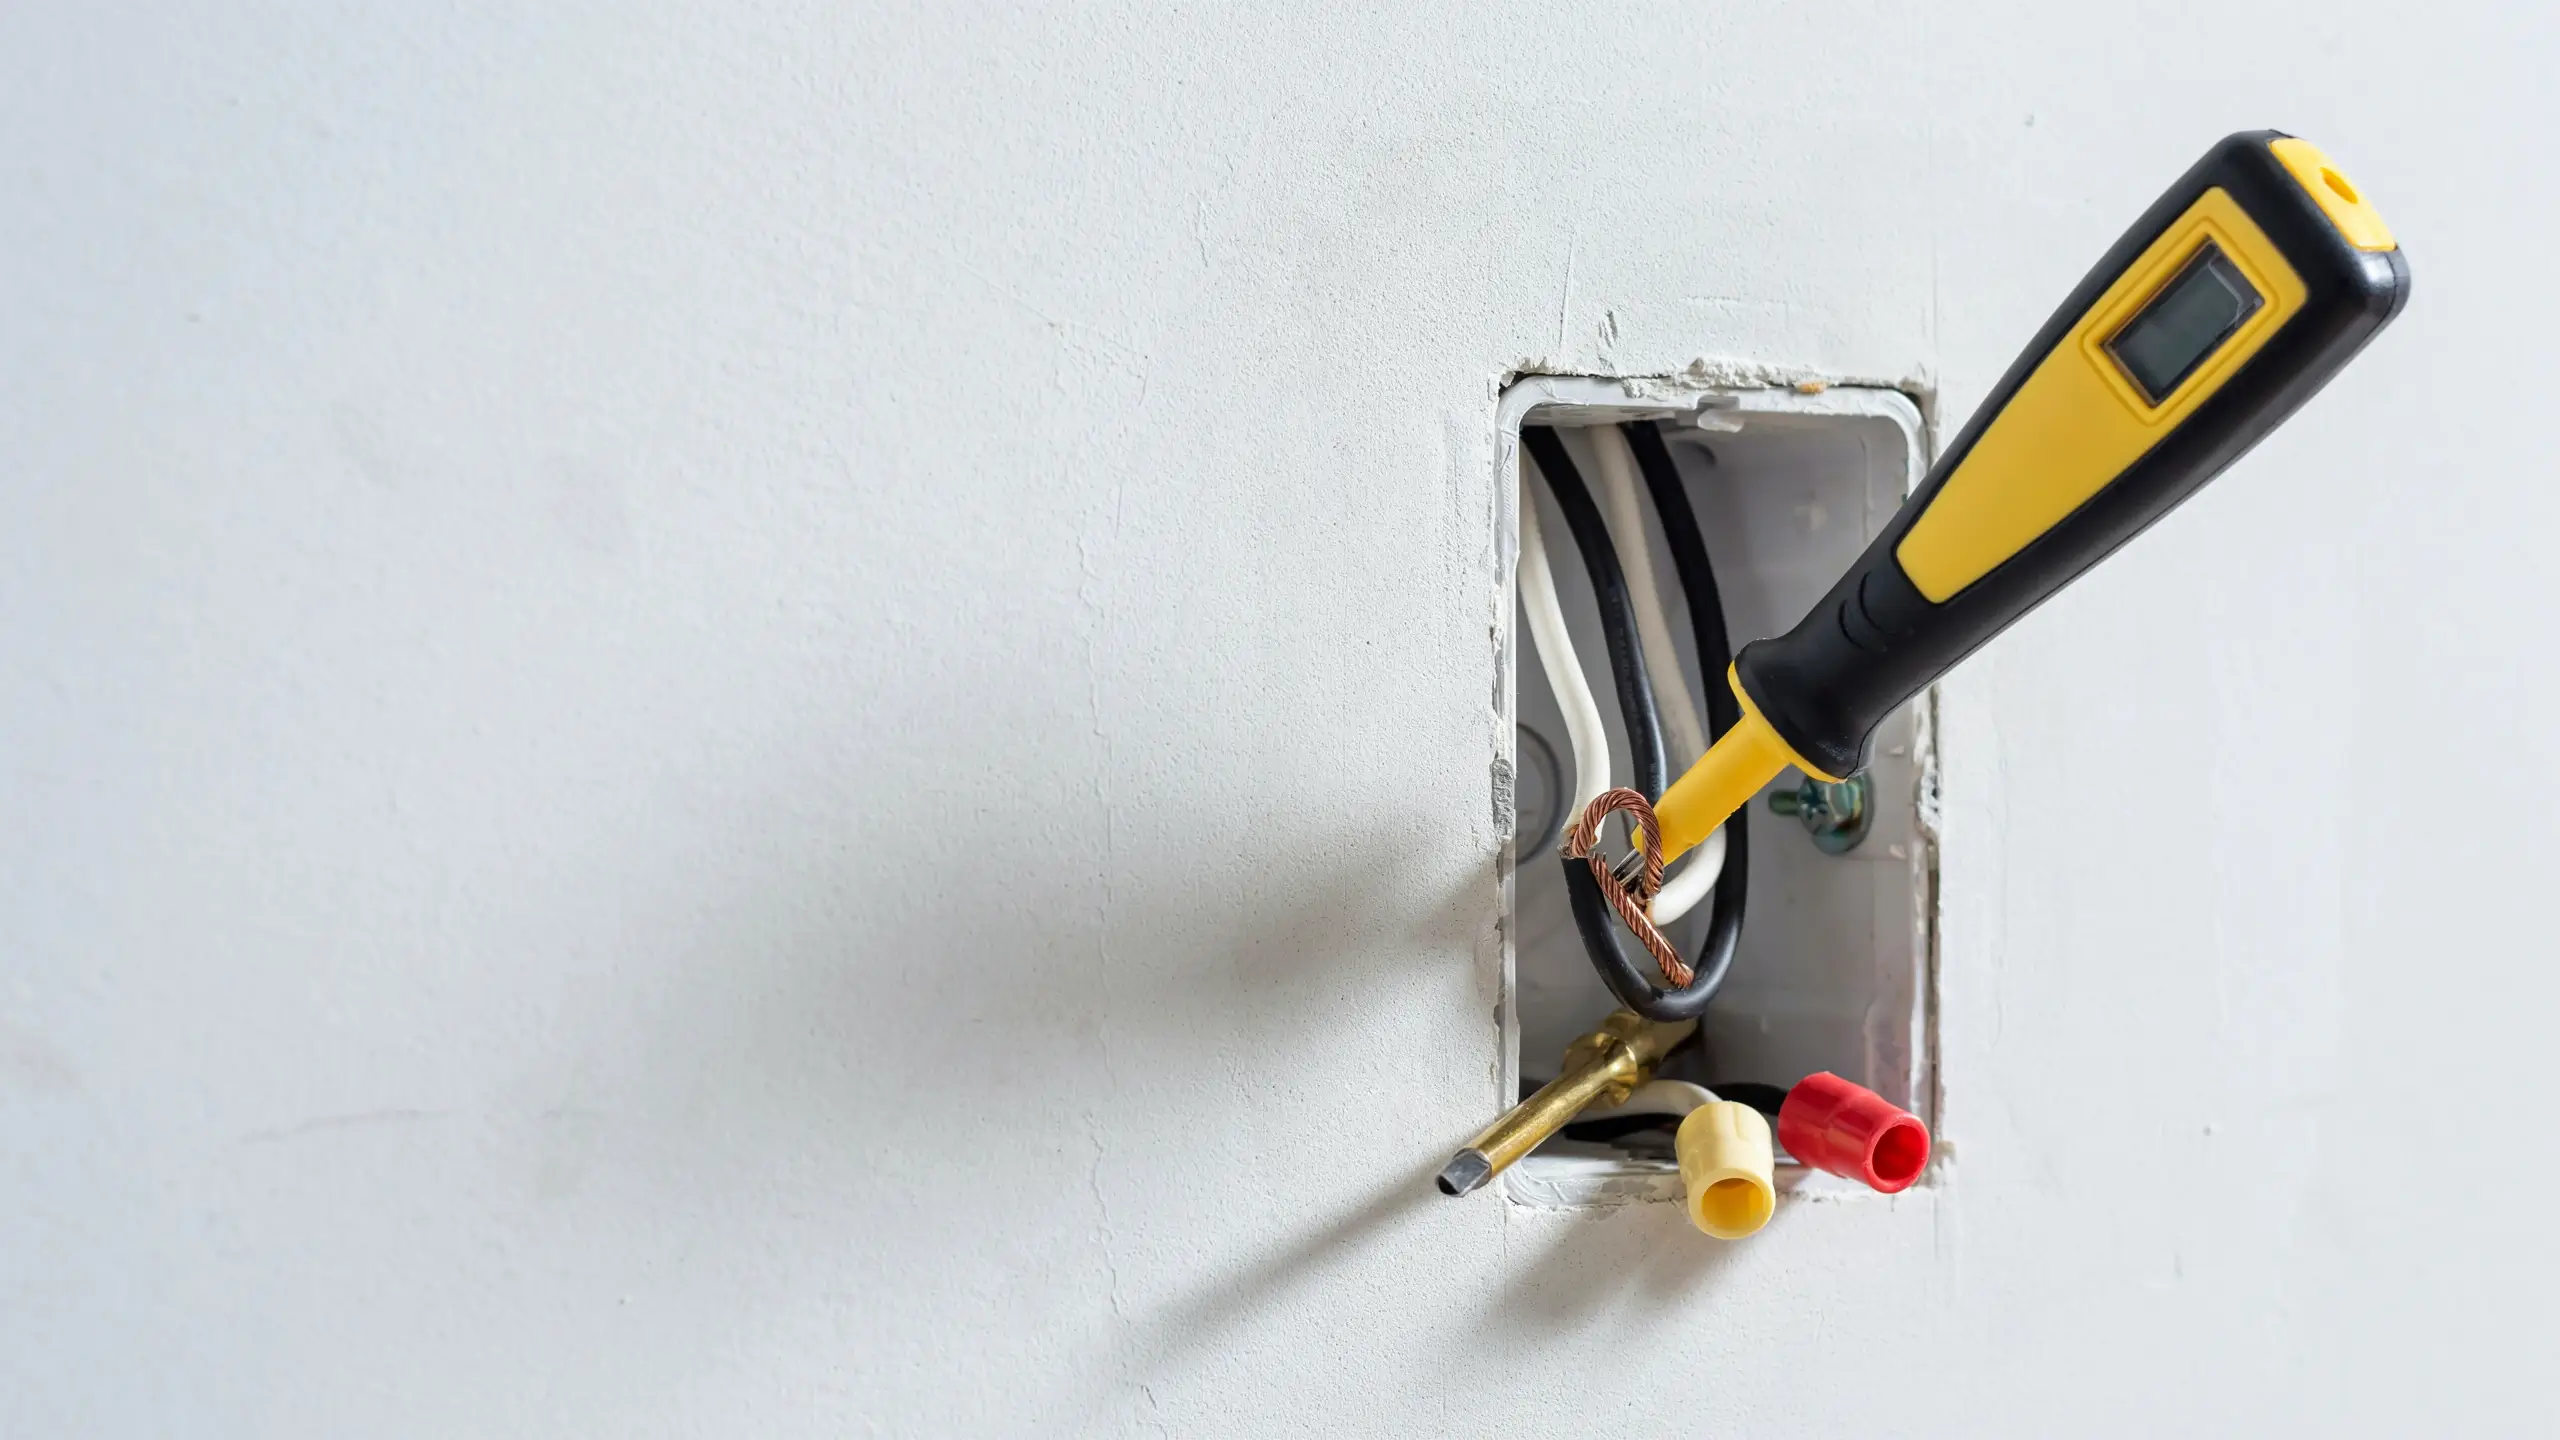
Remove the switch plate cover by unscrewing the center screw. Set the plate aside.
Now use your non-contact voltage tester. Hold it near the switch and near each wire inside the box. If it doesn’t beep or light up, the power is off. If it beeps, go back to the breaker and find the correct one.
Don’t skip this. The switch being off at the wall does not mean there’s no live voltage in the box. The hot wire carries power to the switch regardless of its position.
Step 3: Remove the Old Switch
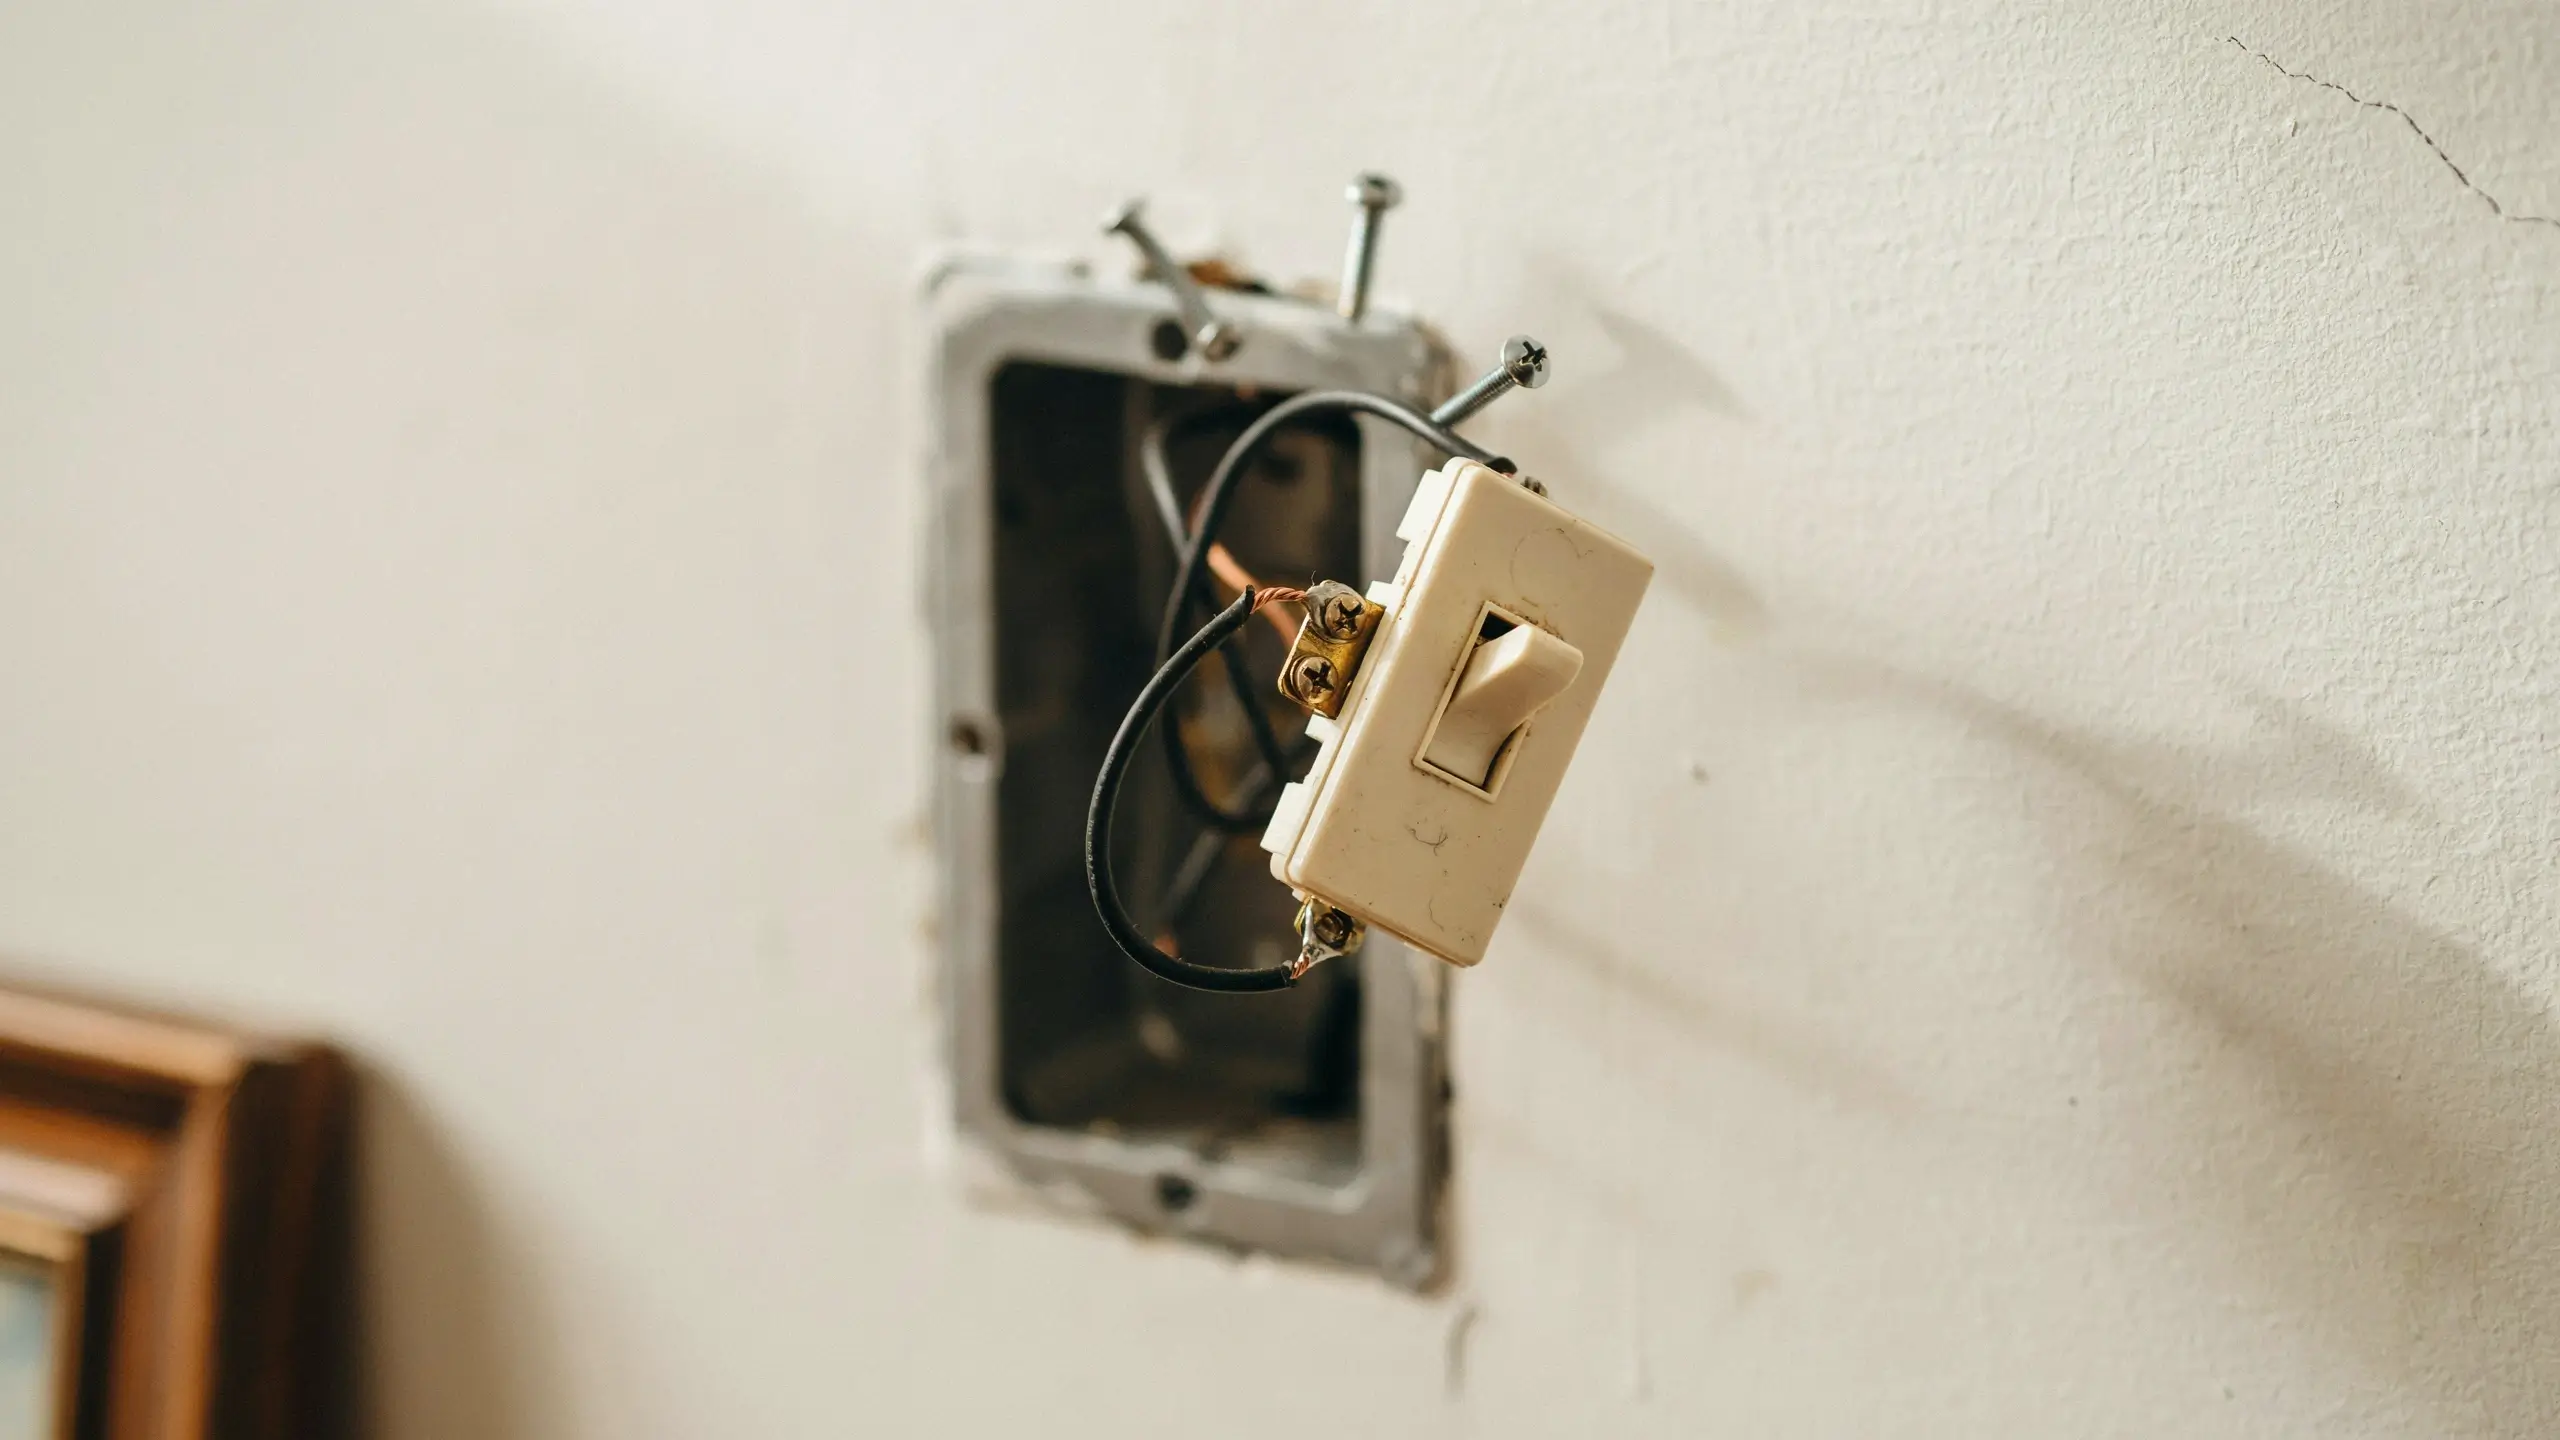
Unscrew the two mounting screws holding the switch to the electrical box. Gently pull the switch straight out from the wall. The wires are attached, so it won’t come all the way out, but you’ll have enough slack to work with.
Before you disconnect anything, take a photo. Use your phone to photograph exactly how the wires are connected to the current switch. This is your reference when wiring the new one.
Step 4: Understand the Wires
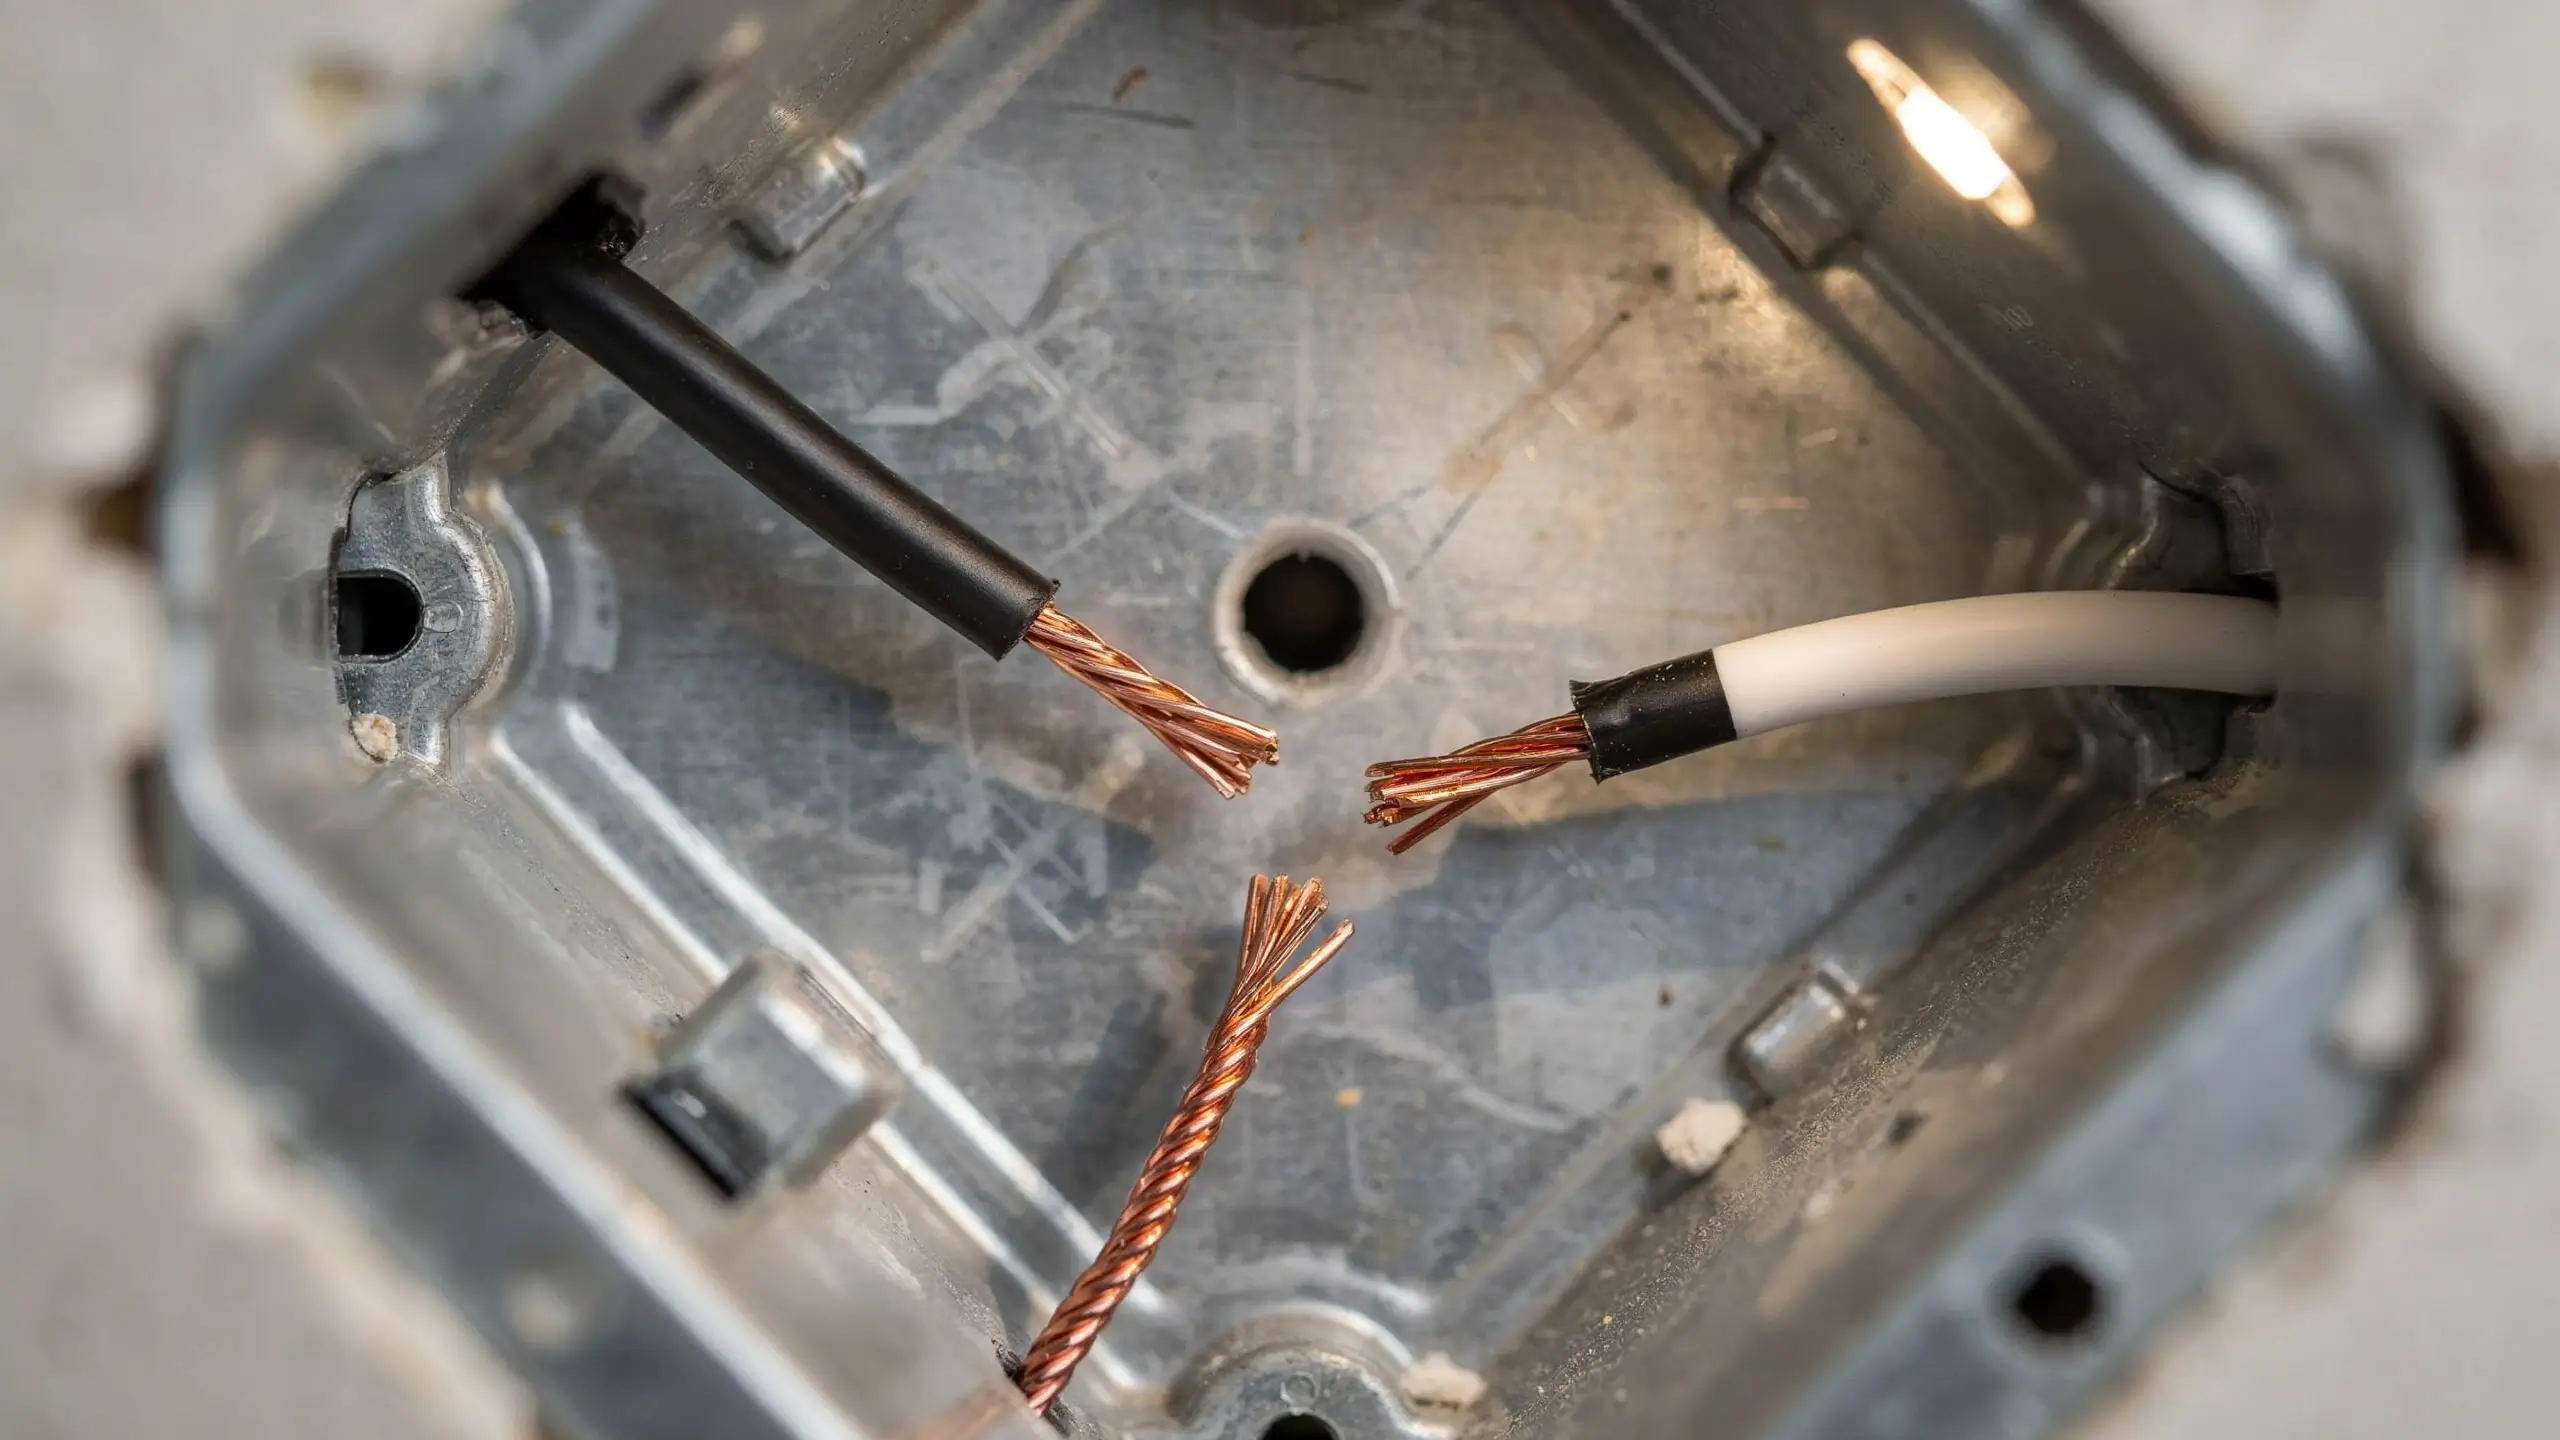
Inside the box, you’ll likely see:
- Black wire (hot): Carries power to the switch. Attaches to a brass screw.
- White wire (neutral): In a basic single-pole switch, the white wire is often also used as a hot wire and may be wrapped in black electrical tape to indicate this. Attaches to the other brass screw.
- Bare copper or green wire (ground): Attaches to the green screw on the switch.
In older homes, the wiring colors sometimes don’t follow these conventions exactly. Your photo from Step 3 is your guide.
If you see aluminum wiring (silvery-colored instead of copper-toned), stop and call a licensed electrician. Aluminum wiring requires special handling and connectors.
Step 5: Disconnect the Old Switch
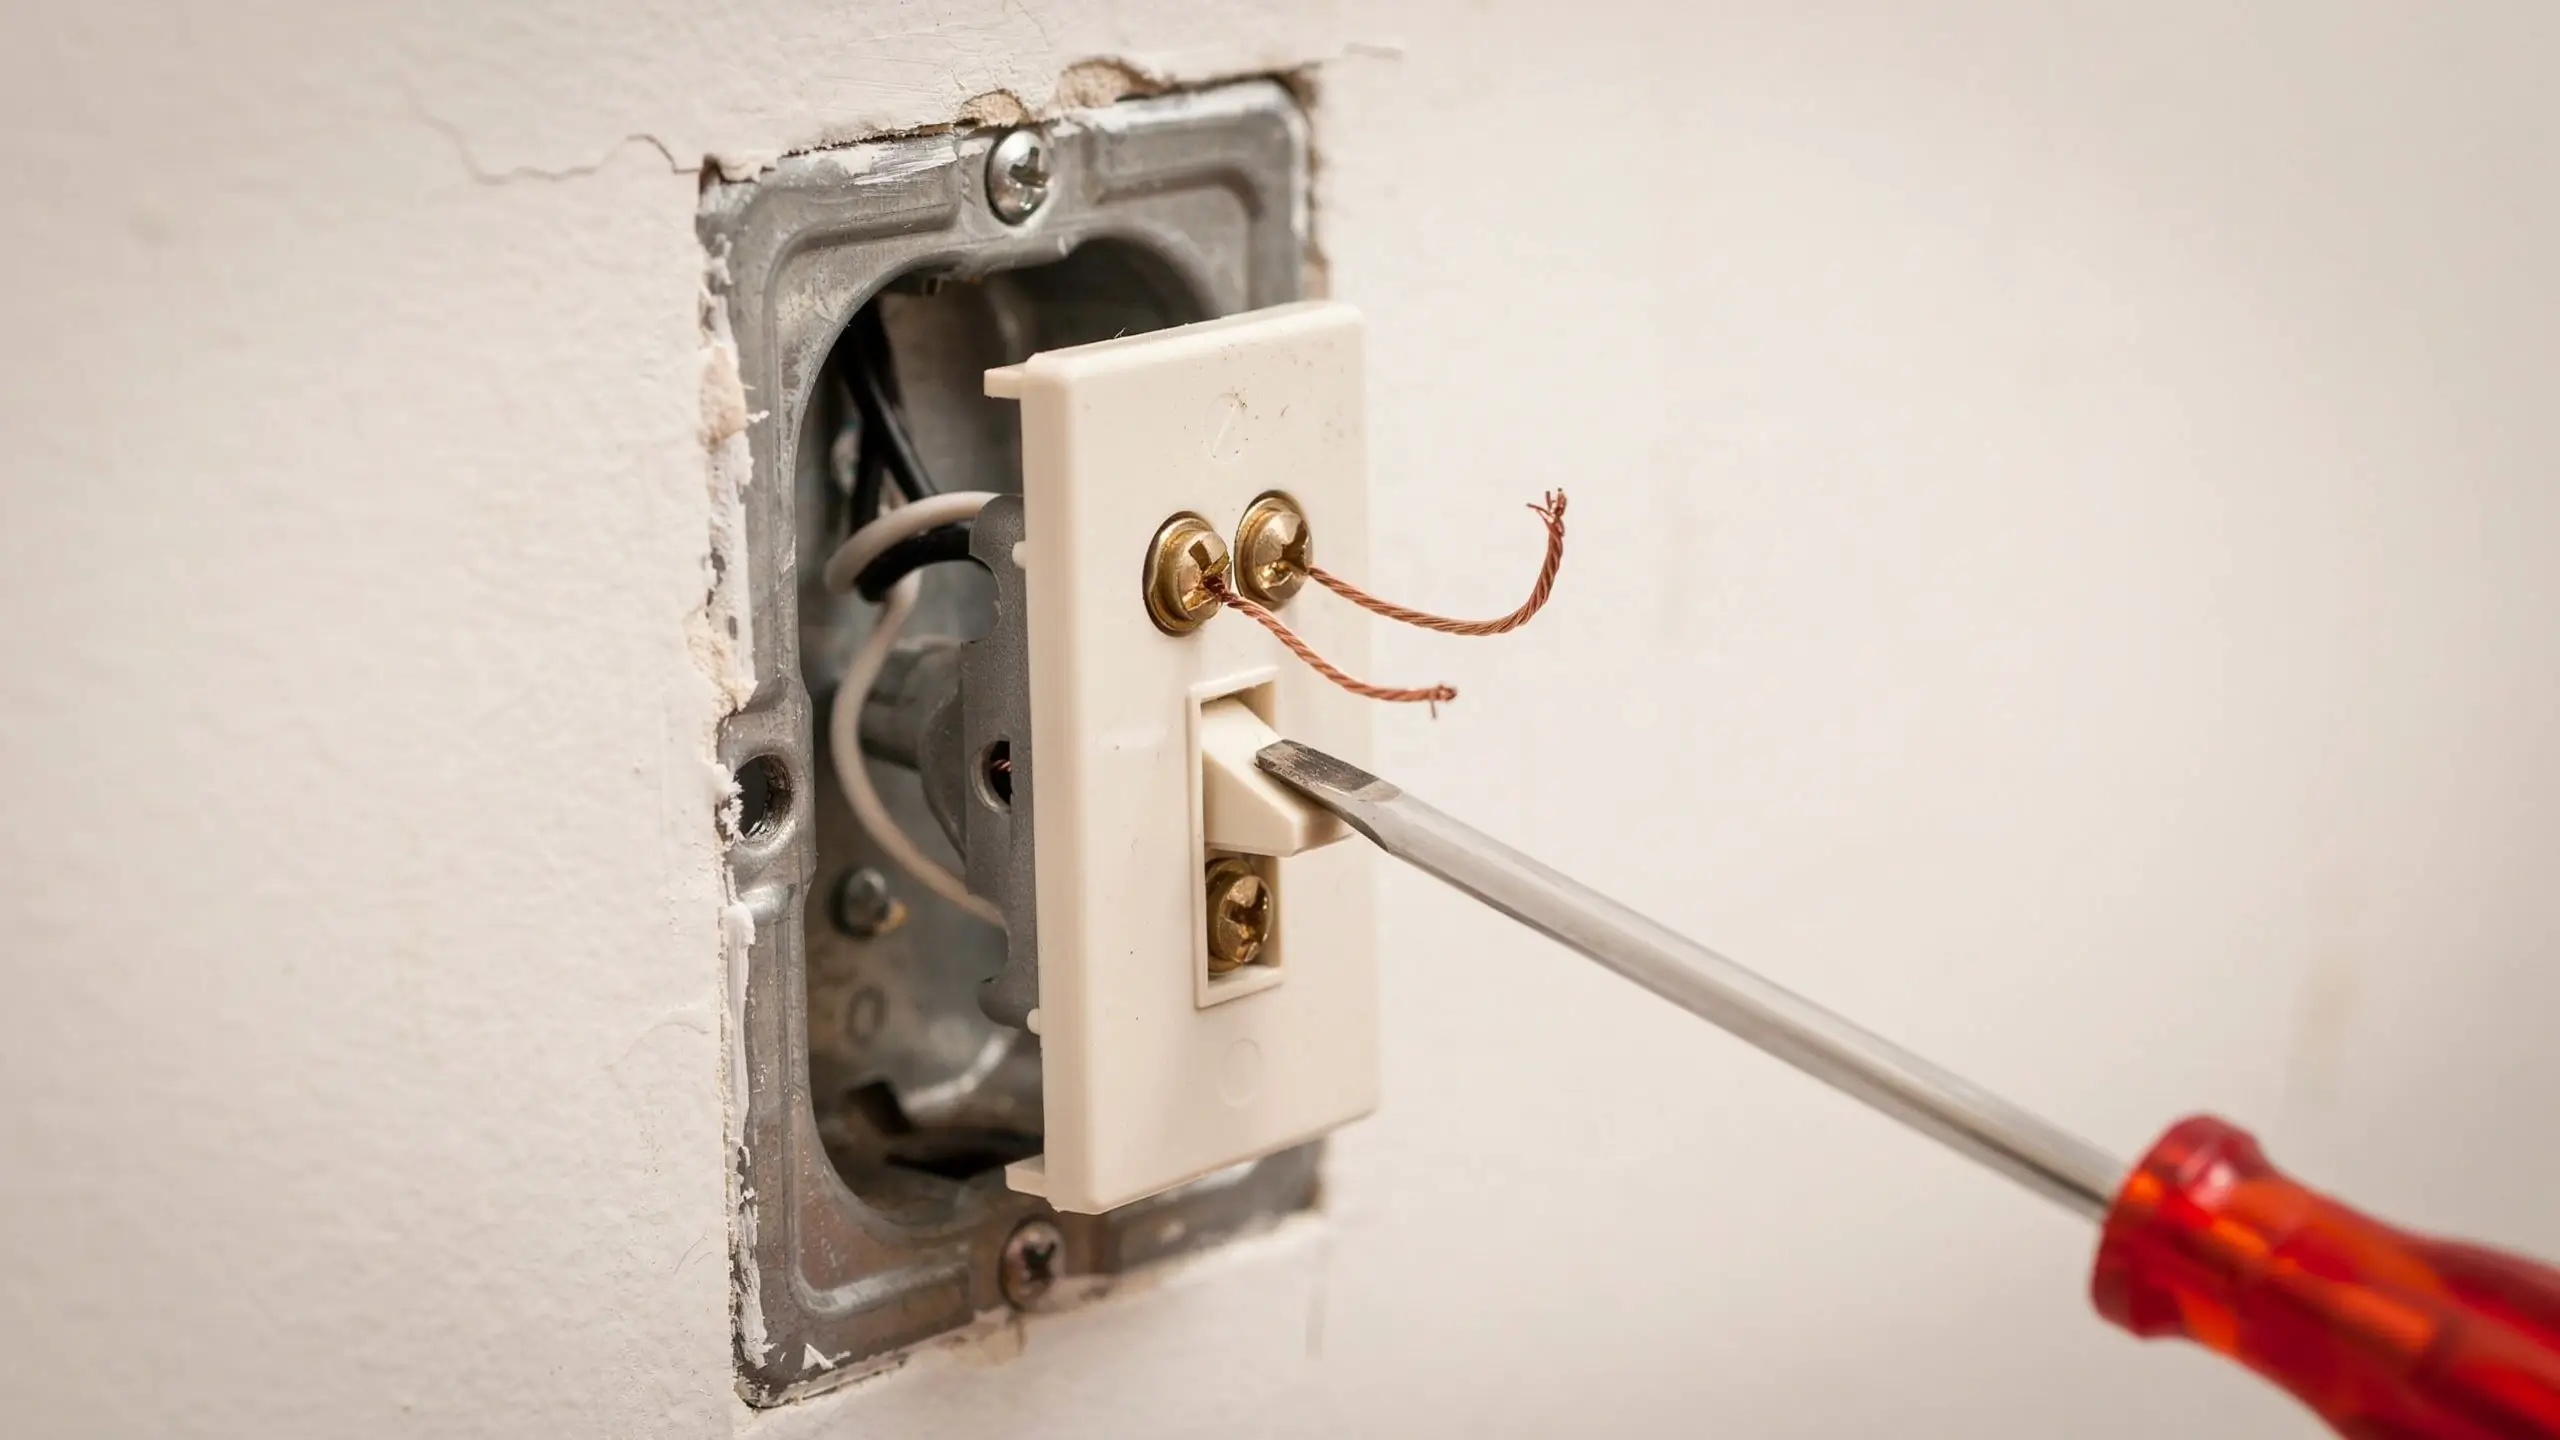
Loosen the terminal screws and unwrap or pull the wires free. If the switch uses back-stab connectors (holes in the back of the switch where the wires are pushed in rather than wrapped around screws), insert a small flathead screwdriver into the release slot beside each hole to free the wire.
Back-stab connections are actually one of the things to avoid on your new switch. They can loosen over time. Always use the screw terminals on the sides for a more secure, lasting connection.
Step 6: Prep the Wire Ends
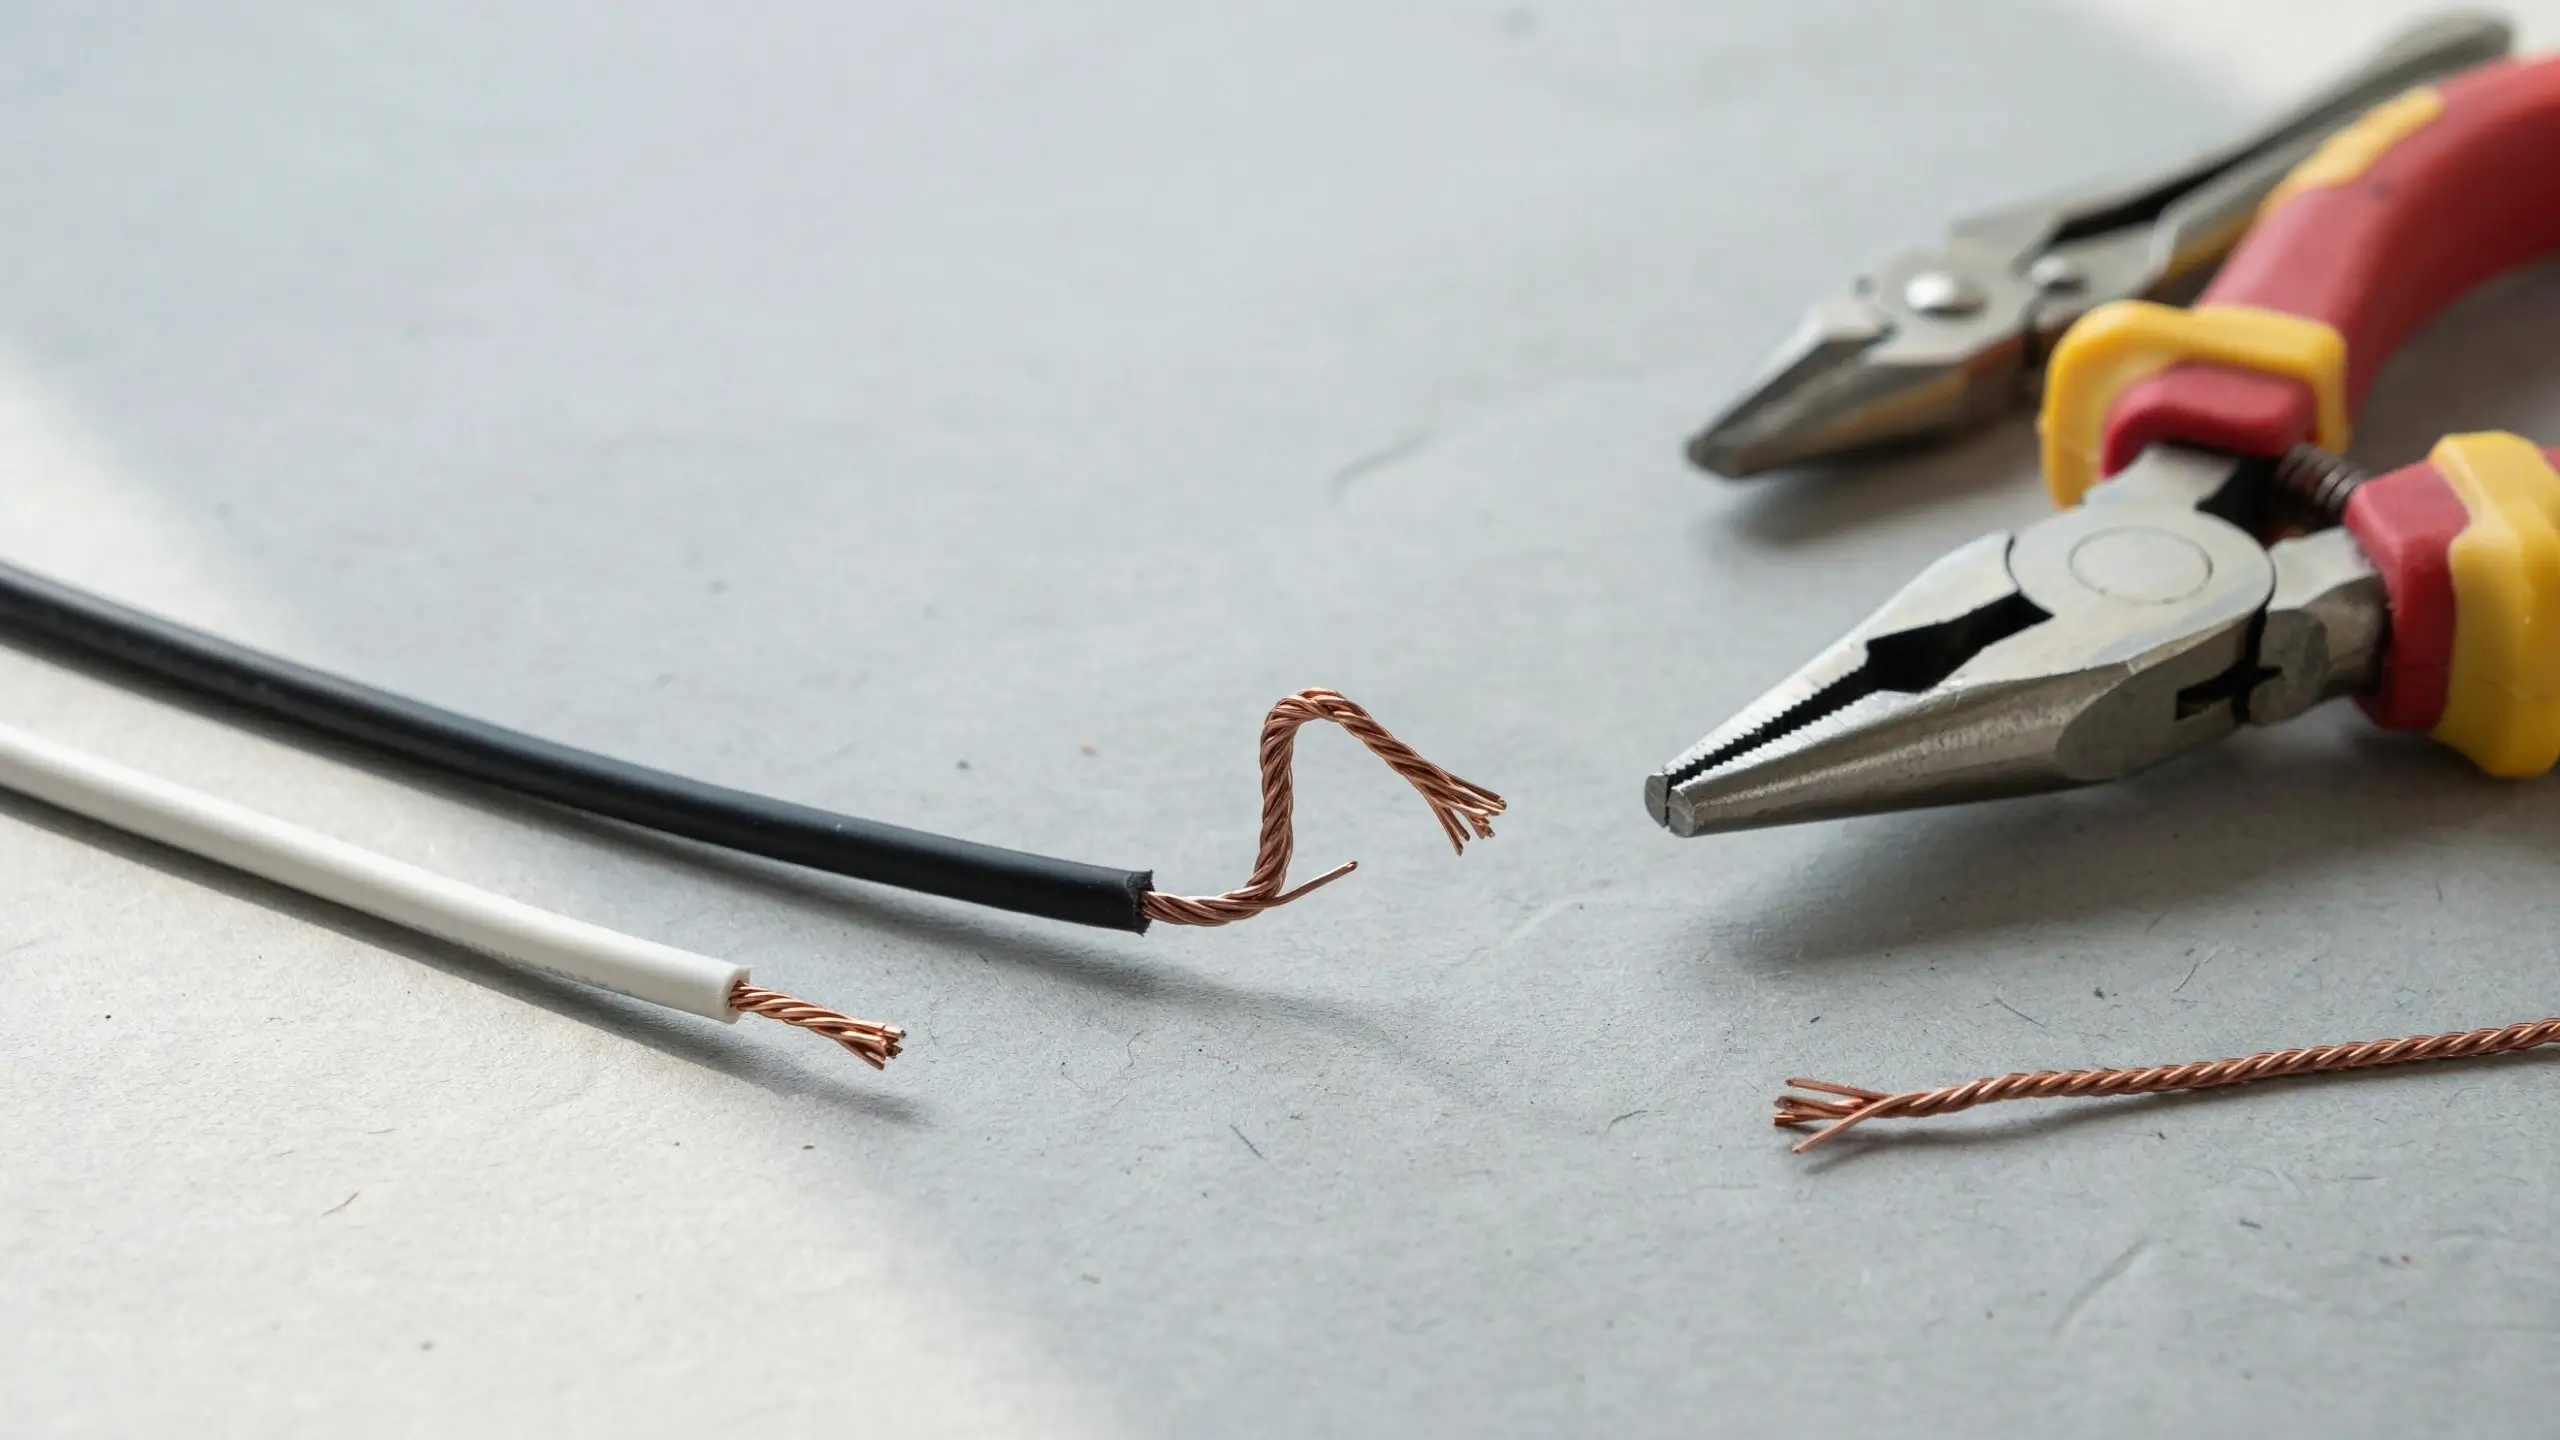
Look at the end of each wire. The copper should be clean and uncoated for about 3/4 of an inch. If the wire ends look dark, nicked, or corroded, use your wire stripper to cut back a small amount and expose fresh copper.
Using needle-nose pliers, bend the end of each wire into a small clockwise “J” hook. This shape helps it wrap around the screw in the direction that tightens when you turn the screw clockwise.
Step 7: Connect the Wires to the New Switch
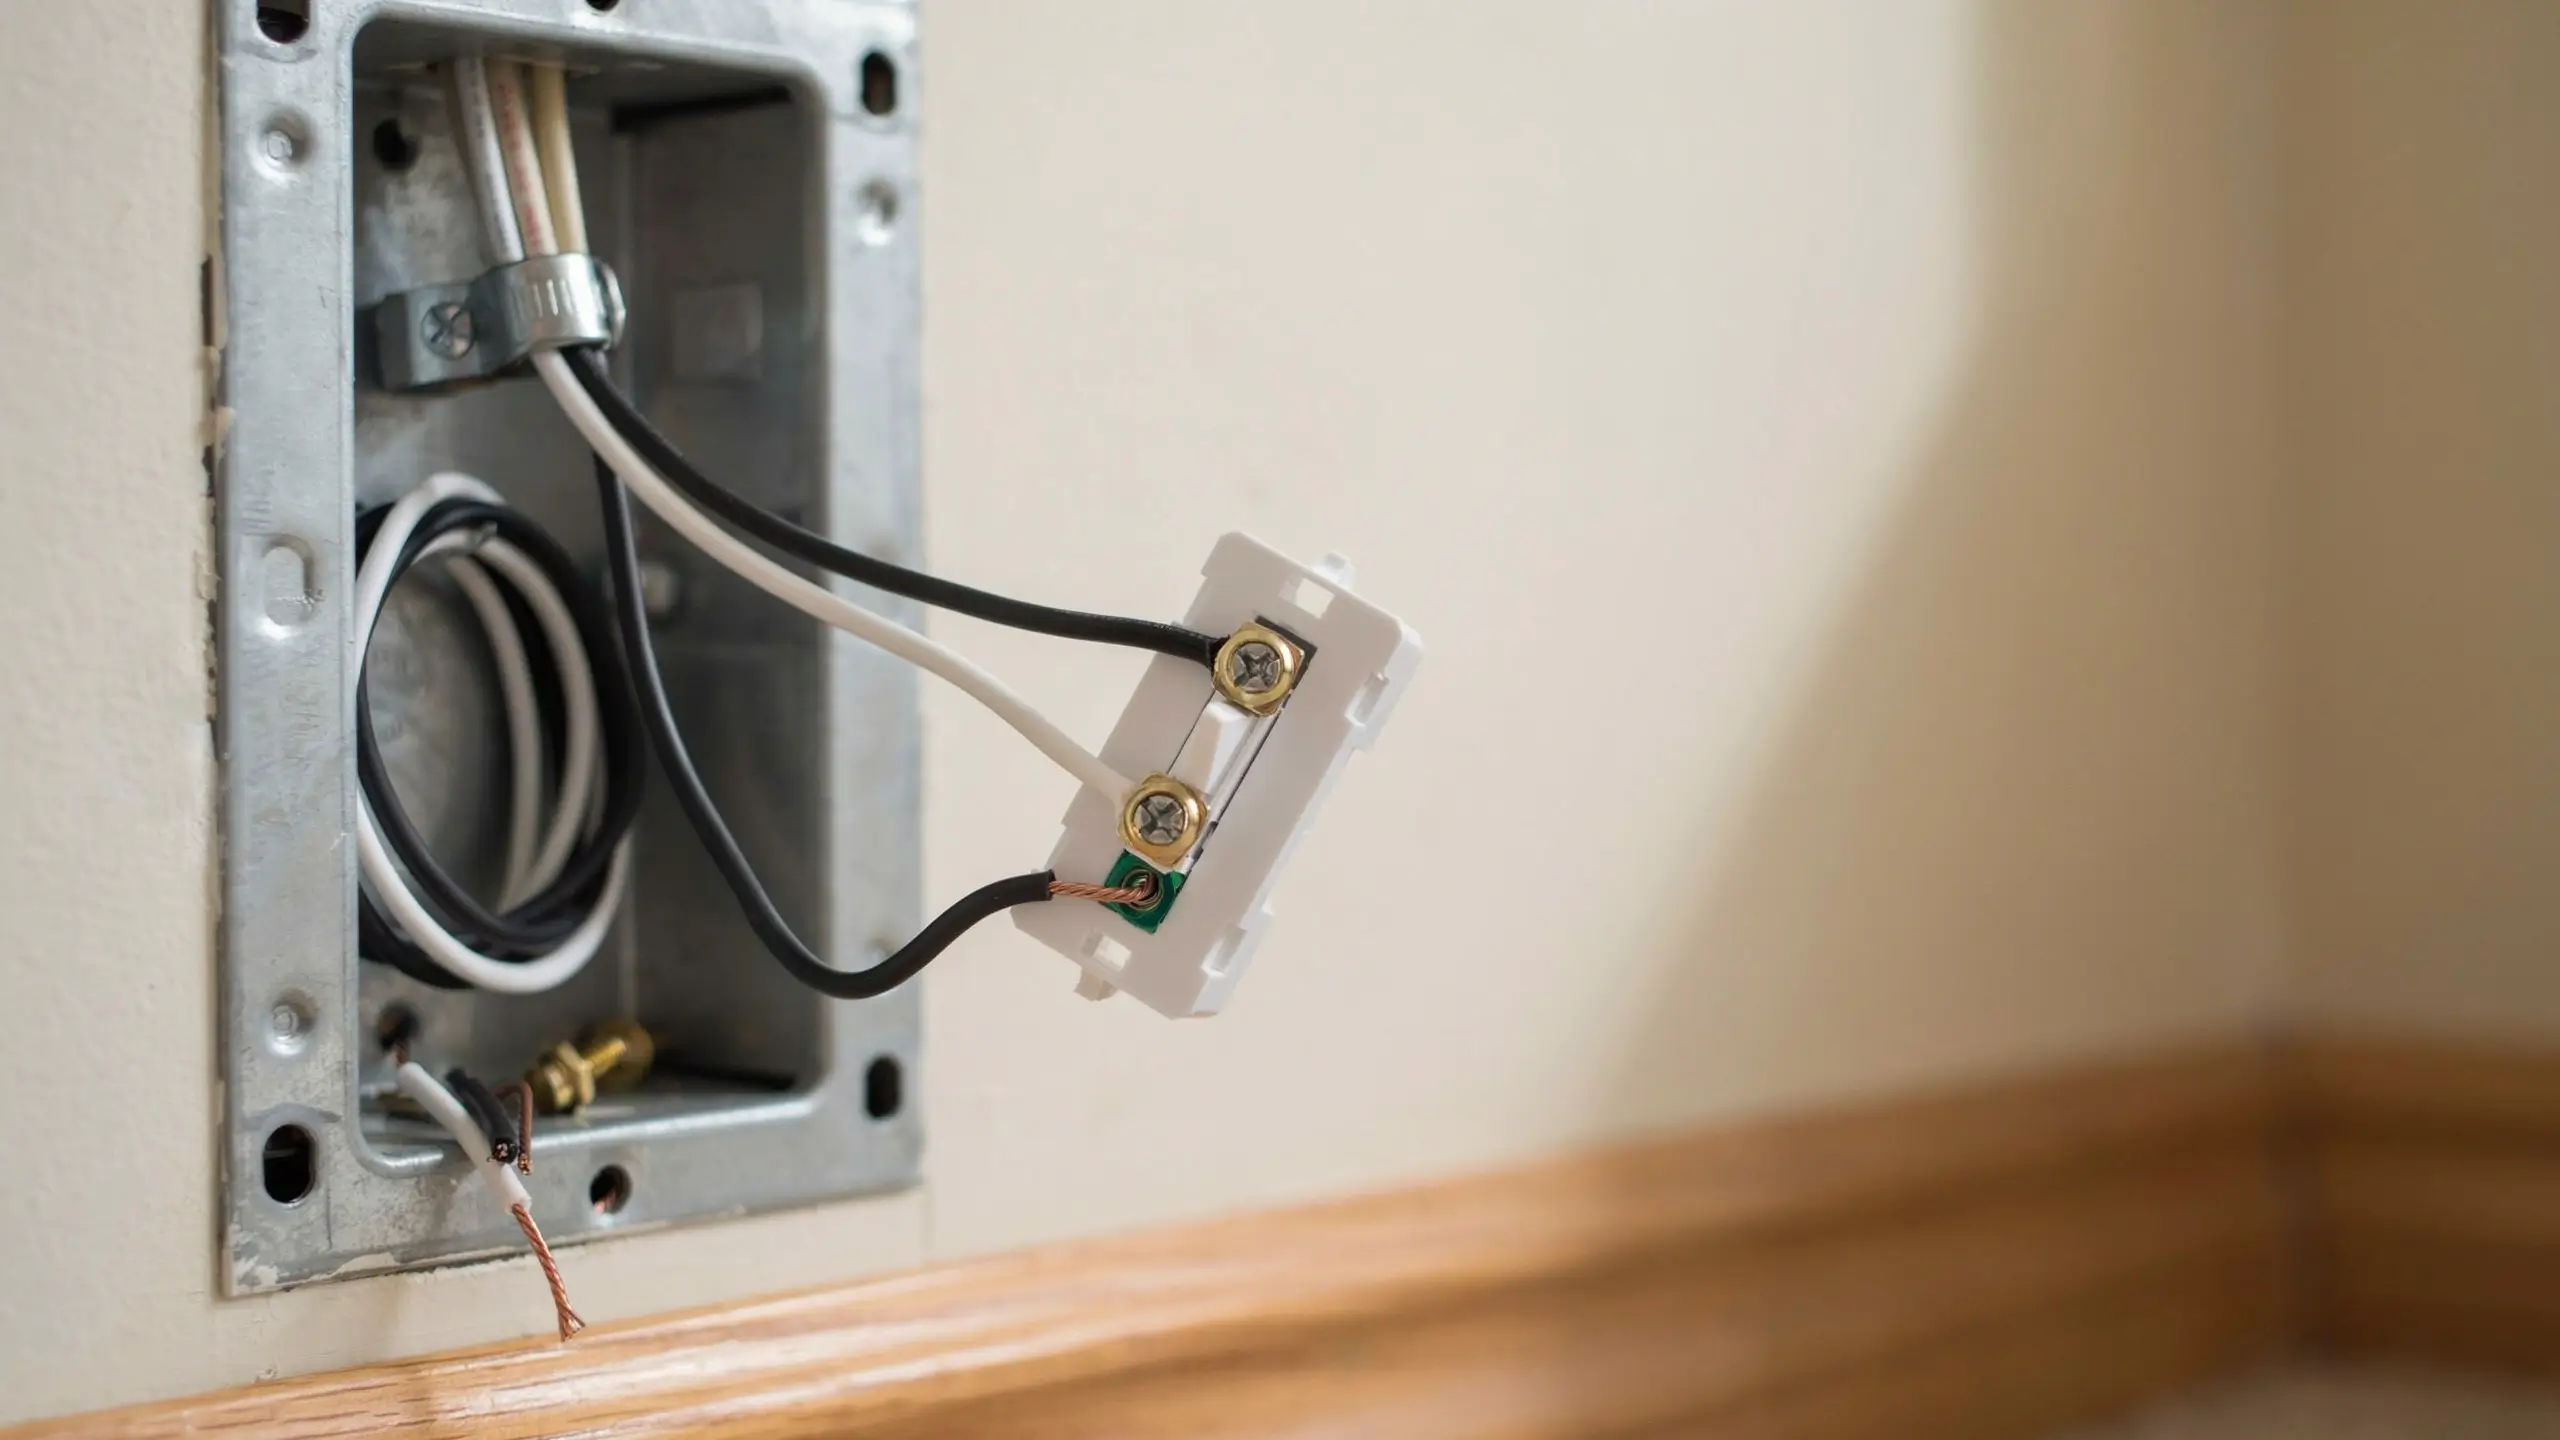
Attach the hot wire to one brass screw, the neutral (or second hot) wire to the other brass screw, and the bare copper ground wire to the green screw. Tighten each screw firmly until the wire can’t wiggle free, but don’t overtighten to the point of crushing the wire.
For single-pole switches, the two brass screws are interchangeable. The orientation of the switch (so “ON” is at the top) is what matters for proper labeling.
For 3-way switches, the dark-colored “common” screw is critical. It should have the same wire attached to it as the common screw on the old switch. Your photo from Step 3 will tell you which wire that was.
Step 8: Tuck the Wires and Mount the Switch
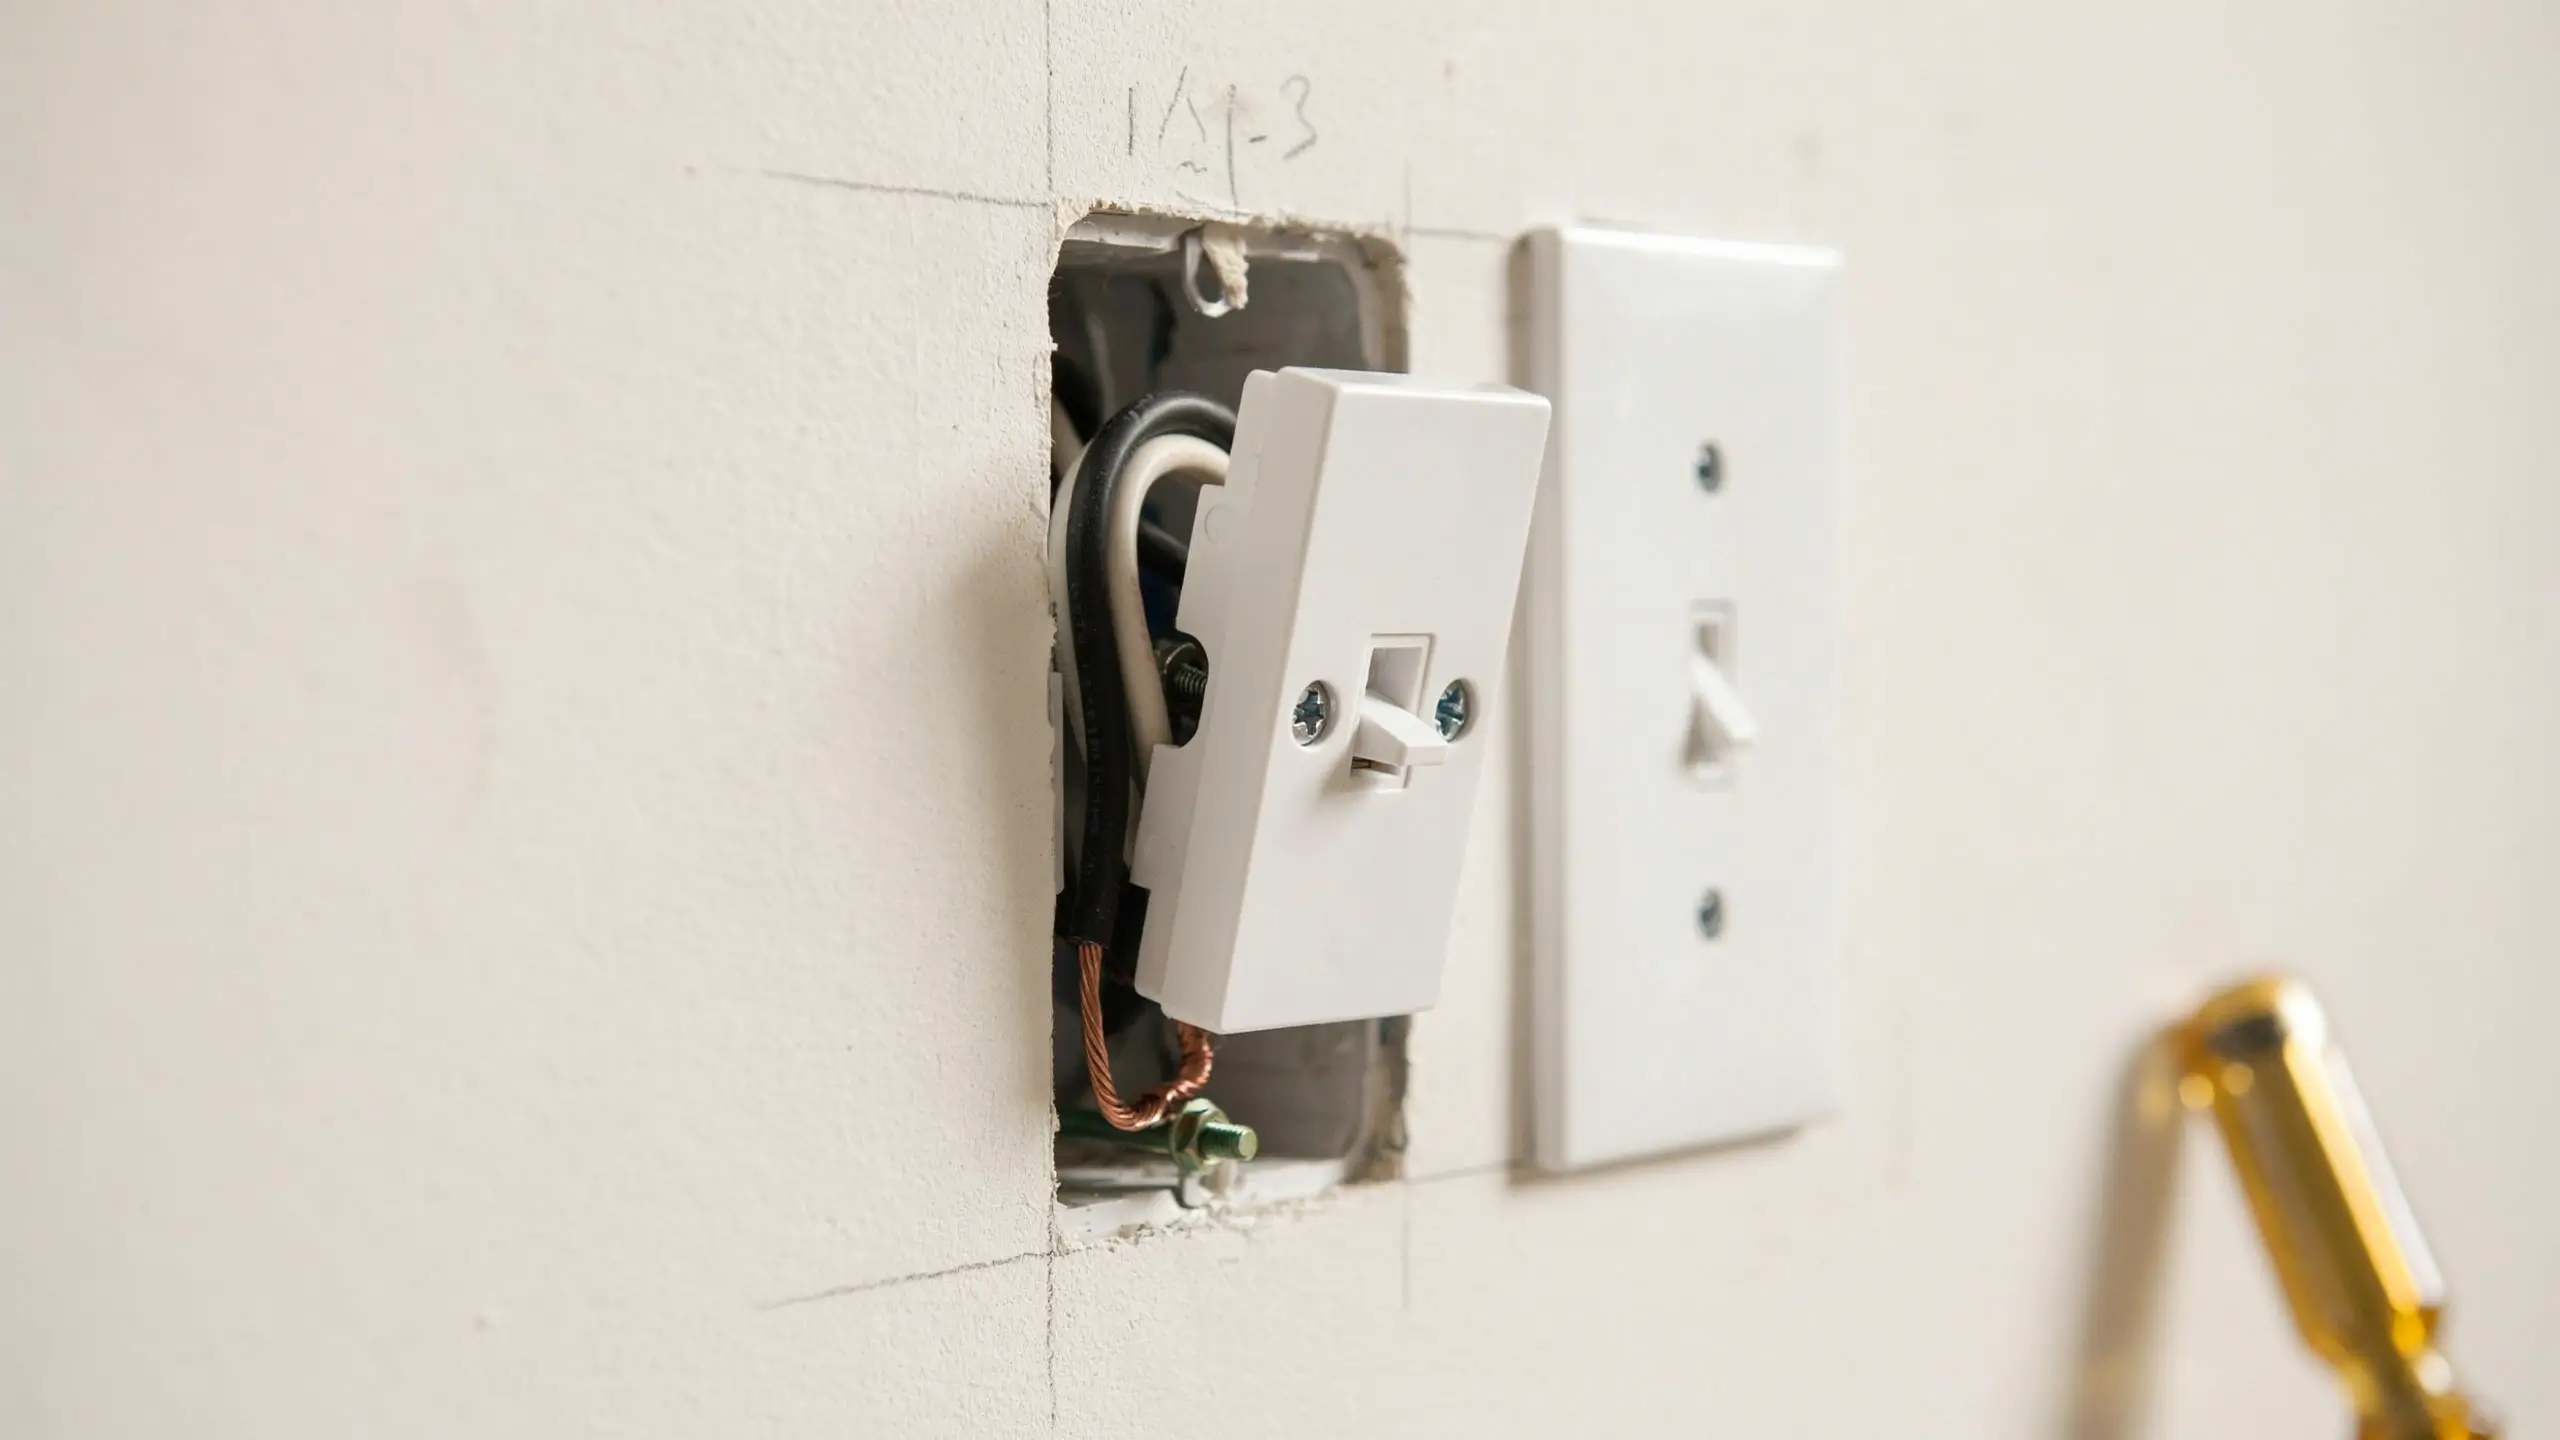
Fold the wires carefully back into the box as you push the switch in. Electrical boxes are small, so be patient and work the wires in gently rather than forcing the switch. Screw the switch to the box using the mounting screws.
Attach the switch plate cover. Step back. You’re almost done.
Step 9: Restore Power and Test
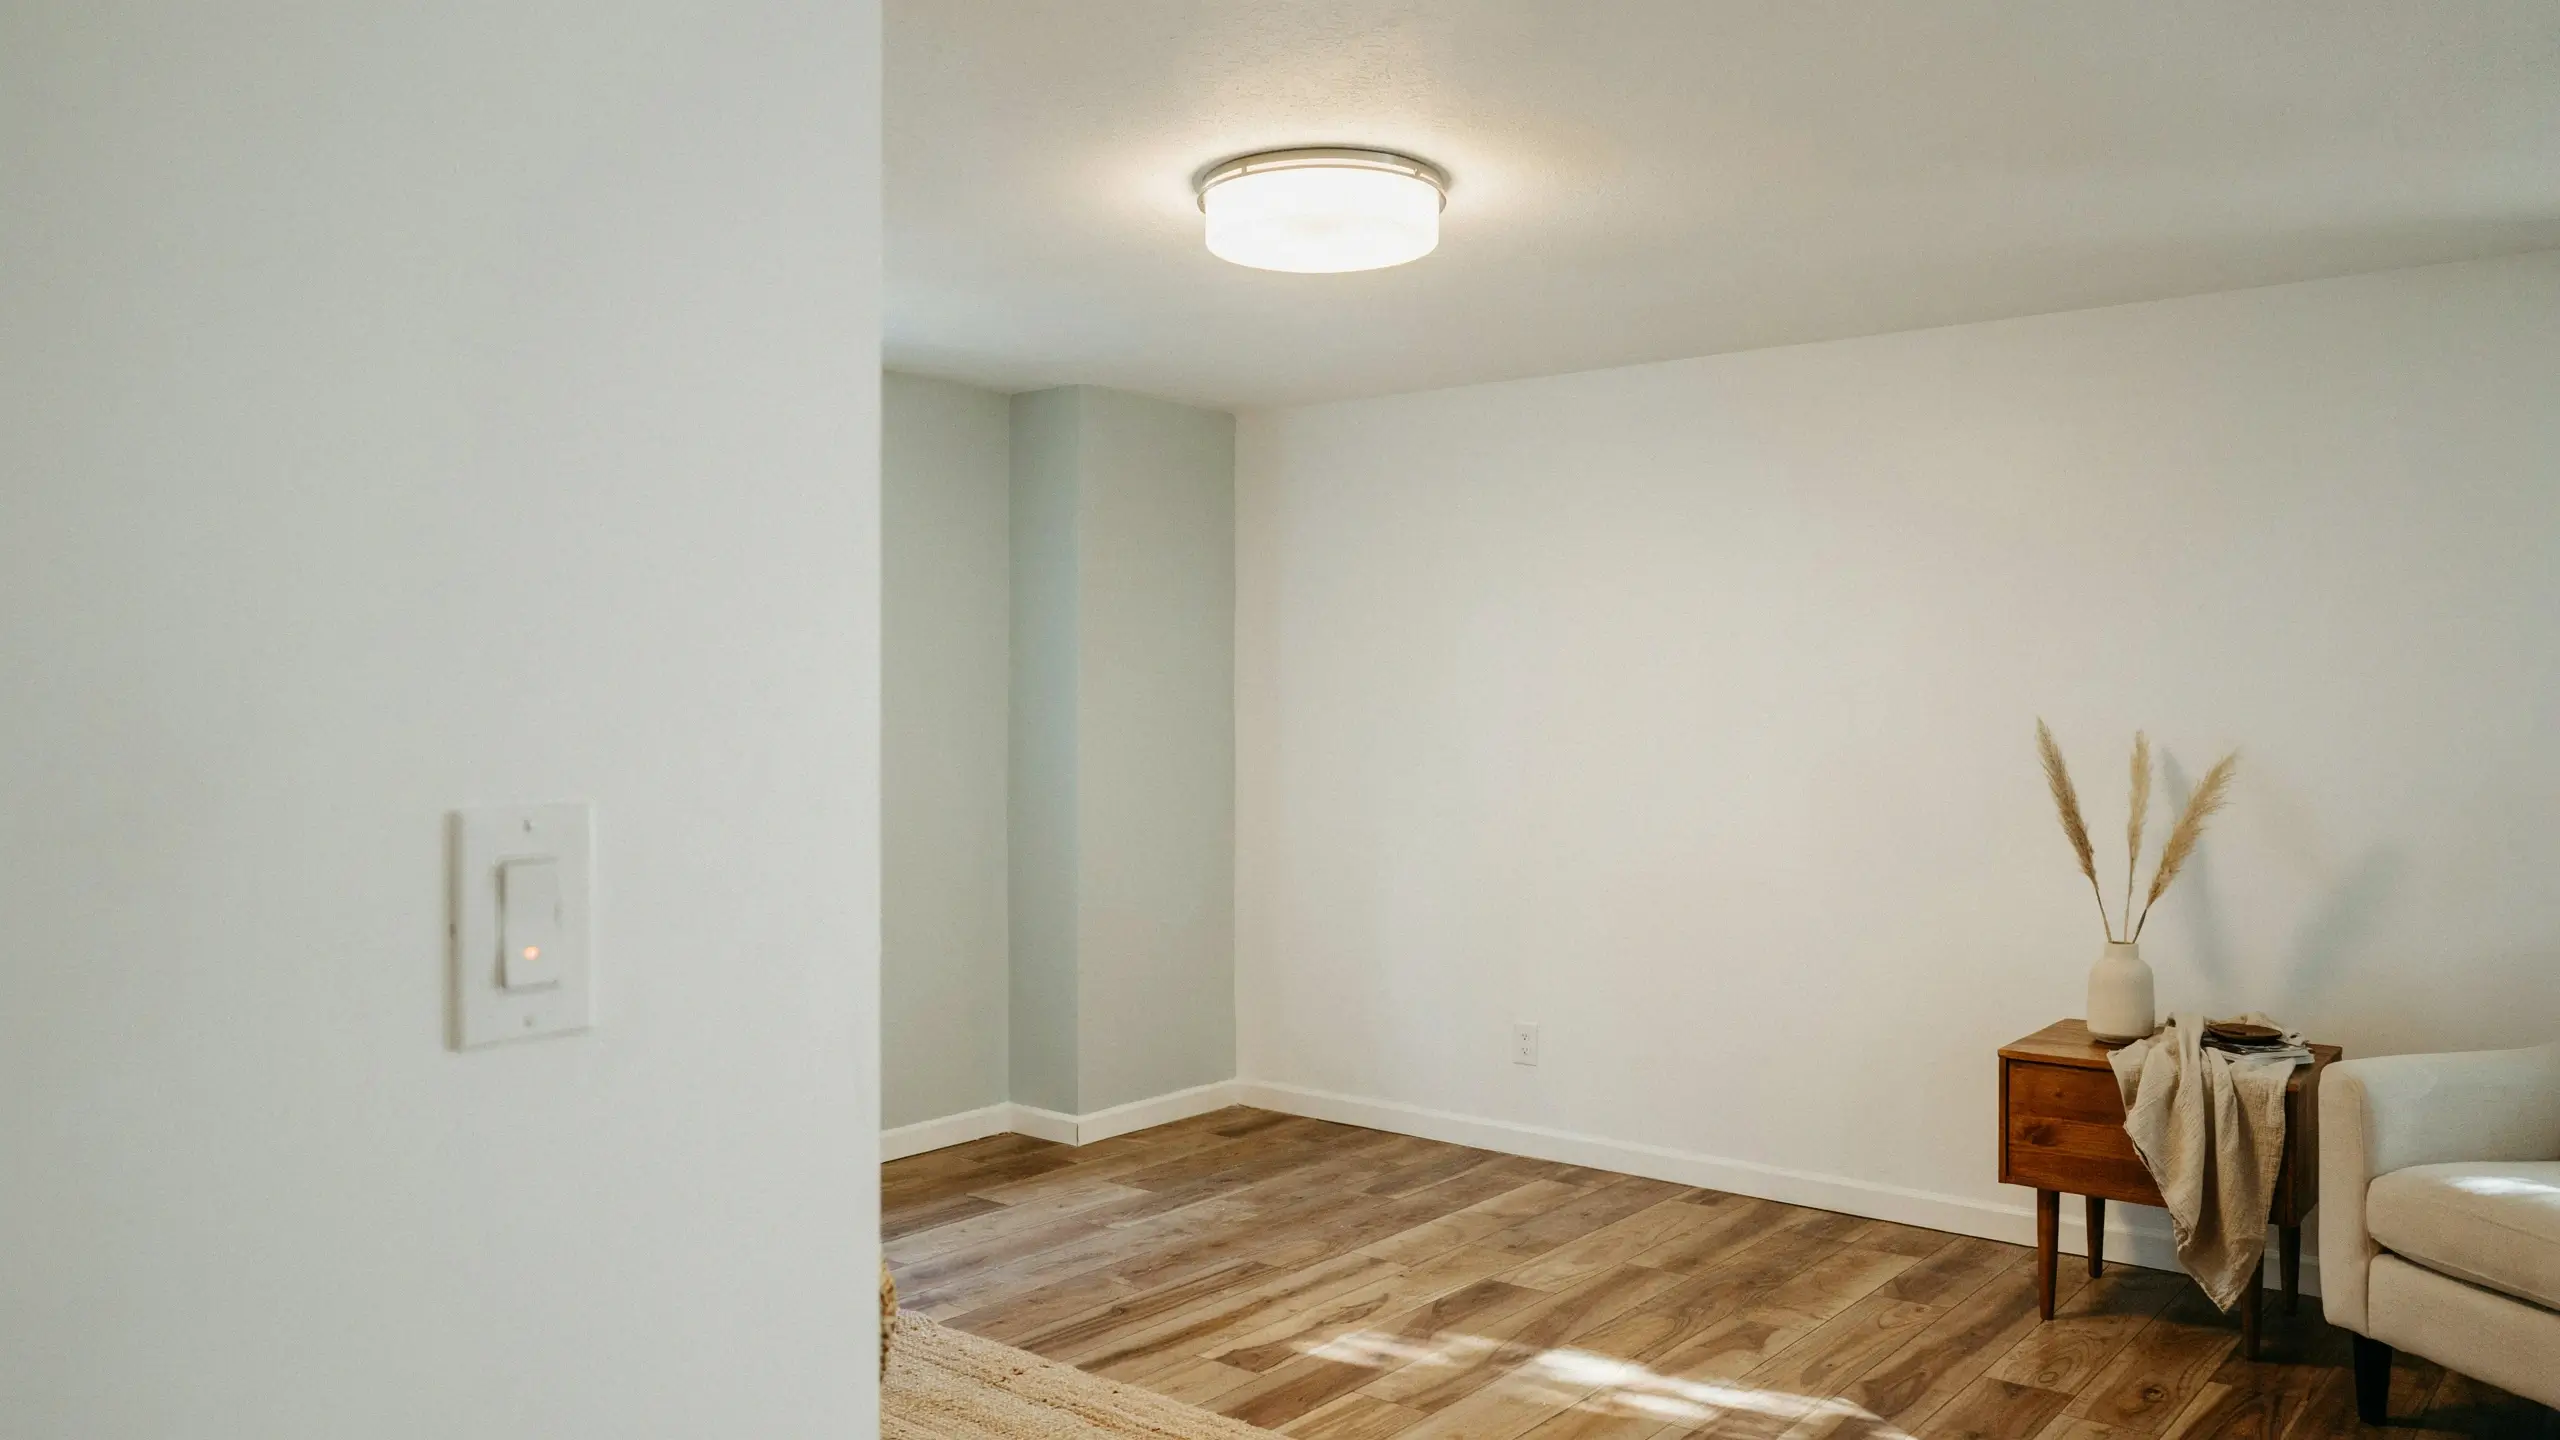
Go back to the breaker and flip it on. Test the switch. If it works, you’re done. If it doesn’t, go back to the breaker, turn it off again, and double-check your wire connections. A switch that doesn’t work after replacement is almost always a wire that wasn’t making solid contact with a screw.
Mistakes That Catch Beginners Off Guard
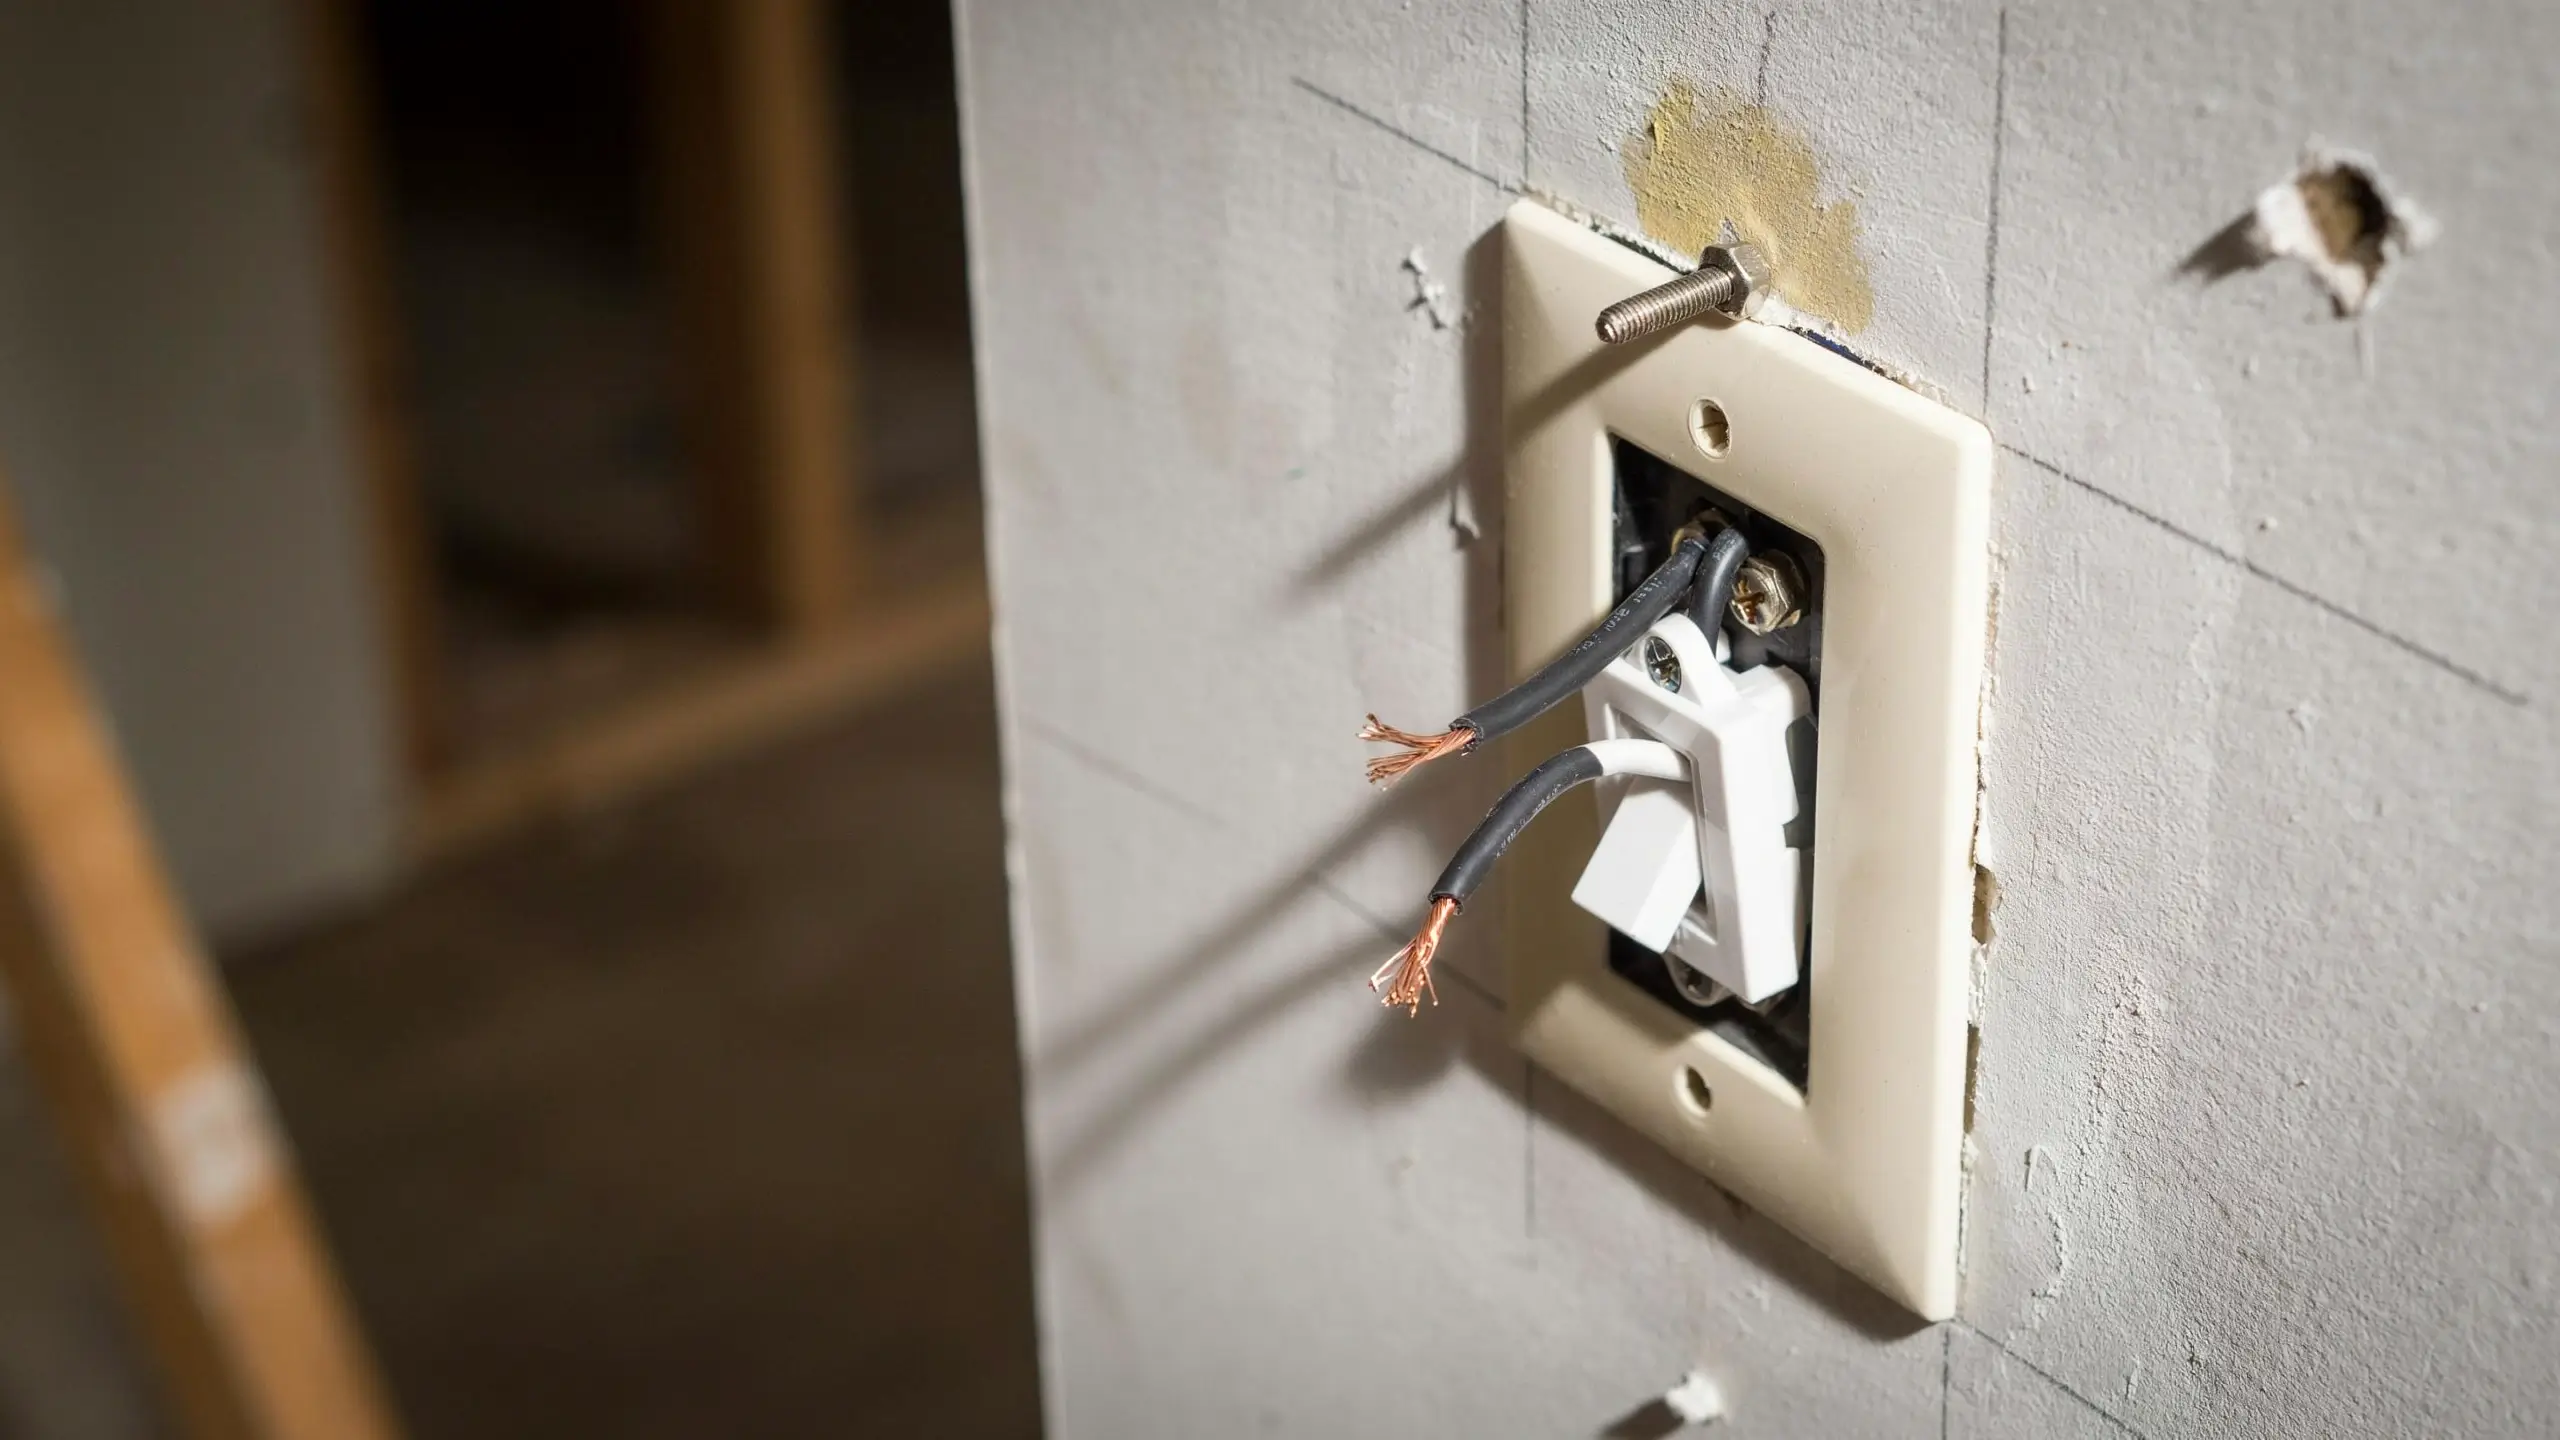
- Skipping the voltage tester. The single most dangerous shortcut. Always confirm power is off before touching wires, even if you’re certain you flipped the right breaker.
- Using back-stab connections on the new switch. Faster to install, but they loosen over time and can cause flickering or intermittent outages months later. Use the screw terminals.
- Mixing up the common wire on a 3-way switch. If you don’t photograph the old wiring first and you guess wrong on which wire goes to the common screw, the switch won’t work correctly from both locations.
- Buying the wrong amperage. Most household circuits use 15-amp switches with 14-gauge wire. If your home has 12-gauge wire (thicker), you’re on a 20-amp circuit and need a 20-amp switch. When in doubt, match the rating to what’s already there.
- Forgetting to wrap the white wire if it’s being used as a hot. If the white wire in your box connects to a brass screw (not a silver one), it should be wrapped with a small piece of black electrical tape at the switch end to signal that it’s carrying hot current.
Worth Considering: Smart Upgrade Options While You’re at It
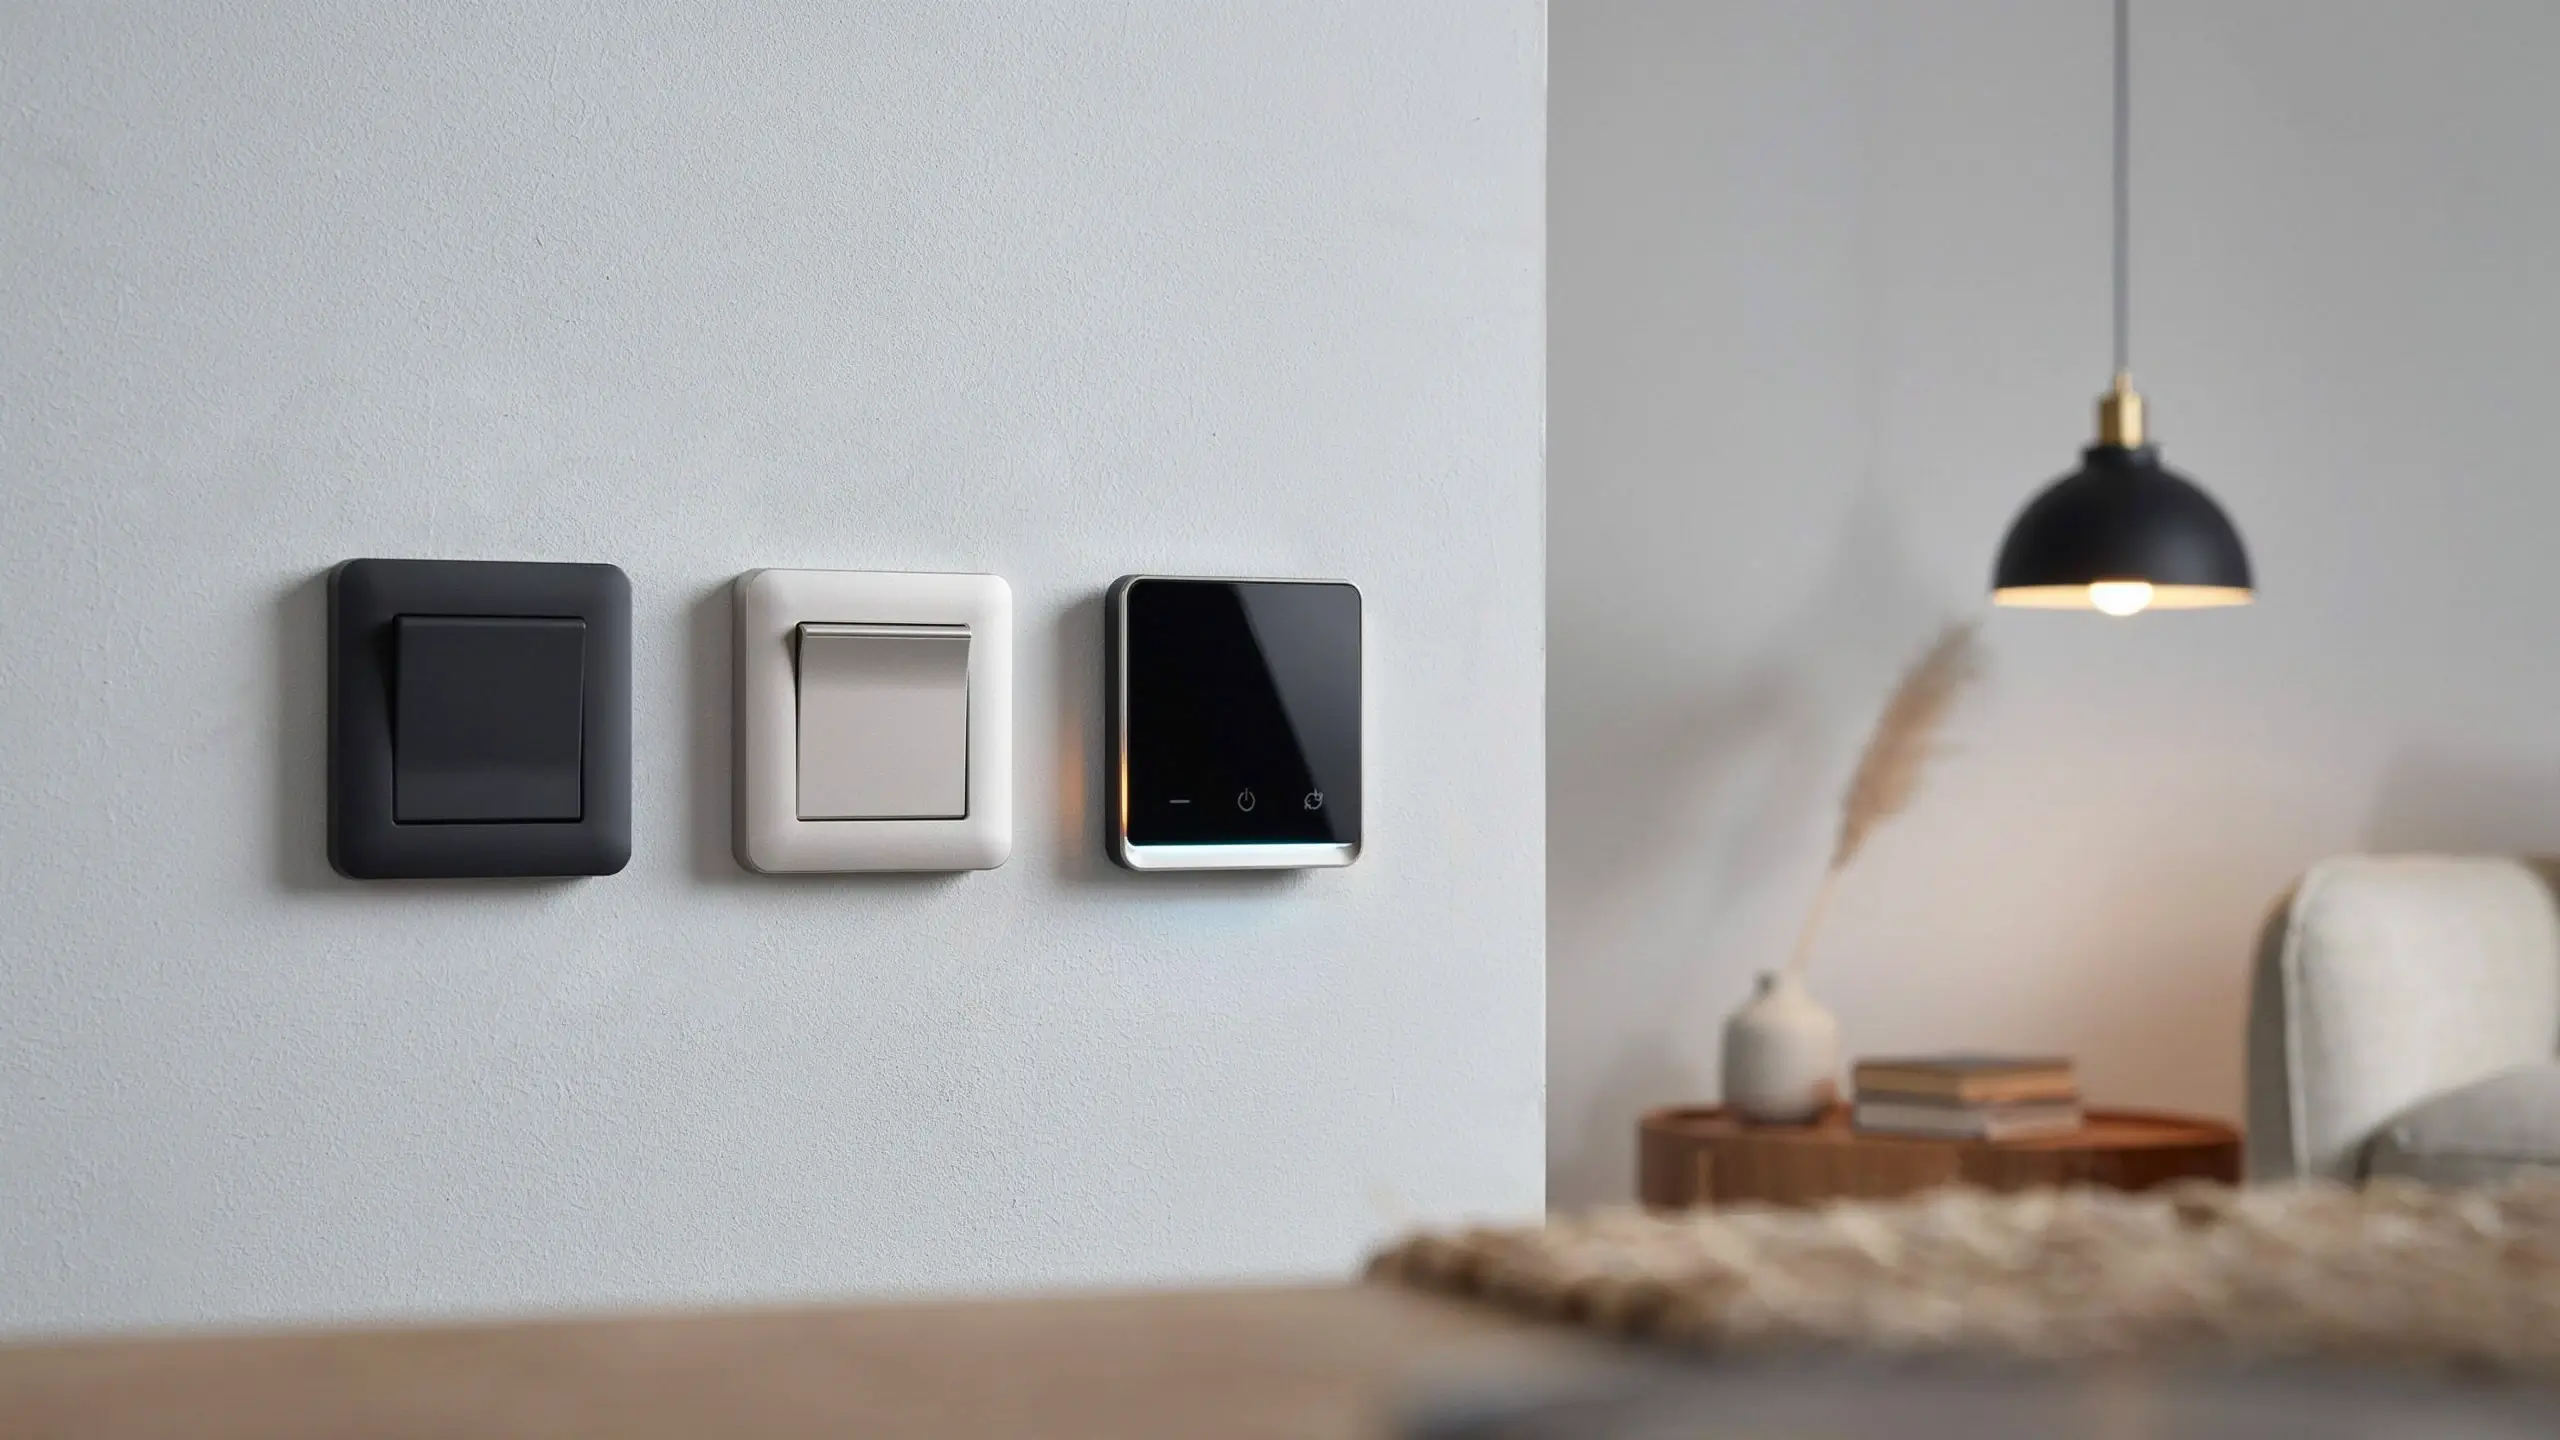
Since you’re already in there, it’s worth knowing what else you could swap in for the same effort.
Rocker or Decorator-Style Switch
If you have the standard toggle flip switch (the kind with a small lever), swapping it for a rocker or decorator-style switch is a purely visual upgrade. Same wiring, same installation. Rocker switches have a clean flat paddle face and look significantly more modern. Brands like Legrand and Leviton make decorator switches in a wide range of finishes, including brushed nickel, matte black, and white, and the screwless face plates that go with them look genuinely polished on any wall.
Dimmer Switch
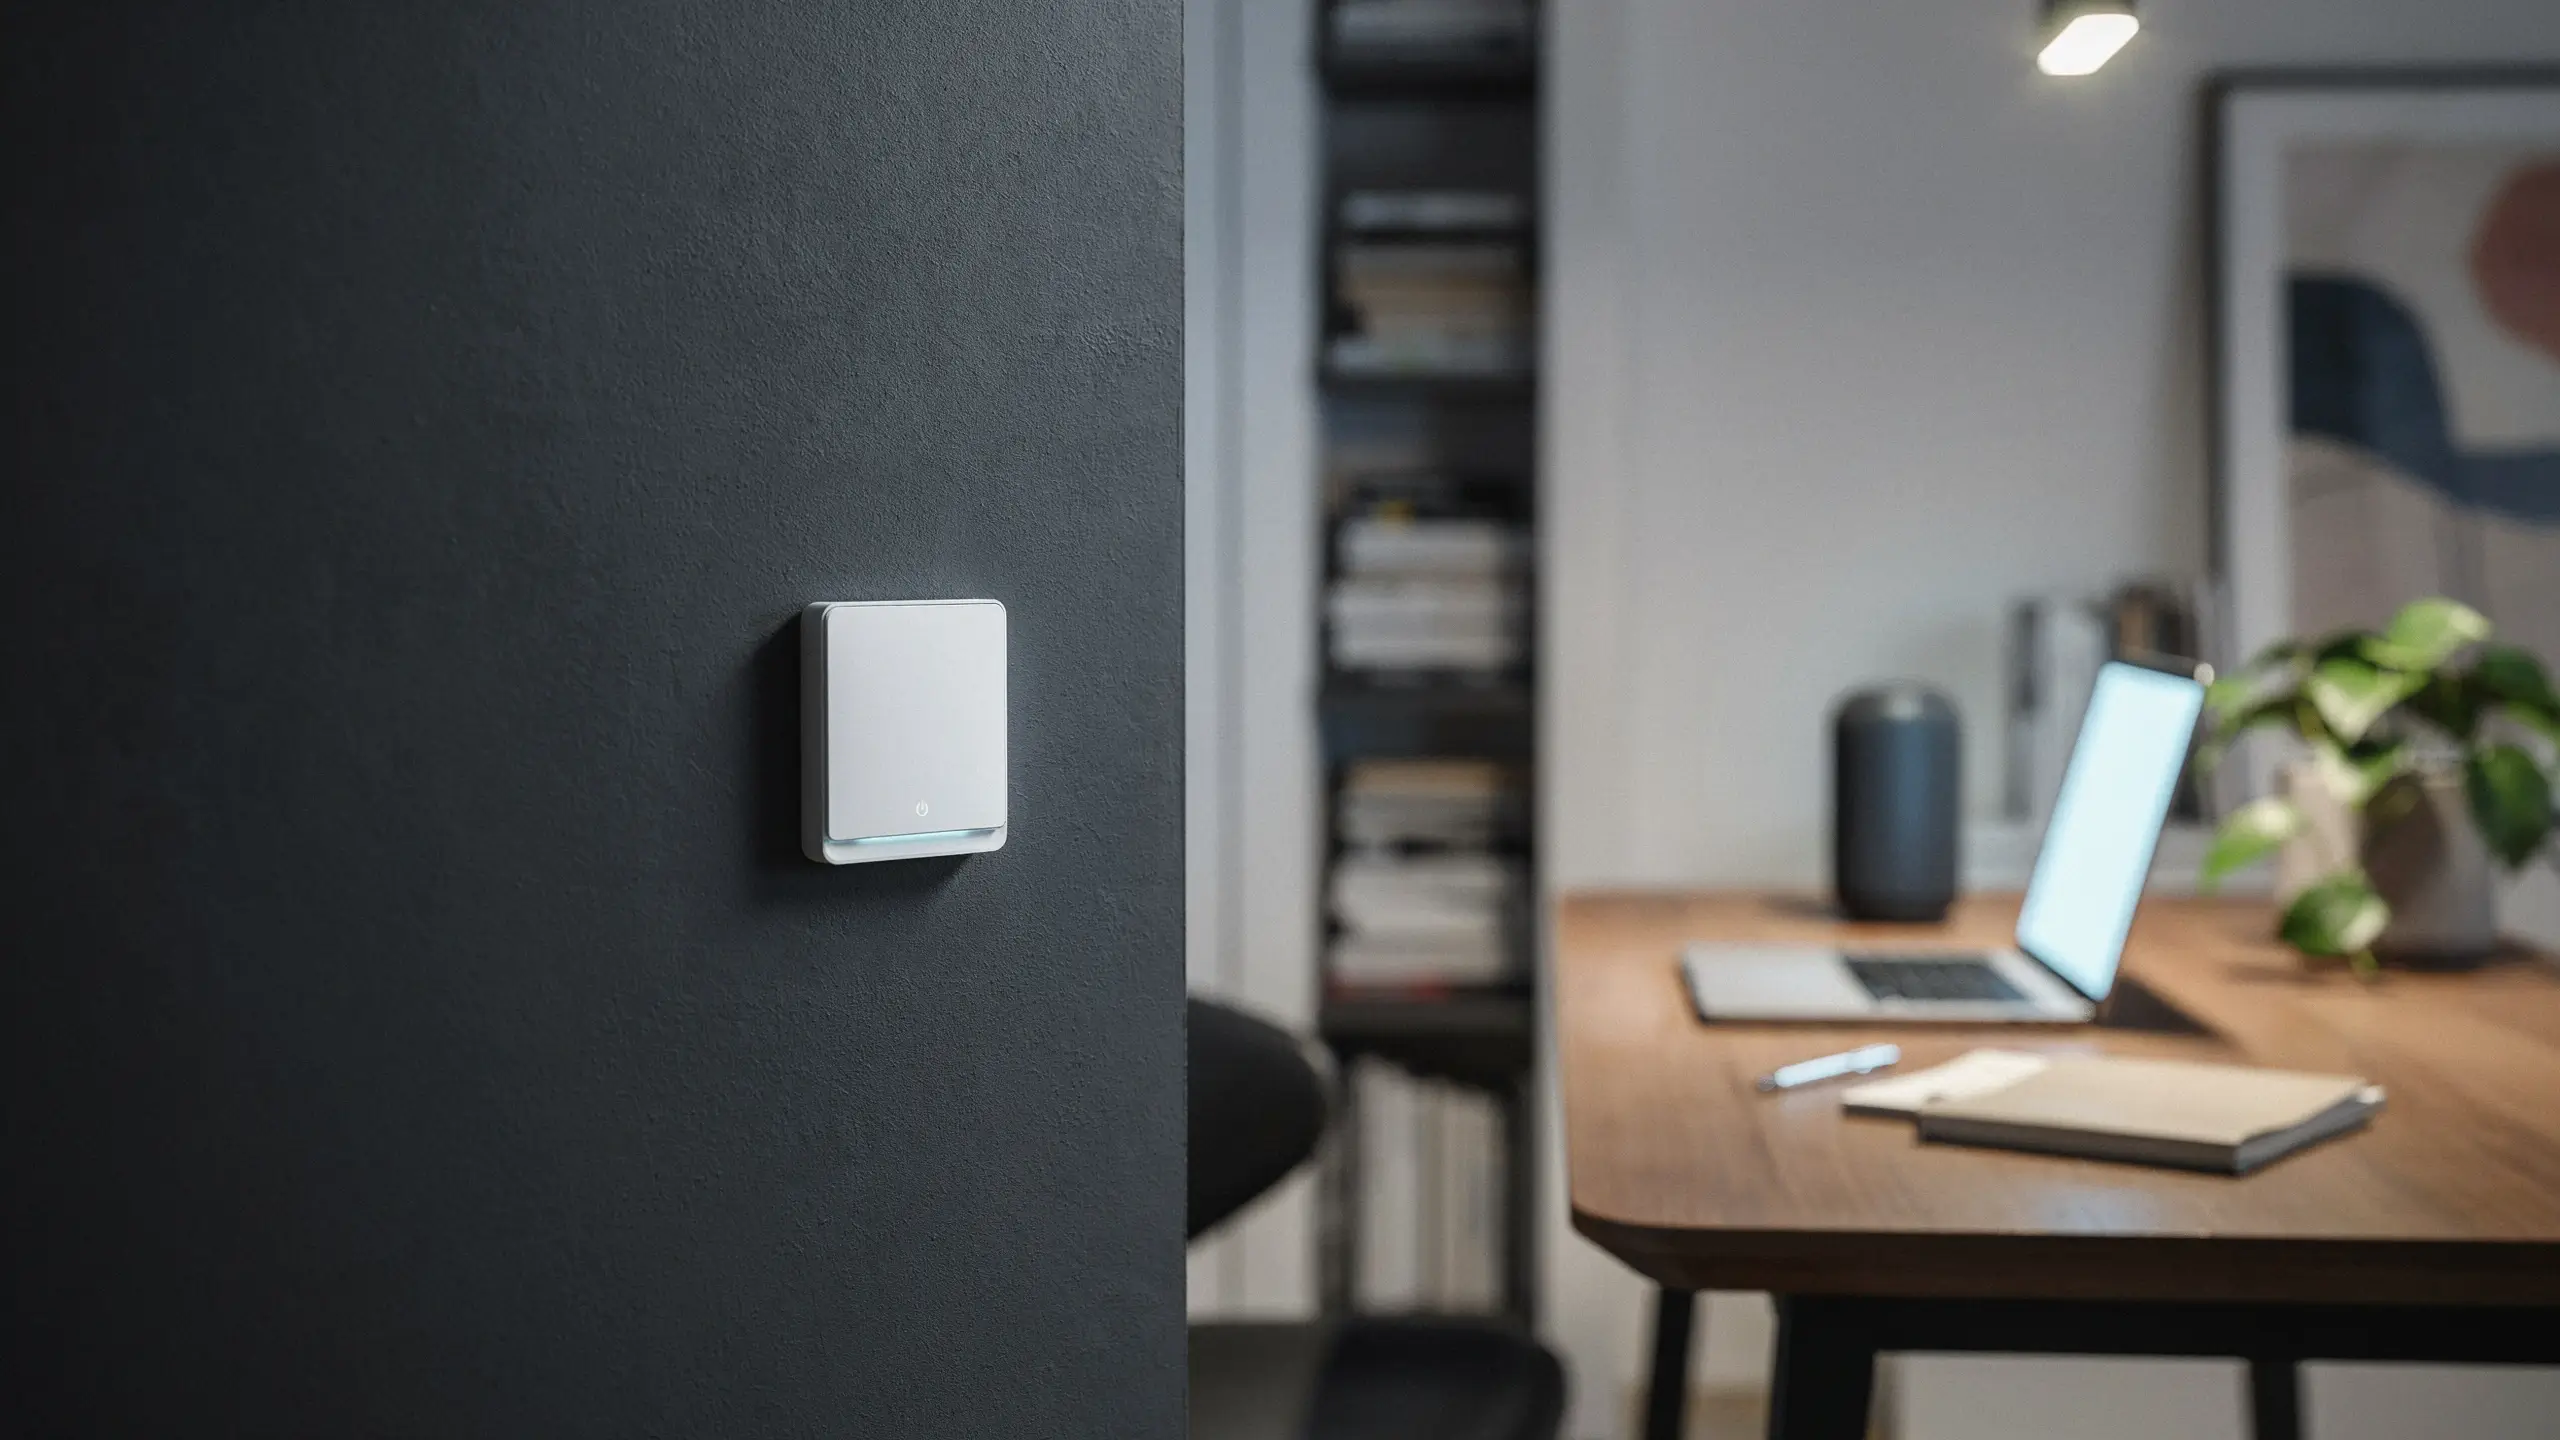
A dimmer switch replaces a standard single-pole switch with no additional wiring in most cases. The result is a light you can adjust from full brightness down to a soft ambient glow.
A few things to confirm before buying a dimmer:
- Make sure your bulbs are dimmable. Standard LED and incandescent bulbs work fine, but not all LEDs are compatible with all dimmers. Check the dimmer’s compatibility list on the packaging.
- Total wattage of all bulbs on the circuit can’t exceed the dimmer’s rating. Most residential dimmers handle 150–600 watts.
- If you’re replacing a 3-way toggle with a dimmer, you’ll need a dimmer specifically rated for 3-way use, which usually comes as a kit with a matching remote or second switch.
Lutron’s Diva and Caseta lines are widely considered the most reliable options and work without a neutral wire, which matters in older homes.
Smart Switch
Smart switches let you control your lights with your phone, set schedules, and connect to voice assistants like Alexa or Google Home. Most smart switches install exactly like a standard replacement. The main thing to check first: does your switch box have a neutral wire?
Open the box and look for a white wire bundled with other wires that doesn’t connect directly to the switch. That’s your neutral, and many smart switches require it. If your box only has two wires and a ground with no neutral, look for models specifically labeled “no neutral required,” like Lutron Caseta.
The TP-Link Kasa HS220 is a solid budget-friendly option. For whole-home integration or older homes without neutral wires, Lutron Caseta is the go-to recommendation from most electricians and home tech reviewers.
When to Call an Electrician Instead
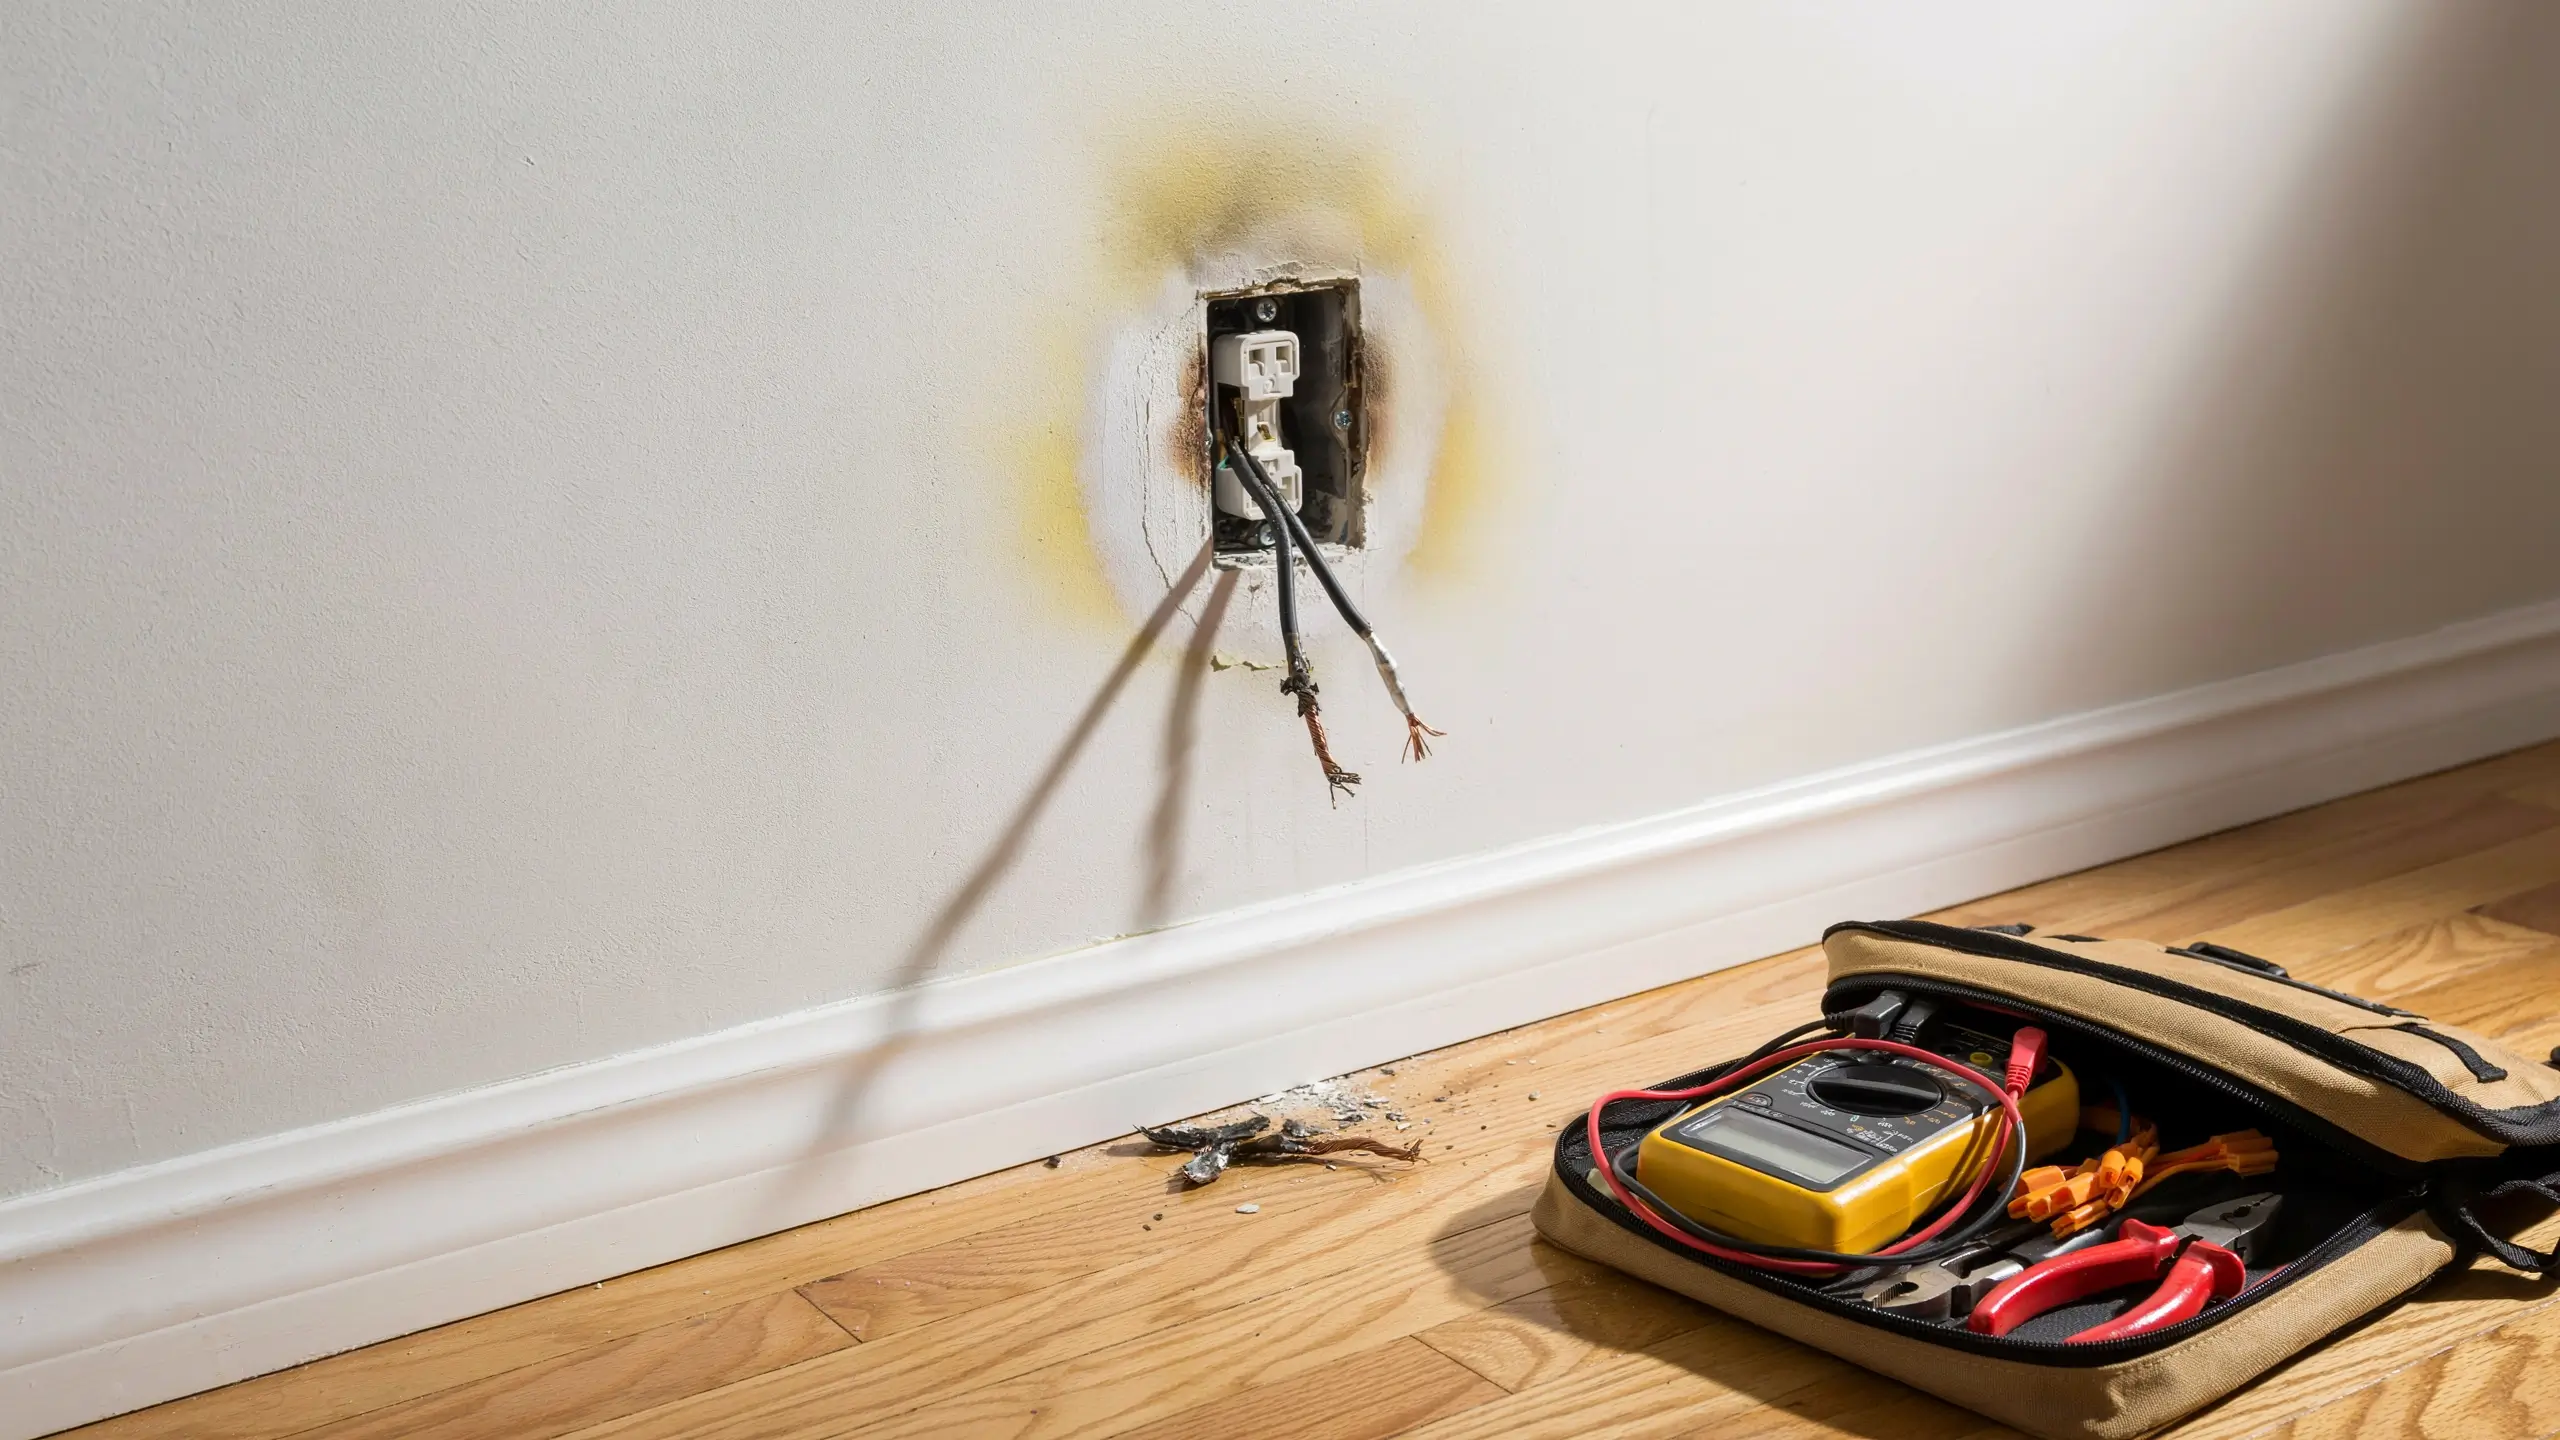
This project is genuinely beginner-friendly, but there are a few situations where stopping and calling a pro is the right call.
- You open the box and find more than four wires, and nothing about the configuration makes sense.
- The wires inside the box are aluminum (silvery-colored, not copper-toned).
- You see melted wire insulation, burn marks inside the box, or evidence of overheating.
- The breaker trips again immediately after you restore power.
- You have knob-and-tube wiring (very old homes only, looks like ceramic knobs holding individual wires along joists).
Calling an electrician for any of these situations isn’t giving up. It’s recognizing that these are genuinely more complicated scenarios that go beyond a basic switch swap.
The Finished Result: What to Expect
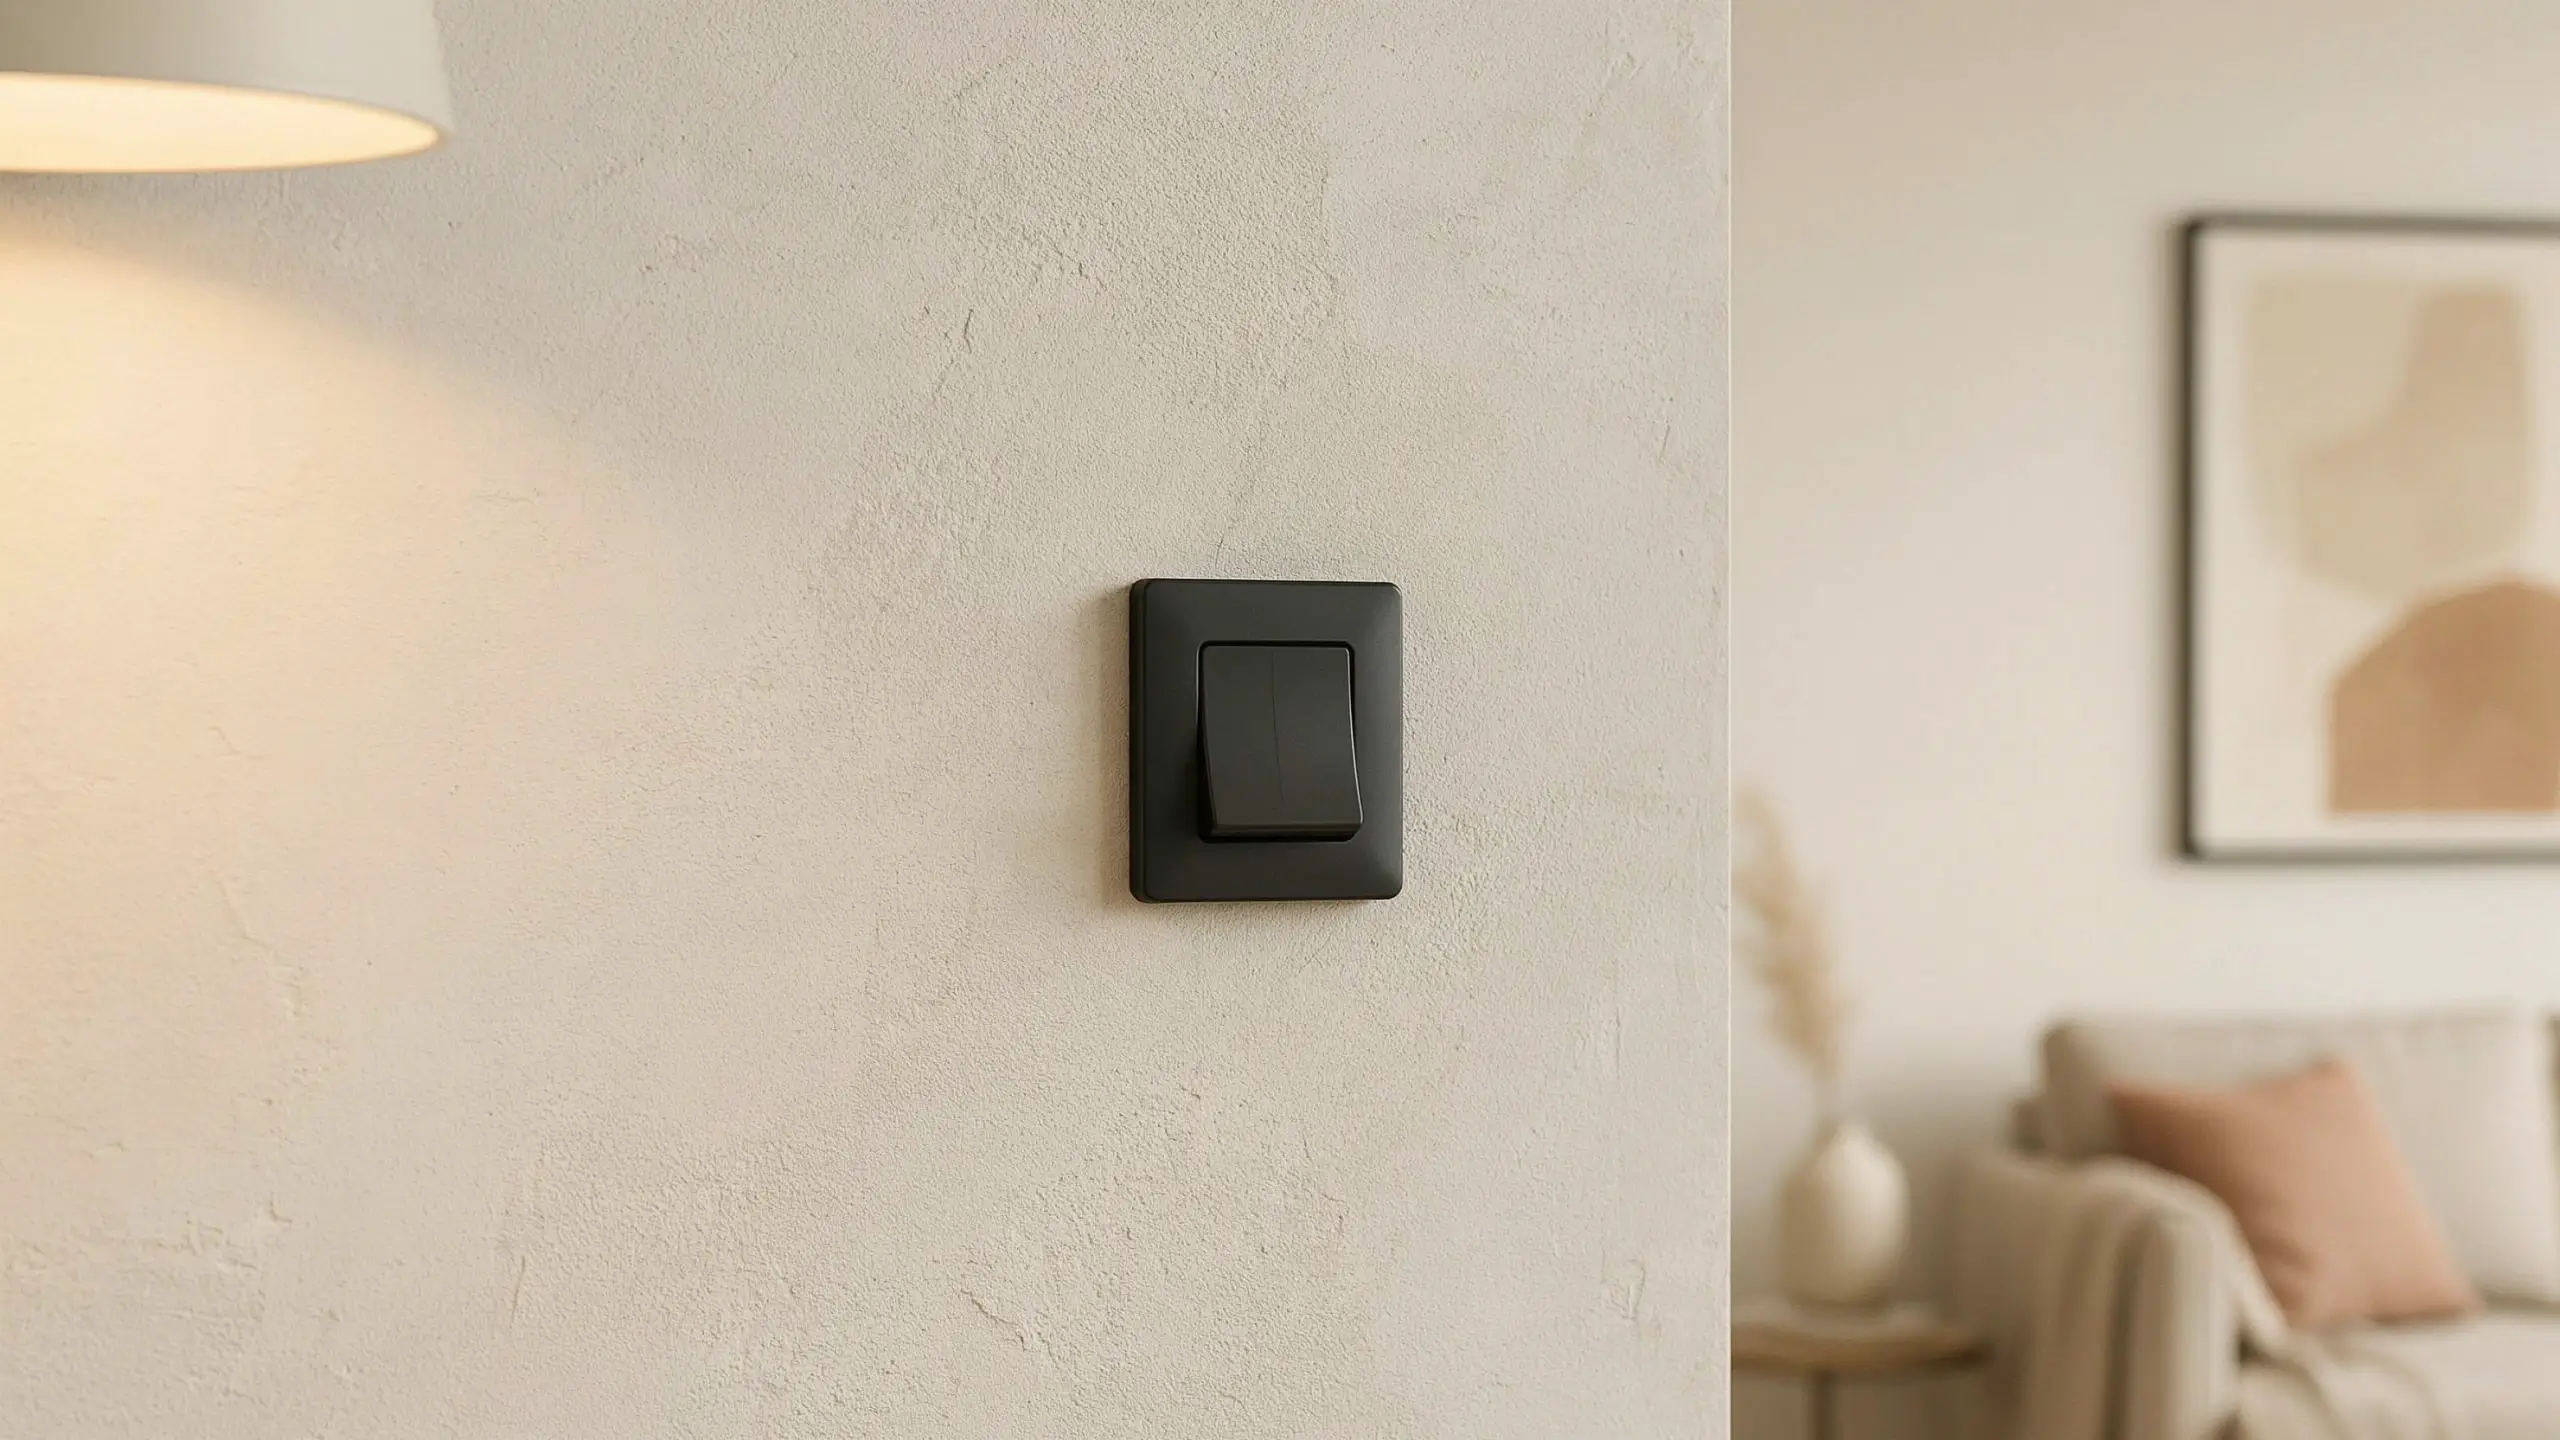
A new switch should click firmly with no wobble, respond consistently every time, and feel solid against the wall. If you went with a rocker-style or designer plate, the visual difference is often surprisingly satisfying. It’s one of those small home improvements that makes an outsized impression in a room, especially in spaces where you see the switch every day.
Final Thoughts
Replacing a light switch is one of those home tasks that feels intimidating right up until you do it the first time. Then it becomes just another thing you know how to handle. The whole process comes dect them the same way on the new switch.
If you’ve been living with a switch that doesn’t work quite right, this weekend is a good time to fix it. And if you’re going to the hardware store anyway, consider whether a dimmer or a smart switch might be worth the small extra investment. It’s the same amount of work, and the result is a better experience every single time you walk into that room.
Have you replaced a light switch before, or is this your first time attempting it? Drop a comment below and share what type of switch you’re working with. If you’re upgrading to something smarter or more stylish, I’d love to hear what you chose.




No Comment! Be the first one.