




How I Made a Garden Hose Holder in One Afternoon (For Under $25)
For almost two years, my garden hose lived in a sad, tangled heap next to the spigot on the side of my house. Every time I mowed, I had to drag it out of the way. Every time I watered my flower beds,...

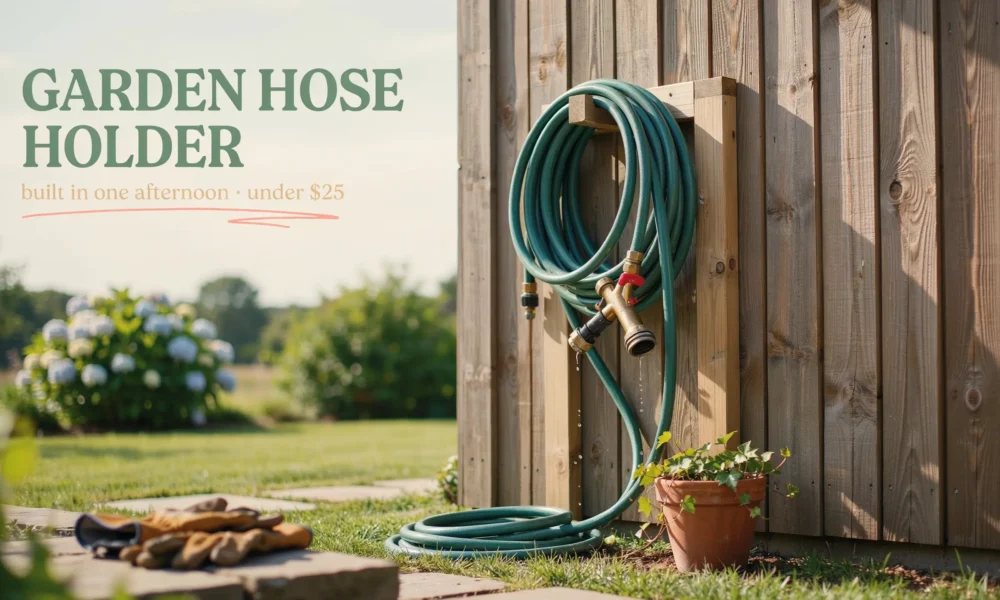
For almost two years, my garden hose lived in a sad, tangled heap next to the spigot on the side of my house. Every time I mowed, I had to drag it out of the way. Every time I watered my flower beds, I fought with kinks that had been sitting in the sun all week. I finally got tired of it and decided to build my own holder instead of buying one.
This is exactly how I made my garden hose holder, what it cost, what I got wrong along the way, and a few things I would do differently if I built another one tomorrow.
Why I Finally Made My Own Garden Hose Holder
I looked at store-bought hose holders first. The plain plastic ones felt flimsy and cheap for $25 to $35. The decorative metal and resin versions I actually liked were $80 to $150, which felt ridiculous for something that just needs to hold a coil of rubber tubing.
Once I saw how simple the DIY versions online looked, wood post, hook, done, I figured I could build something sturdier and better looking for a fraction of the price. I was right, but it took a little trial and error to get it right.
What You Need to Build a Garden Hose Holder
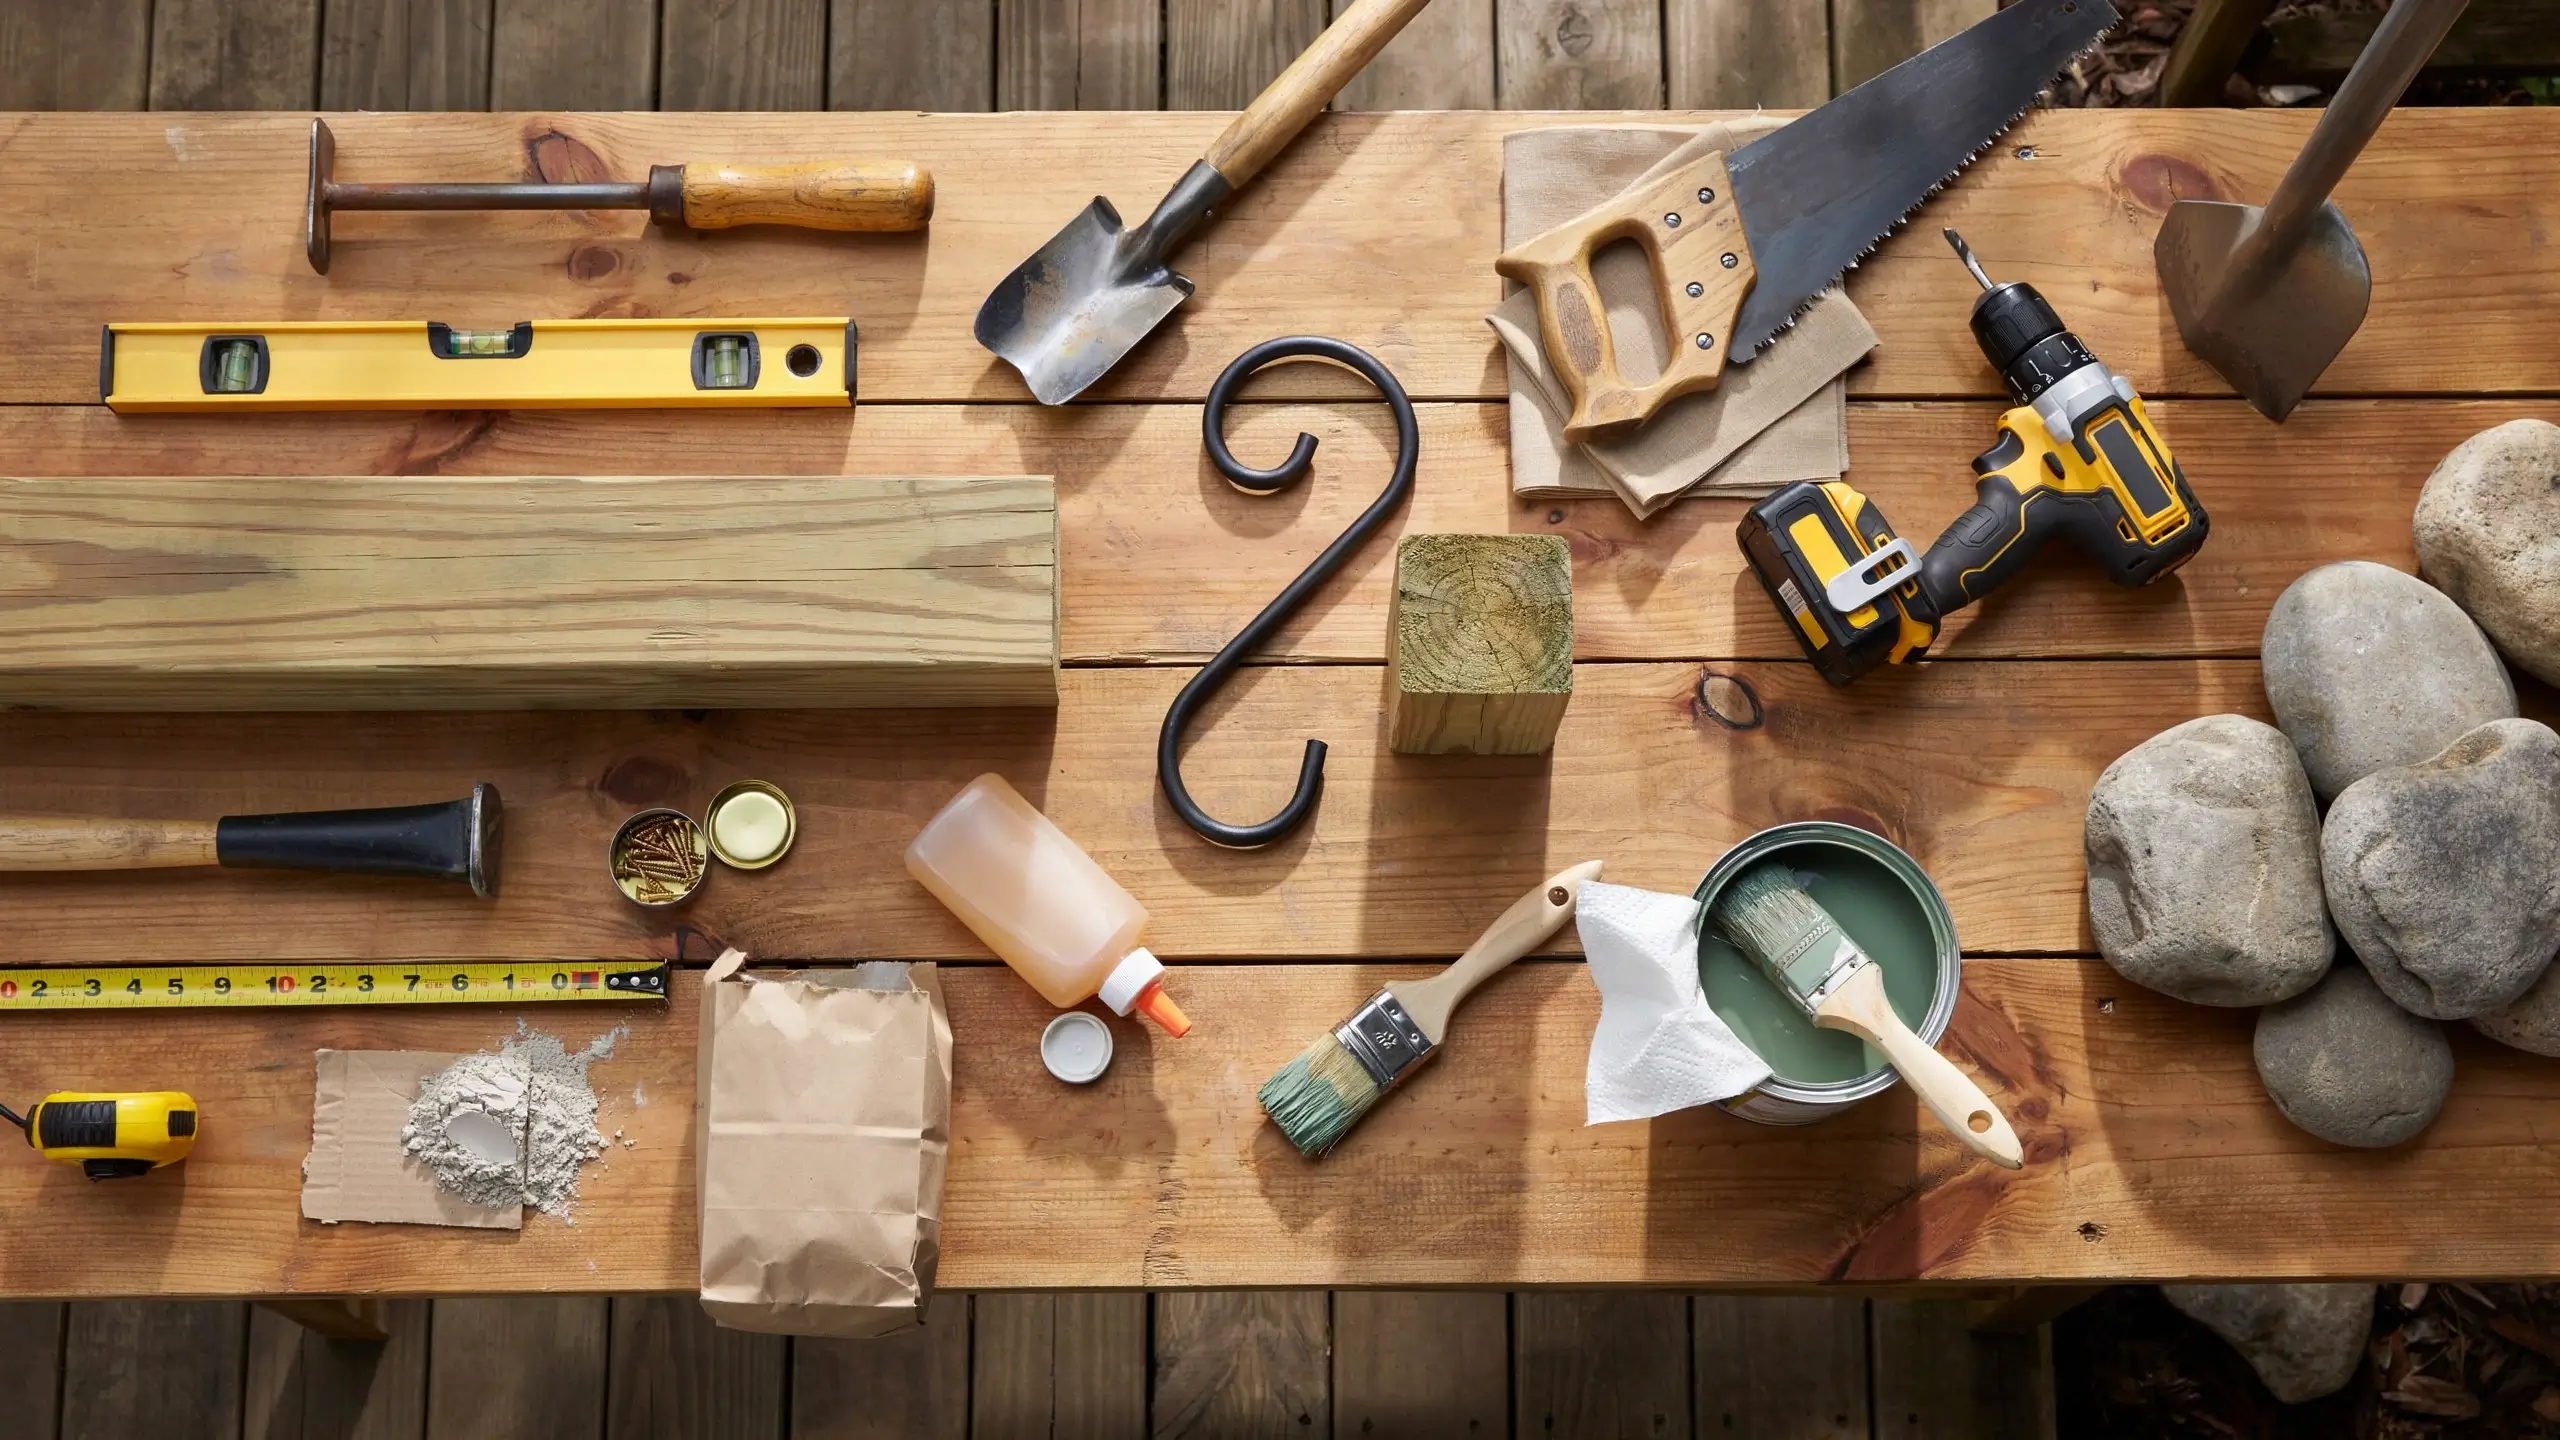
You do not need a workshop full of tools for this. Here is exactly what I used.
Materials
- One 4×4 pressure-treated or cedar post, cut to about 40 to 48 inches
- One wall-mount hose hanger or hook (metal ones hold up better than plastic)
- A post cap or decorative finial (optional, but it finishes the look)
- Exterior wood screws, 1 1/2 to 2 inches
- Wood glue
- Exterior paint or stain plus primer
- Quick-setting concrete mix or a fence post anchor spike
- A handful of small landscaping rocks
Tools
- Drill or impact driver
- Miter saw or hand saw (a hardware store will often cut the post for you for free)
- Shovel or post hole digger
- Level
- Sandpaper
- Paintbrush or spray paint
Total cost for me landed right around $22, and most of that was the post and the hanger.
How I Made My Garden Hose Holder, Step by Step
1. I picked the spot first, before buying anything
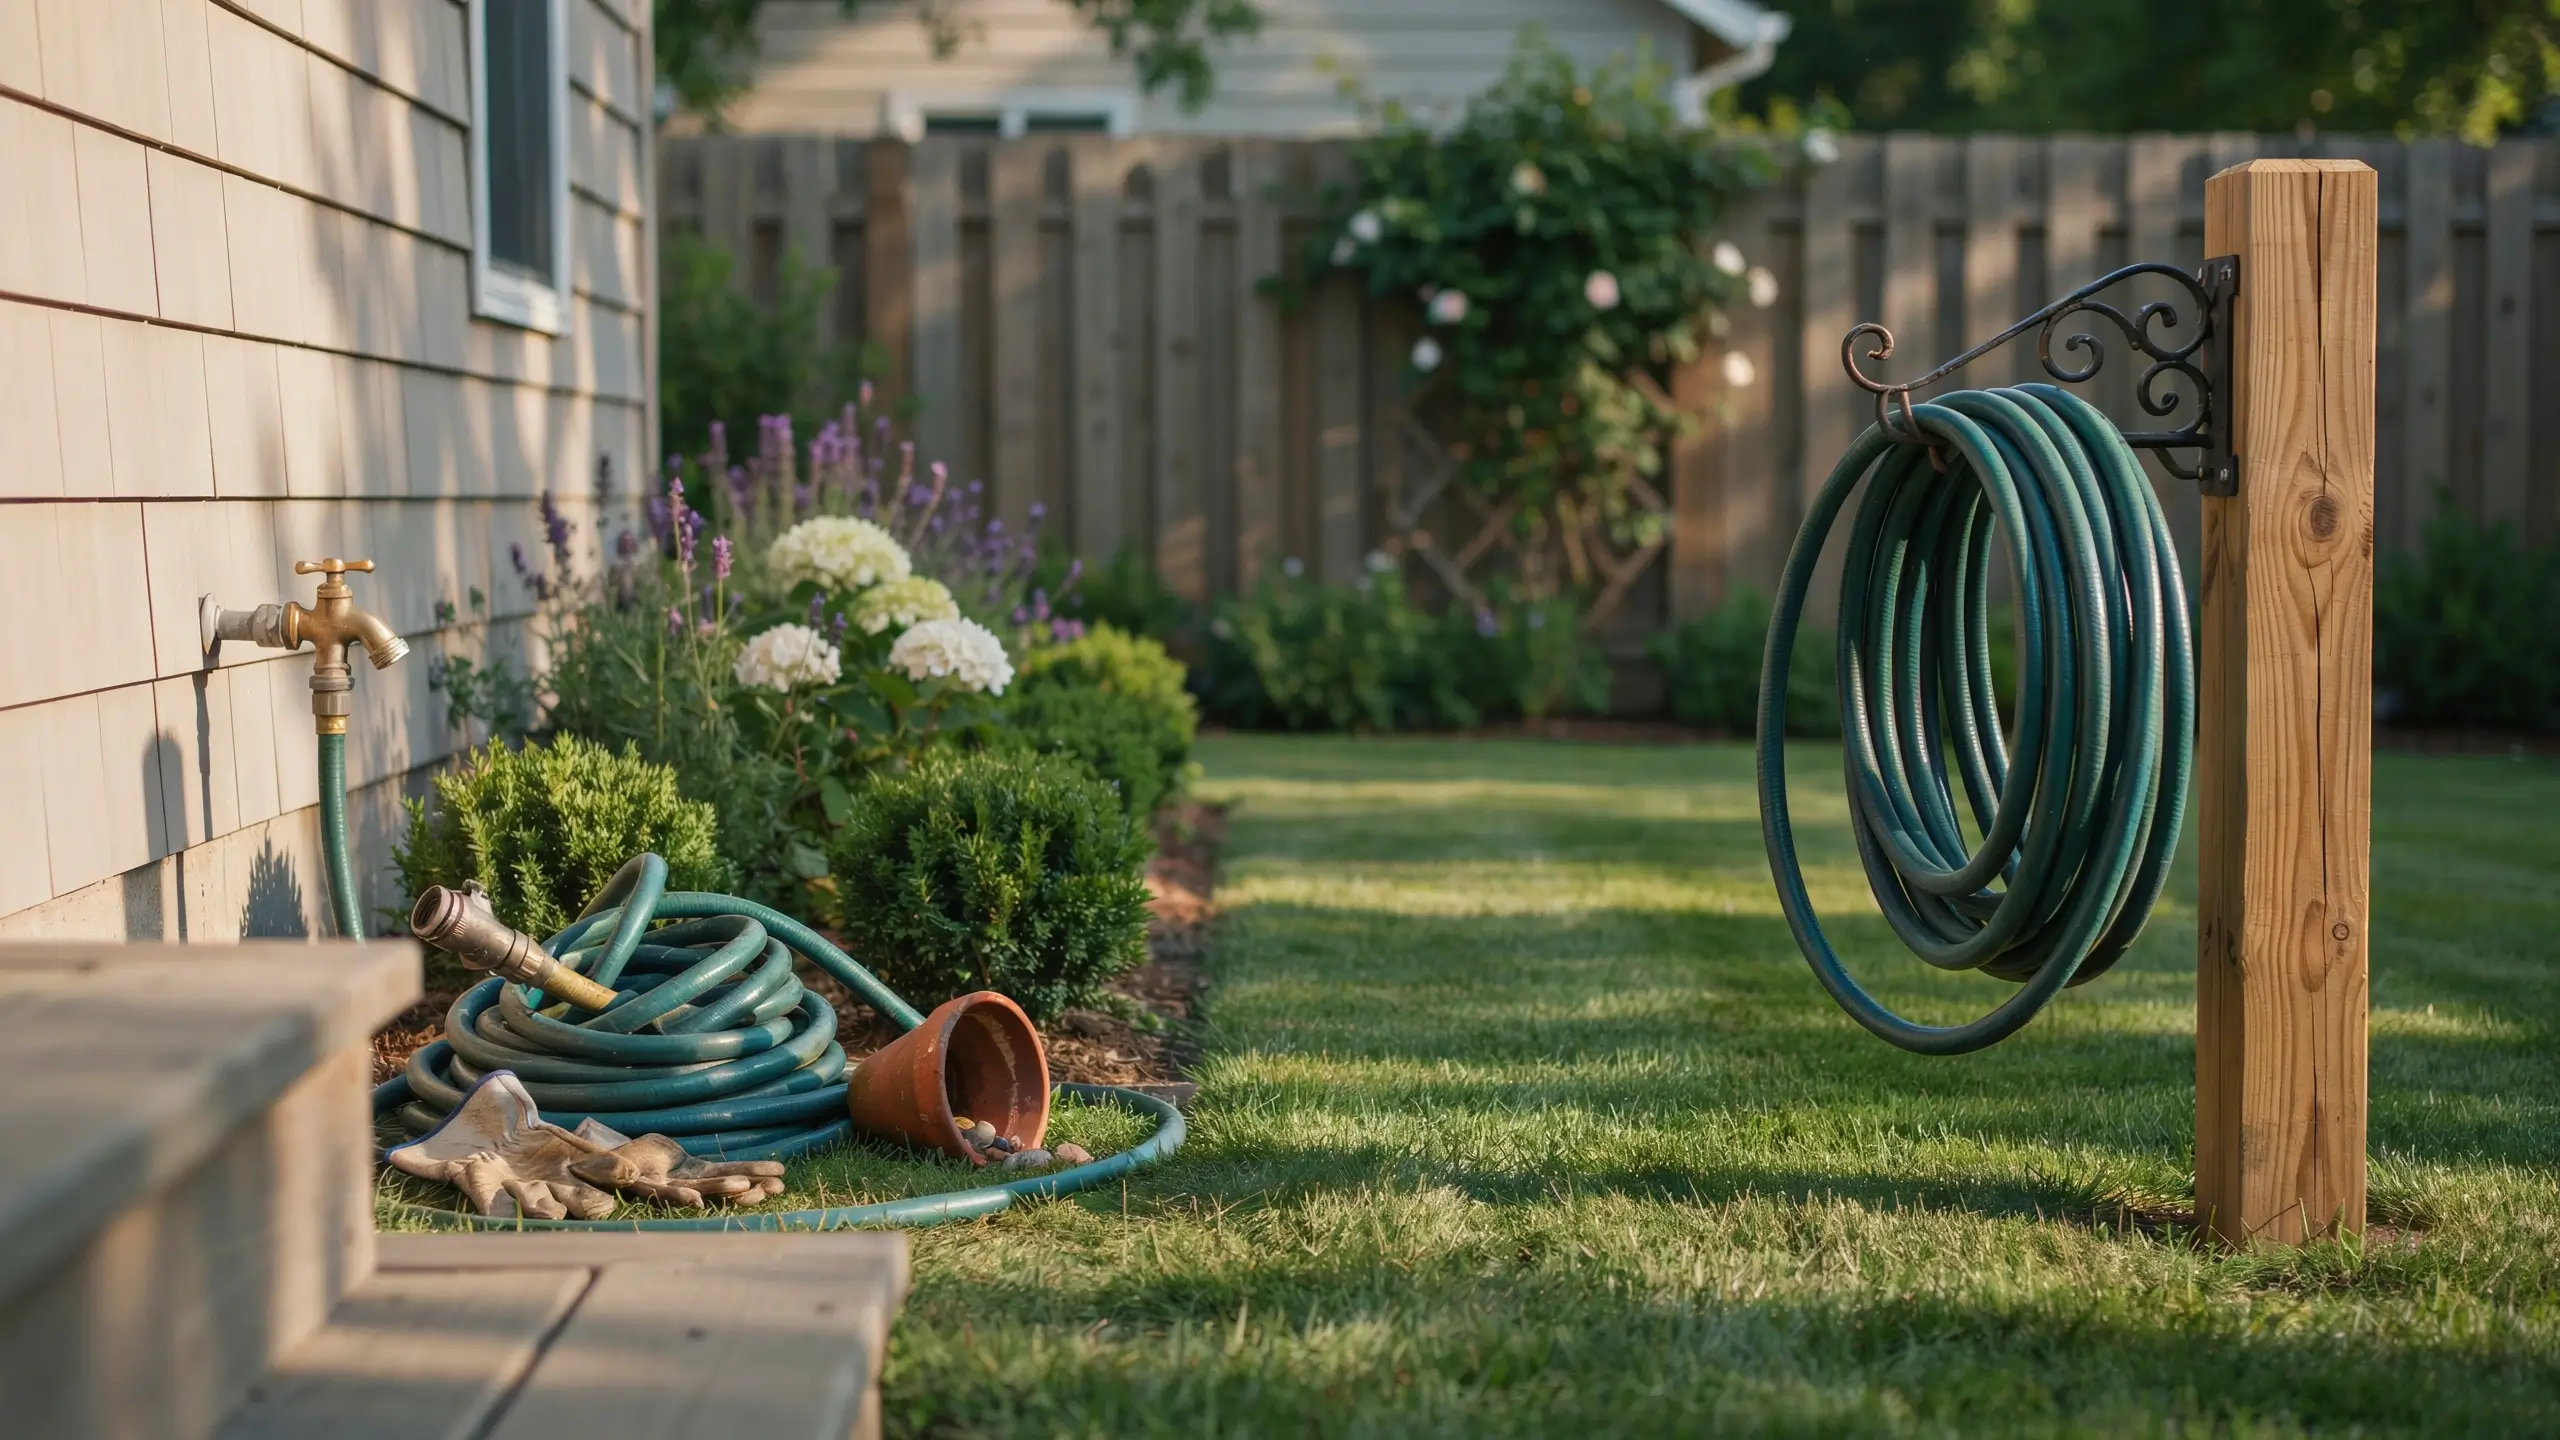
I wanted mine close enough to the spigot that the hose wouldn’t have to stretch or kink to reach it, but not so close that it blocked the faucet handle. I also checked for sprinkler lines and buried cables before I committed to digging. If you’re not sure what’s under your yard, call 811 before you dig. It’s free and it takes the guesswork out of it.
2. I cut the post and sanded the edges
I used a 4×4 cut to 42 inches, which left about 30 inches above ground once it was buried. If your hose is heavier or longer, go a little taller so the coil has room to hang without dragging on the ground. I sanded the top edges and corners so there were no sharp splinters waiting to catch a sleeve or a kid’s hand.
3. I attached the hose hanger near the top
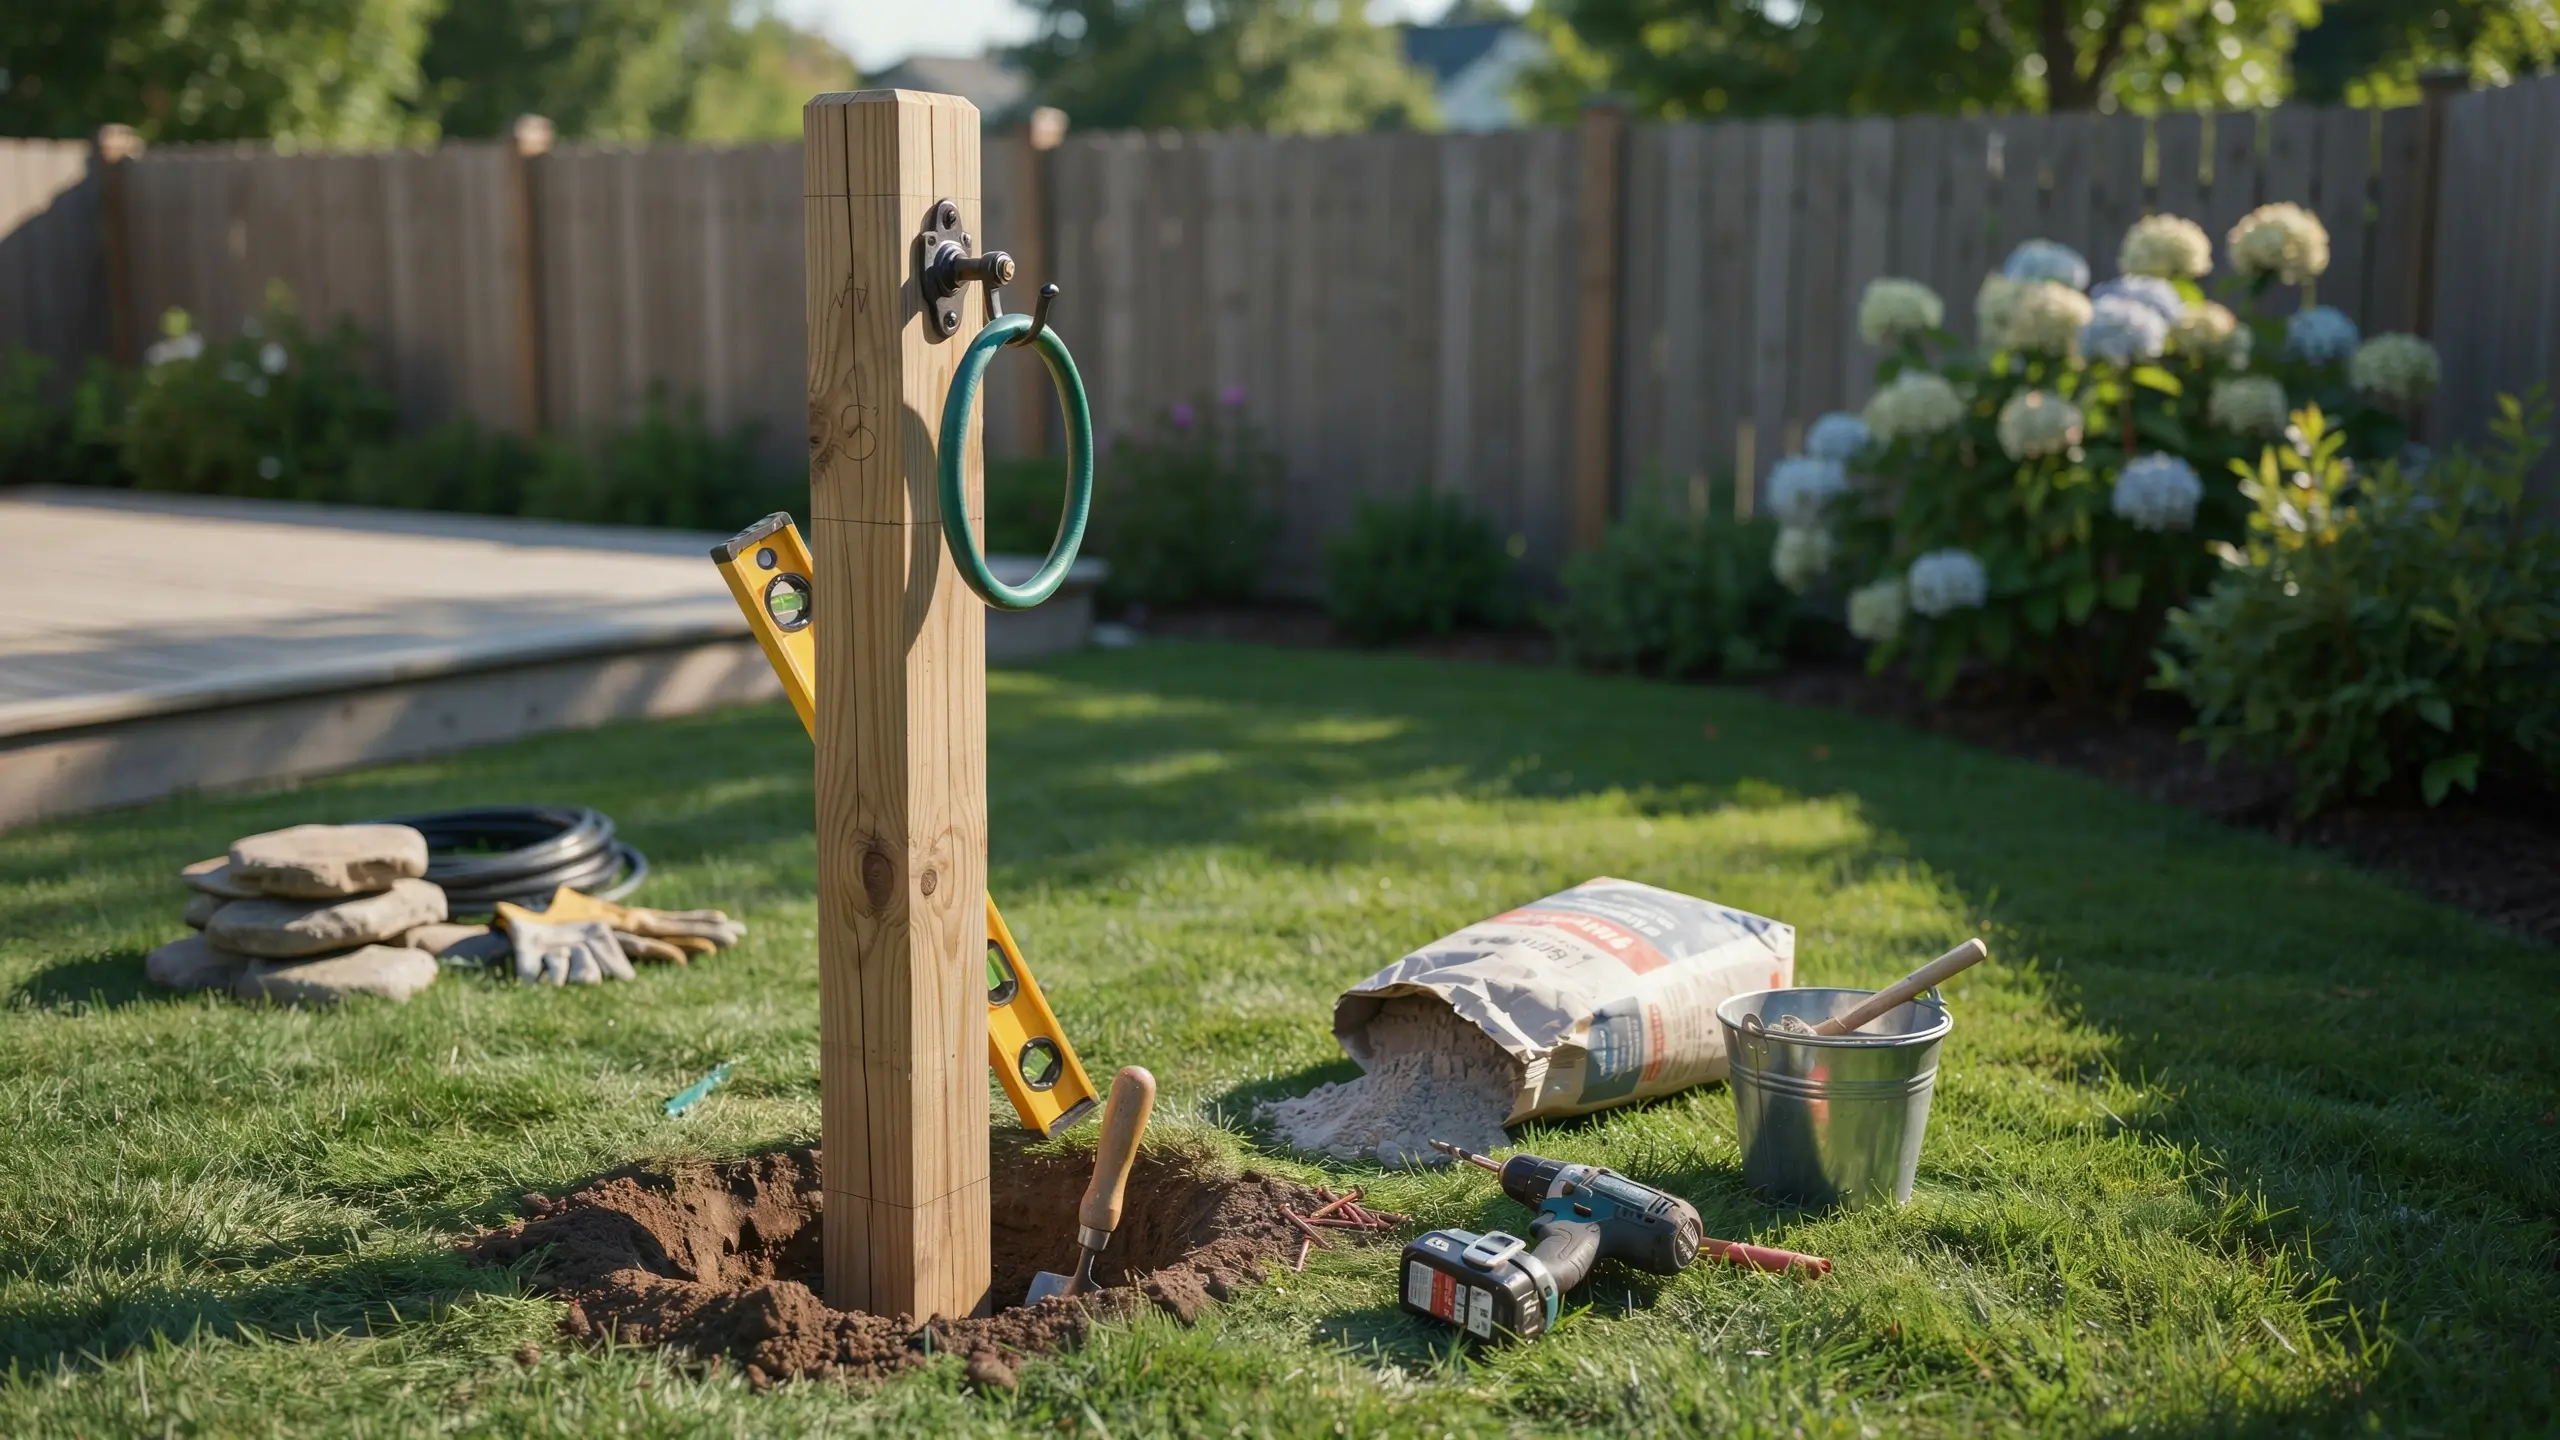
I measured down about 6 to 8 inches from the top of the post and centered the hanger there. I predrilled the holes first so the wood wouldn’t split, then used exterior screws to attach it. This is the step where a lot of people rush and regret it later, so double check the hanger is level before you drive the screws all the way in.
4. I added the post cap
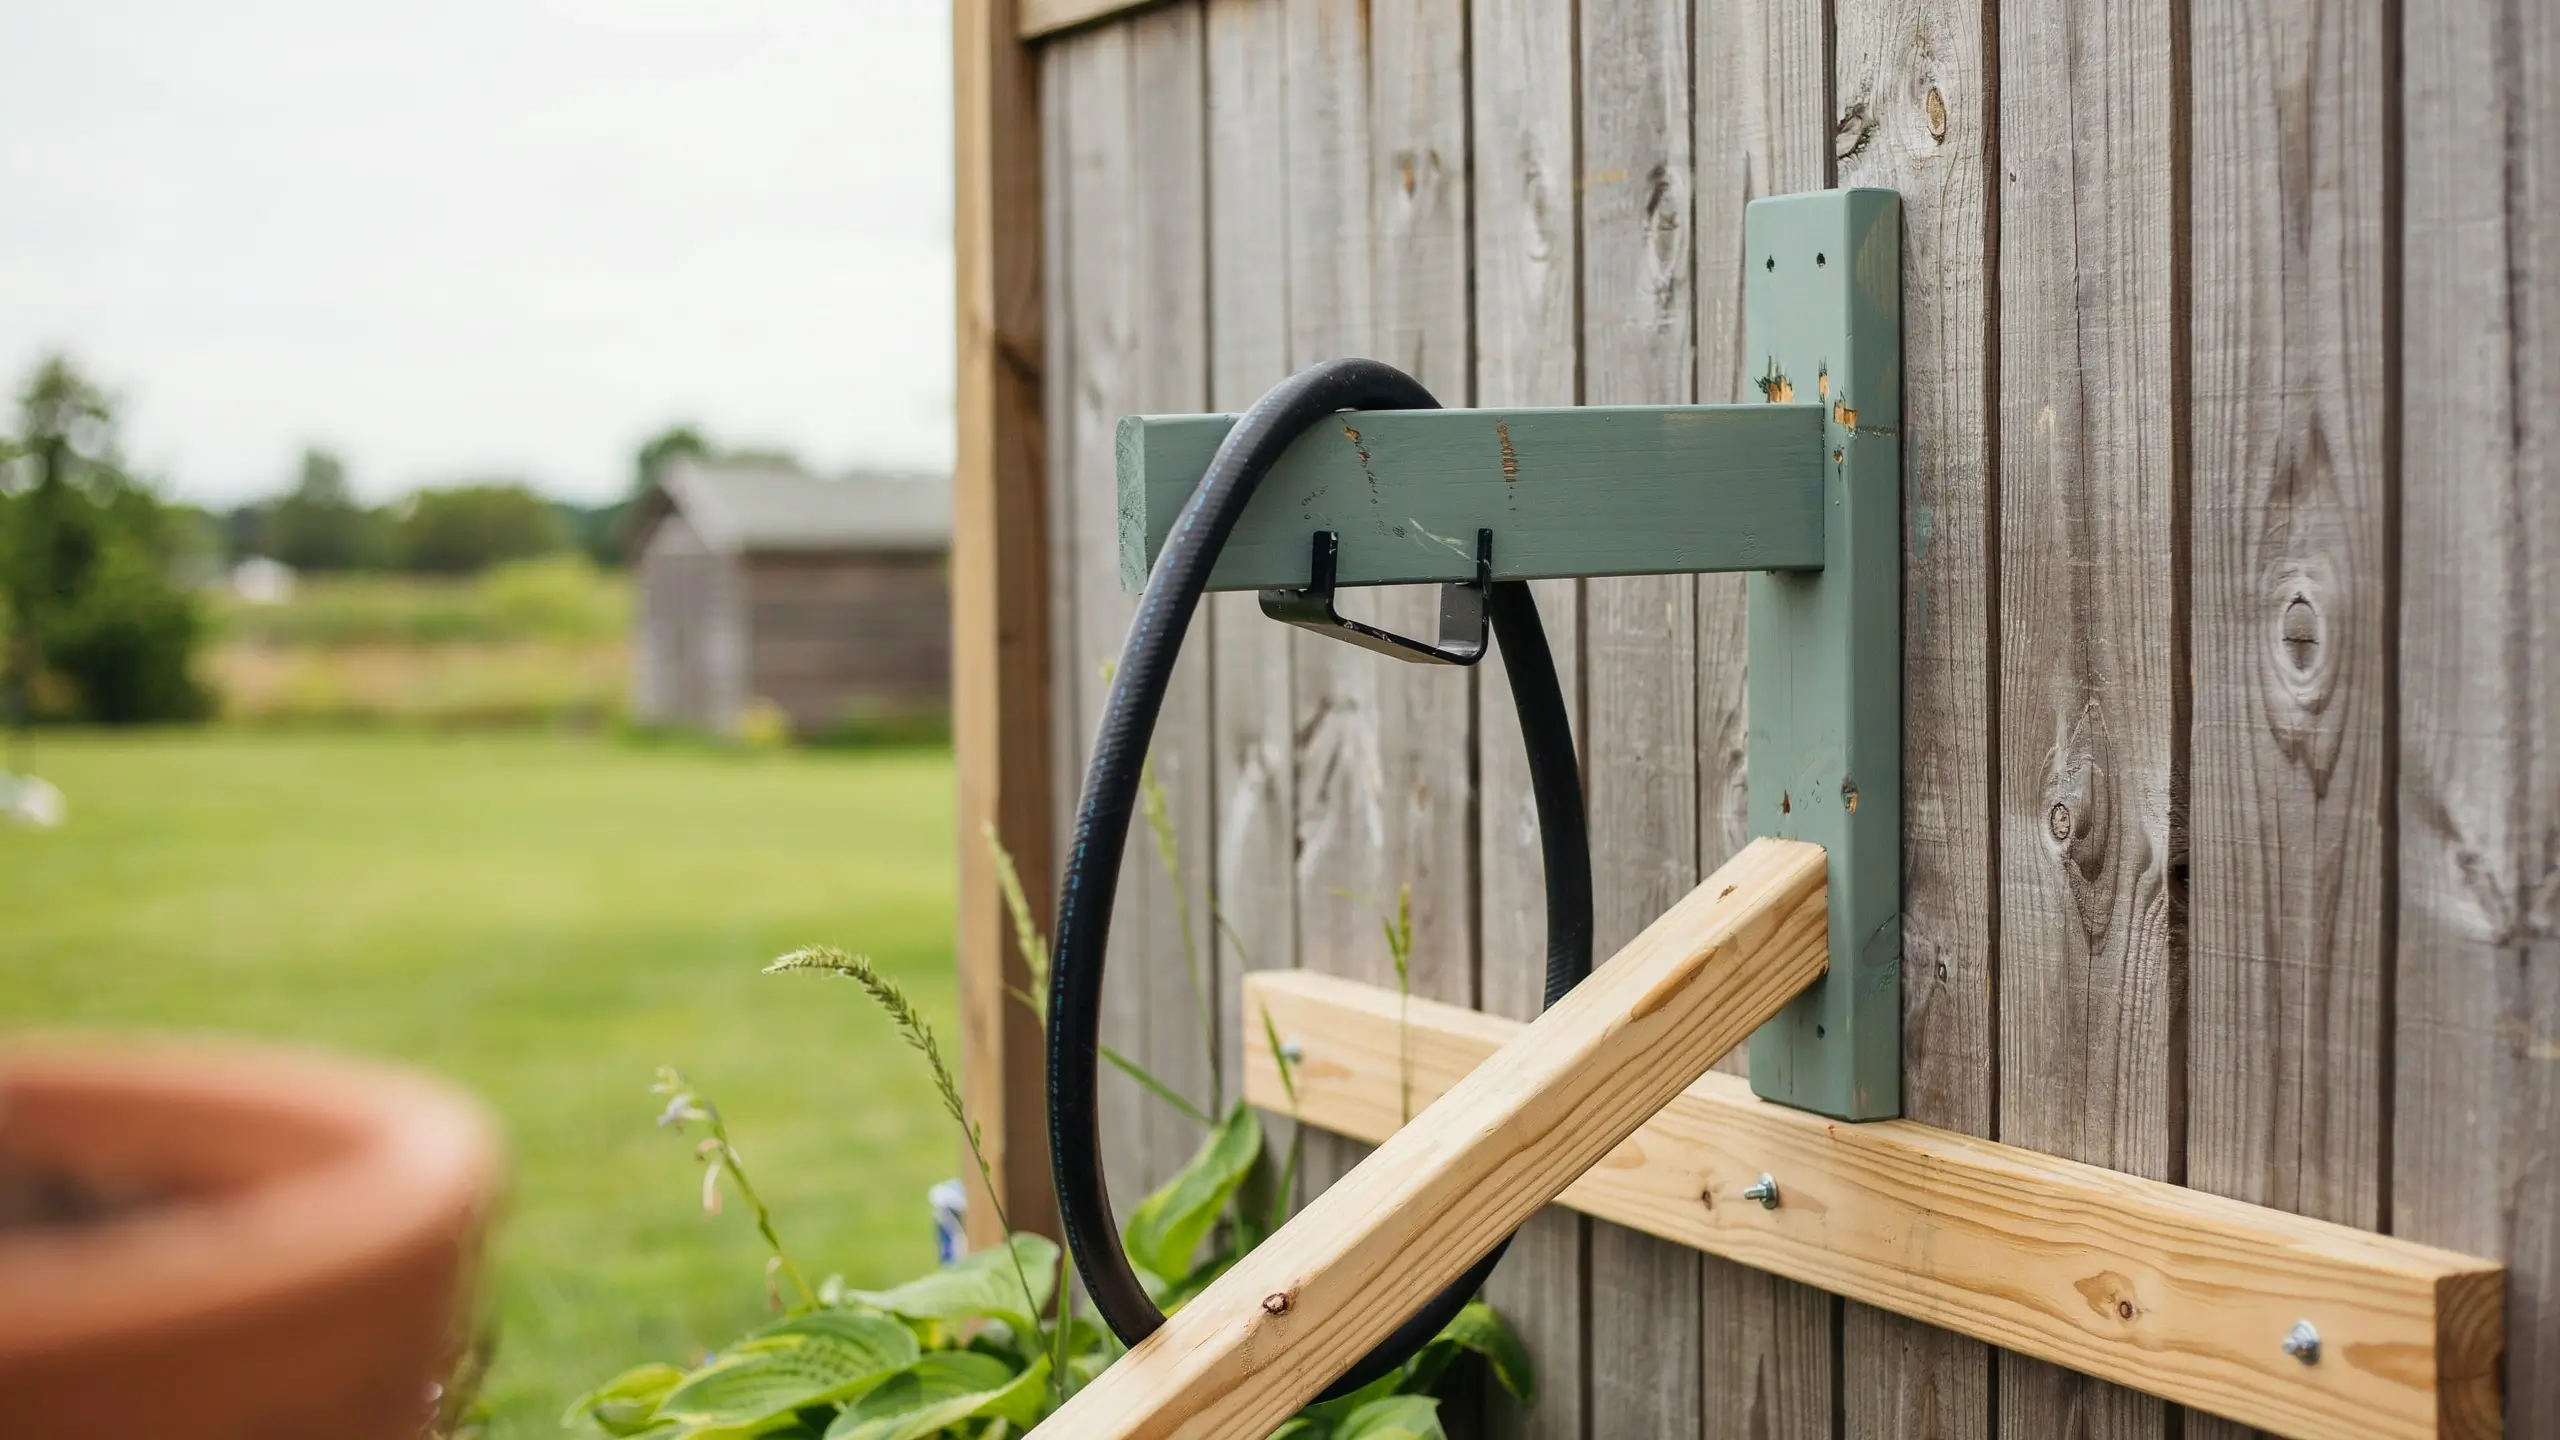
A simple pyramid cap or finial makes a plain post look intentional instead of like a leftover fence piece. I attached mine with wood glue and let it sit overnight before I did anything else with the post.
5. I painted it before setting it in the ground
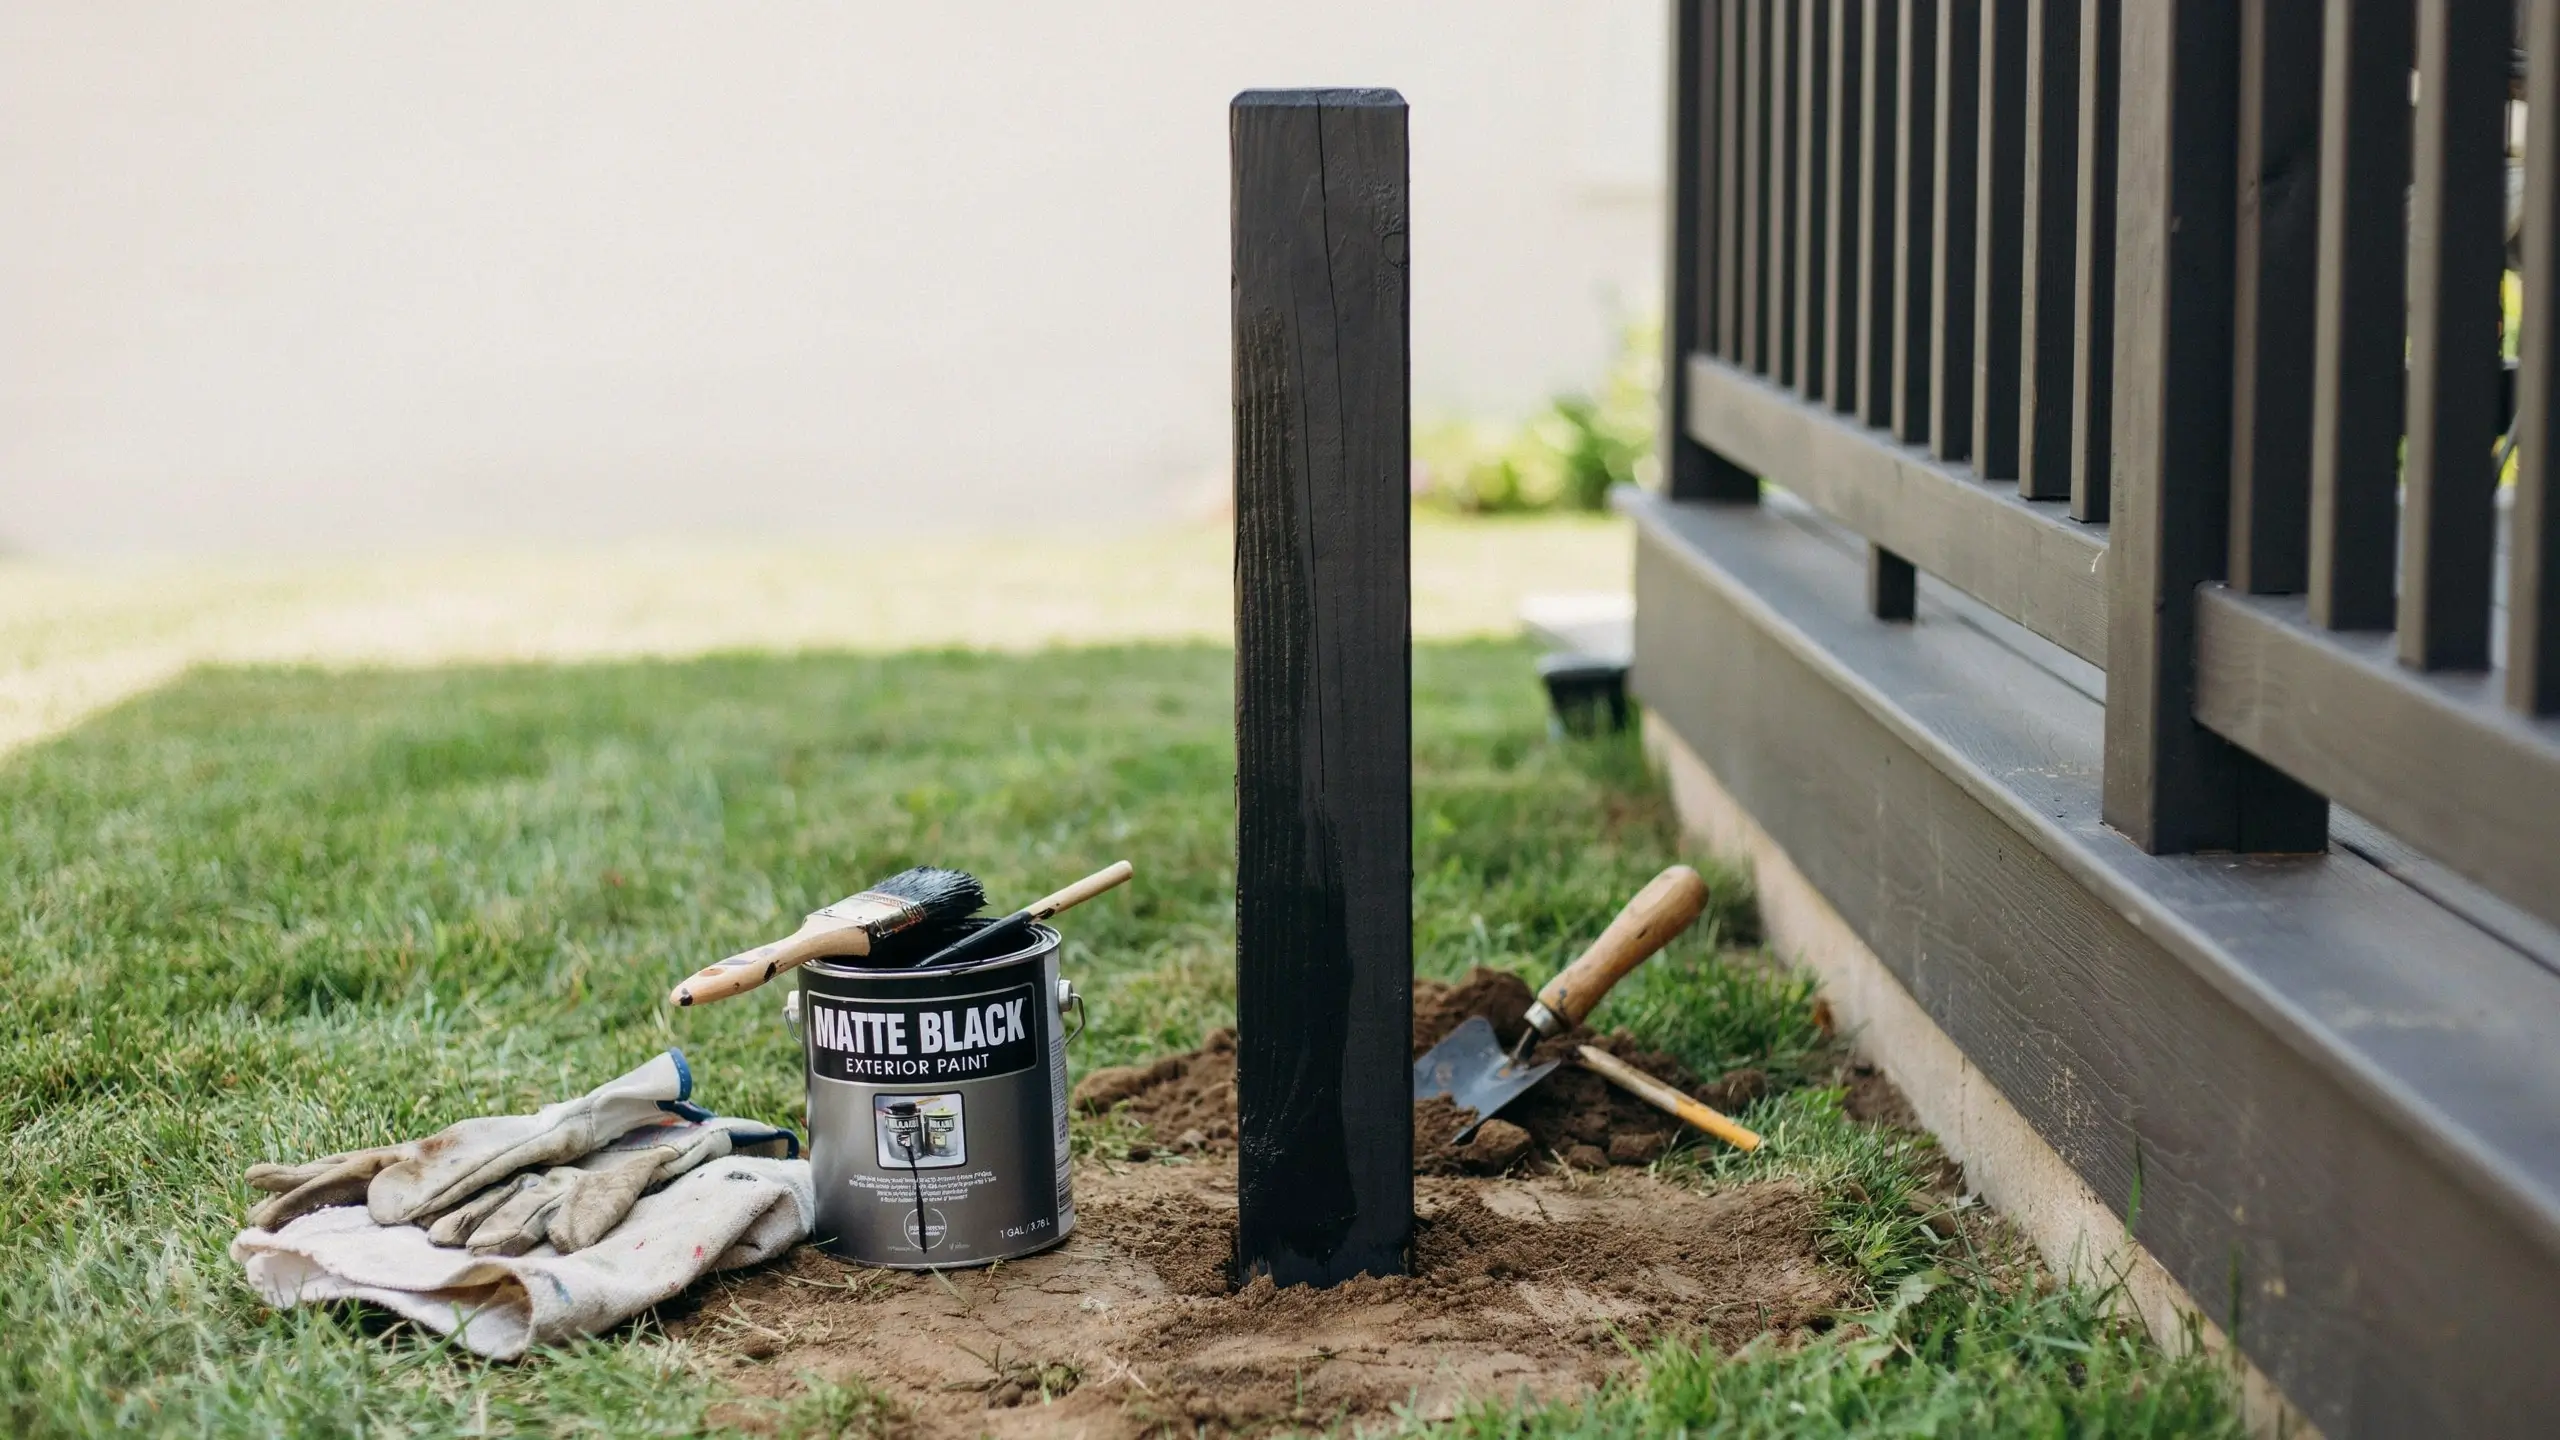
I primed the whole post first, including the bottom, since that part sits underground and needs protection from moisture. Then I gave it two coats of exterior paint in a matte black to match our porch railing. Letting each coat dry fully mattered more than I expected. Skipping that step is how you end up with paint that peels within a season.
6. I set the post in the ground
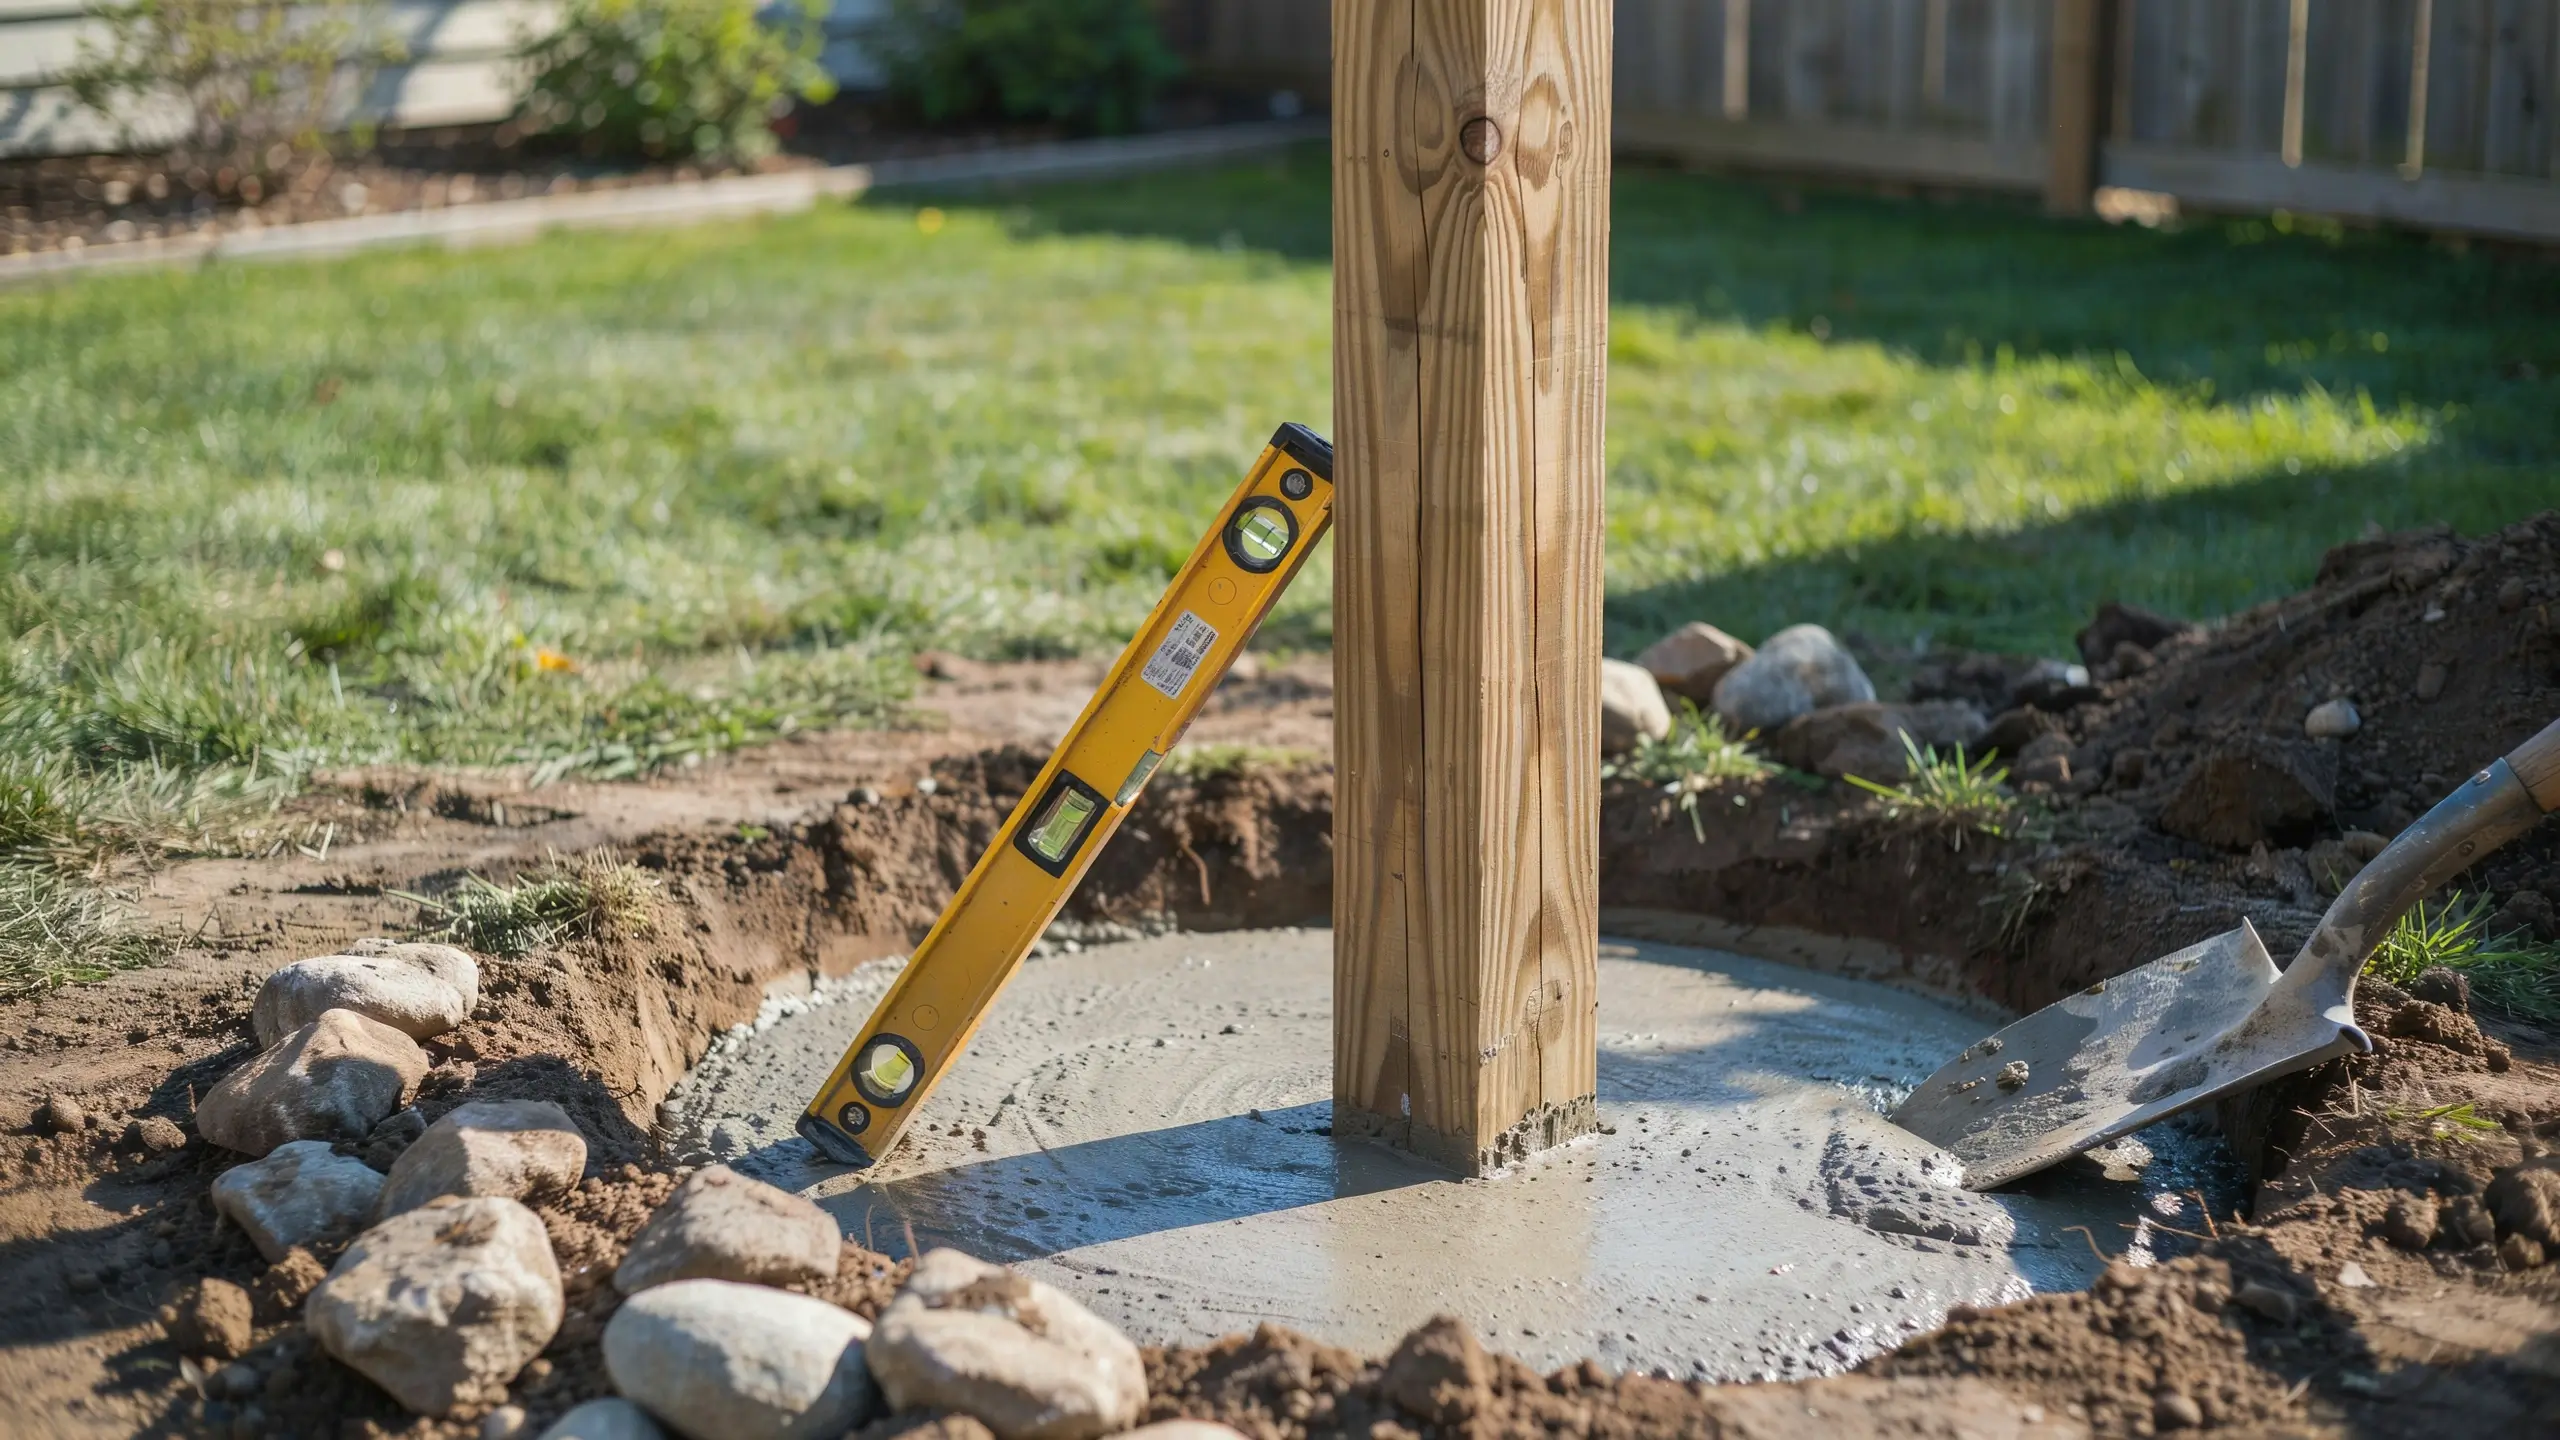
I dug a hole about 12 to 14 inches deep, dropped the post in, checked it with a level on two sides, then mixed and poured quick-setting concrete around the base. I packed a few rocks in around the post before the concrete fully set, just for extra stability. If you’d rather skip digging entirely, a metal fence post spike works too. You drive it into the ground with a mallet and slide the post inside, no concrete required.
7. I hung the hose and added finishing touches
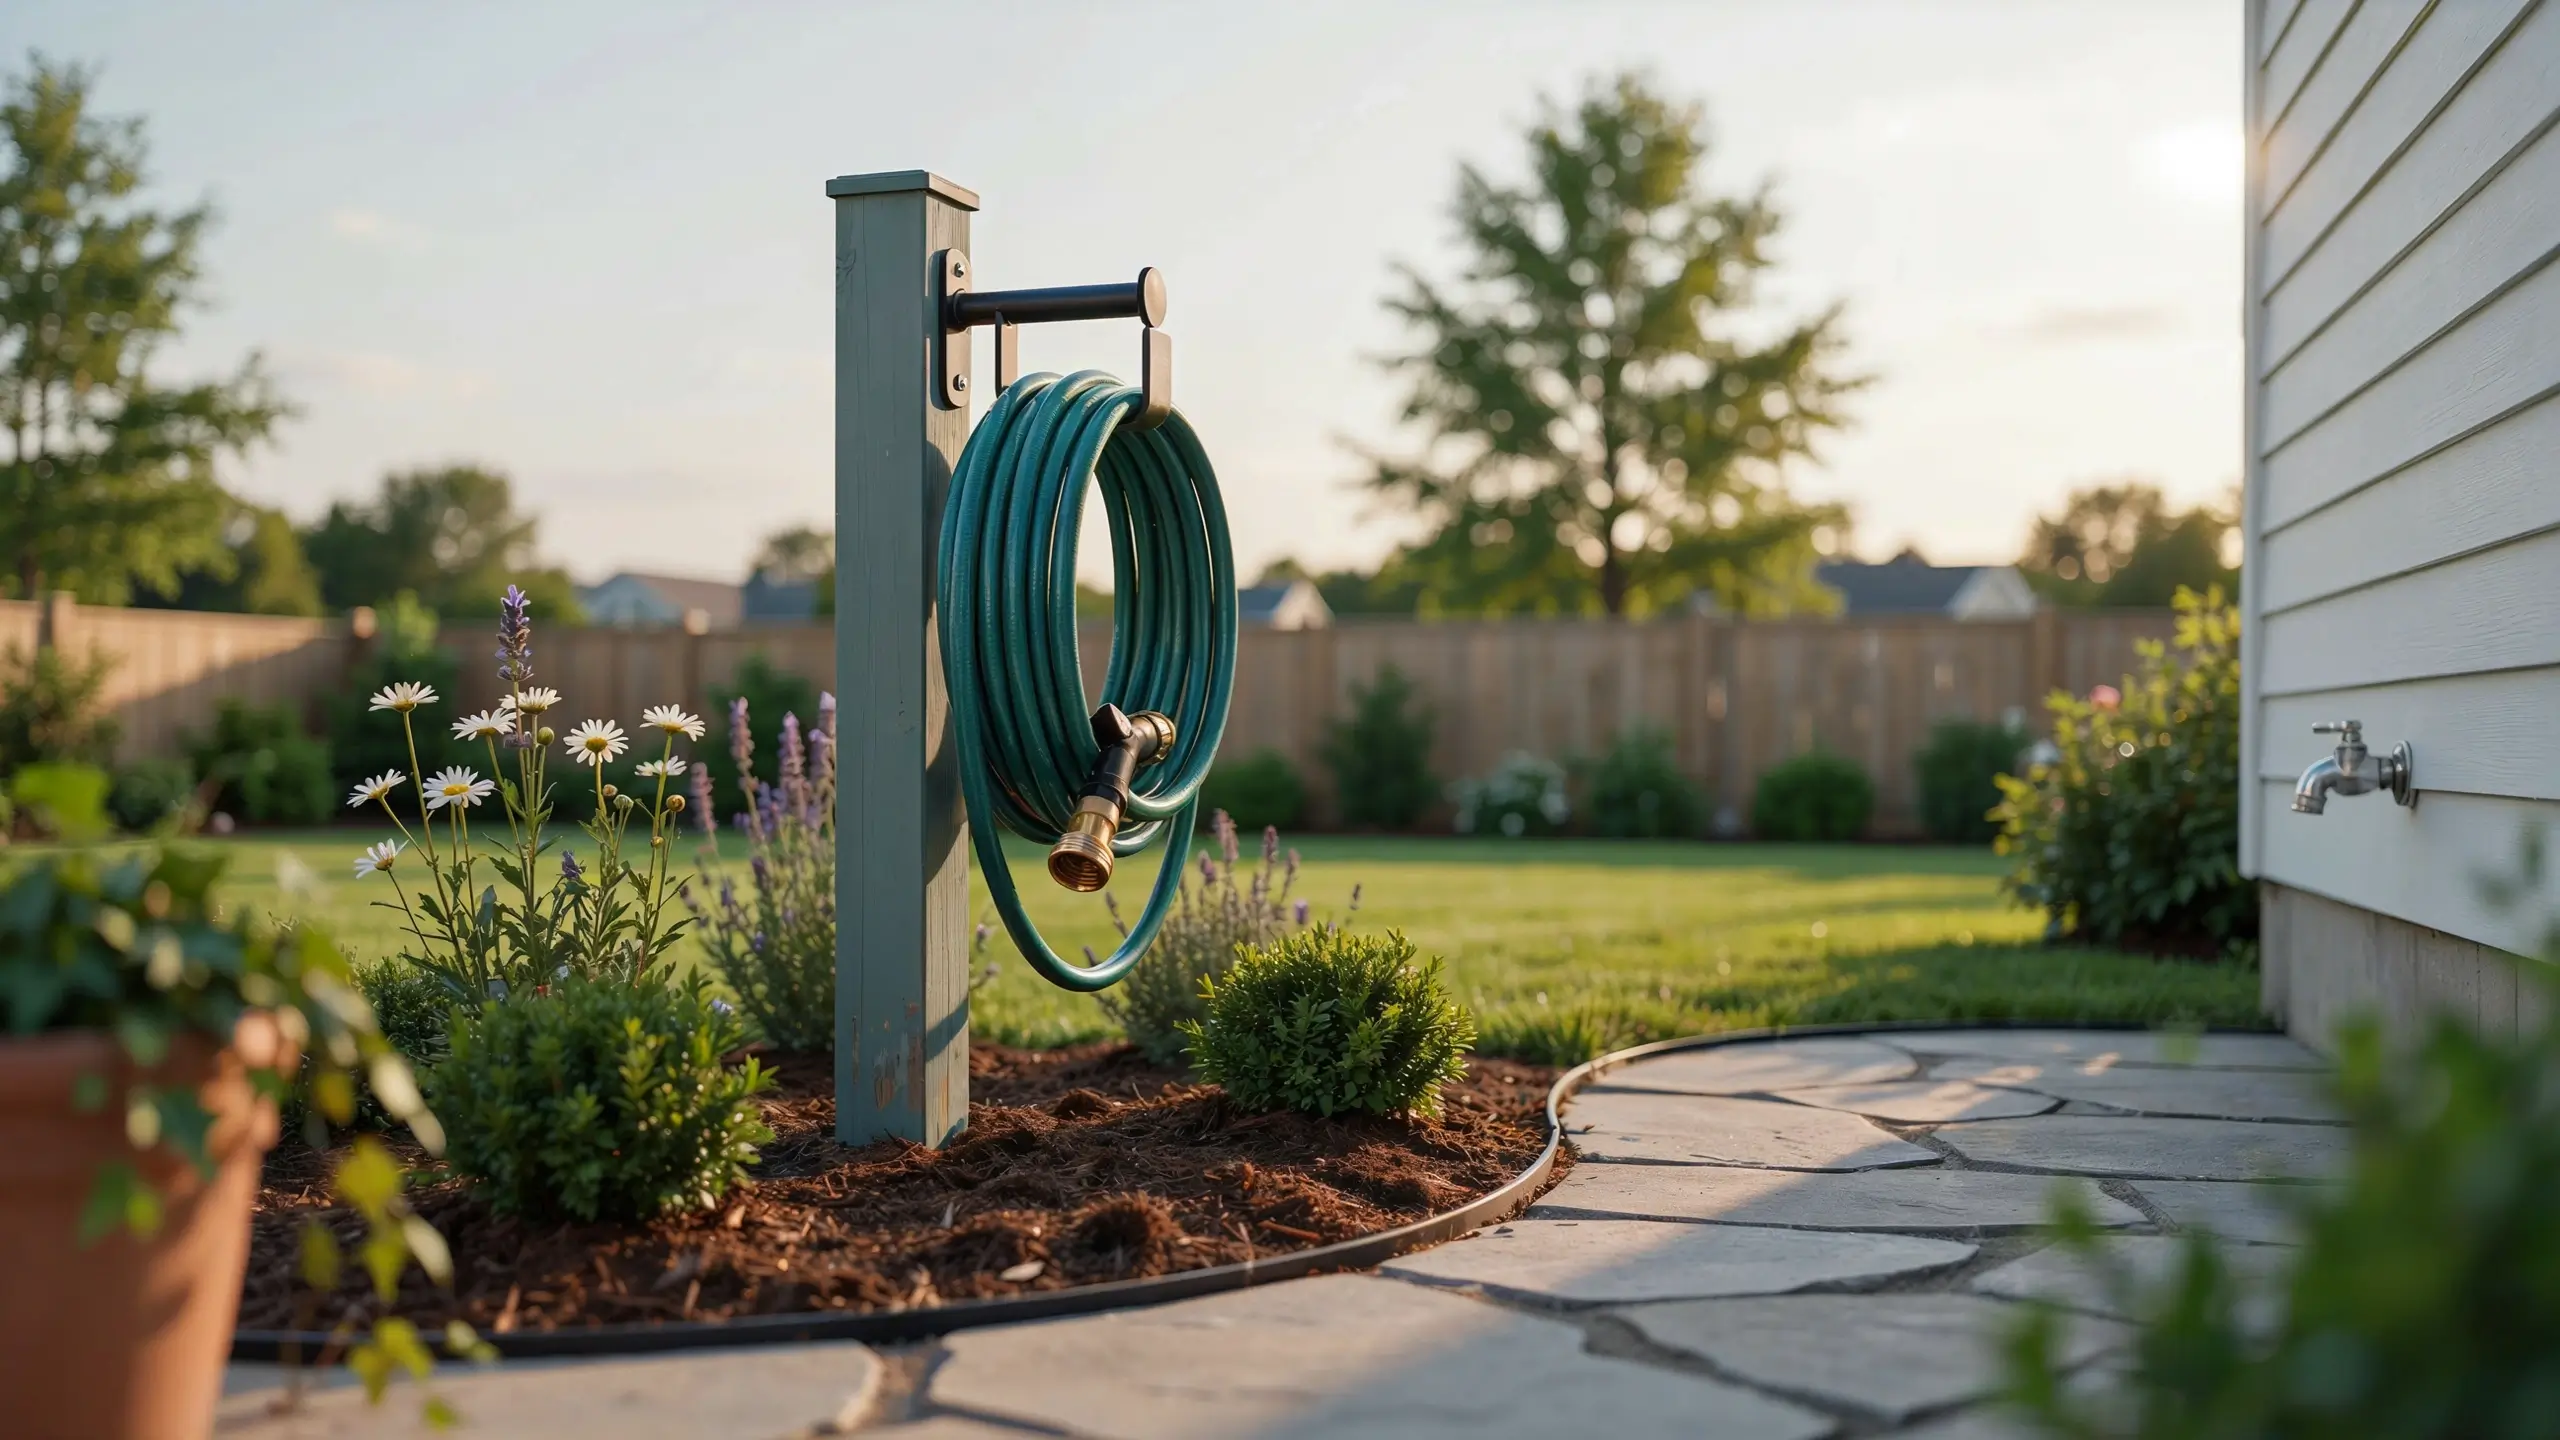
Once the concrete cured for 24 hours, I hung the hose and stepped back to look at it. I added a small ring of mulch around the base and tucked a couple of leftover pavers in front so I wasn’t standing in dirt every time I turned the water on.
Mistakes I Made (So You Don’t Have To)
- I underestimated how heavy a full hose is. About three weeks in, my hose hanger started to droop slightly from the weight of a 75-foot hose. I ended up adding a small diagonal support brace under the hanger, and it’s been solid ever since. If you have a long or heavy-duty hose, consider adding that brace from the start.
- I painted before I test-fit the hanger. I had to touch up a few scratched spots after attaching the hardware. Attach the hanger first, mark your screw holes, then paint.
- I placed it slightly too close to a garden bed. The coiled hose kept brushing against my hostas every time I unwound it. If you’re planting nearby, leave at least 18 inches of clearance around the holder.
- I didn’t wear gloves while handling the pressure-treated post. Minor thing, but pressure-treated lumber is chemically treated, so gloves are worth it, especially if you’re sanding.
What It Actually Cost Me
| Item | Cost |
|---|---|
| 4×4 post | $8 |
| Wall-mount hose hanger | $7 |
| Post cap | $3 |
| Paint (had leftover) | $0 |
| Concrete mix | $4 |
| Screws and glue (had on hand) | $0 |
| Total | $22 |
Compare that to $80 to $150 for a decorative store-bought version, and it’s an easy decision.
No Digging? No Problem, Renter and Small-Space Options
Not everyone can dig a hole in their yard, and that’s a real gap most tutorials skip over. If you’re renting, working with a patio or balcony, or just don’t want to commit to something permanent, here’s what actually works.
- The bucket base method. Set your post in a 5-gallon bucket, fill it with quick-setting concrete, and let it cure. You get a heavy, freestanding post you can move anywhere and take with you when you leave.
- The fence spike anchor. Skip concrete entirely and drive a metal fence spike into soil or a large planter filled with soil. It holds the post upright without any permanent digging.
- The wall hook option. If you have access to an exterior wall, shed, or fence you’re allowed to attach hardware to, a single hook mounted on a small painted board takes ten minutes and holds up a full hose coil.
- The hose pot. A large, deep planter with a drainage hole drilled a few inches up from the base lets you coil the hose right down inside it. Thread the hose out through the hole, and it looks like a planter until you need it.
Styling Ideas to Make It Pinterest-Worthy
A few small choices make a big difference in how finished this looks:
- Match the paint to your shutters, porch railing, or mailbox post for a coordinated look.
- Add a solar-powered cap light on top so it doubles as subtle path lighting at night.
- Plant low flowers or ornamental grass around the base instead of leaving bare mulch.
- Choose a scroll-style or decorative metal hanger instead of a plain plastic hook if you want it to look more like yard decor and less like a garage tool.
How I Made a Garden Hose Holder: Quick Answers
How deep does a hose holder post need to be?
Around 12 to 14 inches is enough for a standard 4×4 post set in concrete for a residential yard.
What’s the best wood for a garden hose holder?
Pressure-treated pine or cedar. Both hold up outdoors, and cedar has a nicer natural finish if you don’t plan to paint it.
Can I make a garden hose holder without digging?
Yes. A fence post spike, a concrete-filled bucket base, or a wall-mounted hook all avoid digging entirely.
How do I stop my hose holder from tipping over?
Set the post deep enough in concrete, or if you’re using a bucket base, use enough concrete to weigh it down so wind and hose weight can’t shift it.
Read Also: 12 Backyard Storage Ideas That Don’t Look Like Storage
Final Thoughts
Making my own garden hose holder turned out to be one of those small projects that made a bigger difference than I expected. My hose finally has a home, my yard looks less cluttered, and I saved close to $100 by building it myself instead of buying one. If you’ve been putting off dealing with your own tangled hose, this is a genuinely doable weekend project even if you’ve never built anything before.
I’d love to see how yours turns out. Drop a comment below and let me know what post, paint color, or hanger style you went with, or ask if you get stuck on any step. I’m happy to help you troubleshoot.






No Comment! Be the first one.