




How to Build a Decorative Planter Box for Under $30
Every time I price out a decorative planter box online, I close the tab a little insulted. A plain wooden box, maybe two feet long, painted white, runs $60 to $120 before shipping. And half the time...

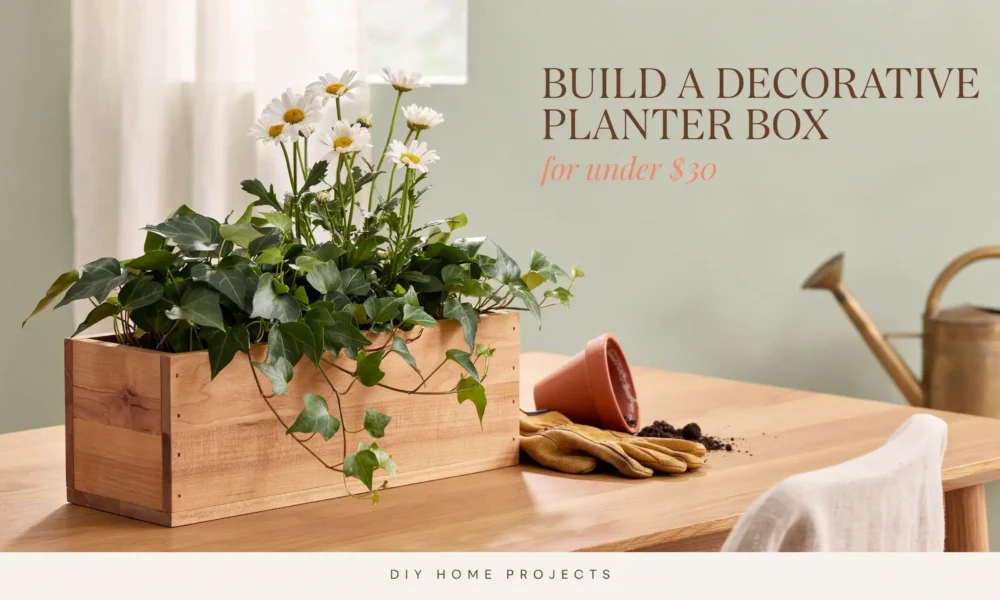
Every time I price out a decorative planter box online, I close the tab a little insulted. A plain wooden box, maybe two feet long, painted white, runs $60 to $120 before shipping. And half the time it’s not even the size or color I actually wanted.
So here’s the good news. You can build a decorative planter box for under $30 in one afternoon, using materials from the lumber aisle you already know how to find. No table saw required, no fancy joinery, no woodworking background. Just a saw, a drill, and about two hours of hands-on time.
This is the build I’d hand to a total beginner. It uses cedar fence pickets instead of pricier boards, a slatted bottom instead of drilled drainage holes, and a thin trim cap that makes it look far more expensive than it was. By the end you’ll have a planter box that looks like it came from a boutique home shop, for less than the cost of a nice dinner out.
[Featured image placeholder: finished white cedar planter box with pink geraniums on a porch step]
What You’ll Need Before You Start
The trick to keeping this project under $30 is picking the right wood. Cedar fence pickets are sold for building privacy fences, but they’re also the cheapest way to get real, naturally rot-resistant wood for a project like this. Pressure-treated pine pickets work too and cost even less, but skip them if you’re planning to grow anything edible, since some older treated lumber contains chemicals you don’t want near food.
Materials
- 2 cedar fence pickets, 5/8″ x 5.5″ x 6 ft
- 1 pack of thin lattice or screen mold trim (8 ft length), for the decorative cap
- Exterior wood screws, 1 1/4″, small box
- Wood glue, exterior or waterproof formula
- A small scrap of landscape fabric
- Exterior paint or stain, sample size or small can
- 120-grit sandpaper
Tools You’ll Need
(Most people already own these, so they’re not counted in the budget.)
- Miter saw, circular saw, or a hand saw and miter box
- Power drill with a pilot-hole bit and a screwdriver bit
- Tape measure and carpenter’s square
- Clamps, if you have them
- Paintbrush or foam brush
- Safety glasses and ear protection
Here’s Roughly What It Costs
| Item | Approx. Cost |
|---|---|
| 2 cedar fence pickets | $10–12 |
| Lattice trim strip (8 ft) | $4–5 |
| Exterior wood screws | $3–4 |
| Wood glue | $3–4 |
| Sandpaper | $1–2 |
| Landscape fabric scrap | $1–2 |
| Exterior paint or stain | $6–8 |
| Total | $28–30 |
That total drops even lower if you already have leftover paint, screws, or glue sitting in the garage, which most people do. Prices will shift slightly depending on your store and region, so treat this as a planning number, not a guarantee.
How to Build the Box, Step by Step
This build makes a finished planter about 24 inches long, 6 inches wide, and 6 inches tall, which is a good size for porch steps, entryway corners, or a mailbox post. Scale the length up or down easily, the process stays the same either way.
1. Cut Your Pieces
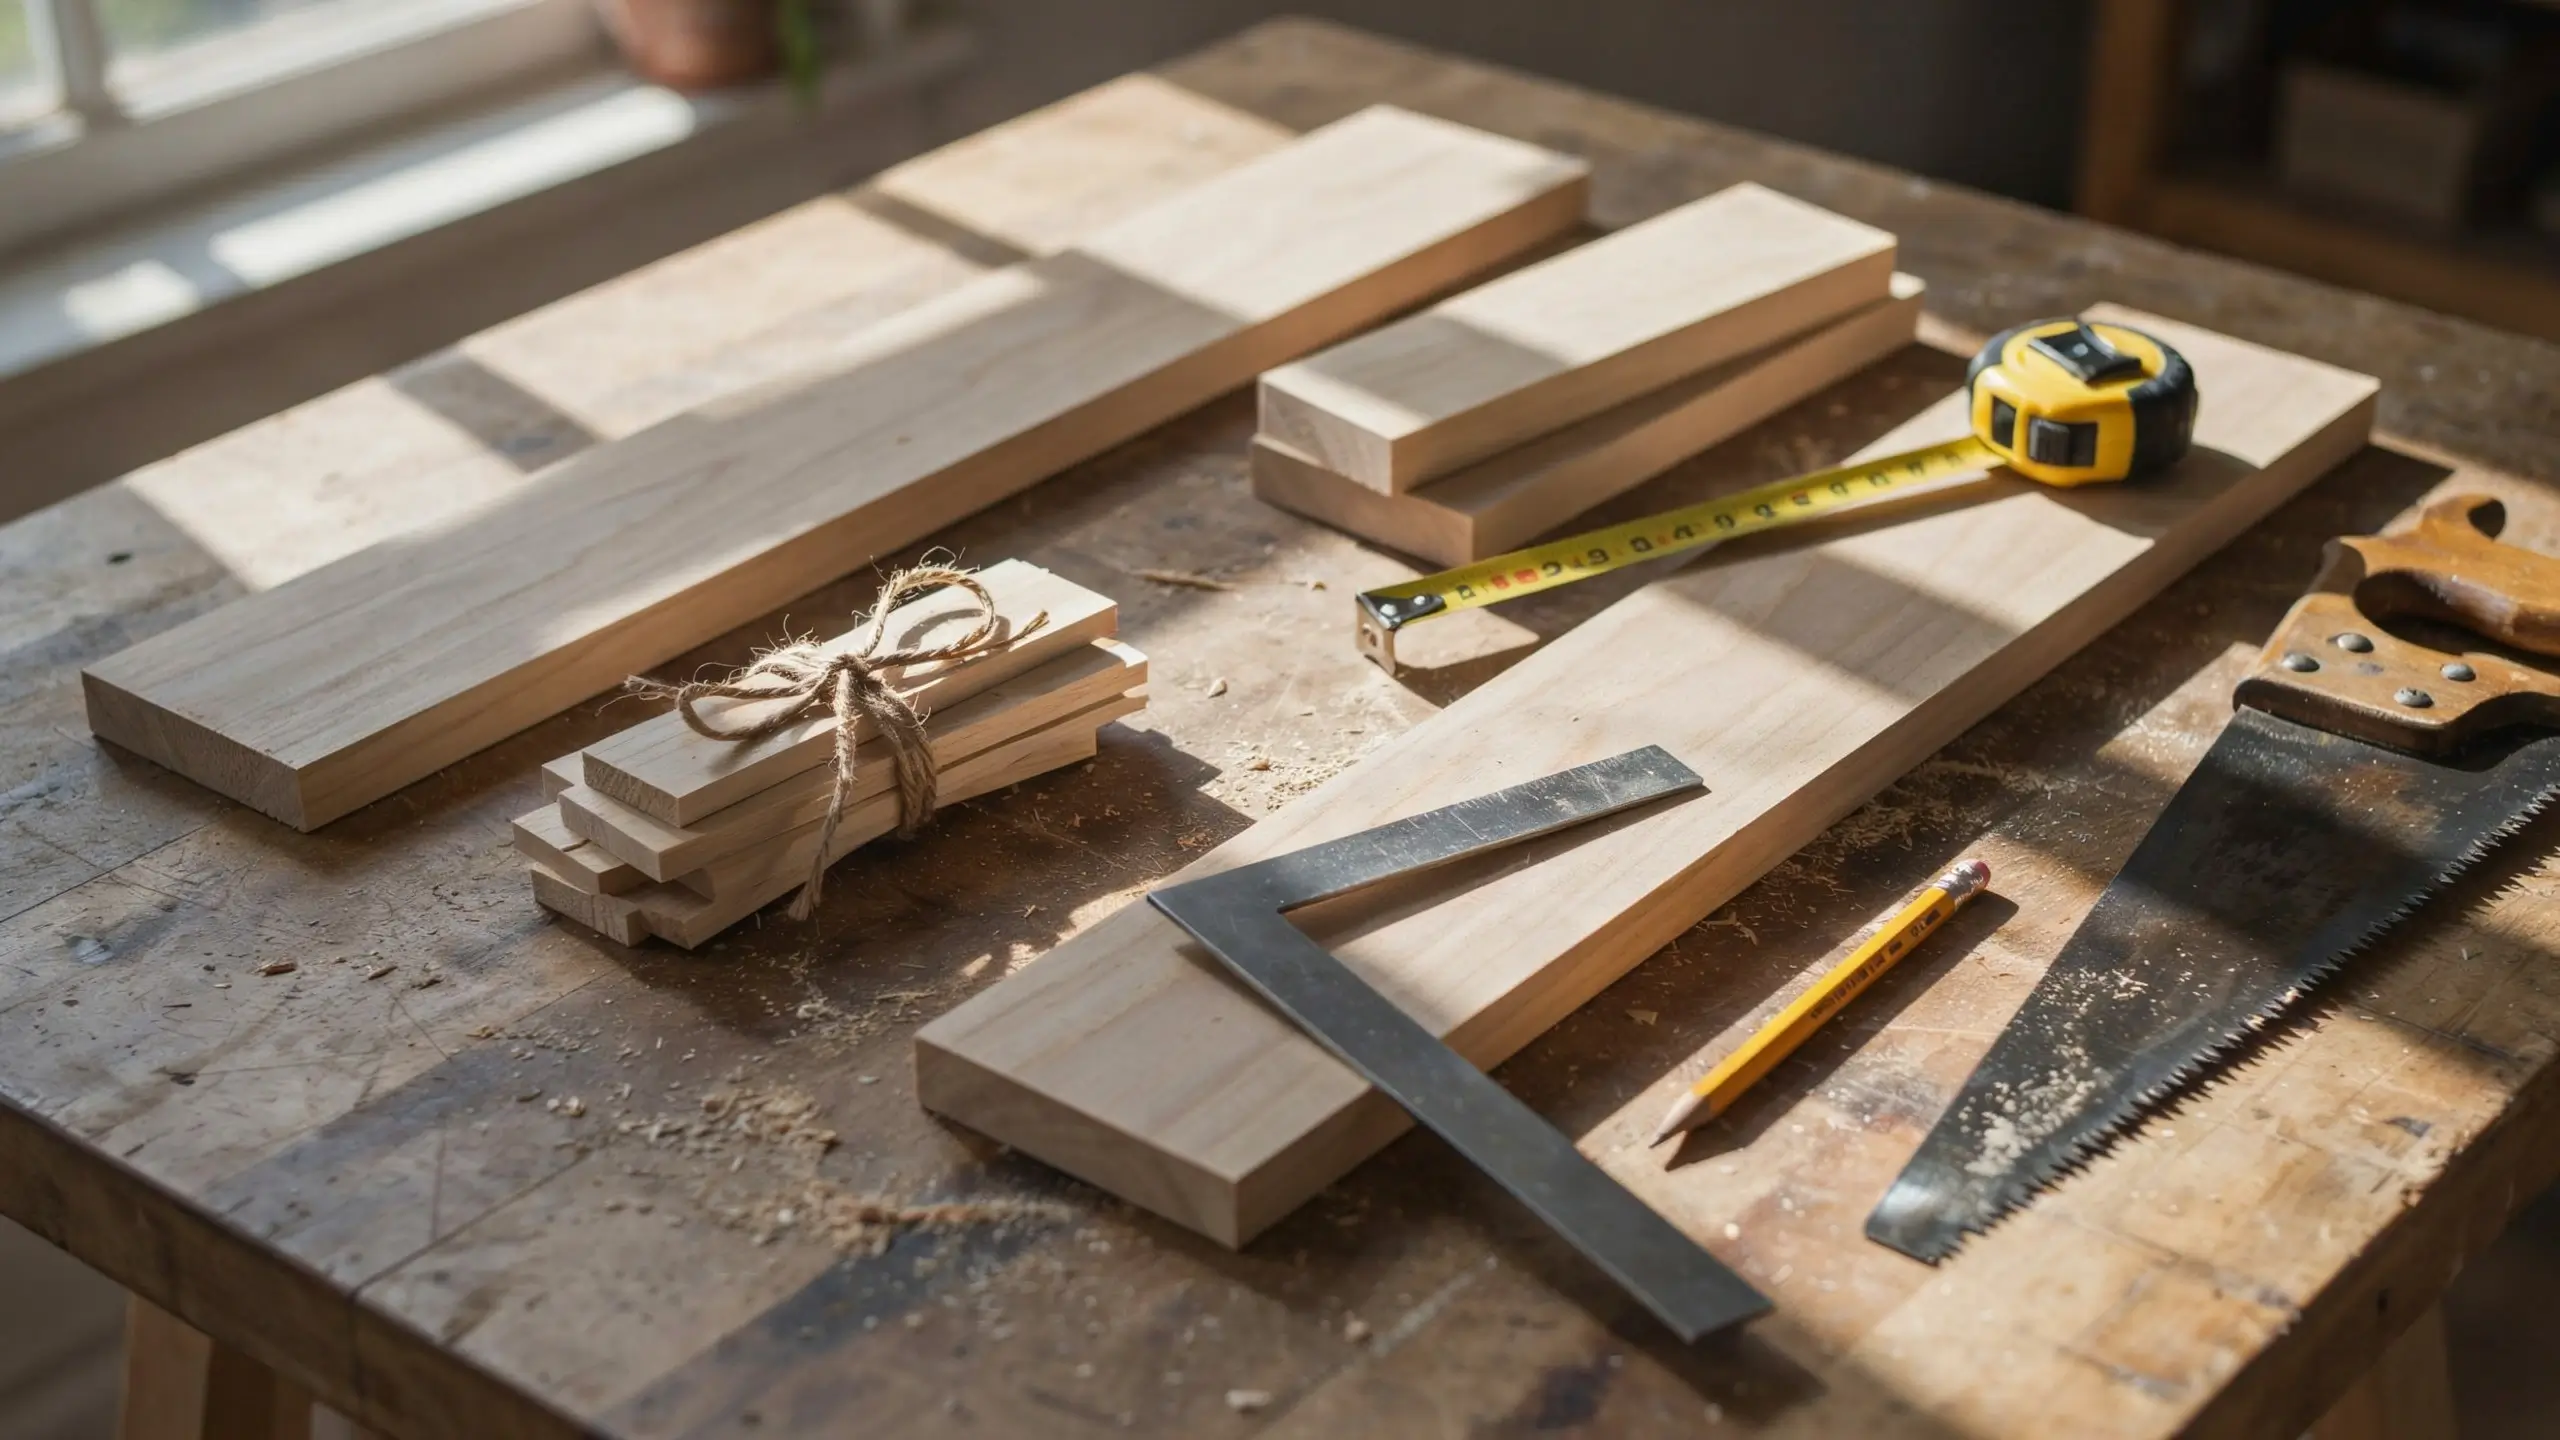
From your two pickets, cut two 24-inch lengths for the front and back panels. Then cut two shorter end panels to fit snugly between them, measuring the actual gap rather than guessing, since board thickness varies slightly. Save the leftover wood for the bottom slats and corner feet.
2. Sand Everything Before You Assemble
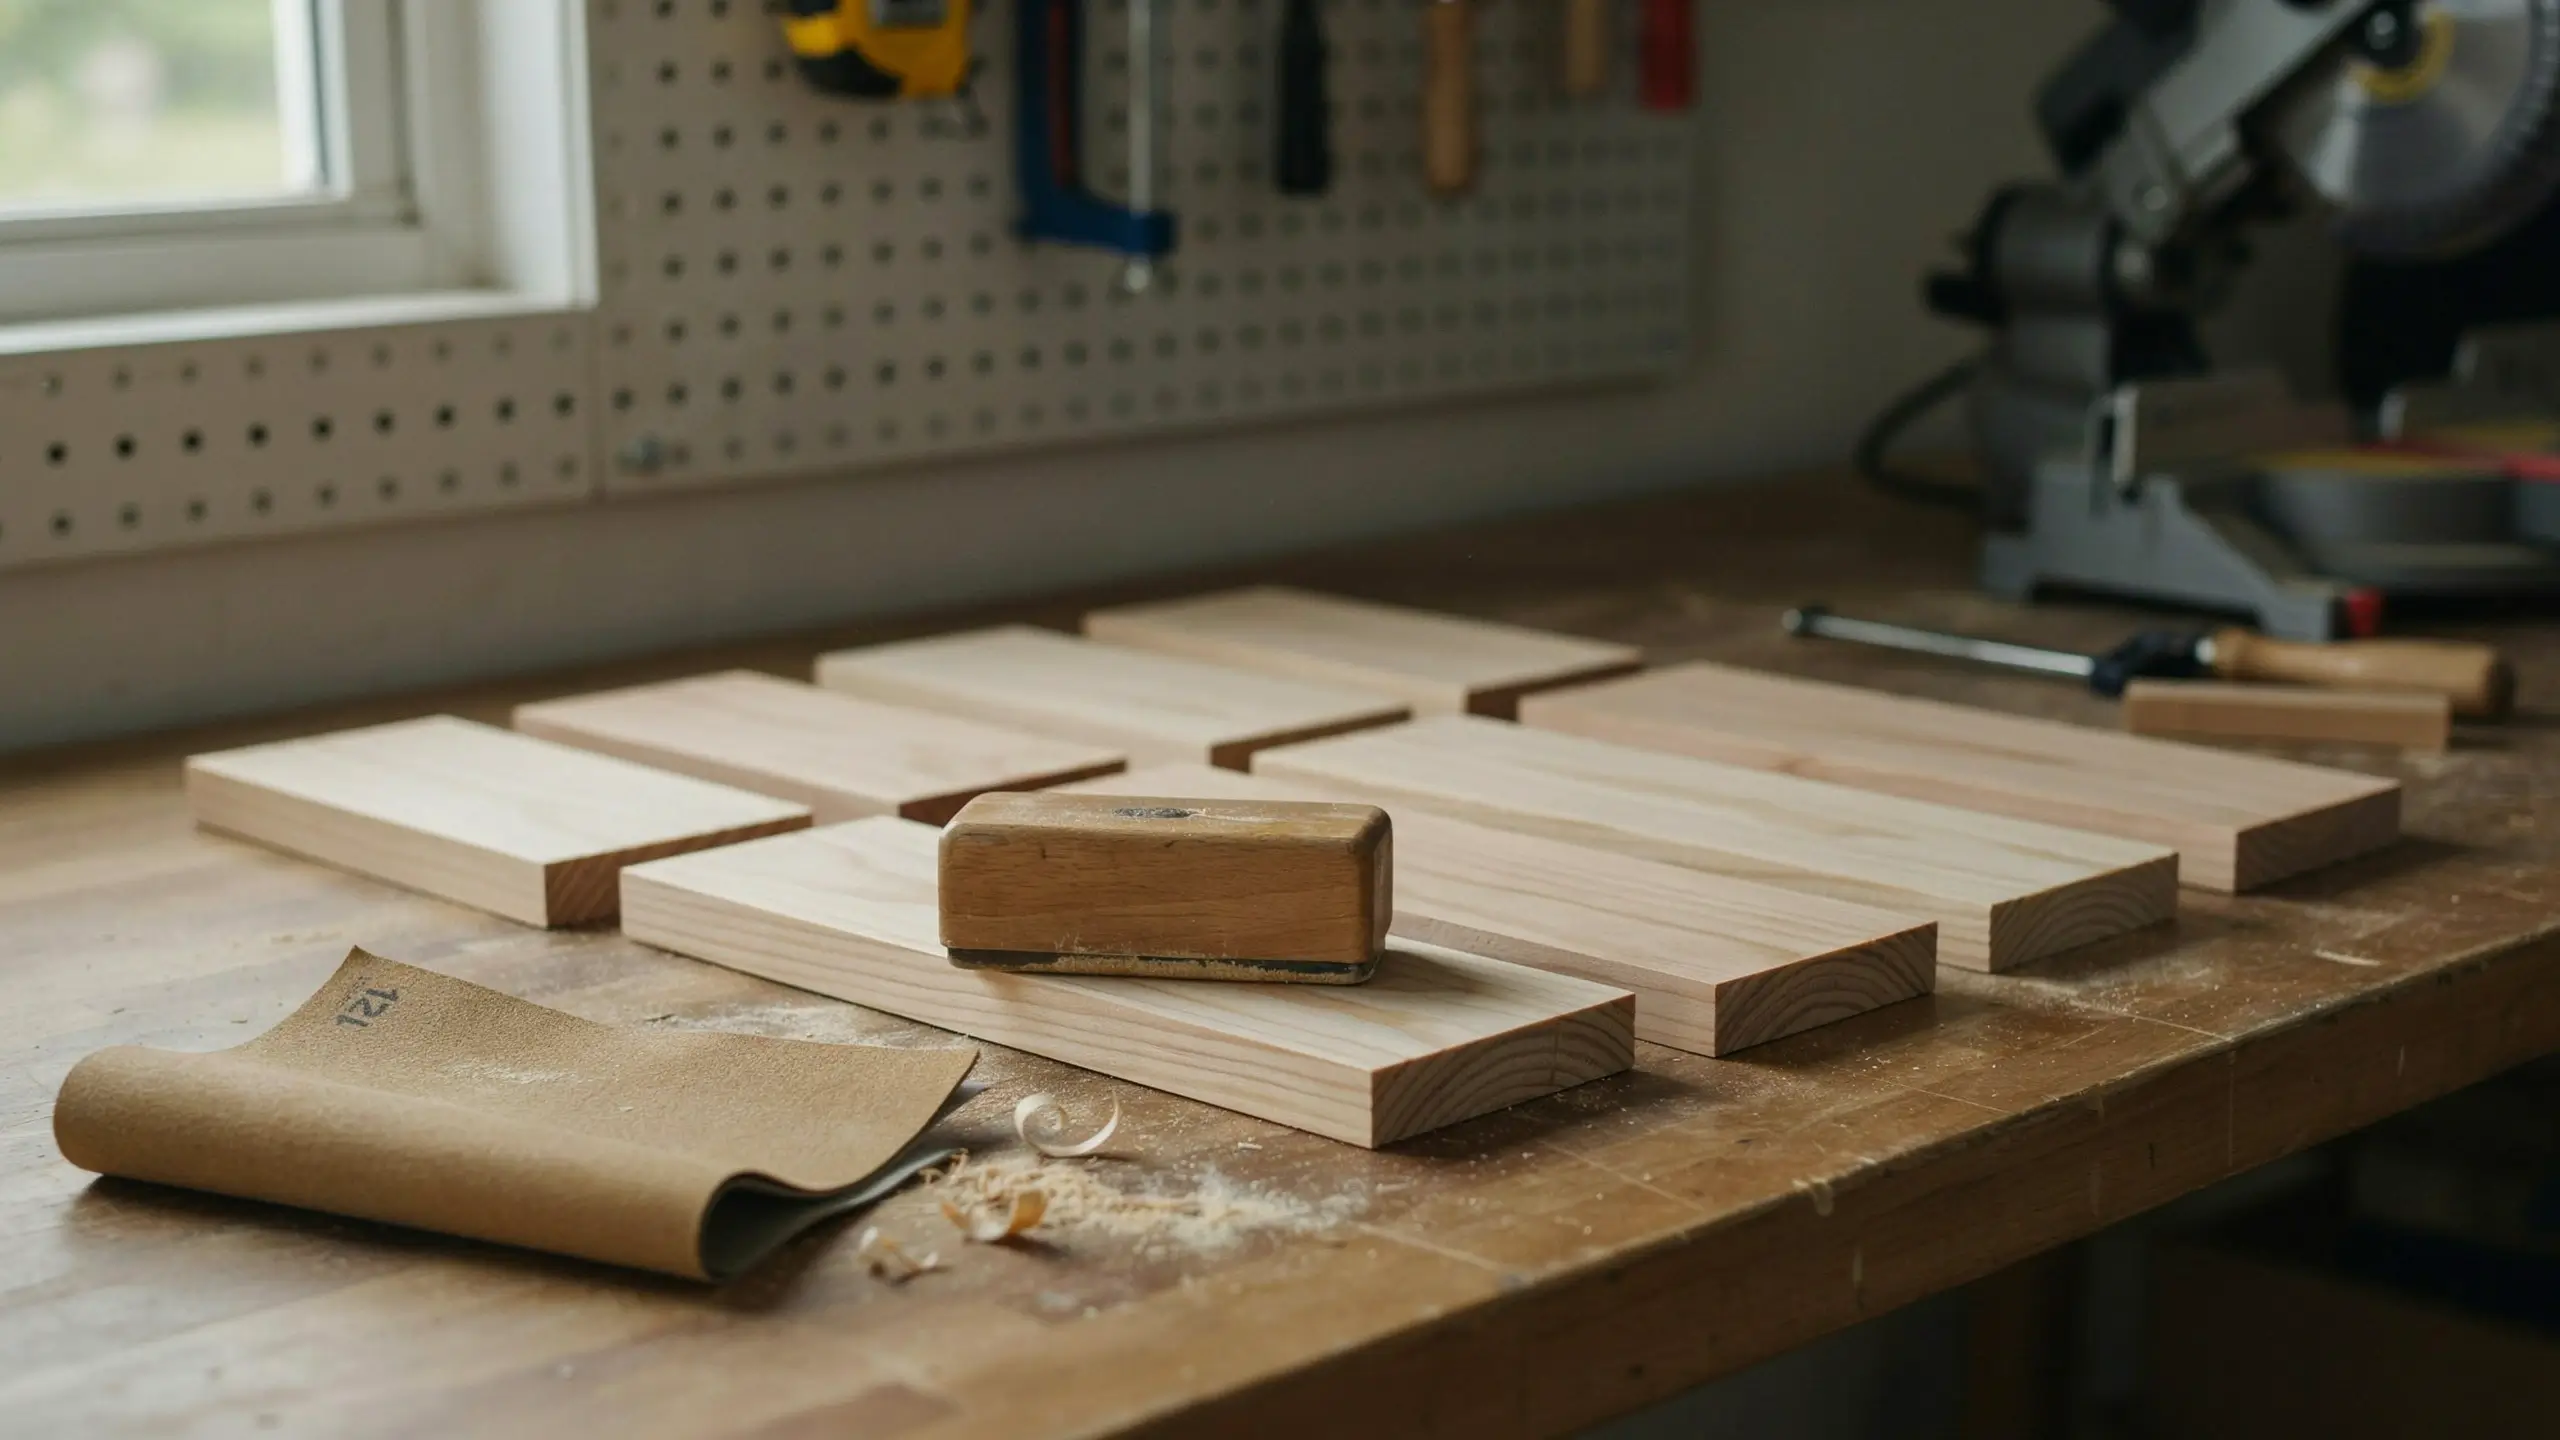
Sand all the cut edges and both faces of every piece with 120-grit paper now, while the pieces are still flat and easy to handle. It’s much harder to sand inside corners once the box is together.
3. Drill Pilot Holes
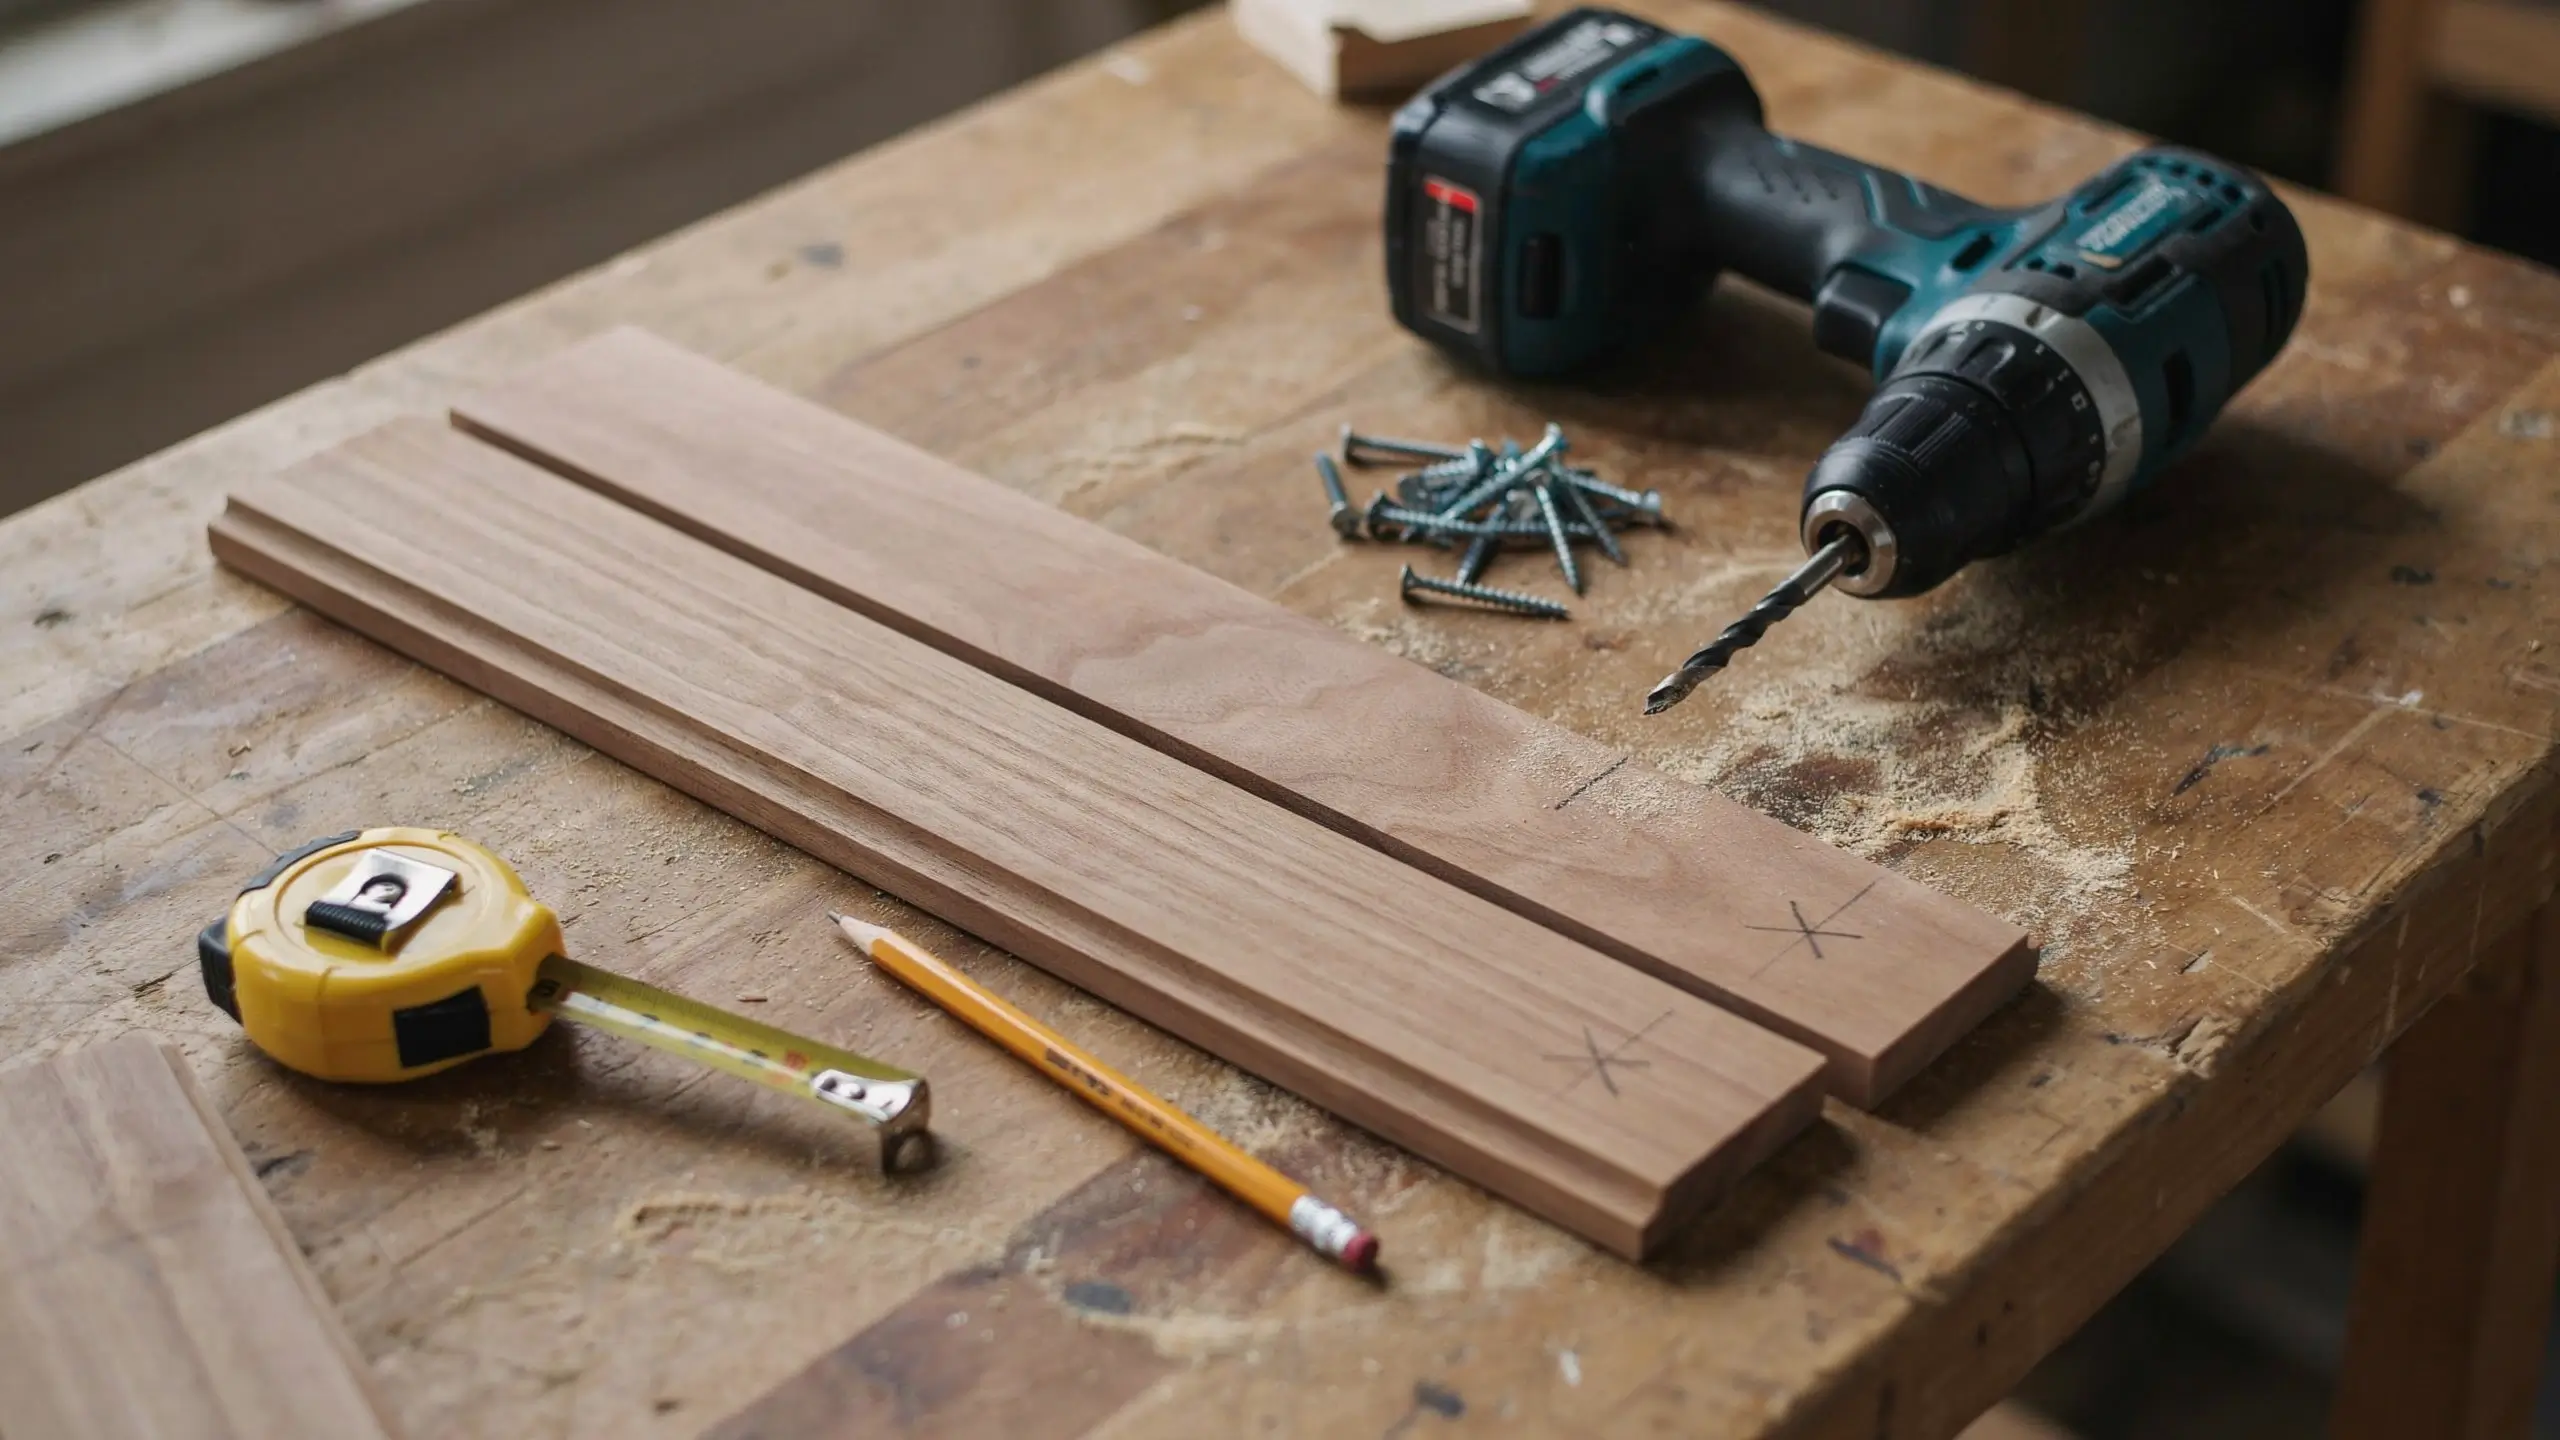
Mark a spot about 3/4 inch from each end of the front and back panels, then drill small pilot holes through them. This is the single step most beginners skip, and it’s the reason thin fence-picket wood splits down the grain when you drive a screw into it.
4. Assemble the Frame
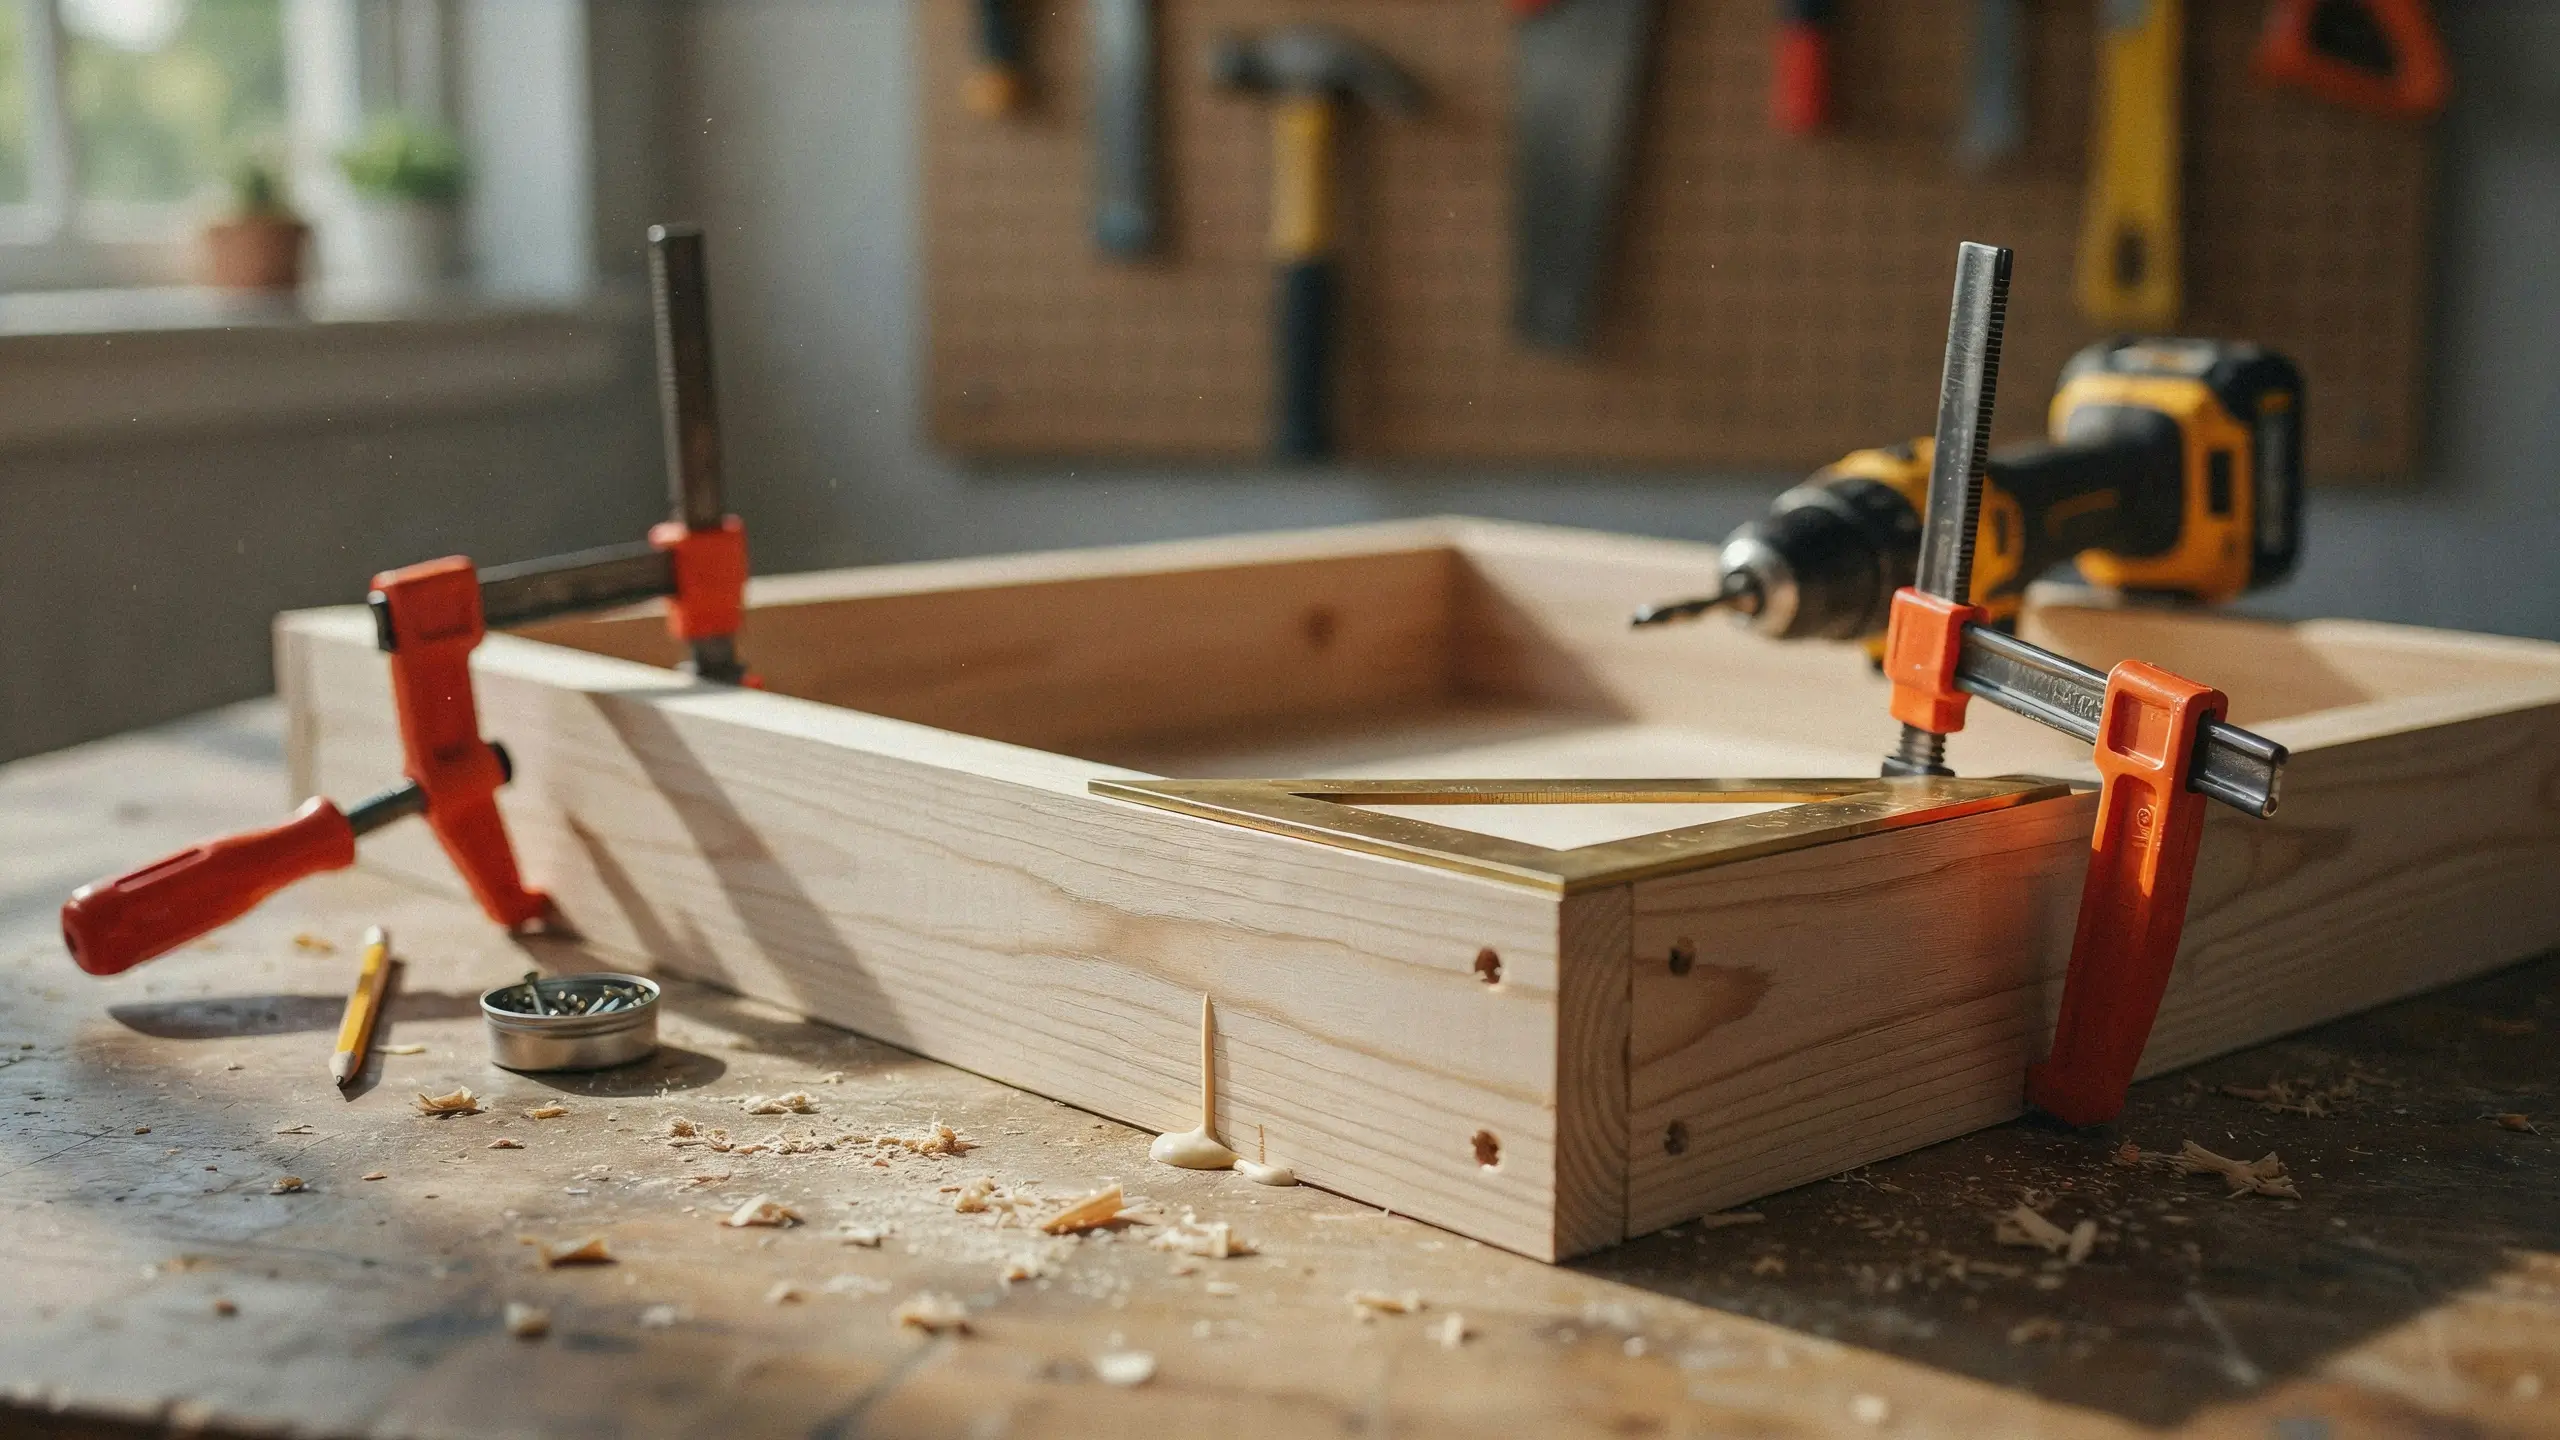
Run a thin bead of wood glue along the edge of an end panel, then position the front panel against it at a right angle. Check the corner with your carpenter’s square before you drive any screws, since crooked corners are much harder to fix after the glue sets. Screw through your pilot holes into the end panel. Repeat for all four corners until you have an open-topped box.
5. Add Small Corner Feet
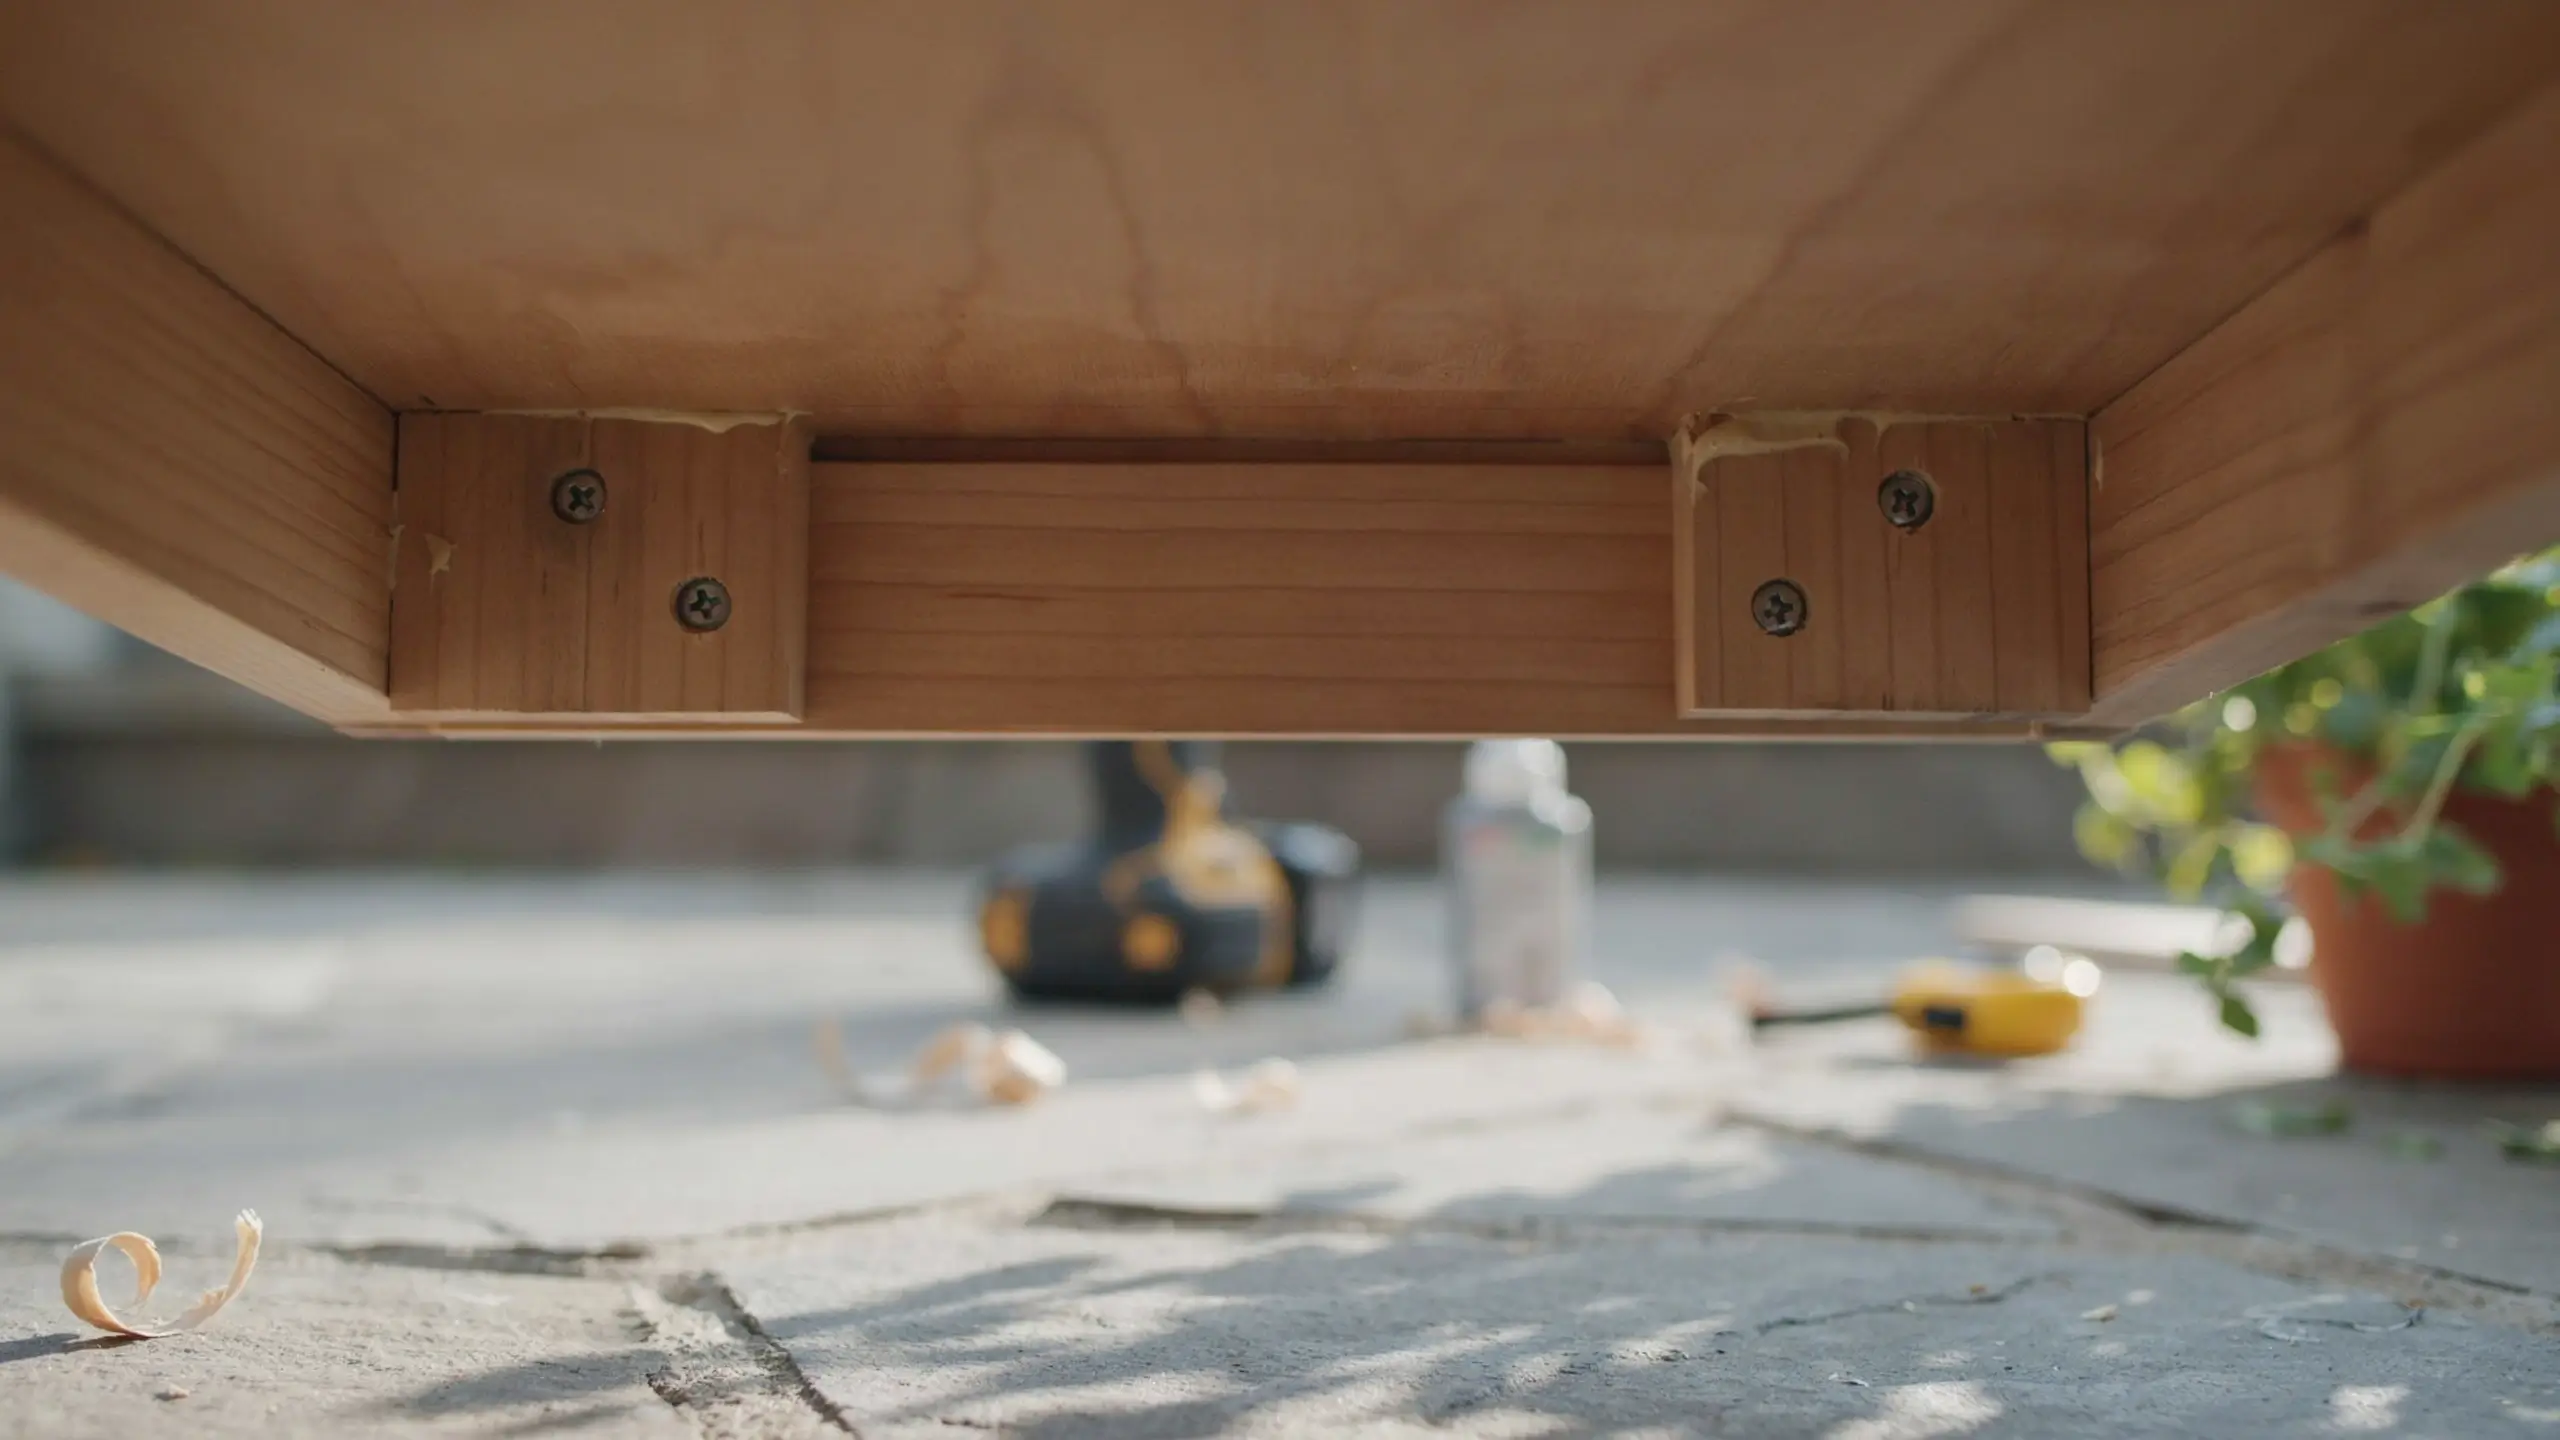
Cut four short blocks, about 1.5 inches, from your leftover wood. Glue and screw one to each bottom corner of the box, on the outside. These lift the box slightly off whatever surface it sits on, which matters more than people expect. Direct contact with concrete or wet soil is one of the fastest ways to rot a wood planter from the bottom up.
6. Cut and Fit the Bottom Slats
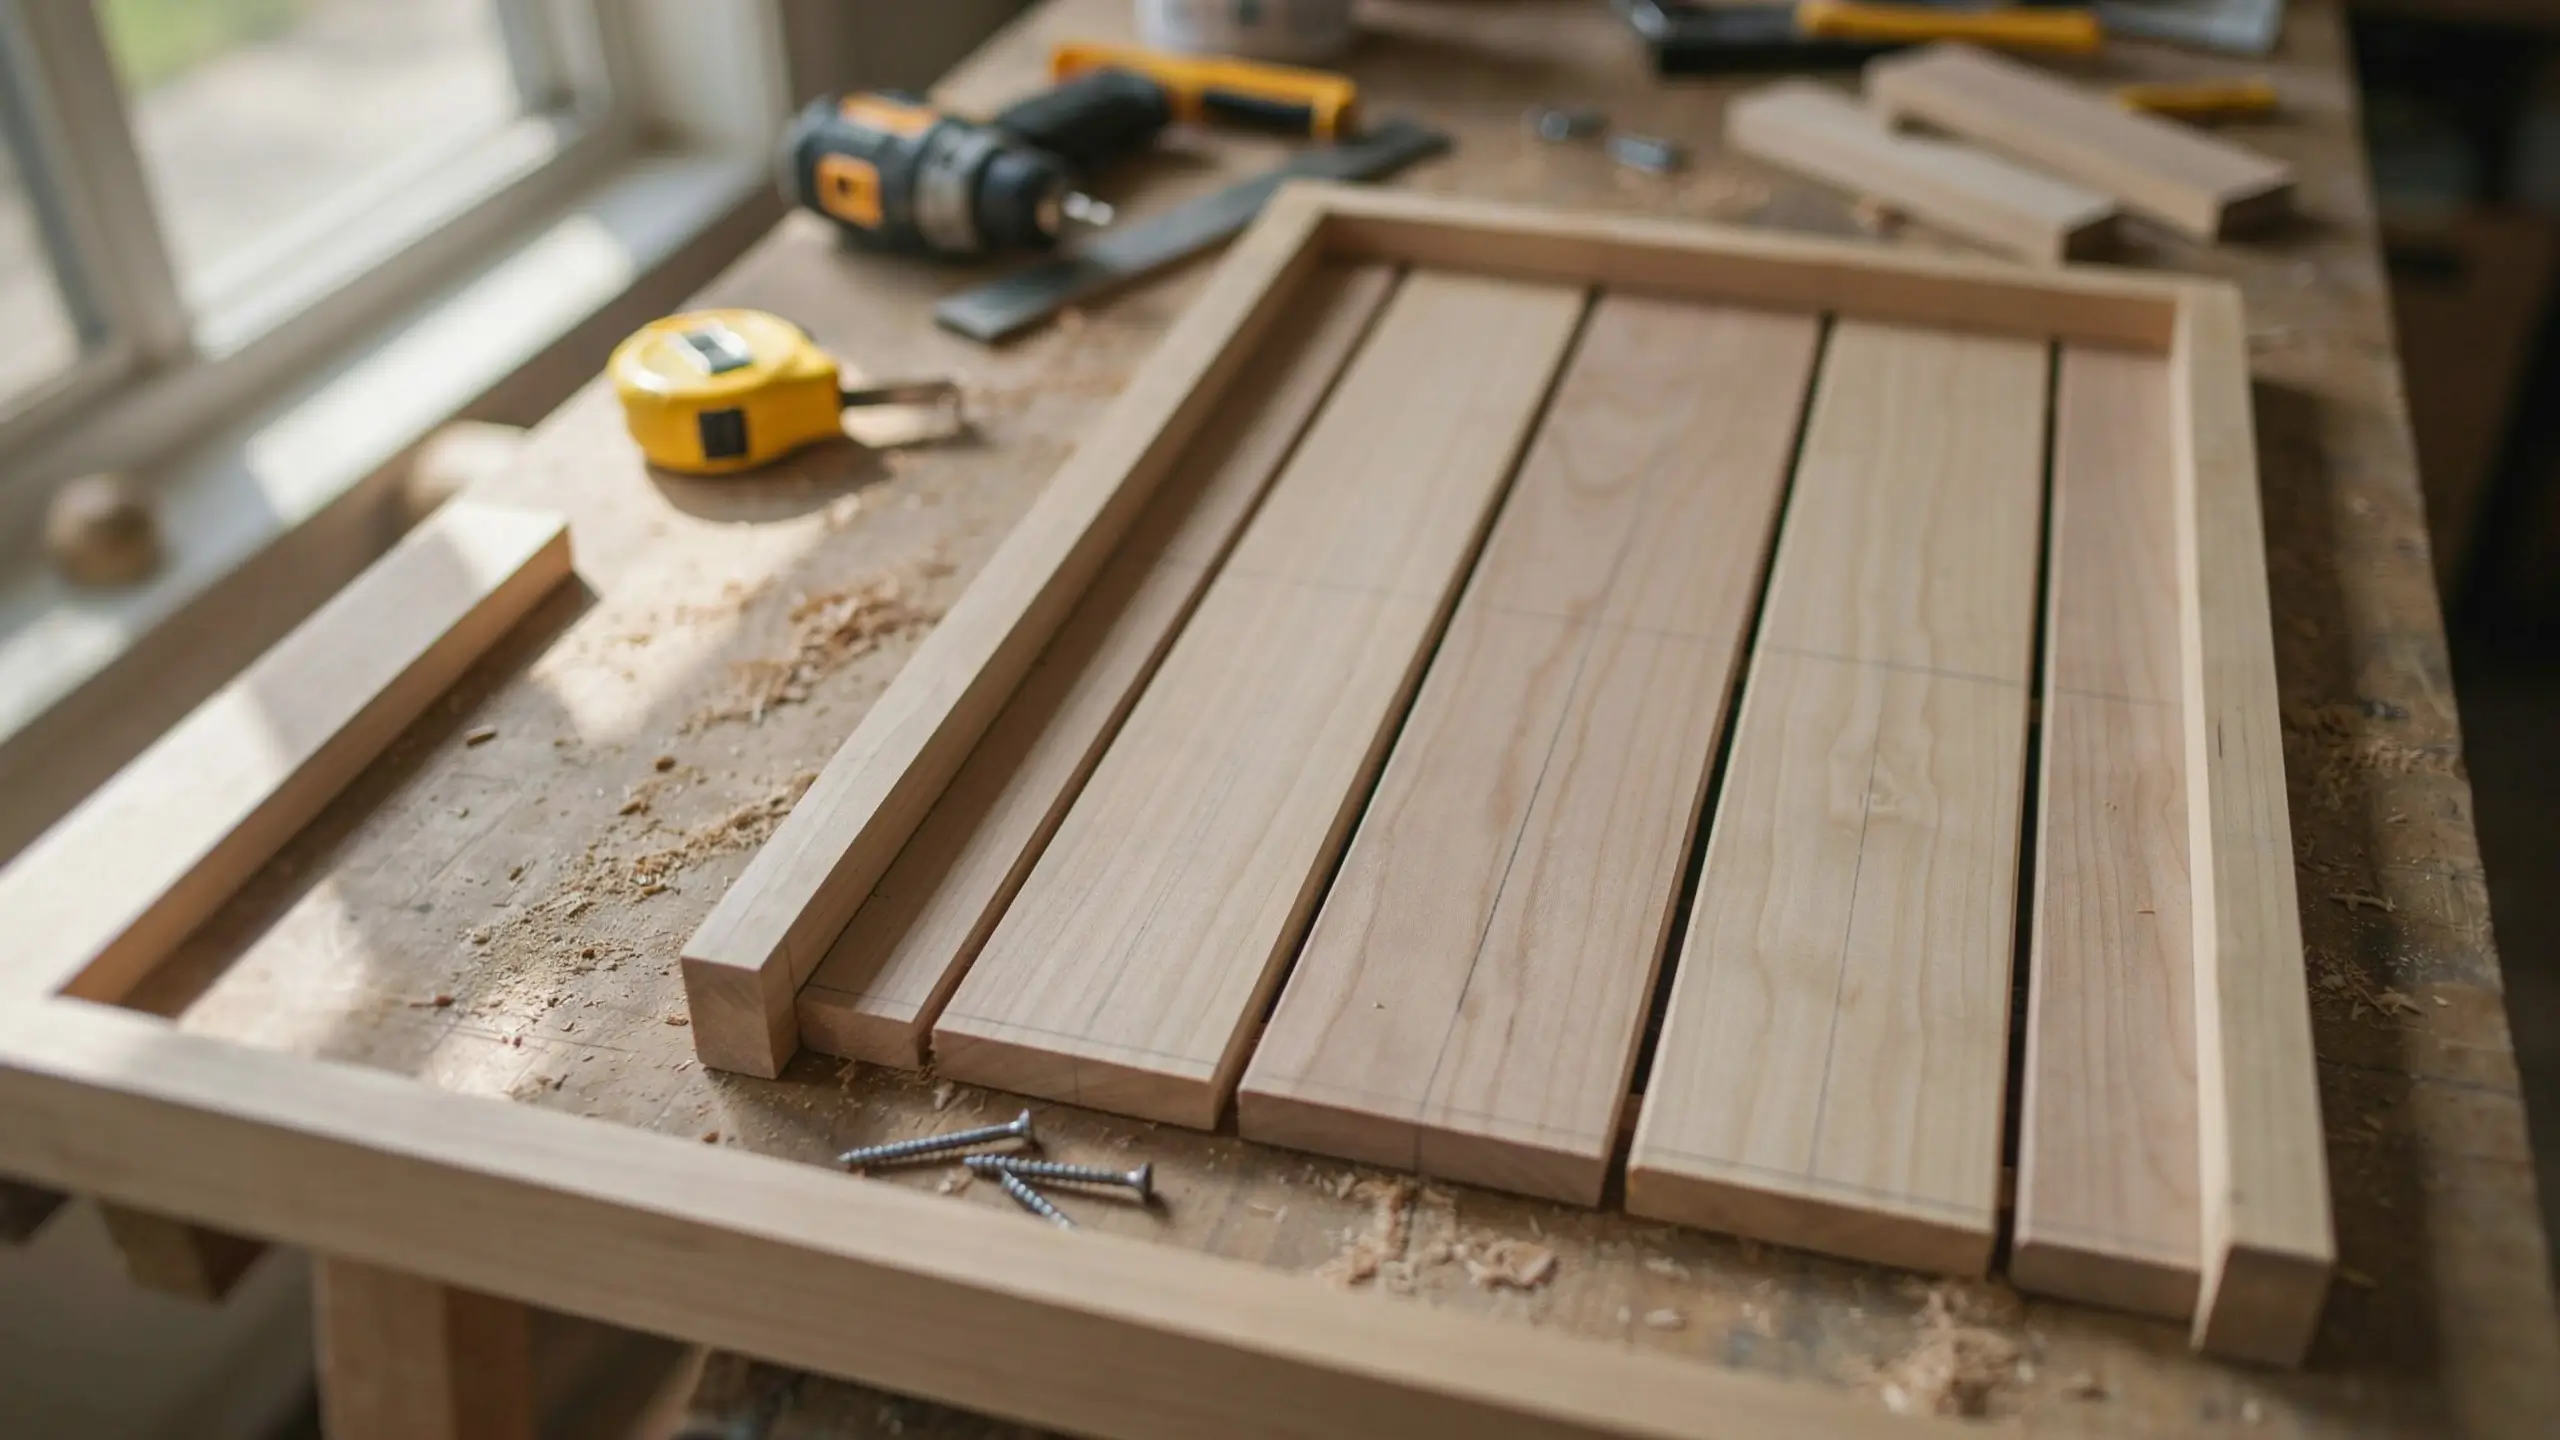
Instead of drilling drainage holes into a solid bottom, this build uses three or four narrow slats laid across the base with small gaps between them, about a quarter inch each. It drains naturally without any extra drilling, and it looks more finished from underneath if the box ever gets flipped or moved.
7. Attach the Bottom Slats
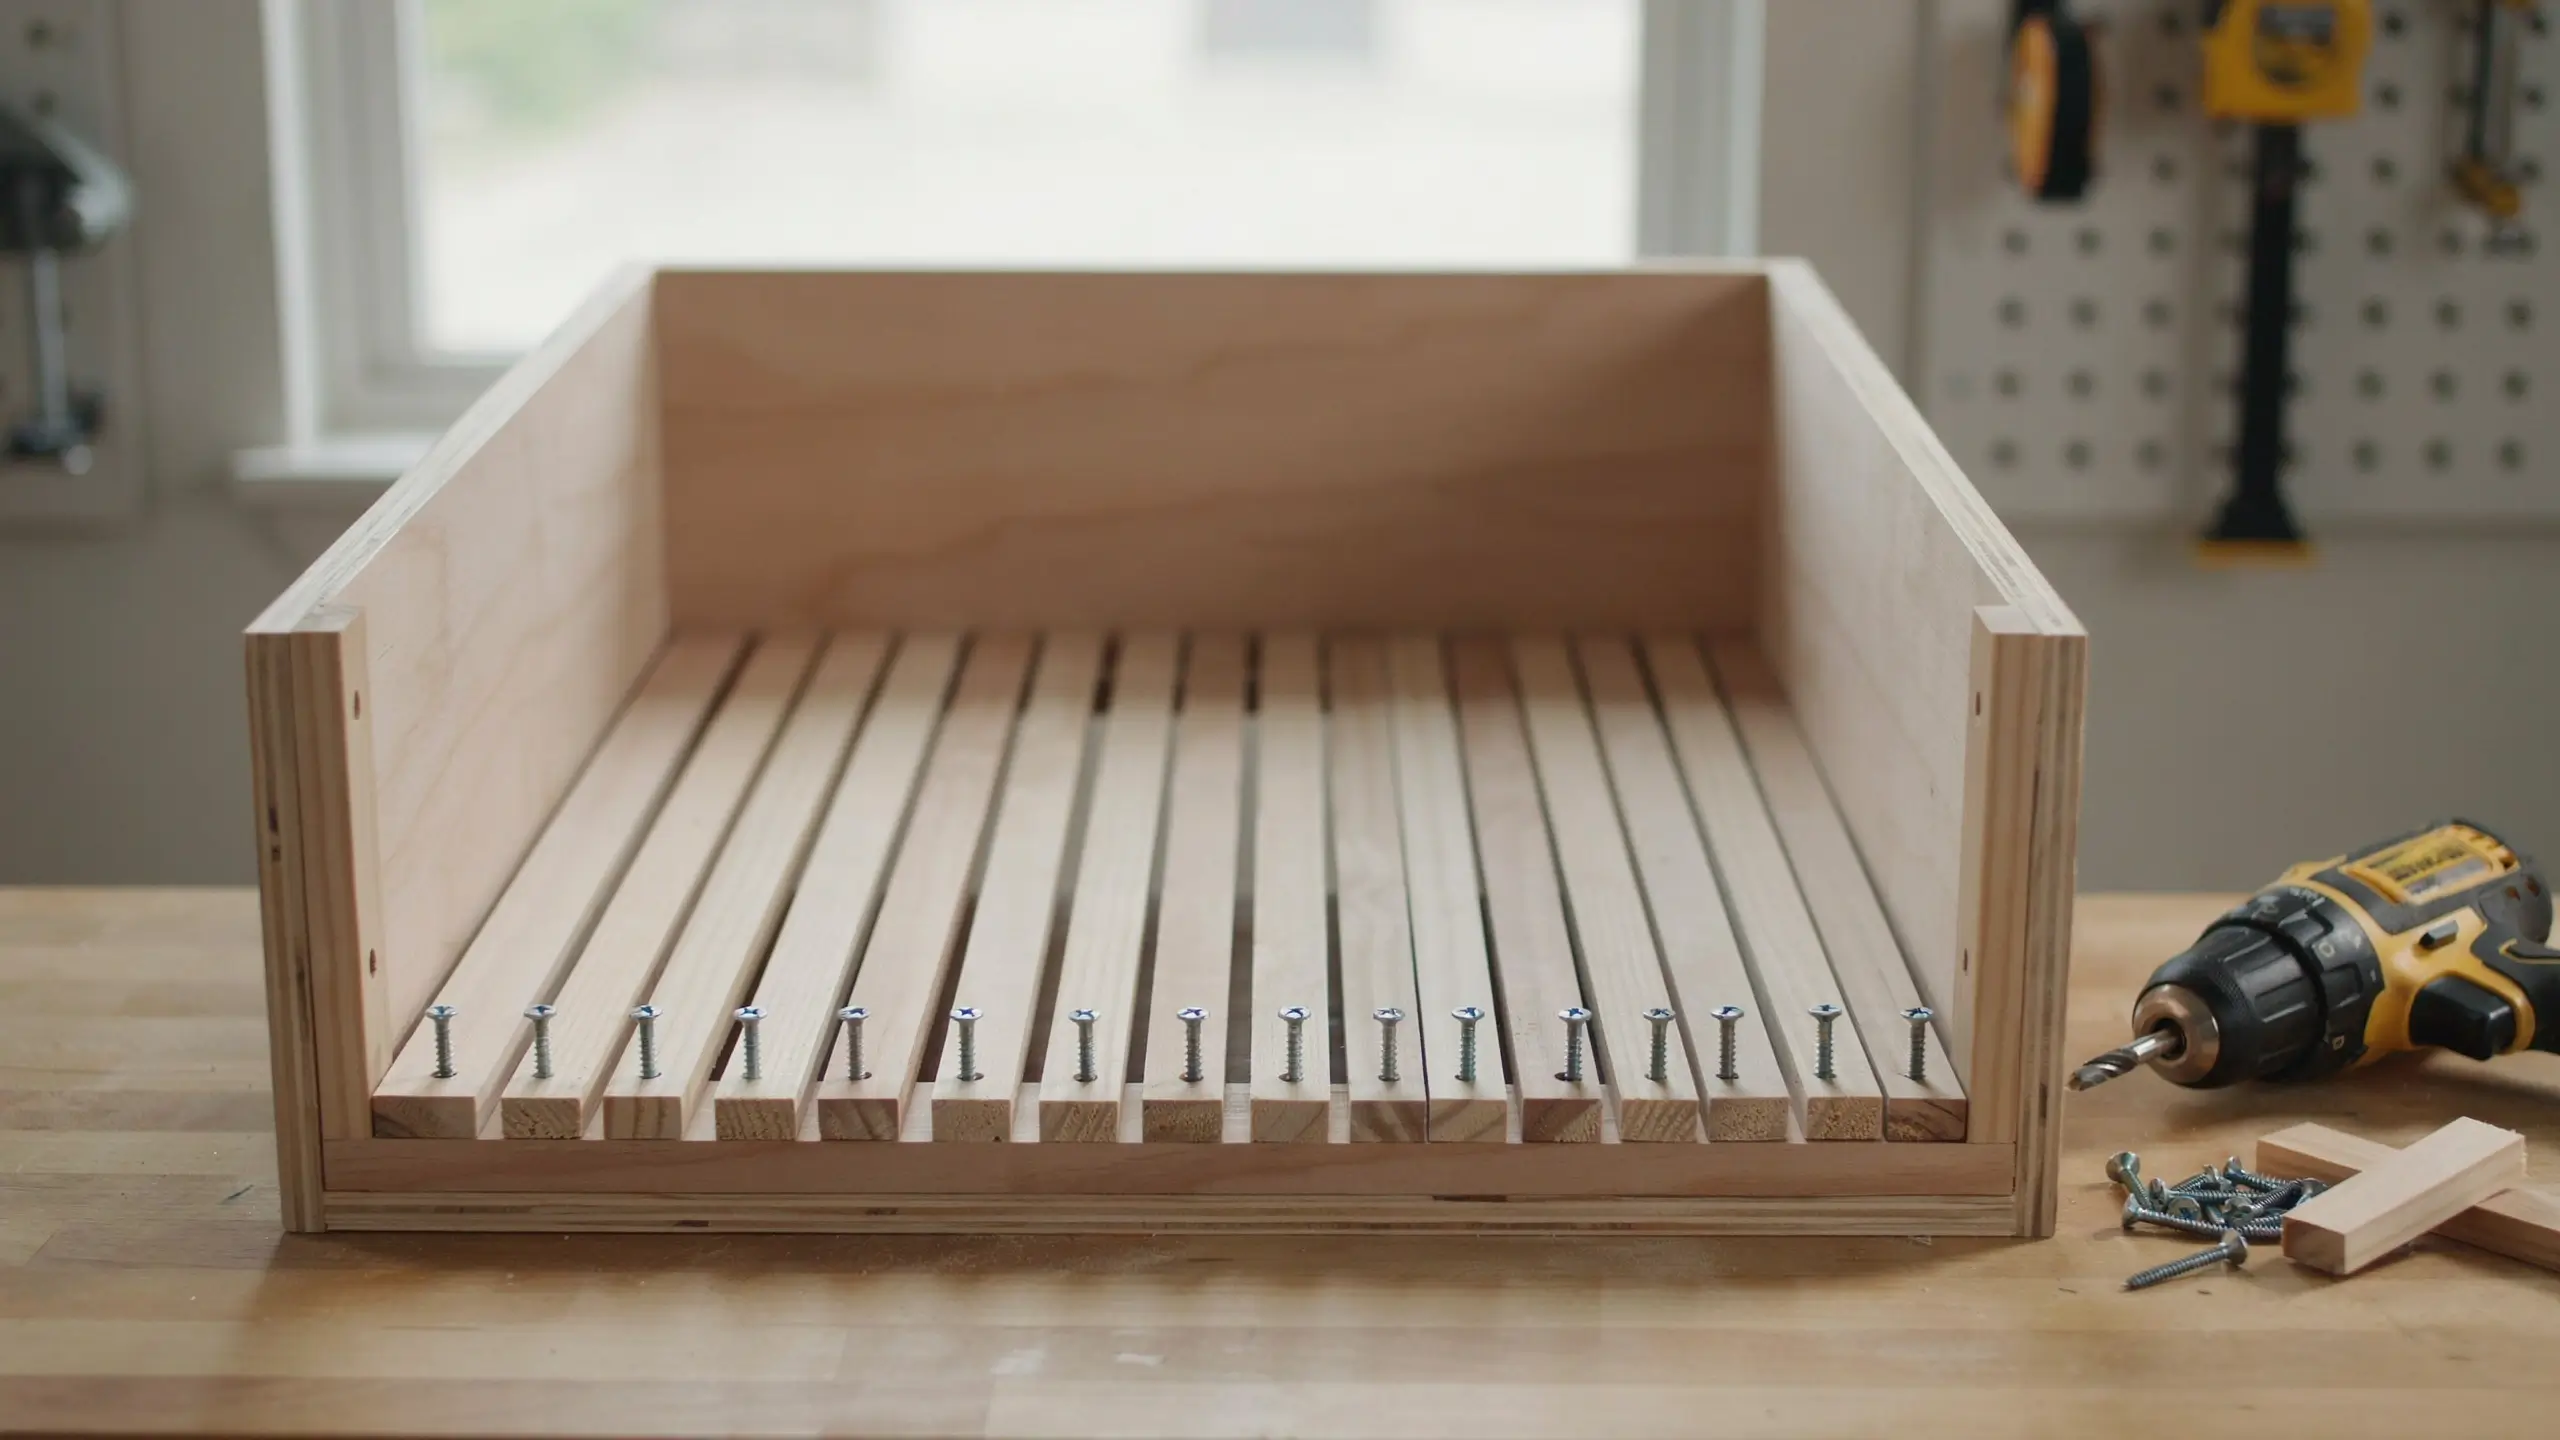
Set the slats into place, gaps and all, then screw each one down into the frame from the inside. Keep the gaps even for a clean look, this is a small detail but it’s exactly the kind of thing that photographs well for a pin.
[Step photo placeholder: assembled box frame with slatted bottom, before trim and paint]
8. Add the Decorative Trim Cap
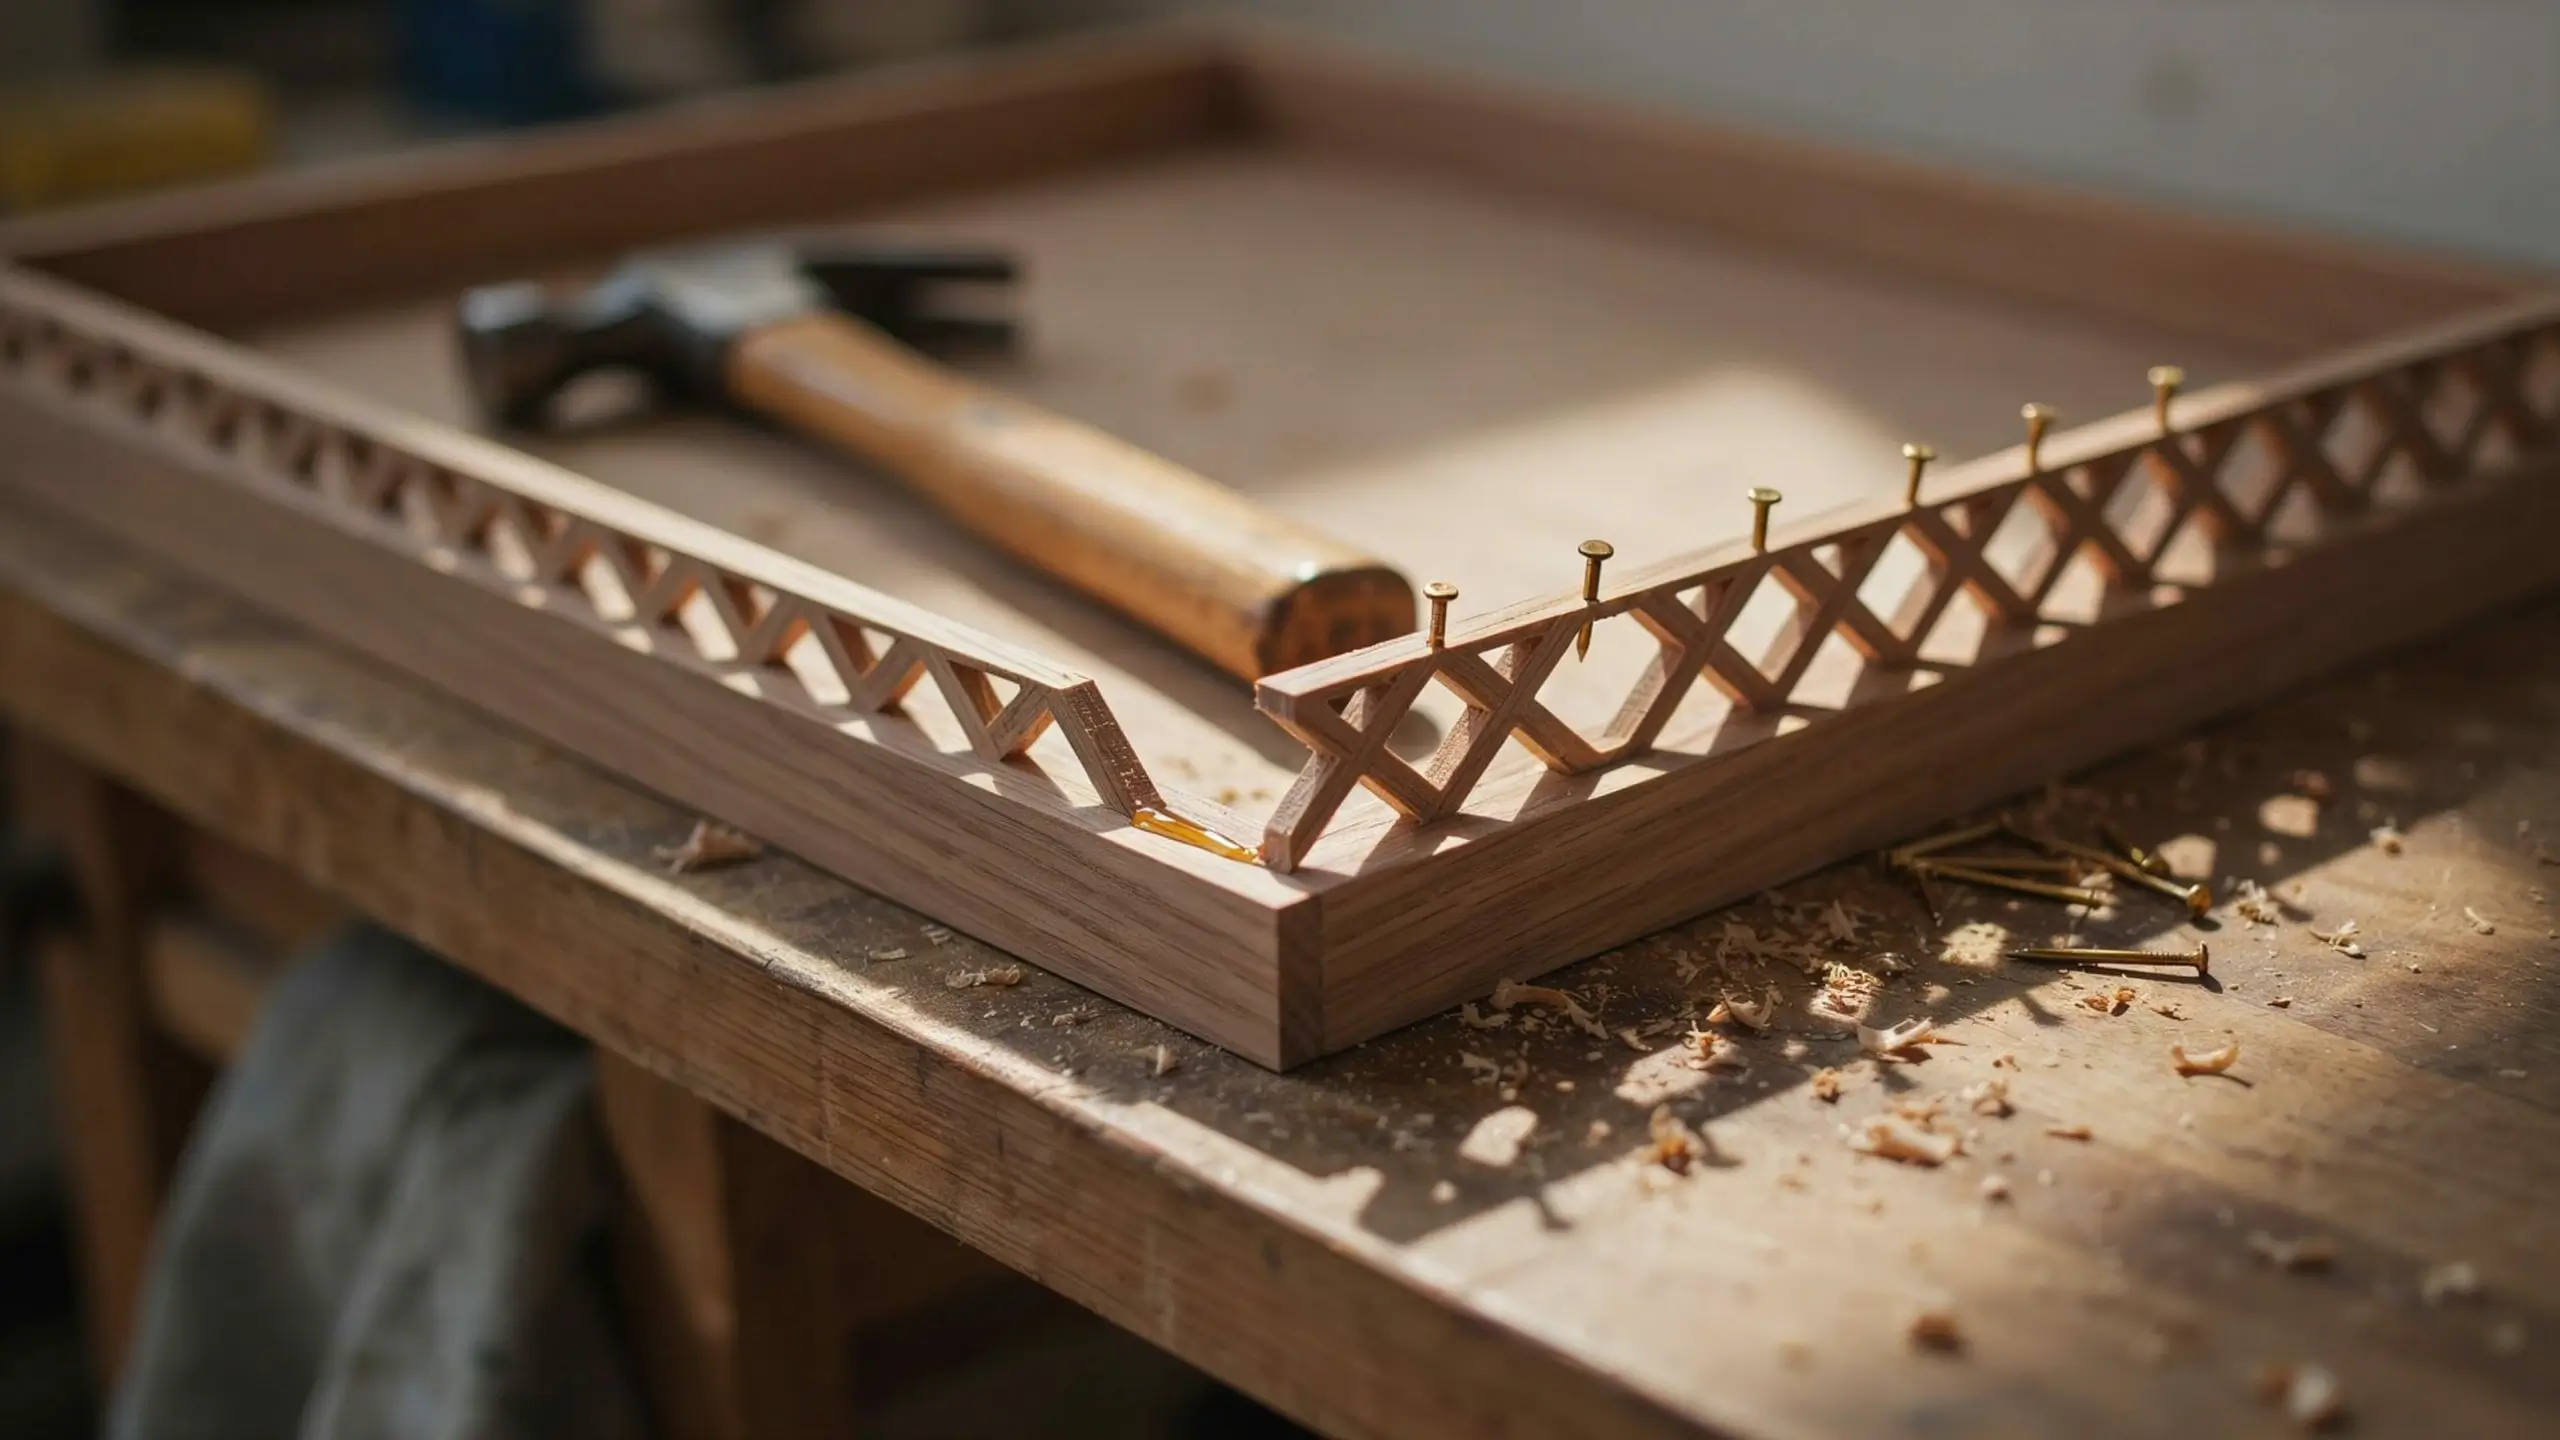
This is the step that turns a basic box into a decorative one. Miter the corners of your lattice strip at 45 degrees and glue it around the top edge of the box, like a picture frame resting on the rim. A few small brad nails hold it in place while the glue cures. This single detail is what separates a store-bought look from a plain crate, and it costs about four dollars.
9. Line the Inside With Landscape Fabric, if You’re Planting Directly
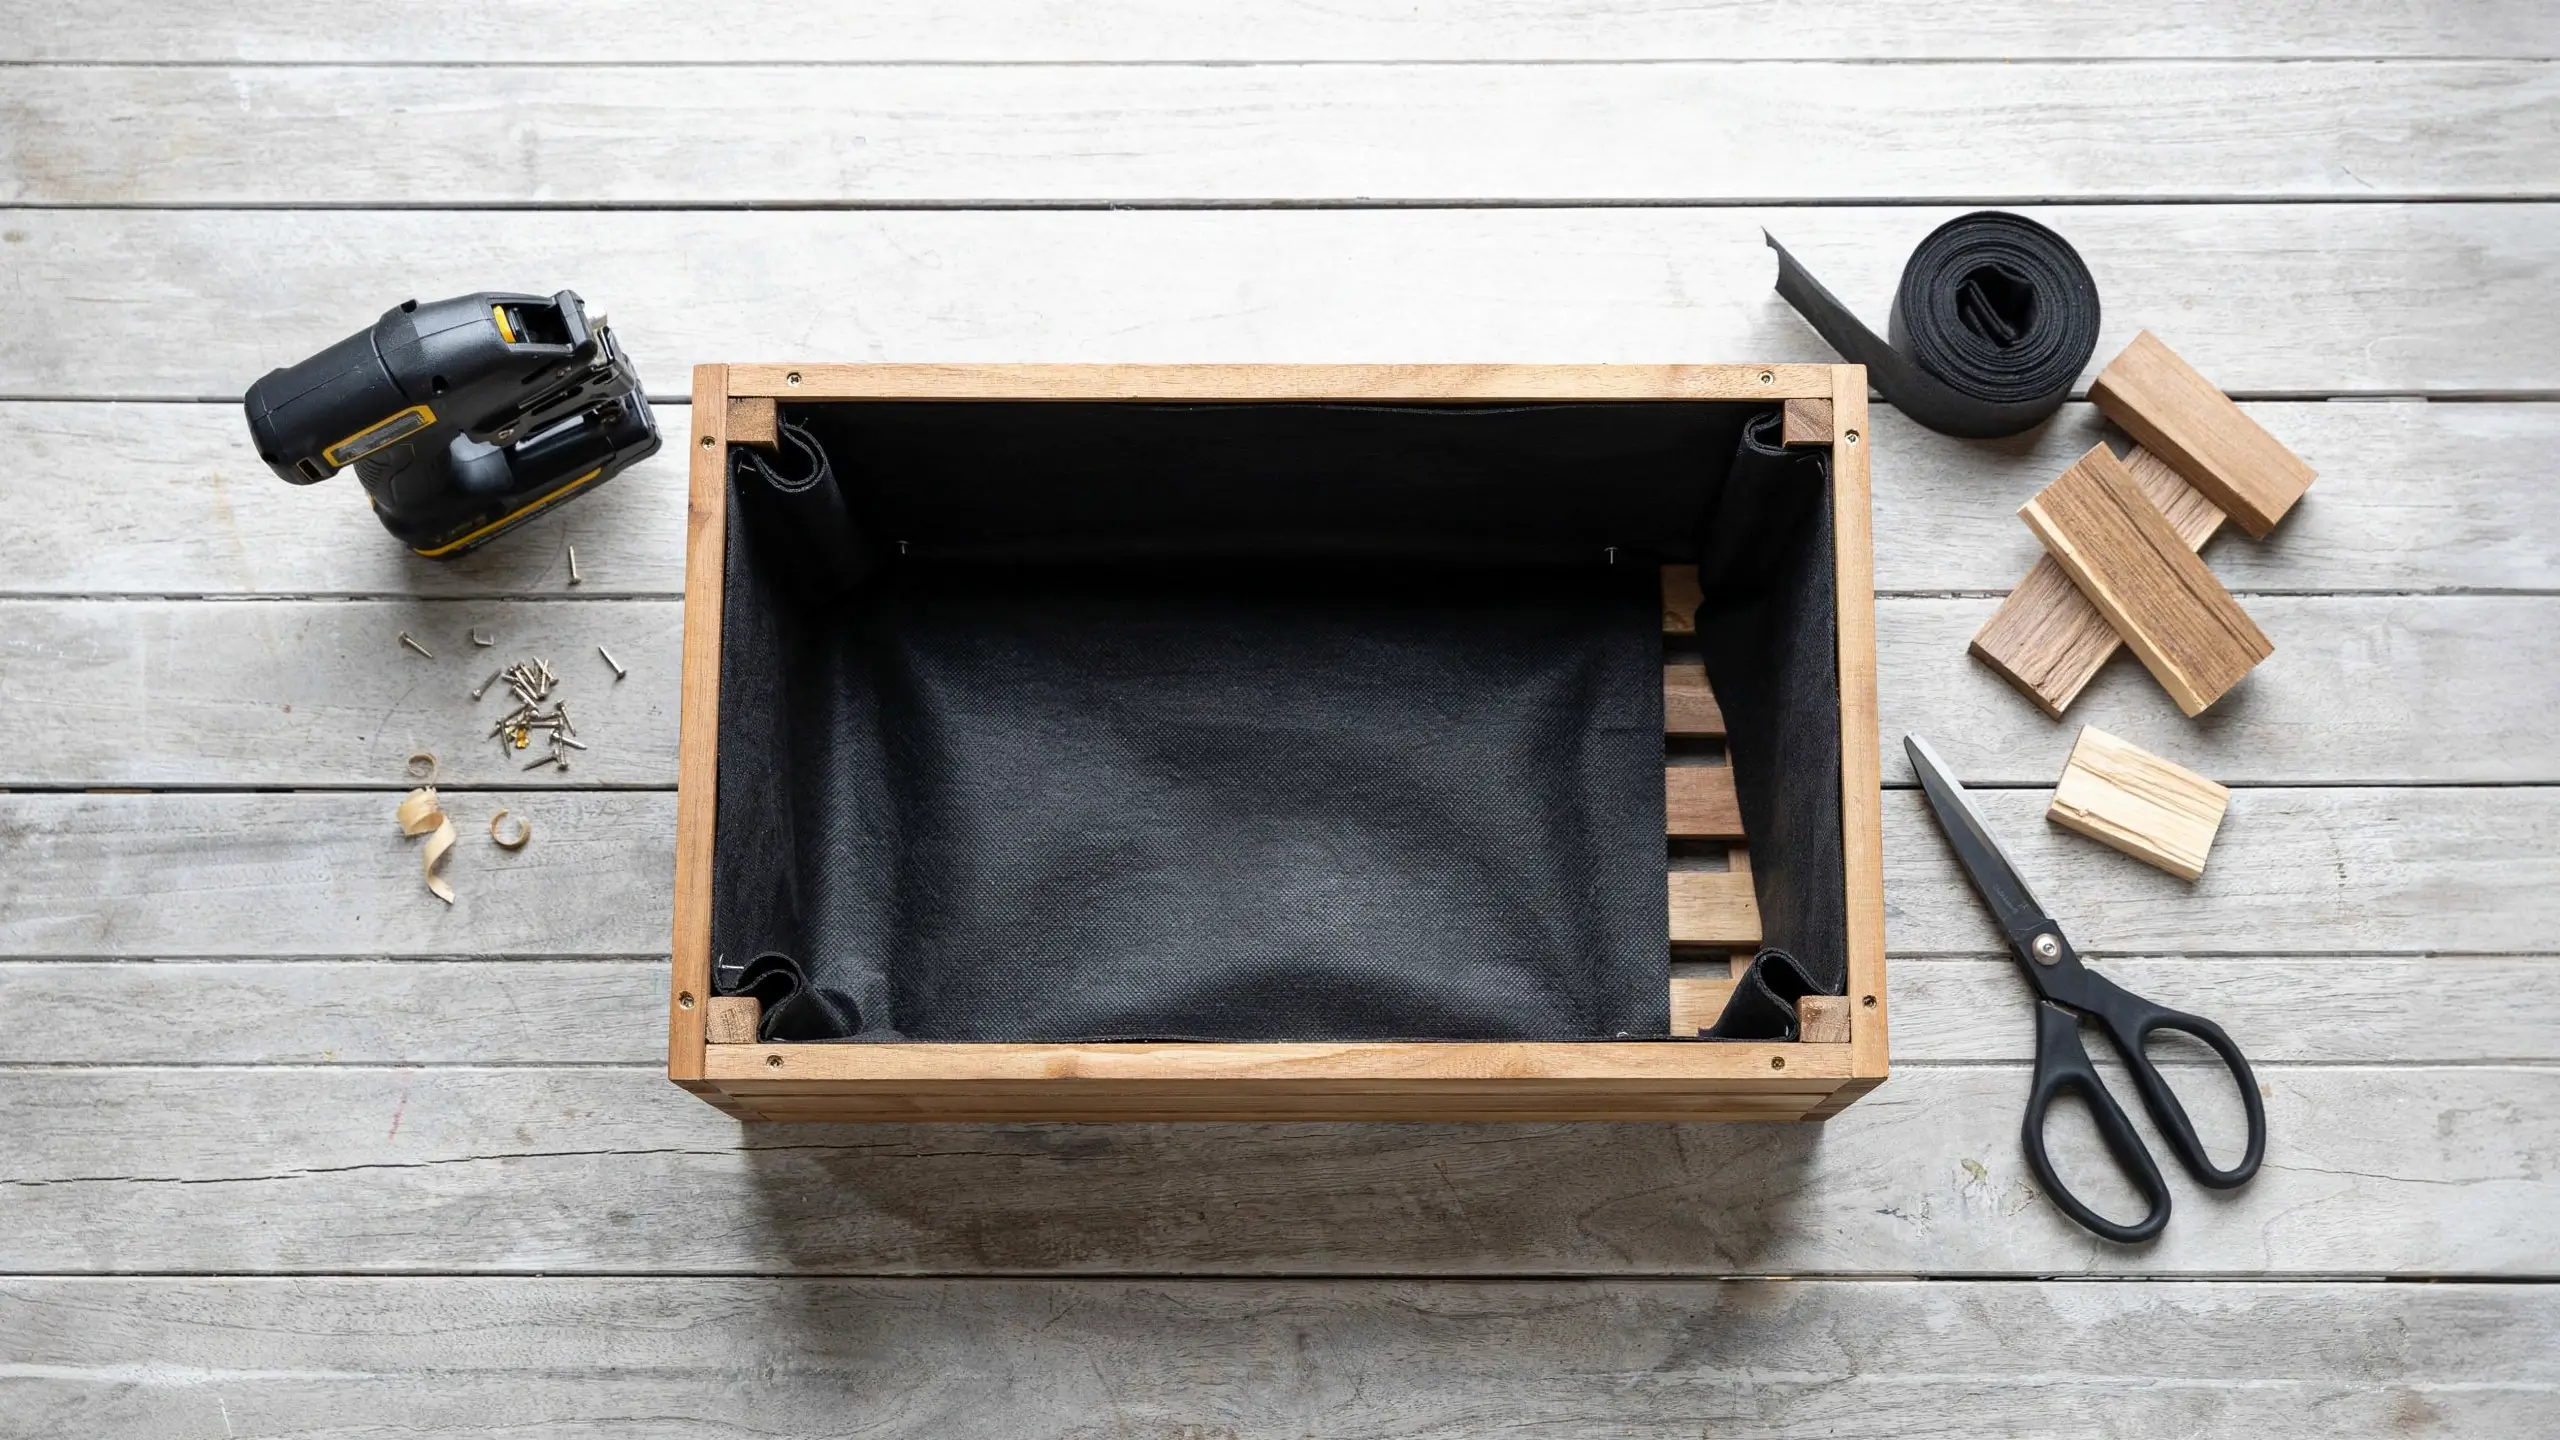
Cut a piece of landscape fabric to fit the interior, press it into the corners, and staple or tack it along the top edge. This keeps soil from washing out through the drainage gaps while still letting water pass through.
10. Paint or Stain, Two Coats, Inside and Out
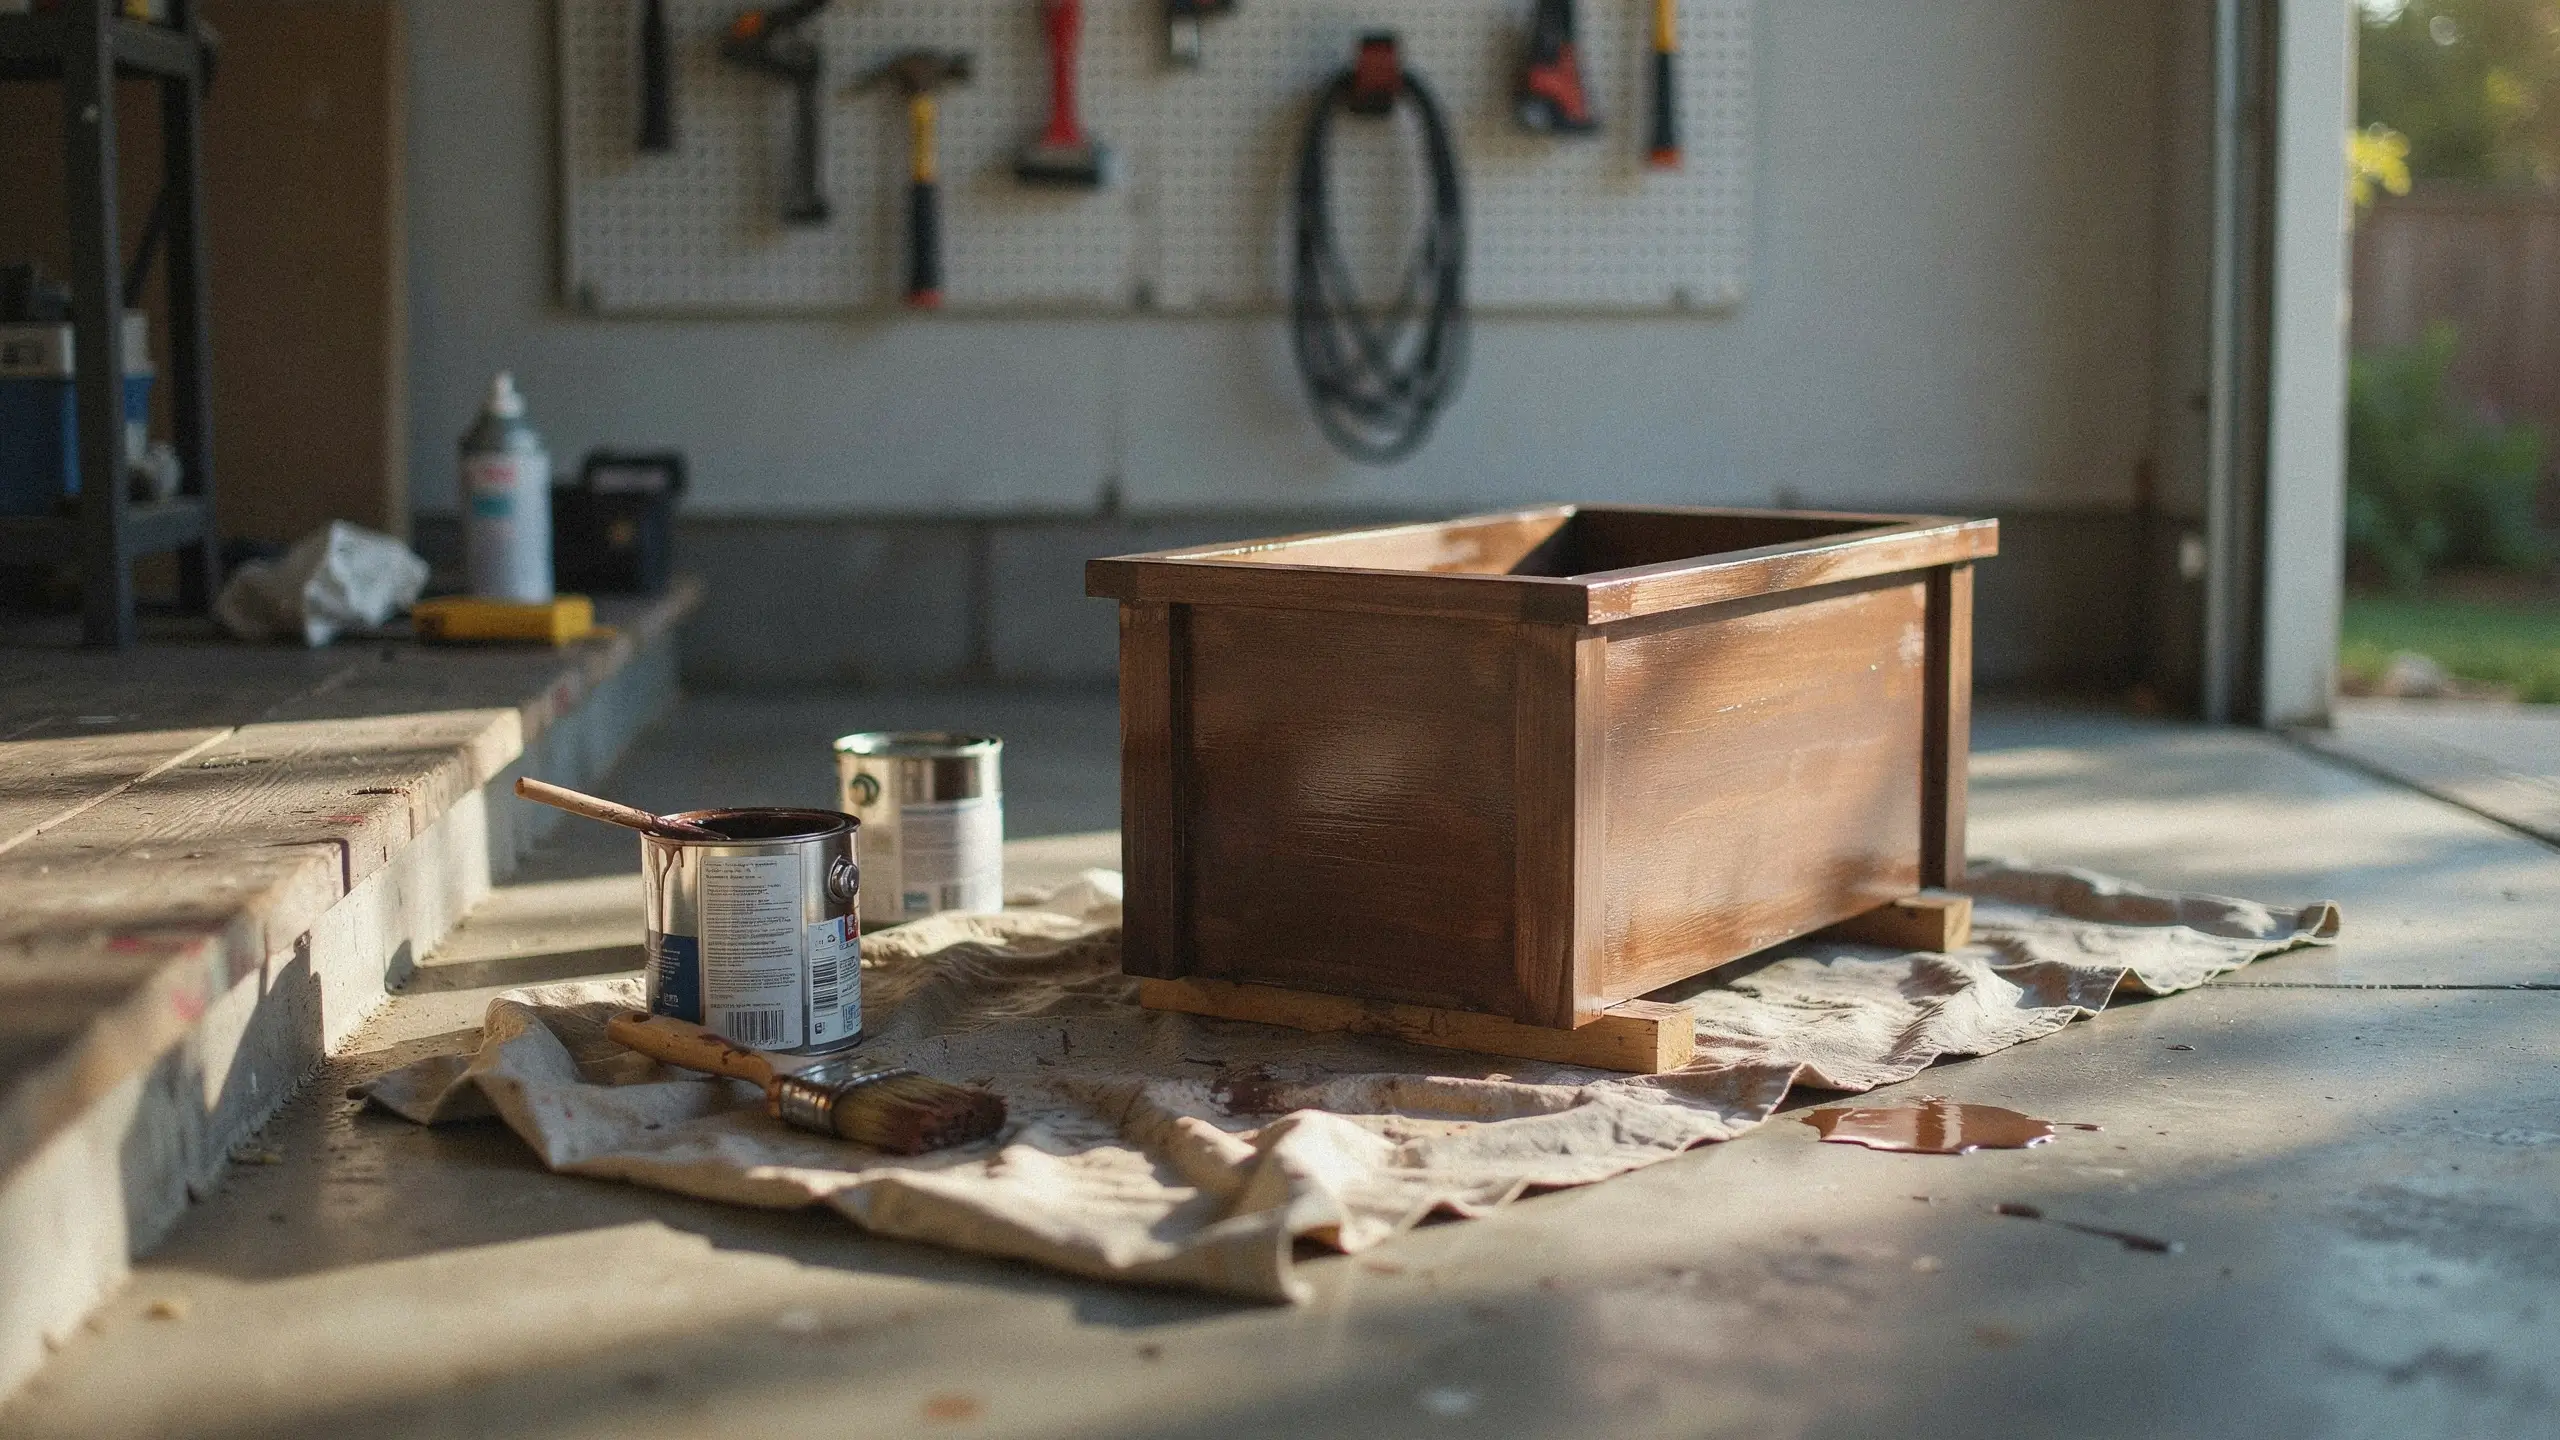
Don’t skip the inside. Sealing only the outside of the box is one of the most common mistakes in DIY planter builds, and it’s why so many of them rot from the inside out within a year. Let each coat dry fully, at least 24 hours, before adding soil.
Make It Look Decorative, Not Just Functional
The build above gets you a solid box. These small touches are what make it feel intentional.
Play With Color Instead of Defaulting to White
White is safe, but it’s also everywhere. Pinterest’s 2026 color roundup leans into deeper, richer tones this year, things like plum, jade, and warm persimmon. A planter box in a deep plum or jade green against a light-colored porch reads as far more designed than another white box. If you want something more neutral, a whitewashed or raw natural wood finish is having a moment too, and it skips paint costs almost entirely.
Add Hardware
A small drawer pull or cabinet knob screwed to the center of the front panel, just for looks, makes the box read like a miniature piece of furniture rather than a garden container.
Try an X-Brace on the Front Panel
Two thin strips of leftover trim, crossed diagonally and glued to the front before painting, adds texture and a farmhouse feel without any extra cutting complexity.
Stencil House Numbers or a Short Word Onto the Front
This works especially well if the box sits by a front door, and it’s one of the most saved styles of planter on Pinterest for exactly that reason, it doubles as address signage.
Two-Tone It
Paint the body of the box one color and the trim cap a contrasting shade. Even a subtle contrast, like a warm white body with a black trim cap, adds visual interest that a single flat color can’t.
Mistakes That Ruin a $30 Planter Box
A few small errors are responsible for most planter box failures, and they’re easy to avoid once you know to watch for them.
- Skipping pilot holes. Thin cedar splits along the grain almost immediately without them, and a split corner is hard to fix once it’s happened.
- Painting or staining only the outside. Moisture gets in from the inside through soil contact, and an unsealed interior rots first.
- Setting the box directly on concrete, pavers, or bare soil. Without feet or risers, trapped moisture cuts years off the box’s life.
- Making drainage gaps too wide. Anything much wider than a quarter inch lets soil wash straight out with every watering.
- Rushing the drying time. Adding soil before the finish has fully cured traps moisture against fresh paint and causes it to peel within weeks.
- Using old treated lumber for anything edible. Older CCA-treated wood, common before 2004, isn’t safe for vegetable or herb planters. New ACQ-treated lumber is considered food-safe, but lining the inside with landscape fabric is a smart extra precaution either way.
Where to Put It (and What to Plant)
This size box works beautifully flanking a front door, lined up along porch steps, mounted below a window if you add simple L-brackets, or attached to a mailbox post for a small pop of color at the curb. It’s also light enough to move seasonally if you’d rather not commit to one spot.
For plant pairings, think about what’s actually in season. Pansies and violas hold up well in cool spring weather. Petunias, geraniums, and trailing sweet potato vine fill the box out fast through summer heat. Mums and ornamental kale carry it into fall. And in winter, a few evergreen clippings and some pinecones keep the box from sitting empty until spring.
[Finished planter photo placeholder: styled box with seasonal flowers, angled for a vertical Pinterest pin]
[Read Also: 15 Budget Curb Appeal Ideas That Look Expensive]
Common Questions
How much does it actually cost to build a planter box?
A basic decorative planter box like this one runs $23 to $30 in materials if you’re buying everything new. That drops if you already have paint, glue, or screws on hand.
What’s the cheapest wood for a planter box?
Cedar fence pickets are the most budget-friendly option that still resists rot naturally. Pressure-treated pine pickets cost even less but shouldn’t be used for edible plants unless you know the treatment type.
Do planter boxes need drainage holes?
Yes. Standing water around plant roots leads to rot fairly quickly. This build uses small gaps between bottom slats instead of drilled holes, but either method works as long as excess water has somewhere to go.
How long will a wood planter box last outside?
A sealed cedar box with proper drainage and feet to keep it off the ground typically lasts five years or more, sometimes much longer with a fresh coat of stain every couple of seasons.
Can I build this without power tools?
Yes, though it takes longer. A hand saw and miter box handle the cuts, and a manual screwdriver works for assembly, just be extra patient with the pilot holes so the wood doesn’t split.
Final Thoughts
A decorative planter box for under $30 is one of those projects that pays you back every time you walk past it. It costs less than a single trip to buy a comparable one, it takes an afternoon, and it’s flexible enough to match whatever color or style your porch needs this season. Once you’ve built one, the next size or shape gets even easier.
If you build one of your own, I’d love to hear how it turned out, drop a comment below with your color choice or where you ended up placing yours.



No Comment! Be the first one.