




How to Install RV Hookups at Home (Water, Electric, and Sewer Made Simple)
If you are tired of paying campground fees every time you want to use your RV, or you just want a comfortable setup for when family rolls in with their camper, installing RV hookups at home is one of...

If you are tired of paying campground fees every time you want to use your RV, or you just want a comfortable setup for when family rolls in with their camper, installing RV hookups at home is one of those projects that pays for itself fast. It sounds intimidating at first. Water, power, and sewage all in one weekend project? But once you break it down into the three separate systems, it is a lot more manageable than people expect.
This guide walks through exactly how to install RV hookups at home, step by step, including what you can DIY, what you should hand off to a professional, and the mistakes that trip up almost everyone the first time.
What Counts as a “Full Hookup” at Home
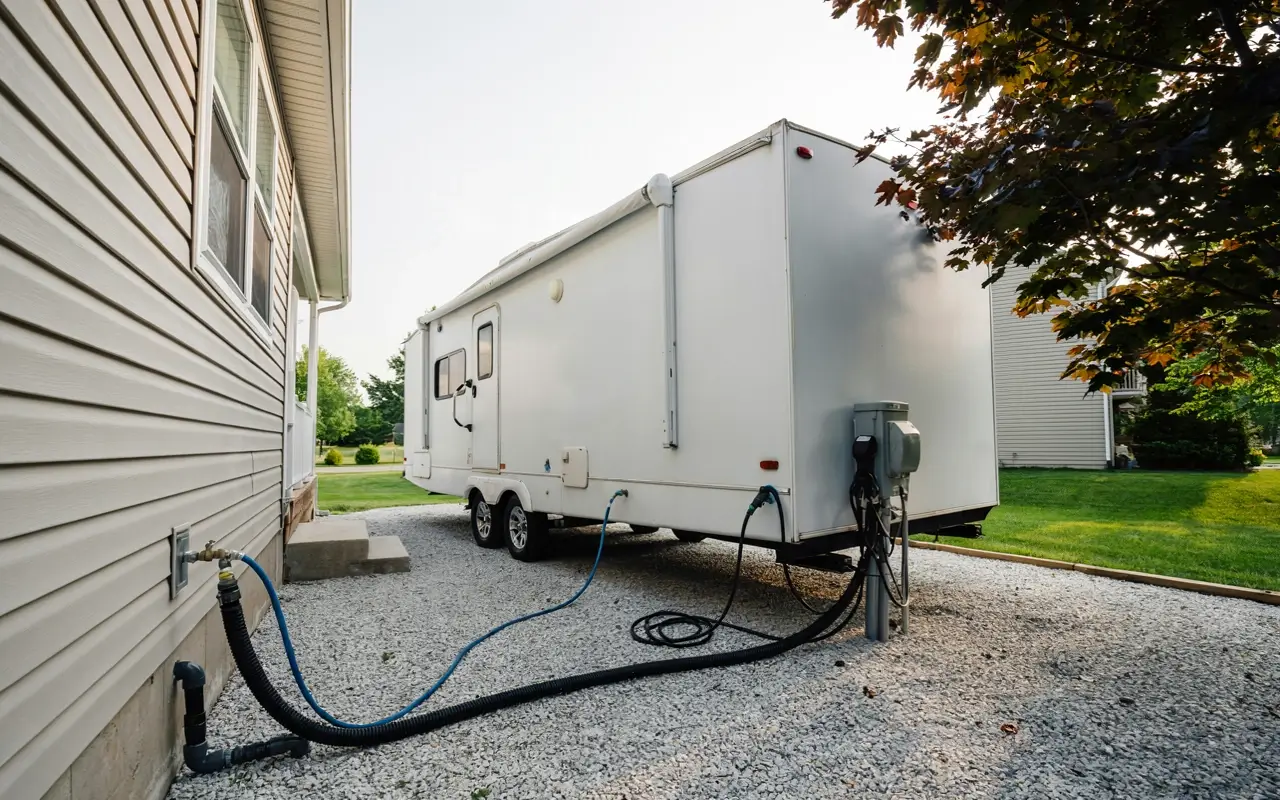
A full RV hookup has three parts: water, electric, and sewer. You do not have to install all three at once. Plenty of people start with just electric and water, then add a sewer connection later once they know how often they will actually use the RV parked at home.
Here is the quick version of what each one does:
| Hookup Type | What It Does |
|---|---|
| Water hookup | supplies fresh drinking water directly into your RV so you are not running back and forth filling jugs. |
| Electric hookup | powers your lights, outlets, air conditioner, and appliances without draining your RV battery or running a noisy generator. |
| Sewer hookup | lets you drain your gray water (sinks and shower) and black water (toilet) without hauling tanks to a dump station. |
Before You Touch a Single Hose, Check This
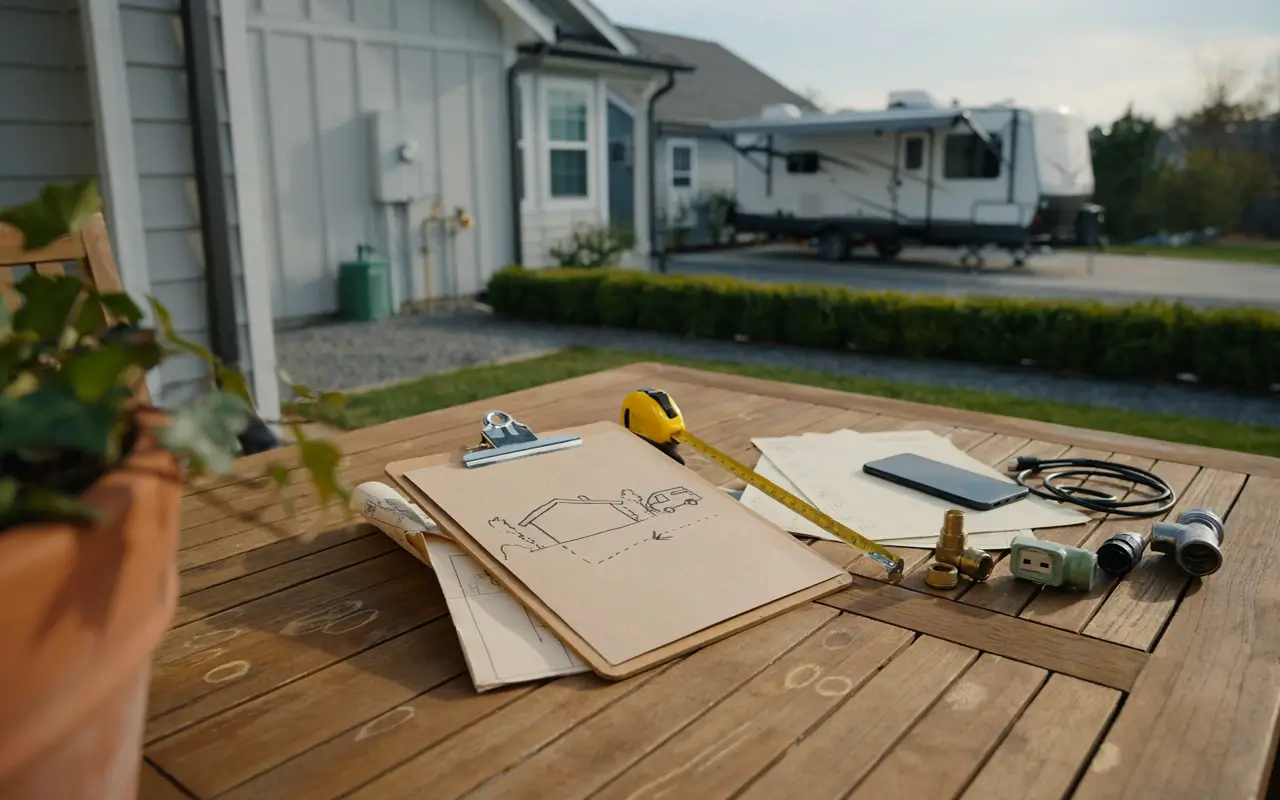
This is the step almost every blog post buries at the bottom, but it should be first. Before you buy a single fitting, call your city or county planning department and ask about RV hookups on residential property. Rules vary wildly by location. Some cities are completely fine with an RV hookup for guests or personal use. Others require a permit for anything involving the sewer line, and a few ban hooking an RV up to utilities outside of a licensed RV park entirely, even in your own backyard.
A few things worth confirming:
- Whether your area requires a permit for a dedicated sewer connection
- Whether an electrical permit and inspection is required for a new outdoor circuit
- Any HOA restrictions on RVs parked in view of the street
- Whether living in the RV full time is treated differently than using it occasionally as a guest space
Skipping this step is how people end up with a fully wired hookup they are not allowed to use, or a neighbor complaint that turns into a fine. It takes one phone call to avoid that.
Step 1: Pick and Prep Your RV Parking Spot
Everything else in this project depends on where the RV sits, so start here.
Look for a spot that is reasonably close to your home’s water spigot, electrical panel, and sewer cleanout or septic access. The shorter those runs are, the cheaper and easier the whole project becomes. A spot on the side of the house near the garage or utility room is usually the sweet spot.
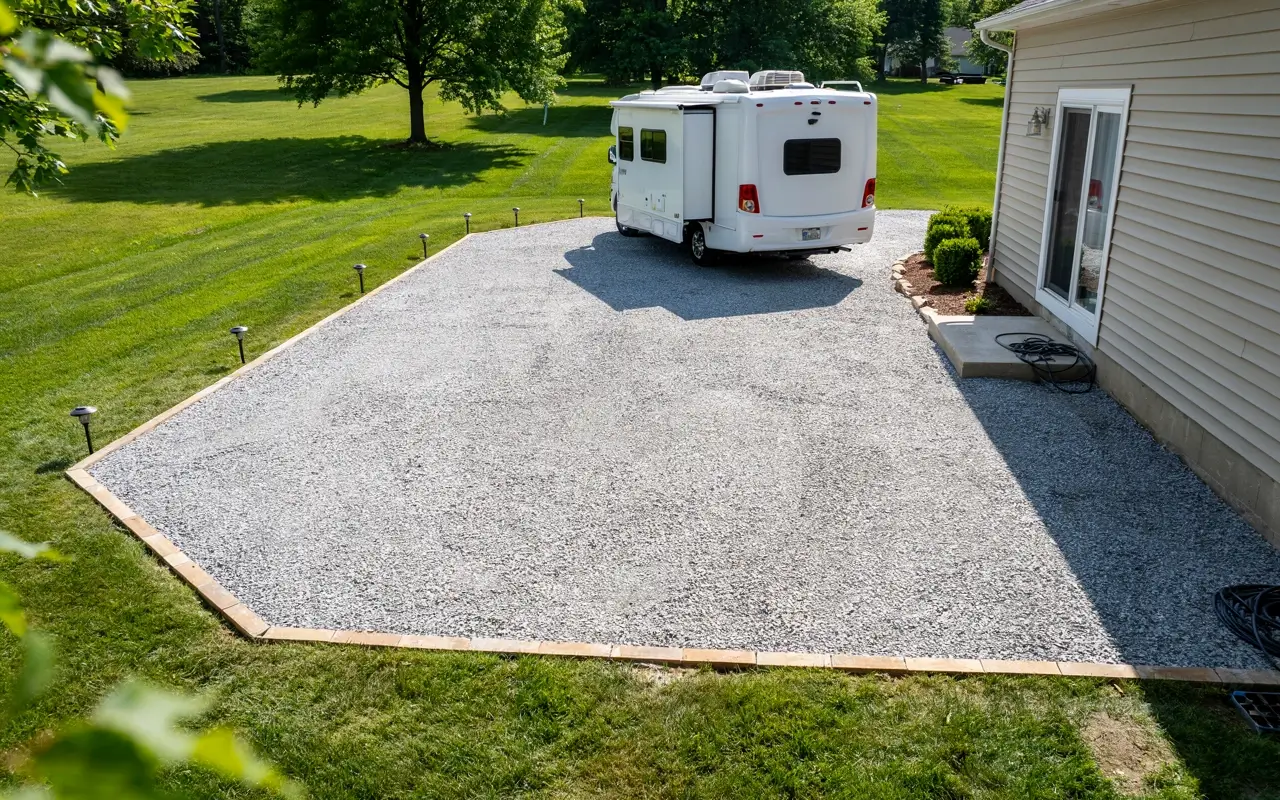
Once you have a location, build a stable surface. Parking directly on grass or dirt works for a weekend, but the ground will eventually settle unevenly and your RV won’t sit level, which causes fridge and drainage issues over time. A gravel pad is the budget-friendly option most DIYers go with. A poured concrete pad costs more but holds up longer and looks more finished, especially if the RV will be a semi-permanent guest space.
For sizing, measure your RV’s length and width and add a few feet of buffer on each side for opening slide-outs, storage compartments, and entry steps. A general rule of thumb for a comfortable pad is at least 20 feet wide by 40 to 50 feet long, though this depends entirely on your RV size.
Pinterest-friendly touch
Pinterest-friendly touch: edge the gravel pad with landscape timbers or pavers, and add solar path lights along the border. It instantly looks like an intentional RV site instead of a construction zone.
Step 2: How to Install a Water Hookup for Your RV at Home
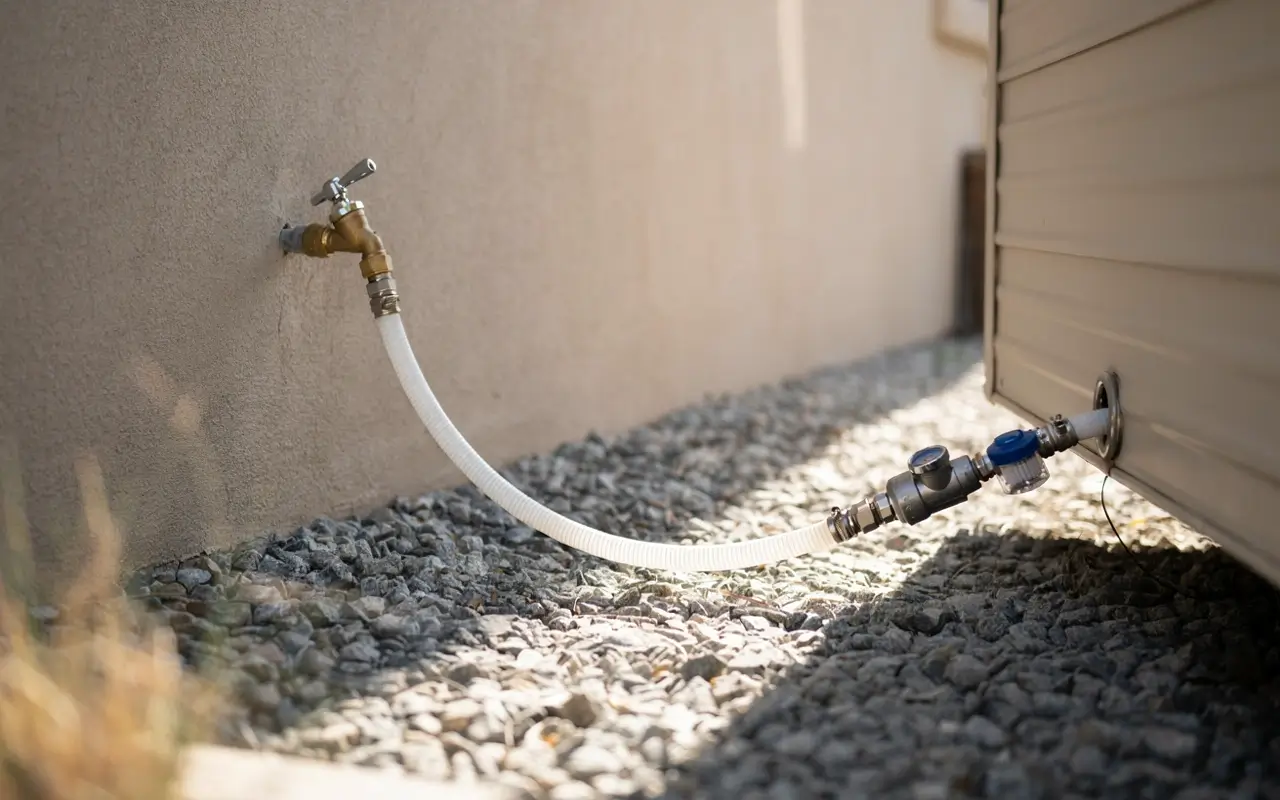
This is the easiest of the three systems and the one most people can fully DIY in an afternoon.
What you need:
- A dedicated white drinking-water-safe RV hose (never use a regular garden hose for your fresh water line, it is not rated food-safe and can leach chemicals into your water)
- A water pressure regulator (household water pressure can run higher than RVs are built for, and a regulator protects your RV’s plumbing from damage)
- An inline water filter, optional but nice for taste
- A hose bib or dedicated outdoor spigot near your parking pad
How to do it:
- Confirm your outdoor spigot has enough pressure and is close enough to reach your RV’s city water inlet with a 25 to 50 foot hose.
- Attach the pressure regulator directly to the spigot, then connect your white drinking hose.
- Run the hose to your RV’s city water inlet, avoiding sharp bends or spots where it could get pinched under the RV.
- If you want a permanent look, you can install a dedicated hose bib closer to the parking pad instead of running a long hose from the house.
Freeze protection matters.
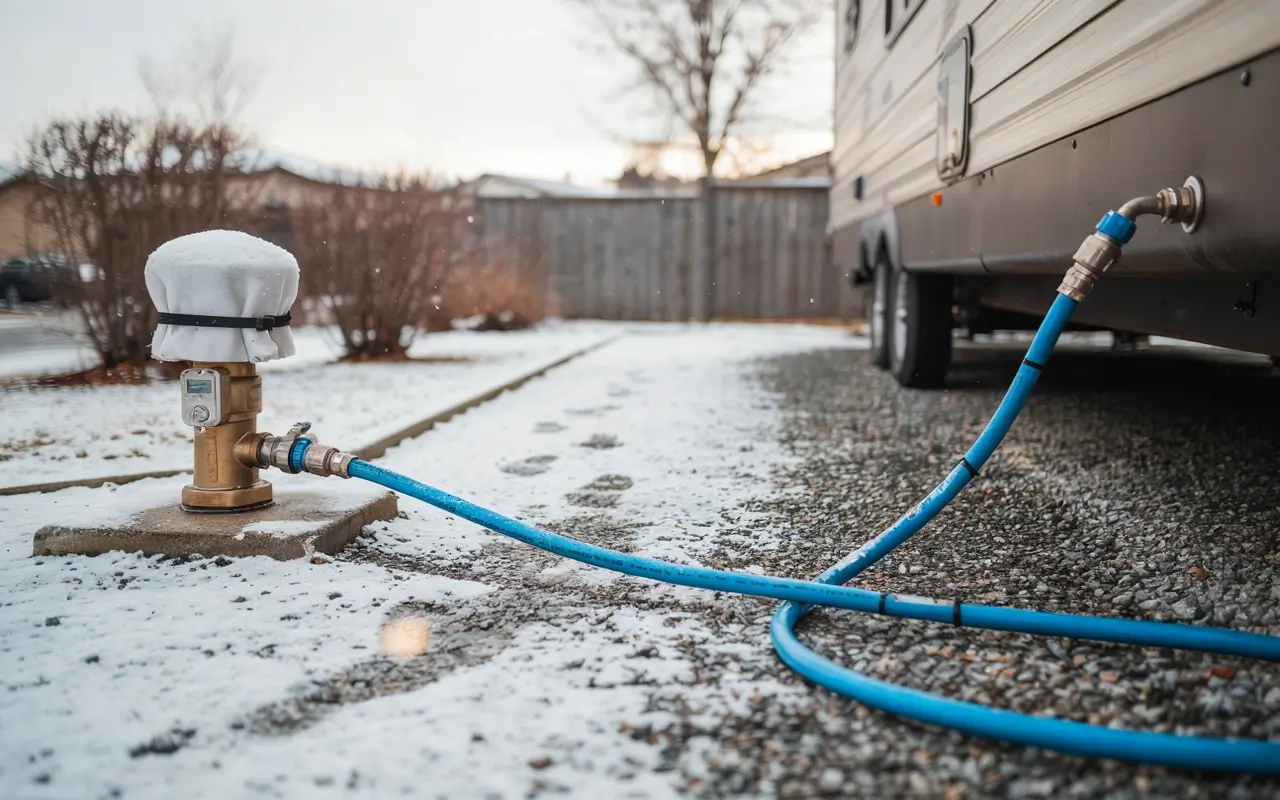
Freeze protection matters. If you live somewhere that sees freezing temperatures and plan to use the RV outside of summer, a standard hose will freeze and crack. Options include heat tape wrapped around the hose, an insulated and heated RV hose, or simply disconnecting and using the RV’s onboard fresh water tank during cold snaps.
Cost to DIY this step typically runs under $50 for the hose, regulator, and filter combined.
Step 3: How to Install an Electrical Hookup for Your RV at Home
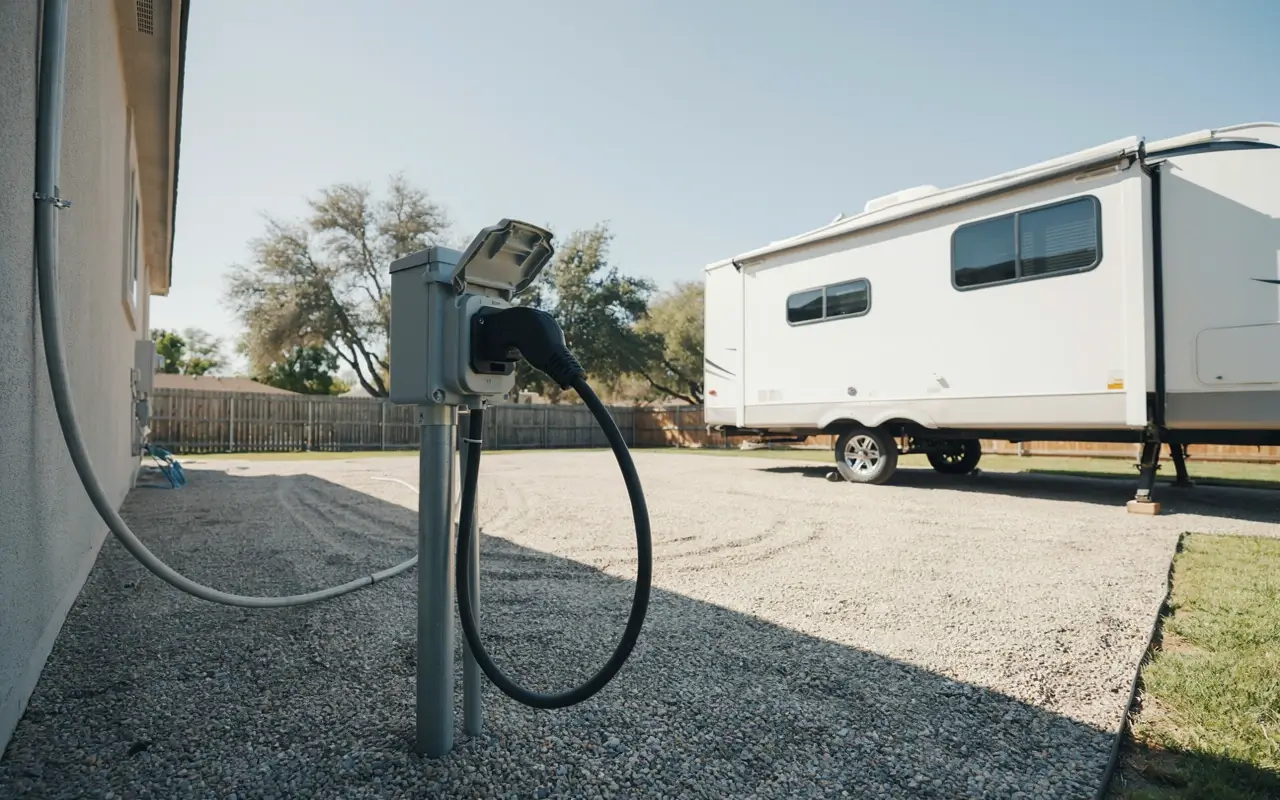
This is the step where most people should stop DIYing and call a licensed electrician, and here is why it actually matters, not just as a liability disclaimer. RVs draw a lot of power, especially with the air conditioner running, and an undersized or improperly wired circuit is a real fire risk.
Understand your amperage first.
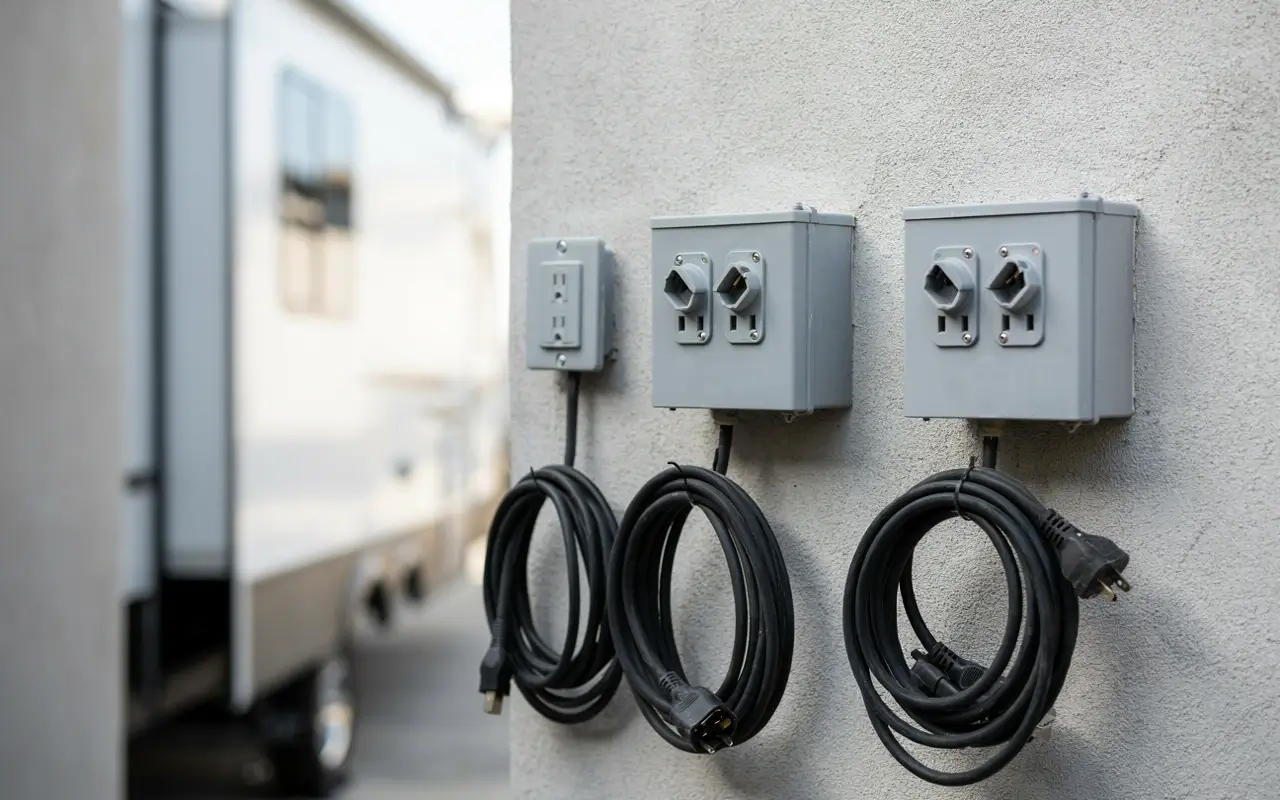
| Amperage | Best For |
|---|---|
| 20 amp | fine for lights, phone charging, and small appliances. Not enough for air conditioning. |
| 30 amp | the standard for most travel trailers and smaller RVs. Handles AC and most appliances if you are not running everything at once. |
| 50 amp | needed for larger motorhomes and fifth wheels, and it actually runs on two separate 120 volt legs rather than a single 240 volt line, which is a detail that trips up a lot of DIYers. This is an important distinction: it is not wired the same way as a standard household 240 volt outlet for something like a dryer. |
What an electrician will typically install:
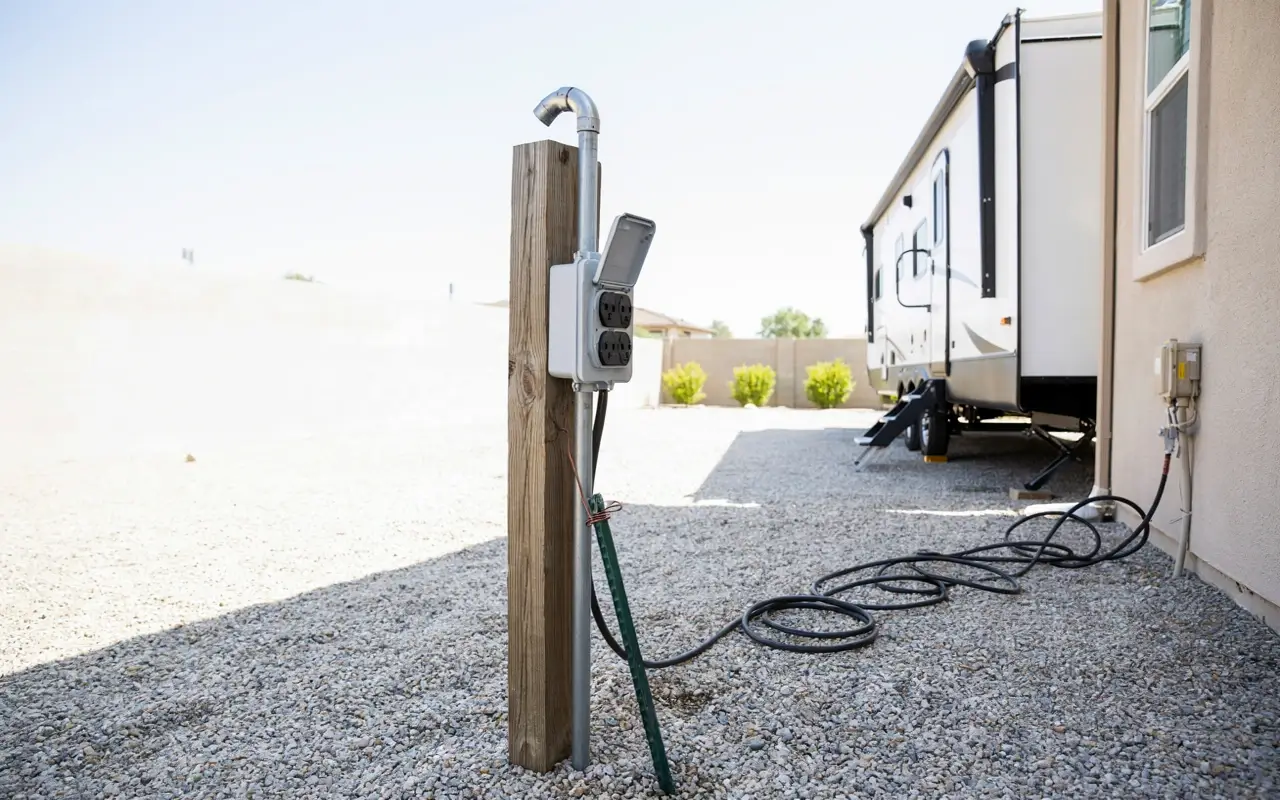
- A dedicated circuit run from your home’s main panel, sized correctly for 30 or 50 amp service
- A weatherproof outdoor receptacle rated for RV use (a TT-30R receptacle for 30 amp, or a NEMA 14-50R for 50 amp, the same style used for EV chargers)
- GFCI protection, which is required by code in most areas for outdoor circuits
- A weatherproof in-use cover so the outlet stays protected from rain even with the cord plugged in
- Proper grounding at the receptacle
What you can reasonably do yourself:
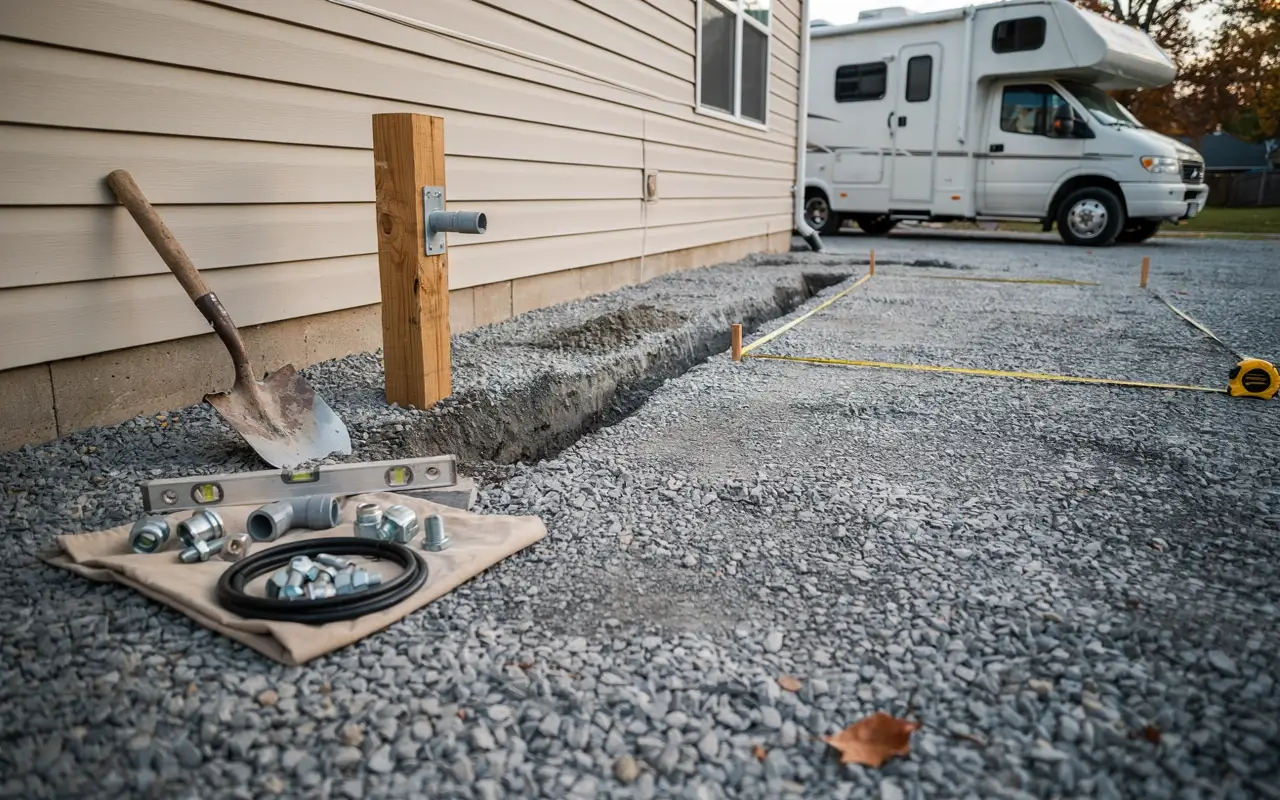
What you can reasonably do yourself: picking the location for the outlet, digging the trench for the conduit if it is being run underground, and mounting a post or small pedestal box once the electrician has run the wire. The actual panel connection and wiring should go to a licensed pro.
A safety note worth repeating:
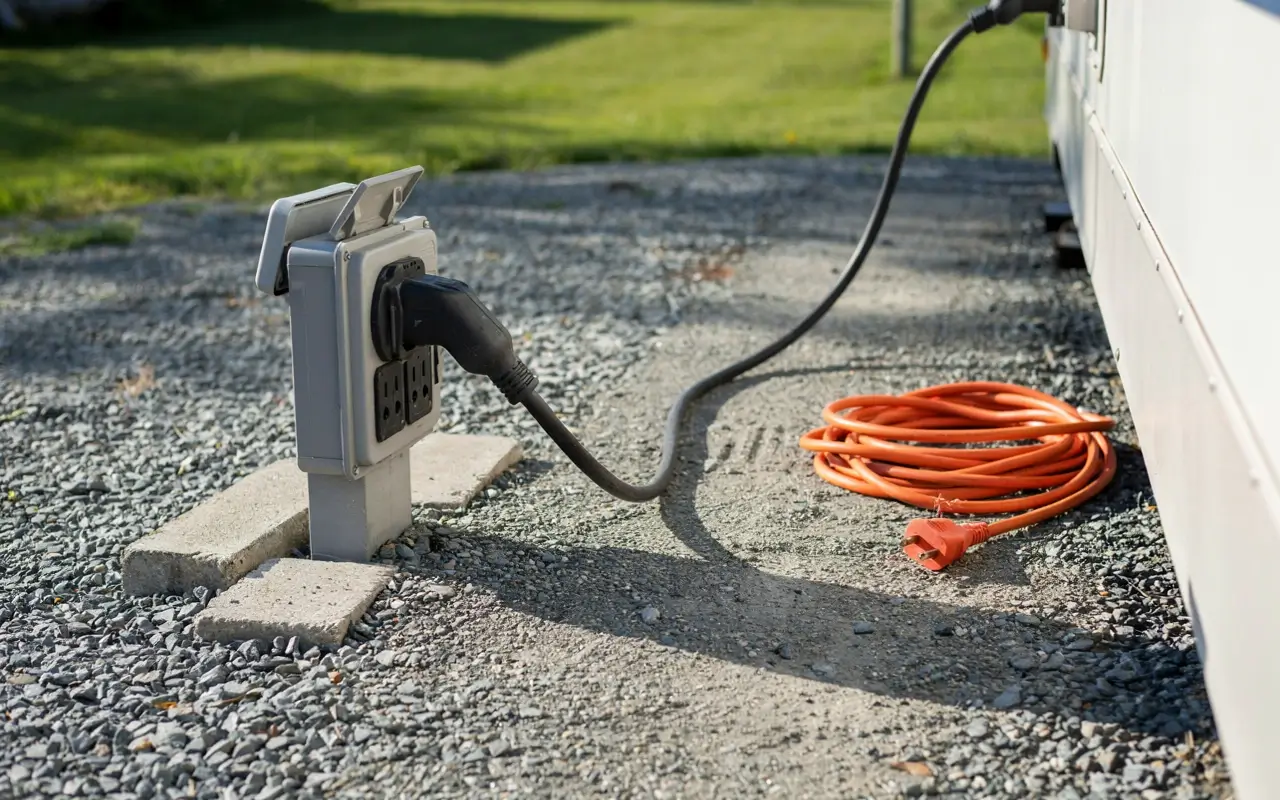
A safety note worth repeating: do not run your RV’s air conditioner off a household extension cord plugged into a regular 15 or 20 amp outlet. It will overheat the cord, trip breakers constantly, and is a genuine fire hazard. If a permanent hookup is not in the budget yet, only run light loads off a standard outlet until you can install the real thing.
Professional installation for a dedicated 30 or 50 amp circuit typically runs somewhere between $1,000 and $3,000 depending on how far the run is from your panel and local labor rates.
Step 4: How to Install a Sewer Hookup for Your RV at Home
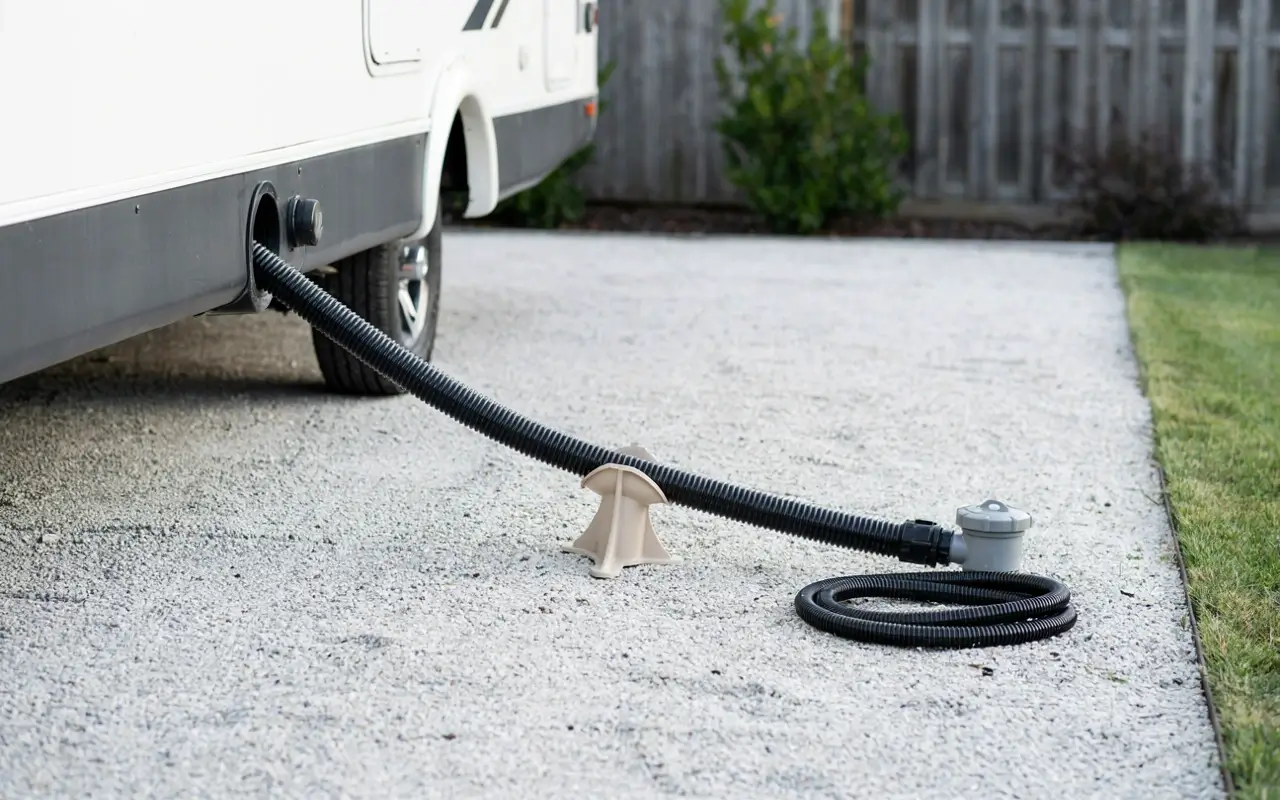
This is the step with the most variables, because it depends heavily on whether your home is on a city sewer system or a septic tank.
If you’re on city sewer:
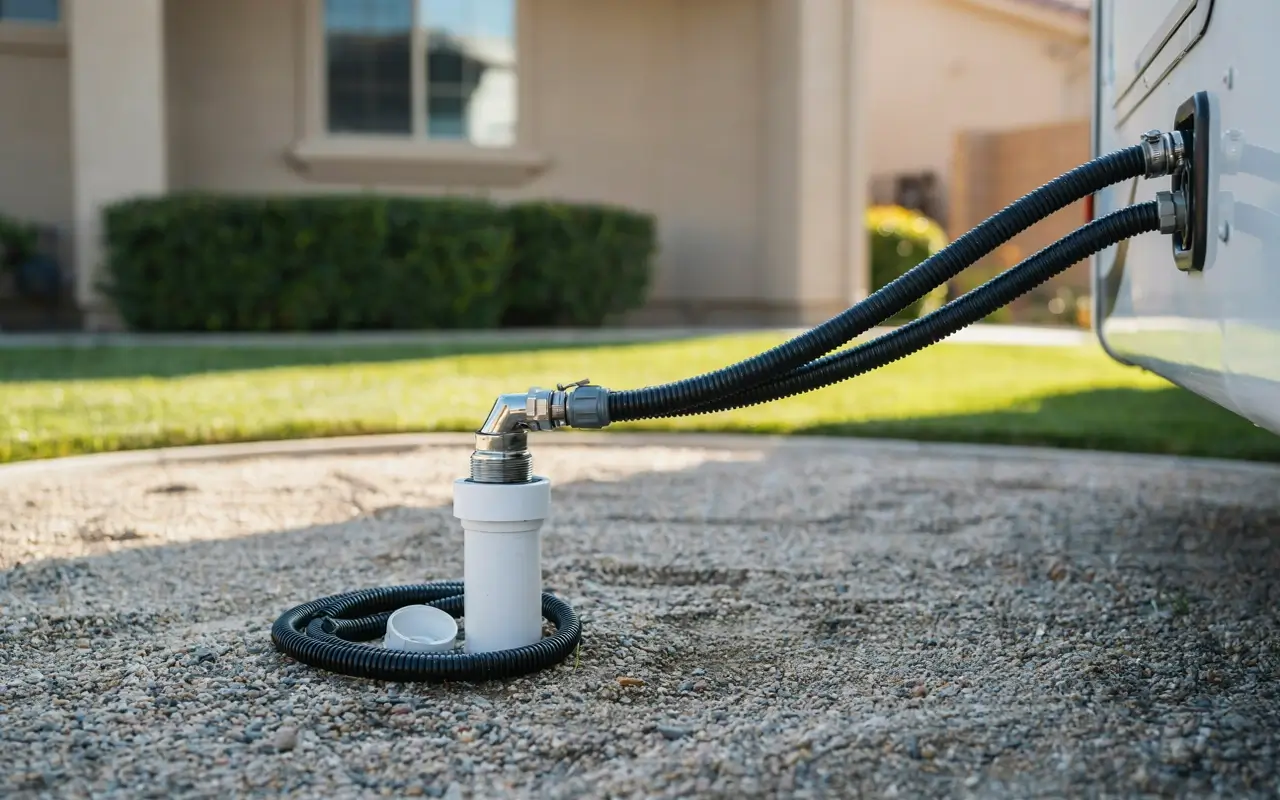
If you’re on city sewer:
Many homes already have a sewer cleanout somewhere in the yard, a capped pipe that gives direct access to your main sewer line. If it is legal in your area (check that permit question from earlier), you can connect your RV sewer hose to this cleanout using an adapter fitting. If your parking pad is far from the cleanout, you will need either a very long hose or a portable macerator pump, which grinds waste and pumps it through a smaller hose, sometimes up to a few hundred feet.
If you’re on septic:
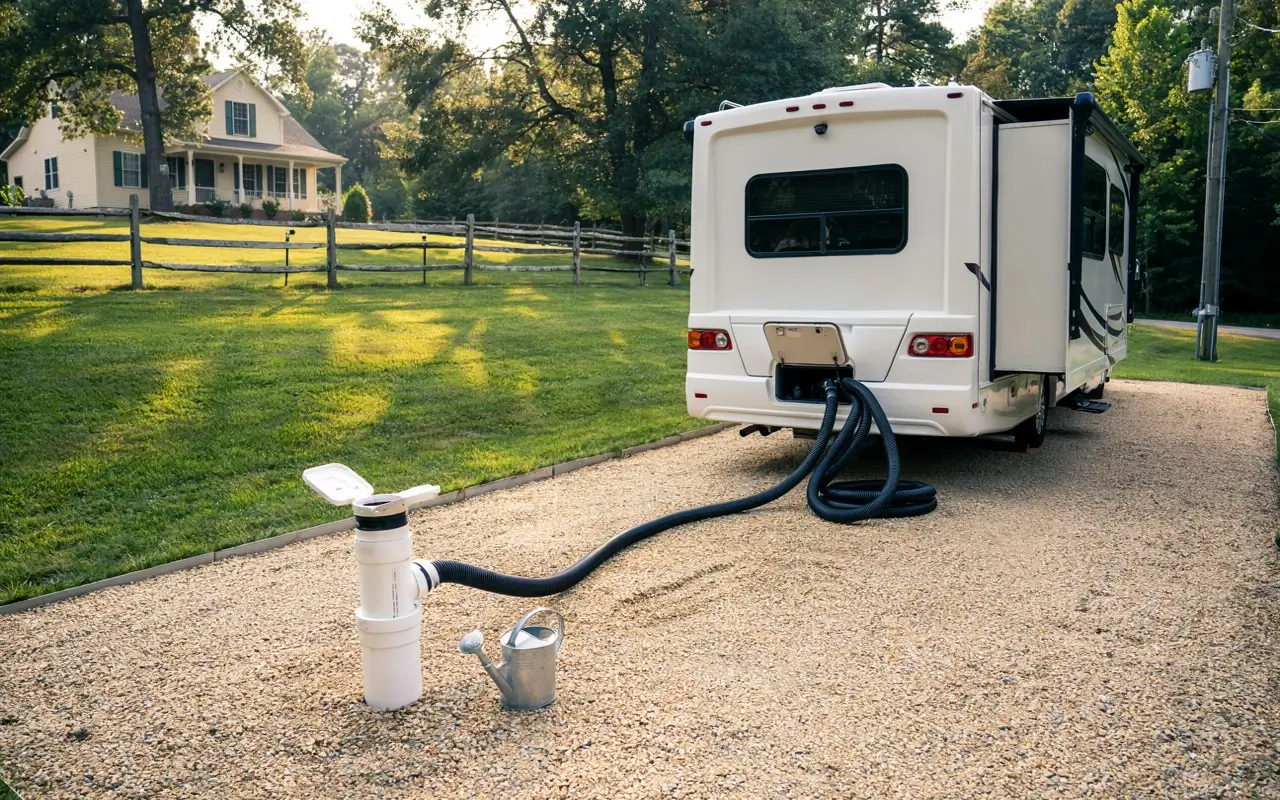
If you’re on septic:
This gets more involved. Some septic systems do not have an accessible cleanout, so you may need a plumber to install a dedicated 4 inch standpipe running up from the tank. Keep in mind that regularly dumping RV waste into a septic system adds volume the tank was not necessarily sized for, so this is worth discussing with a septic professional rather than guessing.
Either way, keep these rules in mind:
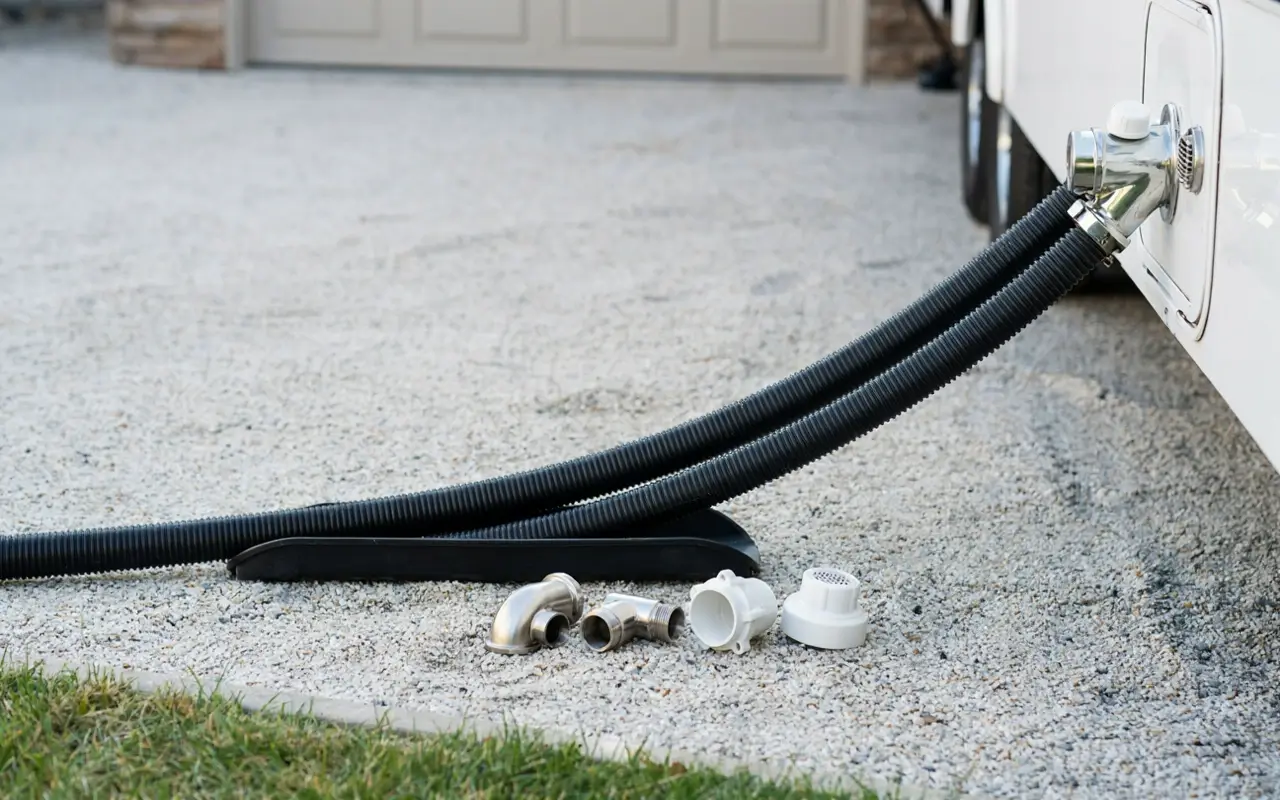
- The hose needs a consistent downward slope, roughly a quarter inch per foot, so waste flows by gravity instead of pooling
- Use a proper RV sewer hose support to keep the line elevated and sloped instead of resting flat on the ground
- Cap the connection tightly when not in use to control odor
- Never leave the black tank valve open and connected long-term without flushing, it causes solid waste to build up and clog
If a direct connection is not realistic for your property, the fallback plan is simply hauling tanks to a dump station on a set schedule, which many people do successfully without ever installing a dedicated sewer line.
What It Actually Costs to Install RV Hookups at Home
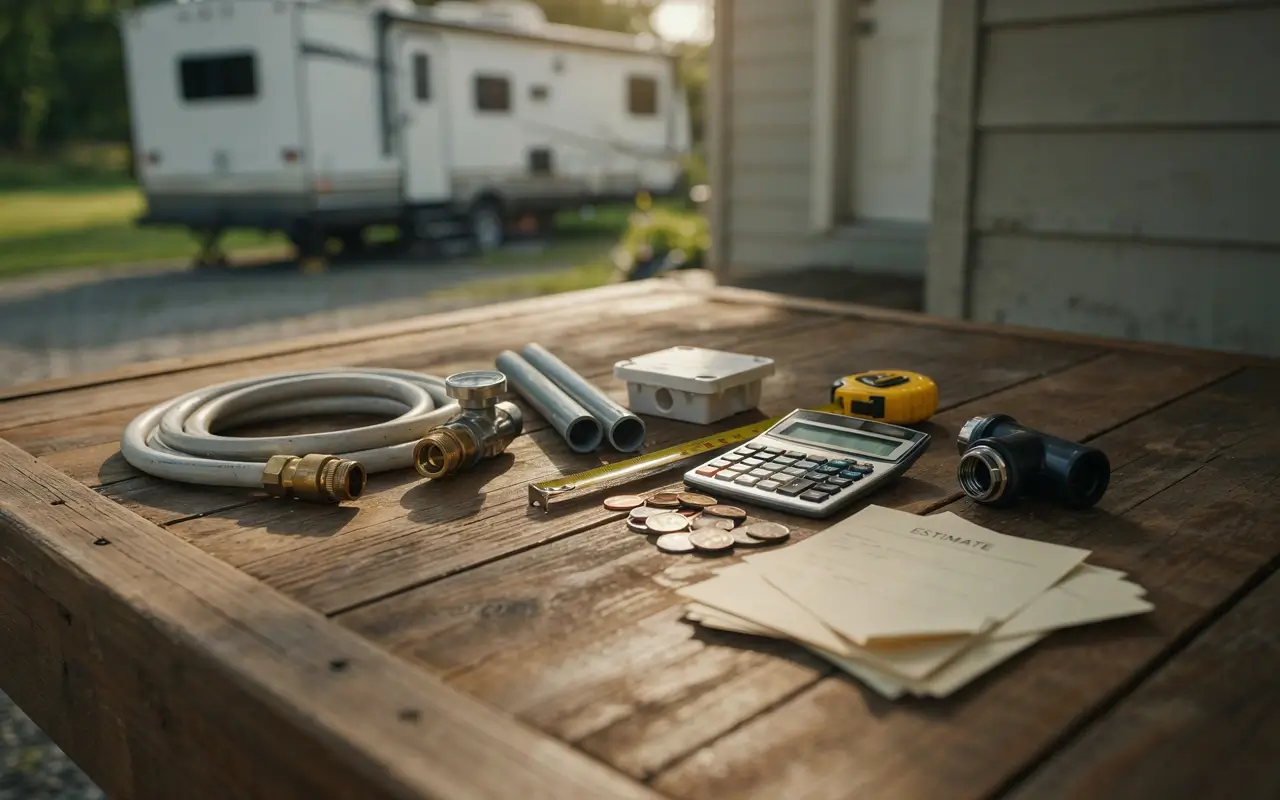
Costs vary a lot by region and how much you do yourself, but here is a realistic range based on current pricing:
| Hookup Type | Estimated Cost |
|---|---|
| Water hookup | around $30 to $50 DIY, or up to $700 if you hire a plumber for a dedicated line |
| Electric hookup | around $1,000 to $3,000 for a professional dedicated circuit |
| Sewer hookup | often free or close to it if you already have an accessible cleanout, up to $2,000 to $3,000 for a dedicated septic connection, and higher if a full septic system upgrade is needed |
A fully DIY setup using an existing outdoor spigot, existing cleanout, and a professional for just the electrical work often lands in the $1,200 to $2,000 range total. A completely professional install of all three systems can run $3,000 to $5,000 or more.
Mistakes to Avoid When Installing RV Hookups at Home
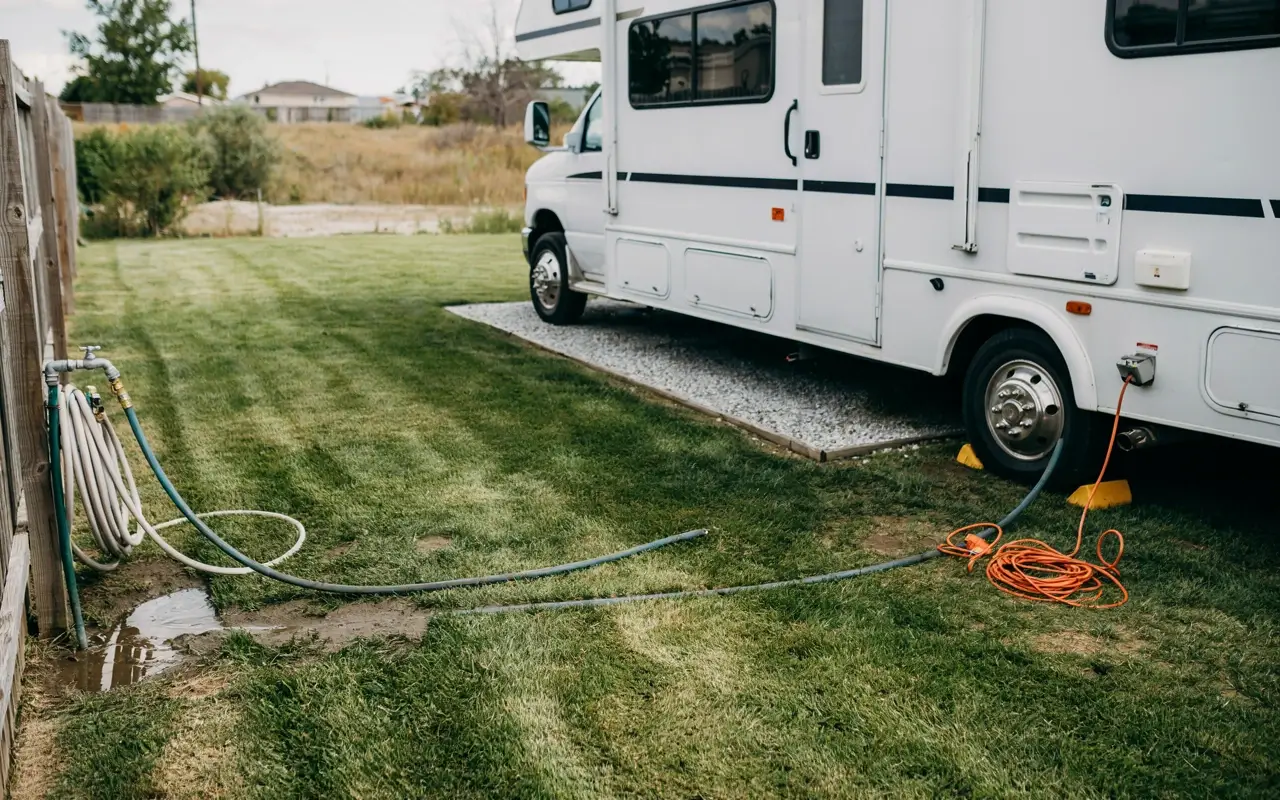
- Skipping the permit check. This is the number one issue that shows up in RV forums, people install a beautiful hookup and then find out it is not technically legal in their zoning district.
- Using a garden hose for drinking water. It is not food-safe and can affect water taste and quality.
- Undersizing the electrical circuit. A 30 amp RV plugged into anything less than a properly sized dedicated circuit will constantly trip breakers.
- Ignoring the slope on the sewer line. A flat or uphill sewer hose leads to backups and smells, even if everything else is installed correctly.
- Parking directly on grass or dirt long term. The ground settles unevenly and throws off your RV’s level, which can cause fridge and drainage problems.
- Forgetting winter prep. Hoses and exposed pipes freeze fast once temperatures drop, and a cracked line is an easy fix to avoid with a little planning.
Small Touches That Make Your RV Pad Feel Like a Real Site
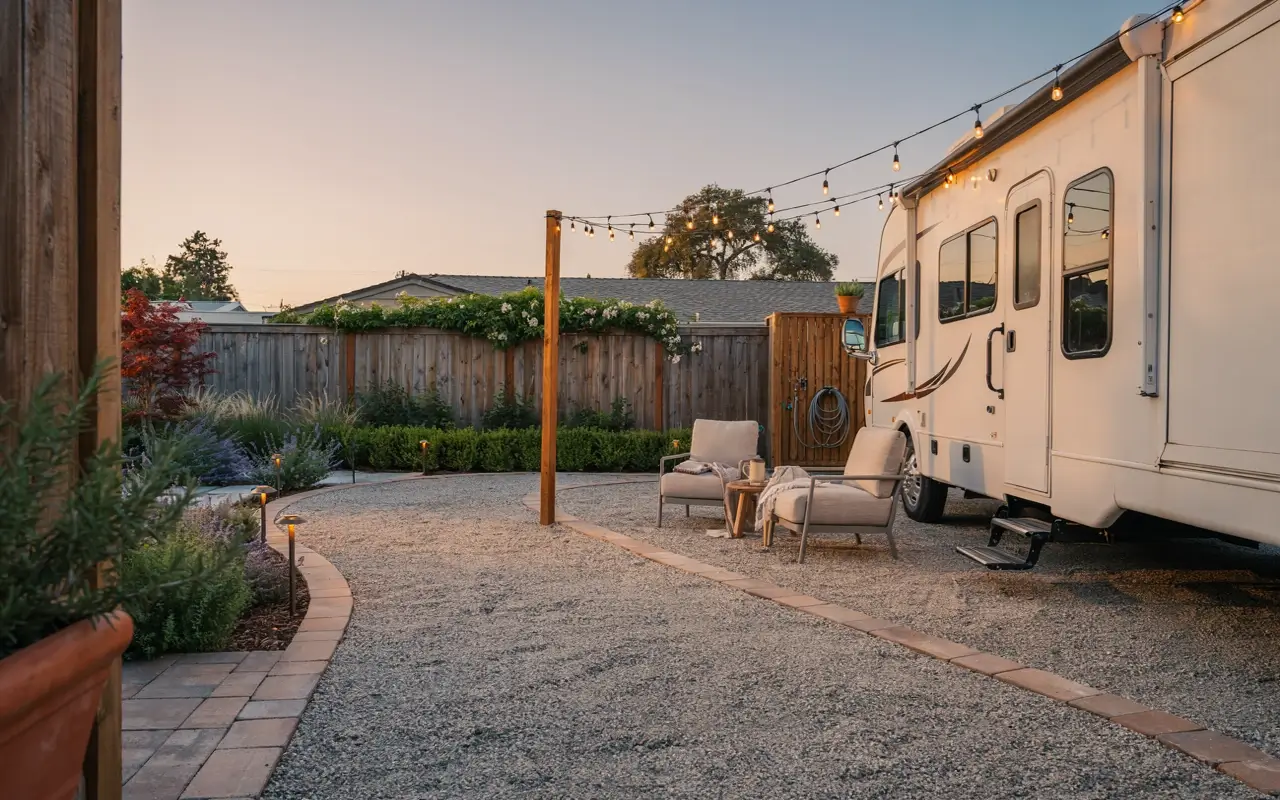
Once the functional hookups are in, a few finishing details make a huge difference visually, especially if the RV will double as a guest space:
- String lights or a small solar lamp post near the pad
- Gravel or paver edging so the parking area reads as intentional, not leftover space
- A simple wood screen or lattice panel to hide hoses and cords
- RV skirting for winter use, which also helps insulate underneath and keep pipes from freezing
- A small deck or gravel patio pad next to the door for a seating area
These are the kind of details that turn a purely functional hookup into something that looks like an actual backyard camping setup.
When to Call a Professional
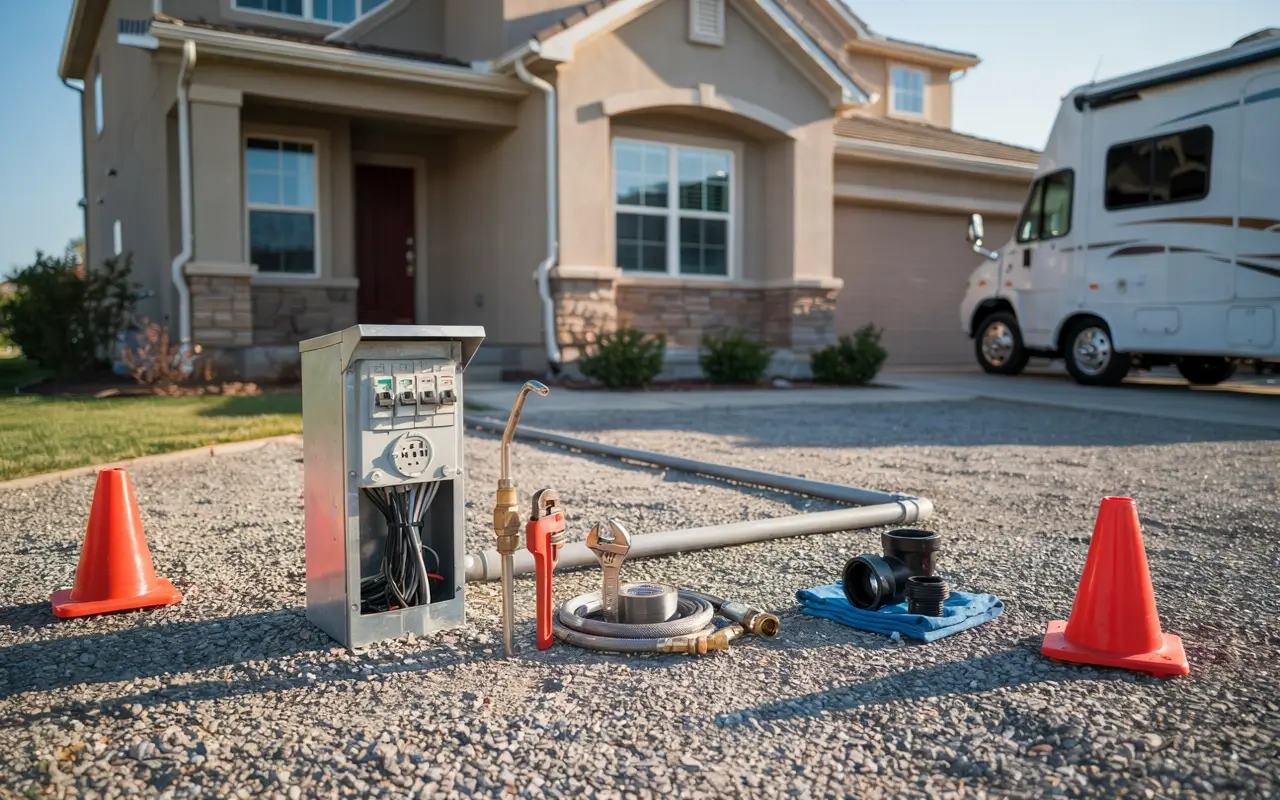
DIY confidently on the parking pad and the water hookup. Bring in a licensed electrician for the electrical circuit, no exceptions, since this is where mistakes turn into real safety hazards. For sewer work, a plumber is worth the cost if you are on septic or if your cleanout is far from your parking spot, since getting the slope and connection wrong leads to backups that are unpleasant and expensive to fix later.
Final Thoughts
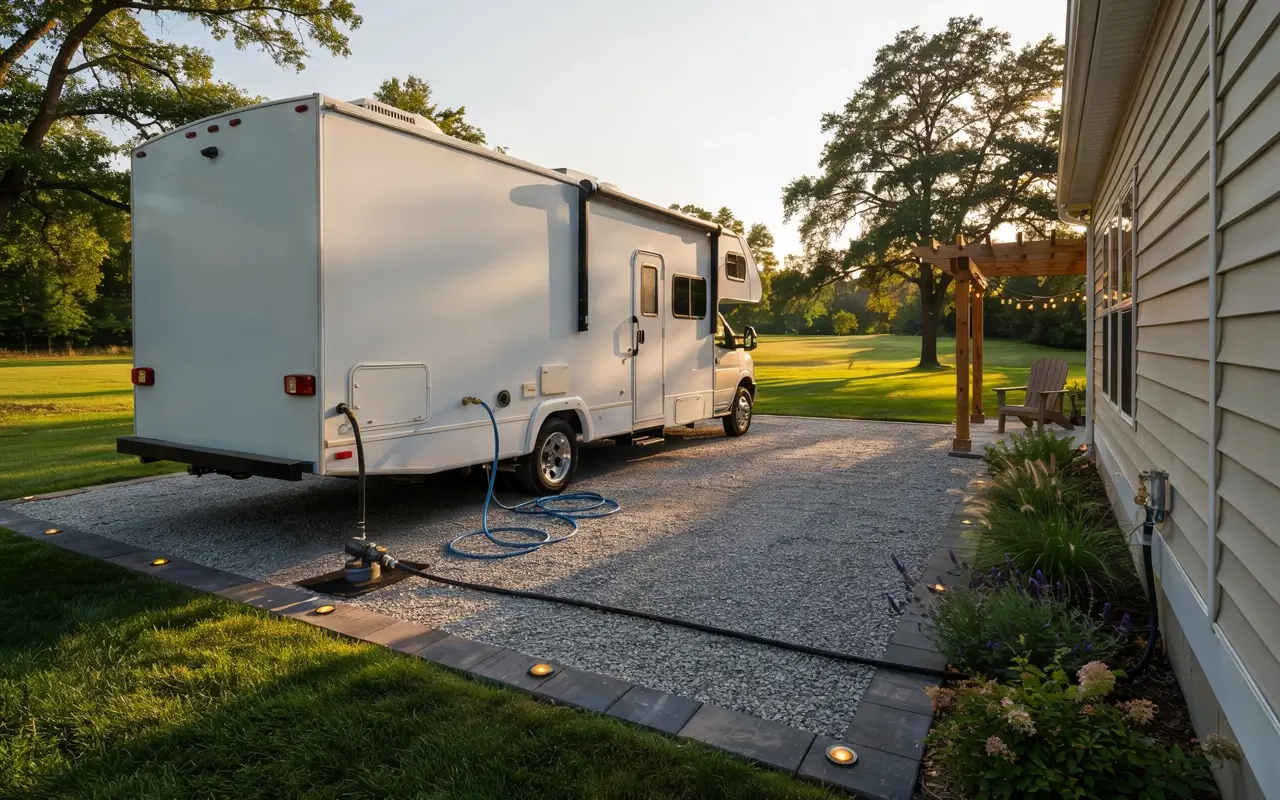
Installing RV hookups at home is one of those projects that feels like a lot until you break it into water, electric, and sewer and tackle them one at a time. Start with the permit check, prep a solid parking pad, handle the water hookup yourself, bring in a pro for the electrical work, and figure out your sewer situation based on whether you are on city sewer or septic. Do it in that order and the whole project stops feeling overwhelming.
Have you installed RV hookups at your own home, or are you just getting started planning yours? Drop a comment below, I would love to hear what setup worked for your space.




No Comment! Be the first one.