




RV Remodel: The Complete Guide to Transforming Your Camper (Budget, Order of Operations, and Ideas That Actually Work)
There’s a moment every RV owner knows. You buy the rig, pull it into the driveway, swing open the door, and stare into what can only be described as a wall of brown. Brown valances. Brown...

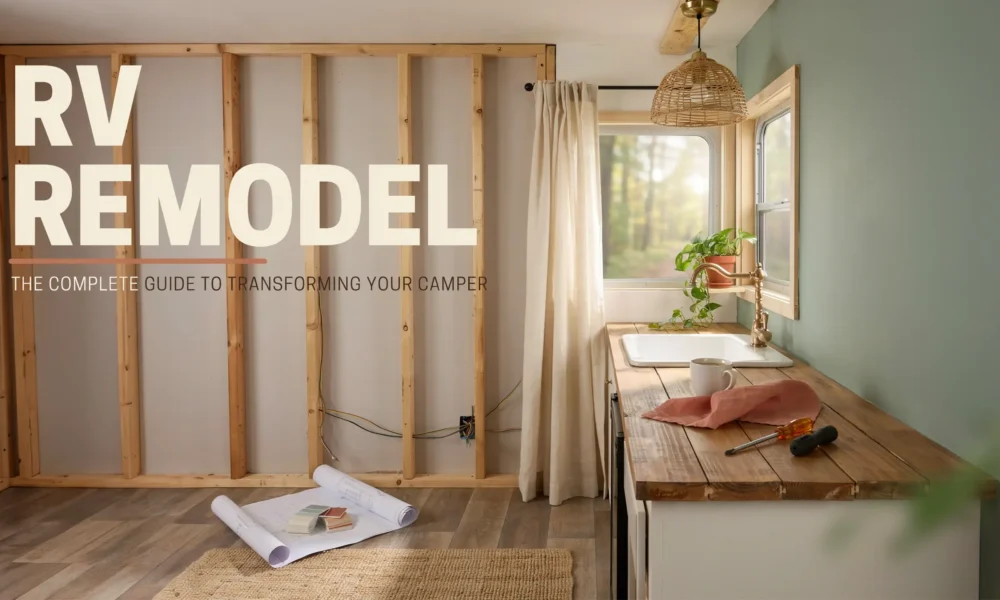
There’s a moment every RV owner knows. You buy the rig, pull it into the driveway, swing open the door, and stare into what can only be described as a wall of brown. Brown valances. Brown cushions. Brown faux-wood paneling. Brown-on-brown-on-brown, like someone challenged a 1987 interior designer to a neutrals contest and nobody told them to stop.
That’s the moment the dream kicks in.
You start picturing white shiplap walls, bamboo shades, a farmhouse kitchen backsplash. You pull up Pinterest and suddenly three hours have vanished and you’ve saved 47 pins. You think: I could do this. And here’s the thing: you absolutely can. An RV remodel is one of the most satisfying DIY projects you’ll ever take on, and the transformations are genuinely jaw-dropping, even on tight budgets.
But there’s a version of this that goes sideways. People skip the safety checks. They buy gorgeous tile that’s too heavy. They paint over laminate without the right primer and the whole thing peels by summer. They spend $8,000 on cosmetics and ignore a slow roof leak that quietly destroys the subfloor underneath.
This guide is the one I wish I’d had from the start. We’re going to cover everything: what to check before you touch anything, how to budget realistically, which projects to tackle first, and the upgrades that make the biggest visual difference for the least money. Whether you’re doing a small camper remodel on a $500 weekend or planning a full gut renovation, this is your roadmap.
Step One: Before You Start Anything, Do These Checks
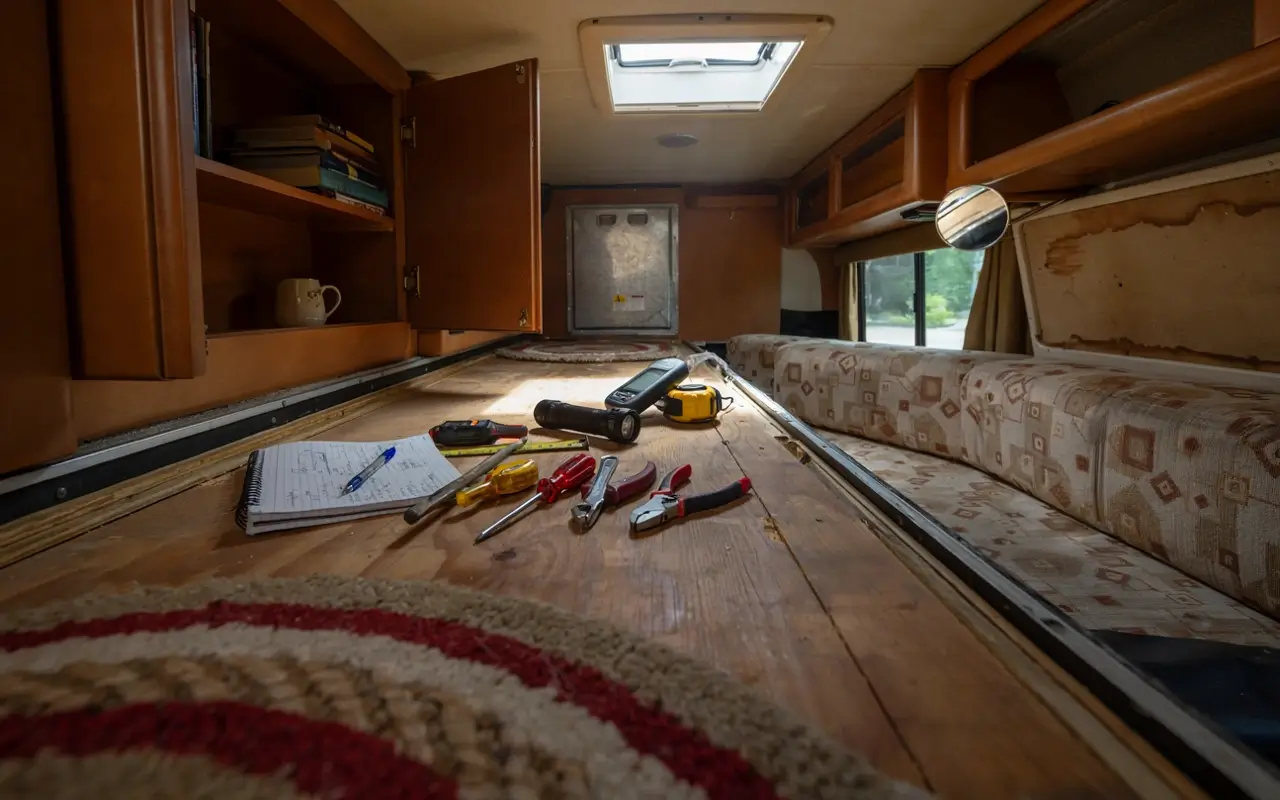
This is the part most Pinterest-inspired remodel guides skip, and it matters more than the paint color.
- Check for water damage first. Water is the enemy of every RV. Before you rip out a single valance or plan a single mood board, get on your hands and knees and press on the floor around every window, door, and slide-out. Soft or spongy spots mean water has already gotten in and started rotting the subfloor. Check the ceiling corners too. A stain that looks cosmetic might be hiding mold and damaged decking underneath. Finding this now saves you from discovering it after you’ve already installed new flooring on top.
- Inspect the roof and all exterior seals. Walk the roof carefully if it’s accessible (and rated for your weight). Look for cracked caulk around vents, skylights, air conditioner units, and any seam where two surfaces meet. Re-sealing with a product like Dicor self-leveling lap sealant is cheap insurance. Roof membrane replacements, on the other hand, can run $6,000 to $14,000. Catching a slow leak before it spreads is the highest-return maintenance task in RV ownership.
- Know your GVWR. Your RV has a Gross Vehicle Weight Rating: the maximum safe weight it can carry, including everything you add, fill, and bring on board. Piling in heavy tile, a cast iron sink, ceramic pots, and solid wood furniture sounds great until you’re fishtailing at highway speed because the weight distribution is off. Before you start buying materials, understand that RV remodels require lightweight thinking. Vinyl plank flooring instead of hardwood. Foam mattresses instead of innerspring. Lightweight composite or acrylic for sinks and bathroom vanities.
- Check your electrical and plumbing. If you’re buying an older used RV specifically to remodel, have a technician inspect the 12V and 120V electrical systems before you commit to any project list. Old wiring, deteriorated propane fittings, or leaking water lines are safety issues that need fixing before aesthetics. Labor runs $150 to $225 per hour at most shops, but a pre-purchase inspection or safety check is money well spent.
Once you know the bones are solid, you’re ready to plan.
How to Budget a Realistic RV Remodel
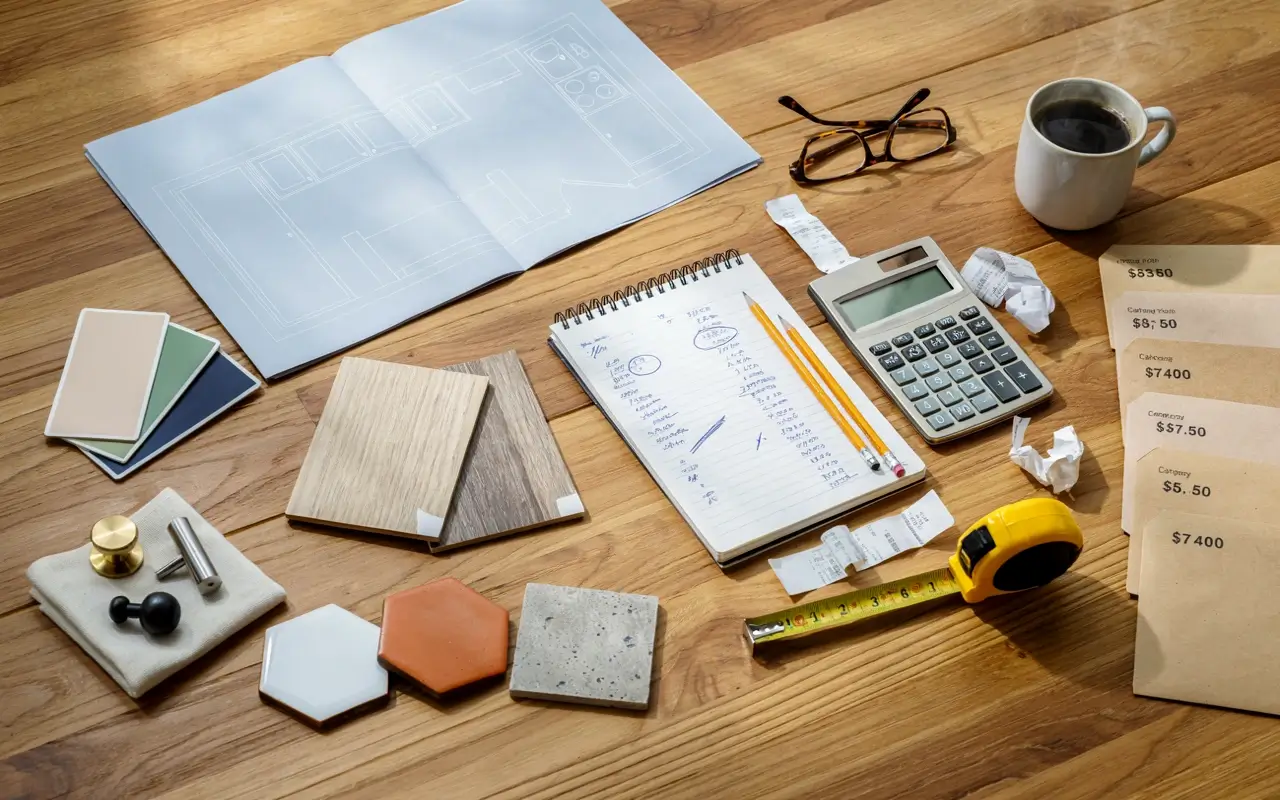
One of the biggest sources of overwhelm (and regret) in an RV remodel is skipping real budget planning. Here are the honest numbers:
- Low budget: $500 to $1,000. This is the paint, hardware, and lighting tier. At this level you can make a genuinely dramatic difference with fresh wall paint, new cabinet hardware, updated light fixtures, and new window treatments. A $1,500 travel trailer can look like a completely different rig with $600 in cosmetic upgrades. This is also the tier where peel-and-stick products shine: backsplash tiles, contact paper countertops, and removable wallpaper panels.
- Mid-range: $2,000 to $6,000. This is where most weekend-warrior remodels land. You’re now replacing flooring, reupholstering or replacing cushions, swapping out faucets and fixtures, and potentially changing light fixtures throughout. This tier is very achievable DIY with patience and good YouTube tutorials.
- Full renovation: $10,000 and up. Layout changes, new appliances, custom built-in storage, new cabinetry, full bathroom renovation, new flooring throughout. At this level, professional help for the electrical, plumbing, and structural work makes sense. A professional interior overhaul can run $10,000 to $30,000 or more. A partially DIY approach can bring a full remodel in under $8,000 if you do the cosmetic work yourself and hire out only the technical trades.
A practical rule of thumb: don’t spend more than 30% of the RV’s current value on renovations if you plan to sell. If it’s your full-time home on wheels, that math changes entirely.
Always set aside 15 to 20% of your budget for surprises. Hidden water damage, a failed water heater, soft spots in the subfloor: these show up once you start opening walls. Budget for them before you find them.
The Right Order of Operations for an RV Remodel
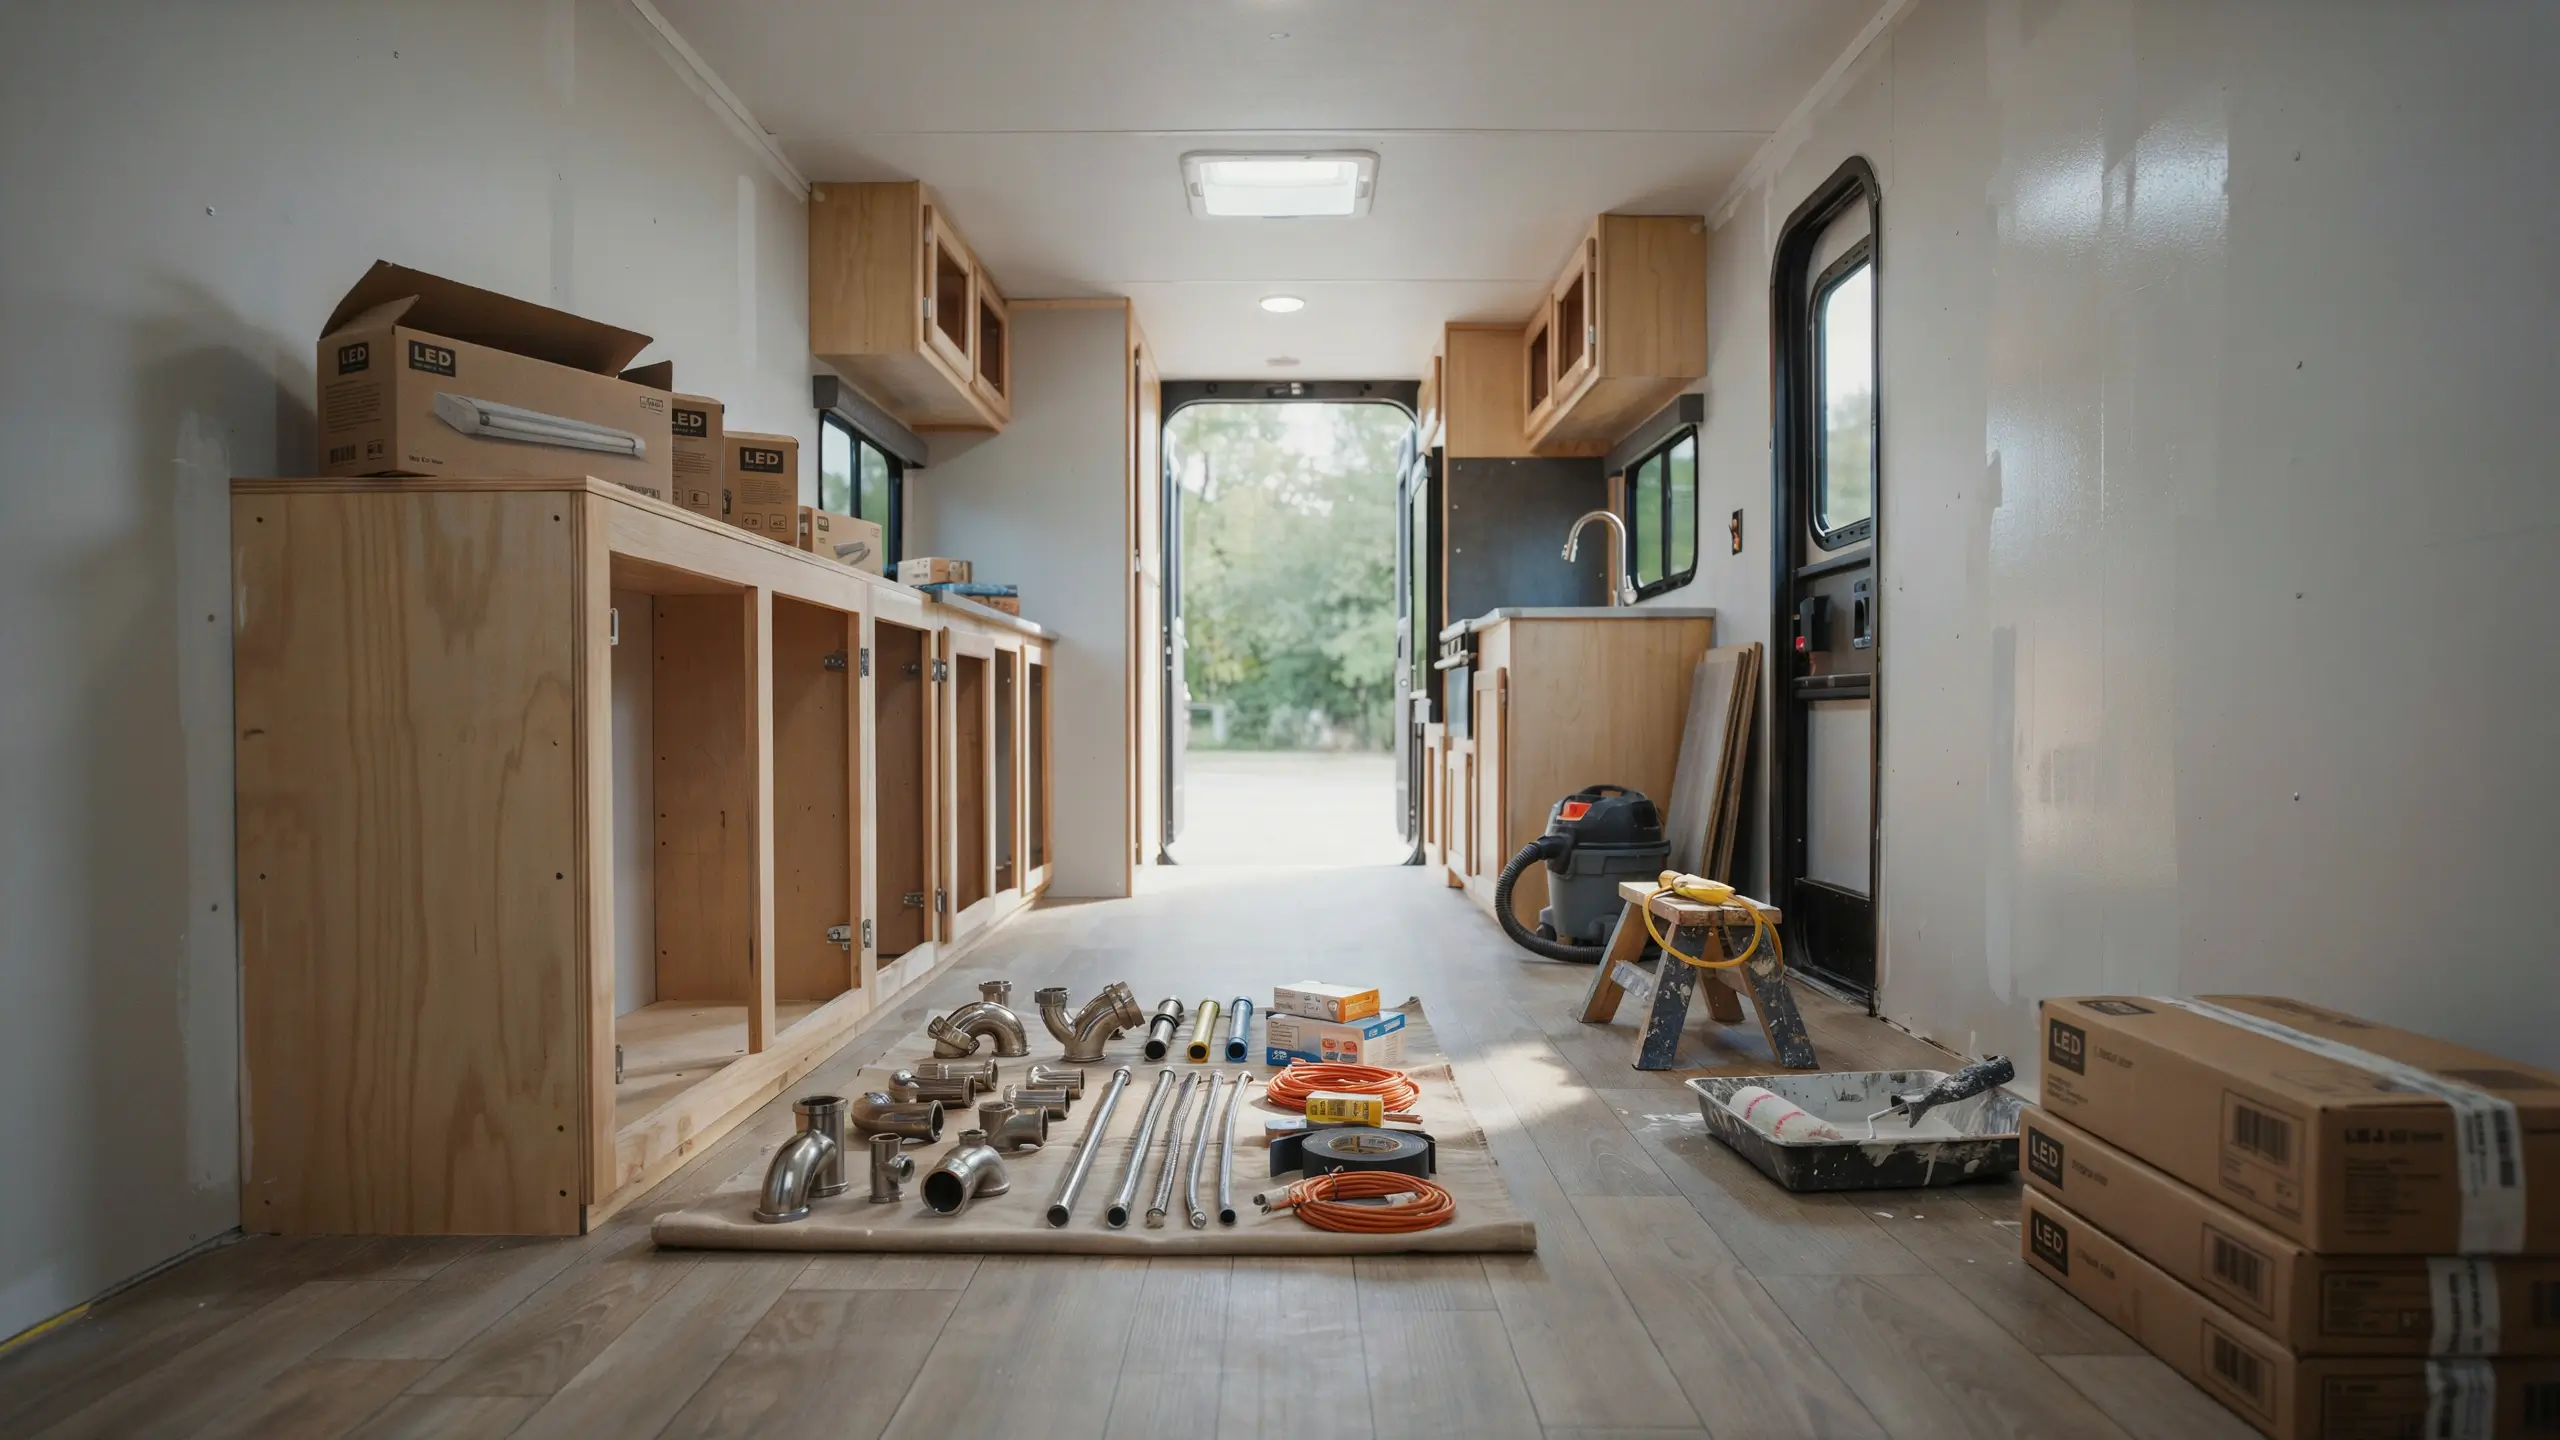
Do things out of order and you’ll spend time redoing finished work. Here’s the sequence that makes sense:
- Structural and safety repairs. Roof, seals, water damage, electrical, plumbing, propane. This is non-negotiable first.
- Insulation improvements. If you’re doing any wall or floor work, now is the time to upgrade insulation. Moisture-resistant foam board is lightweight and affordable. Better insulation means less propane in winter and cooler temperatures in summer.
- Flooring. Install new floors before you bring in any new furniture or cabinetry. Vinyl plank flooring is the top choice for RVs: it’s waterproof, lightweight, durable, easy to cut, and looks incredible. Measure twice and buy an extra box.
- Walls and ceilings. Paint your walls after the floors are in so you can protect new flooring during painting. If you’re adding shiplap panels, wood accents, or peel-and-stick wallpaper, this is the stage.
- Cabinets and kitchen. Paint or refinish cabinets, add a backsplash, update countertops.
- Fixtures and hardware. New faucets, new light fixtures, new cabinet pulls and knobs.
- Window treatments. Last, because you’ll want to measure around everything that’s been installed.
- Furniture and decor. Final stage. Cushions, curtains, rugs, art, plants, bedding.
The Upgrades That Make the Biggest Impact (Organized by Budget)
Under $200: The Quick Wins
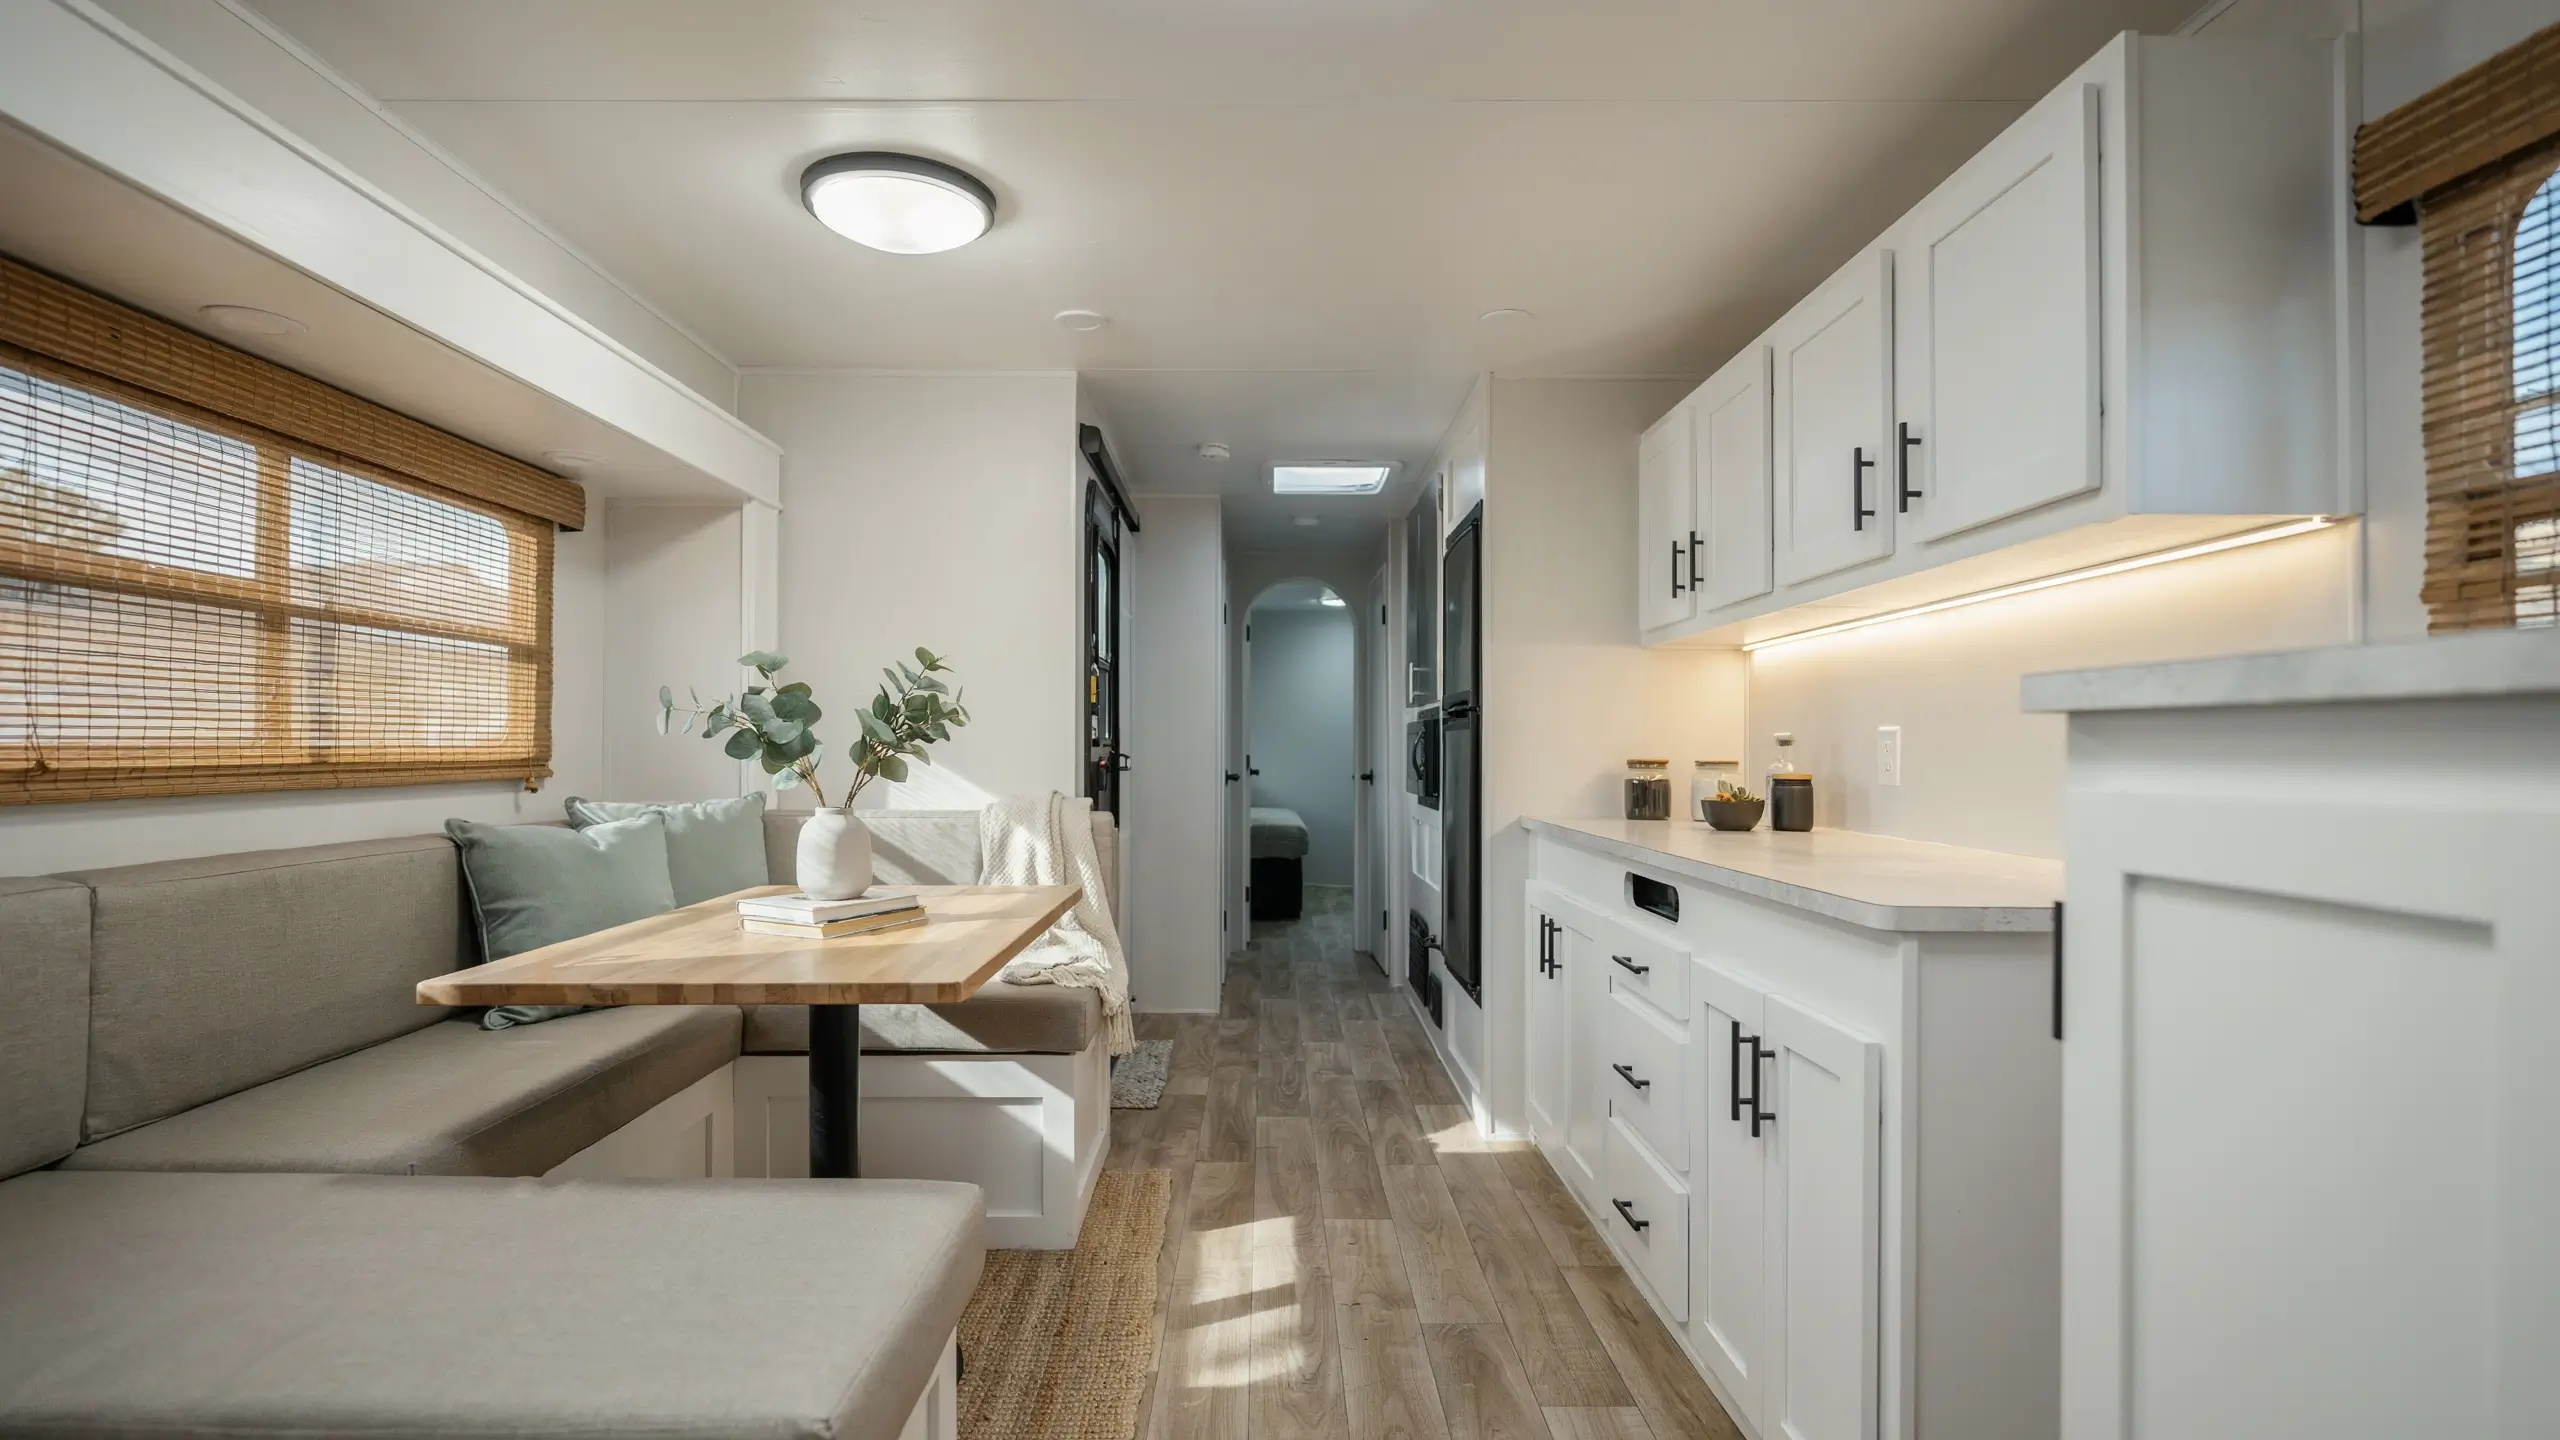
- Replace the window valances. Those boxy, pleated fabric valances that come factory-installed in almost every RV on earth are the fastest thing you can do to date a space. Removing them takes about five minutes per window with a basic screwdriver. Replace them with bamboo roller shades, simple white roller blinds, or hang floor-to-ceiling curtains on a tension rod mounted near the ceiling. This single change makes an RV feel 50% less dated, instantly.
- Swap the cabinet hardware. Factory cabinet pulls and knobs are often plastic, brass-toned, or just forgettable. Replacing them with matte black, brushed nickel, or oil-rubbed bronze hardware costs $30 to $80 for an entire rig and transforms how the kitchen and bathroom read. This takes an afternoon and a screwdriver.
- Upgrade the light fixtures. Recessed puck lights and dinette fixtures are often the most outdated-looking elements in a camper. Flush-mount LED fixtures in a warm tone are inexpensive at most home improvement stores, look much more residential, and save battery power if you’re running on solar or shore power. Replace one at a time to stay on budget.
- Add under-cabinet lighting. Stick-on LED strip lights or puck lights under kitchen cabinets add warm ambiance and make the kitchen feel intentional. They run on batteries or USB, require zero wiring, and look like a design choice.
- Paint the interior. This is the single best return on investment in any RV remodel. A gallon of quality paint is $30 to $50. It can cover every interior wall. The difference between a dark, wood-paneled camper and a bright white or warm sage interior is almost indescribable. The key is prep work: RV walls are often made of lauan plywood with a vinyl covering, and standard paint won’t adhere without the right primer. Use a bonding primer specifically designed for slick surfaces, and follow up with a paint formulated for high-moisture spaces. Glidden Gripper is a popular primer choice among experienced RV renovators.
$200 to $1,000: Medium-Impact Projects
- New flooring throughout. This is the upgrade that makes before-and-after photos look most dramatic. Luxury vinyl plank (LVP) is the material of choice for RV floors: it’s waterproof (critical), lightweight, floats without glue in most installations, and comes in beautiful wood-look finishes. Plan on $1 to $3 per square foot for material. A typical travel trailer interior might be 150 to 250 square feet, putting this project between $150 and $750 for materials before your own labor. Remove old carpet or linoleum, check the subfloor for soft spots, and install the new flooring with the click-lock method. Leave a small expansion gap around the edges.
- Reupholster the dinette cushions. Factory dinette cushions are usually covered in a beige fabric that shows every crumb and ages fast. Reupholstering them is easier than it sounds: pull the cushions out, remove the fabric with a staple remover, cut new fabric (outdoor fabric or vinyl is best for durability), and use a staple gun to re-cover them. The whole project can cost under $100 in materials and one afternoon of your time. Choose a fabric that coordinates with your wall color and curtains to make the space feel cohesive.
- Peel-and-stick backsplash. The kitchen backsplash is a visual focal point in any RV, and the peel-and-stick tile options available now are genuinely impressive. White subway tile, herringbone patterns, moroccan-inspired shapes: all available without grout, mess, or special tools. Clean the surface thoroughly, measure carefully, cut with scissors or a craft knife, and press into place. Cost runs $30 to $80 for a typical RV kitchen. This also works beautifully behind a small bathroom vanity.
- Contact paper or peel-and-stick vinyl for countertops. If new countertops aren’t in the budget yet, contact paper is a surprisingly good-looking temporary solution. Marble-look films are especially popular right now. Apply it carefully with a squeegee to remove air bubbles, trim the edges cleanly, and seal the edges with clear caulk. It won’t hold up forever, but it photographs beautifully and buys you time.
- New shower curtain and bathroom accessories. RV bathrooms are small, and a few targeted changes have an outsized effect. Replace the shower door with a fabric curtain on a curved tension rod (this opens up the space visually). Add a small round mirror, a matte black towel bar, and a ceramic soap dispenser. The bathroom can look entirely new for under $100.
$1,000 to $5,000: The Bigger Investments
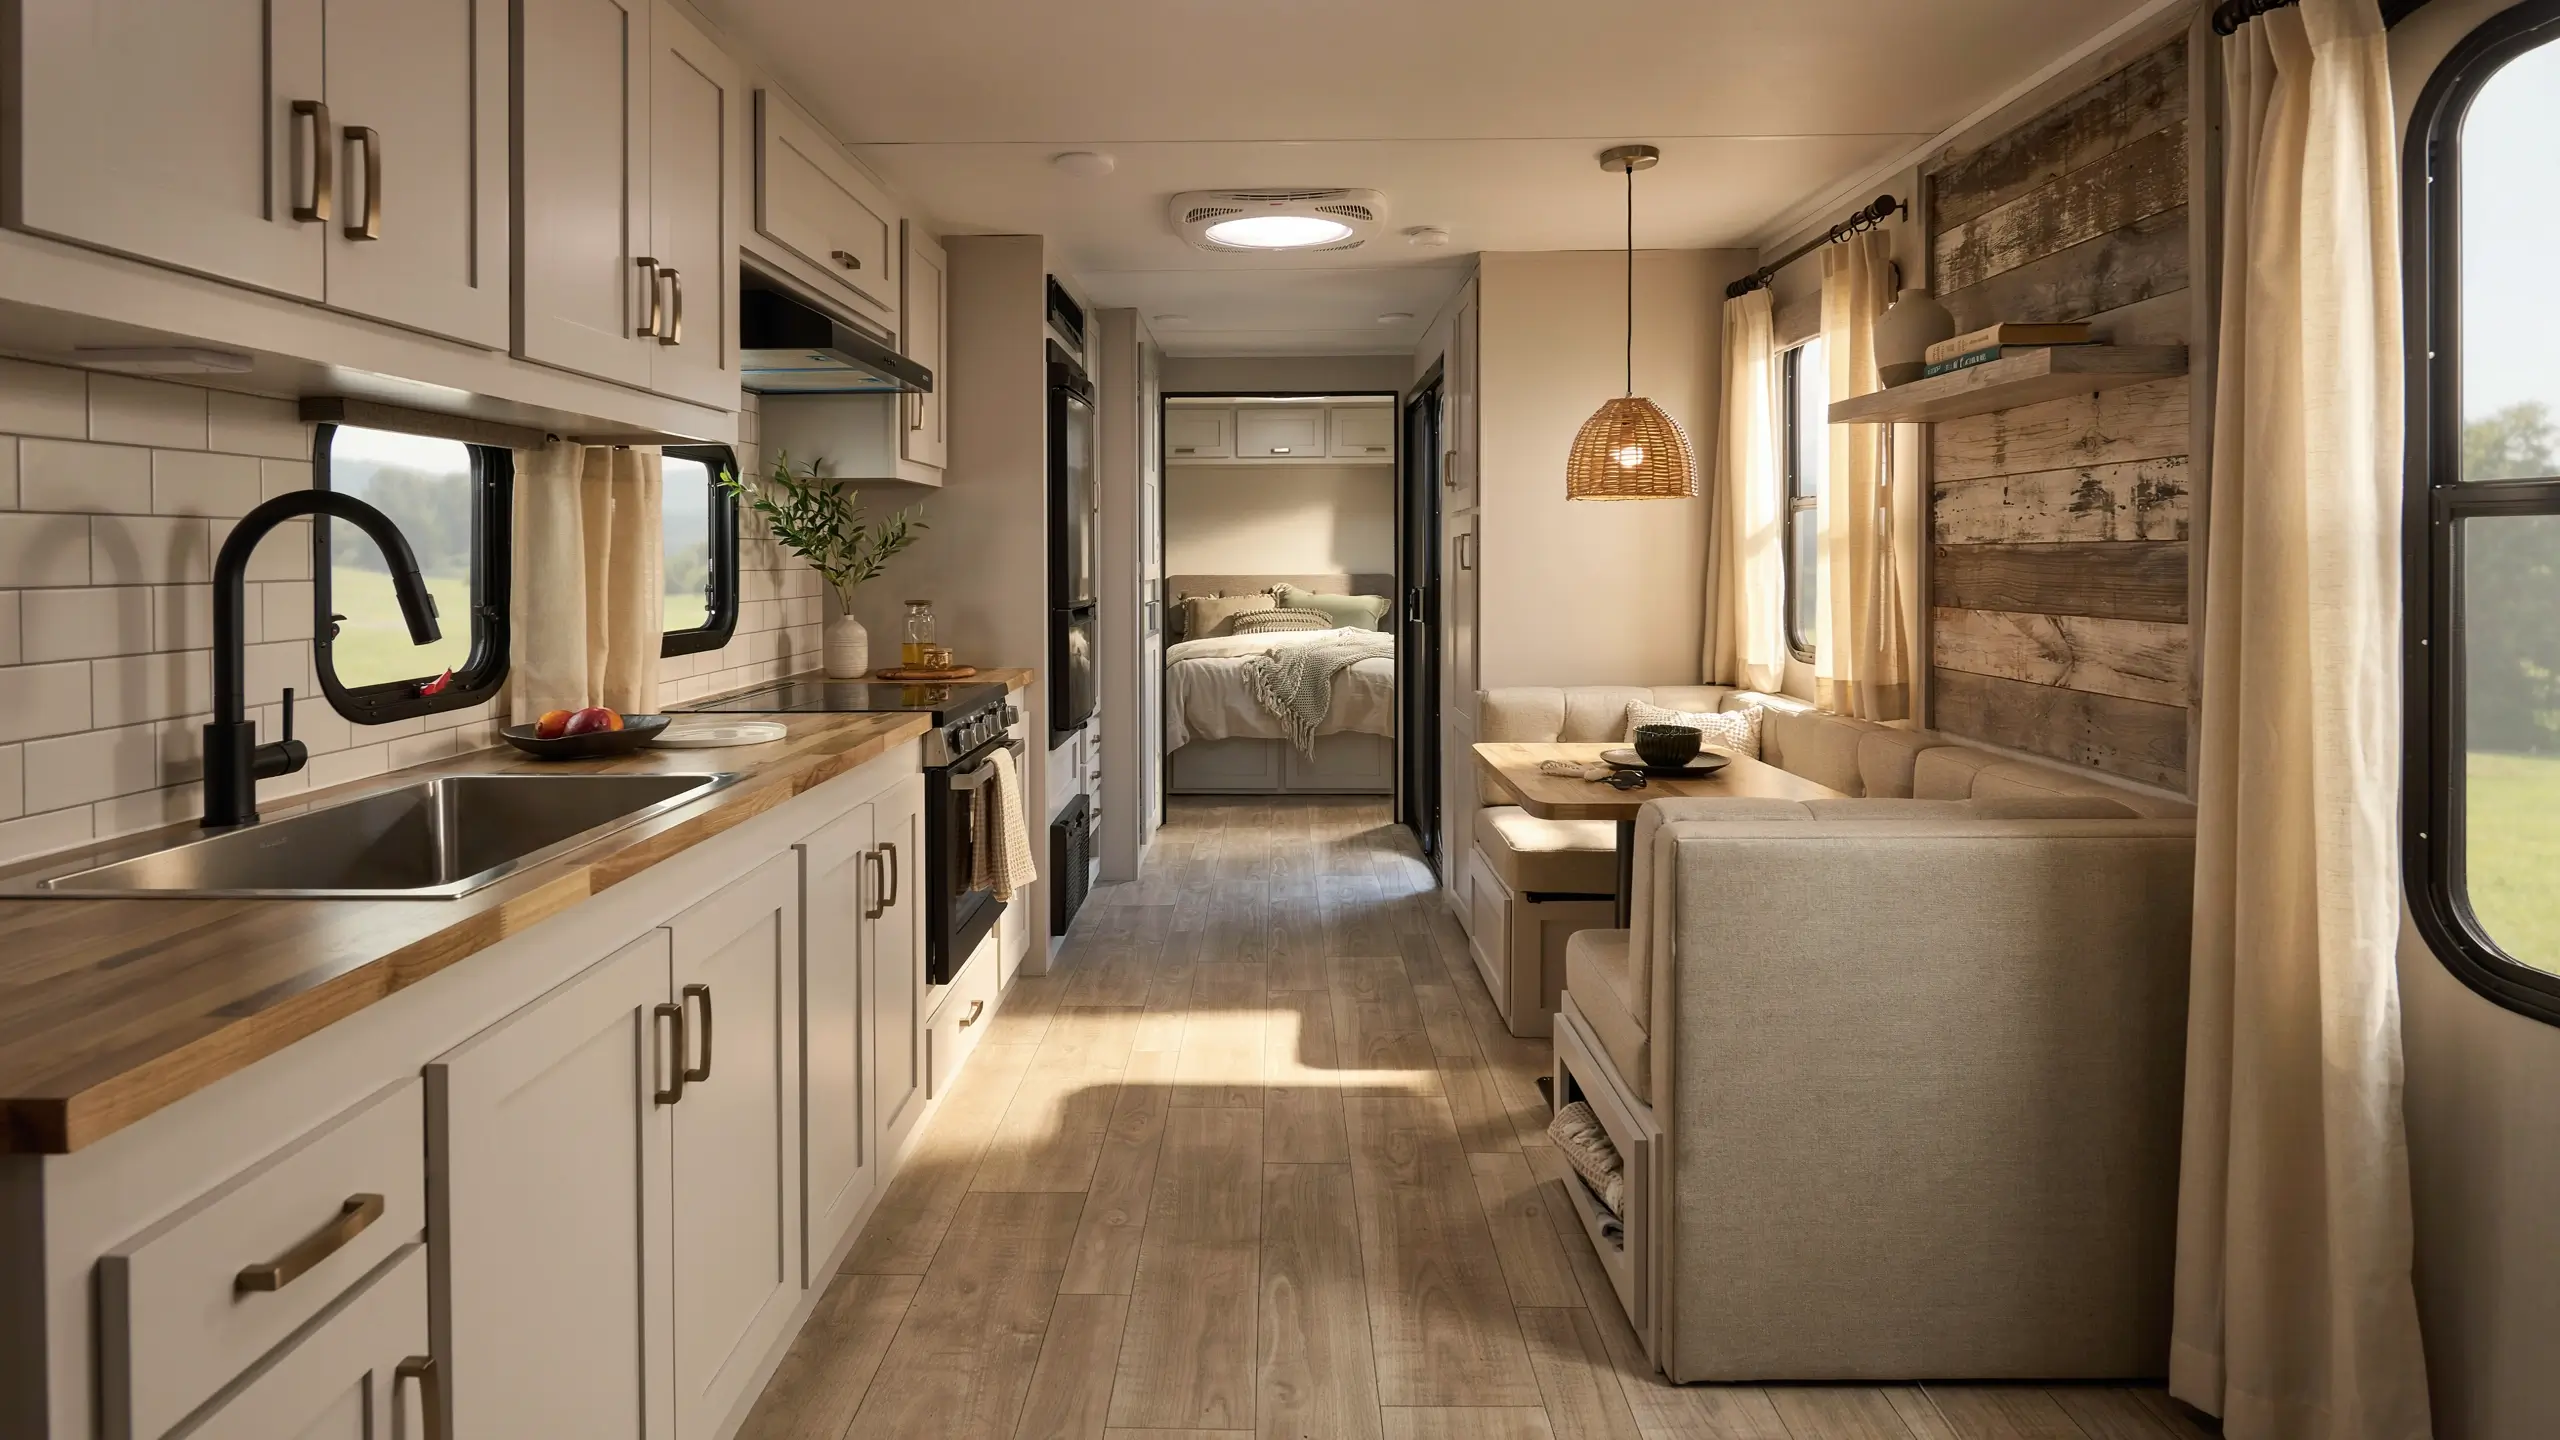
- Full kitchen refresh. Painting cabinets is the cornerstone of a kitchen renovation. Use a bonding primer, then two coats of a durable semi-gloss or satin paint (white, cream, sage, or navy are all beautiful in small spaces). Replace cabinet doors if the boxes are solid but the doors are dated. Add a backsplash. Update the faucet to a single-handle model with a pull-down sprayer for more function. If the countertop is damaged, consider a butcher block replacement: it’s lighter than granite, warm-looking, and cuts beautifully with a circular saw.
- New mattress and bedroom refresh. A full-time RVer or frequent camper who sleeps on a thin, sagging factory mattress is not having fun. A quality 4″ to 6″ memory foam mattress cut to RV sizing (short queen is the most common non-standard size) runs $400 to $800 and makes a profound difference in daily comfort. Build out the bedroom with good lighting, real bedding (Euro shams, a duvet, textured pillows), and soft window treatments. This area photographs beautifully and makes the rig feel like a real home.
- Convert the dinette to a booth or banquette. The standard RV dinette that converts into a bed is functional but rarely comfortable in either mode. Some RVers remove the table entirely and build a custom banquette with hollow bench seating (which doubles as hidden storage) and a smaller fixed table. This project requires basic carpentry skills but isn’t advanced. The result is a far more comfortable and visually appealing eating area. Add cushions with removable covers and it becomes the most-Pinned spot in your rig.
- Bathroom vanity upgrade. Replacing the RV sink and vanity is a step up in complexity but a massive visual improvement. Use a lightweight vessel sink in acrylic, copper, or stainless steel. Build a small plywood vanity box if the existing one is damaged. Add a modern faucet, a round mirror, and a small shelf or two for storage. If the shower stall is discolored or cracked, refinishing it with a tub-and-tile spray paint in white or bright cream is a budget alternative to full replacement.
- Add reclaimed wood accents. A shiplap accent wall on the interior end cap, a reclaimed wood floating shelf in the kitchen, a wooden bed headboard: these add texture and warmth that make a renovated RV feel custom rather than generic. Use lightweight cedar or pine and secure everything to wall studs, not just the panel material. Finish with a matte sealant to prevent moisture absorption.
Design Styles That Work Beautifully in a Renovated RV
Coastal Farmhouse
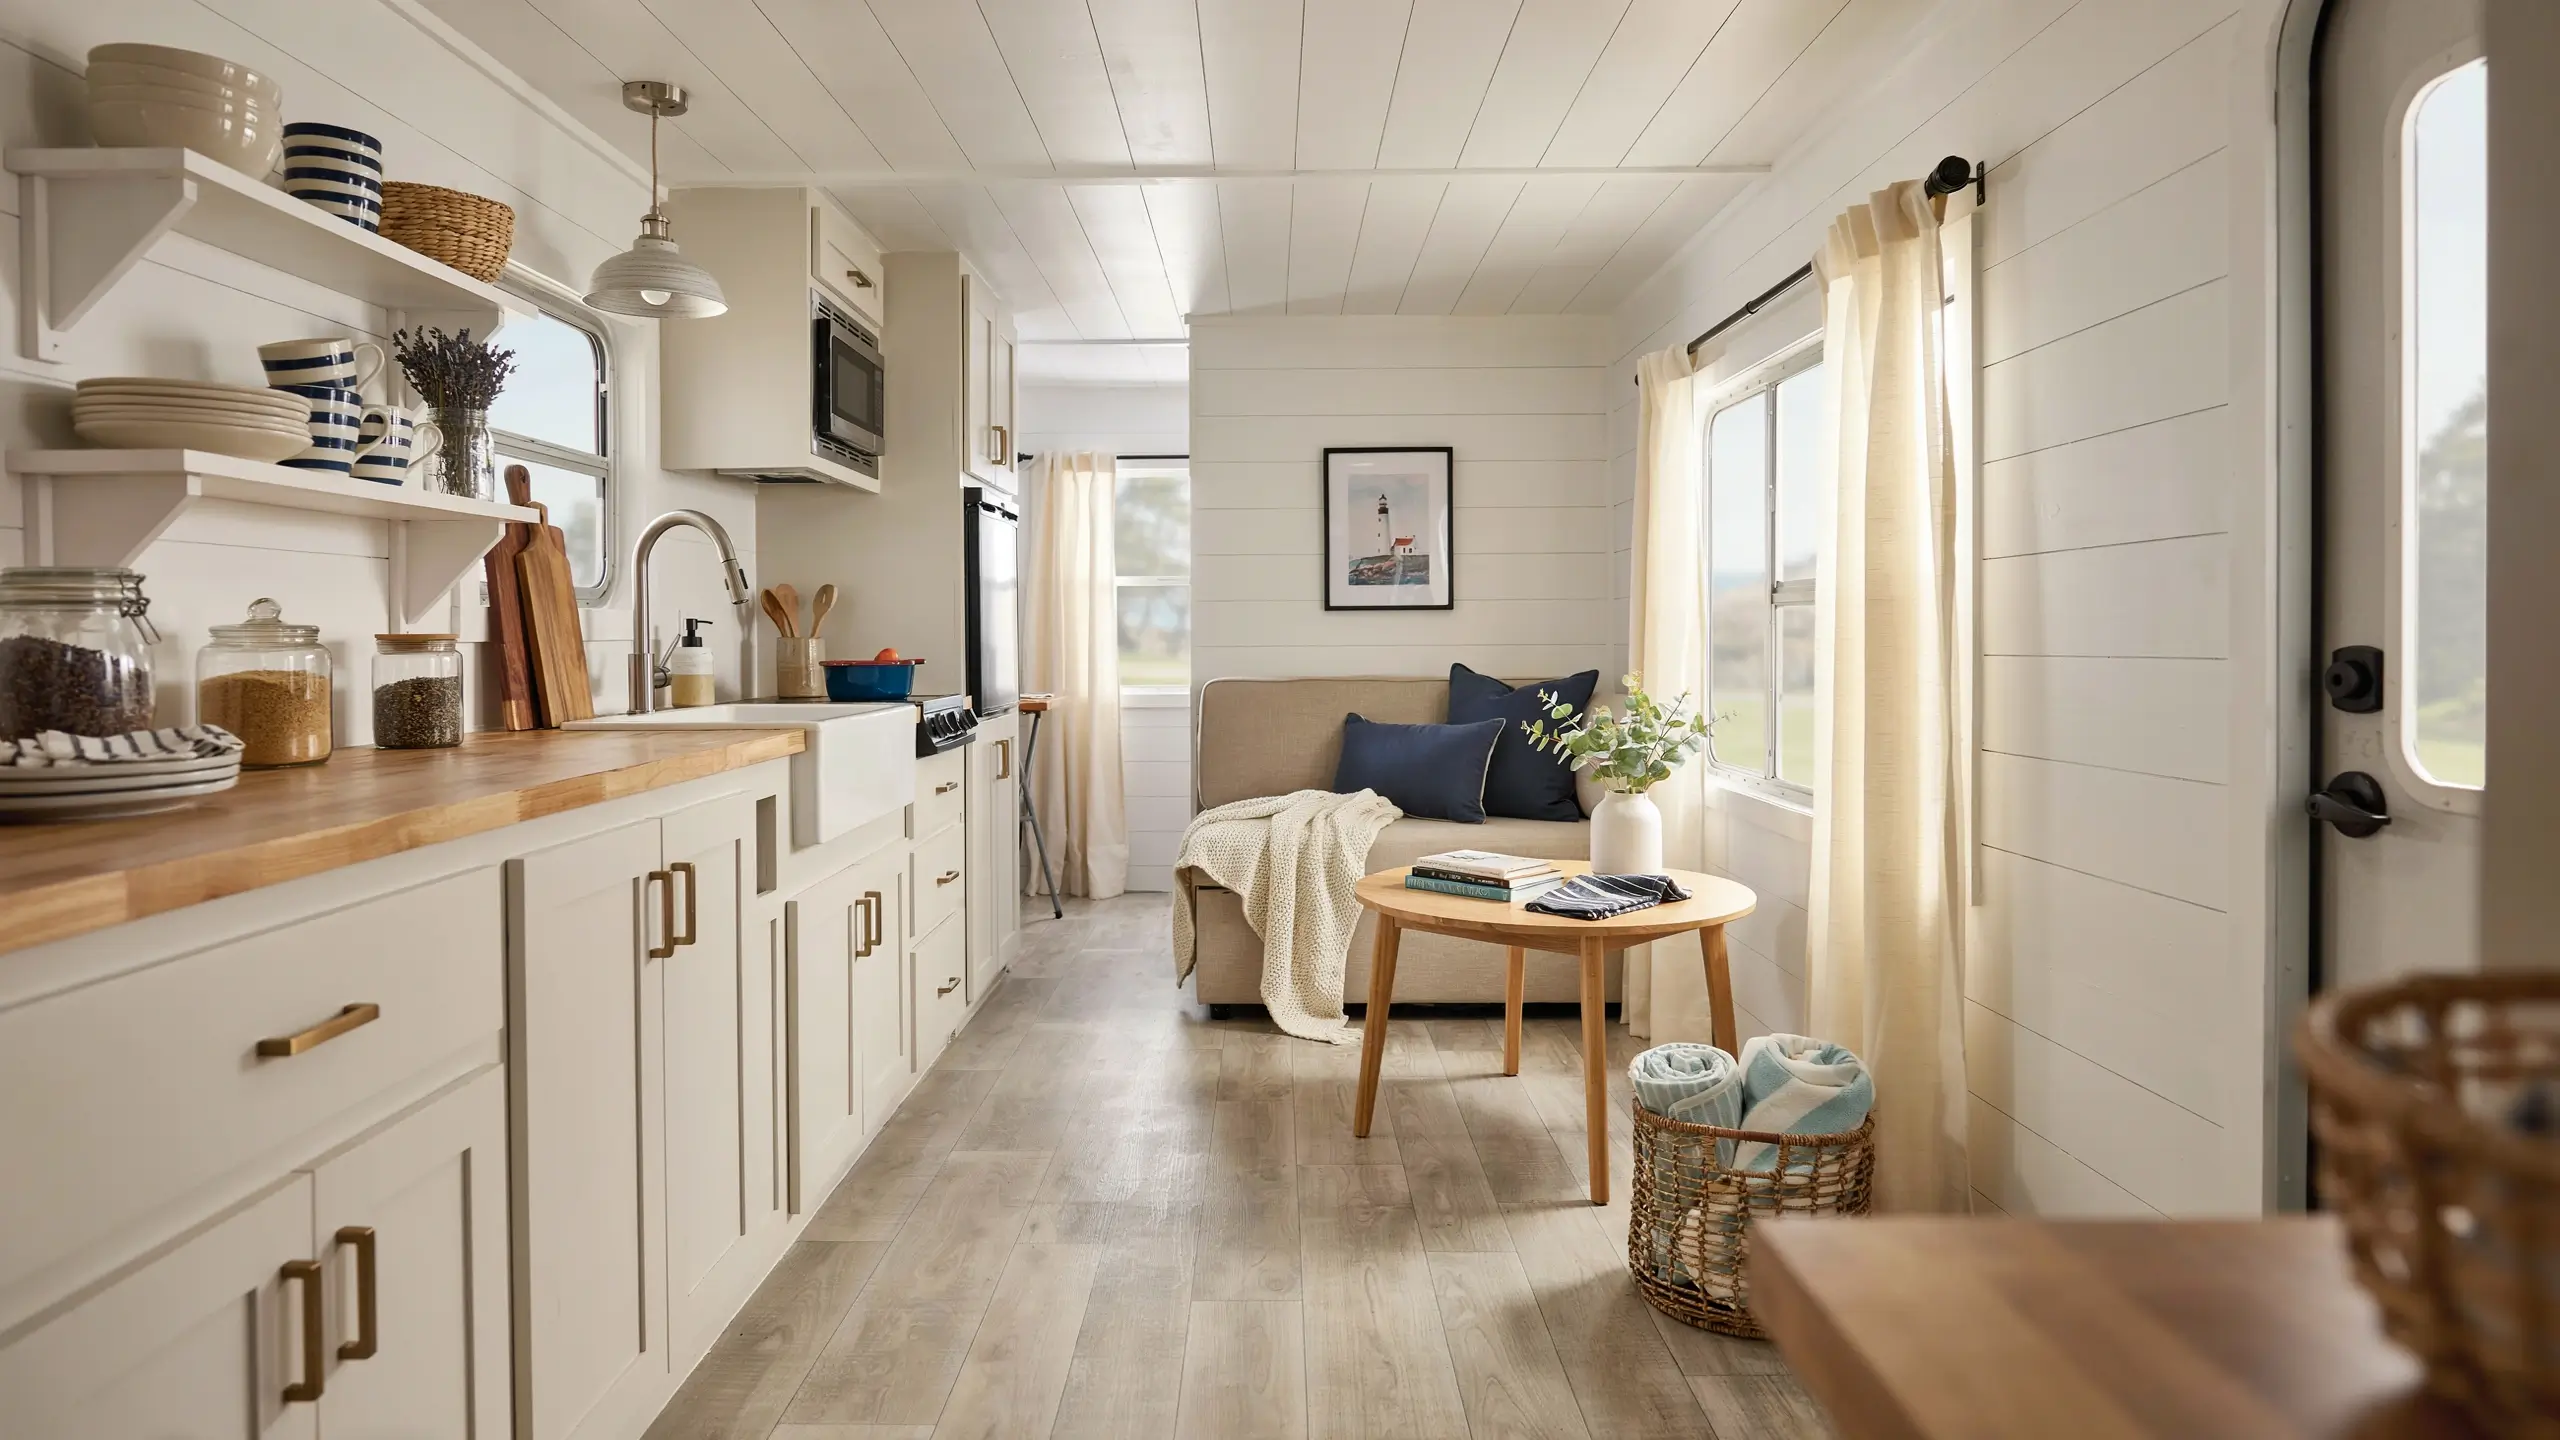
White shiplap walls, pale oak or driftwood-look vinyl floors, navy or soft blue accents, wicker baskets for storage, macramé wall art, linen curtains. This is one of the most popular RV interior aesthetics on Pinterest right now and it photographs beautifully in natural light.
Boho Desert
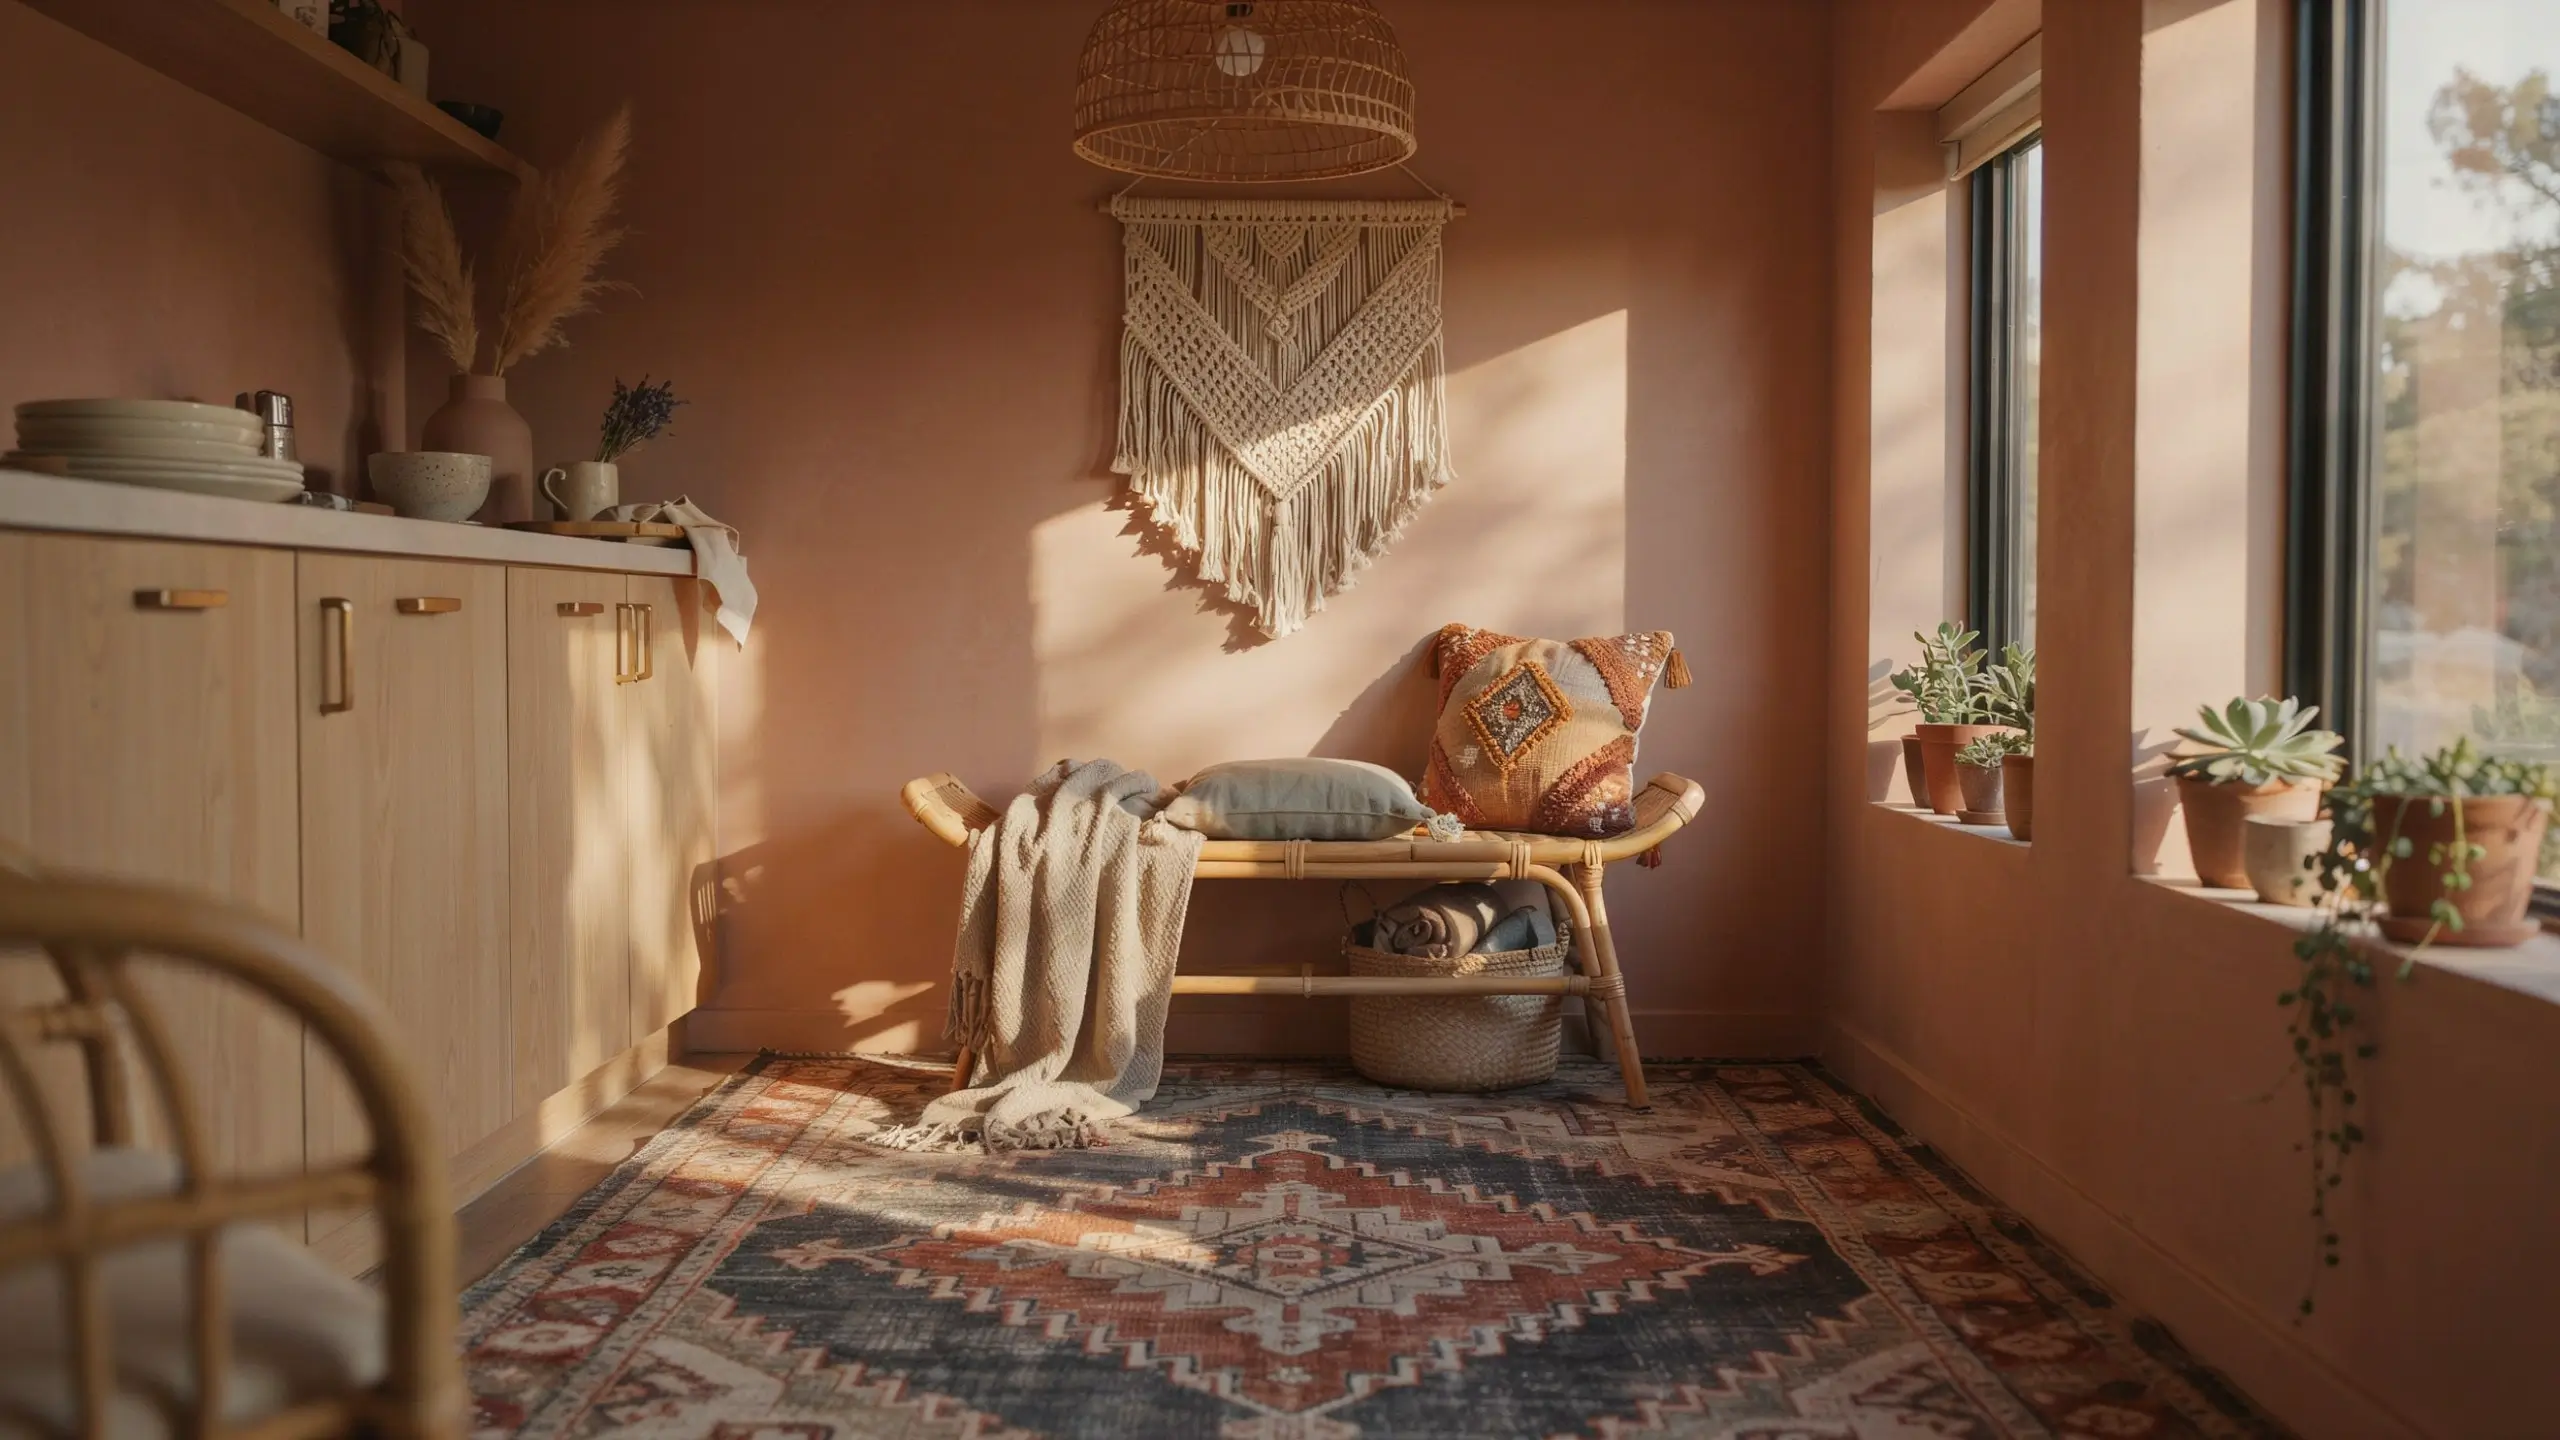
Warm terra cotta and sage tones, layered textiles, woven wall hangings, rattan pendant lights, small potted succulents, vintage-inspired rugs. Works especially well in older travel trailers and small campers.
Modern Minimalist
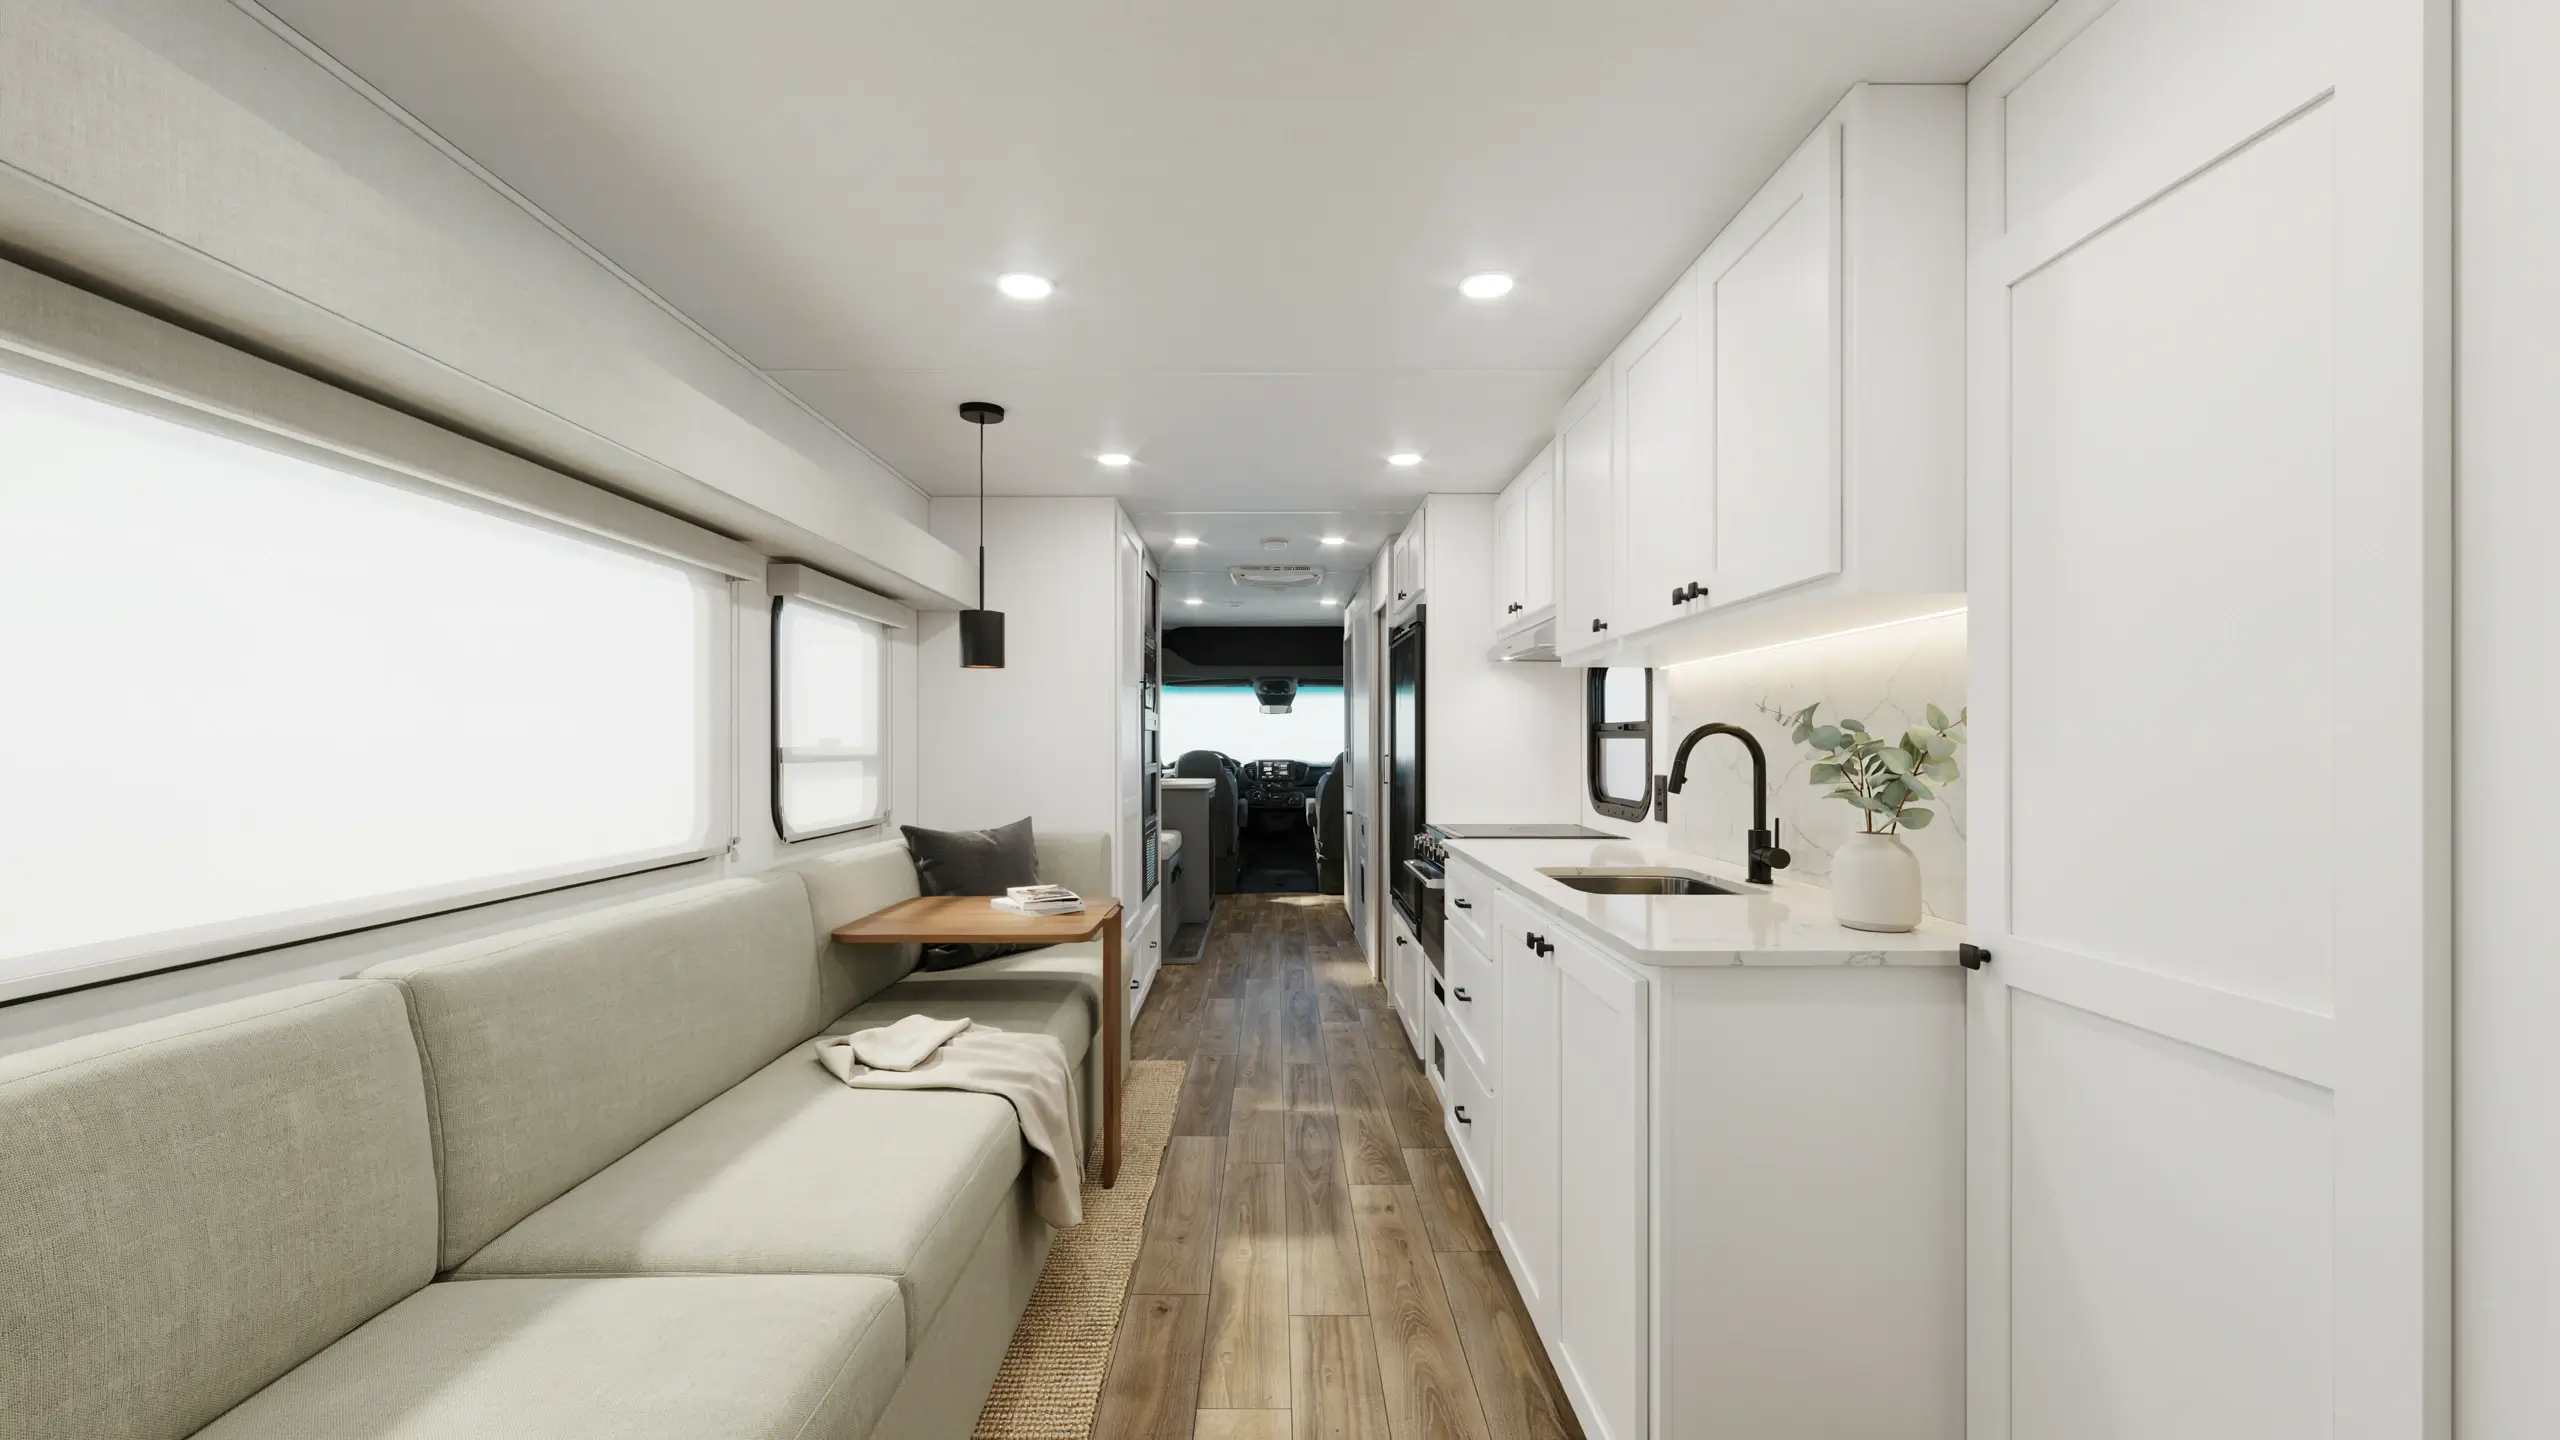
All white or soft grey walls, black matte fixtures throughout, vinyl plank in a light wood tone, clean-lined furniture with no excess decor, closed storage to keep surfaces clear. Makes small spaces feel bigger and works in motorhomes and fifth wheels with modern layouts.
Dark and Moody Cabin
Deep green, navy, or charcoal walls, warm wood accents, Edison-style LED bulbs, plaid or buffalo check textiles, antler or nature-inspired hardware. Unexpected in an RV and very save-worthy on Pinterest.
Mistakes That Cost People Time, Money, and Sanity
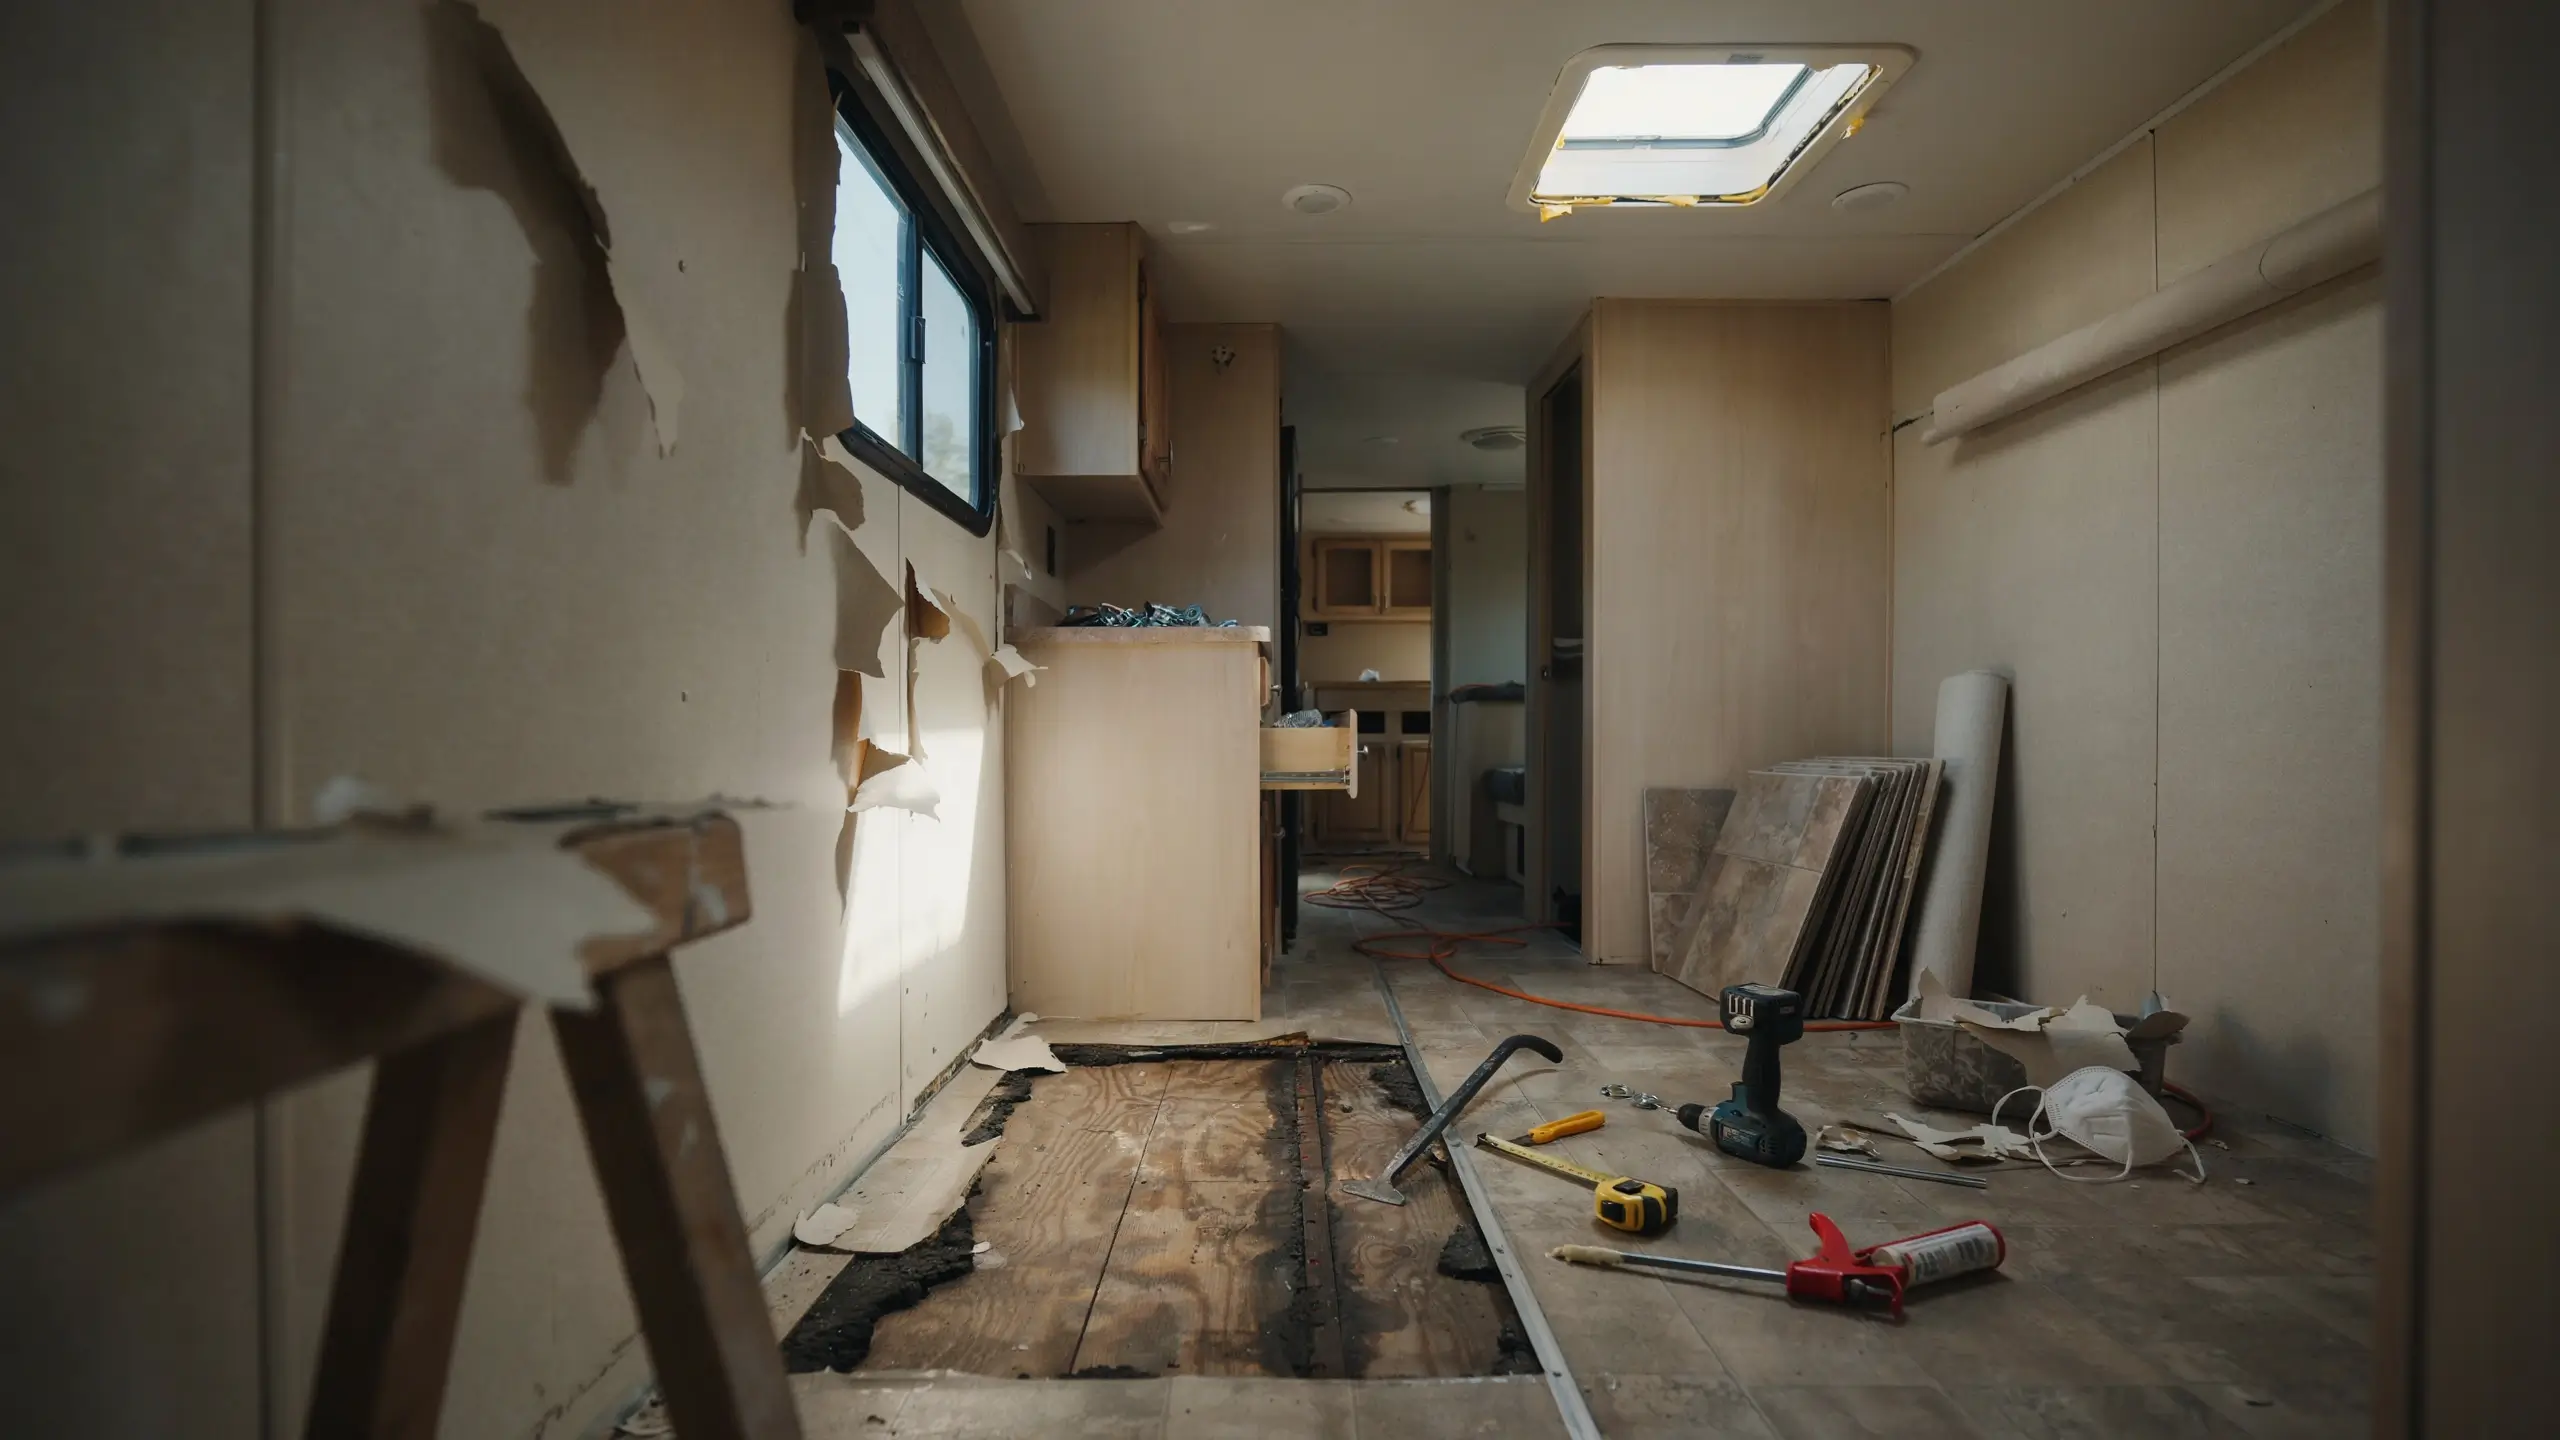
- Skipping the prep work on painting. The number one DIY painting failure in RV interiors is not priming the surface properly first. RV walls are often made of vinyl-coated luaun paneling, which is nearly impossible for standard paint to stick to without the right bonding primer. People skip this step, paint beautifully, and watch it peel off in strips by the first camping trip. Use a primer rated for slick or non-porous surfaces. Let it cure fully before painting over it.
- Choosing heavy materials. Ceramic tile, solid hardwood flooring, cast iron sinks, residential-grade furniture: all beautiful, all potentially dangerous in an RV context. Heavy materials shift the weight distribution and can push you over your GVWR. Remember that 60% of your RV’s load should sit in front of the axle (toward the hitch) for safe towing. If you’re adding weight, pay attention to where it’s going.
- Ignoring moisture on the way in. New flooring over an unaddressed soft spot is just covering up a worsening problem. Water damage in RVs is expensive once it reaches the subfloor or wall studs. If you find soft flooring, trace it to its source before laying a single piece of new LVP. Use moisture-resistant materials like marine plywood and mold-resistant primer in bathrooms and under-sink areas.
- Going over budget on cosmetics before fixing function. It feels amazing to paint cabinets and hang curtains. It feels significantly less amazing to have a working toilet become an emergency six months later because you spent all your renovation budget on throw pillows. Safety and mechanical function first, then aesthetics.
- Using too many patterns. Small spaces get visually cluttered fast. If you choose a patterned fabric for cushions, go solid on curtains. If you use a graphic backsplash tile, keep the walls neutral. One focal point per room is the interior design rule that experienced small-space decorators live by.
- Not taking the rig for a test drive mid-remodel. Doors that didn’t rattle before will rattle now that you’ve changed the interior. Drawers that stayed closed on the road will fly open. New curtain rods will swing. Before you consider the remodel done, take a short trip and make a list of everything that needs to be secured, shimmed, or reinforced.
The Projects Worth Doing Even If You’re Selling the RV
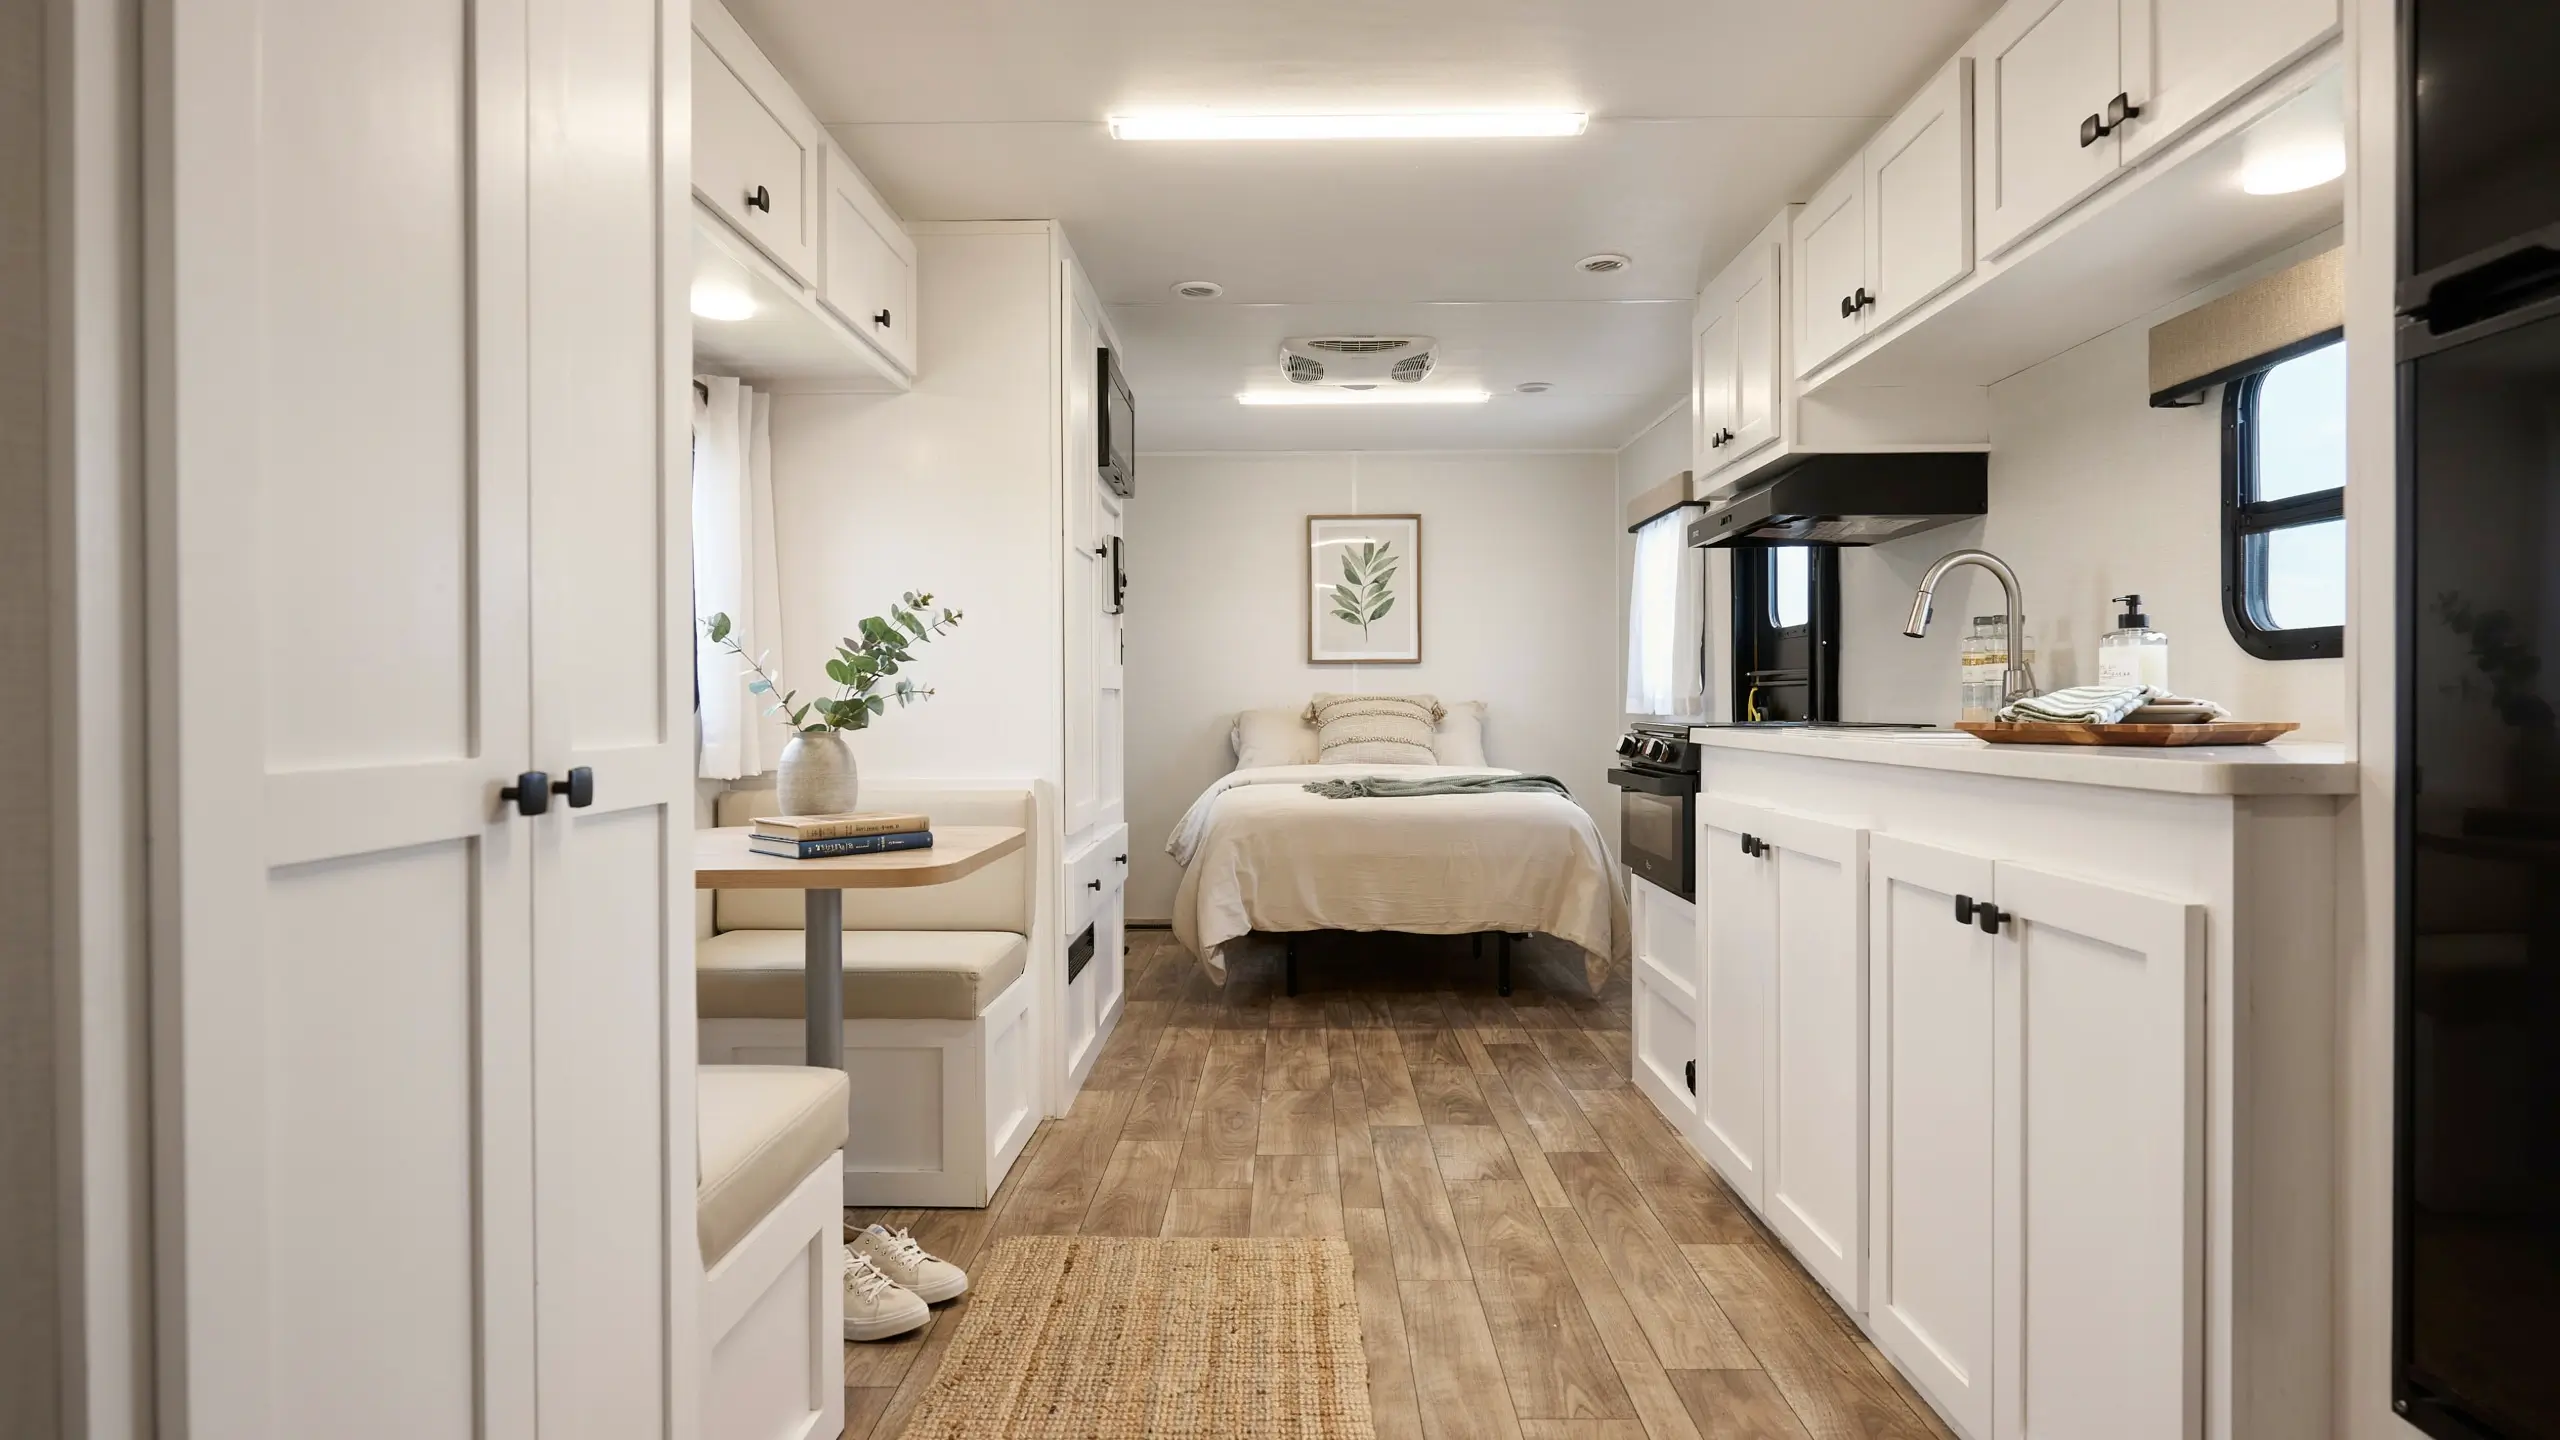
If you’re flipping an RV or plan to sell eventually, not every project has equal return. The highest-value improvements for resale are:
- Fresh paint (walls and cabinets)
- Clean new flooring
- Updated fixtures and hardware
- Any repairs to water damage or mechanical issues
Buyers notice condition, cleanliness, and brightness. A thoughtful $1,500 cosmetic remodel on a structurally sound RV can meaningfully improve what it sells for.
Avoid pouring money into personalized or trendy design choices if resale is the goal. Neutral colors, clean lines, and functional upgrades appeal to the widest pool of buyers.
One Last Thing
An RV remodel isn’t a quick weekend project for most people, and it shouldn’t feel like one. The best transformations come from people who took their time, planned their budget honestly, dealt with the boring safety stuff first, and then let the design details be genuinely fun. The brown-on-brown starting point doesn’t have to be the ending point.
Start with one project. Finish it completely. Take the before-and-after photos. I promise that feeling is more motivating than any Pinterest board.
If you’ve done your own RV remodel, I’d love to hear about it in the comments below. What was your biggest win? What do you wish you’d known before you started? Drop it below.
Save this post for later! Pin it to your RV living, camper remodel, or travel trailer ideas board.






No Comment! Be the first one.