




How to Paint a Kitchen Island (Even If You’ve Never Painted Furniture Before)
A kitchen island is the one piece of furniture everyone touches, leans on, and stares at every single day. So when it’s the wrong color, or just plain tired looking, it drags the whole room...

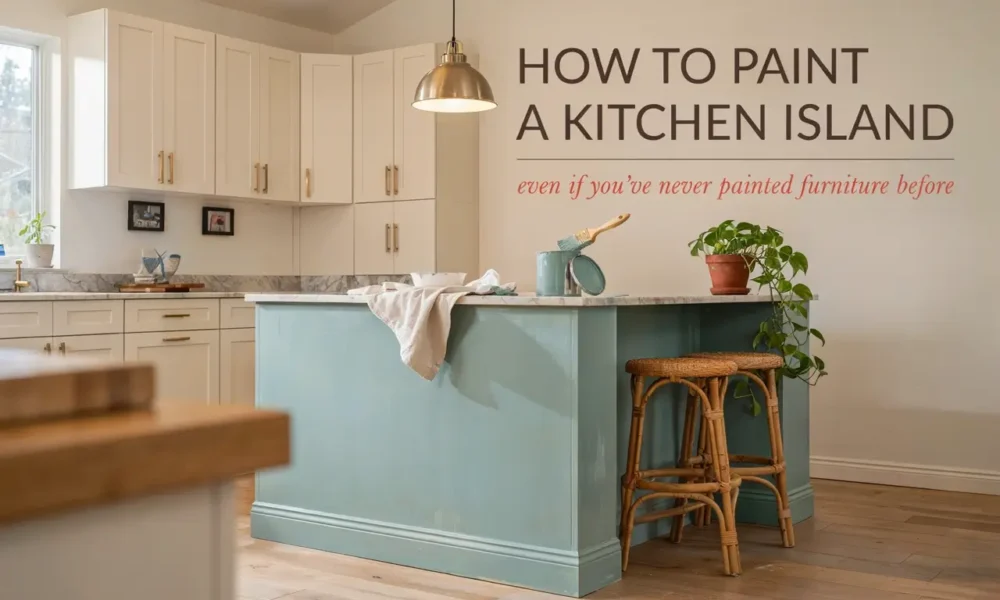
A kitchen island is the one piece of furniture everyone touches, leans on, and stares at every single day. So when it’s the wrong color, or just plain tired looking, it drags the whole room down with it.
Here’s the good news. You don’t need a full renovation to fix that. Learning how to paint a kitchen island is one of the fastest, cheapest ways to change the entire feel of your kitchen, and you can do it in a weekend without hiring anyone.
This guide walks you through the whole process. Not the rushed version. The one that actually holds up once real life happens to it again, kids leaning on it, grocery bags dropped on the corner, coffee mugs sliding across the top.
Why Painting Your Kitchen Island Beats Replacing It
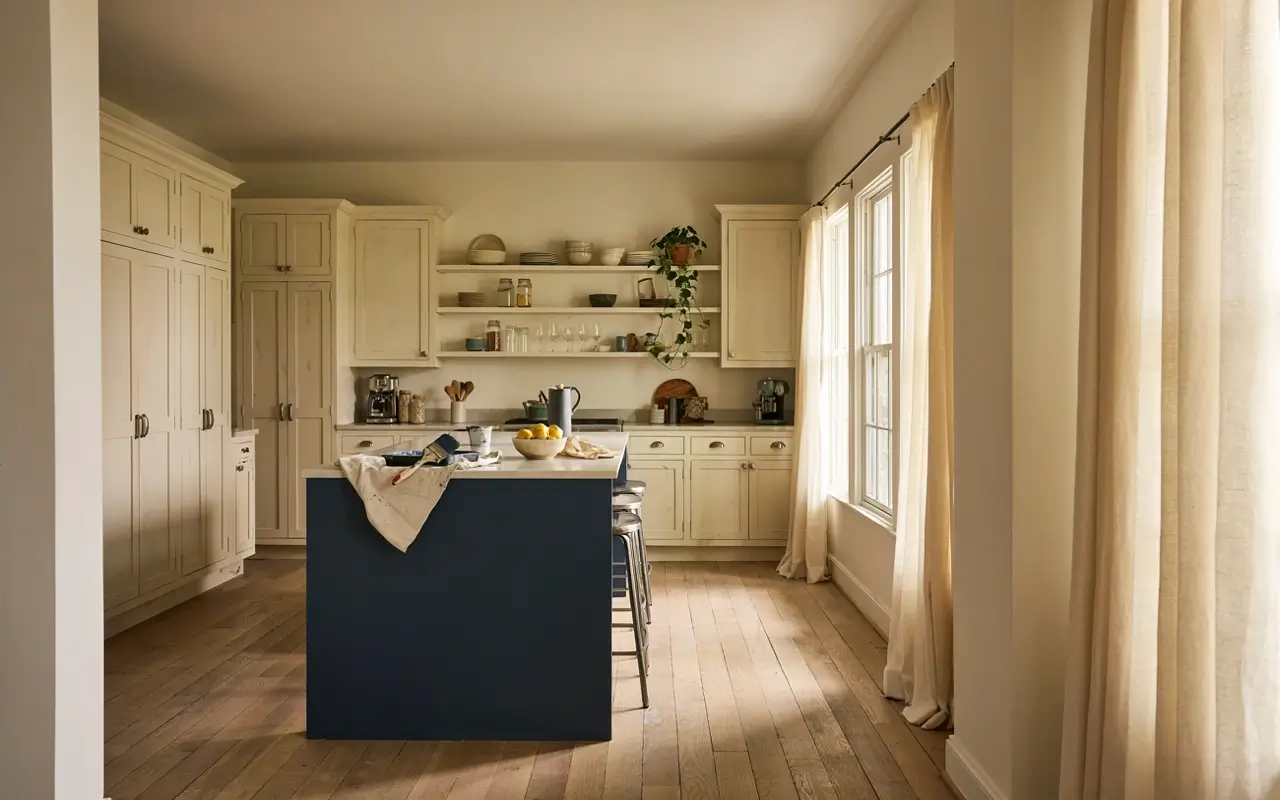
Replacing a kitchen island or a full set of cabinets can run into the thousands. Painting the one you already have costs a fraction of that and takes a fraction of the time.
It’s also the easiest way to test a bold color without committing your whole kitchen to it. Islands sit in the center of the room, so they’re the perfect spot for a contrast color. Paint just the island a different shade than your perimeter cabinets, and you get that designer, custom-kitchen look without touching anything else.
What You’ll Need Before You Start
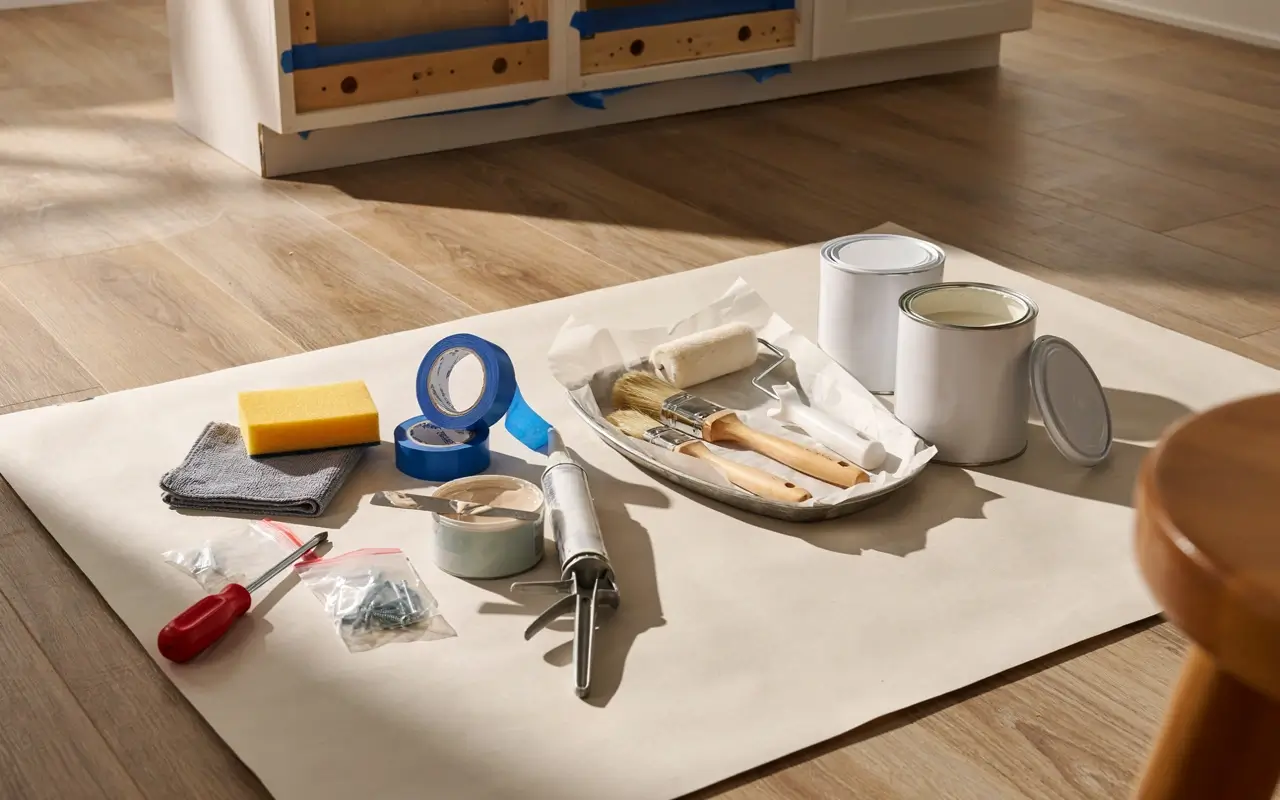
Gather everything first so you’re not mid-project searching for a putty knife with wet paint drying on your brush.
- Screwdriver, for removing hardware and hinges
- Sandwich bags and painter’s tape, for labeling and storing screws and pulls
- Painter’s tape and rosin or masking paper, to protect countertops and the interior of the cabinets
- Drop cloths, for the floor
- A degreasing cleaner (Krud Kutter or a mix of warm water and dish soap works fine)
- 220-grit sandpaper or a sanding sponge
- A tack cloth or lint-free microfiber cloth
- Wood filler and a putty knife, for dents, dings, and old hardware holes
- Paintable caulk, for seams where trim meets the cabinet box
- A bonding primer (Zinsser Bulls Eye 1-2-3 or KILZ Adhesion are common choices)
- Your paint of choice (more on which type below)
- A 2-inch angled sash brush
- A mini foam or microfiber roller with a low nap
- A paint tray with a liner
- Optional: a paint sprayer, if you want a fully smooth, brush-mark-free finish
Choosing the Right Paint for a Kitchen Island
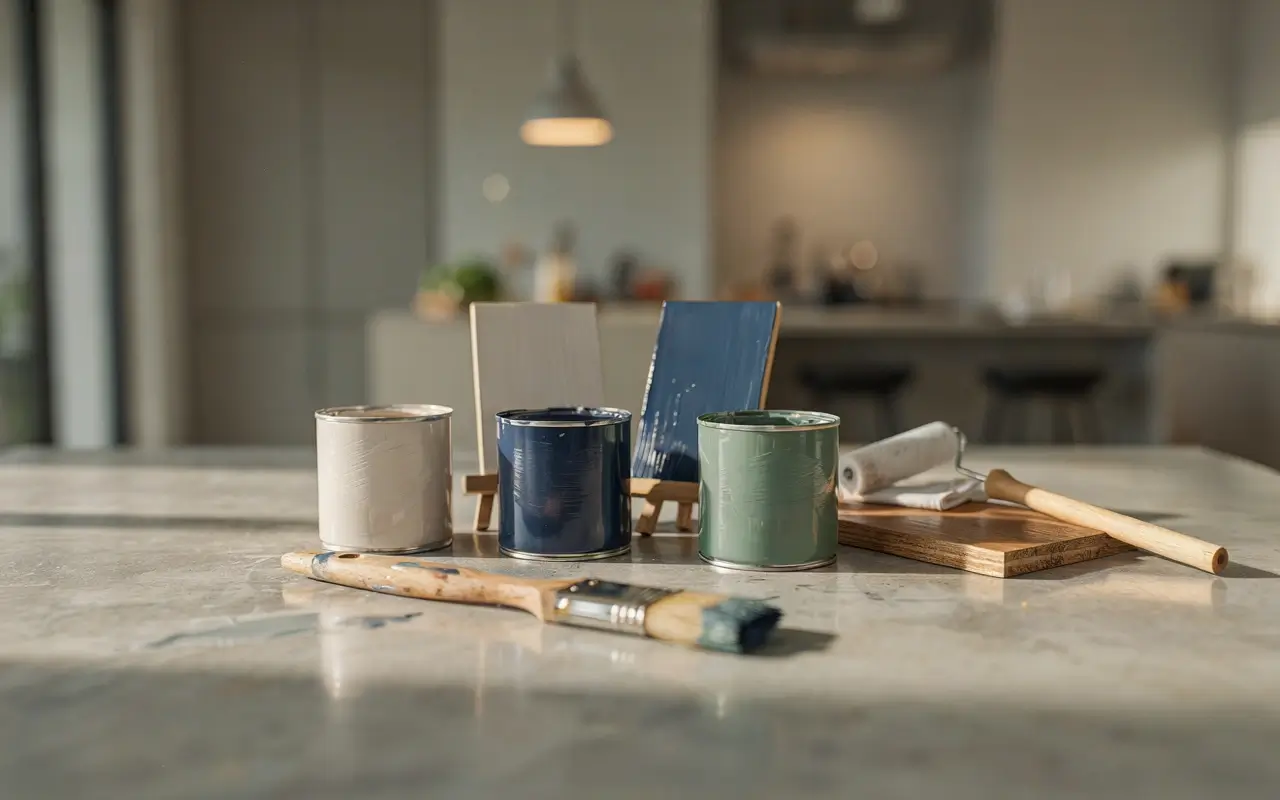
This is where most DIY paint jobs go right or wrong. An island takes more daily abuse than almost any other surface in the house, so the paint you pick matters more than the color.
| Paint Type | Durability | Prep Needed | Best For |
|---|---|---|---|
| Alkyd or urethane enamel (Benjamin Moore Advance, Sherwin-Williams Emerald Urethane) | Highest, hardest finish | Full sanding plus bonding primer | Busy families, high-traffic islands |
| Mineral paint (Fusion Mineral Paint, Dixie Belle Silk) | High, many are self-sealing | Light scuff sand, minimal prep | DIYers who want durability without heavy prep work |
| Milk paint (General Finishes) | Medium to high | Light sanding plus a bonding agent | Farmhouse or rustic looks with texture |
| Chalk paint (Annie Sloan, Rust-Oleum Chalked) | Lower, needs a hard topcoat | Very little | Distressed, vintage looks, quickest weekend project |
If your island sees daily traffic, kids doing homework at it, dogs bumping the sides, stools scraping the base, go with an enamel or mineral paint in satin or semi-gloss. Chalk paint looks gorgeous in photos, but without a serious wax or polyurethane topcoat, it scuffs fast on a surface people touch constantly.
Best Kitchen Island Colors for 2026
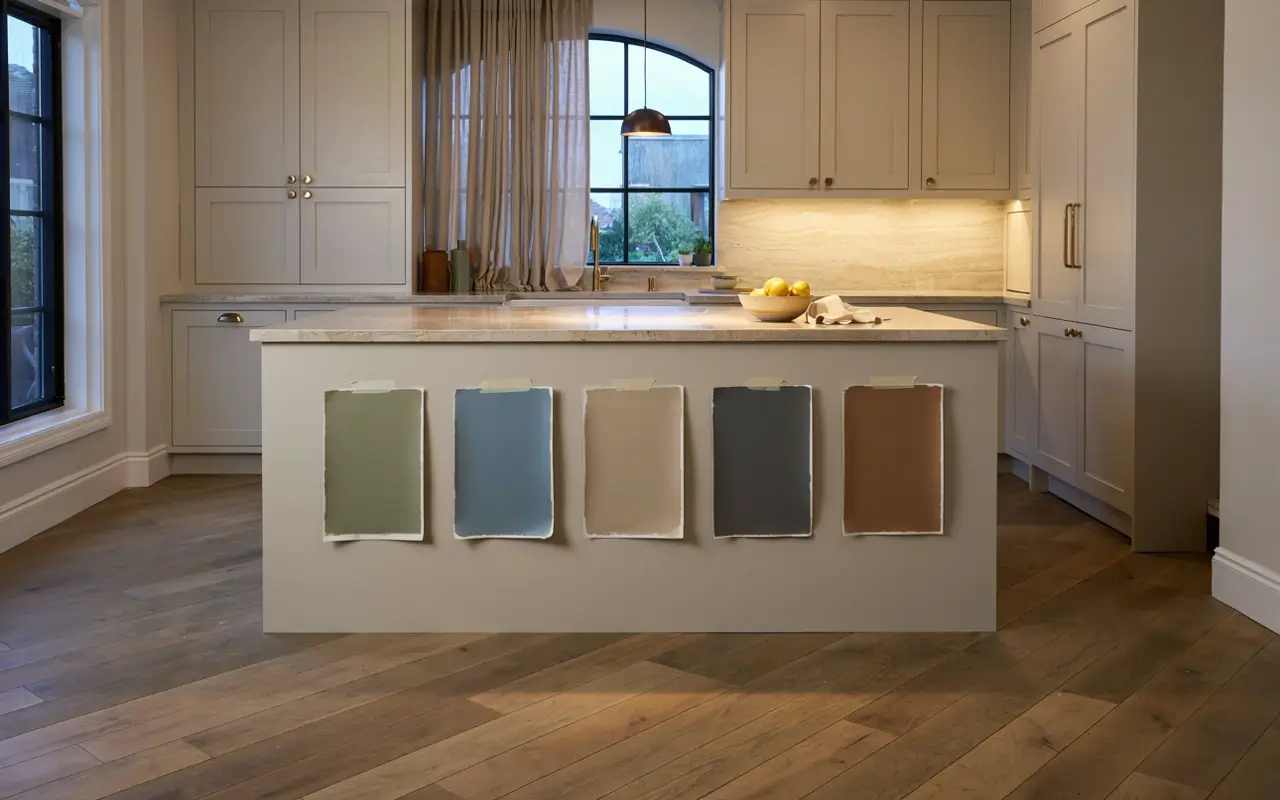
If your cabinets are staying the same color, your island is the one piece that can carry personality for the whole room.
- Earthy green. Sage, olive, and deeper forest greens are everywhere right now. They pair beautifully with butcher block countertops, brass hardware, and natural wood floors.
- Grounded blue or teal. Soft, muted blues and teals feel calmer and more current than the bright coastal blues from a few years ago. They work in almost any kitchen style.
- Warm neutral. Think putty, warm greige, or a soft French clay tone instead of cool gray. These feel timeless and won’t compete with your backsplash or floors.
- Deep charcoal or black. A dark island next to lighter perimeter cabinets is still one of the strongest contrast looks for 2026. Pair it with light stone countertops and warm metal pulls so it doesn’t feel heavy.
- Warm brown or wood-look. If you love the look of stained wood but want the low-maintenance ease of paint, warm brown tones on an island paired with lighter cabinets is a growing trend.
Before you commit, tape large paint swatches directly on the island and look at them in daylight and again under your kitchen lights at night. Colors shift more than people expect, and this one step saves a lot of repainting regret.
How to Paint a Kitchen Island Step by Step
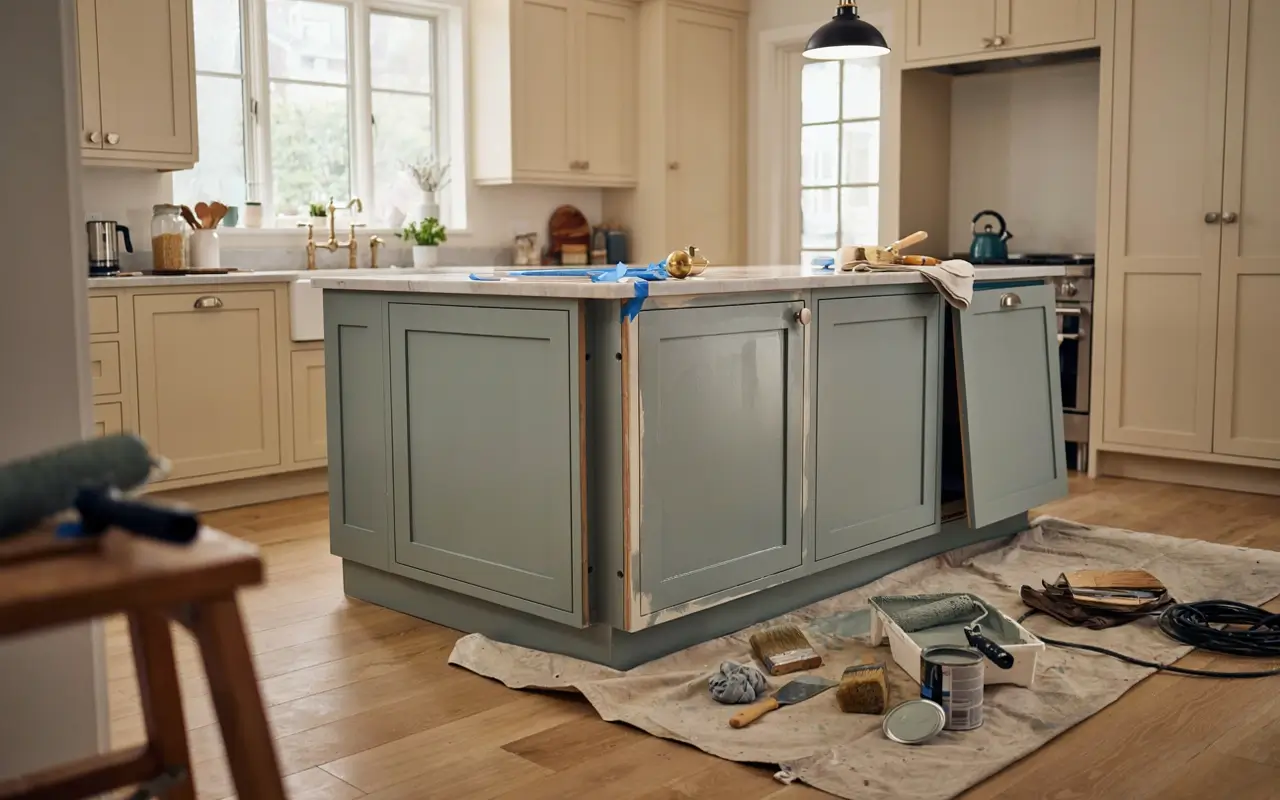
- Clear the island and remove the hardware. Take off every knob, pull, and hinge. Put screws in a labeled sandwich bag for each door or drawer so reassembly doesn’t turn into a puzzle later.
- Protect the surrounding area. Tape off the countertop edges, cover the floor with a drop cloth, and line the inside of the cabinets with masking paper if you’re painting the interior edges too.
- Clean and degrease everything. Kitchen cabinets collect an invisible layer of cooking grease, even if they look clean. Wipe every surface down with a degreasing cleaner and let it dry fully before you touch sandpaper to it.
- Sand every surface you’re painting. You’re not trying to remove the old finish, just scuff it enough for the primer to grip. A sanding sponge works well on flat panels and edges. If the island was previously painted with a glossy oil-based paint, sand a little more thoroughly here, since gloss is the number one reason primer fails to bond.
- Fill dents, holes, and gaps. Use wood filler on old hardware holes (especially if you’re switching pull styles), dents, and dings. Let it dry, sand it flush, then run paintable caulk along any seams where trim meets the cabinet box for a seamless, built-in look.
- Prime with a bonding primer. Wipe away all sanding dust with a tack cloth first. Apply one even coat of bonding primer and let it dry fully, usually about 24 hours, before moving on.
- Apply your first coat of paint. Cut in the edges and detail areas with your angled brush, then fill the flat surfaces with the mini roller. Working brush first, roller second keeps the finish consistent and avoids visible brush lines fighting with roller texture.
- Sand lightly and apply a second coat. Once the first coat is dry, give it a very light pass with fine sandpaper to knock down any texture, wipe off the dust, then apply your second coat. Most cabinet paints need two coats for full, even coverage. Very dark-to-light color changes sometimes need a third.
- Let it cure before you use it hard. This is the step almost everyone rushes. Paint feels dry to the touch within a day, but it isn’t fully cured for two to three weeks. Avoid heavy use, leaning stools against it, or setting hot pans on painted edges until it’s had time to harden completely. Then reattach your hardware and doors.
Brush, Roller, or Sprayer? What Actually Works Best
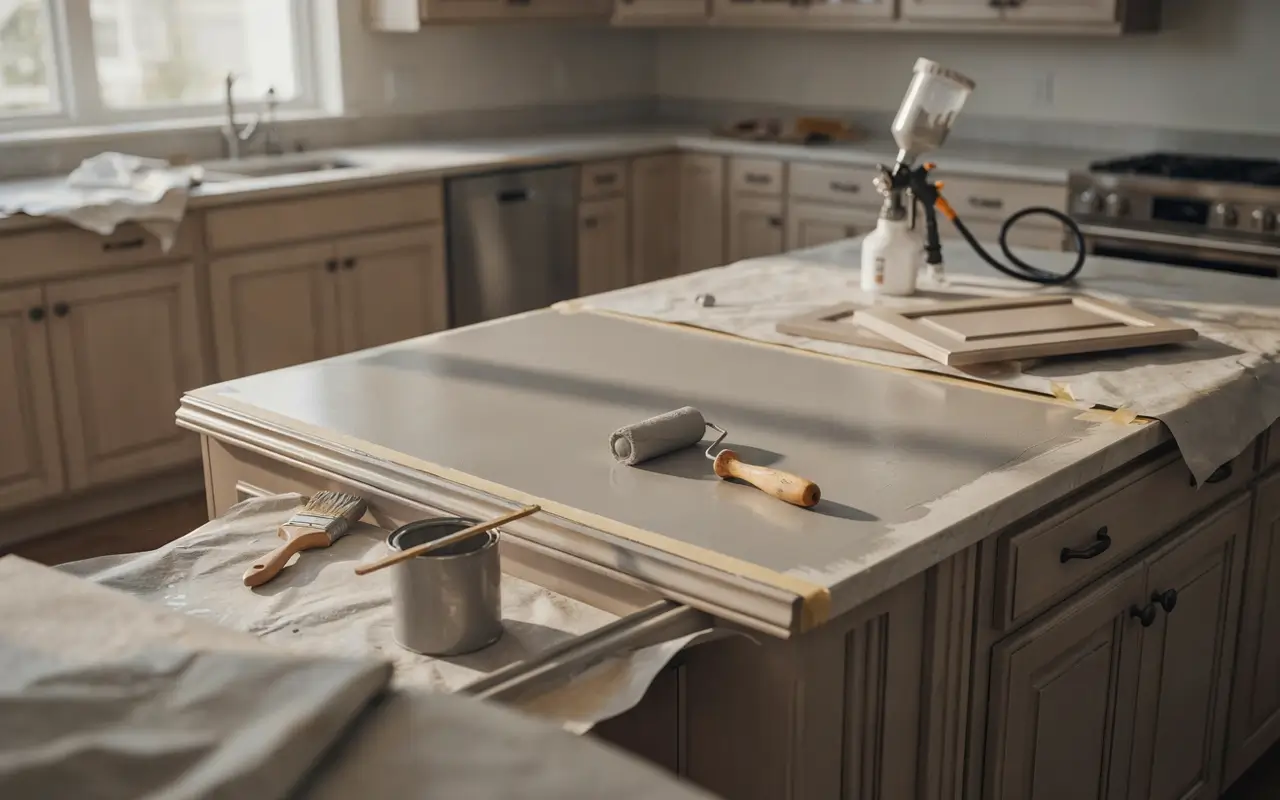
A brush and roller combination is the most beginner-friendly option and what most home DIYers use successfully. The angled brush handles edges and detail work, and the low-nap roller lays paint down smoothly on flat panels without leaving stipple texture behind.
A paint sprayer gives you the smoothest, most factory-like finish, but it comes with more setup. You’ll need to tape off a much wider area to catch overspray, and it works best if you can remove the doors and drawers and spray them separately in a garage or outdoor space.
If this is your first cabinet painting project, start with brush and roller. Save the sprayer for round two once you’ve got a feel for how the paint behaves.
How Long Does It Take to Paint a Kitchen Island
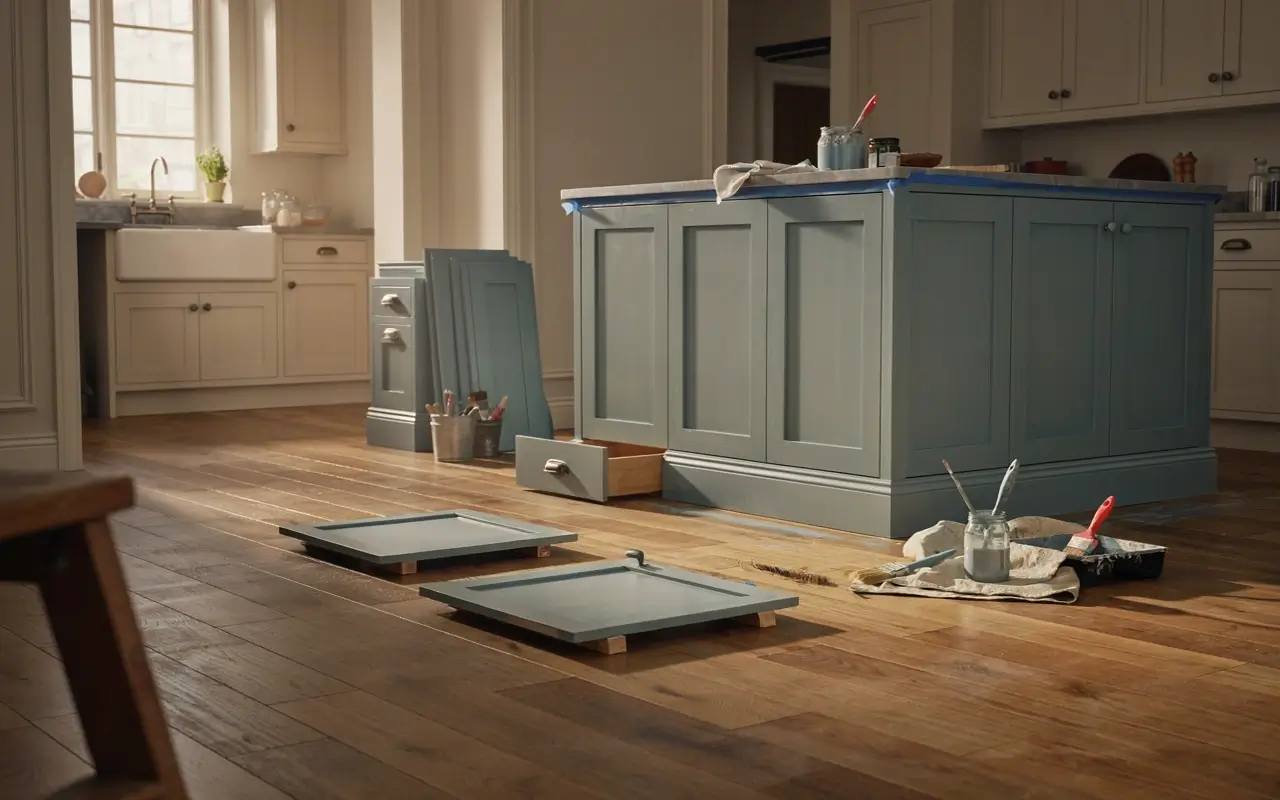
Plan for a full weekend, spread across a few days rather than crammed into one.
- Prep, cleaning, sanding, and filling: half a day
- Priming and dry time: one day
- First coat and dry time: one day
- Second coat and dry time: one day
- Full cure before heavy use: two to three weeks
You can use the kitchen normally during the cure window, just go easy on the painted surfaces themselves.
Kitchen Island Painting Cost Breakdown
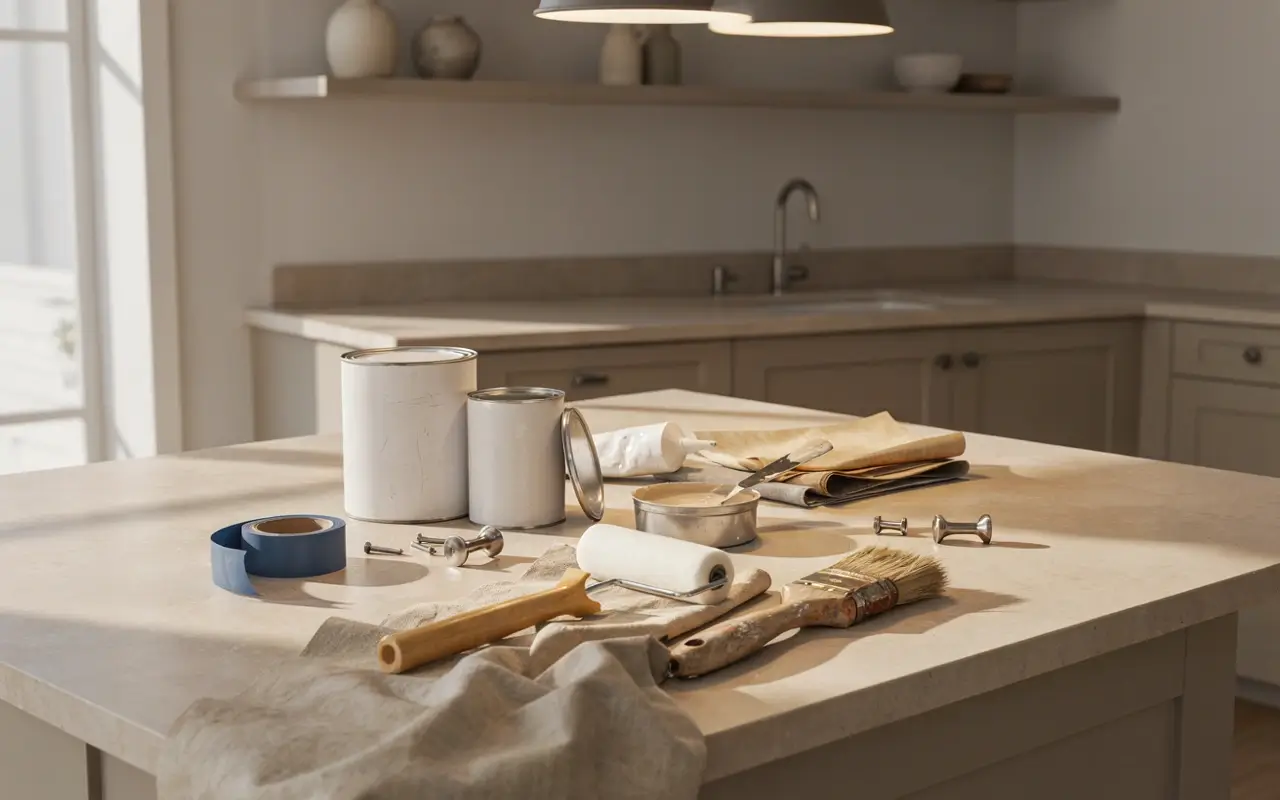
Painting an island is one of the most budget-friendly kitchen updates you can do.
- Paint (quart to gallon, depending on island size): $30 to $80
- Bonding primer: $20 to $30
- Brushes, roller, and tray: $15 to $25
- Sandpaper, tack cloth, wood filler, and caulk: $10 to $20
- New hardware, if you’re upgrading pulls: $20 to $100+
Most DIYers finish a full island paint job for somewhere between $100 and $250, compared to $300 and up for a hired painter, or thousands to replace the island entirely.
Mistakes to Avoid When Painting a Kitchen Island
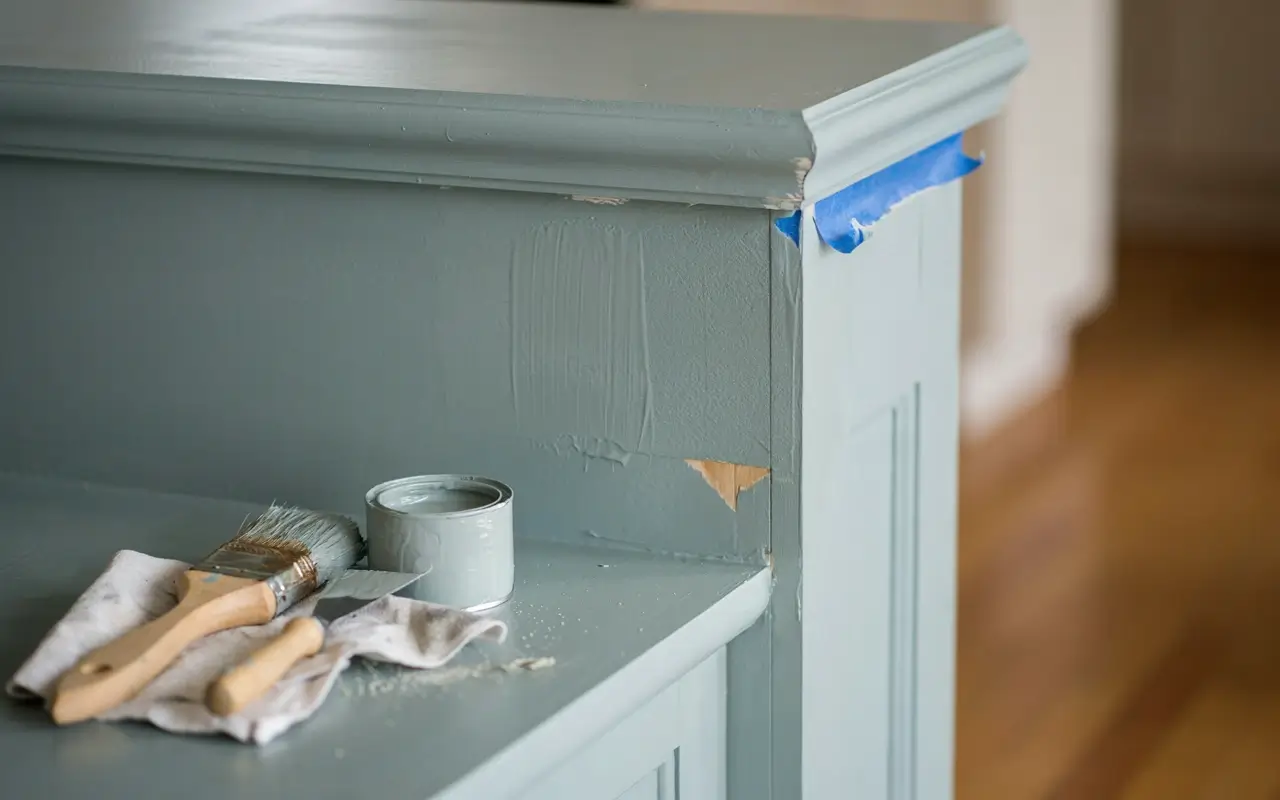
- Skipping the primer. Even paints labeled “no prep needed” do better long term with a bonding primer underneath, especially on a surface that gets touched daily.
- Rushing the cure time. Using the island hard right after the paint feels dry to the touch is the most common reason painted islands chip within the first month.
- Using regular wall paint. Wall paint isn’t built to handle the constant contact a kitchen island gets. It looks fine at first, then starts chipping at the edges within a few weeks.
- Not sanding a glossy old finish. New paint has nothing to grip onto over a slick, glossy surface, and this is the top reason primer peels.
- Skipping the color test. Painting the whole island before checking the color in your actual kitchen lighting is how people end up repainting twice.
- Forgetting to label doors and drawers. It feels unnecessary until you’re standing there after painting, trying to remember which drawer front goes where.
Safety Notes
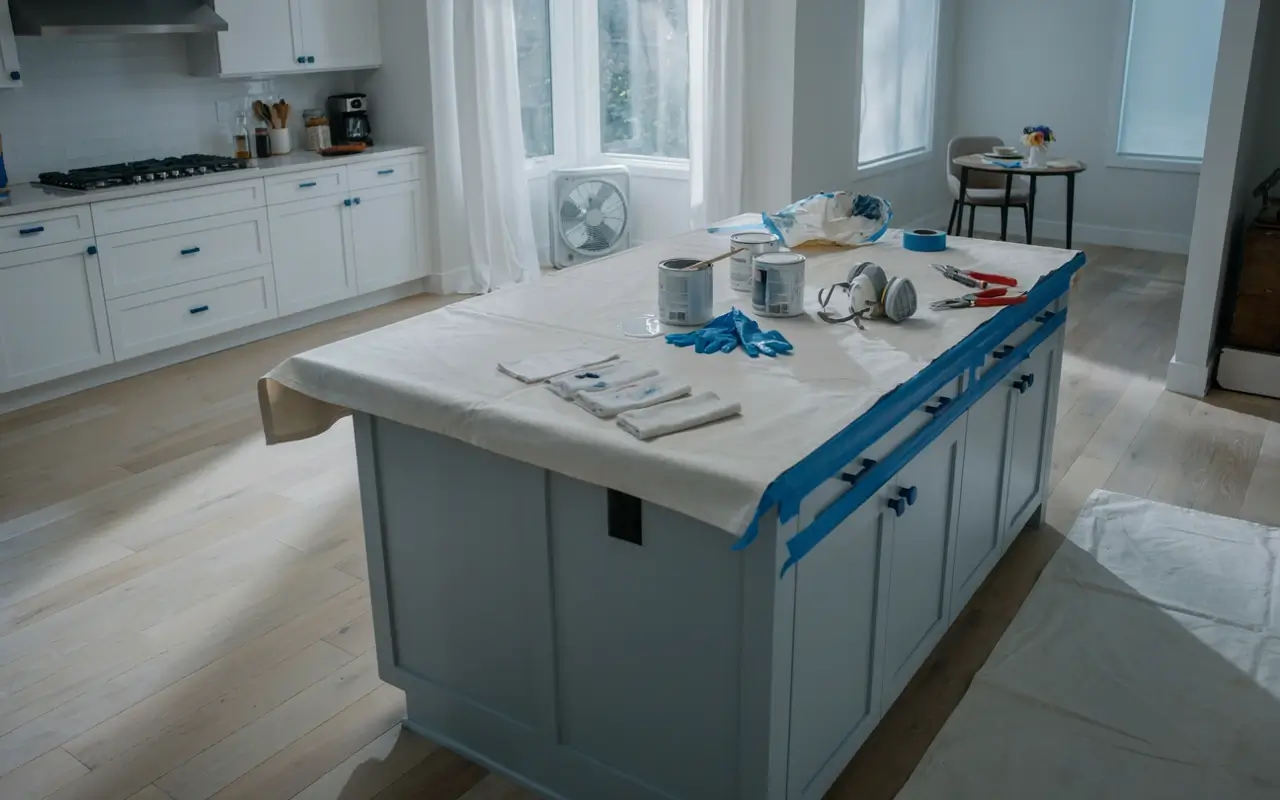
Work with windows open or a fan running, especially while priming and painting. If your kitchen island is original to a home built before 1978, consider testing for lead paint before sanding, since sanding can release lead dust. Keep kids and pets out of the space while you’re working and while everything dries. If you’re using oil-based products, lay any paint-soaked rags flat outside to dry before throwing them away, since they can be a fire risk if bunched up while still wet.
Frequently Asked Questions
Do I need to remove the doors and drawers to paint a kitchen island?
You don’t have to, but removing them makes it far easier to get a smooth, even finish, especially around edges and hardware holes.
What’s the best paint sheen for a kitchen island?
Satin or semi-gloss. Both wipe clean easily and hold up to daily contact. Flat and eggshell finishes are too soft for a surface that gets this much use.
Can I paint over a laminate kitchen island?
Yes, as long as you use a bonding primer made for slick surfaces first. Skip that step and the paint is much more likely to peel.
How many coats of paint does a kitchen island need?
Most projects need two coats for full, even coverage. If you’re going from a very dark color to a light one, plan on a third.
Do I need to seal a painted kitchen island with a topcoat?
If you used chalk paint or milk paint, yes, a wax or water-based polyurethane topcoat is what makes it durable enough for daily use. Alkyd and mineral paints are more self-sufficient but still benefit from a protective topcoat on high-touch edges.
How long before I can use my kitchen island after painting?
It’s touch-dry within a day, but give it two to three weeks to fully cure before treating it like normal, especially before leaning stools against it or setting hot cookware directly on painted edges.
Final Thoughts
Painting a kitchen island isn’t complicated, it just rewards patience. The prep work you might be tempted to rush through is exactly what makes the difference between a paint job that looks good for a week and one that still looks good in five years.
Take your time with the sanding, don’t skip the primer, and let it cure properly before you put it back to work. Do that, and you’ll end up with an island that looks like it came from a full kitchen renovation, at a fraction of the cost.
Have you painted your kitchen island before, or are you planning your first one? Tell me your color pick in the comments, I’d love to hear what you’re going with.





No Comment! Be the first one.