




How to Clean Your Oven Naturally (No Fumes, No Harsh Chemicals, Just a Sparkling Oven)
If you have ever opened your oven, caught a whiff of last month’s roast chicken, and quietly closed the door again, you are not alone. Oven cleaning is one of those chores that sits at the...


If you have ever opened your oven, caught a whiff of last month’s roast chicken, and quietly closed the door again, you are not alone. Oven cleaning is one of those chores that sits at the bottom of every to-do list until the smoke alarm reminds you it is time.
The good news is you do not need a can of chemical oven cleaner and a face mask to get the job done. Baking soda, vinegar, and a little patience will cut through baked-on grease, old spills, and that stubborn smoky smell, all without leaving toxic fumes behind. This is especially good news if you have kids or pets in the house, if you are renting and want to keep things simple, or if you just cannot stand the smell of commercial oven spray.
Here is exactly how to clean your oven naturally, step by step, plus the mistakes that make people give up halfway through.
What You Will Need
Before you start, gather these supplies so you are not searching for a spatula with baking soda paste halfway up your arm.
- Baking soda (about 1 cup for a standard oven)
- White vinegar
- A spray bottle
- Rubber gloves
- A silicone spatula or old spoon
- A damp microfiber cloth or sponge
- An old towel or bath mat to soak racks in the tub
- Dish soap with a degreaser, like Dawn (optional but helpful for heavy grease)
- A small ovenproof bowl and a lemon (optional, for the steam method)
Everything on this list is already in most kitchens, which is part of why this method has stuck around for years. No specialty products, no strong smell that lingers for days, and nothing you need to order online and wait for.
1: Clear Everything Out
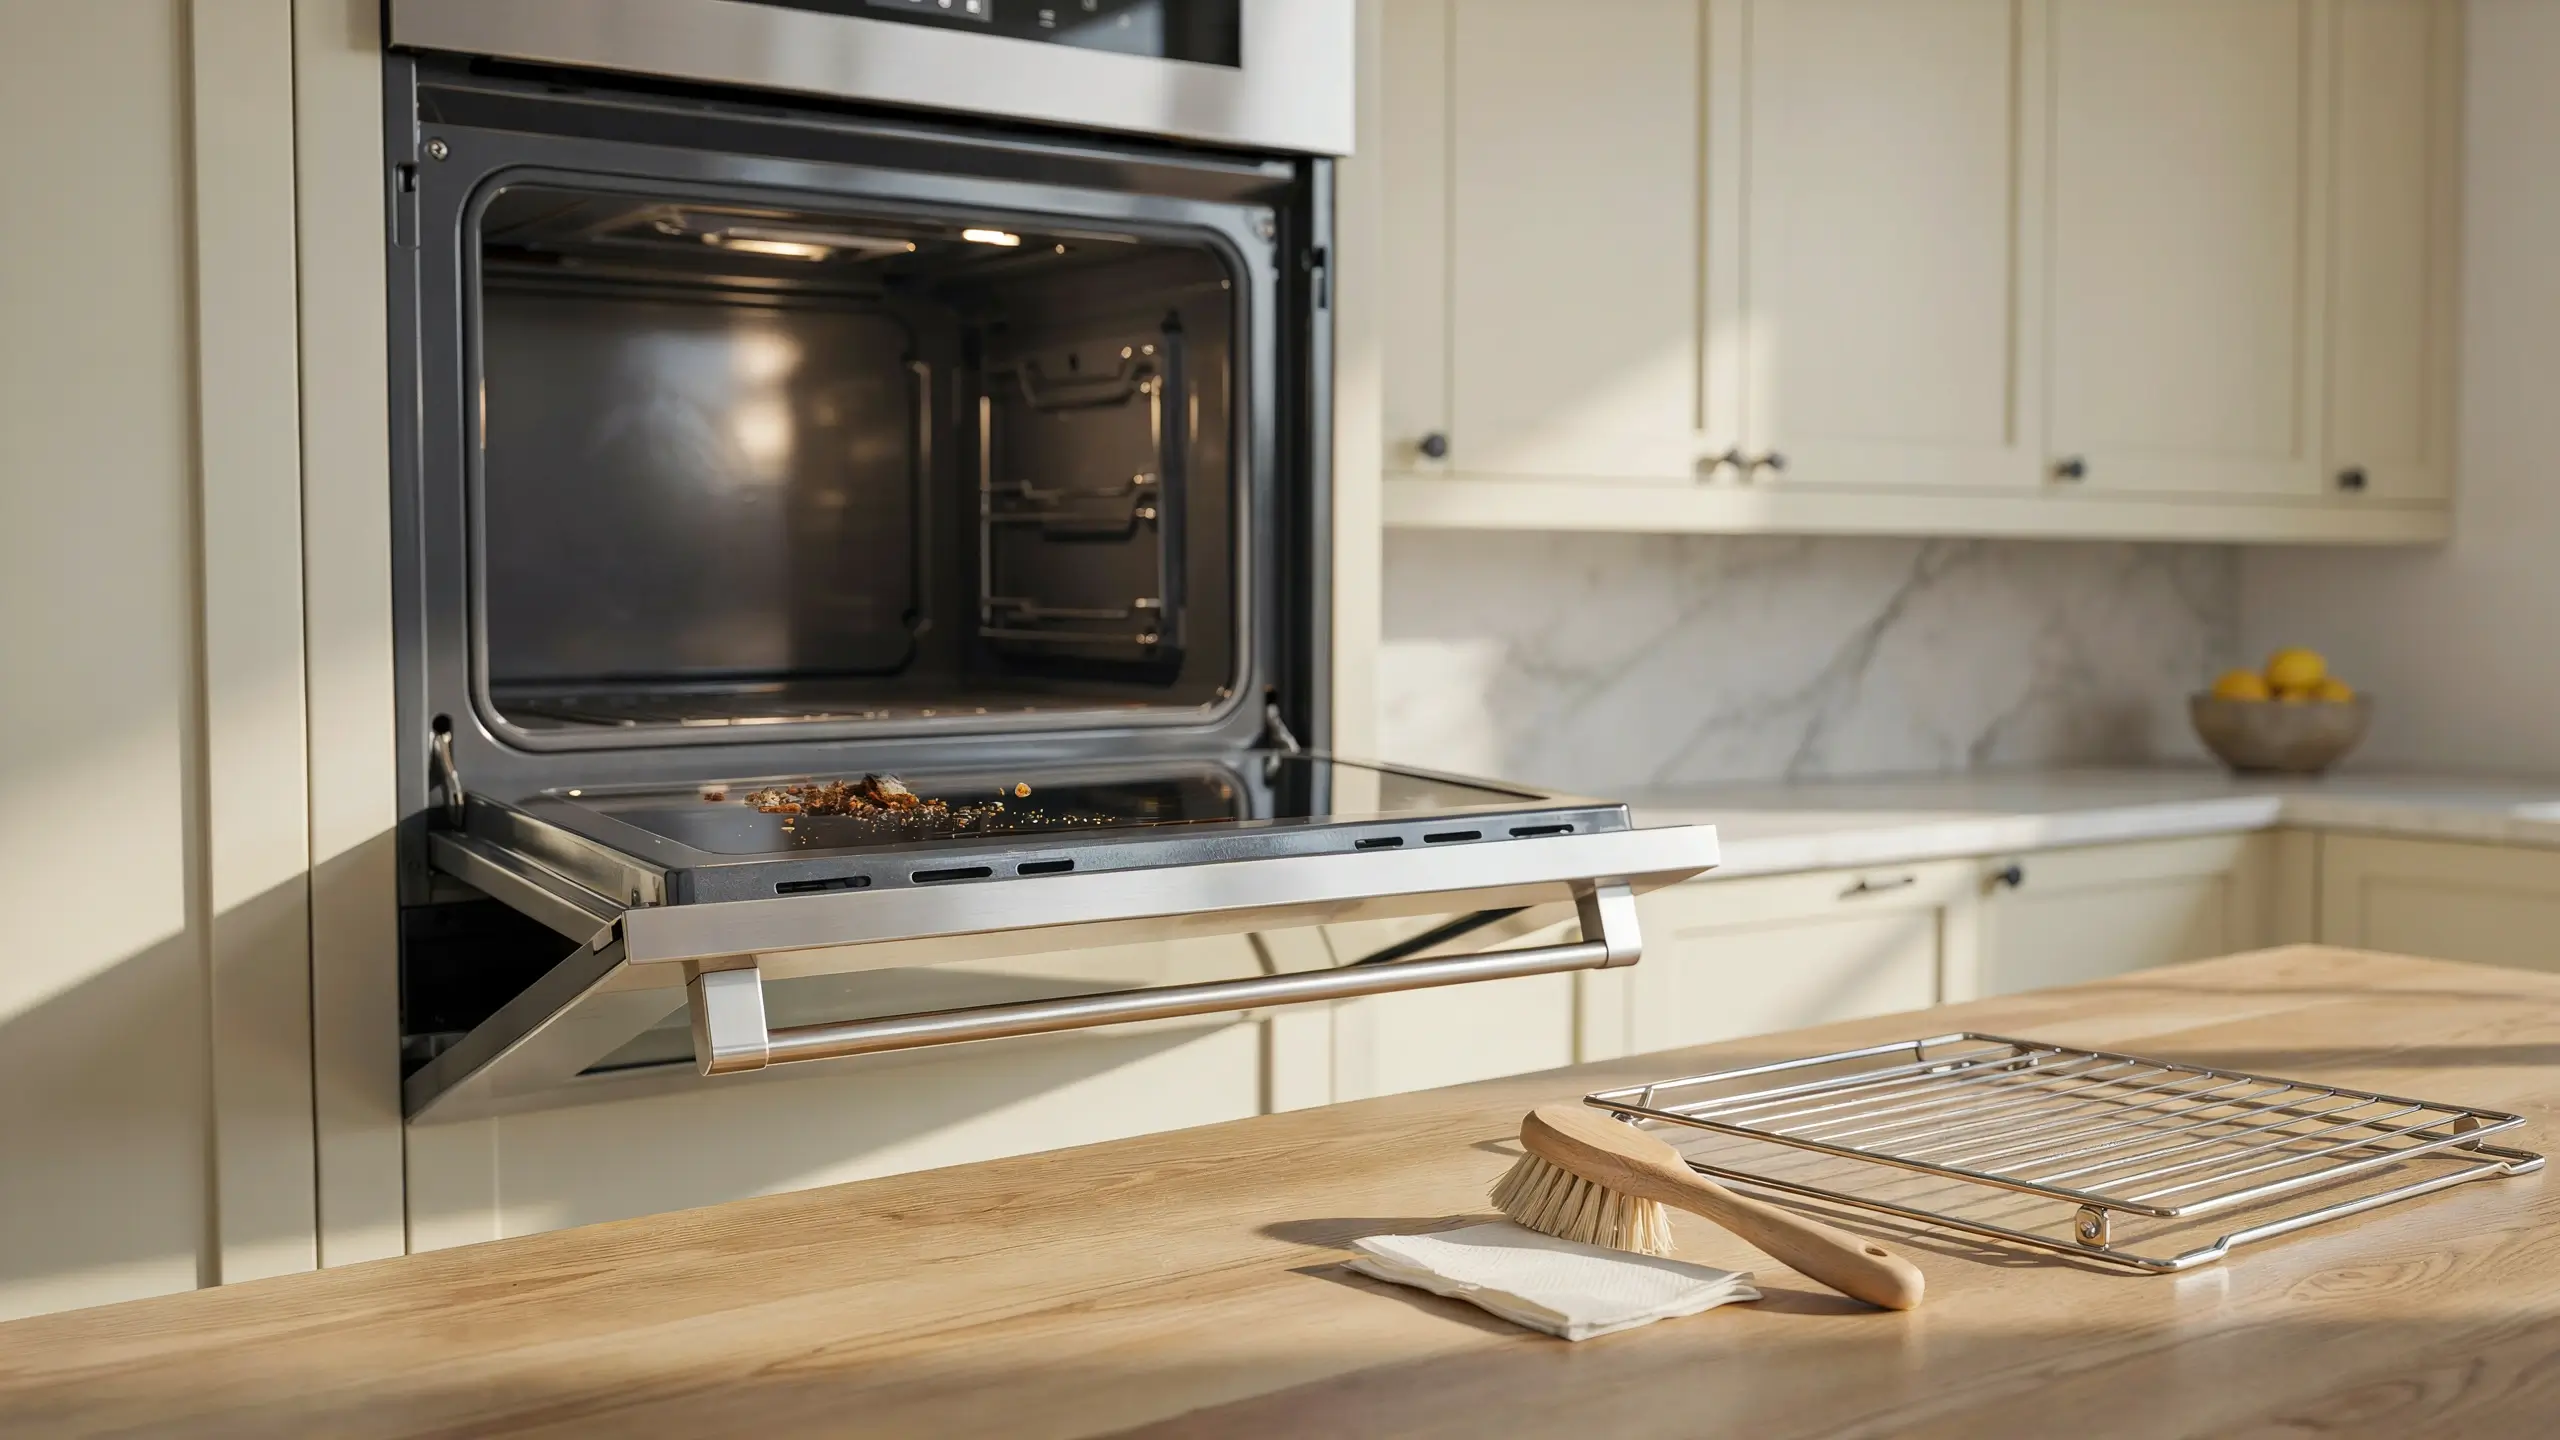
Take out the oven racks, pizza stone, thermometer, and anything else sitting inside. Set the racks aside for their own cleaning soak, which we will cover below. Use a dry paper towel or brush to sweep out any loose crumbs or burnt food bits from the bottom of the oven so you are not just spreading debris around later.
Pinterest tip: this is the moment to snap a quick “before” photo if you like documenting your cleaning wins. Grimy oven photos are oddly satisfying save-bait for anyone planning their own deep clean.
2: Make the Baking Soda Paste
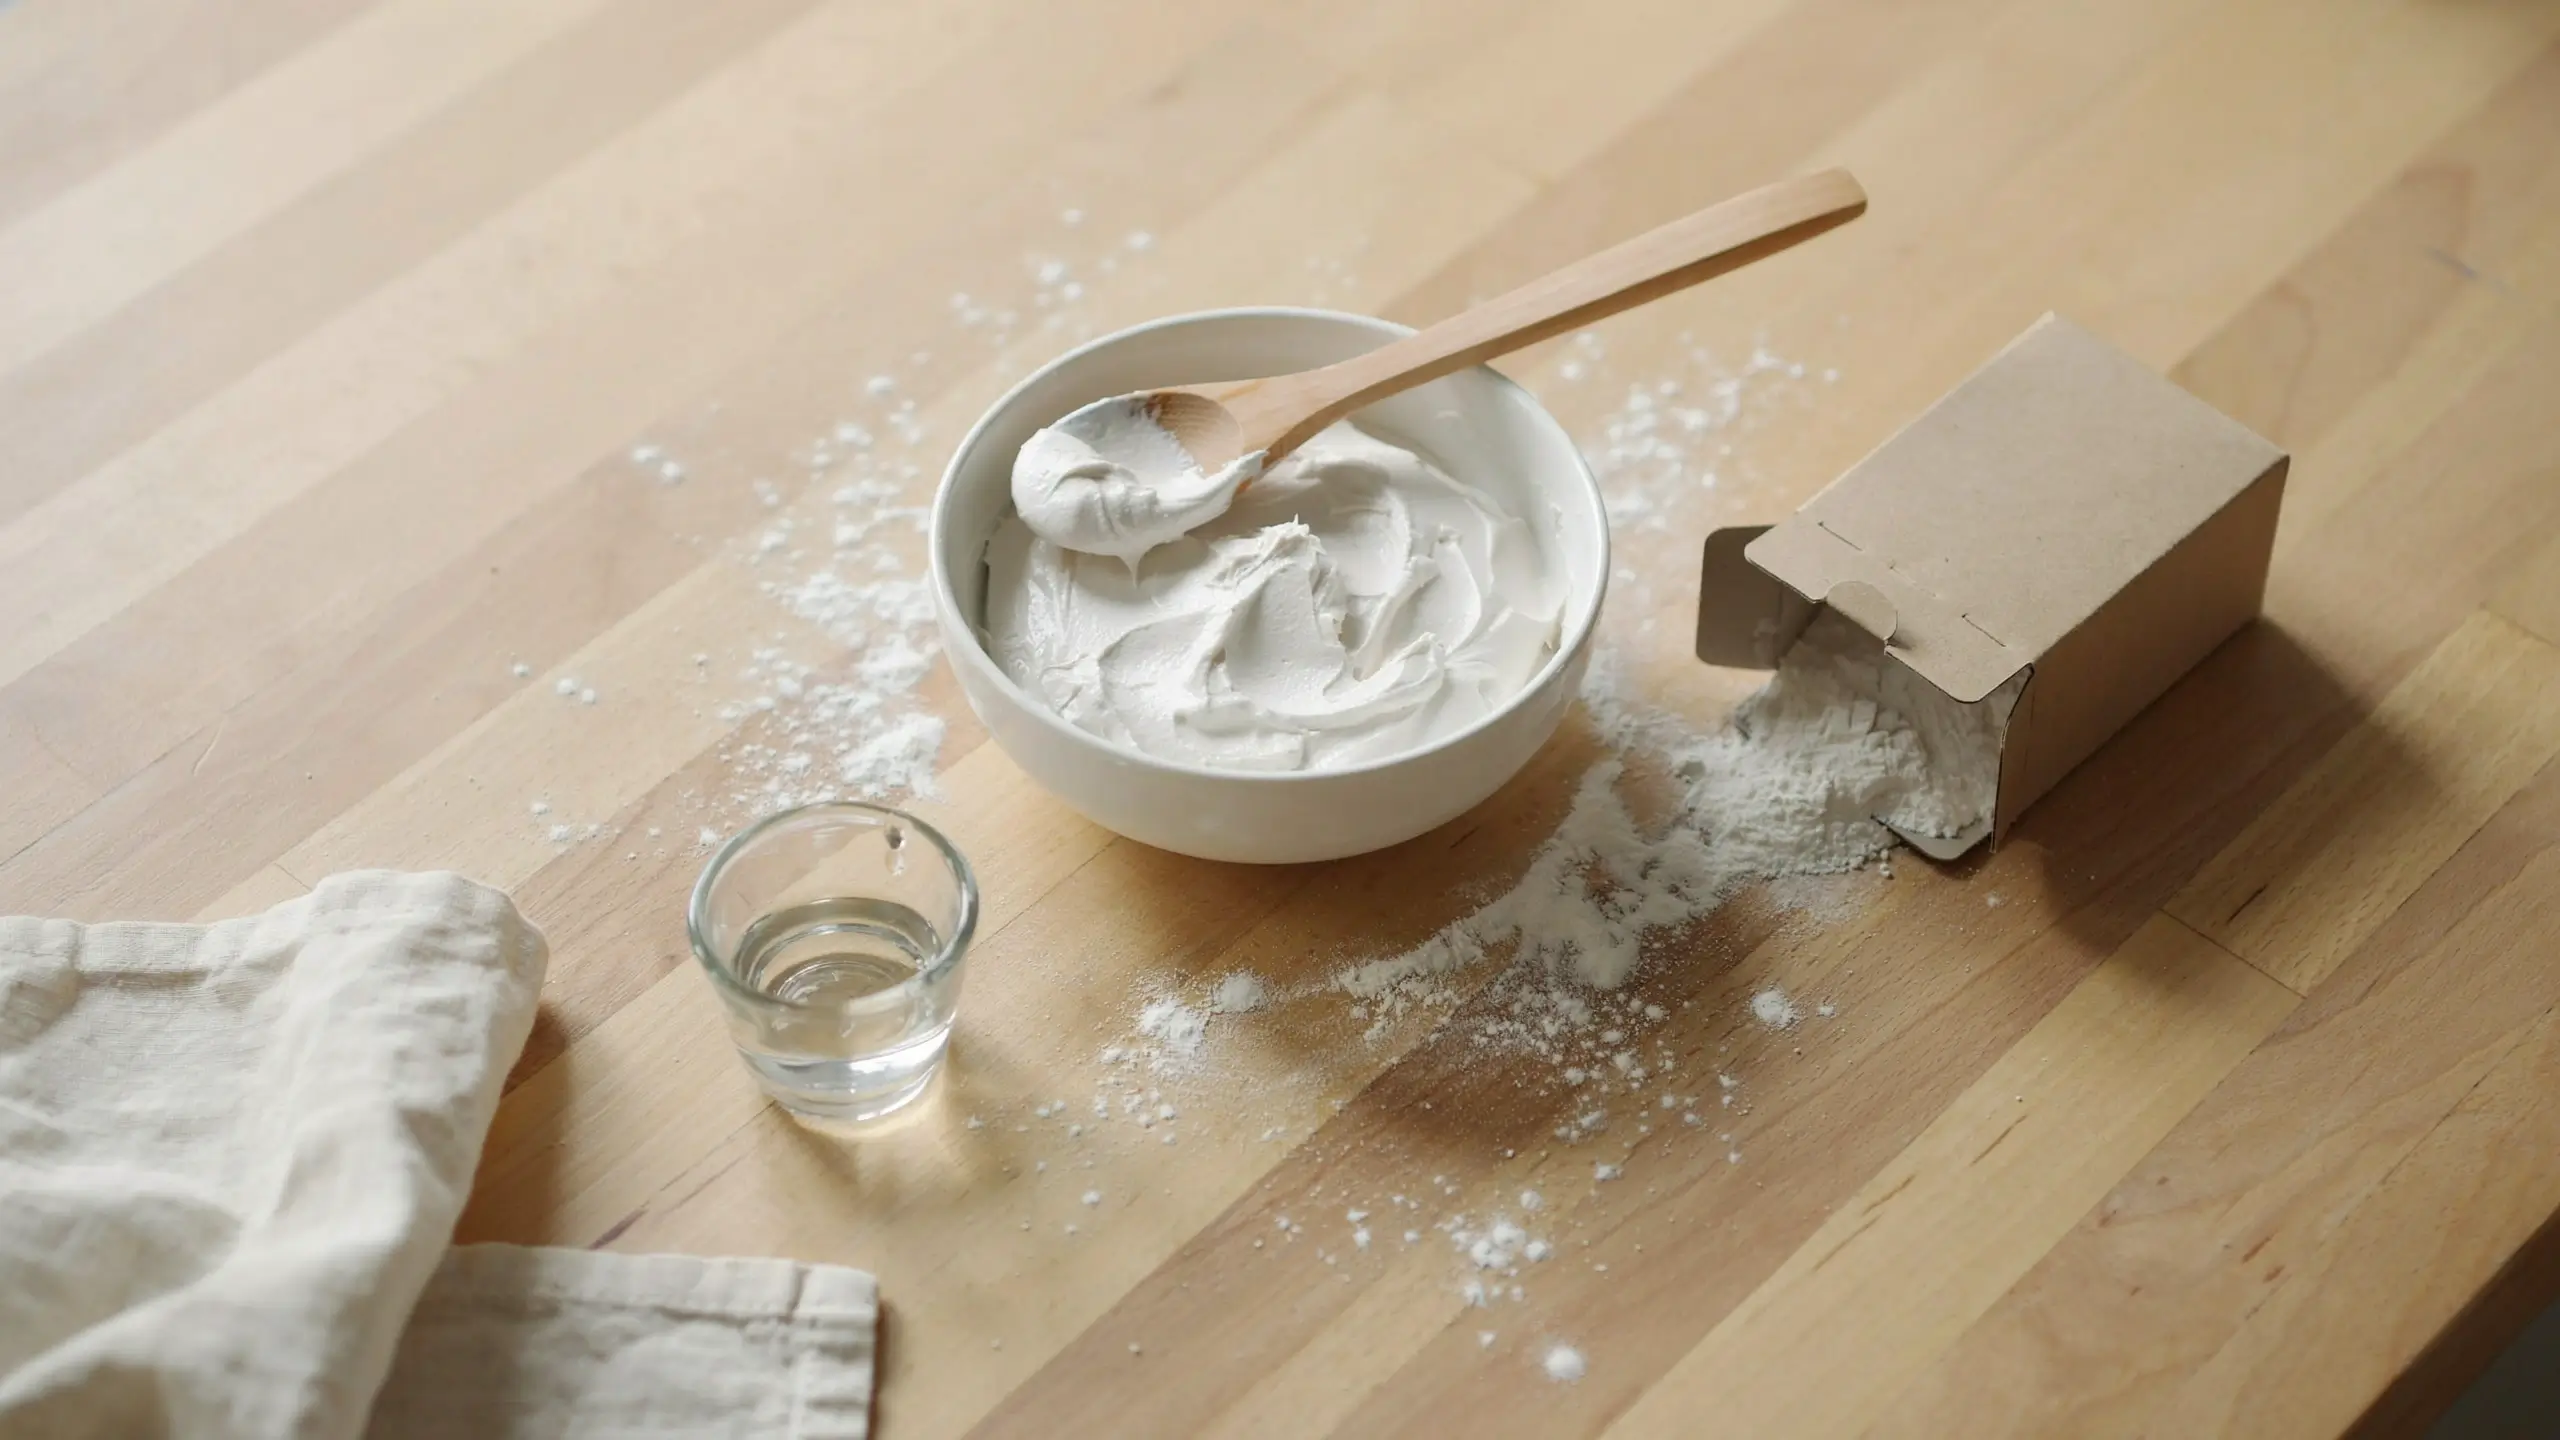
In a small bowl, mix about a half cup of baking soda with a few tablespoons of water. Add the water slowly, a little at a time, until you get a paste roughly the texture of thick frosting or wet sand. It should be spreadable but not runny.
If your oven has not been cleaned in a while, or you are dealing with thick, baked-on grease, stir in a tablespoon of dish soap with a degreaser. This is the trick most natural cleaning guides skip, and it makes a real difference on stubborn stains without adding any harsh chemicals.
3: Coat the Interior
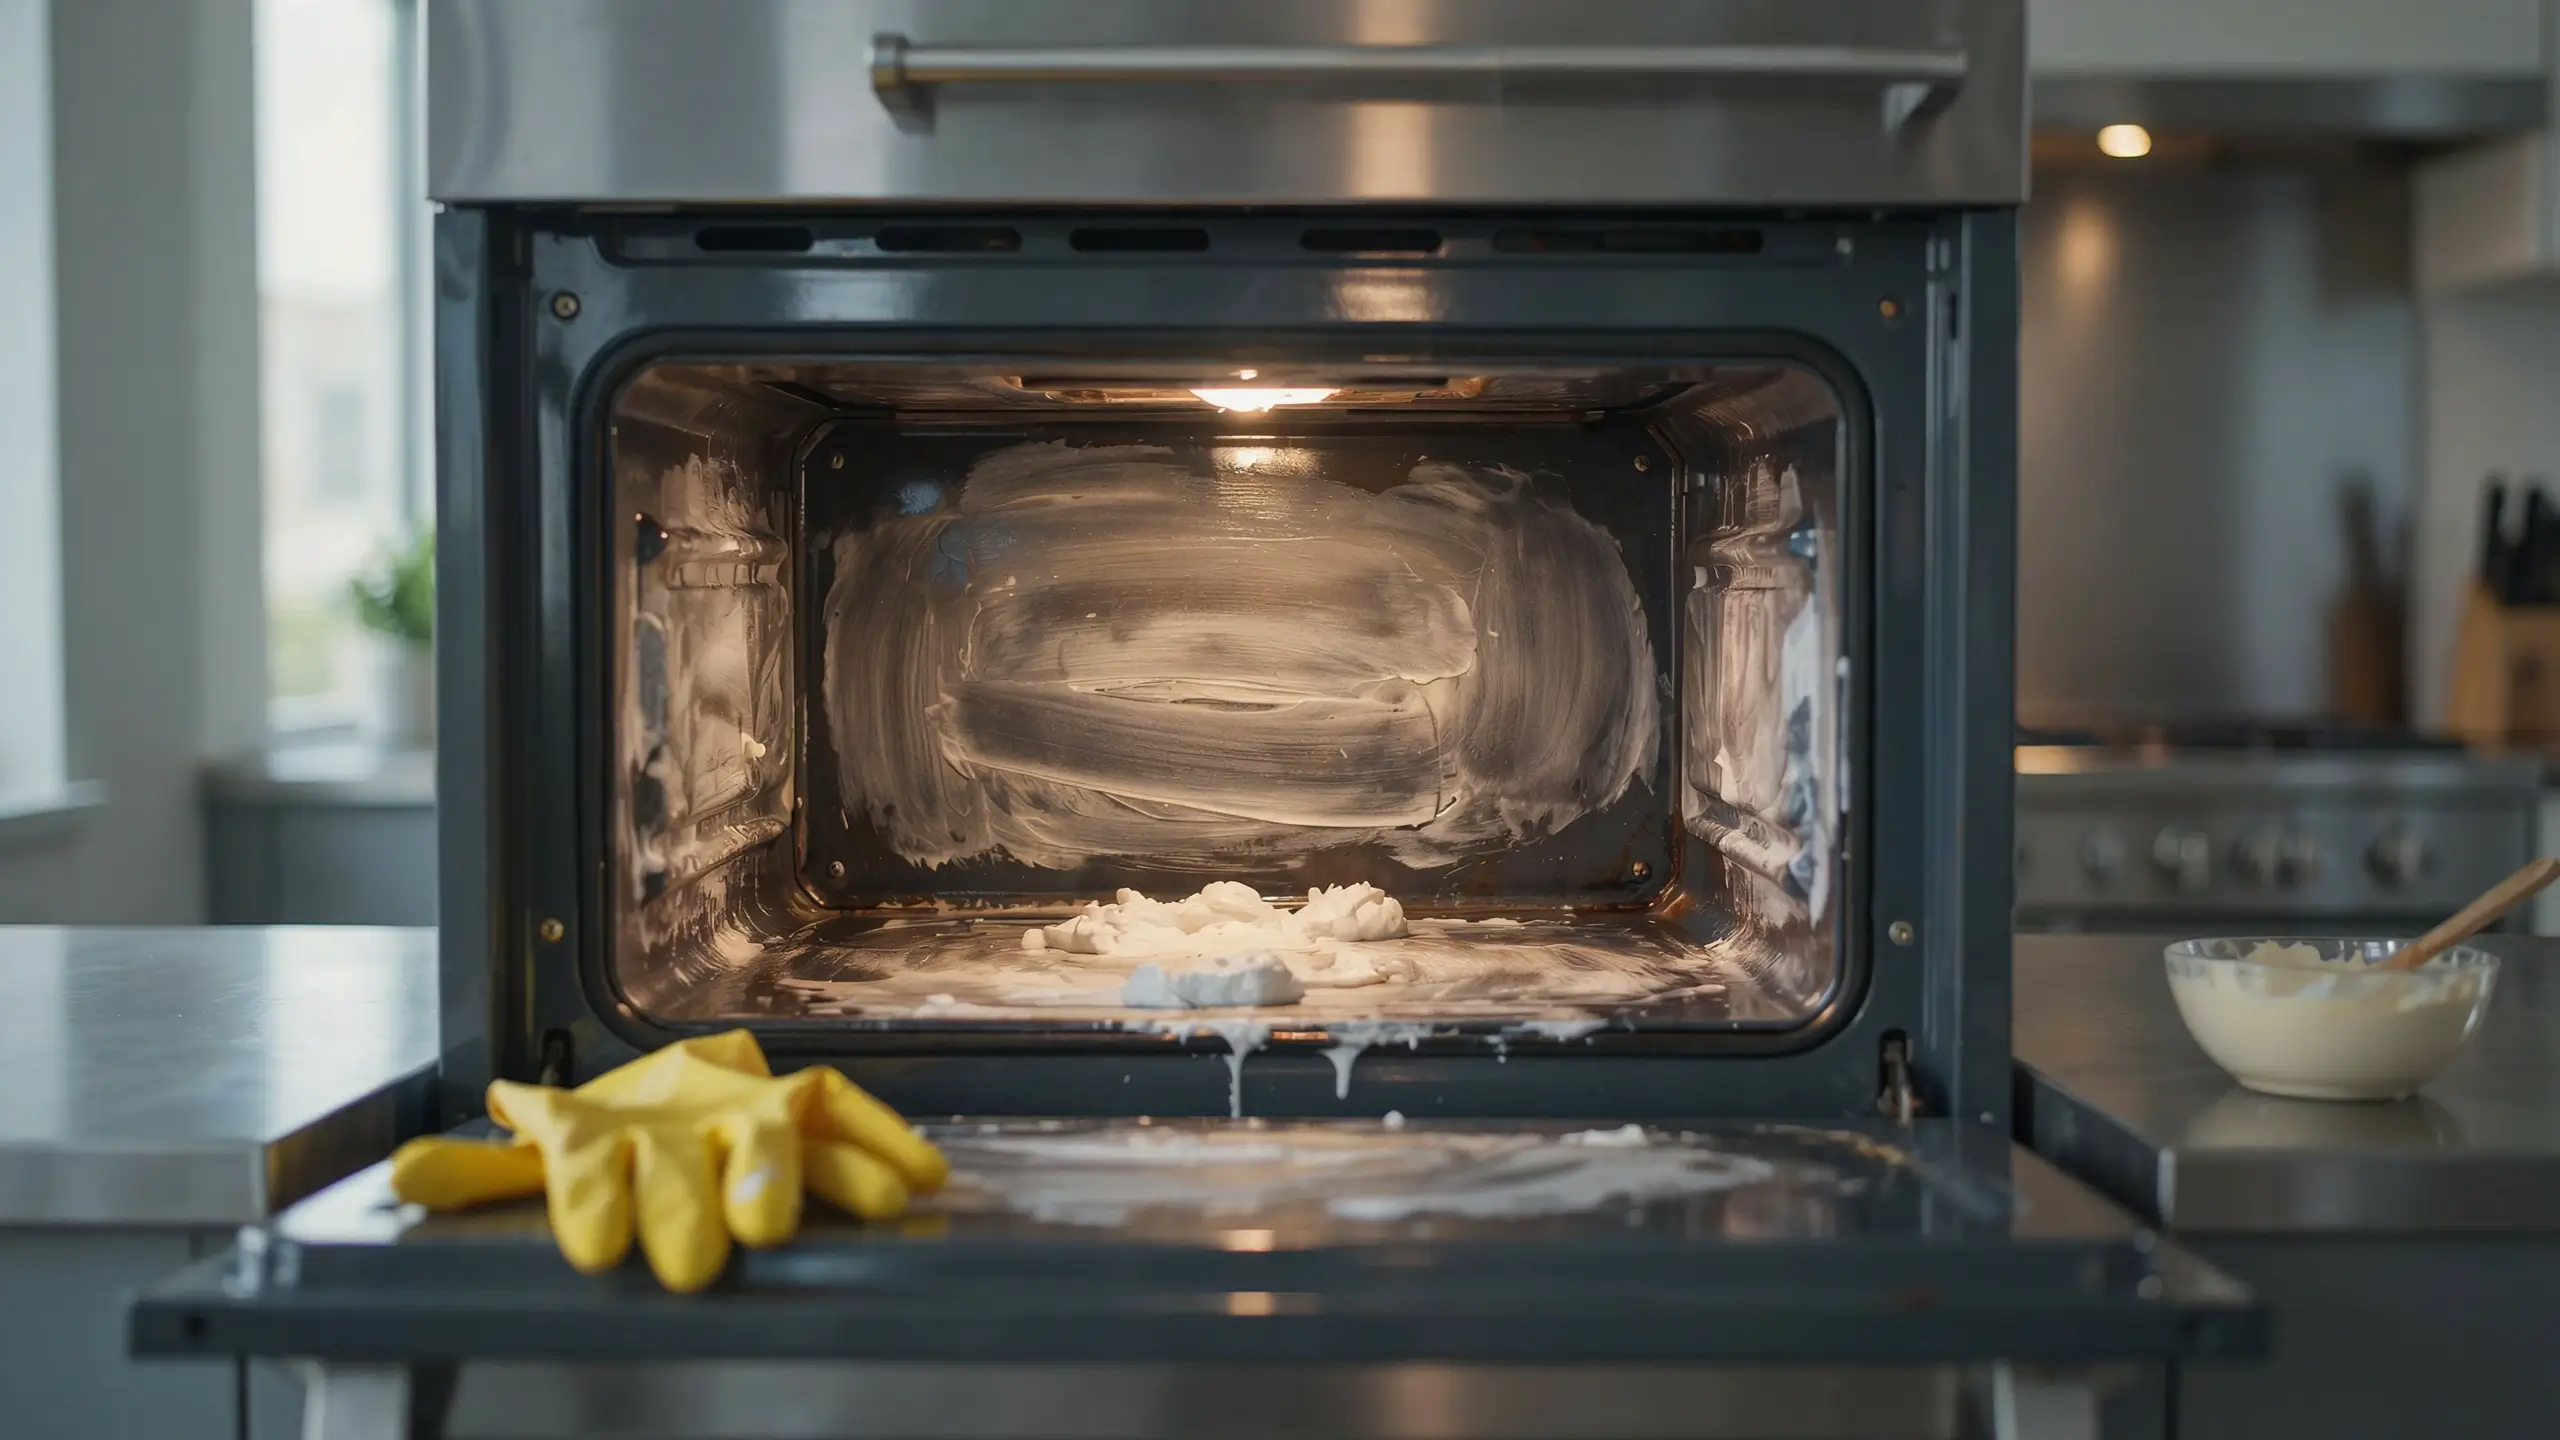
Put on your rubber gloves and spread the paste generously over every interior surface of the oven, the floor, walls, ceiling, and the inside of the door. Avoid coating the heating elements directly.
Focus extra paste on any dark, crusty, or shiny grease spots. The baking soda will look chalky and white at first. That is exactly what you want.
4: Let It Sit Overnight
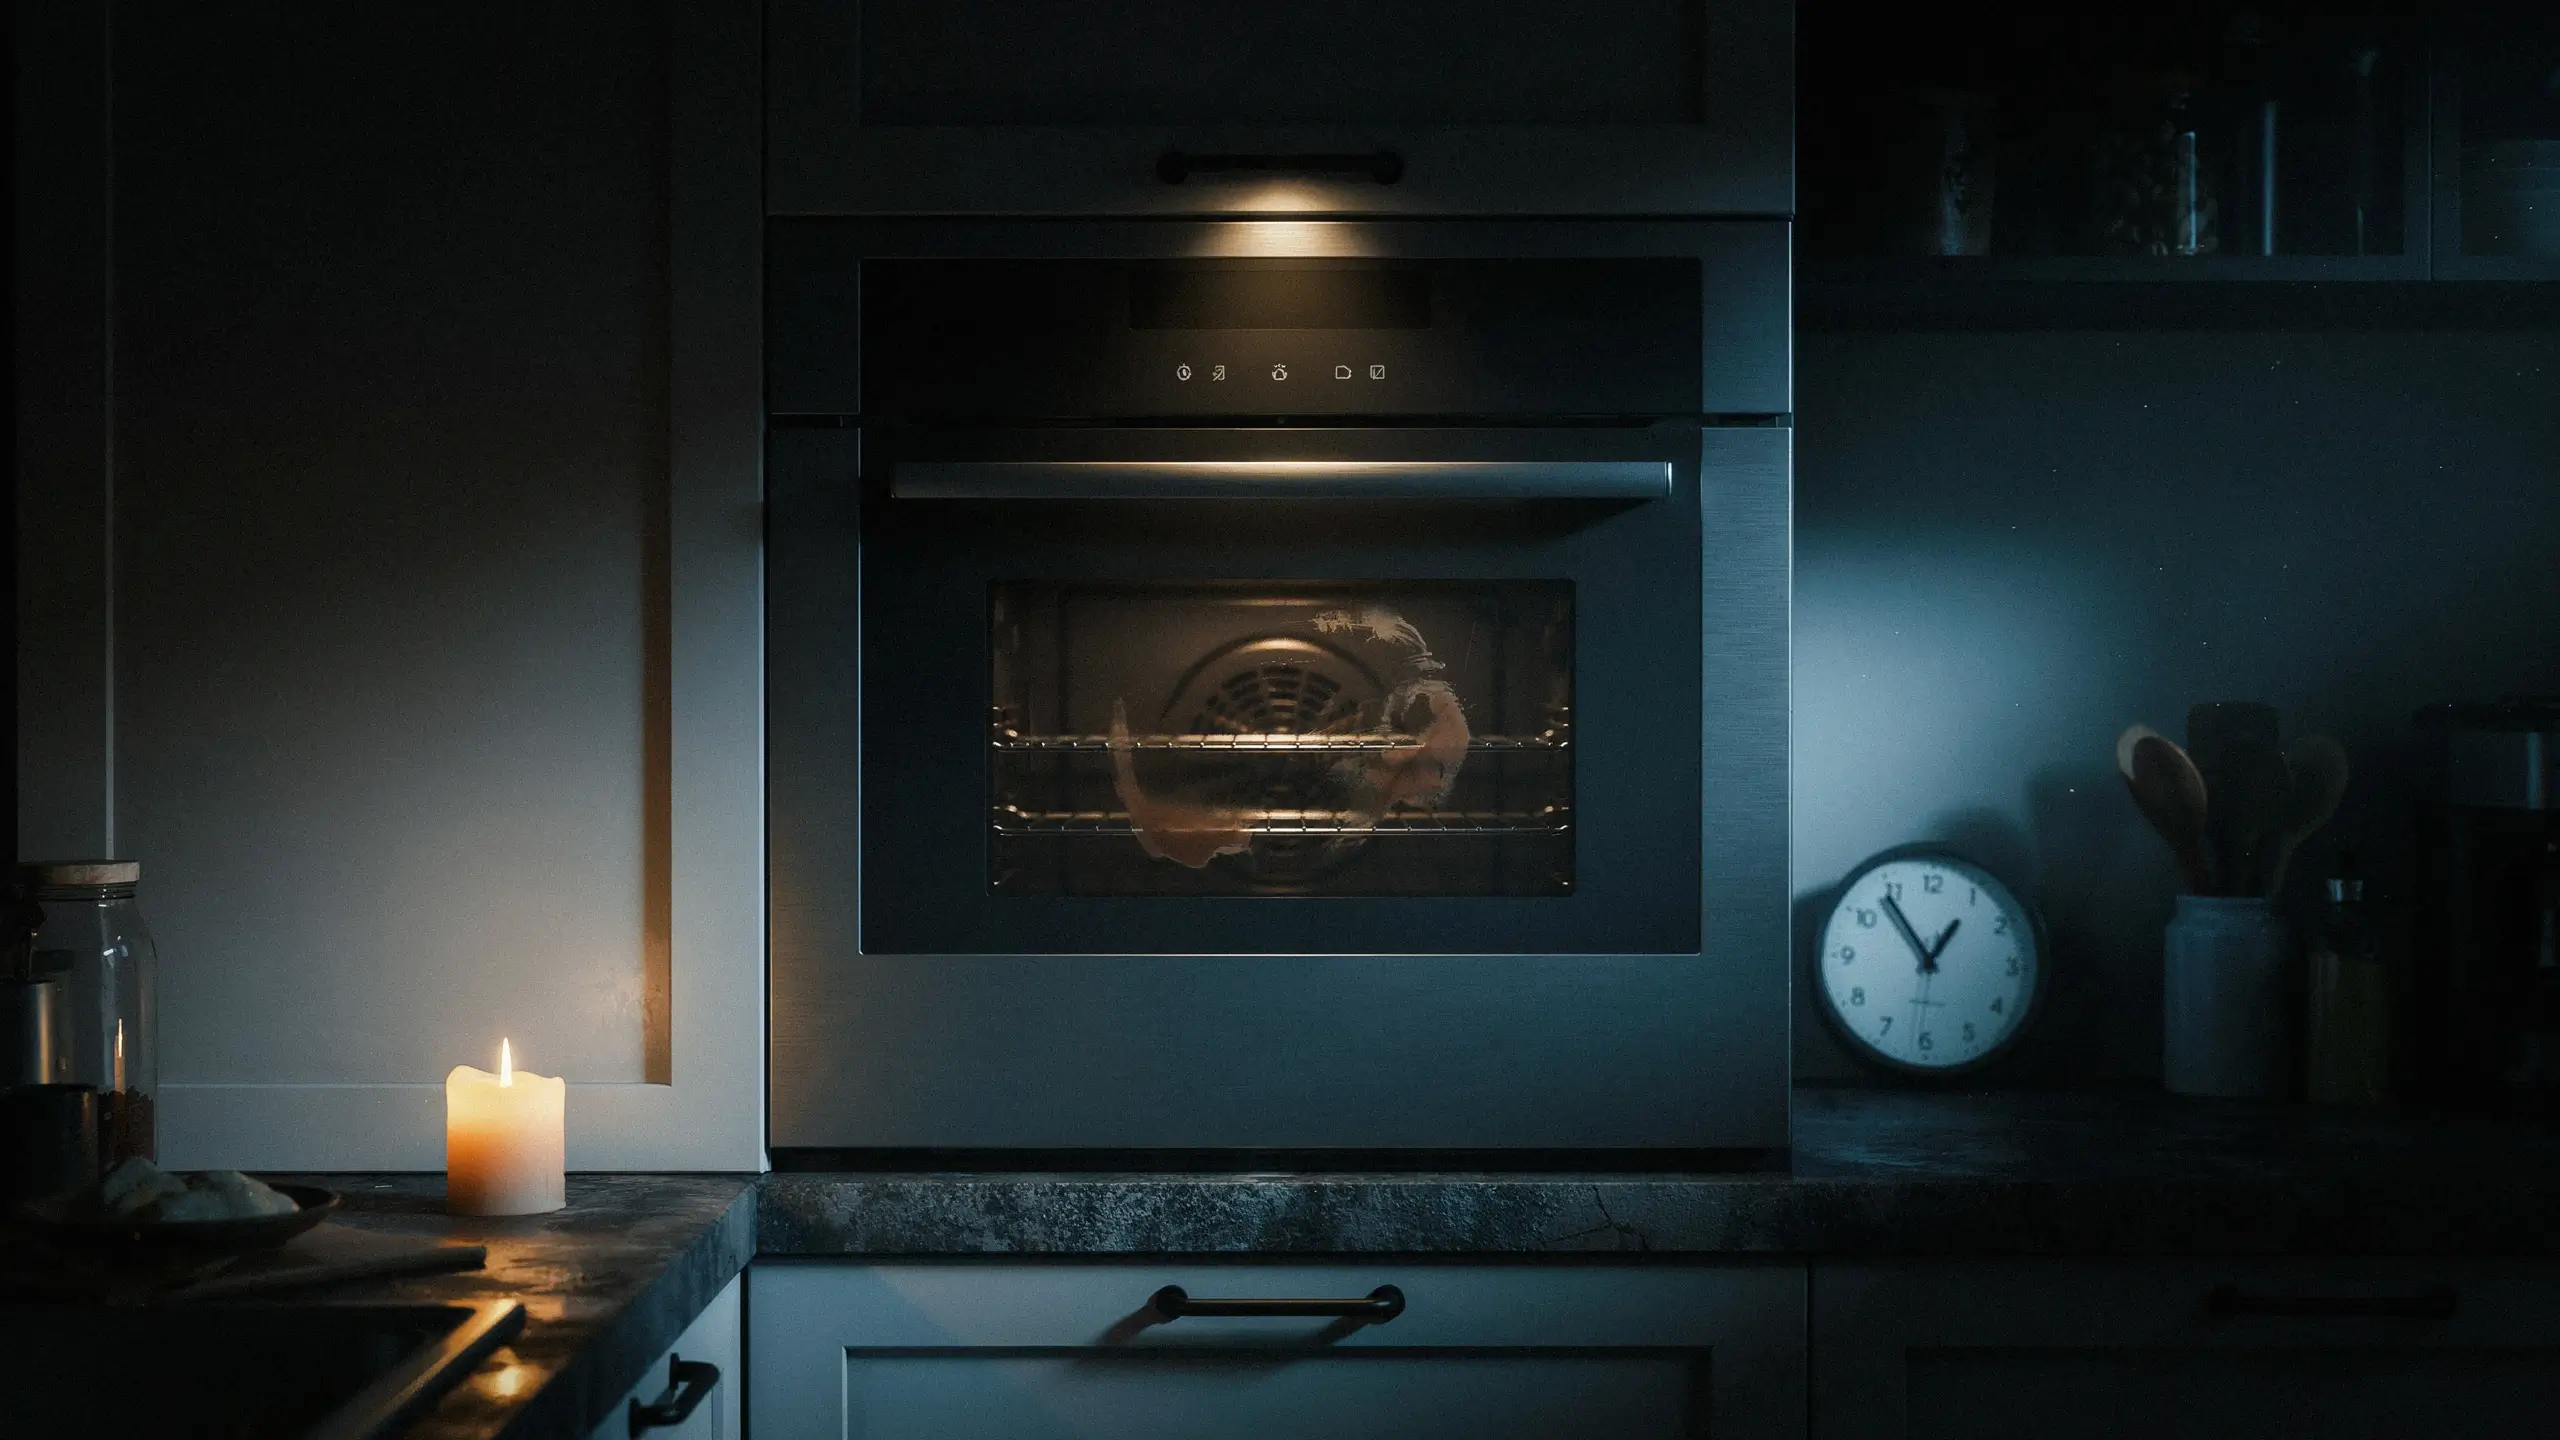
This is the step people rush, and it is the reason so many natural oven cleaning attempts fail. Baking soda needs time to break down grease. Close the oven door and let the paste sit for at least 8 hours, though overnight, around 12 hours, gives the best results on a really dirty oven.
By morning, the paste will have turned a brownish color as it absorbs the grime. That color change means it is working.
5: Spray with Vinegar and Wipe Clean
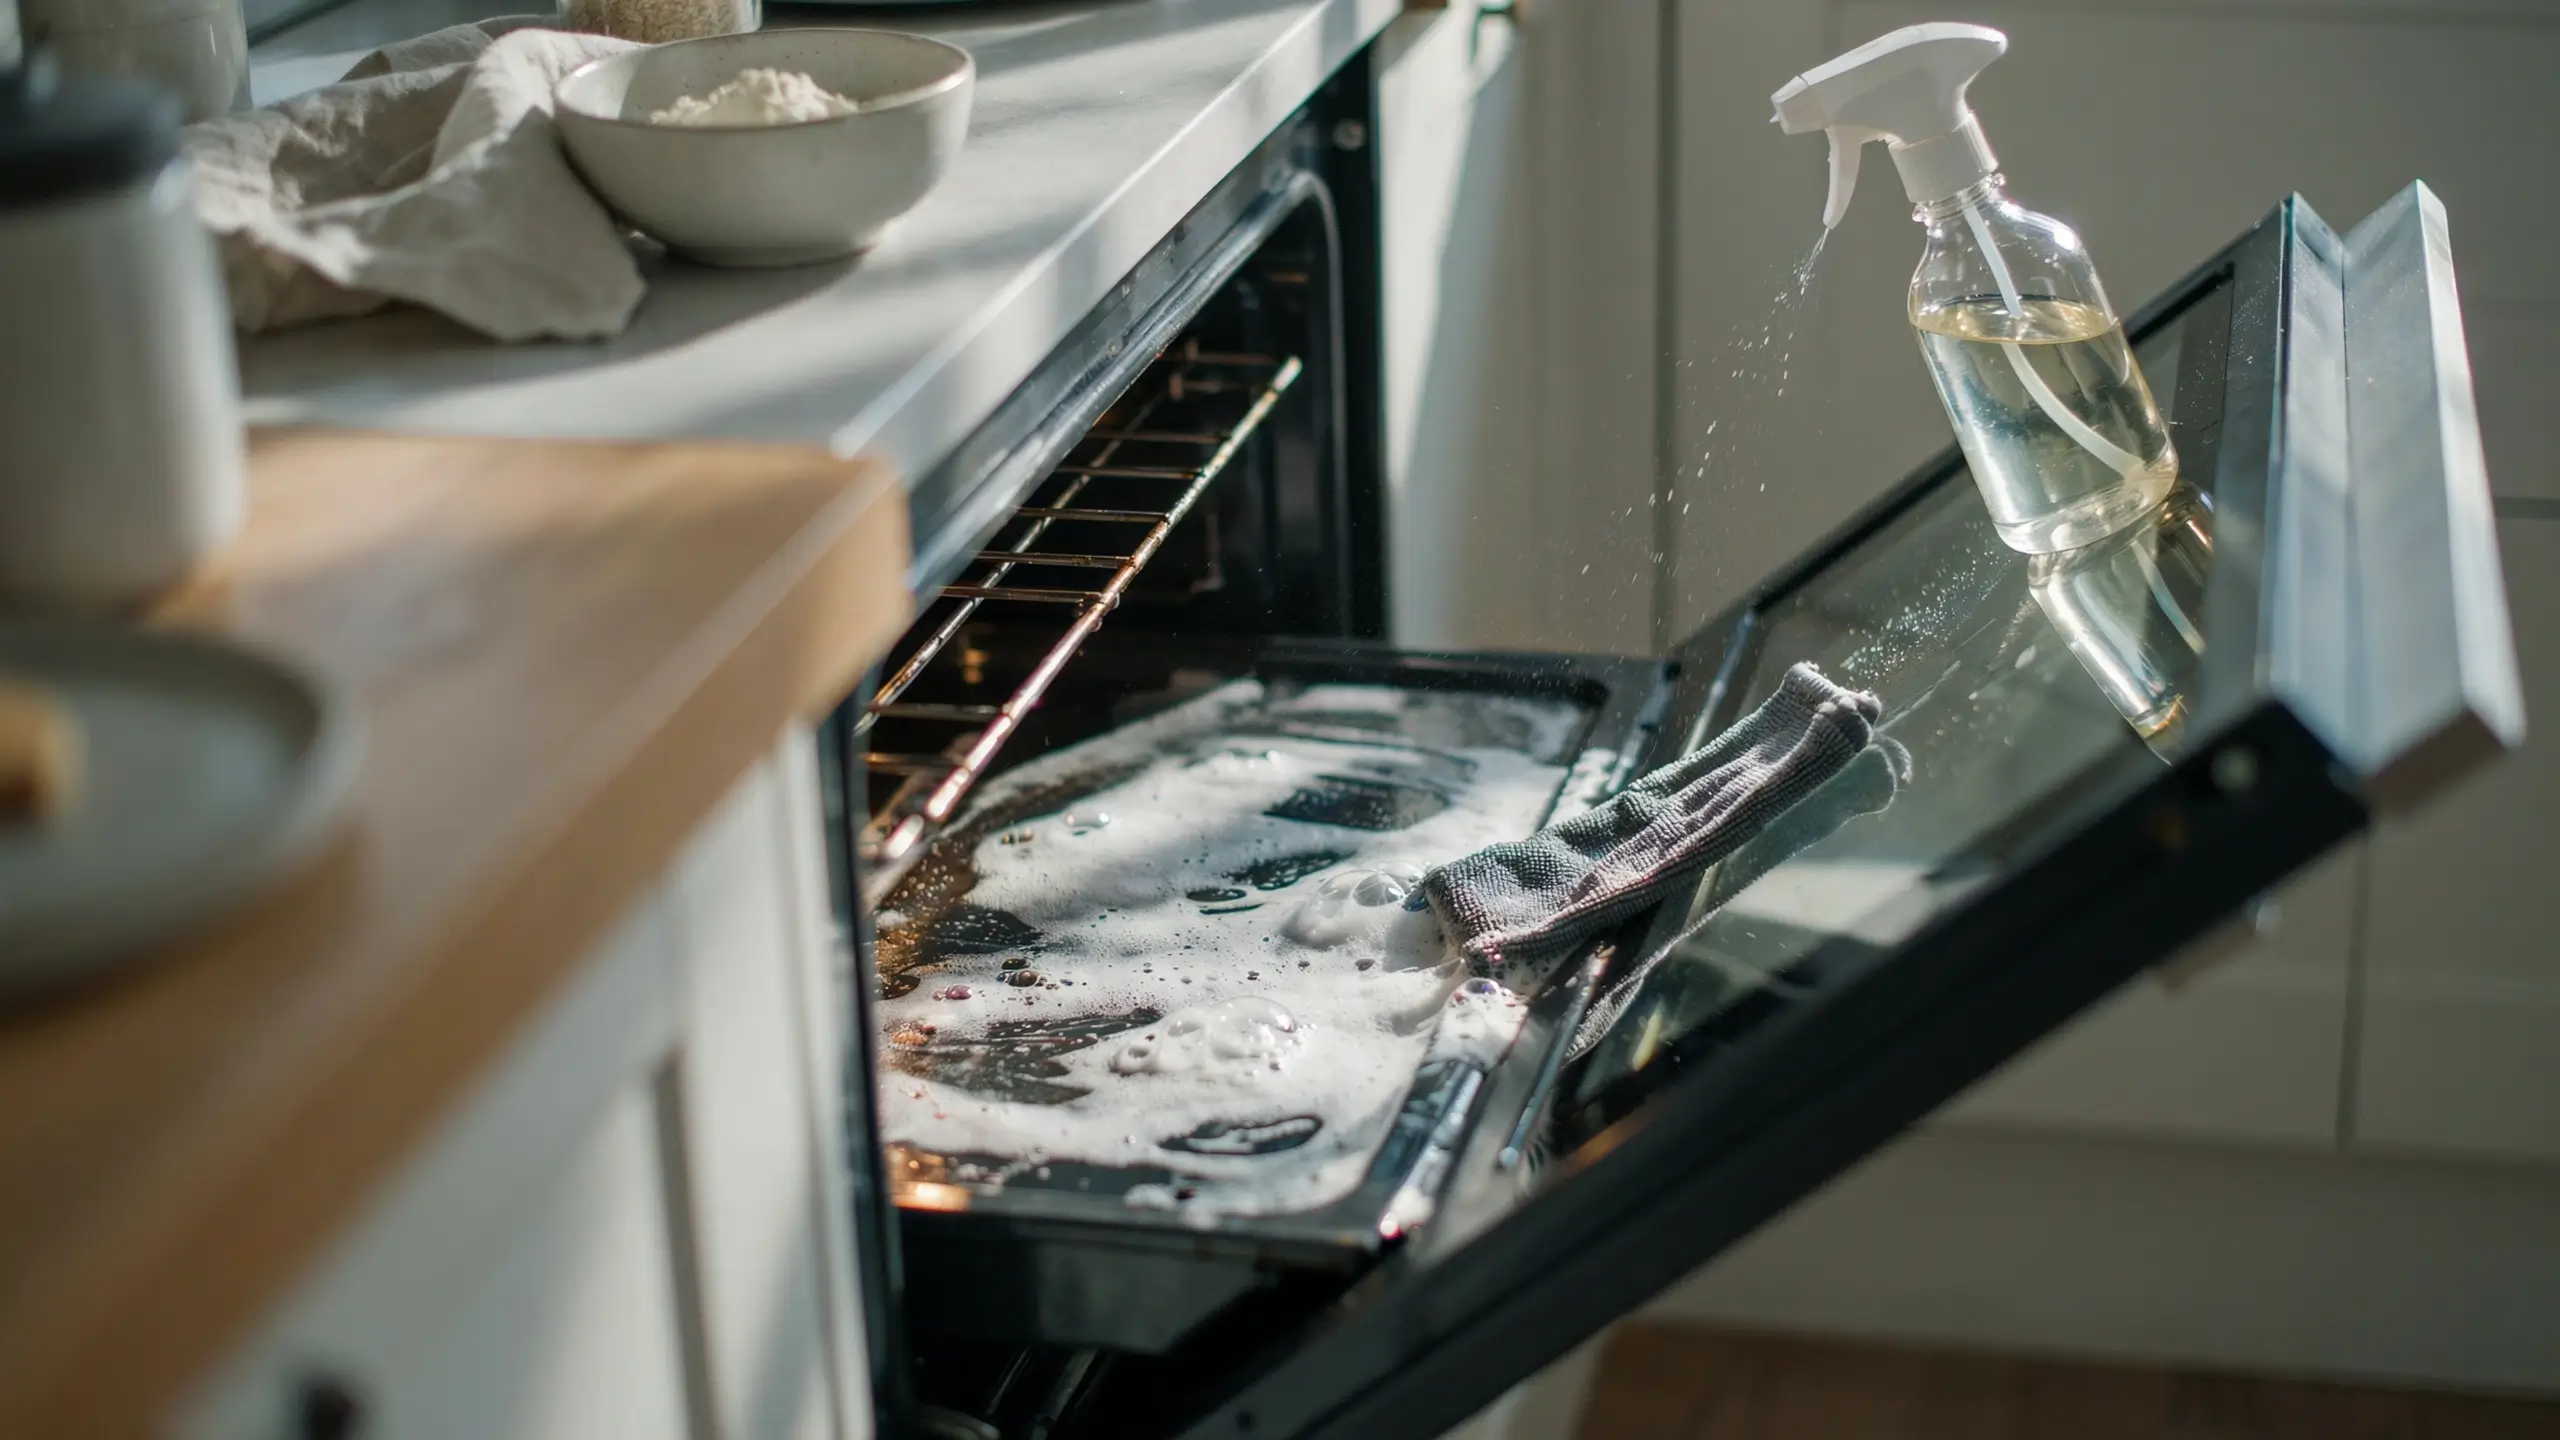
The next morning, spray the interior with white vinegar. You will see it fizz and foam as it reacts with the leftover baking soda. That bubbling reaction is what helps lift the last of the grease so it wipes away easily instead of smearing.
Use a damp cloth or sponge to wipe everything down, rinsing often in a bowl of warm water. For tough spots, a silicone spatula or a ball of foil can help scrape without scratching the enamel. Keep wiping and re-spraying with vinegar until there is no white residue left anywhere.
Important: do not skip this rinse step. Leftover baking soda residue can smoke and smell strange the next time you preheat the oven, so wipe until the surfaces feel clean and residue-free.
6: Clean the Racks Separately
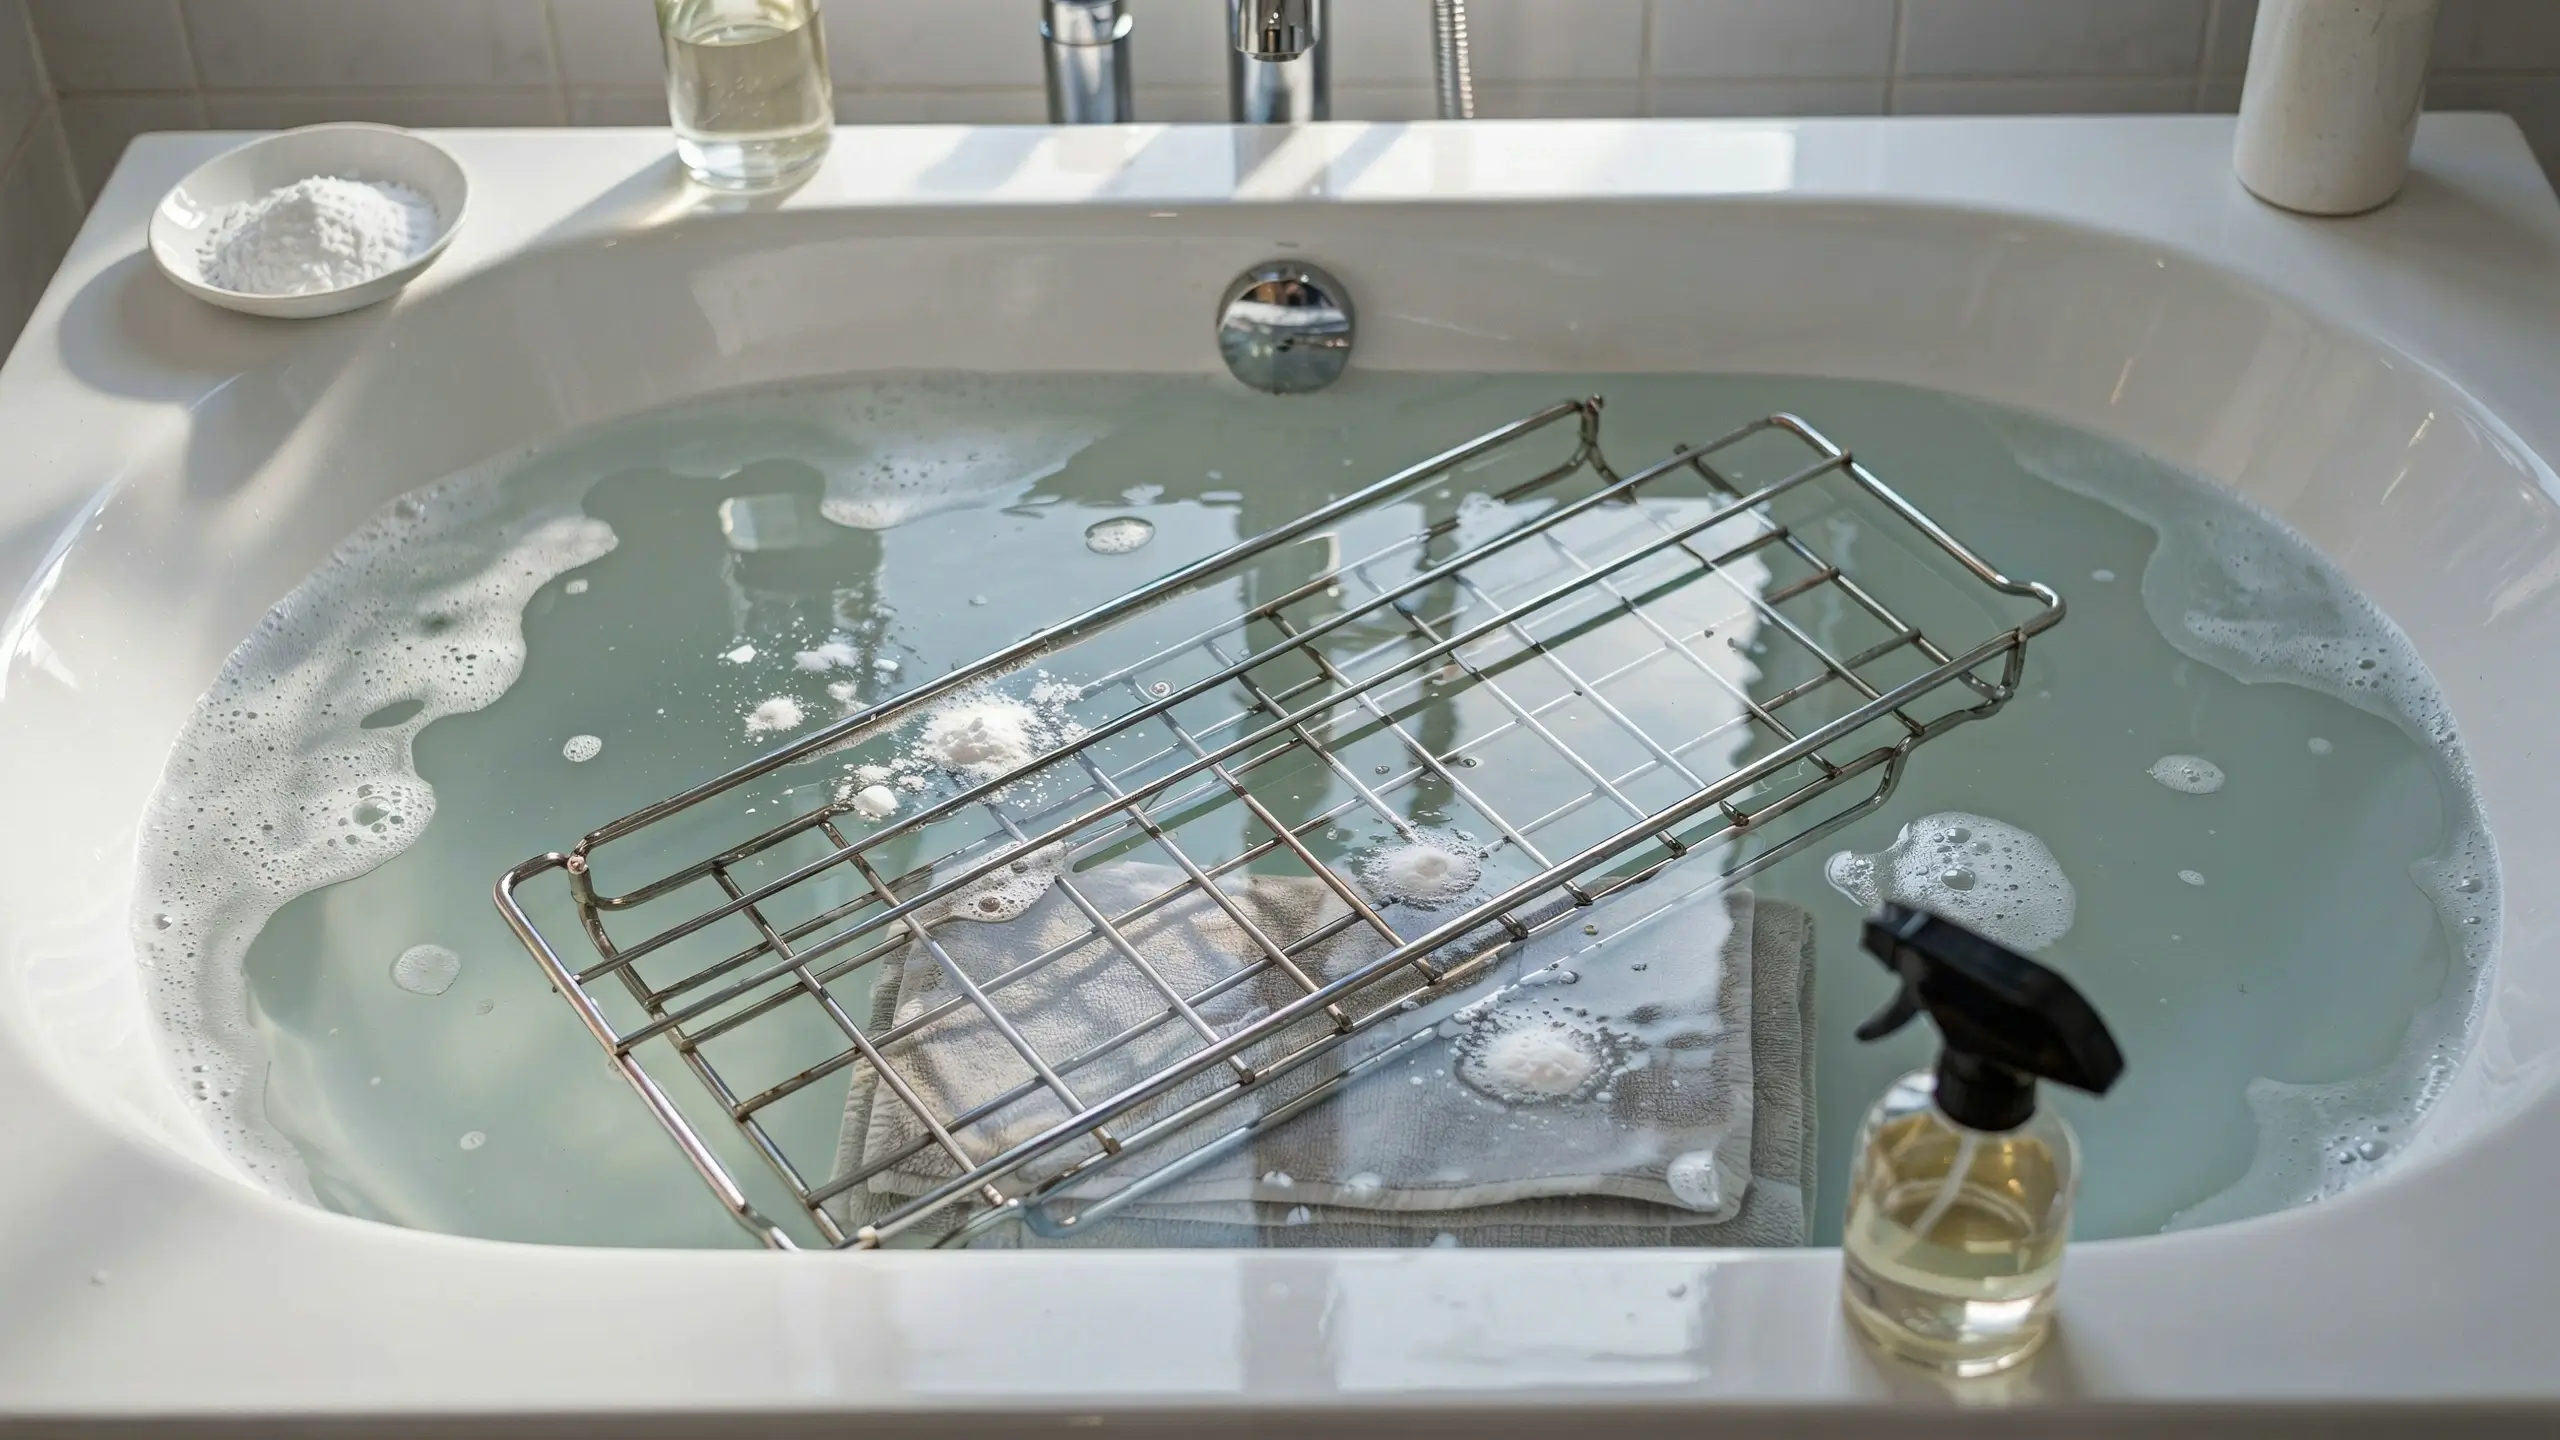
While the paste works its magic overnight, deal with the racks. Lay an old towel in your bathtub to protect it from scratches, place the racks on top, and cover the tub with a few inches of hot water. Sprinkle baking soda generously over the racks and spray with vinegar. Let them soak for a few hours, or overnight alongside the oven itself.
In the morning, scrub with an old sponge or a dish brush. Baked-on grime should lift off far more easily than if you tried scrubbing it dry. Rinse and dry thoroughly before putting them back.
No bathtub, or renting a place where you do not want to risk it? Seal the racks in a heavy-duty garbage bag with a splash of vinegar and a generous sprinkle of baking soda, then set the bag outside in the sun for a few hours. The heat speeds up the reaction and you skip the tub entirely.
7: Don’t Forget the Glass Door
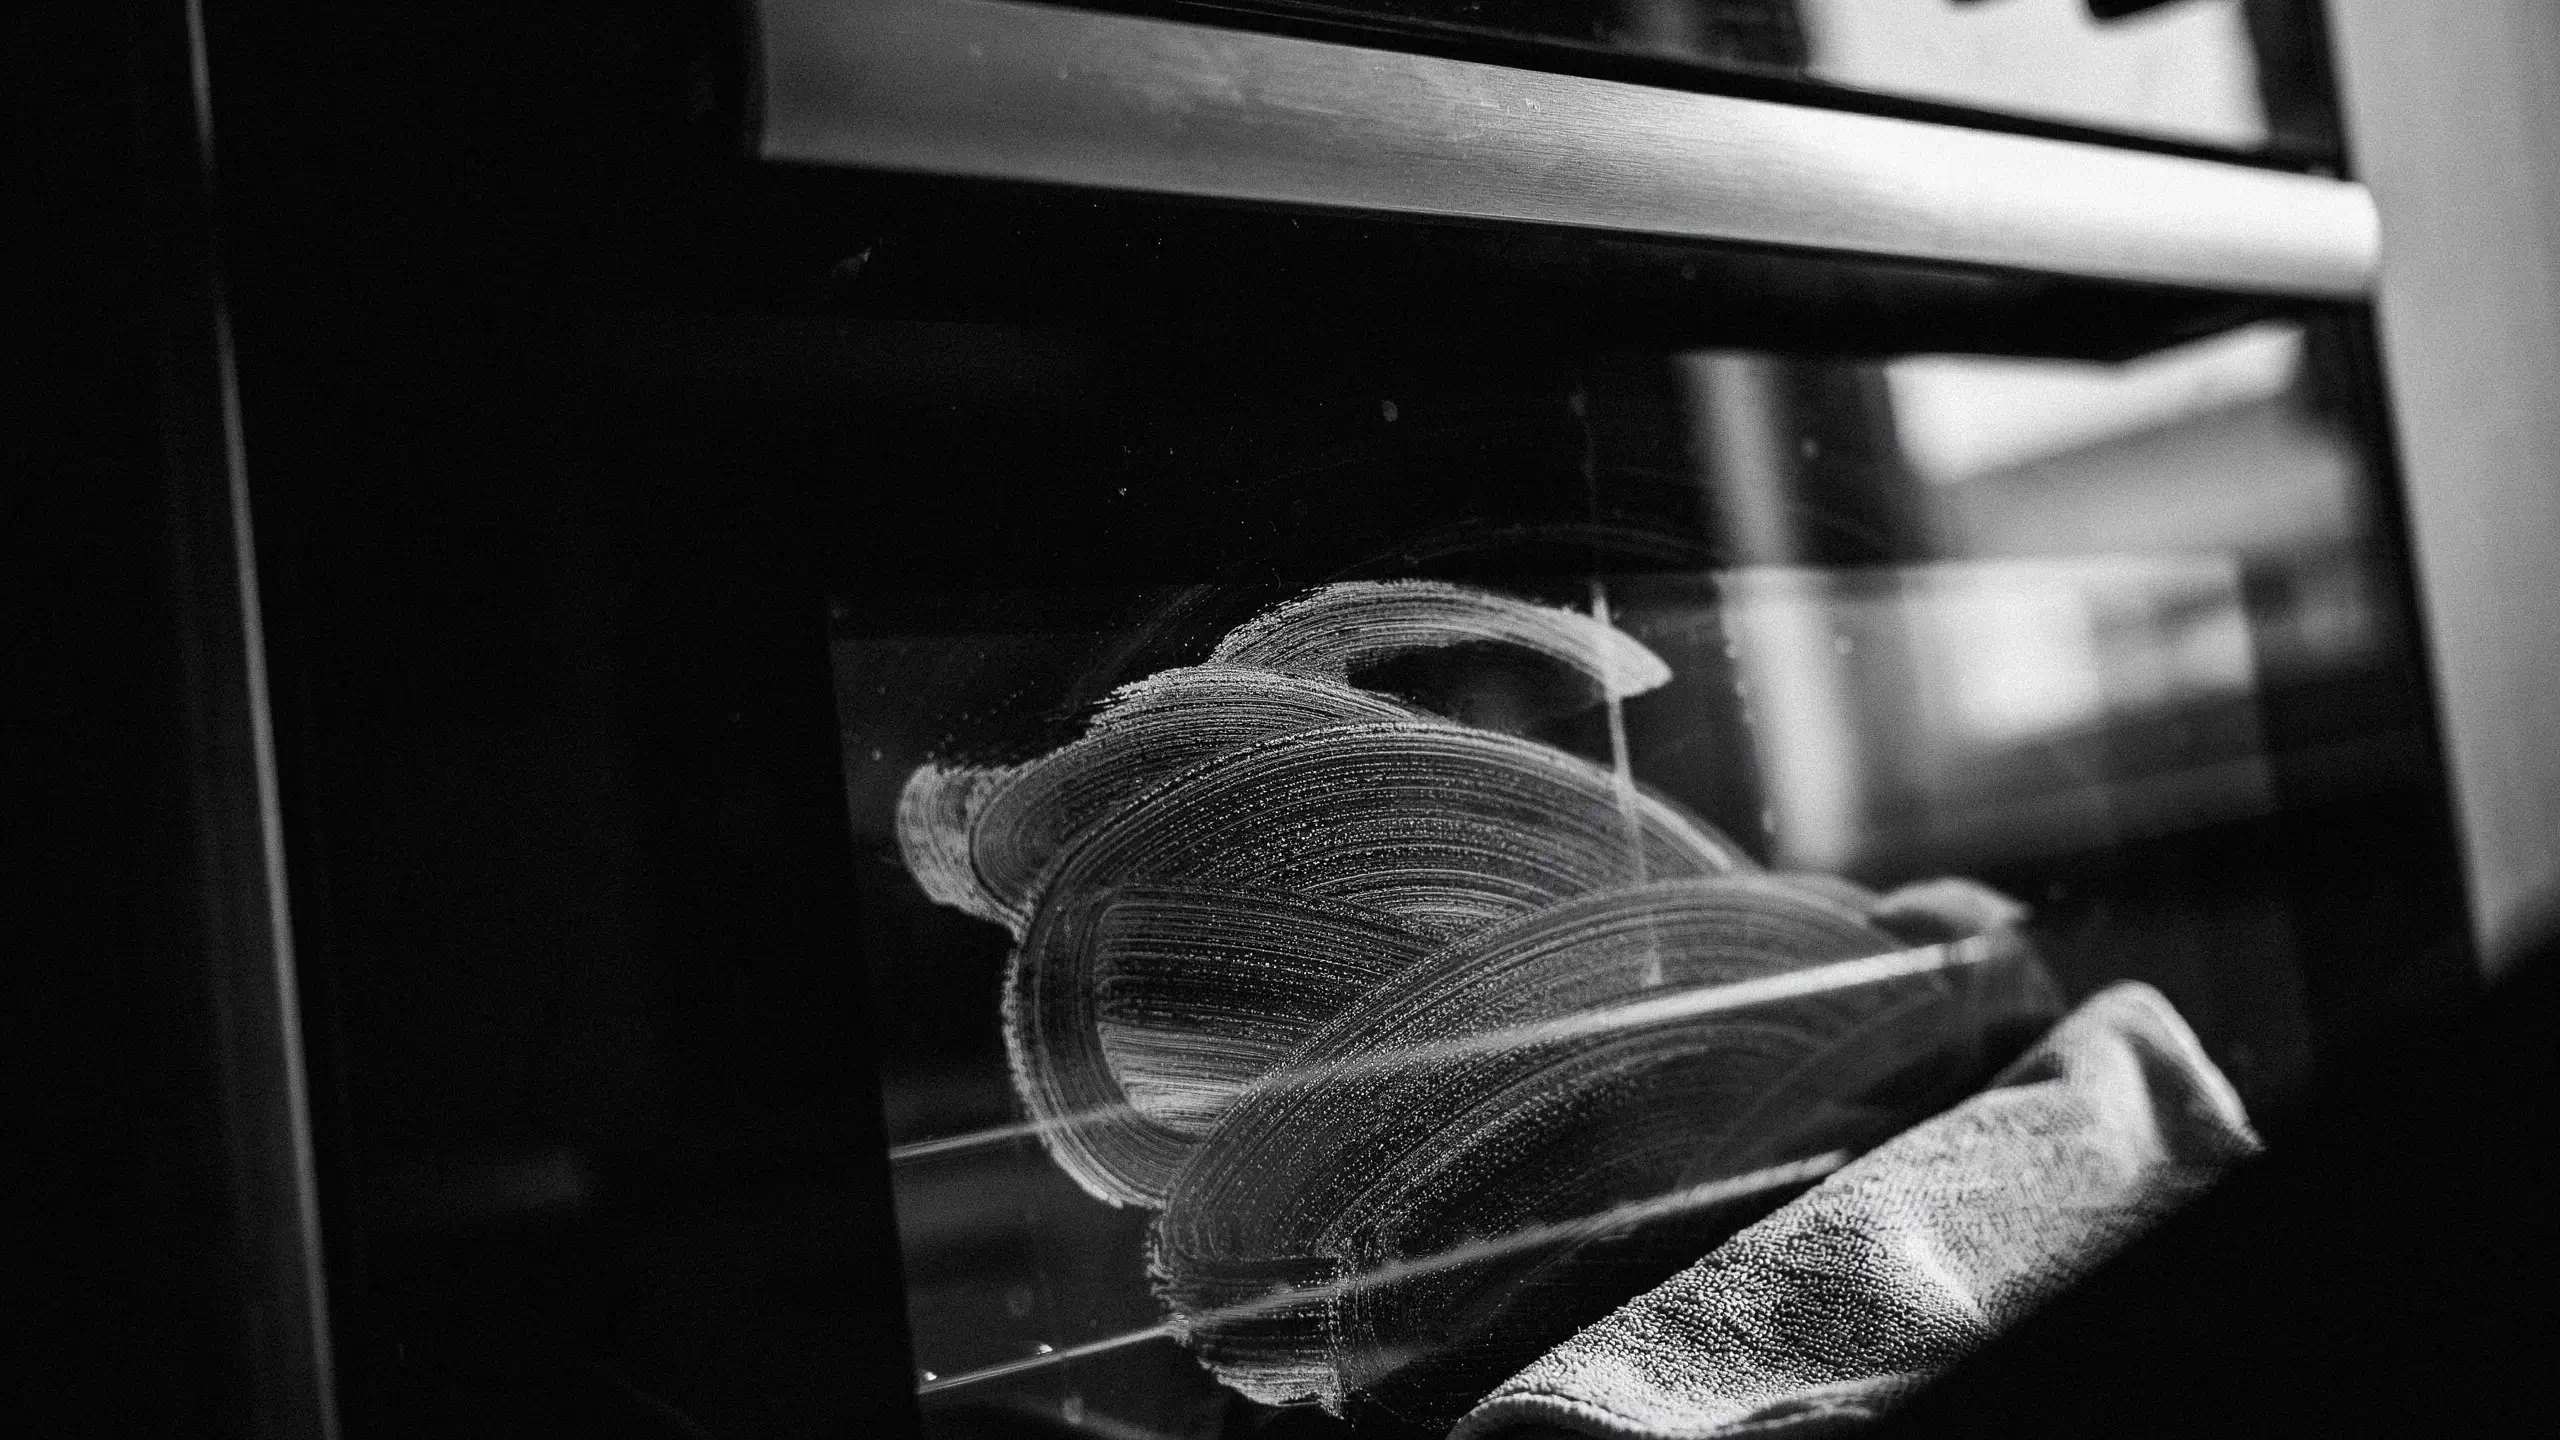
The oven door tends to get overlooked, but it is often the dirtiest, most visible part of the whole appliance. Spread a thin layer of baking soda paste on the inside glass, let it sit for about 20 to 30 minutes, then wipe clean with a damp cloth. Finish with a vinegar spray for a streak-free shine.
If there is grime trapped between the two panes of glass on the door, most home ovens are not designed for you to easily access that space. Check your owner’s manual before attempting to take the door apart, since some models require removing screws in a specific order to avoid damaging the hinges.
Mistakes That Make Oven Cleaning Harder Than It Needs to Be
- Skipping the sit time. Baking soda paste needs hours, not minutes, to actually break down grease. Rushing this step just means more scrubbing later.
- Scrubbing with metal tools. Metal scrapers and steel wool can scratch enamel and damage the oven’s interior coating. Stick to silicone, foil balls, or non-abrasive sponges.
- Leaving baking soda residue behind. Any white paste left in the corners will smoke and smell when the oven heats up again. Do a final wipe-down pass with a damp cloth to catch every last bit.
- Coating the heating elements. Keep paste away from exposed heating elements, both to avoid damage and to prevent smoke the next time you turn the oven on.
- Assuming self-clean is the same as natural cleaning. The self-clean cycle burns off residue at extremely high heat, which can release fumes and strong odors of its own, and it does not replace wiping down the interior afterward. If your oven has this feature, it can be a helpful first step for heavily soiled ovens, but pair it with the baking soda method, not instead of it.
How Often Should You Actually Clean Your Oven?
A light wipe-down after any major spill, plus a full baking soda deep clean every two to three months, keeps most home ovens in good shape. If you bake often or cook a lot of oily, splattering dishes, lean toward the more frequent end. Wiping up spills while the oven is still slightly warm, rather than letting them bake on again and again, is the single easiest way to make every future cleaning session shorter.
Final Thoughts
A naturally clean oven does not require a scary spray bottle full of chemicals or a house that smells like a science lab for two days. Baking soda and vinegar, a little time, and a bit of elbow grease will get you there, and you will actually feel good about what is baking your dinner tonight.
Save this post for the next time your oven needs some love, and if you try it, come back and let me know how it went in the comments. I would love to hear which method worked best for you.






No Comment! Be the first one.