




How to Clean Old Grease From Kitchen Cabinets (Even the Sticky, Years-Old Kind)
If you’ve ever run your hand across your kitchen cabinets and felt that tacky, almost gummy film, you already know the struggle. That’s old grease, and it’s not the same as a fresh...

If you’ve ever run your hand across your kitchen cabinets and felt that tacky, almost gummy film, you already know the struggle. That’s old grease, and it’s not the same as a fresh splatter you can wipe away with a paper towel. Old grease has had time to bond with dust, cooking residue, and air, which is why it feels sticky no matter how many times you swipe a rag over it.
The good news is you don’t need harsh chemicals or a full cabinet replacement to fix this. You need the right method, a little patience, and a plan that actually breaks the grease down instead of just pushing it around. This guide walks you through exactly how to clean old, stubborn grease from kitchen cabinets, no matter what type of cabinet finish you have.
Why Kitchen Cabinets Get So Greasy in the First Place
Every time you cook, tiny particles of oil and grease float into the air. Without a range hood pulling that air out, the particles land on the nearest surface, which is usually the cabinets right above and beside your stove. Over weeks and months, that thin layer builds up, mixes with dust, and hardens into the sticky film you’re dealing with now.
Cabinets near the stove and the ones you touch most (think the ones by the fridge or trash can) usually take the worst hit. That’s why spot-checking those areas first will tell you a lot about how deep your cleaning session needs to go.
What You’ll Need Before You Start
Gather your supplies first so you’re not scrambling mid-clean with greasy hands.
- Dish soap (Dawn or a similar grease-cutting dish soap works best)
- White vinegar
- Baking soda
- Warm water
- Two microfiber cloths (one for cleaning, one for drying)
- A soft-bristle scrub brush or an old toothbrush
- A spray bottle
- Rubber gloves
- Optional: a store-bought degreaser labeled safe for your cabinet finish
Avoid grabbing anything abrasive like steel wool, scouring pads, or magic erasers on wood or painted cabinets. They can scratch the finish or wear down paint, and that damage doesn’t buff out.
1: Figure Out Your Cabinet Finish First
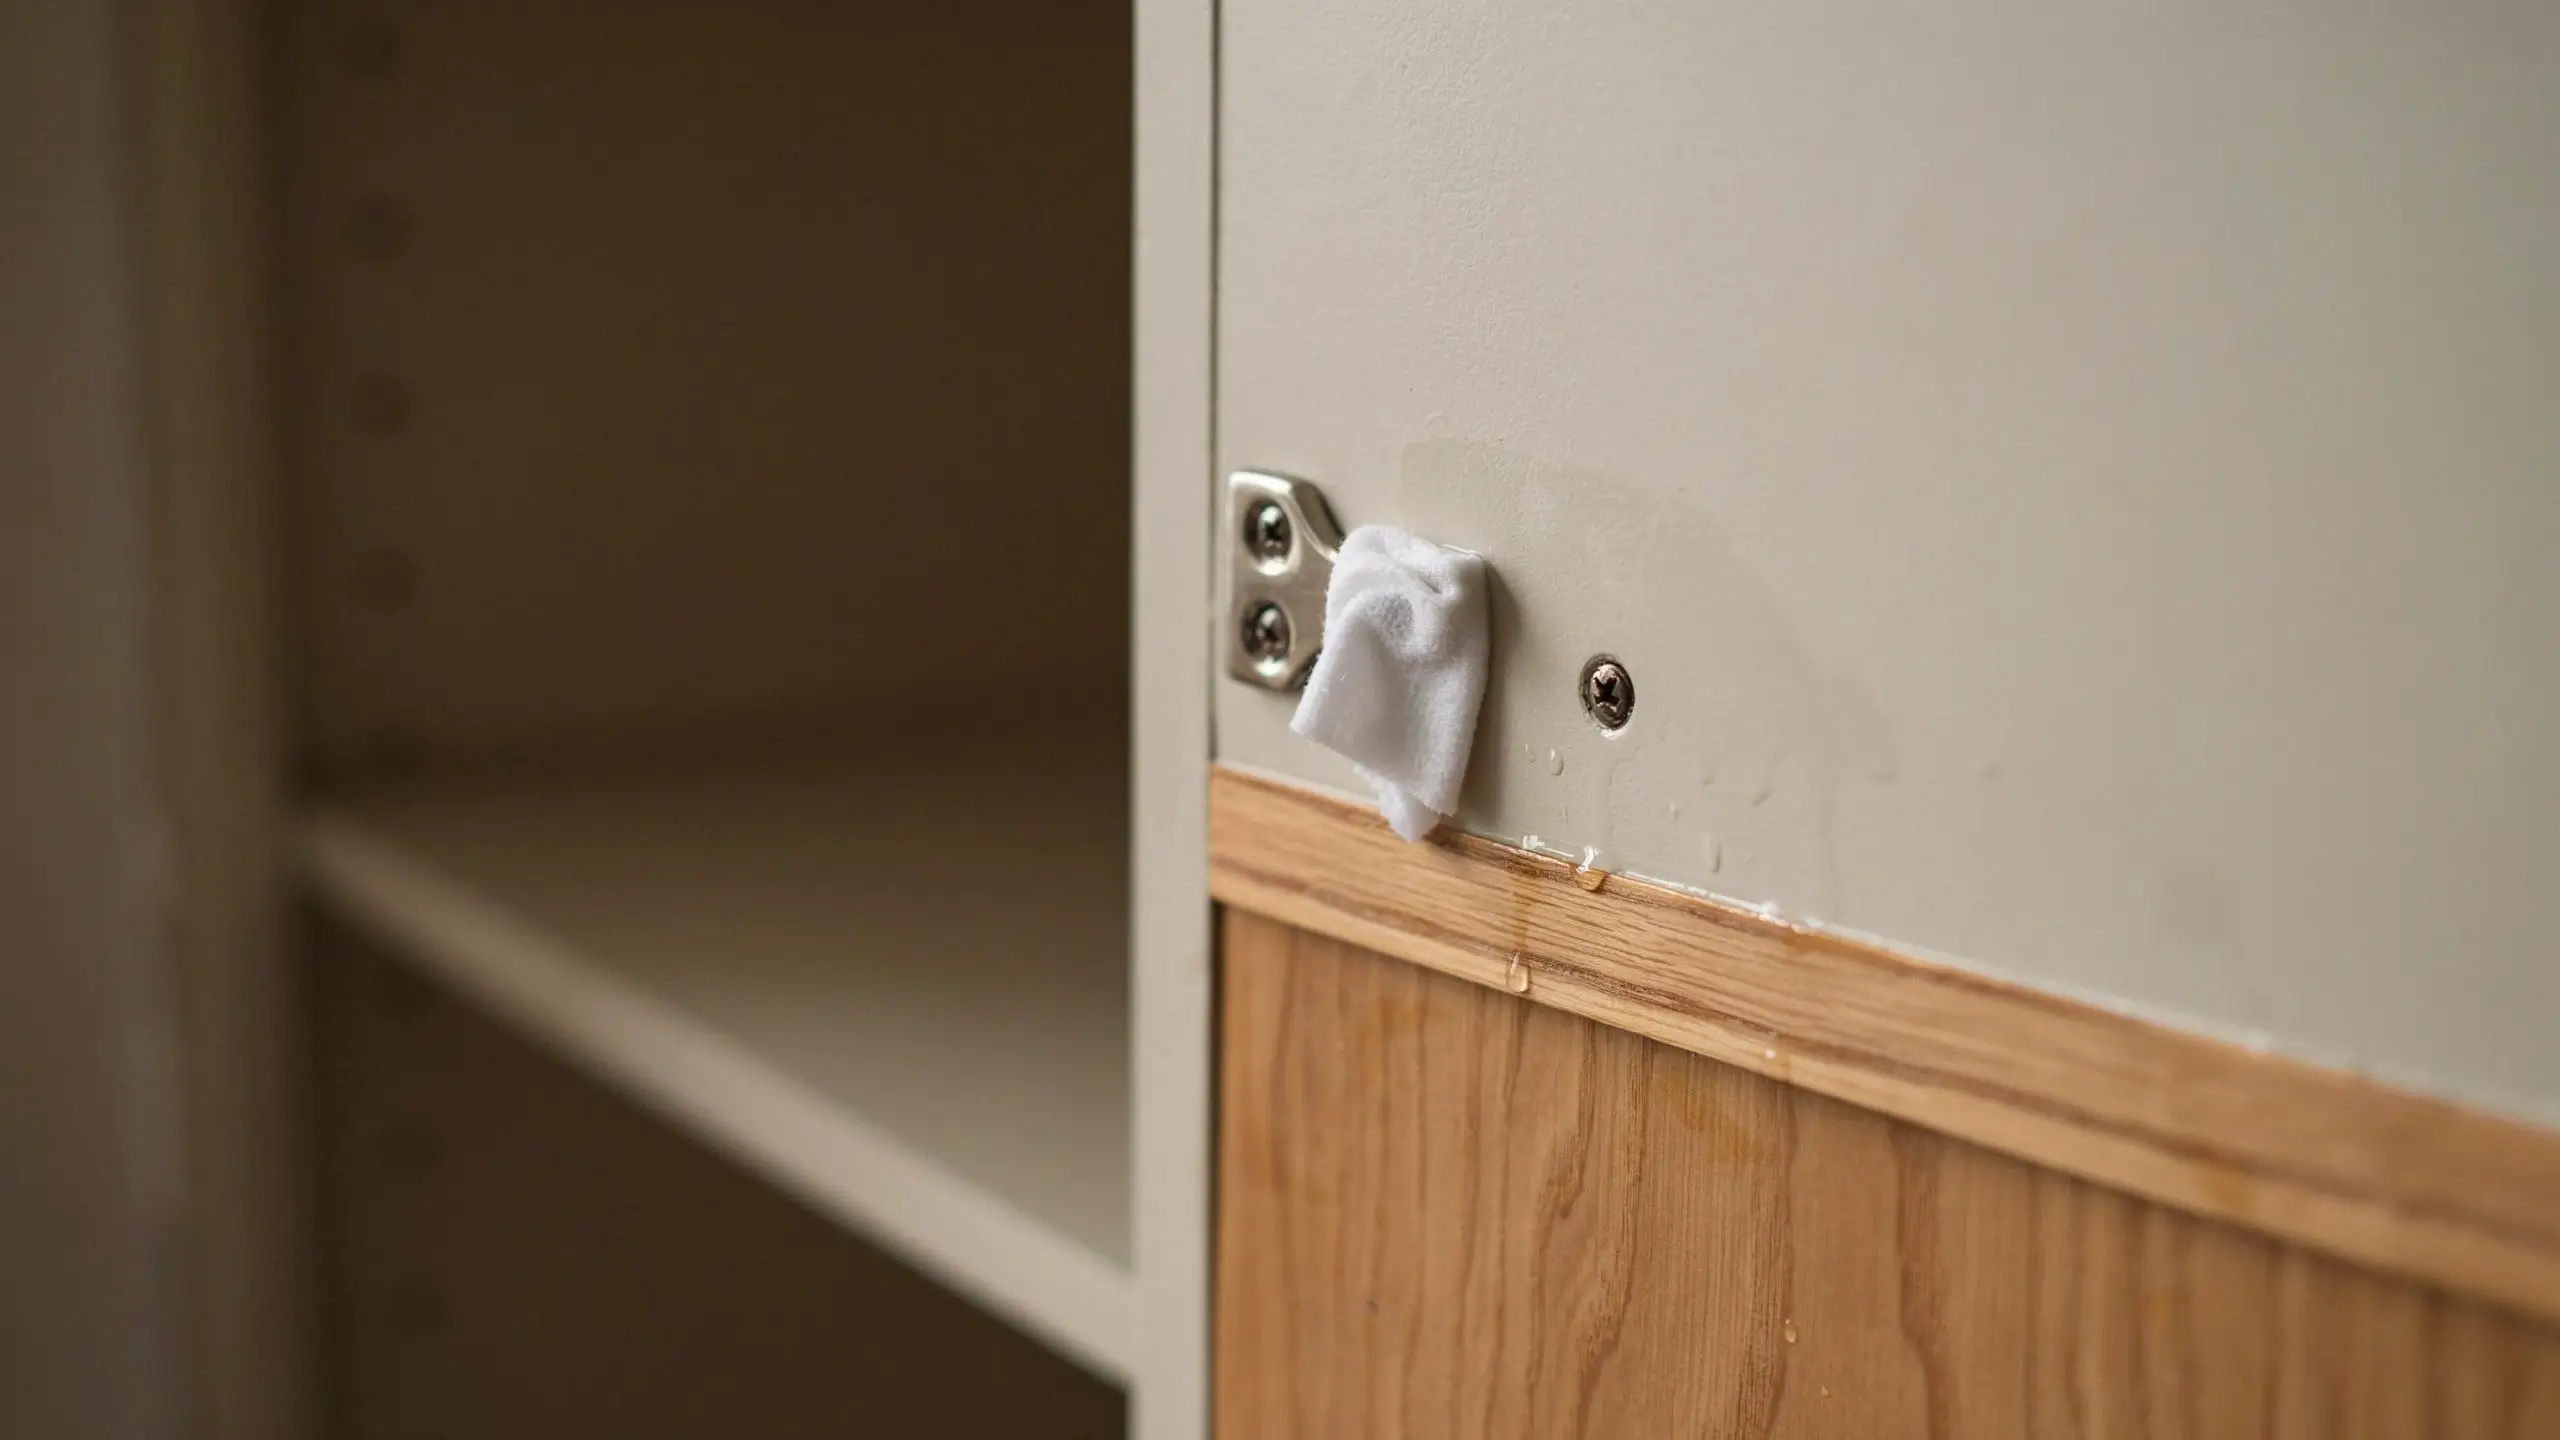
This step gets skipped constantly, and it’s the reason so many people end up with dull spots or streaky finishes after cleaning. Painted cabinets, natural wood, laminate, and stained wood all react differently to vinegar and stronger cleaners.
Before you clean the whole kitchen, test your chosen solution on a hidden spot first, like the inside edge of a cabinet door or underneath a hinge. Let it sit for a minute, wipe it off, and check for any discoloration or dulling. If it looks fine, you’re clear to move on to the rest of the cabinets.
2: Start With the Simplest Method (Dish Soap and Warm Water)
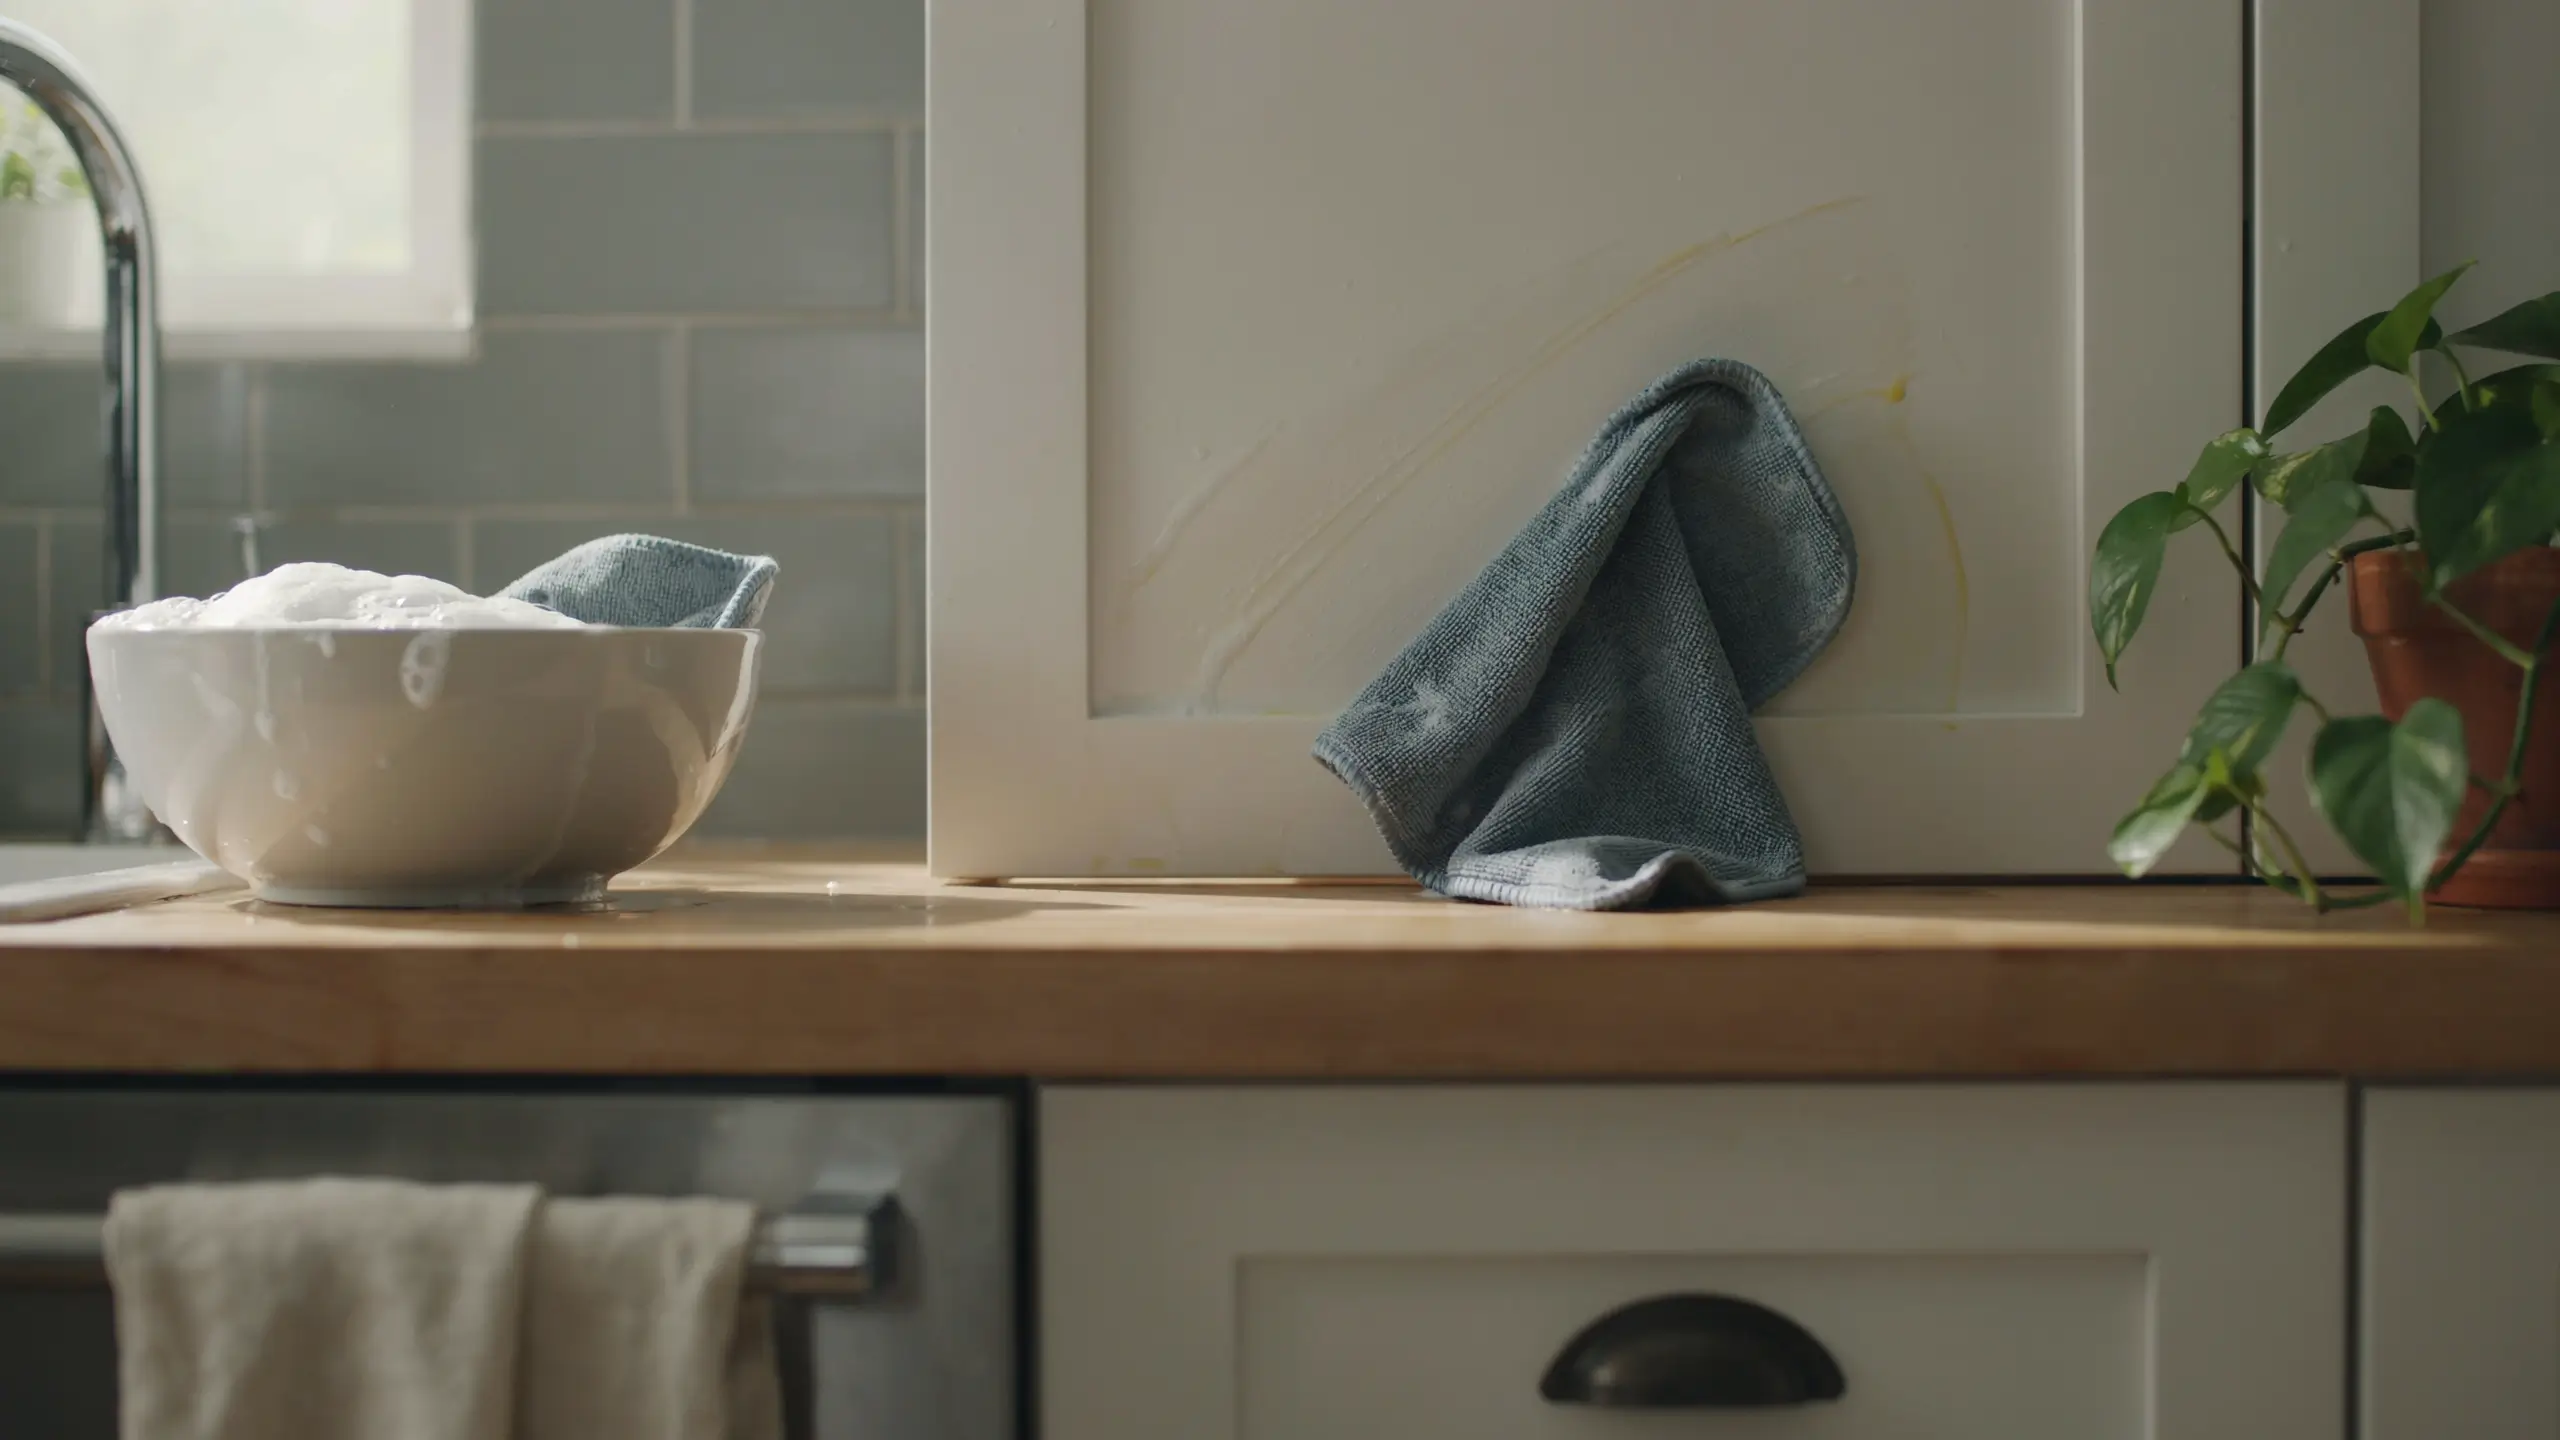
This is the method most cleaning pros reach for first, and it works for a surprising amount of old grease.
Mix a few drops of dish soap into a bowl of warm water until it’s sudsy. Dip your cloth in, wring it out so it’s damp but not dripping, and wipe down the cabinet surface following the wood grain if there is one. For thicker buildup, apply a little dish soap straight onto a damp cloth and scrub in small circles.
Rinse your cloth often so you’re not just smearing grease from one spot to another. Once the surface feels clean, go over it again with a barely damp cloth to rinse off any soap residue, then dry immediately with your second cloth.
3: Bring in Vinegar for Grease That Won’t Budge
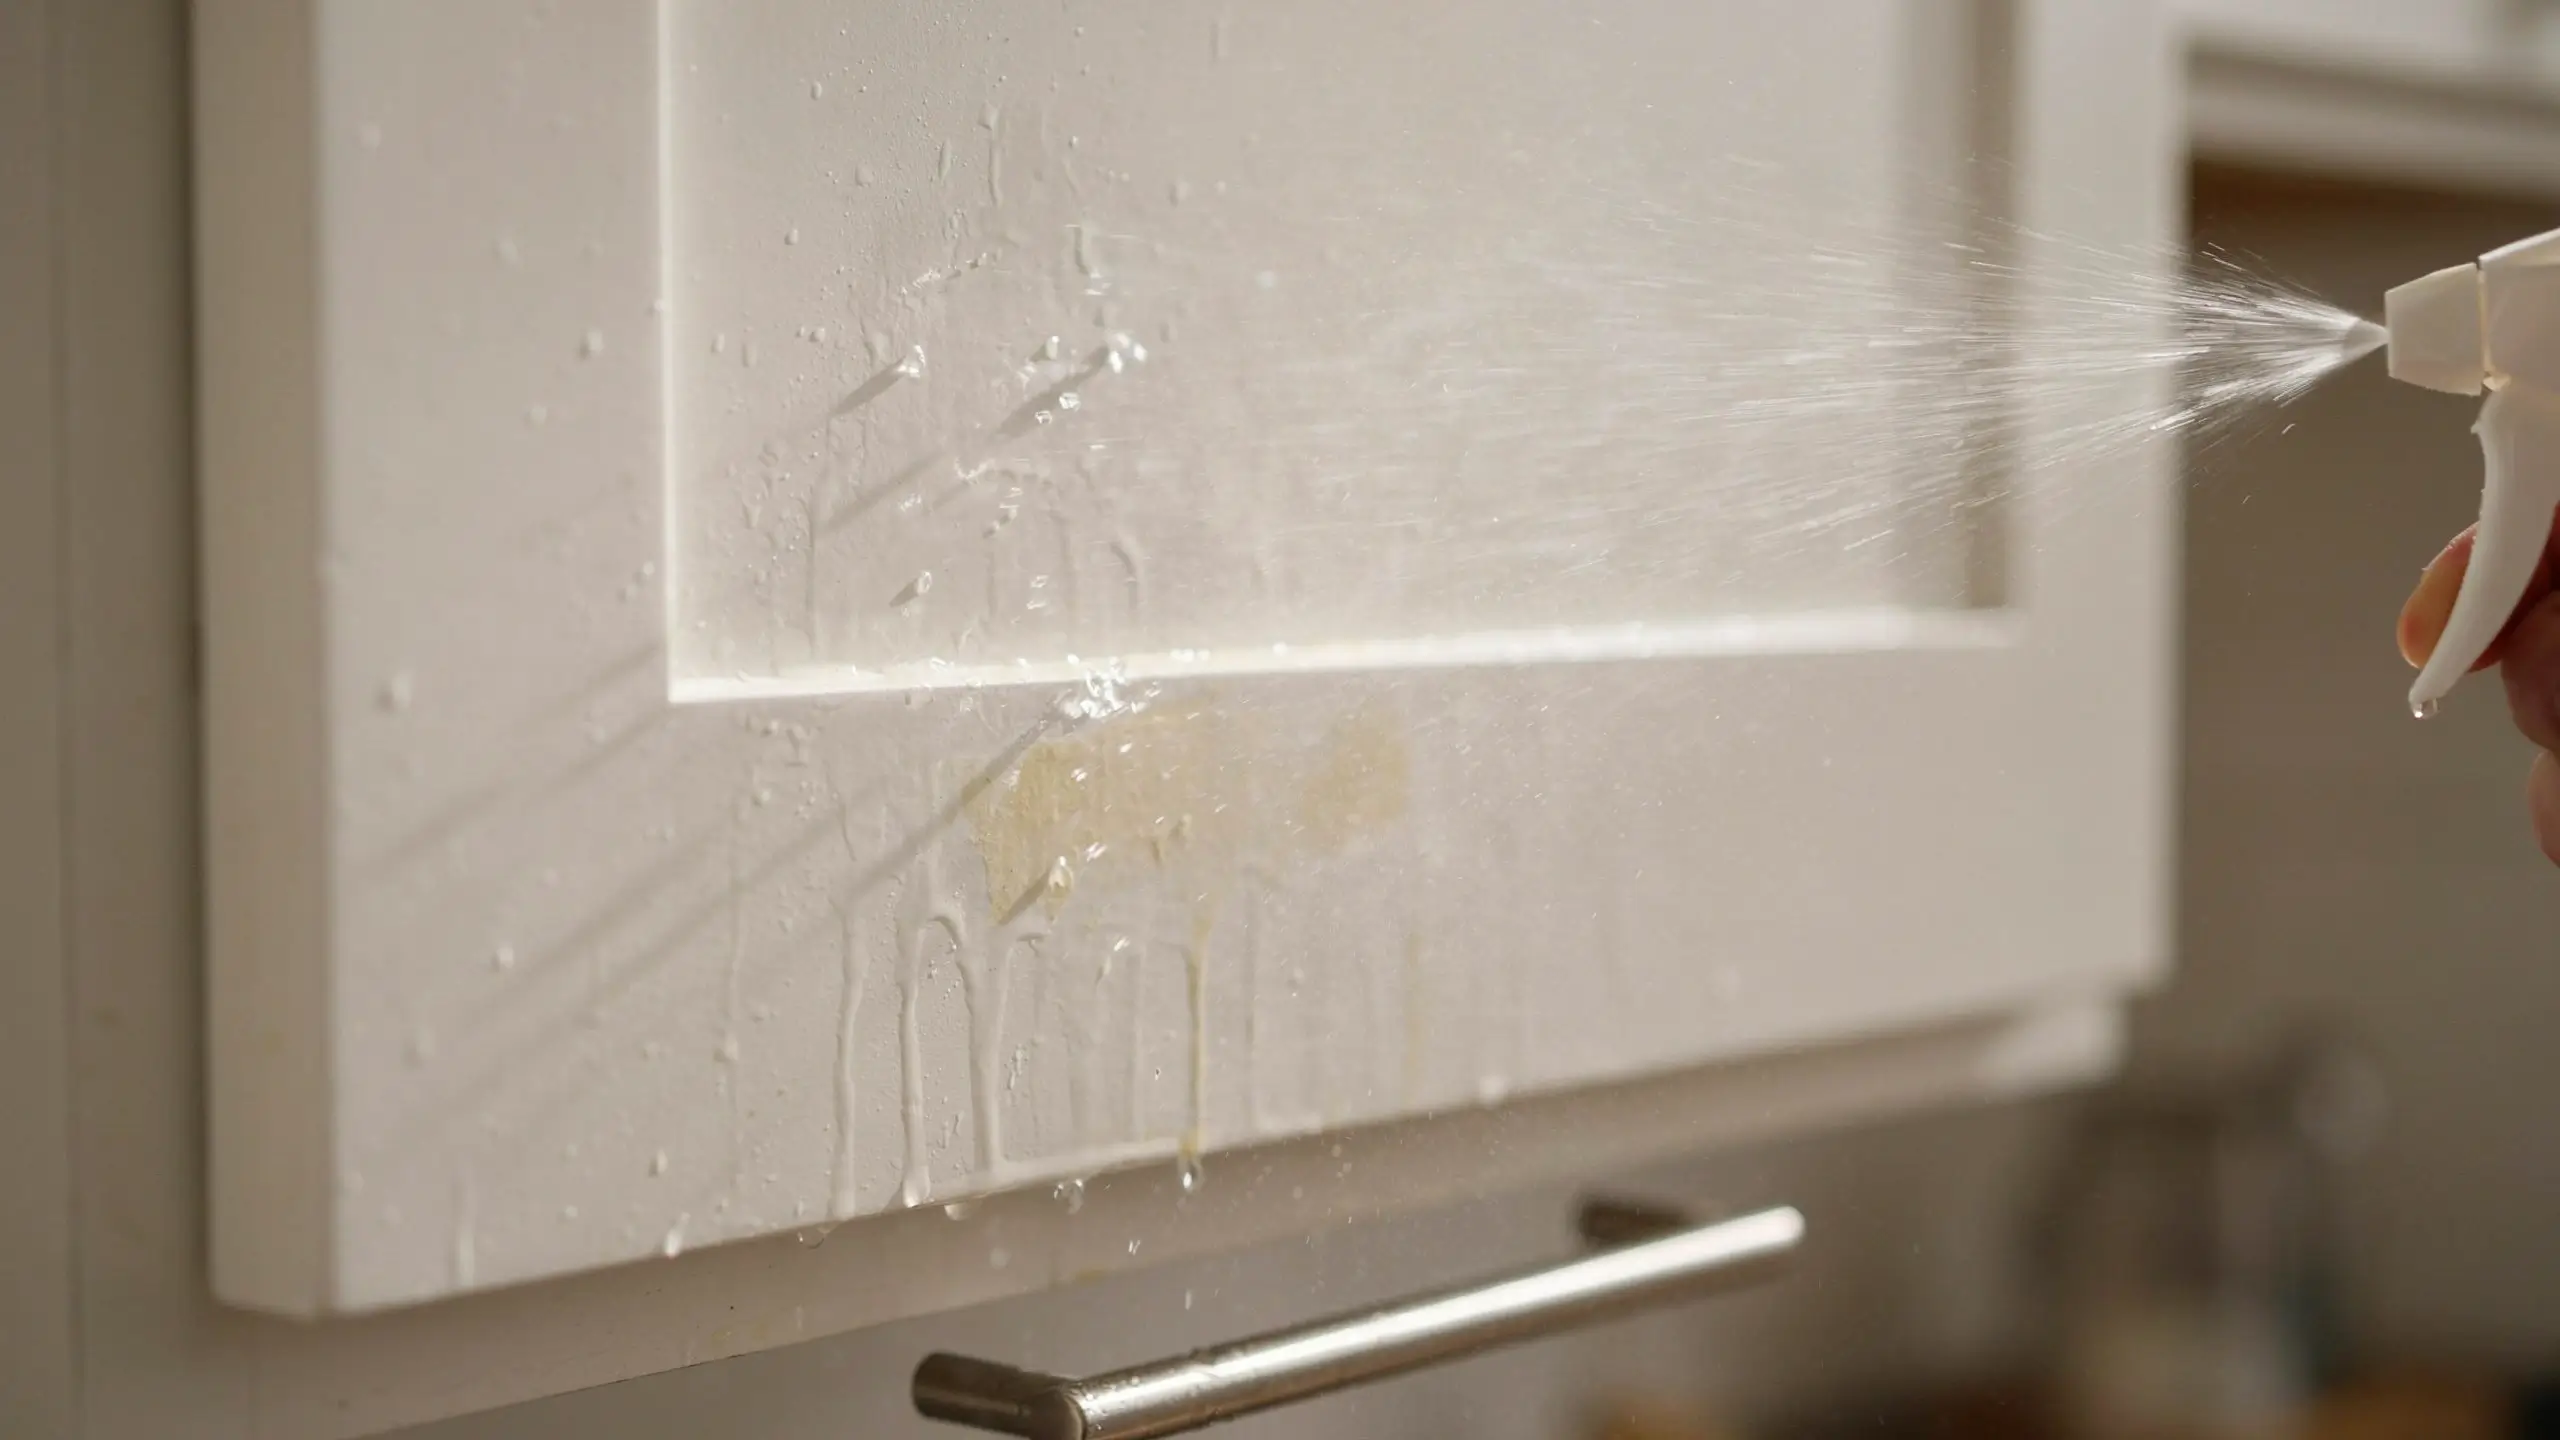
If dish soap alone isn’t cutting through the buildup, white vinegar is your next move. Vinegar’s acidity breaks down grease without leaving the streaky film that some cleaners do.
Mix equal parts white vinegar and warm water in a spray bottle. Lightly mist the greasy areas and let it sit for 5 to 10 minutes so it has time to loosen the grease. Wipe with a damp cloth, then follow with a dry one.
Never use vinegar undiluted on wood or painted cabinets. Full-strength vinegar is acidic enough to dull paint and strip finish over time, so the 50/50 dilution matters more than it seems like it should.
4: Use a Baking Soda Paste on Caked-On Spots
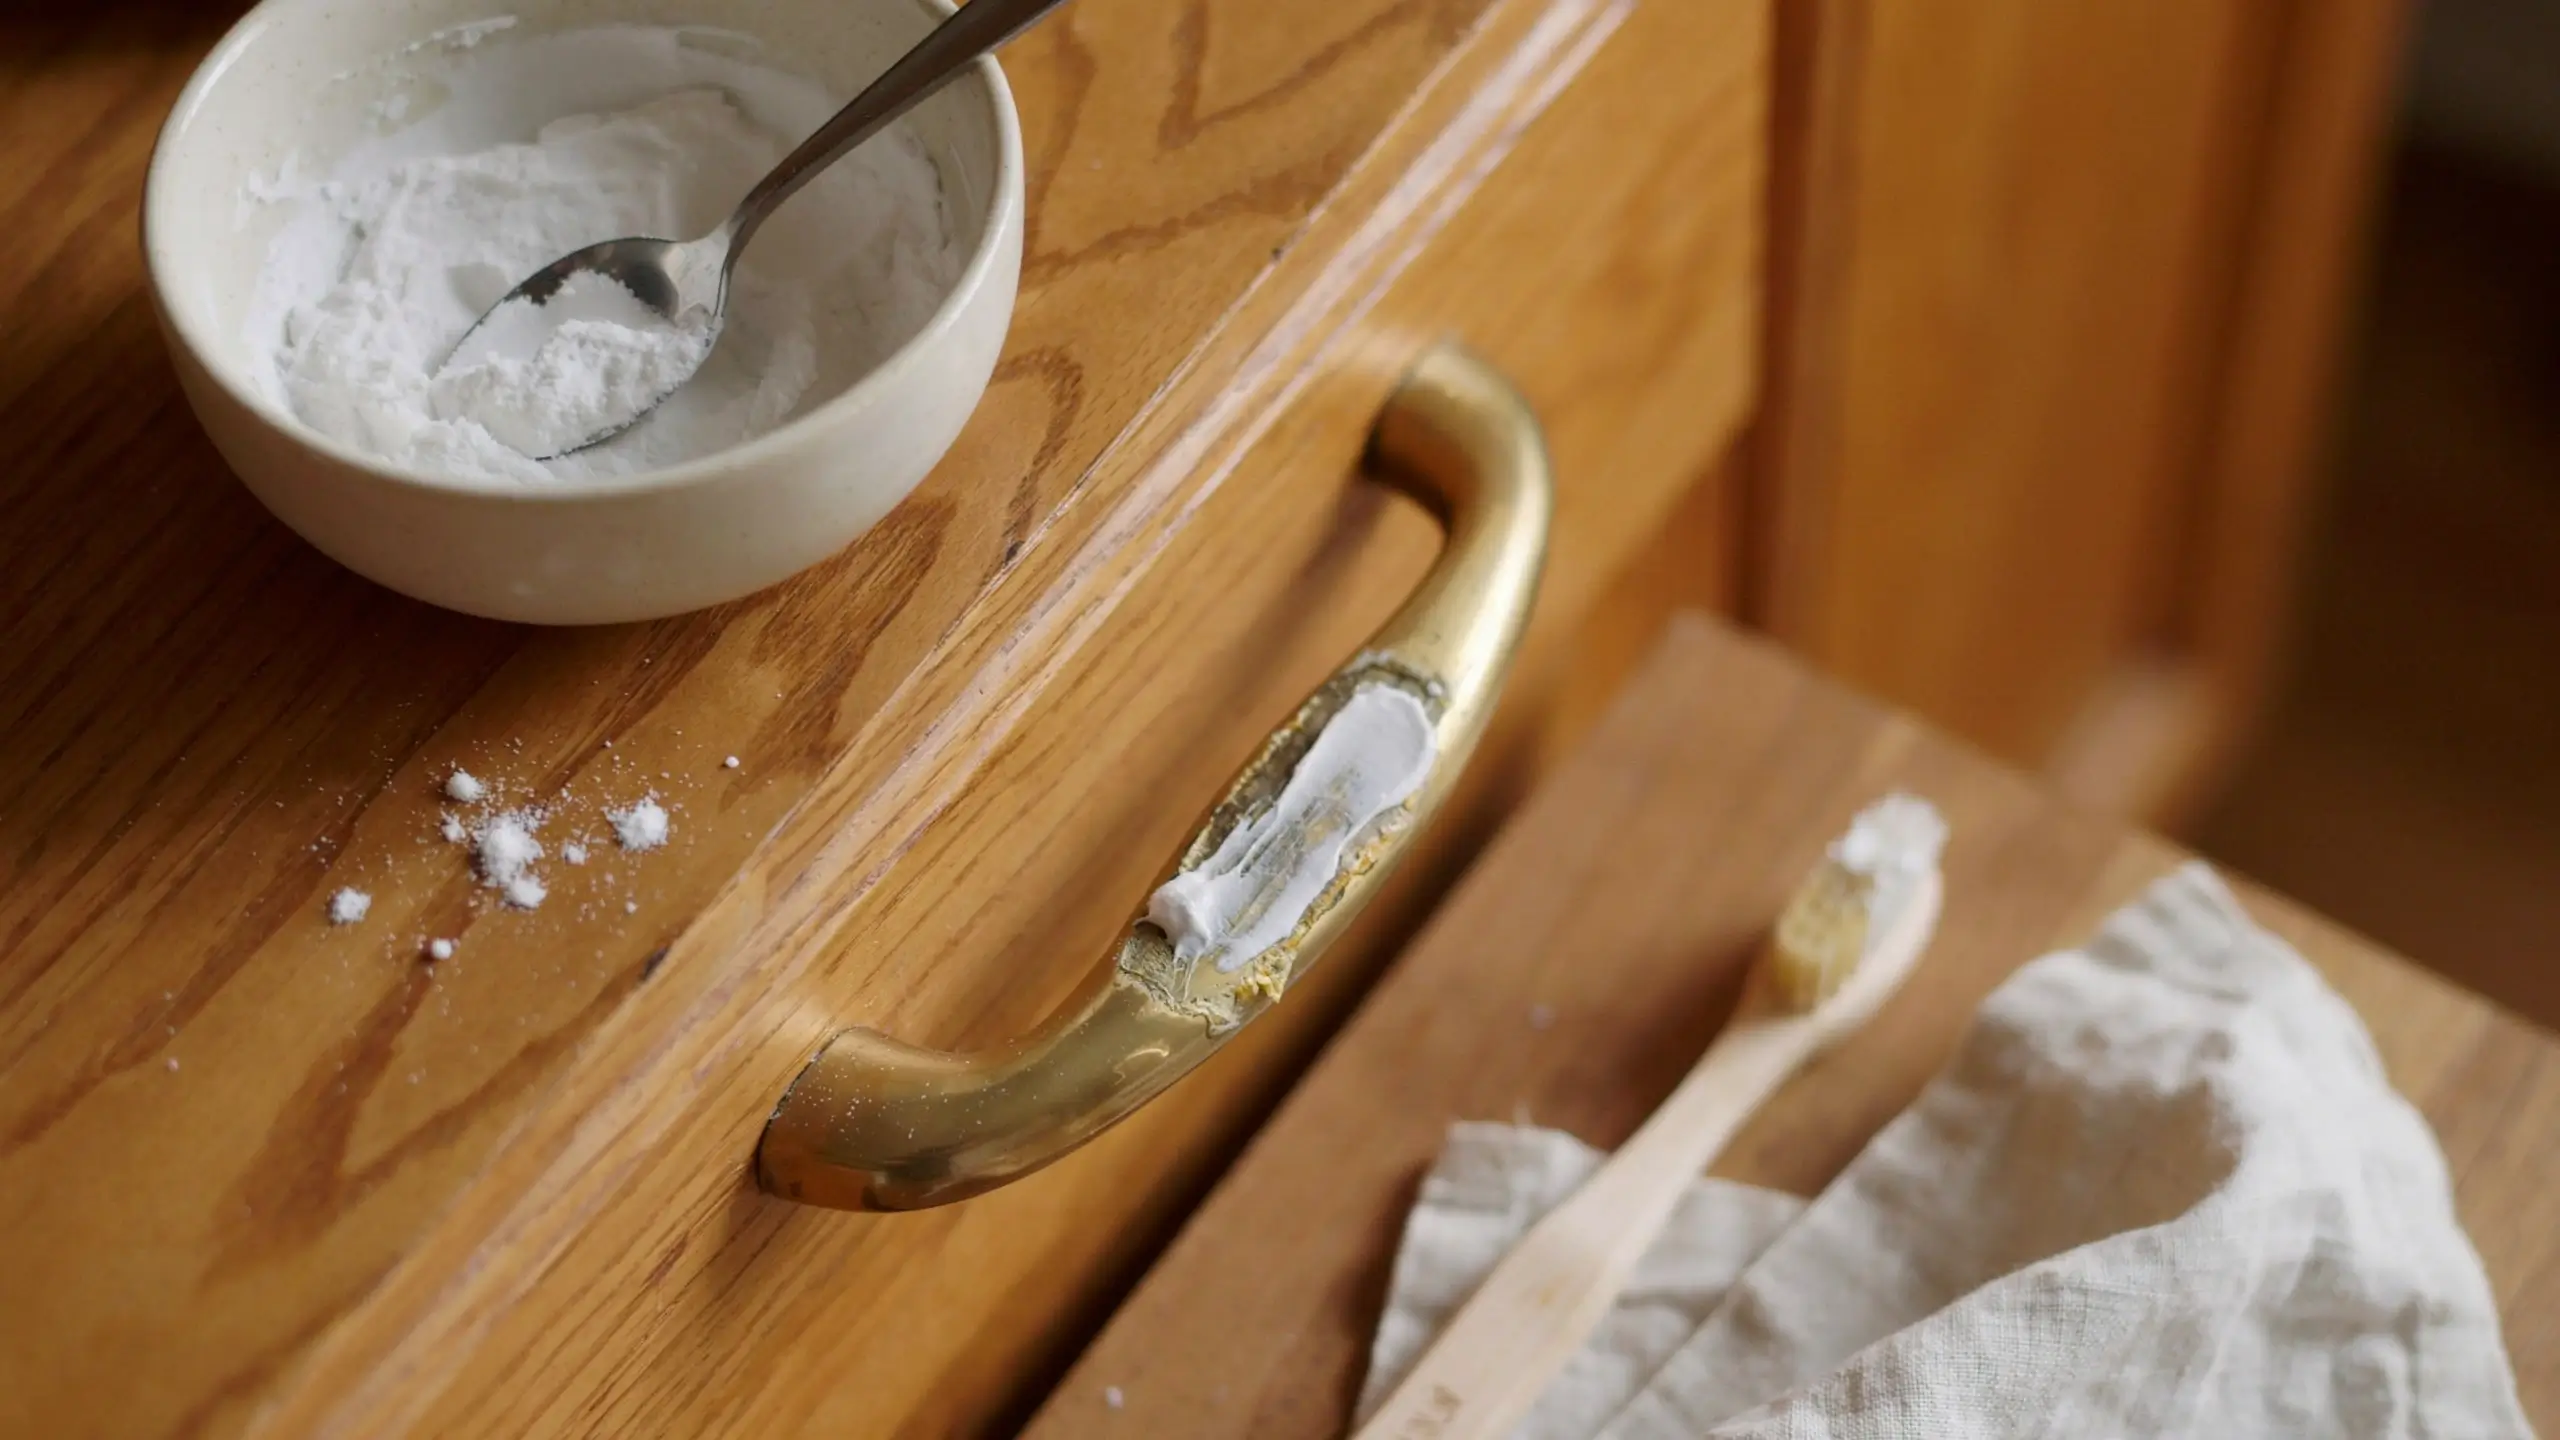
For grease that has fully hardened into a crusty patch, usually found near handles, hinges, or the cabinet directly above the stove, baking soda gives you gentle scrubbing power without scratching.
Mix baking soda with just enough water to form a thick paste, about the consistency of toothpaste. Apply it directly to the stubborn spot and let it sit for 2 to 3 minutes. Using a soft-bristle brush or an old toothbrush, scrub in small circles until the grease lifts. Wipe away the paste with a damp cloth and dry the area completely.
Baking soda is mildly abrasive, so save this method for spots that genuinely need it rather than using it on your entire cabinet surface.
5: Detail the Areas Everyone Forgets
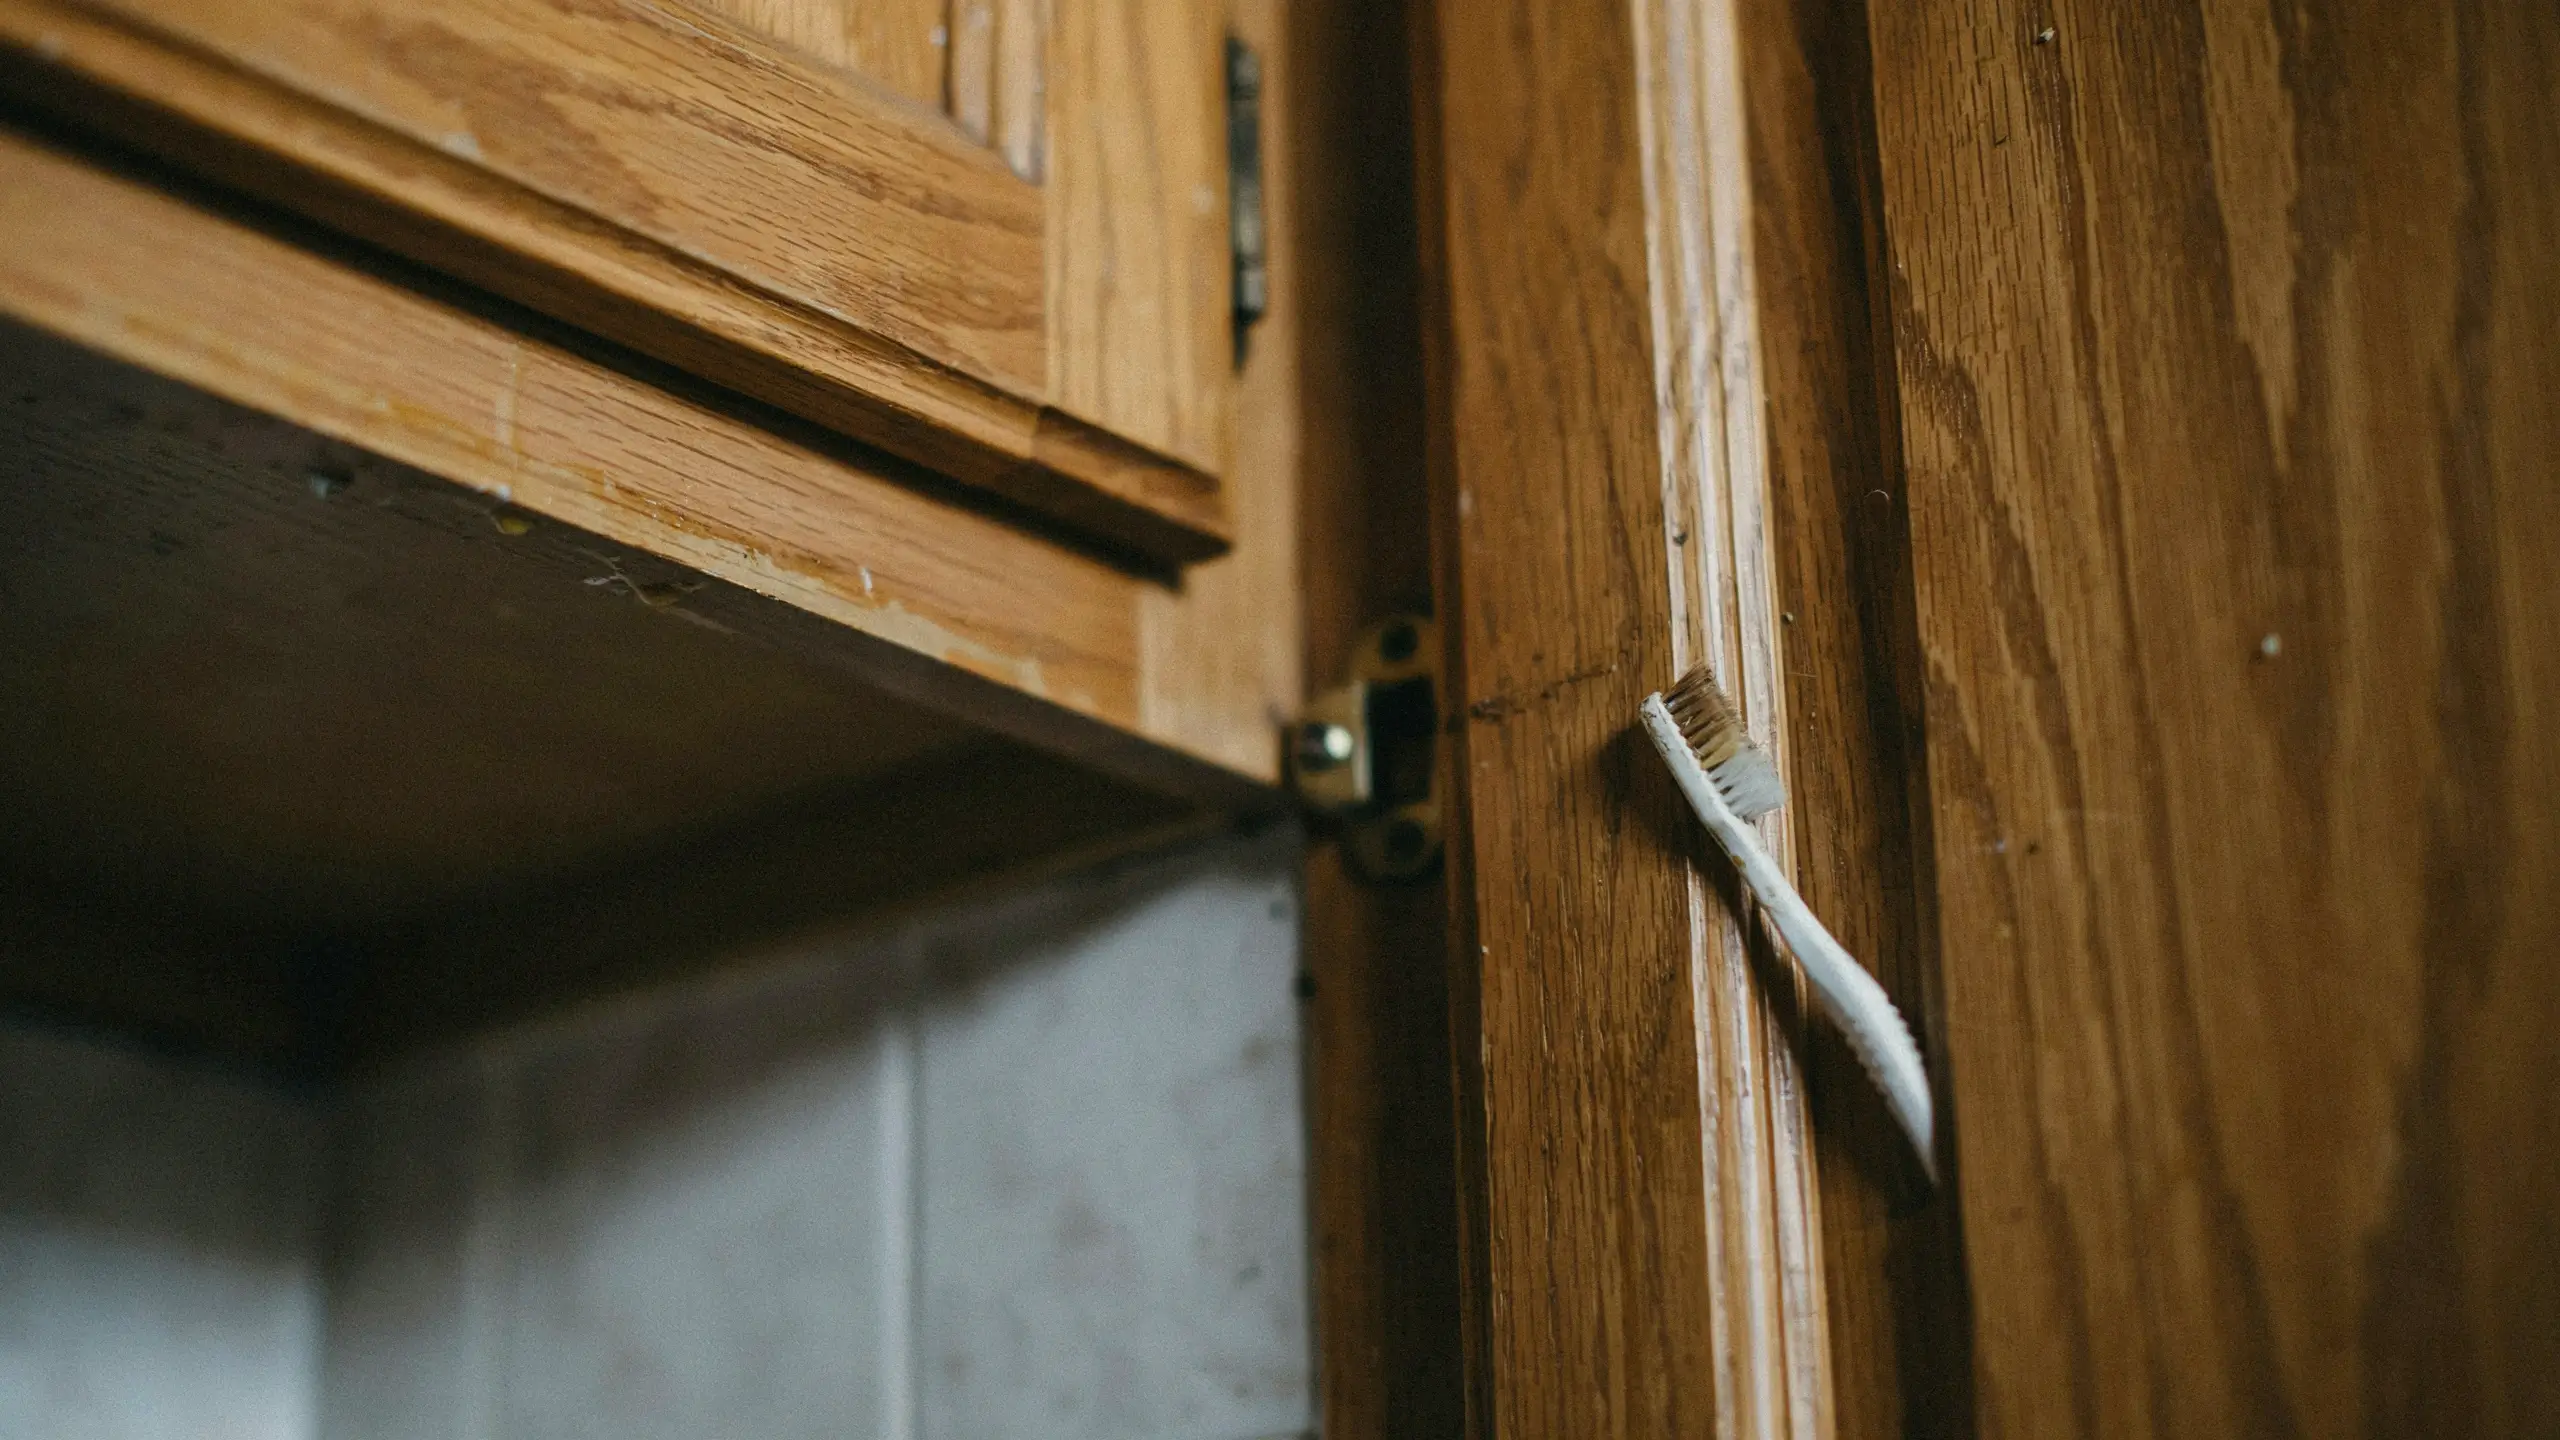
The flat panels of your cabinet doors aren’t the only place grease hides. These spots quietly collect the most buildup and get skipped in a regular wipe-down:
- Cabinet handles and knobs. These get touched with greasy fingers constantly and often feel stickier than the doors themselves.
- The underside of upper cabinets. Grease rises with steam and settles here, especially above the stove.
- Grooves, trim, and raised panel edges. An old toothbrush works better than a cloth for getting into these lines.
- The top of the cabinets. If you have open space above your cabinets, a thick layer of dust and grease usually builds up here unnoticed until you’re standing on a step stool looking down at it.
6: Rinse and Dry Thoroughly (Don’t Skip This)
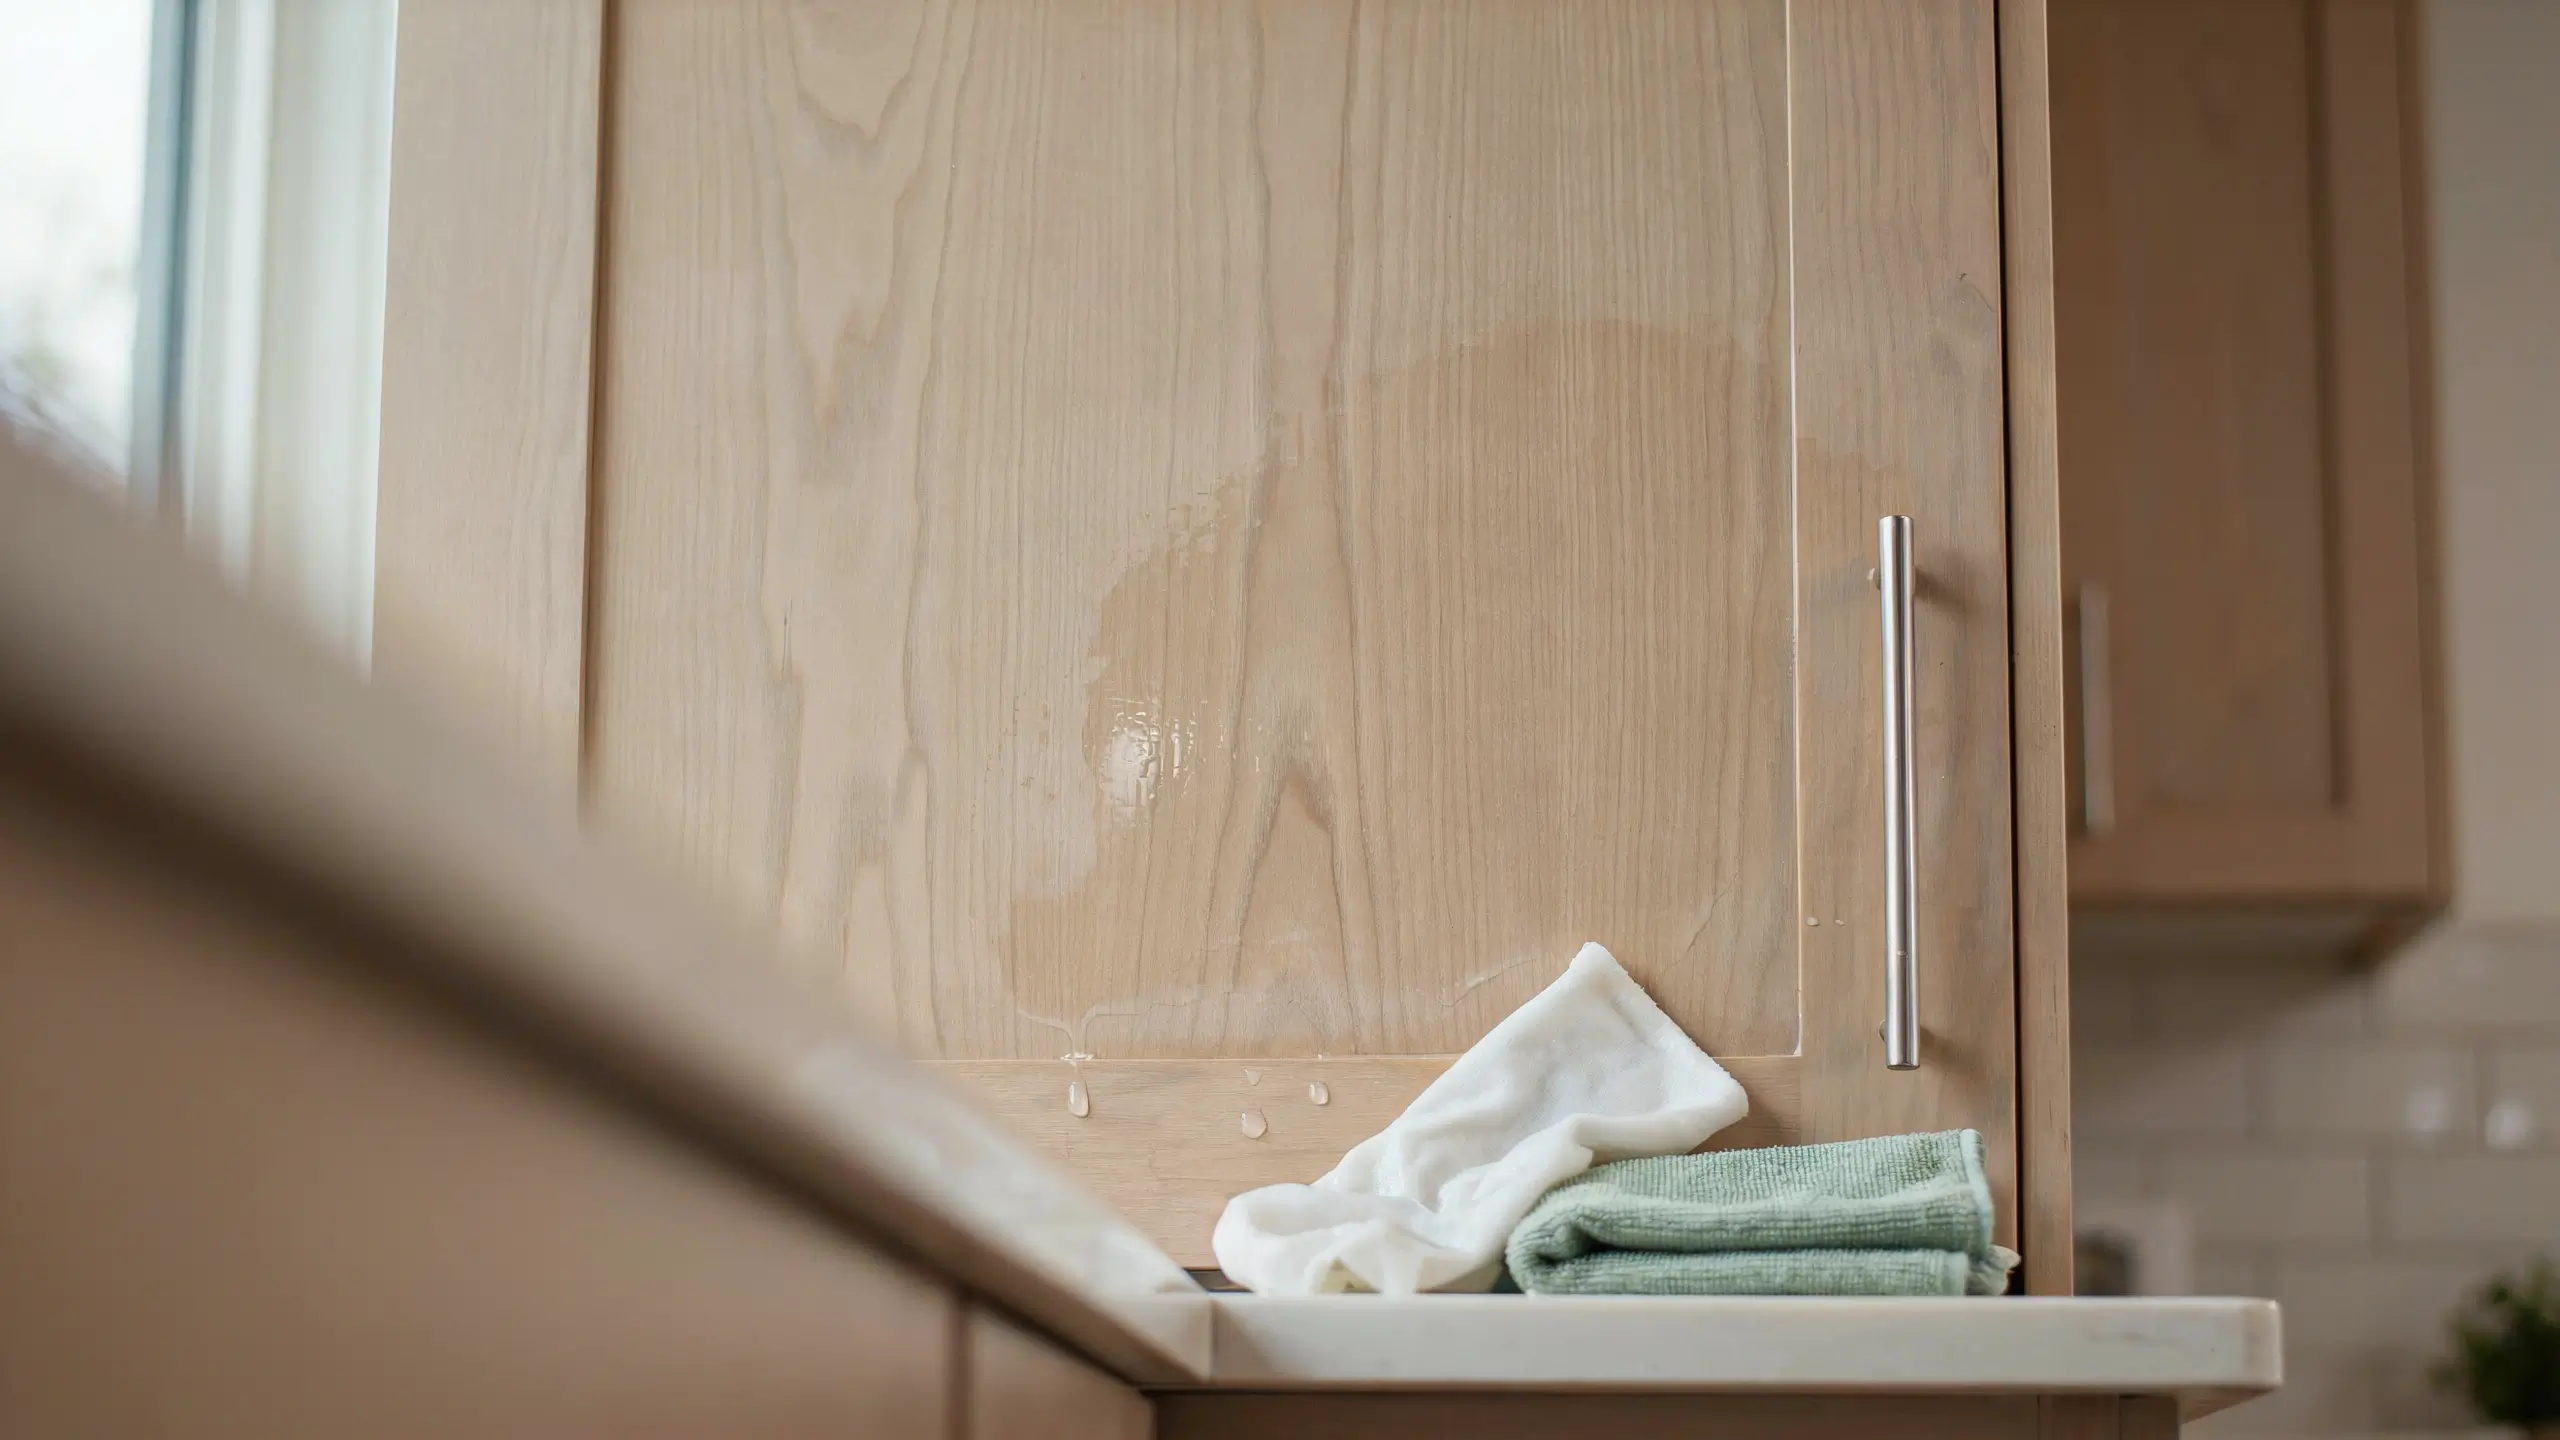
Whatever method you used, finish by wiping the surface with a cloth dampened in plain water to remove any leftover soap, vinegar, or baking soda residue. Leftover residue attracts dust and grime faster, which means you’ll be back to a greasy film sooner than you’d like.
Dry every surface completely with a clean microfiber cloth right after rinsing. Excess moisture sitting on wood cabinets can cause warping, swelling, or a cloudy finish over time, so this step isn’t optional if you want your cabinets to last.
Mistakes That Make Grease Buildup Worse
- Using too much water. Wood and MDF cabinets absorb moisture, which leads to swelling, peeling, and warped doors. Always work with a damp cloth, not a wet one.
- Skipping the test spot. Vinegar and degreasers can dull certain finishes, and you won’t know until it’s already happened.
- Scrubbing with anything abrasive. Steel wool, scouring pads, and melamine sponges can scratch paint and strip the sheen off wood finishes.
- Wiping with a dirty cloth. This just spreads grease around instead of removing it. Rinse or swap cloths often.
- Waiting too long between cleanings. The longer grease sits, the more it bonds to the surface, which turns a five-minute wipe-down into an hour-long scrub session.
How to Keep Cabinets From Getting This Greasy Again
Once your cabinets are clean, a little maintenance goes a long way toward not repeating this whole process in six months.
Wipe down cabinet fronts once a week with a damp cloth and a small amount of dish soap, focusing on handles and the areas closest to the stove. Run your range hood or a vent fan every time you cook, especially when frying or sautéing, since this pulls grease particles out of the air before they land on your cabinets. If your kitchen doesn’t have a range hood, cracking a window while cooking helps too.
Consider wiping cabinets right after cooking rather than waiting until the end of the week. A fresh splatter takes seconds to remove, while that same splatter left for a month turns into the sticky mess you just spent an afternoon cleaning.
Final Thoughts
Old grease on kitchen cabinets looks a lot worse than it actually is to fix. Most of the time, dish soap, vinegar, and baking soda (all things you probably already have) are enough to bring your cabinets back to looking clean and cared for. The real trick is working through the steps in order, testing your finish first, and drying everything thoroughly so the grease doesn’t come right back.
Give your cabinets this kind of clean once, stay on top of the weekly wipe-downs, and you’ll spend a lot less time scrubbing next time around.
Have a grease-cutting trick that’s saved your cabinets? Drop it in the comments, I’d love to know what’s working in your kitchen.






No Comment! Be the first one.