




How to Make Hair Bows for Girls: The Easy No-Sew Tutorial That Actually Works
If you’ve ever paid eight or ten dollars for one hair bow at the store, then watched your daughter lose it within a week, you already know why so many parents end up making their own. Learning...

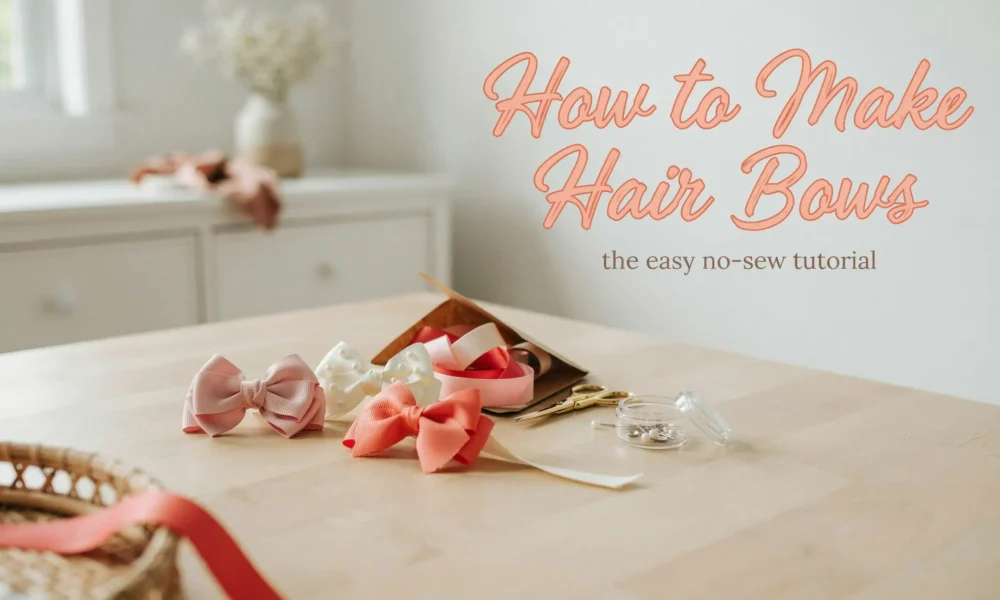
If you’ve ever paid eight or ten dollars for one hair bow at the store, then watched your daughter lose it within a week, you already know why so many parents end up making their own. Learning how to make hair bows for girls is one of those crafts that looks fancy on Pinterest but is genuinely simple enough to knock out on a weeknight. You need some ribbon, a glue gun, and about fifteen minutes, and you’ll walk away with a bow that looks just as polished as the boutique kind.
This tutorial covers the classic no-sew ribbon bow (the easiest place to start), a fuller two-layer boutique version, a sewn fabric bow for anyone with a machine and a scrap bin, plus sizing charts, attachment options, troubleshooting for floppy bows, and mistakes worth avoiding. Grab your ribbon and let’s get into it.
What You Need to Make Hair Bows
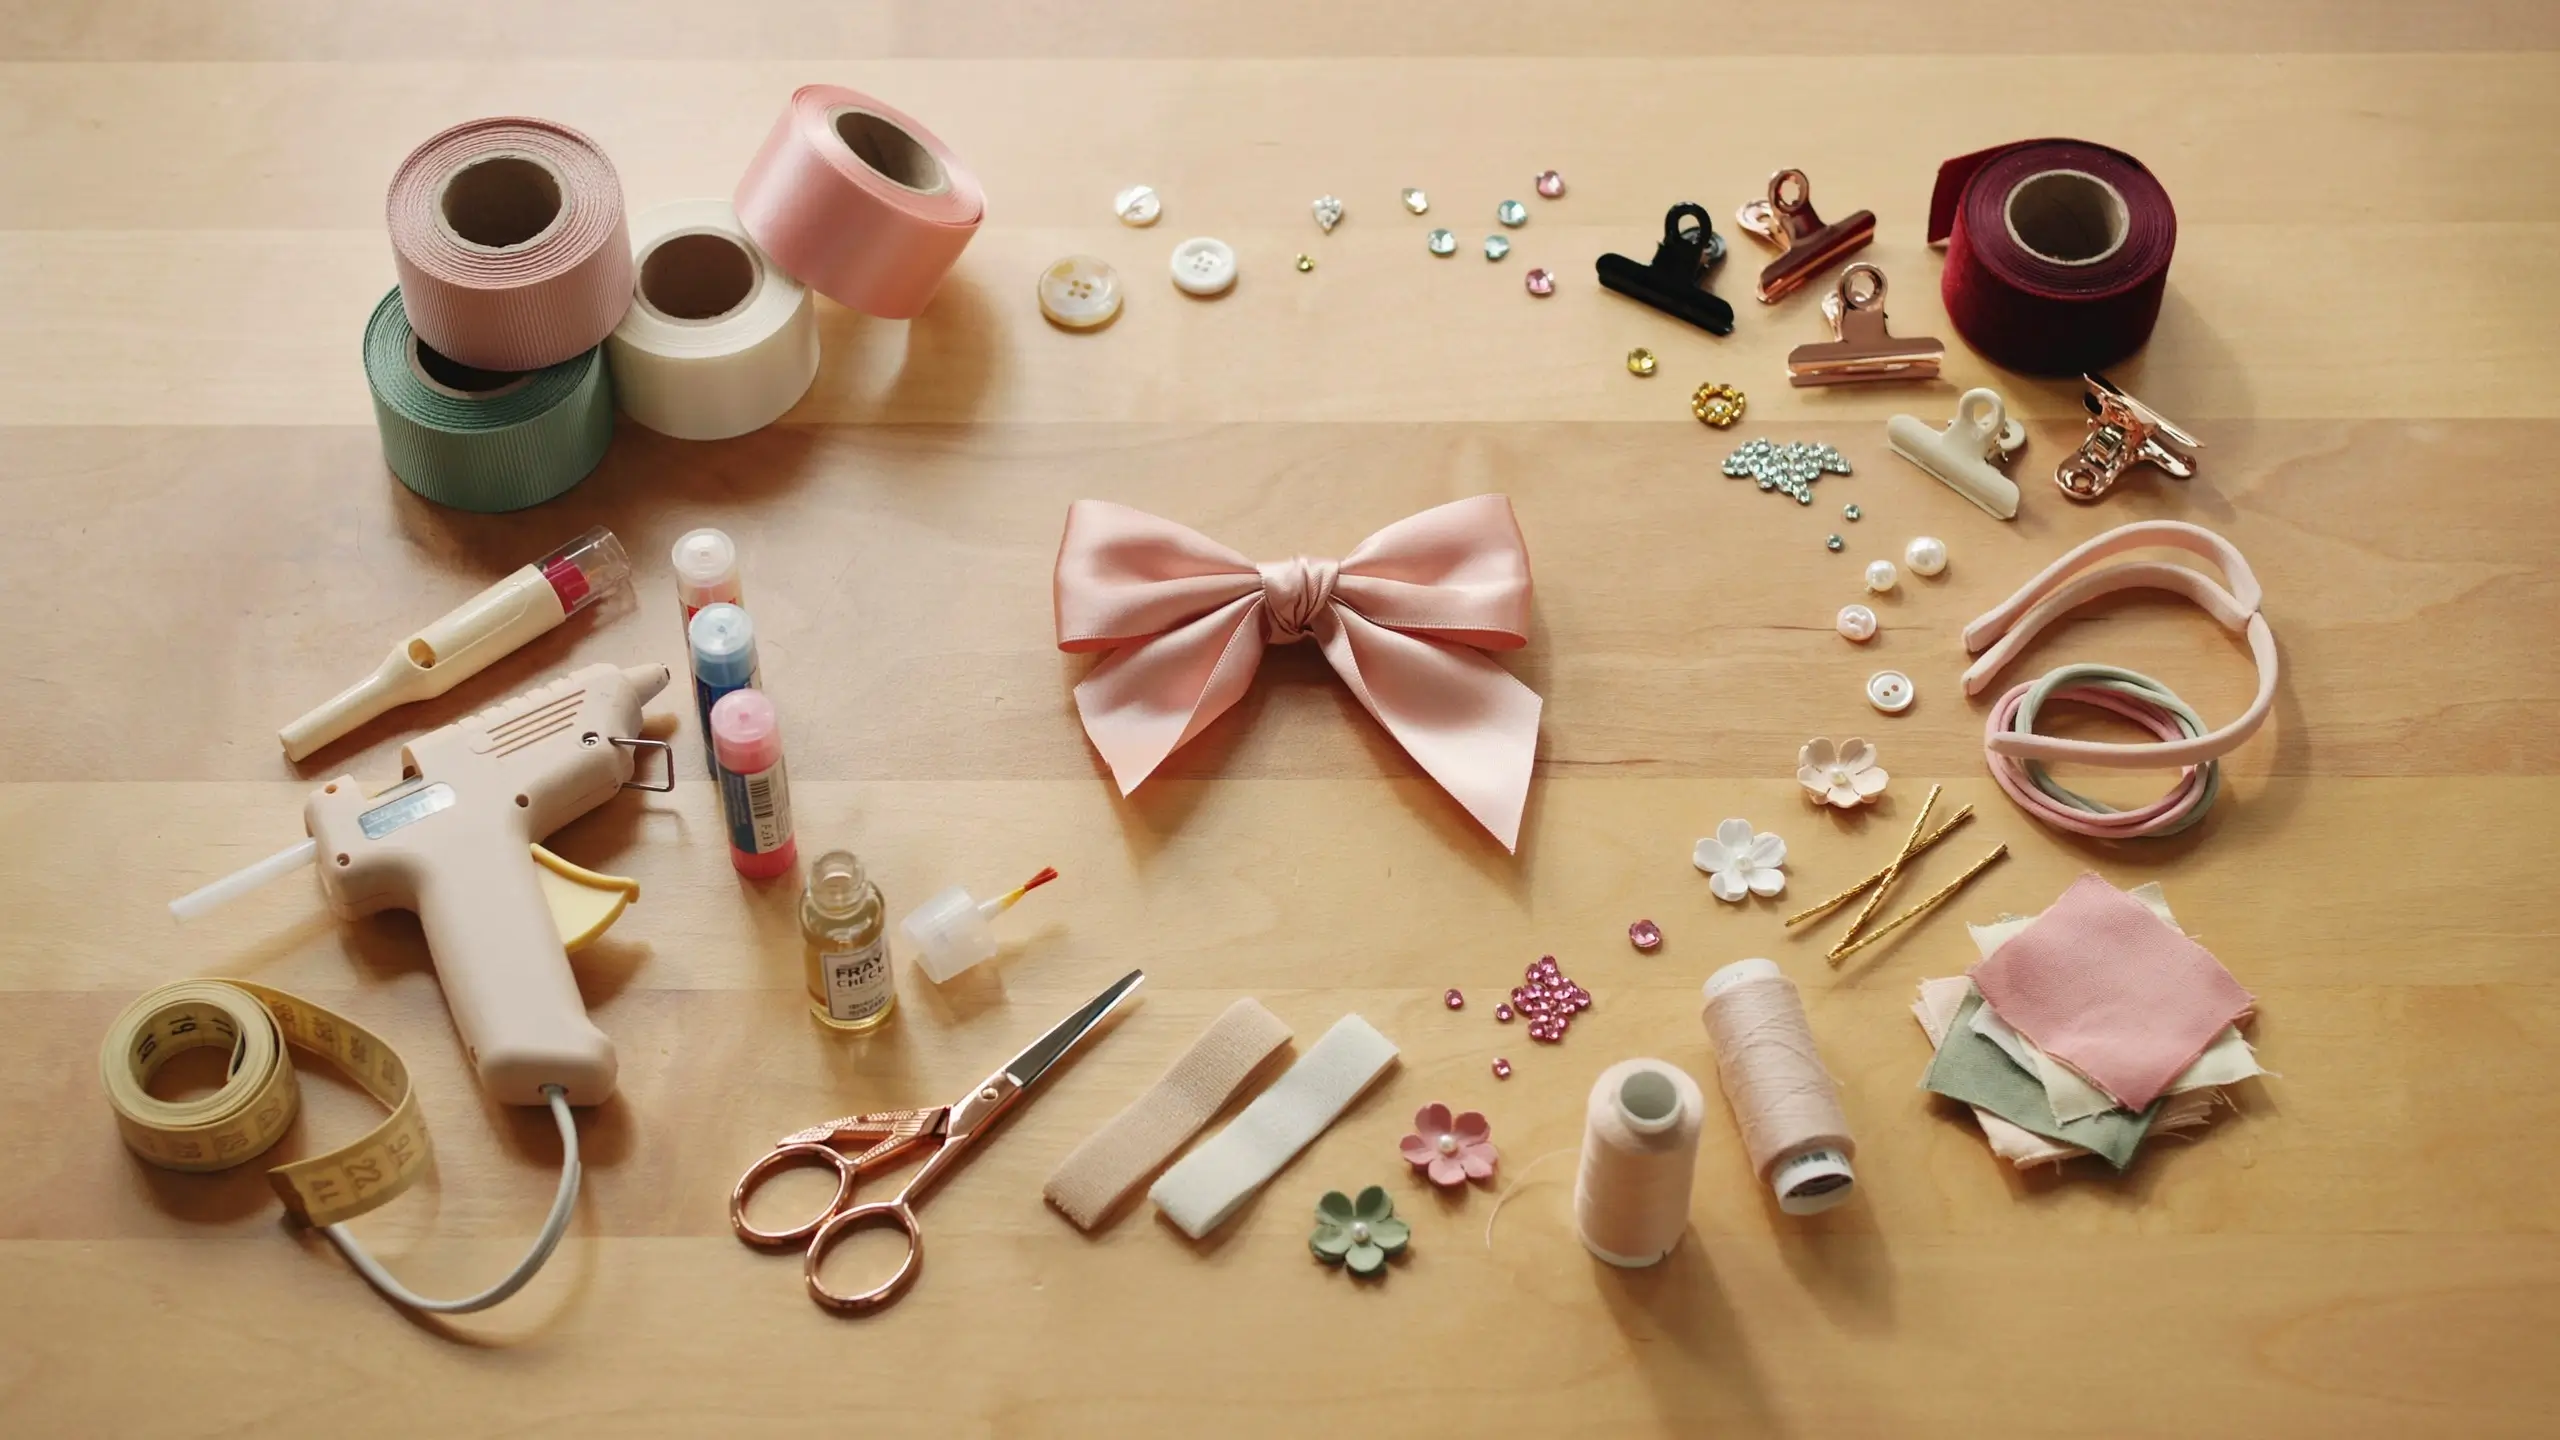
You don’t need a craft room full of supplies. Here’s the real list:
- Ribbon. Grosgrain is the best choice for beginners because it holds a crease and doesn’t slide around while you’re shaping loops. Satin looks pretty but is slippery and harder to control on your first few tries. Velvet is having a moment on Pinterest right now and works beautifully on wider, simpler bows.
- Ribbon width. 7/8 inch for small or toddler bows, 1.5 to 2.5 inches for the bigger boutique-style bows.
- Hair clips. Alligator clips are the standard choice and hold securely. Snap clips work well for thin sections of hair. French clips suit larger bows.
- Nylon headbands or thin elastic hair ties, for babies who don’t have enough hair for a clip to grip.
- A hot glue gun and glue sticks. A mini glue gun gives you more control on smaller bows.
- Sharp scissors.
- Fray Check, or a lighter/candle for sealing raw ribbon edges (more on the safe way to do this below).
- A small strip of soft velcro, for a trick that keeps bows from sliding out of fine hair.
- A ruler or measuring tape.
- Optional: a sewing machine and coordinating thread if you want to try the fabric bow method, plus buttons, rhinestones, or a bit of tulle if you like an embellished center.
How Much Ribbon Do You Need? (Sizing by Age)
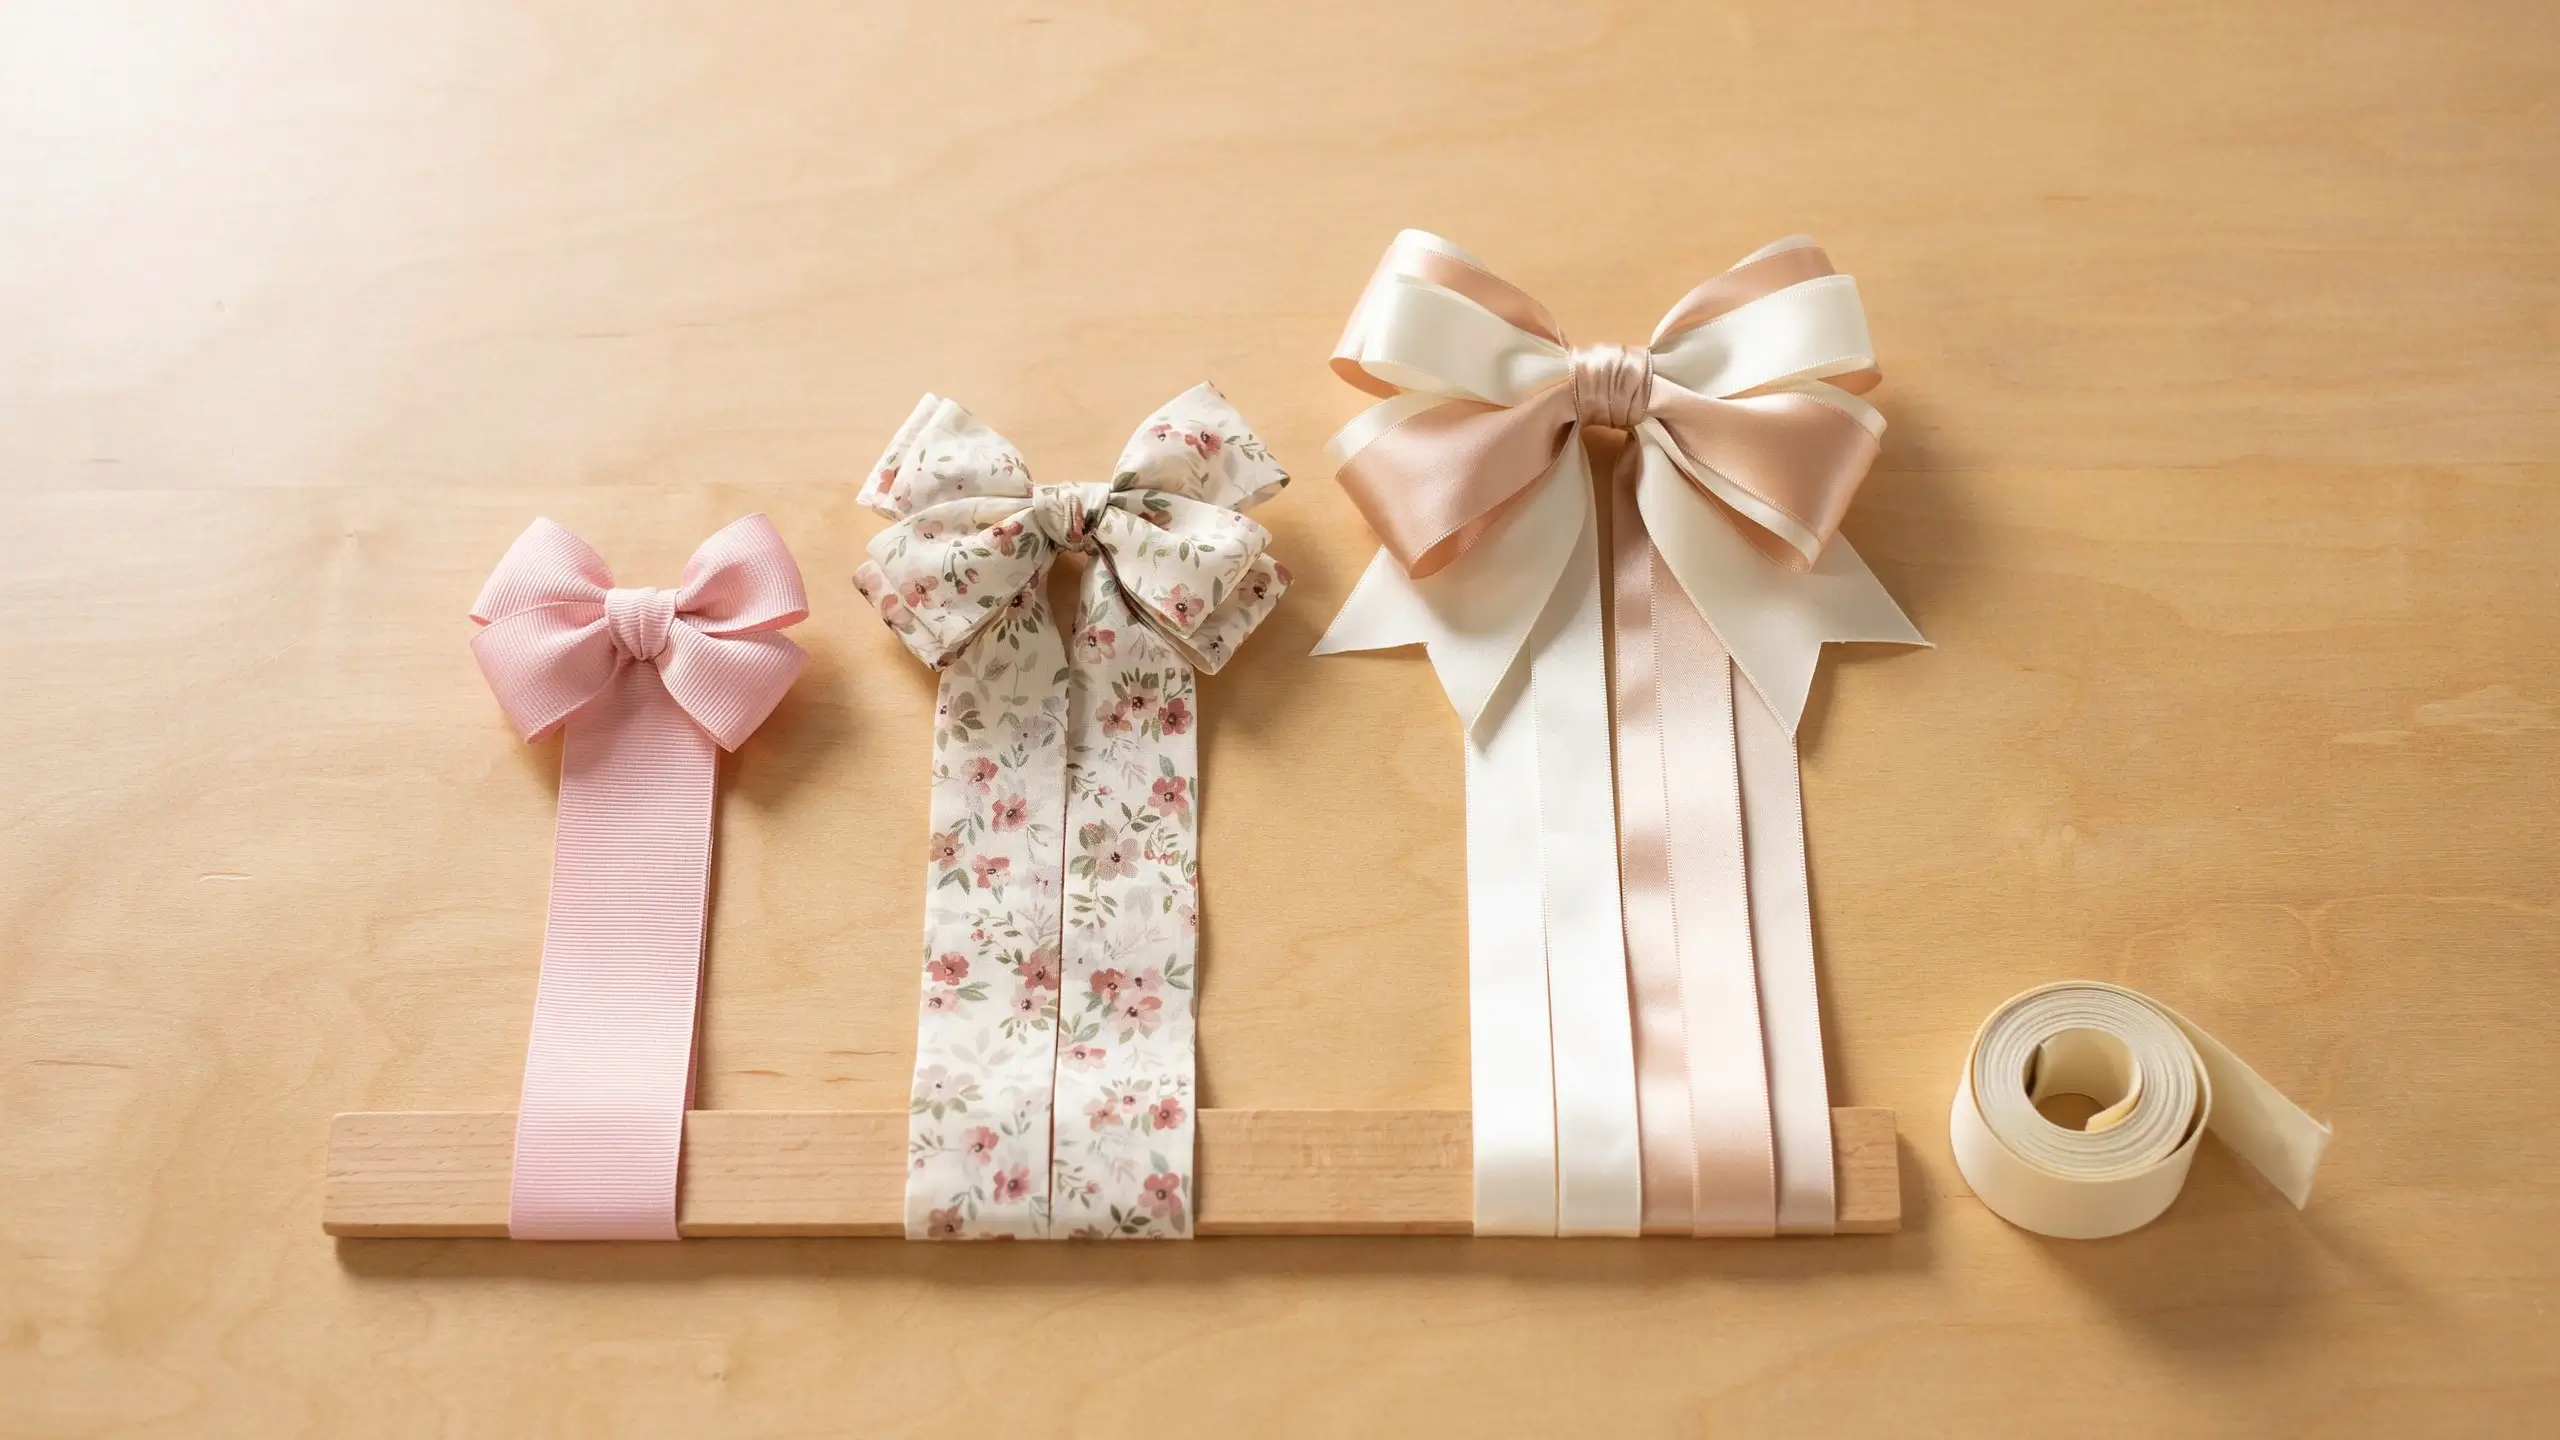
This is the part most tutorials skip, and it’s the reason a lot of first-time bow makers end up with something either too small to notice or too big for their toddler’s head. Use this as a starting point and adjust from there:
| Age / Bow Type | Ribbon Length | Ribbon Width | Finished Bow Size |
|---|---|---|---|
| Newborn / baby bow | 15–18 inches | 7/8–1 inch | About 2.5–3 inches |
| Toddler bow | 20–24 inches | 1–1.5 inches | About 3.5–4 inches |
| Big kid boutique bow | 30–45 inches | 2–2.5 inches | About 5–7 inches |
If you’re making your very first bow, cut a little extra. It’s much easier to trim excess ribbon at the end than to run out of length halfway through shaping your loops.
Method 1: The Classic No-Sew Ribbon Bow
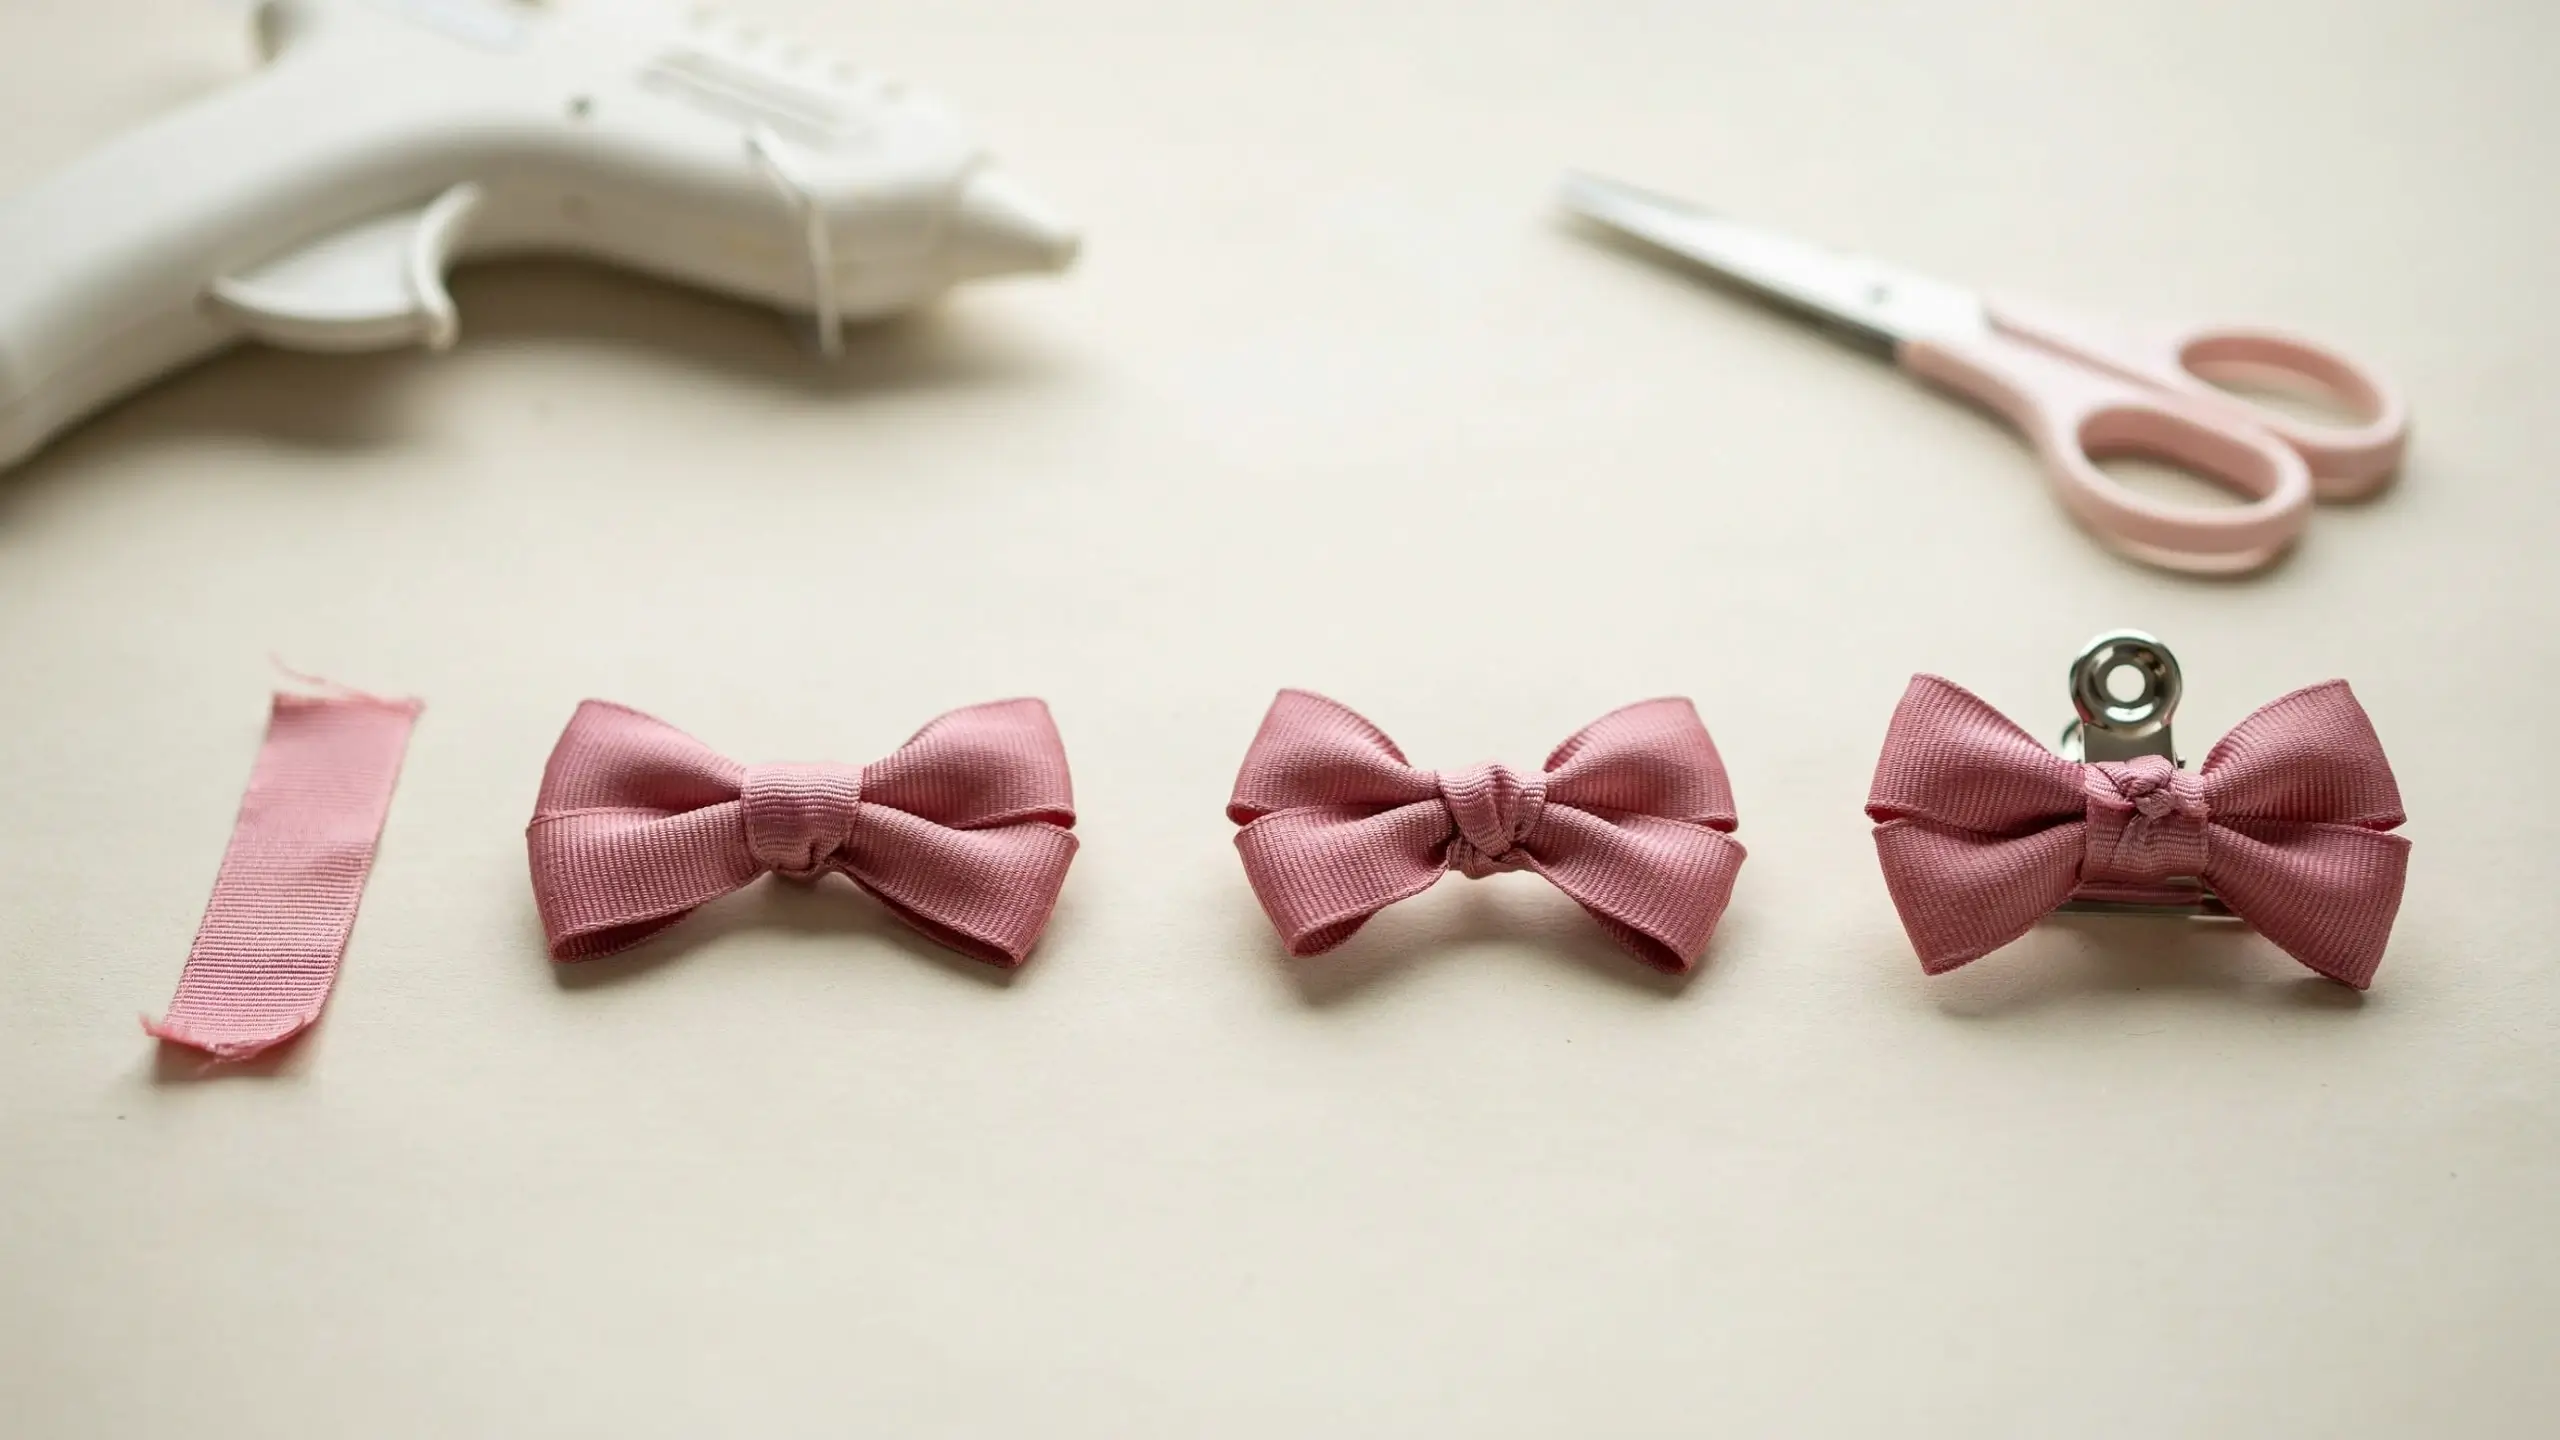
This is the easiest entry point into how to make hair bows for girls, and it’s the one worth mastering before you try any variation.
Steps
- Cut your ribbon to length based on the sizing chart above.
- Seal both raw ends so they don’t fray (see the safe sealing section below).
- Hold the ribbon with the right side facing up. Bring one end into the center to form a loop, then bring the other end into the center from the opposite direction, crossing over the first loop. You’ll end up with a figure-eight shape with two loops.
- Pinch the center tightly between your fingers. This pinch is what gives the bow its shape, so don’t be shy about it.
- Cut a short strip of ribbon, about 4 to 5 inches, and wrap it around the pinched center to hide the gathering. Secure it on the back with a small dot of hot glue.
- Glue an alligator clip, snap clip, or elastic to the back of the finished bow.
- Fluff the loops and adjust the tails so the bow sits the way you want.
That’s the whole method. Once you’ve made two or three, you’ll be able to do it without looking at instructions.
Method 2: The Two-Layer Boutique Bow
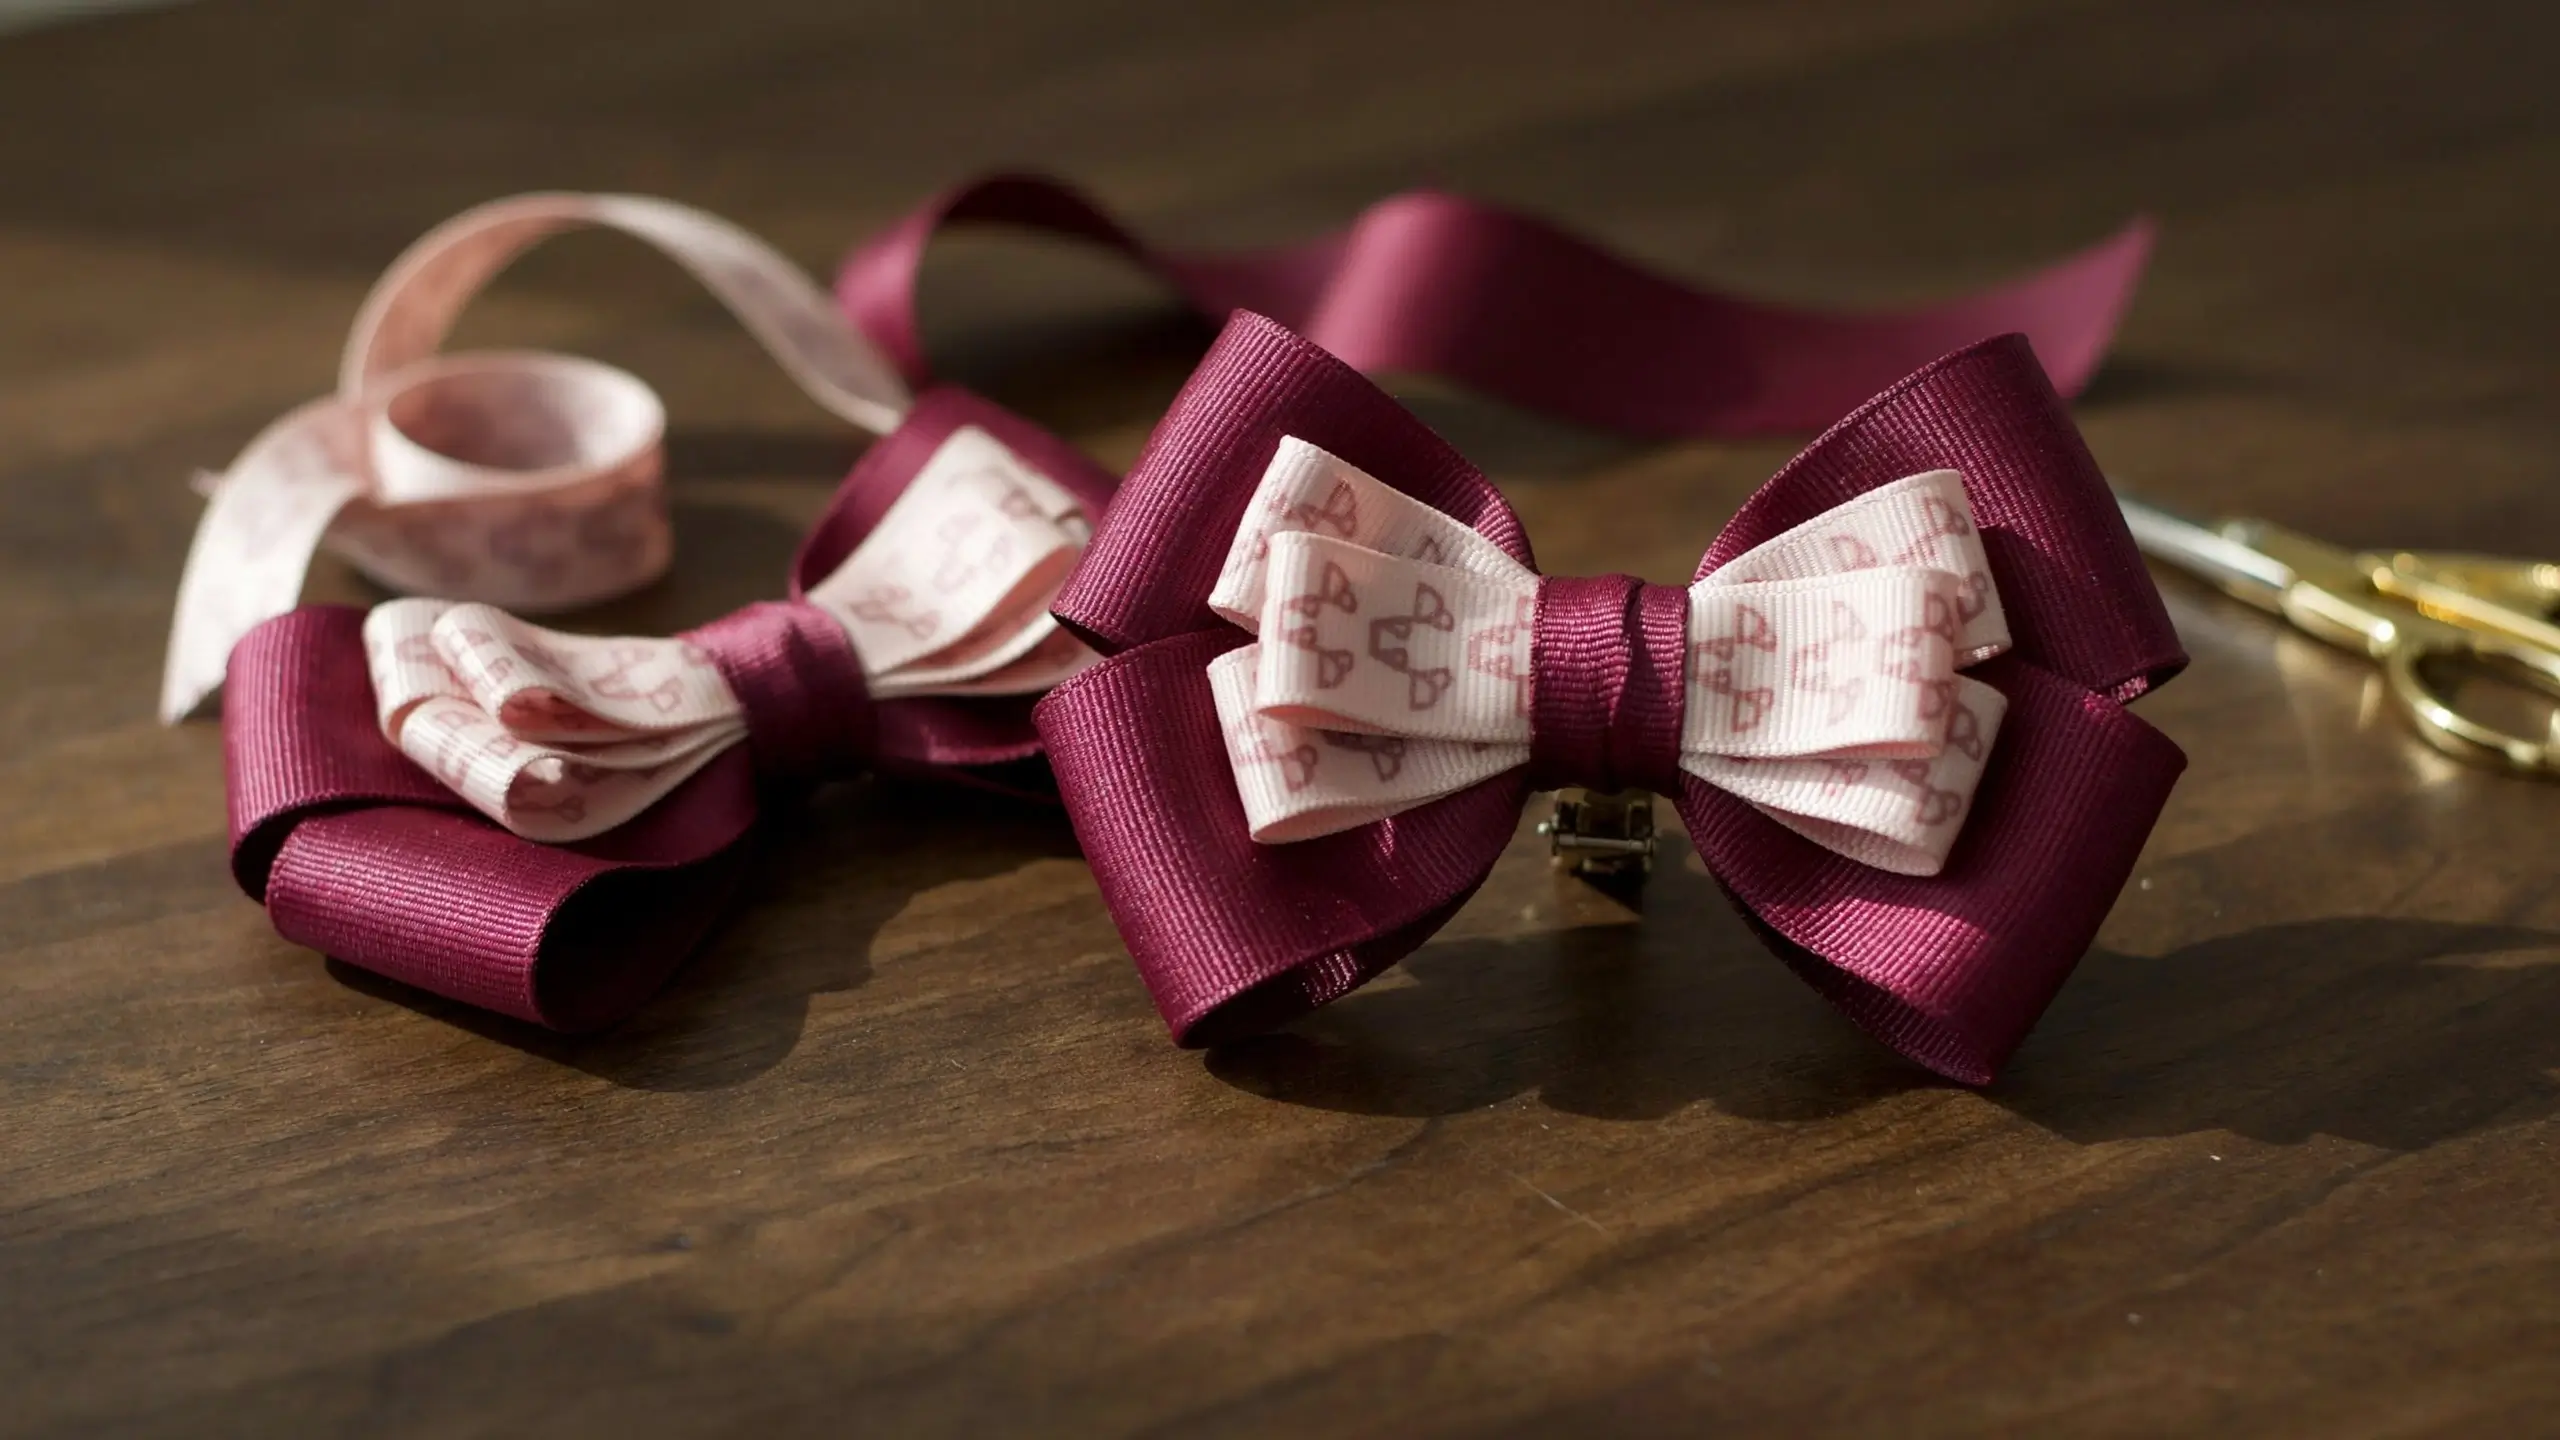
This version is fuller and reads as more “put together” for special occasions, matching outfits, or photos. It’s the same basic technique as Method 1, just doubled.
Steps
- Cut two ribbon lengths of different widths, roughly the same length (24 inches is a common starting point for a boutique bow).
- Layer the wider ribbon underneath the narrower one, lining up the centers.
- Treating both pieces as one, form your loops the same way as the classic bow: cross one end into the center, then the other, creating the figure-eight shape.
- Pinch tightly in the middle, wrap with a smaller center piece, and glue at the back.
- Attach your clip.
The two ribbon colors peeking out from each other’s loops is what gives this bow its layered, boutique look, and it photographs beautifully for Pinterest because of the extra dimension.
Method 3: Fabric Hair Bow (For Scrap Fabric and a Sewing Machine)
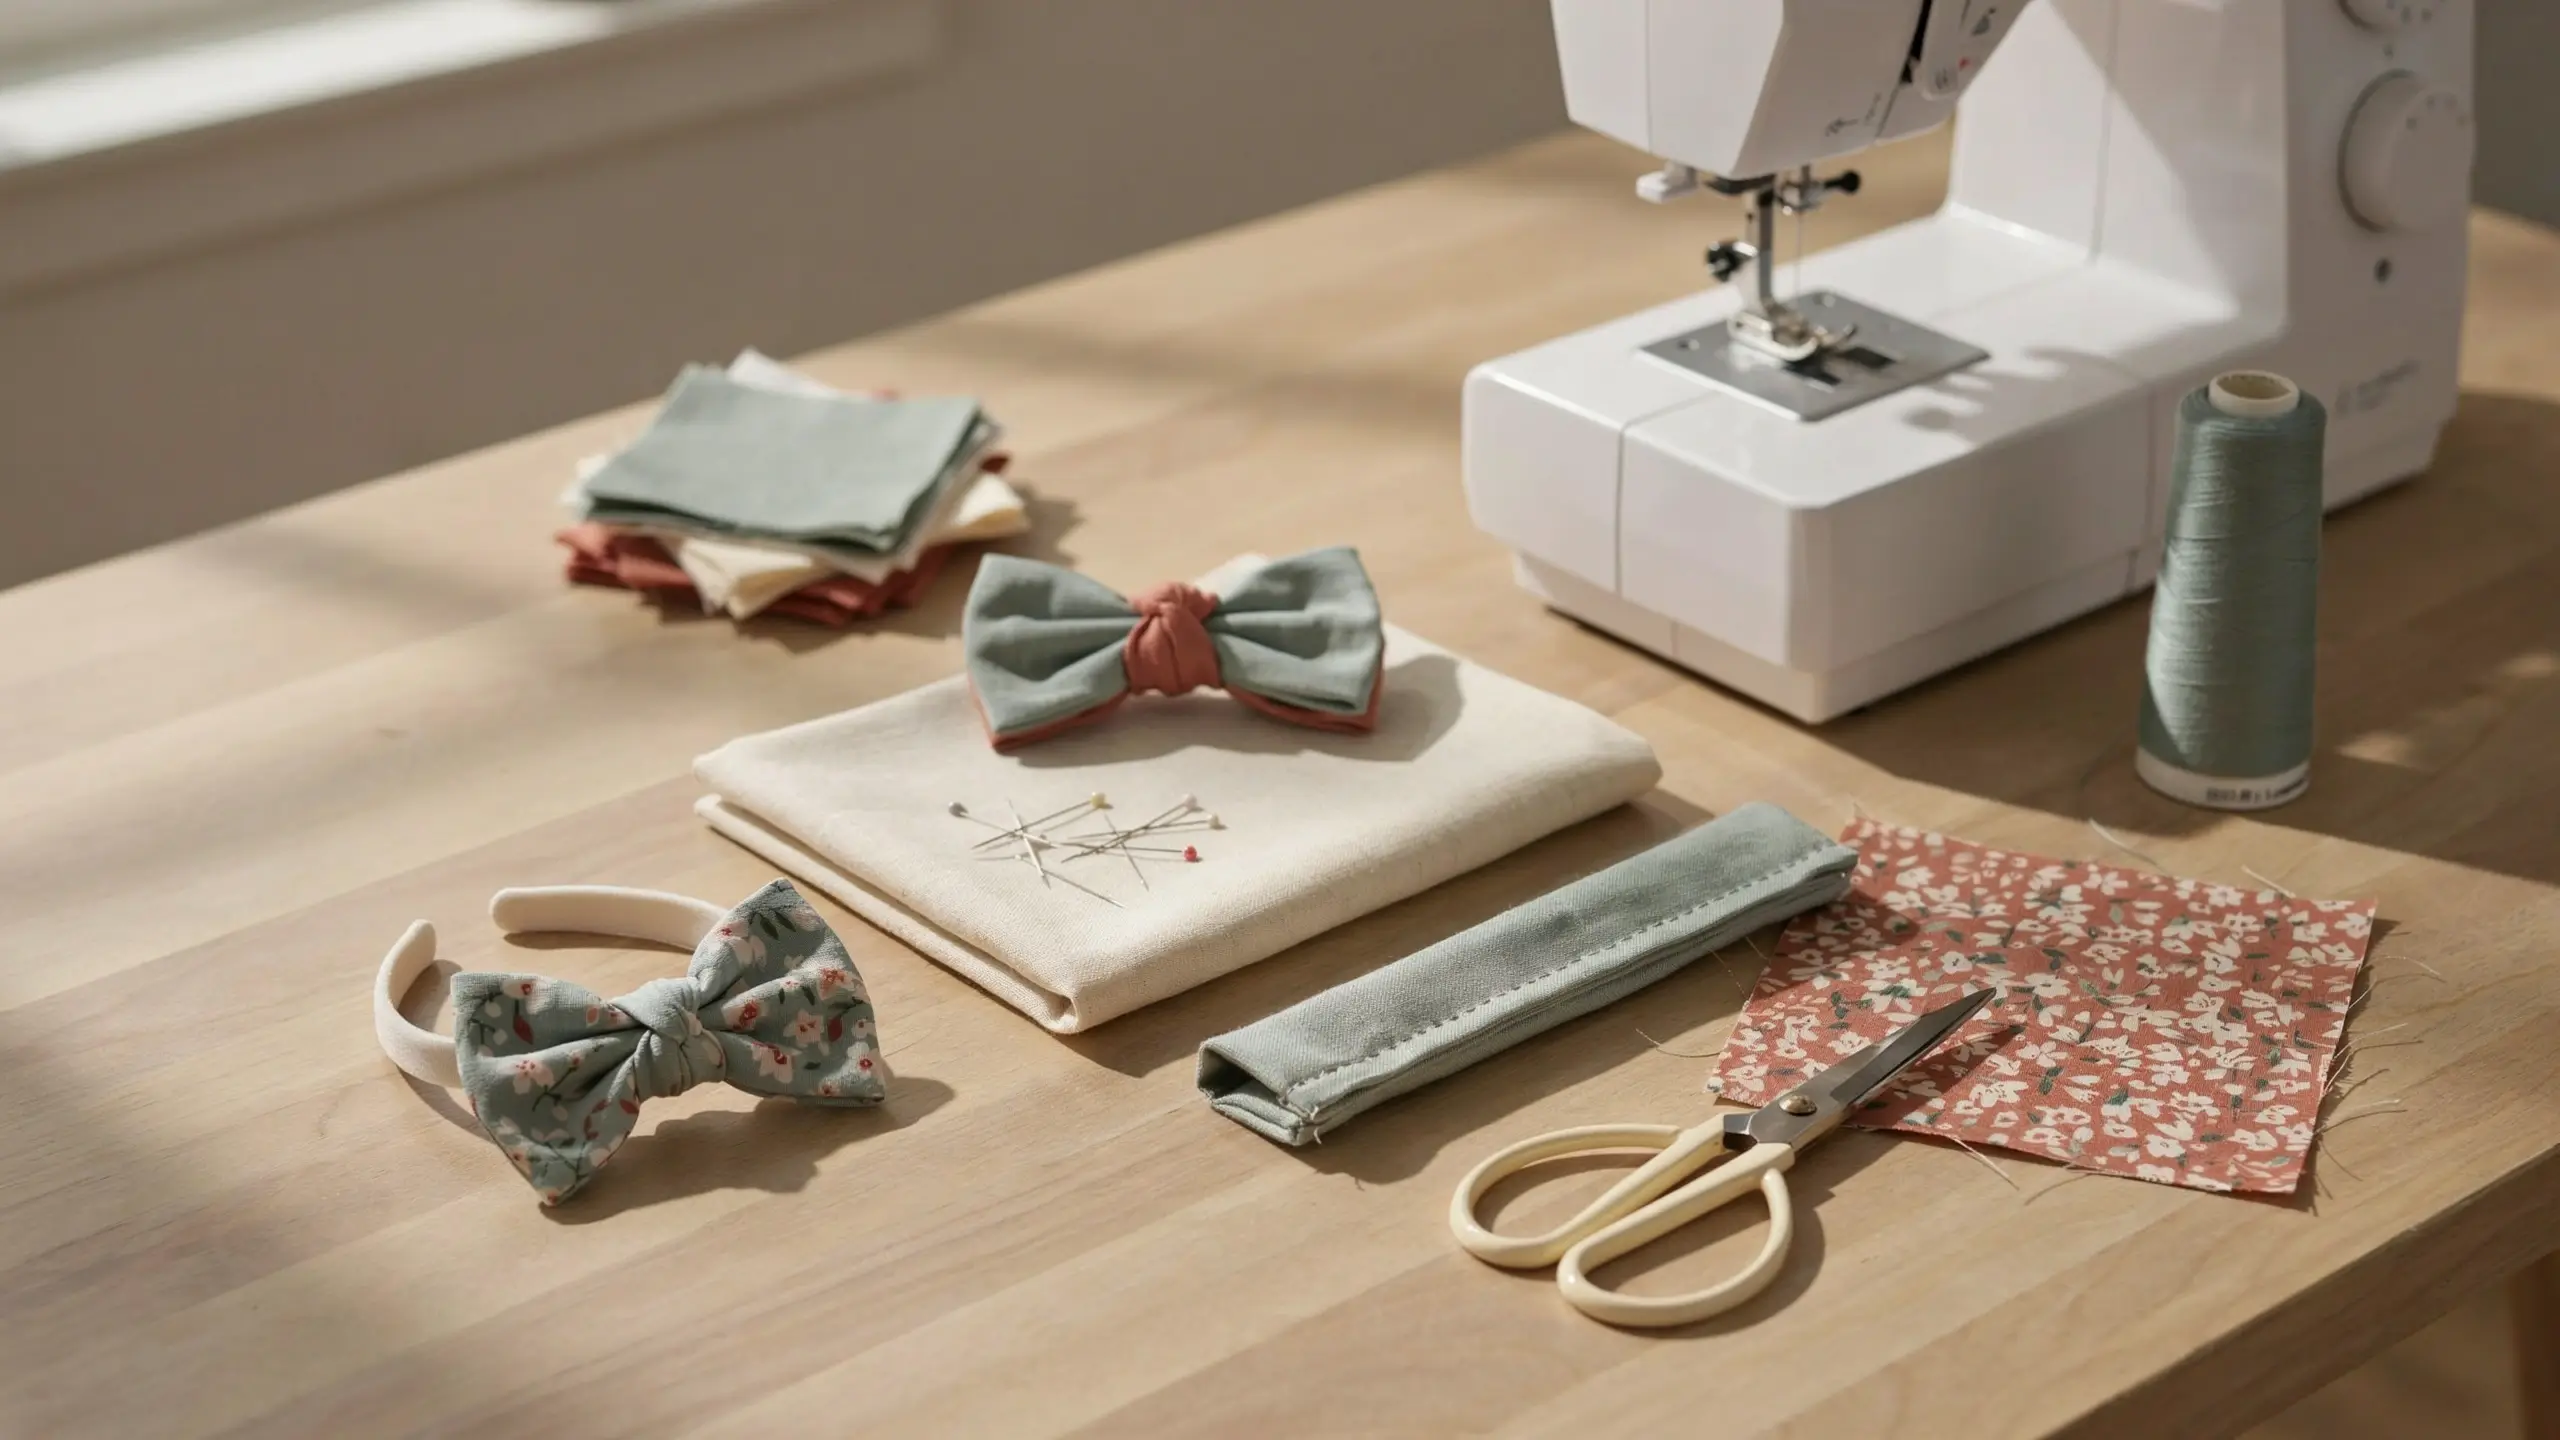
If you’re a fabric hoarder with a bin of scraps, this method puts them to good use, and it’s a favorite for anyone who wants a softer, more textured bow than ribbon gives you.
Steps
- Cut a rectangle of fabric, about 7 inches wide by 6 inches tall for a standard bow (halve these measurements for a baby-sized bow).
- Fold the fabric in half lengthwise, right sides together, and sew along the long edge with a 1/2 inch seam allowance, leaving a small gap for turning.
- Turn the fabric right side out through the gap, then press flat with the seam centered on the back.
- Fold the piece in half and finger-press the middle to mark the center.
- Unfold, then bring both raw short edges in toward the center so they meet, and stitch across with a zigzag stitch to finish the edges and hold the fold in place.
- Pinch the center, wrap with a small strip of matching or contrasting fabric, and hand-stitch or glue it closed on the back.
- Attach a clip or headband to the back.
Tip: Cut the fabric piece in half before sewing to get two baby-sized bows out of one project. Great for making a matching set for siblings.
Quick Variation: The Pinwheel Twist
Once you’re comfortable with the basic loop method, try twisting each loop a half turn before you pinch the center. This gives the bow a spinning, pinwheel look that’s popular for cheer bows and shows up constantly in Pinterest searches for “hair bow ideas.” Same steps as Method 1, just add the twist right before you pinch.
How to Attach Bows the Right Way
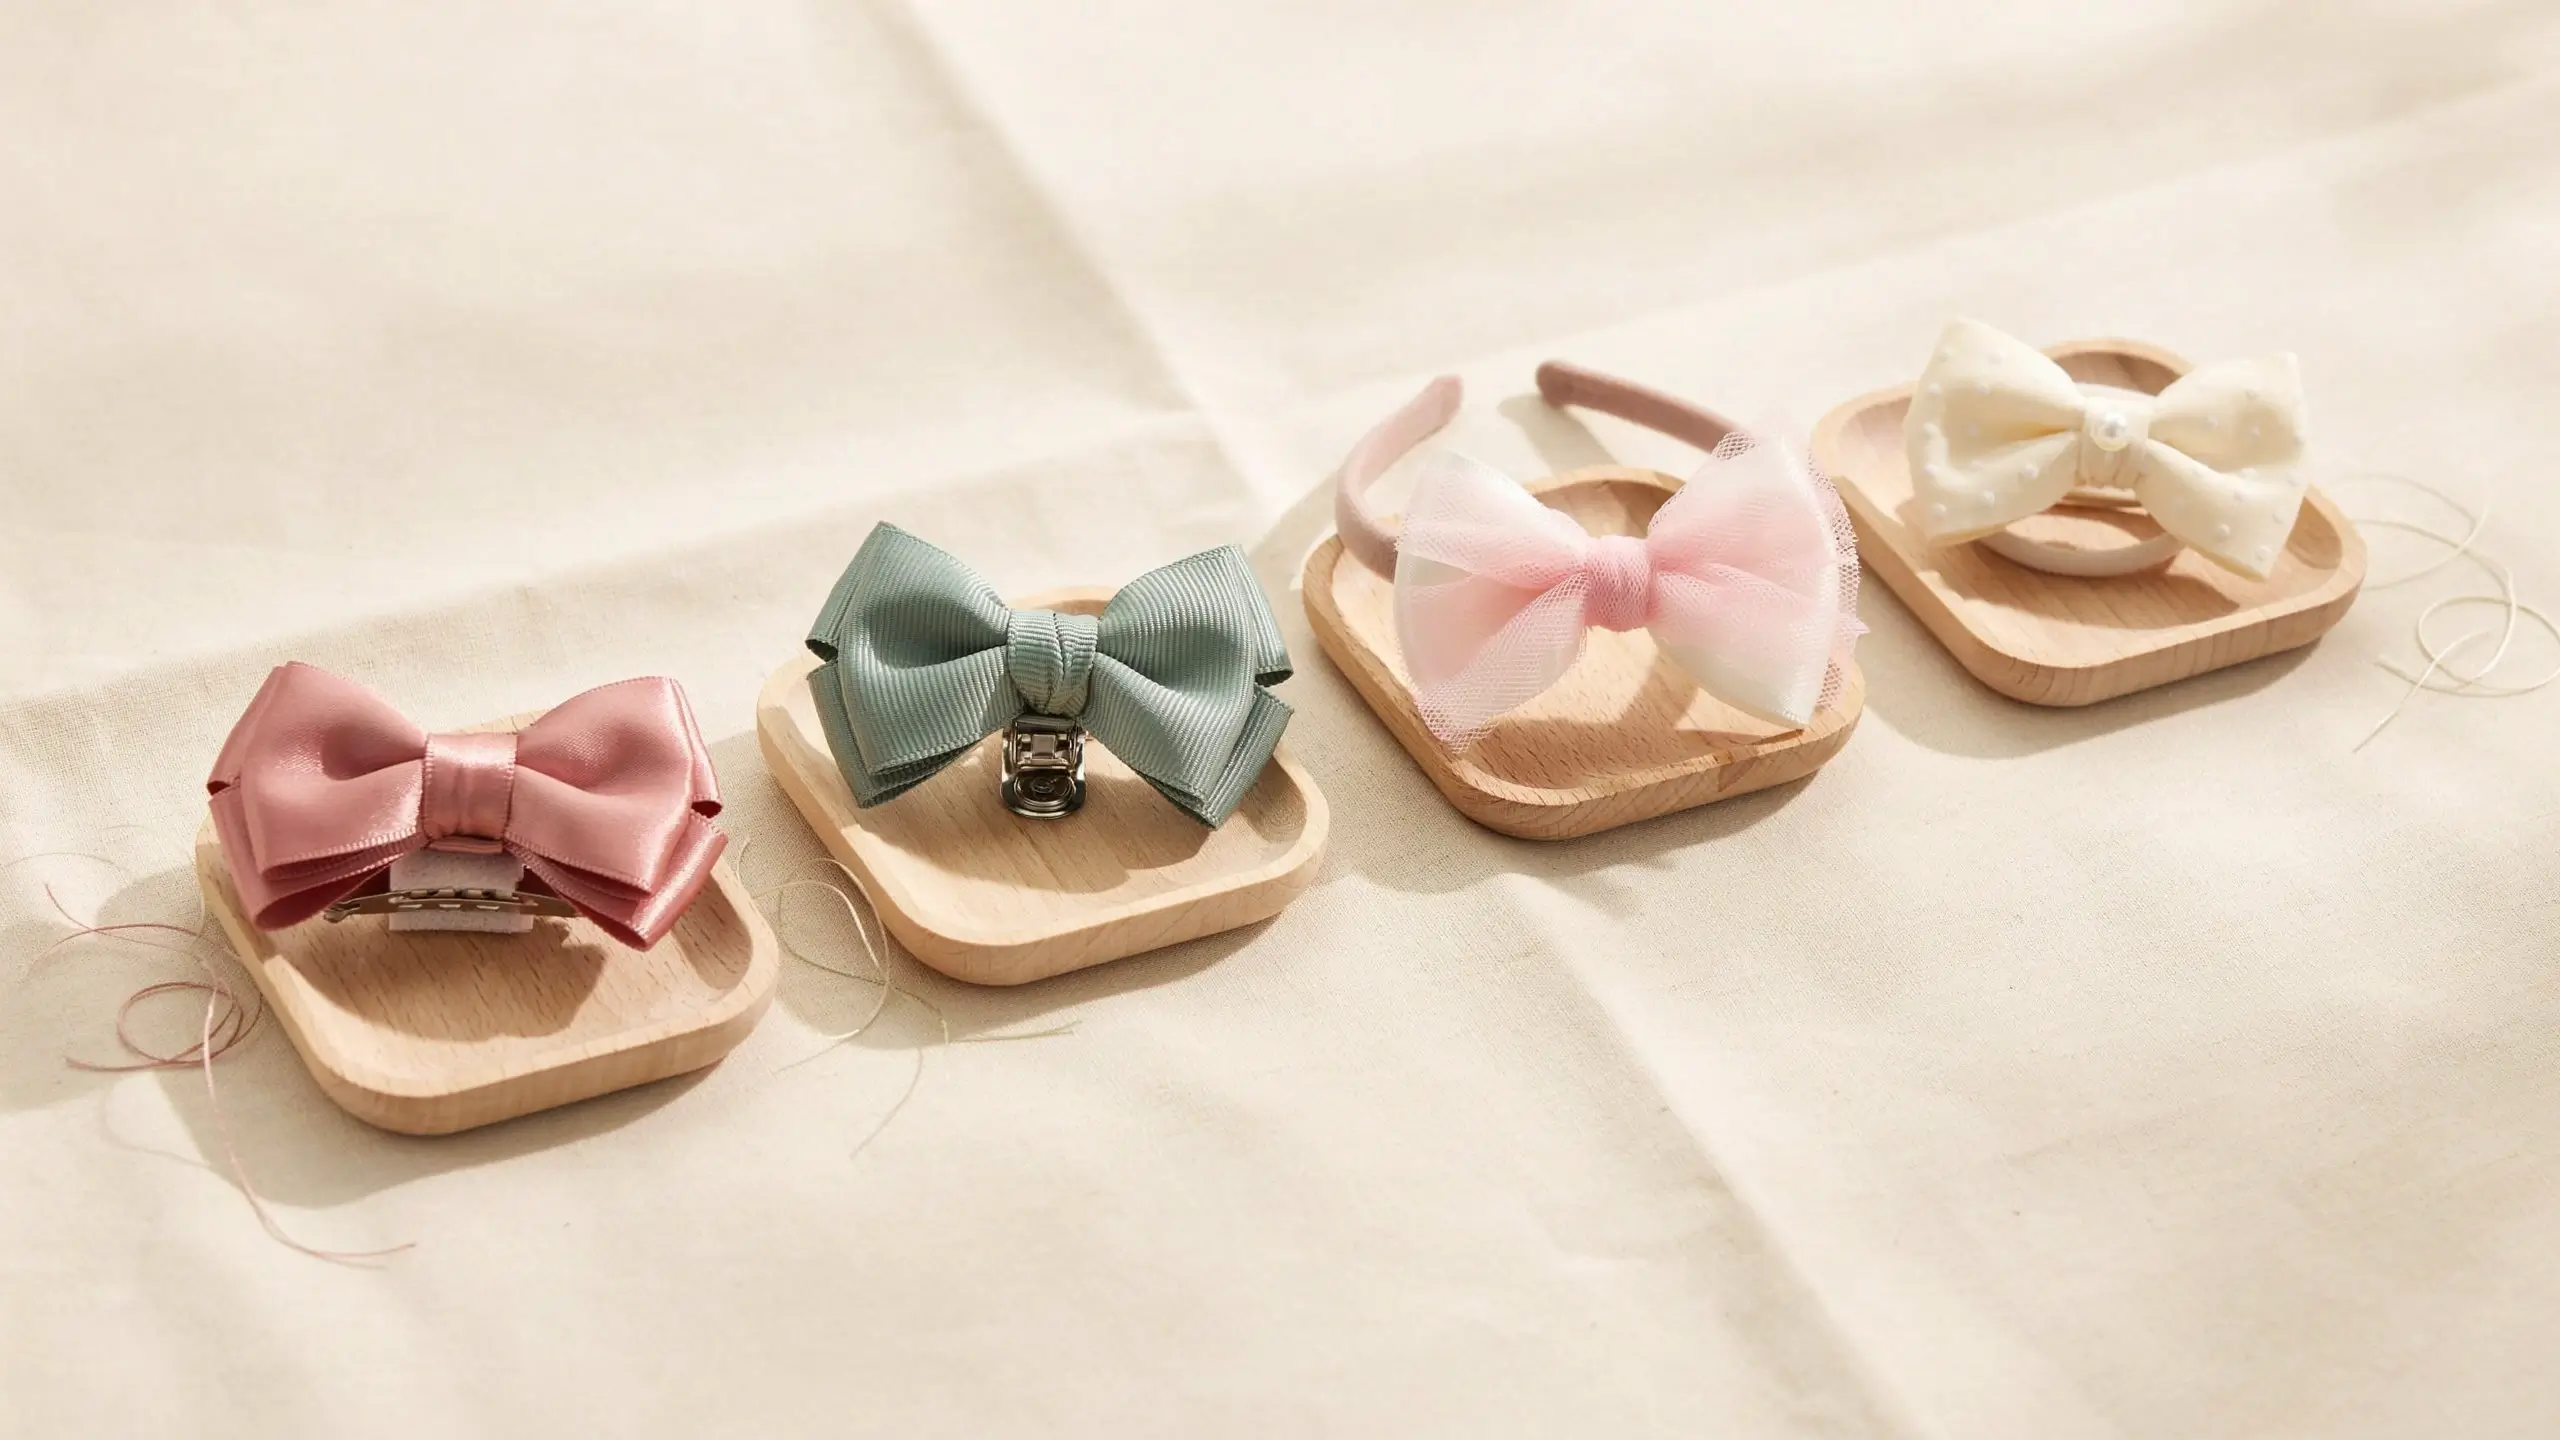
- Alligator clips: Glue a strip of ribbon over the clip first so no metal shows and nothing pulls on your daughter’s hair when it’s removed.
- For babies and toddlers with fine hair: Glue a small piece of the soft side of velcro to the inside of the clip. It grips fine strands and keeps the bow from sliding out by lunchtime, which is one of the most common complaints parents have with store-bought bows.
- Nylon headbands: A better option for babies who don’t have enough hair for a clip to hold onto. They’re softer than plastic headbands and don’t leave a red mark behind the ears.
- Thin elastic hair ties: Good for toddlers who like to pull clips out of their hair. An elastic is harder for little fingers to remove.
Sealing Ribbon Ends Without Fraying (Safety Note)
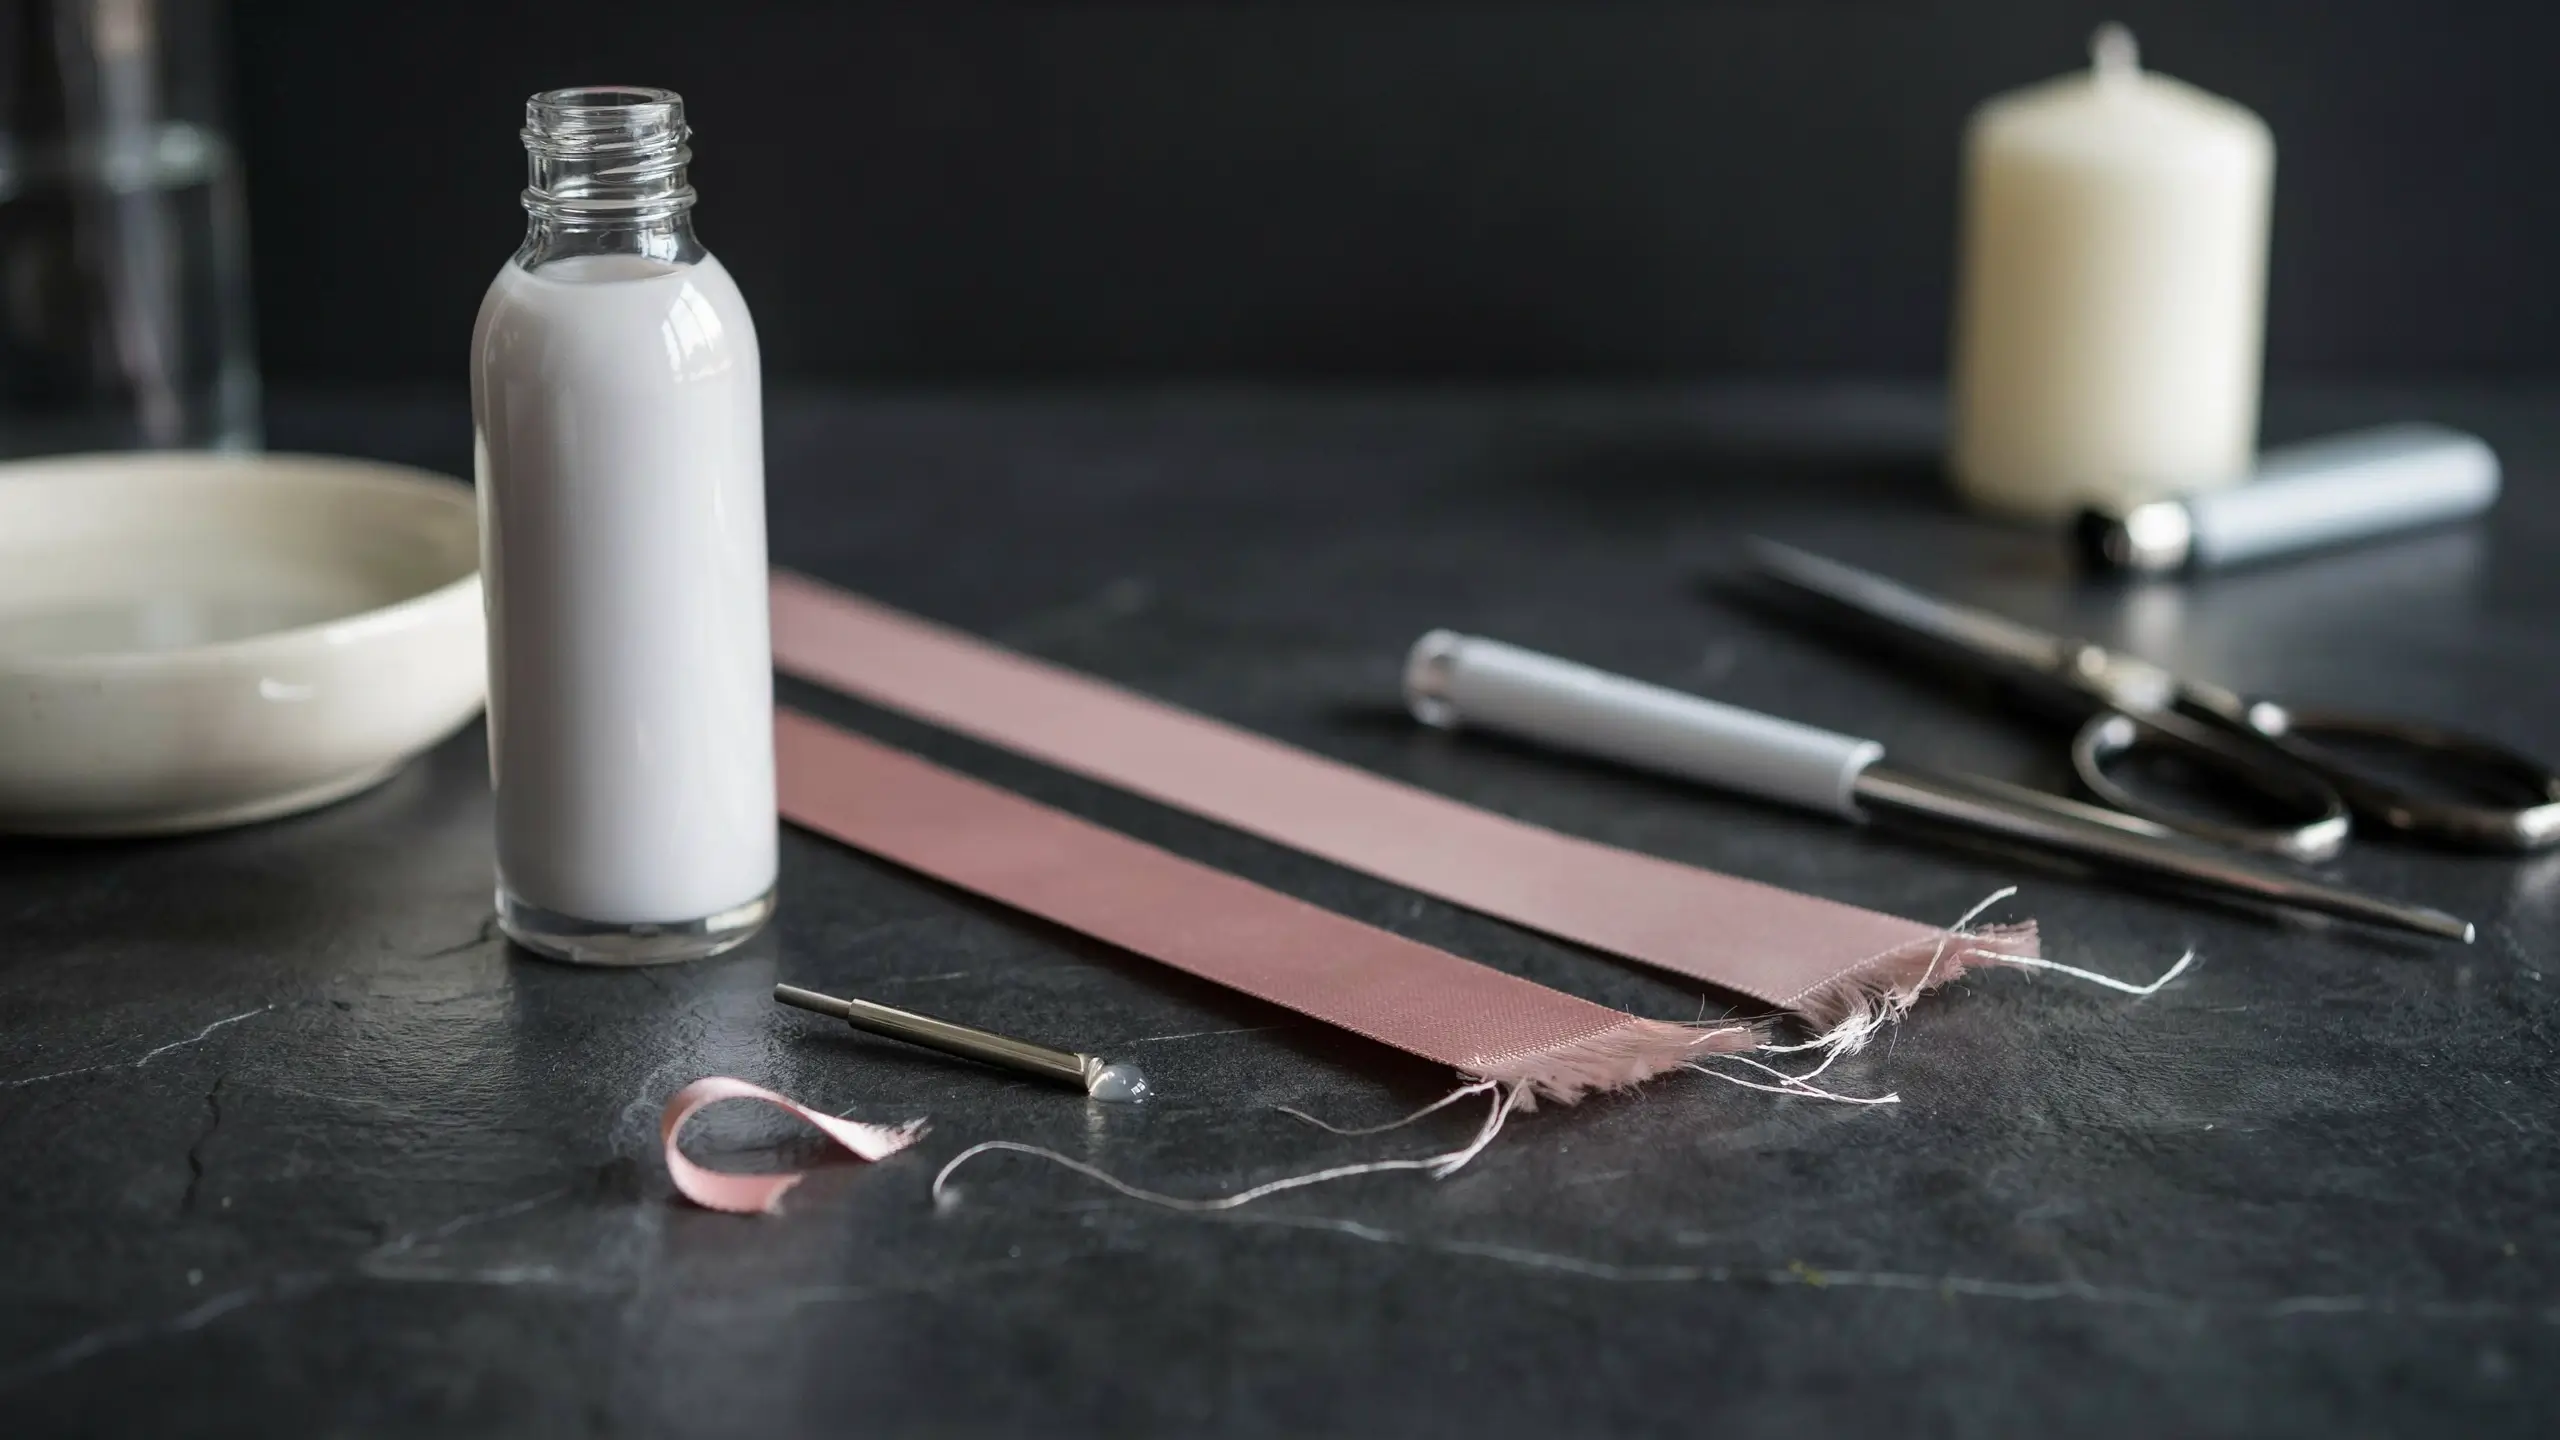
Every raw ribbon edge needs to be sealed, or it will fray and look messy within days.
- Fray Check is the safest option, especially if kids are anywhere nearby while you work. It dries clear and takes a few minutes.
- A lighter or candle flame works faster, but this step is for adults only, done away from children. Pass the raw edge quickly through the flame just long enough to melt it slightly, and keep a small bowl of water within reach in case anything catches. Never let kids handle this part of the project.
Mistakes to Avoid
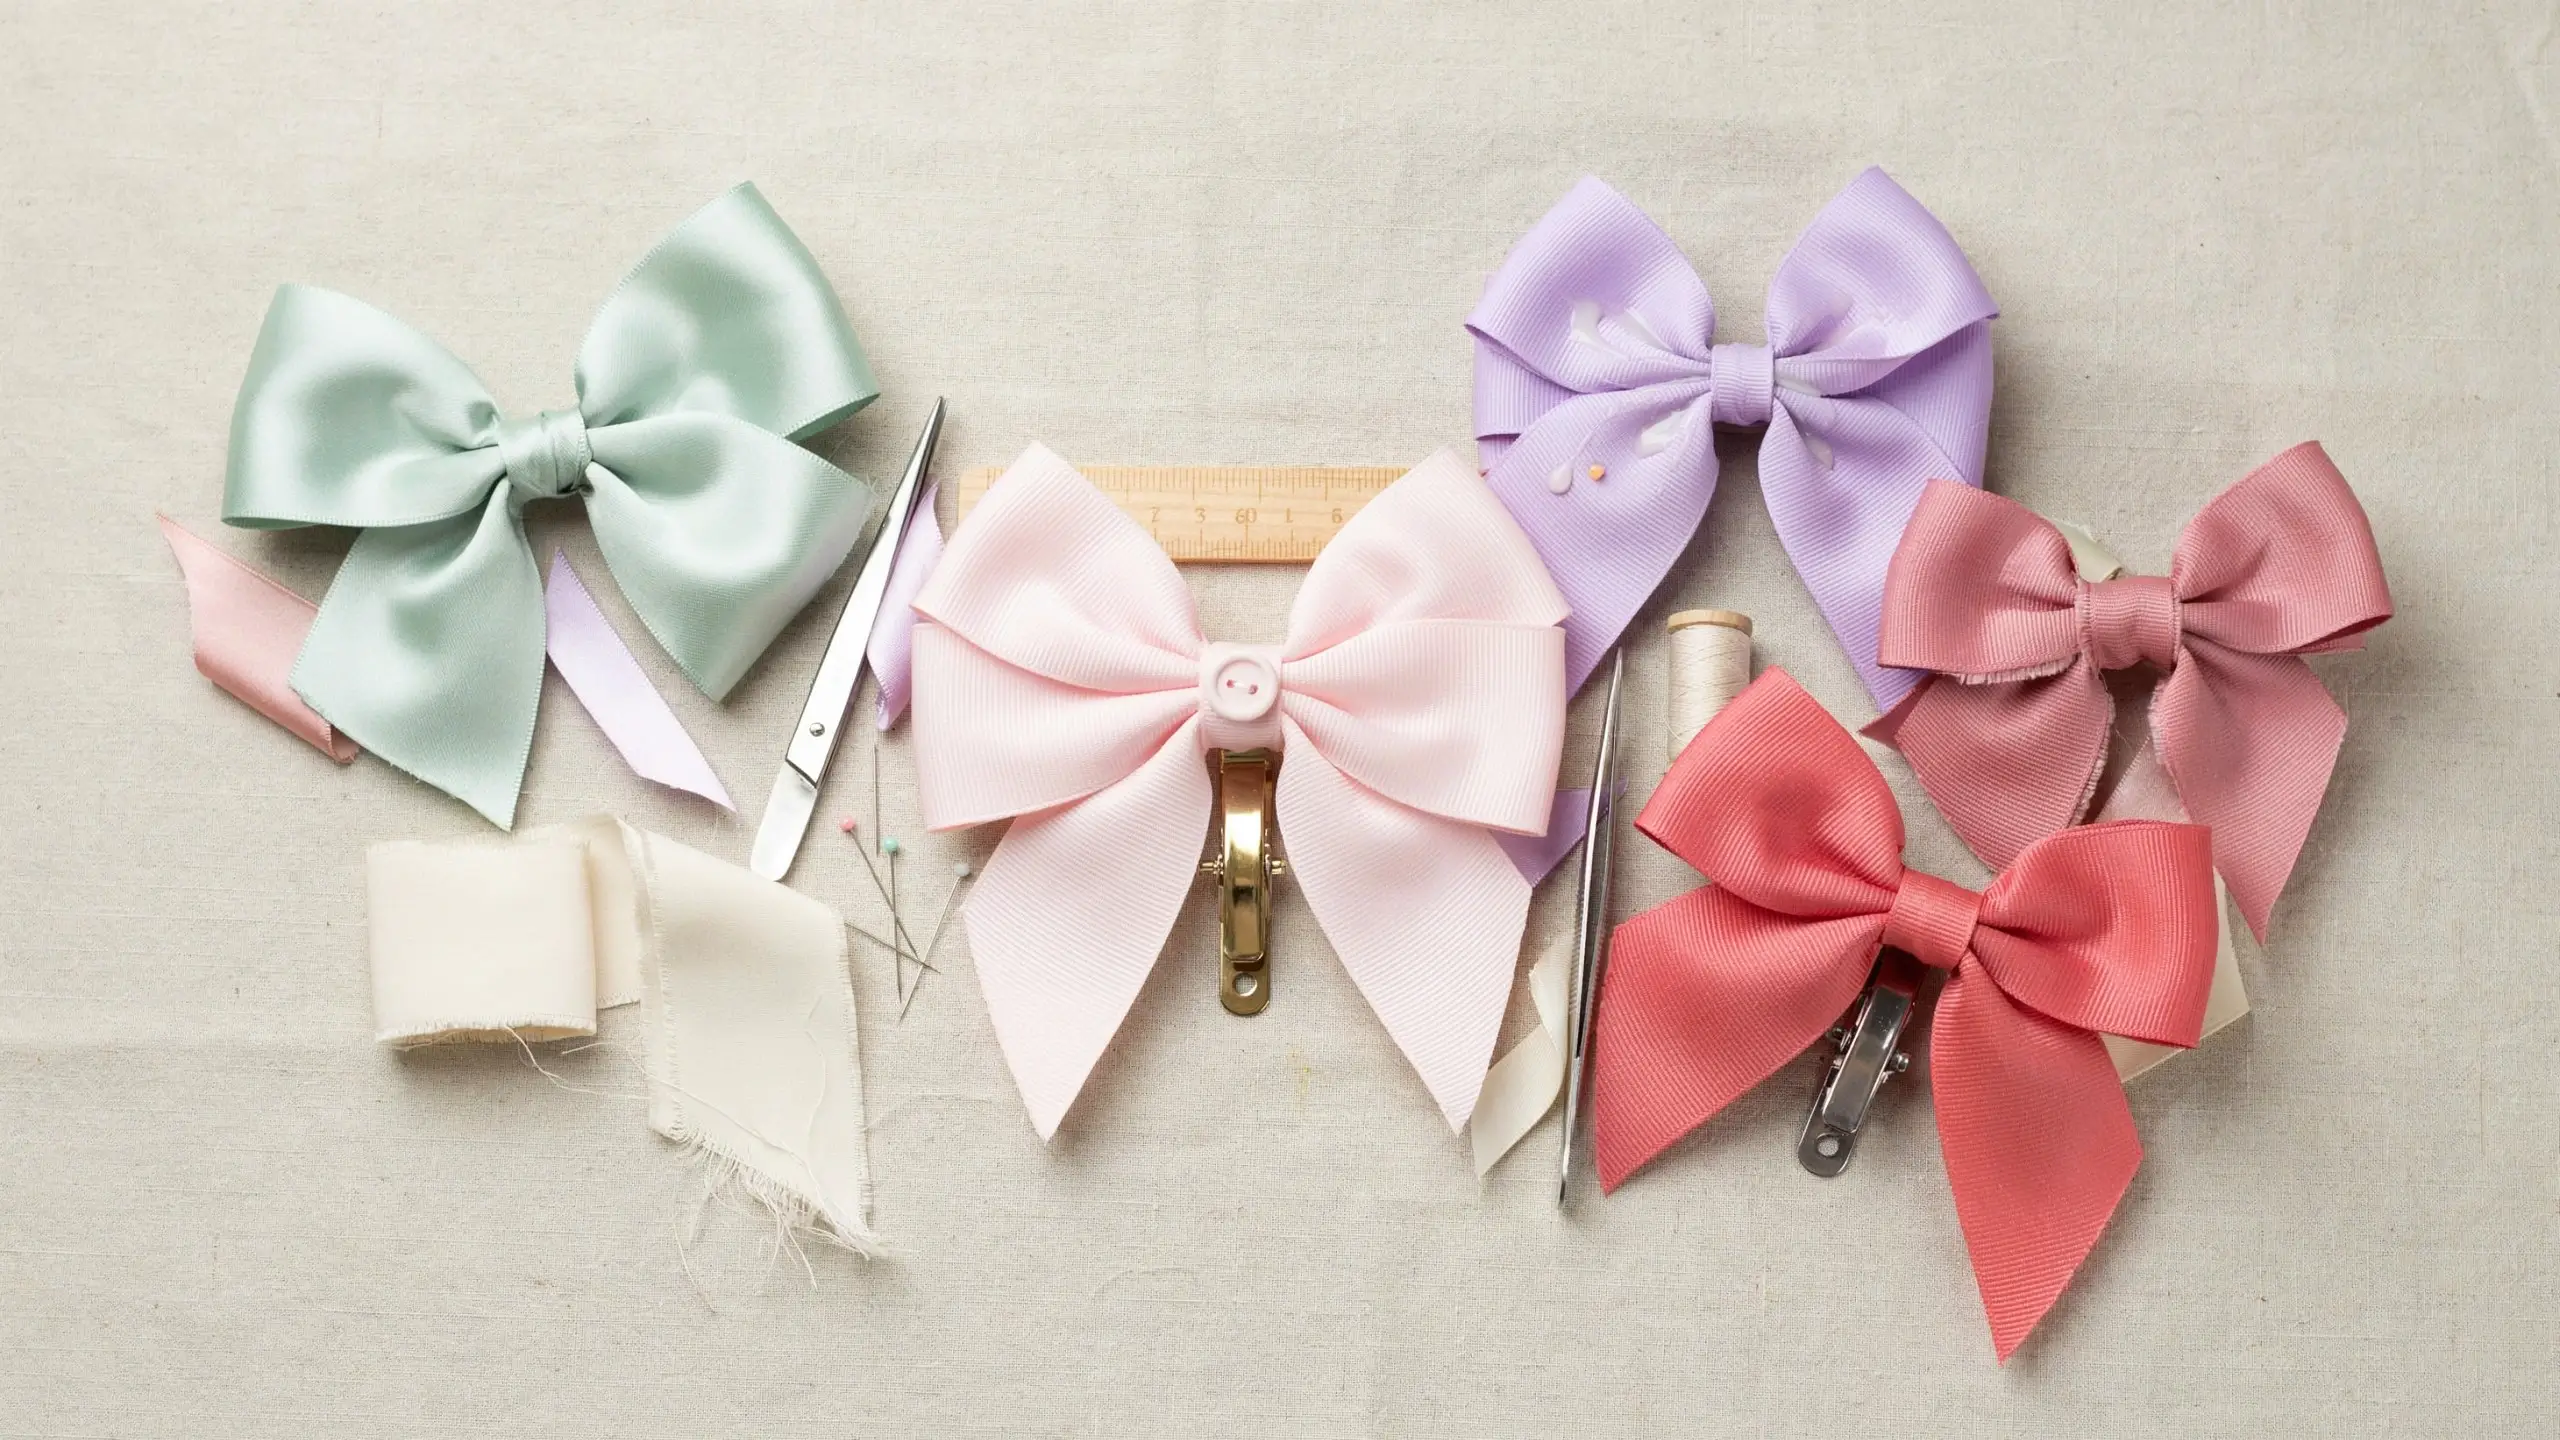
- Starting with satin ribbon. It’s slippery and much harder to shape into clean loops on your first attempt. Save it for once you’ve got the technique down.
- A loose center wrap. This is the number one reason bows end up floppy instead of holding their shape. Pinch hard and wrap the center tightly.
- Skipping the sealed edges. Unsealed ribbon frays within a week of wear, and it’s the difference between a bow that looks handmade in a good way and one that looks unfinished.
- Too much hot glue. A heavy hand with the glue gun can seep through thinner or lighter-colored ribbon and leave a visible dark spot.
- Mismatched bow and clip size. A bow that’s too big for its clip will flop forward instead of sitting up properly on the head.
Fixing a Bow That Won’t Hold Its Shape
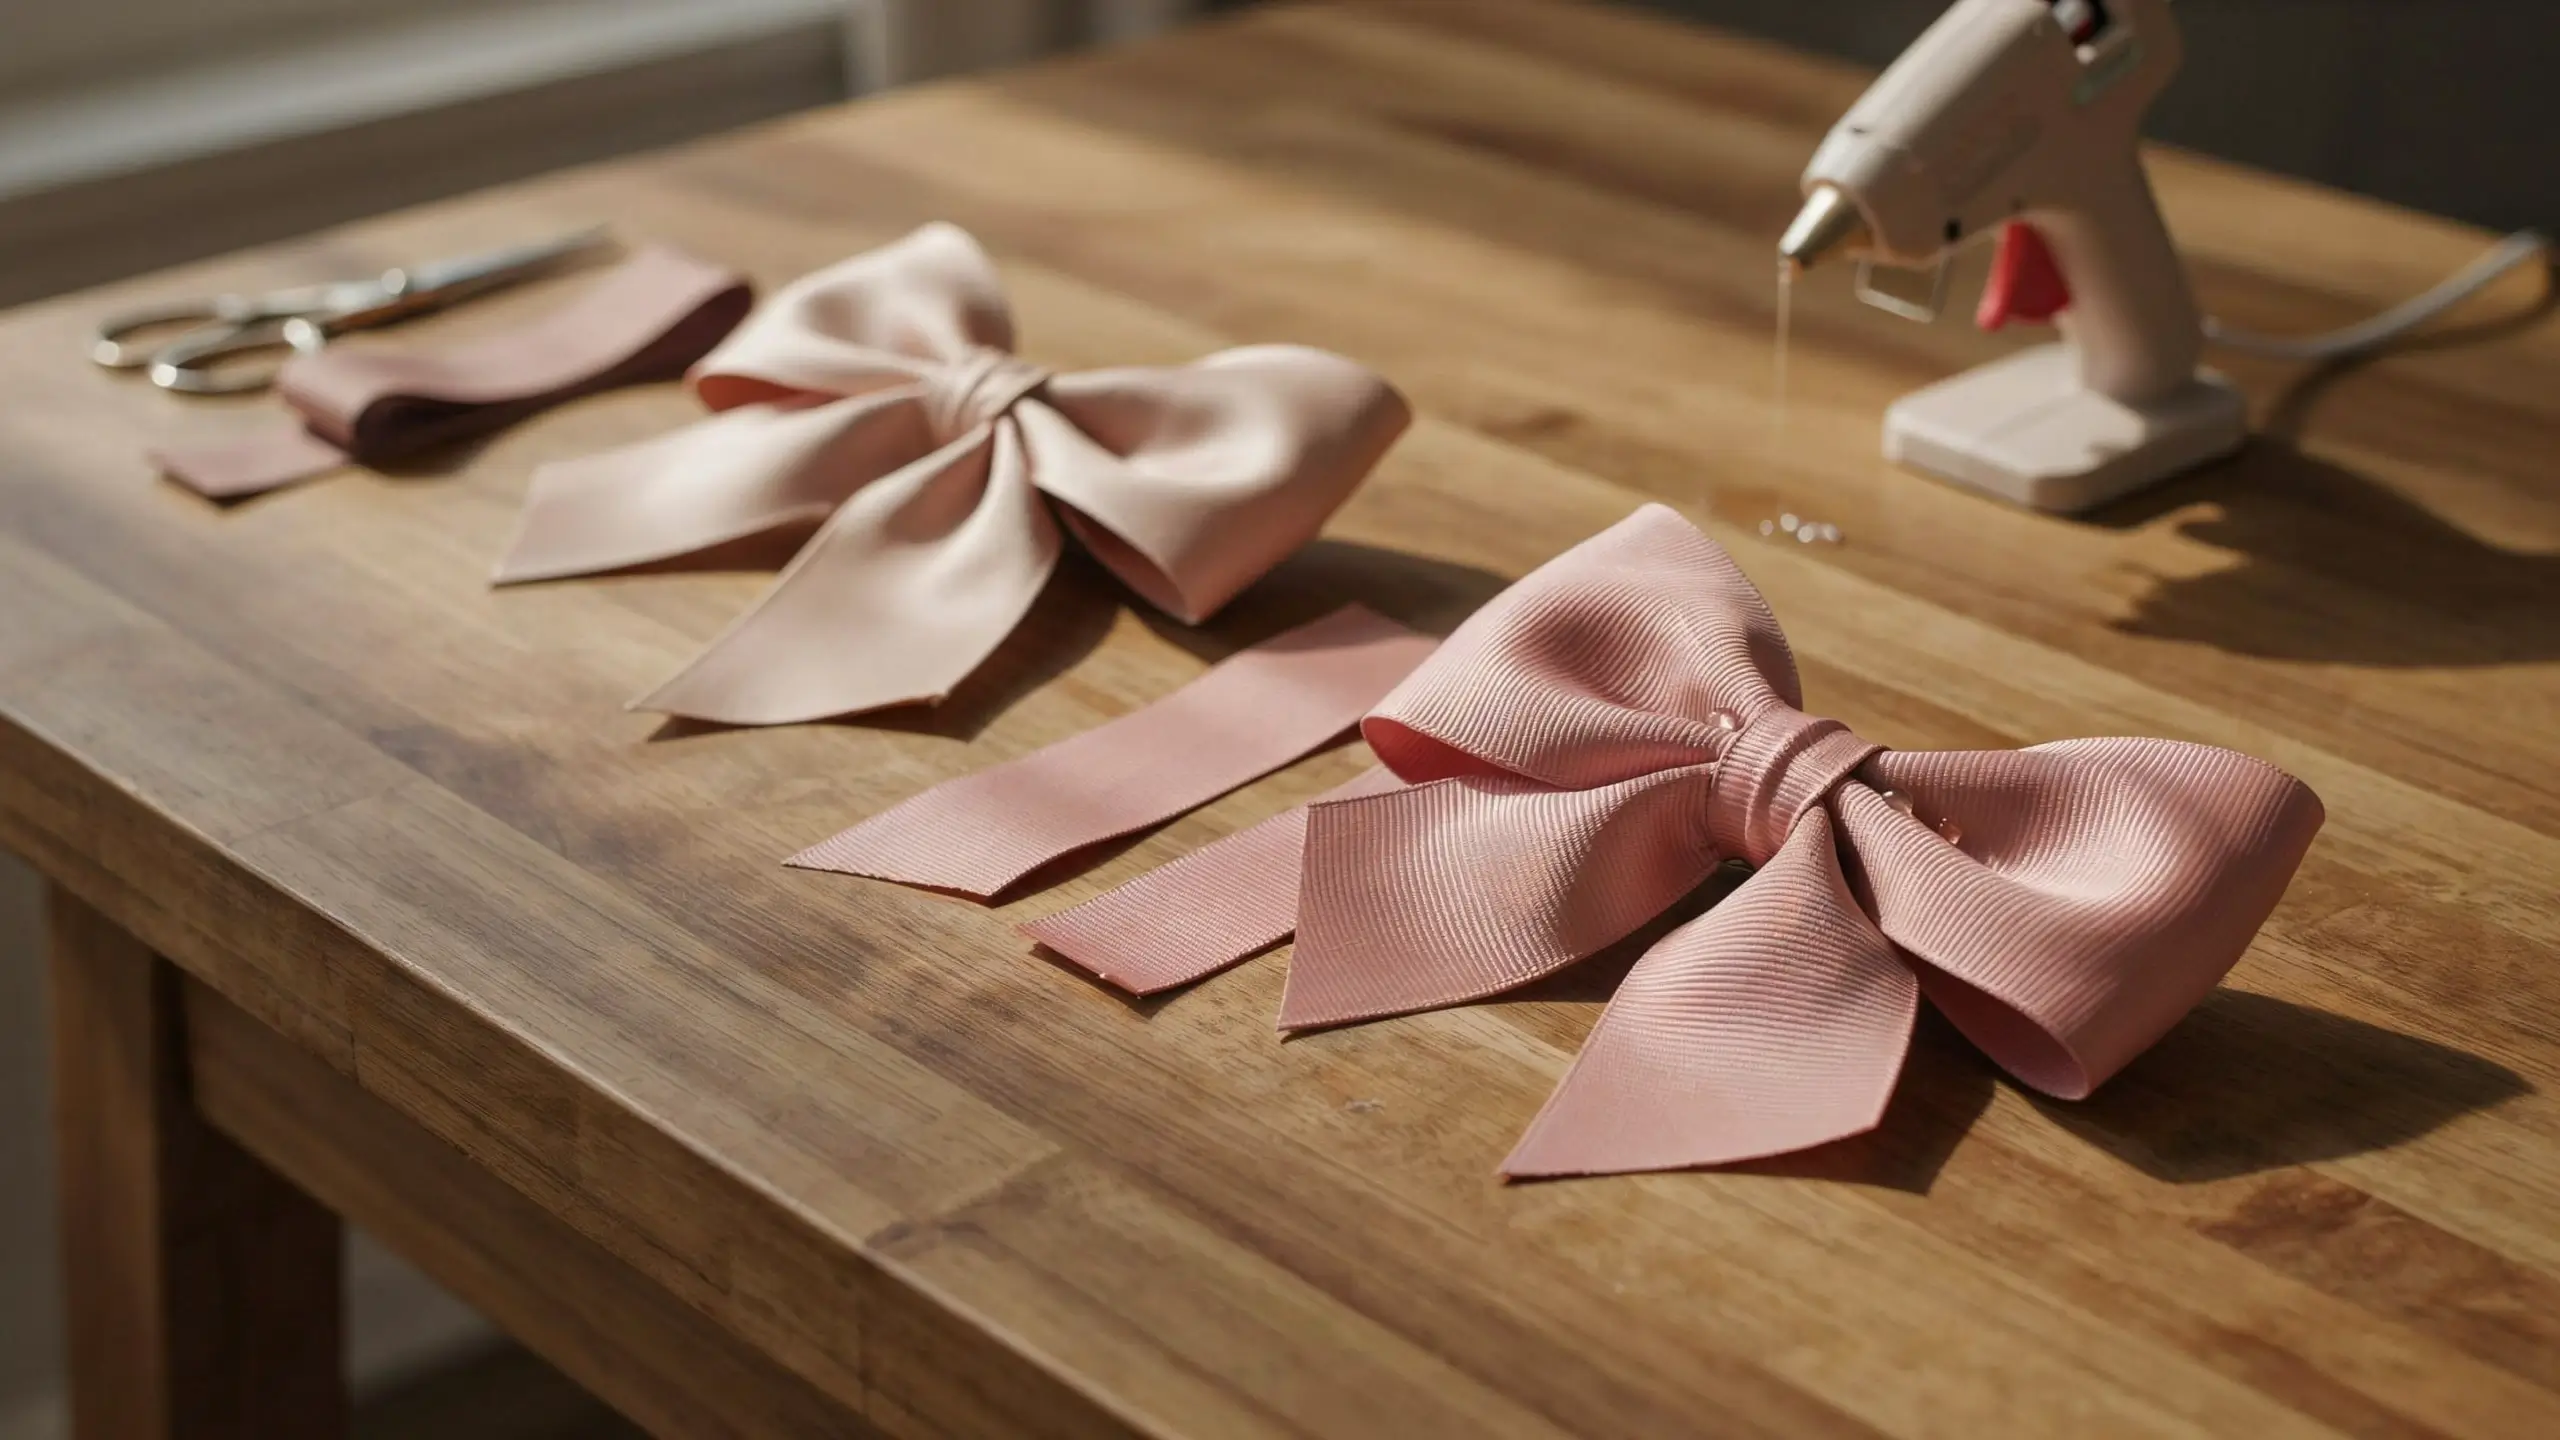
If your finished bow looks droopy, the center wrap is almost always the culprit. Unwrap it, pinch tighter, and re-wrap. If it’s still soft, switch to a stiffer ribbon like grosgrain instead of satin, which holds its shape with far less effort. A small dot of glue tucked inside each loop, out of sight, can also add just enough structure to keep loops standing up instead of collapsing flat.
Pretty Color and Style Ideas by Season
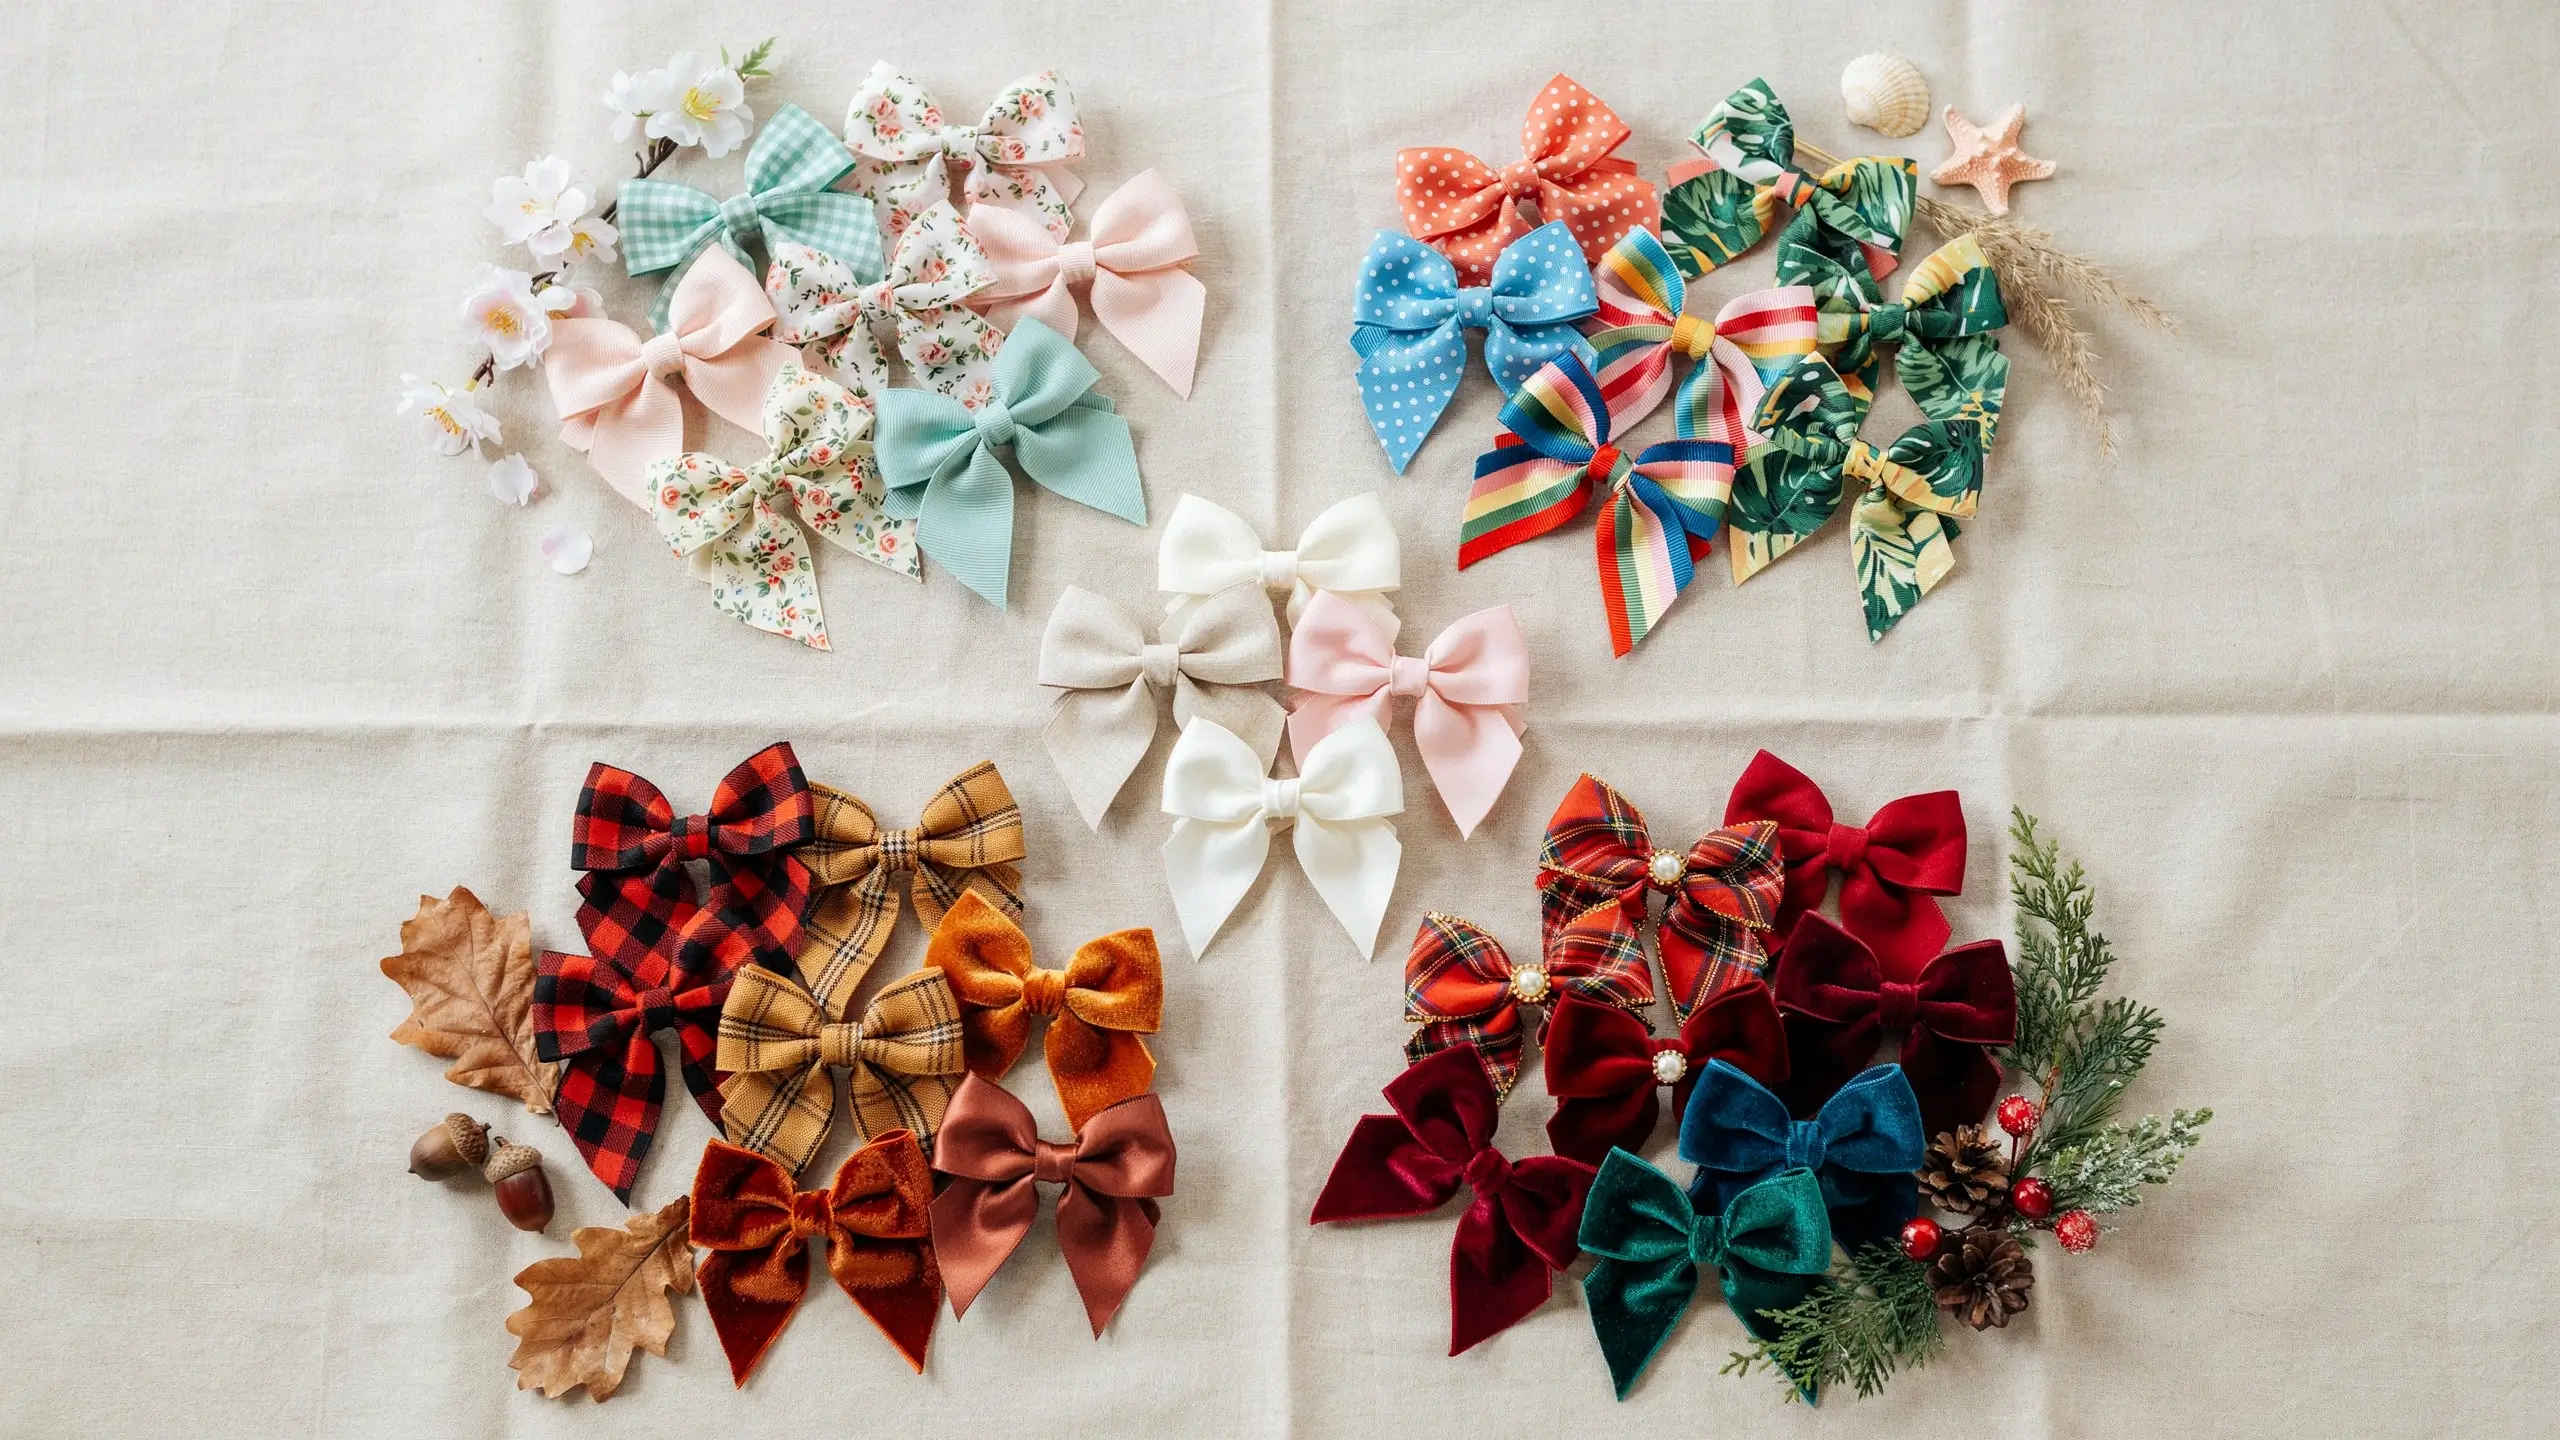
- Spring: Pastel gingham, floral prints, mint, and blush pink.
- Summer: Bright polka dots, rainbow stripes, tropical prints.
- Fall: Plaid, buffalo check, burnt orange and mustard.
- Winter and holidays: Red and gold, tartan plaid, velvet in jewel tones.
- School and team spirit: Mascot colors for game day bows.
- Everyday neutral: White, cream, and soft pink, which match nearly every outfit and are the most practical colors to keep a stock of.
Storing and Displaying Finished Bows
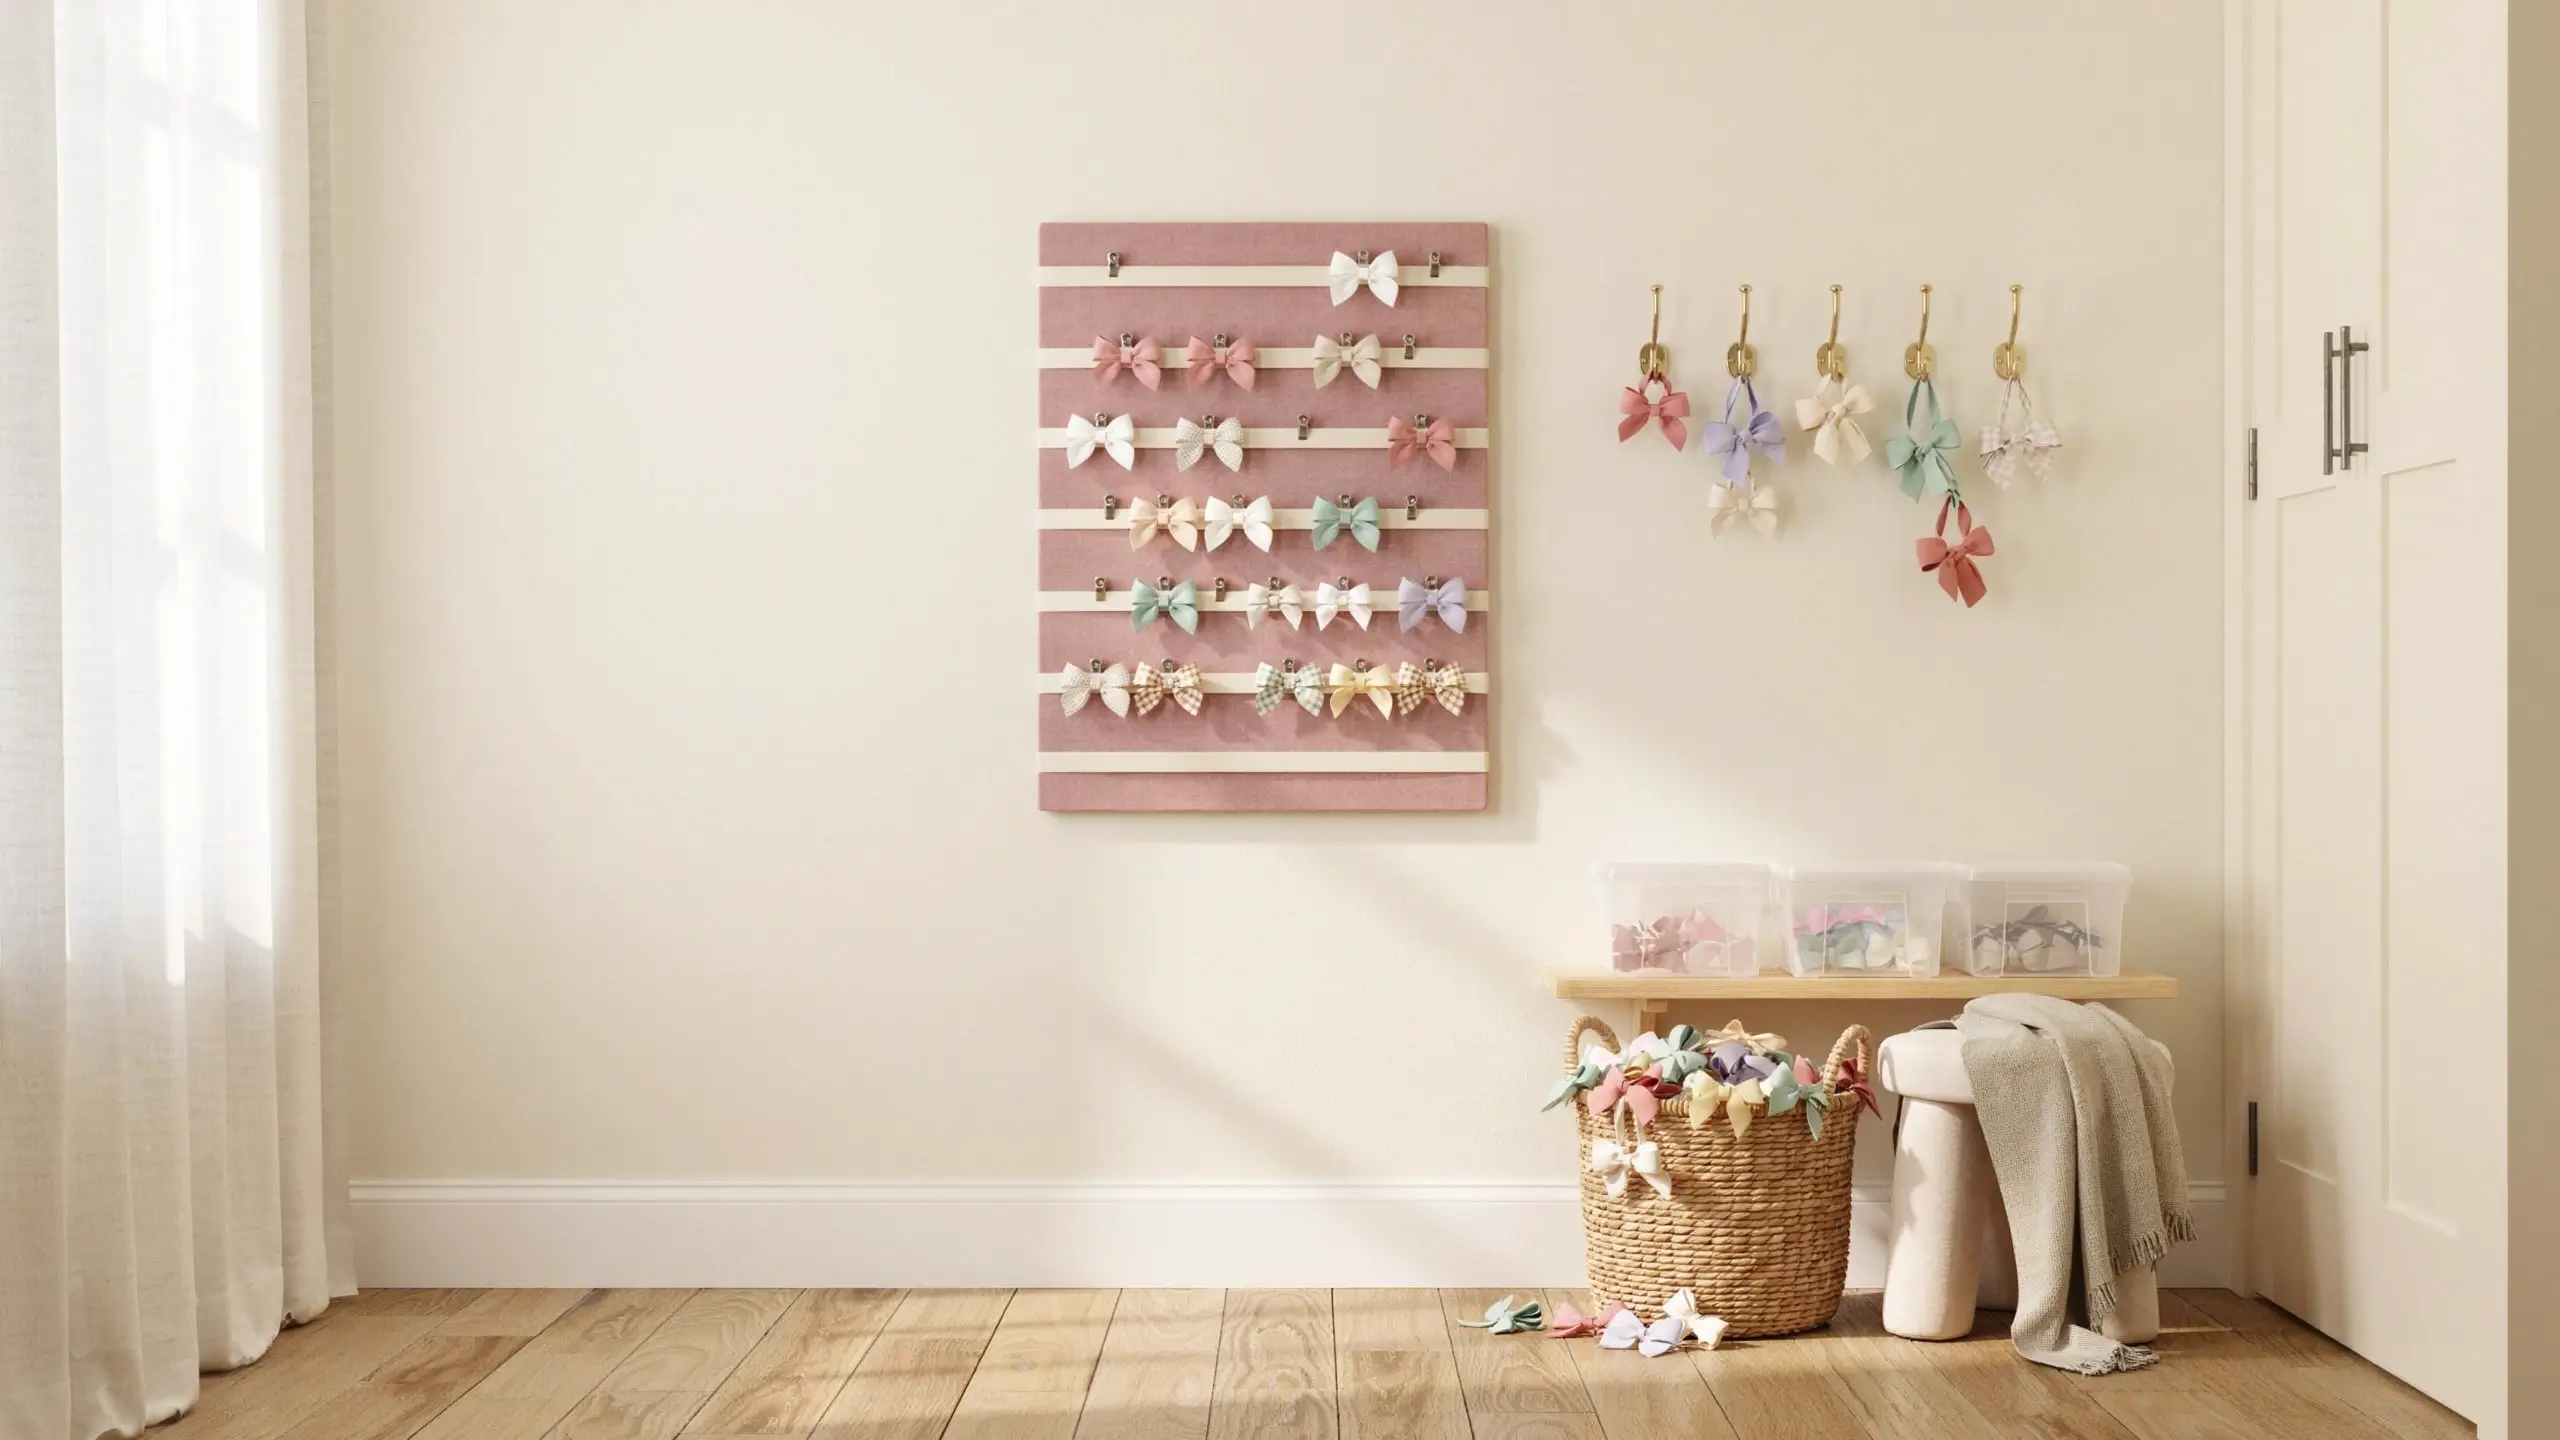
Once you start making these, they multiply fast, so it helps to have somewhere to put them.
- A bow board, made by wrapping ribbon strips across a small canvas or wood frame, gives you a spot to clip every bow so they’re visible and easy to grab in the morning.
- Small hooks on the inside of a closet door work if you’re short on wall space.
- A basket or jar by the front door makes grab-and-go mornings faster.
- If you make bows in bulk, sorting them into small labeled bins by color keeps everything easy to find.
Read Also: [Link to a related post, such as “How to Make a DIY Bow Board for Organizing Hair Accessories” or “Easy No-Sew Scrunchie Tutorial for Beginners”]
Frequently Asked Questions
How much ribbon do I need to make one hair bow?
It depends on the size, but a good beginner bow uses about 20 to 24 inches of 1.5 inch ribbon. Check the sizing chart above for baby and boutique sizes.
Can I make hair bows without a hot glue gun?
Yes. Fabric glue works, though it needs longer drying time, and a needle and thread can replace glue at every step if you’d rather hand-stitch the whole thing.
Will hair bows hurt my baby’s fine hair?
Not if you use the velcro trick inside the clip or switch to a soft nylon headband instead. Both hold gently without tugging on delicate strands.
Can I sell the hair bows I make at home?
Plenty of parents turn this exact hobby into a small Etsy shop or craft fair table. If you’re planning to sell, focus on clean, consistent centers and well-sealed edges, since those small details are what separate handmade-and-polished from handmade-and-obviously-rushed.
How do I clean a hair bow?
Spot clean with a damp cloth and a little mild soap, then reshape the loops by hand while it’s still slightly damp. Avoid soaking the whole bow, since the glued center can loosen if it gets too wet.
Final Thoughts
Once you’ve made your first hair bow, you’ll probably want to make five more just to try out different ribbons and colors. That’s the appeal of learning how to make hair bows for girls: it’s a small project with a big payoff, it costs a fraction of what boutique bows sell for, and you end up with exactly the colors and sizes your daughter actually needs.
Start with the classic no-sew method, get comfortable with the pinch and wrap, and branch out from there. Before long you’ll have a bow to match every outfit in her closet.
Have you tried making your own hair bows before? I’d love to hear which method worked best for you, or if you ran into any tricky spots along the way. Drop a comment below.
No Comment! Be the first one.