




How to Deep Clean Your Mattress: A Complete Step-by-Step Guide
You already know that feeling of climbing into bed with fresh sheets. Crisp, cool, smells like nothing but clean laundry. But under those sheets is a mattress that hasn’t had a real clean in,...

You already know that feeling of climbing into bed with fresh sheets. Crisp, cool, smells like nothing but clean laundry. But under those sheets is a mattress that hasn’t had a real clean in, honestly, can you remember the last time?
Here’s the part nobody likes to think about: you spend around a third of your life lying on that mattress. In that time, your body sheds skin cells, sweats, and leaves behind oils that soak straight into the fabric. Add in dust mites, the occasional spill, and whatever your pet or kid contributed last winter, and your “clean” bed might not be as clean as it looks.
The good news is that learning how to deep clean your mattress is a lot easier than it sounds. You don’t need a rented steam cleaner or a professional service (unless you want one). With a vacuum, some baking soda, and about an hour of your afternoon, you can pull years of grime, odor, and allergens out of your mattress and make your whole bedroom feel fresher.
This guide walks through the full process step by step, how to treat specific stains without ruining the fabric, and the mistakes that trip up most people the first time they try this. Save this one, you’ll want to come back to it every spring and fall.
Signs Your Mattress Actually Needs a Deep Clean
- You sneeze or feel stuffy right when you lie down
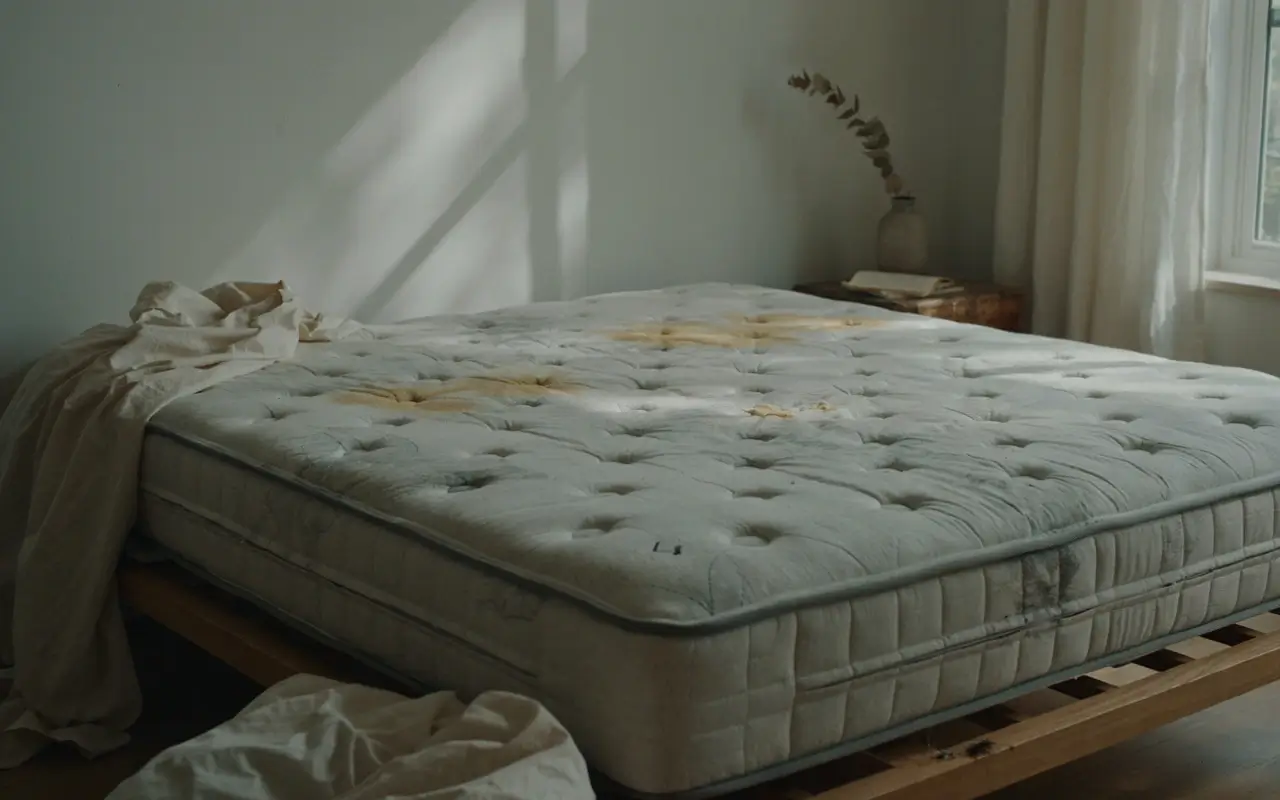
- You notice yellowish patches even after washing your sheets
- The mattress smells a little musty or sour, especially in humid weather
- You genuinely can’t remember the last time you cleaned it (six months or more is your sign)
- There are visible stains from sweat, spills, or pet accidents
If any of these sound familiar, it’s time.
How Often Should You Deep Clean a Mattress?
Most cleaning experts recommend a full deep clean twice a year, once in spring and once in fall, with a lighter vacuum and baking soda refresh every month or two in between. If you have allergies, pets that sleep on the bed, or kids prone to nighttime accidents, bump that up to once every two to three months.
The easiest way to actually remember it: tie it to something you already do, like flipping your mattress or changing your clocks for daylight saving time.
What You’ll Need
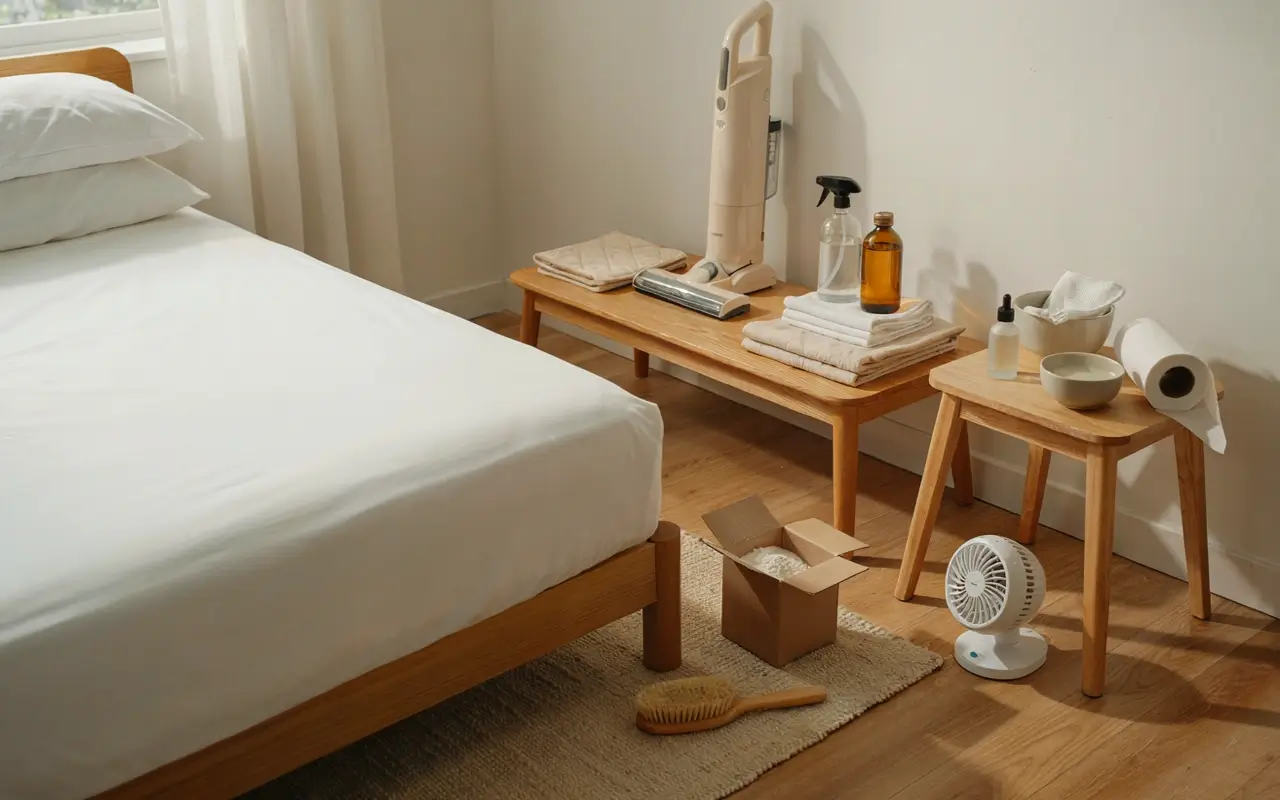
Nothing here is expensive or hard to find. Most of it is probably already in your cabinet.
- Vacuum cleaner with an upholstery or crevice attachment (a cordless handheld vacuum works great for this)
- Baking soda, a full box
- Essential oil, optional (lavender, tea tree, or eucalyptus are the most popular choices)
- Mild dish soap or laundry detergent
- Hydrogen peroxide (3%), for stain treatment
- A spray bottle
- Clean white cloths or paper towels (white so you’re not transferring dye onto the mattress)
- A soft-bristled brush or an old toothbrush for stains
- A mattress protector, to use once everything is clean
- A fan or an open window for drying
How to Deep Clean Your Mattress, Step by Step
Step 1: Strip the Bed Completely
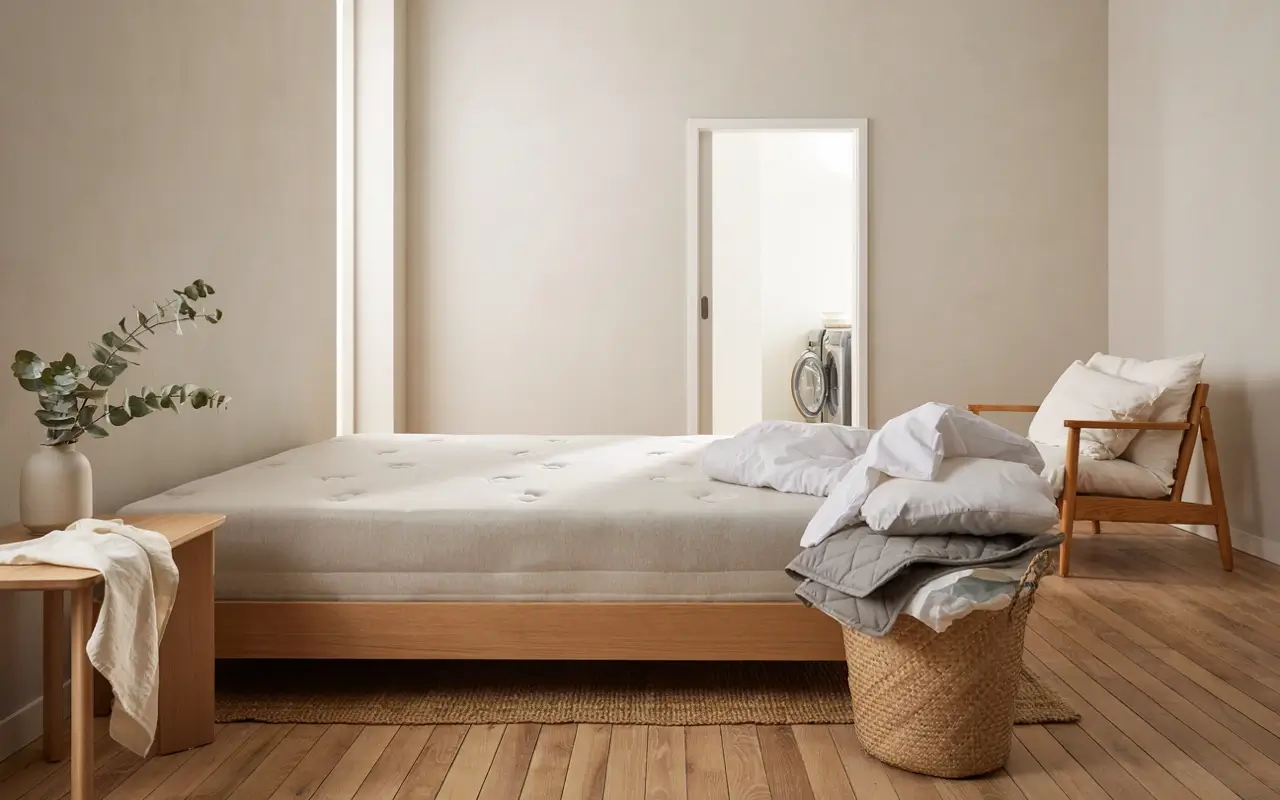
Pull off the sheets, pillowcases, mattress pad, and mattress protector, and start them on a hot wash right away (check the tag first, since some fabrics do better on warm). Washing everything on the hottest safe setting helps kill dust mites and lift the buildup they leave behind. While that’s running, you’ve got a totally bare mattress to work with, which is exactly what you need for a real deep clean.
Step 2: Vacuum Every Inch
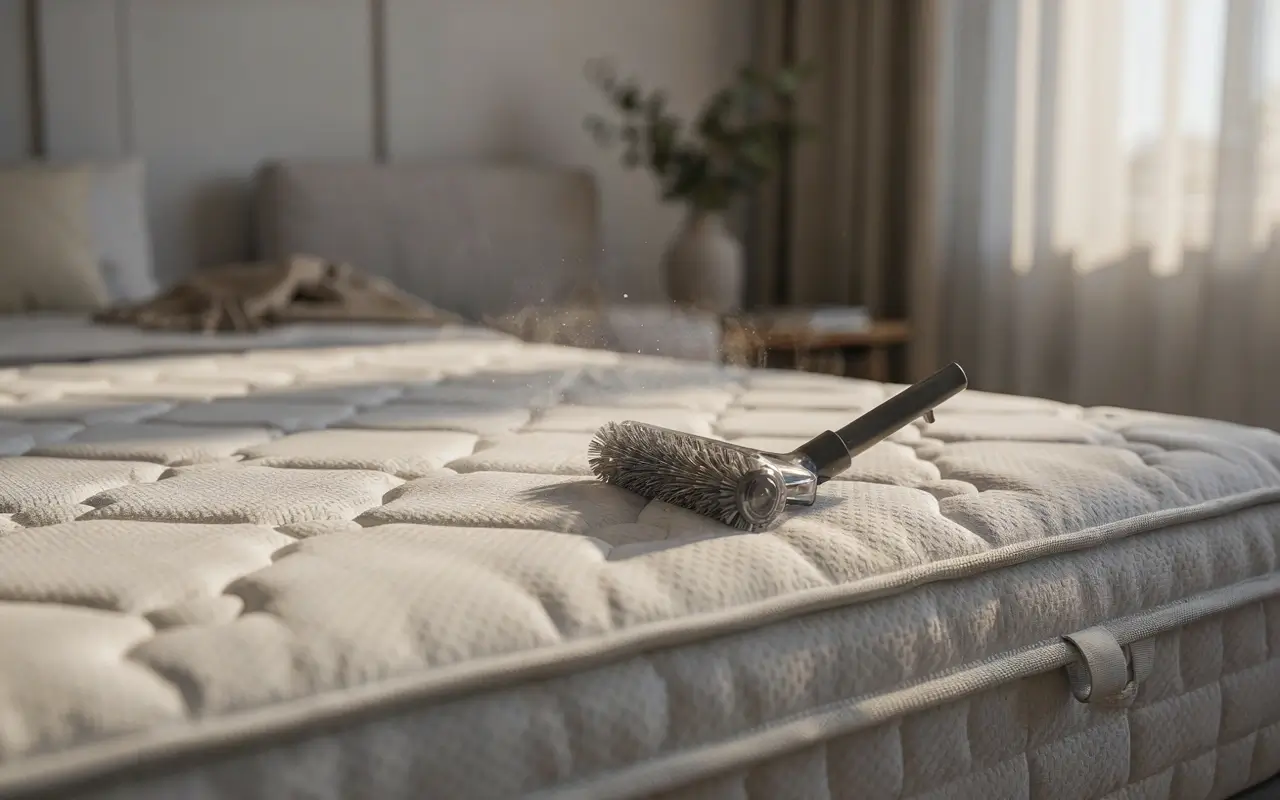
This is the step people rush through, and it makes the biggest difference in the end result. Use the upholstery attachment and go over the entire top of the mattress in slow, overlapping passes. Then switch to the crevice tool for the seams, piping, and handles, where dust and dead skin love to collect. If your mattress is a two-sided, flippable model, flip it and vacuum the other side too, along with the sides in between.
Tip: no attachment on hand? A stiff-bristled scrub brush works to loosen debris before you vacuum it up.
Step 3: Spot-Treat Any Stains
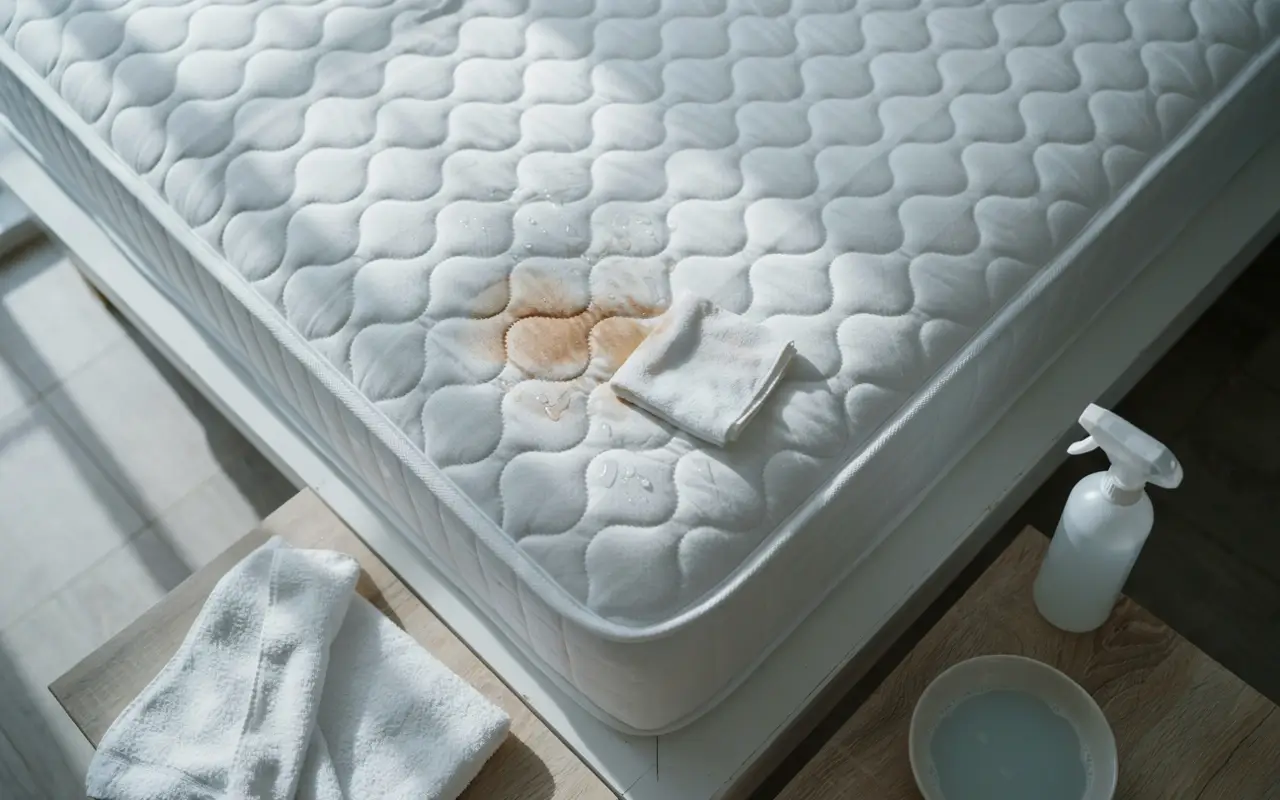
Before you deodorize, deal with any visible stains, since the baking soda step works better on a clean surface. Scroll down to the stain guide below for the exact method depending on what you’re dealing with. The short version for most spots: mix a little dish soap with lukewarm water, dab (never rub) with a clean cloth, blot with plain water to rinse, then blot again with a dry towel to pull out the extra moisture.
Step 4: Deodorize With a Baking Soda Treatment
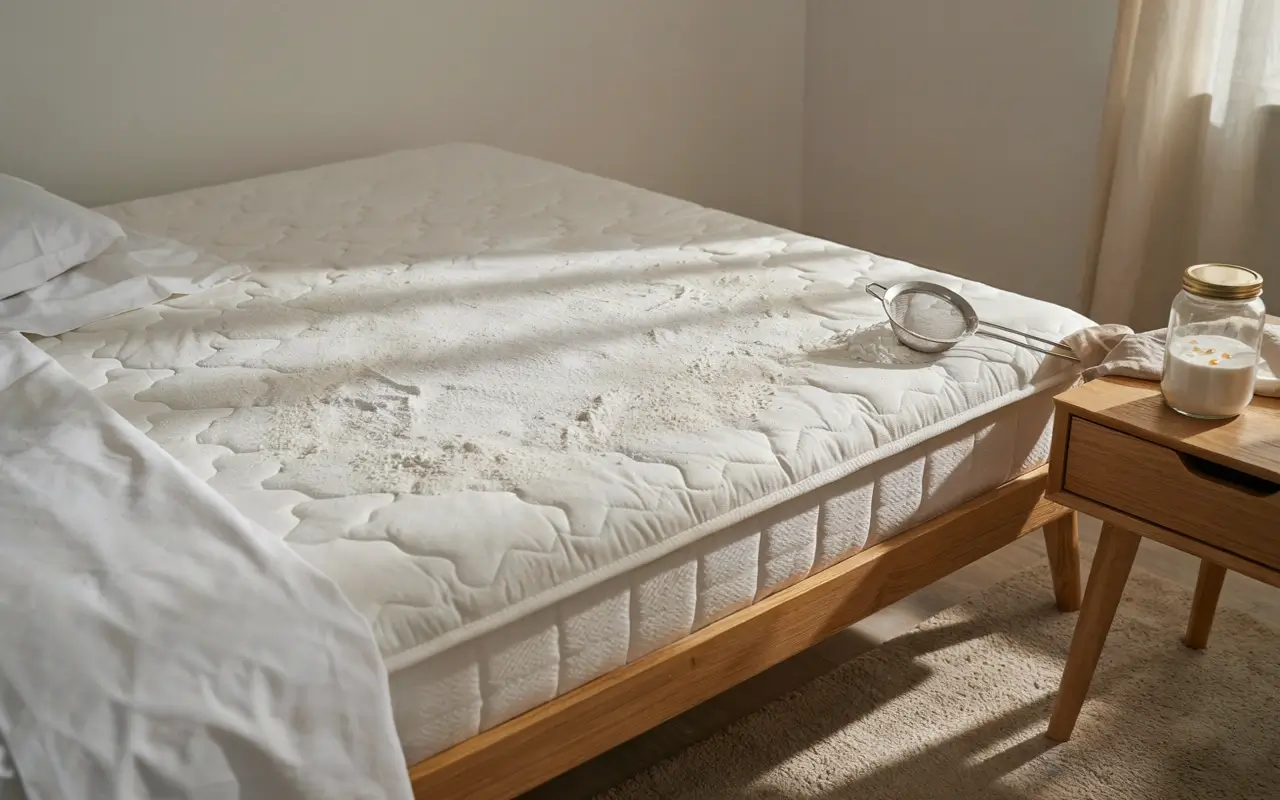
This is the step that makes the biggest difference in how your bed actually smells. Baking soda pulls moisture and odor out of the fibers, and it’s safe to use on every mattress type.
DIY Mattress Deodorizing Powder
- 1 cup baking soda
- 5 to 10 drops essential oil (lavender for a calming scent, tea tree for its antibacterial properties, eucalyptus if allergies are a concern)
Shake the two together in a jar with a tight lid until fully combined. Sprinkle it evenly over the entire mattress using a fine mesh strainer or a flour sifter so it doesn’t clump in one spot. Use your hand or a soft brush to work it gently into the fabric, paying extra attention to any areas you just spot cleaned.
Step 5: Let It Sit
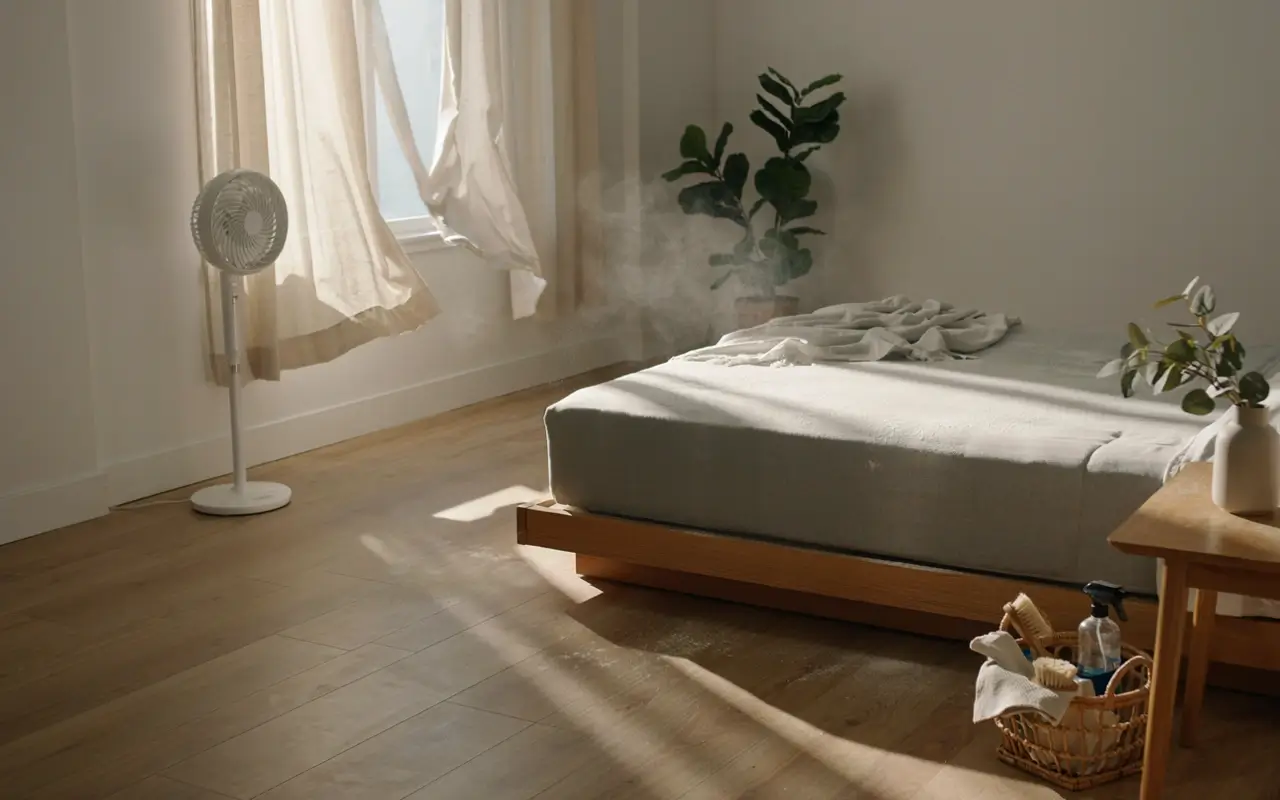
Leave the baking soda alone for at least 30 minutes. If this is the mattress’s first deep clean in a while, or you’re dealing with odor, let it sit for several hours, or even overnight if you have another place to sleep that night. The longer it sits, the more moisture and smell it pulls out. Crack a window or point a fan at the bed while it sits if you can, since airflow speeds everything up.
Step 6: Vacuum It Up
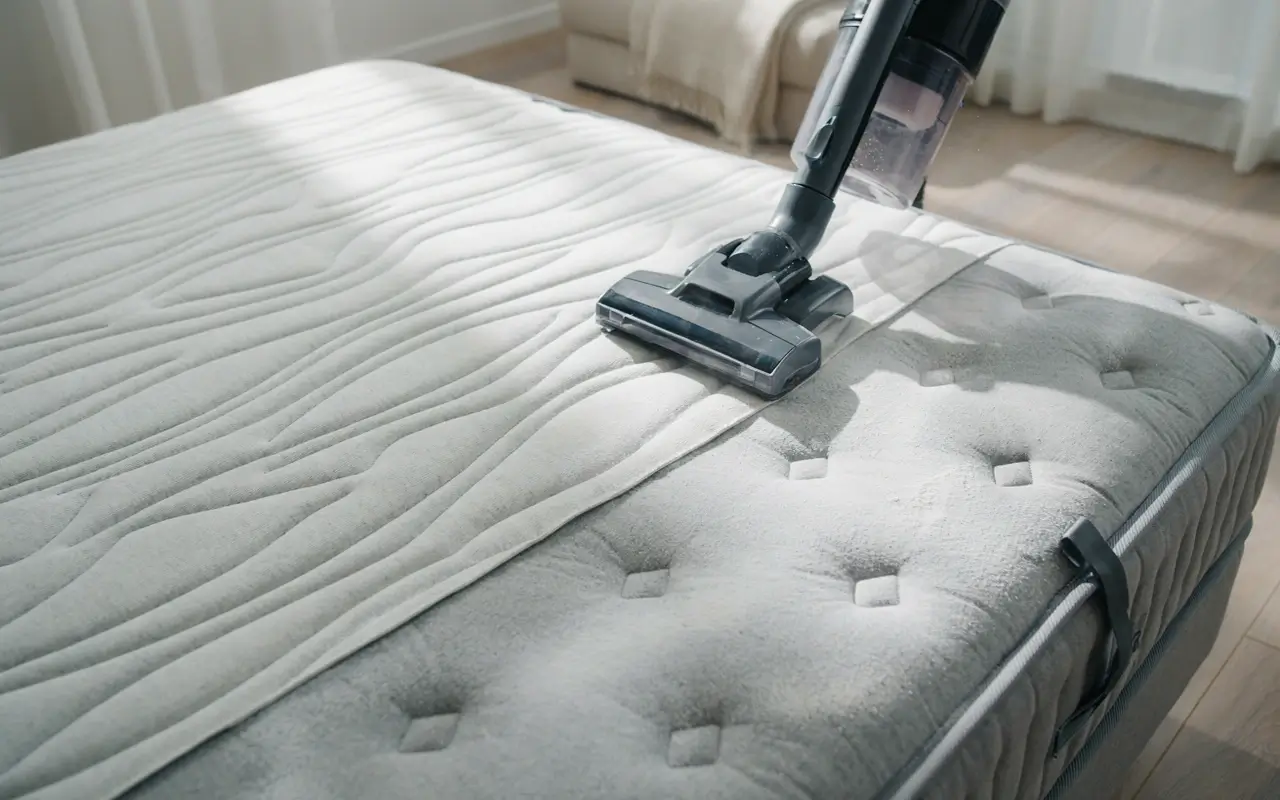
Go back over the entire mattress with slow, overlapping vacuum passes to lift every bit of the baking soda. Don’t skip the corners and seams, that’s exactly where it likes to hide.
Step 7: Let the Mattress Air Out
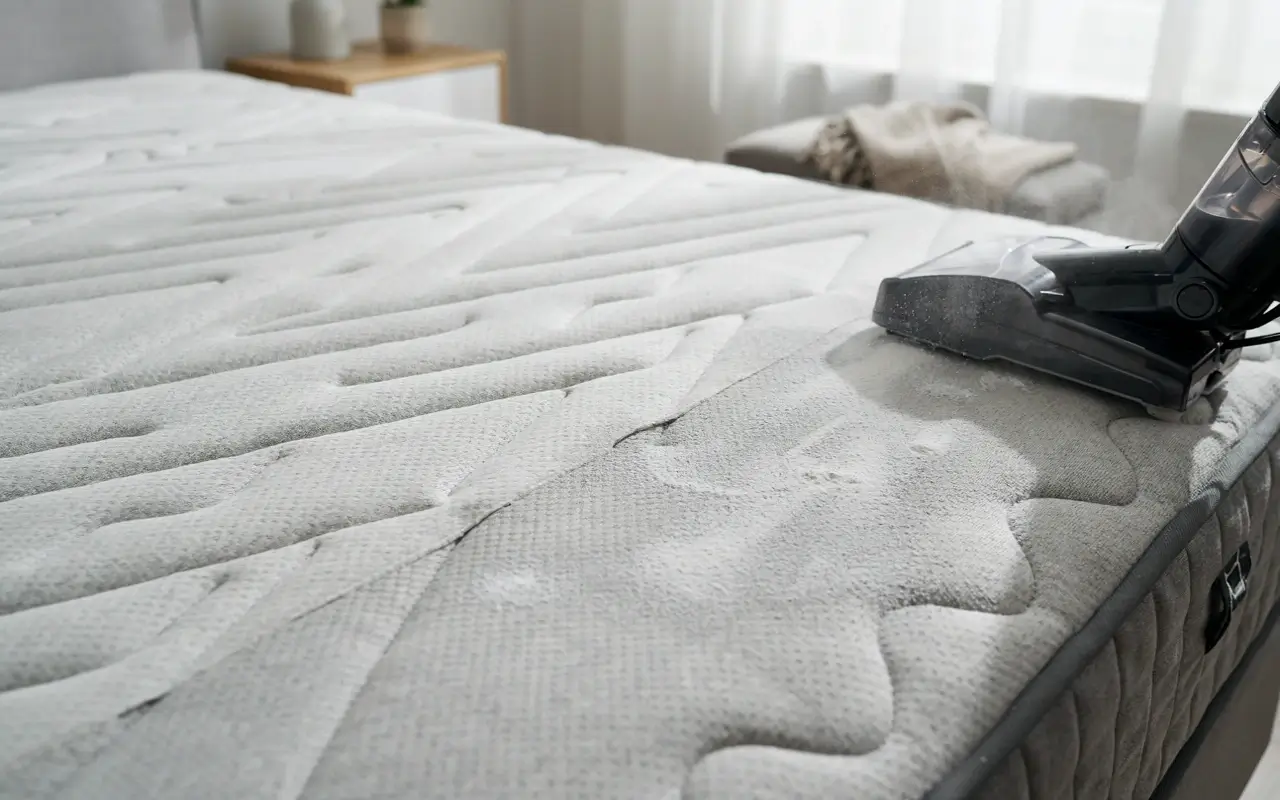
Even if it looks completely dry, give the mattress a few hours of open air before remaking the bed. Open the windows, run a fan, or if the weather cooperates, prop the mattress against a wall in direct sunlight for an hour. Sunlight is a natural disinfectant and helps knock out any lingering dust mites. Skipping this step is one of the most common reasons a “clean” mattress ends up smelling musty again within a week.
Step 8: Clean the Bed Frame and Box Spring
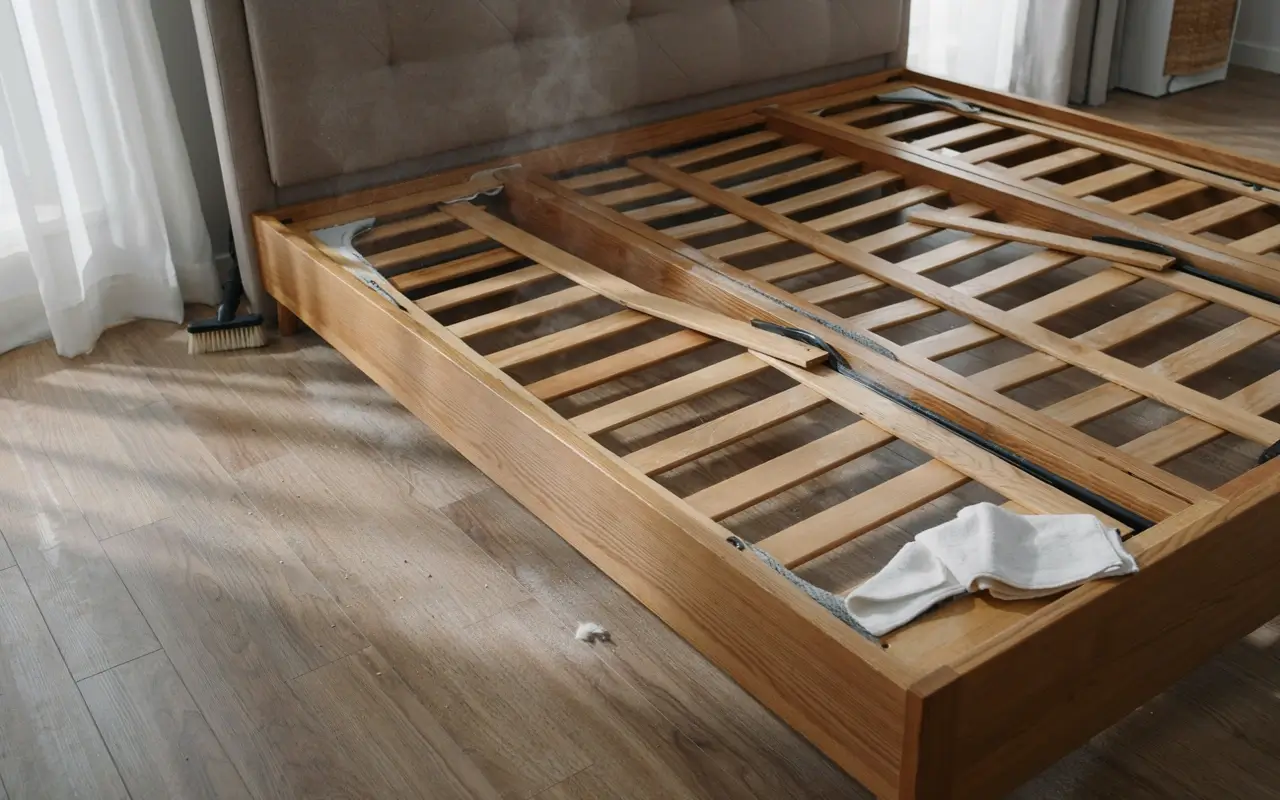
While the mattress airs out, wipe down a wood or metal frame with a damp cloth, and vacuum a fabric headboard or upholstered bed base. Dust and allergens collect here too, and it’s an easy add-on while the vacuum is already out.
Step 9: Add Protection and Remake the Bed

Once everything is completely dry, put a mattress protector on before your sheets go back on. This one habit is what keeps your next deep clean from being nearly as much work, since it catches sweat, spills, and skin cells before they ever reach the mattress. Finish with your freshly washed bedding, and you’re done.
How to Remove Specific Mattress Stains
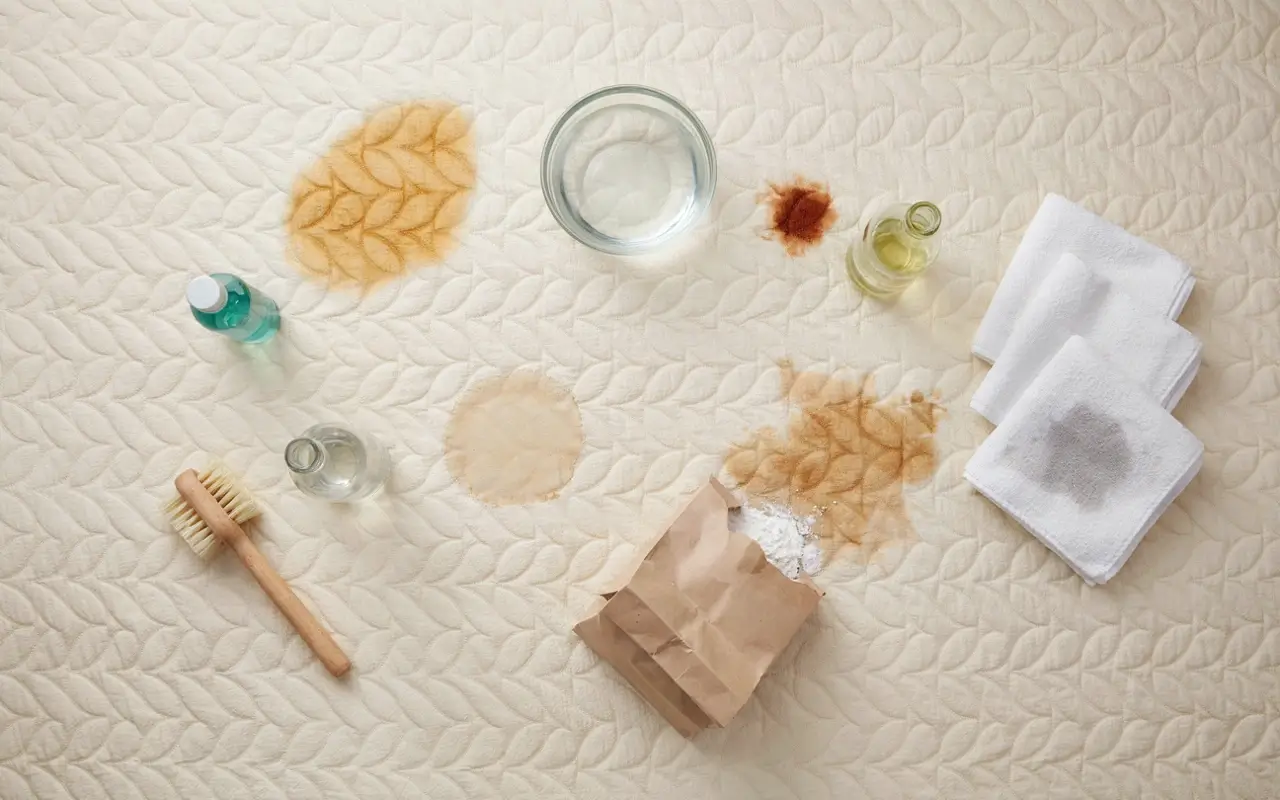
Different stains need different treatment, and using the wrong method, especially hot water, can set a stain permanently instead of lifting it. Here’s what actually works for each type.
- Sweat and yellow stains: Mix equal parts hydrogen peroxide and water with a small squirt of dish soap. Spray or dab onto the stain, let it sit for 10 minutes, then blot with a clean, damp cloth. Sweat stains can handle a little more scrubbing than other stains, so a soft brush is fine here.
- Blood: Always use cold water, never warm or hot. Heat cooks the protein in blood and sets the stain for good. Blot fresh blood with a cold, damp cloth first. For dried stains, mix equal parts hydrogen peroxide and cornstarch with a pinch of salt into a paste, apply it to the stain, and let it sit until it stops bubbling (about 20 to 30 minutes) before wiping away with a cold, damp cloth.
- Urine: Blot up as much liquid as possible first, don’t rub. Spray with equal parts white vinegar and water plus a drop of dish soap, let sit five to 10 minutes, then blot dry. Once the area is dry, cover it with a thick layer of baking soda and leave it for at least four hours, overnight is even better, to pull out the remaining odor before vacuuming.
- Vomit or other bodily fluids: Remove any solids first with a paper towel. Blot the area with one part white vinegar to two parts water, then finish with the baking soda deodorizing step above. An enzyme cleaner made for pet stains also works well here, since it breaks down organic material instead of just masking the smell.
- Food, drink, or general stains: Blot immediately to soak up as much liquid as possible. Mix a small amount of dish soap with lukewarm water, dab the stain, blot with plain water to rinse, then finish with a dry towel. For stubborn or older stains, equal parts hydrogen peroxide and water usually finishes the job.
A quick warning before you start: always test any cleaning solution on a hidden corner of the mattress first. Hydrogen peroxide especially can lighten dark fabric.
Cleaning Tips for Different Mattress Types
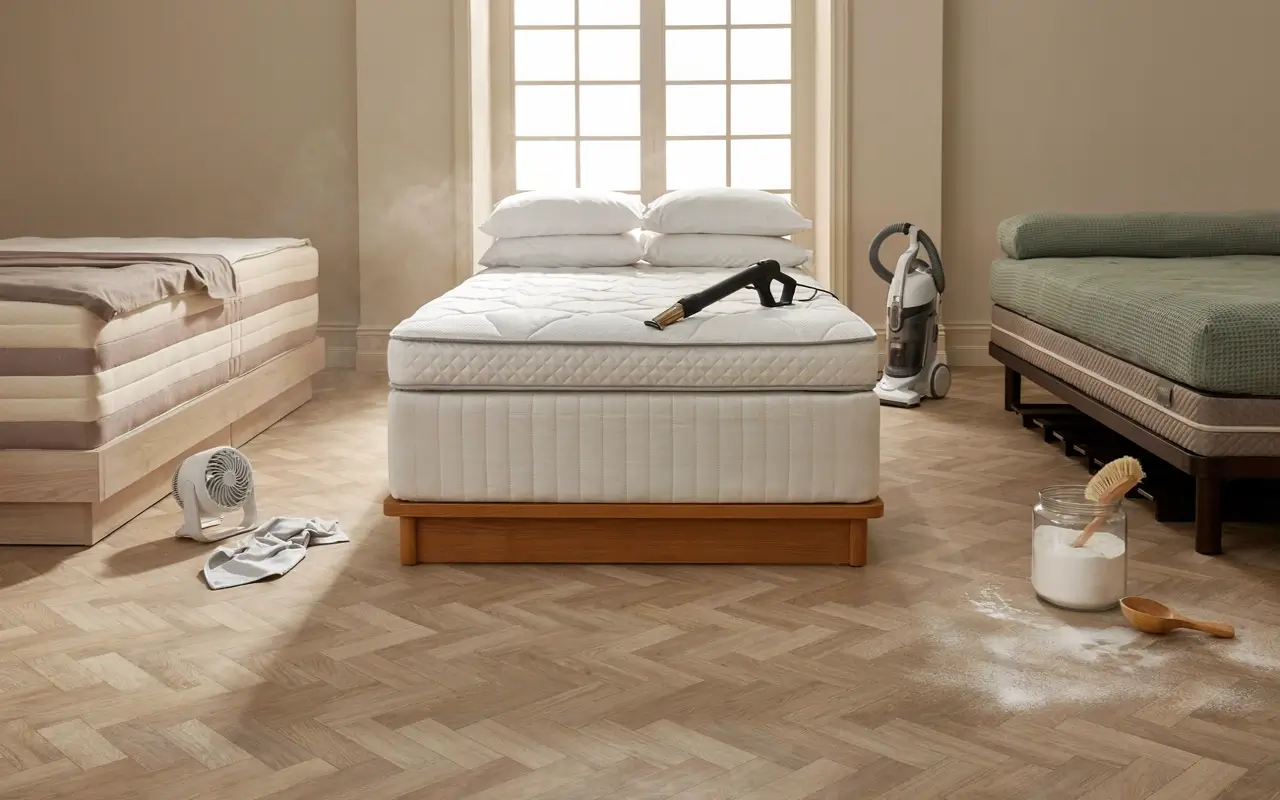
Not every mattress can be cleaned the same way, and using the wrong method on the wrong material can genuinely shorten its life.
- Memory foam: Soaks up liquid fast and dries slowly, so less is more here. Skip the steam cleaner entirely. The combination of heat and trapped moisture can break down the foam and lead to mold growing inside where you can’t see it. Stick to light dabbing, never saturate the surface, and give it extra drying time. A fan pointed directly at the mattress helps a lot.
- Innerspring: Handles moisture better than foam and can usually tolerate steam cleaning, which is worth considering if allergies are a concern, since the heat kills dust mites. The open coil structure also means dust and debris settle deep inside, so vacuum the sides and seams more thoroughly than you think you need to.
- Hybrid and latex: Hybrids combine coils with a foam or latex top layer, so treat the surface the way you would memory foam (careful with moisture) while the base can typically handle a bit more. Natural latex is naturally more resistant to dust mites and mold, but it still benefits from the same baking soda routine as everything else.
Whatever type you have, check the care tag before you start. Some manufacturers include specific cleaning instructions, and following them protects your warranty.
Mistakes to Avoid When Deep Cleaning Your Mattress
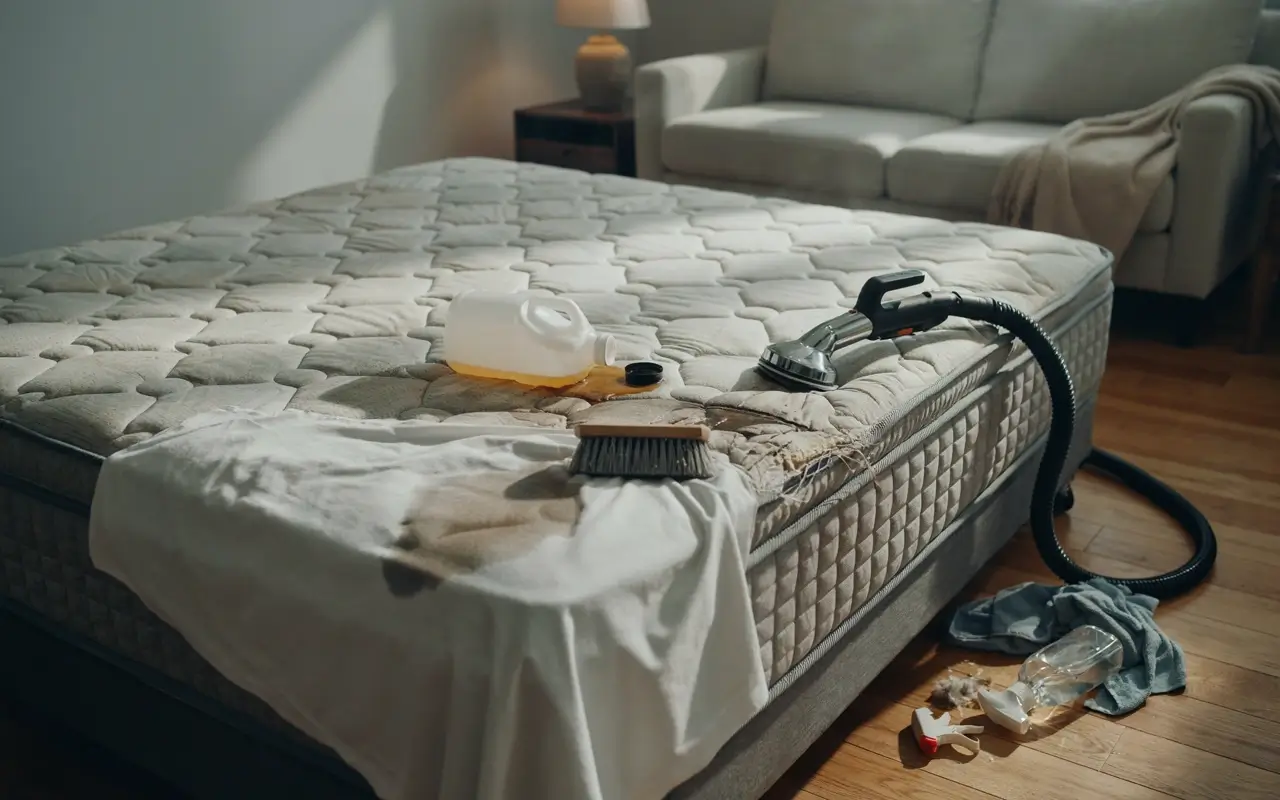
- Soaking the mattress. A damp cloth is enough for almost every stain. Oversaturating the fabric leads to mold and mildew growing inside layers you can’t reach.
- Using hot water on protein-based stains. Blood, sweat, and other bodily fluids set permanently when heat hits them. Cold water only.
- Skipping the drying step. A mattress that goes back under sheets while even slightly damp is exactly how musty smells and mold get started.
- Rubbing instead of blotting. Rubbing pushes stains deeper into the fibers and can damage the surface. Always dab.
- Using bleach or harsh chemicals. These can break down mattress materials and void your warranty, and they’re overkill for what baking soda and hydrogen peroxide already handle.
- Steam cleaning memory foam. It feels like it should work, but the heat and moisture combination is one of the fastest ways to damage foam.
- Forgetting the sides and seams. Most of the dust, dead skin, and mites collect right along the edges and piping, not just the top surface.
How to Keep Your Mattress Cleaner, Longer
A deep clean lasts a lot longer if you build in a few small habits between now and the next one.
- Use a washable mattress protector and wash it monthly
- Wash your sheets weekly in hot water
- Vacuum the mattress lightly once a month, even without the full baking soda treatment
- Leave the bed unmade for 10 to 15 minutes each morning so moisture from the night can air out before you smooth the sheets
- Rotate or flip your mattress every three to six months if it’s a flippable model, to keep wear and stains from concentrating in one spot
- Keep food and drinks out of bed. It sounds obvious, but it’s the number one cause of stains people ask about after the fact
- Keep pets off the mattress, or add a washable throw or pet blanket on top if that ship has already sailed
When to Call a Professional (or Replace Your Mattress)
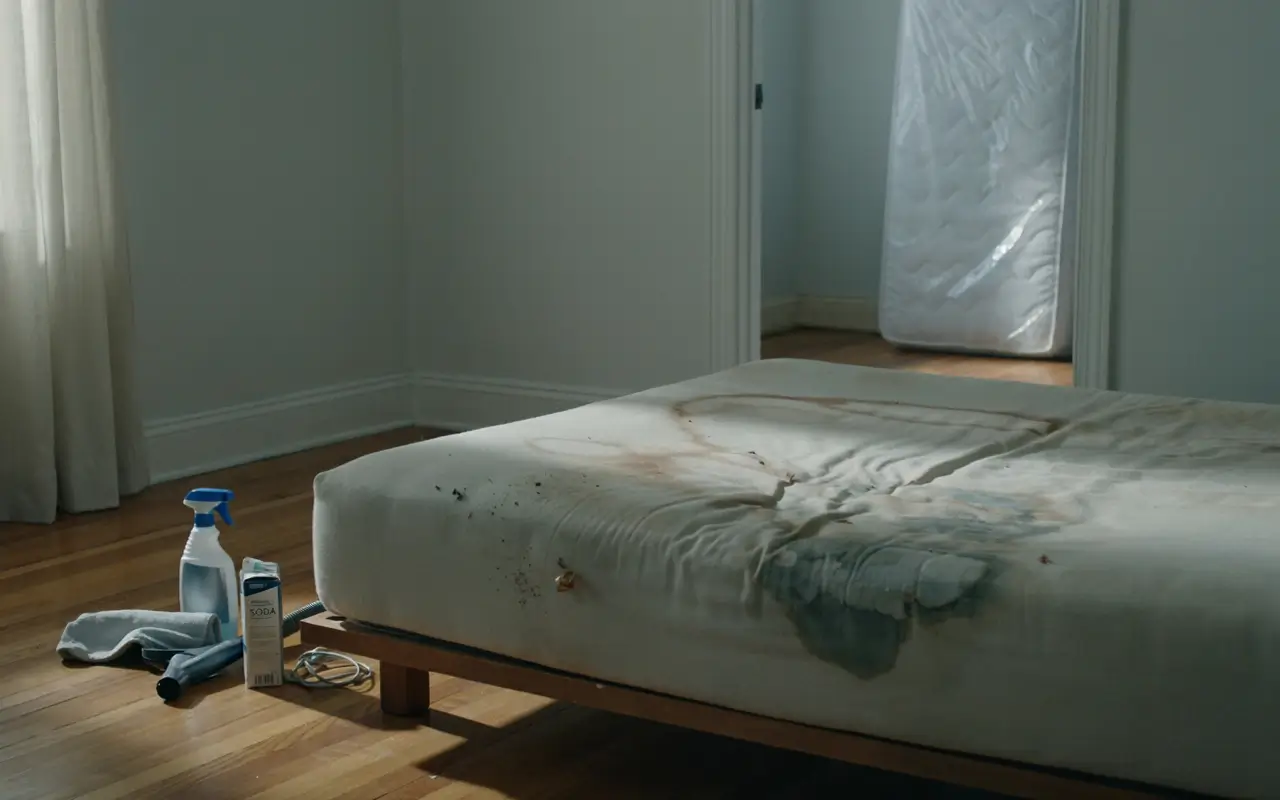
A DIY deep clean handles the vast majority of odor, stains, and everyday grime. But a few situations call for extra help instead:
- Bed bugs. Small reddish brown stains, tiny dark spots, or shed exoskeletons along the seams mean it’s time for pest control, not baking soda. DIY treatments won’t fully eliminate an infestation.
- Deep-set mold or mildew. If a spot feels damp no matter how long it airs out, or a musty smell won’t go away after cleaning, moisture may have reached layers a surface clean can’t touch.
- A mattress over 7 to 10 years old. Materials break down over time no matter how well you clean them. If it’s sagging, lumpy, or just doesn’t feel supportive anymore, cleaning won’t fix that.
- Stains that keep coming back. If the same spot resurfaces after multiple treatments, the source may be inside the mattress where surface cleaning can’t reach it.
Final Thoughts

A clean mattress makes a bigger difference than most people expect, not just in how your bedroom smells, but in how well you actually sleep. Now that you know how to deep clean your mattress the right way, the whole process takes an afternoon, costs next to nothing if you already have baking soda and a vacuum, and it’s the kind of task that feels so satisfying once it’s done that you’ll wonder why you waited this long.
Pick a day this weekend, strip the bed, and give your mattress the deep clean it’s been waiting for. Your future self, and your allergies, will thank you.
Got a mattress stain that didn’t quite fit into this guide, or a trick that’s worked in your house? Drop it in the comments, I’d genuinely love to hear what’s worked for you.






No Comment! Be the first one.