




How to Soundproof a Room Inexpensively (No Contractor Required)
If you’ve ever laid in bed listening to your upstairs neighbor pace around at midnight, or tried to get through a work call while a leaf blower roars outside your window, you already know how...

If you’ve ever laid in bed listening to your upstairs neighbor pace around at midnight, or tried to get through a work call while a leaf blower roars outside your window, you already know how much a quiet room is worth. The good news is you don’t need a construction crew or a few thousand dollars in acoustic panels to get there.
Learning how to soundproof a room inexpensively really comes down to targeting the right spots first: doors, windows, gaps, and bare hard surfaces. Once you know where sound is actually sneaking in, a handful of cheap, mostly removable fixes will get you most of the way there. Whether you’re renting and can’t drill a single hole, or you just don’t want to sink your whole budget into one project, here’s exactly where to start.
Quick shopping list before you begin:
- Door sweep and adhesive weatherstripping ($15 to $25 total)
- A thick rug pad
- Heavy curtains that hang wider and longer than your window
- Command strips or removable hooks (skip the glue if you’re renting)
- Foam outlet gaskets
- A roll of removable painter’s putty or reusable caulk strip
- Optional: budget acoustic foam panels, a stretched canvas, and a scrap of foam for a DIY wall art project
Find Out Where the Noise Is Actually Getting In First
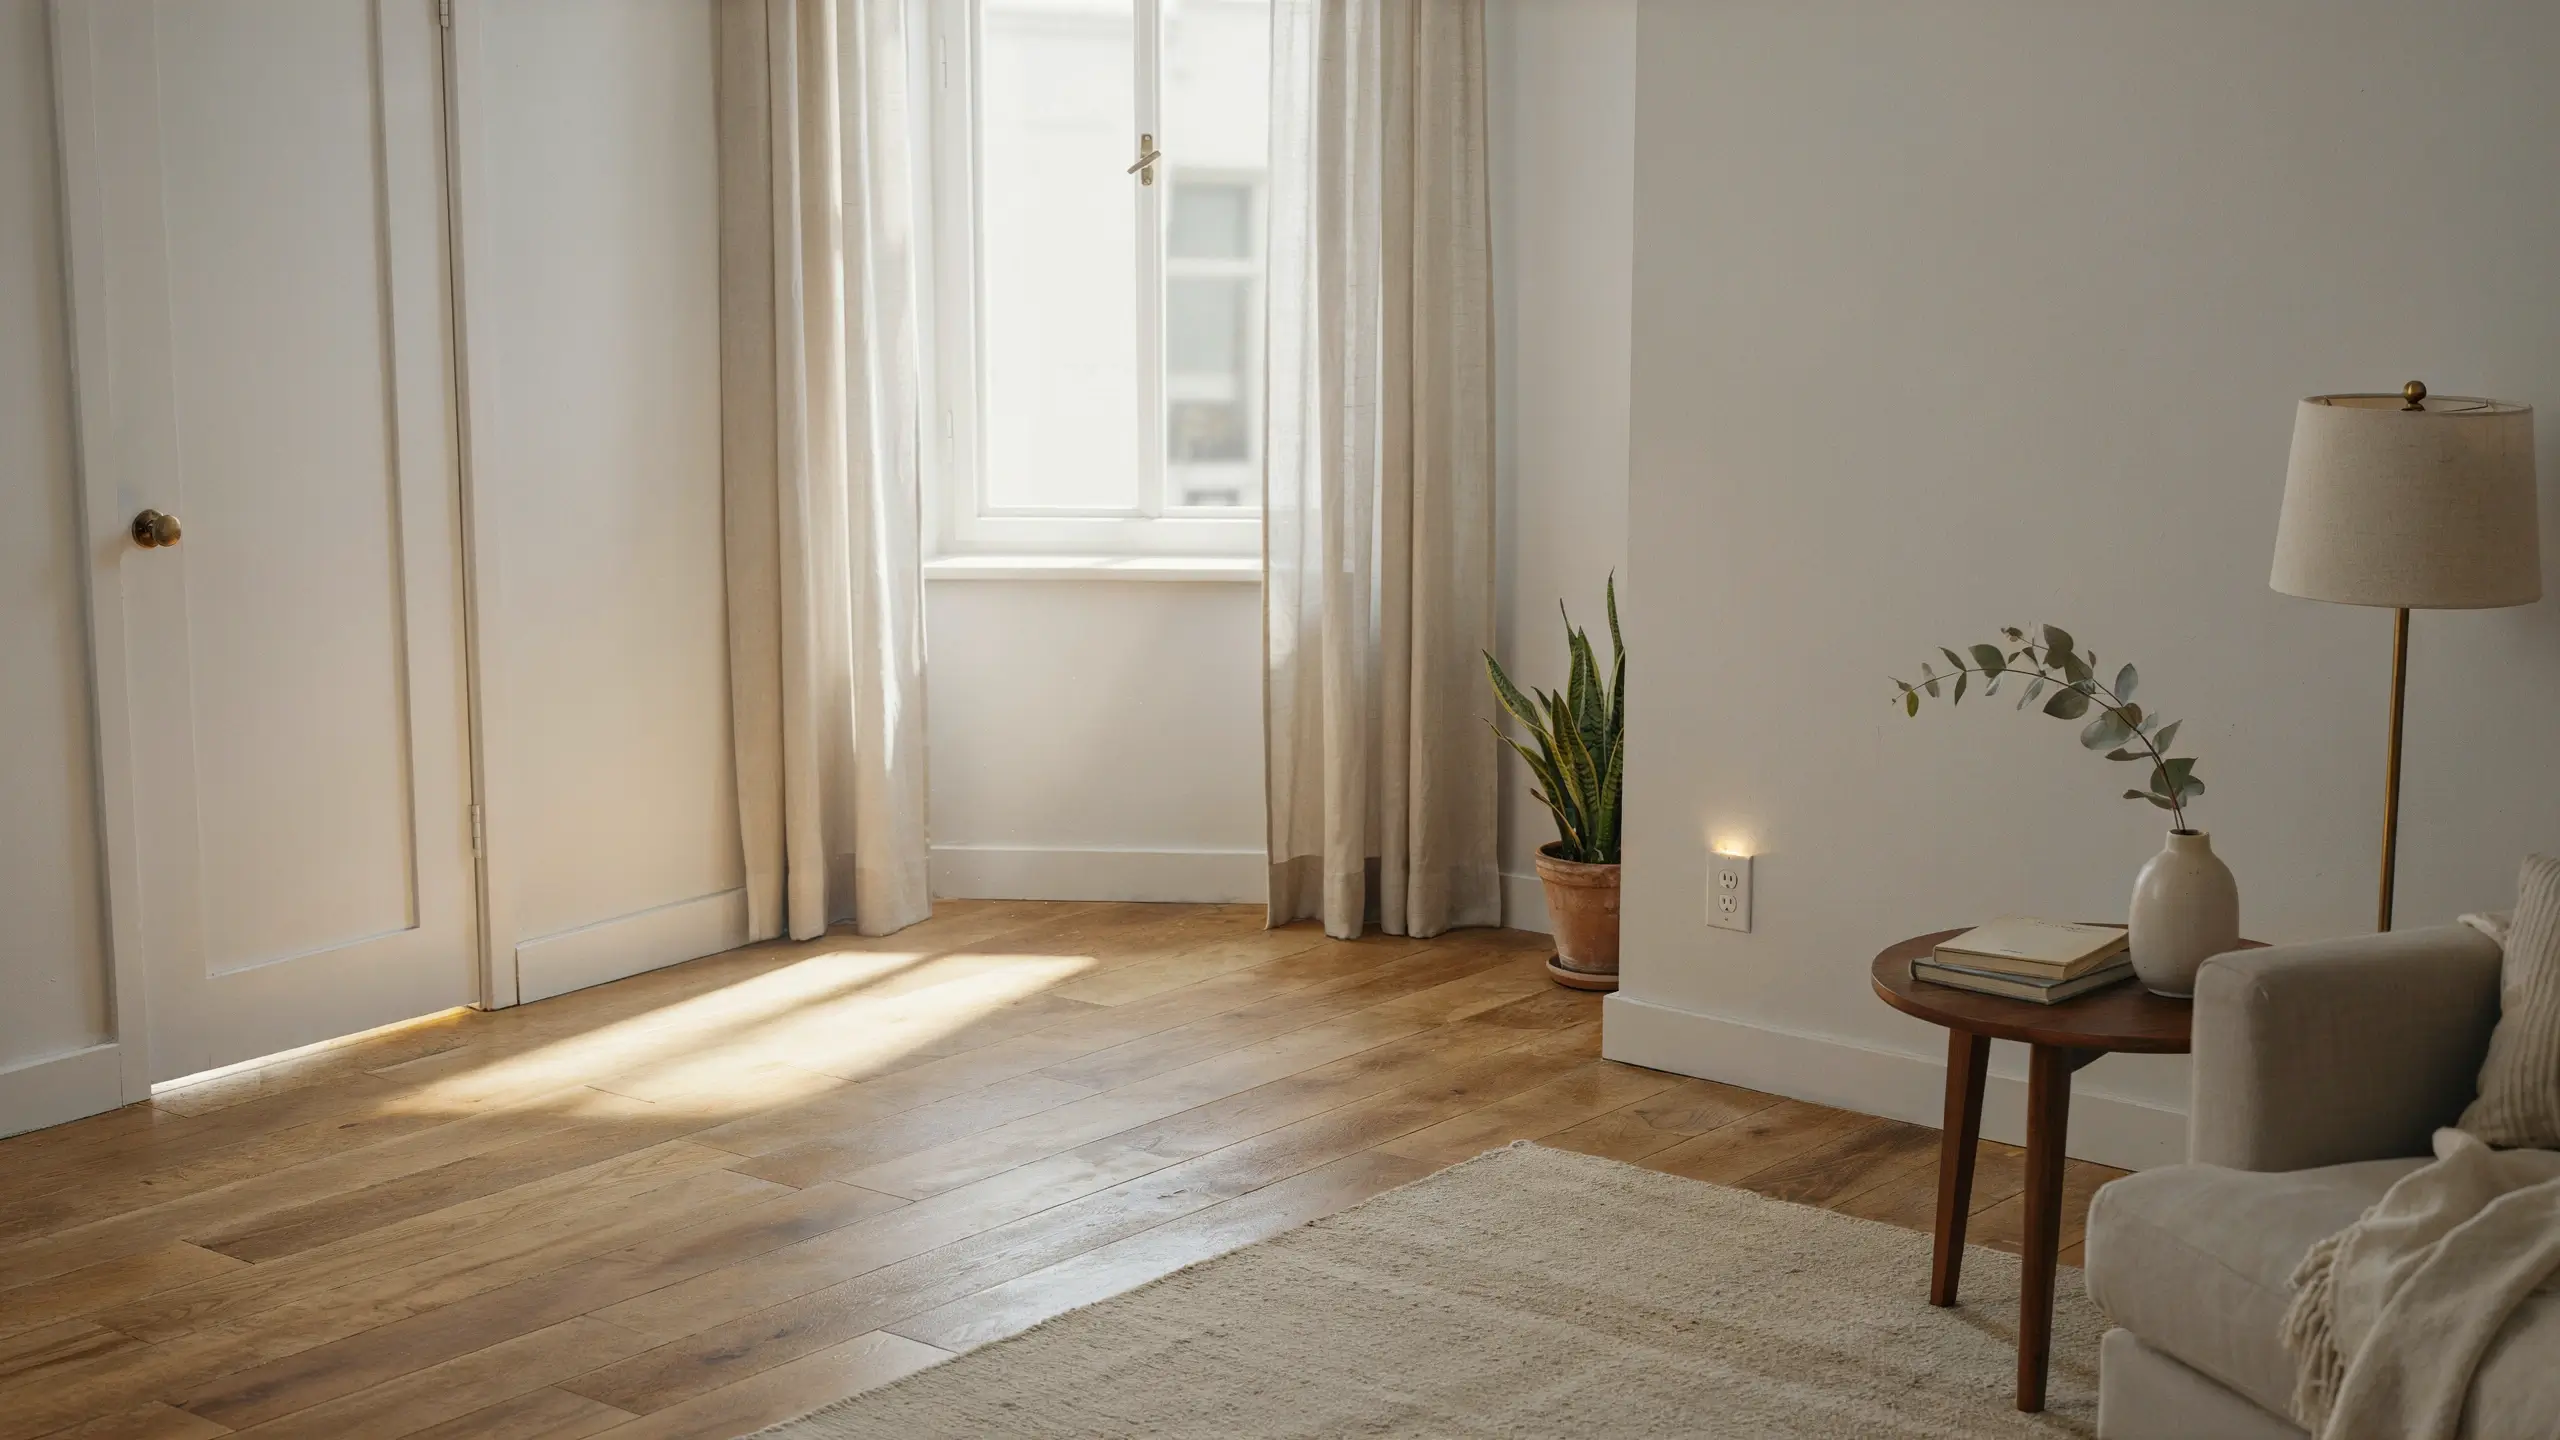
Most people grab acoustic foam before they even know where sound is entering the room, and that’s how you end up with panels on a wall that was never the problem in the first place. Spend five minutes on this before you buy anything.
Close your door and windows and turn off anything electronic in the room. Have someone in another room play music or talk at a normal volume, or just use a phone speaker. Walk slowly around the perimeter of your room and notice where the sound feels loudest: under the door, around the window frame, through an outlet, or straight through the wall itself.
Tap on your walls while you’re at it. A hollow, tinny sound usually means a thin interior wall or a shared wall with a neighbor. A dull, solid thud means the wall itself isn’t your main issue, and the noise is probably sneaking in through a gap somewhere else.
Soundproof the Door First
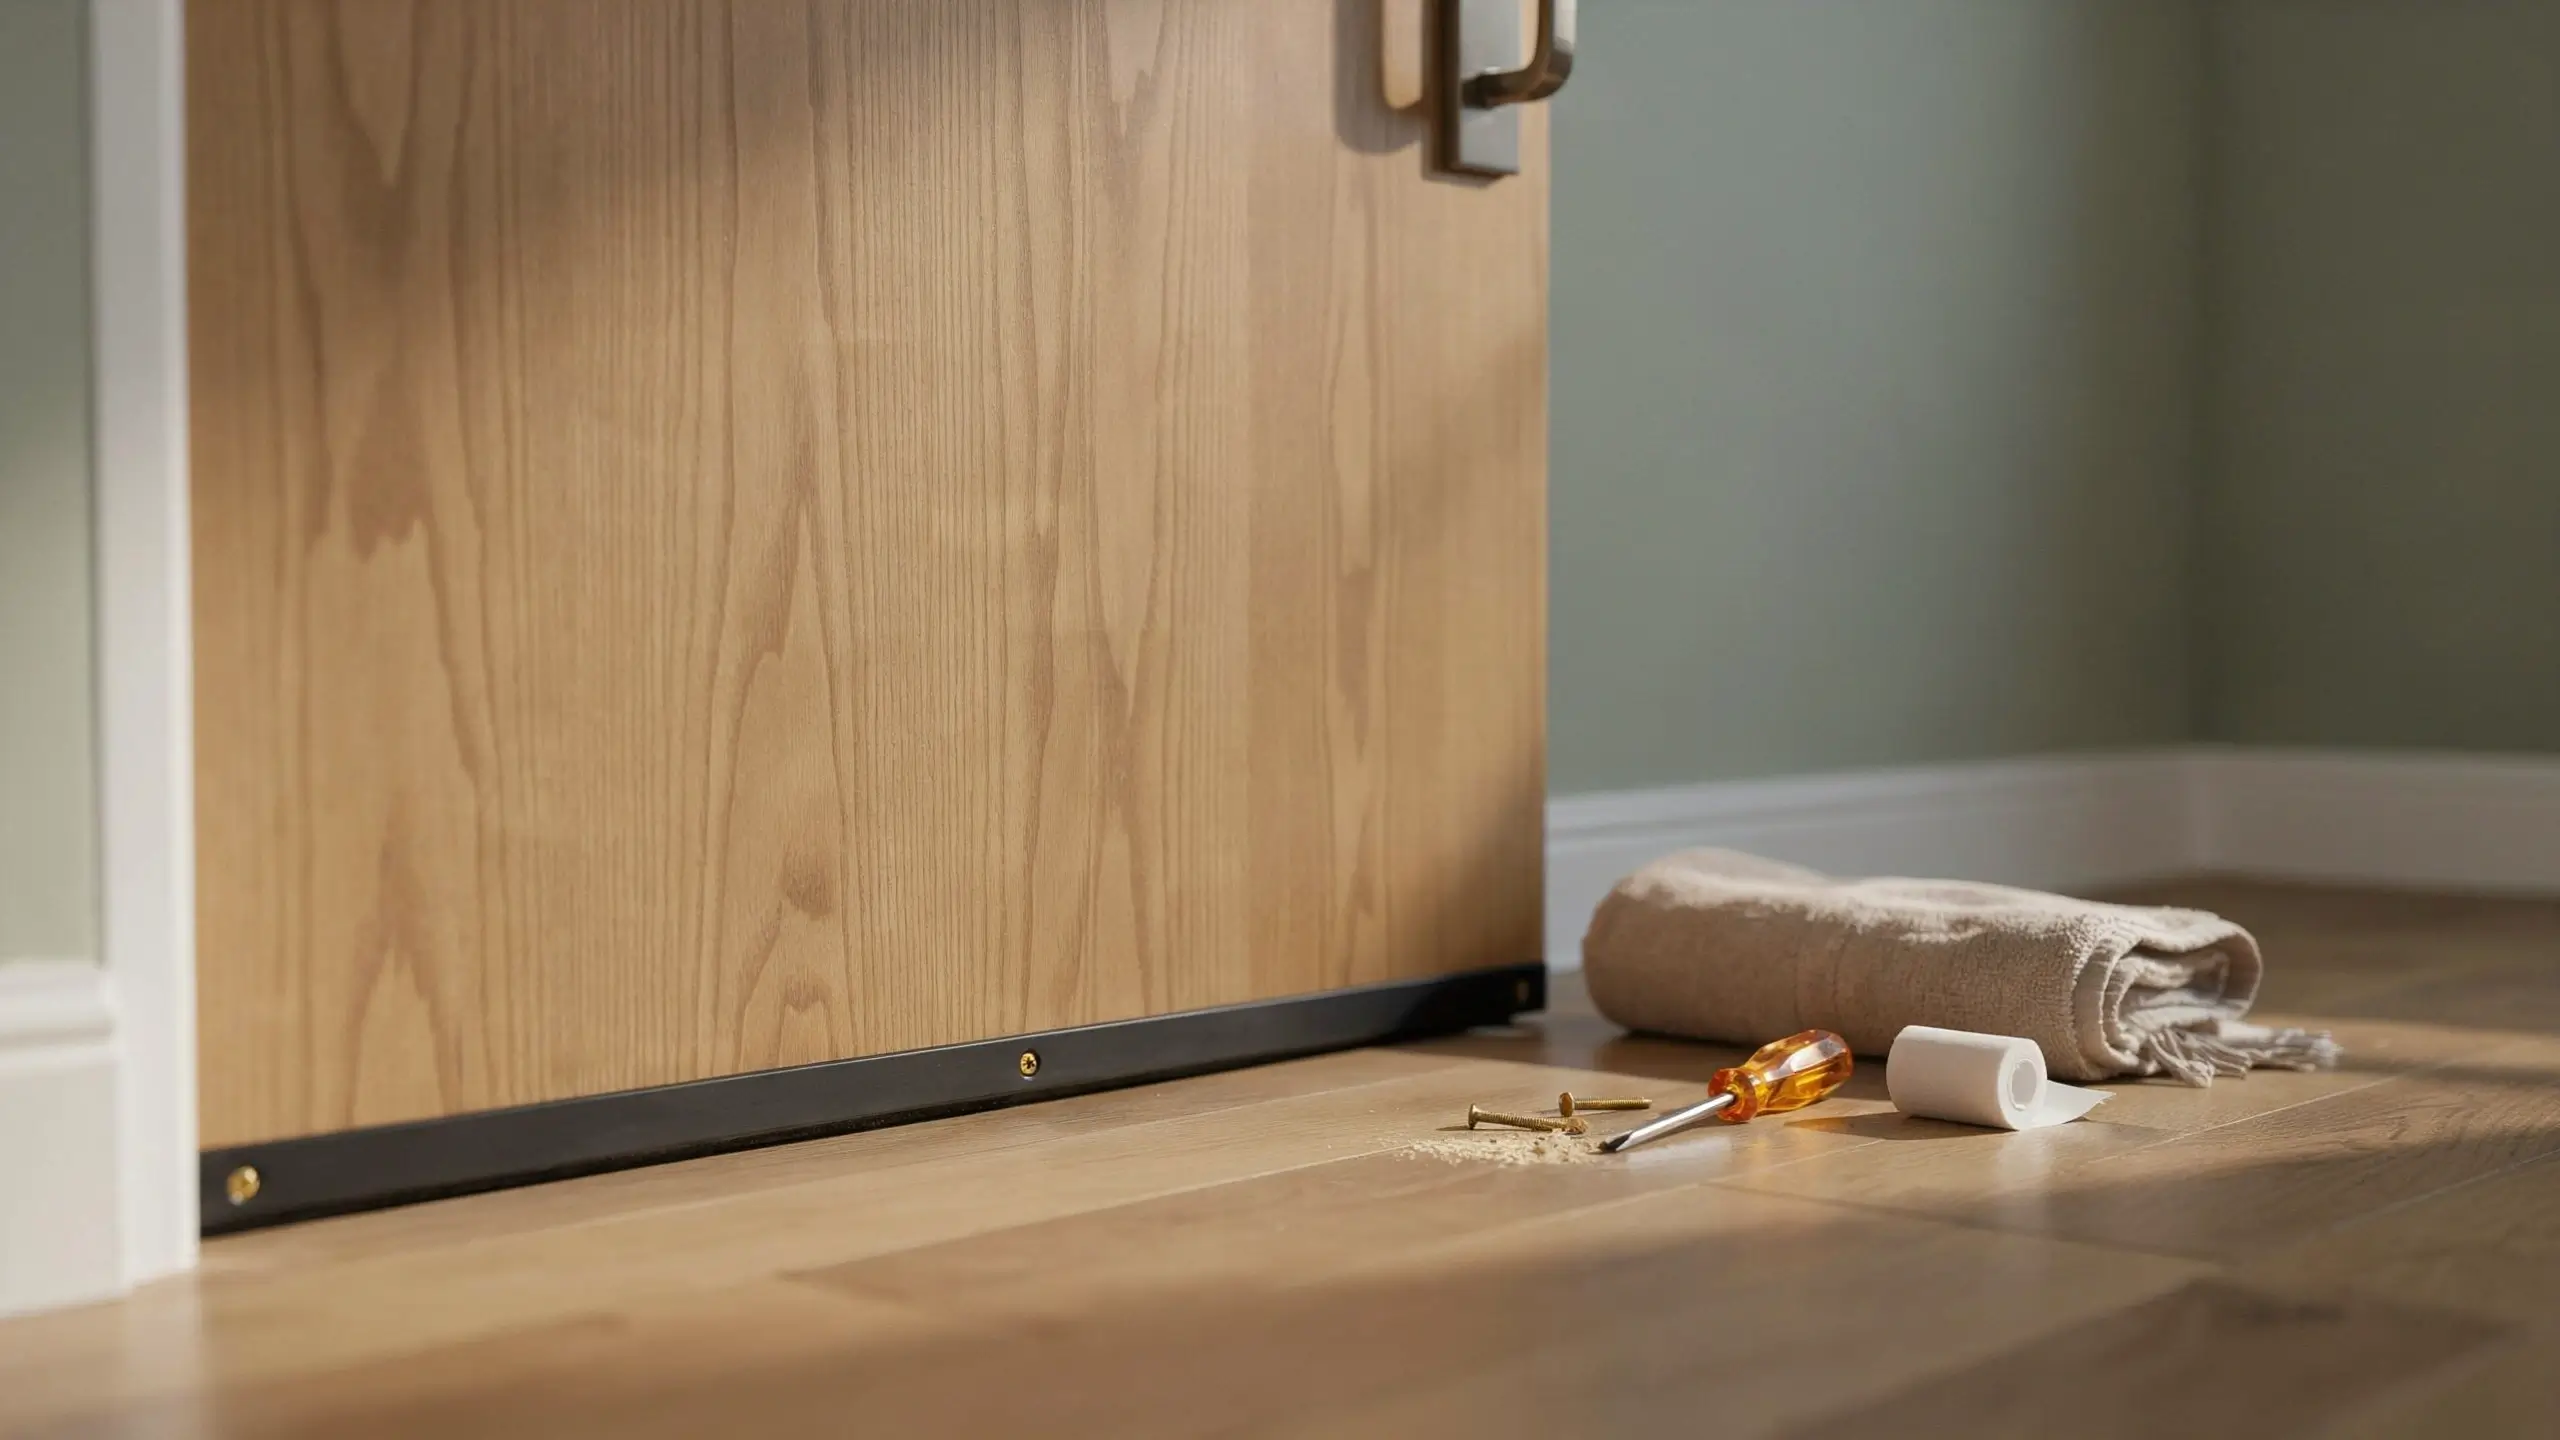
Doors are almost always the biggest leak in a room. Most interior doors are hollow, and nearly all of them have a gap underneath for airflow that doubles as a highway for sound.
- Rolled towel or draft stopper: Free if you use a towel you already own. Just lay it along the bottom gap of the door.
- Door sweep: Attaches along the bottom edge of the door and only needs a screwdriver to install. Runs about $8 to $15.
- Adhesive weatherstripping: Press it around the door frame where the door meets the frame. About $6 to $10 a roll, and it peels off cleanly if you’re renting.
- A heavy curtain over the door: Hang a thick curtain or moving blanket on a tension rod for extra coverage during especially loud hours, like when the neighbor’s dog won’t stop barking.
Mistake to avoid: don’t caulk a rental door frame permanently, no matter how tempting. Stick to peel-and-stick weatherstripping so you get your deposit back.
Block Window Noise Without Touching the Glass

- Heavy curtains: Hang them floor to ceiling and wider than the window frame itself, so sound waves have extra fabric to pass through before reaching you. Look for a thick, tightly woven fabric or a layered blackout curtain rather than a thin sheer.
- Draft stopper on the sill: Helpful for older windows that don’t seal tightly.
- Removable foam weatherstripping: Line the sash where it meets the frame.
- DIY foam window insert: Cut a piece of rigid foam board to snugly fit inside your window frame. Pop it in during your loudest hours (mowing, construction, rush hour traffic) and pull it out when you want the light back. This one is a favorite for home offices where you only need quiet during work hours.
Skip anything permanent here too. Spray foam or caulk on a rental window is hard to undo and not worth the risk to your deposit.
Add Mass and Softness to the Walls

- Rearrange furniture against a shared wall: A bookshelf, dresser, or couch backed up against the noisy wall adds mass for free. It’s the easiest fix on this entire list and most people skip it.
- Hang tapestries, quilts, or moving blankets as wall decor: Layer a couple of textiles on a curtain rod or Command hooks. It looks intentional as decor and genuinely softens sound.
- DIY sound-absorbing canvas art: Buy a plain stretched canvas, cut a piece of foam (an old mattress topper scrap works great) to fit the back, staple or glue the foam to the canvas, then stretch a patterned fabric over the whole thing and staple it around the frame edges. You end up with wall art that actually absorbs sound, usually for under $25.
- Budget acoustic foam panels: $20 to $40 for a pack. Mount with removable Command strips instead of adhesive so you don’t damage the paint.
Mistake to avoid: don’t expect foam panels alone to block your neighbor’s bass or a loud conversation next door. Foam absorbs echo and softens sound inside your room, but it does very little to stop sound from actually traveling through a wall. If a shared wall is your real problem, mass does more work than foam. Furniture, layered fabric, and rugs matter more here than any foam panel will.
Don’t Forget the Floor
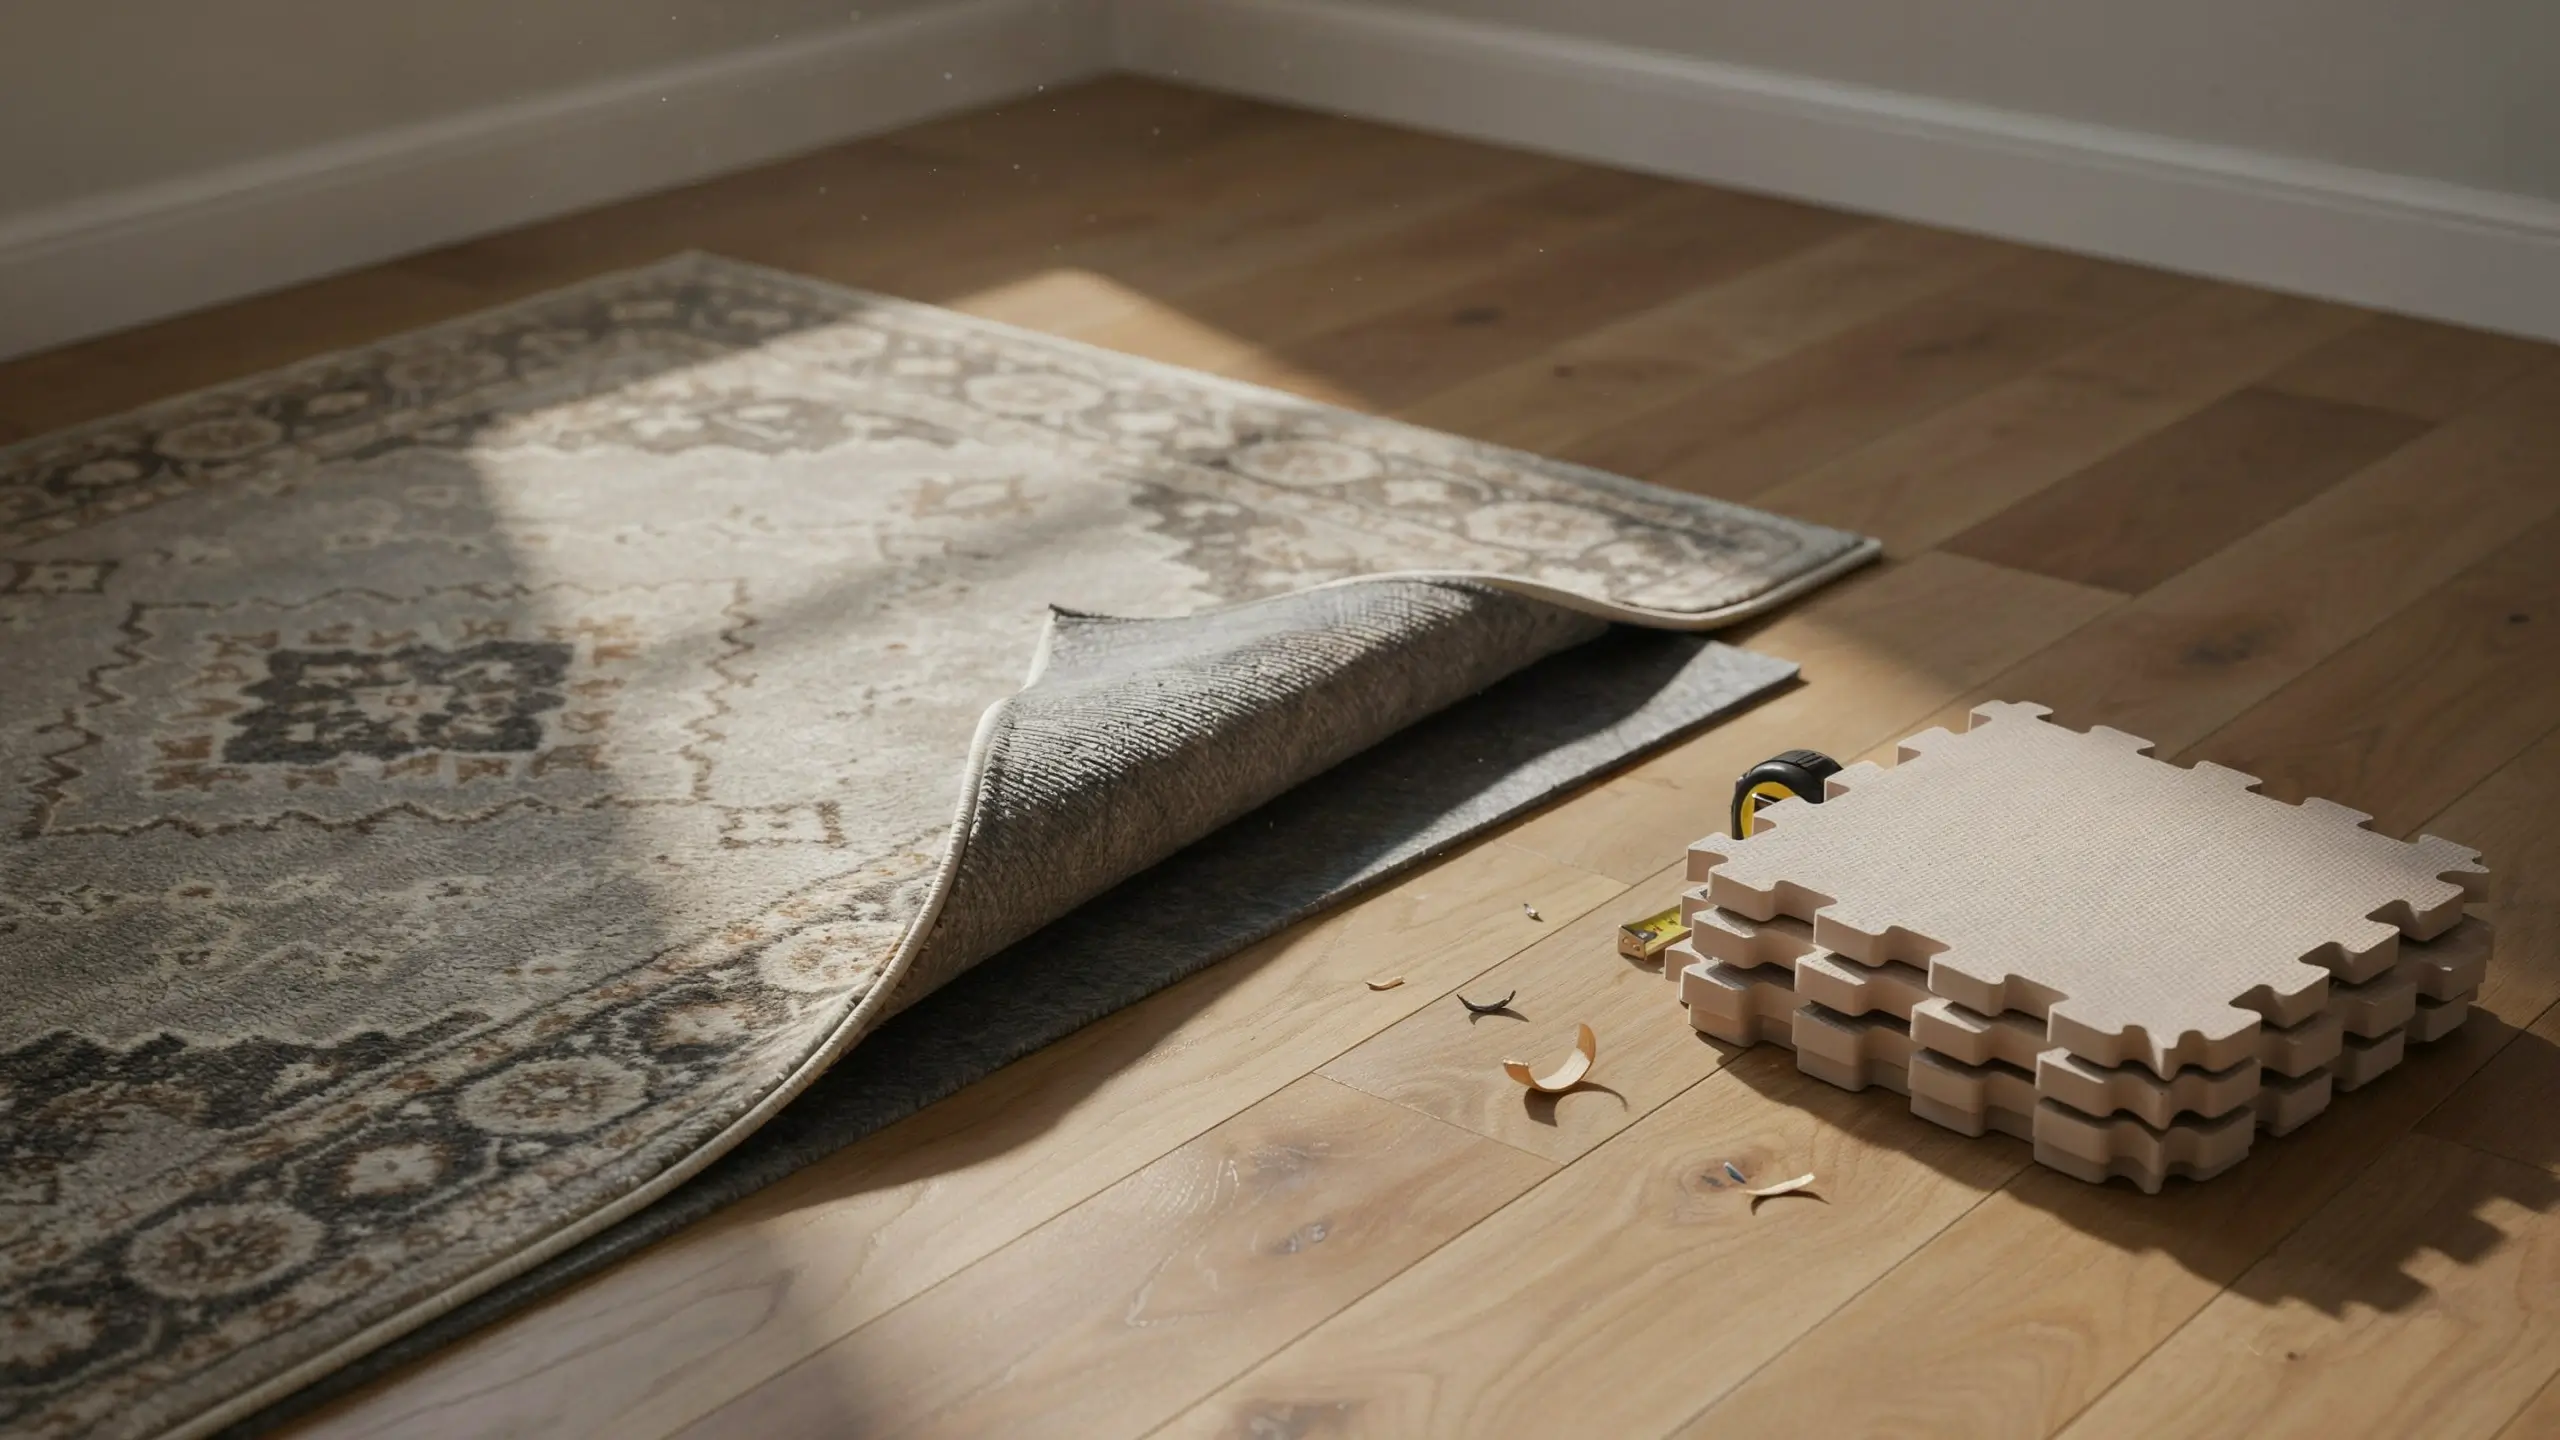
- Layer a rug pad under your rug: A thick felt or rubber pad does more for sound than the rug on top of it, and it’s the step most people skip entirely.
- Cover as much bare floor as you can, especially if you live above another unit. Bare hardwood or laminate bounces footstep noise straight through the ceiling below you.
- Interlocking foam tiles under the rug in high traffic areas add another layer with zero installation required.
Seal the Small Gaps Everyone Forgets

- Foam outlet gaskets: A few dollars for a pack. Slide them behind the switch plate cover on any outlet along a shared wall. They help with drafts too.
- Vent covers: These can help with noise traveling between rooms, but never block a vent your HVAC system or a gas heater actually needs for airflow. This is a safety issue, not just a soundproofing one, so leave functioning vents alone if you’re unsure.
- Gaps where trim meets the wall: A bead of removable painter’s putty seals small cracks without damaging the wall or your paint job.
Cheap Tricks That Don’t Actually Work
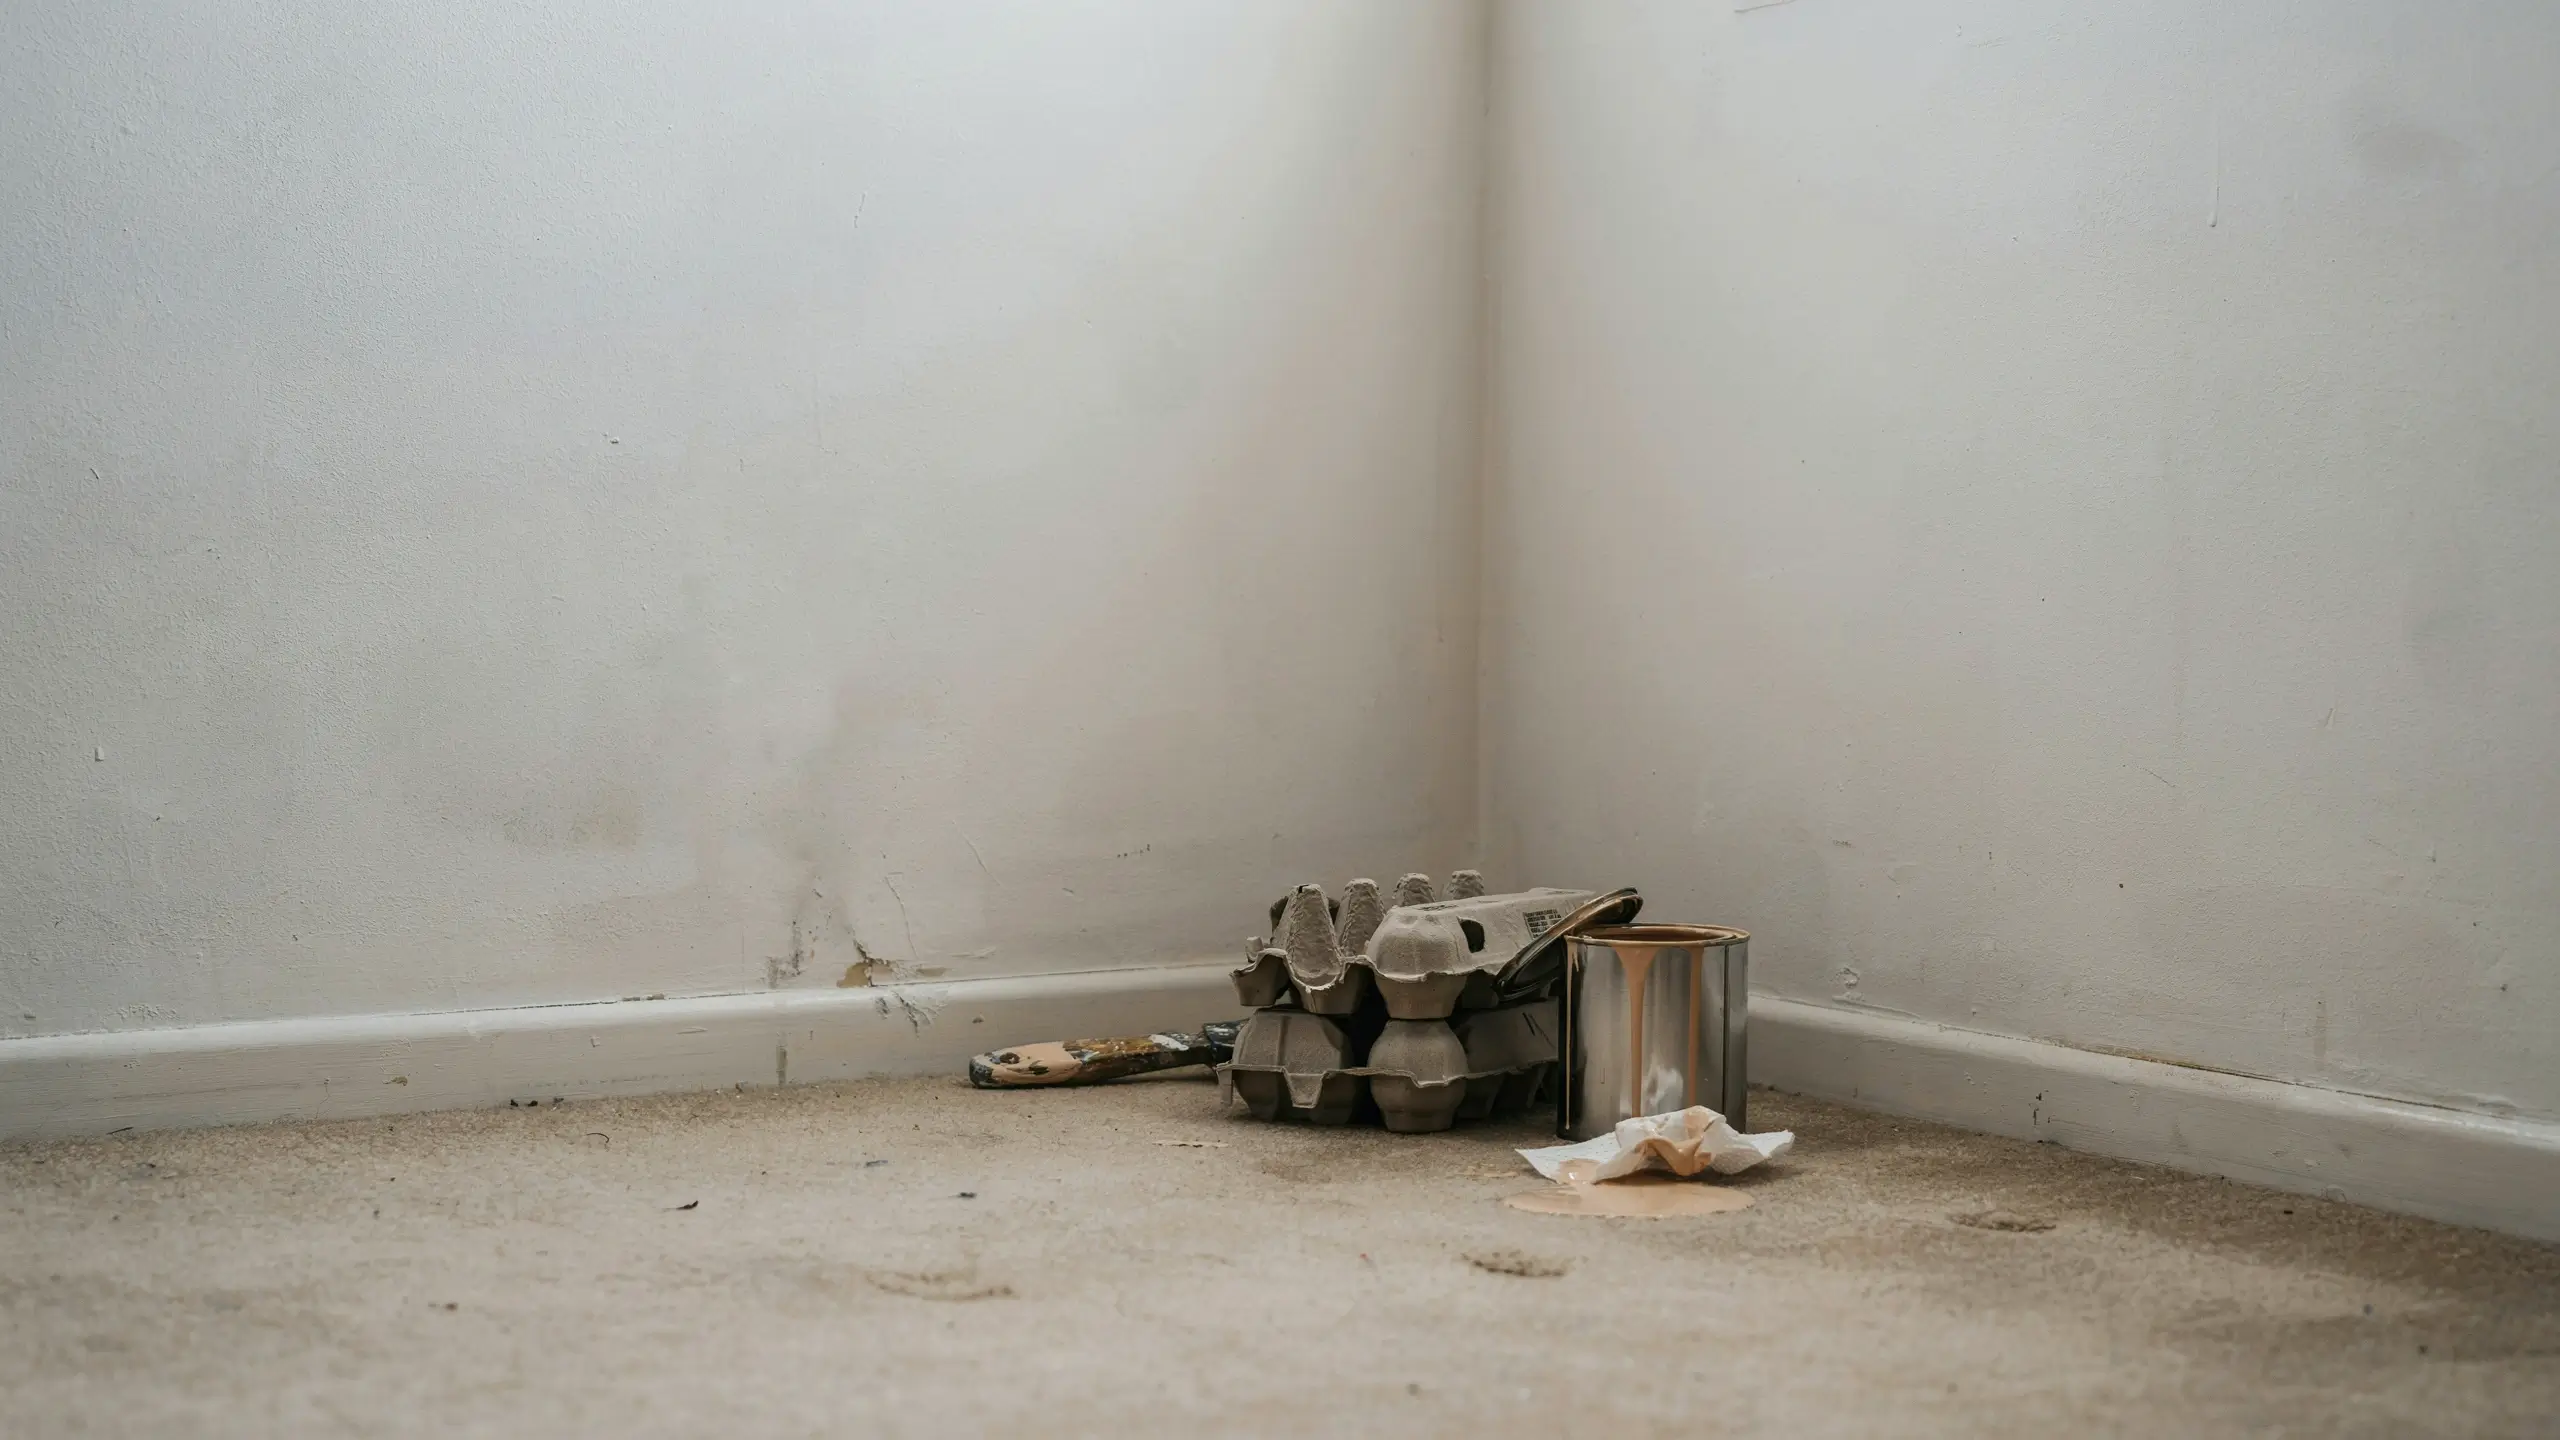
- Egg cartons: They don’t absorb sound the way people assume, and they’re a fire hazard. Skip them entirely.
- Acoustic paint: Mostly marketing. The real-world difference is small enough that it isn’t worth the price jump over a regular can of paint.
- Foam panels against a shared wall on their own: As mentioned above, foam reduces echo inside your room. It doesn’t block sound from entering in the first place.
When You Need More Than a Budget Fix
For genuinely loud situations, like heavy bass or a shared wall where you can hear full conversations, a white noise machine or even a simple box fan can give you fast, cheap relief while you work through the fixes above.
If the noise points to a structural issue, it’s worth mentioning to your landlord. Poor insulation between units is often a real maintenance issue, and you may not be the only tenant who has noticed.
Mass loaded vinyl and full wall assemblies do exist for people who need serious sound isolation, like musicians or podcasters recording daily. Those solutions move past “inexpensive” territory fast, and most households dealing with typical noise don’t actually need to go that far.
Final Thoughts
You genuinely don’t need a renovation to soundproof a room inexpensively. Layering a few small fixes across the door, windows, walls, and floor gets most rooms noticeably quieter, and starting with whatever leak you found in your five minute test means your money goes toward the thing that’s actually causing the problem instead of the thing that looked cool on Pinterest.
Start with one or two fixes this weekend, live with it for a few days, and add more where you still need it.
Which noise is bugging you the most right now, the neighbors, the street, or something inside your own house? Let me know in the comments, and tell me which trick you’re trying first.




No Comment! Be the first one.