




How to Make Your Home Look More Expensive on a Budget: 16 Tricks That Actually Work
You don’t need a renovation budget or a designer on speed dial to make your home look expensive. Most of the homes that look “put together” on Pinterest were not decorated with a...

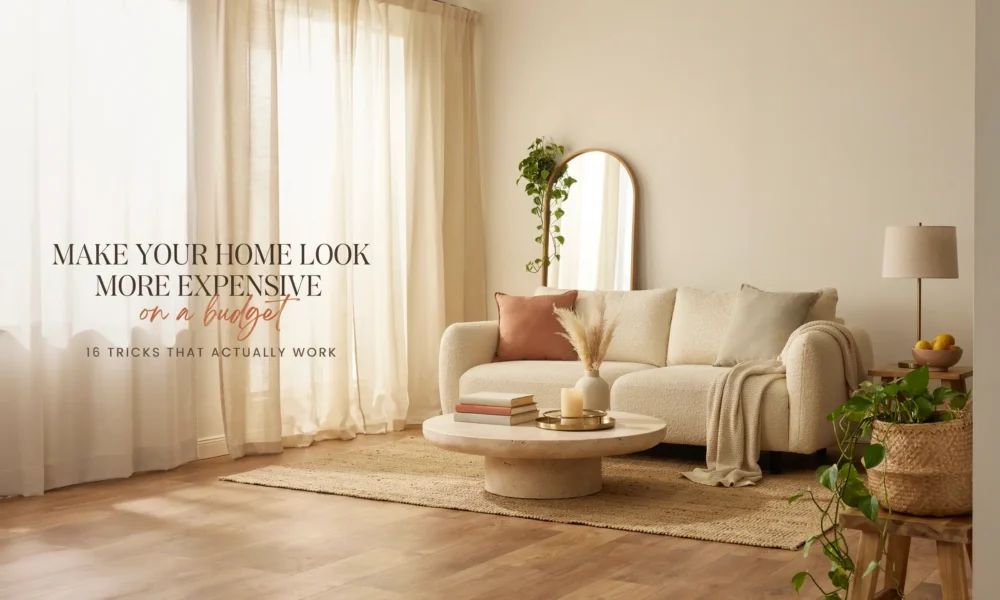
You don’t need a renovation budget or a designer on speed dial to make your home look expensive. Most of the homes that look “put together” on Pinterest were not decorated with a huge budget. They were decorated with a few specific choices repeated on purpose, room after room.
If you have ever walked into a home and thought “this feels so much nicer than mine, but I can’t tell you why,” that feeling almost never comes down to money. It comes down to details most people skip. Curtain height. Matching hardware. A rug that’s actually the right size. Once you know what those details are, you can copy them in a weekend, whether you’re a renter working with what you’ve got or a homeowner slowly upgrading room by room.
This list skips the generic advice you’ve already seen a hundred times and focuses on the specific changes that make the biggest visual difference for the least money.
1. Declutter Every Surface Before You Buy Anything New
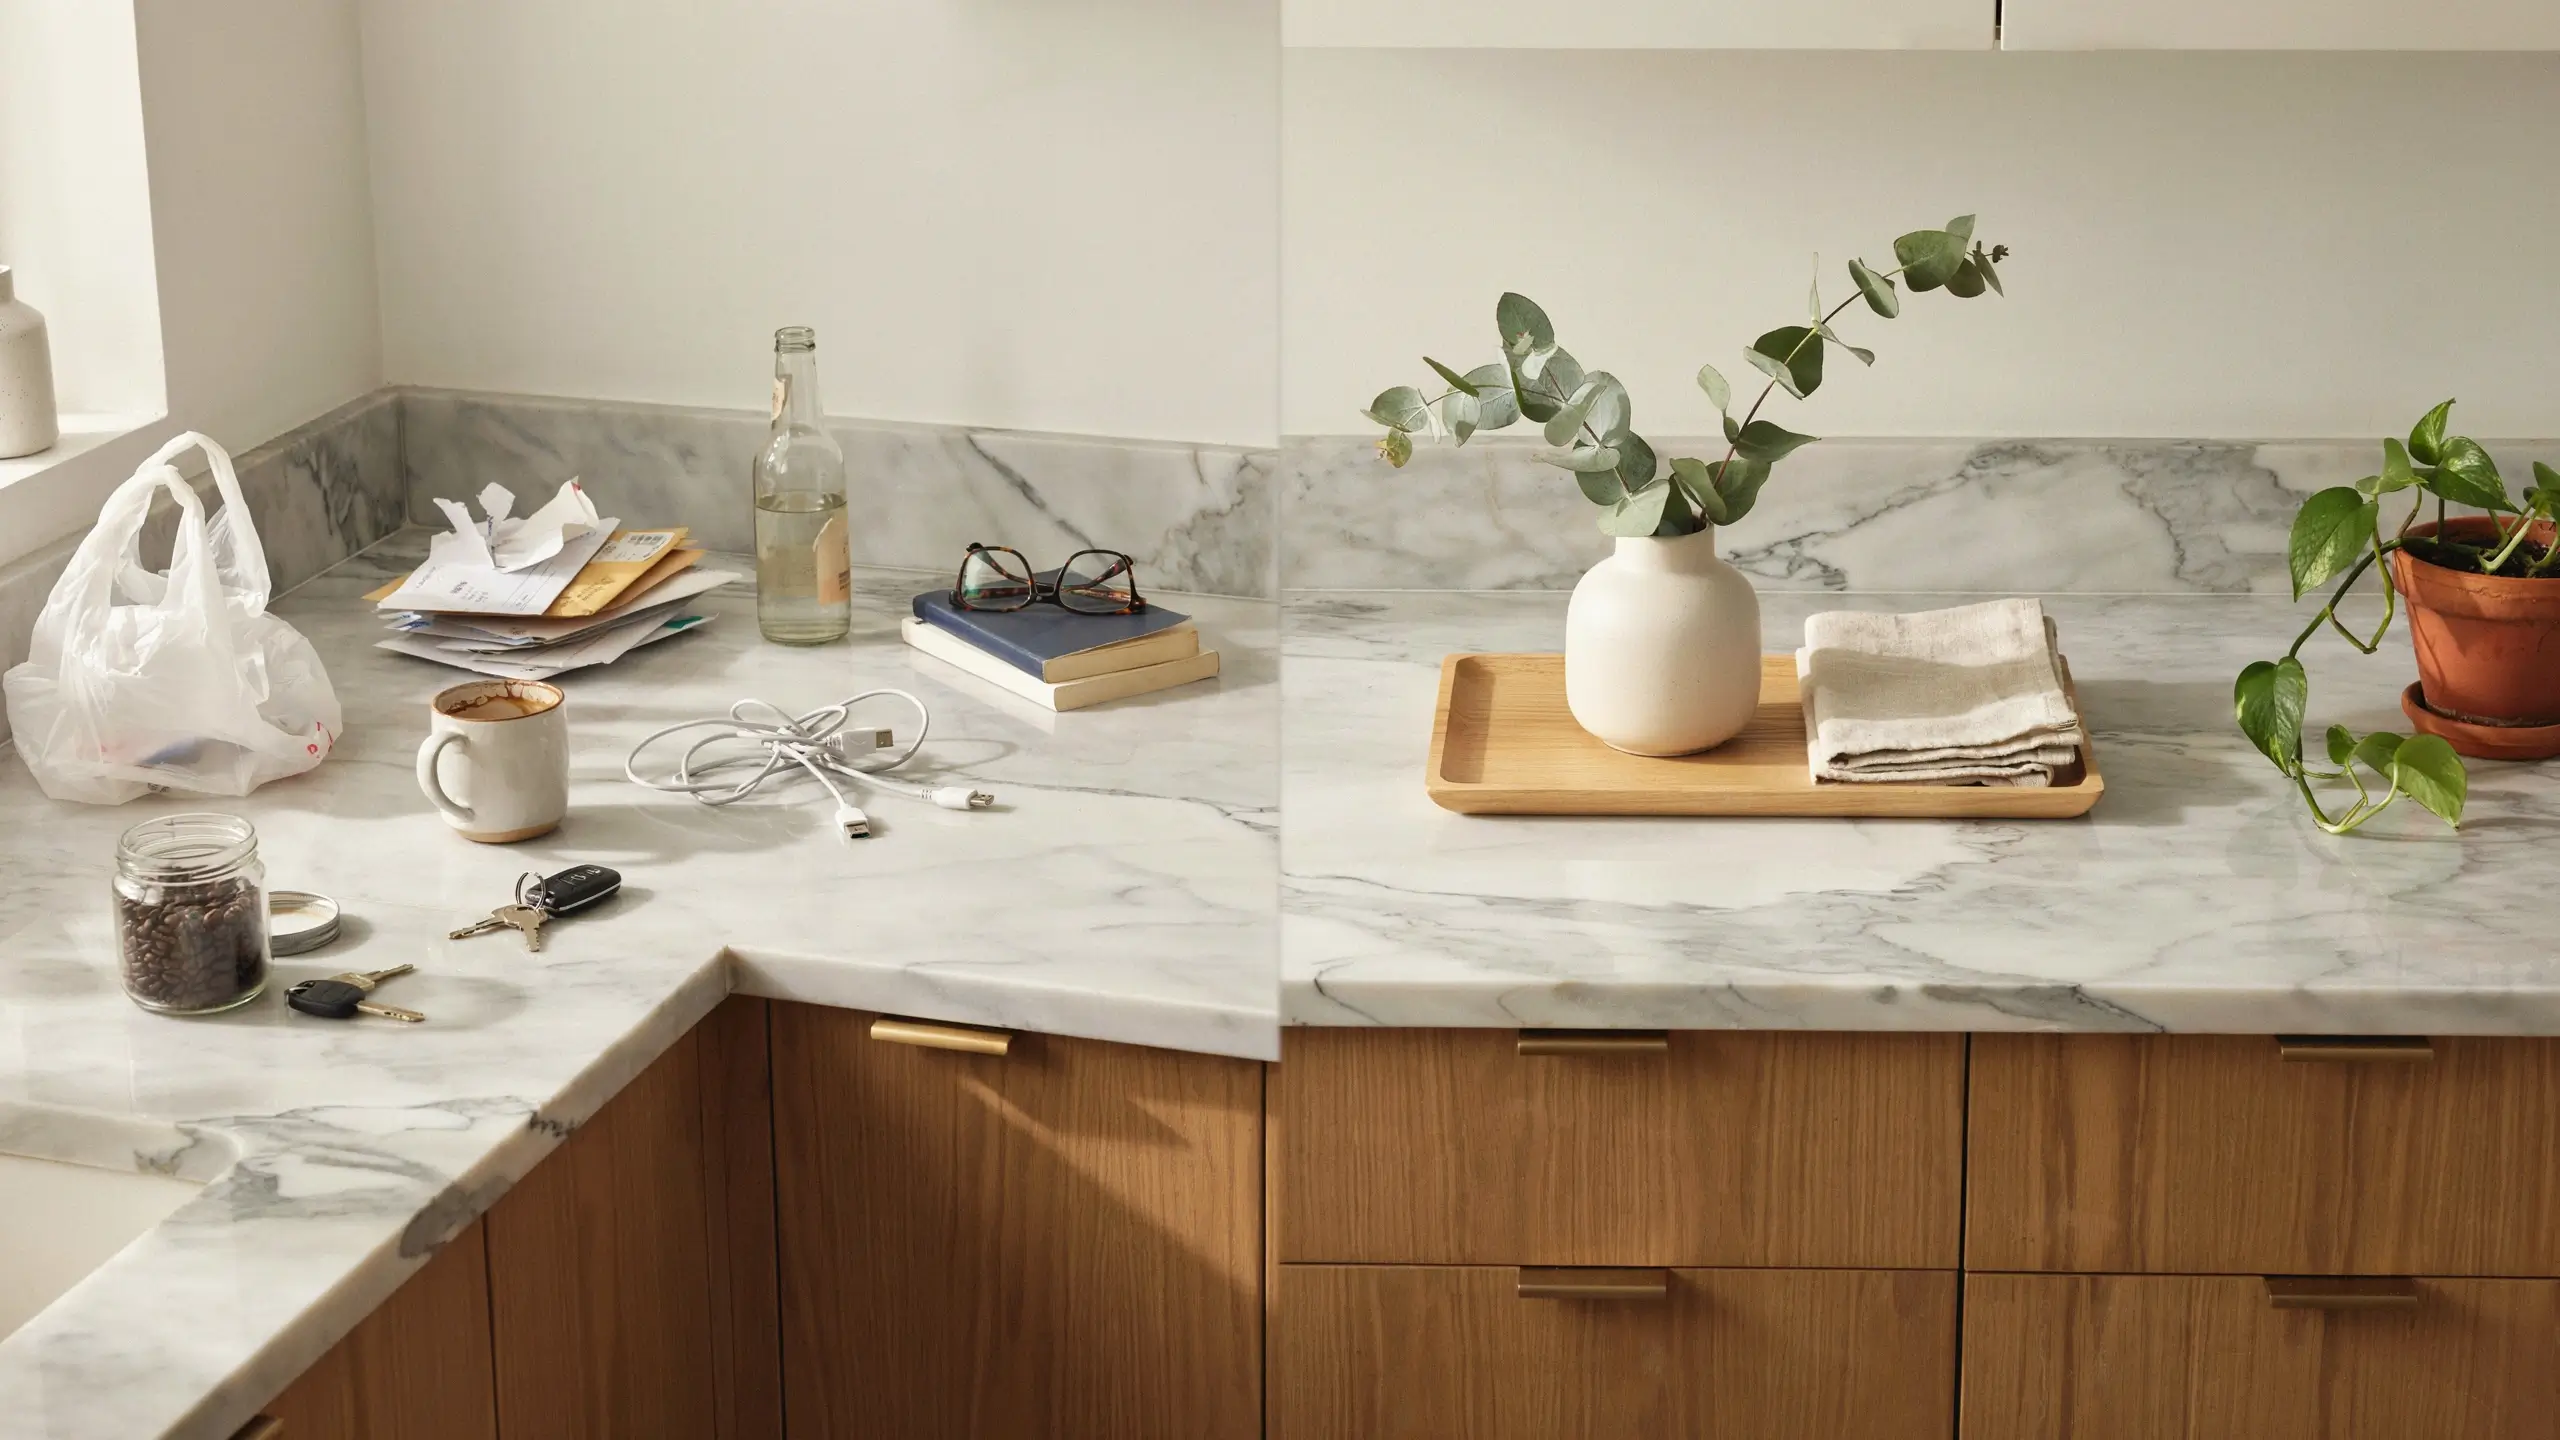
This is the one tip that costs nothing and makes the biggest difference. Expensive-looking rooms have breathing room. Cheap-looking rooms are full.
Clear your kitchen counters down to the essentials, your coffee table down to one or two objects, your bathroom counter down to what you actually use daily. A single tray with two candles looks styled. Ten random bottles and a hair tie pile does not.
Mistake to avoid: buying new decor and layering it on top of existing clutter instead of clearing space first. New pillows on a messy couch still reads messy.
2. Pick One Color Story and Repeat It Through Every Room
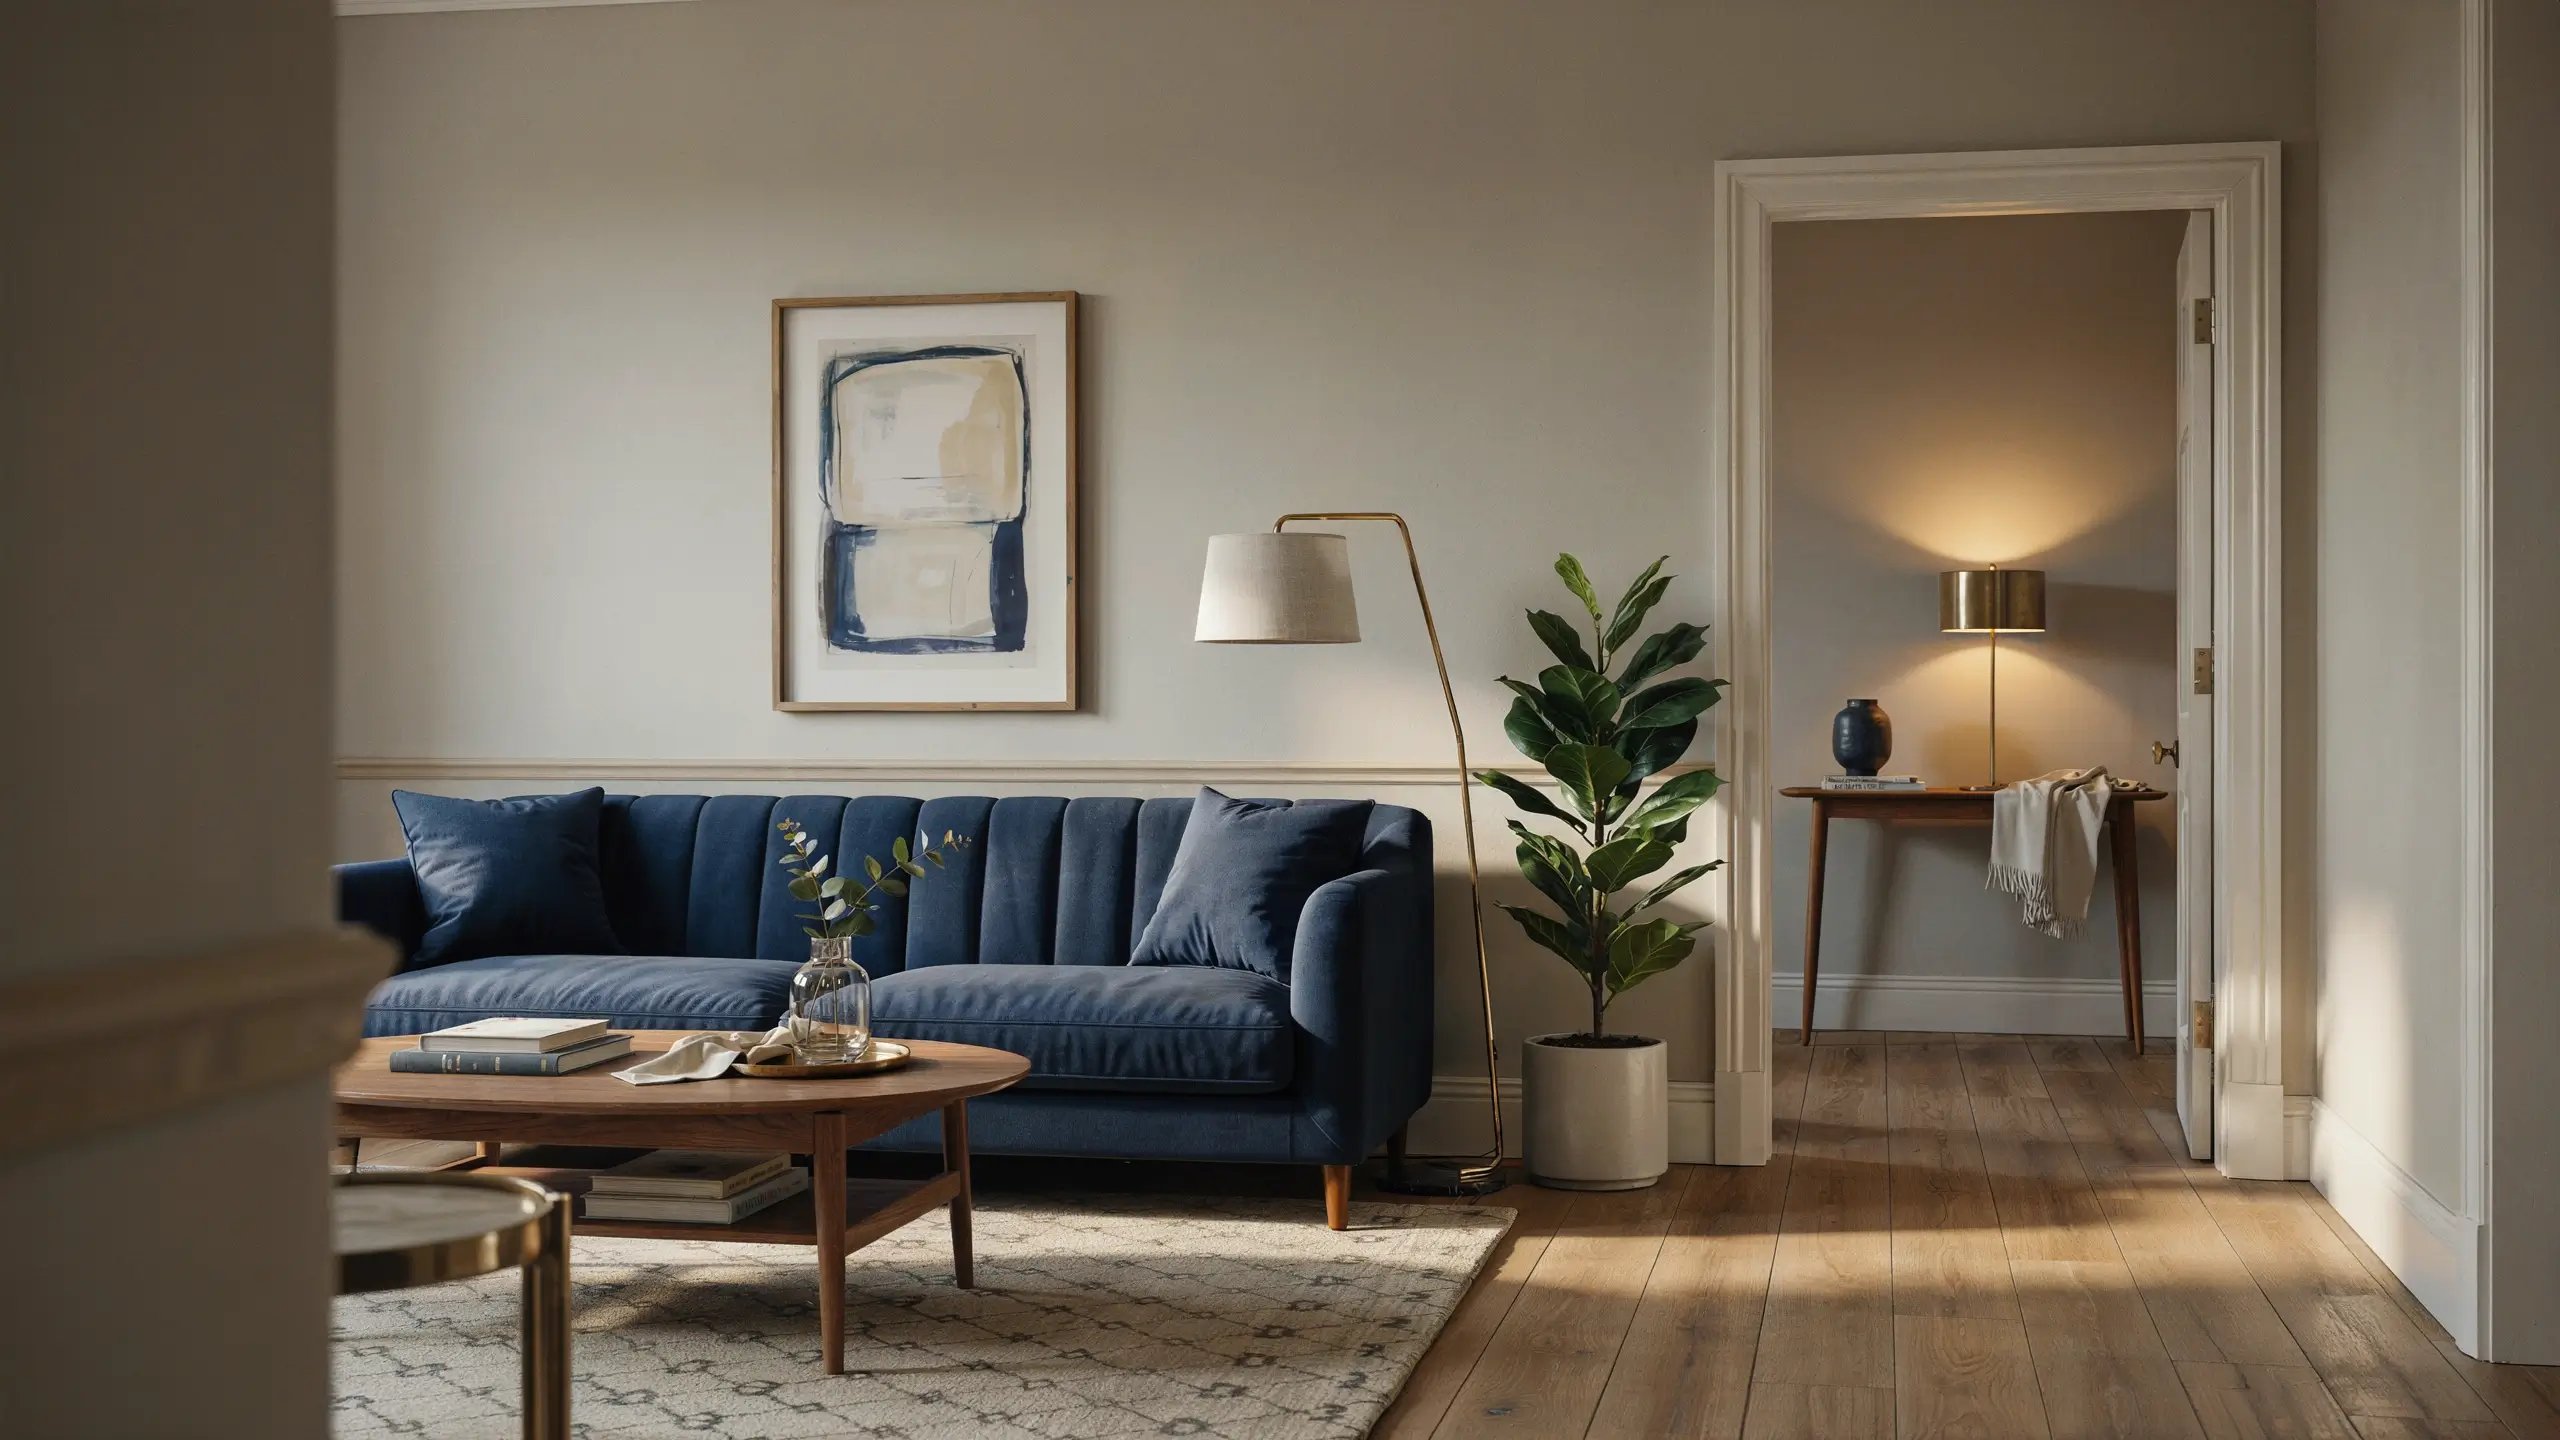
High-end homes usually stick to two or three colors that carry through the whole space, on walls, furniture, and small accents like frames and lamps. When the palette repeats from the hallway into the living room into the bedroom, the whole house feels connected instead of like a patchwork of leftover paint colors.
Pick a base neutral (warm white, soft greige, or a warm gray), one deeper accent (navy, charcoal, or a rich green), and one metal tone. Use that same trio everywhere. Even a small can of the same trim paint used in every room makes a rental feel considered instead of random.
3. Hang Your Curtains Higher and Wider Than Feels Natural
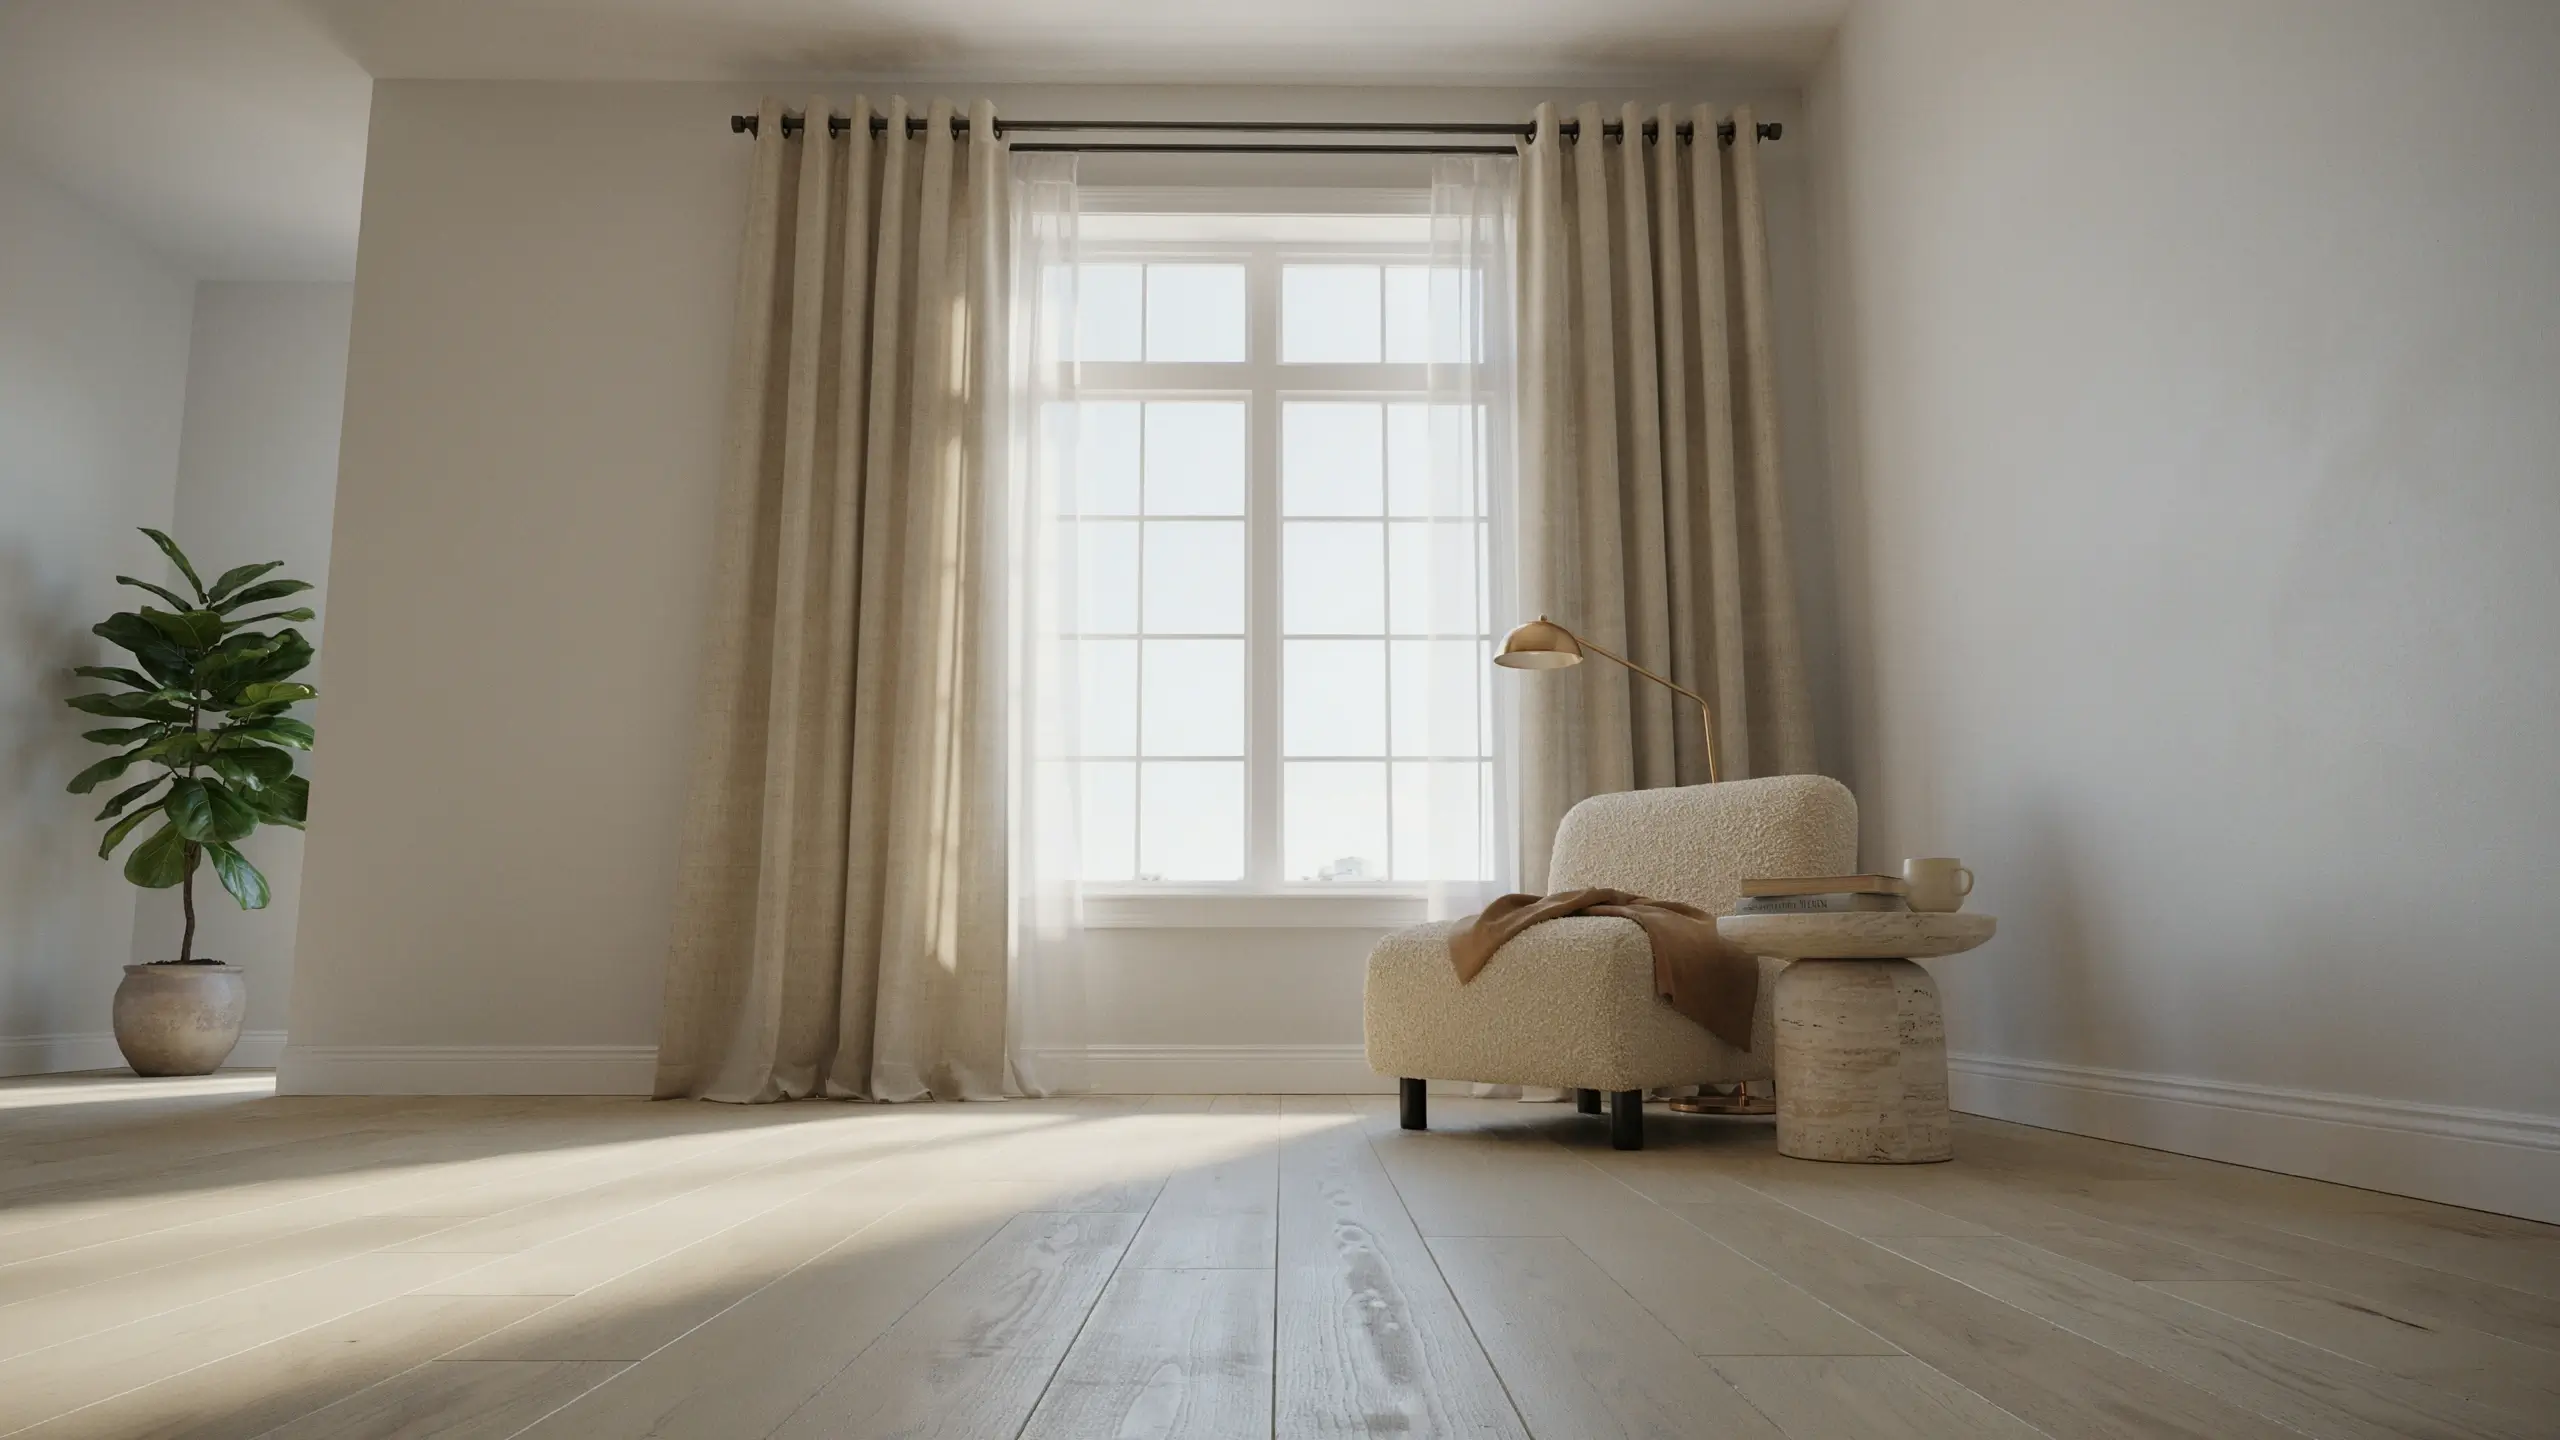
This is one of the cheapest tricks that photographs incredibly well on Pinterest. Mount your curtain rod as close to the ceiling as you can, or at least 4 to 6 inches above the window frame, and extend it 6 to 10 inches past each side of the window.
This does two things: it makes your ceilings look taller and your windows look bigger, and it lets the panels fully clear the glass so light isn’t blocked when they’re open. Choose panels long enough to graze the floor, not hover a few inches above it.
Mistake to avoid: short curtains that stop above the floor, or a rod mounted right on the window frame. Both are instant giveaways of a rushed, budget space, even in a beautifully decorated room.
Safety note: if you’re mounting near the ceiling, use a stud finder or the correct drywall anchors for the weight of your curtains, especially with heavier fabric.
4. Layer Your Lighting Instead of Relying on One Overhead Light
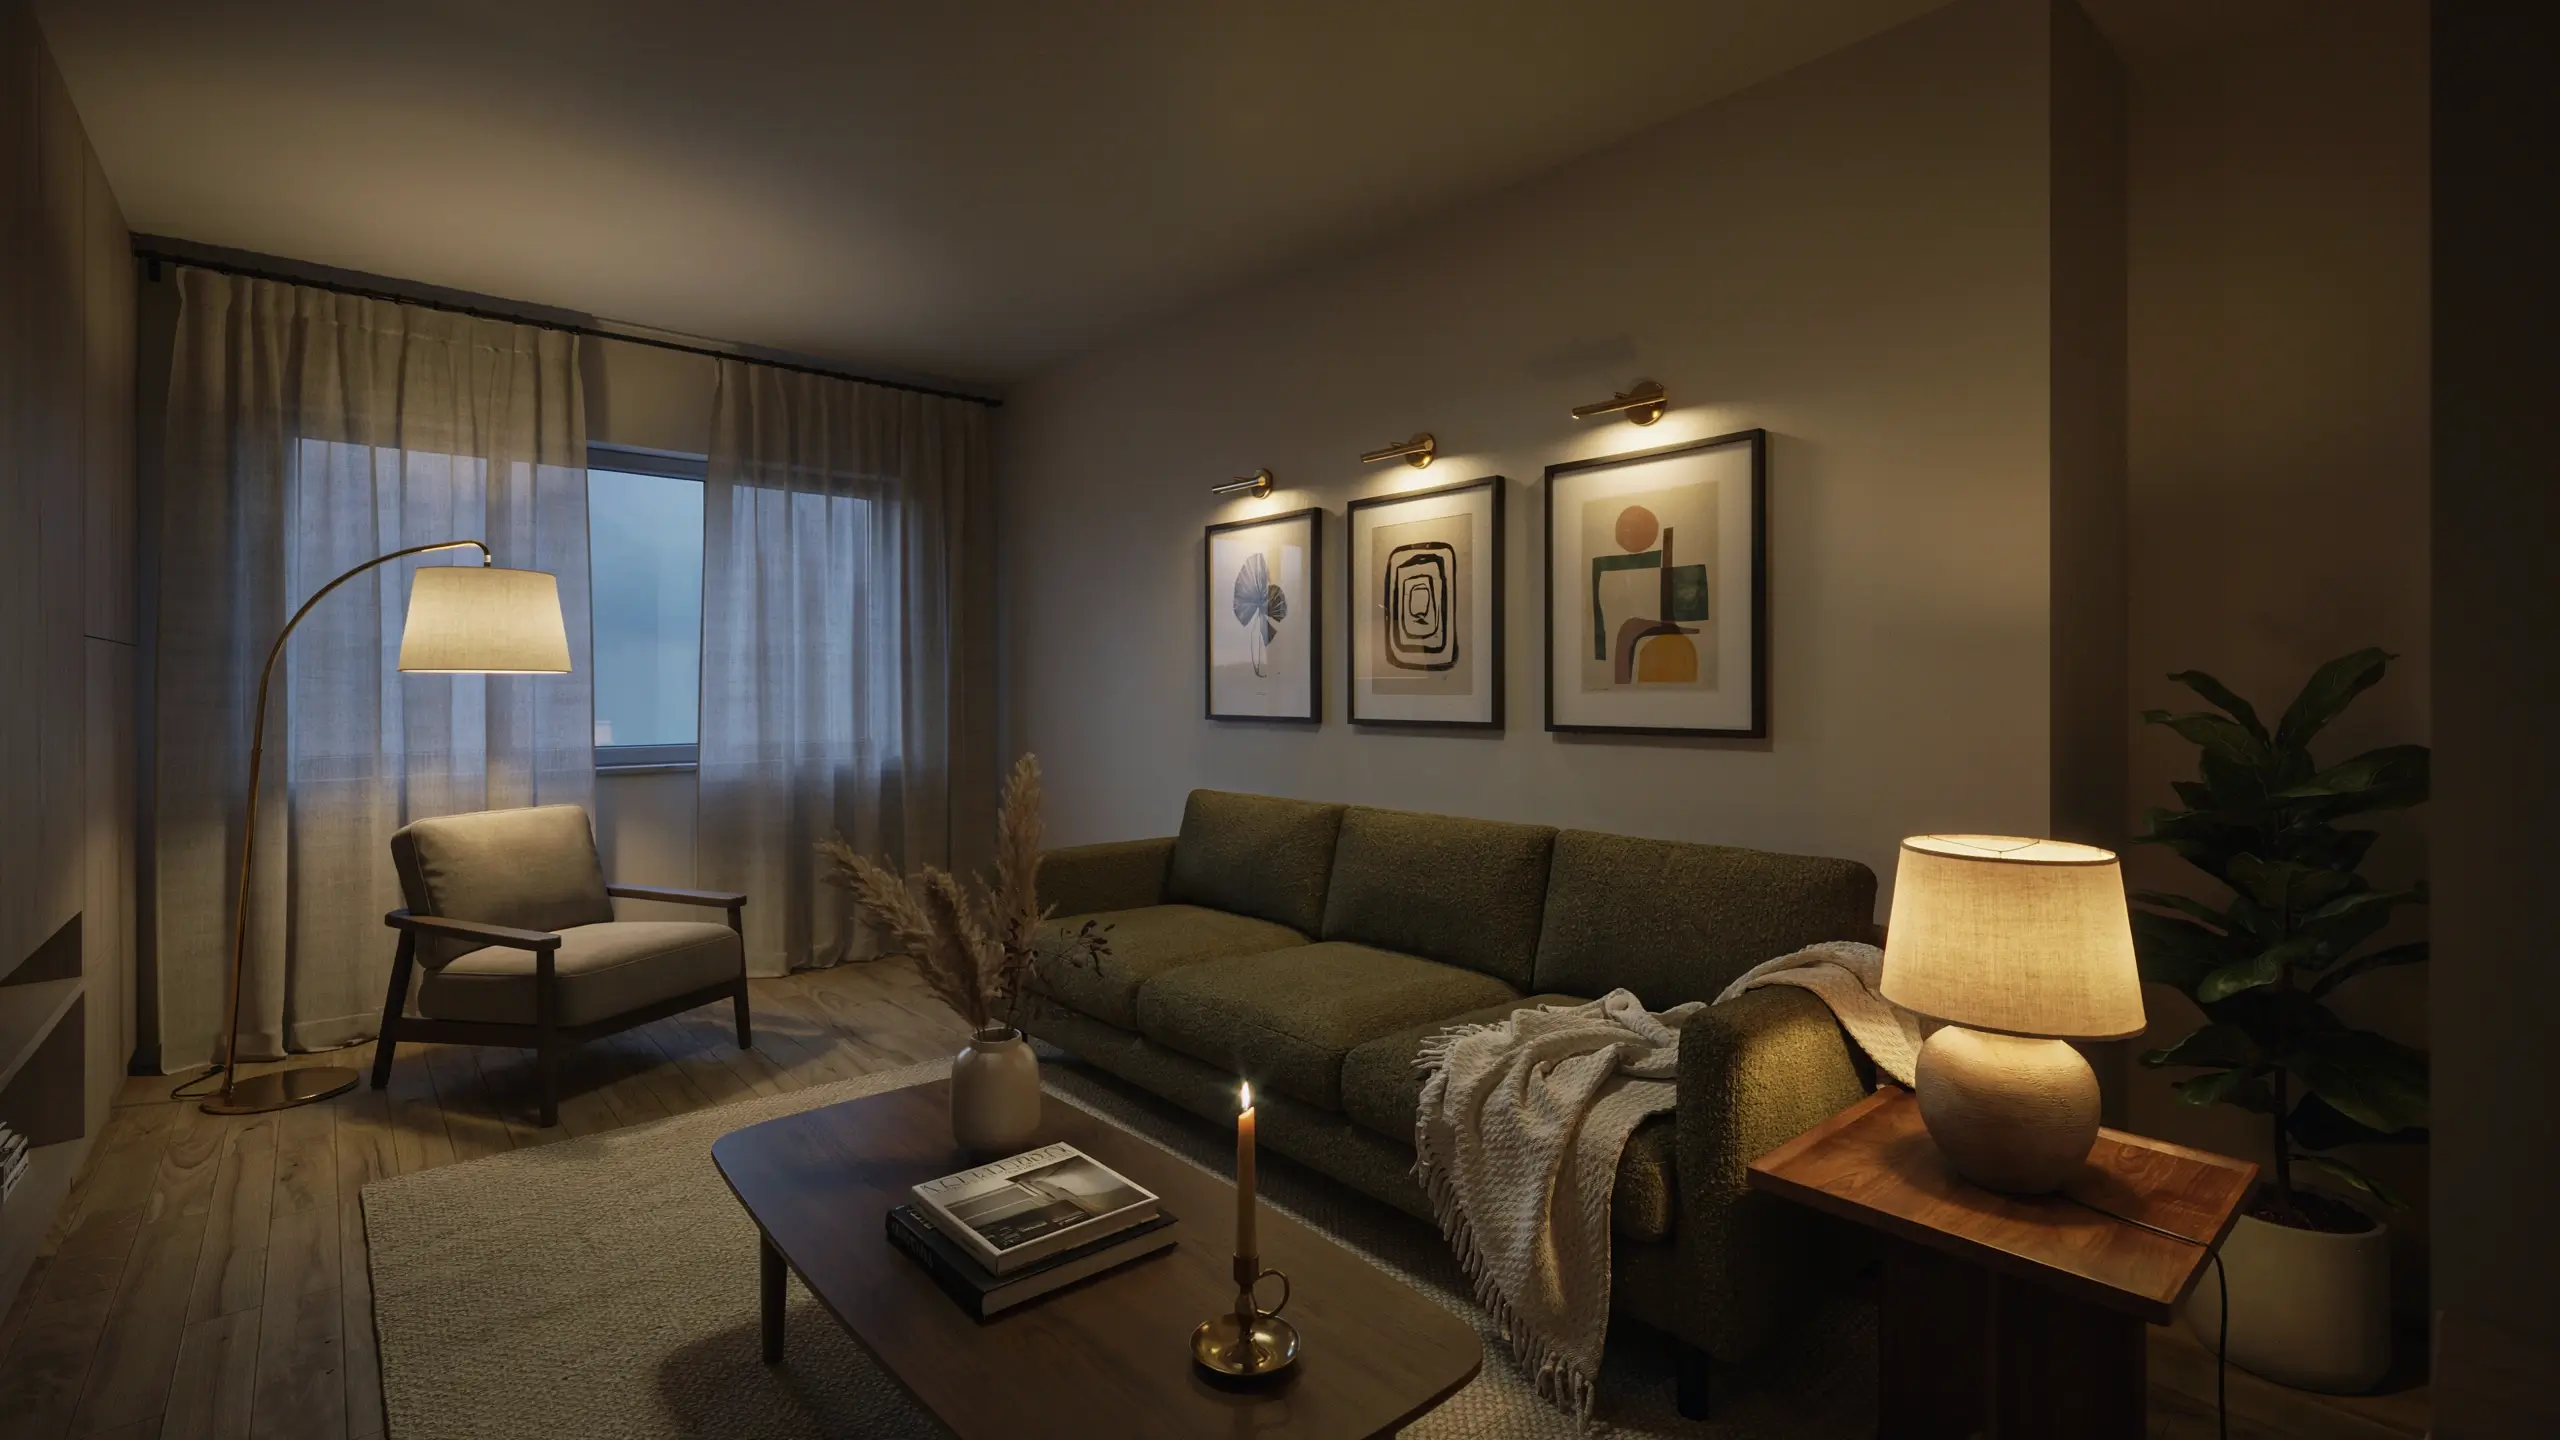
A single bright overhead light is one of the fastest ways to make a nice room feel like a rental. Add at least two more light sources: a floor lamp, a table lamp, or picture lights.
Swap any cool white bulbs for warm white, around 2700K to 3000K, in every lamp and fixture. A $15 plug-in lamp dimmer lets you soften the mood in the evening. Swap a plastic lamp shade for a linen or fabric one if you’re keeping an old lamp base. The difference in a photo, and in person, is significant.
5. Add One Secondhand Statement Fixture
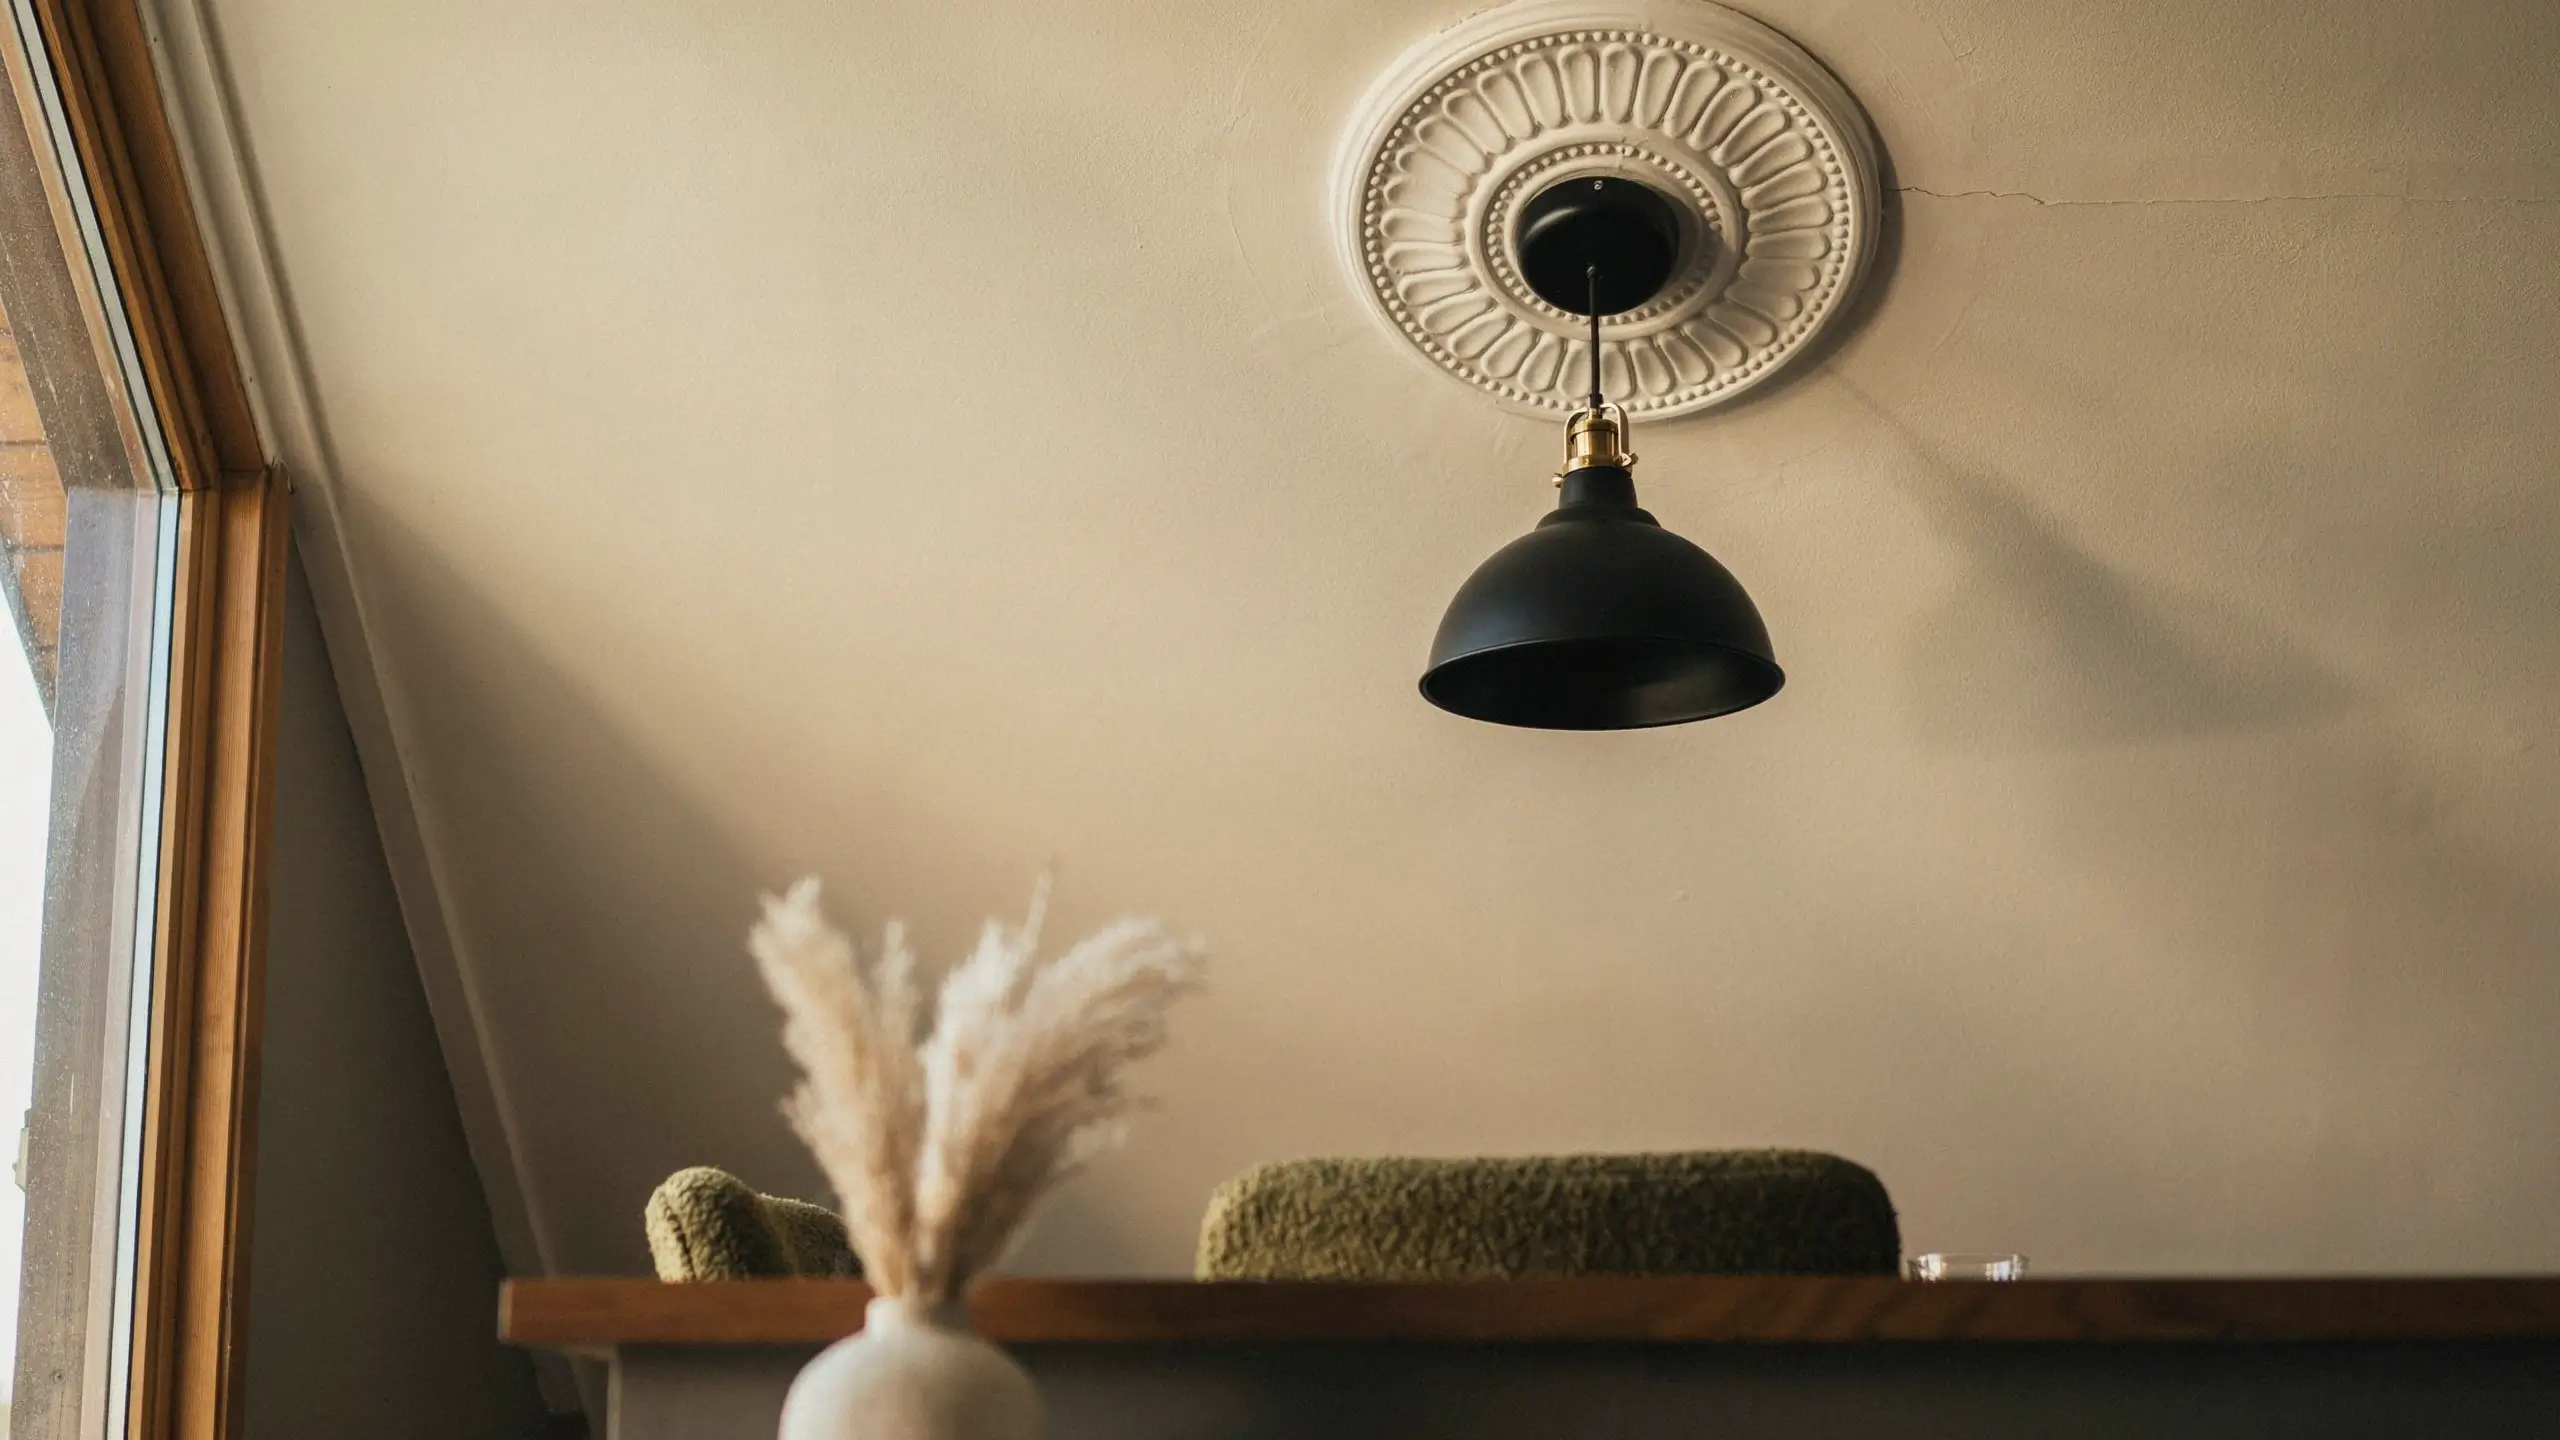
You don’t need a designer light fixture in every room, just one. Check Facebook Marketplace, thrift stores, or estate sales for an older chandelier or pendant with good bones. A quick coat of matte black or warm brass spray paint updates the finish for under $15.
Pair a new pendant over a dining table or entry with a paintable resin ceiling medallion (usually $15 to $25) to fake a built-in, expensive-looking installation.
Safety note: have an electrician check the wiring on any secondhand fixture before installing it, and always turn off the breaker before doing electrical work yourself.
6. Mix at Least Three Textures in Every Room
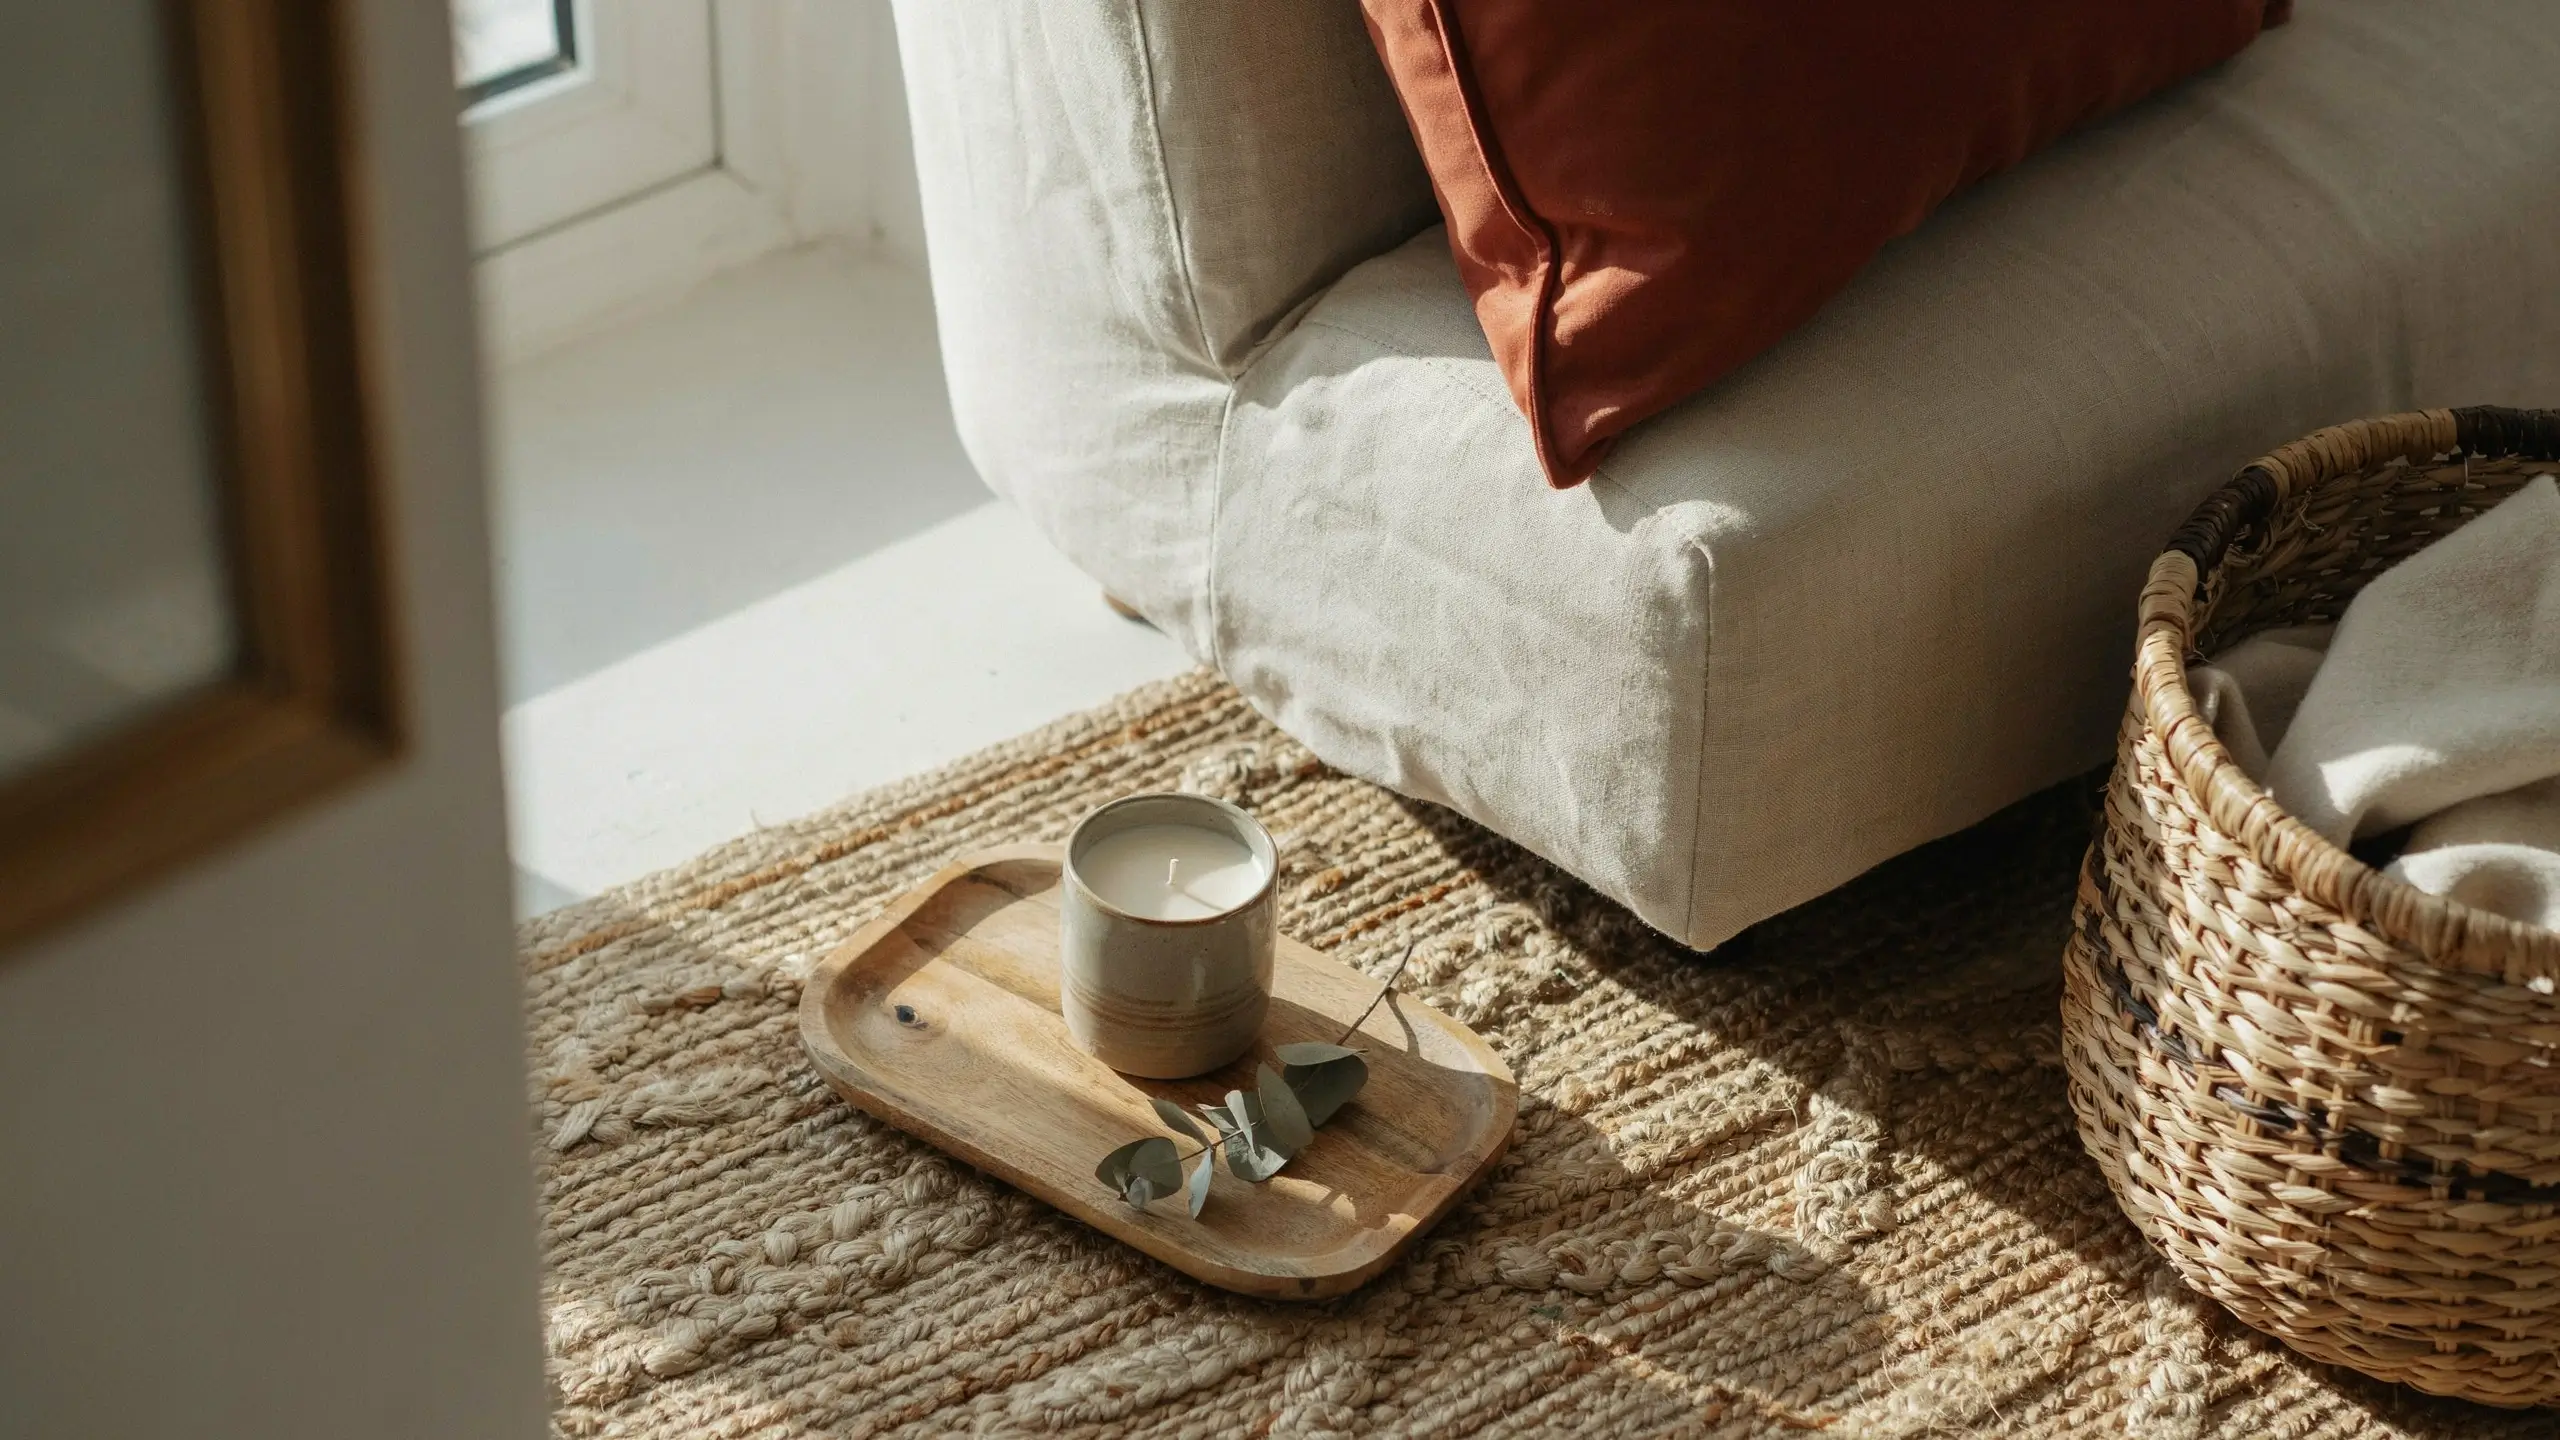
Rooms that look expensive rarely rely on color alone. They rely on texture: a chunky wool or jute rug, a velvet throw pillow, a woven rattan basket, linen curtains, a wood tray, a leather or ceramic accent.
Look around your main room right now. If almost everything is smooth, shiny, or plastic, that’s the flat, big-box-store look. Add one textured throw, one woven basket, one wood or stone object, and the room instantly feels richer without adding clutter.
7. Keep Your Metal Finishes Consistent in Each Space
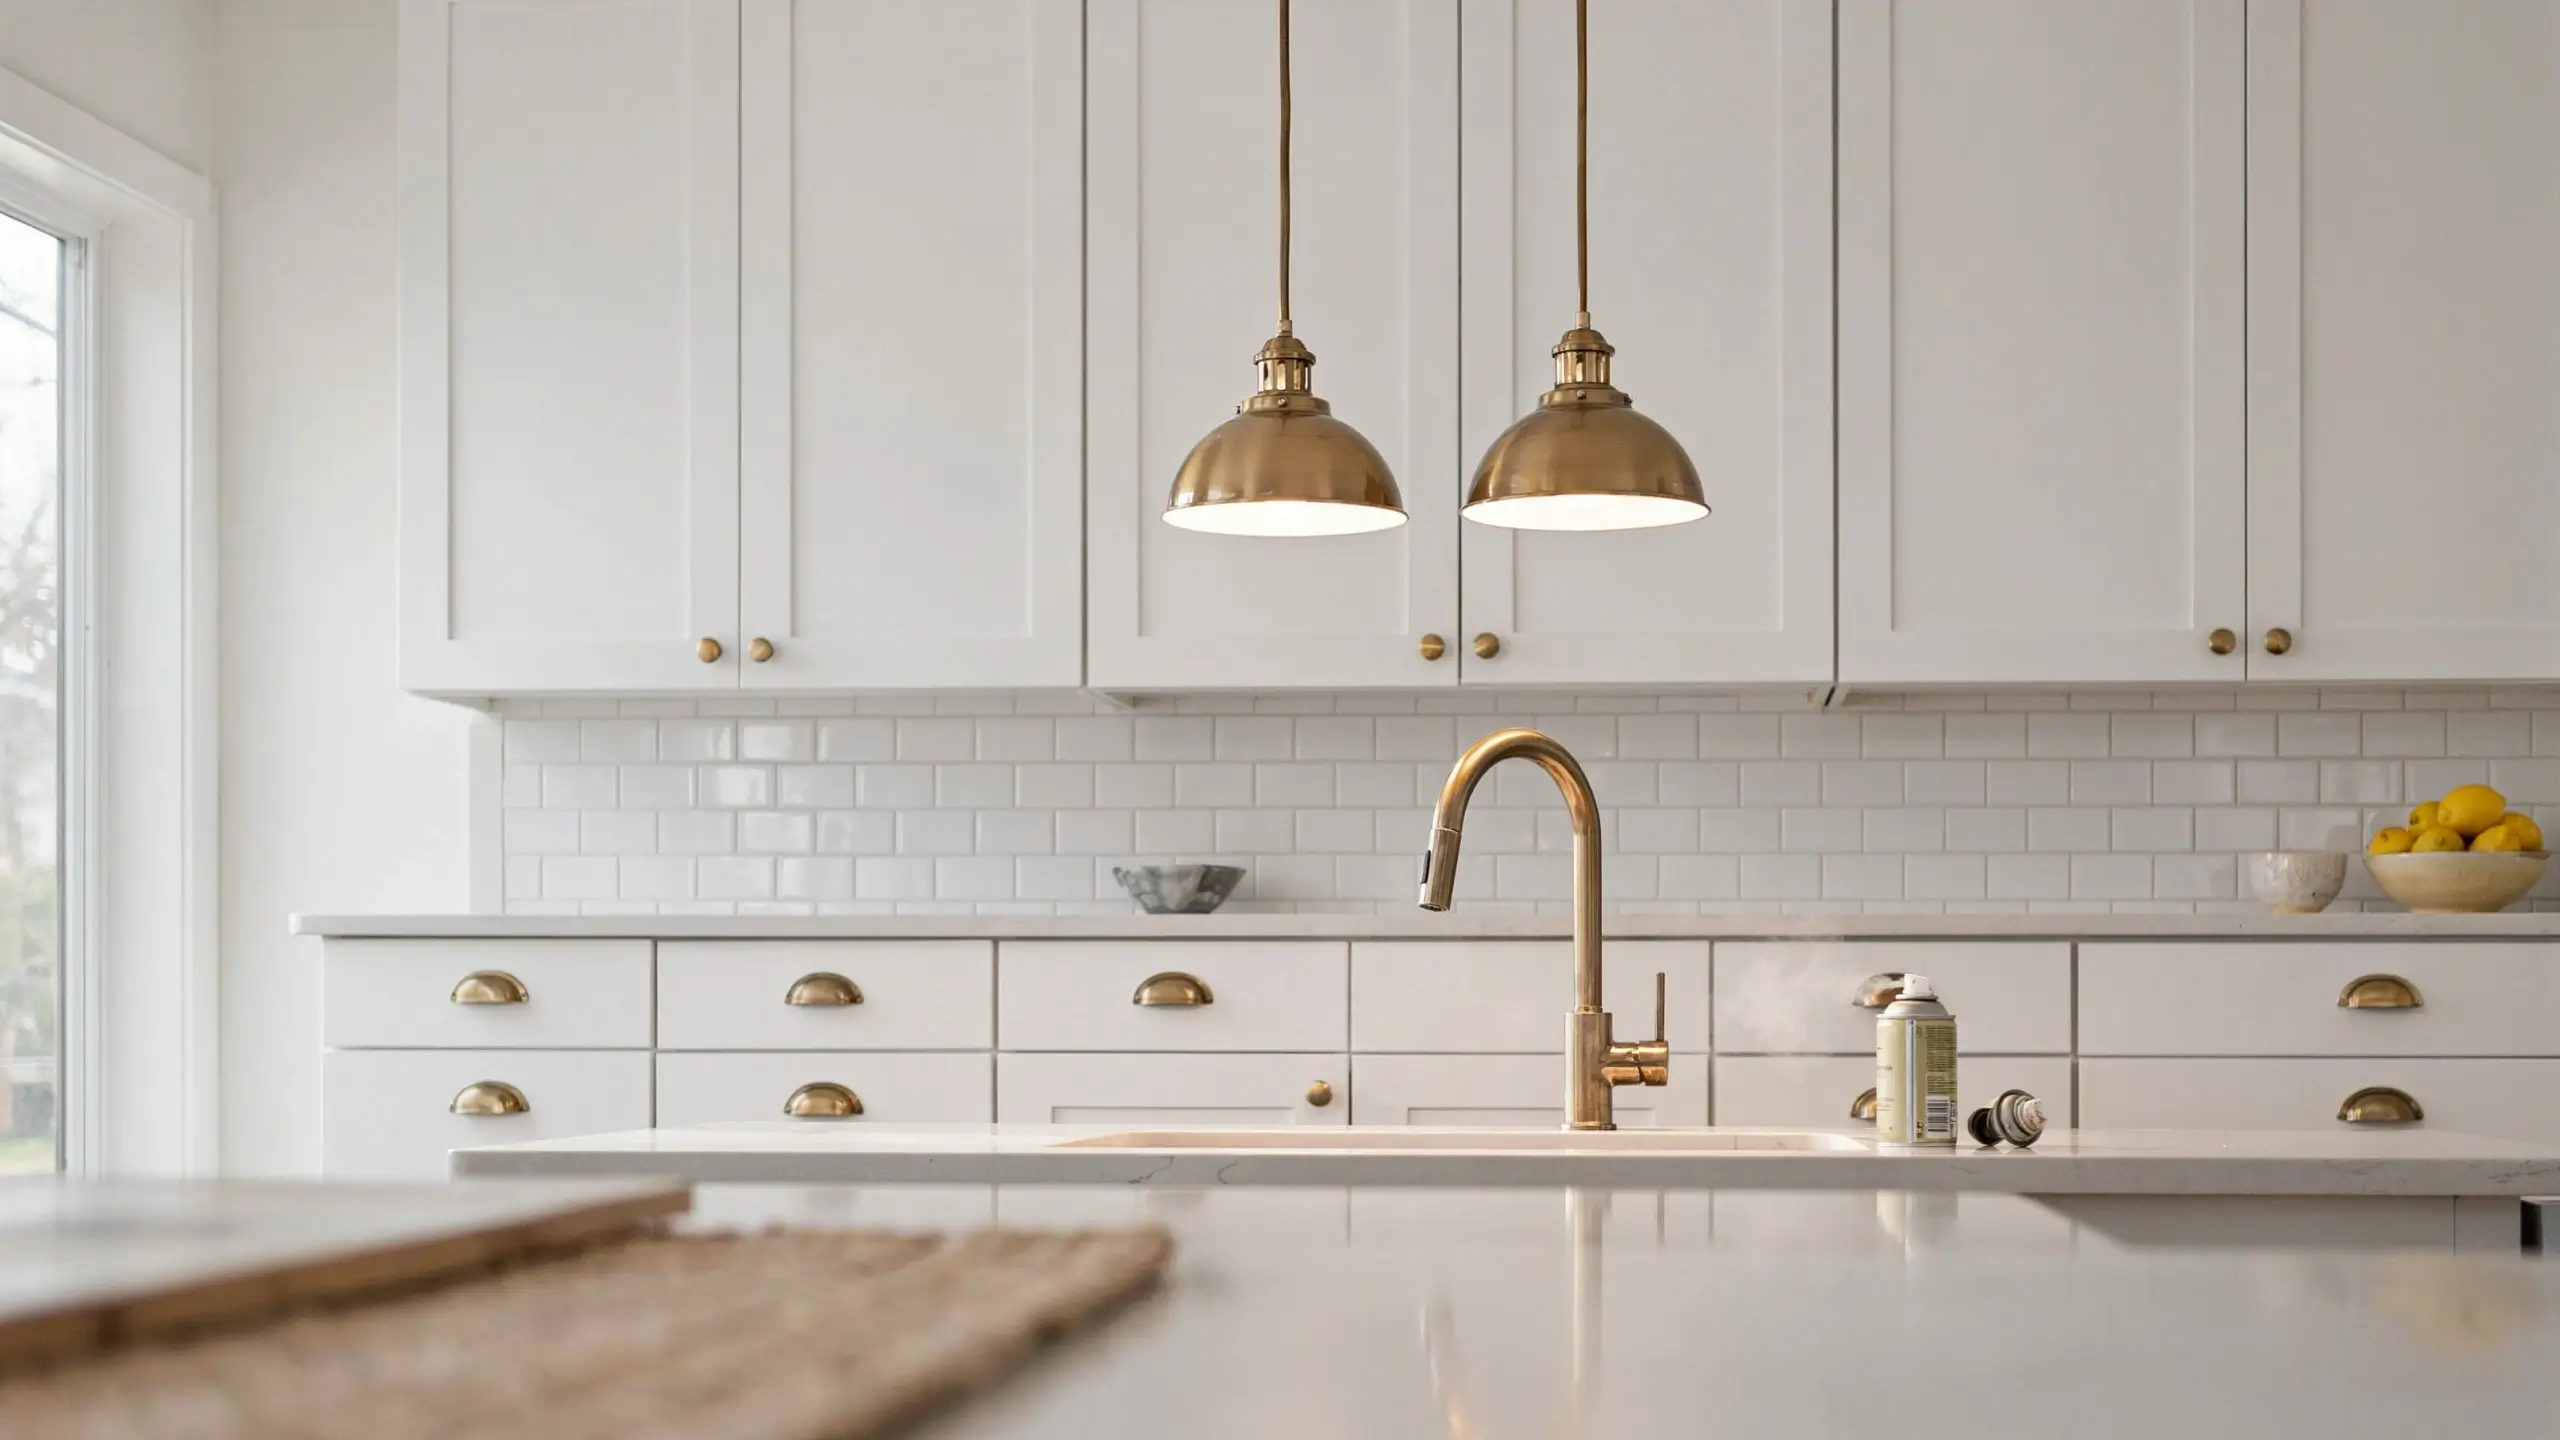
Pick one metal tone per room, matte black, warm brass, or brushed nickel, and use it for cabinet hardware, faucets, light fixtures, and picture frames within that sightline. Mixing chrome, gold, black, and silver randomly in the same view is one of the quickest ways to make a space feel thrown together.
The cheap fix: a $6 can of spray paint on outdated cabinet knobs, drawer pulls, or light switch plates can unify an entire kitchen or bathroom in an afternoon.
8. Trade Plastic and Wire Items for Wood, Glass, or Metal
Walk through your home and note anything plastic that’s used every day: the trash can, the laundry basket, the wire closet hangers, the plastic soap dispenser, the tissue box.
Swap them for a metal or wood trash can, a woven laundry basket, slim velvet or wood hangers, and a glass pump soap dispenser. None of these need to be expensive. Thrift stores, HomeGoods, and dollar stores all carry versions of each. The material change alone makes everyday objects feel intentional instead of like leftovers from a big-box multipack.
9. Use Trays to Corral Loose Items
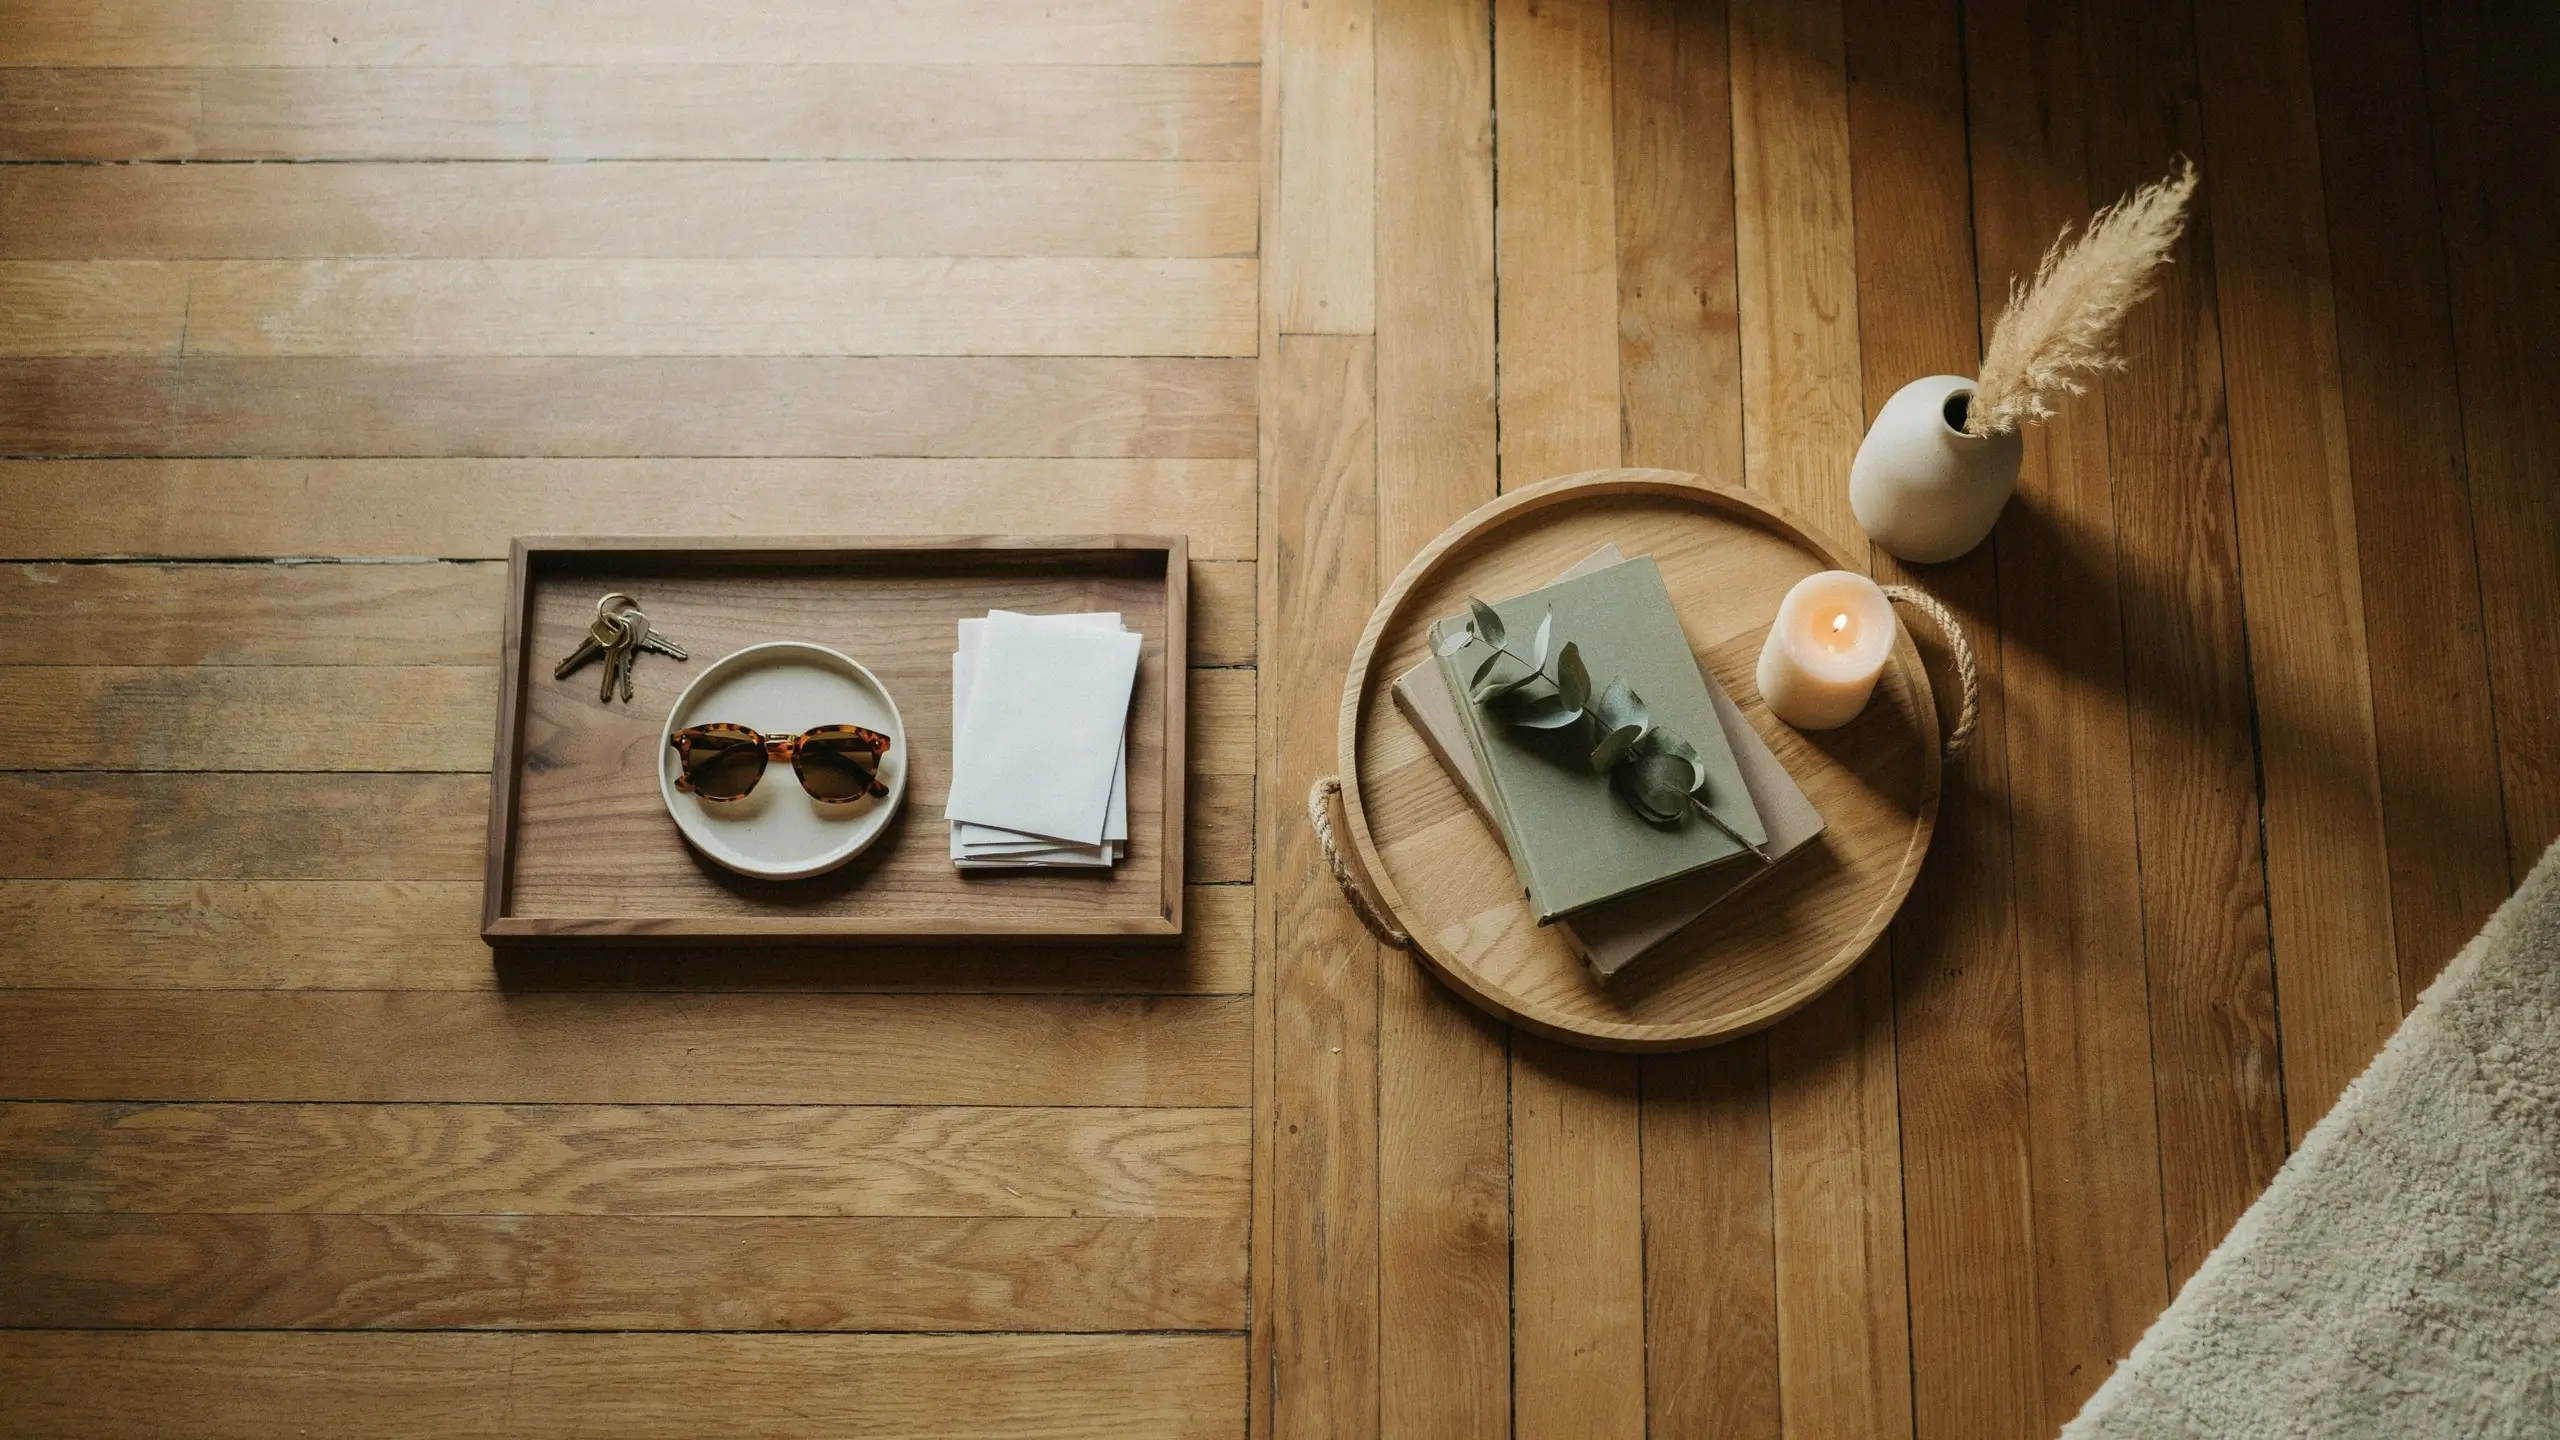
A tray is one of the cheapest styling tools that exists, usually $8 to $25. Use one on the bathroom counter for soap and lotion, one on the coffee table for a candle and a small stack of books, one by the front door for keys and mail, and one on the kitchen counter for oils and utensils.
A tray turns “stuff sitting around” into “a styled vignette,” even though the objects underneath haven’t changed.
10. Give Every Room One Real Focal Point
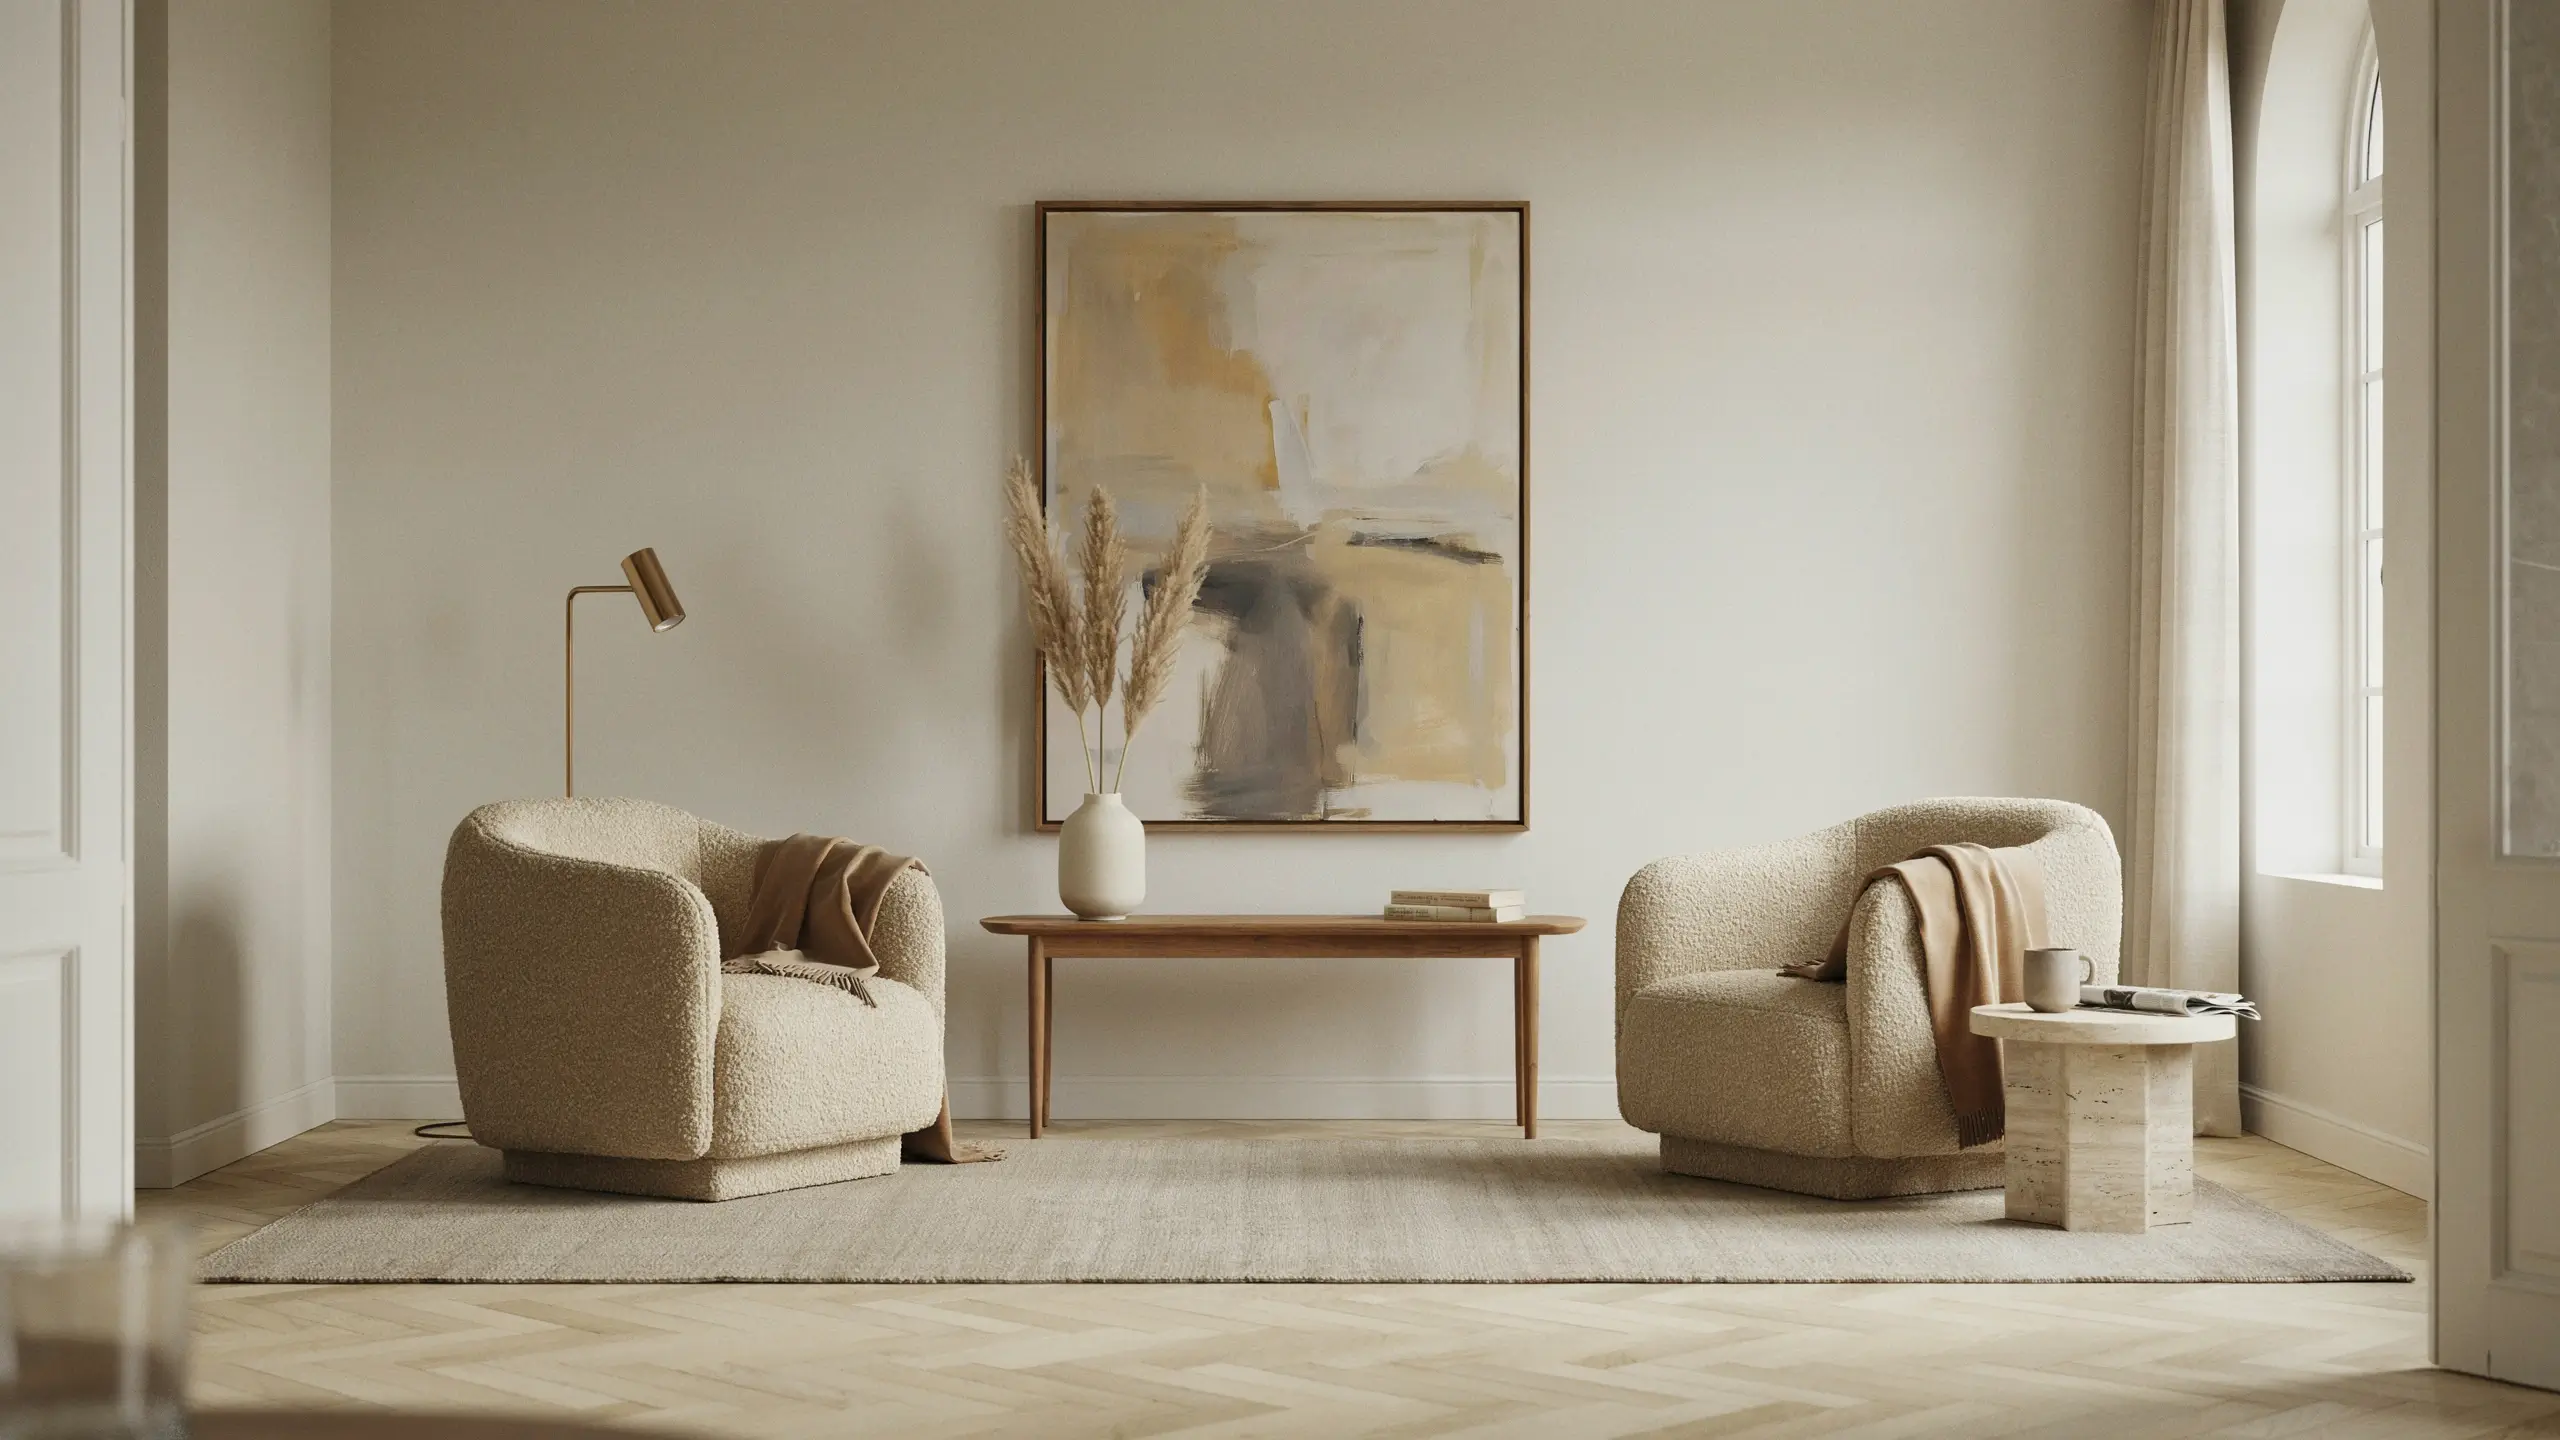
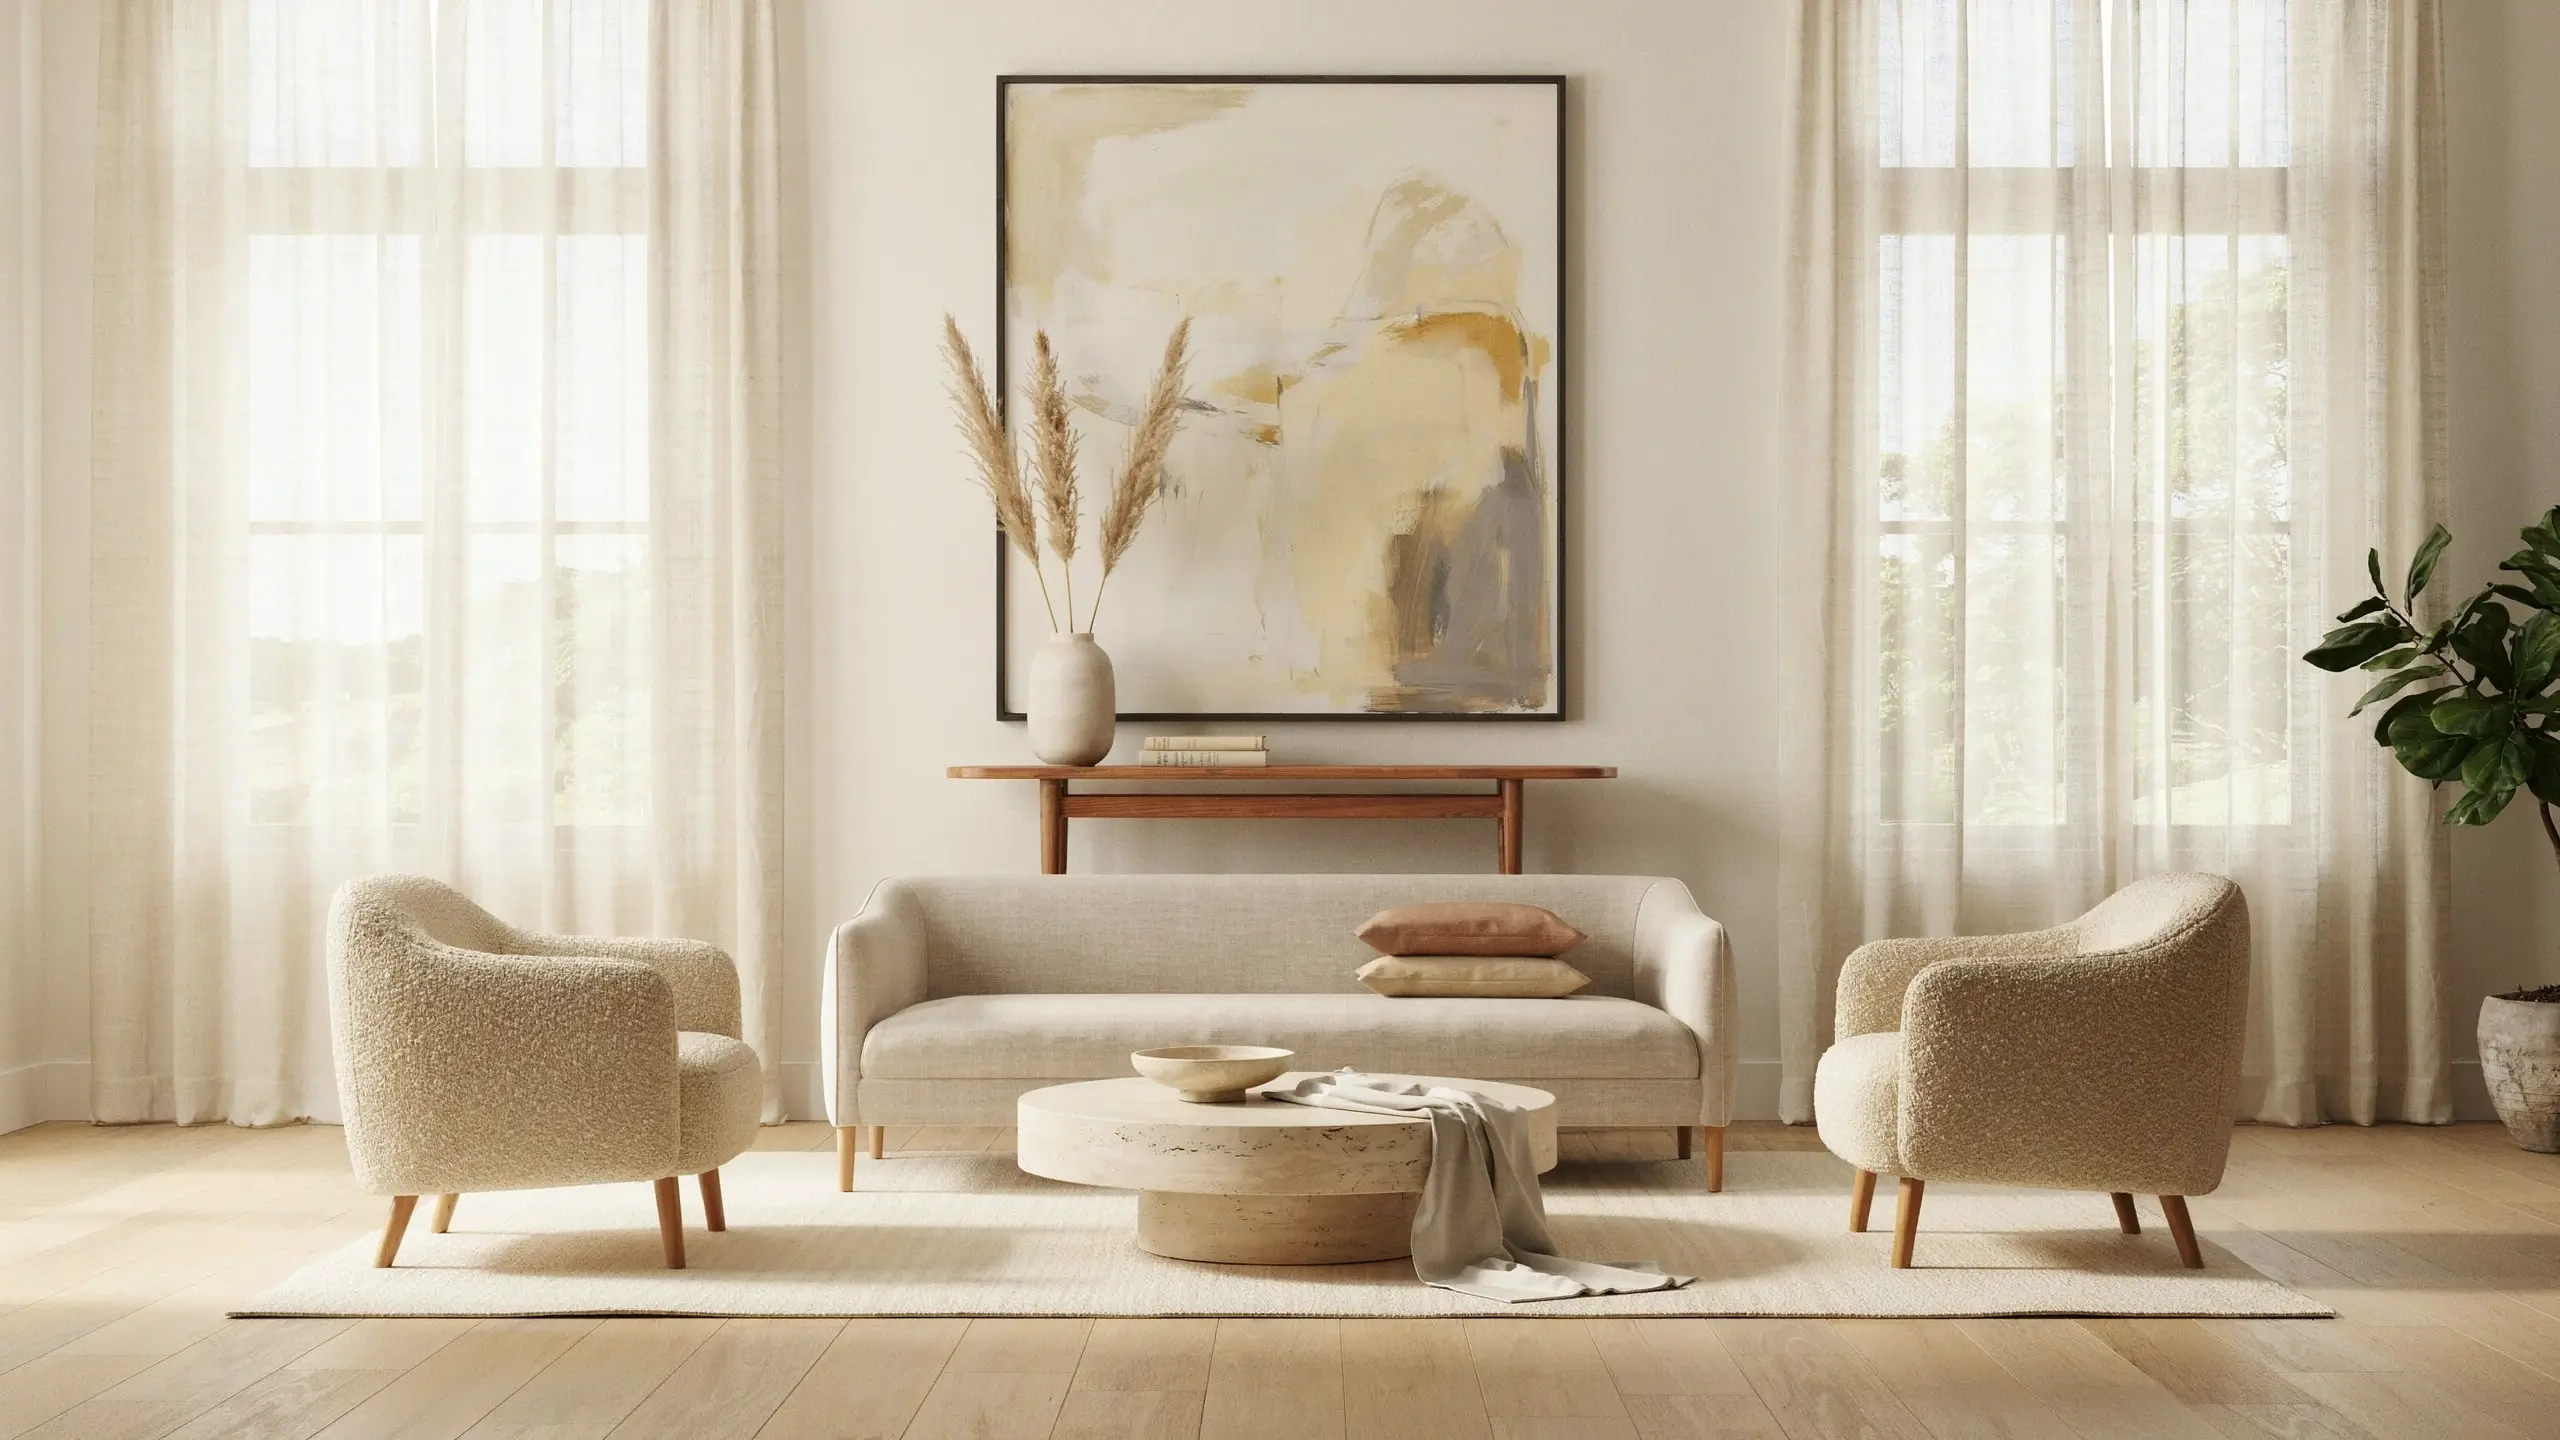
Expensive-feeling rooms usually have one thing the eye lands on: an oversized piece of art, a large mirror, a bed frame, or a fireplace. Everything else in the room supports that one point instead of competing with it.
Pick your focal point, arrange the furniture toward it, and keep the rest of the room quieter. If you have five loud, equally busy elements fighting for attention (patterned rug, patterned curtains, gallery wall, bold accent chair, statement light), the room reads as chaotic instead of curated, no matter how nice each individual piece is.
11. Group Your Decor Instead of Scattering It
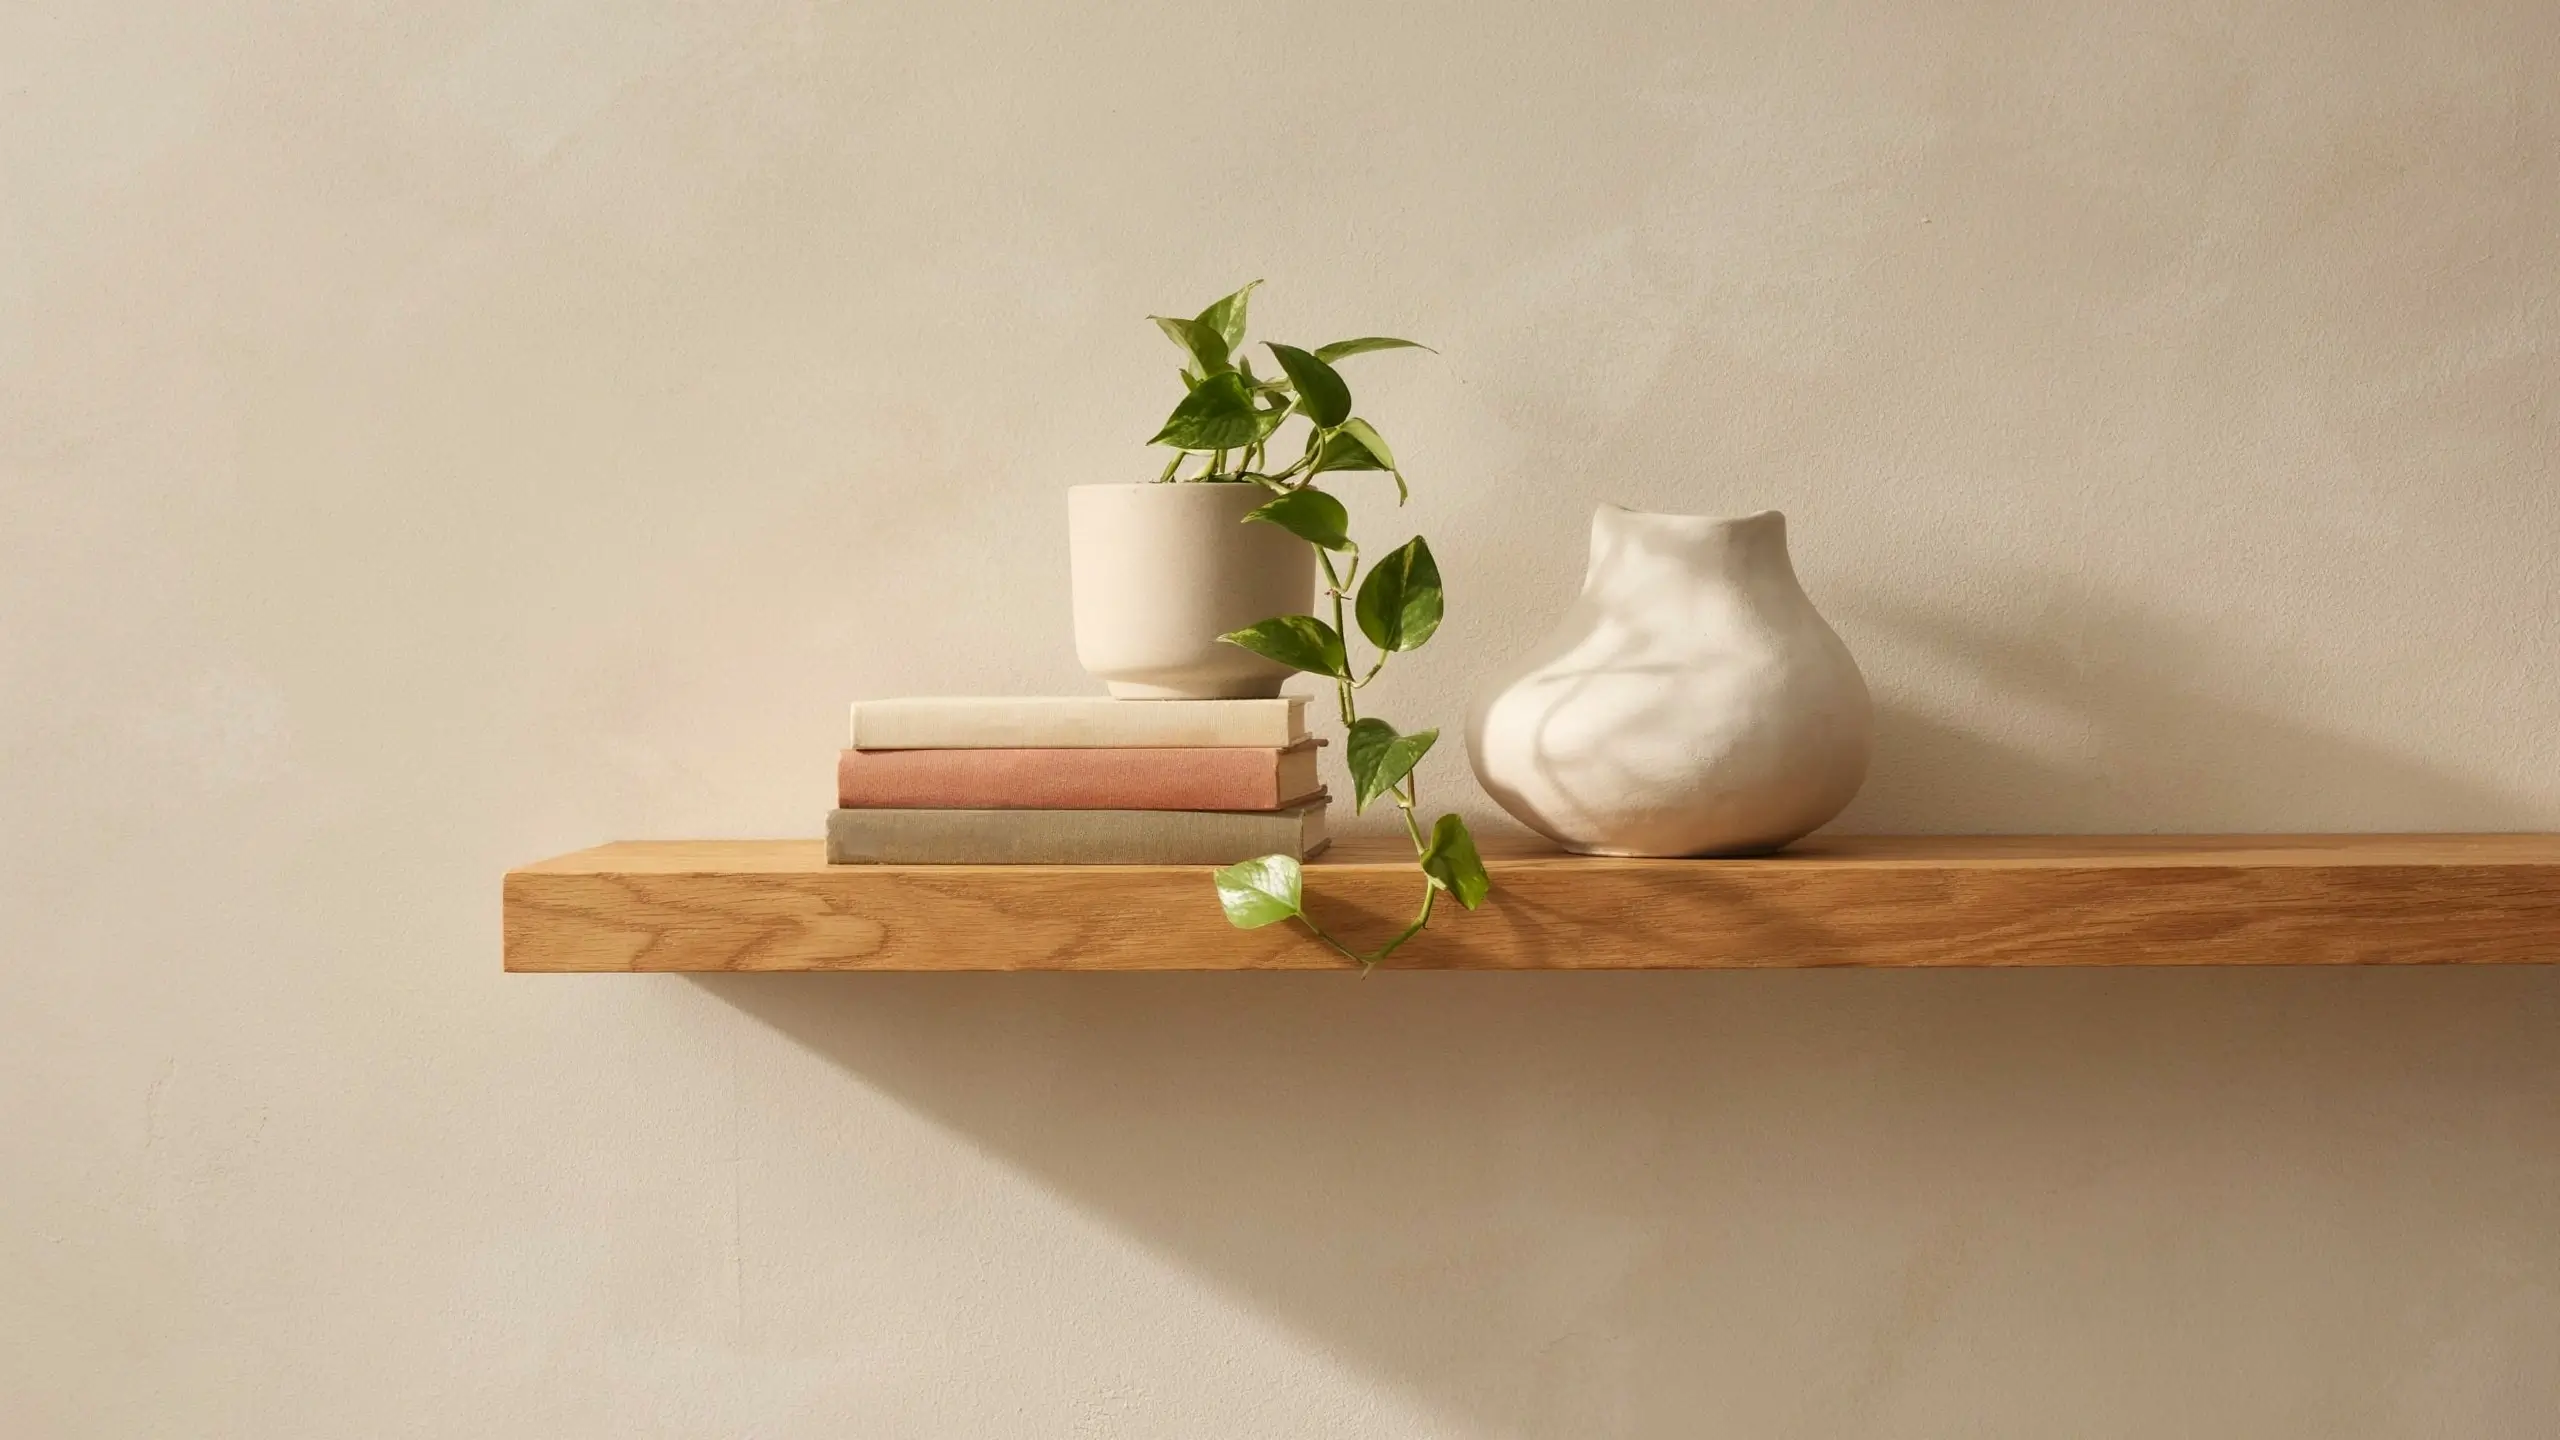
One lonely candle on an otherwise bare shelf looks sparse. A grouped vignette, a stack of books, one small plant, and one object, on the same shelf looks deliberate.
Group items in odd numbers (three or five works better than two or four) and vary the heights so your eye moves naturally across the grouping. This trick works on bookshelves, mantels, console tables, and bathroom counters alike.
12. Get Your Rug Size Right
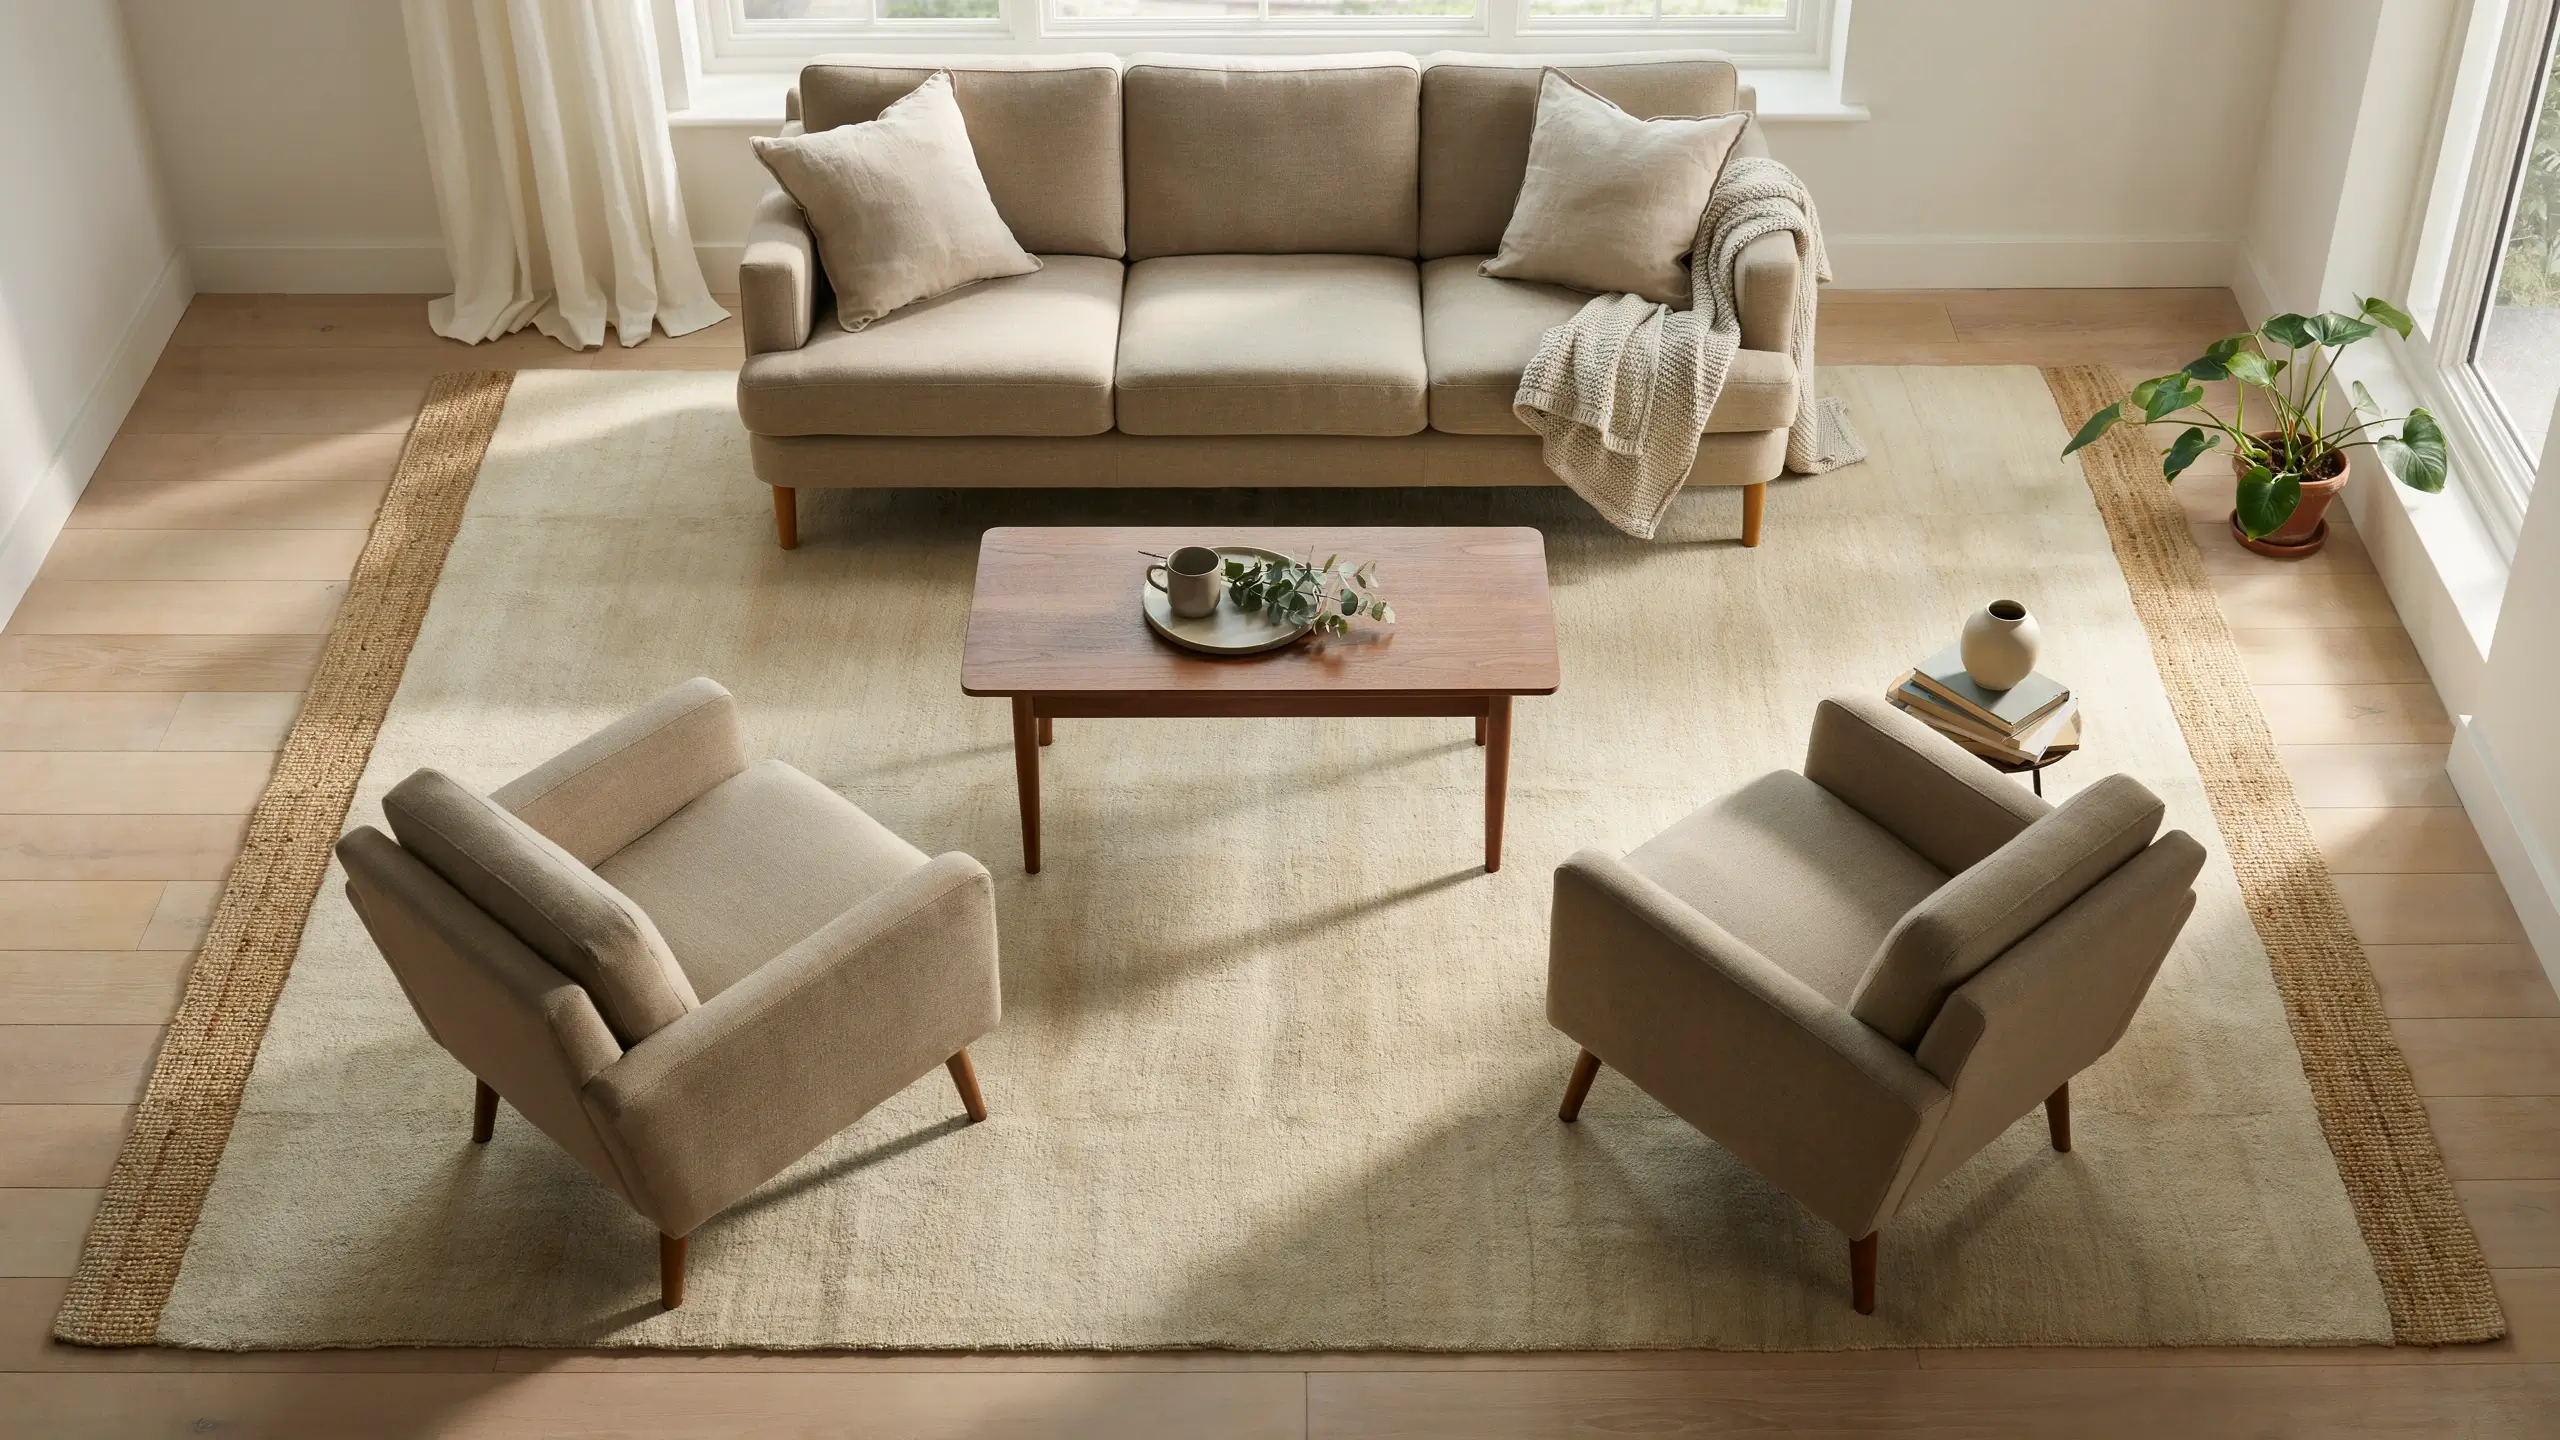
A too-small rug floating in the middle of a room is one of the most common budget-decorating mistakes, and one of the easiest to fix. In a living room, aim for at least an 8×10 rug, with the front legs of your sofa and chairs resting on it, or all four legs if your space allows.
If a properly sized rug isn’t in the budget yet, layer a large, inexpensive jute or sisal rug underneath a smaller patterned one. The layered look reads as intentional and fills the visual space for a fraction of what one large designer rug costs.
13. Fake Architectural Molding With Paint or Peel-and-Stick Trim
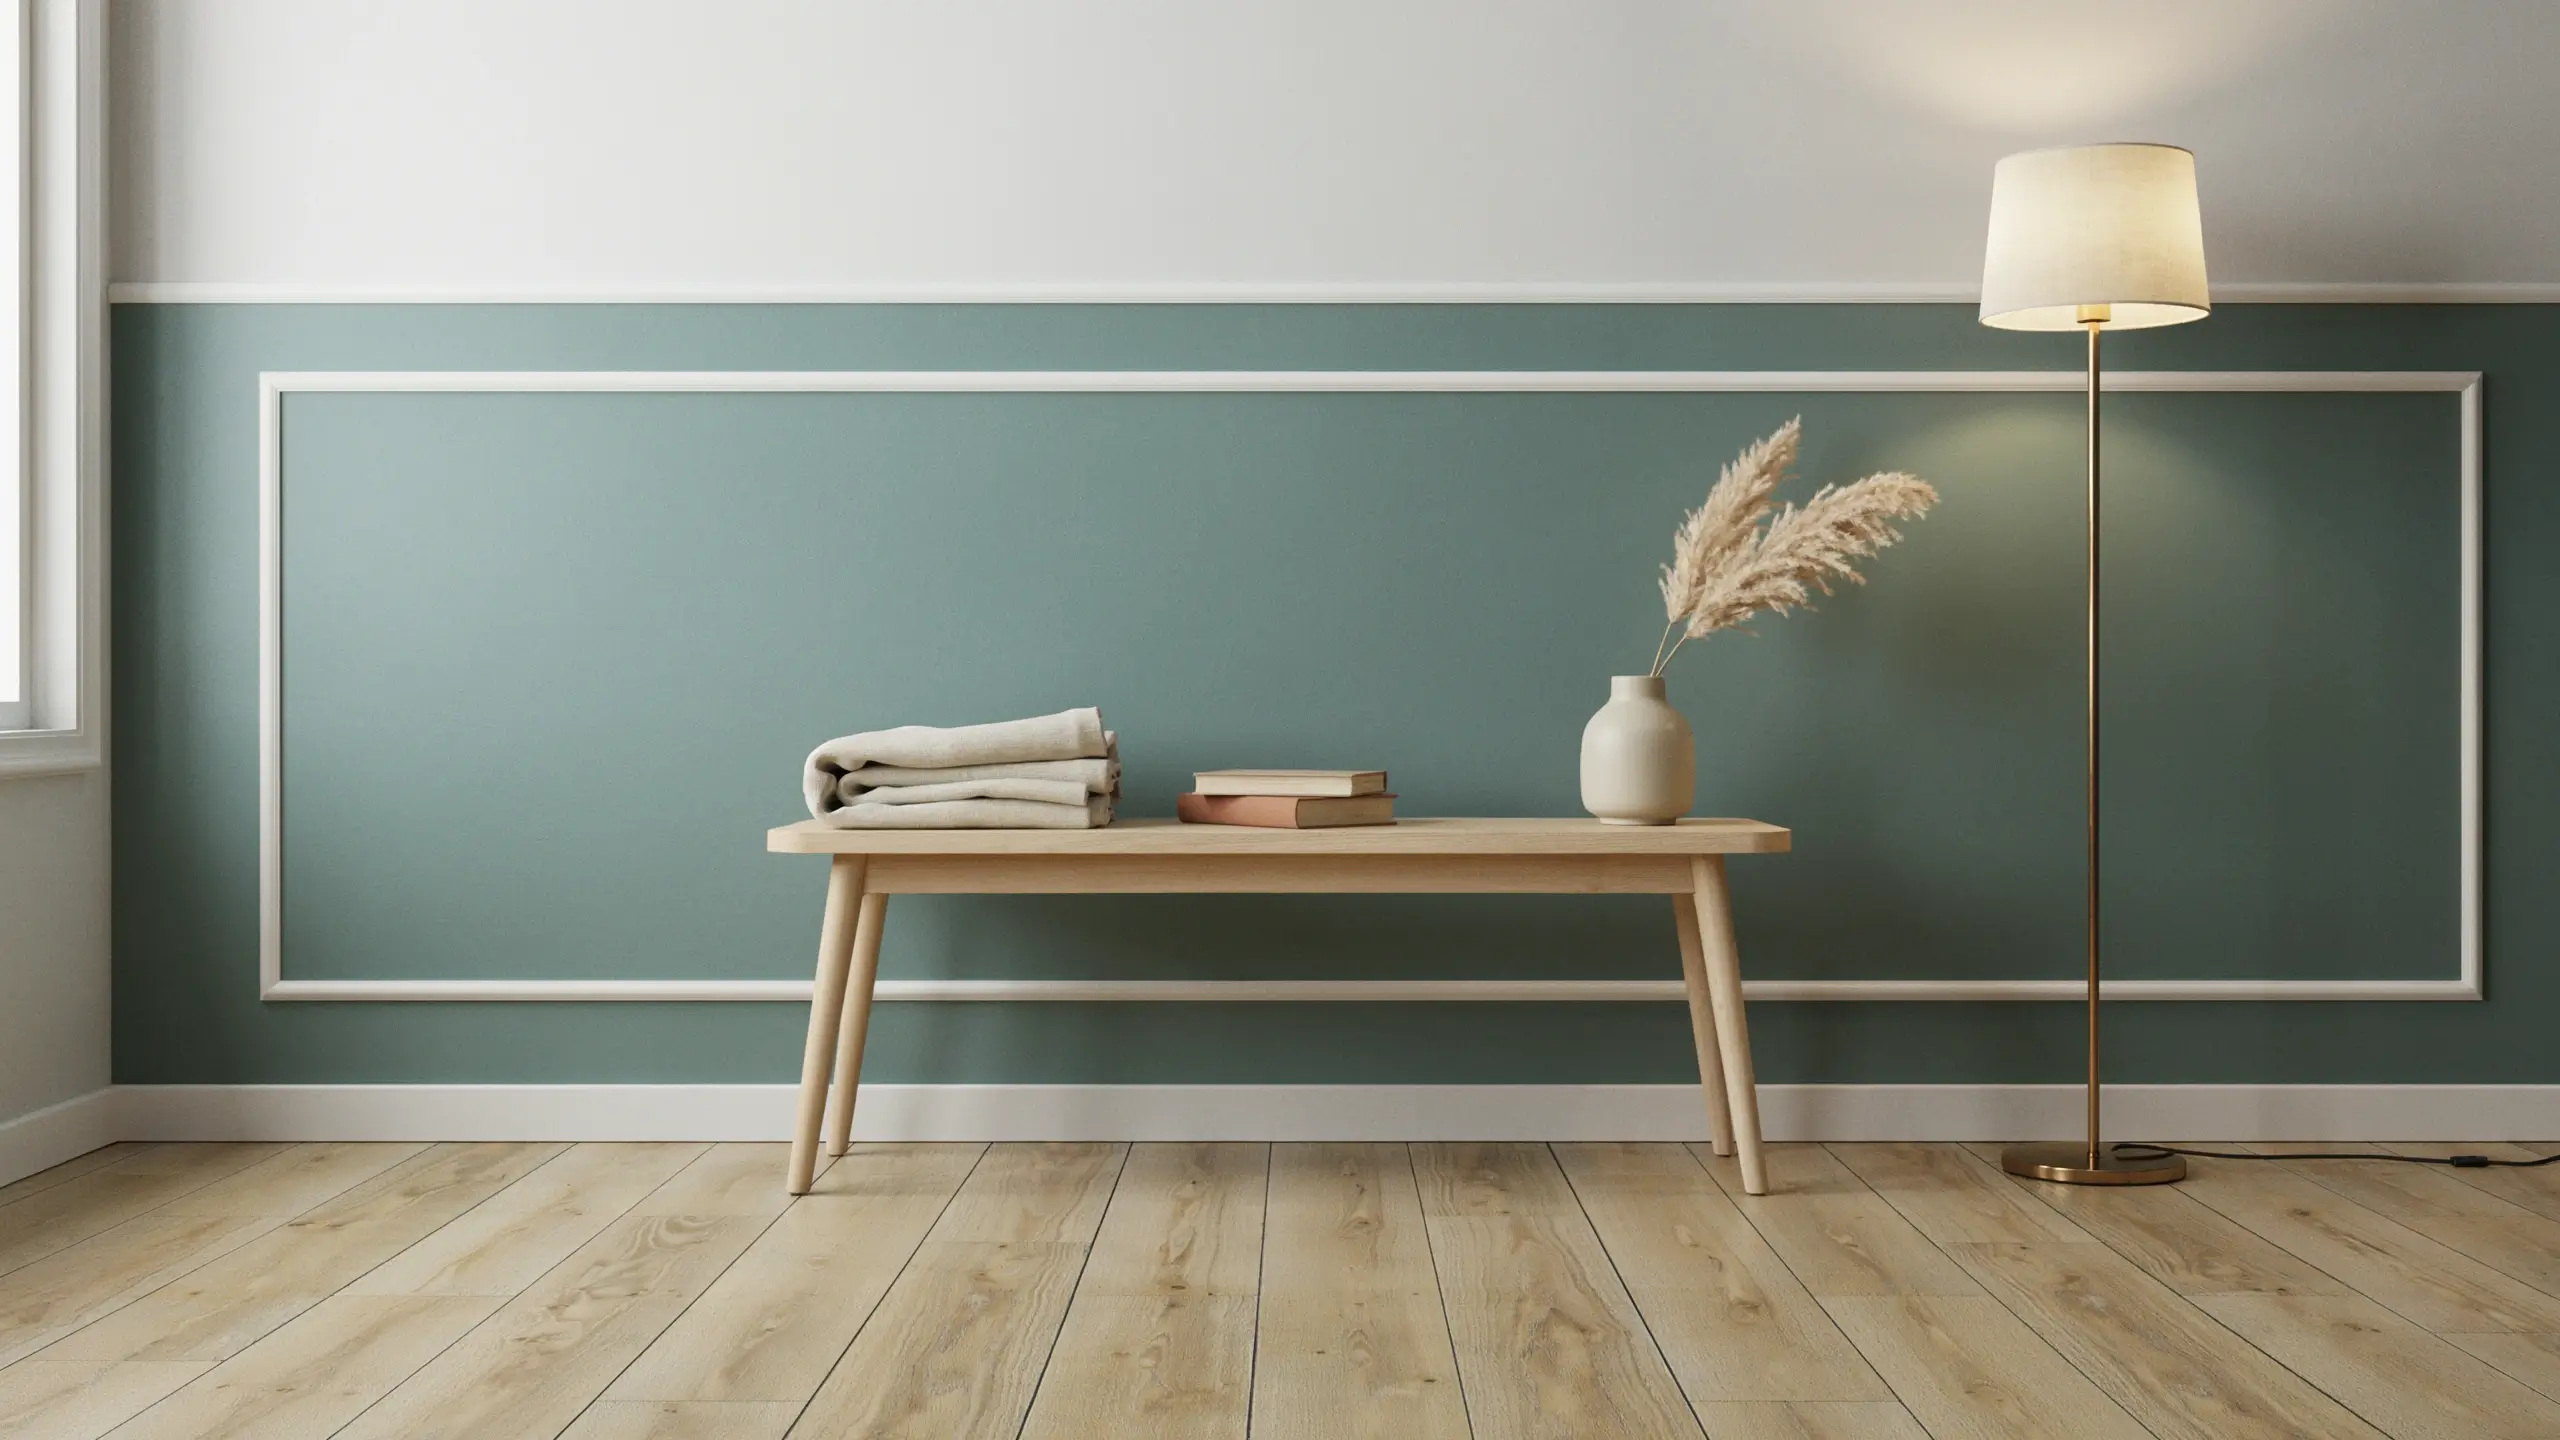
Crown molding, wainscoting, and picture-frame wall trim are expensive to install professionally, but you can fake the look with lightweight peel-and-stick molding kits or thin MDF trim strips and a caulk gun, often for under $100 for a full wall.
If trim work feels like too much, a two-tone paint trick gets you most of the way there: paint the lower third of the wall (or standard wainscoting height, about 32 to 36 inches) in a deeper color, add a thin painted line where the colors meet, and keep the top two-thirds a soft neutral. Painting the ceiling a soft white or a matching tone also finishes the room like a “fifth wall” instead of an afterthought.
14. Mix Thrifted Pieces With New Ones, and Skip the Logo Decor
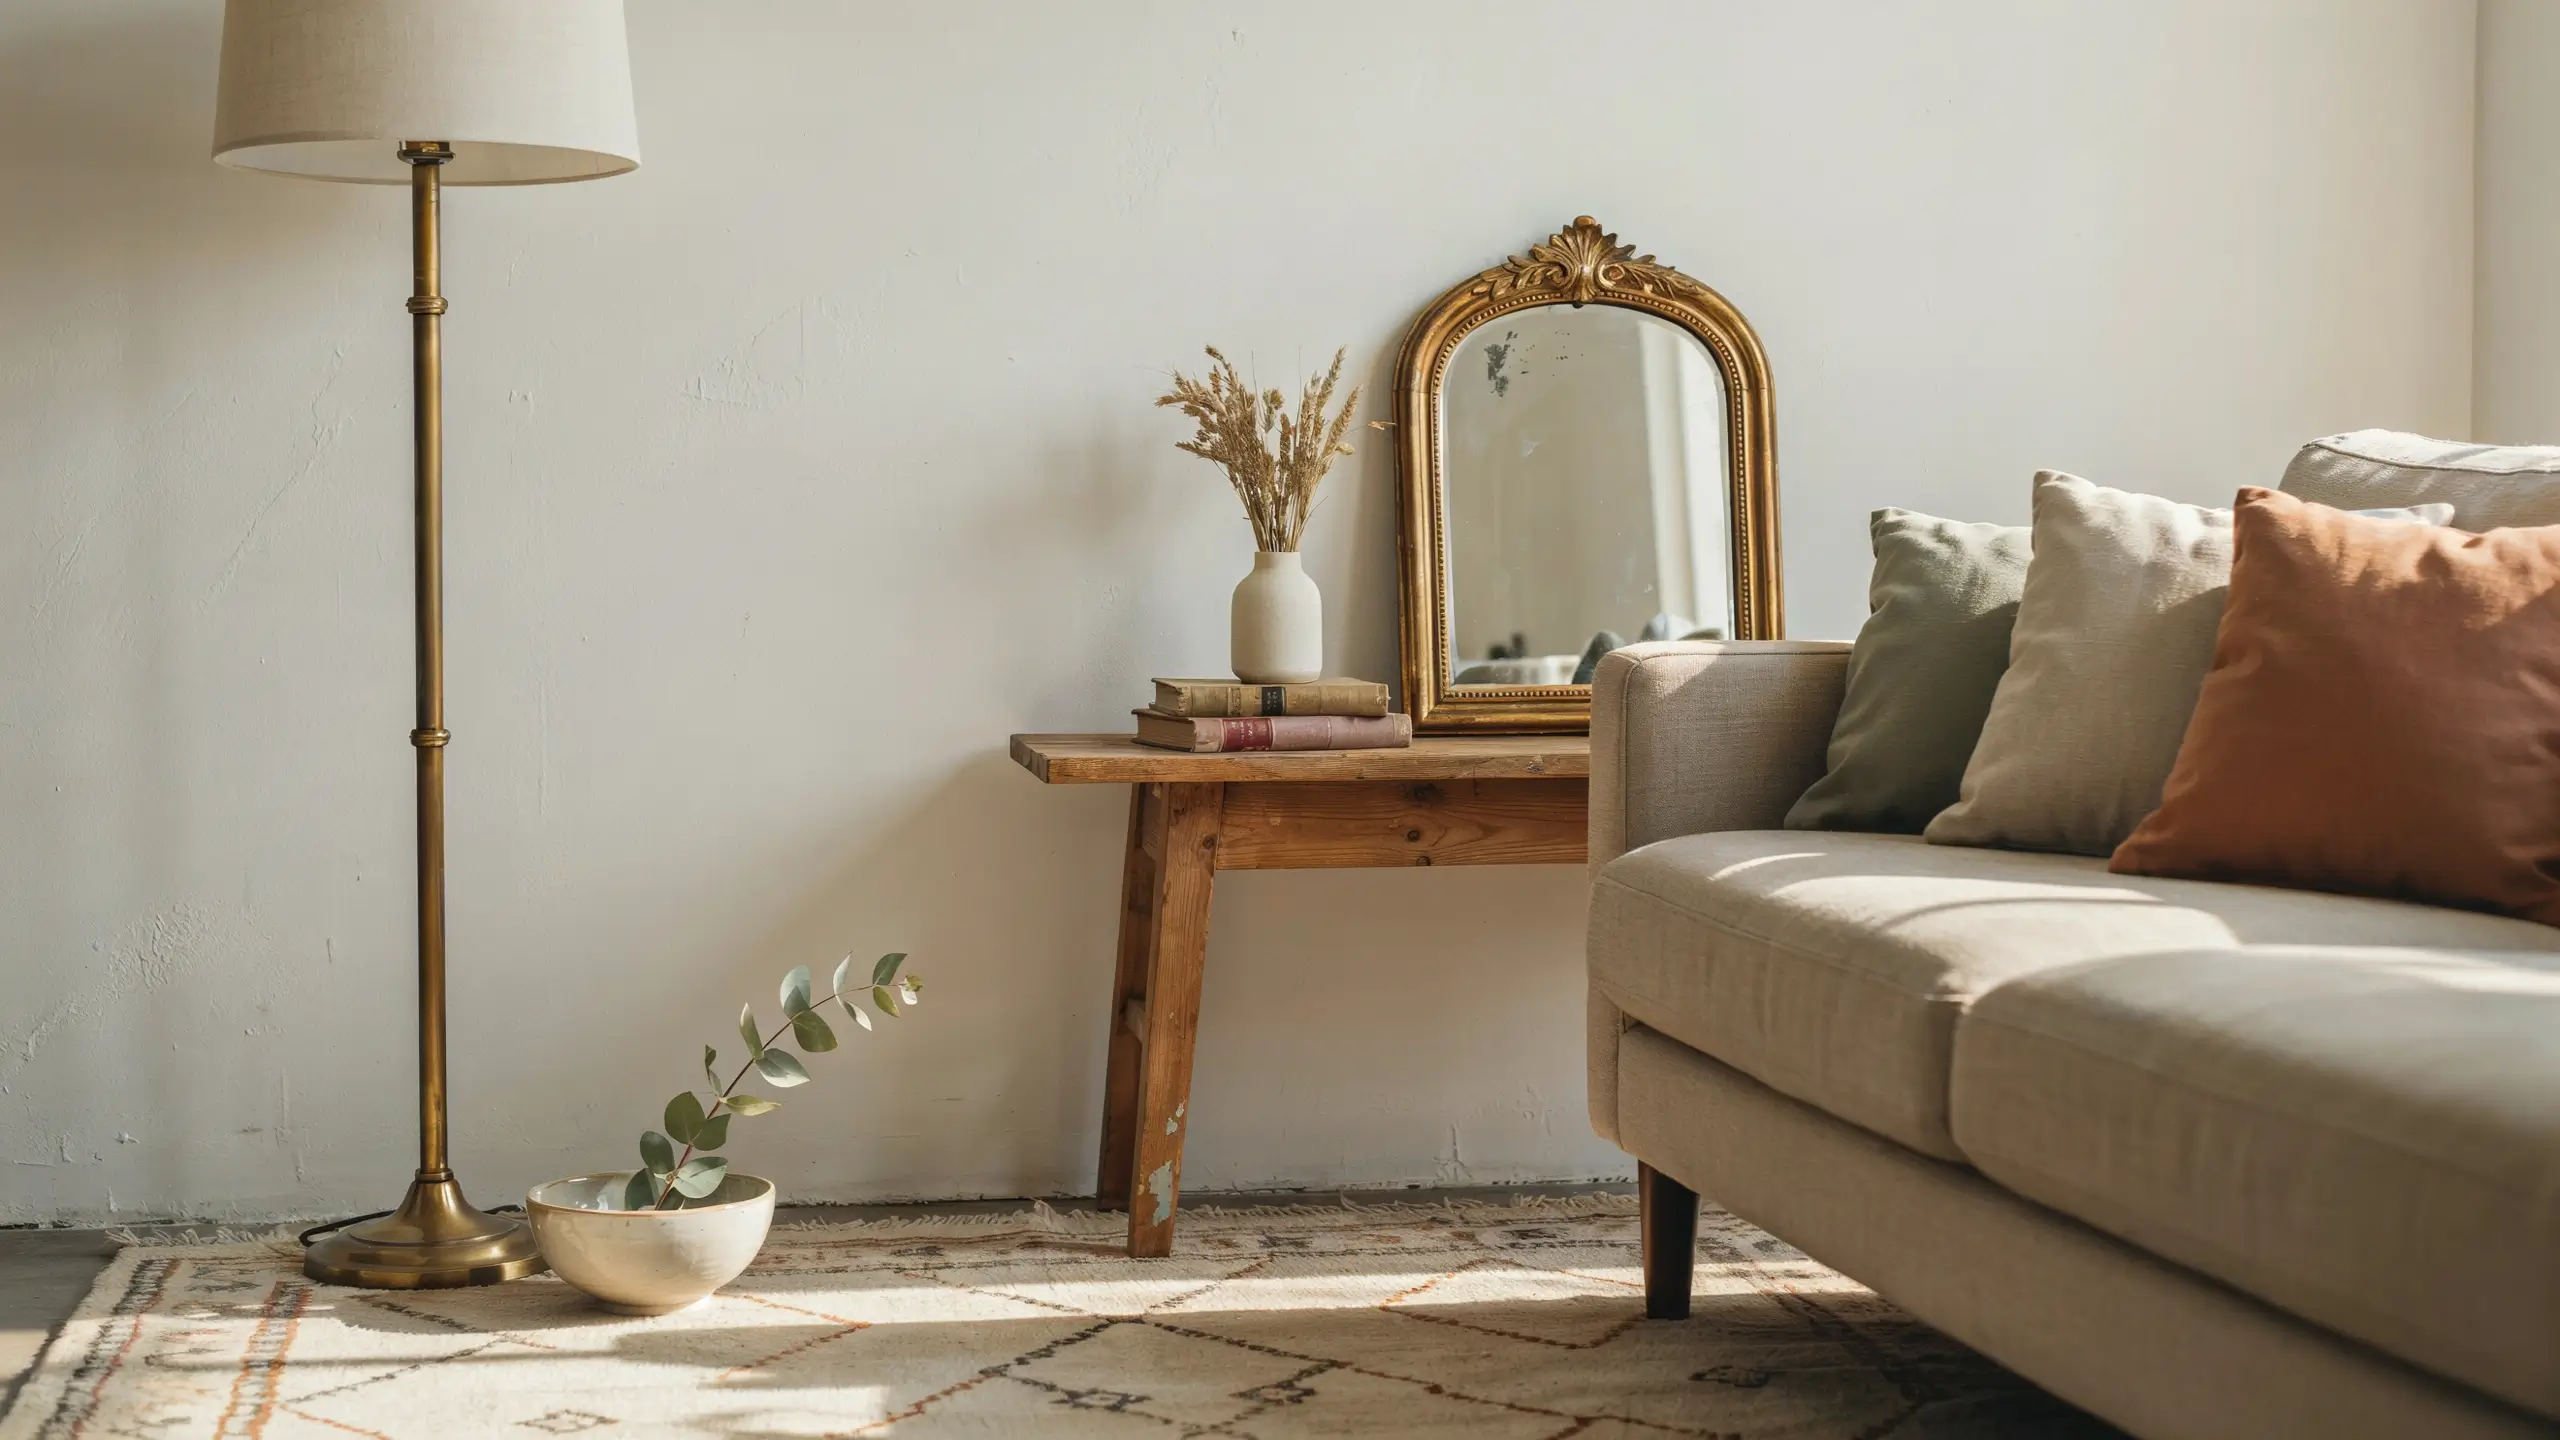
Furniture that all comes from the same set can end up looking like a showroom floor instead of a home. Blend one or two secondhand or vintage finds, a wood side table, a brass lamp, a gilt-framed mirror, with simple new basics for a collected-over-time look that reads as far more expensive than an all-matching set.
At the same time, skip decor with fake designer logos, trendy oversized script text, or anything trying too hard to signal luxury. Simple, well-made basics almost always photograph and age better than a knockoff trying to look like a brand name.
15. Add Real (or Very Realistic) Greenery
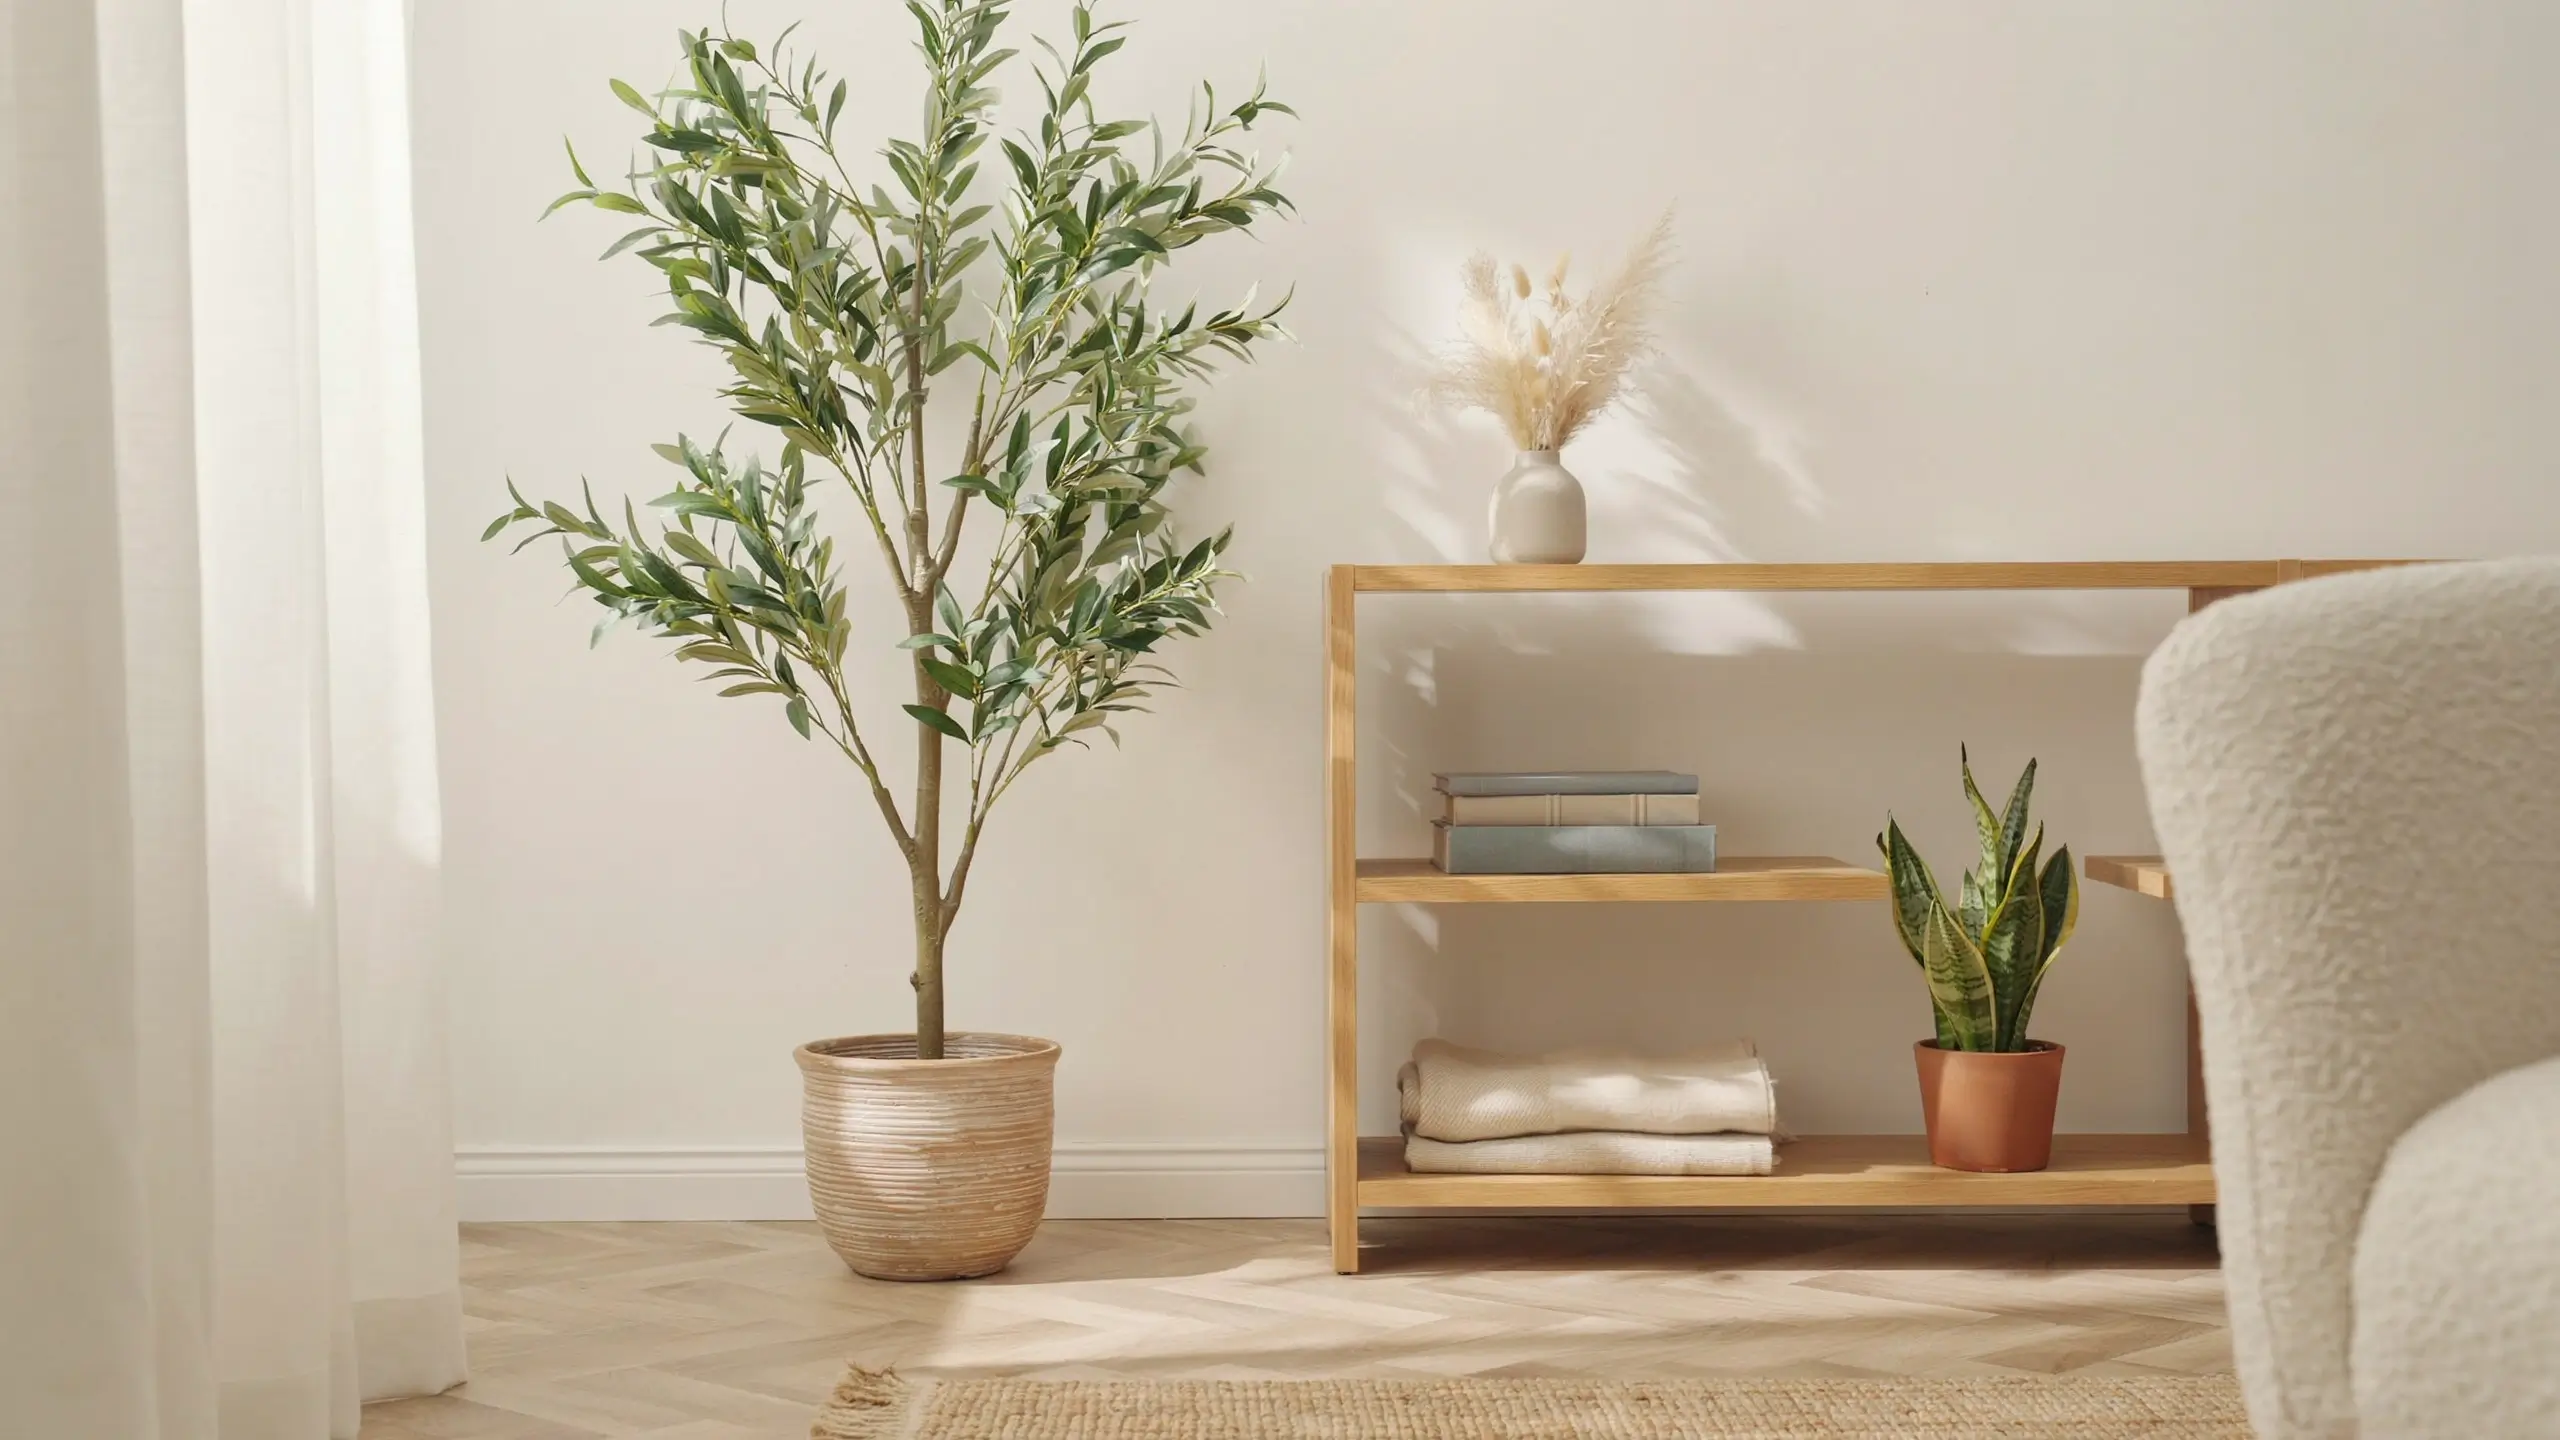
A bare corner or an empty spot on a shelf reads as unfinished. A $10 to $15 pothos or snake plant, or a good-quality faux olive or fiddle leaf tree in a simple woven or ceramic planter, softens hard edges and adds life to a room instantly.
If you’re going faux, spend a little more for one with matte, varied leaves rather than shiny plastic ones, and keep it dust-free. A dusty, plastic-looking fake plant undoes the effect faster than having no plant at all.
16. Hide Your Cords and Cables
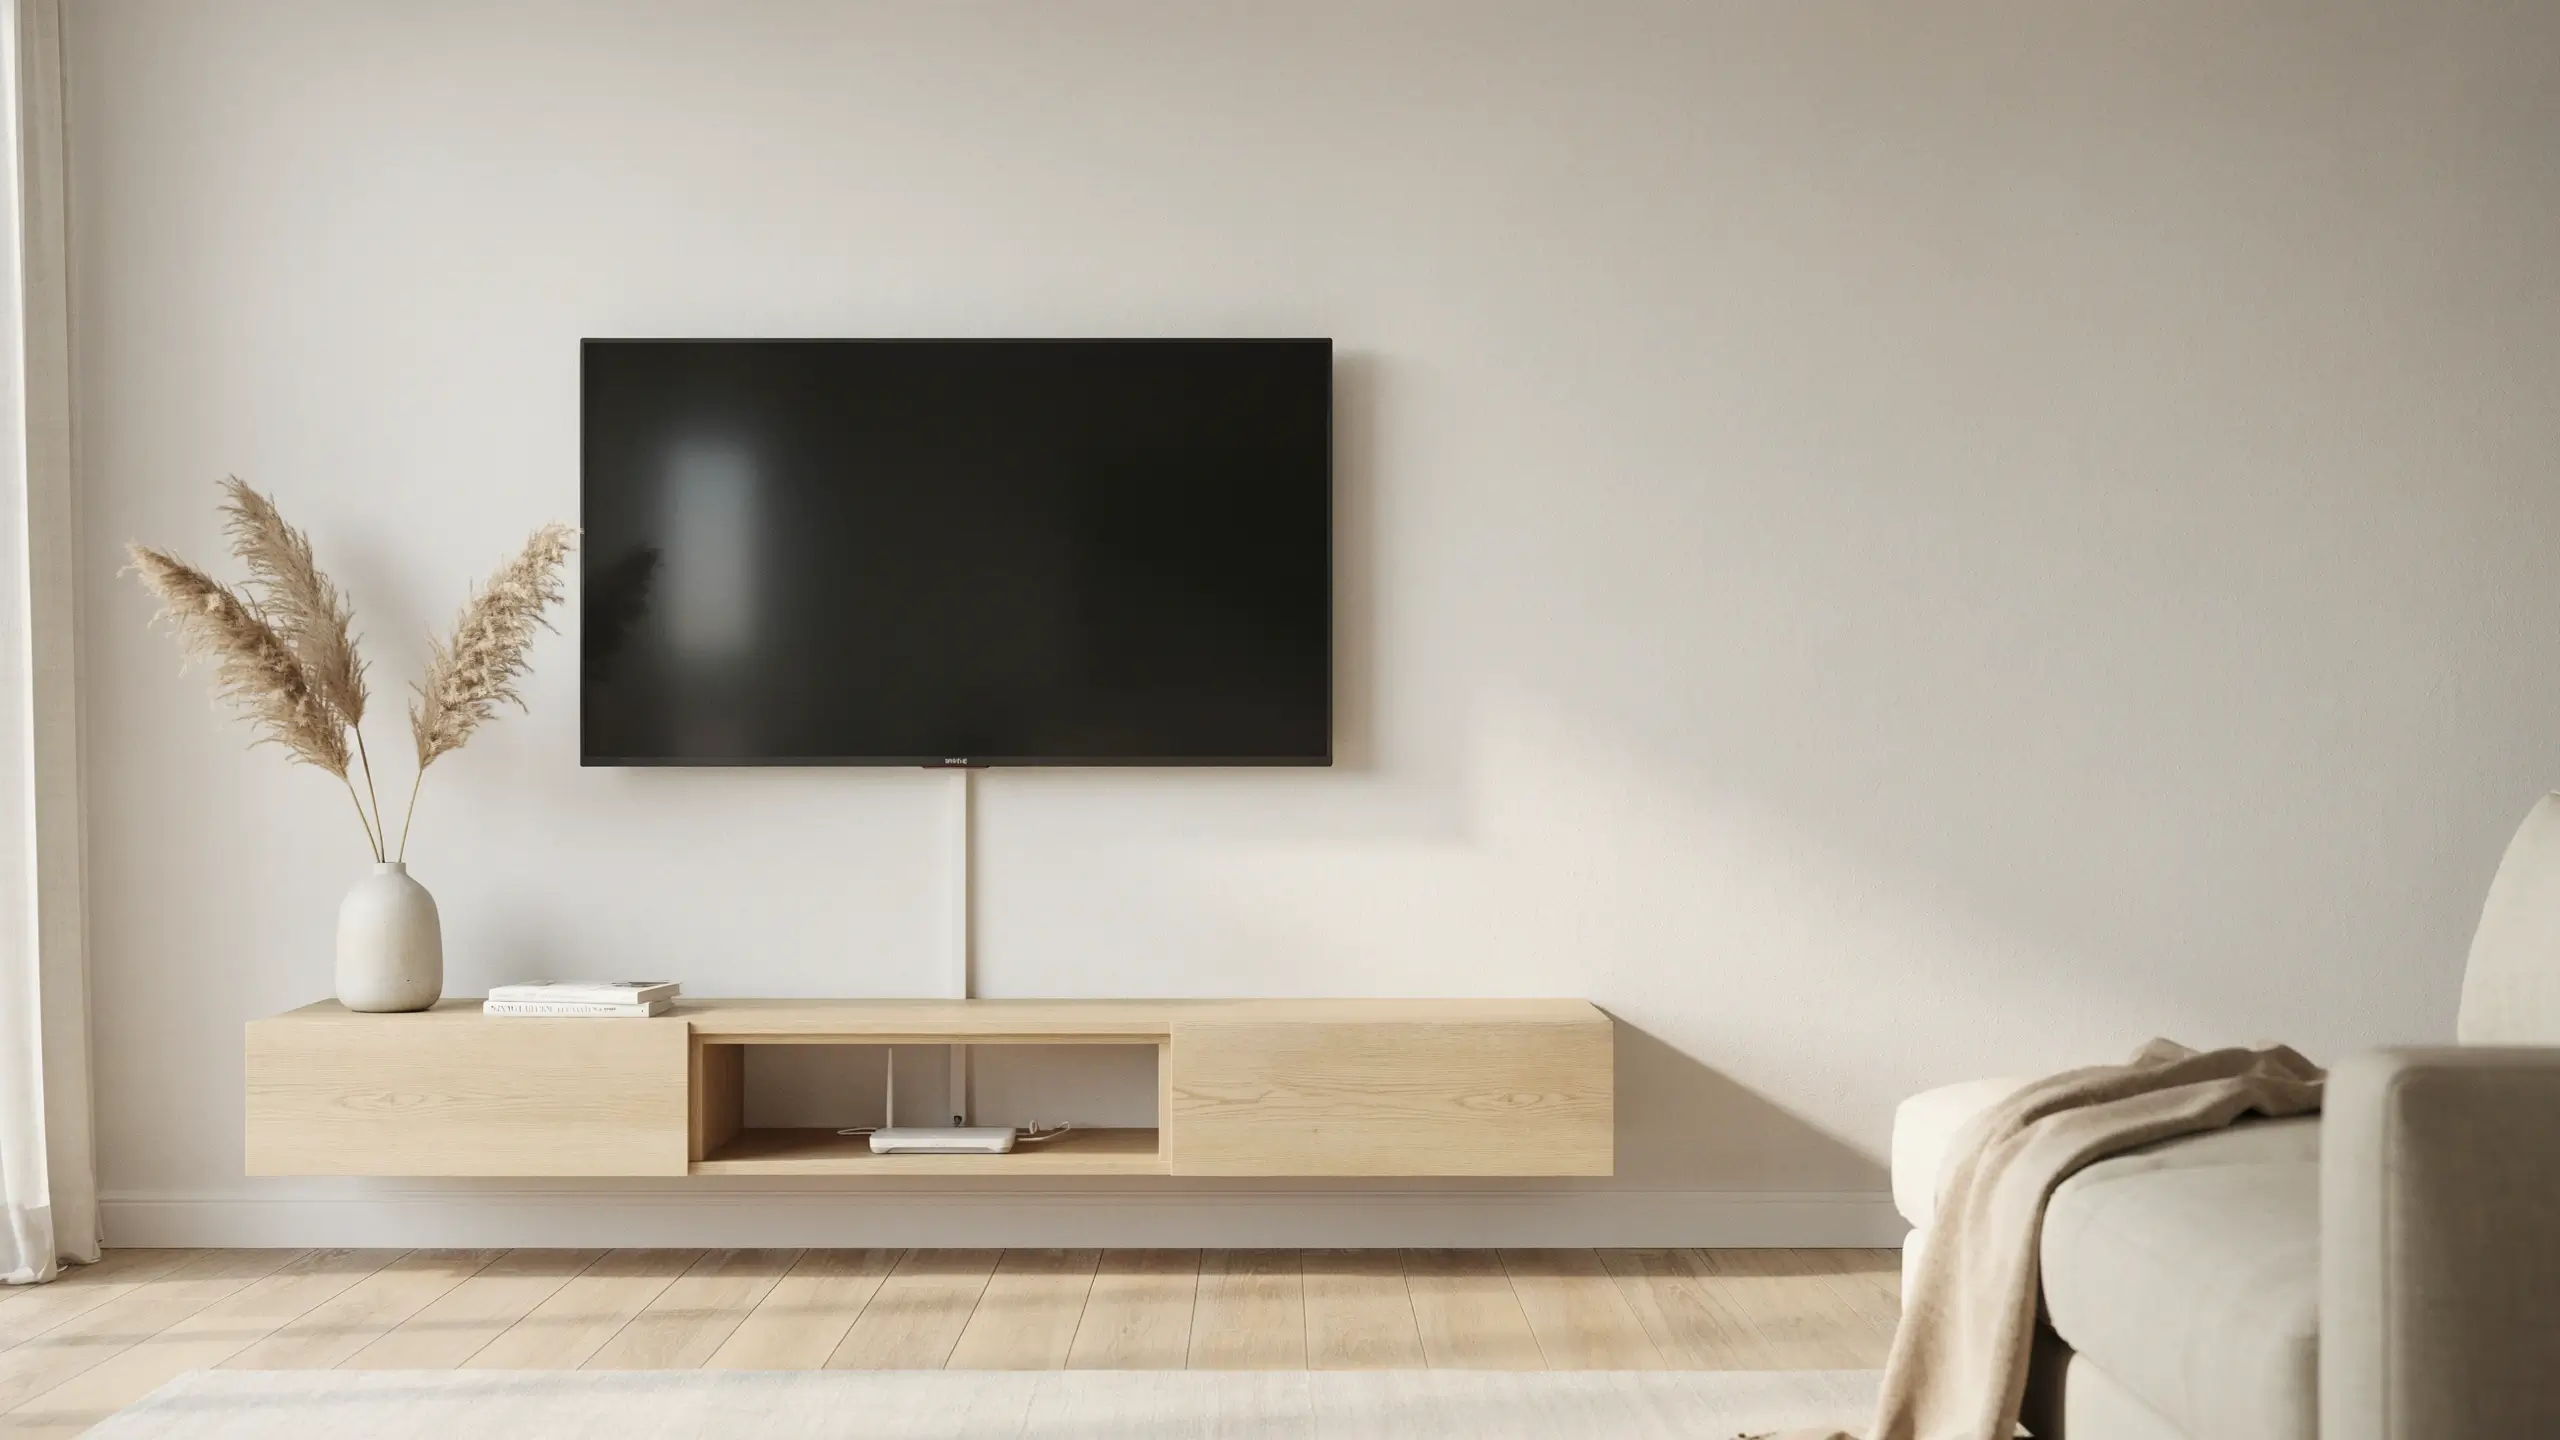
Visible cords are one of the biggest giveaways of an unfinished space, and one of the easiest fixes. Use adhesive cord clips to route cables along baseboards, a paintable cord raceway to hide a wall-mounted TV’s cables, or a simple decorative box to tuck away a router and power strip.
If you have a media console, choose one with a back cutout so cords stay out of sight but still reachable. It’s a small detail, but it’s the kind of thing that quietly separates a styled room from a “still moving in” room.
A Few Quick Finishing Touches
- Roll your bath towels instead of folding them flat, and stick to white or cream for a hotel-style look.
- Replace mismatched closet hangers with matching wood or slim velvet ones. It’s a small closet makeover that photographs beautifully.
- Keep mirrors, glass tabletops, and stainless appliances wiped down. Smudges undercut every other effort in the room.
- Pick one signature candle scent for your entry or living room instead of a mix of competing air fresheners.
The Real Secret Is Consistency, Not Money
None of these tricks require a full renovation or a big budget all at once. Making your home look more expensive on a budget really comes down to a handful of intentional choices, repeated on purpose, instead of a pile of random decor bought one piece at a time.
Pick two or three ideas from this list to start with this weekend. Decluttering and fixing your curtain height cost nothing but time, and both make an immediate difference you’ll notice the moment you walk back into the room.
Which one are you trying first? Let me know in the comments, and if you’ve already found a budget trick that made your home look more expensive, I would love to hear it too.
The article is now structured for readability while keeping the original wording, paragraph order, tone, and information intact.




No Comment! Be the first one.