




How to Get the Musty Smell Out of Your Camper (For Real This Time)
You open the camper door after a few months in storage and it hits you immediately. That smell. Damp, stale, faintly earthy, like a wet basement moved into your weekend getaway. You know exactly what...

You open the camper door after a few months in storage and it hits you immediately. That smell. Damp, stale, faintly earthy, like a wet basement moved into your weekend getaway. You know exactly what I mean.
The good news is that a musty camper isn’t a lost cause. The bad news is that most advice out there tells you to light a candle and call it a day, and that is never going to cut it. Masking a musty smell with Febreze just gives you a camper that smells like fake lavender and mildew, which might somehow be worse.
This guide is going to walk you through how to get the musty smell out of your camper the right way: diagnose the actual cause, clean the right spots, use products that eliminate odors instead of hiding them, and prevent it from coming back season after season.
Why Campers Smell Musty in the First Place
Before you start scrubbing, it helps to understand what you are actually dealing with. Musty smells in campers are almost always caused by moisture that had nowhere to go. Campers have thin walls, limited ventilation, and lots of porous materials that absorb humidity fast. When the door stays closed for weeks or months, any trapped moisture becomes the perfect environment for mold and mildew to grow.
The most common causes include:
- Moisture that built up during camping trips and was never fully dried out before storage
- A slow roof or window seal leak that you might not even know about yet
- Condensation from cooking, showering, or simply breathing in a sealed space
- Wet gear or towels stored before they were completely dry
- Pet dander, food spills, or crumbs tucked under cushions and inside cabinets
- An AC unit with mold growing on the evaporator coils or in the drip pan
The key thing to remember: the smell is a symptom. If you clean the smell without fixing the moisture problem underneath it, it will come right back.
Step 1: Open Everything and Air It Out
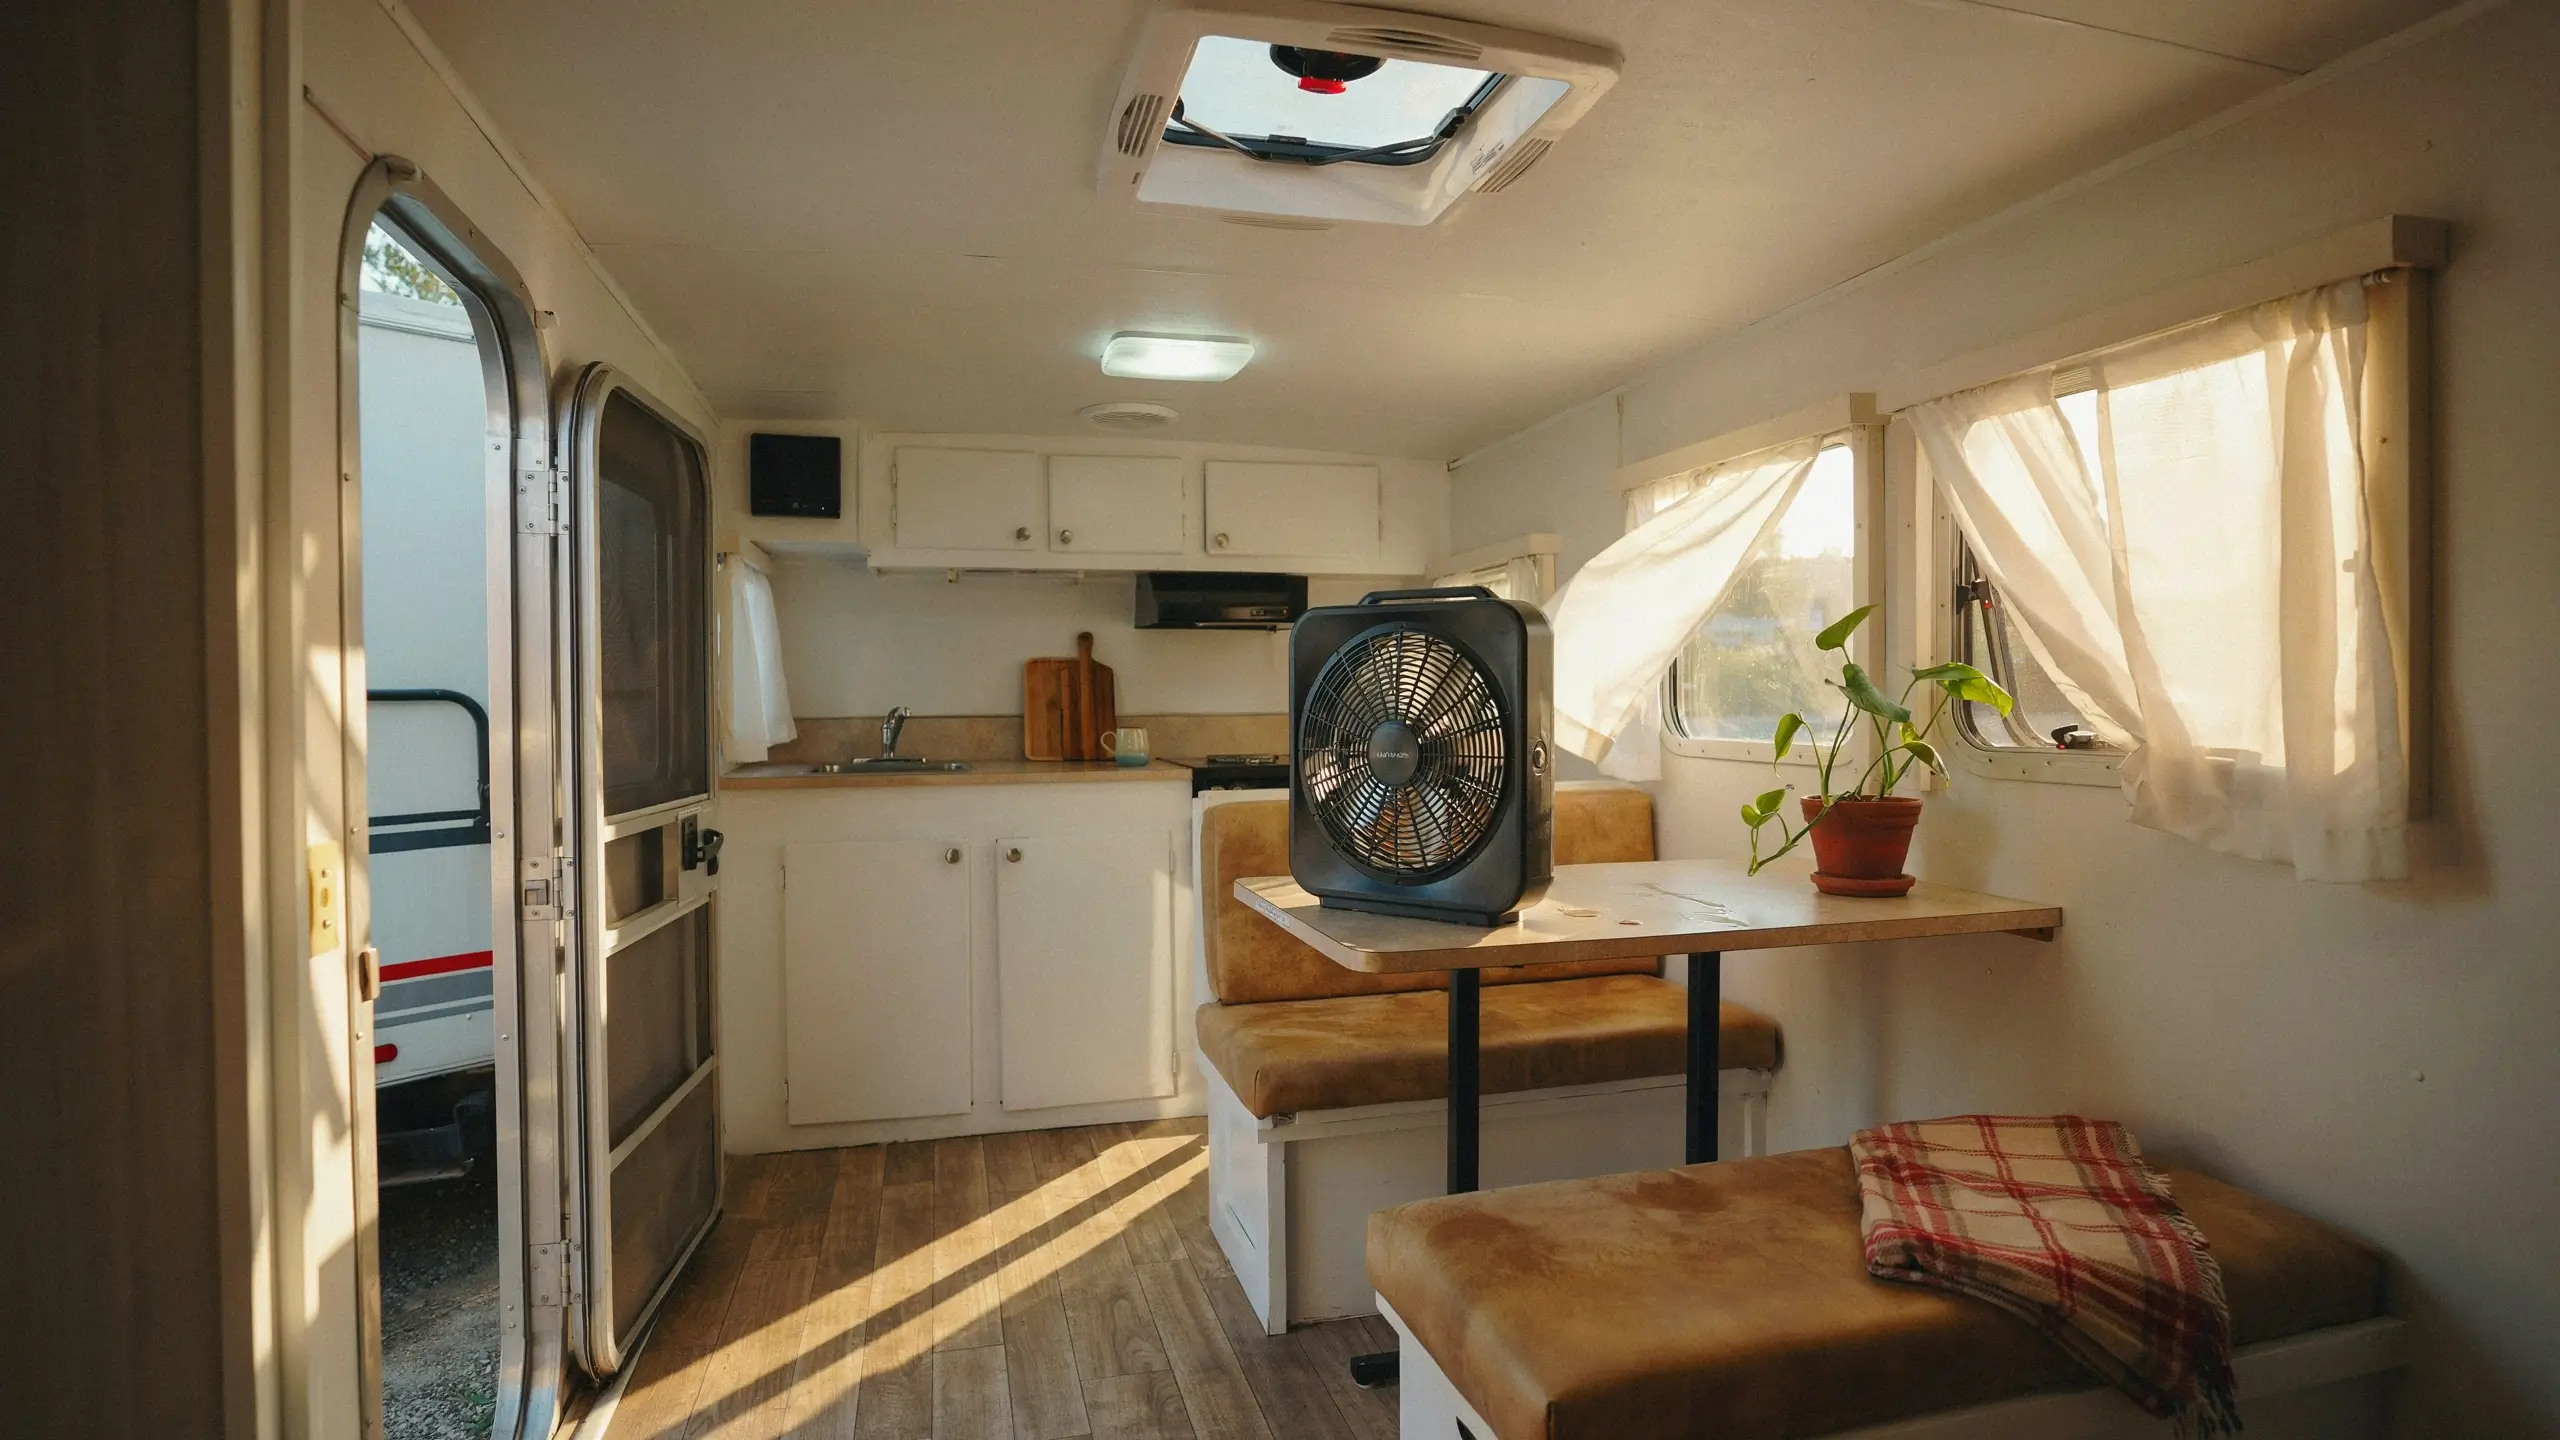
This is free, it is always the right starting point, and it works better than most people expect. Open every window, vent, cabinet door, and drawer. Prop the main door open. If you have a fan, set it up inside pointing outward to pull stale air out while fresh air moves in.
Sunlight is especially powerful here. Set the camper up where it gets direct sun exposure and let it breathe for several hours. If the weather is dry, half a day of open-air ventilation will make a noticeable difference before you even start cleaning.
Leave cabinet doors open the entire time you are working. A common mistake is closing them back up while surfaces are still slightly damp, which just restarts the cycle.
Step 2: Play Detective Before You Start Cleaning
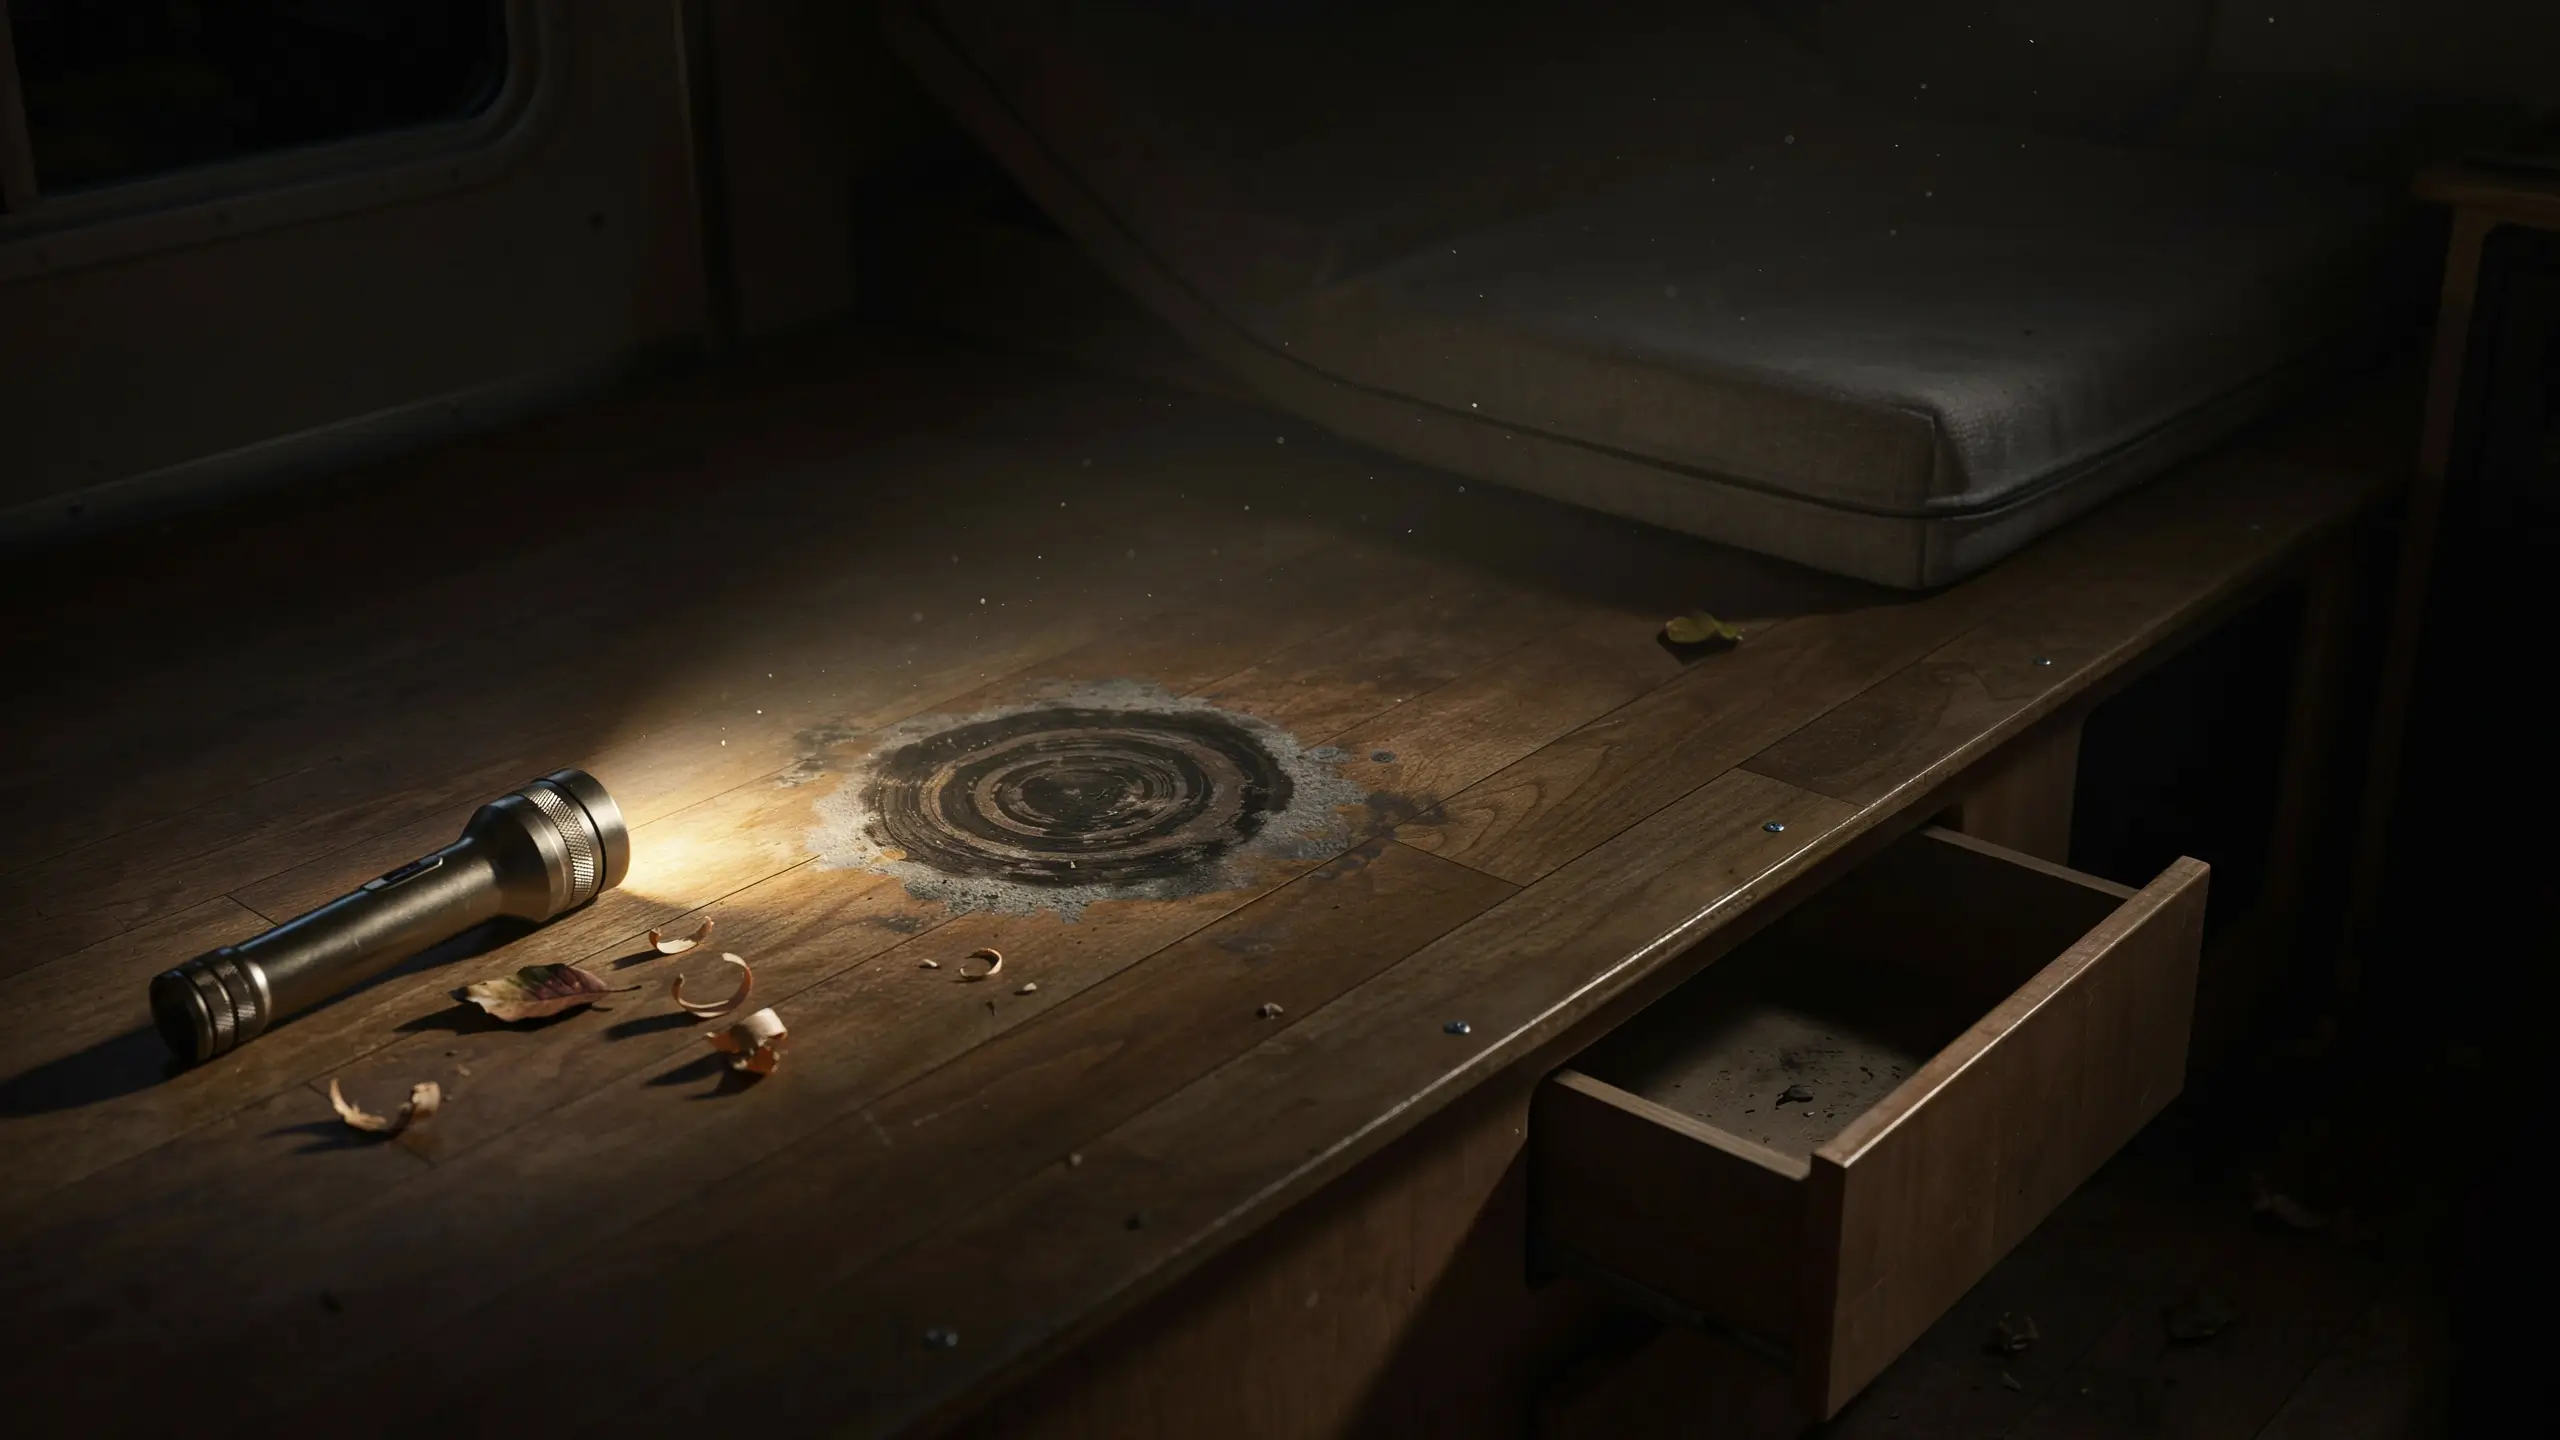
Here is where most people skip ahead and miss the real problem. Before you grab the spray bottle, spend ten minutes following your nose.
Walk slowly through the camper and notice where the smell is strongest. Check these spots specifically:
Around windows and roof vents. Run your hand along the edges and corners. Soft spots, water stains, or a darker discoloration on the wall or ceiling nearby are signs of a slow leak. If the source of moisture is a leak and you do not repair it, no amount of cleaning will permanently solve the smell.
Under the mattress. Lift it up and look underneath. This is one of the most overlooked mold spots in any camper. The mattress traps heat from your body, moisture follows, and there is often no airflow underneath at all. If you see dark spots on the mattress platform, that is your culprit.
Inside every cabinet and drawer. Pull them all the way out. Sometimes a piece of paper, a food wrapper, or crumbs that have gone damp get trapped in the gap behind or beneath drawers. These tiny things create a surprisingly powerful smell.
The AC unit. If the smell gets stronger the moment you turn on your air conditioner or furnace, the mold is likely living in the system. The evaporator coils and drip pan are common spots. More on this below.
Step 3: Deep Clean Every Fabric Surface
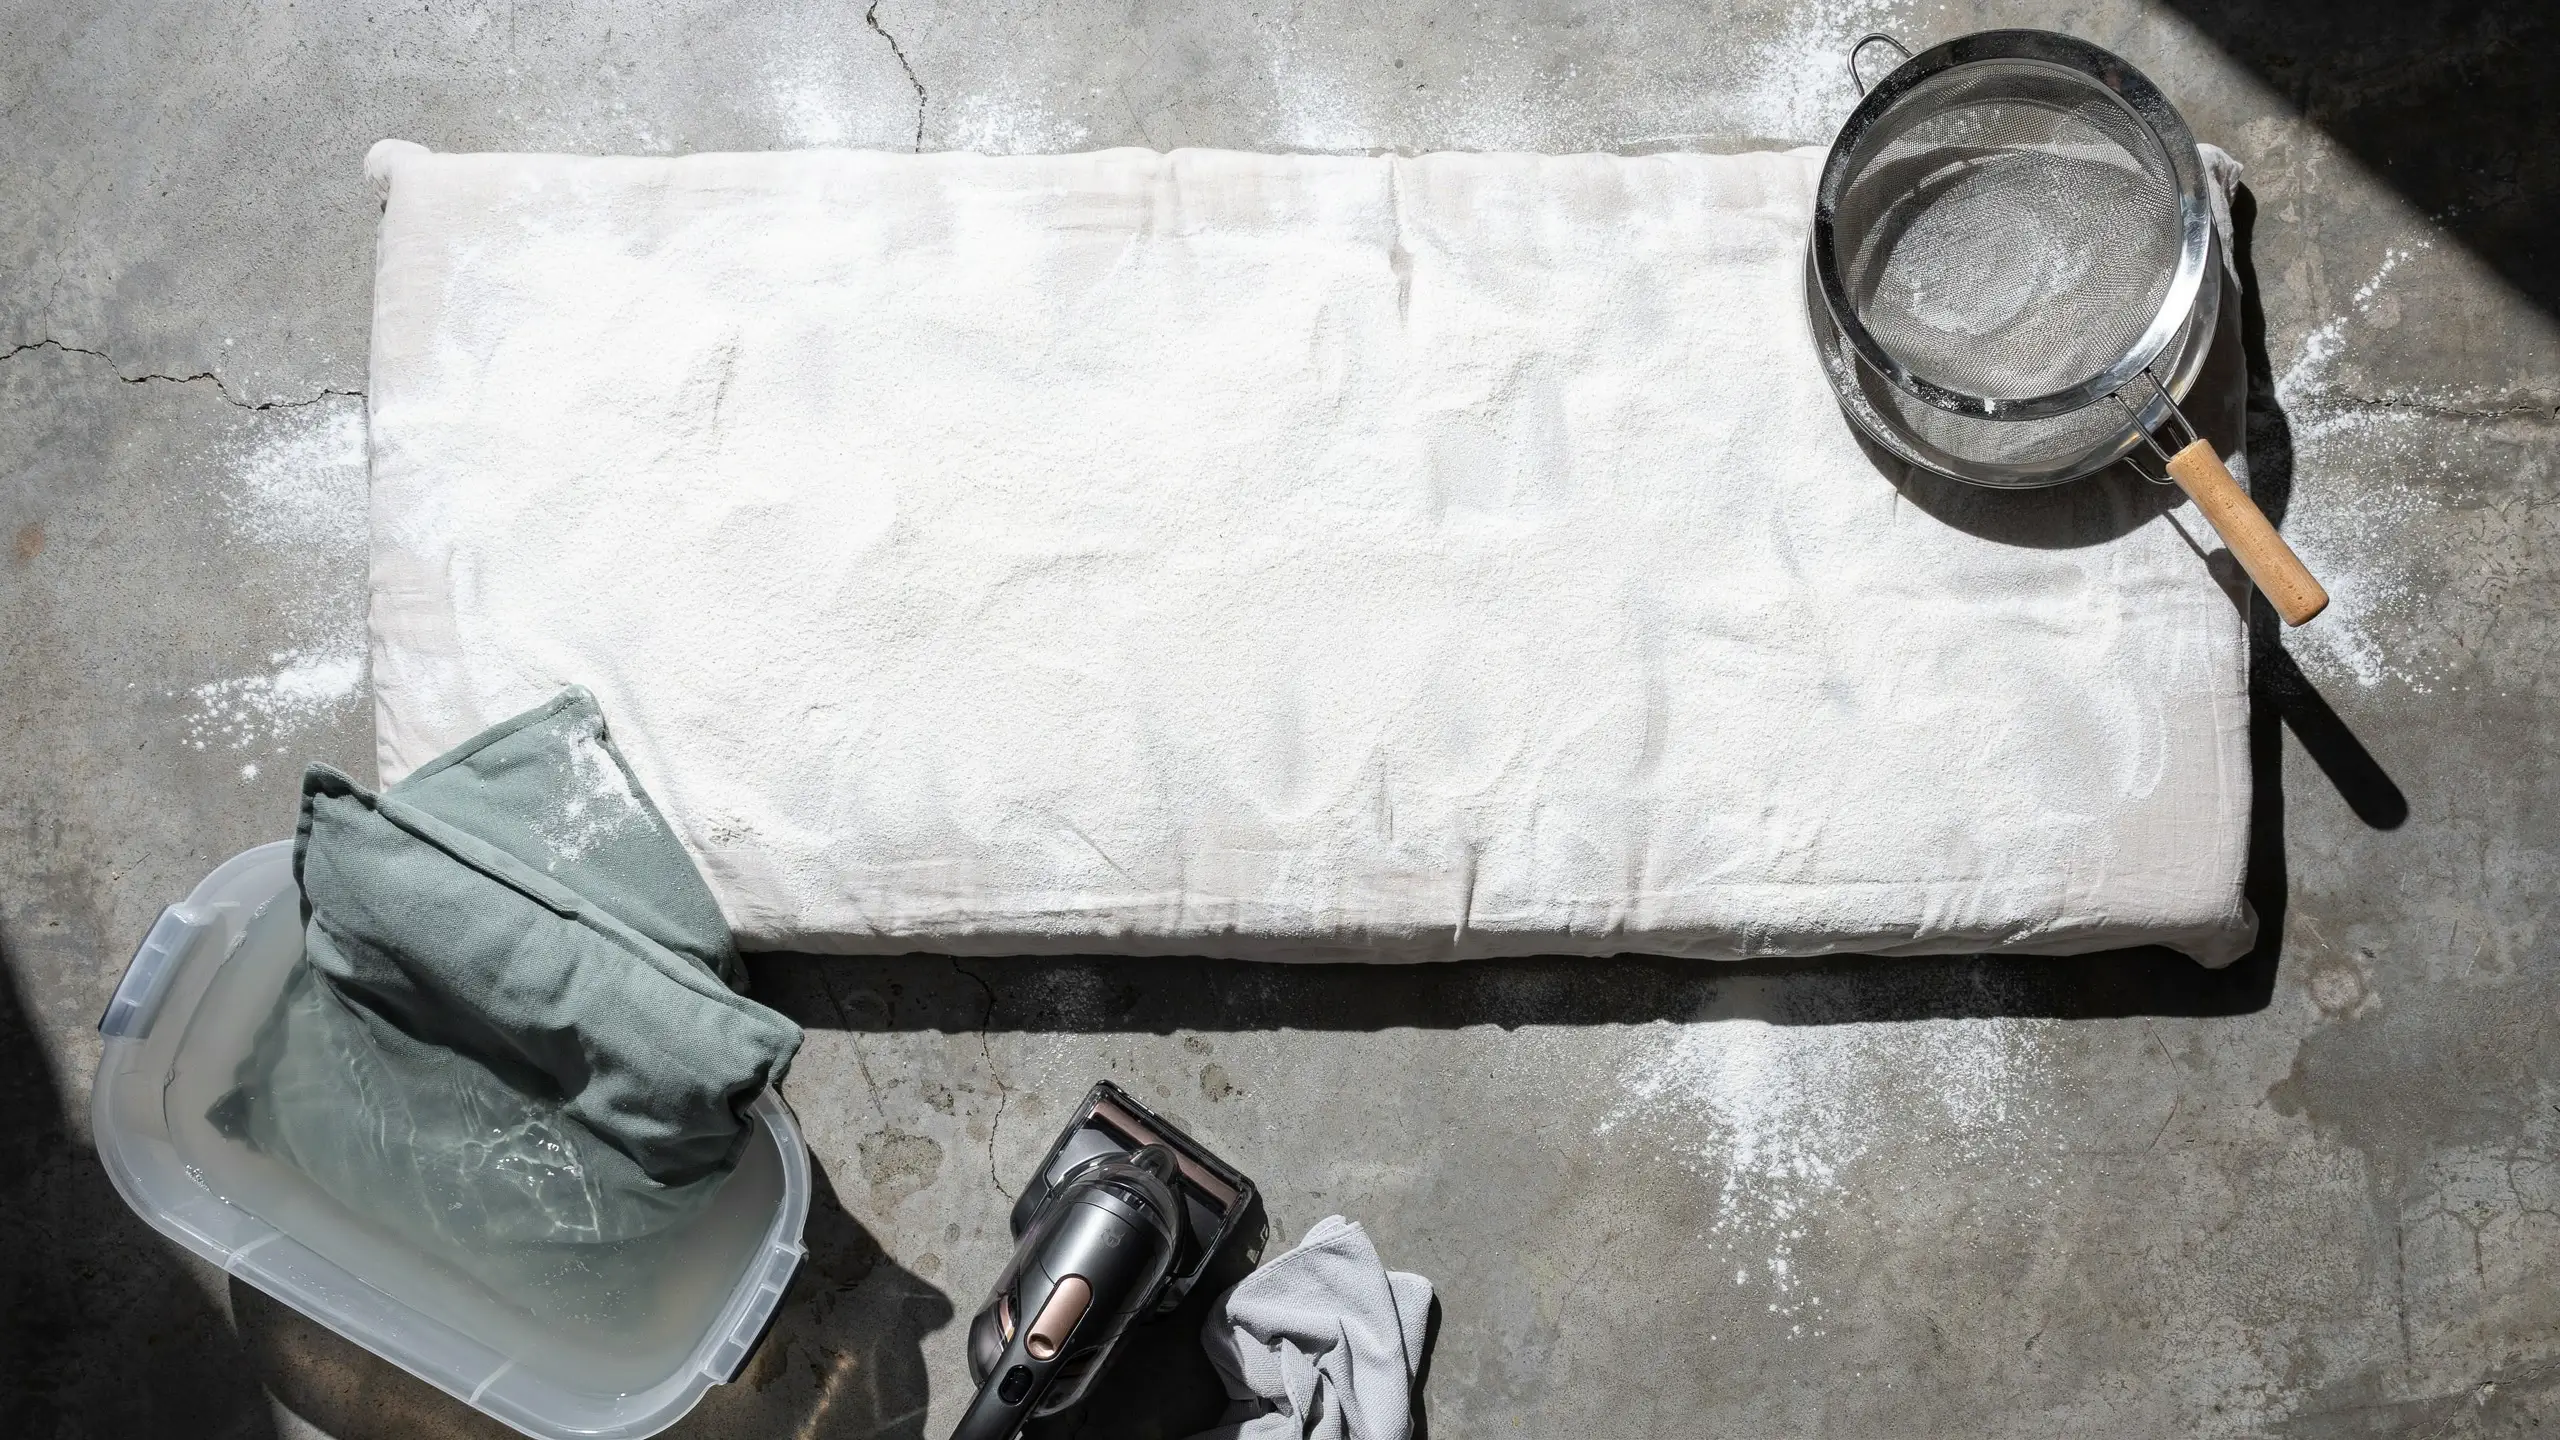
Once you know where the problem areas are, it is time to clean. Soft materials hold odors far longer than hard surfaces, so start here.
Strip all bedding, cushion covers, curtains, and valances. Anything that is removable should come out. Wash everything in the hottest water the fabric can handle. Add a cup of white vinegar to the wash cycle along with your regular detergent. For anything that smells particularly bad, a sports detergent designed to break down odor-causing bacteria works much better than regular laundry soap. Brands like Win, Sport Suds, or Hex are worth trying on heavily musty fabrics.
For the mattress itself, drag it outside into direct sunlight. Sprinkle baking soda generously over the entire surface, let it sit for several hours, then vacuum it up. Flip it and repeat on the other side. Sun exposure dries out the foam and kills surface mold simultaneously. If the smell is deeply embedded and does not improve after a full day outside, replacement is worth considering.
For cushions you cannot remove or wash, use a steam cleaner. Steam gets into the foam in a way that sprays do not.
Vacuum all carpets and rugs thoroughly, working in multiple directions to pull debris from the fibers. If the carpet has a mildew smell, spray a 50/50 mix of white vinegar and water over the surface, let it sit for 15 to 20 minutes, then blot dry and allow the carpet to air out completely.
Step 4: Clean the Spots Most People Completely Miss
Under the Mattress and Bed Platform
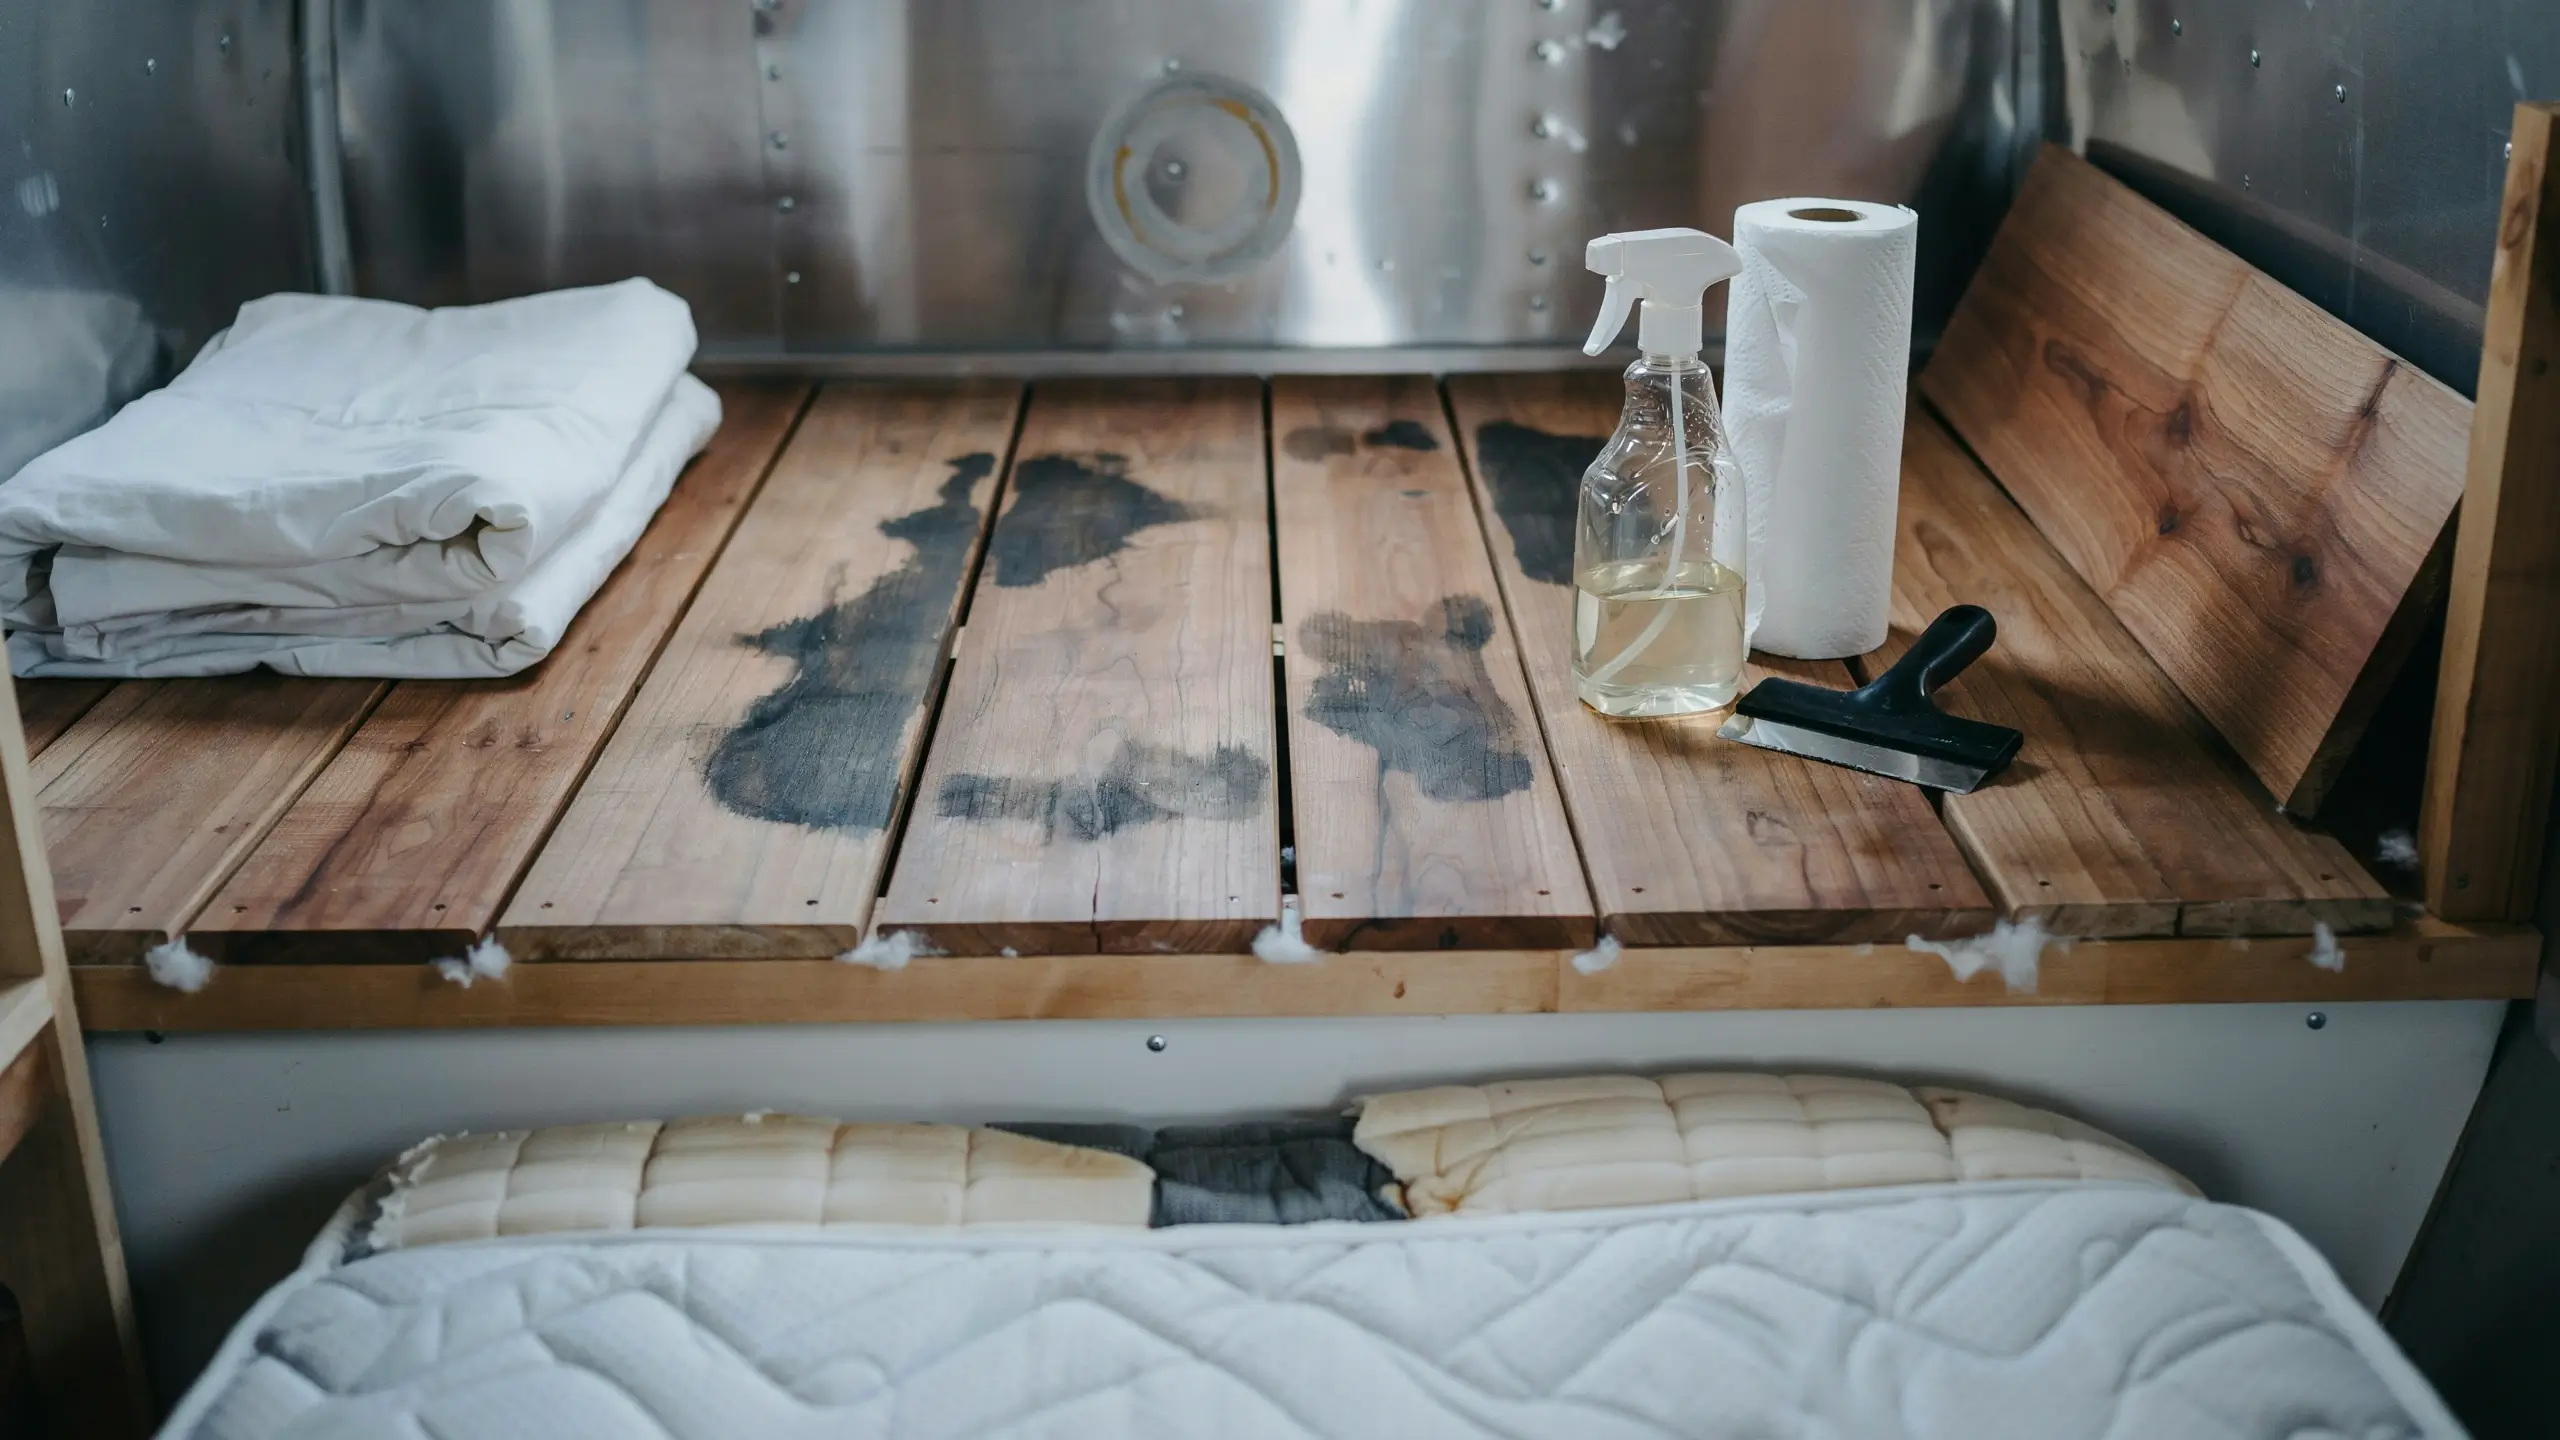
If you found dark spots or moisture under the mattress, wipe down the platform with a diluted white vinegar solution or a camper-safe mold cleaner. Let it dry completely, and consider adding a layer of cedar planks or placing a moisture-absorbing product directly on the platform before putting the mattress back. Better yet, if the bed platform has no ventilation slats, drilling a couple of small holes on the side of the frame allows air to circulate underneath.
Inside Cabinet Gaps
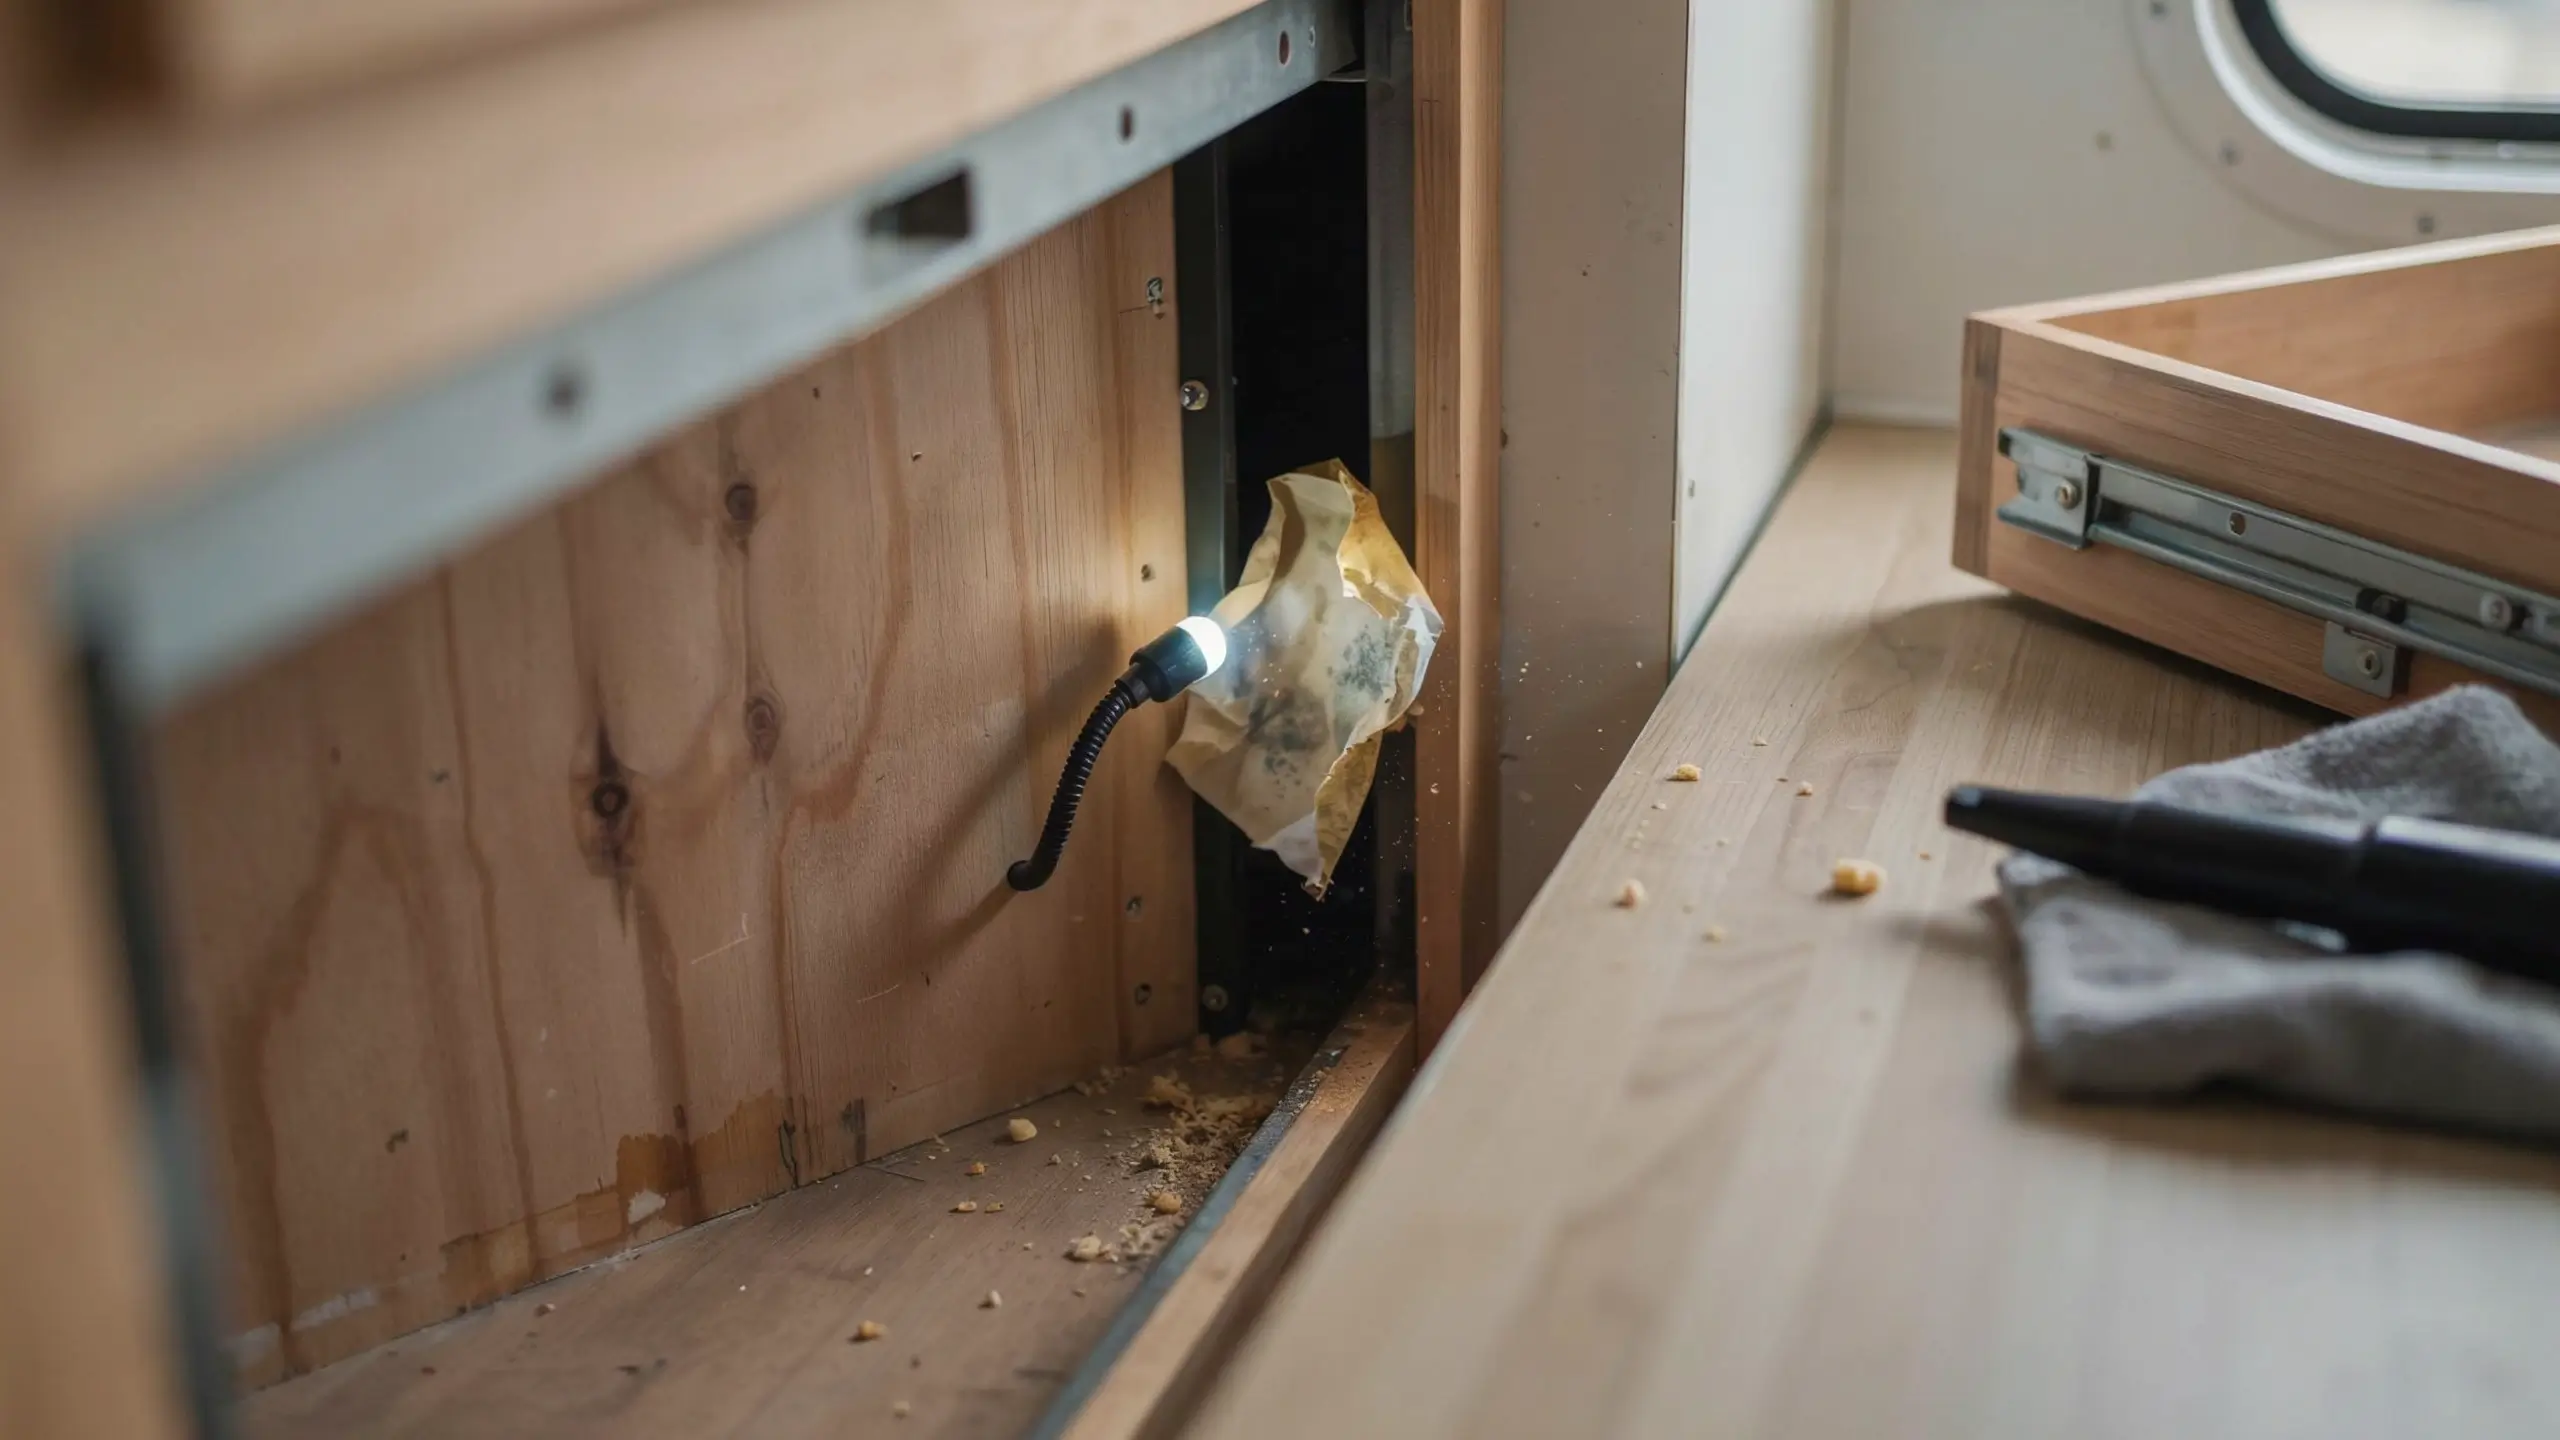
Pull every drawer out completely. Wipe down the interior of the cabinet and the sides and bottom of the drawer. Check the void space behind the drawer track. These gaps are dark, sometimes slightly damp, and often where crumbs or paper scraps get trapped for years.
Particle Board Panels and Table Tops
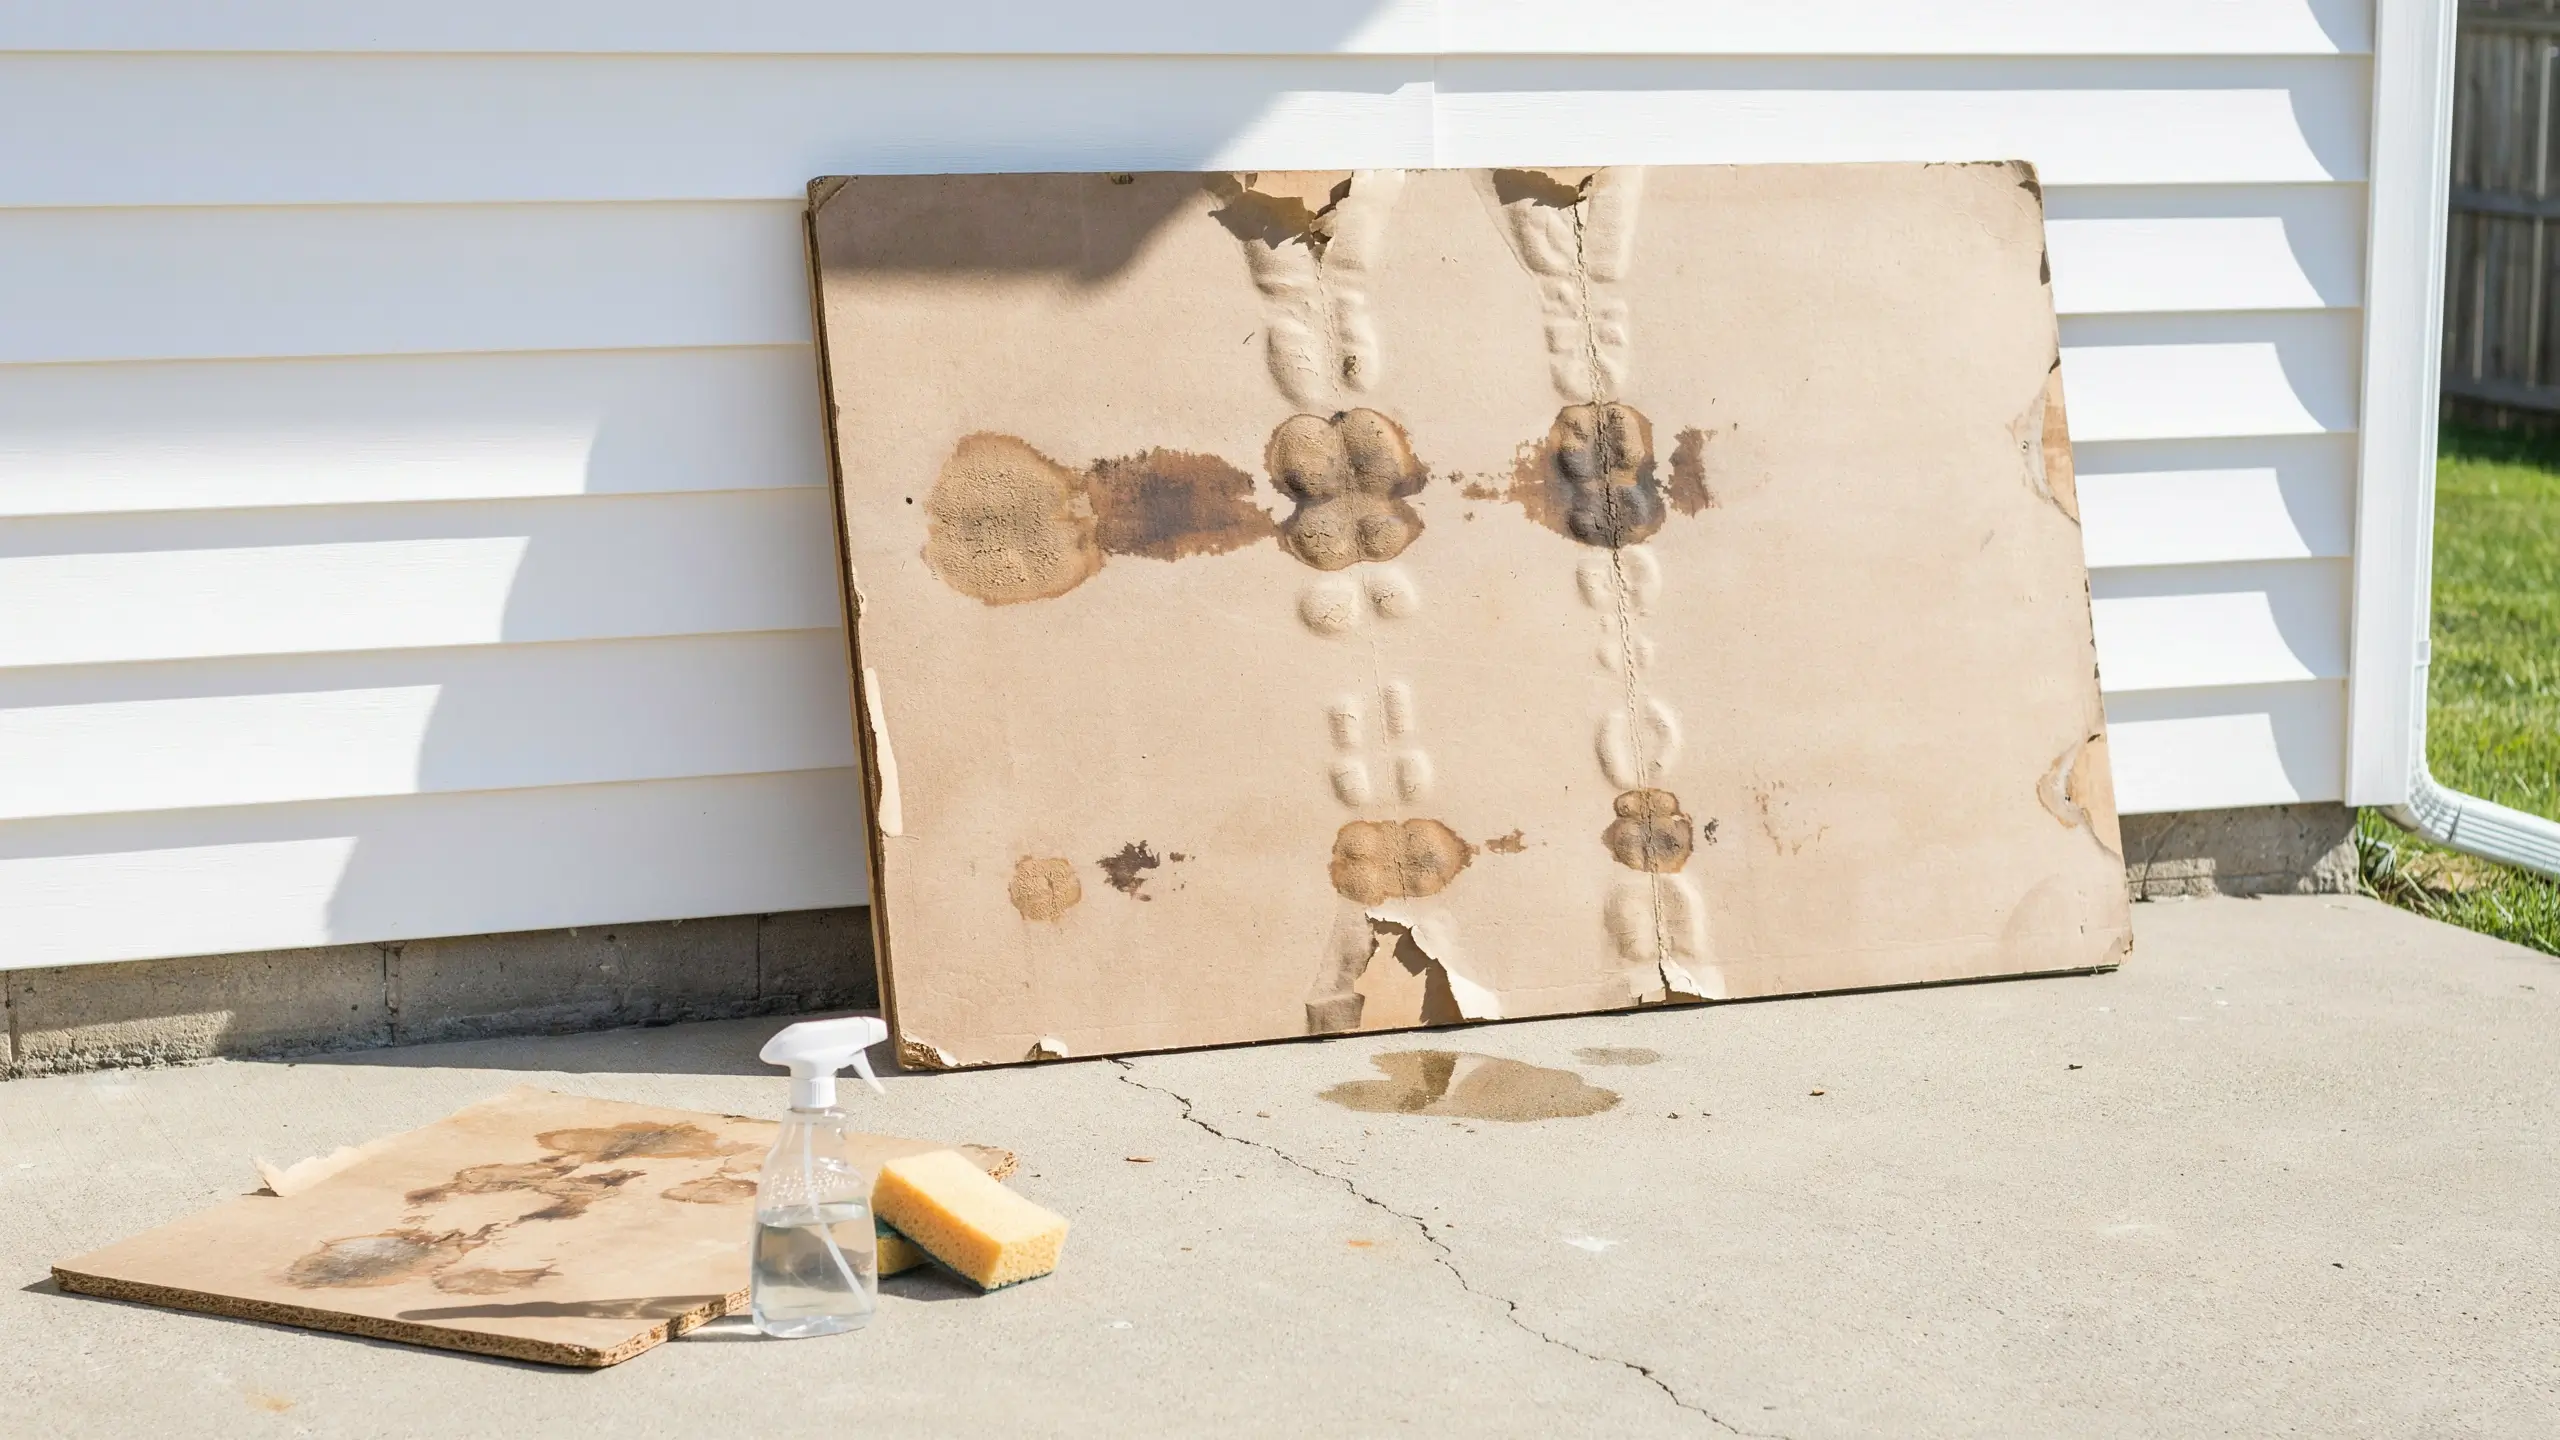
Many older campers use particle board for interior panels and dinette tabletops. Particle board is incredibly porous and soaks up smell like a sponge. After cleaning with an all-purpose cleaner, carry the pieces outside and let them bake in the sun for several hours. The warmth dries the wood deeply, and the smell often improves dramatically. If a tabletop or panel still reeks after a full day in the sun, replacement is genuinely more effective than continuing to fight it.
The AC Unit
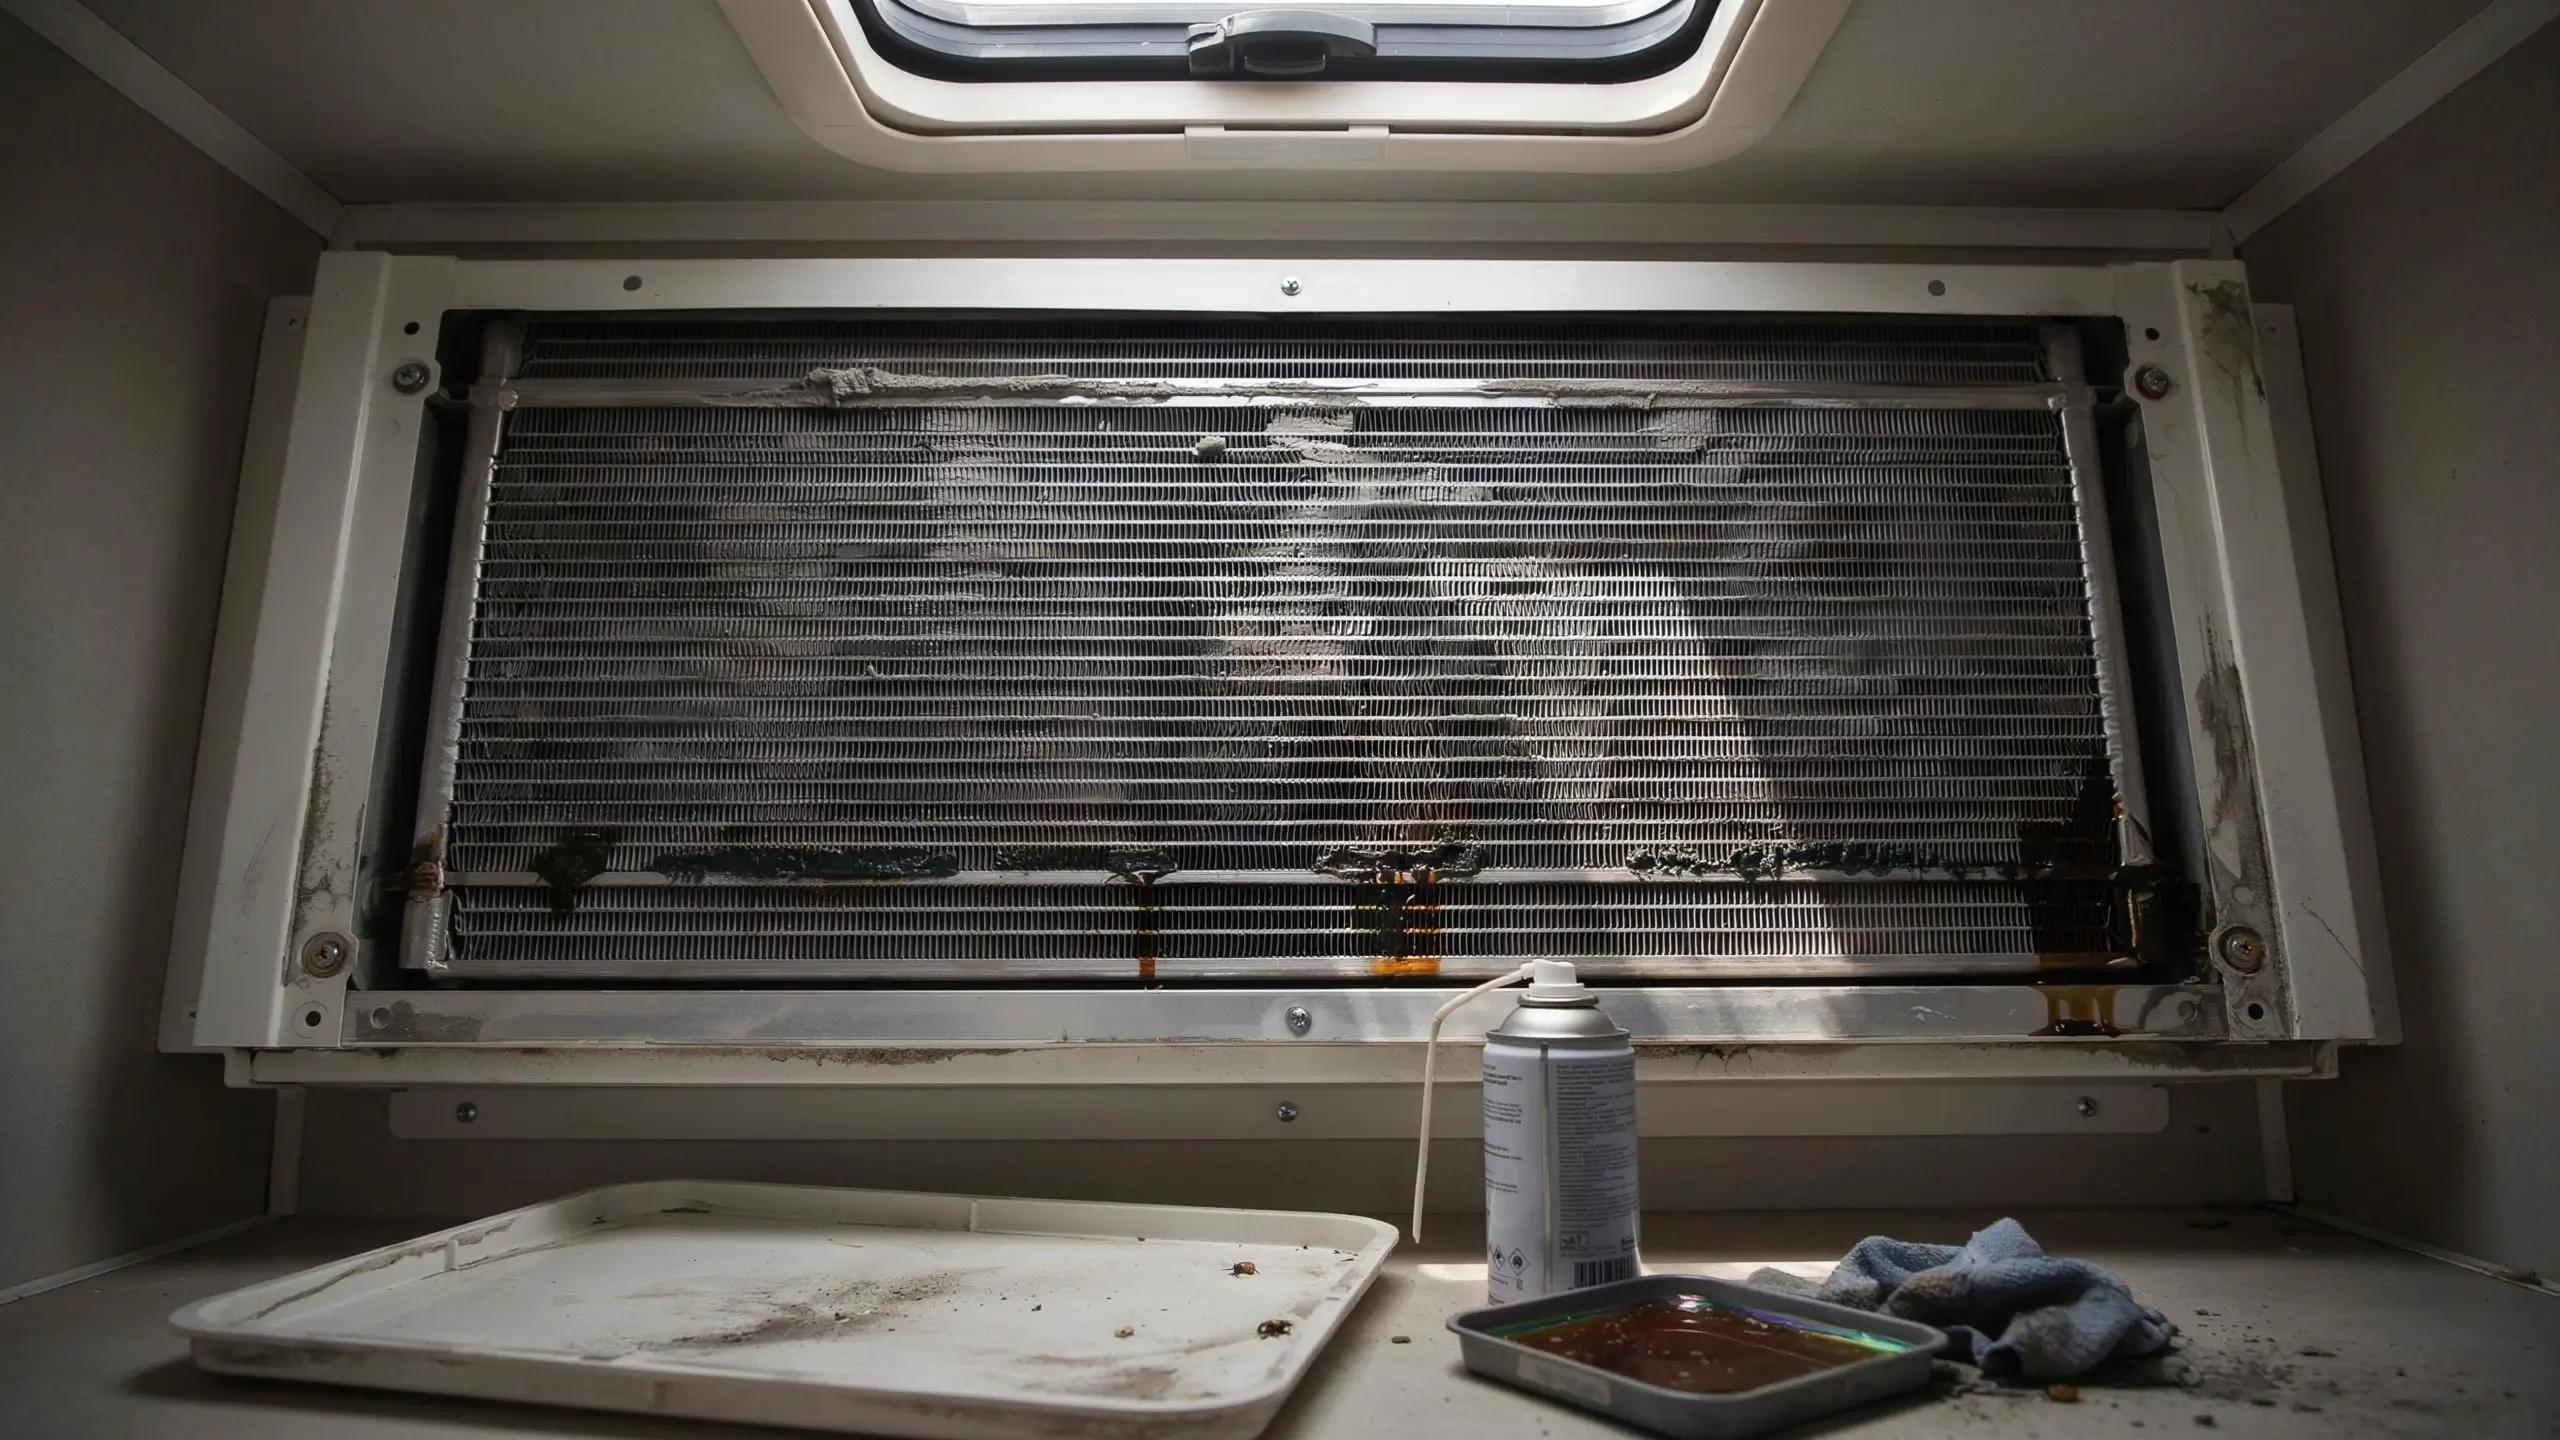
This one is underestimated. If your camper has a rooftop air conditioner, the inside of that unit can develop mold on the evaporator coils, in the drip pan, and in the return air chamber. When the AC runs, it blows those mold spores directly into the living space.
Start by replacing the air filter if you have not done so recently. Then remove the inside shroud cover to access the evaporator coil. If you see buildup or smell mildew from the coil, spray it with an evaporator coil cleaner and let it foam and drip into the drain pan below. Check whether the drain holes in the pan are clogged. A light bleach solution of a few tablespoons in a quart of water can be used to wipe the drip pan. If the smell coming from the AC is severe or you are not comfortable accessing the coil, an RV technician can clean the unit properly.
Step 5: Use Natural Odor Absorbers That Actually Work

Once everything is clean and dry, natural odor absorbers can pull out what is left. These are not cover-ups. They work by neutralizing odors in the air.
Baking soda. Place open bowls of baking soda in the areas that smelled worst: under the bed, inside cabinets, near the AC return vent. Replace every few weeks.
Activated charcoal bags. These are one of the most effective natural options for campers. Bamboo or coconut charcoal bags absorb moisture and odors simultaneously. Place them in cabinets, under the bed, and in the bathroom. Once a month, set them in direct sunlight for an hour to recharge them.
White vinegar bowls. Set a few small bowls of straight white vinegar around the camper and close it up overnight. The vinegar smell dissipates as it dries and takes a lot of the musty odor with it.
Coffee grounds. Dry, unused coffee grounds placed in small open containers absorb odors well and leave a faint pleasant scent behind.
Avoid heavily scented plug-in fresheners and sprays as a primary solution. They cover the smell rather than remove it, and in a small sealed space the combination of artificial fragrance and underlying mildew is not pleasant.
Step 6: When You Need Something Stronger
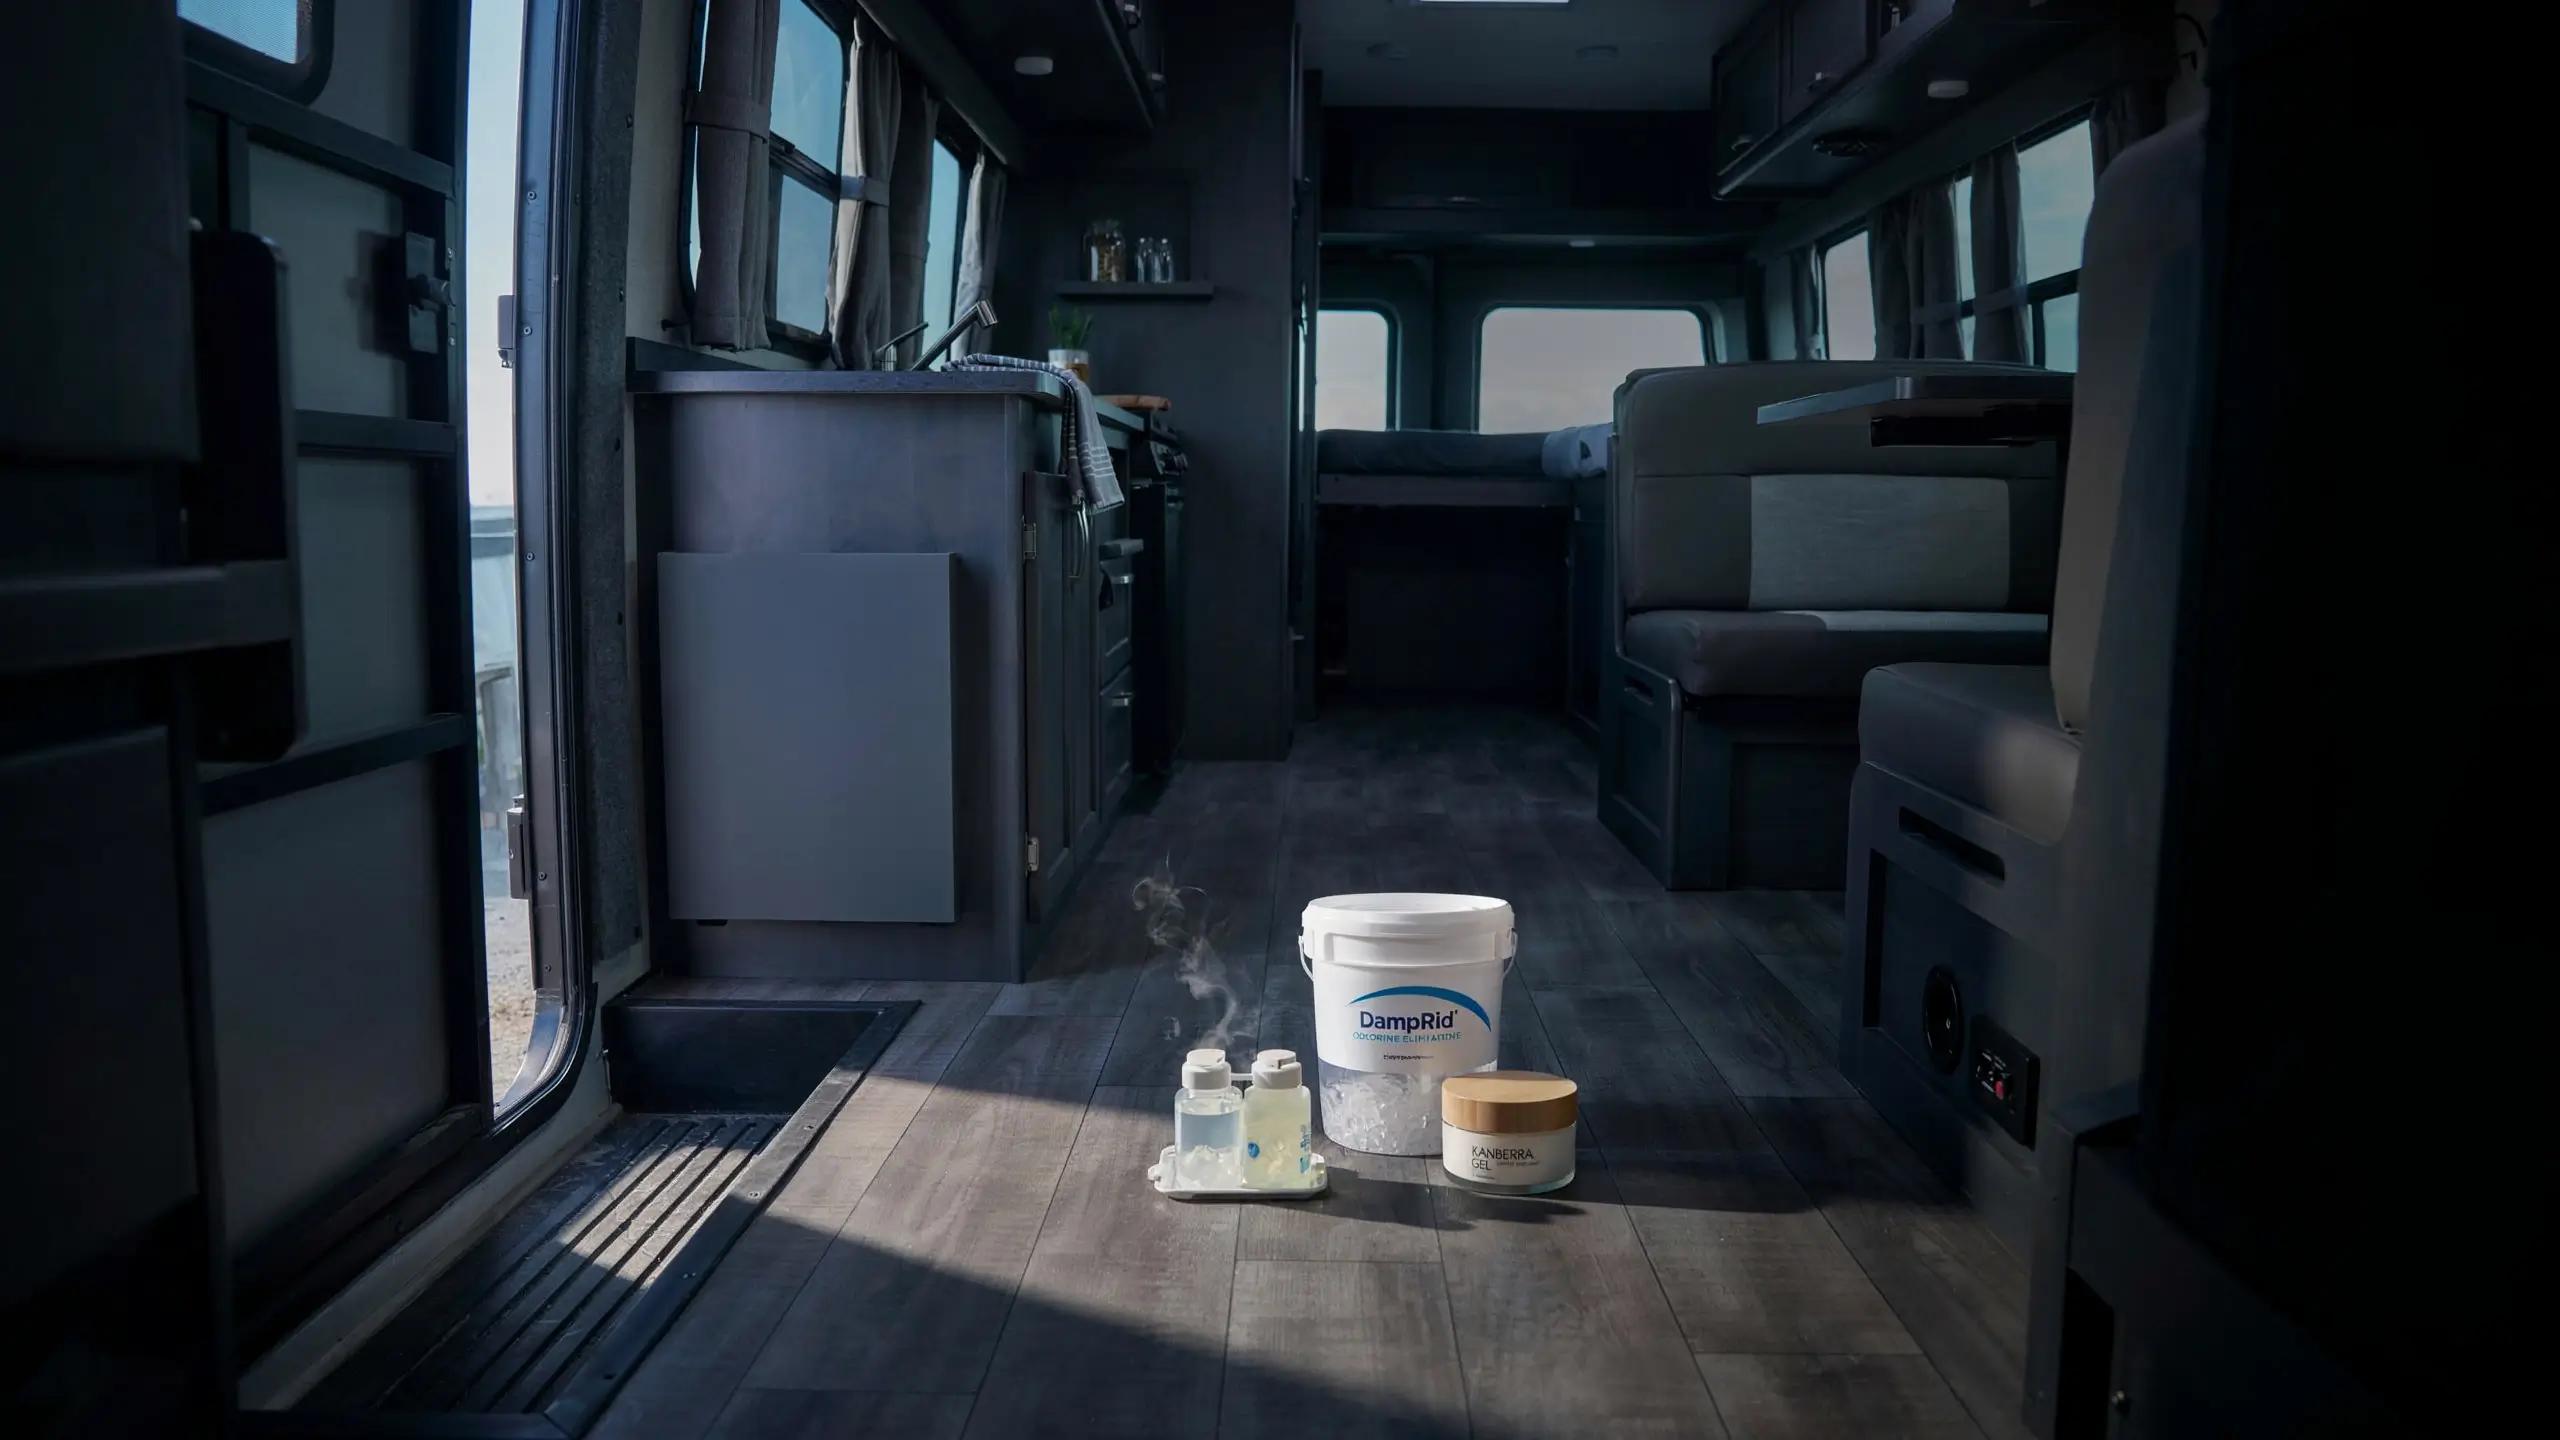
Some situations call for more than baking soda and vinegar, particularly if the camper has been closed up for more than a season or the musty smell is severe.
DampRid. This is a calcium chloride moisture absorber sold at most hardware and big-box stores. It pulls humidity from the air and collects it as liquid in a catch basin. Run one or two throughout the camper whenever it is stored.
Kanberra Gel. A well-regarded natural product among the RV community, it uses tea tree oil to neutralize mold and mildew odors in the air rather than simply masking them. It works while the camper is in use or in storage.
Chlorine dioxide products. For severe odors that persist after deep cleaning, chlorine dioxide treatments are a professional-grade option. Products like Dead Scent use ClO2 to destroy odor molecules at a structural level rather than masking them. You seal the camper, activate the treatment, leave for six to eight hours or overnight, and then air the camper out completely. This approach is particularly effective for smoke, heavy mildew, and long-term storage odors that have soaked into the walls and furniture.
Step 7: Prevent It From Coming Back
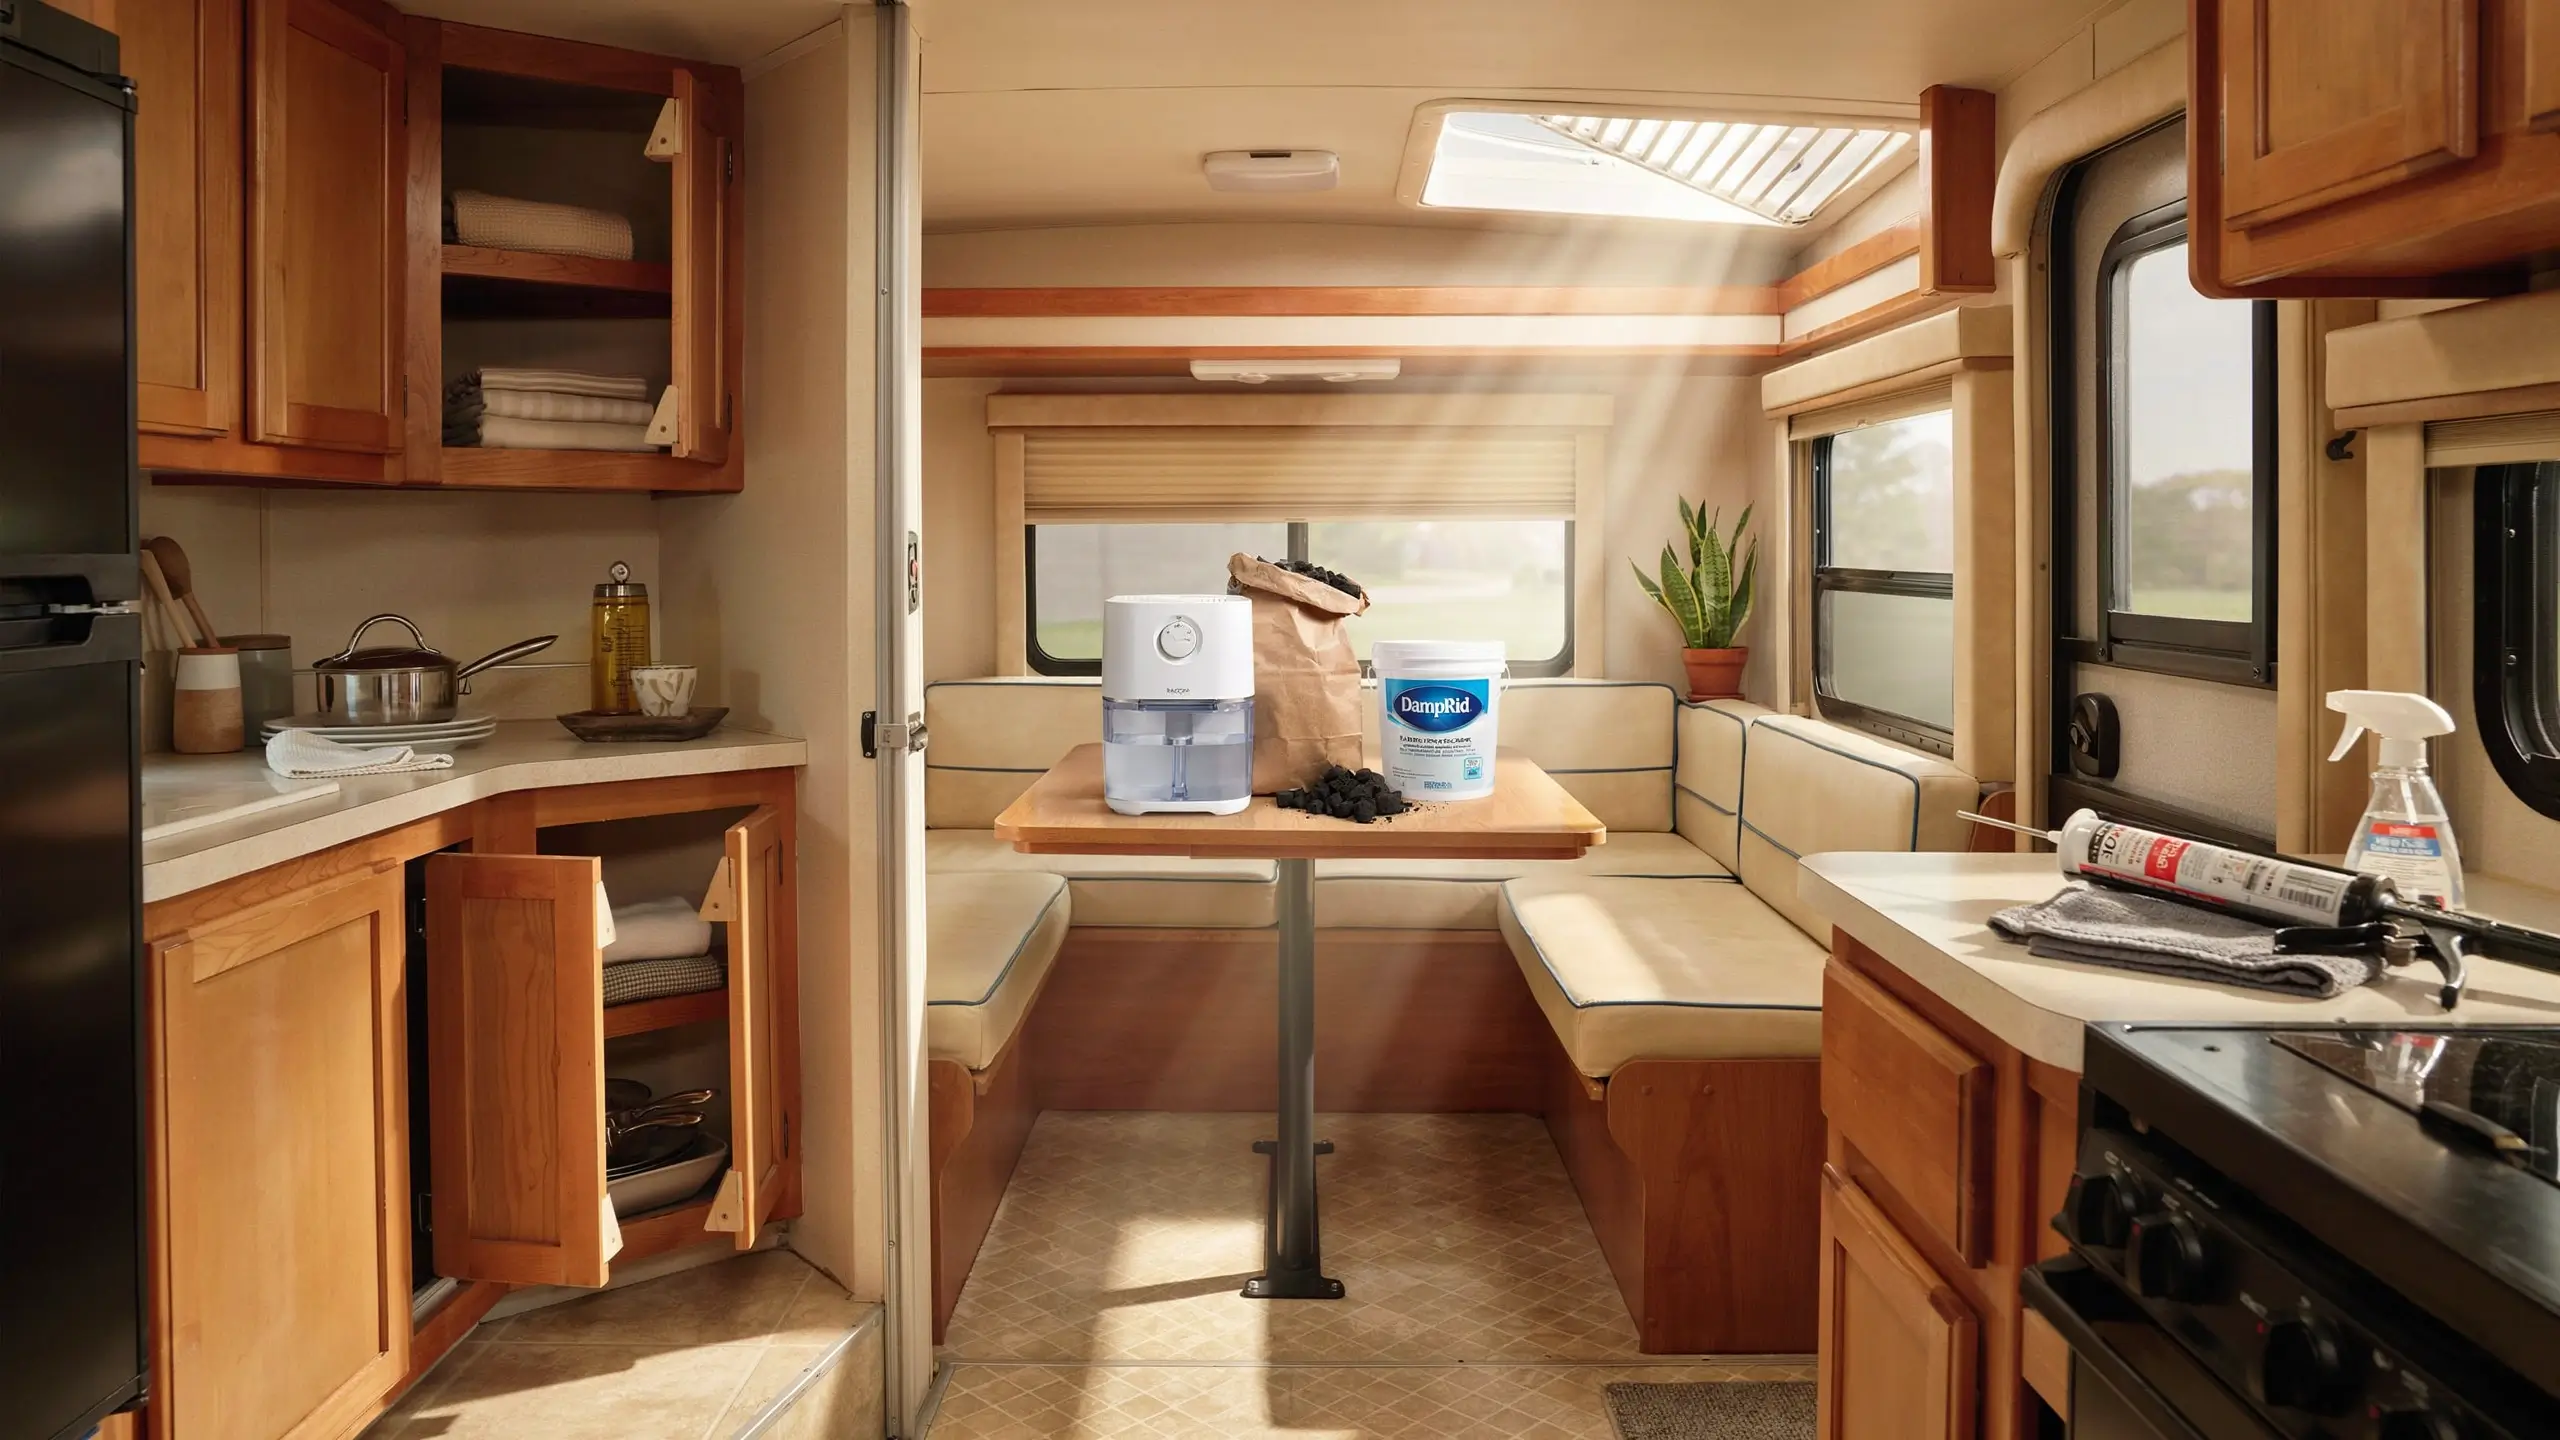
Cleaning is only half the battle. If moisture finds its way back in, the smell follows.
Always store your camper dry. Before closing it up for any length of time, wipe down all surfaces, remove any wet towels or gear, and let everything air out completely. Never close the cabinets until they are totally dry inside.
Keep one or two moisture absorbers inside during storage. Activated charcoal bags or DampRid work well passively during the off-season.
Vent while you cook and shower. These two activities release more moisture into a small space than most people realize. Use the exhaust fan every single time and crack a window if possible.
Store wet gear outside. Muddy boots, wet swimsuits, and damp towels should stay in an outdoor storage compartment or hang outside to dry before coming inside.
Check your roof and window seals once a year. Look for cracking, gaps, or soft spots on the exterior. Resealing with a camper-appropriate product like Dicor lap sealant takes an hour and can prevent years of moisture damage.
Run a small dehumidifier during humid weather. If you are camping in a wet climate or during rainy season, even a small portable dehumidifier running for a few hours a day keeps humidity levels manageable inside.
Mistakes That Make the Problem Worse
A few things people try that end up backfiring:
Febreze on everything. It is not a cleaner. It temporarily masks the odor, but the mold or mildew source is still there doing what it does.
Closing the camper up before surfaces are fully dry after cleaning. This is a very easy way to create exactly the problem you were trying to solve. Give everything time to dry, including inside cabinets and under the mattress.
Using bleach on porous materials. Bleach can damage fabrics, discolor surfaces, and does not penetrate deeply into porous materials like foam or particle board. White vinegar, enzyme cleaners, or oxygen-based cleaners are often more effective and less damaging.
Assuming the smell is just from storage. A smell that returns quickly after cleaning usually means there is an ongoing moisture source, either a leak, a humidity issue, or a contaminated AC unit, that needs to be addressed at the root.
When to Call a Professional
If you have cleaned the camper thoroughly, fixed any leaks you found, treated the AC unit, and the musty smell keeps coming back within a few days, it is worth calling an RV service center or a mold remediation professional.
Signs that the problem may be beyond DIY:
- Soft spots in the walls, floor, or ceiling that suggest structural moisture damage
- Visible black mold in multiple areas
- Allergy symptoms that show up when you are inside and clear up when you leave
- A smell that is strongest behind the wall panels rather than on surfaces
In these cases, the mold may have gotten into the insulation or framing, which requires professional assessment and potentially significant repair.
The Bottom Line on Musty Camper Smells
Getting the musty smell out of your camper is not about one single trick. It is a process: find the real source, clean the right things in the right order, use products that eliminate rather than mask, and set the camper up so moisture cannot take hold again next time.
The campers that consistently smell fresh are the ones whose owners treat moisture like the enemy and stay a step ahead of it. A few small habits, some activated charcoal bags, and a proper deep clean once a season are genuinely all it takes to keep your home away from home smelling the way it should.
You put in the work to create adventures in that camper. It should smell like possibility when you open the door, not like a basement.
Have you dealt with a stubborn musty camper smell? What ended up working for you? Share your experience in the comments below. I would love to know what tricks are working out there in the wild.






No Comment! Be the first one.