




How to Texture a Wall With a Roller (No Sprayer Needed)
If you have ever stood in a hardware store staring at a $150 texture sprayer wondering if there is a cheaper way, there is. You can texture a wall with a roller for less than $40 in supplies, and...

If you have ever stood in a hardware store staring at a $150 texture sprayer wondering if there is a cheaper way, there is. You can texture a wall with a roller for less than $40 in supplies, and honestly, it is more forgiving for a first-timer than fighting with a hopper gun and a compressor.
I know the idea sounds intimidating. Drywall mud, rollers, “getting the consistency right,” it all sounds like something only a contractor should touch. But texturing with a roller is one of those projects that looks way harder in your head than it is in your hands. You are basically rolling on thick paint. That is it.
This guide walks you through the whole process, from mixing your mud to the exact roller technique that gives you that soft, orange-peel-ish texture people pay professionals for. I am also covering the mistakes that ruin most first attempts, because there are a few, and nobody warns you about them until it is too late.
Why Roll Texture Instead of Spraying It
Spraying gives you a slightly more uniform, factory-style texture, but it also means renting equipment, masking off an entire room in plastic, and cleaning a hopper gun full of wet mud afterward. It is messy in a way that discourages most DIYers before they even start.
Rolling is slower, but it is quiet, it does not require a compressor, and cleanup is a bucket of water and a scrub brush. For one wall, an accent wall, a patch job, or a small bathroom, rolling texture is genuinely the easier route. You can also stop and start whenever you want, which matters if you are working around a nap schedule or squeezing the project into a weekend.
It is also the better choice if you are trying to match texture around a repair. Spraying a small patch so it blends with the surrounding wall is genuinely tricky. Rolling gives you more control over exactly where the texture goes.
What You Will Need
- Pre-mixed joint compound (drywall mud), or powdered compound you mix yourself
- A thick nap roller, 1/2 inch to 3/4 inch nap, sometimes labeled a “texture roller”
- A paint roller frame and tray (a deep tray works better than a shallow one)
- A 3 to 6 inch putty knife for mixing and touch-ups
- A drywall taping knife or knockdown knife, if you want a knockdown finish
- Painter’s tape and plastic sheeting or drop cloths
- A stir stick or mixing paddle attachment for a drill
- Primer, ideally a stain-blocking or drywall primer
- Paint and a regular roller for the final coat
- Rubber gloves and a dust mask for sanding
You do not need a specialty texture roller with a pattern on it unless you are going for something specific like a crow’s foot or lace look. A basic thick nap roller from the paint aisle does the classic soft, bumpy texture just fine.
1: Prep the Wall First
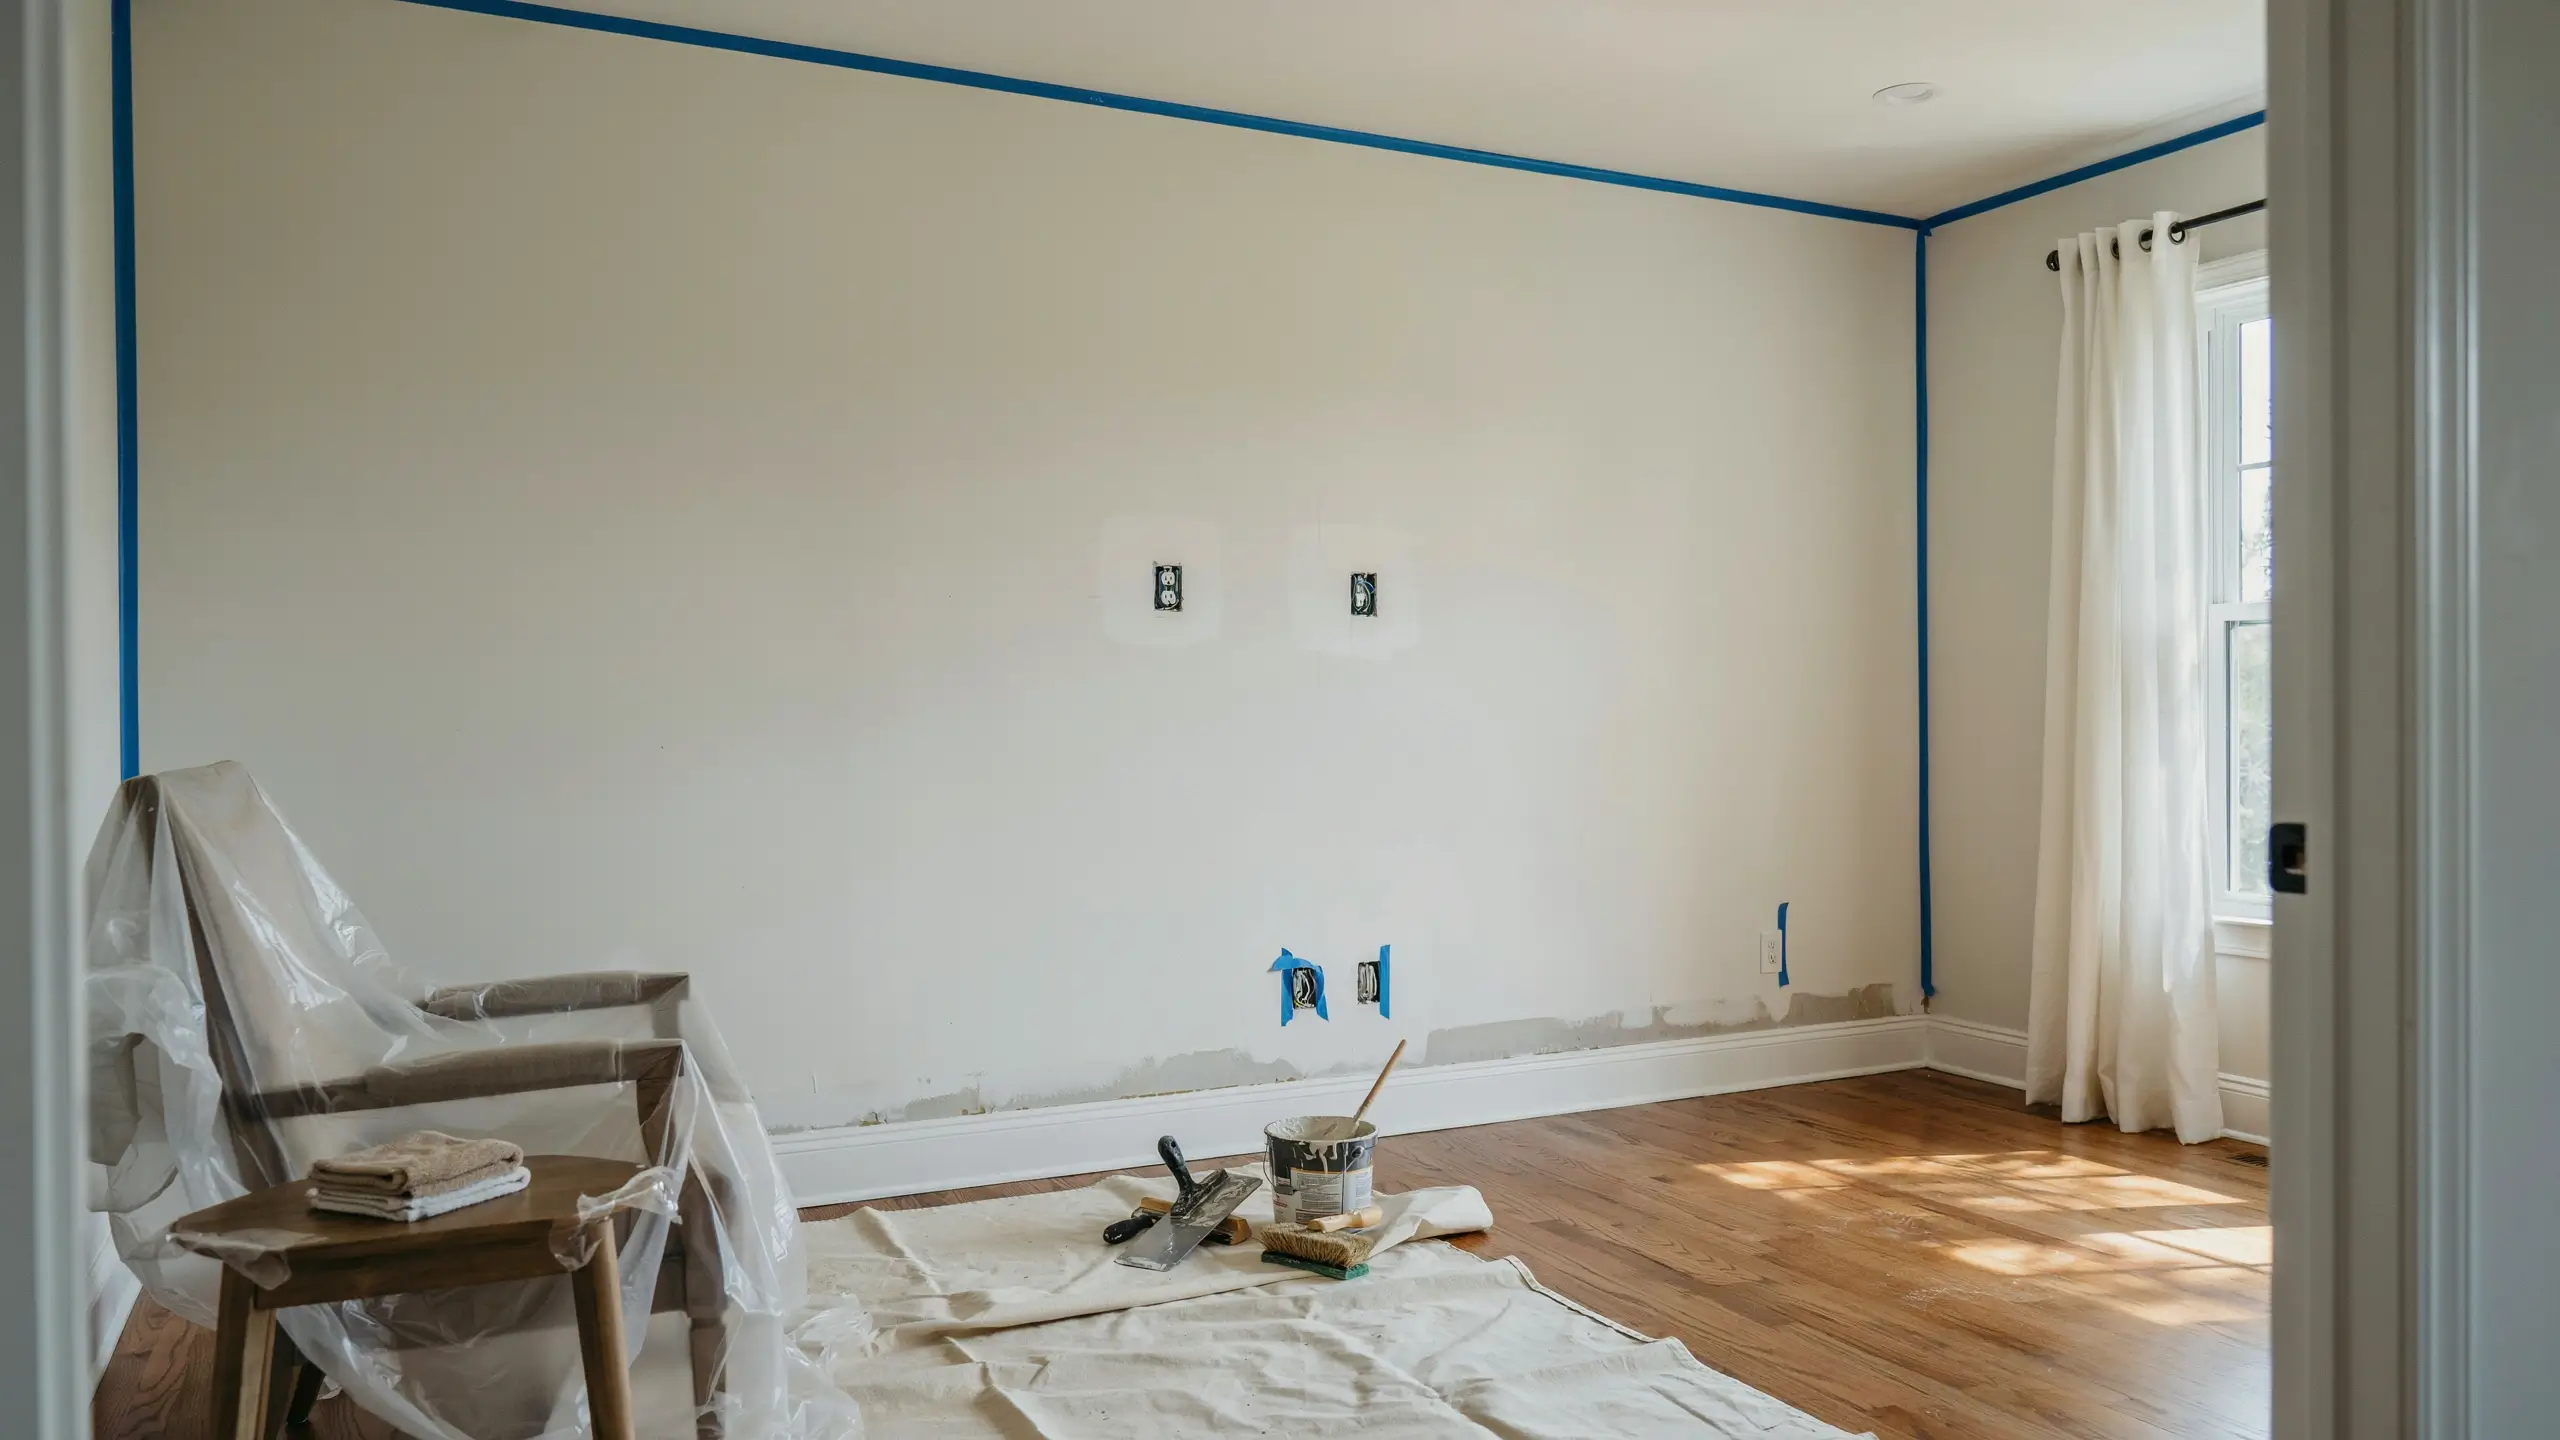
This is the step people rush, and it shows later. Fill any holes, dents, or old nail pops with spackle or joint compound and let it dry completely. Sand it smooth. If you just pulled down wallpaper, check for any leftover paper backing or glue residue, because texture will not hide bumpy glue spots, it will actually highlight them.
Tape off baseboards, window trim, outlet covers, and ceiling lines. Lay drop cloths on the floor, and tape plastic sheeting up the wall a few inches if you are working near furniture or flooring you care about. Mud splatters more than paint does.
Pull outlet and switch covers off completely rather than just taping around them. It takes two extra minutes and saves you from scraping dried mud out of a light switch later.
Mistake to Avoid
Skipping primer. Bare drywall soaks up moisture from the wet mud unevenly, which can cause your texture to dry patchy or crack in spots. A coat of primer first gives you a consistent surface and helps the texture adhere evenly.
2: Mix Your Joint Compound to the Right Consistency
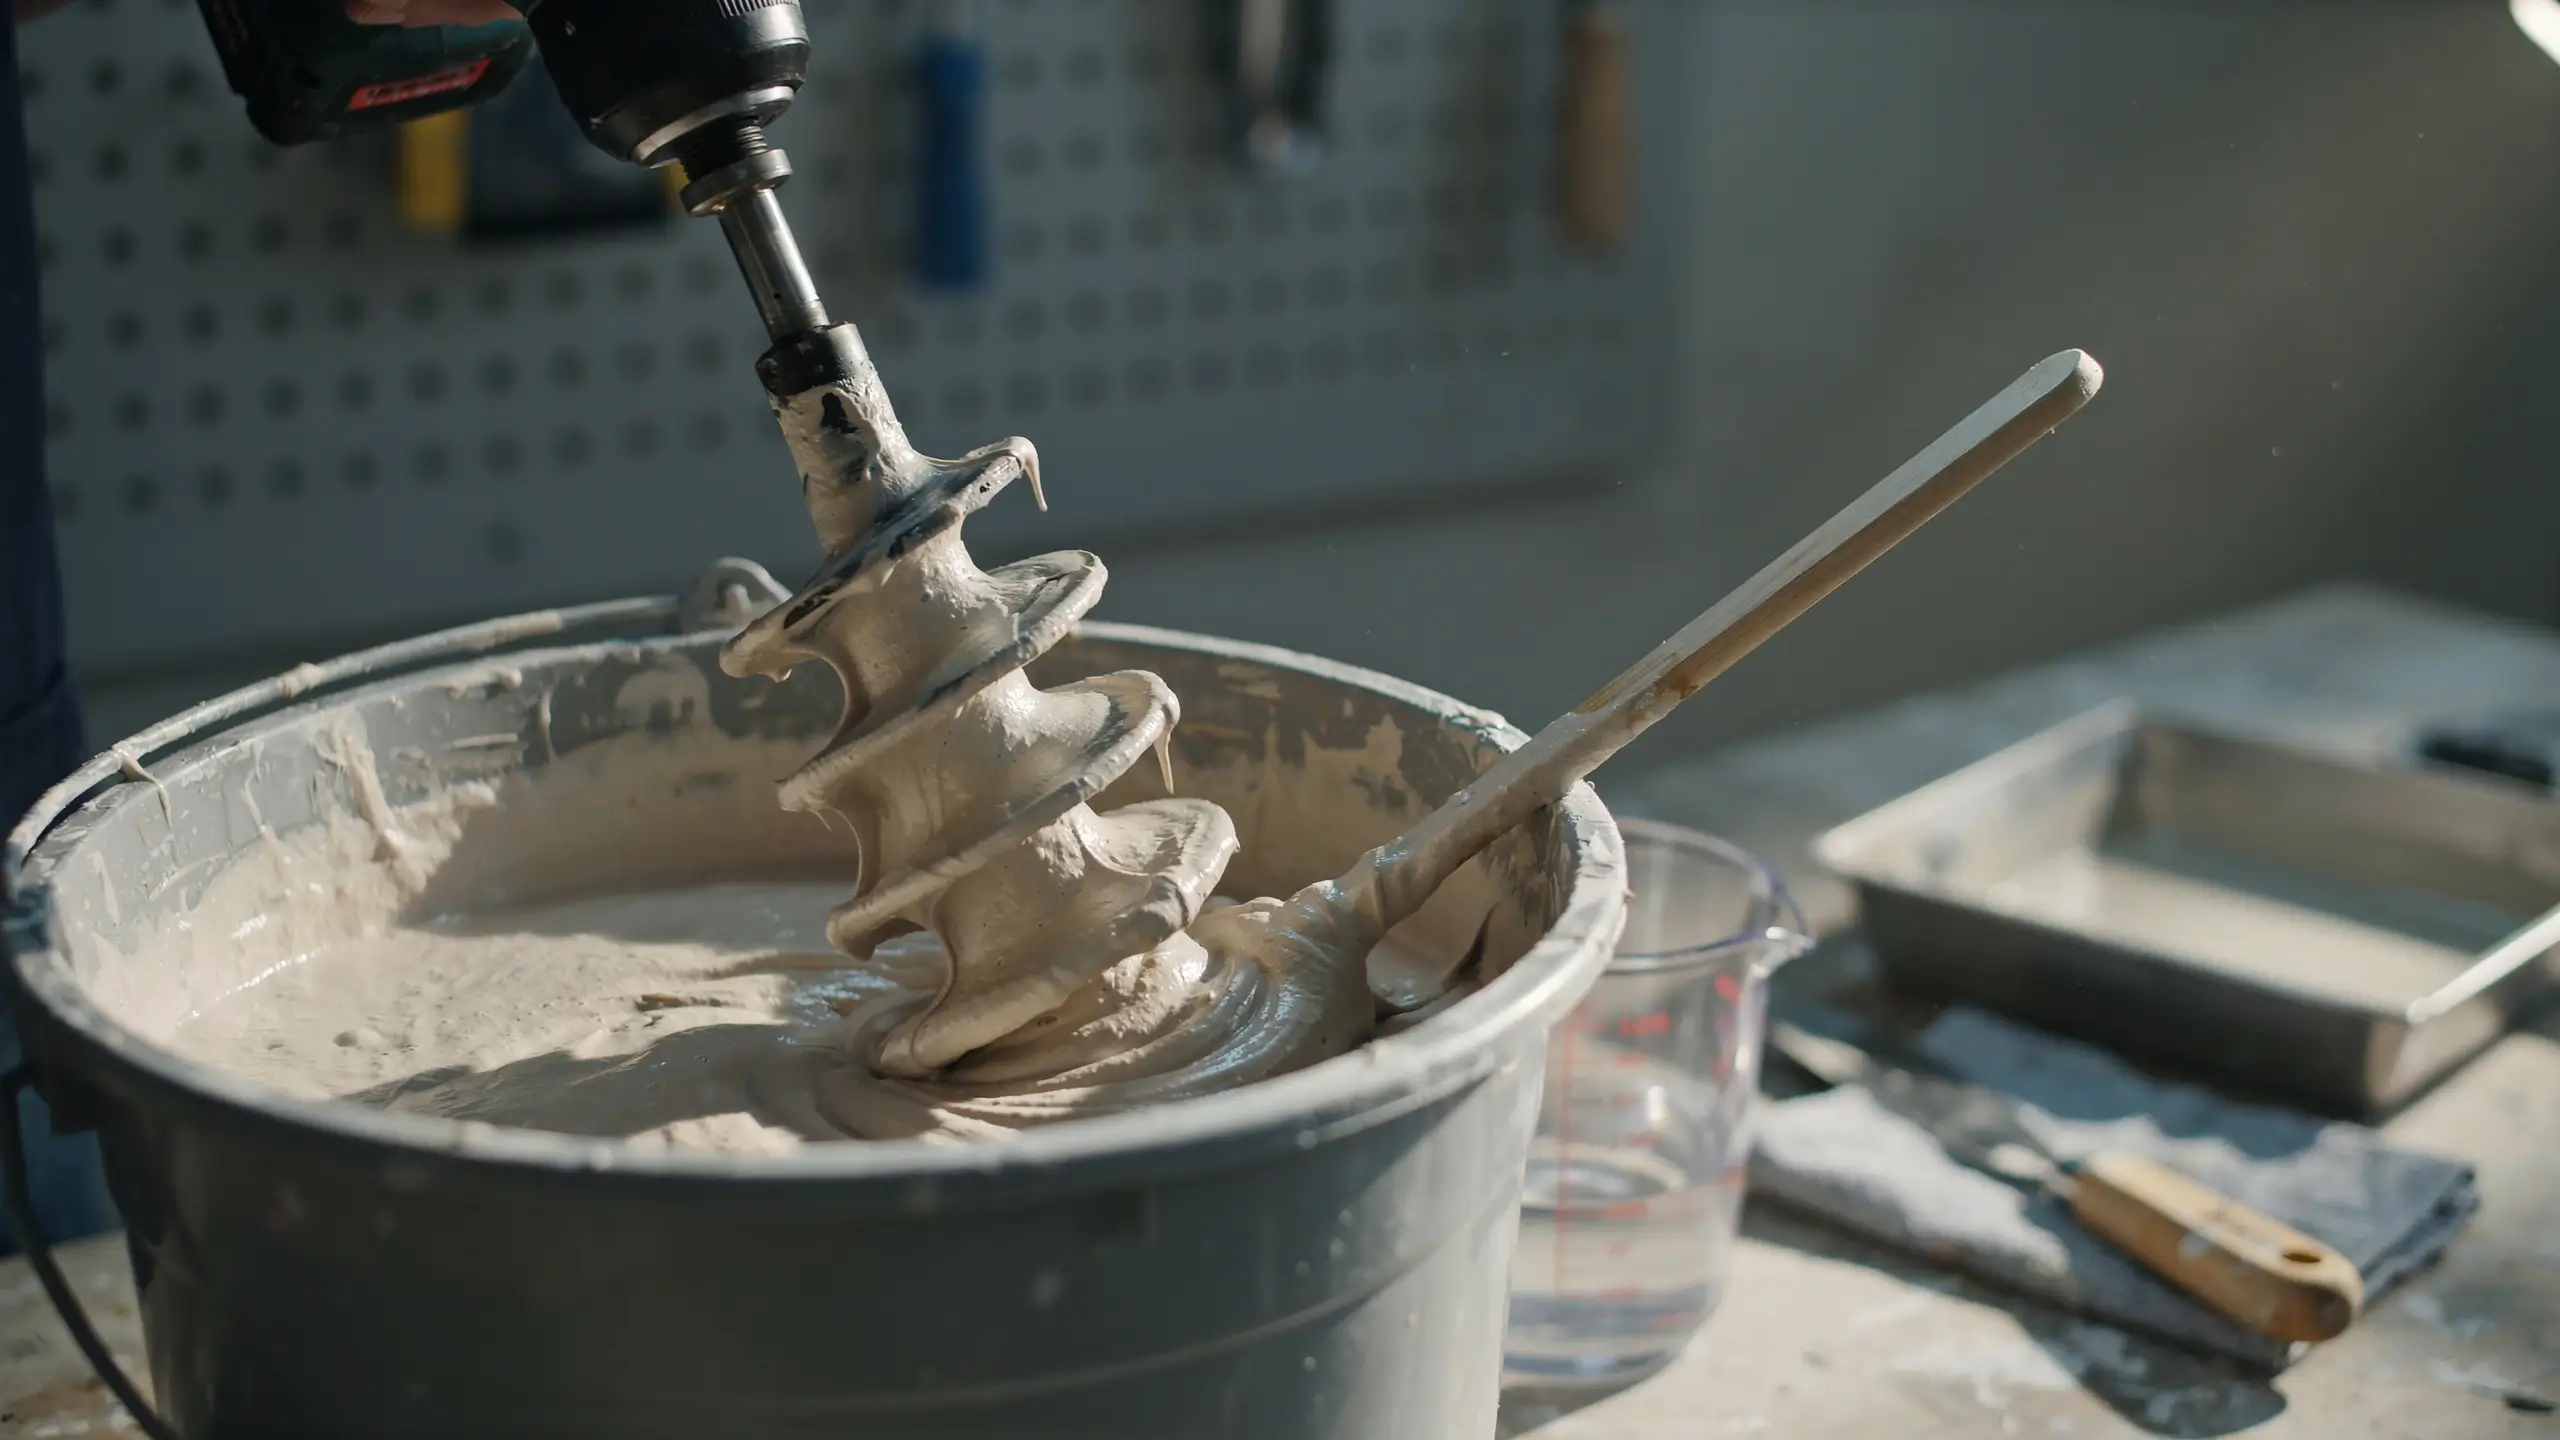
This is the part that intimidates people, but it is really just trial and error with a stir stick. You are aiming for a consistency similar to thick pancake batter or mayonnaise, something that pours slowly off the stick in a ribbon rather than running off like water.
If you are using pre-mixed compound straight from the tub, it is usually too thick to roll smoothly. Add water a little at a time, mixing thoroughly between additions, until it loosens up. Go slow here. It is much easier to add more water than to fix mud that has gone too thin.
If your mud ends up soupy, let it sit uncovered for 20 to 30 minutes so some moisture evaporates, then remix. Do not try to fix thin mud by dumping in more dry powder, it gets lumpy and hard to spread evenly.
3: Load the Roller and Start Rolling
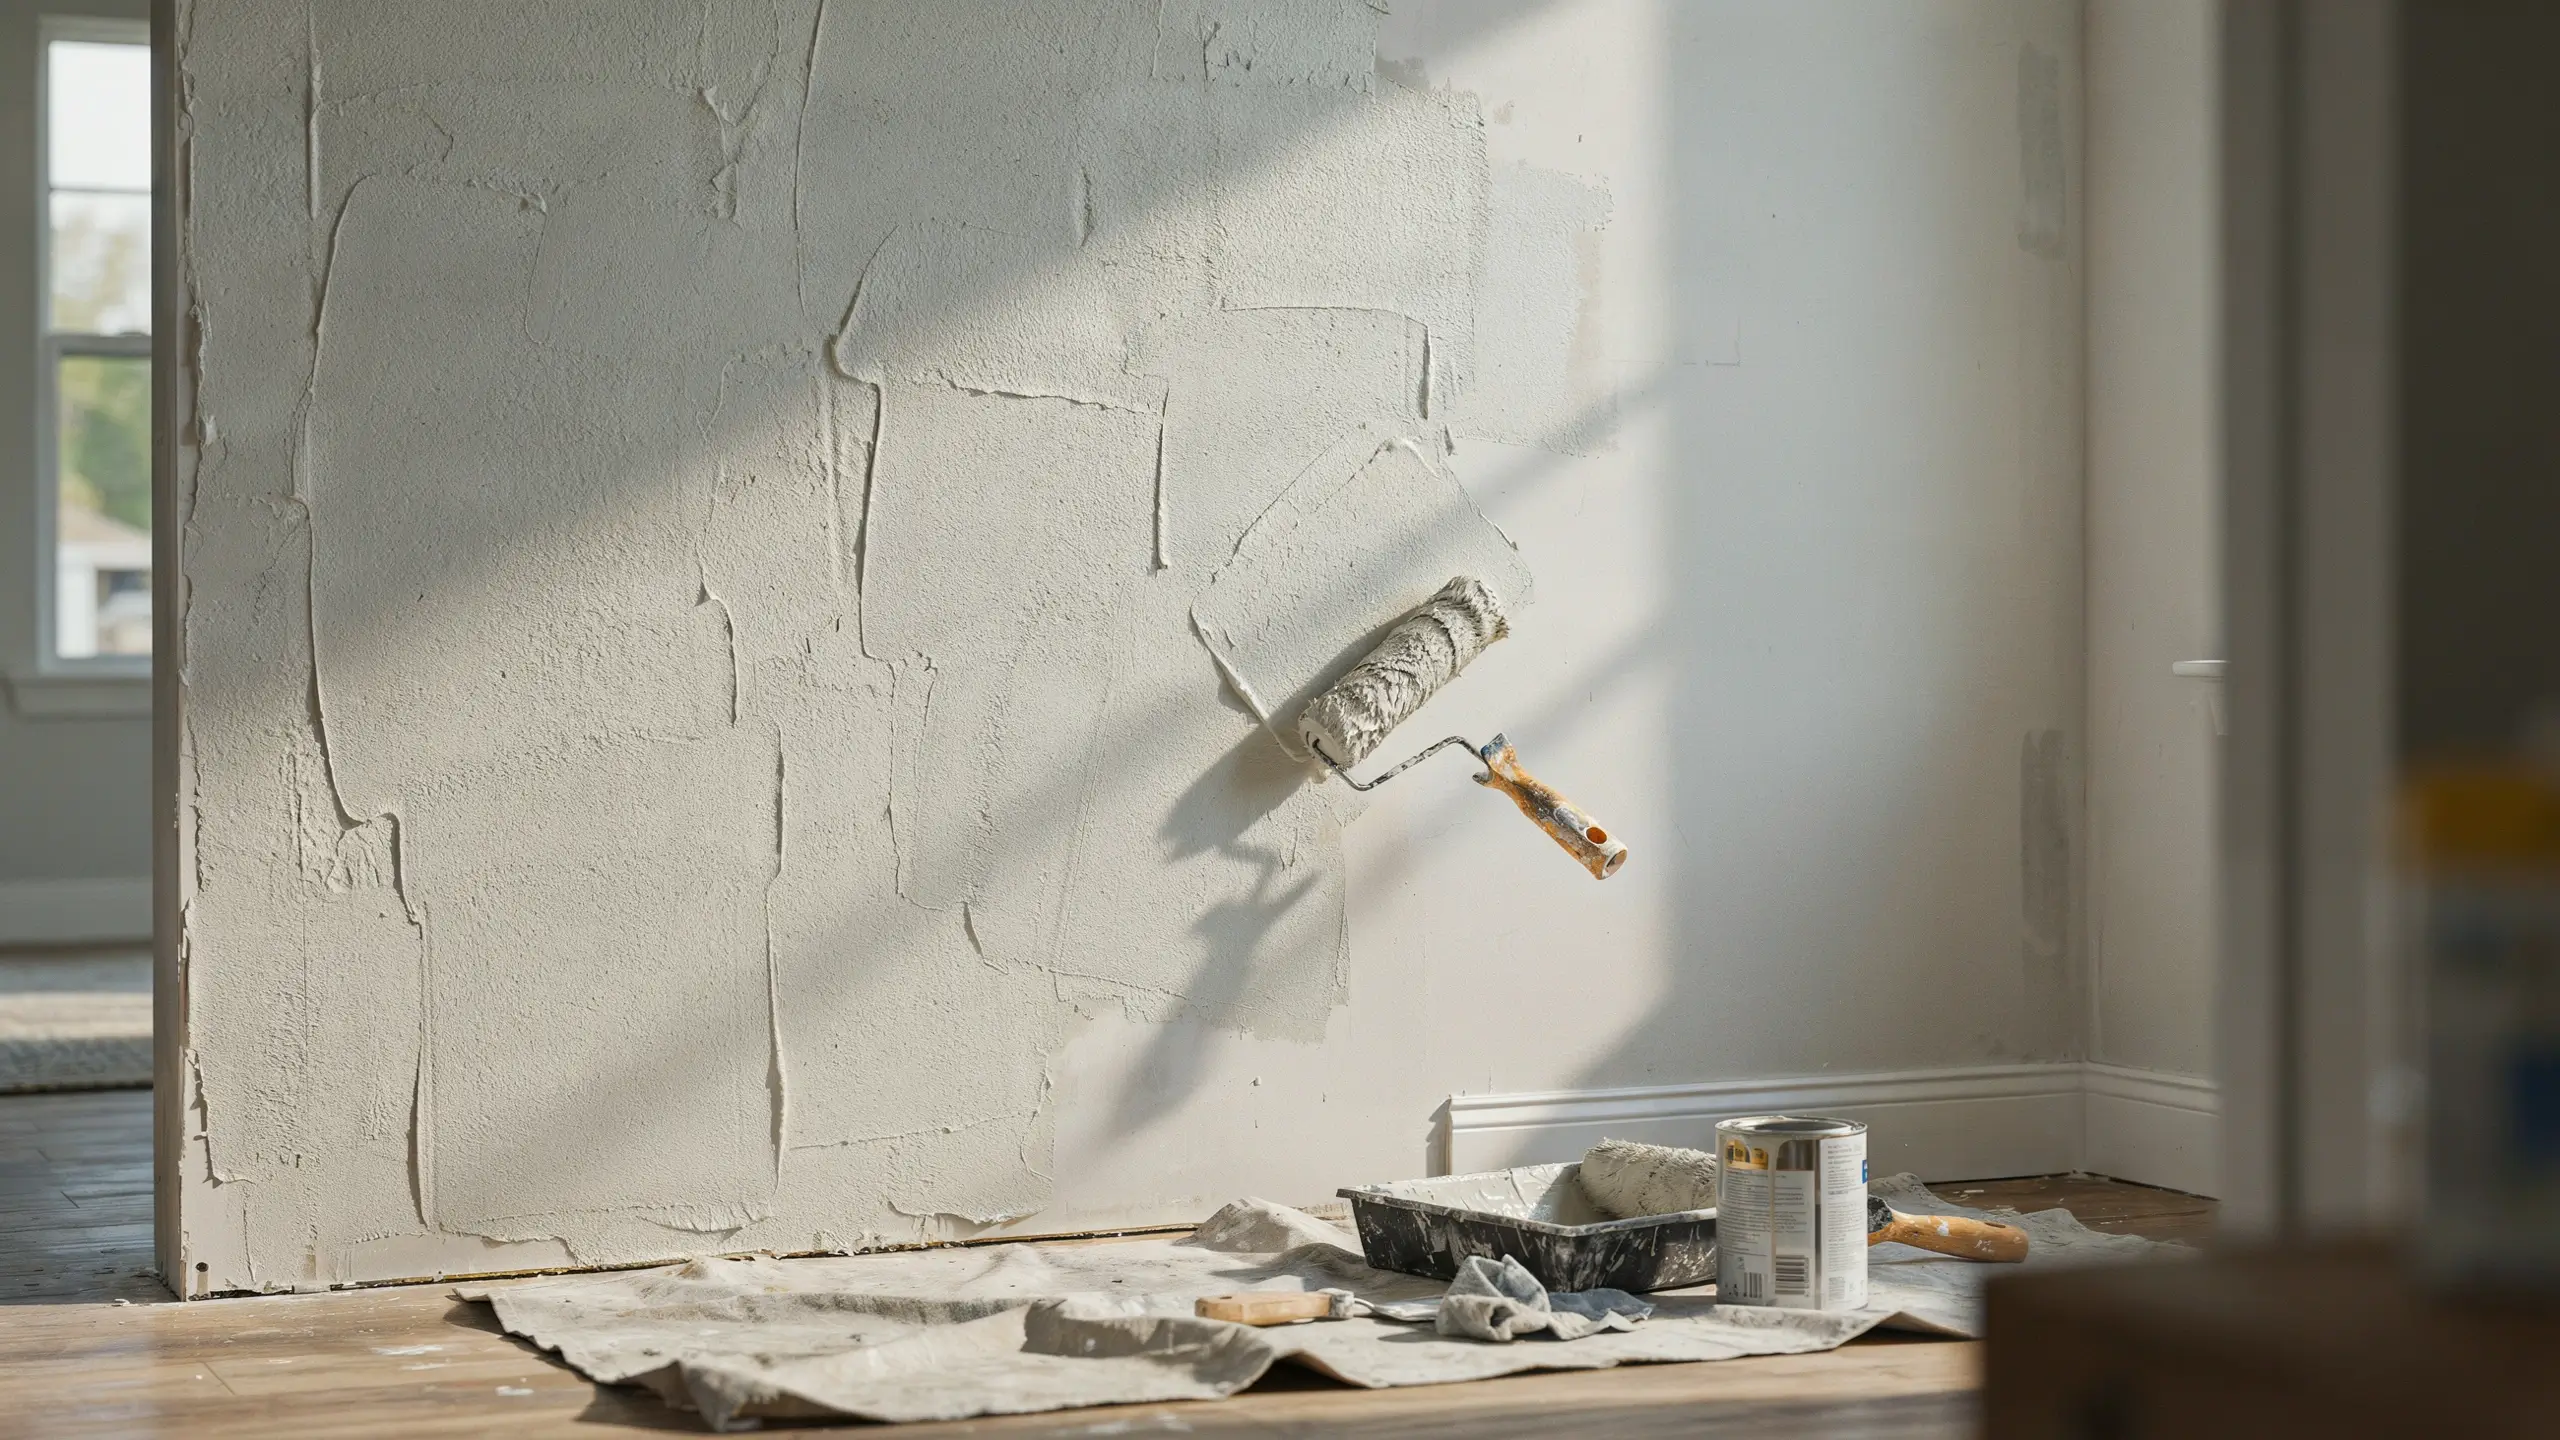
Dampen your thick nap roller with water first, then wring out the excess. A dry roller soaks up too much mud unevenly. Pour your mixed compound into the roller tray, load the roller fully, and roll it against the ridged part of the tray a couple of times to distribute it evenly.
Apply the mud to the wall using long, even strokes, working in roughly 4 to 5 foot sections at a time so you can control the pattern before it starts to set. Go in one direction first, then lightly go back over the same area in a slightly different direction, this is what creates that random, natural bumpy look instead of visible roller lines.
Do not press hard. A light, even pressure lets the nap deposit texture in small peaks rather than smashing it flat. If you press too hard, you will end up with something closer to a smooth skim coat than a textured one.
Work section by section across the whole wall, slightly overlapping each pass so you do not get a hard seam where two sections meet. Step back every so often and look at the wall from a few feet away under good lighting. Texture always looks different up close than it does from across the room.
Mistake to Avoid
Loading way too much mud onto the roller at once. It drips, it is hard to control, and it creates uneven thick spots. A moderately loaded roller with a light touch gives a far more even, professional-looking result than one heavy pass.
4: Decide If You Want a Knockdown Finish
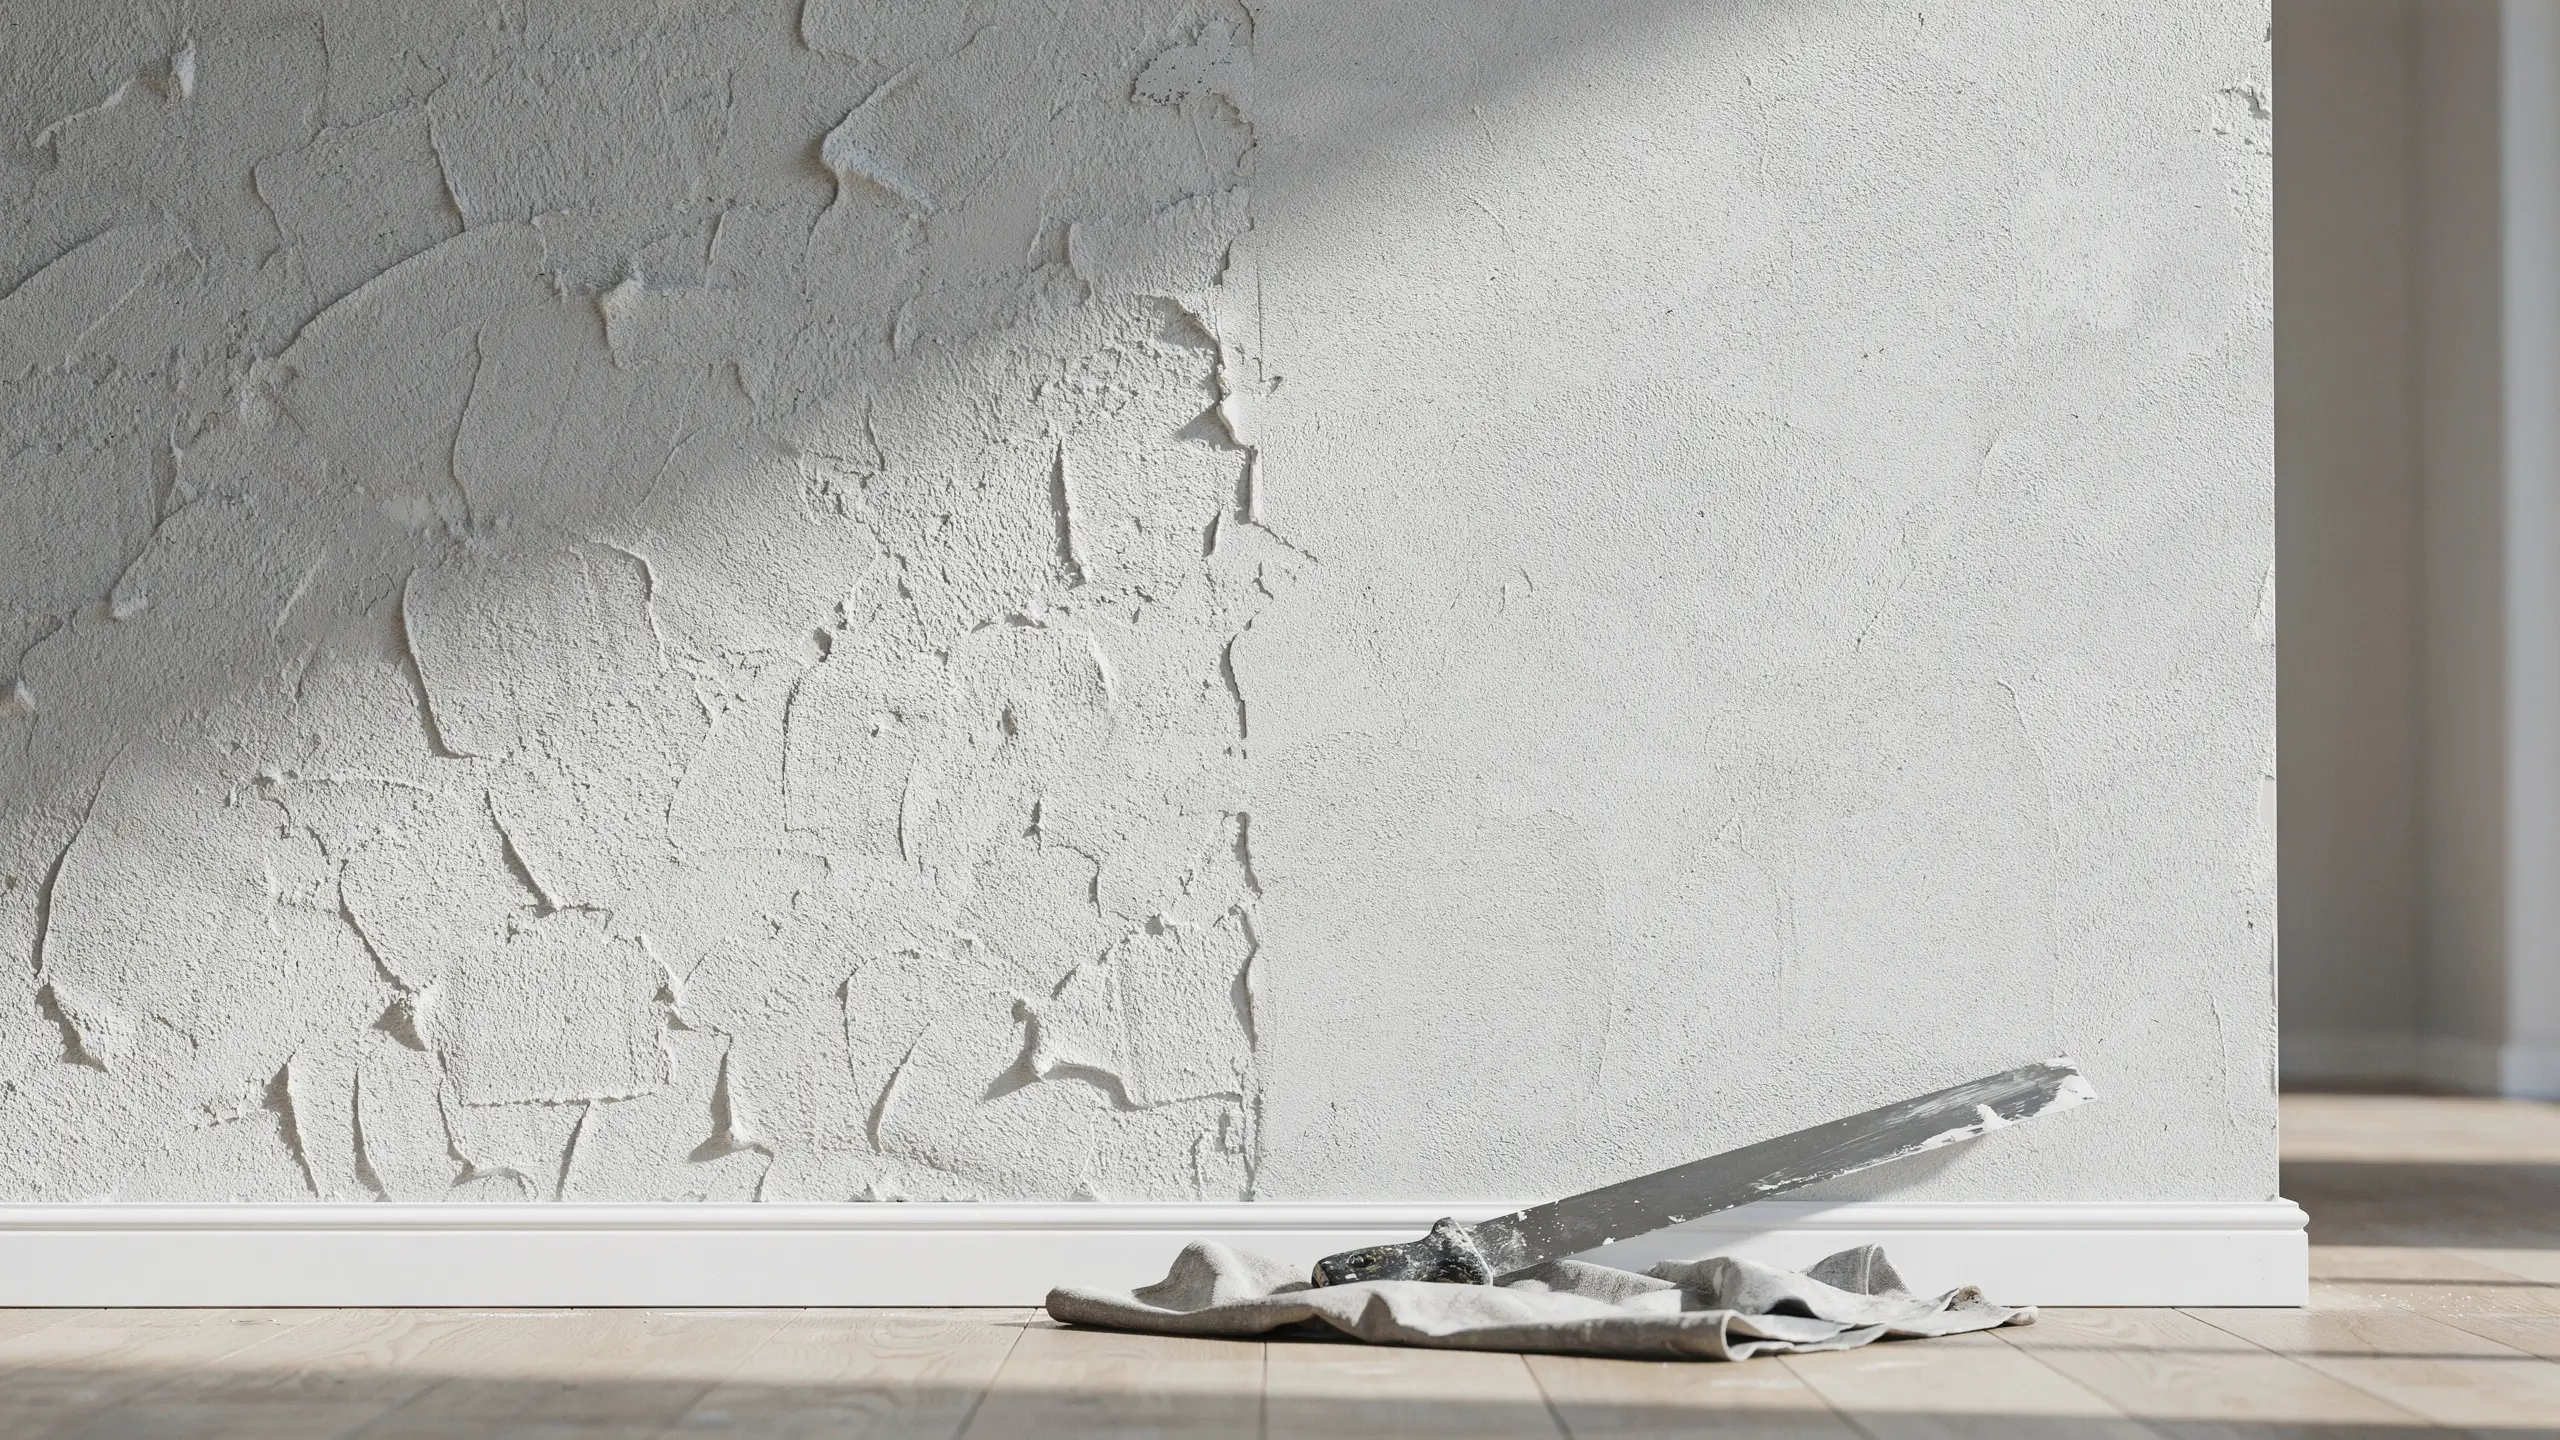
Straight roller texture gives you a soft, bumpy, orange-peel-adjacent look, which is great on its own. But if you want that flatter, more subtle stucco-like finish that a lot of newer homes have, you can knock it down.
Let the texture set for about 10 to 15 minutes, just until it loses its wet shine but is still slightly soft. Then take a wide drywall knife, 10 to 18 inches, and very lightly drag it across the peaks of the texture without pressing down hard. You are only shaving the tips of the bumps, not flattening the whole surface.
Timing matters here more than technique. Knock it down too early and the knife drags wet mud into smears. Wait too long and the mud hardens, so the knife just scrapes and chips it instead of smoothing it. If you catch it right, this step takes minutes and completely changes the character of the wall.
Mistake to Avoid
Trying to knockdown an entire large wall in one pass. Work in the same section sizes you used for rolling, so the setting time stays consistent across the whole surface.
5: Let It Dry Completely
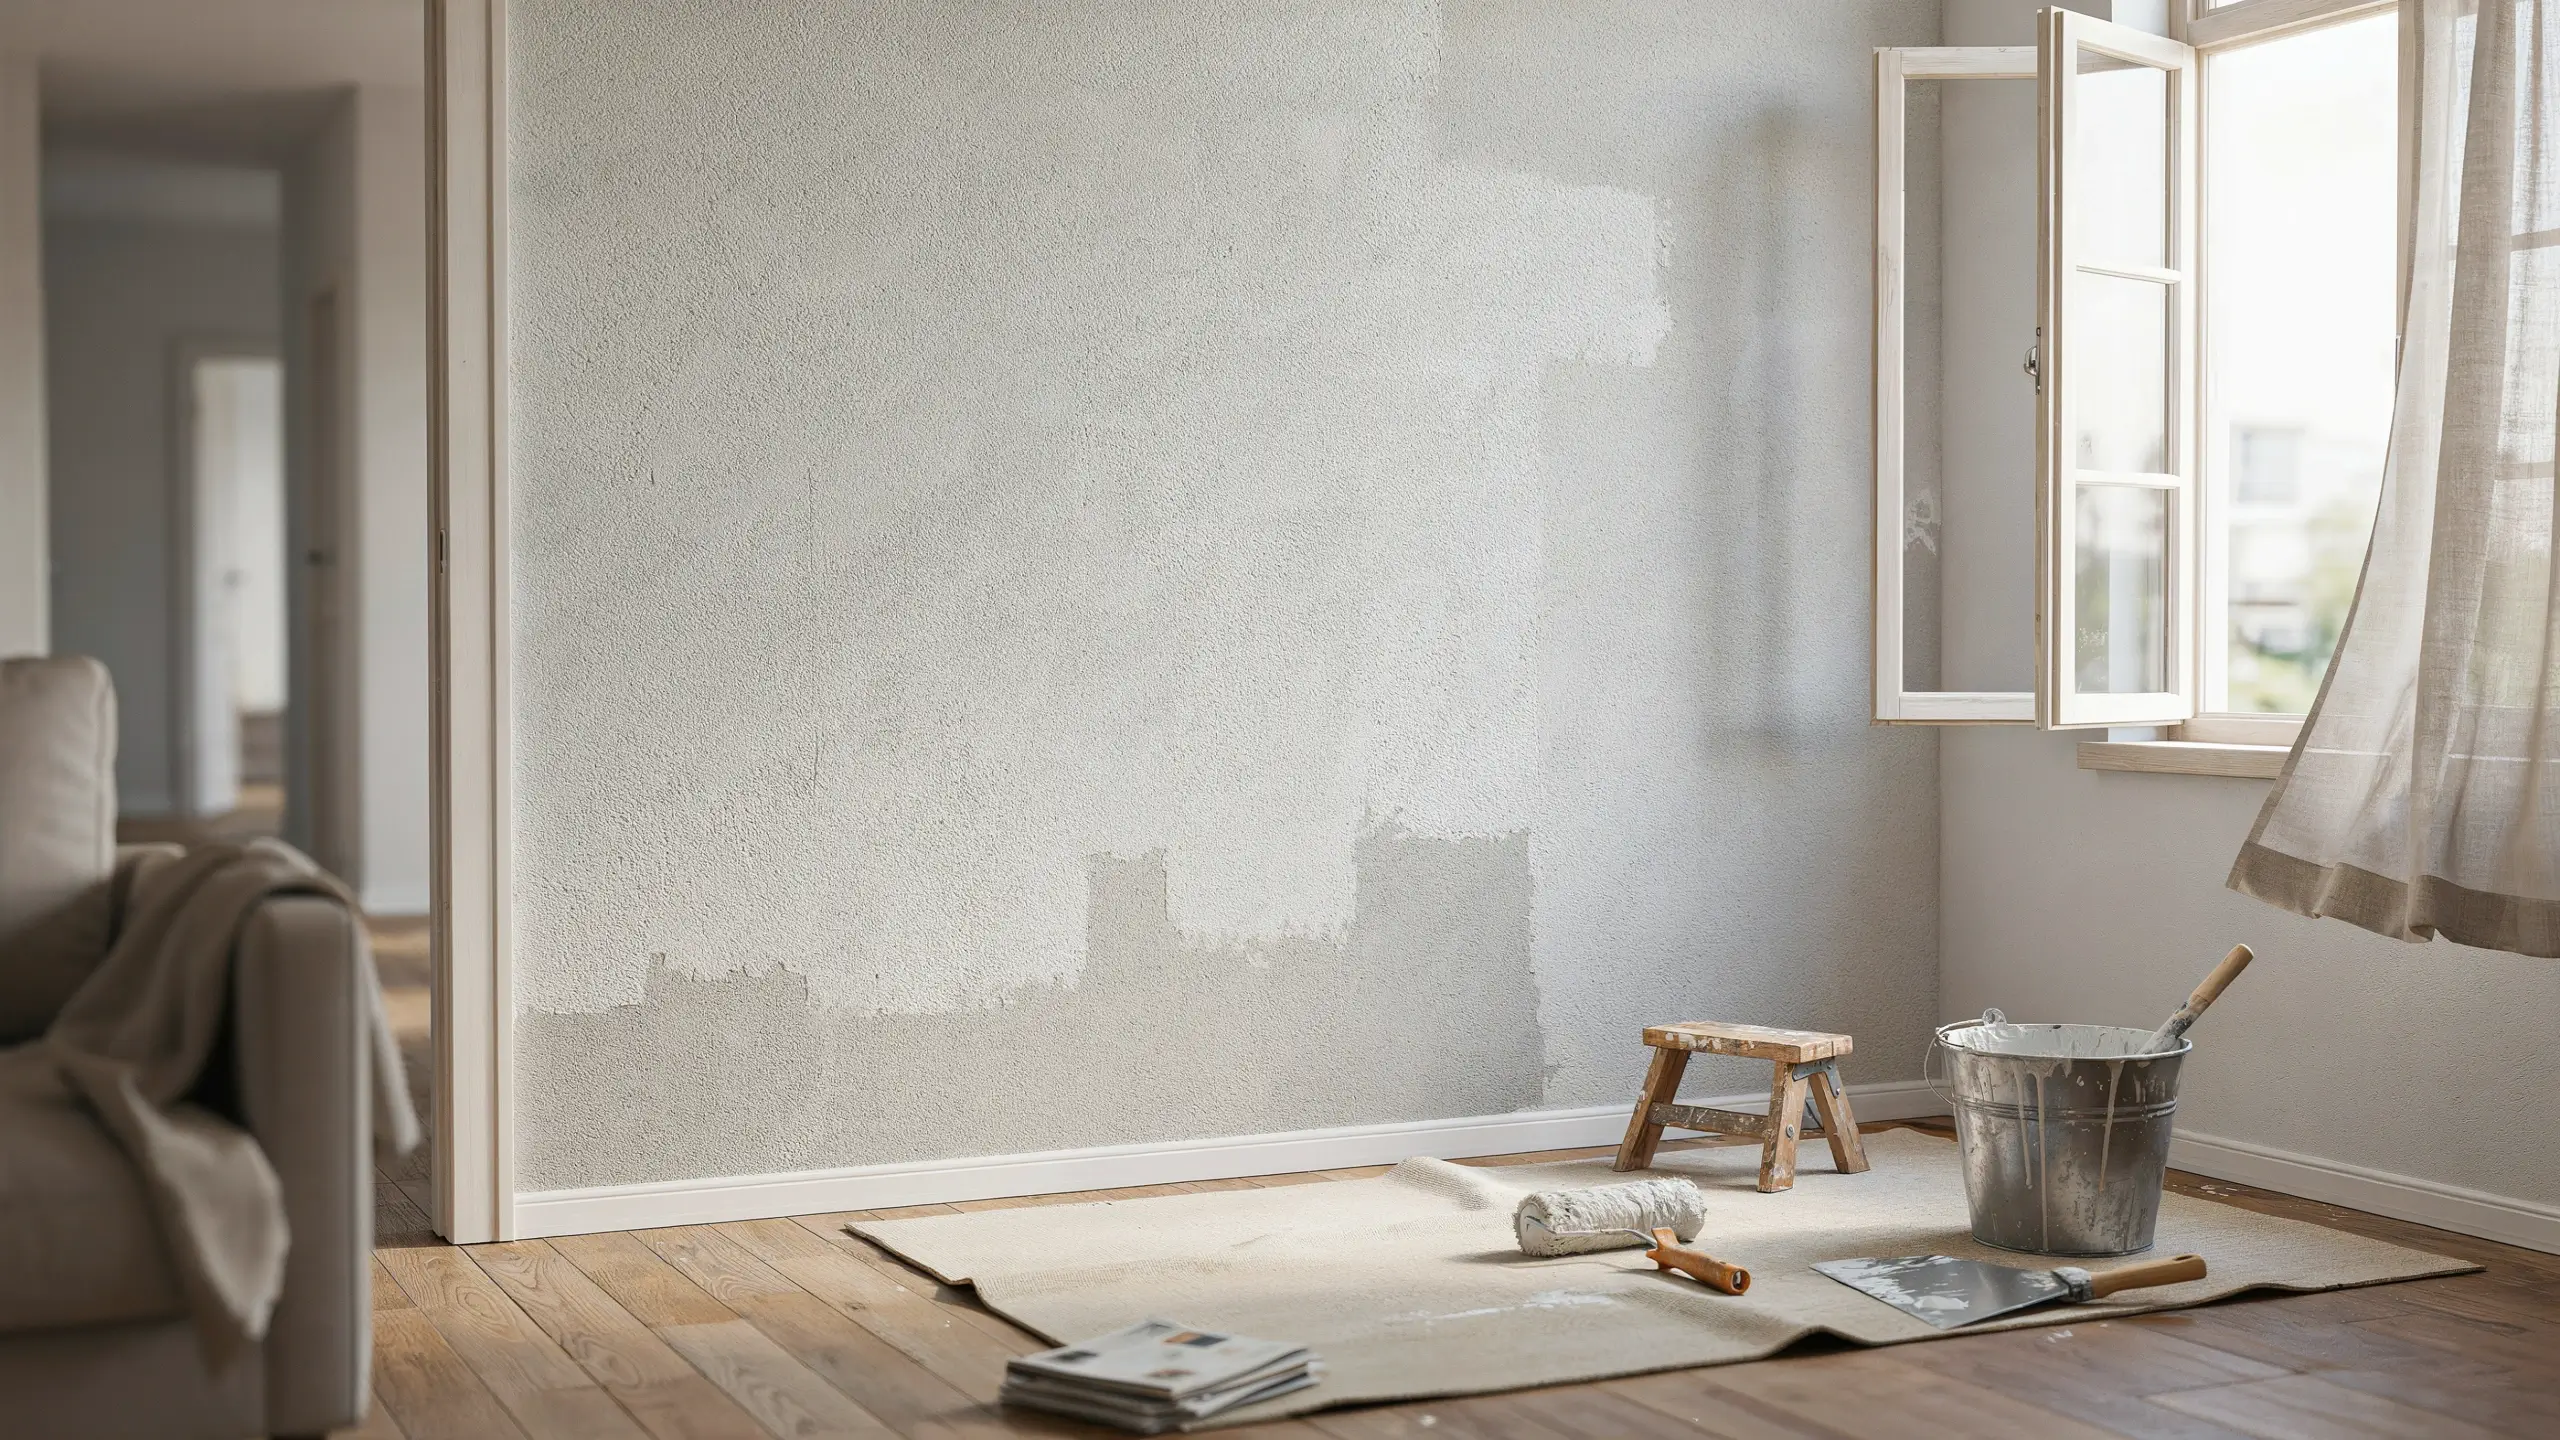
Give your textured wall a full 24 hours to dry before you do anything else to it. Humidity, thickness of your texture, and room temperature all affect drying time, so in a bathroom or a poorly ventilated room, give it extra time. Touch a small hidden section, if it still feels cool or slightly damp, it needs more time.
Rushing this step is one of the most common reasons textured walls crack or peel later. Wet mud under a coat of primer traps moisture and causes problems down the road.
6: Prime and Paint
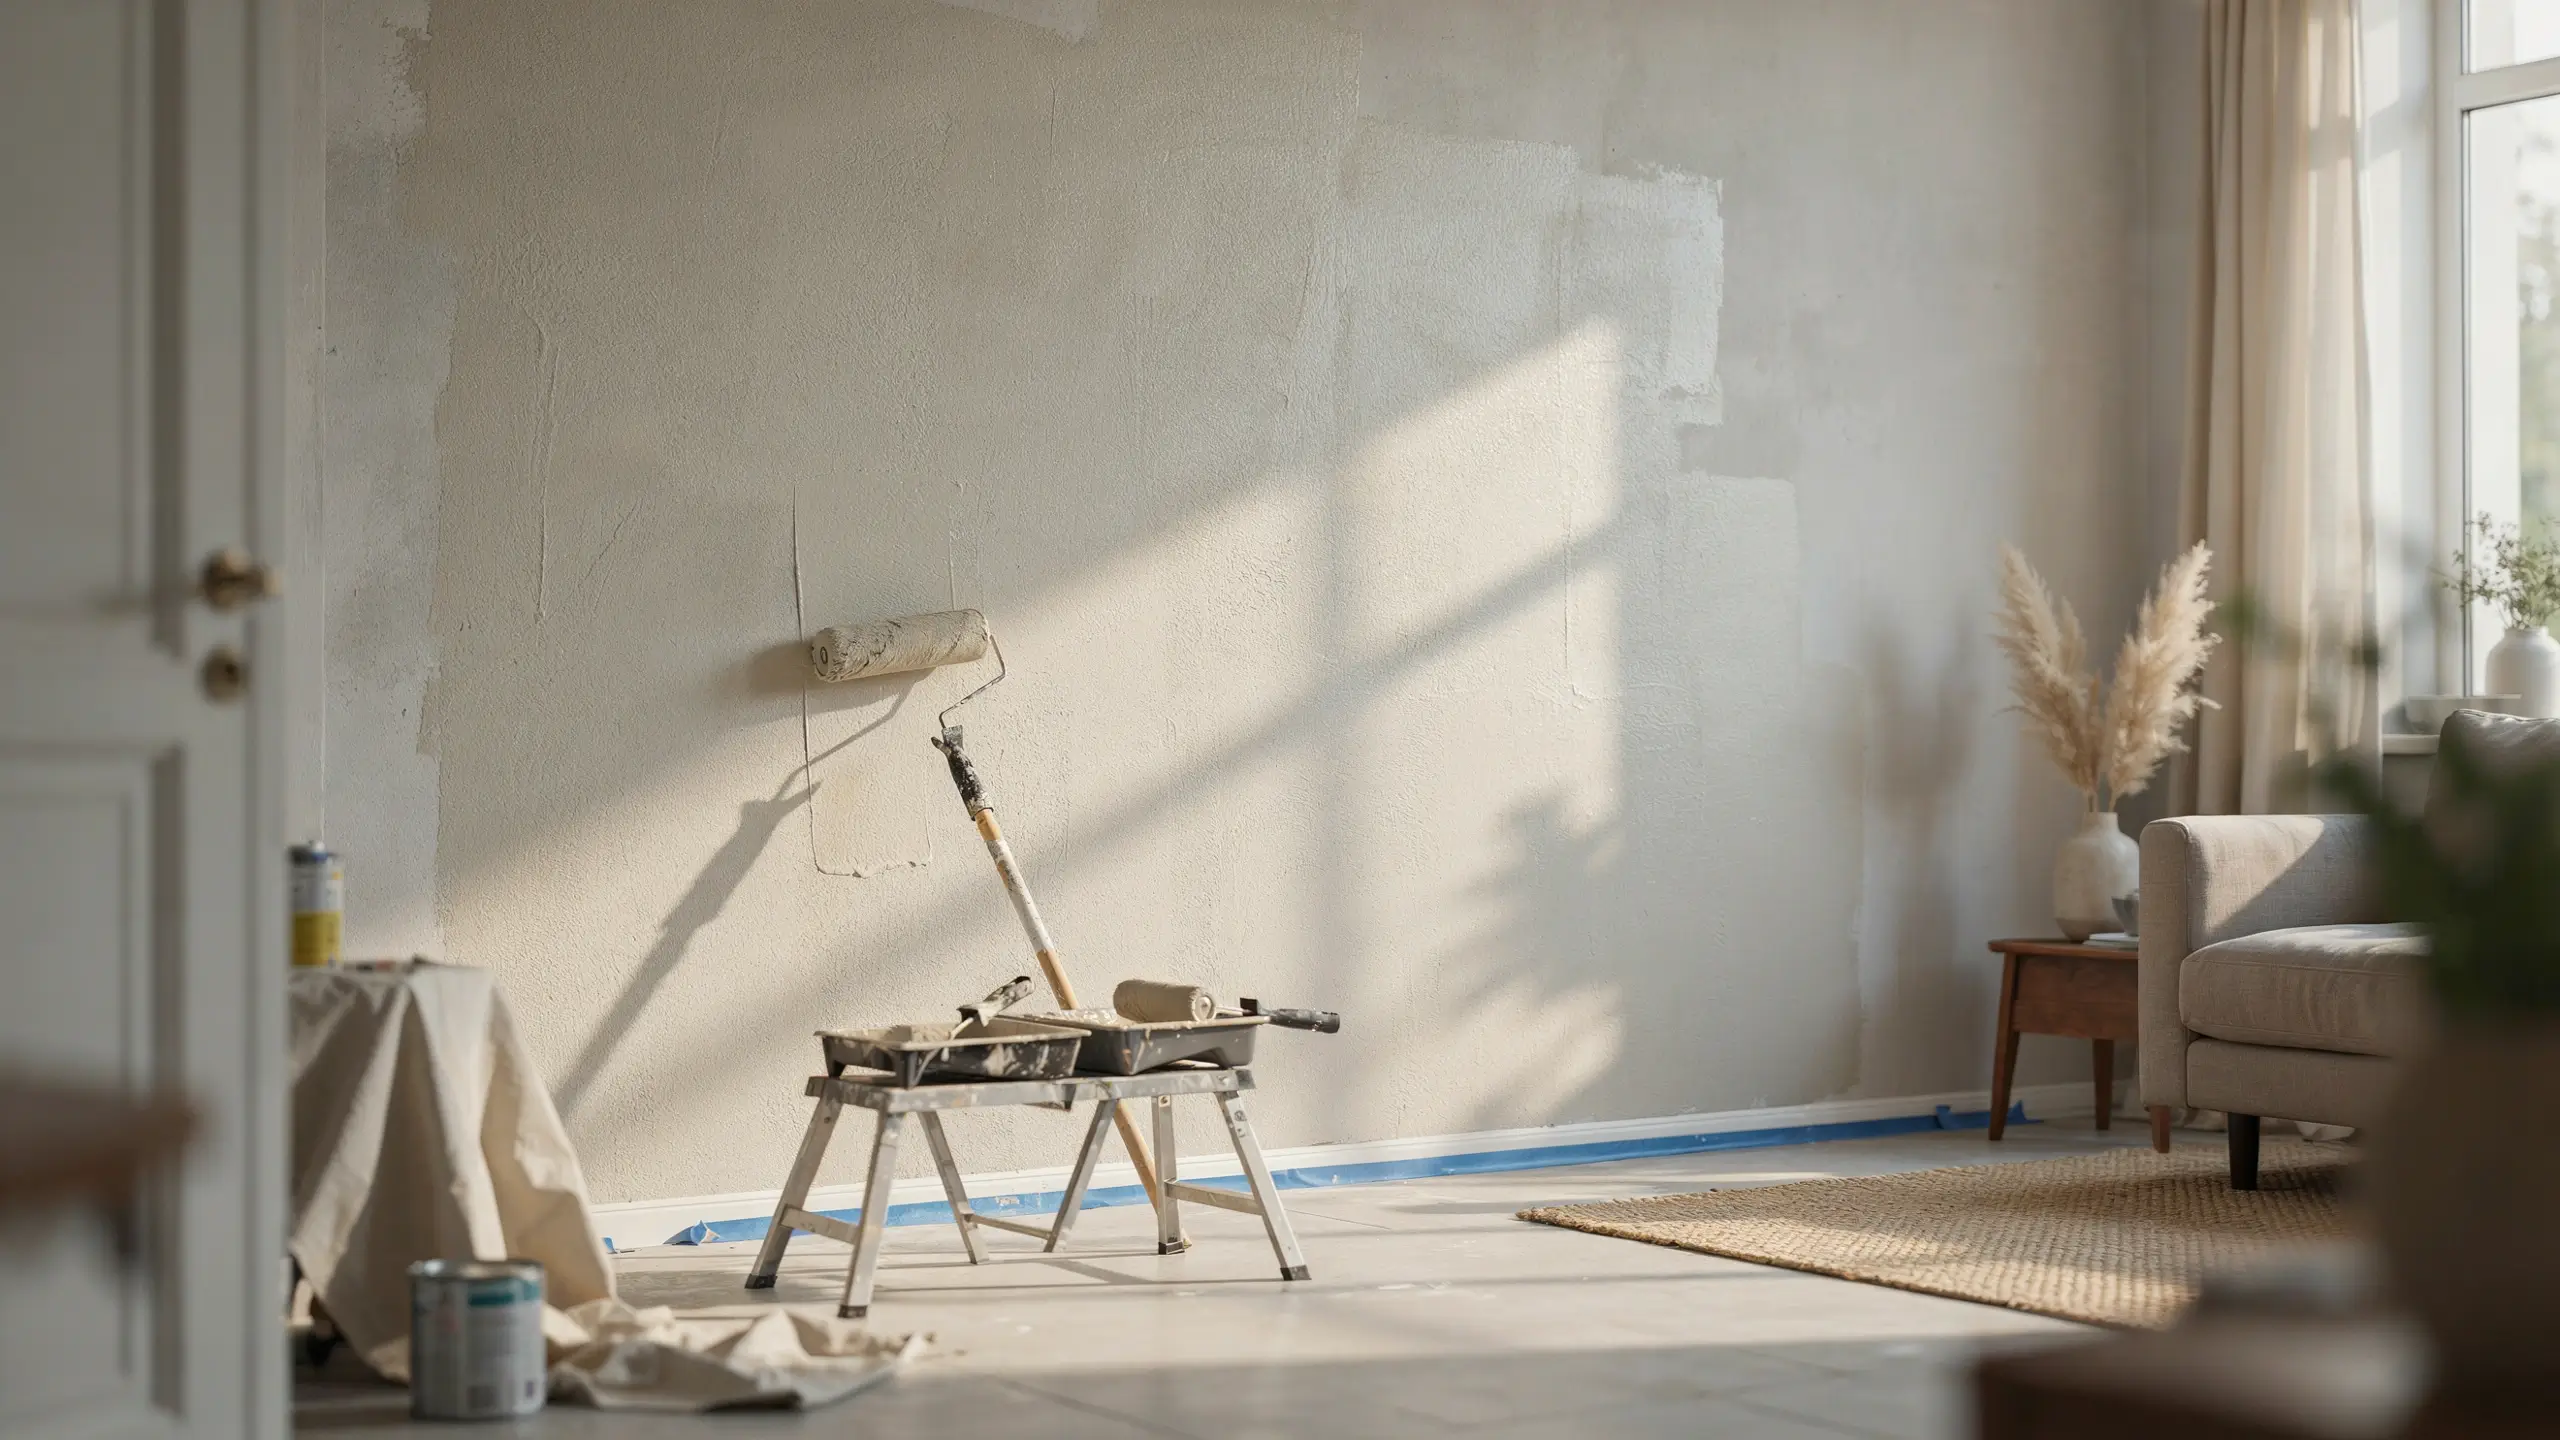
Once the wall is fully dry, prime it with a roller, using a medium nap roller this time, not the thick texture roller. Primer seals the porous mud and gives your paint an even surface to grip.
For the paint itself, a roller with a 3/8 to 1/2 inch nap works well on textured walls, it gets into the crevices better than a thin nap roller does. Expect to use slightly more paint than you would on a smooth wall, since texture has more surface area. Two coats is usually necessary for full, even coverage, especially in the little recessed dips of the texture.
Common Mistakes That Ruin a Roller Texture Job
- Mud too thick or too thin. Both create problems, thick mud clogs the roller and creates blobby, uneven texture, thin mud runs and looks weak once dry. The pancake batter consistency is your target every time.
- Working too large of a section at once. Mud starts to set while you are still rolling, which leaves visible lines where wet mud meets partially dried mud.
- Skipping the primer step before texturing. This causes uneven absorption and can lead to cracking.
- Not testing on scrap material first. Every batch of mud and every roller nap gives a slightly different pattern. A quick test avoids surprises on your actual wall.
- Painting before the mud is fully cured. Trapped moisture under paint is a recipe for bubbling and peeling later.
Is This Renter-Friendly?
Honestly, no, not in the traditional sense. Texturing a wall is a permanent change that most leases will not allow, and reversing it means skim coating and sanding the wall back to smooth, which is more work than the original project. If you are renting, this is a project to save for a home you own, or to ask your landlord about directly before starting anything.
If you love the look but cannot commit to it structurally, consider textured wallpaper or peel-and-stick paneling instead. Both give you a similar visual effect and come off cleanly when you move.
Where This Texture Works Best
Roller texture shines on accent walls, powder rooms, entryways, and any wall you are trying to give a little more character to without a full renovation. It is also a smart move for hiding minor drywall imperfections, old repair patches, or a wall that has seen a few too many nail holes over the years. Texture disguises flaws that flat paint tends to show off.
It is less ideal for walls that get a lot of hands-on traffic, like hallways with kids running past or kitchen walls near cooking splatter, since the texture holds onto grime a bit more than a smooth surface does and can be harder to wipe clean.
Final Thoughts
Texturing a wall with a roller is one of those projects that feels intimidating right up until you actually load your first roller full of mud. Once you get a feel for the consistency and your rolling rhythm, it moves fast, and the payoff is a wall with real depth and character instead of another flat, builder-basic surface.
Give yourself a practice run on scrap board before committing to the real wall, take your time with the mud consistency, and do not skip the drying time. Those three things are really what separate a great DIY texture job from a frustrating one.
Have you textured a wall with a roller before, or are you planning your first attempt? Tell me in the comments, I would love to hear what texture style you are going for.




No Comment! Be the first one.