




Under Kitchen Sink Organization: 15 Ideas That Work Around the Pipes
Open any kitchen sink cabinet and you will probably find the same thing. A tangle of pipes, three half empty spray bottles, a bag of extra sponges nobody remembers buying, and something sticky on the...

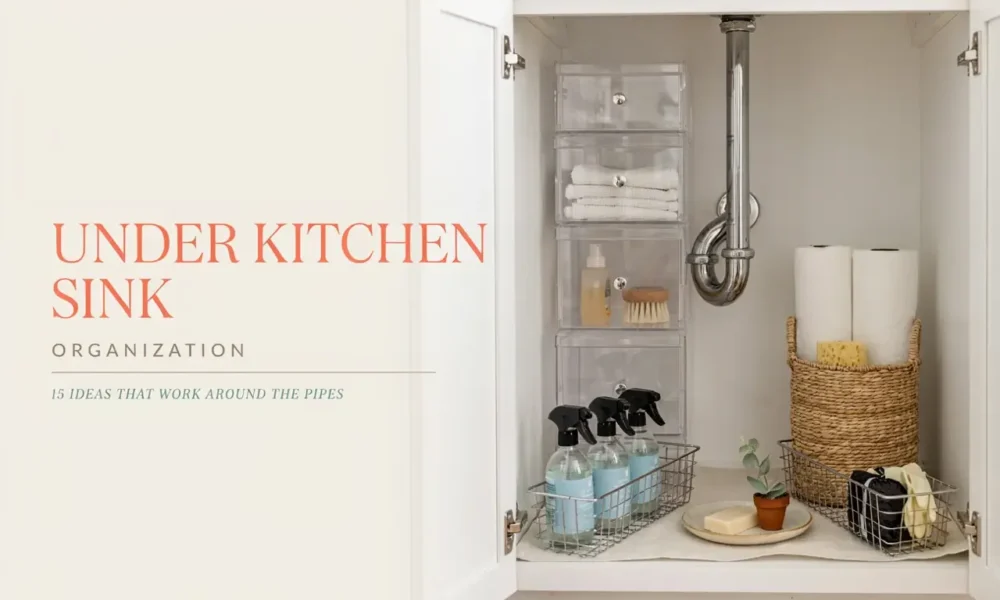
Open any kitchen sink cabinet and you will probably find the same thing. A tangle of pipes, three half empty spray bottles, a bag of extra sponges nobody remembers buying, and something sticky on the bottom nobody wants to investigate.
Under kitchen sink organization is one of those projects that sounds small until you open the door. The space is awkward, the plumbing gets in the way, and most storage products are built for a plain square cabinet, not the one you have.
The good news is you do not need a remodel to fix this. You need a plan that works with the pipes instead of against them, a few smart products, and about an hour on a Saturday morning.
This guide walks through clearing out that cabinet, protecting it from leaks and spills, and setting up a system that stays organized instead of falling apart in two weeks. Whether you own your home or you are working around a strict no drill lease, there is a version of this that fits your space.
Why This Cabinet Is So Hard to Keep Organized
Before the ideas, it helps to know why this spot fights you harder than any other cabinet in the kitchen.
The pipes split the space into odd, uneven sections instead of one clean rectangle. It is usually damp from the drain and garbage disposal, which makes cardboard and paper based storage a poor choice. And because it is hidden behind a door, it becomes the place where things get shoved in and forgotten, until you open it one day and wonder how you ended up with four bottles of the same dish soap.
Once you understand that, the fixes below make a lot more sense.
Start Here: Empty It Completely and Edit First
Before you buy a single organizer, take everything out of the cabinet and set it on your counter or table.
Sort it into three piles: keep, toss, and store somewhere else. Expired cleaning products, empty bottles you were saving for no reason, and dried out sponges can go straight in the trash.
Wipe down the inside of the cabinet while it is empty. This is also your chance to check for moisture damage, soft spots in the wood, or a small leak around the pipes that you will want to handle before anything goes back in.
This one step solves a big chunk of most people’s clutter problem, and it means every organizer you buy after this earns its spot.
Measure Before You Buy Anything
This is the mistake that sends more organizers back in the return box than anything else.
Measure the width on both sides of the pipe, not just the total cabinet width. Measure the height from the cabinet floor to the bottom of the sink basin, since that dip in the middle is usually shorter than the sides. Measure the depth from the door to the back wall too.
Write these numbers in your phone before you shop. A lot of “universal fit” organizers are only universal for cabinets without plumbing running through the center, which does not describe most kitchen sinks.
With that groundwork done, here are 15 ideas worth trying.
15 Under Kitchen Sink Organization Ideas
1. Map the Space Into Zones Around the Pipe
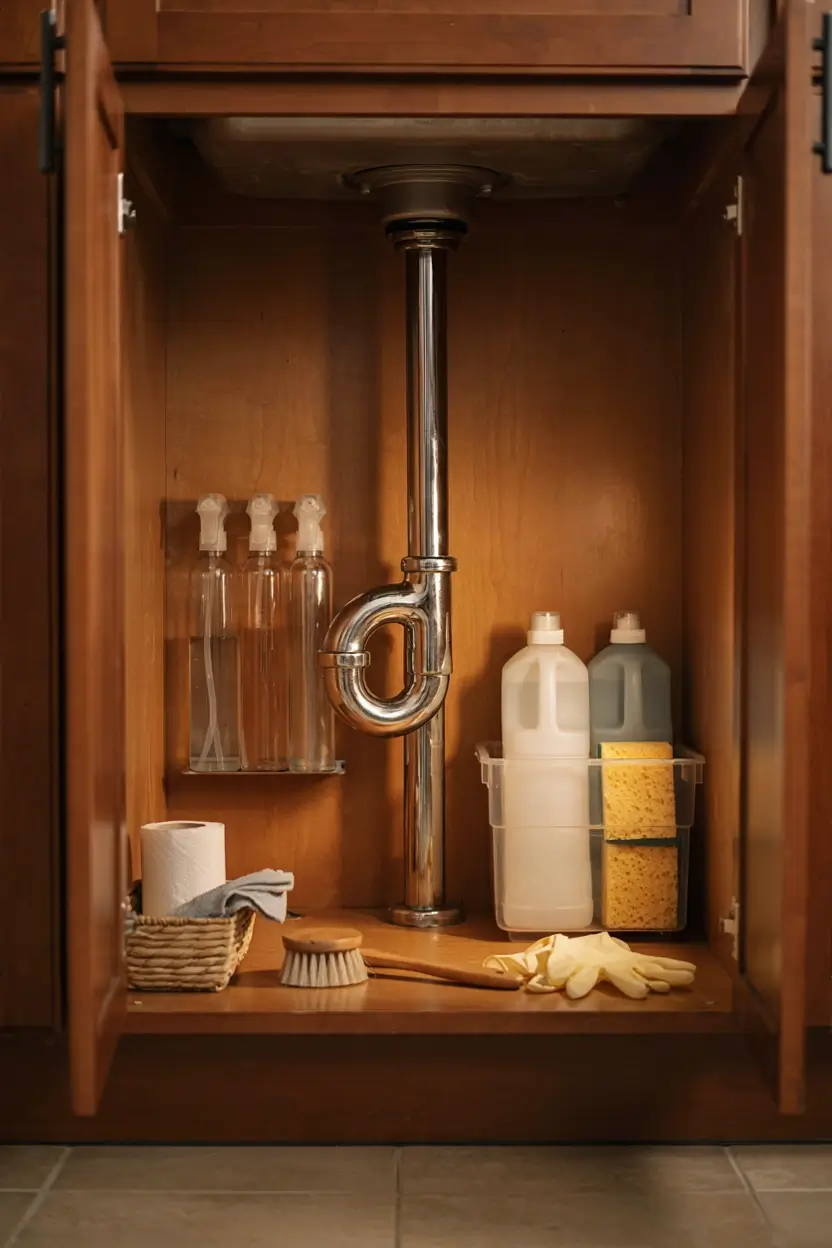
Instead of forcing one big bin into the whole cabinet, treat the space as two or three smaller zones split by the plumbing.
A common layout: tall sprays and cleaners on one side of the pipe, sponges and dish soap refills on the other side, and small items like gloves or a scrub brush in the shallow area right under the sink basin.
This is the biggest mindset shift for under kitchen sink organization. You are not fighting the pipe, you are designing around it.
2. Line the Cabinet Floor Before Anything Goes Back In
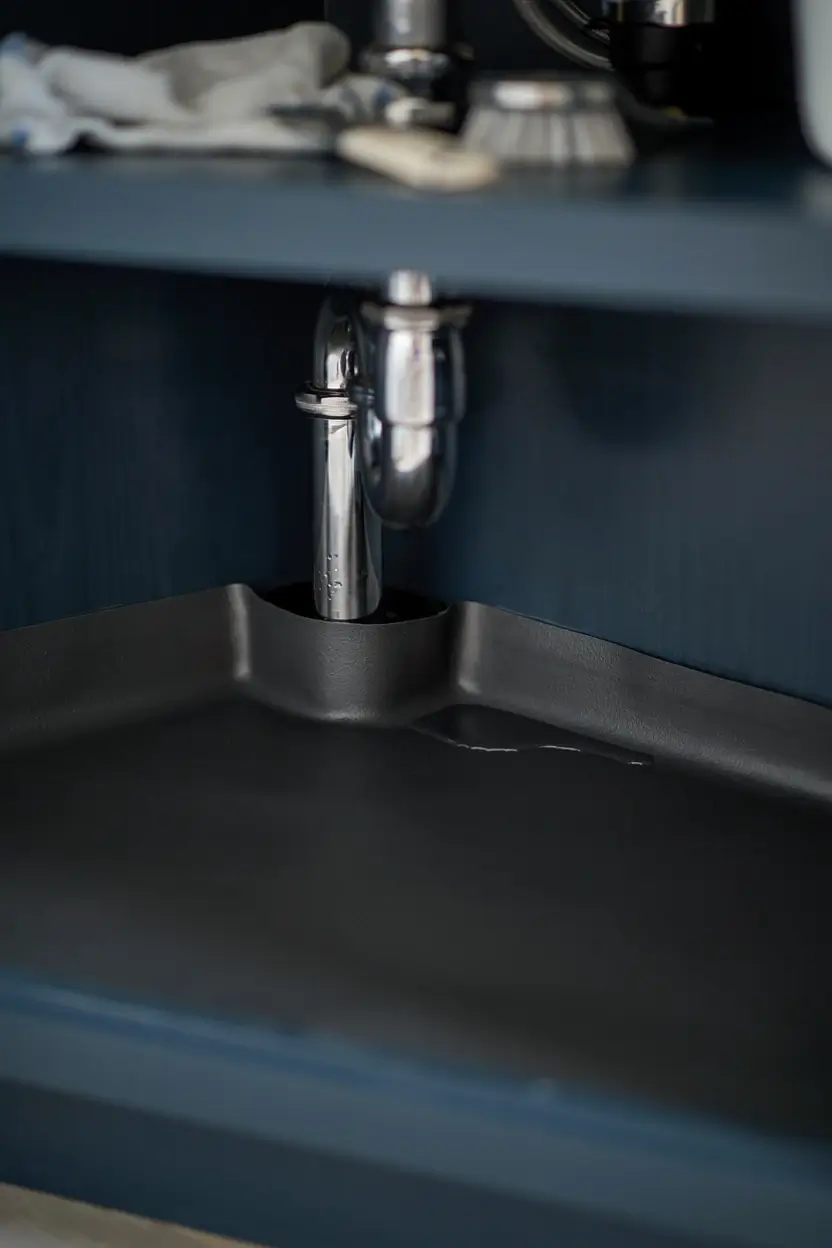
A vinyl or rubber shelf liner cut to fit the cabinet floor protects the wood from drips, leaks, and the spill you do not notice for a week.
Look for a liner that is genuinely waterproof rather than a decorative shelf paper. Cut it with household scissors around the pipe base and trim it to cover the full cabinet floor.
If a bottle ever leaks, you lift the liner out, rinse it in the sink, and put it back, instead of scrubbing a stain out of bare wood.
3. Add a Turntable for Bottles and Sprays
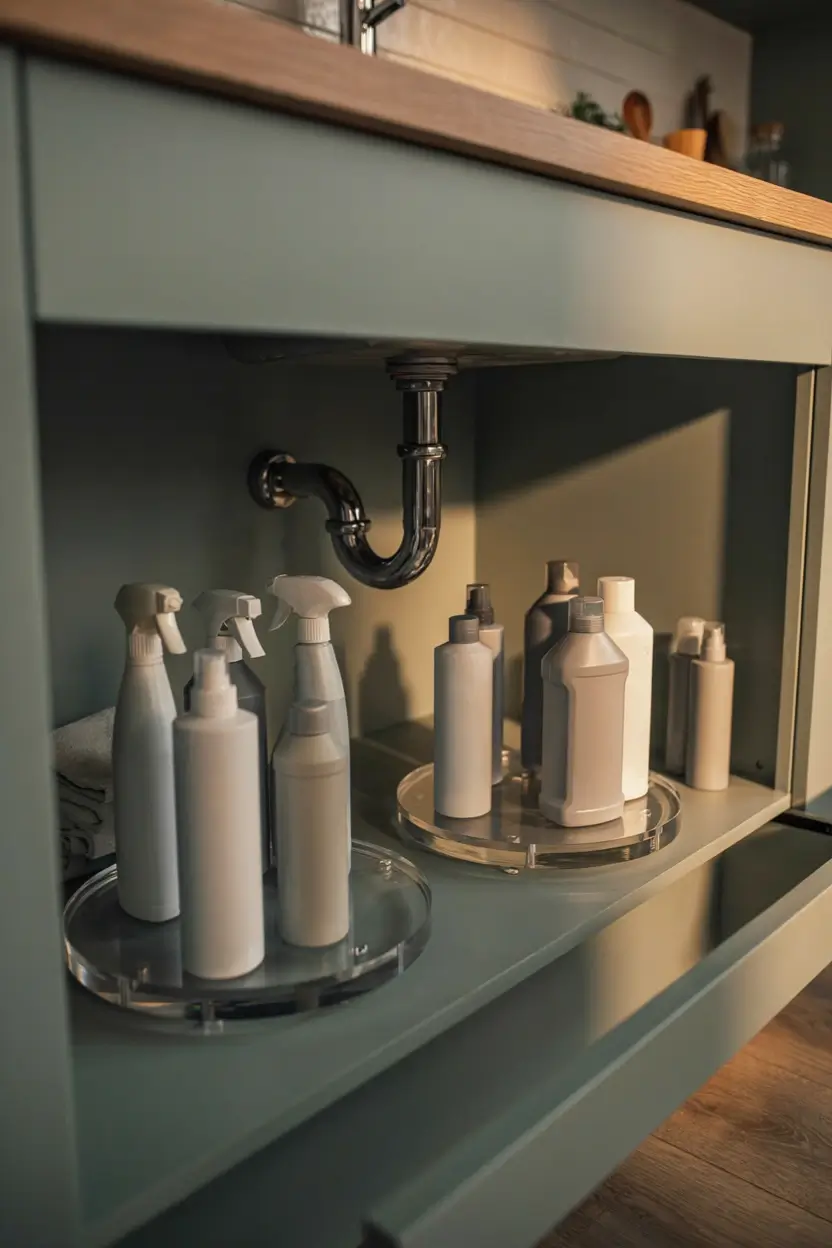
A lazy Susan style turntable solves the “reaching into the dark” problem completely, and it is one of the more save-worthy fixes on this list.
Set one on each side of the pipe and load it with dish soap refills, spray cleaners, or dishwasher pod containers. Instead of digging around, you spin it toward you.
Clear plastic turntables work best because you can see everything from above, which matters in a cabinet with no natural light.
4. Stack Risers or a Pedestal Shelf to Use the Height
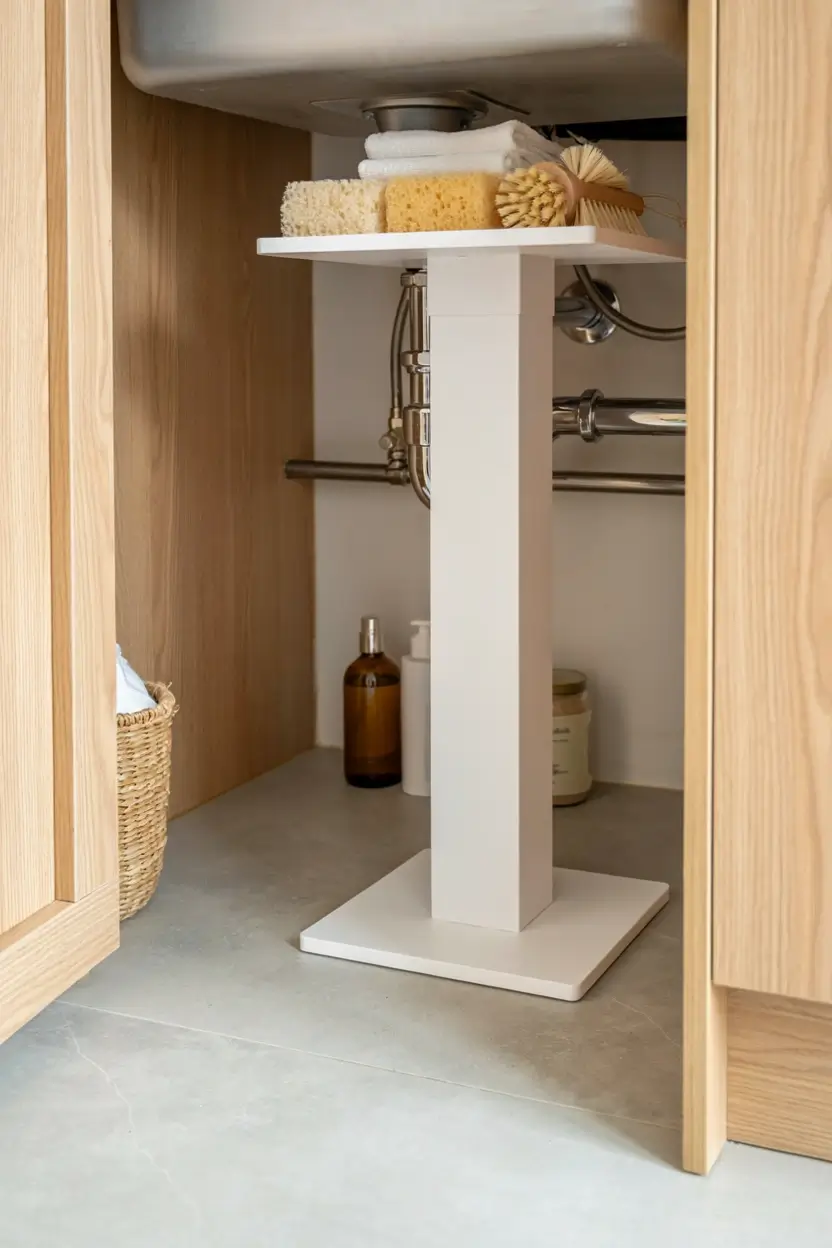
Most under sink cabinets have several inches of unused air space above shorter items.
A wire or plastic pedestal shelf lets you put small items like sponges or a dish brush on top, while taller bottles slide underneath. This doubles your usable space without adding any width.
Pick a shelf with a slightly raised lip so items do not slide off when the door opens and closes.
5. Use a Tension Rod for Spray Bottles
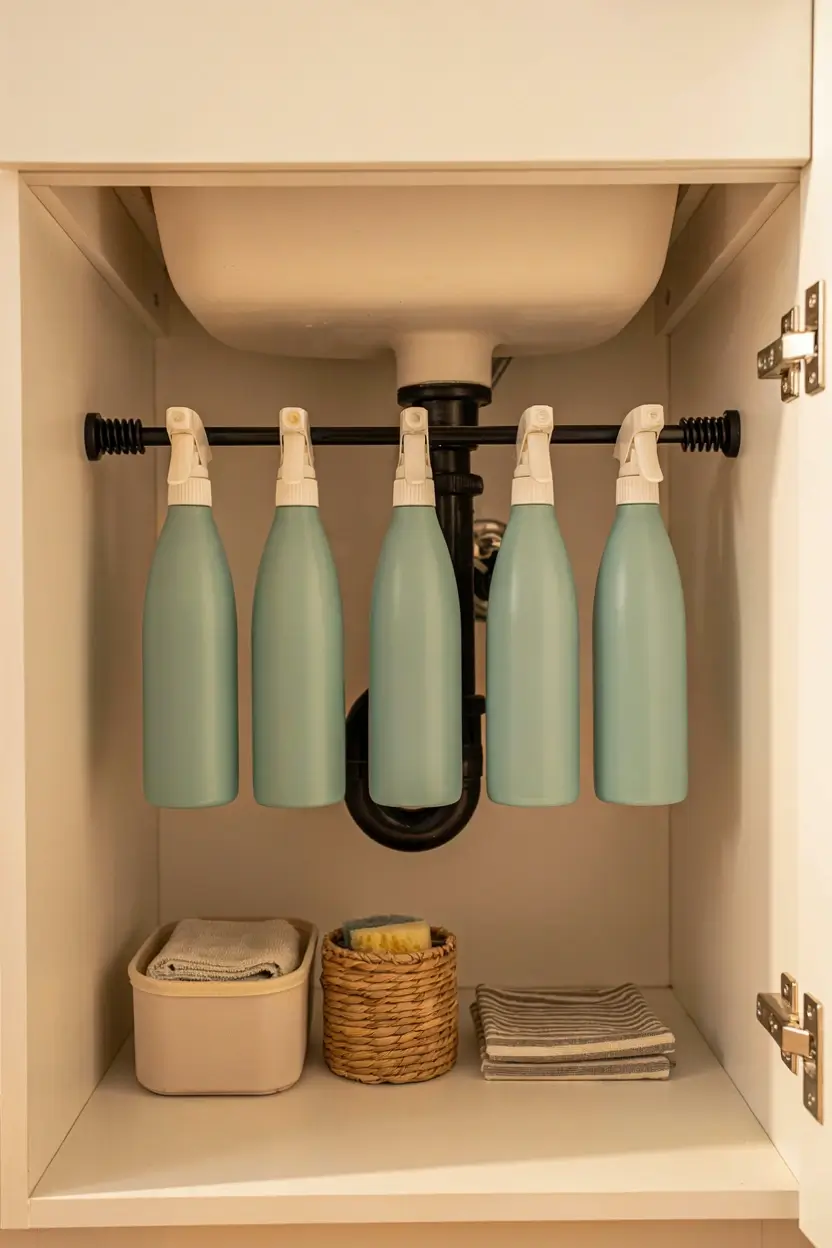
This is the renter favorite, and for good reason. A spring loaded tension rod installed low across the cabinet, just under the sink basin, gives you a spot to hang spray bottles by their trigger handles.
It takes about thirty seconds to install, needs zero tools, and leaves no marks when you take it down. Go slightly heavier duty, around five eighths of an inch thick, since standard curtain rods can bow under the weight of full spray bottles.
This single trick clears an entire shelf’s worth of floor space, and it photographs beautifully too, with bottles hanging in a neat row instead of tipped over on their sides.
6. Swap Loose Bottles for a Slide Out Tote
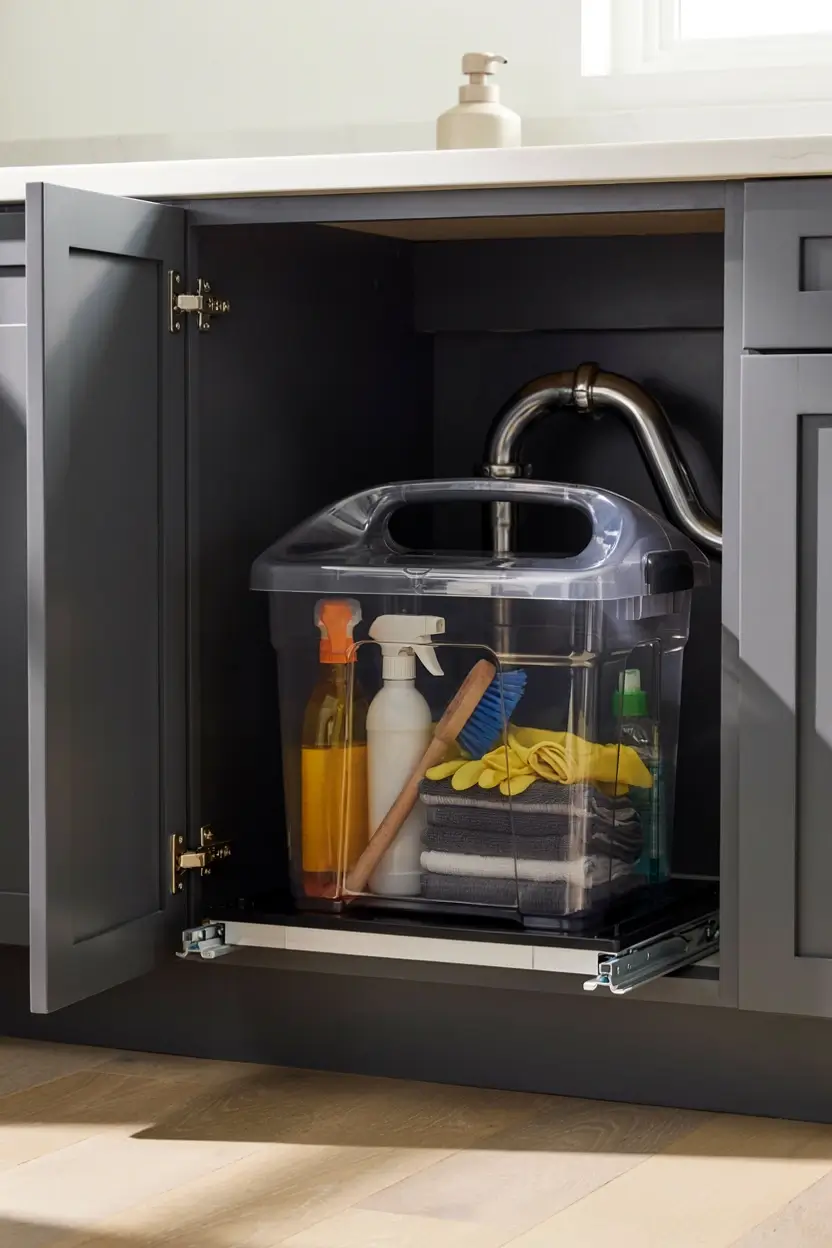
Instead of reaching to the back of a deep, dark cabinet, use a plastic tote or caddy with a handle that pulls all the way out onto the floor or counter.
Load it with your everyday cleaning supplies. When it is time to clean, grab the whole tote and carry it room to room. When you are done, slide it right back under the sink.
This is a favorite for anyone who cleans the whole house in one pass, since you are not making five trips back to the kitchen for forgotten products.
7. Hang an Over the Door Organizer for Small Items
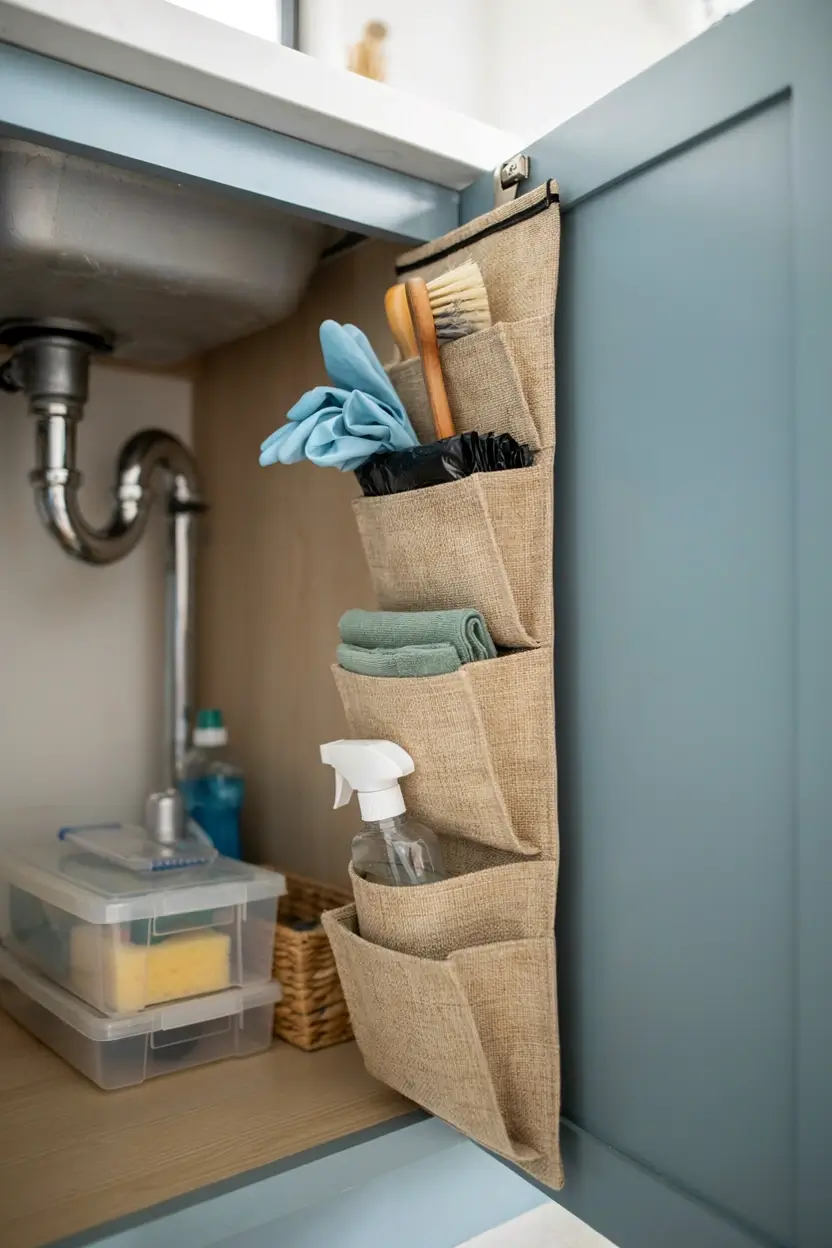
The inside of the cabinet door is almost always wasted space, and it is one of the easiest fixes without any drilling.
A slim over the door caddy with foam bumpers hangs over the top of the door and holds lightweight items like rubber gloves, a scrub brush, trash bags, or a small spray bottle. Look for one with adjustable pockets so odd shaped items still fit.
Keep anything heavy off the door rack. It is meant for light, frequently used items, not a full bottle of dish soap.
8. Decant Cleaning Products Into Matching Bottles
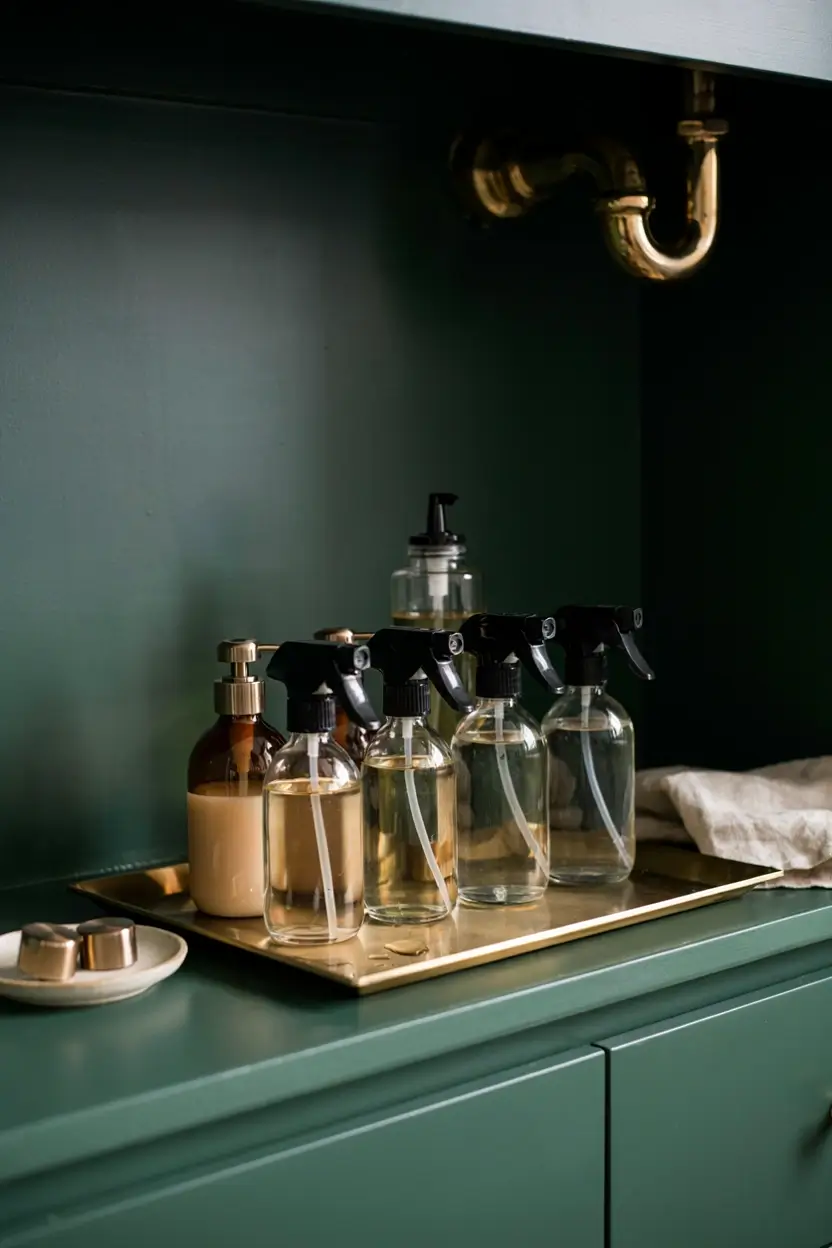
If your cabinet looks chaotic even after you organize it, mismatched bottles are usually why. Different shapes, colors, and label sizes all compete for attention the moment you open the door.
Pour everyday cleaners into a set of matching pump bottles or spray bottles, then label each one with a waterproof label or a paint pen. This small change makes a cluttered cabinet feel calm, and it is one of the most Pinterest-friendly upgrades on this list for the cost of a few bottles.
9. Build a Grab and Go Zone for Daily Essentials
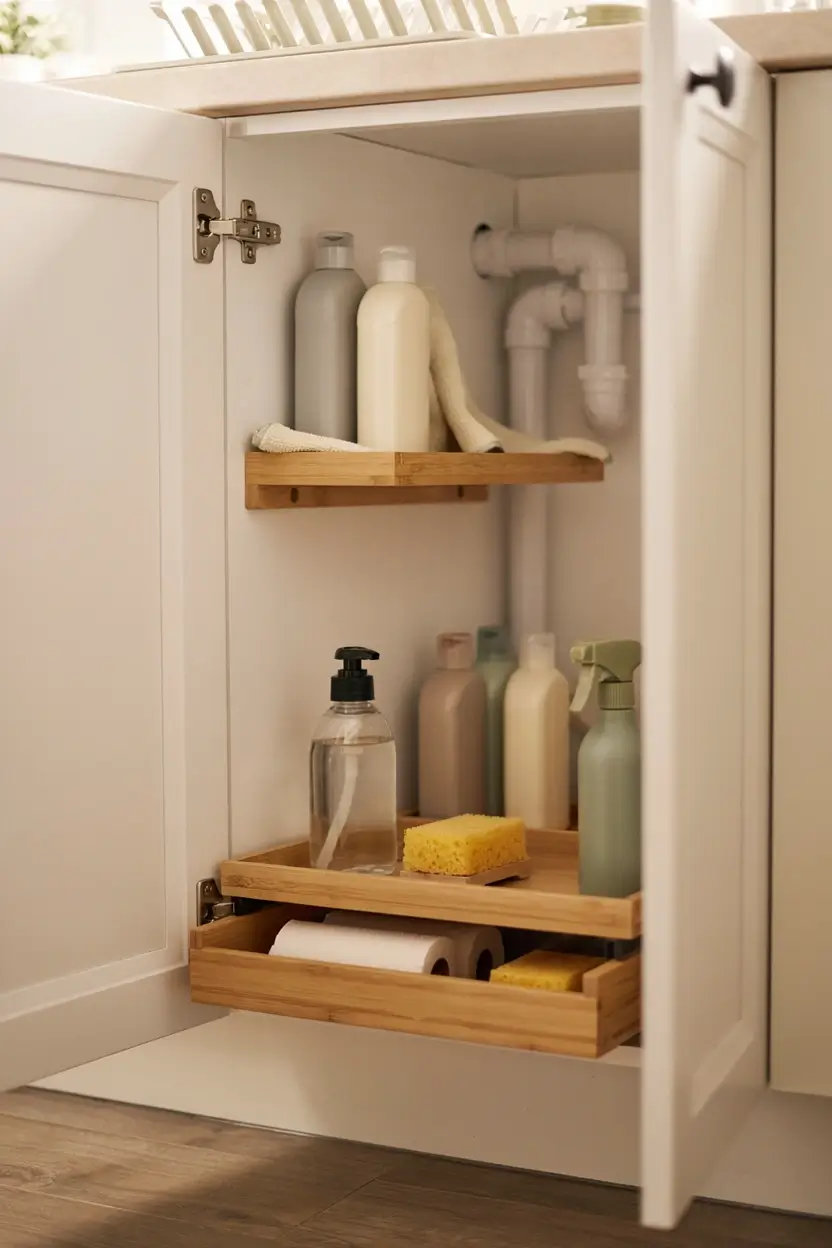
Keep your most used items front and center, at eye level as soon as you open the door. For most people that means everyday dish soap, a sponge, and one all purpose spray.
Push anything used less than once a week toward the back or up onto the riser shelf. The goal is grabbing your daily items in one motion, without moving three other things first.
10. Give Trash Bags a Standing Home
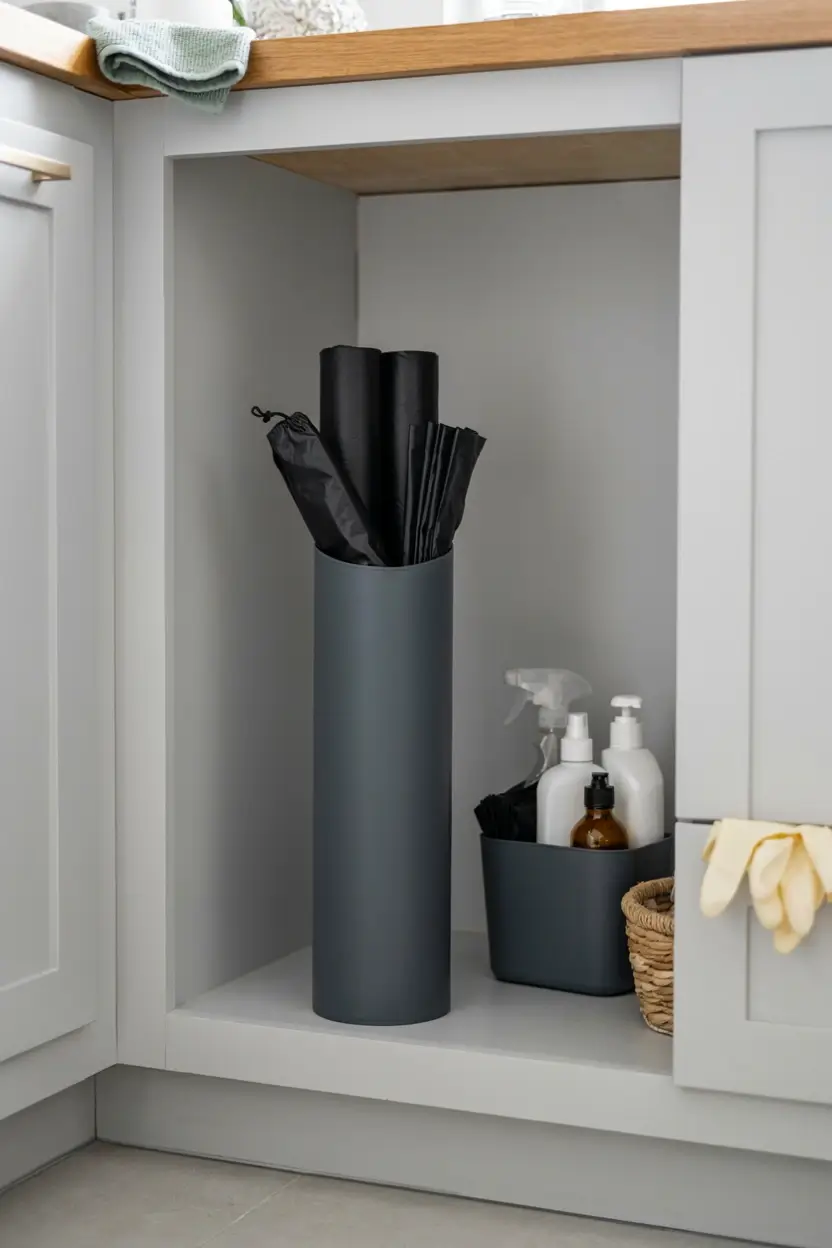
Loose rolls of trash bags tend to end up as a tangled ball at the bottom of the cabinet.
Stand a box of bags upright in a small bin, or repurpose a large glass jar or a cut down cereal box as a holder. Keep one bag folded under the current bag in your kitchen trash can, so a fresh one is ready the moment you take the trash out.
11. Add a Covered Trash or Compost Bin, If It Lives Here
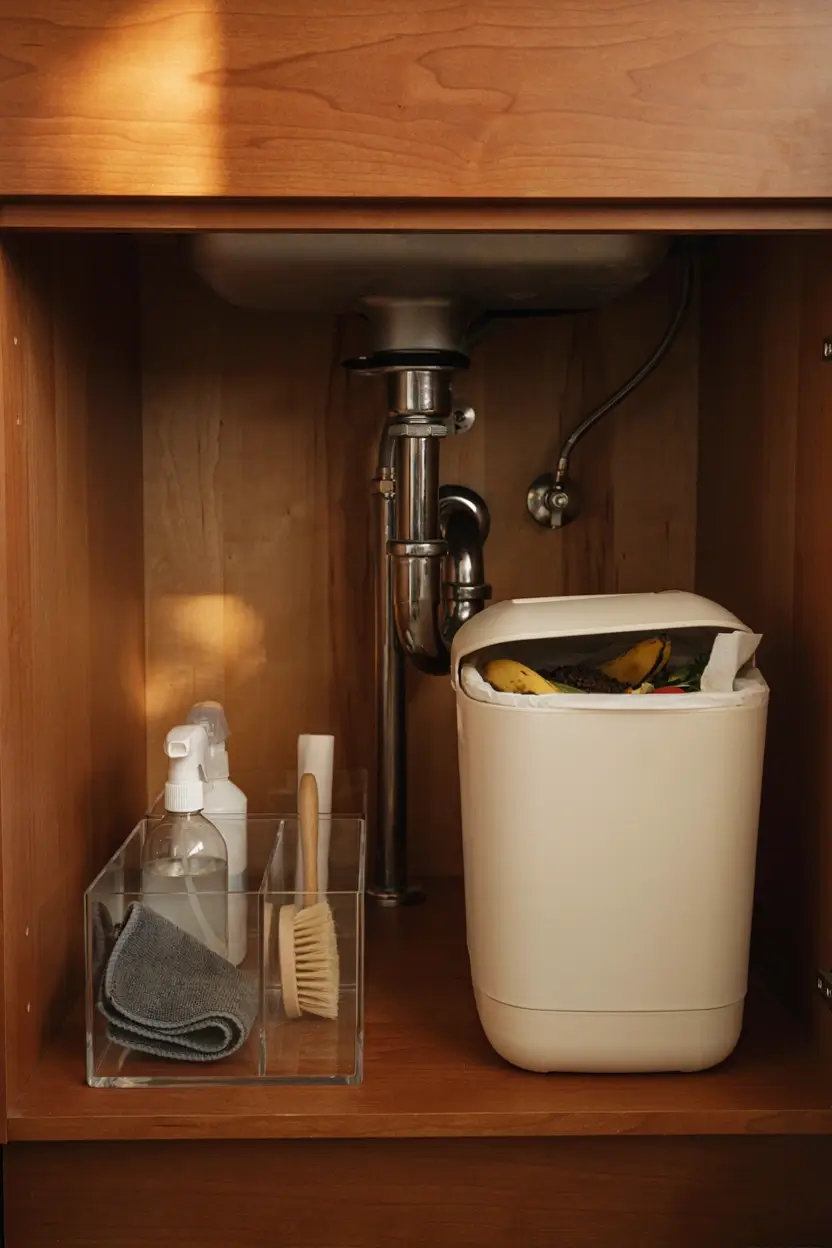
If your small kitchen trash or compost bin lives under the sink, choose one with a lid rather than an open top.
A covered bin controls odor and keeps things out of sight, which matters even more if you have pets that like to investigate open bins. Take it out nightly rather than letting it sit for days, since this is already one of the more humid spots in the kitchen.
12. Install a Childproof Lock if Little Ones Are Around
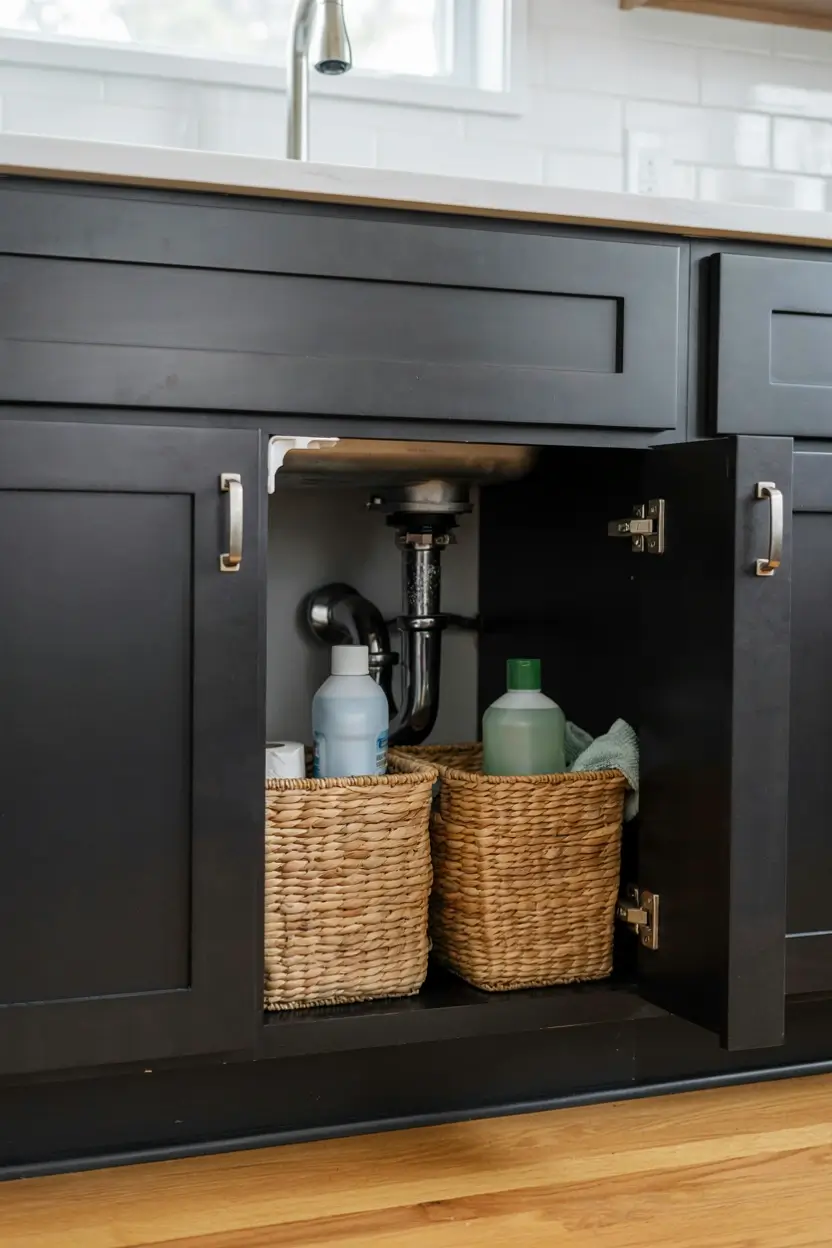
This is one of the more important safety notes in this whole guide. Cleaning products, dishwasher pods, and anything with bleach or ammonia should never be within easy reach of small children or curious pets.
A simple adhesive childproof latch installs in minutes with no drilling. If you have young kids at home, consider moving anything toxic to a higher cabinet entirely and using the space under the sink only for items that are safe if a toddler gets the door open.
Safety note: never store bleach based products next to ammonia based products. If they ever mix, even from a small leak, they create a toxic gas. Keep them on opposite sides of the cabinet or in separate bins.
13. Use Adhesive Hooks for Lightweight Extras
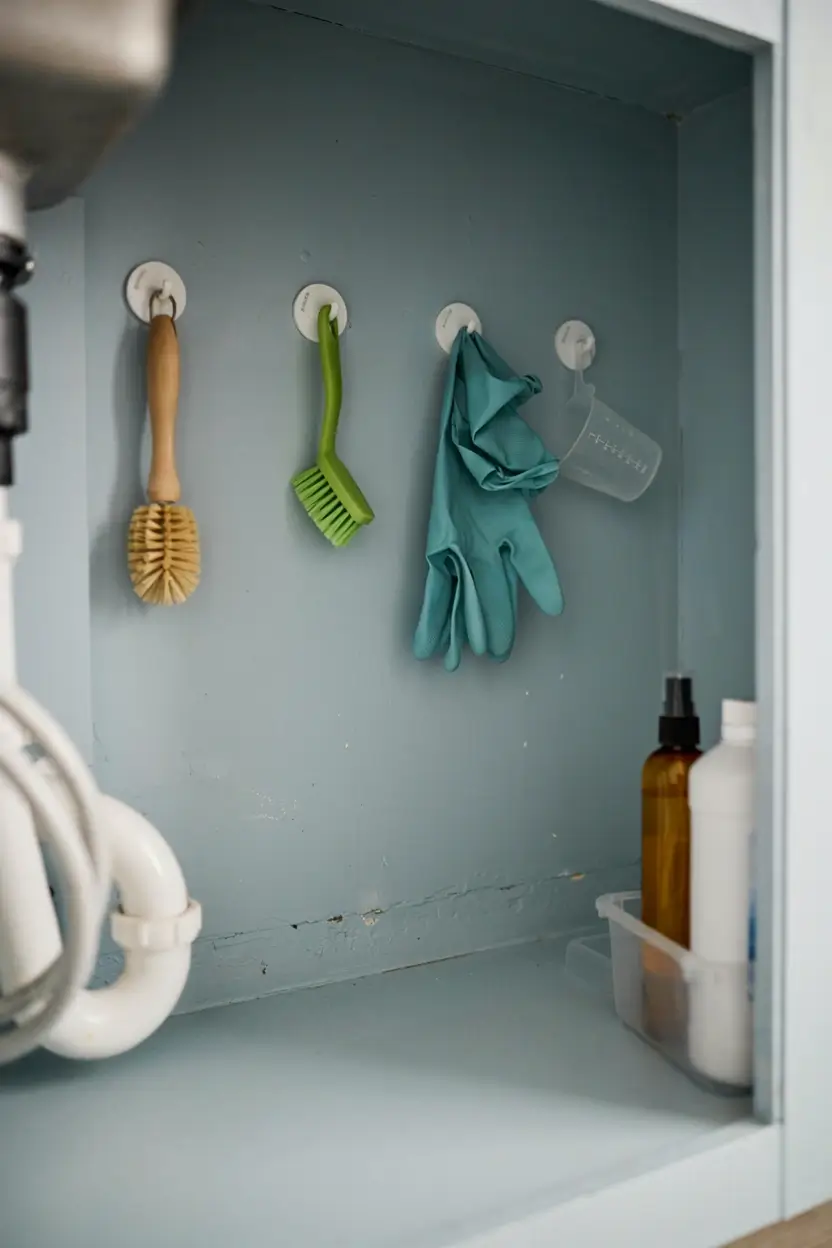
Adhesive hooks stuck to the inside cabinet wall are perfect for hanging small, light items like a dish brush, a spare scrub brush, or a measuring cup you use for laundry pods.
Stick to the weight limit printed on the package. These hooks are for light items only, never a full bottle of anything.
14. Keep Backups Somewhere Else Entirely
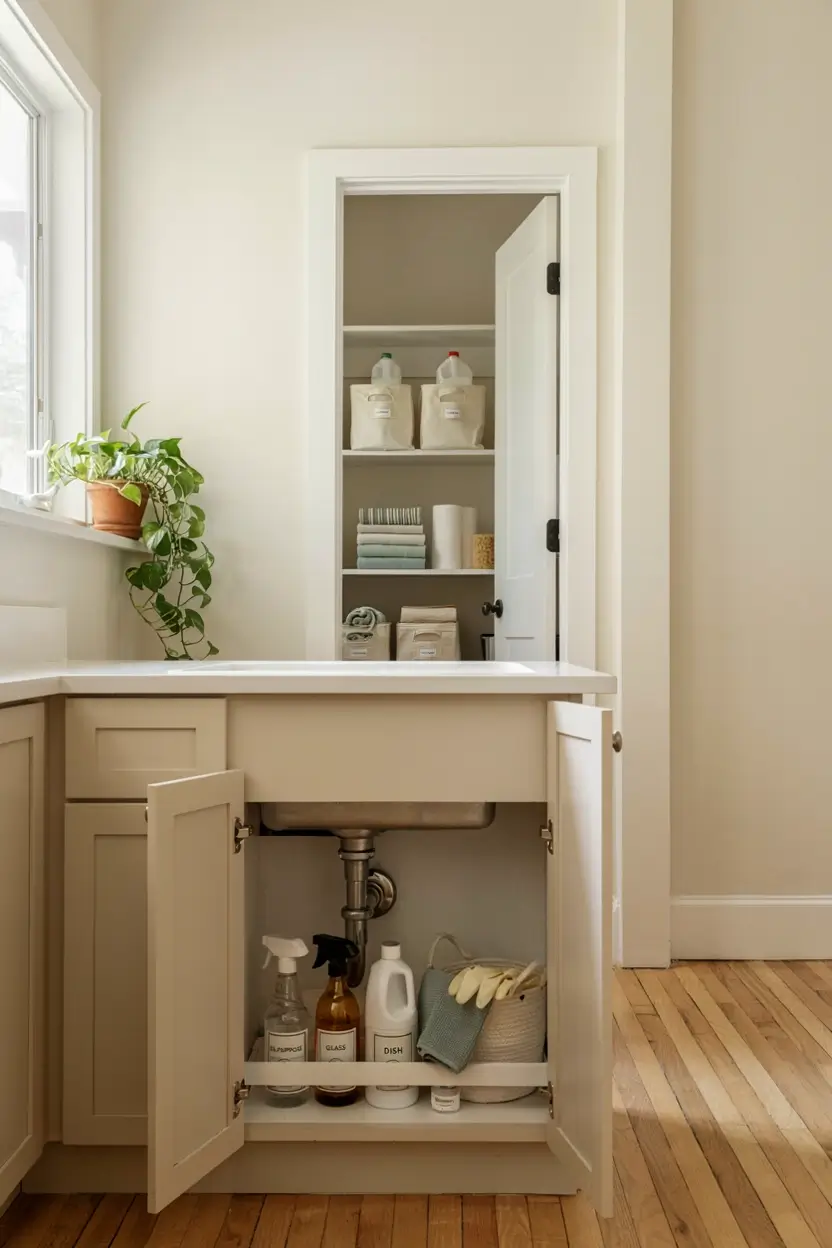
One of the biggest space wasters under the sink is backstock. You do not need four spare bottles of glass cleaner living in this cabinet.
Keep one of each item under the sink and store extras in a hall closet, laundry room, or garage shelf. This alone frees up a surprising amount of room and makes the everyday cabinet much easier to keep tidy.
15. Do a Two Minute Reset Every Few Weeks
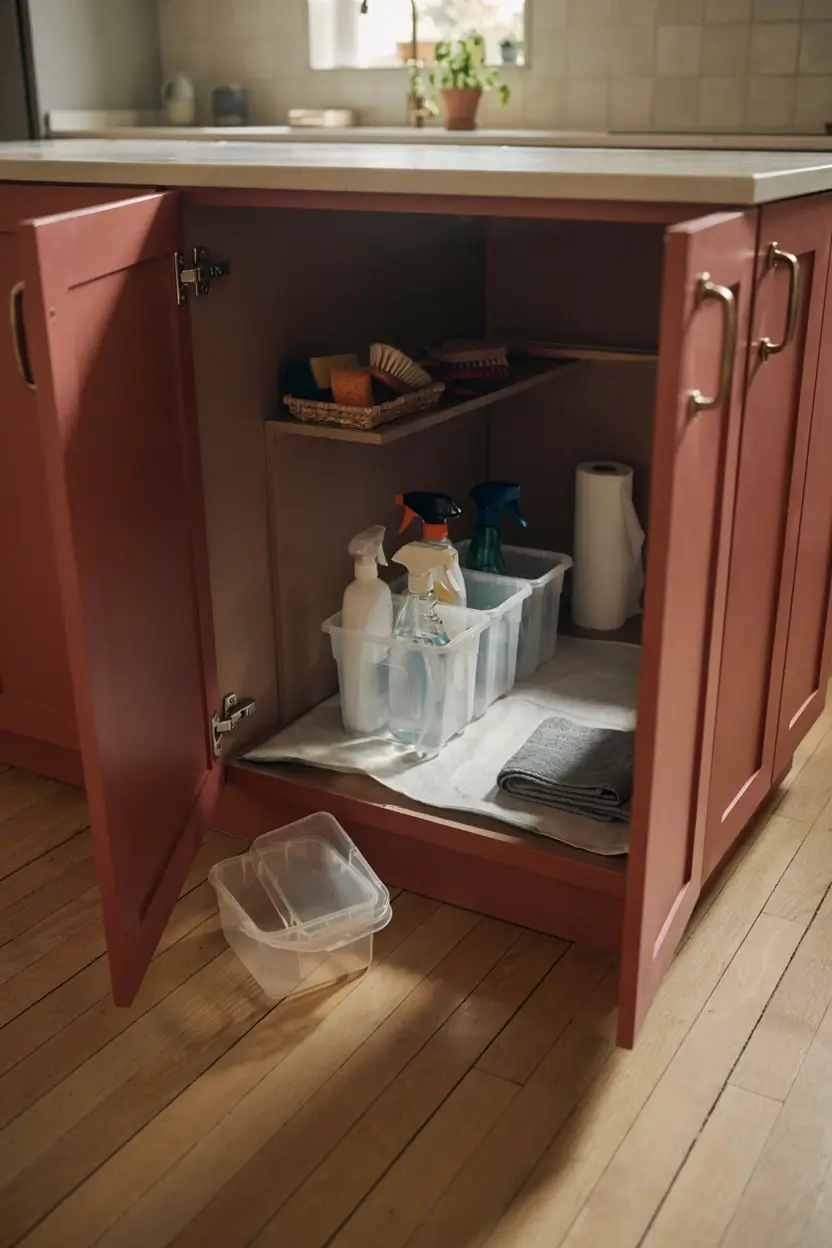
Even a well organized cabinet drifts over time. Bottles get pushed out of their zones, empty containers pile up, and things land in the wrong spot.
Set a reminder to do a quick check every few weeks. Toss anything empty, wipe up any drips on the liner, and put stray items back where they belong. This small habit is what makes an organized cabinet stay organized, instead of needing a full redo every few months.
What Not to Store Under the Kitchen Sink
Most guides tell you what to put in this cabinet and skip what should stay out of it. A few worth keeping elsewhere:
- Paper products like extra napkins or paper towel rolls, since moisture can warp or mildew them over time
- Pest control products or anything flammable, especially near a garbage disposal that gives off a small amount of heat when running
- Food items of any kind, even sealed ones, since this space can attract pests looking for a dark, warm spot
- Anything you are not willing to lose to a leak, since even a well maintained sink can drip without warning
Tools and Materials Checklist
Everything mentioned in this guide, in one place, so you can shop in a single trip:
- Waterproof vinyl or rubber shelf liner
- A turntable or lazy Susan, one or two depending on cabinet width
- A pedestal riser shelf
- A tension rod, five eighths of an inch or heavier
- A slide out tote or caddy with a handle
- An over the door organizer with foam bumpers
- A set of matching pump or spray bottles for decanting
- Waterproof labels or a paint pen
- A small bin for trash bags
- A covered trash or compost bin, if needed
- An adhesive childproof latch
- Adhesive hooks rated for light use
Not every item belongs in every kitchen. Choose based on your own cabinet size, pipe layout, and whether you rent or own.
Final Thoughts
Under kitchen sink organization does not need a renovation, a carpenter, or a full weekend. It needs an empty cabinet, a tape measure, and a system that respects the fact that pipes are going to be in the way no matter what you do.
Start with the edit, protect the floor with a liner, and build your zones around the plumbing instead of against it. Add a tension rod or a turntable where it fits your space, and keep the habit of a quick reset every few weeks.
Do that, and this cabinet stops being the one you dread opening and becomes just another organized, working corner of your kitchen.
What does your under sink cabinet look like right now? Tell me in the comments. I would love to hear which of these ideas you try first.





No Comment! Be the first one.