




If I Had to Redecorate My Living Room Again, Here’s Everything I’d Do Differently
There’s a specific kind of letdown that happens after a big decorating push. The sofa finally arrives, the rug is down, the art is hung, and you sit back expecting to feel that deep, satisfied...


There’s a specific kind of letdown that happens after a big decorating push. The sofa finally arrives, the rug is down, the art is hung, and you sit back expecting to feel that deep, satisfied exhale. Instead you feel… fine. Just fine. Not the room you saved forty photos of on Pinterest.
That gap between “finished” and “actually love it” is exactly why the question keeps coming up: if I had to redecorate my living room again, what would I actually do differently?
I’ve asked myself that more times than I’d like to admit. After a few rounds of buying, returning, repainting, and slowly figuring out what makes a room feel collected instead of like a furniture showroom, I’ve got a clear answer. None of it involves ripping everything out. It’s the small decisions nobody warns you about, the ones that quietly decide whether a living room feels finished or just furnished.
Here’s exactly what I’d change if I started over tomorrow.
A Quick Look at What’s Ahead
- Skip the matching set, mix wood tones and textures instead
- Tape the rug size on the floor before buying it
- Layer the lighting like a pro from day one
- Pick paint before furniture, and actually test it
- Buy the sofa last and map the layout first
- Stop chasing trends, buy what you actually love
- Add real storage before adding pretty decor
- Style shelves and the mantel with contrast, not symmetry
- Get the finishing details right the first time
- Let the room come together in layers, not one weekend
1. Skip the Matching Set. Mix Wood Tones and Textures Instead
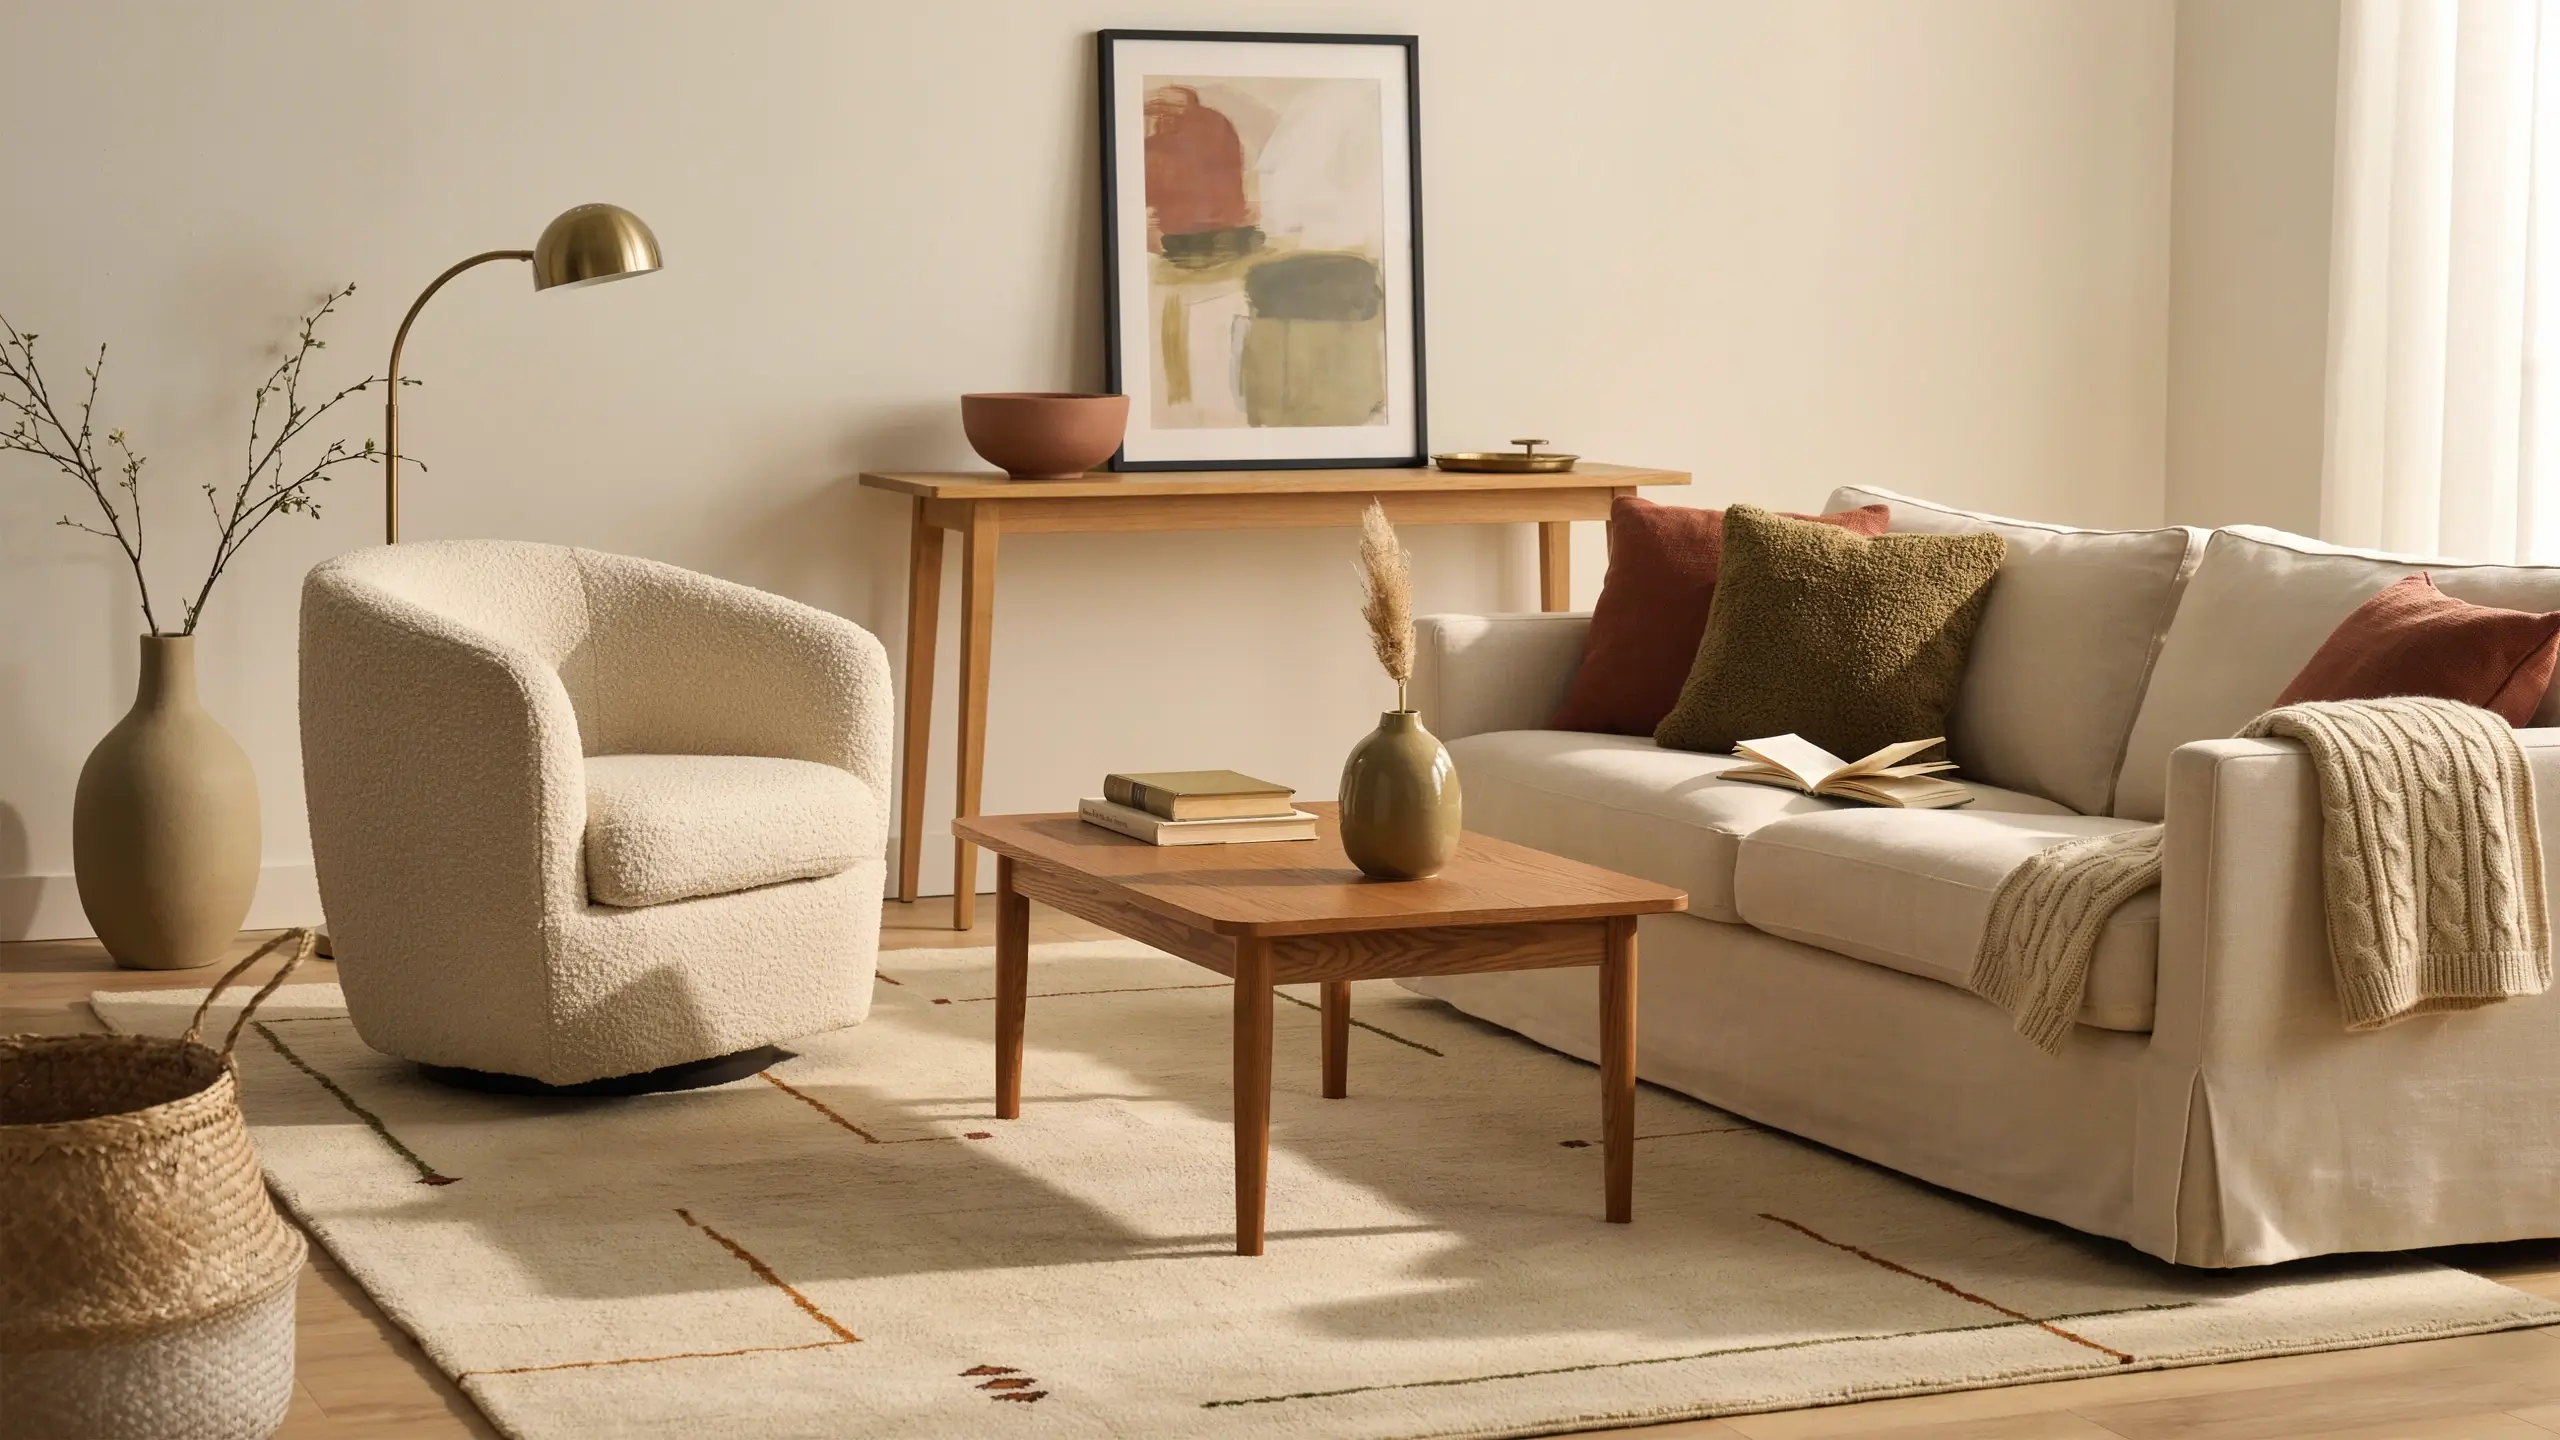
The first time around, I bought a matching three-piece set from one store because it felt safe. Sofa, loveseat, coffee table, all from the same collection. It looked like a catalog page and about as personal.
If I redecorated today, I’d build the room piece by piece instead. A walnut coffee table can sit next to an oak console. A boucle armchair can live across from a linen sofa. The trick that actually holds it together isn’t matching furniture, it’s repeating colors and shapes throughout the room instead. Pick two or three anchor tones and let them show up in the rug, the pillows, and one accent piece.
Mistake to avoid: buying an entire room in one checkout. It reads as decorated, not lived in.
Tools and materials that help: a small paint swatch or fabric snippet from your sofa, tucked in your bag or saved on your phone, so you can check new pieces against it in the store instead of guessing.
This is the difference between a room that looks styled for a listing photo and one that looks like it was gathered over a few years by someone with actual taste. It photographs better too. A coffee table with slim mid-century legs next to a chunkier wood console gives a pin far more visual interest than three pieces that all match.
2. Tape the Rug Size on the Floor Before You Buy It
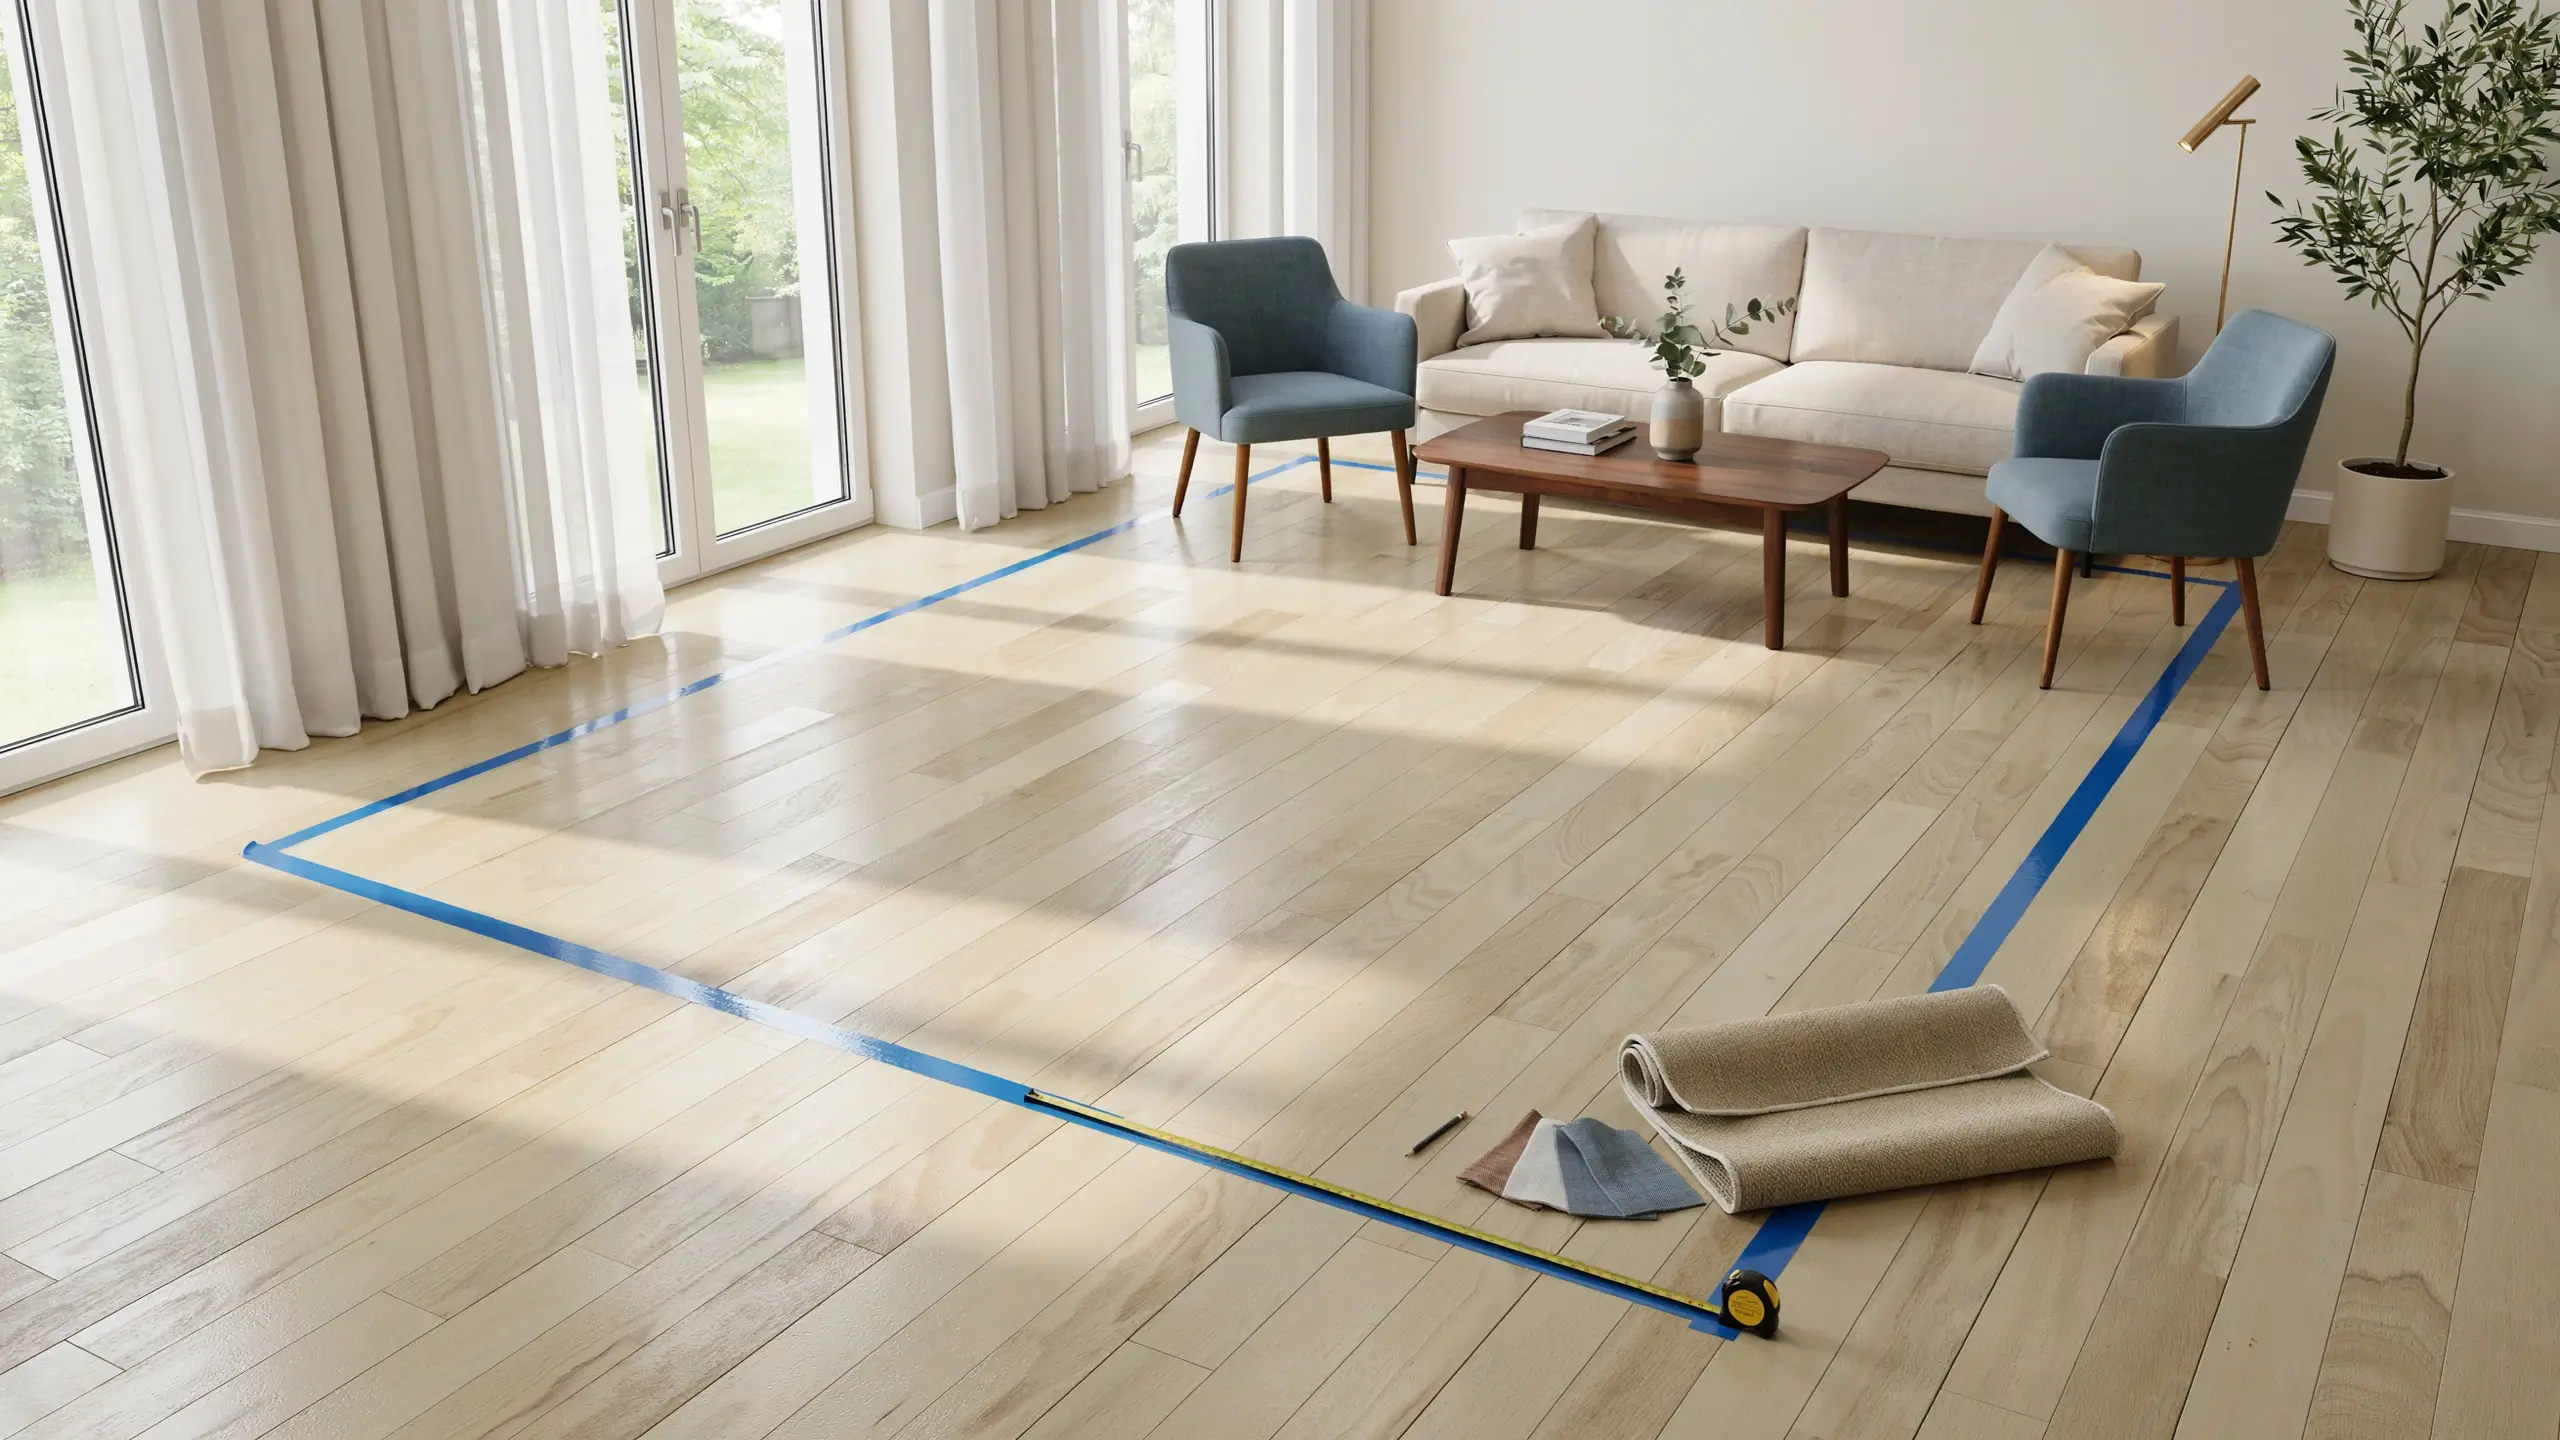
A rug that’s too small is the single most common thing making a living room feel off, and most people don’t clock it as the problem. It just feels like the room is “missing something.”
If I redecorated again, I’d grab painter’s tape before I bought anything and mark the exact rug size on the floor. Then I’d live with that outline for a few days. In most standard living rooms, that means at least the front legs of every piece of seating landing on the rug, not floating in a sea of bare floor. For an average room, that usually lands somewhere around 8×10 or 9×10 feet, and for larger open-concept spaces, 9×12 or bigger.
Mistake to avoid: the postage-stamp rug that only fits under the coffee table. It shrinks the whole room visually, even if the furniture around it is perfect.
Tools that help: painter’s tape, a tape measure, and honestly just walking around the taped outline in socks for a couple of days before you commit.
For renters, this is one of the lowest-risk moves you can make. A properly sized rug is fully reversible, takes up zero wall space, and instantly makes a rental living room look intentional instead of borrowed.
3. Layer the Lighting Like a Pro From Day One
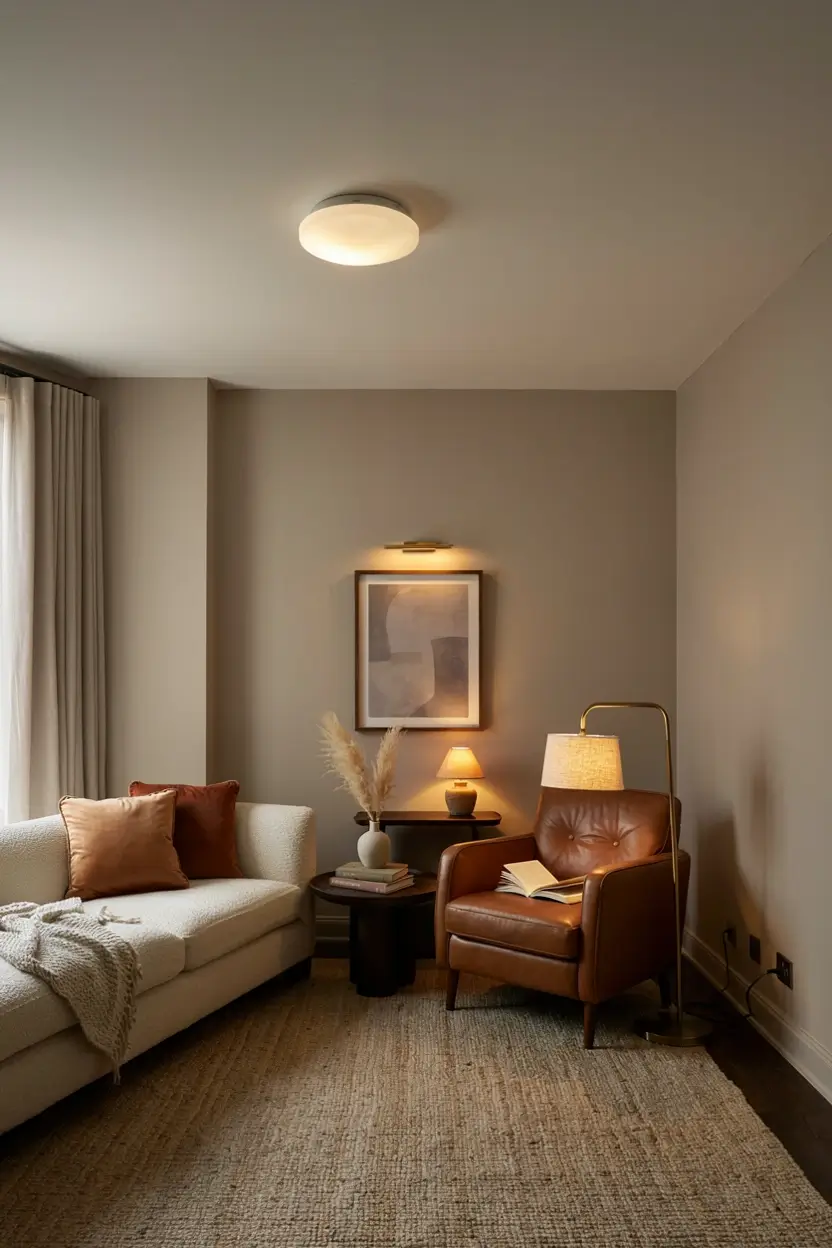
My first living room had one overhead fixture and nothing else. It worked, technically. It also felt like an office after 7 p.m.
If I did it again, I’d plan three layers of light before I even picked a paint color. Ambient light from the overhead fixture or a torchiere floor lamp, task light from a reading lamp near the chair you actually read in, and accent light from a table lamp or a small picture light over art. Varying the height of your light sources is what makes a room feel designed instead of just lit.
One detail nobody mentions enough: the bottom of a lampshade should sit roughly at eye level when you’re seated on the sofa. Any lower and you get a hot bulb glare right in your eyeline every time you sit down.
Mistake to avoid: relying on one bright overhead light and calling it done. Warm bulbs in the 2700K to 3000K range make a huge difference over the cool white bulbs most fixtures ship with.
Safety note: keep lamp cords away from walking paths and avoid overloading a single outlet with multiple lamps on one extension cord. A slim cord cover along the baseboard solves this without anyone tripping over it.
4. Pick Paint Before Furniture, and Actually Test It
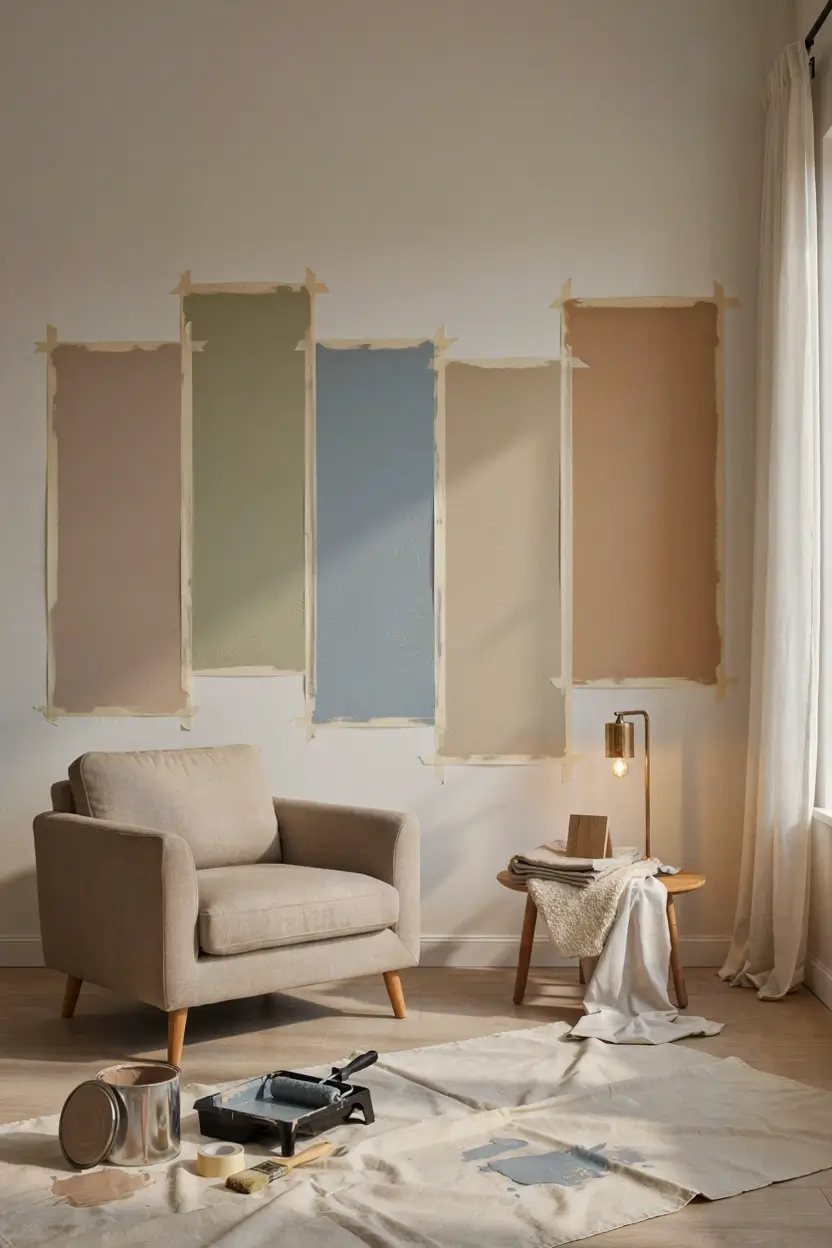
I used to pick a wall color off a tiny paint chip in the store and hope for the best. Twice, I ended up living with a color I didn’t love for over a year because repainting felt like too much work to admit the mistake.
If I redecorated now, paint would be decided before a single piece of furniture gets ordered. I’d get large sample boards instead of tiny chips, tape them to the wall at different spots, and watch how they look in morning light, midday light, and lamp light in the evening before committing.
Color direction is also shifting. Living rooms are moving away from the cool grays and stark whites that dominated the last decade, toward warmer, richer tones: caramel, wheat, warm taupe, soft olive or moss green, and muted, dusty blue. Instead of one accent wall, more rooms are being fully color-drenched, meaning walls, trim, and even the ceiling in one cohesive tone for a cocooning effect rather than a jarring contrast.
Mistake to avoid: matching your wall color to a trend photo without checking it against your own room’s light. The exact same paint color can look completely different in a north-facing room versus a south-facing one.
Renter tip: if repainting isn’t allowed, removable wallpaper or a large piece of fabric stretched on a frame can bring in that warm, layered color without touching the actual wall.
5. Buy the Sofa Last and Map the Layout First
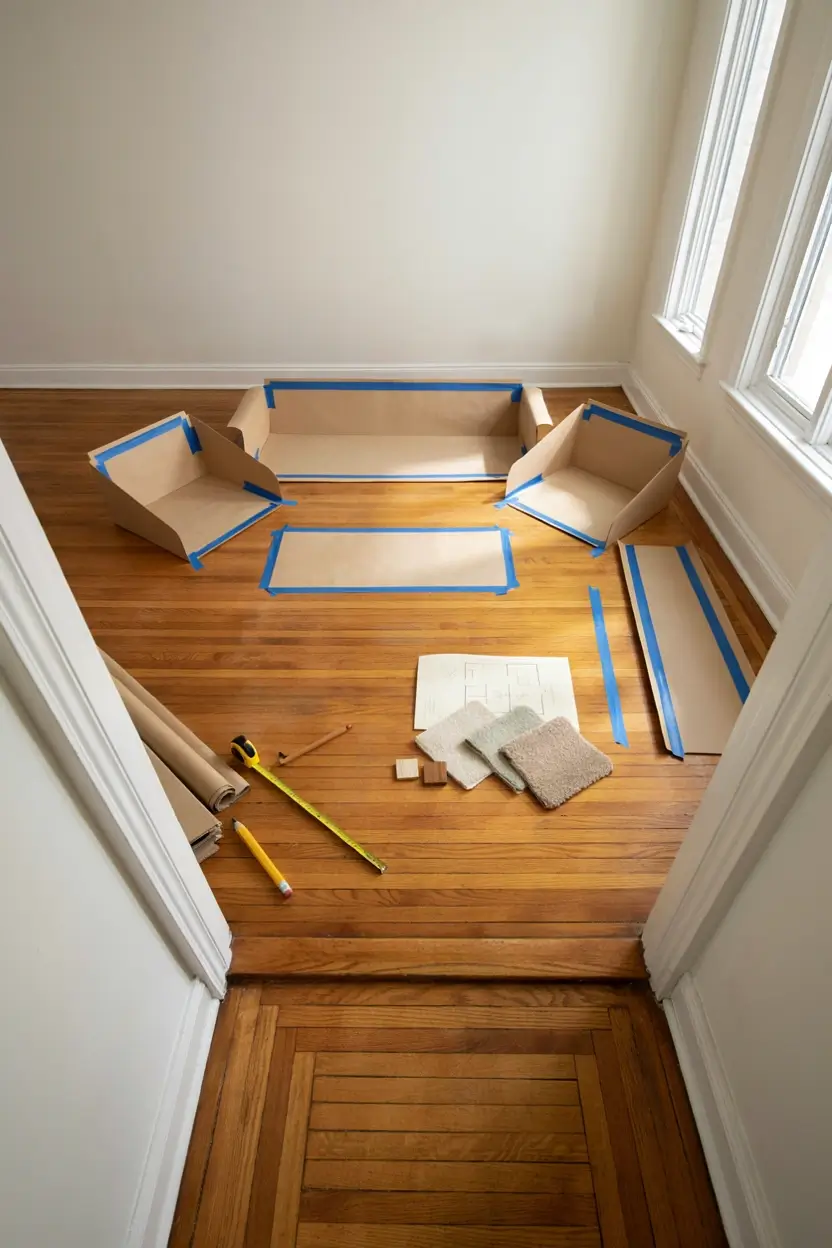
The sofa is usually the first thing people buy and the hardest thing to return. I’d flip that order completely.
Before buying anything large, I’d cut paper templates to scale or use painter’s tape to map out where the sofa, chairs, and coffee table will actually sit. This shows you the walking paths, whether the TV will glare from the window, and whether your “dream sofa” will even leave room to open the front door.
I’d also stop pushing every piece of furniture flush against the wall. Floating the seating even six inches away, or angling a chair slightly, softens the whole layout and makes conversation actually possible instead of everyone facing a screen in a row.
Mistake to avoid: buying the biggest sofa that technically fits and leaving zero breathing room around it. A slightly smaller sofa with a proper walking path around it will always feel more finished than an oversized one crammed wall to wall.
Tools that help: kraft paper or old cardboard cut to your furniture’s actual dimensions, painter’s tape, and a tape measure for doorways before delivery day.
6. Stop Chasing Trends. Buy What You Actually Love
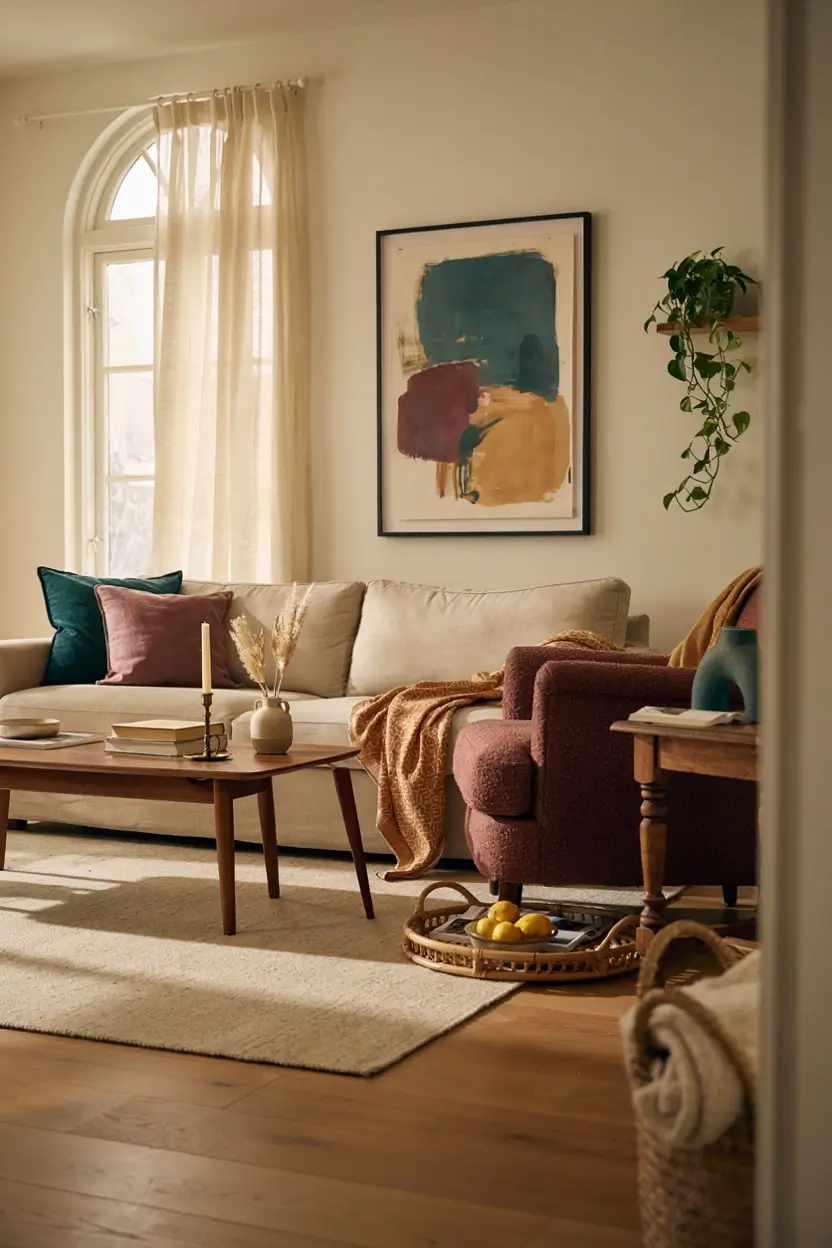
I bought a coffee table years ago because it was everywhere at the time. Chunky, dark, heavy. I hated how it made the whole room feel smaller within a year, but I kept it because it had cost real money. I finally replaced it with a table on slim, angled legs, and the entire room felt lighter overnight.
If I did this again, I’d invest in shape and quality for the big pieces, the sofa, the coffee table, the rug, and let trends come through the cheap, swappable layer instead: pillows, throws, art, a vase. Rattan textures, patterned upholstery, and jewel-toned accents are having a moment right now, and they’re perfect for exactly that kind of low-commitment layer.
Mistake to avoid: buying a large, expensive piece because it’s trending, then feeling stuck with it once the trend passes and the price tag makes it hard to let go.
This is the one lesson that saves the most money long term. Trend pieces should be the ten-dollar pillow cover, not the eight-hundred-dollar sectional.
7. Add Real Storage Before Adding Pretty Decor
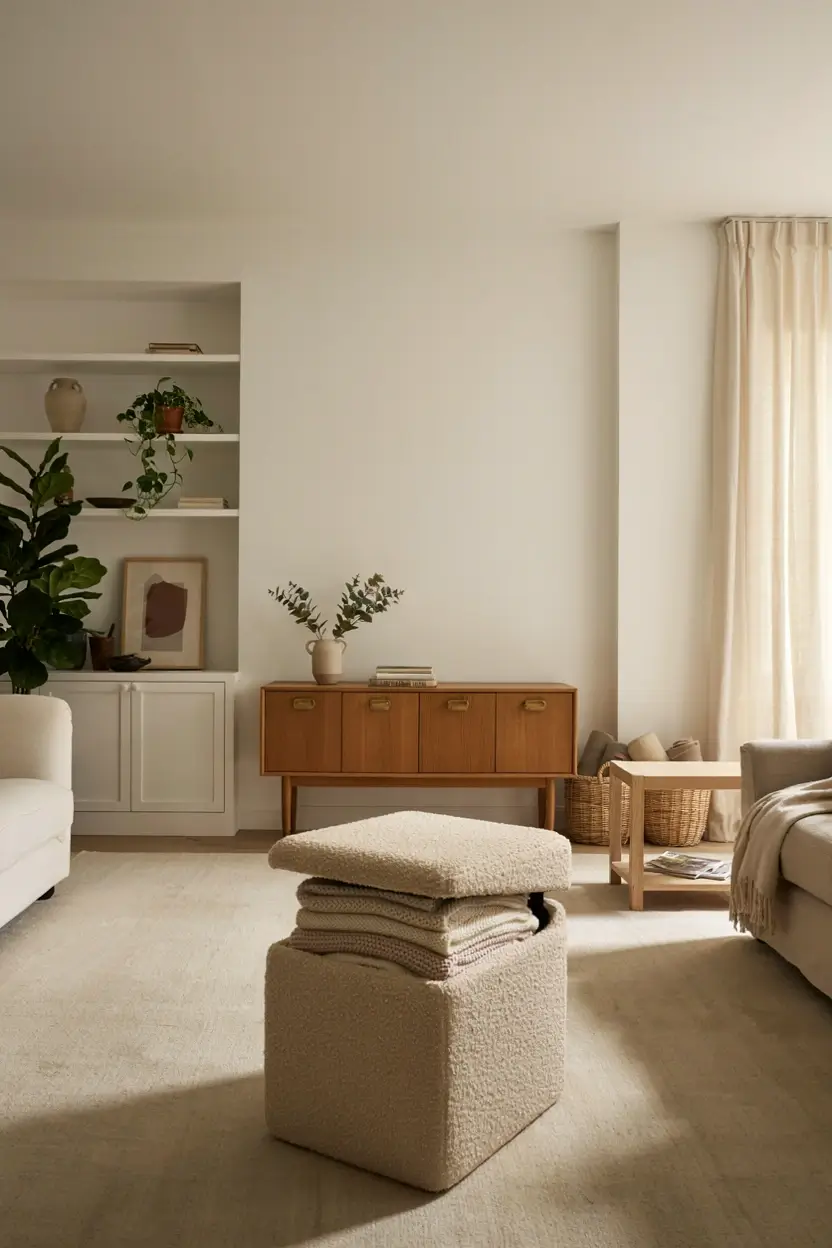
Every styled shelf photo I ever admired had one thing in common that never made it into the picture: somewhere else in that house, the remote controls, chargers, and kids’ toys had a home too.
If I redecorated again, storage would come before styling. A media console with closed cabinets, a large ottoman that opens, woven baskets tucked under console tables, or built-in shelving with doors on the bottom half all give the everyday clutter somewhere to disappear. The pretty, open shelf styling only stays pretty if there’s a hidden system underneath it.
Mistake to avoid: styling open shelves with nowhere else in the room for the practical stuff. Within a week, the good-looking shelf becomes a catch-all for mail and remotes again.
Tools and materials: a storage ottoman, two or three matching woven baskets, and a console table with at least one closed cabinet or drawer.
8. Style Shelves and the Mantel With Contrast, Not Symmetry
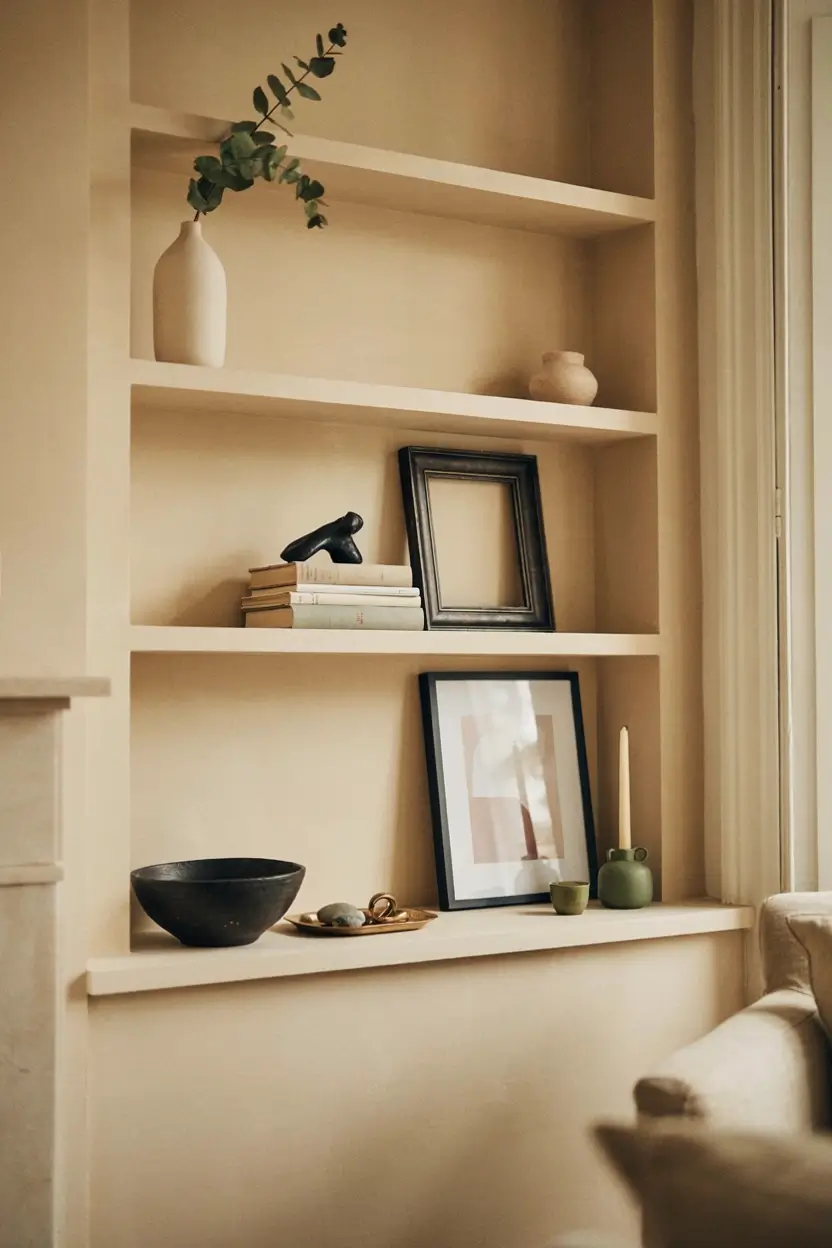
My early attempt at shelf styling was two identical lamps and two identical vases, perfectly mirrored. It looked stiff, like a hotel lobby display rather than a home.
This time, I’d group items in odd numbers, vary the height and shape of objects next to each other, and use a tray to corral small pieces so they read as one intentional grouping instead of clutter. One trick that makes a bigger difference than people expect: adding a small dose of black somewhere in the mix, a black picture frame, a dark vase, a piece of pottery. It gives the eye a place to land and keeps an all-neutral shelf from feeling flat. A single plant or a stem of greenery in the mix does the same kind of work, adding life without adding cost.
Mistake to avoid: perfect symmetry on every surface. A little asymmetry is what makes a shelf photograph as “curated” instead of “staged.”
9. Get the Finishing Details Right the First Time
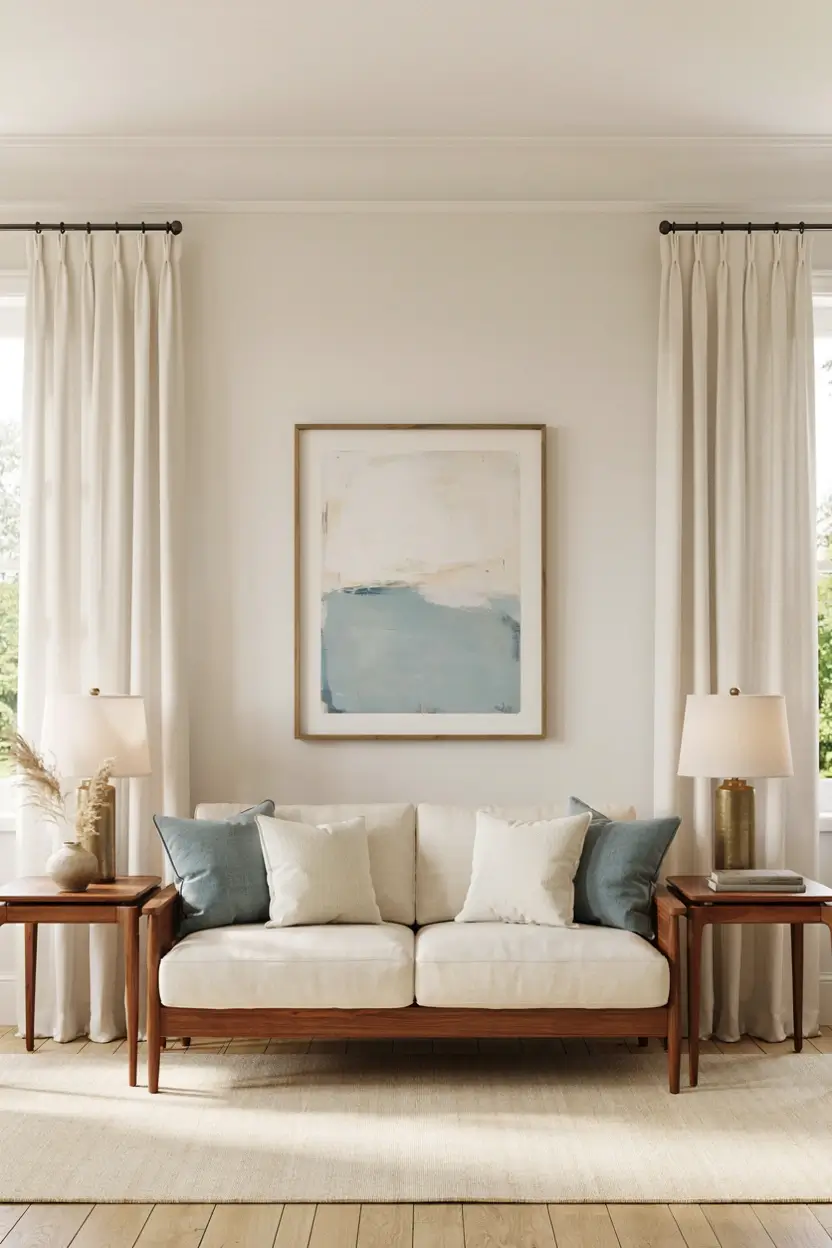
These are the small measurements that separate a Pinterest-worthy room from one that just looks slightly off, and I got almost all of them wrong the first time.
Art over the sofa should be roughly two-thirds the width of the sofa, hung so the bottom of the frame sits about six to eight inches above the sofa back. Too small, and it floats awkwardly in a sea of blank wall. Curtain rods look best mounted close to the ceiling rather than directly above the window frame, and panels should graze the floor rather than hover a few inches above it, which instantly reads as too-short and unfinished.
Mistake to avoid: small art over a large sofa, and curtains that stop short of the floor. Both are shockingly common and both are easy, free fixes once you know to look for them.
Safety note: for anything heavier than a small print, use a proper wall anchor rated for the weight, or hang into a stud where possible, especially with mirrors. For renters using adhesive strips, check the weight limit on the package and test a small hidden patch of wall first before committing to a full gallery wall.
10. Let the Room Come Together in Layers, Not One Weekend
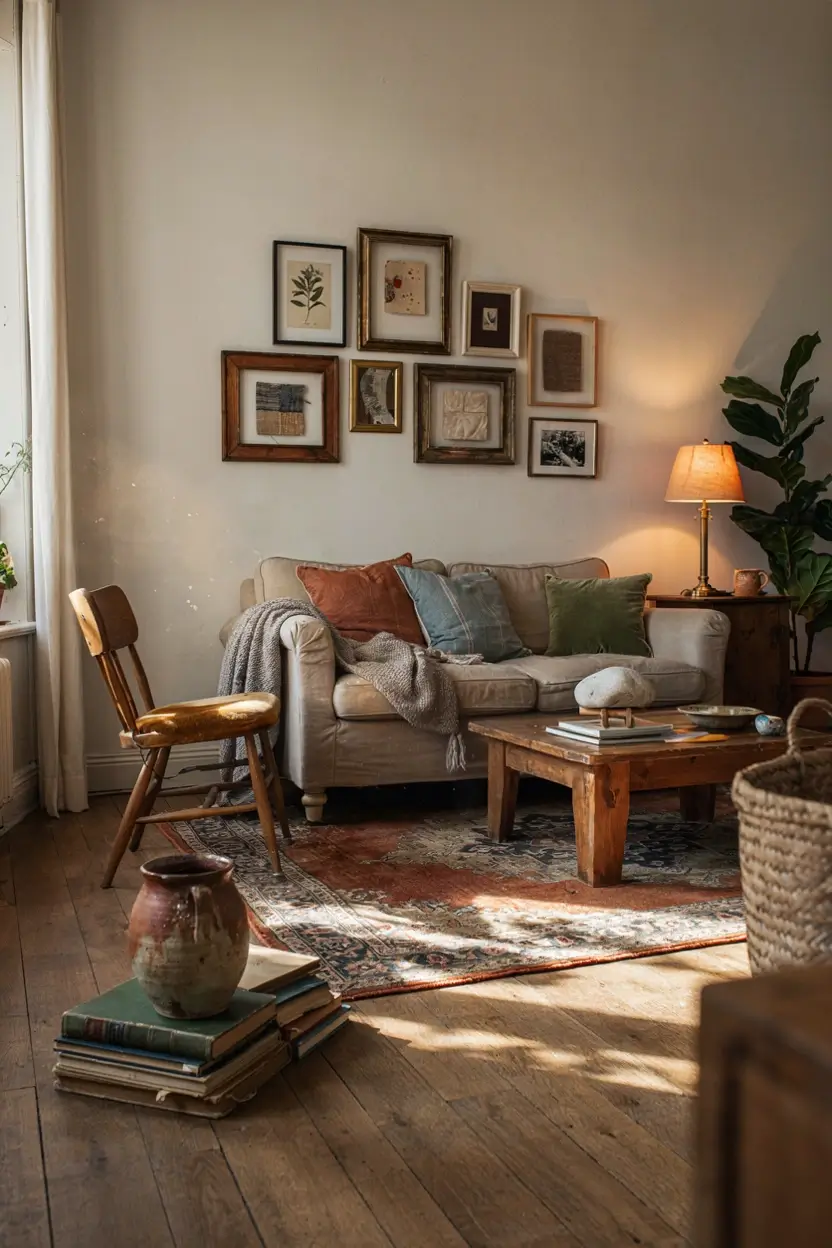
The rooms I’ve admired most were never finished in a single shopping trip. They had one vintage find from a flea market, one piece passed down from family, one thing bought on sale six months after everything else.
If I redecorated my living room again, I wouldn’t try to complete it in one weekend with a single big order. I’d get the essentials right first, the layout, lighting, paint, and rug, then let the personal layer fill in slowly. That’s genuinely what makes a room feel like it has a story instead of a receipt.
Mistake to avoid: rushing to call the room “done” the moment everything from the cart arrives. A room that’s allowed to evolve a little always ends up feeling warmer than one assembled all at once.
Read Also: [Small Living Room Layout Ideas That Actually Work in Real Homes] · [Renter-Friendly Wall Decor Ideas That Won’t Cost Your Deposit] · [Budget Living Room Refresh Ideas Under $200]
Final Thoughts
If I had to redecorate my living room again, none of it would be about spending more money the second time around. It would be about slowing down on a handful of decisions I rushed the first time: the rug size, the lighting layers, the paint testing, the storage underneath the pretty stuff. Small decisions, bigger difference.
You don’t have to overhaul your whole space to use any of this. Pick the one point on this list that sounds the most like your own living room right now, and start there. That’s usually the fastest way to make a room feel finished without touching everything at once.
Have you redecorated a room and realized afterward what you’d change? I’d love to hear which lesson hit closest to home for you, drop it in the comments below.




No Comment! Be the first one.