




15 Creative Pumpkin Wreath DIY Ideas That Look Way More Expensive Than They Are
Fall decorating always circles back to one question: what do I put on the front door? A pumpkin wreath is the answer almost every time, but so many of them end up looking the same. Orange felt...

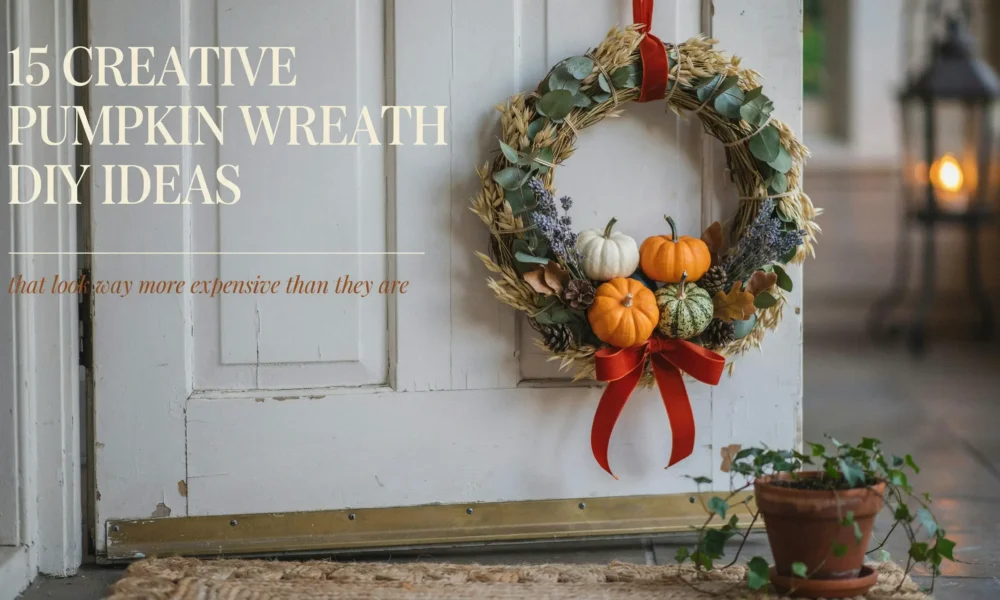
Fall decorating always circles back to one question: what do I put on the front door? A pumpkin wreath is the answer almost every time, but so many of them end up looking the same. Orange felt pumpkins glued to a grapevine circle, a burlap bow, done. Cute, but not exactly a scroll-stopper.
This roundup is different. These are creative pumpkin wreath DIY ideas for people who want their front door to actually stand out on the block, whether you’re working with a five dollar Dollar Tree form, a thrifted grapevine wreath, or just a hot glue gun and some ambition. There’s something here for beginners, renters, small-space decorators, and anyone who’s tired of the same orange-and-burlap look.
Grab your materials and let’s get into it.
What You Need to Know Before You Start
A couple of quick notes before the ideas, because these will save you time and frustration.
- Pick your base first. Most pumpkin wreaths start with either a wire pumpkin wreath form (the kind sold at Dollar Tree, Michaels, or Target seasonally), a plain grapevine wreath, a foam wreath form, or an embroidery hoop. The base you choose changes how the whole project comes together, so decide that before you buy anything else.
- Hot glue is your best friend, but it has limits. A hot glue gun handles fabric, ribbon, faux leaves, and small embellishments beautifully. For anything heavy, like real mini pumpkins or thick wood slices, switch to a glue gun with a “high heat” setting or add hot glue plus a dab of E6000 craft adhesive for extra hold.
- Budget realistically. Most of these wreaths cost between $10 and $30 depending on what you already have on hand. The wire pumpkin wreath forms alone run about $1.25 to $5, so that’s usually your starting point.
- Mistake to avoid: Don’t overload one side of the wreath. It’s tempting to keep adding pieces where you’re already working, but step back every few minutes and check the whole shape. A lopsided wreath is the most common beginner mistake, and it’s an easy one to fix if you catch it early.
1. Loop Yarn Pumpkin Wreath
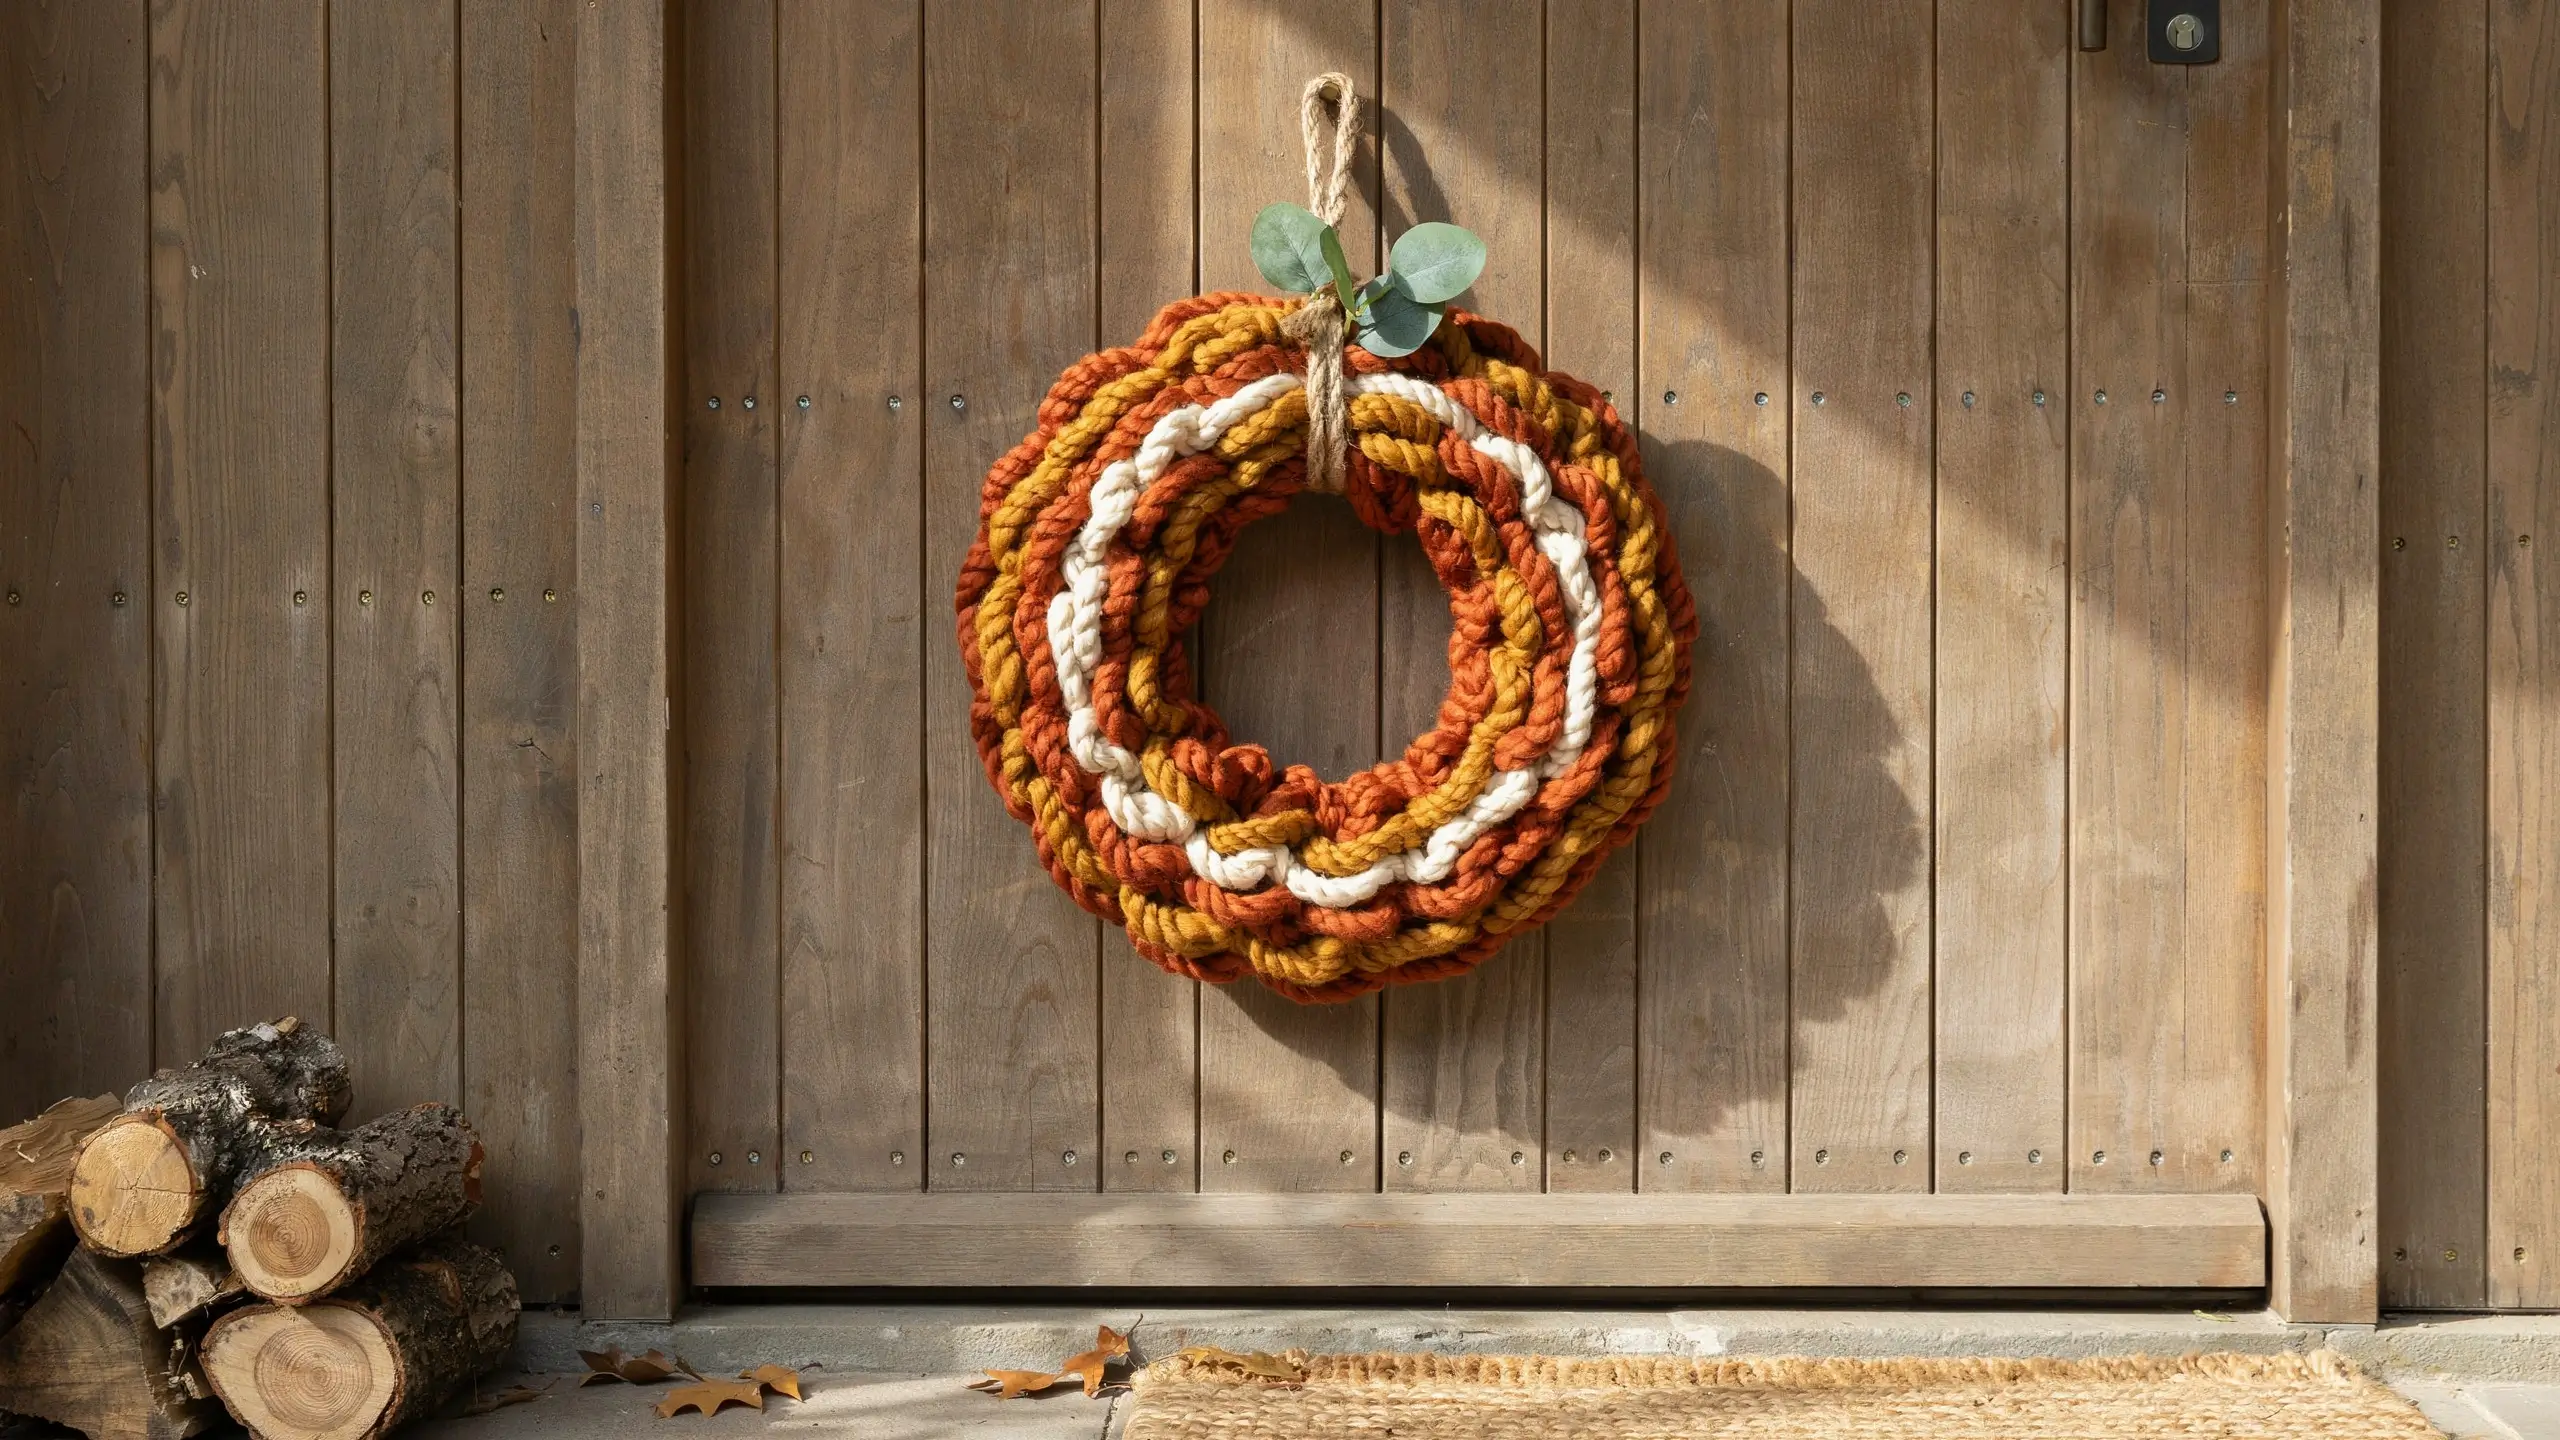
This is the wreath that made pumpkin wreaths blow up on Pinterest in the first place, and it still holds up. You loop yarn (any color, though burnt orange, mustard, and cream are the classic fall picks) through a wire pumpkin form using the same technique as a loop yarn blanket, then trim it into a rounded pumpkin shape with fabric scissors.
It takes about 45 minutes to an hour, costs around $12 with a Dollar Tree wire form and one skein of loop yarn, and requires zero sewing or gluing for the pumpkin body itself. Finish it with a jute rope stem and a couple of faux leaves.
Why it saves on Pinterest: the texture reads instantly, even as a small thumbnail image, which is exactly what makes a pin stop the scroll.
2. Boho Macrame Pumpkin Wreath
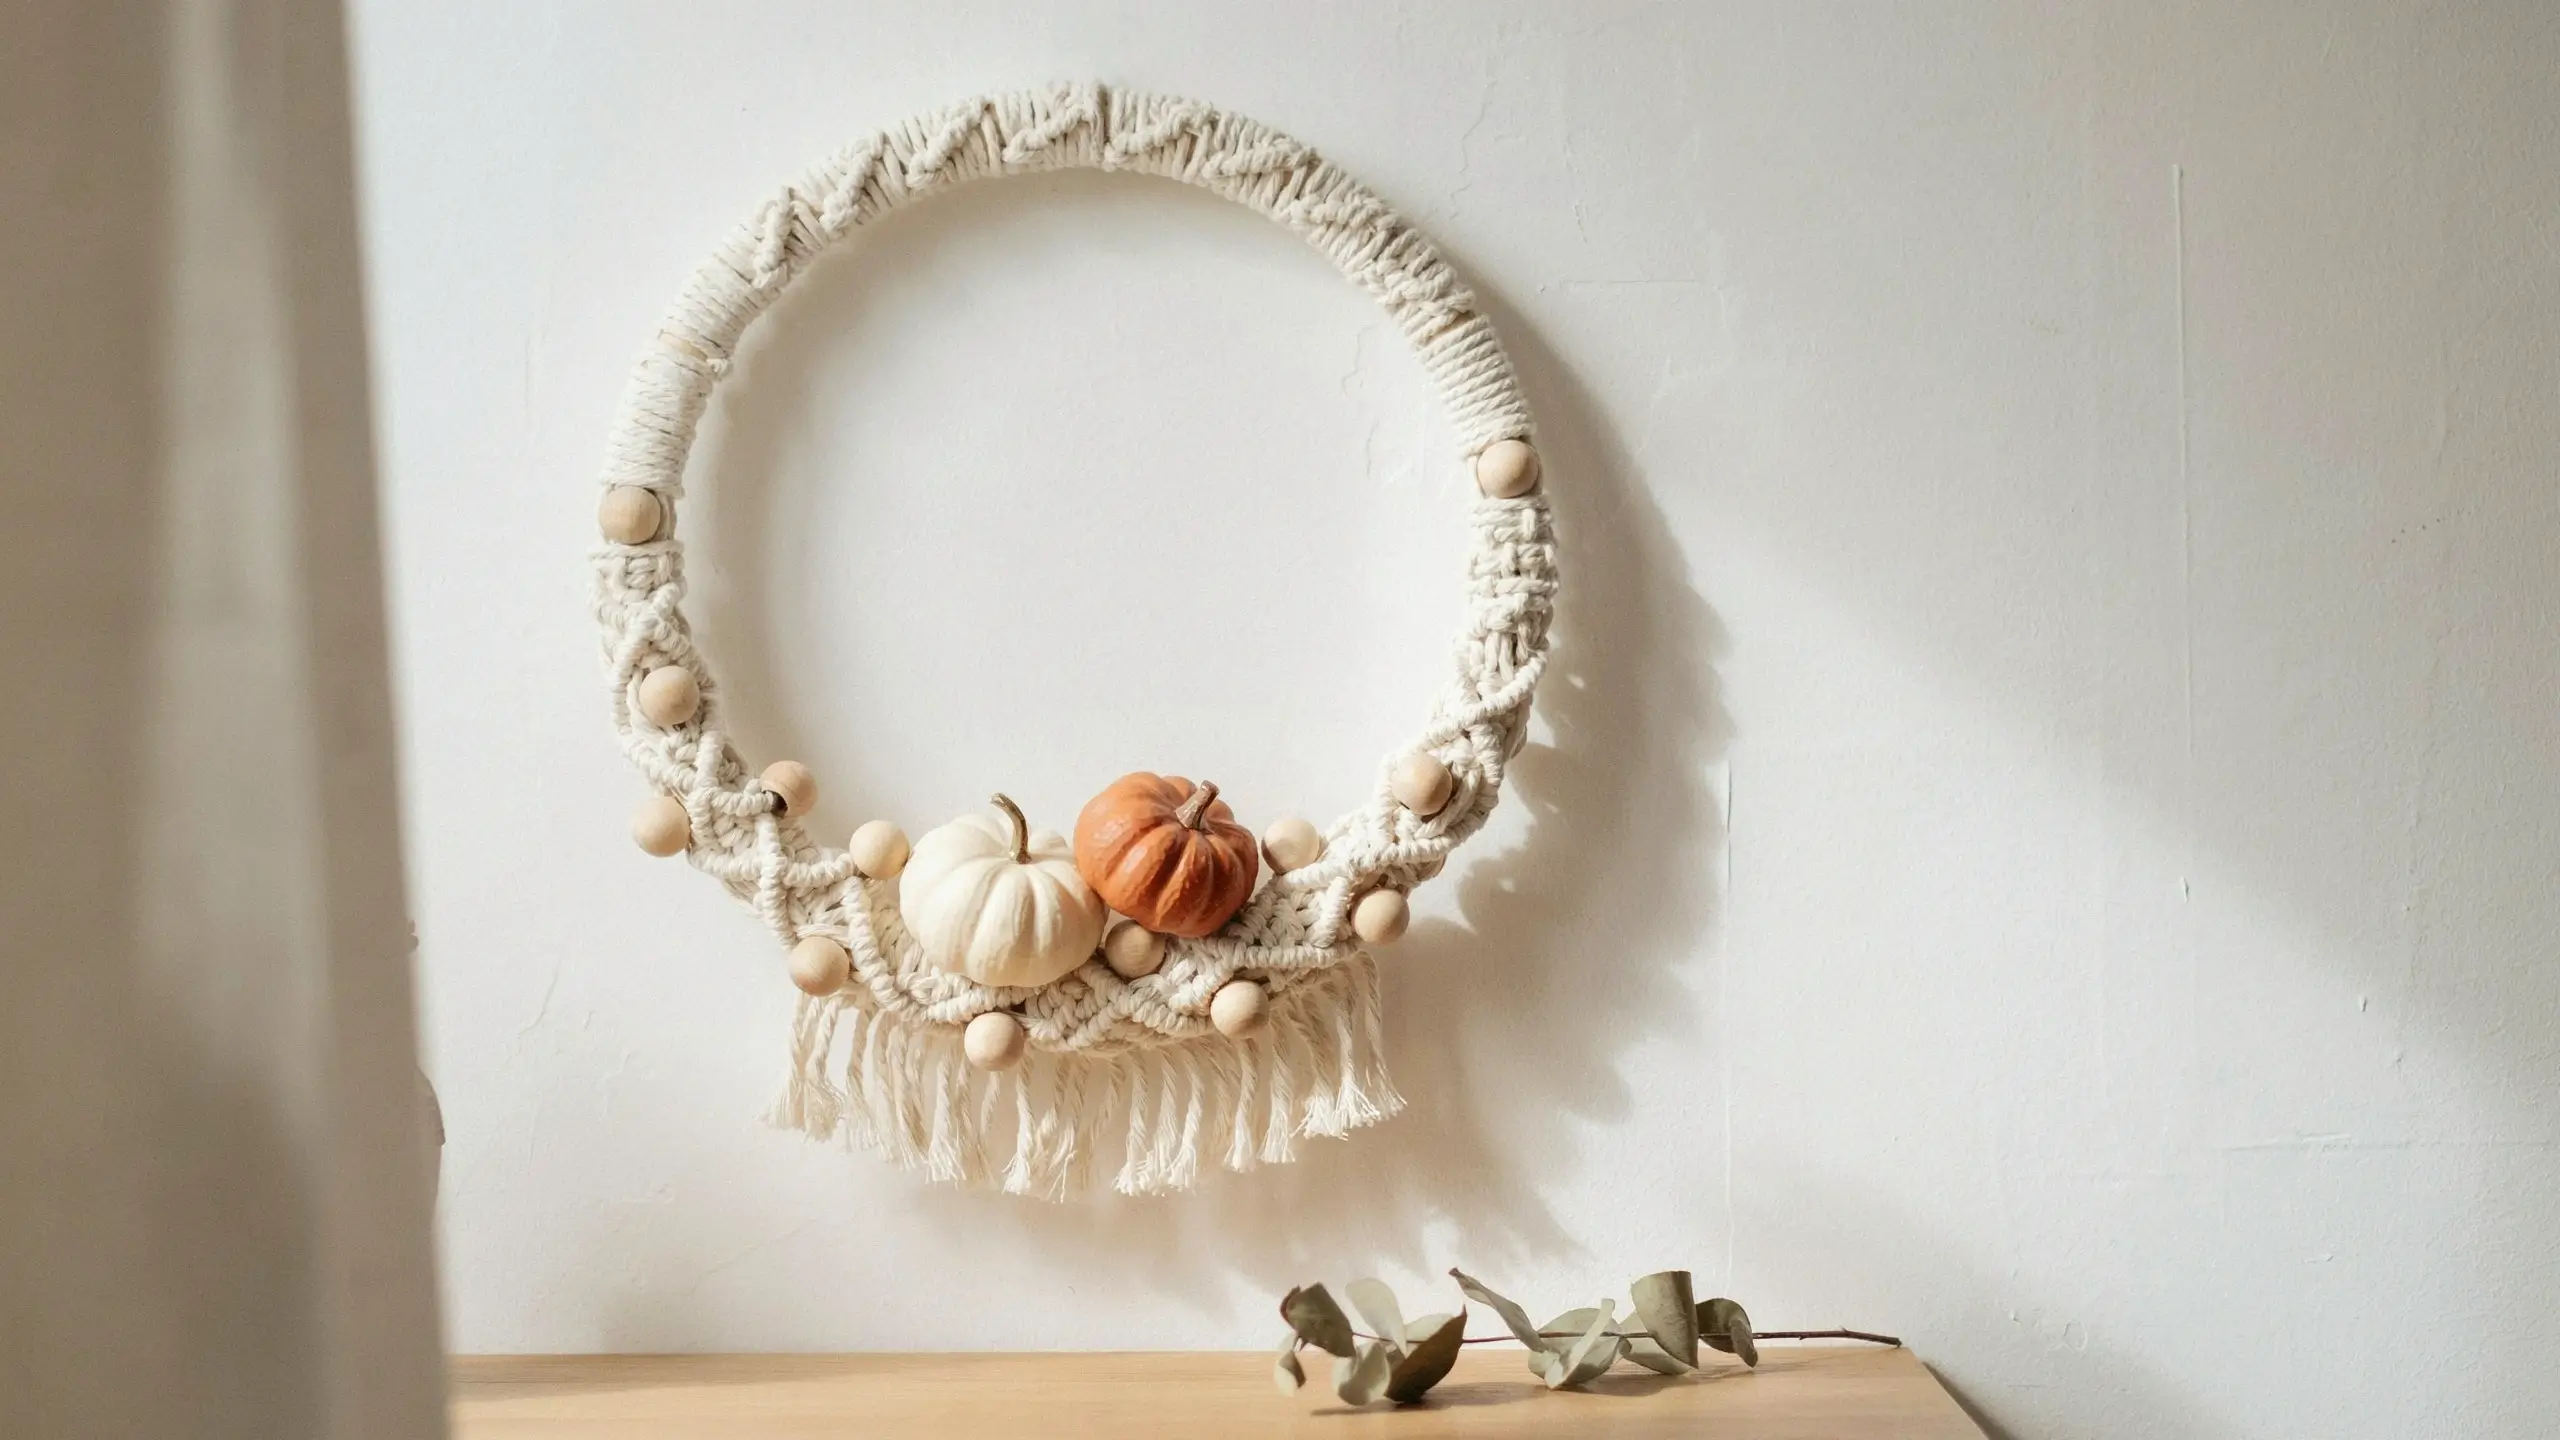
If your fall decor leans more neutral and modern than traditional orange-and-plaid, this one’s for you. Instead of a pumpkin shape, you build the wreath from macrame cord in cream, taupe, or rust, tied in simple knot patterns around a wood ring, then add one or two small cream or terracotta pumpkins as the focal point.
This works especially well for renters and small-space decorators who want fall touches without leaning into full “harvest festival” territory. Pair it with a wood bead accent for extra texture.
Materials:
- Wood ring
- Macrame cord
- 1-2 small faux pumpkins
- Wood beads (optional)
3. Dried Floral and Pumpkin Wreath
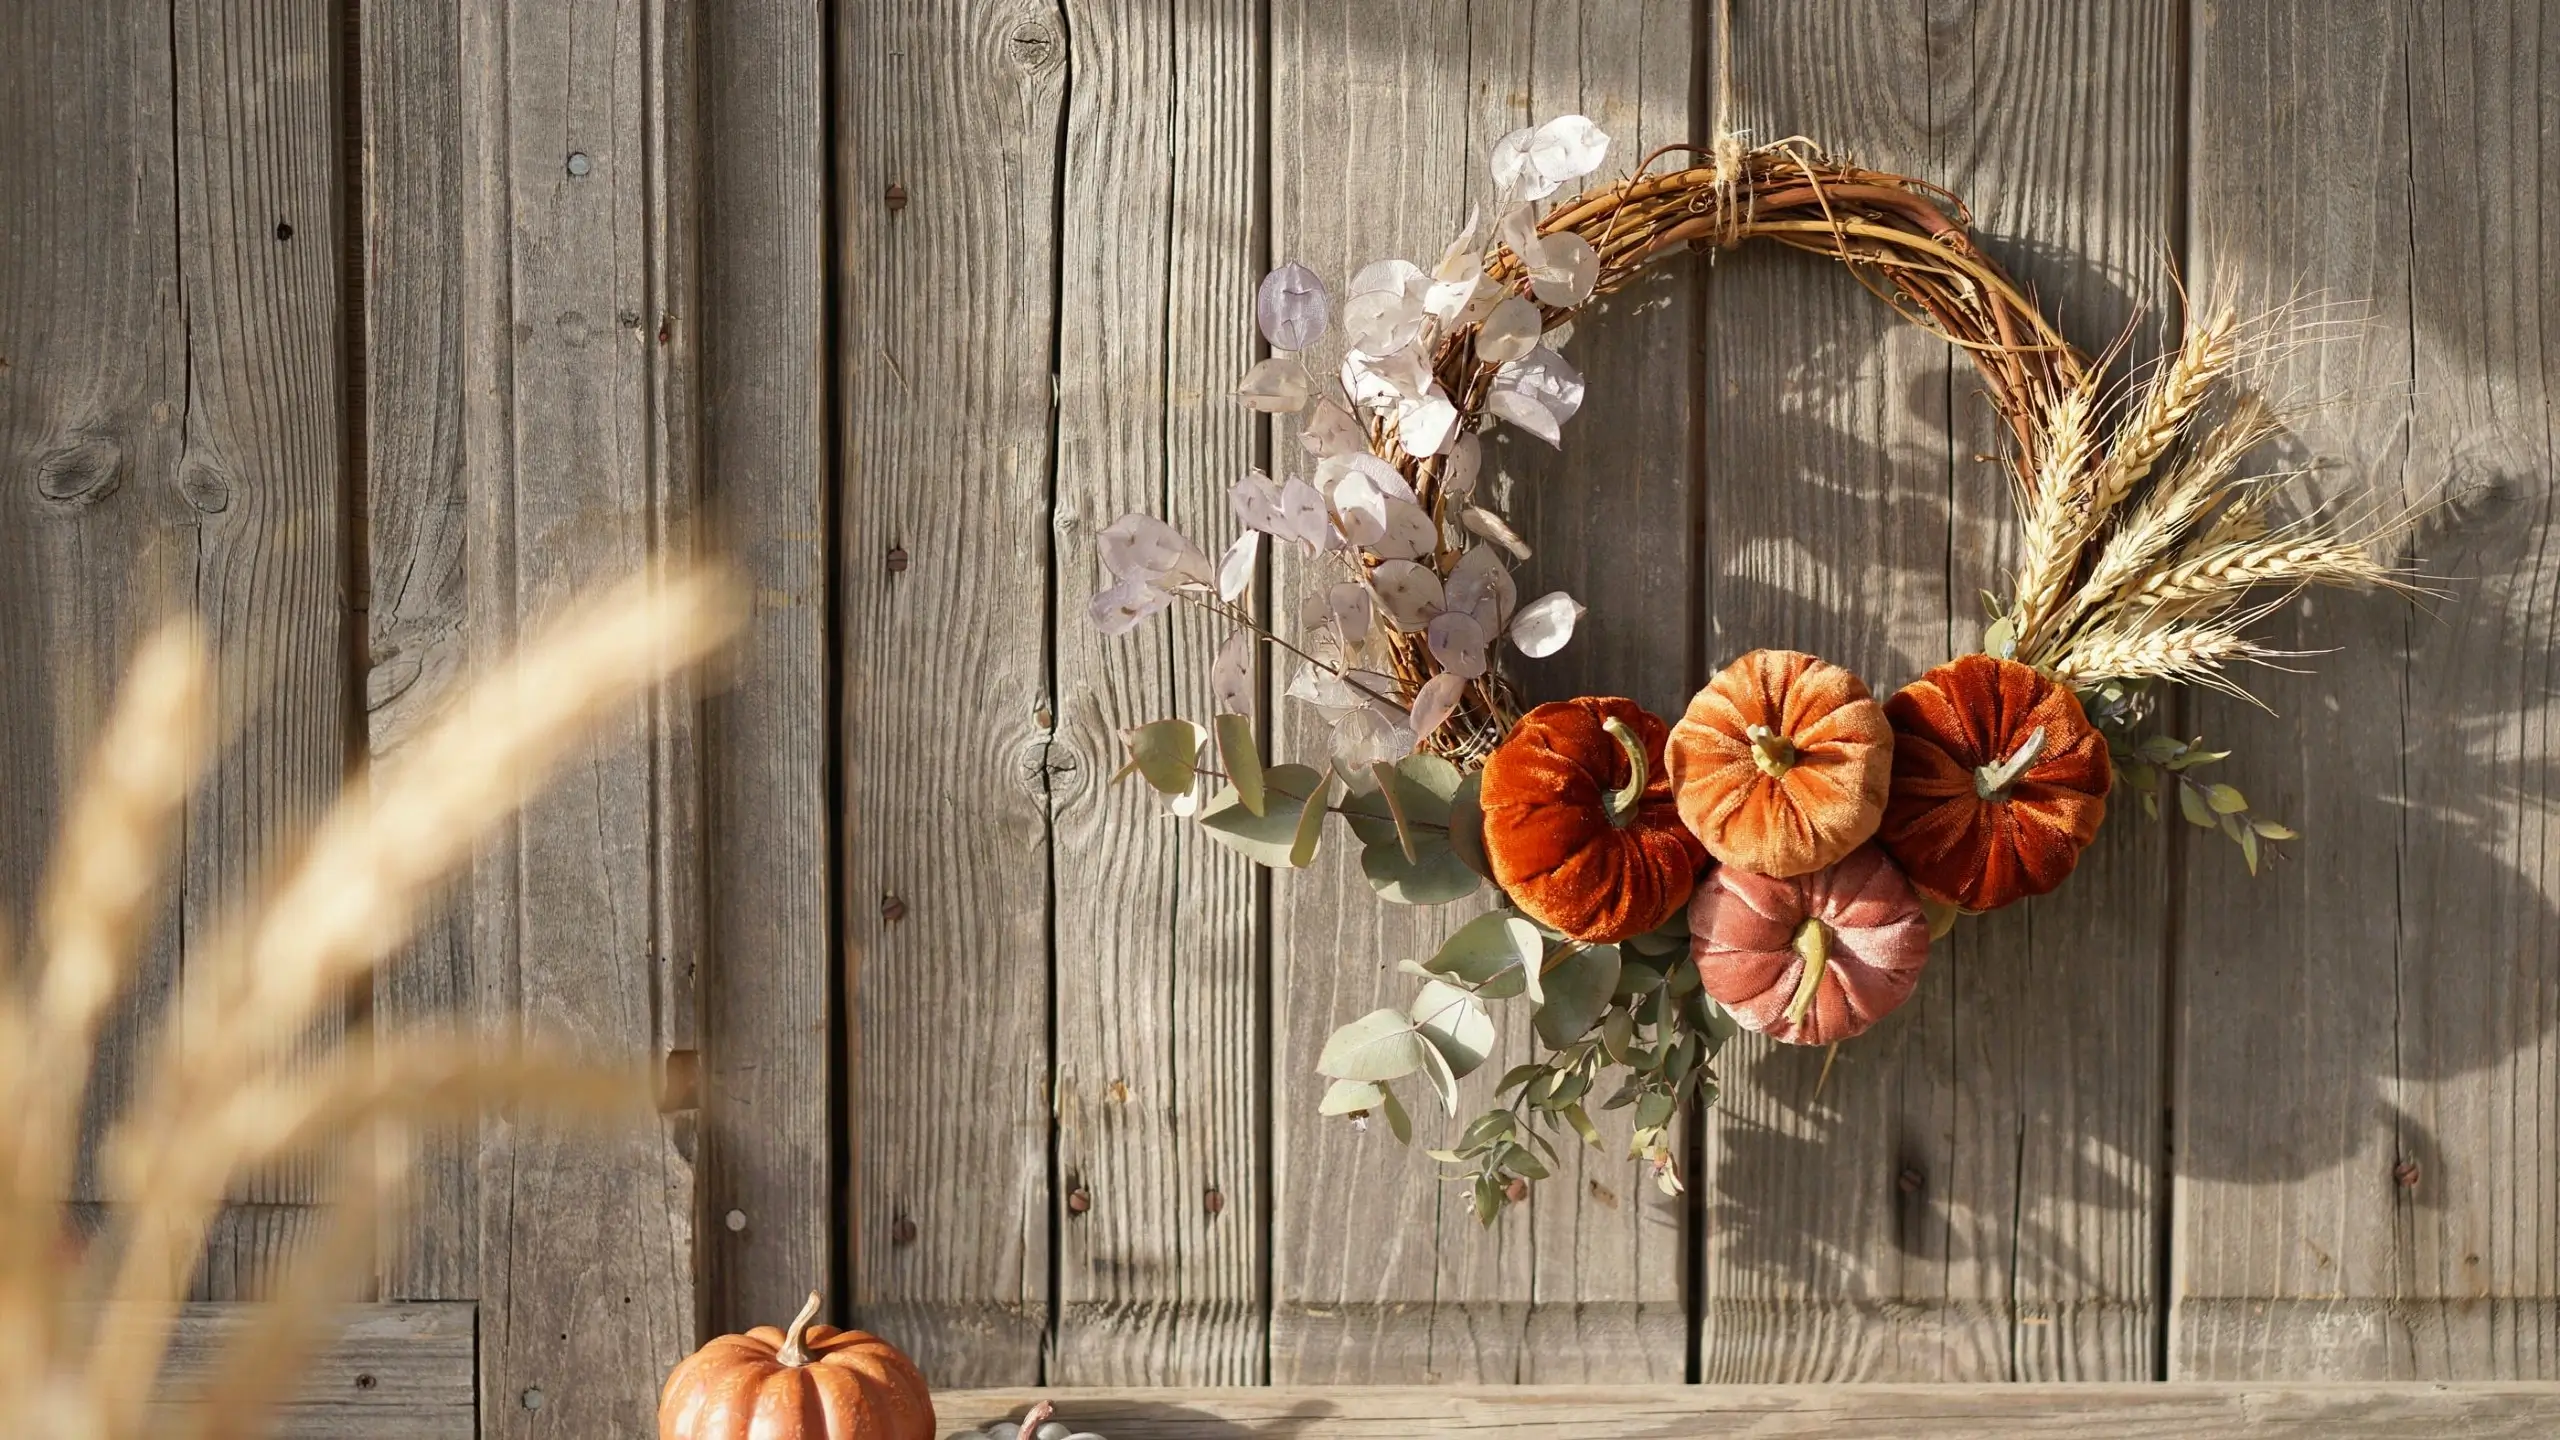
Skip the plastic-looking silk flowers and use dried elements instead: dried lunaria (money plant), wheat stalks, dried baby’s breath, or preserved eucalyptus. Attach a cluster of 3-5 mini pumpkins (velvet or faux) to one side, then build dried florals around and through them in a loose, asymmetrical arrangement.
This is one of the most giftable versions on this list. It photographs beautifully because the dried textures catch natural light in a way that fabric can’t.
Mistake to avoid: don’t center the pumpkins in the middle of the wreath. Off-to-one-side, asymmetrical arrangements look far more intentional and higher-end than a perfectly centered cluster.
4. Velvet Pumpkin Cluster Wreath
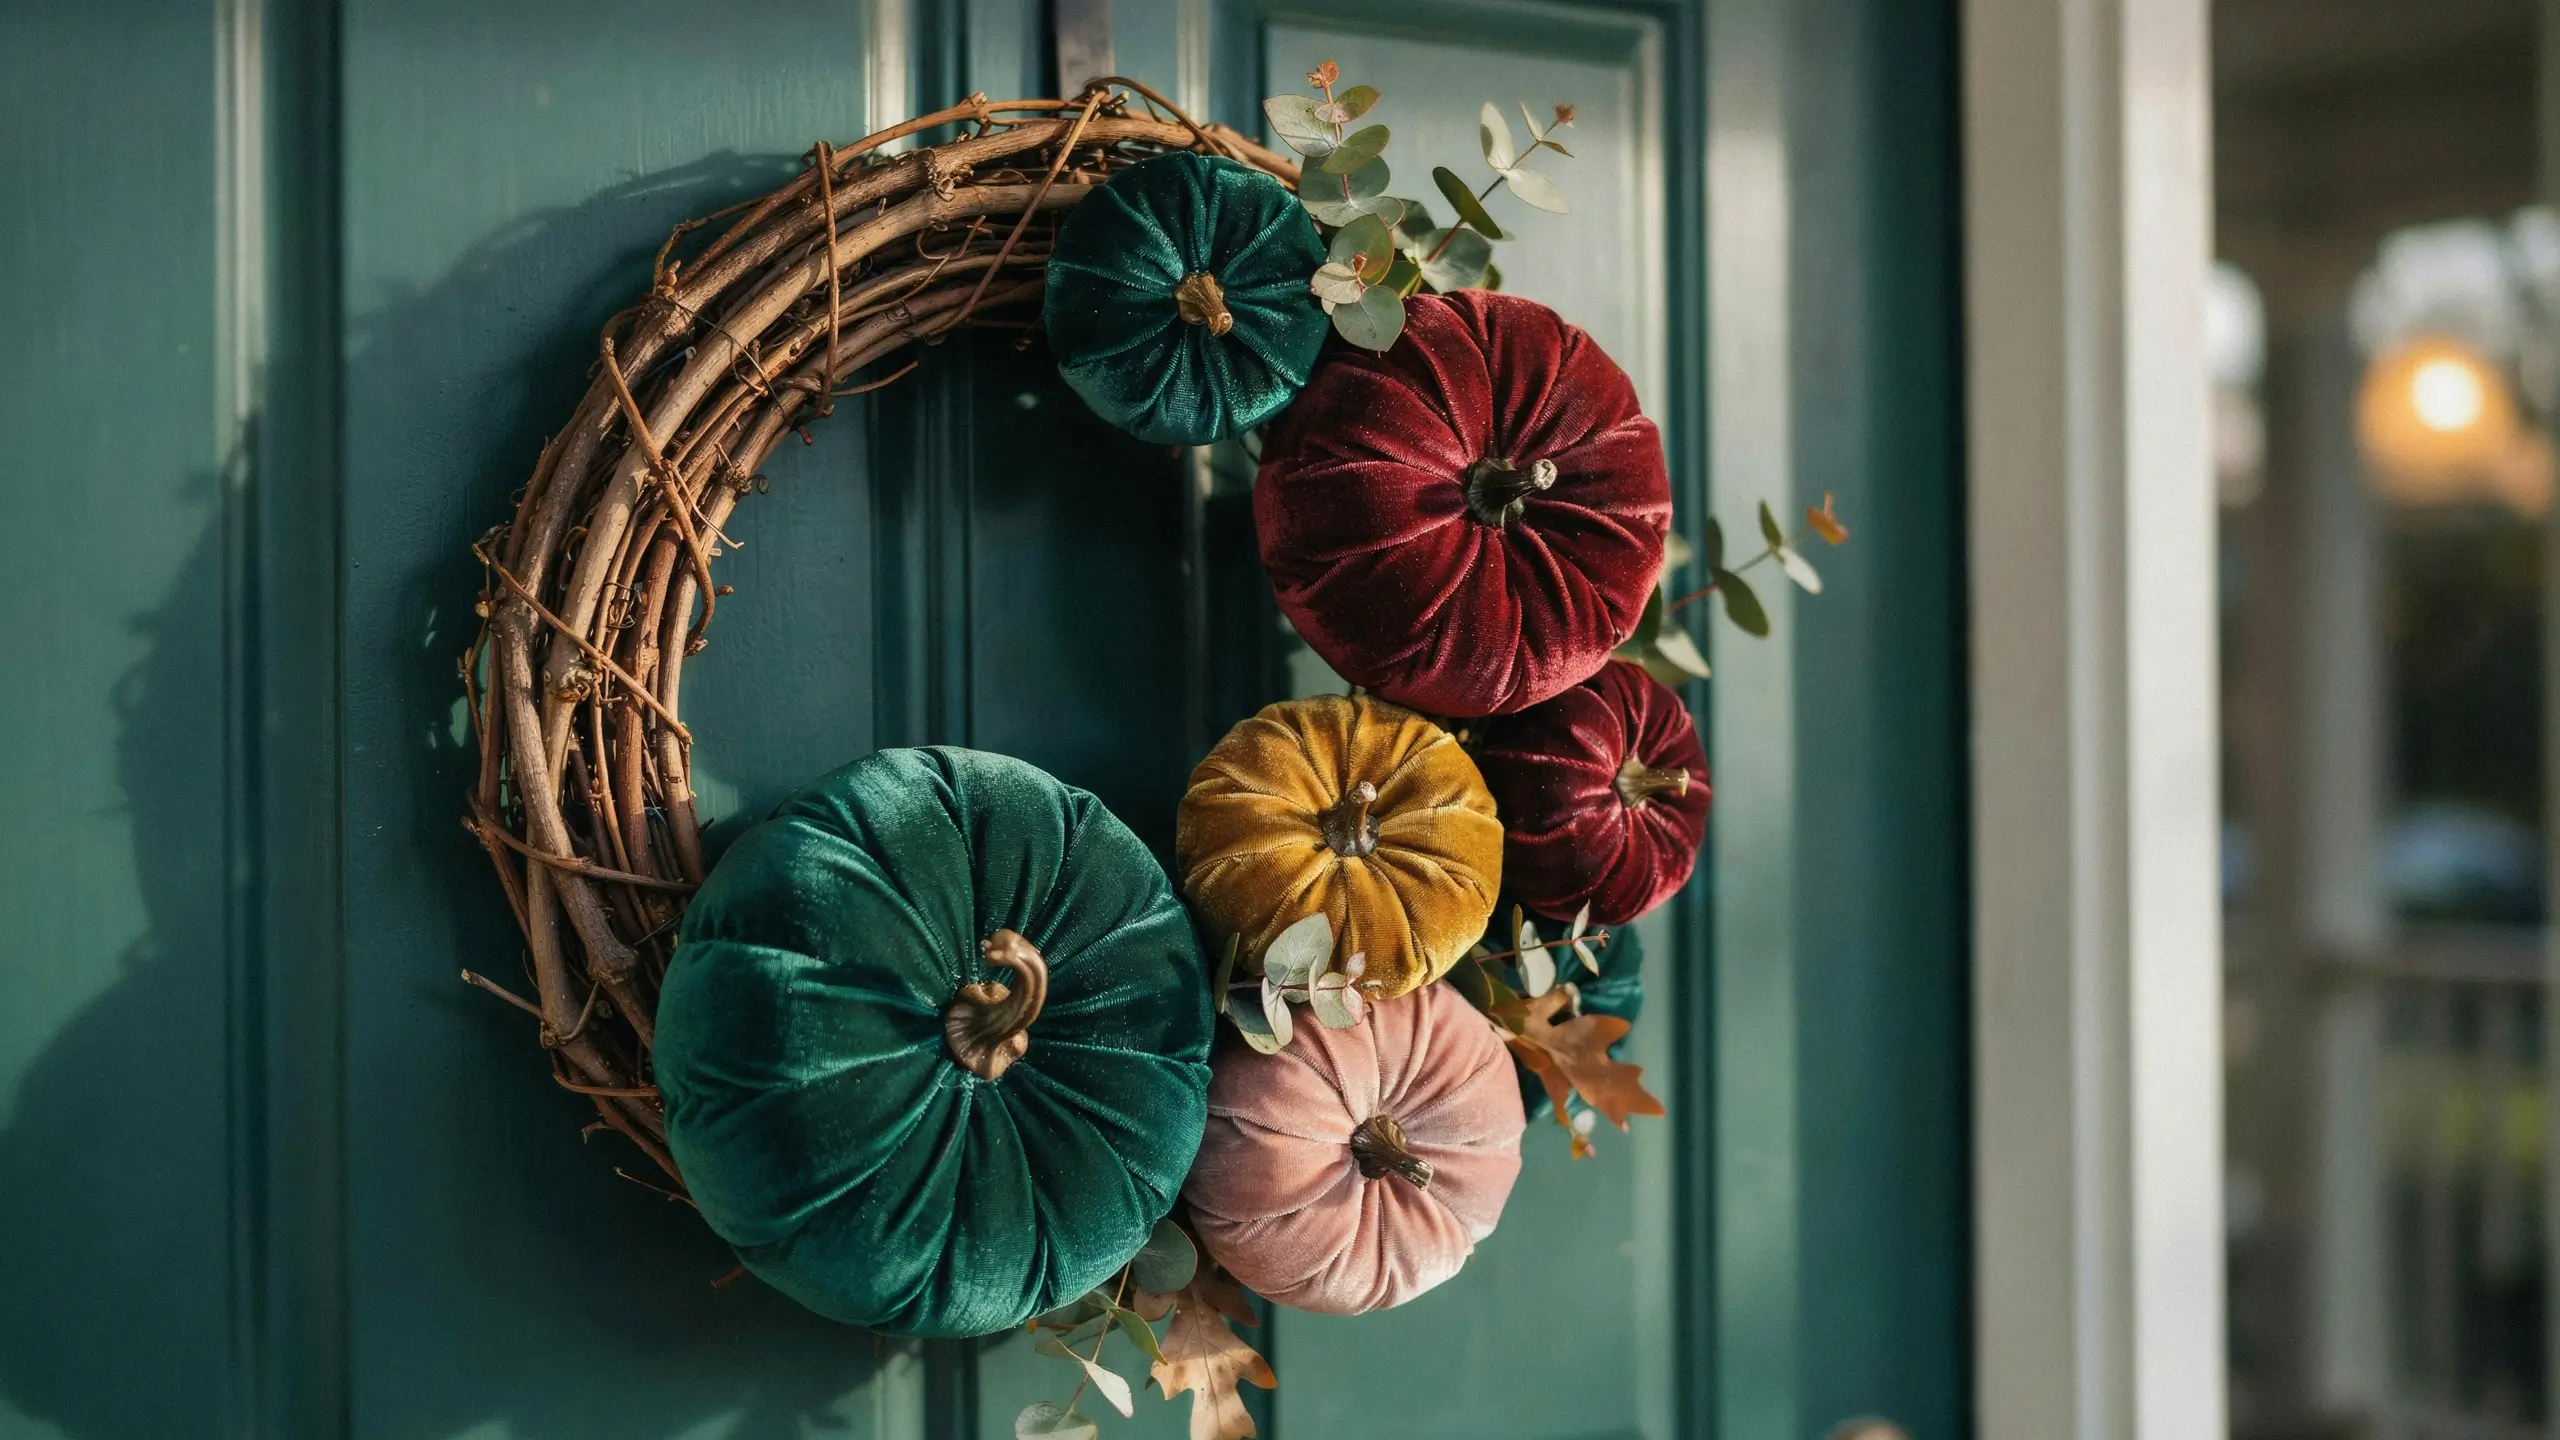
Velvet pumpkins have become a fall decor staple for good reason, they read as expensive even when they’re homemade. Make your own from fat quarters of velvet fabric, embroidery floss, and a hot glue gun (tutorials for no-sew velvet pumpkins are widely available), then hot glue a cluster of them onto a simple grapevine wreath base.
Mix sizes. Two or three larger pumpkins with four or five smaller ones tucked between them creates the layered look that makes this style so popular.
Color palette tip: deep emerald, burgundy, mustard, and blush velvet pumpkins mixed together photograph better than an all-orange cluster.
5. Corn Husk Pumpkin Wreath
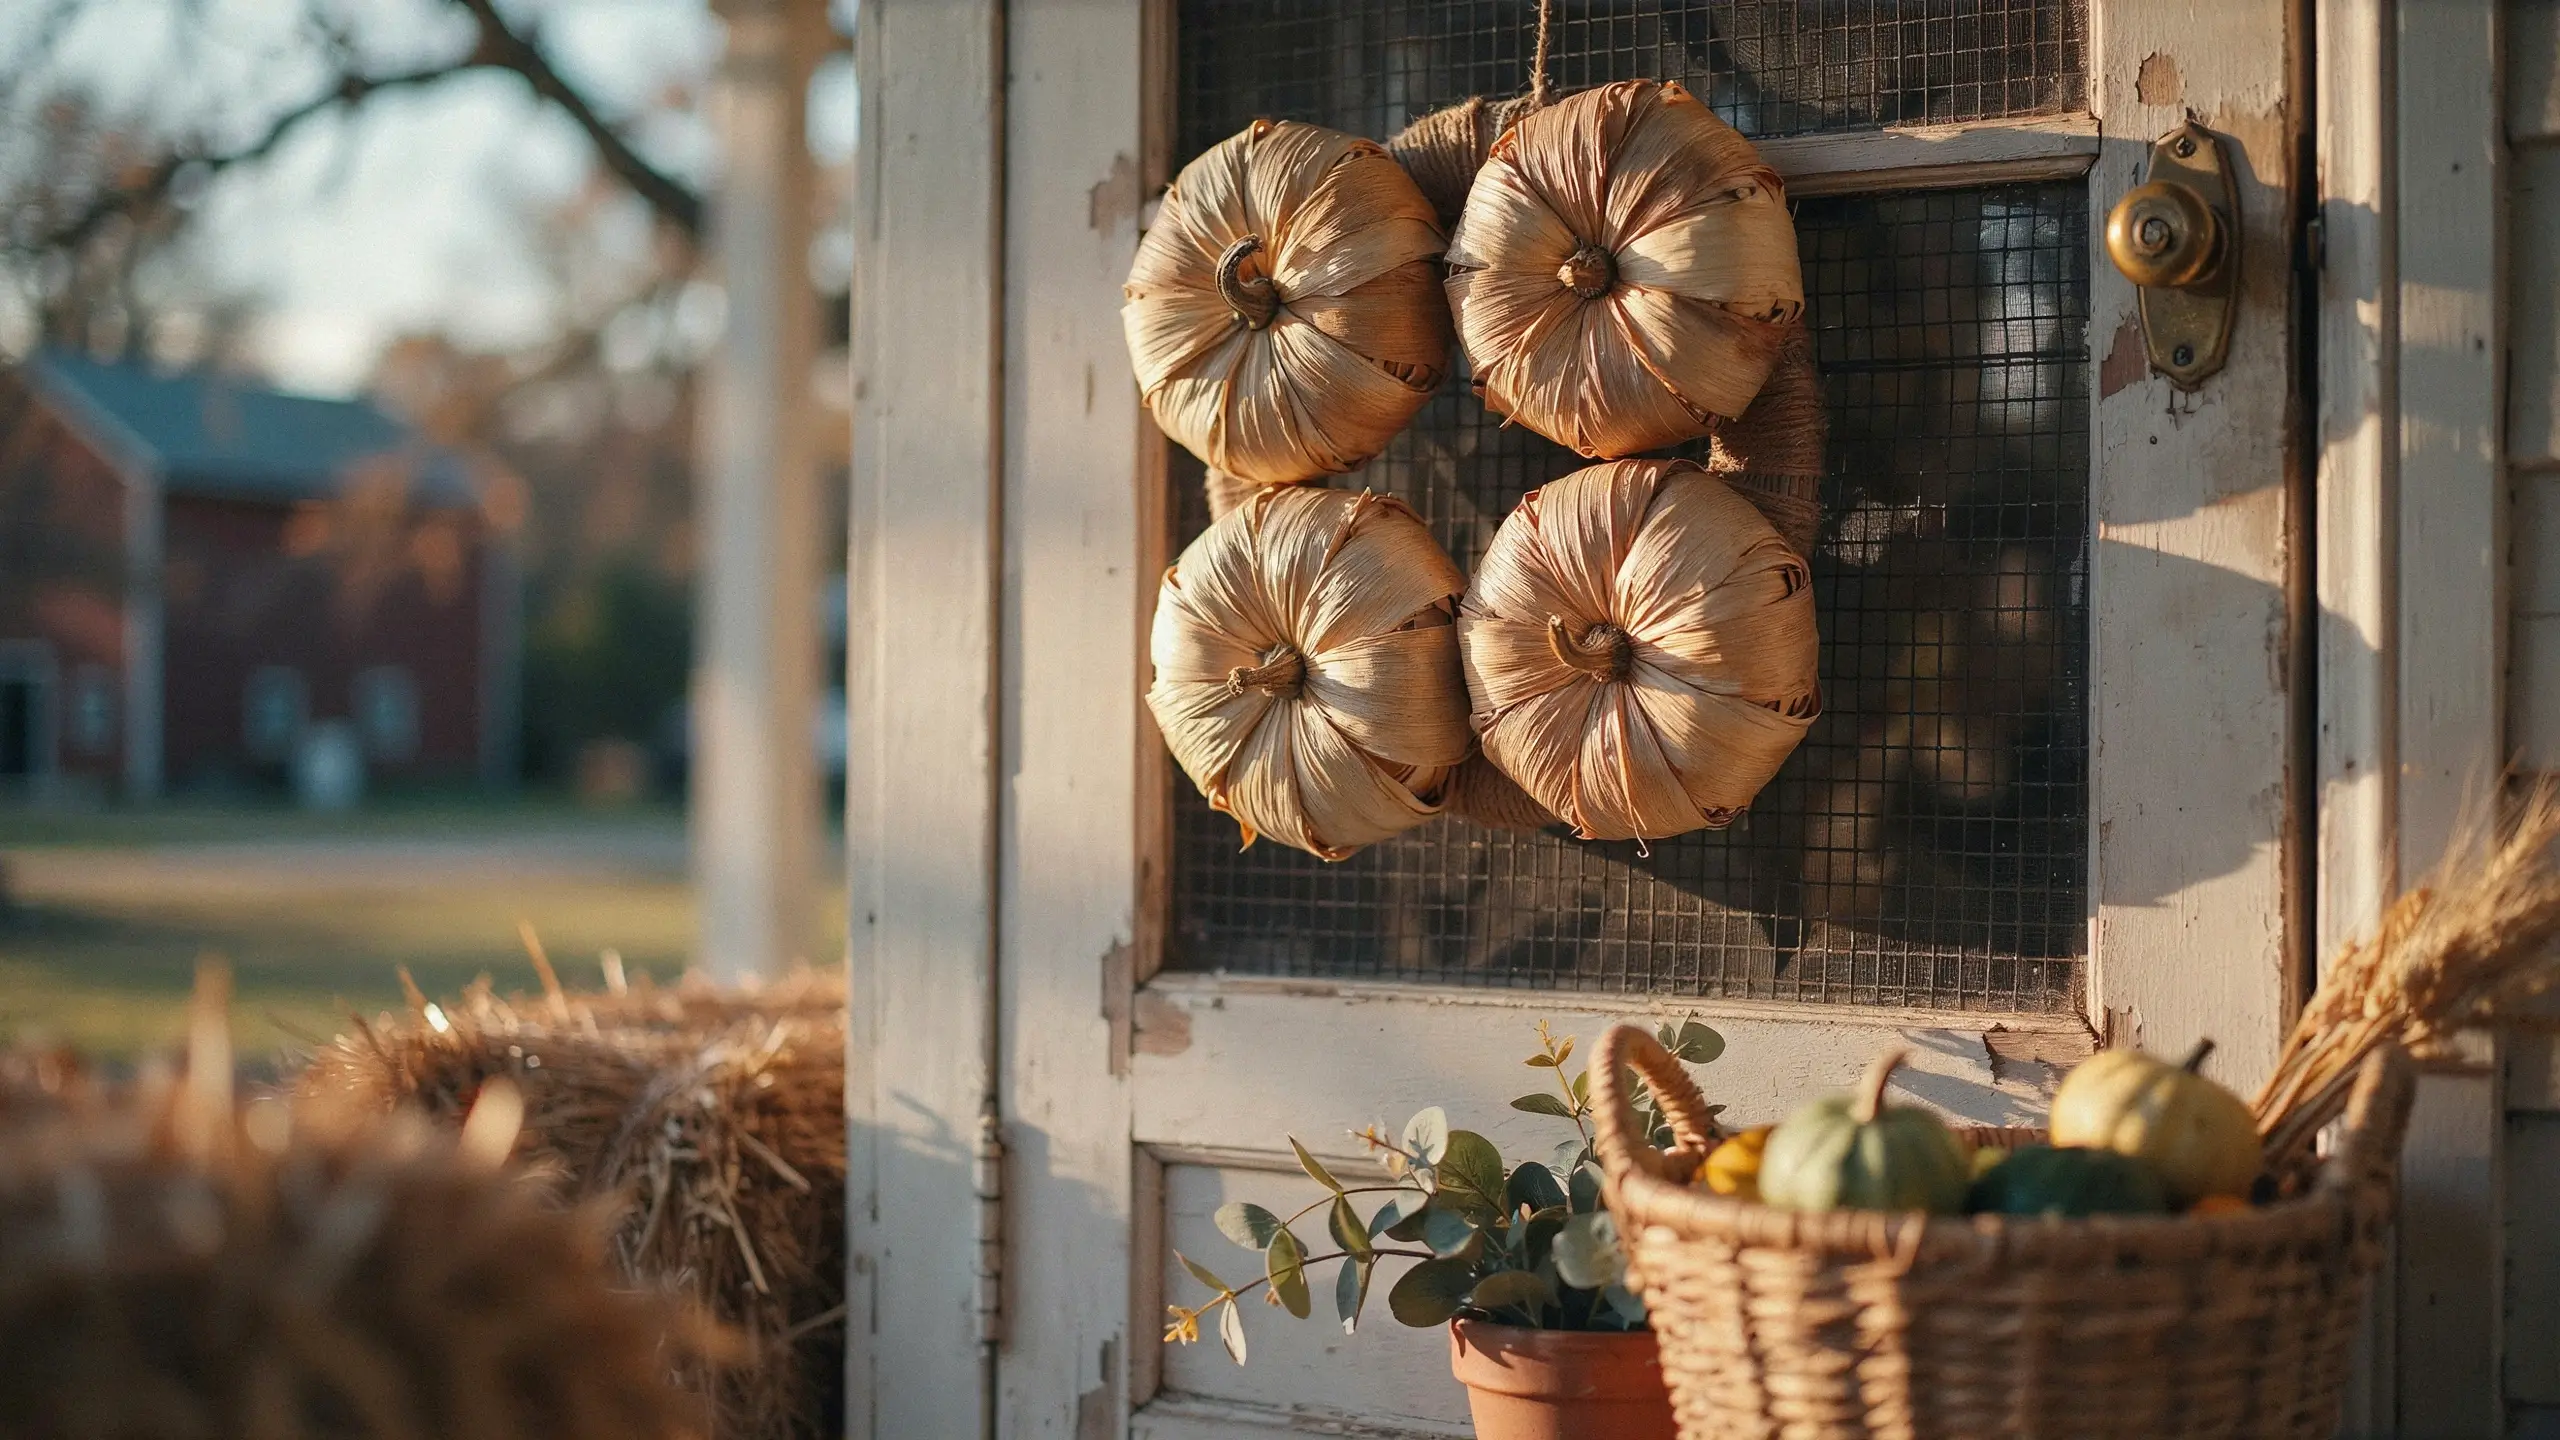
This one leans rustic and harvest-inspired without feeling dated. Dried corn husks (available at craft stores or from dried corn you’ve husked yourself) are twisted and layered to form a pumpkin shape on a wire form, similar to the loop yarn method but with a completely different, more textured finish.
It’s a strong option if you want something that feels handmade and farmhouse without buying anything fancy. Corn husks run just a couple dollars for a large bag.
6. No-Carve Mini Pumpkin and Ribbon Wreath
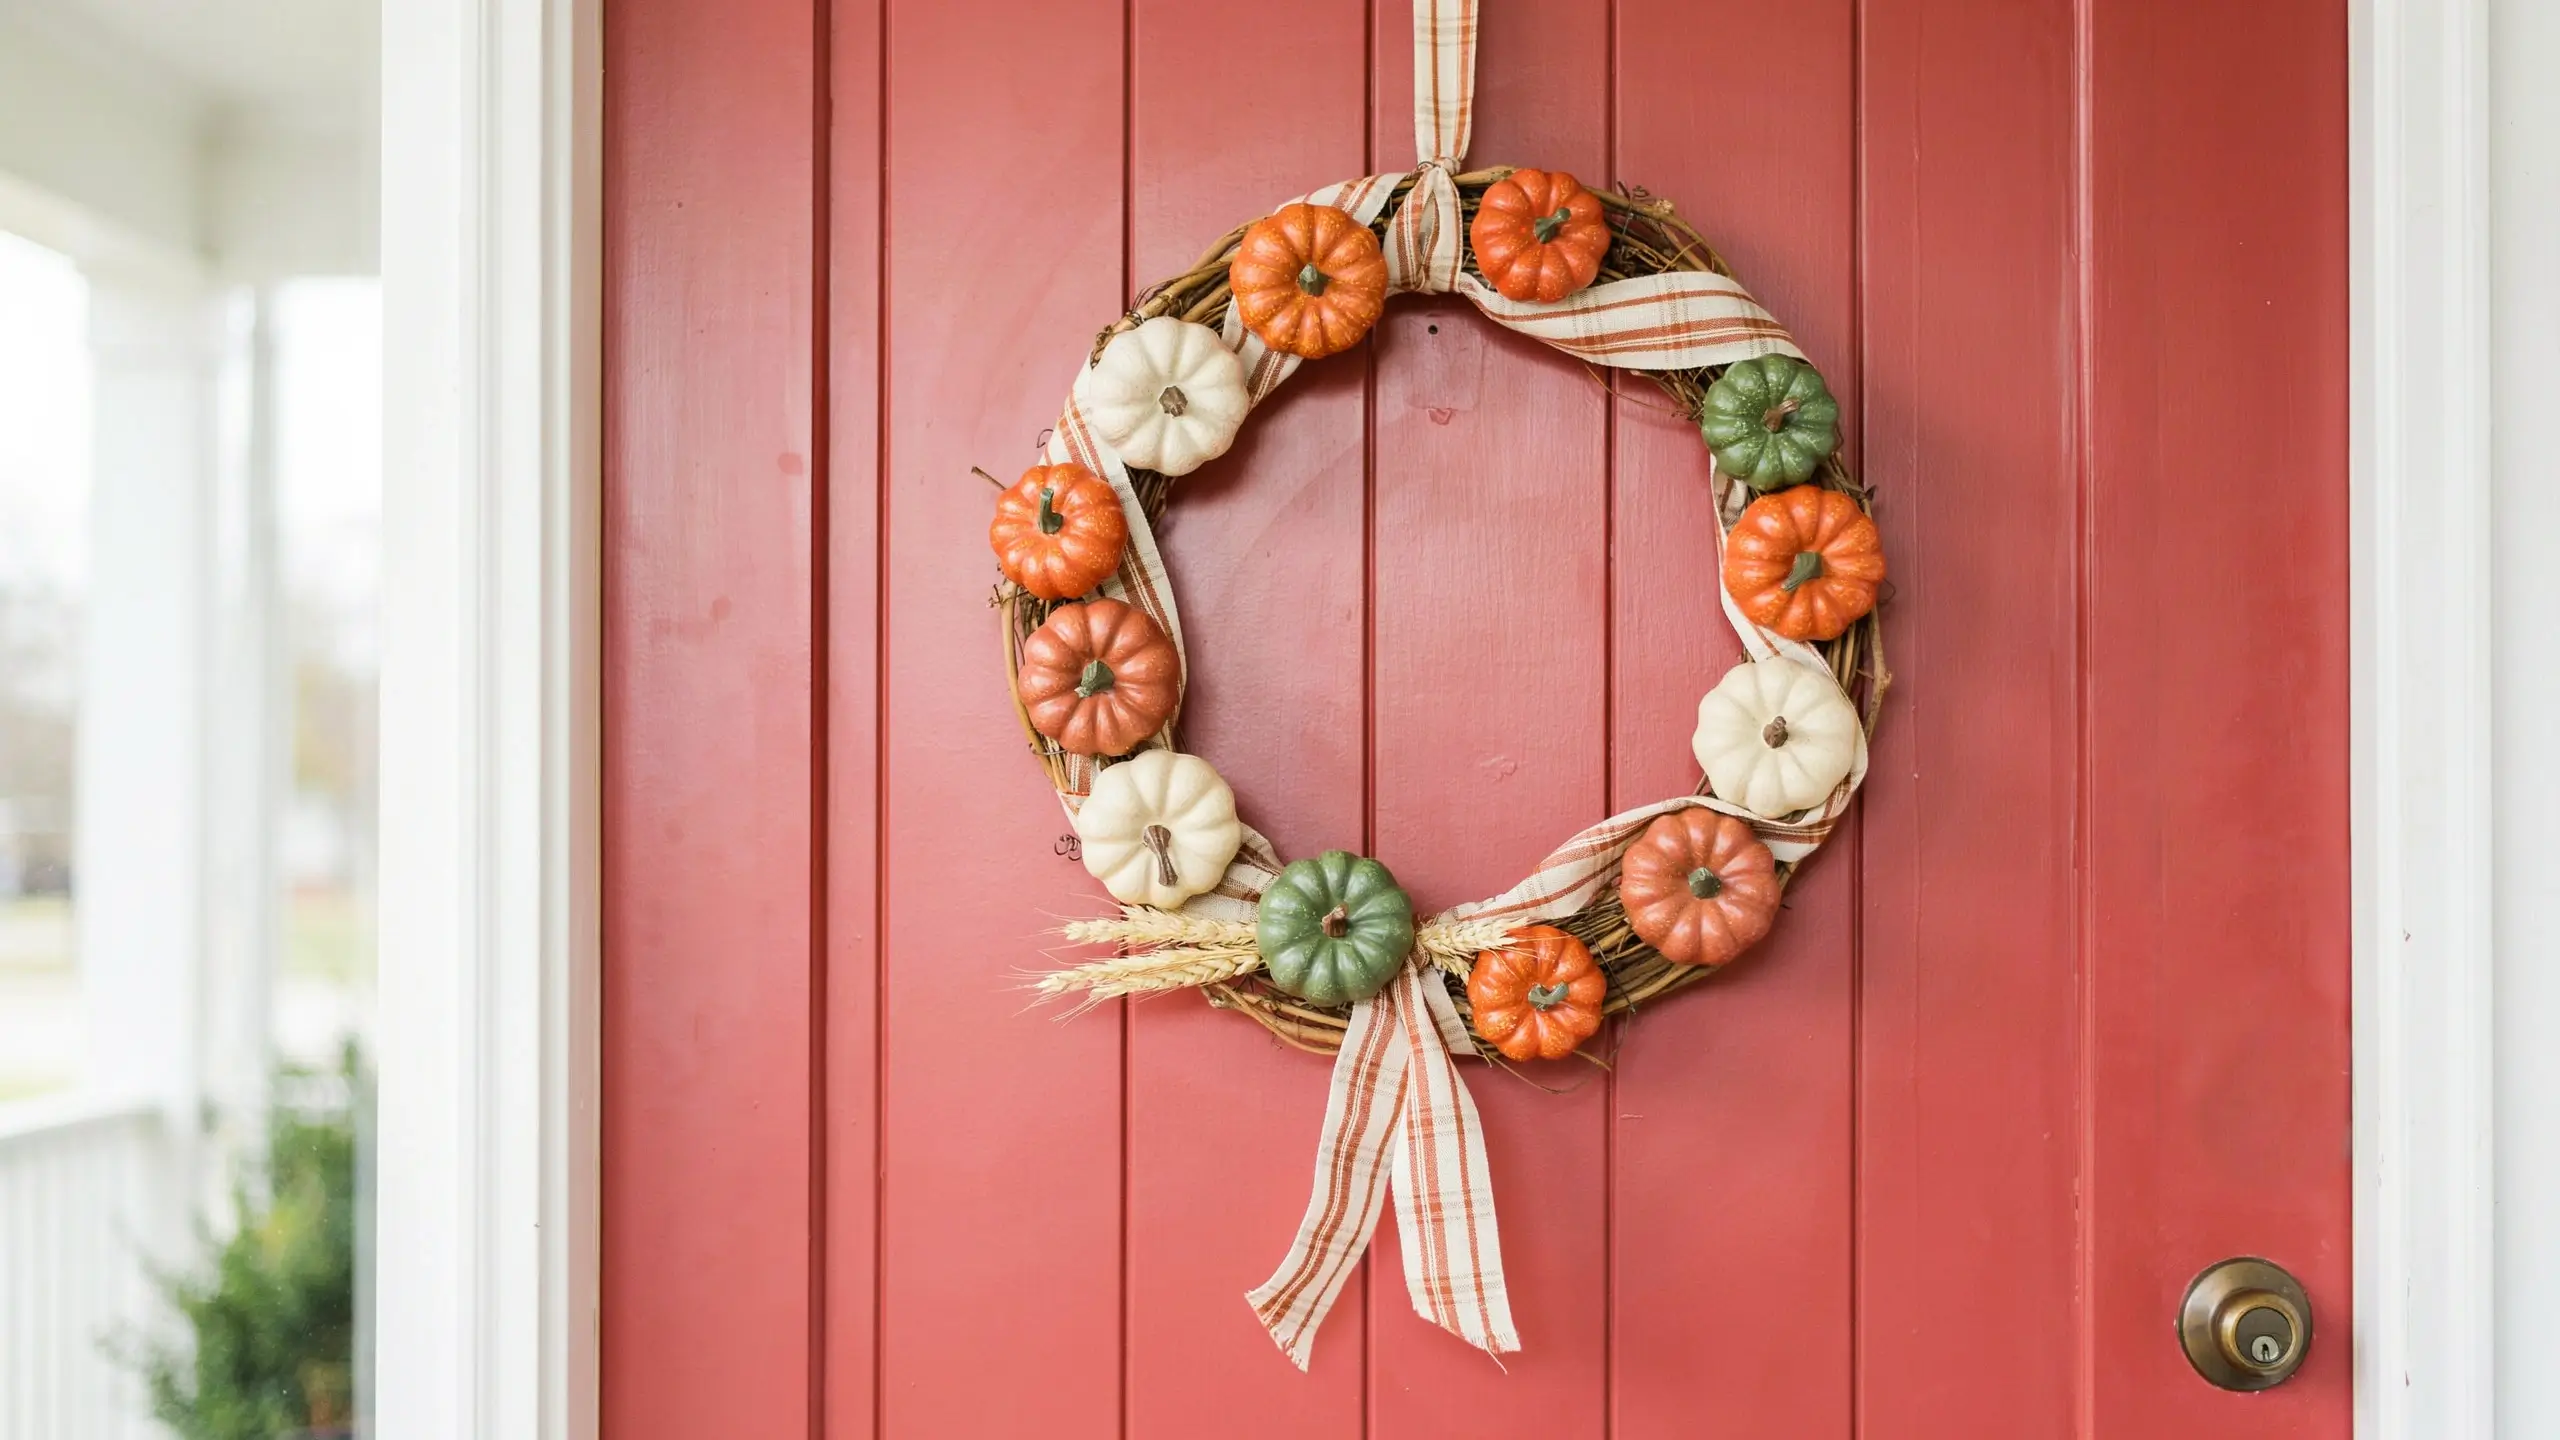
For anyone who wants a pumpkin wreath without committing to a full craft project, this is the fastest option on the list. Wire small faux pumpkins directly onto a grapevine wreath using floral wire, then weave a wide ribbon (plaid, velvet, or gingham) through the gaps.
Fifteen minutes, minimal supplies, and it still looks pulled-together. This is the one to make if you’re decorating last minute or making one for every door in the house.
7. White and Neutral Pumpkin Wreath
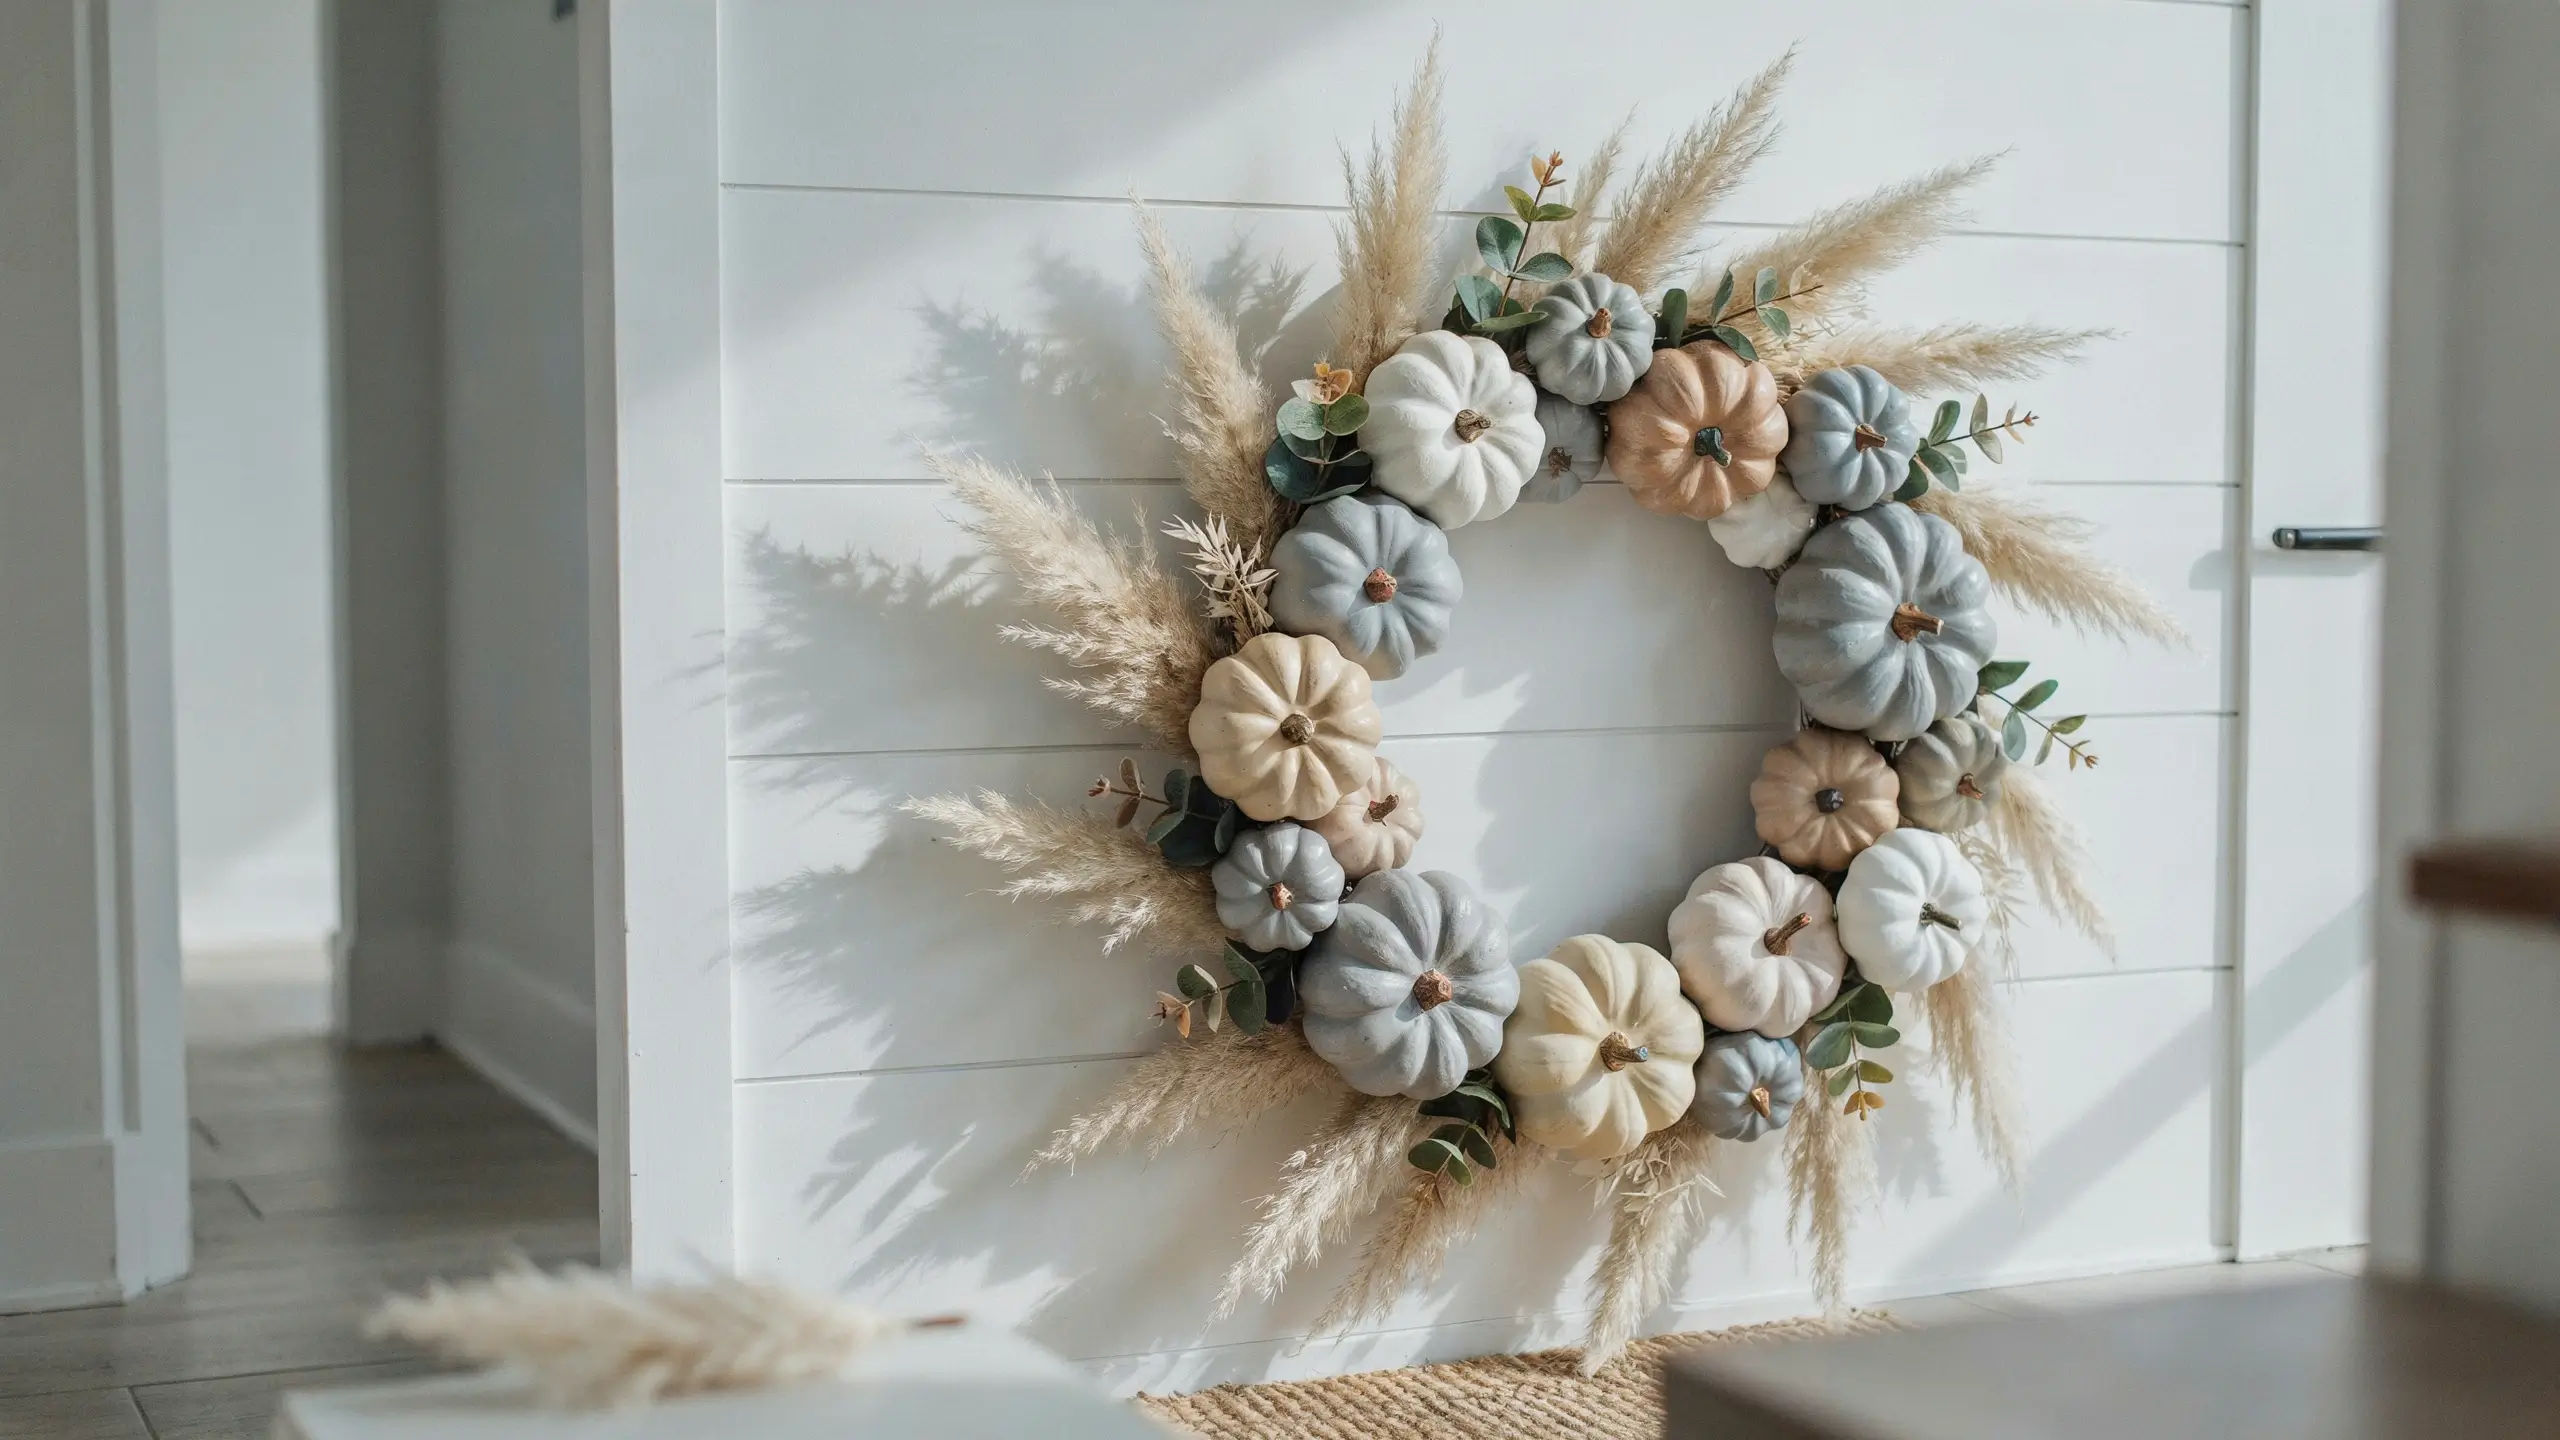
Not every fall wreath has to be orange. A wreath built entirely from white, cream, and light gray pumpkins against a base of dried pampas grass or bleached foliage fits modern farmhouse, coastal, and minimalist decor styles far better than traditional fall colors.
This is one of the most requested style shifts among Pinterest searchers who find traditional pumpkin wreaths too matchy with their existing decor. It also transitions easily from September through Thanksgiving without ever feeling like Halloween decor.
8. Berry and Pumpkin Wreath
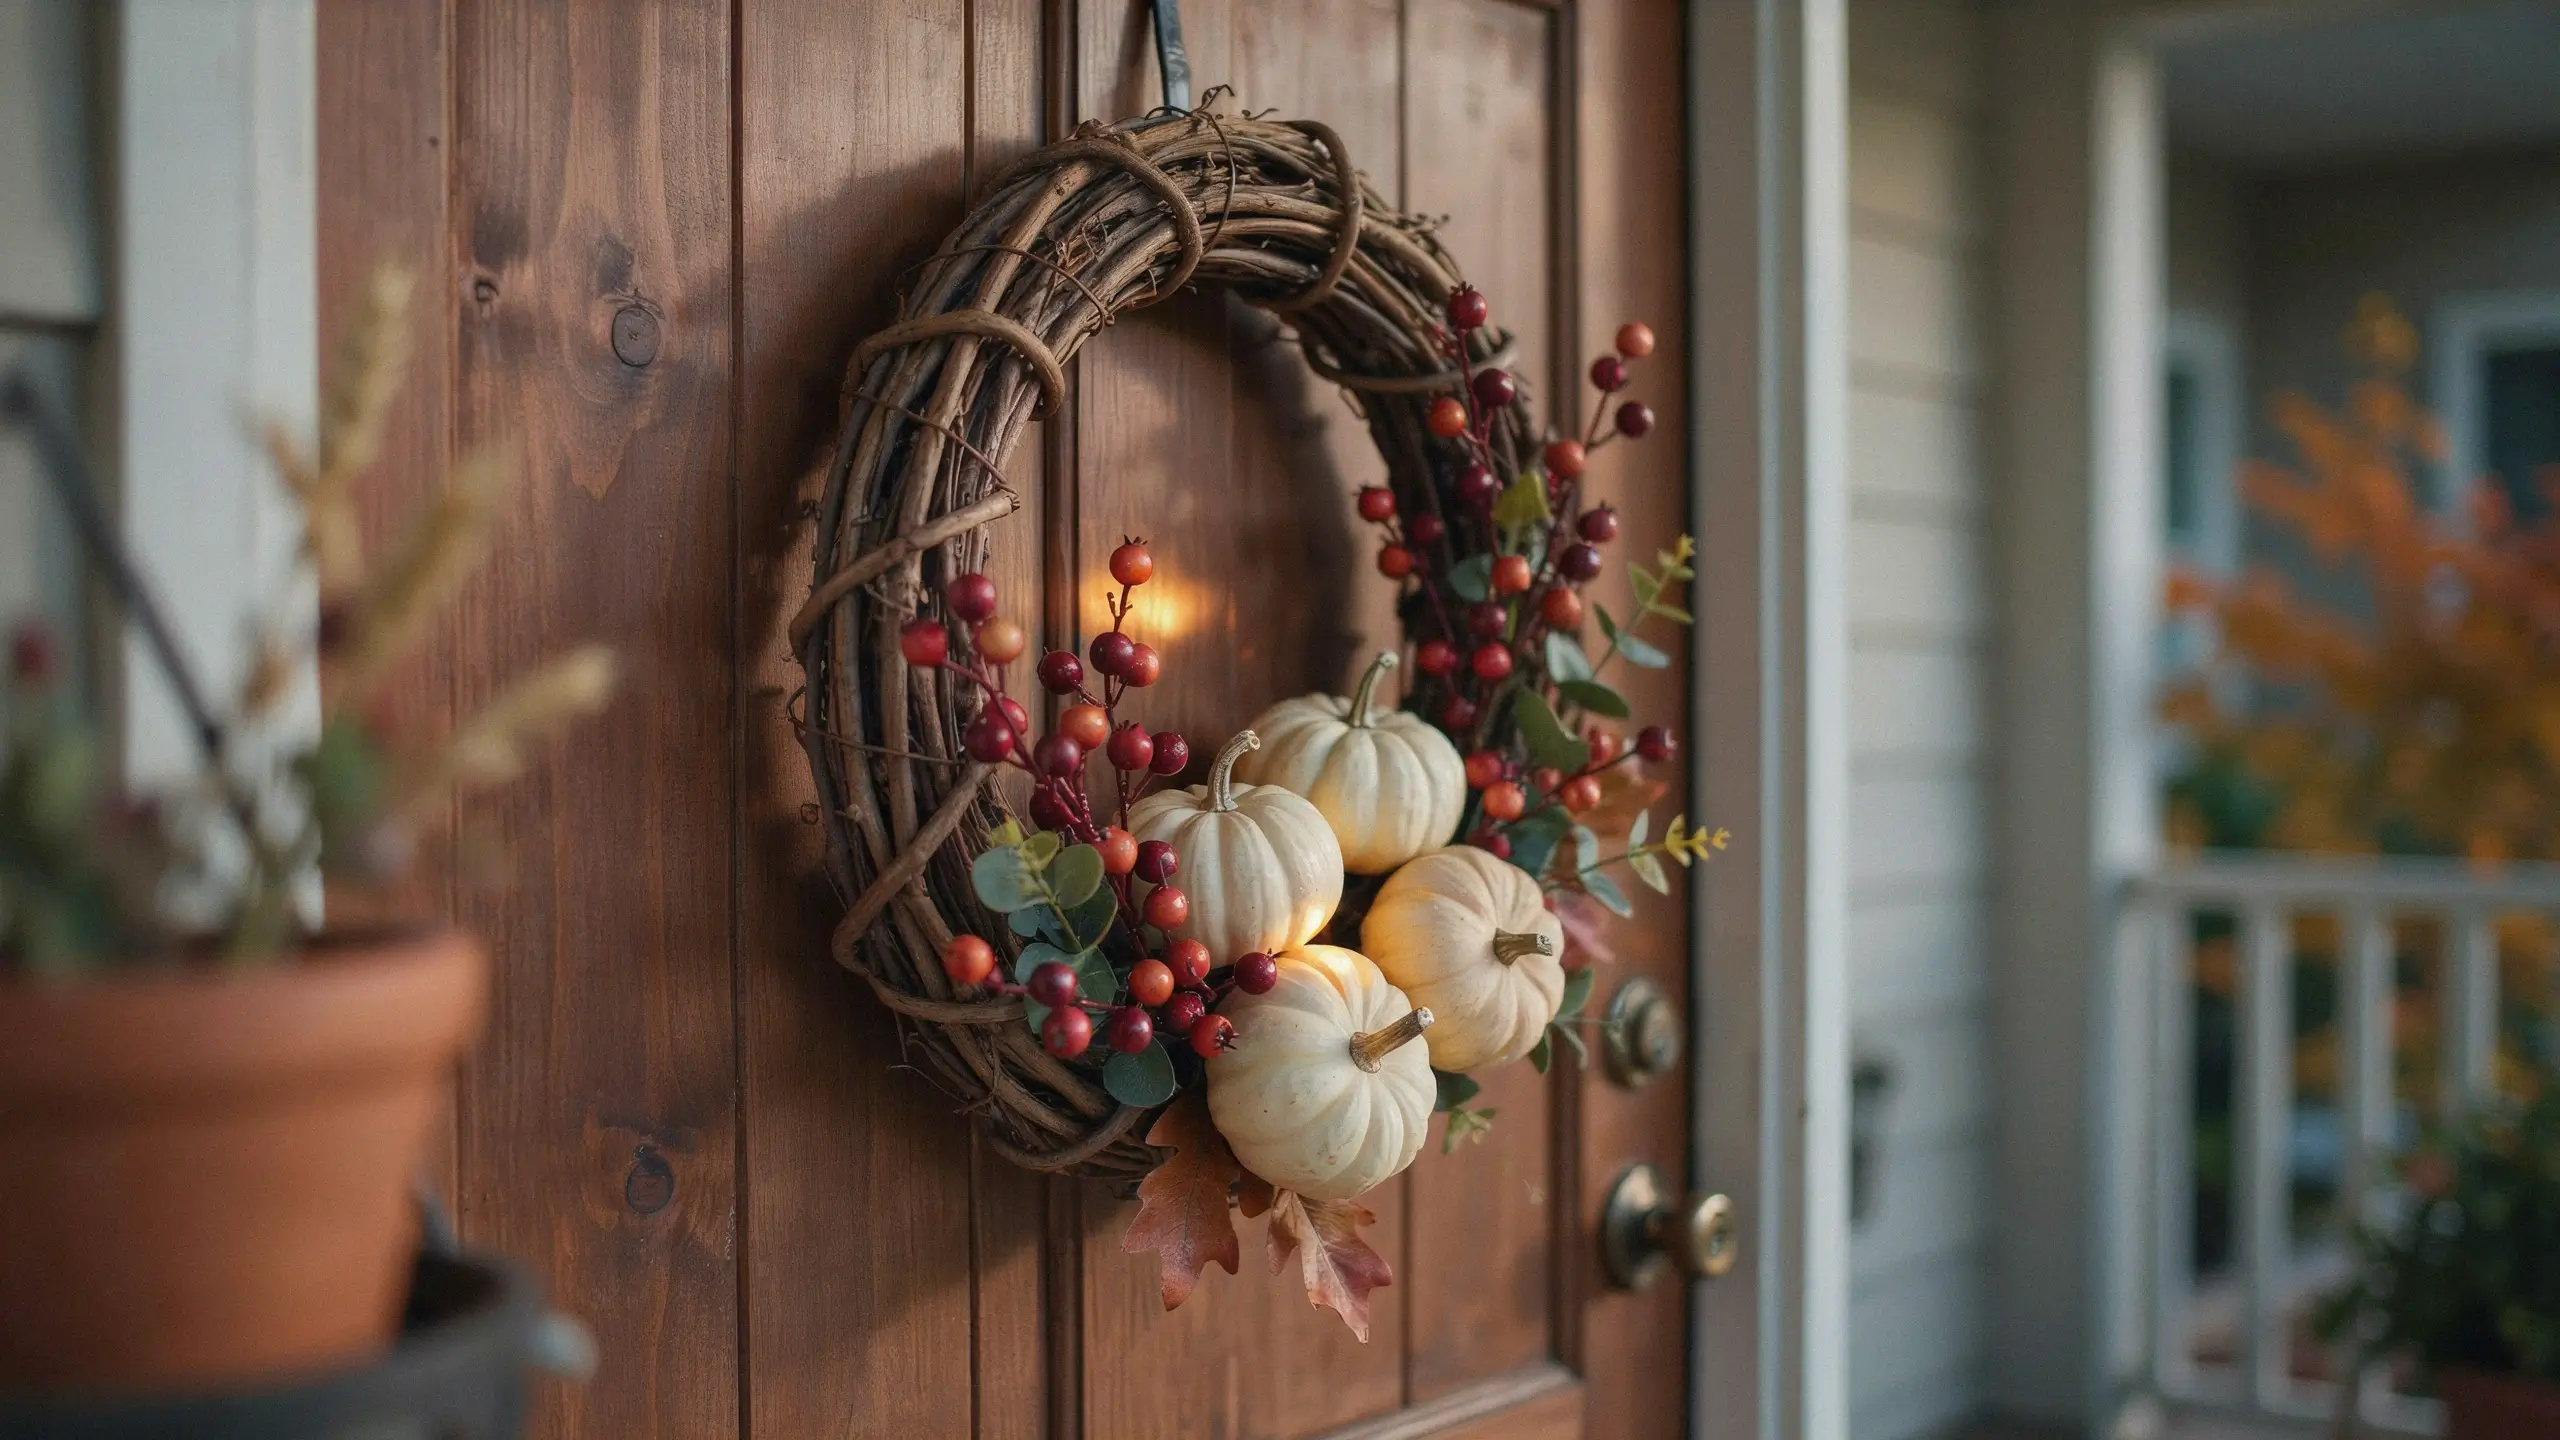
Add faux fall berry stems (the kind found in the floral aisle at any craft store) around a small pumpkin cluster for a look that feels closer to a Thanksgiving centerpiece than a Halloween decoration. This style works especially well if you want your wreath to stay up through the entire fall season into Thanksgiving without needing a refresh.
Deep red, burgundy, and burnt orange berries mixed with cream pumpkins create a rich, layered color palette that photographs beautifully in early evening light, which is worth keeping in mind if you’re planning to snap a photo for Pinterest yourself.
9. Painted Wood Slice Pumpkin Wreath
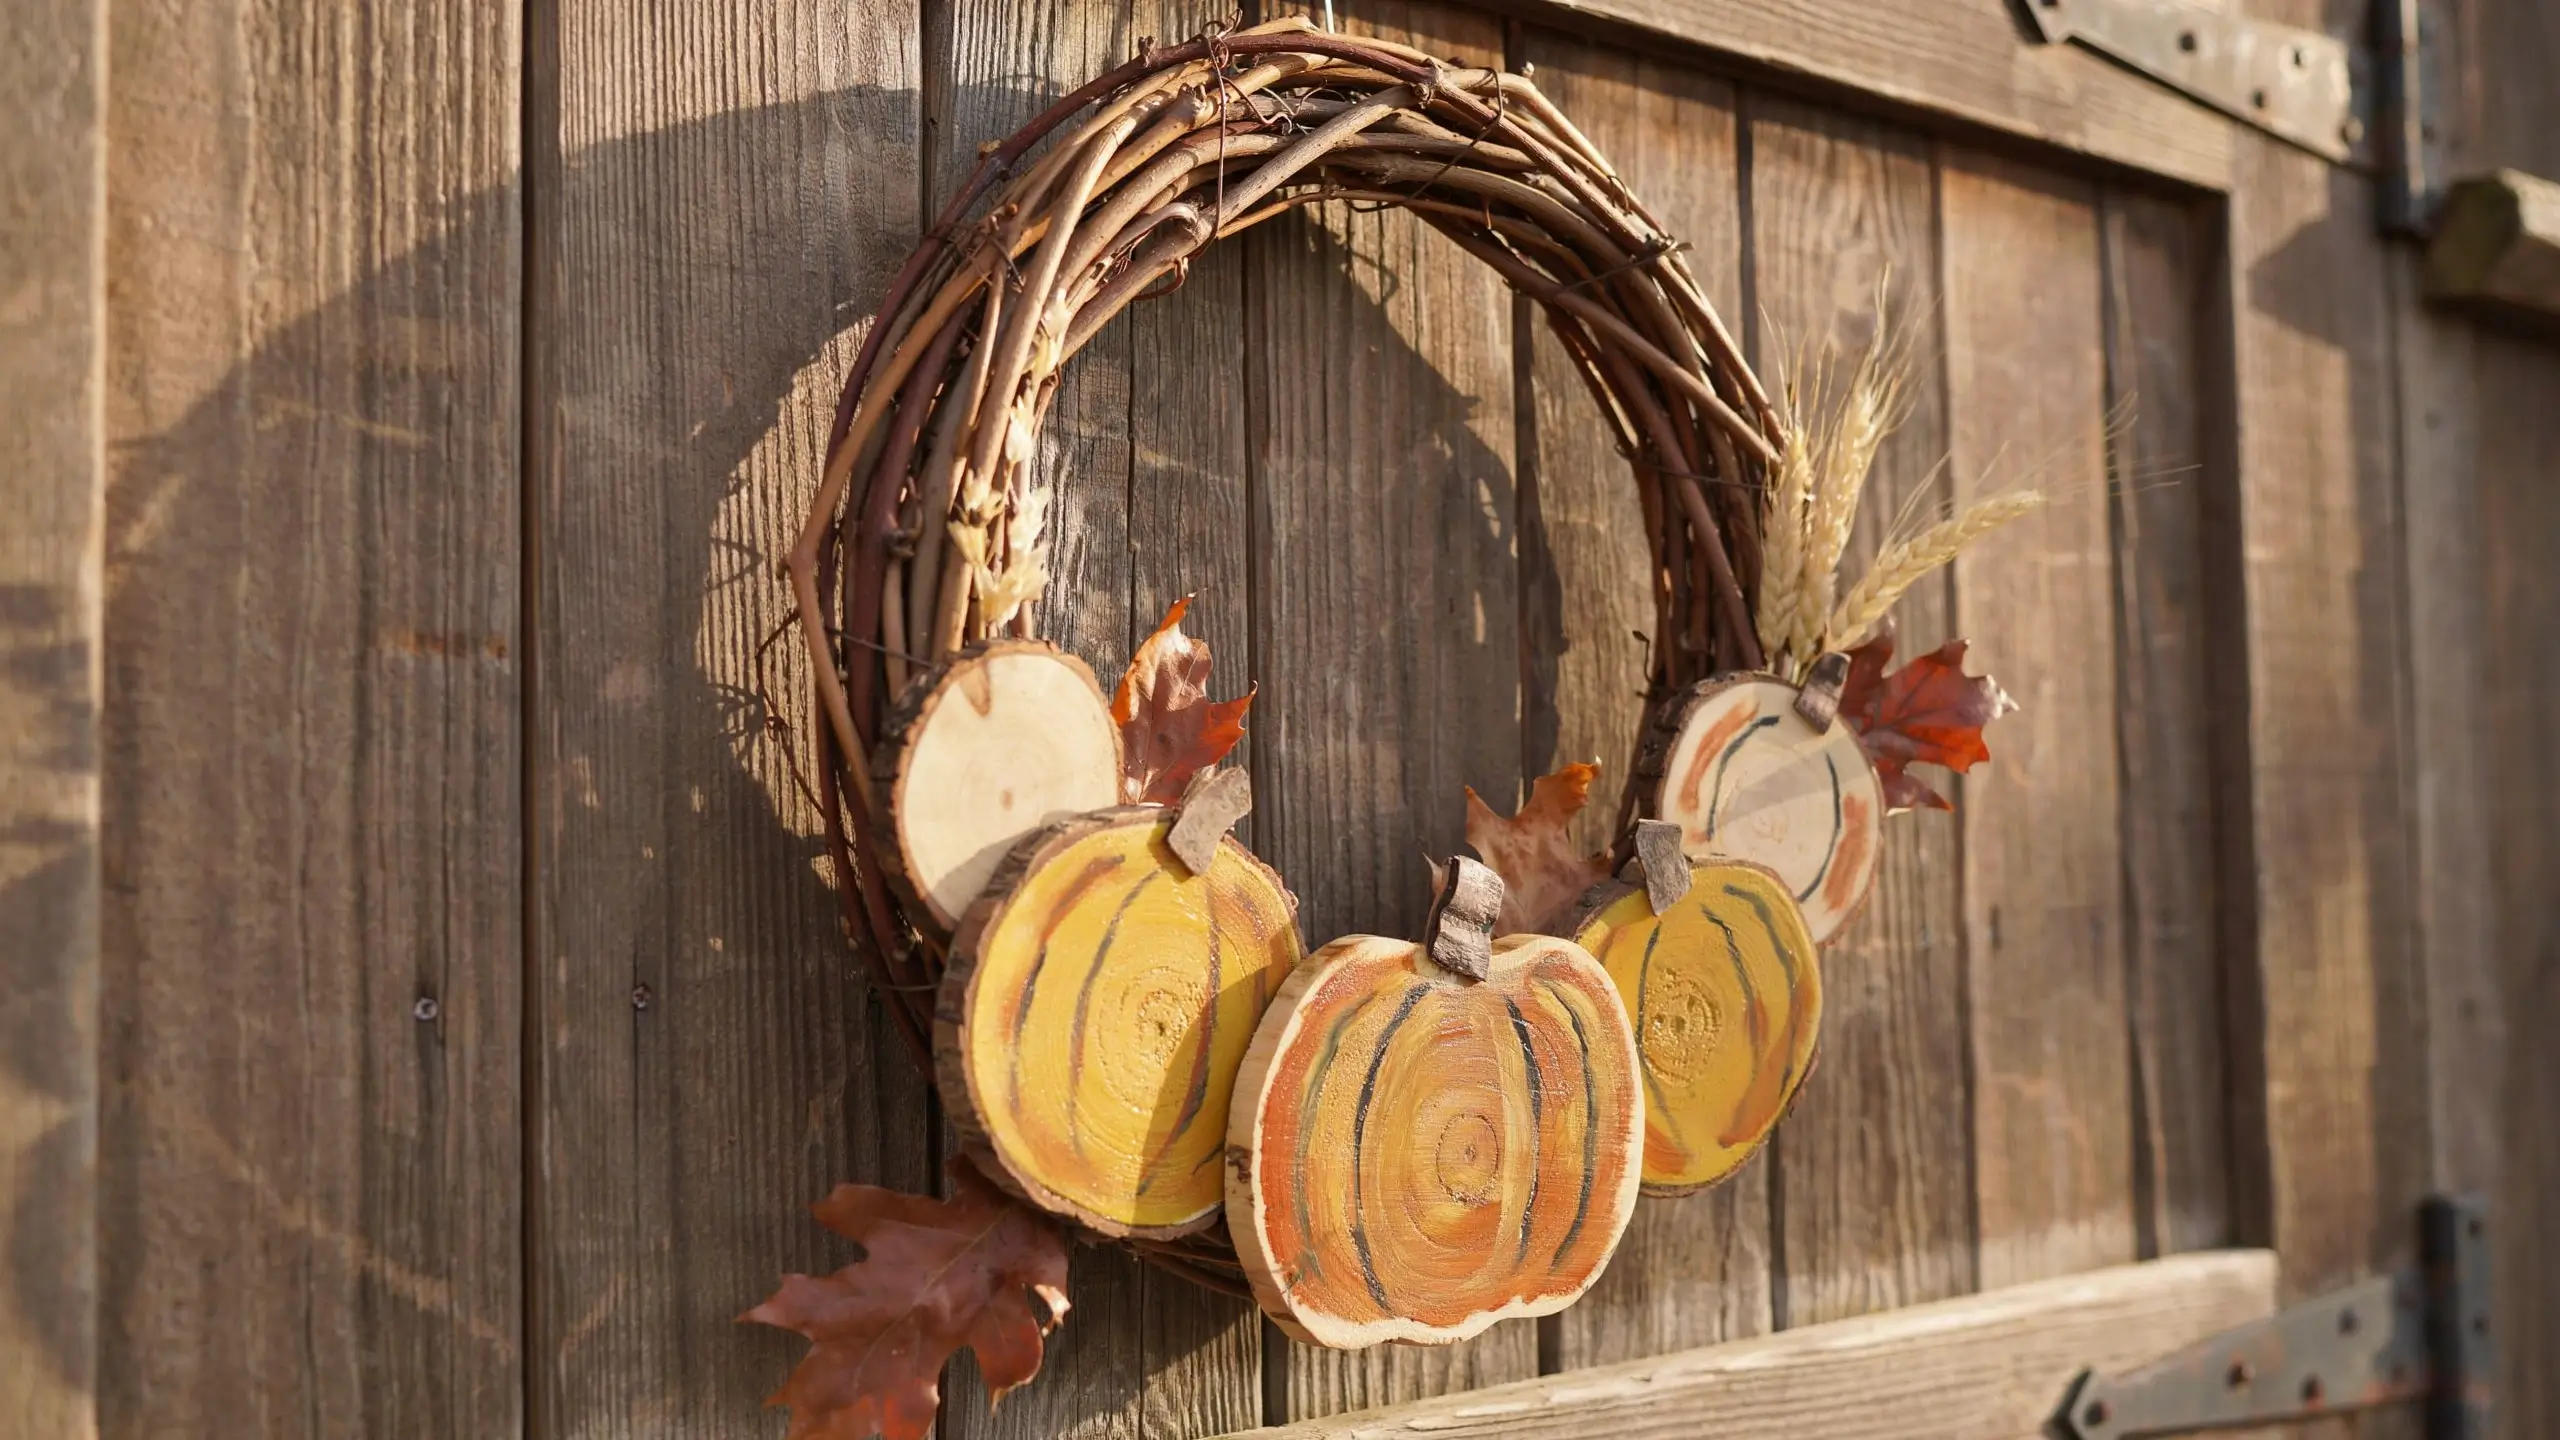
For a farmhouse-meets-modern look, cut or buy small wood slices, paint half of them in a mustard or burnt orange wash, and arrange them on a grapevine base with a few dried leaves tucked between. The unfinished wood grain showing through the paint gives this one a hand-crafted, artisan feel.
This is a great option if you enjoy painting and want a wreath that looks different from anything at the craft store.
10. Felt Pumpkin Patchwork Wreath
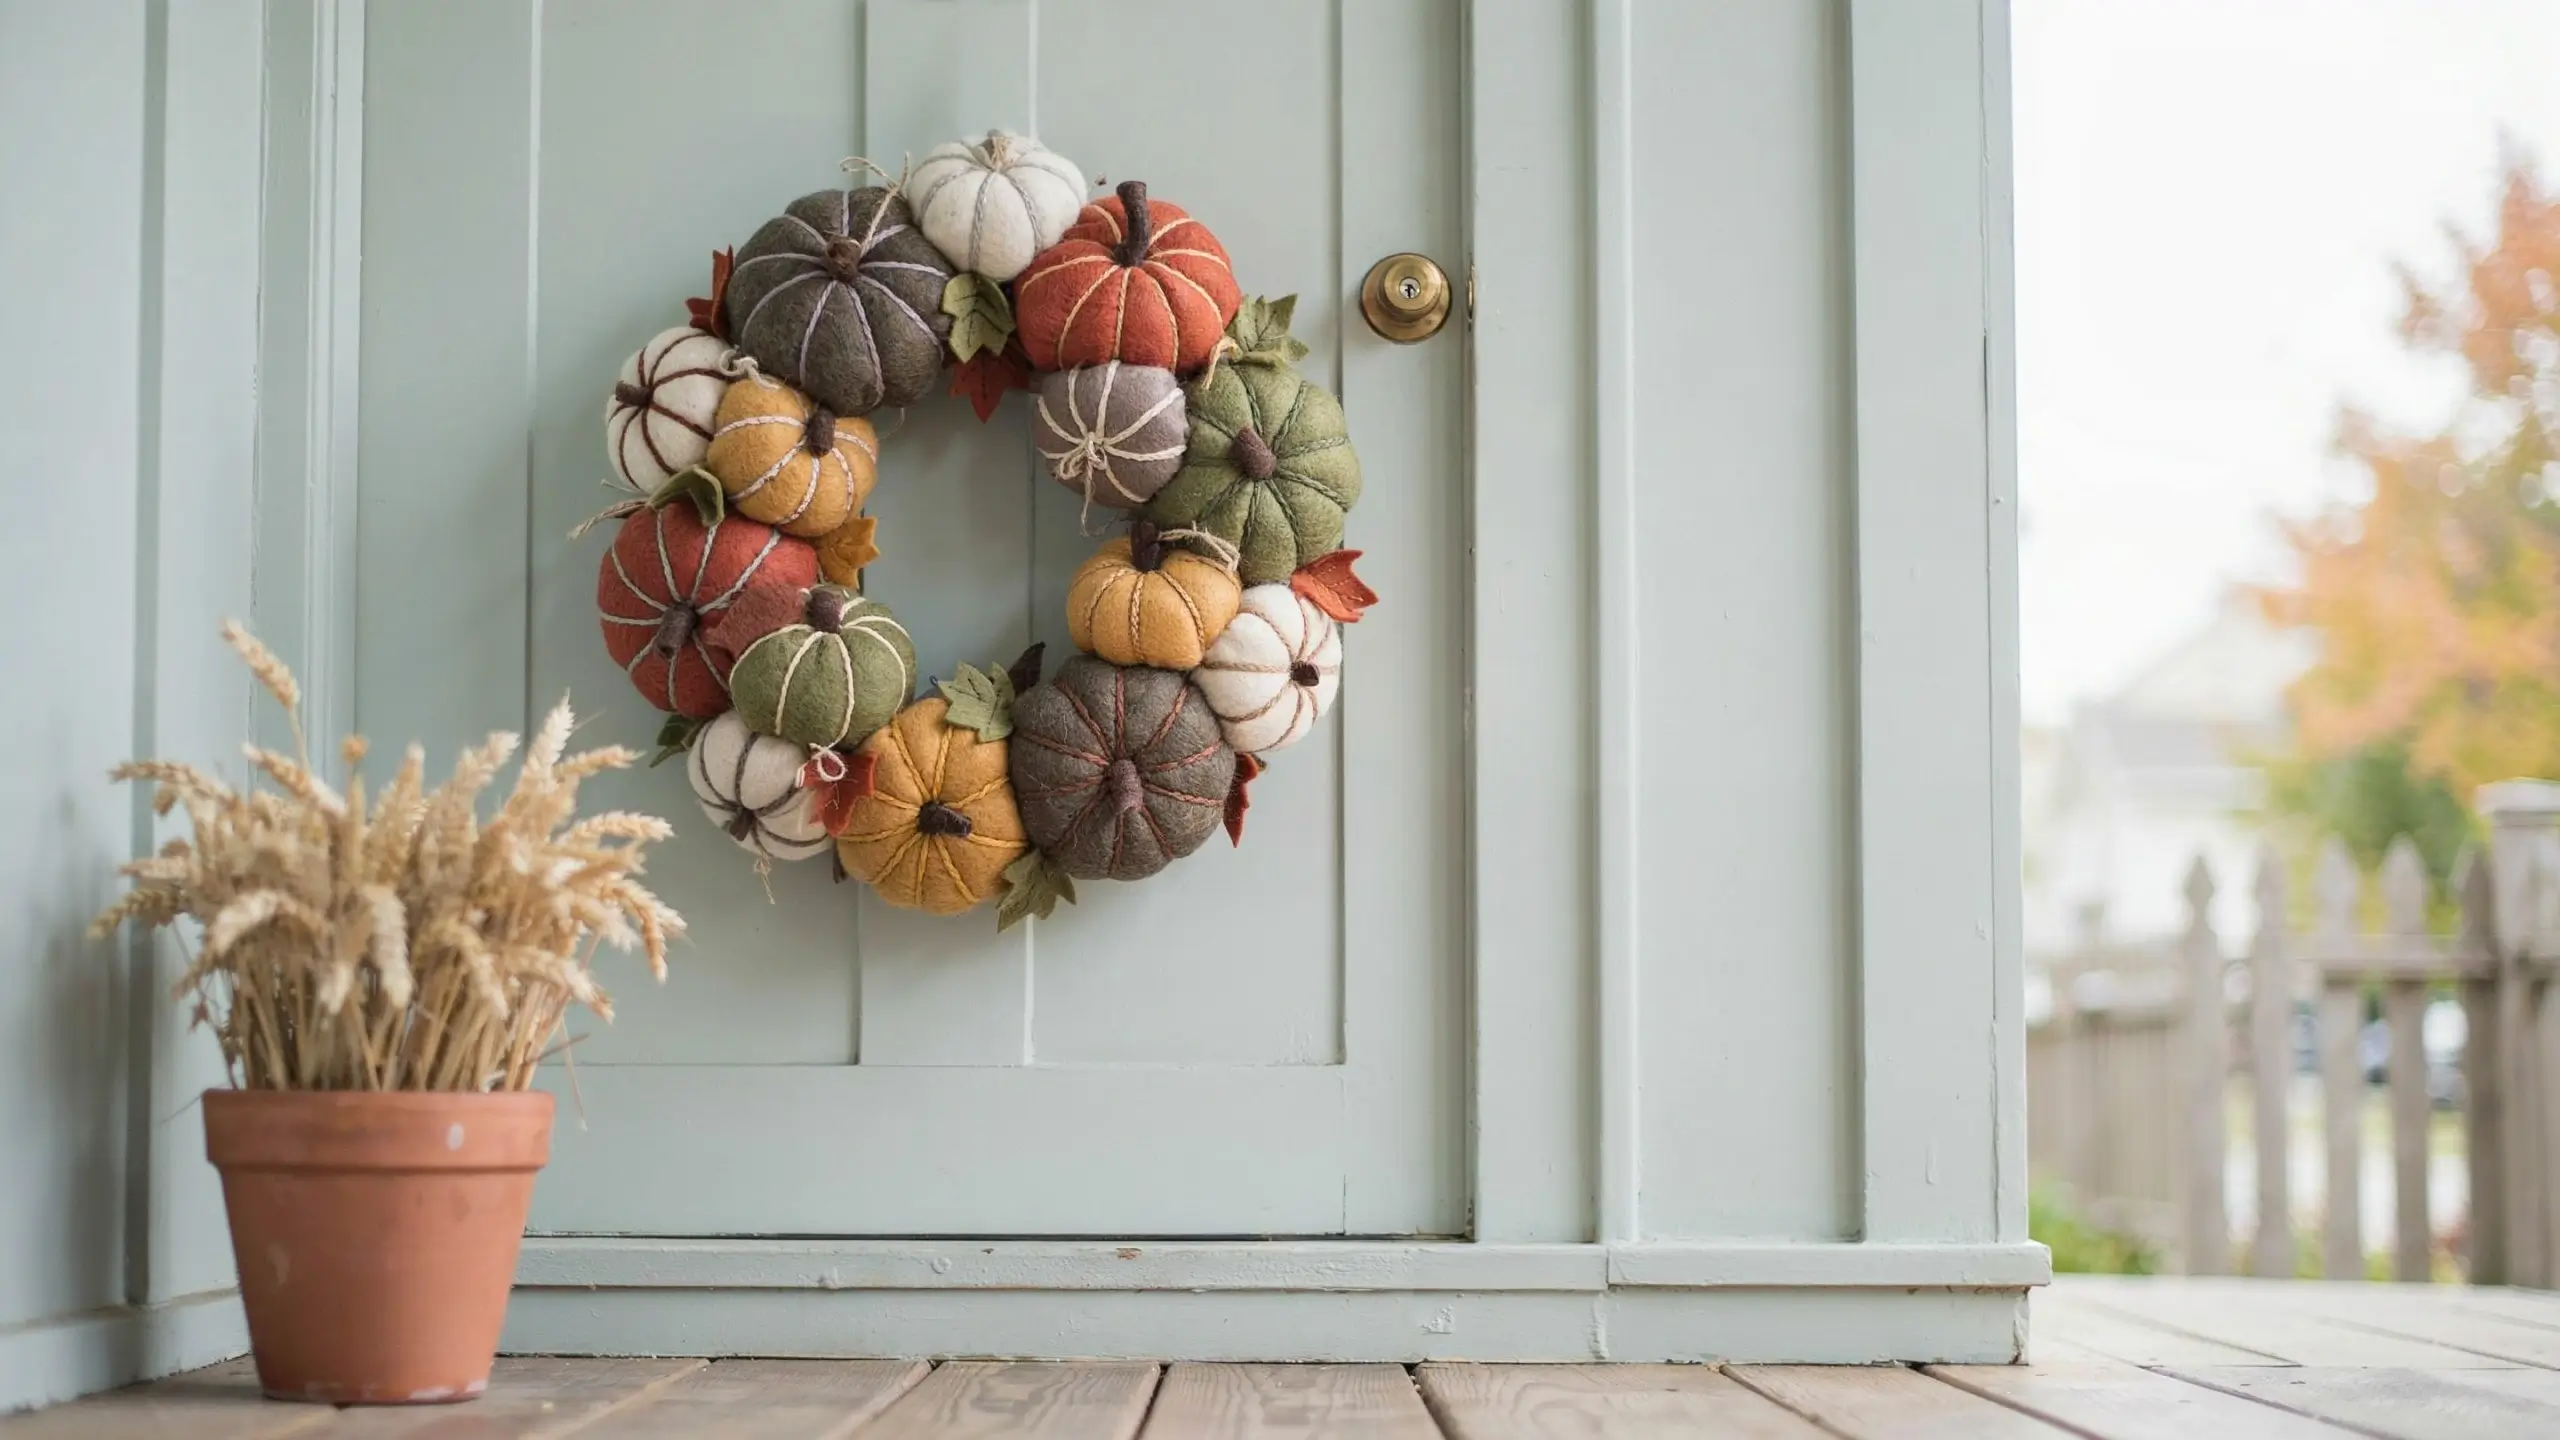
Cut simple pumpkin shapes from felt in a mix of fall colors (rust, olive, mustard, cream), layer two shapes together with a small gap, and stuff lightly with polyester fiberfill for dimension before gluing to a wreath base. Add embroidery floss “ribbing” lines for detail.
This is one of the best options for crafting with kids since felt doesn’t fray and there’s no sharp tools required beyond scissors. It also holds up well being stored flat between seasons.
11. Pumpkin and Eucalyptus Wreath
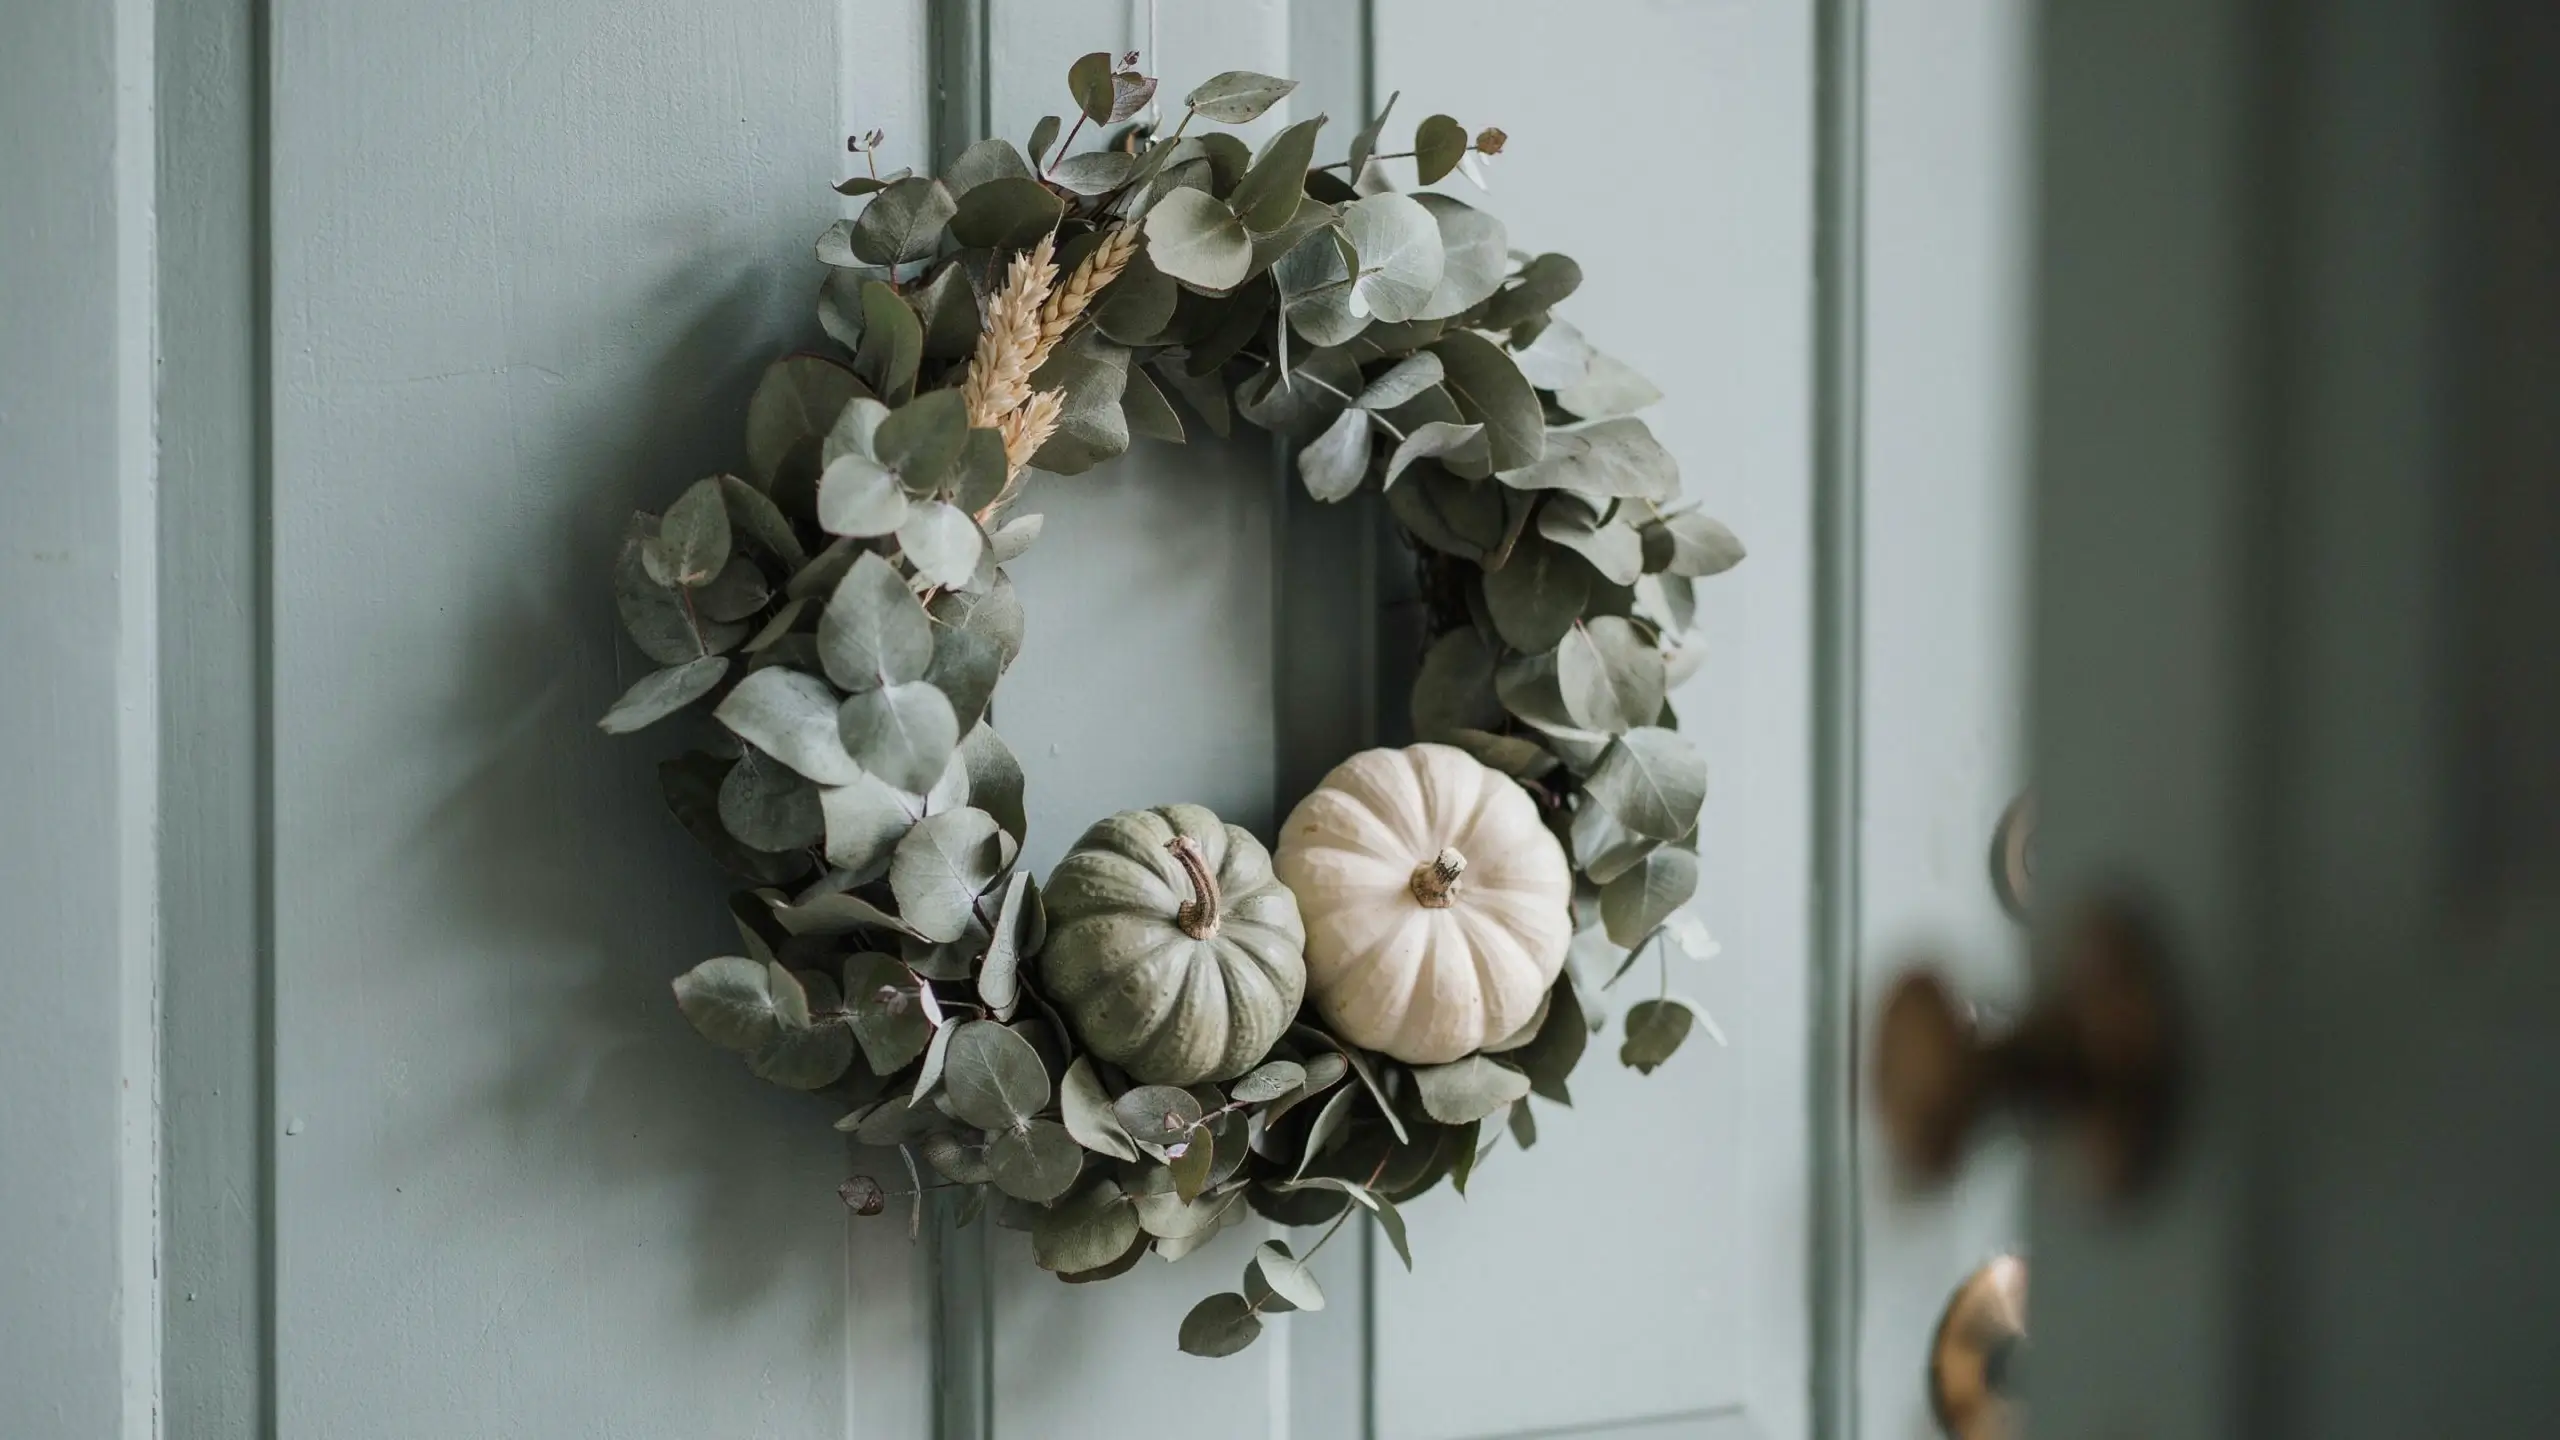
Mixing preserved eucalyptus with 2-3 small cream or sage pumpkins creates a wreath that works for fall but doesn’t scream “seasonal decor.” This is the version to make if you want something you could realistically leave up from September through November without it looking out of place.
The silvery-green eucalyptus against warm pumpkin tones is one of the more photographed color combinations in fall wreath content right now, and it reads as more elevated than the standard orange-on-brown look.
12. RV and Small-Space Pumpkin Wreath
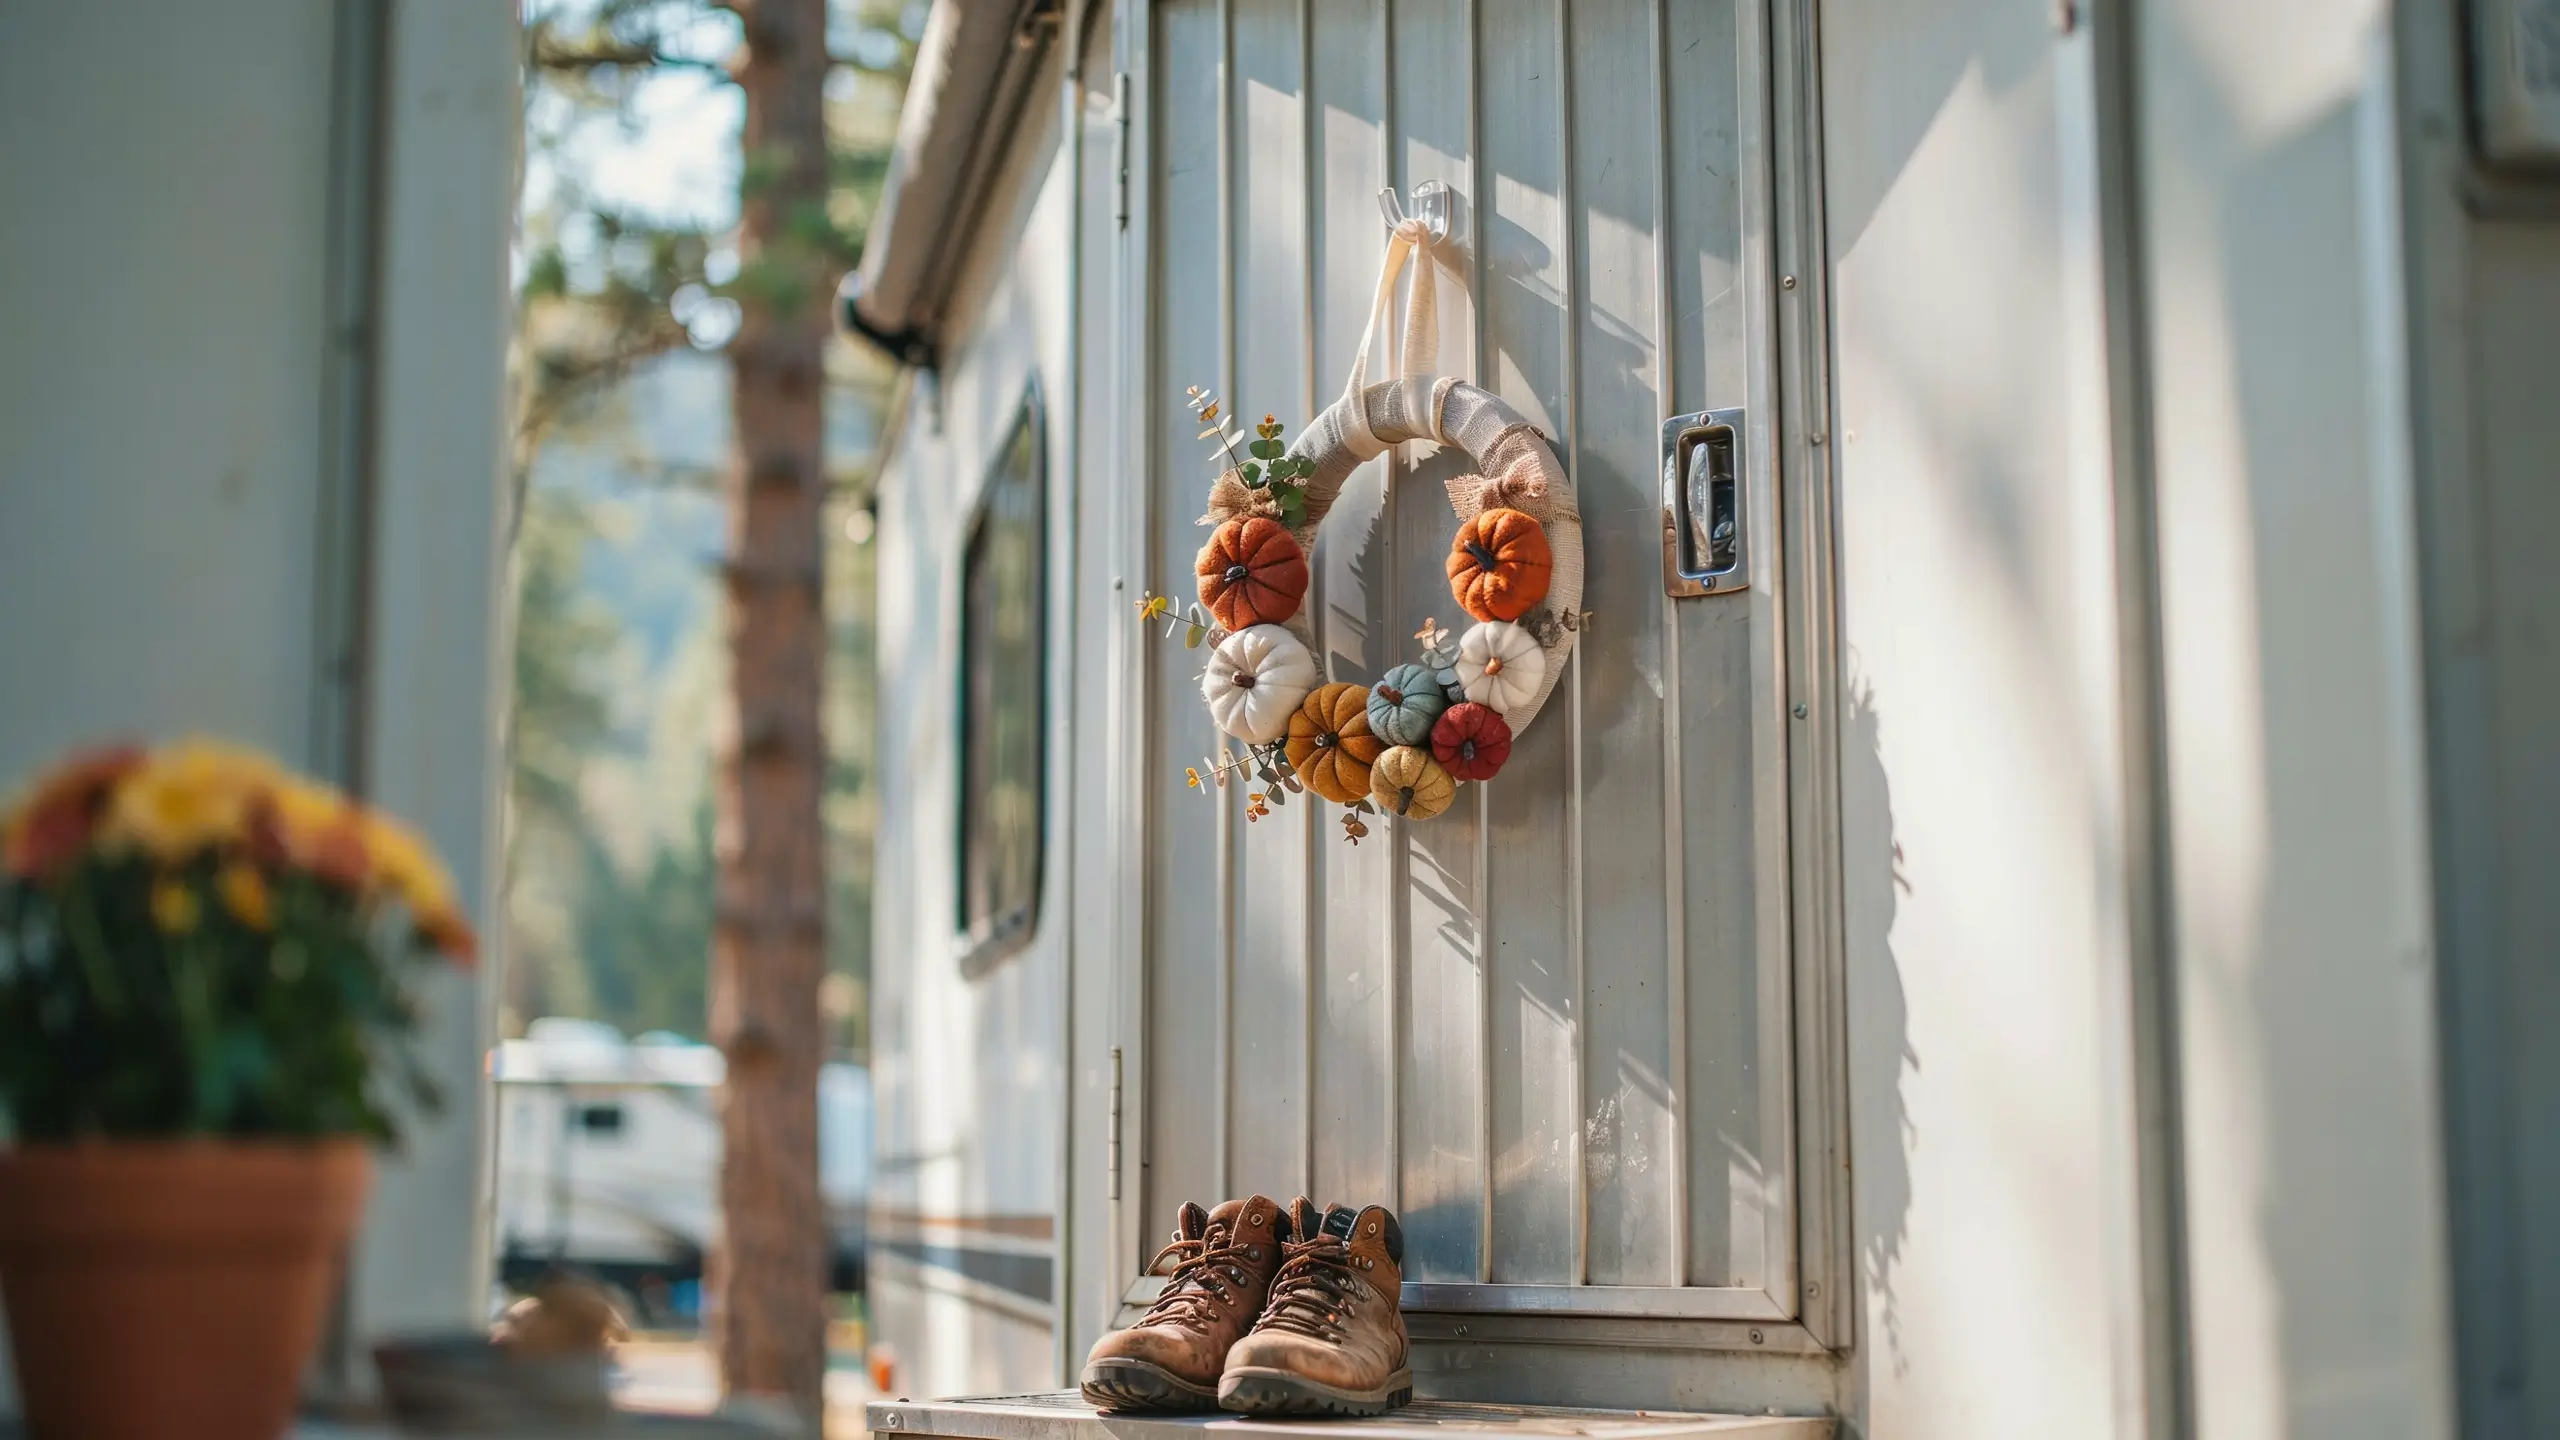
If you’re decorating a camper, RV door, or small apartment entry, size and weight matter more than they do on a traditional front door. Use a 12 to 14 inch embroidery hoop instead of a full-size wreath form, keep embellishments lightweight (felt or paper pumpkins instead of ceramic or resin), and use a removable adhesive hook or over-the-door hanger instead of anything that requires drilling.
This size also works well for apartment doors where a large wreath can feel overwhelming in a narrow hallway.
RV-specific tip: avoid real dried florals if you’ll be driving with the wreath attached. Road vibration breaks dried stems down fast. Silk or felt elements hold up much better for travel.
13. Paper Pumpkin Wreath
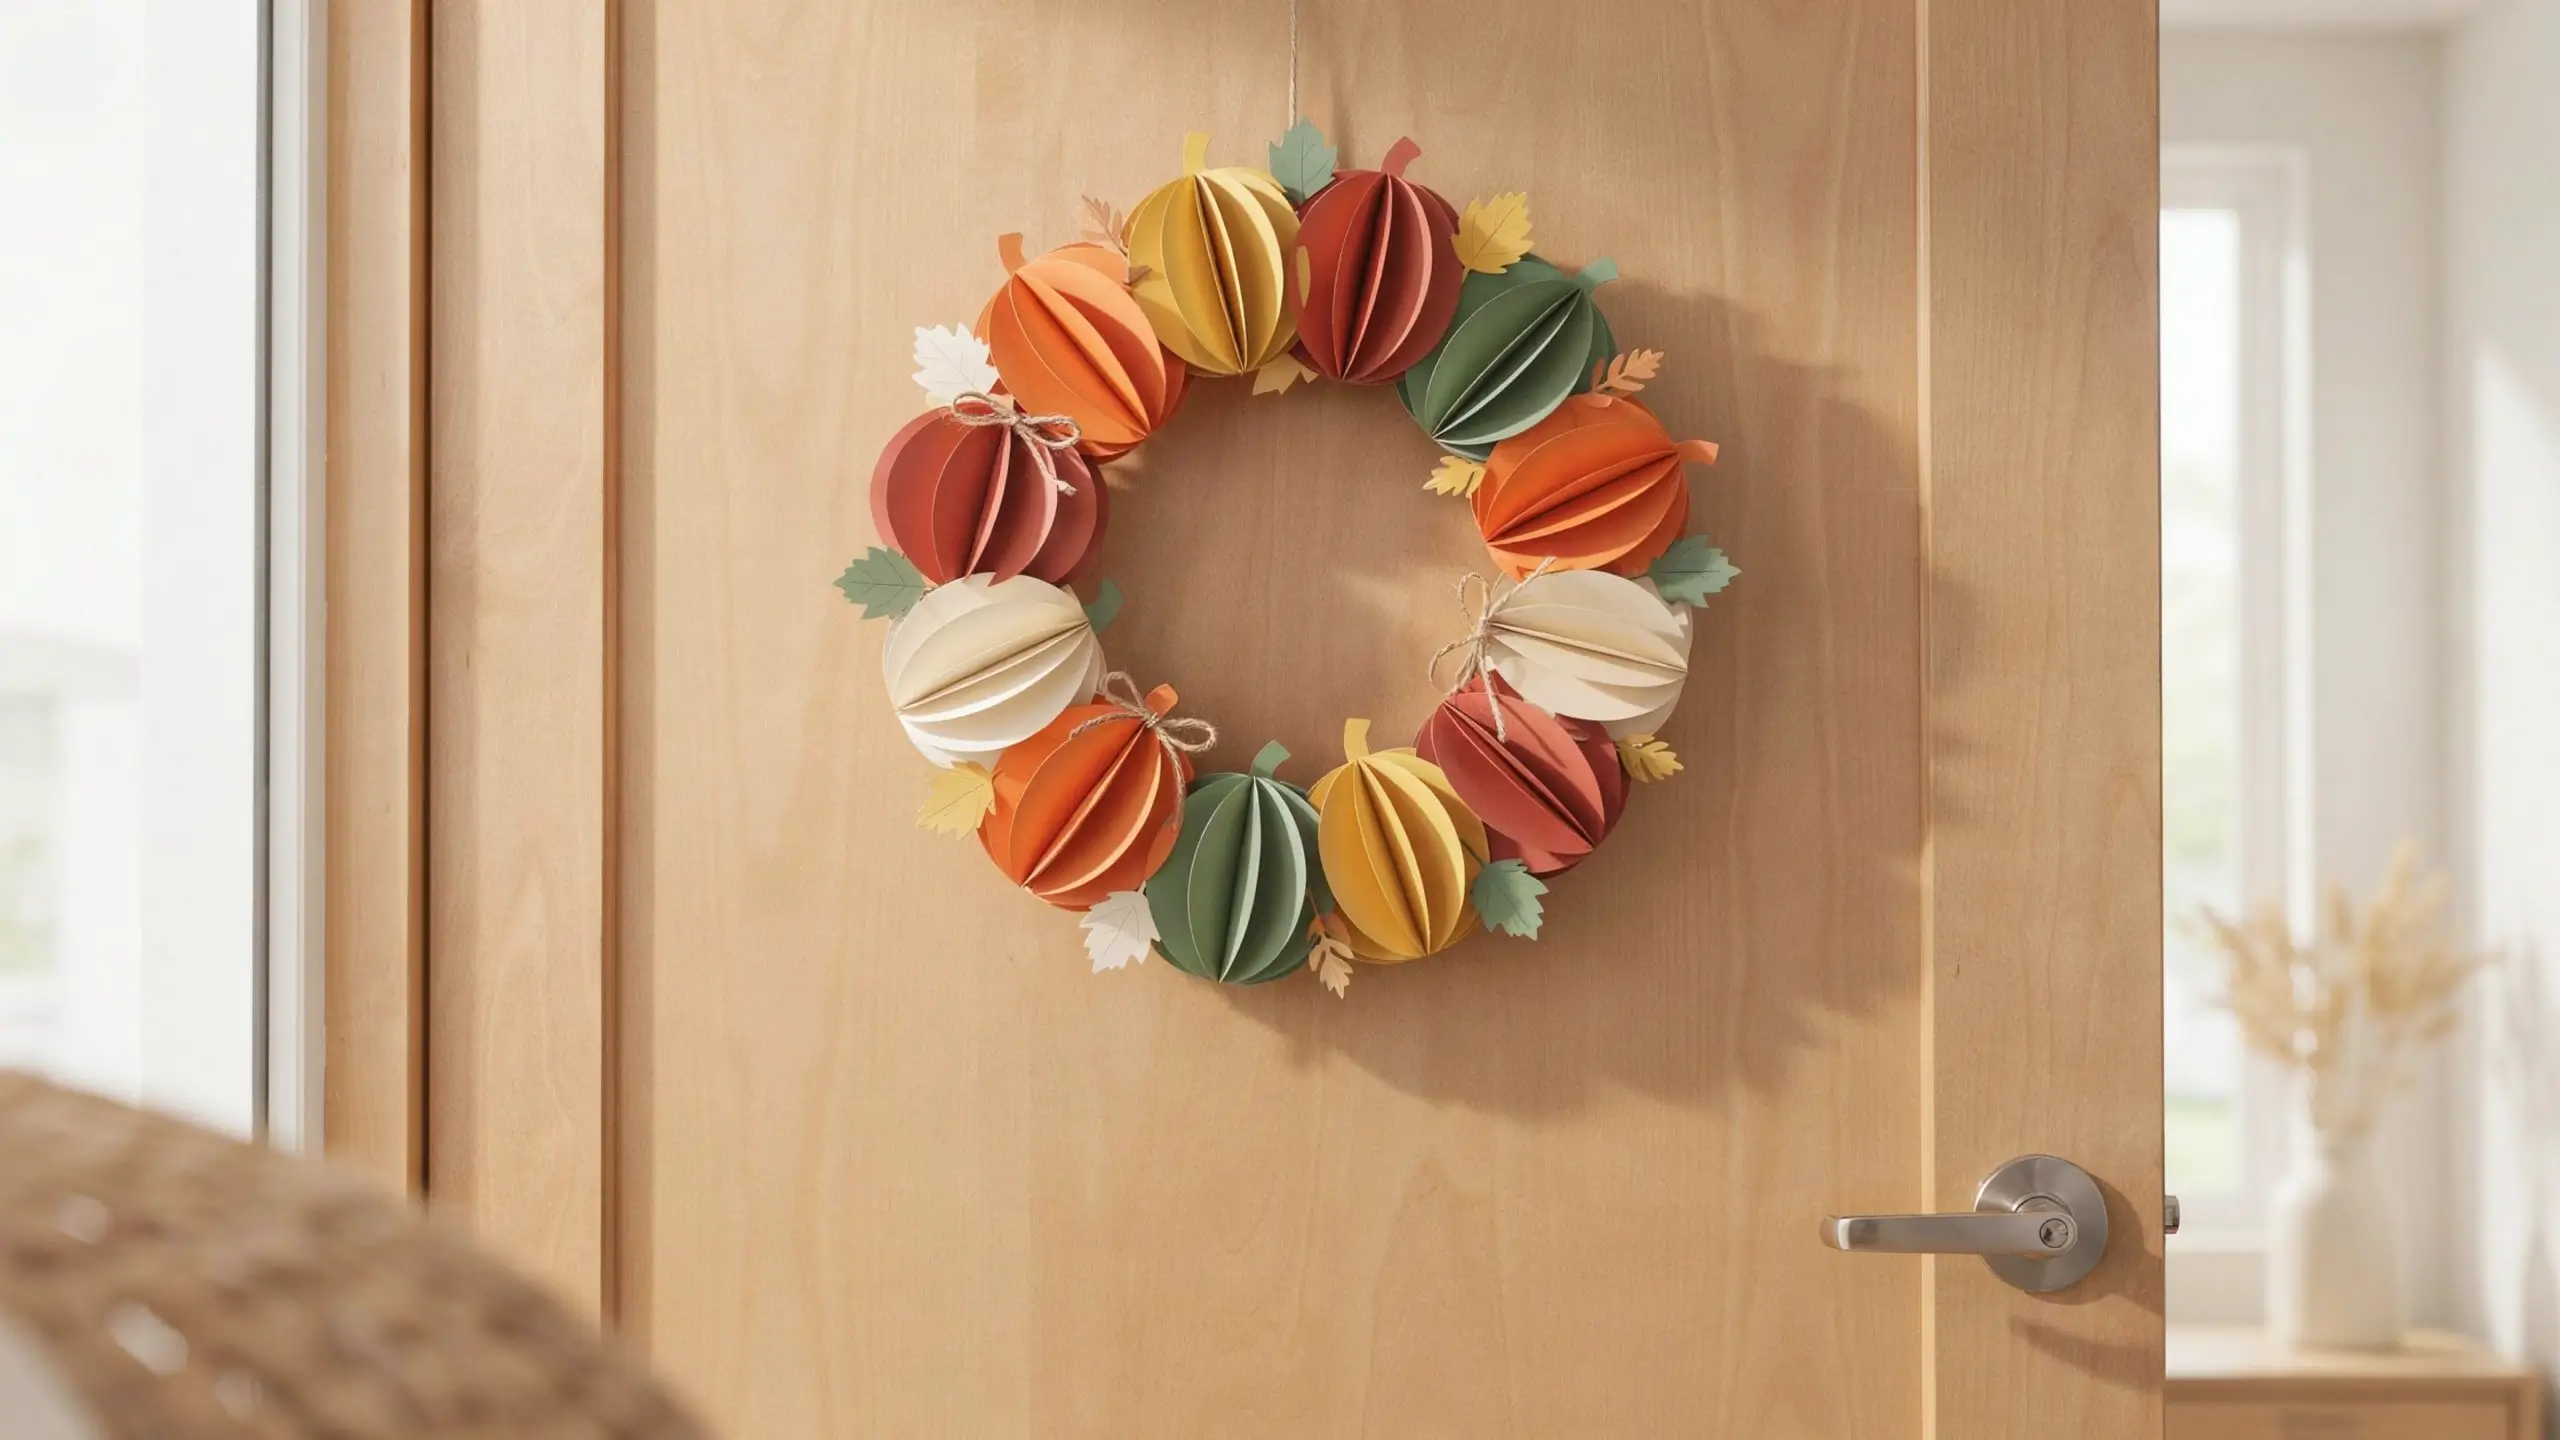
Made entirely from cardstock or scrapbook paper cut into pumpkin shapes and layered like a rosette, this wreath costs almost nothing and takes about 30 minutes. It’s flat, so it stores easily, and it’s a good project to do with kids since there’s no hot glue required if you use a glue stick or double-sided tape instead.
This is also one of the more renter-friendly options since it’s lightweight enough to hang with a simple adhesive hook.
14. Pumpkin Spice Color-Block Wreath
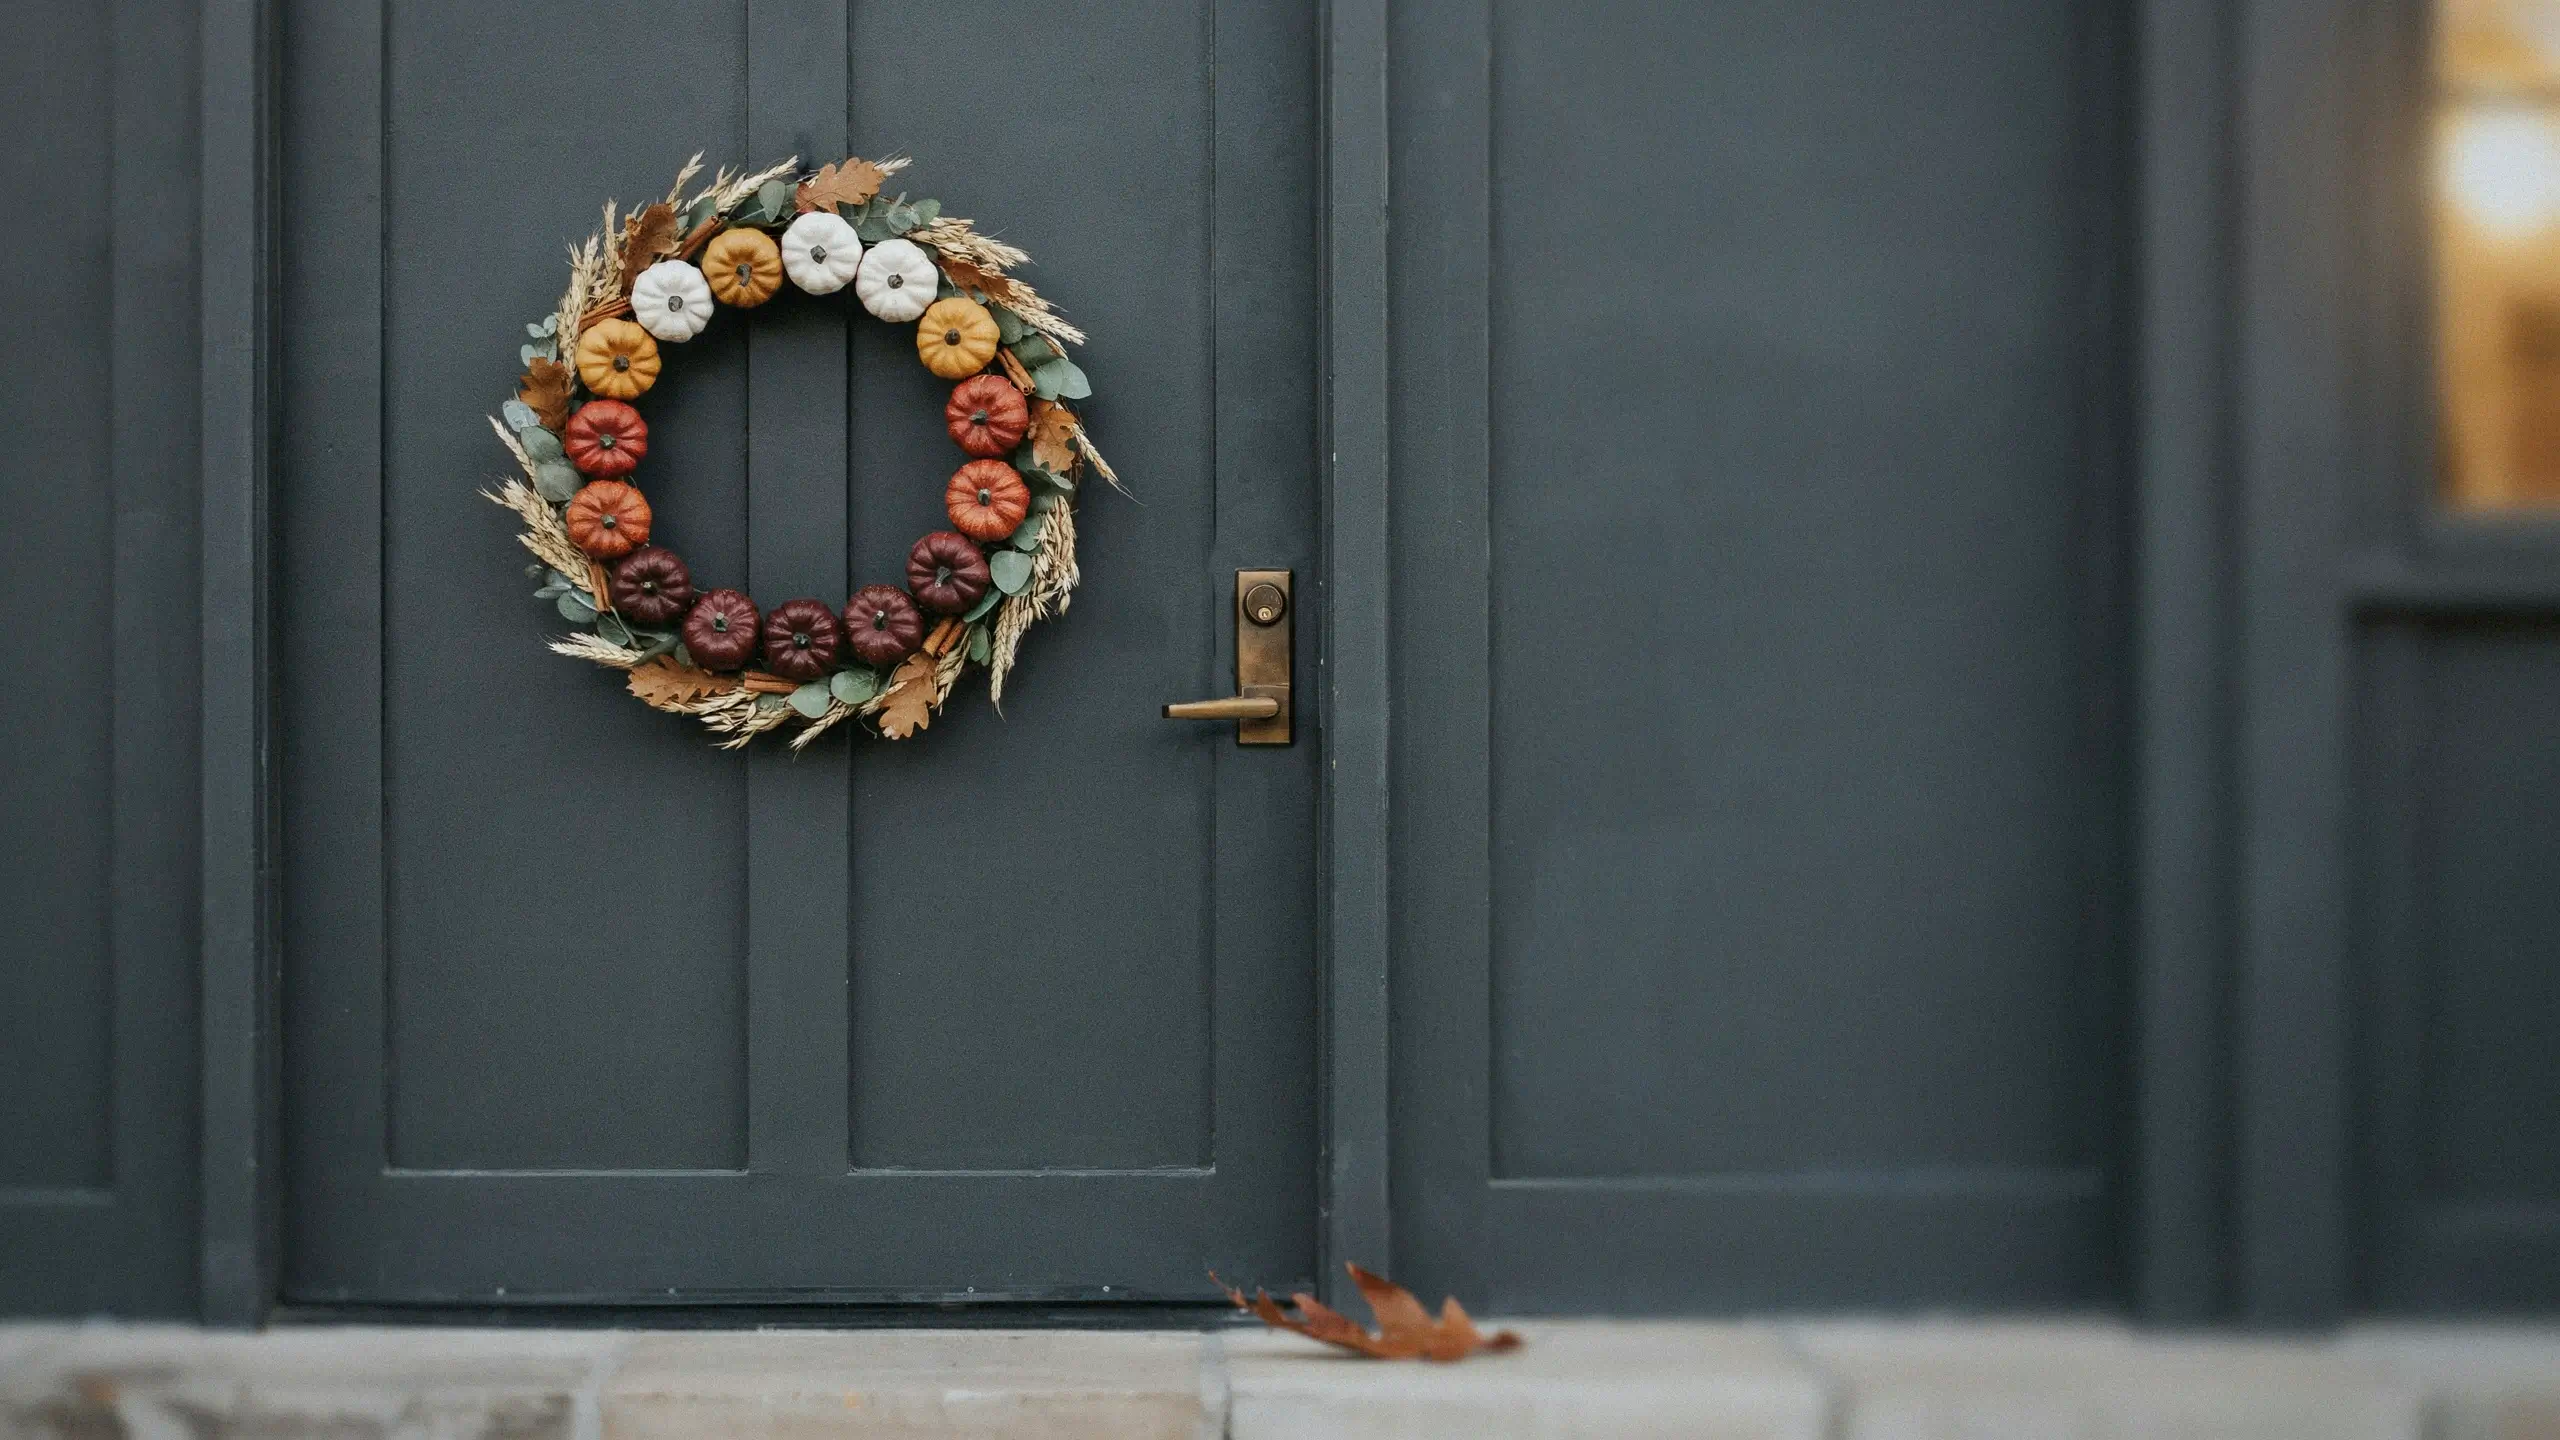
Instead of scattering pumpkins randomly, arrange them in a deliberate color gradient, deep burgundy at the bottom, moving through rust, then mustard, then cream at the top. This ombre-style arrangement is more visually striking in photos than a random mix and works with almost any pumpkin material: felt, velvet, or faux.
Mistake to avoid: using too many colors without a clear gradient makes the wreath look busy instead of intentional. Stick to 3-4 colors max for this style.
15. Family Craft Night Pumpkin Wreath
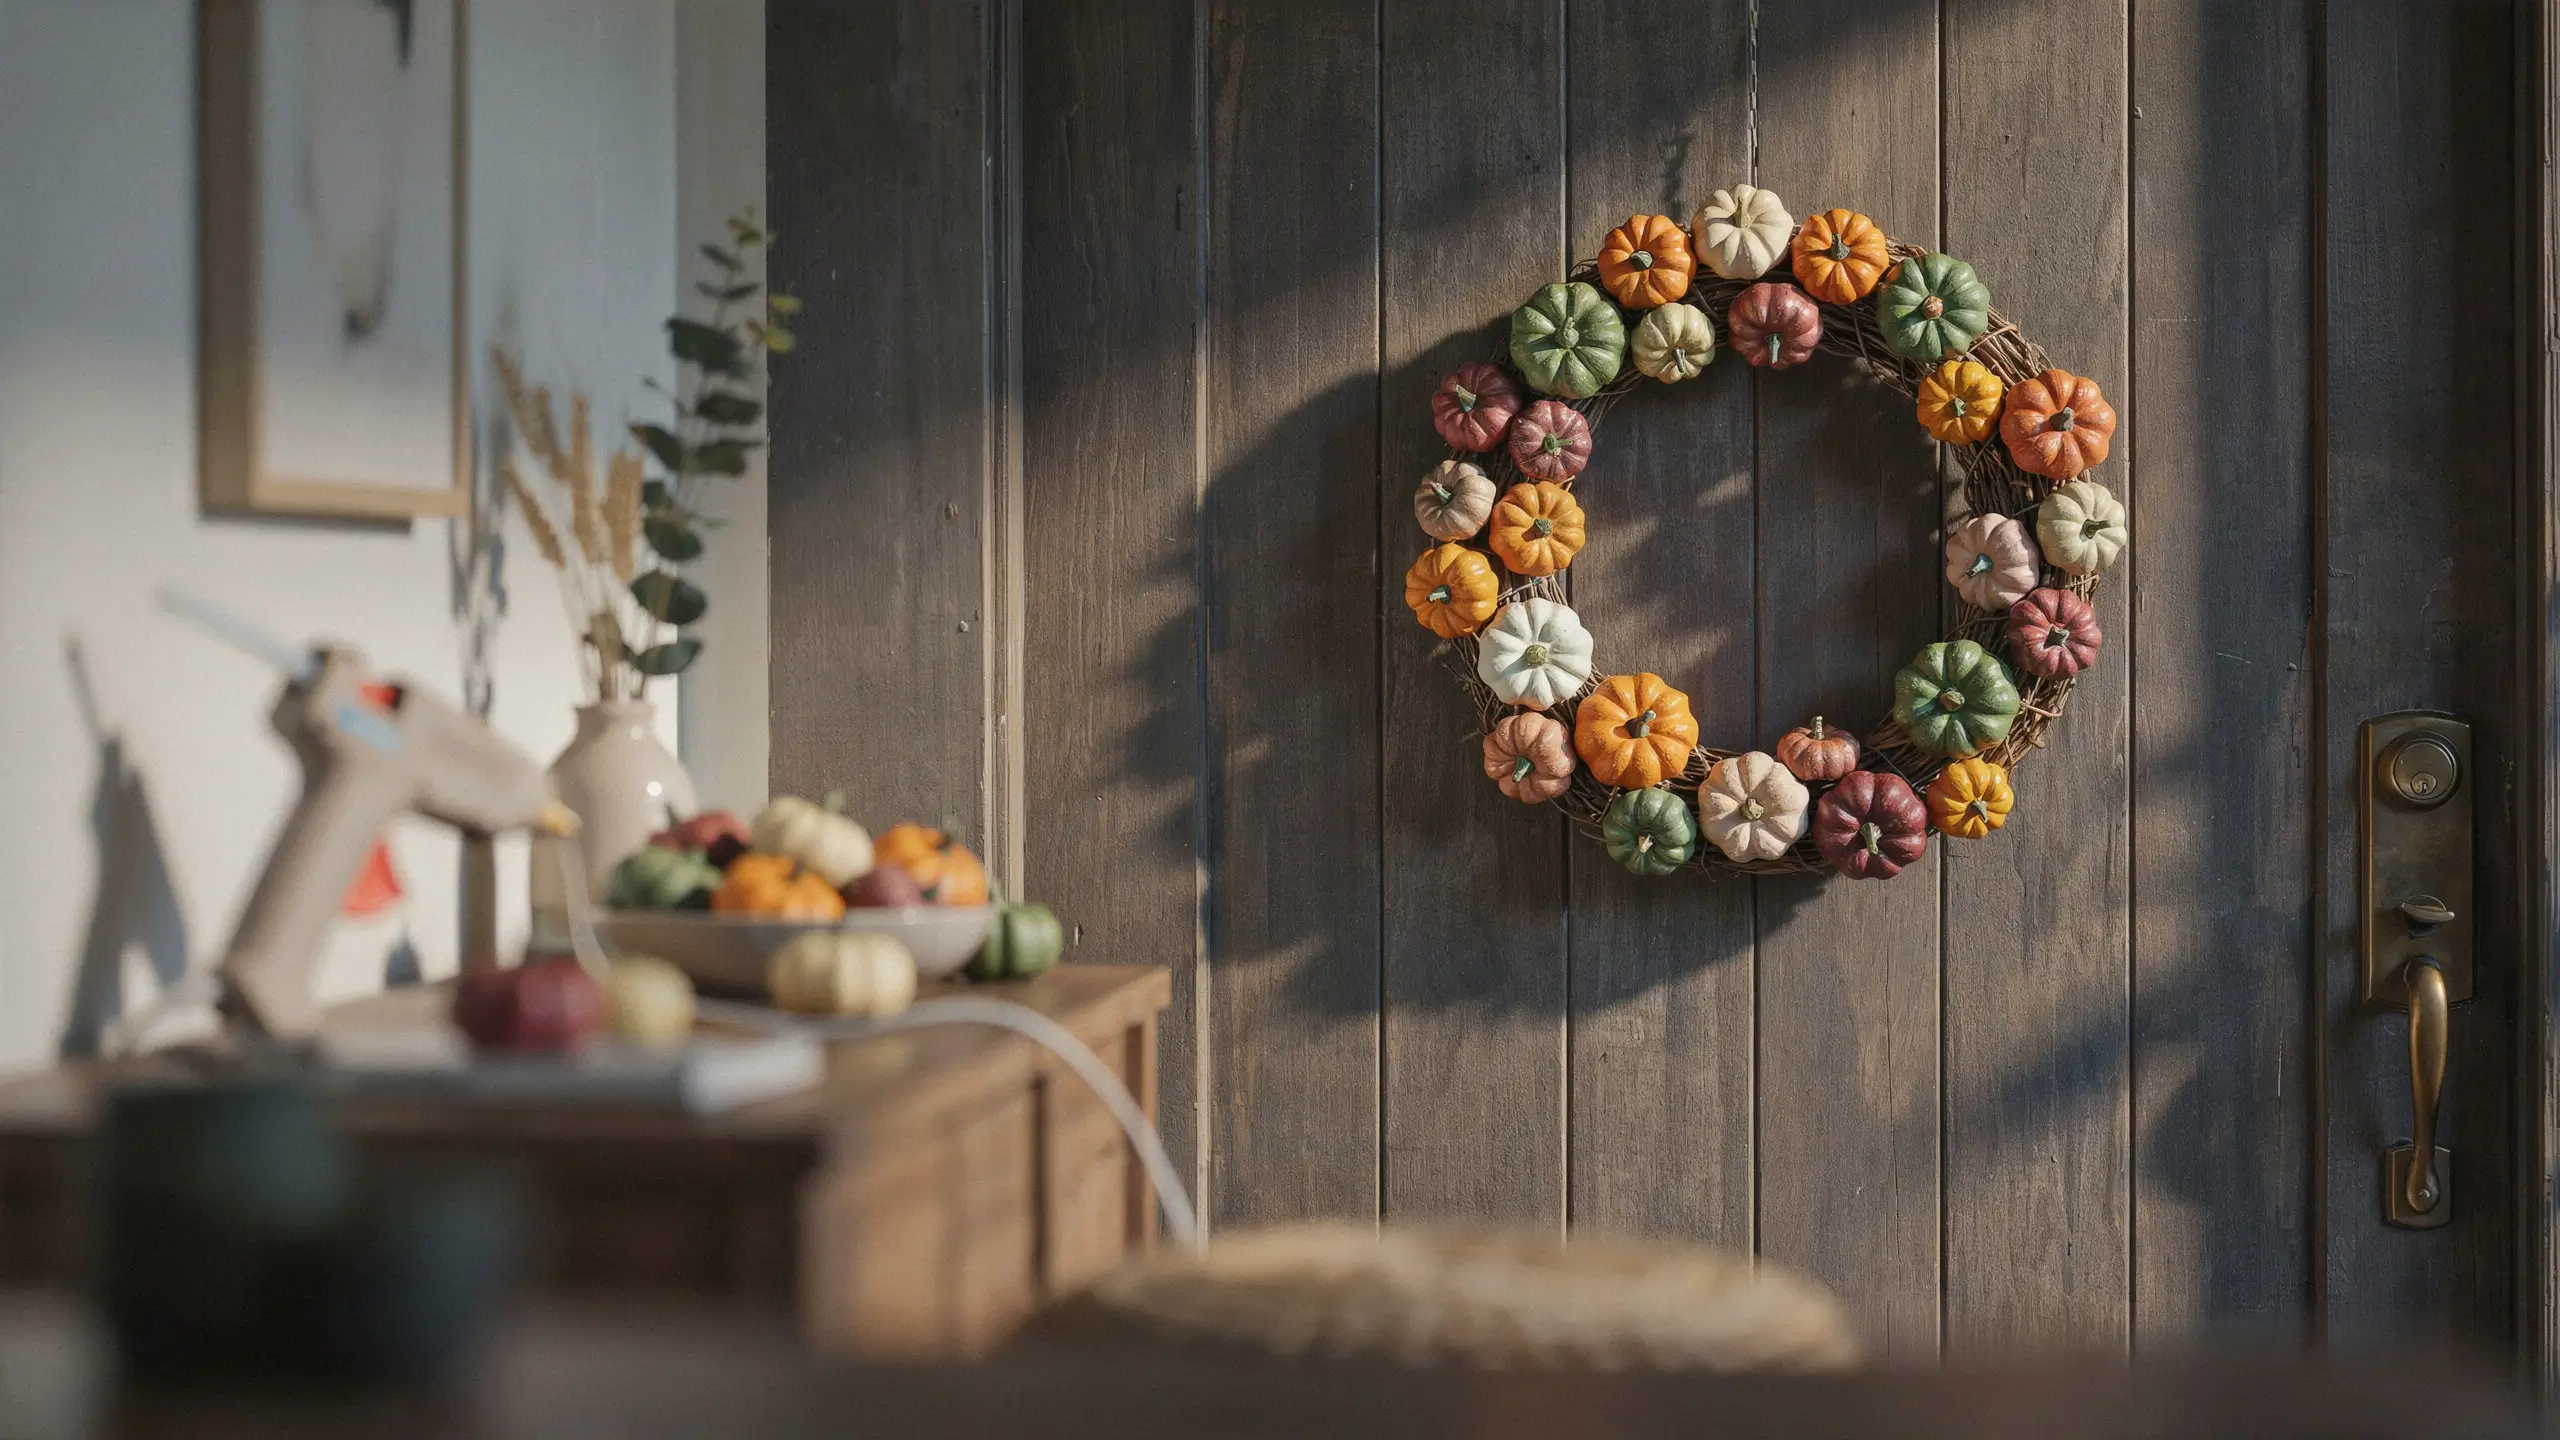
This isn’t a specific style so much as a method: buy a bag of assorted faux mini pumpkins, a plain grapevine wreath, and a low-temp glue gun, then let each family member add pumpkins wherever they want. The slightly imperfect, mismatched result has its own charm, and it’s a genuinely fun way to spend an evening with kids without needing a Pinterest-perfect outcome.
Low-temp glue guns are worth the few extra dollars if kids are helping, since they reduce the risk of burns while still holding fabric and foam pumpkins securely.
How to Store Your Pumpkin Wreath So It Lasts
Fall wreaths take a beating from sun exposure and humidity if they’re left outside too long, and they get crushed easily in storage if you’re not careful. A few things that actually help:
- Store the wreath flat in a wreath storage box or a large flat plastic bin rather than hanging it in a closet, where embellishments can get squished against the door or wall.
- If your wreath includes real dried florals, keep it away from damp basements or garages. Moisture is what breaks dried stems down fastest.
- For velvet or fabric pumpkins, a light dusting with a soft brush before storage keeps them from attracting dust over the off-season..
Final Thoughts
A creative pumpkin wreath doesn’t need to be complicated or expensive to make an impression. Pick one idea from this list that fits your color palette, your budget, and how much time you actually want to spend gluing things to a wire circle, then make it your own. The best-looking wreaths on Pinterest usually aren’t the most complicated ones, they’re just made with a little more intention about color and shape than the average craft store kit.
Which one are you making first? Let me know in the comments, I’d love to see how it turns out.




No Comment! Be the first one.