




25 DIY Halloween Decor Ideas That Actually Look Amazing (And Cost Almost Nothing)
Every year, sometime around the first week of October, I find myself standing in the Halloween aisle of my local craft store, convinced I need to spend $80 on decor that will live in a bin for 11...

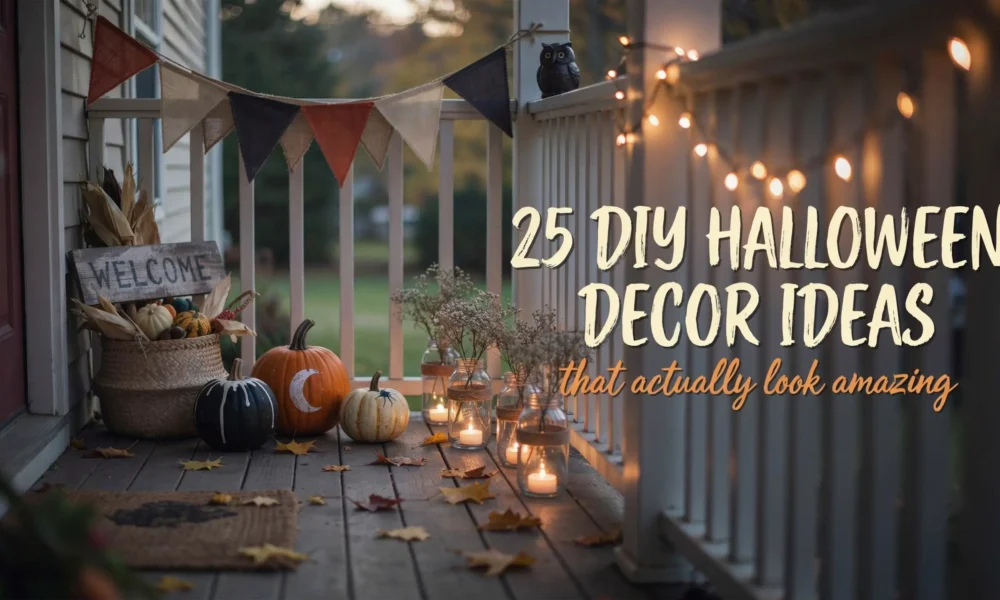
Every year, sometime around the first week of October, I find myself standing in the Halloween aisle of my local craft store, convinced I need to spend $80 on decor that will live in a bin for 11 months. And every year, I walk out with $12 worth of supplies and end up making something I like far better than anything on the shelf.
That’s the thing about DIY Halloween decor. The handmade stuff almost always wins. It has texture, personality, and that specific kind of charm you can’t replicate with a plastic package.
Whether you’re decorating a tiny apartment, a front porch, or your whole yard, these 25 DIY Halloween decor ideas are beginner-friendly, budget-conscious, and designed to look genuinely good, not just “crafty.” Many are renter-friendly too, so no landlord drama. Read through the full list before you shop, because you can probably make four or five of these with supplies you already have.
Set a Vibe Before You Grab a Glue Gun
Before you start hot-gluing anything, spend two minutes deciding on a general direction. The DIY Halloween decor that looks most impressive isn’t random. It feels like someone made choices.
A few directions that work well and photograph beautifully for Pinterest:
- Moody Gothic: Deep burgundy, matte black, dried botanicals, taper candles, and dark florals. Think haunted manor, not Halloween store.
- Cozy Spooky: Warm amber lighting, neutral pumpkins, cheesecloth ghosts, black accents layered with cozy textures. Looks elegant and fall-like at the same time.
- Classic Kitschy: Orange, black, purple. Bats everywhere. Paper skeletons. Bright and fun, especially if you have kids.
- Soft Witch Aesthetic: Dried herbs, muted purples, moon imagery, natural textures, beeswax candles. Very Pinterest-popular right now.
Pick one. Once you have a direction, every project you choose will feel cohesive instead of cluttered.
Indoor DIY Halloween Decor Ideas
1. Cheesecloth Ghost Garland
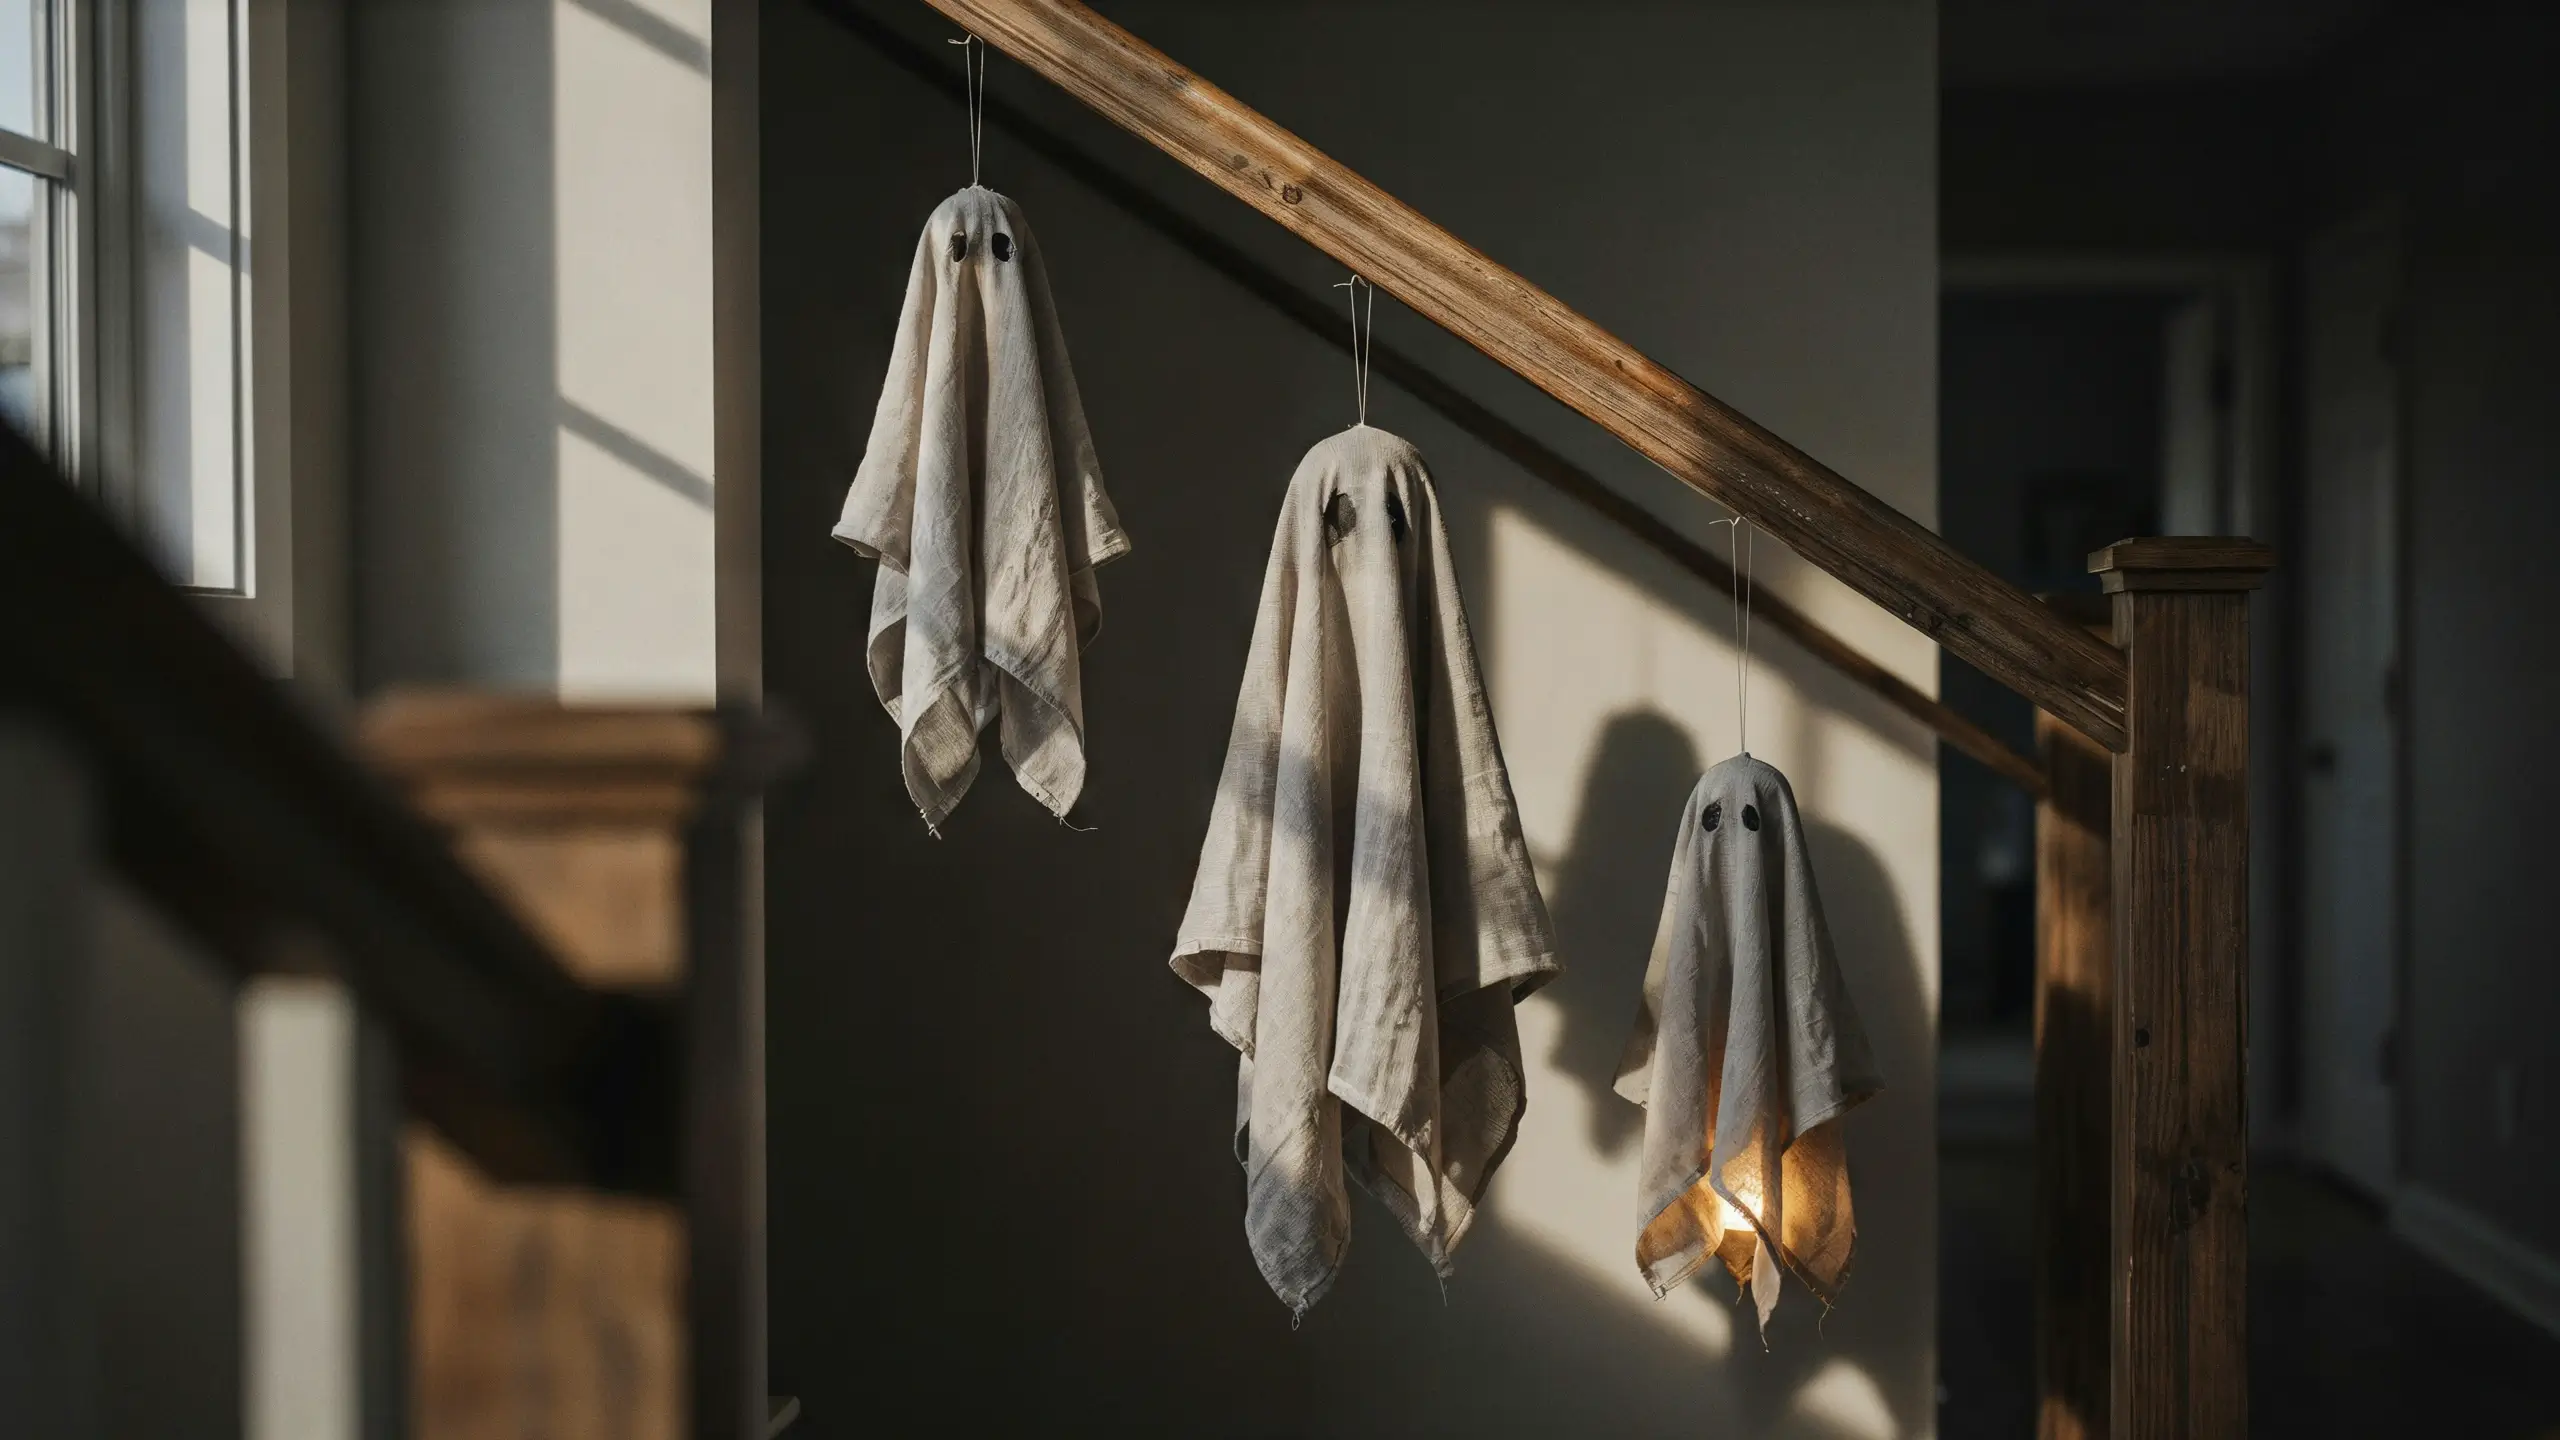
This is the one everyone saves on Pinterest and then realizes takes 20 minutes to make. You need a balloon, a few pipe cleaners, a mason jar (to prop the balloon), cheesecloth (about 2-3 yards per ghost), and liquid starch.
Blow up the balloon and rest it in the jar opening. Bend two pipe cleaners into arm shapes and wrap them around the jar neck to frame the body. Soak a large square of cheesecloth in liquid starch, squeeze out the excess, and drape it over the whole structure. Add a second piece at a different angle for fullness. Let it dry overnight. Pop the balloon, remove the jar, and you have a ghost that stands on its own or hangs from clear fishing line.
Make three in different sizes and hang them at different heights in a corner, a doorway, or stair railing. The starch makes them hold their shape for years with proper storage.
Cost: About $8-10 total for multiple ghosts. Renter-friendly: Yes. Hang with removable command hooks.
2. Black Branch Centerpiece
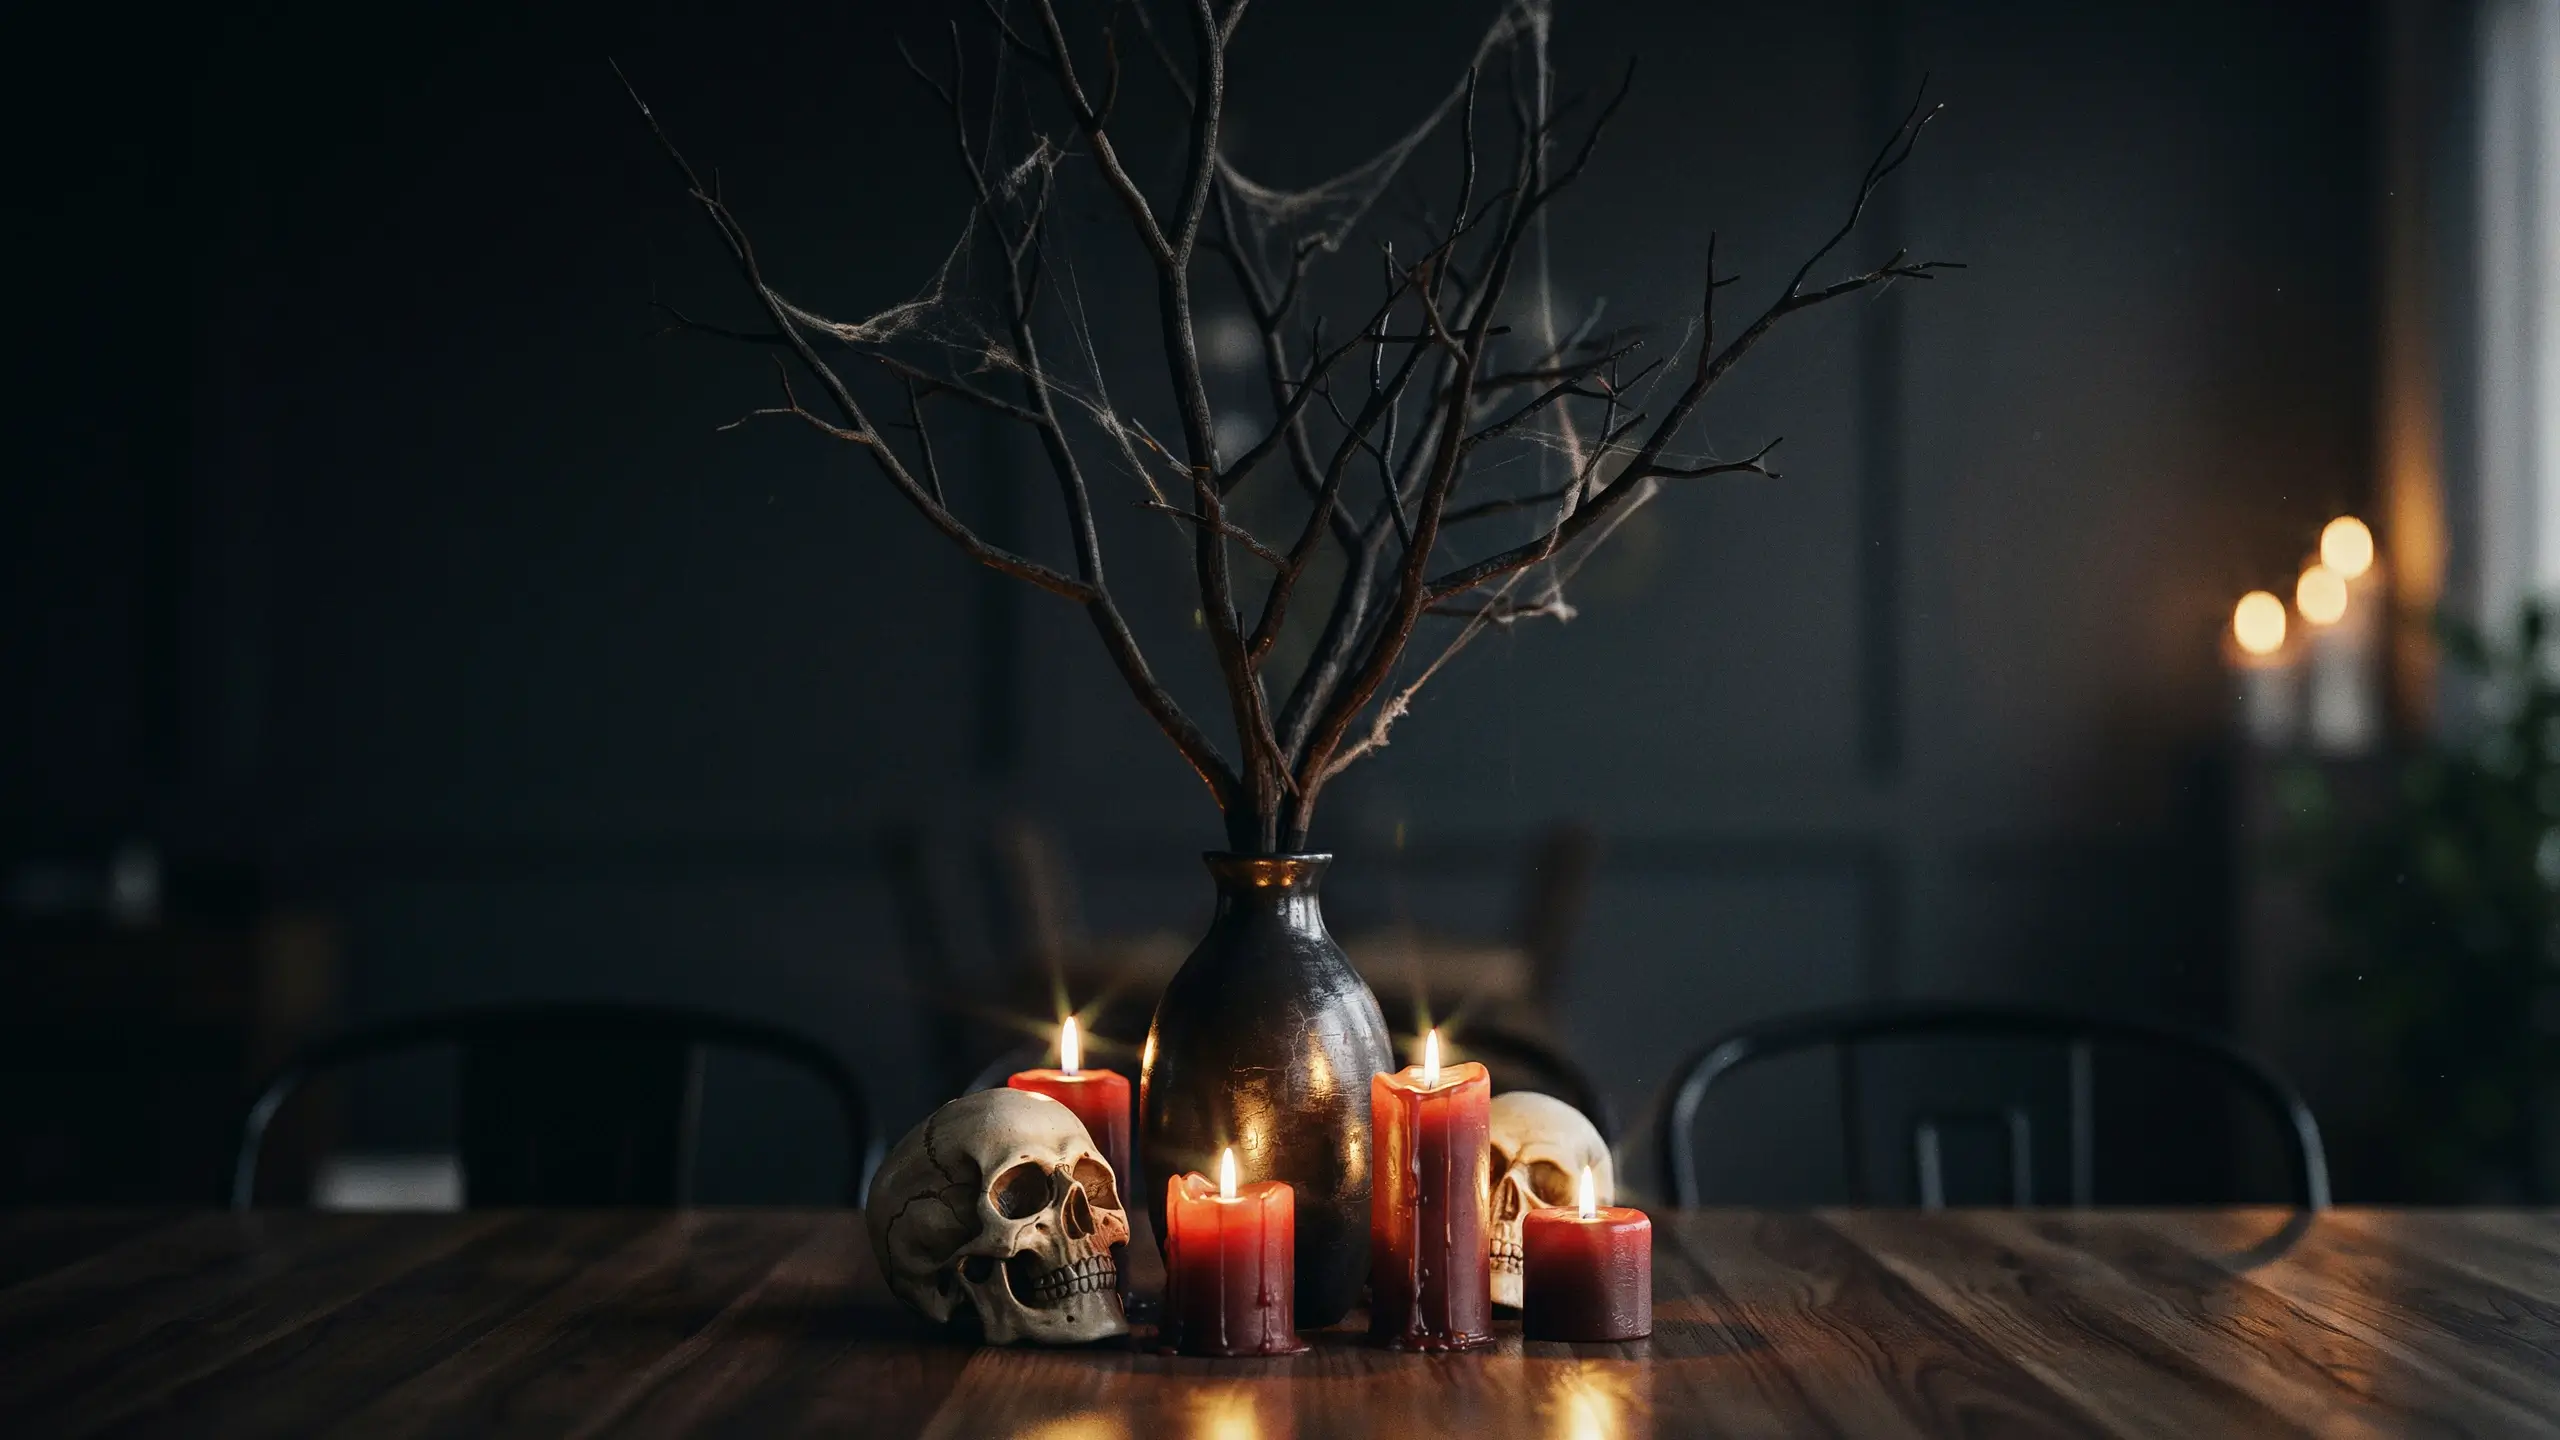
Buy the most dramatic, bare-limbed branches you can find at a craft store or trim from your yard. Spray paint them matte black. Place them in a tall, dark vase (a black-sprayed thrift store vase works perfectly). Drape a few faux spider webs through the branches. Add a skull or two at the base, a couple of orange pillar candles, and you have a centerpiece that looks like it belongs in an editorial shoot.
This one photographs incredibly well on dark backgrounds. Great on a dining table, console table, or fireplace mantel.
Cost: Under $15, often under $5 if you grab branches outside.
3. Window Silhouettes (The One Everyone Drives Past and Loves)
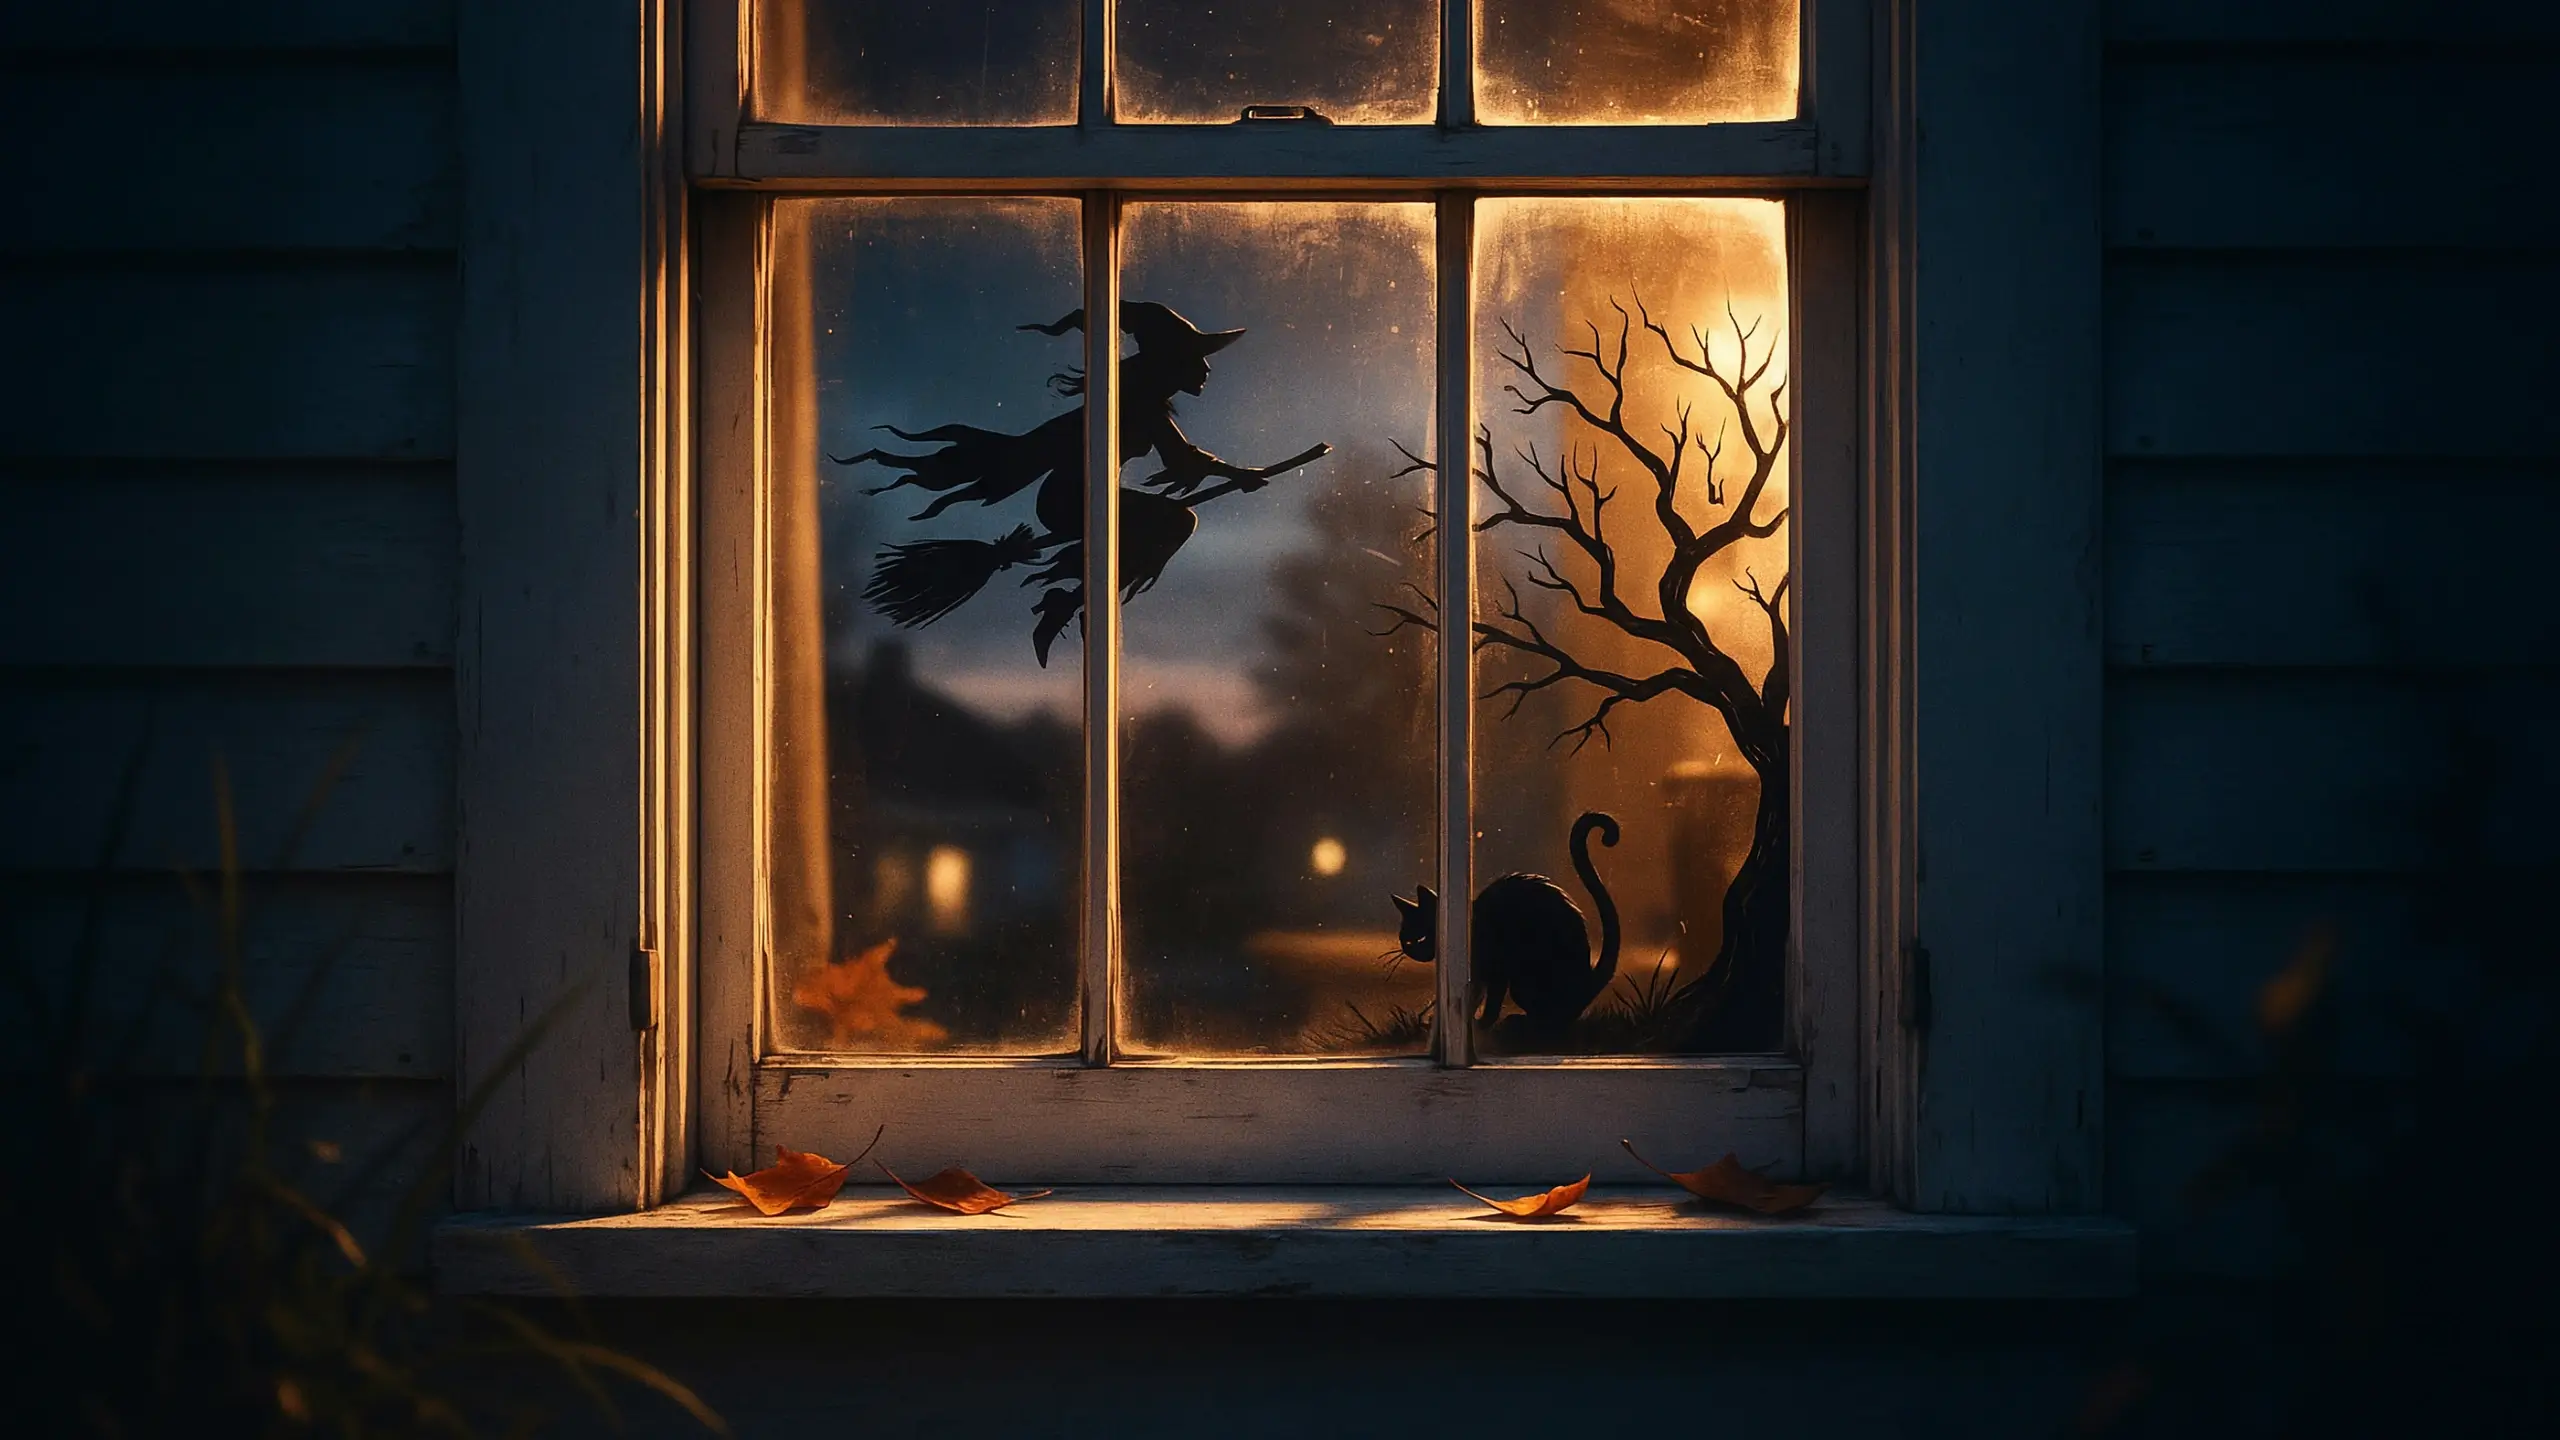
Cut Halloween shapes from black cardstock or foam board: a witch on a broomstick, a hunched cat, a bare tree, a cauldron. Tape them to the inside of windows facing the street. At night, with your interior lights on, the silhouettes project outward like shadow art.
This is one of the most low-cost, high-impact DIY Halloween decor projects you can do. Templates are free online. A single sheet of black foam board from the dollar store gives you enough for three or four windows.
Cost: $1-3 total. Renter-friendly: Completely. Tape goes inside the window frame.
4. Haunted Bookshelf (For the Book Lovers)
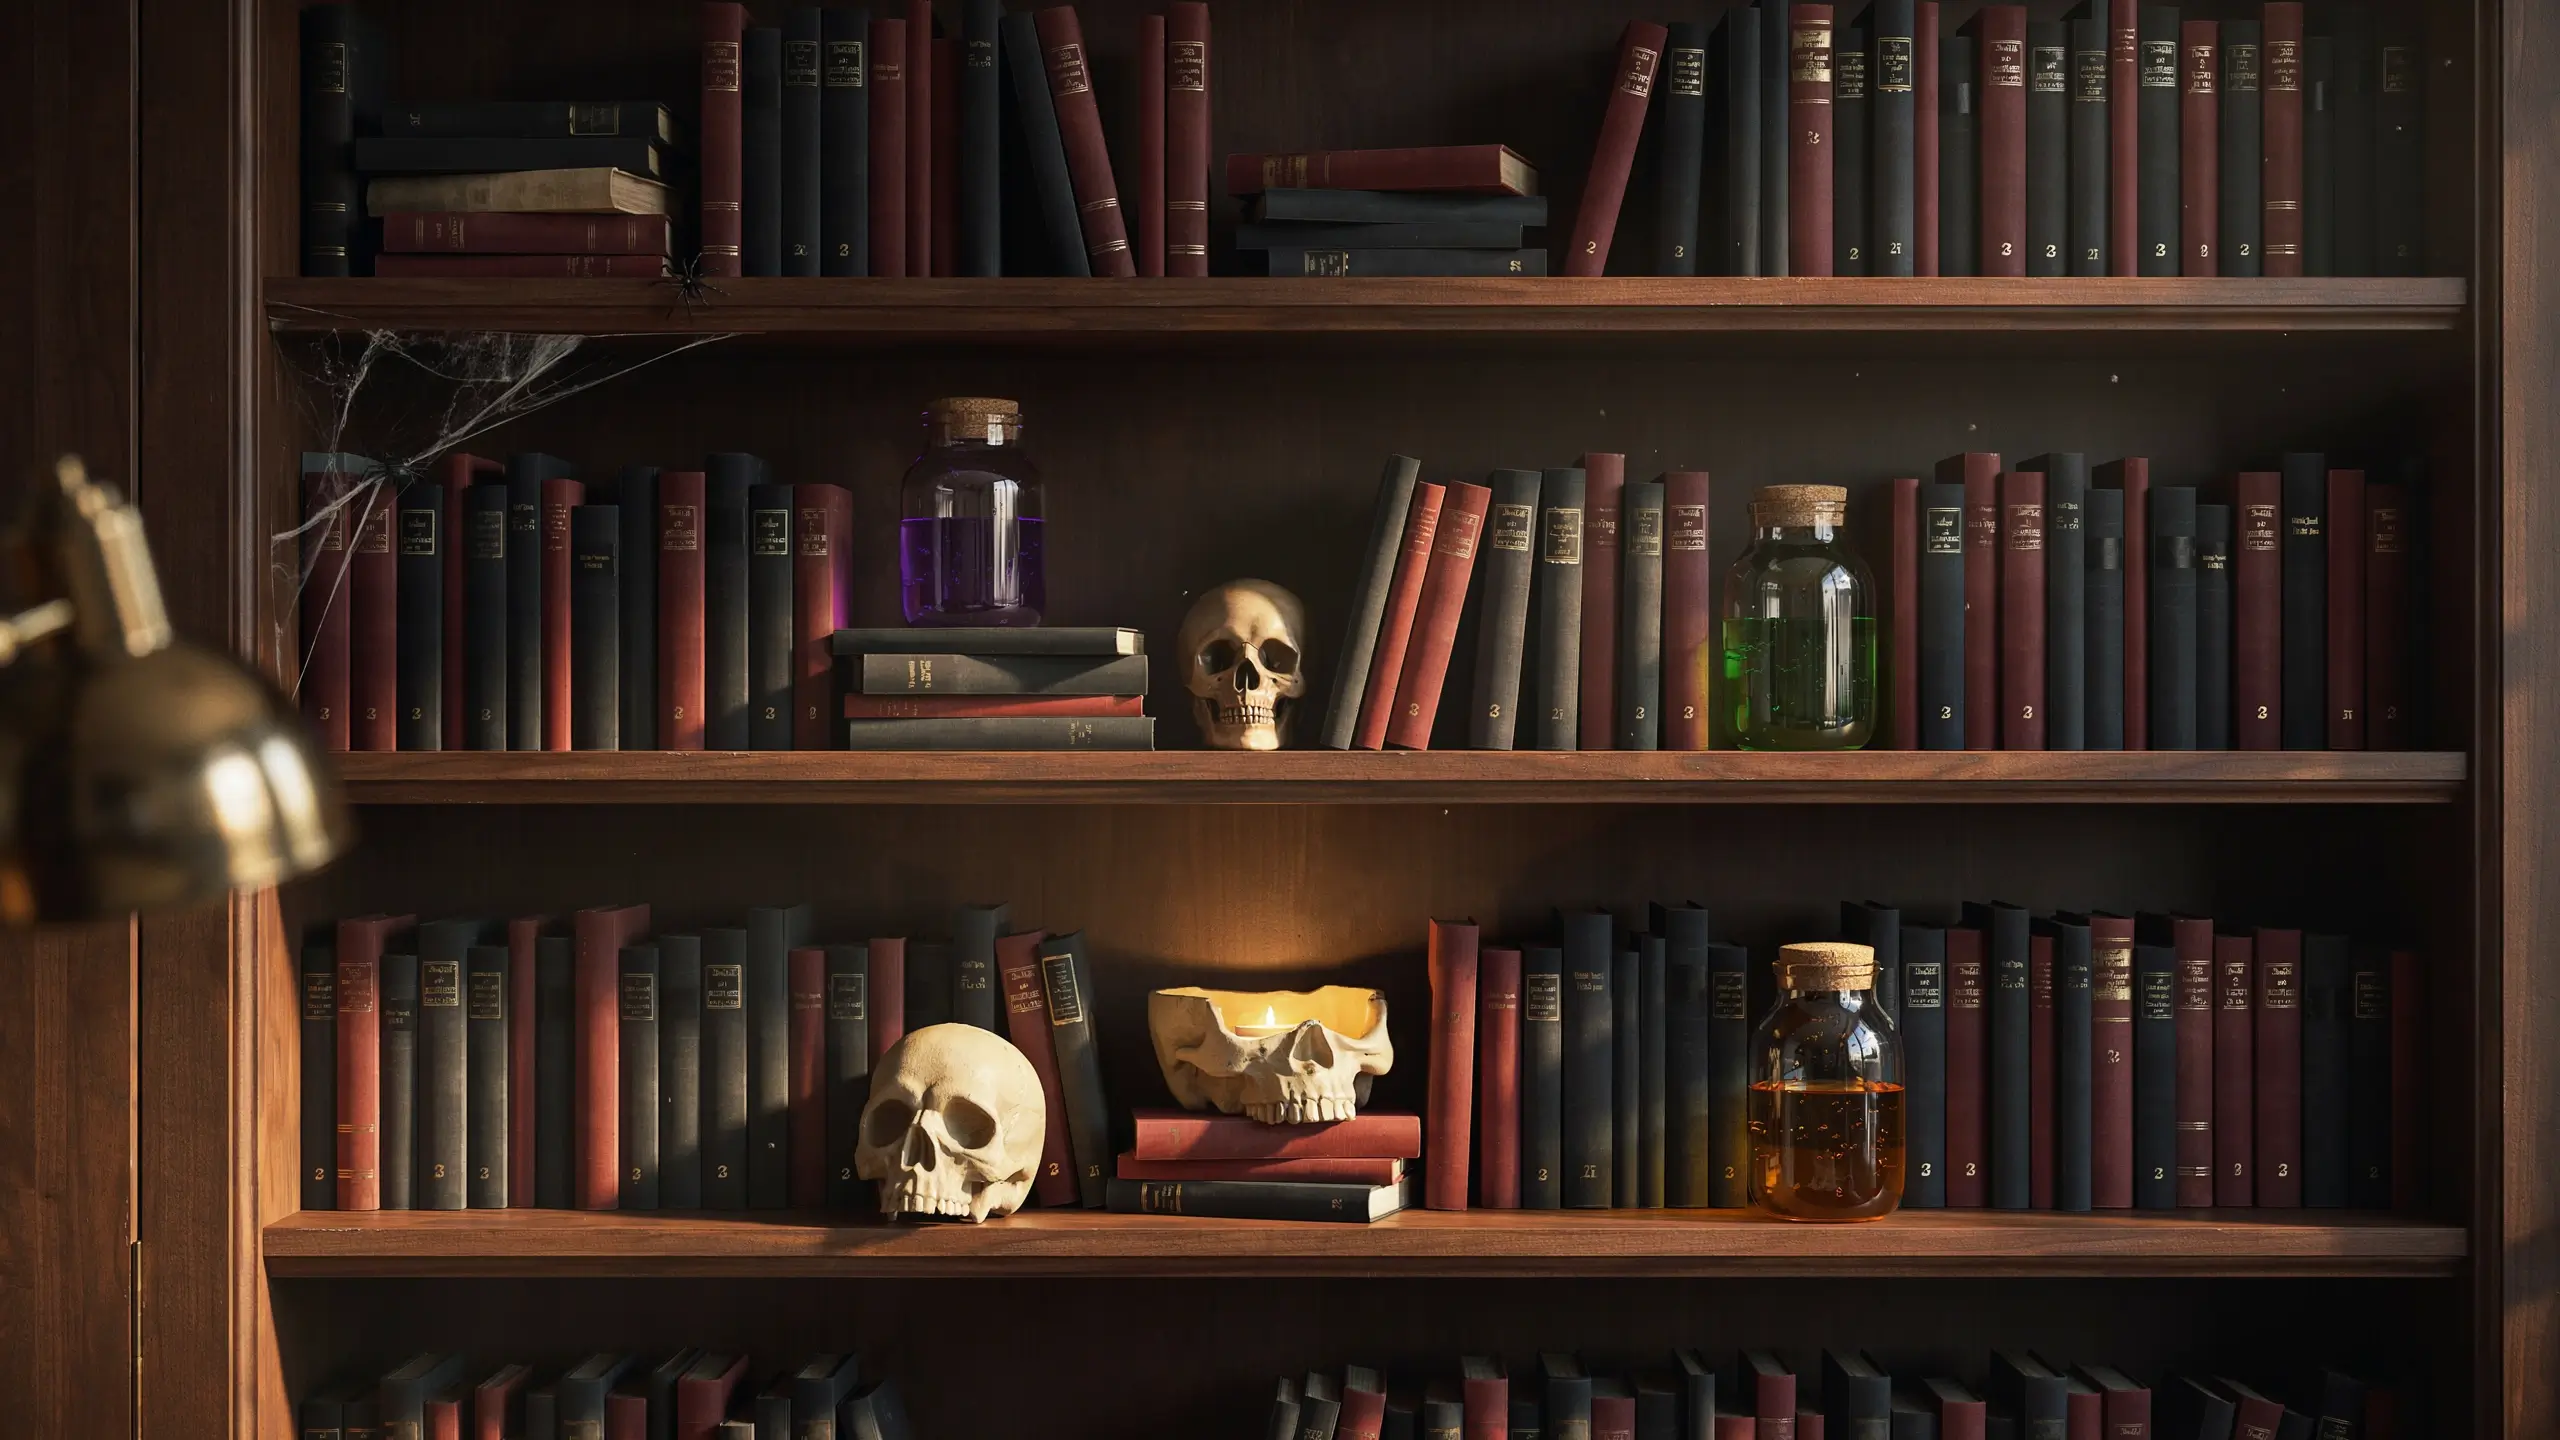
Take your existing bookshelf and rearrange it for October. Pull books with dark or black spines to the front. Tuck small skulls between stacks. Add a few apothecary-style bottles filled with colored water (food coloring plus water in any glass jar). Drop a LED tea light into a skull-shaped candy bowl and set it on the shelf. Drape a thin layer of faux spider web across one corner.
No buying required if you already have books and a few old jars. This is the definition of “styled, not purchased.”
5. Tissue Paper Luminaries
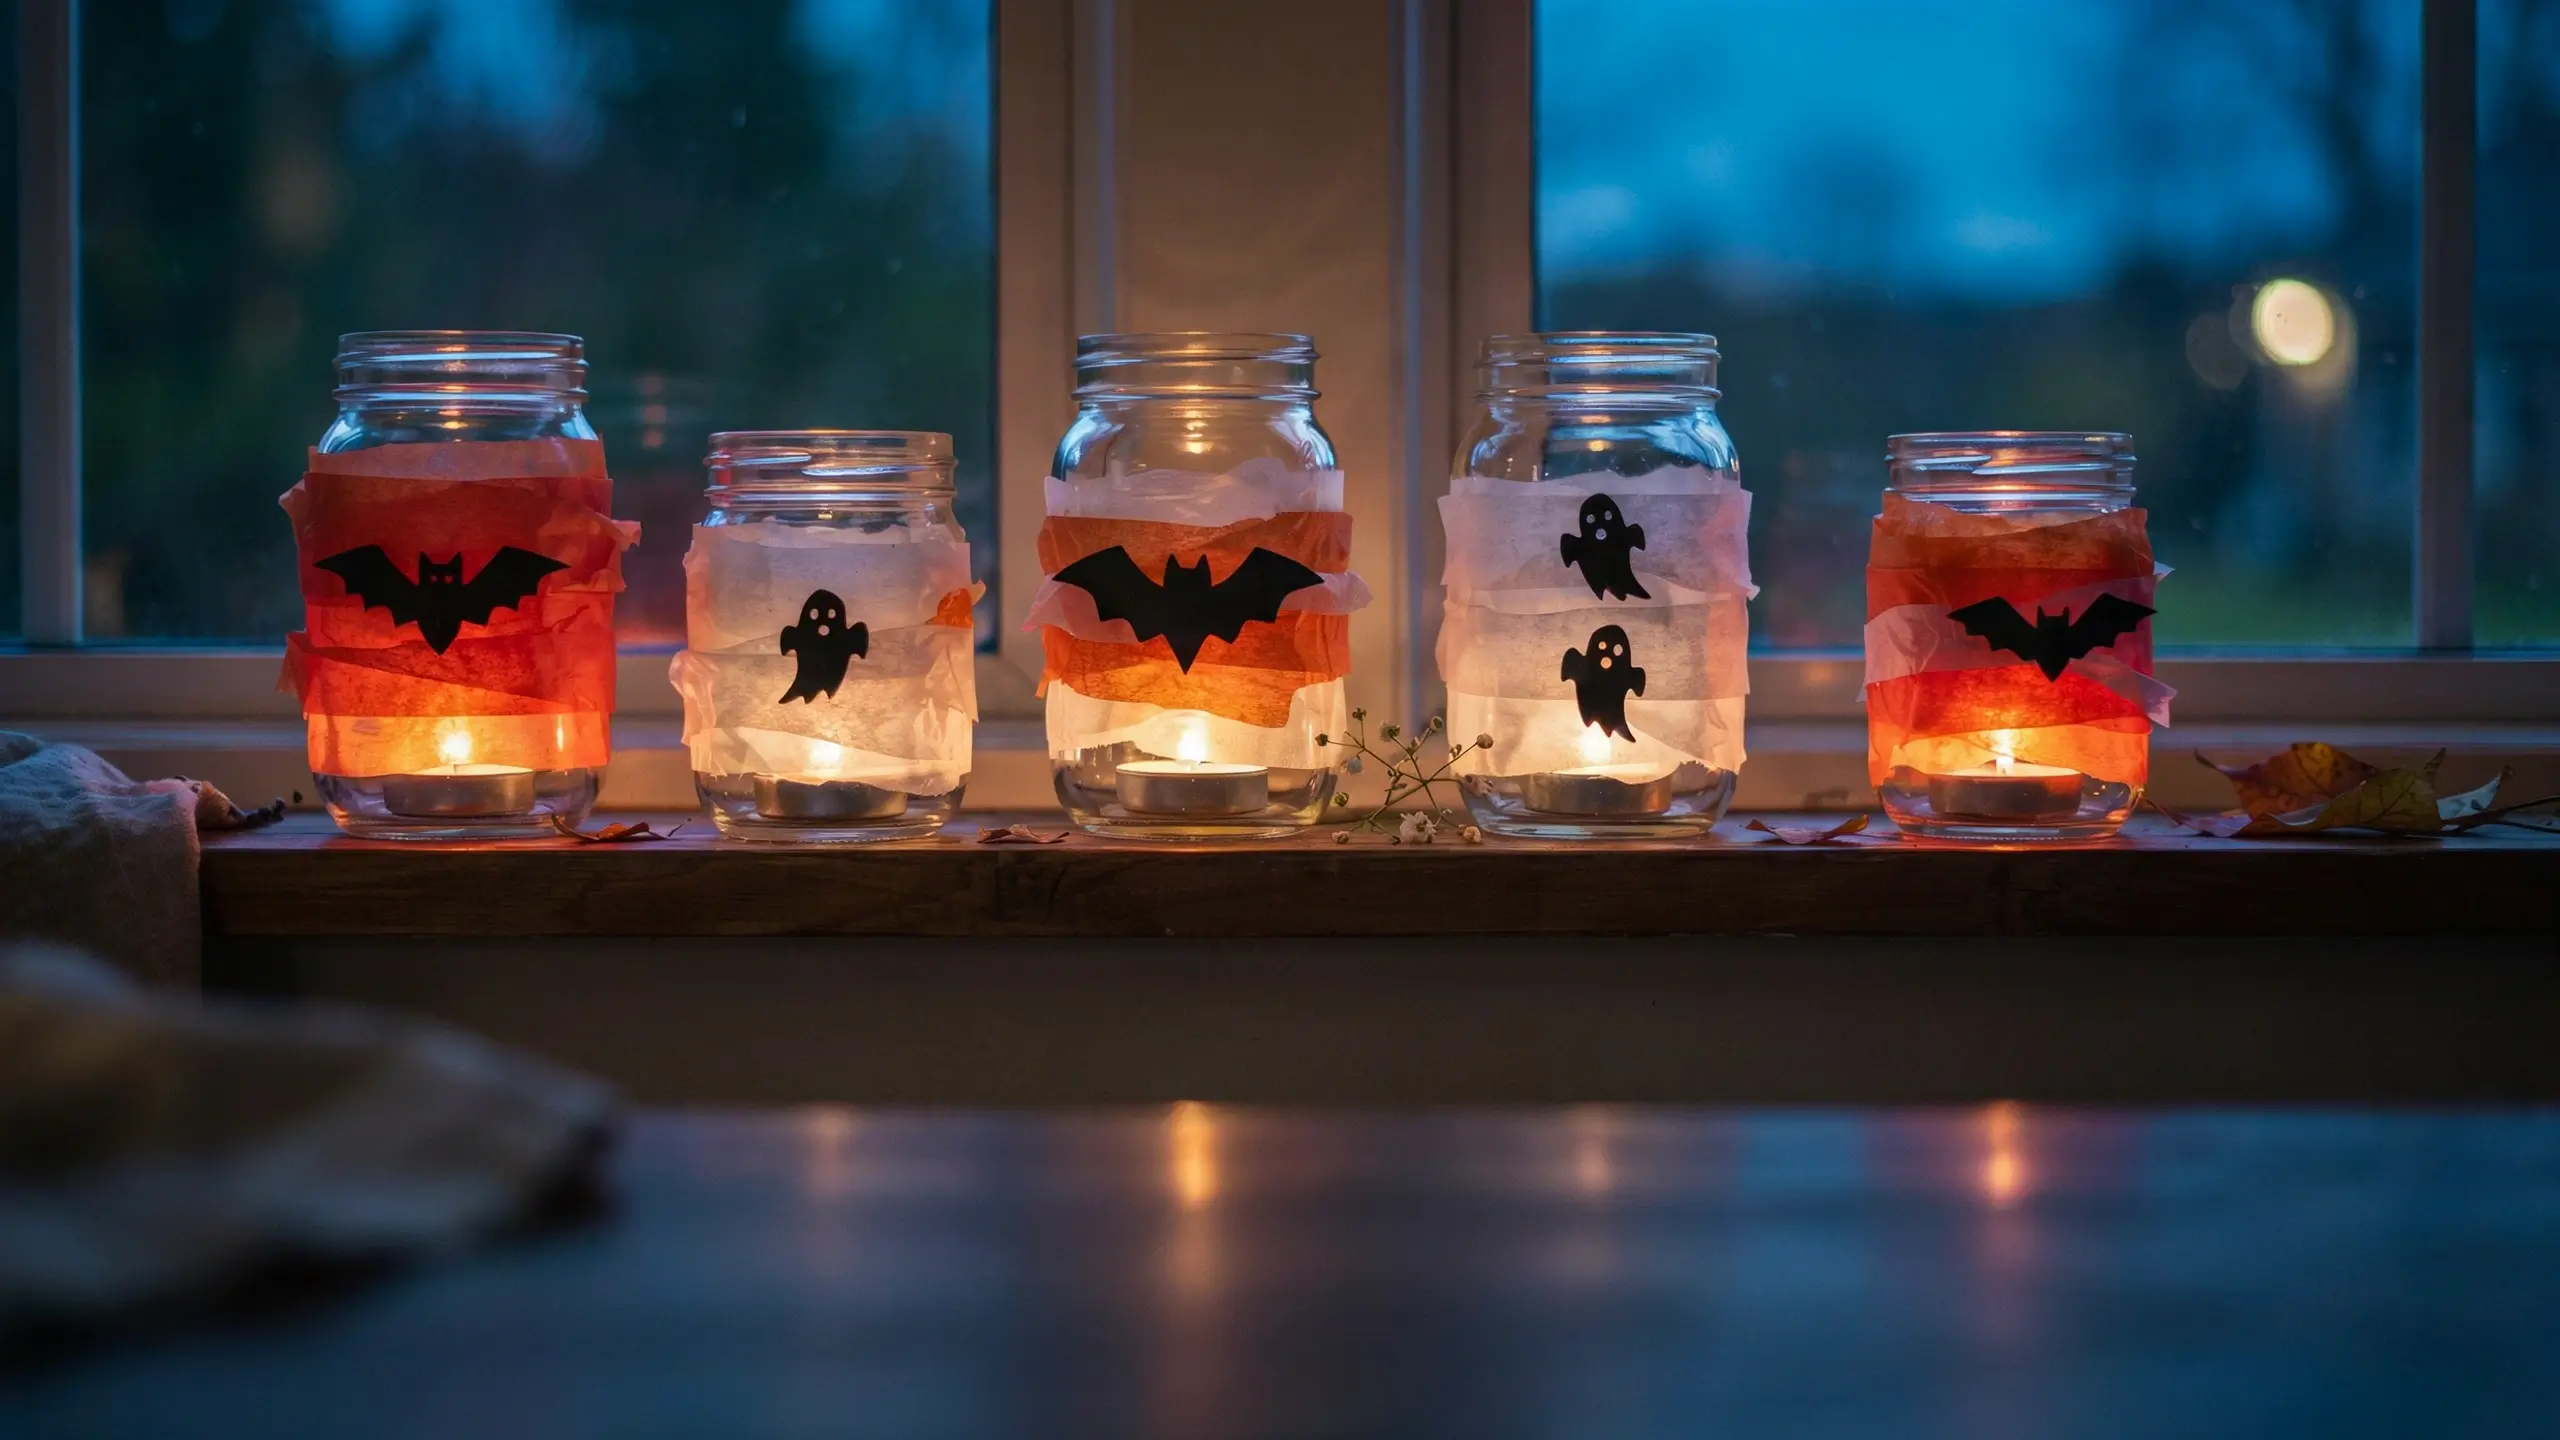
Clean out a few glass jars or wide-mouth mason jars. Brush Mod Podge on the outside of the jar and layer torn pieces of orange or white tissue paper, overlapping as you go. Seal with another coat of Mod Podge. While it’s drying, cut small bats, ghost faces, or pumpkin shapes from black cardstock and glue them on. Drop in a battery-operated tea light and line them along a windowsill or the center of your table.
They glow warmly and look much more expensive than they are. A pack of 100 battery tea lights from Amazon runs about $12 and is worth every penny for this and a dozen other projects.
Cost: Under $5 if you already have jars.
6. Mummy Mason Jars (Candy Holders or Shelf Decor)
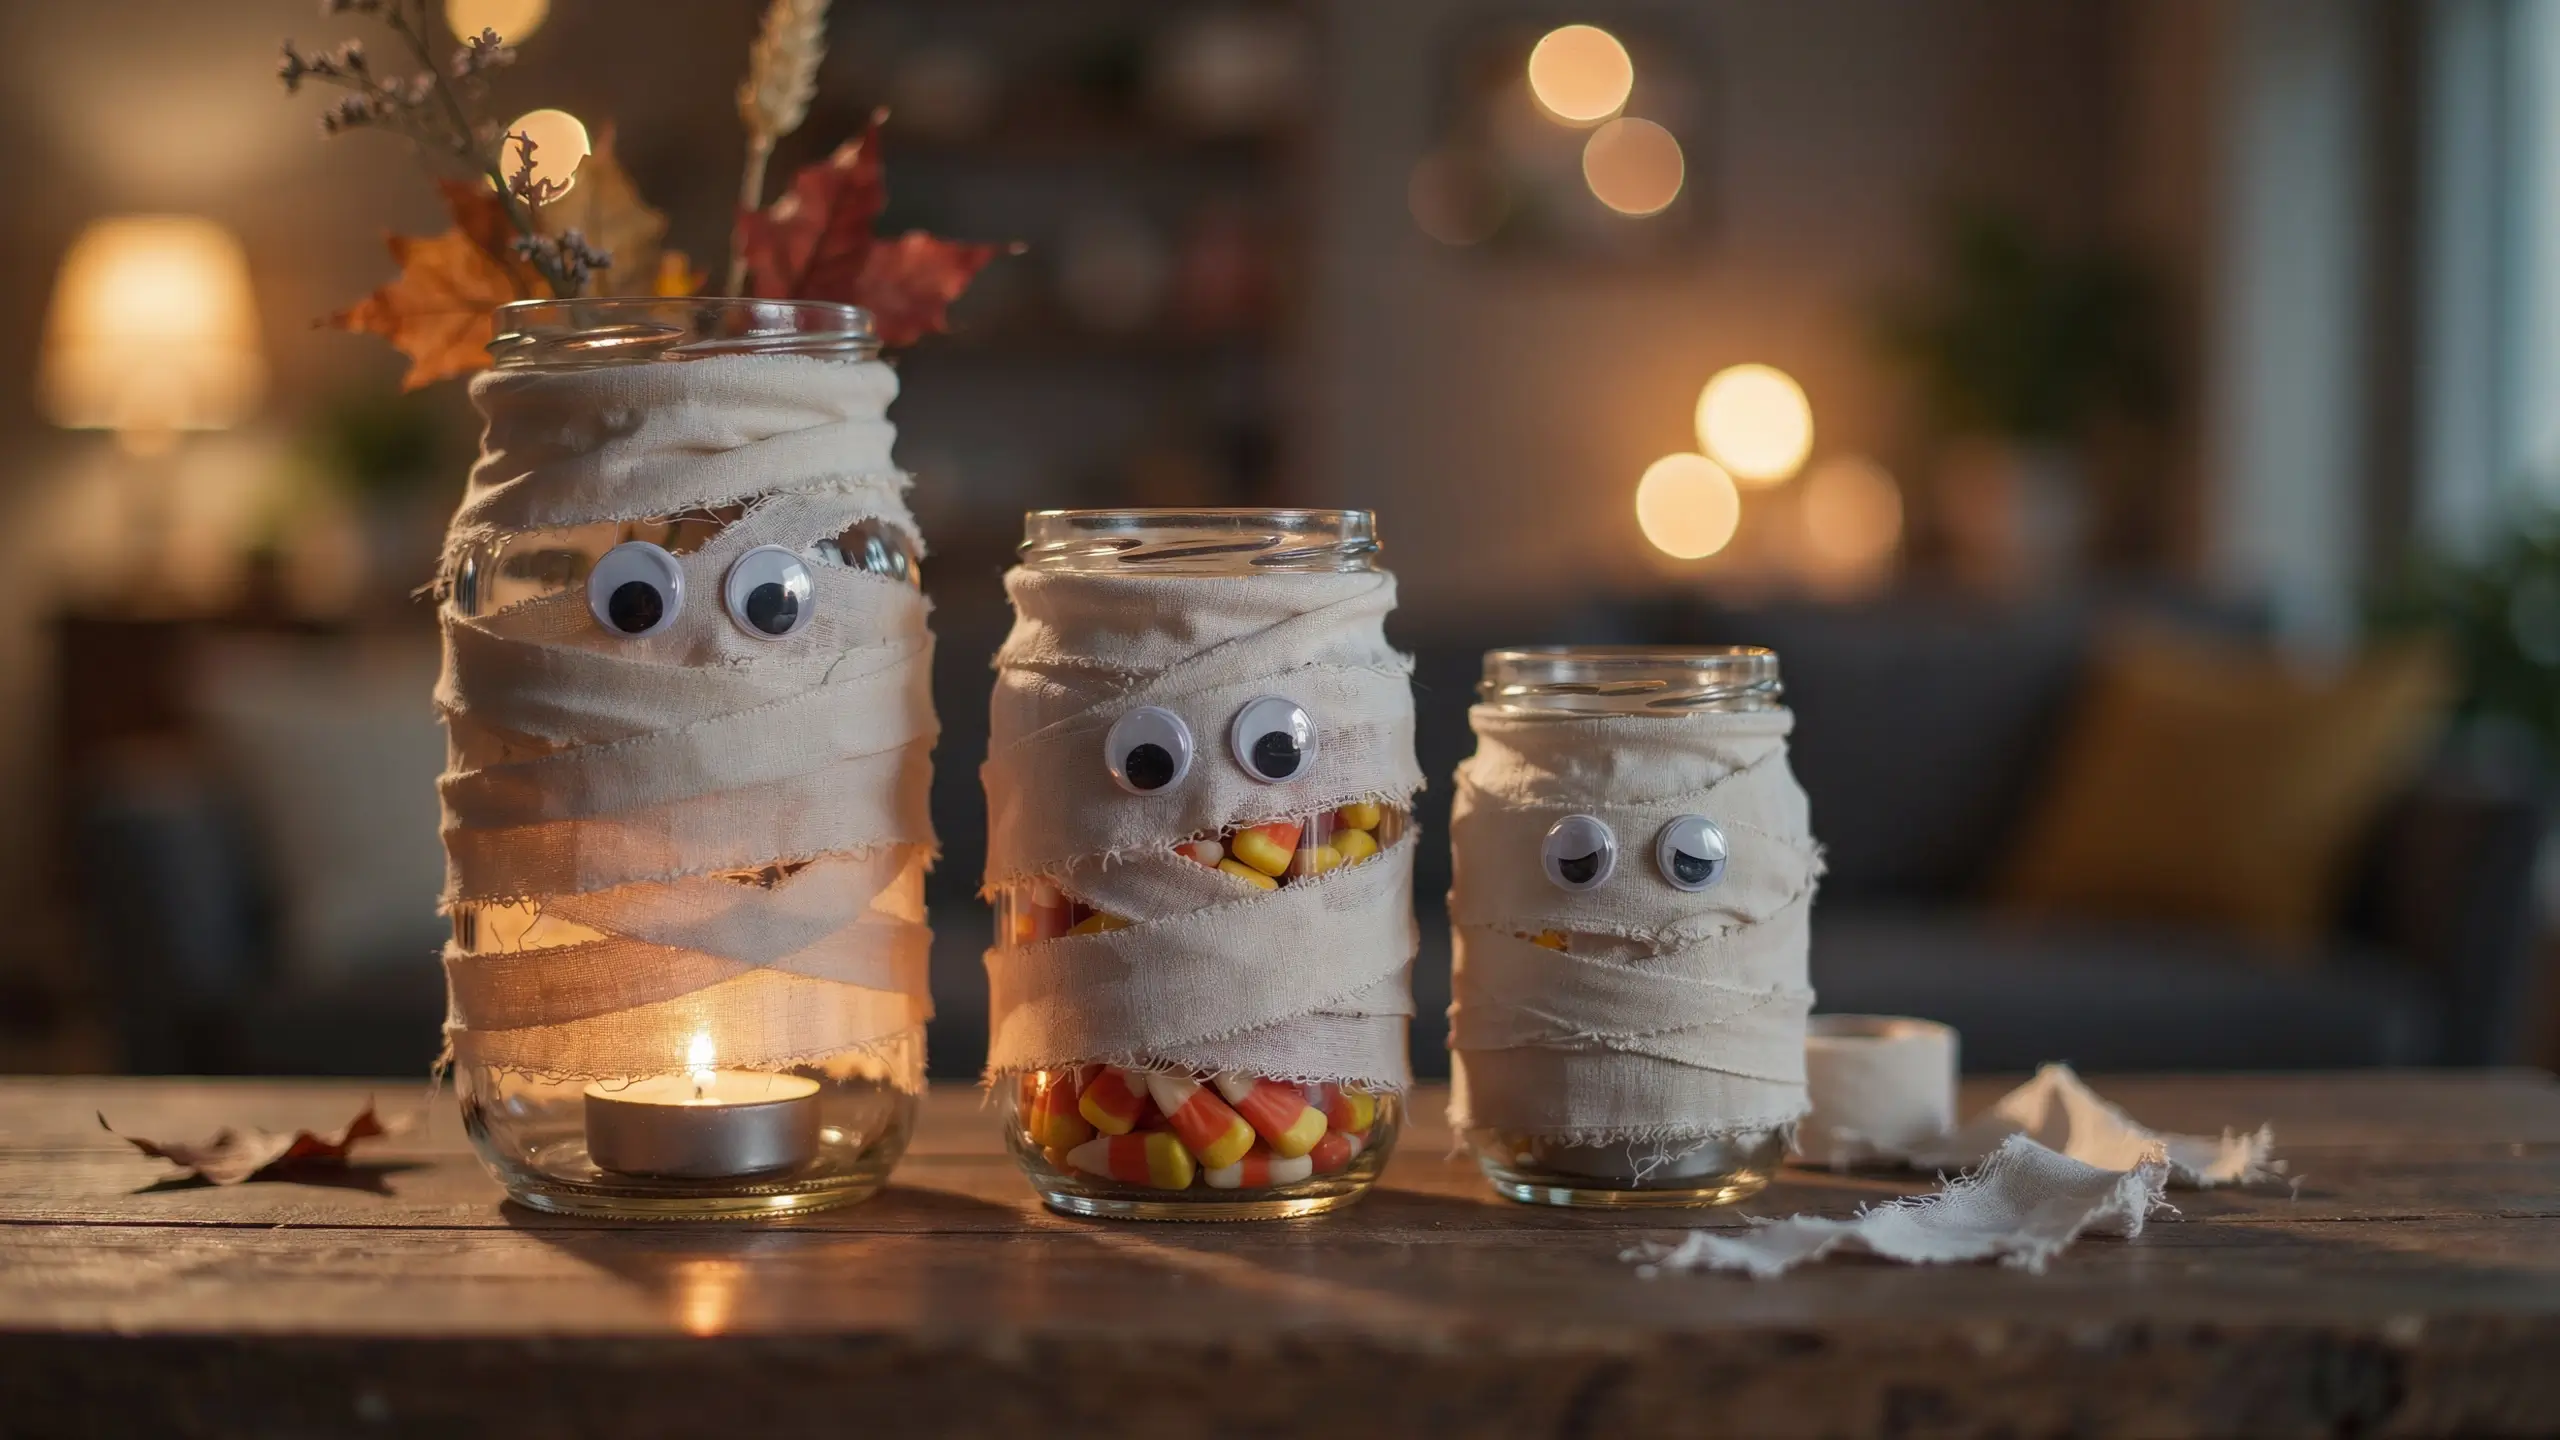
Wrap mason jars in strips of gauze or white medical tape, leaving gaps like uneven bandaging. Glue on two googly eyes (or draw them with black paint). Fill with LED tea lights, candy corn, or leave empty for decoration. They look adorable grouped in threes and work as candle holders or treat containers on a table.
Cost: Under $3 per jar. Kid-friendly: Yes. No sharp tools needed.
7. Potion Bottle Mantel Display
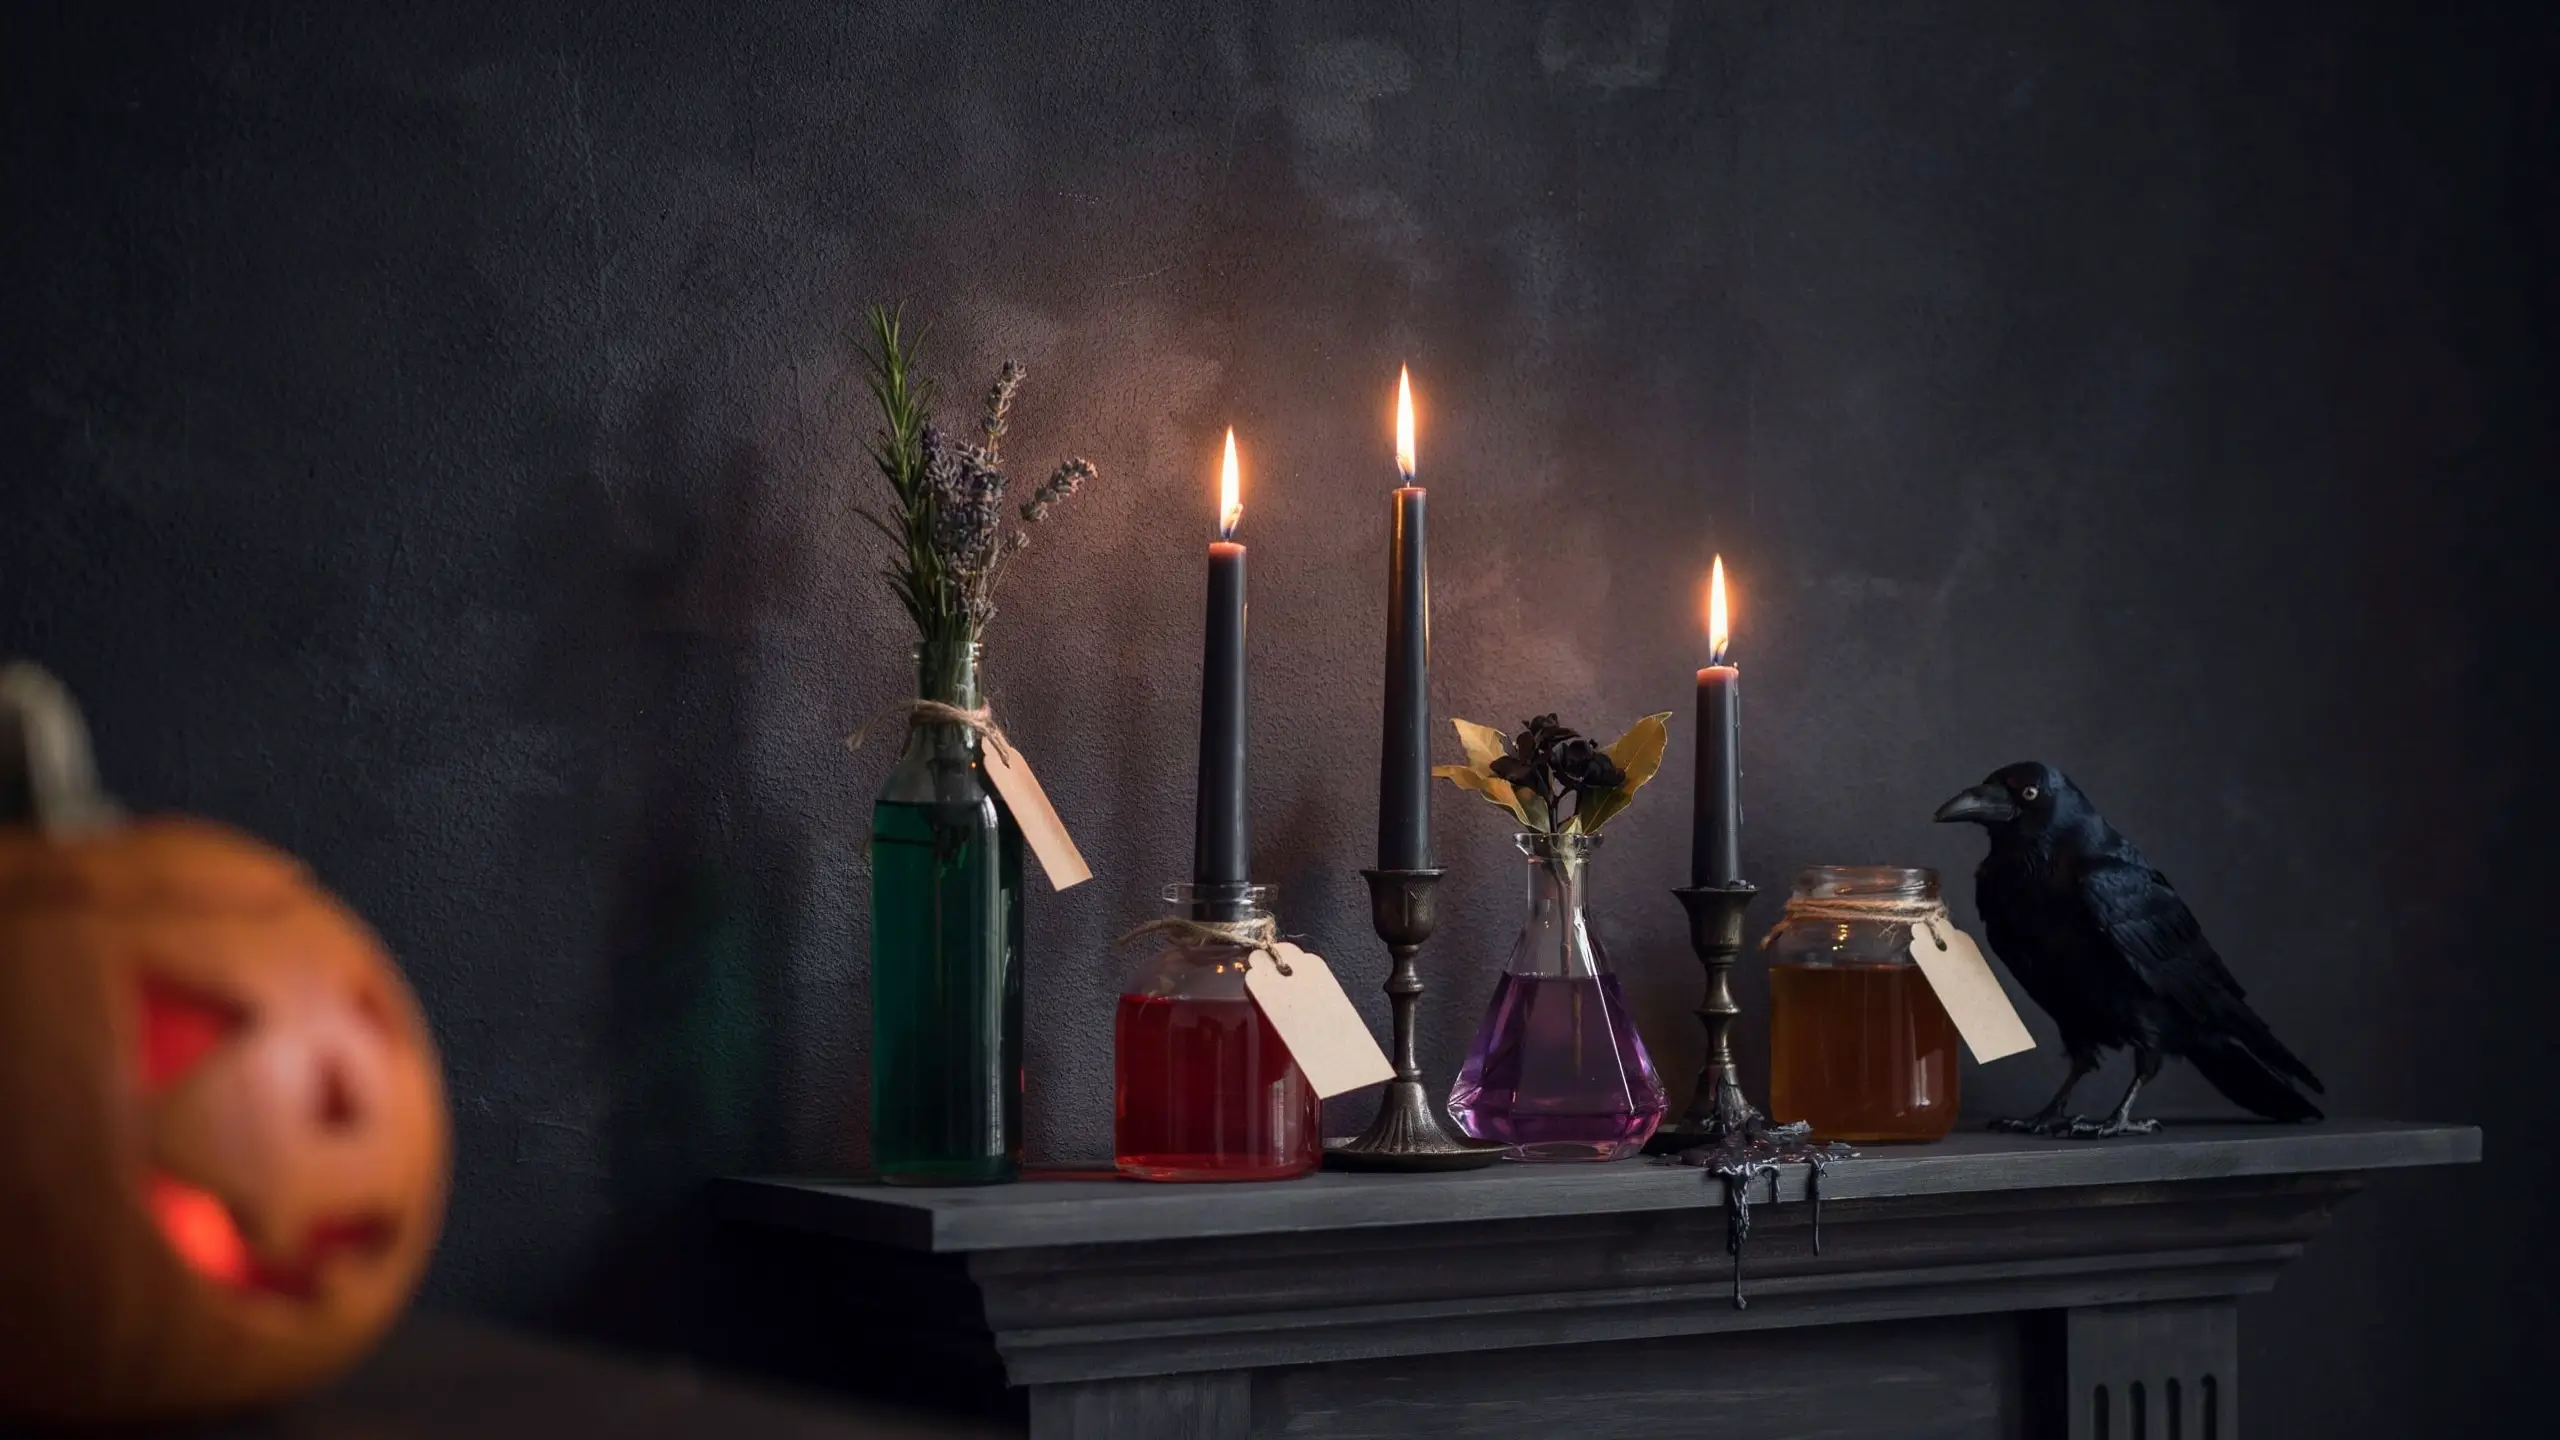
Hit your local thrift store for old glass bottles, apothecary jars, and candlestick holders in different heights. Fill bottles with colored water (add a few drops of food coloring), dried herbs, or small faux flowers. Make hand-lettered labels from craft paper: Eye of Newt, Midnight Draught, Essence of Cobweb. Arrange them at different heights on your mantel along with a few taper candles in matte black candlesticks.
This is the moody Gothic look that gets re-pinned constantly. It works year after year and stores flat in a bag.
Cost: $10-20 depending on thrift store finds.
8. Black Bat Wall Swarm
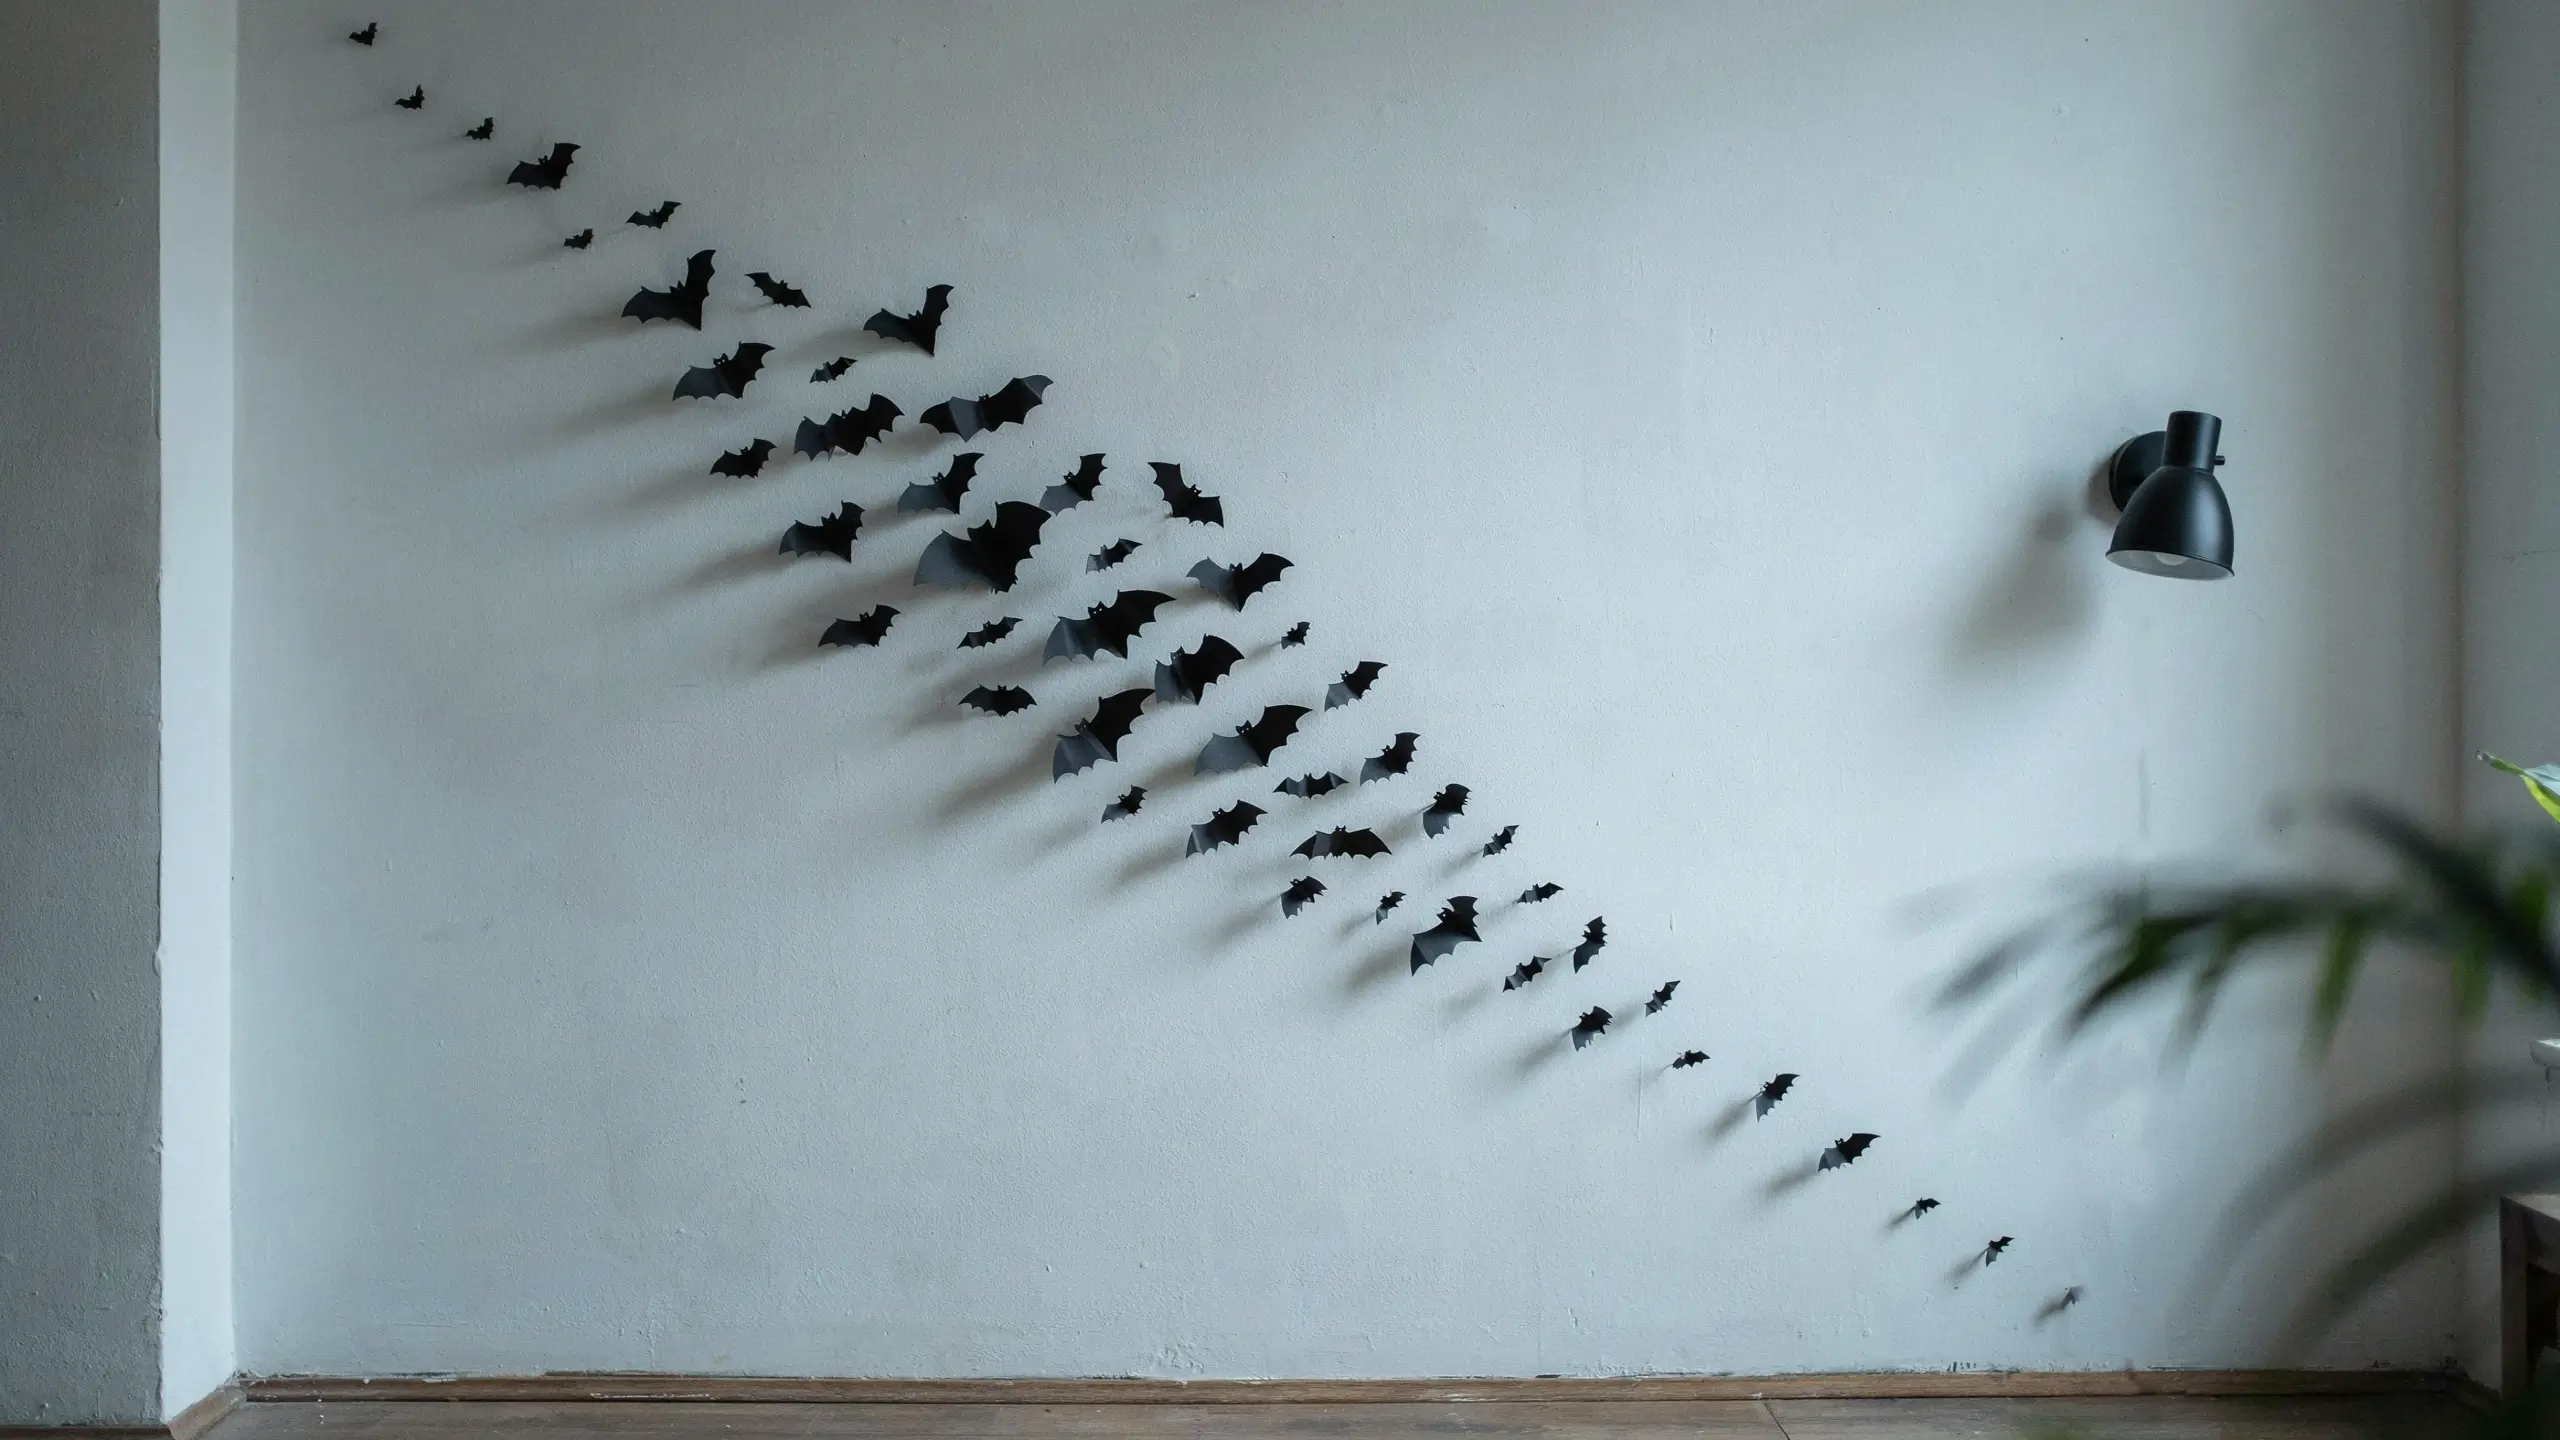
Cut dozens of bat shapes from black cardstock. No template needed. A bat is just a body oval with two M-shaped wings on either side. Fold the wings slightly so they lift off the wall. Attach with small loops of painter’s tape or removable mounting putty in a swirling formation across a wall corner or above a doorway.
The volume is what makes this look impressive. Forty small bats look far better than five large ones. Set aside 30 minutes, put on a horror movie, and cut them all at once.
Cost: Under $3 for a dramatic effect. Renter-friendly: 100%. Painter’s tape or poster putty leaves no marks.
9. Witchy Dried Botanical Wreath
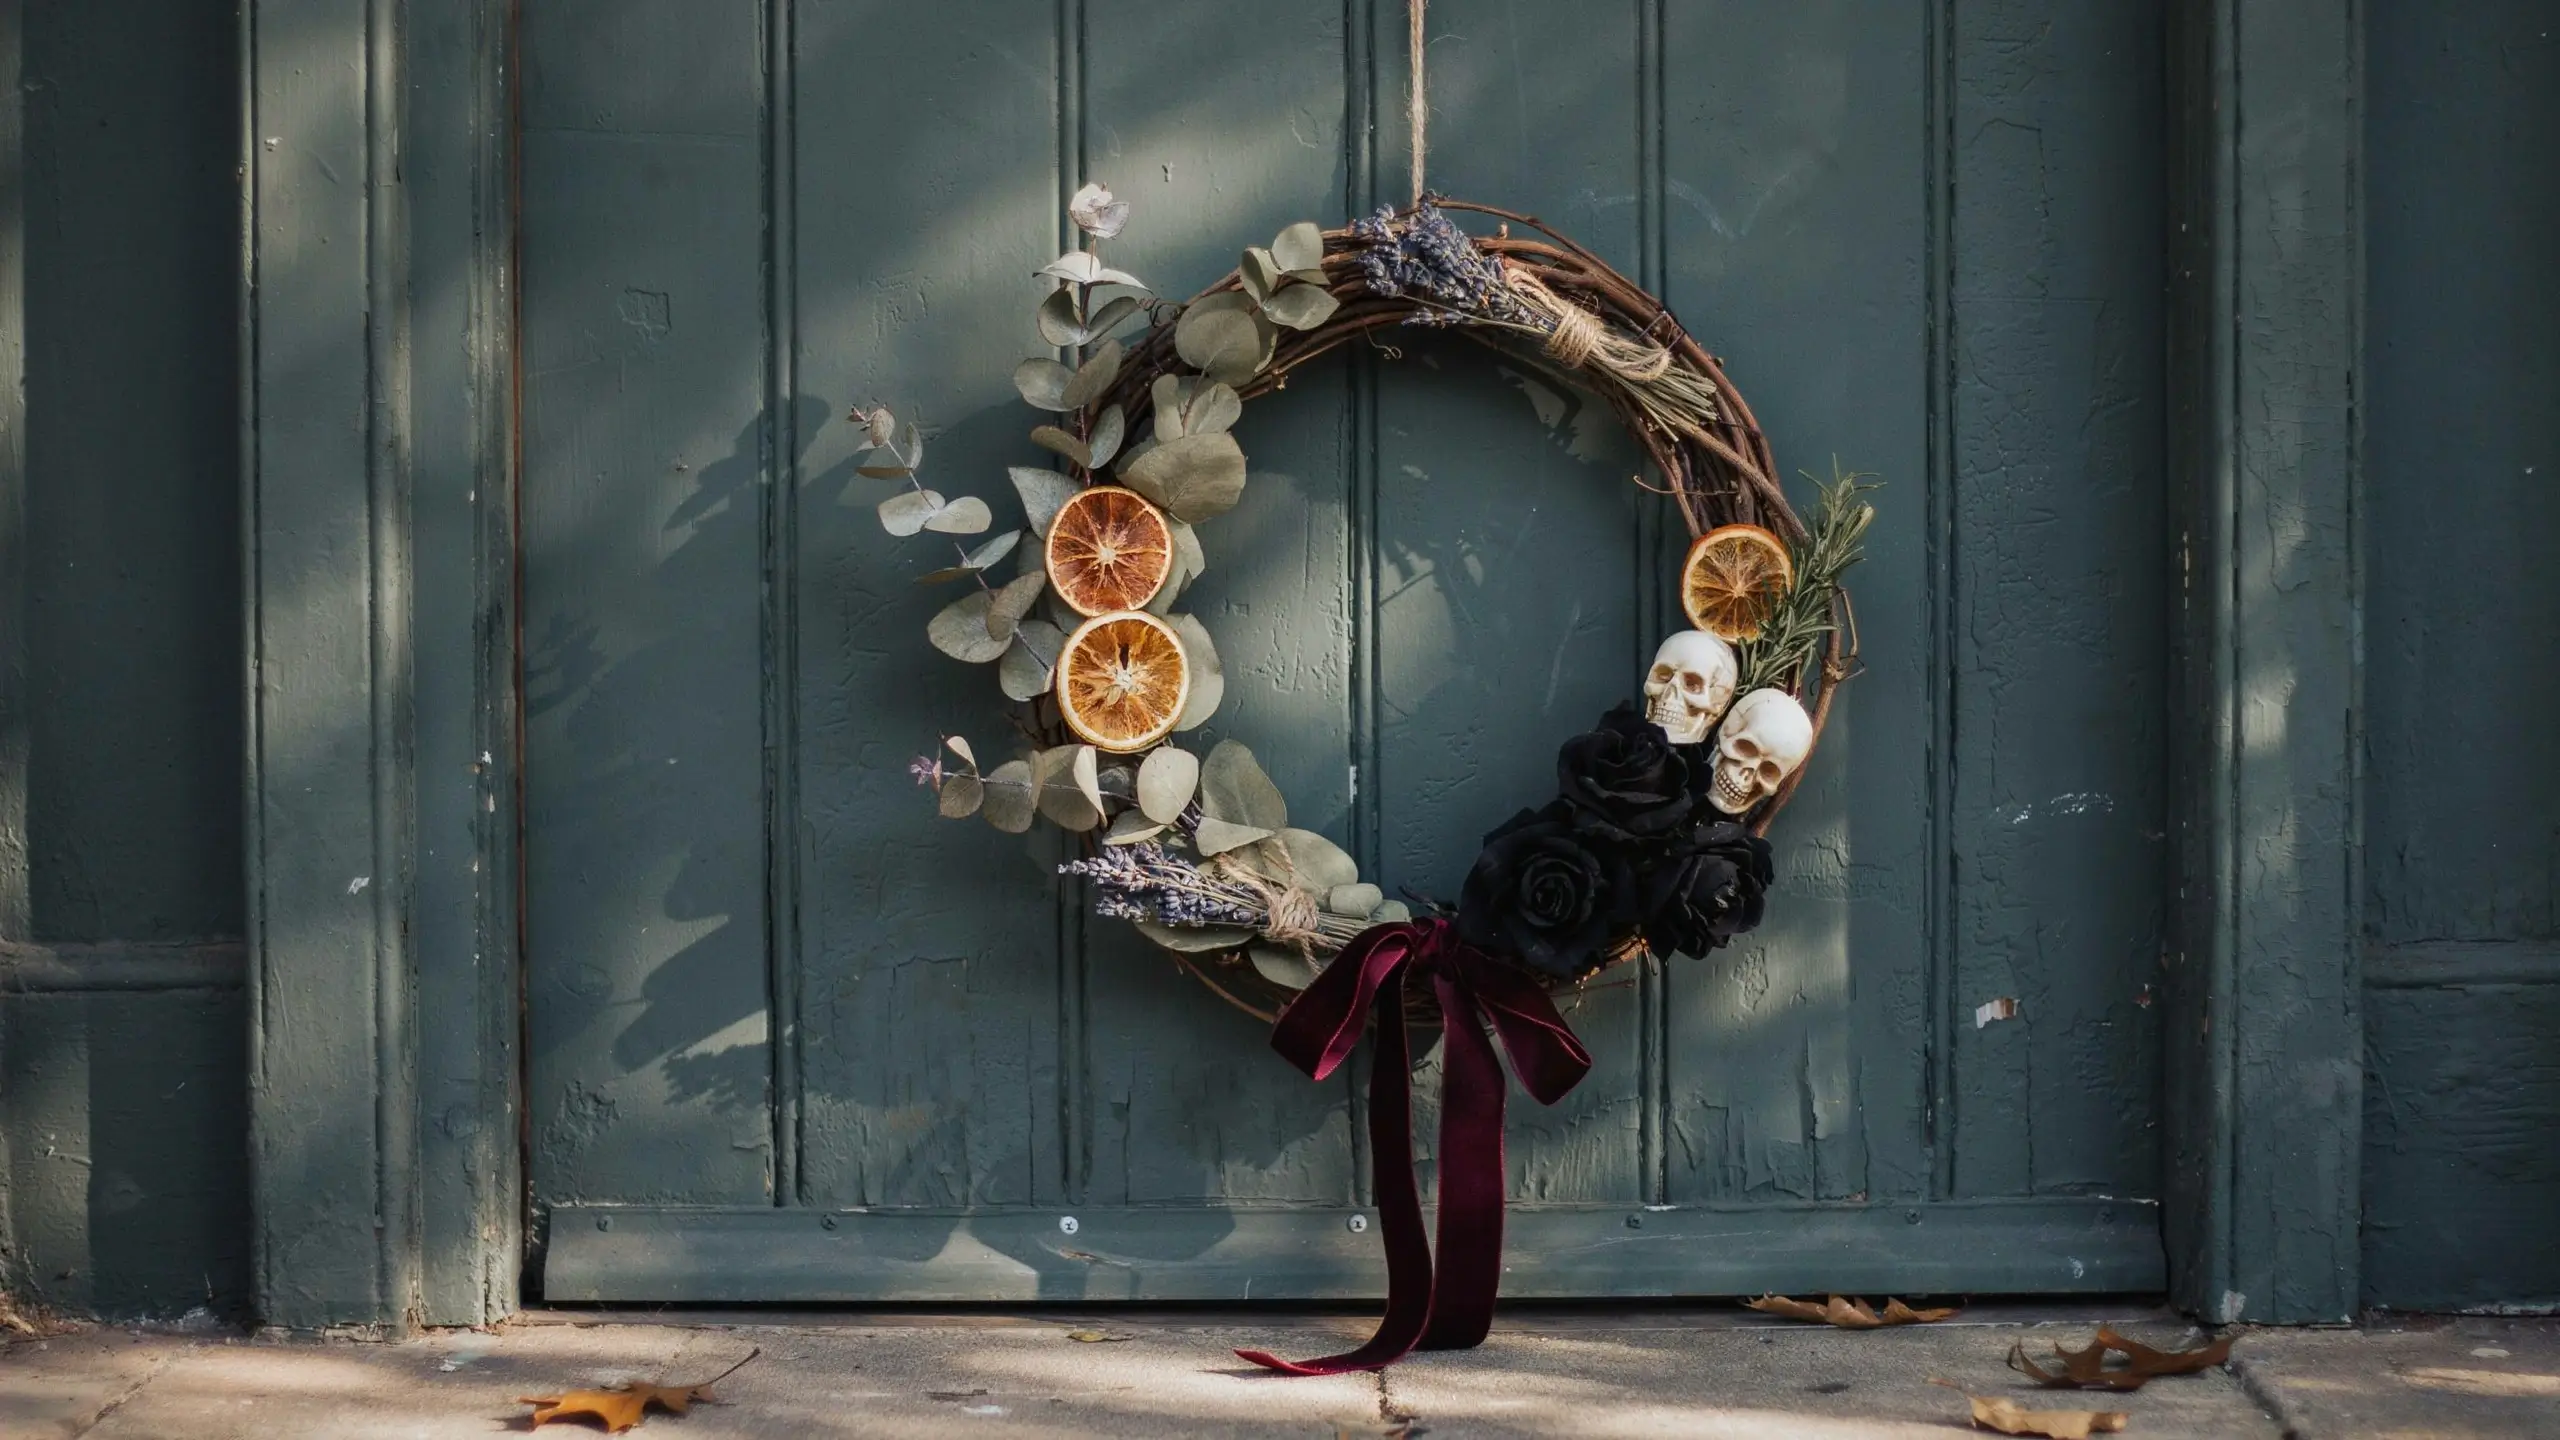
Buy a grapevine or twig wreath base from any craft store. Hot glue dried eucalyptus, preserved black roses (spray paint real dried roses or use faux), dried orange slices, a few small skulls, and twine-wrapped bundles of dried herbs. Tie a wide velvet ribbon in black or deep burgundy to finish.
This wreath doesn’t look like Halloween, exactly. It looks like a lifestyle brand’s October flat lay, and that’s exactly why it performs so well on Pinterest. It’s also reusable through Thanksgiving with a simple swap of the accents.
Cost: $15-25.
10. Floating Witch Hat Ceiling Installation
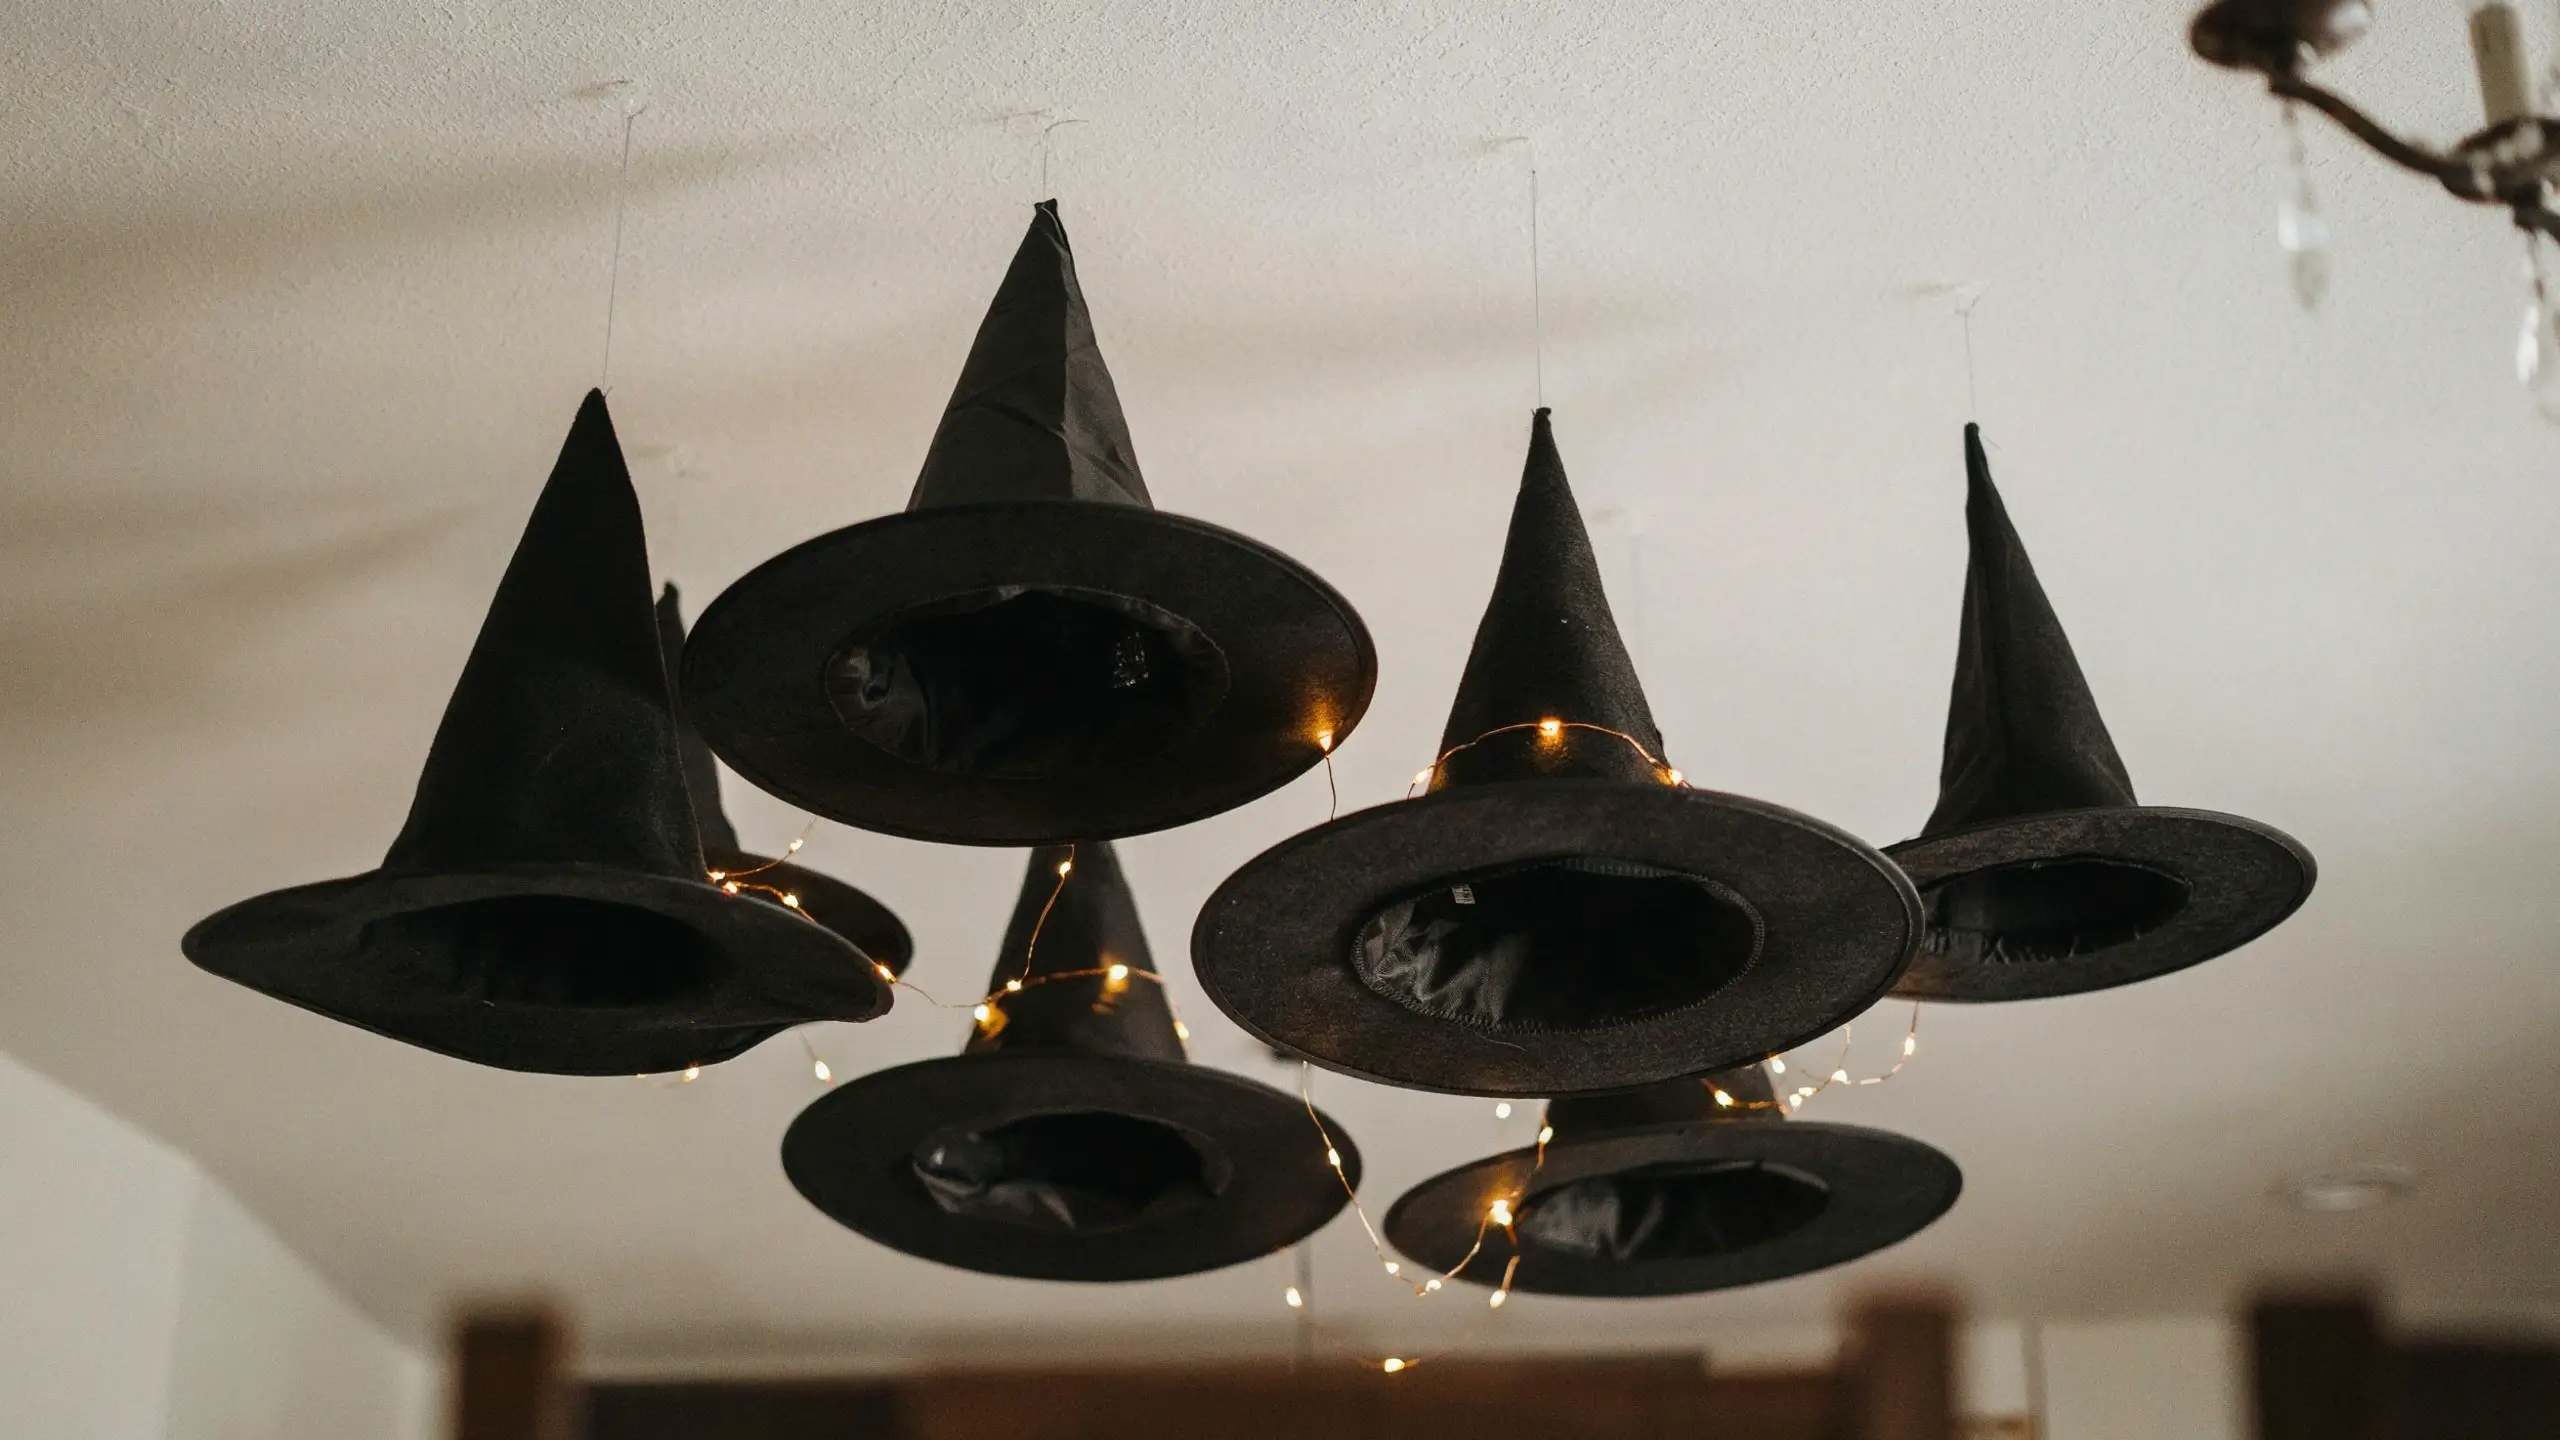
Hot glue varying sizes of witch hats together in a dramatic cluster, then attach to the ceiling with clear fishing line and a command hook. Combine with orange fairy lights draped nearby for a festive but genuinely striking overhead display.
Works especially well over a dining table or in an entryway. The silhouette from below looks eerie and unexpected.
11. DIY Framed Halloween Art
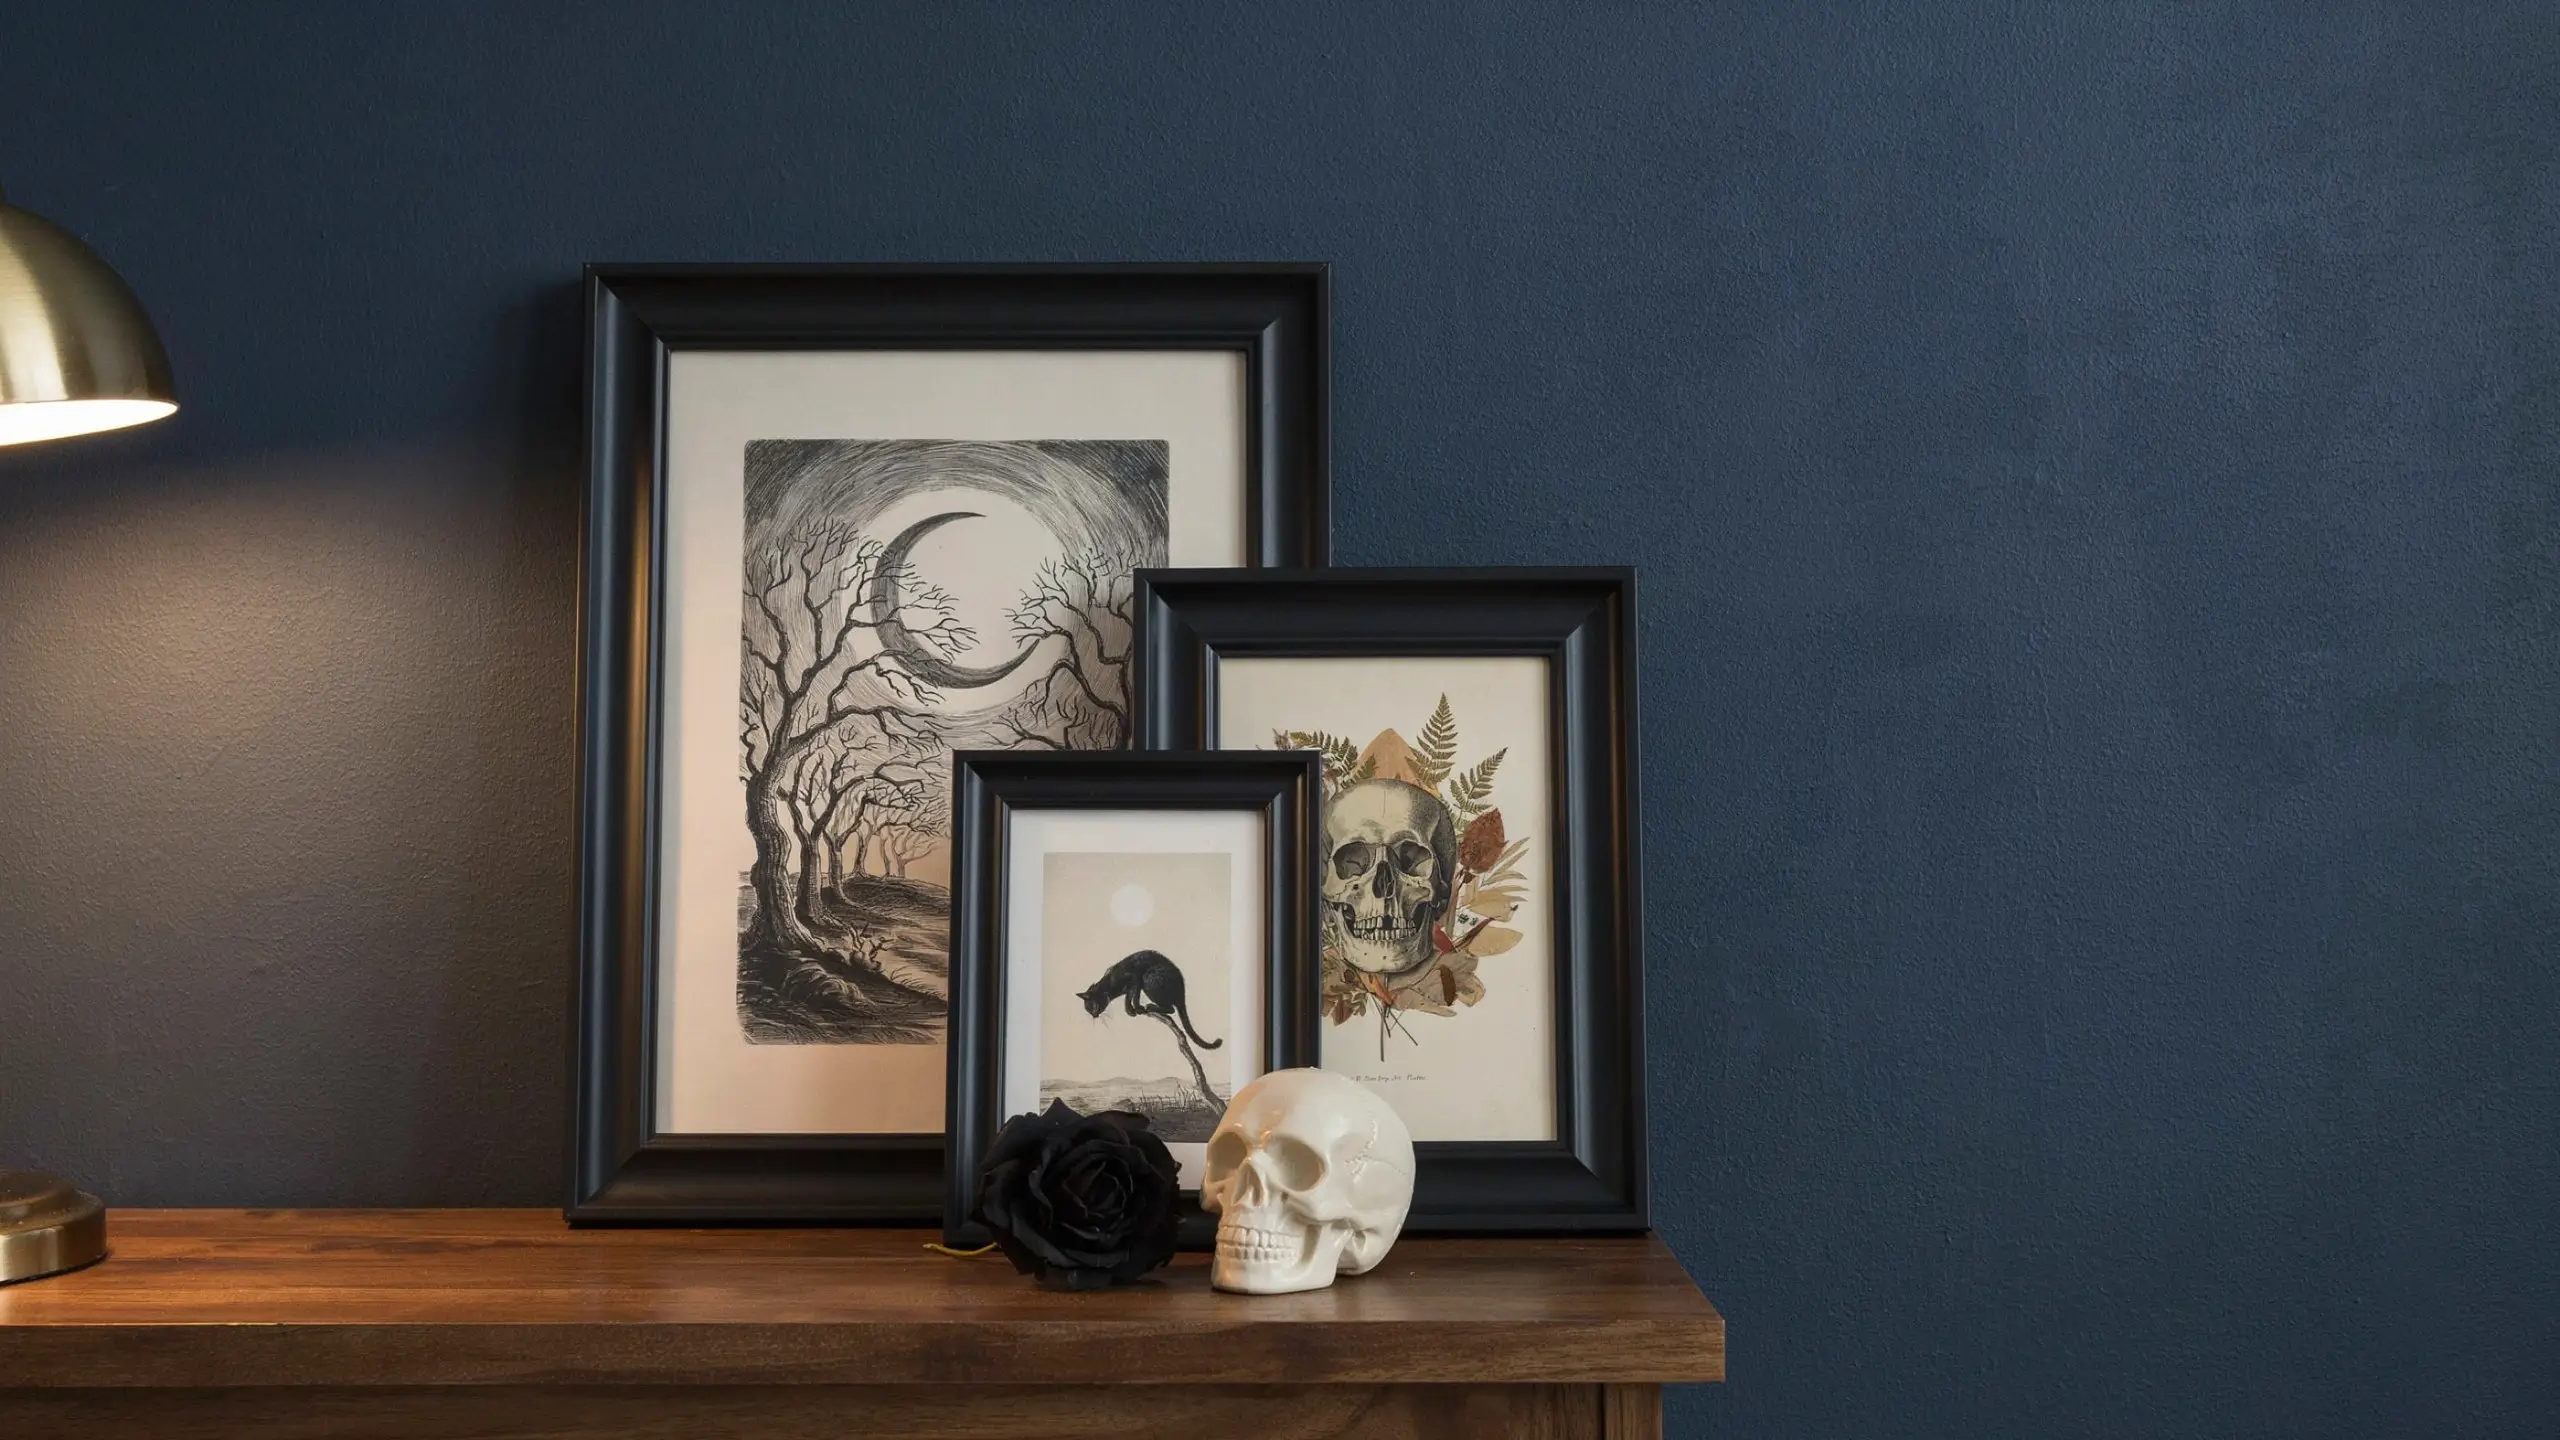
Print free Halloween-themed art from Pinterest or Etsy (many sellers offer free digital downloads). Frame them in black frames from the dollar store. Lean three frames in different sizes together on a mantel or console table. This is legitimately one of the cheapest ways to add Halloween personality to a room without buying anything permanent.
12. Cobweb Bookcase Corner
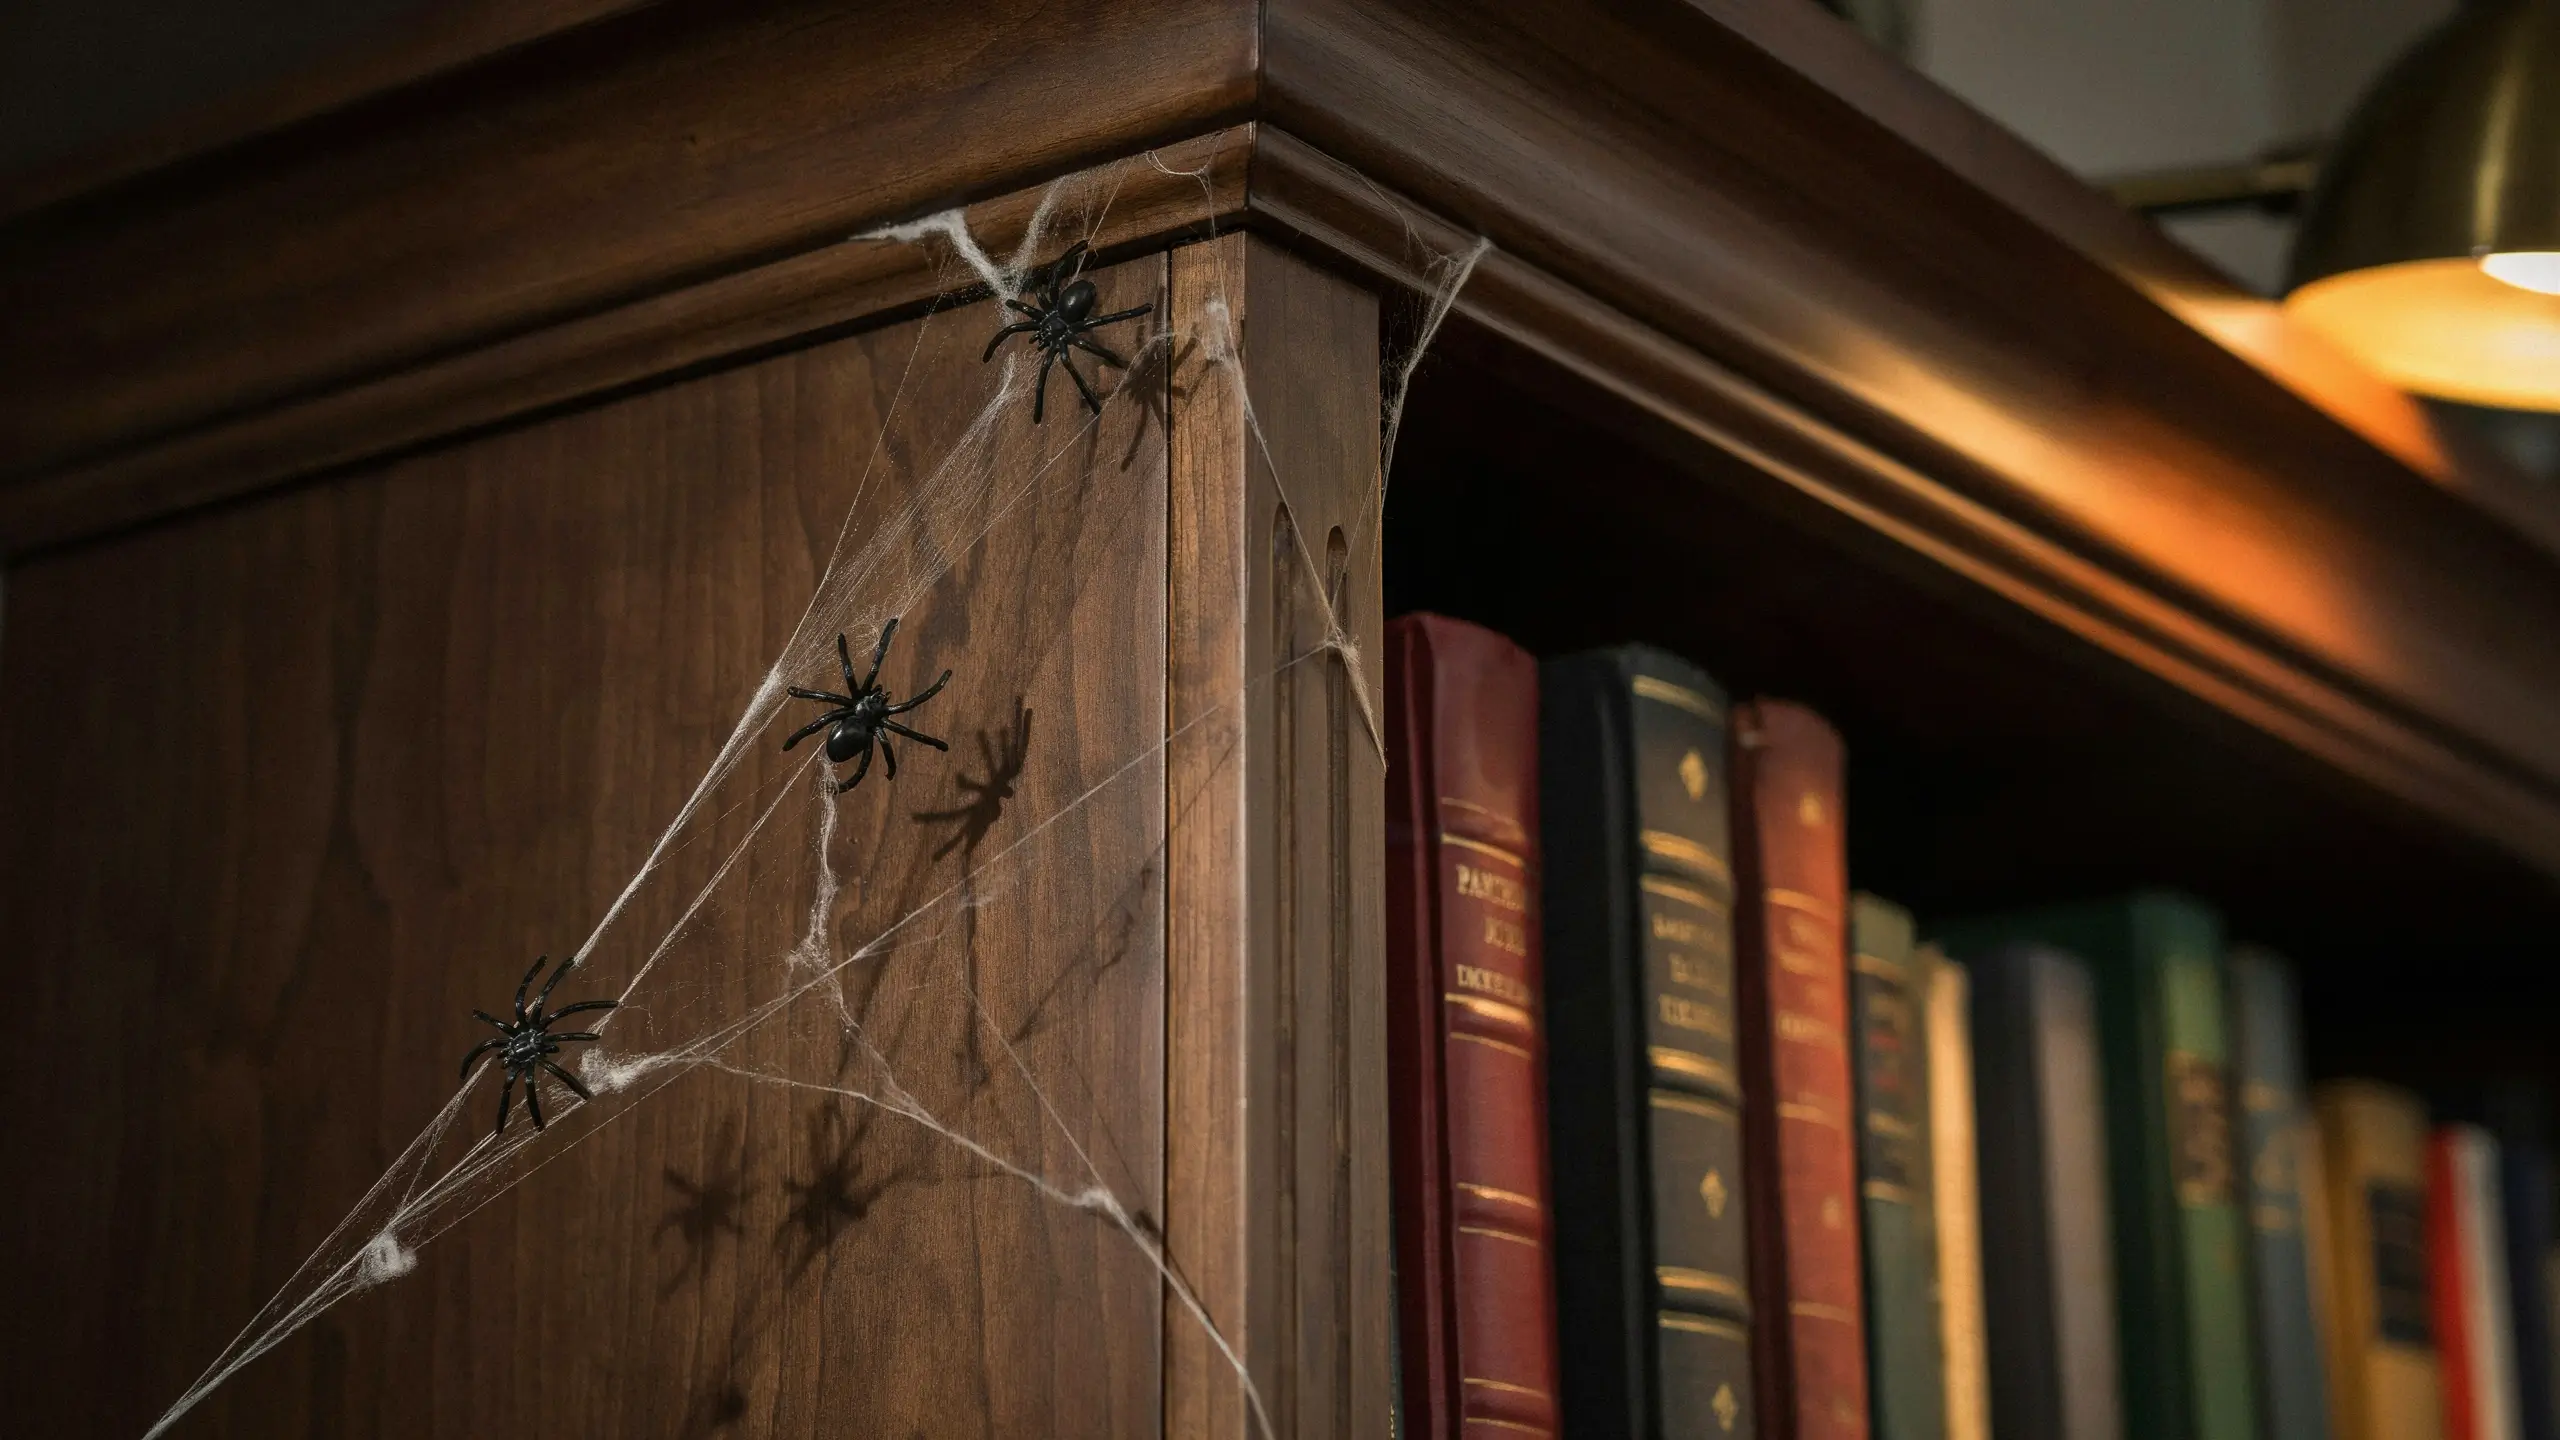
Stretch a bag of dollar store faux spider web very thin across the top corner of a bookcase, draping it down the side. Push it back so it doesn’t look clumped. Add three or four plastic spiders at different points in the web. One bag of web, used sparingly, goes a long way and looks far more realistic than used in big lumps.
Outdoor and Porch DIY Halloween Decor Ideas
13. Foam Board Tombstone Graveyard
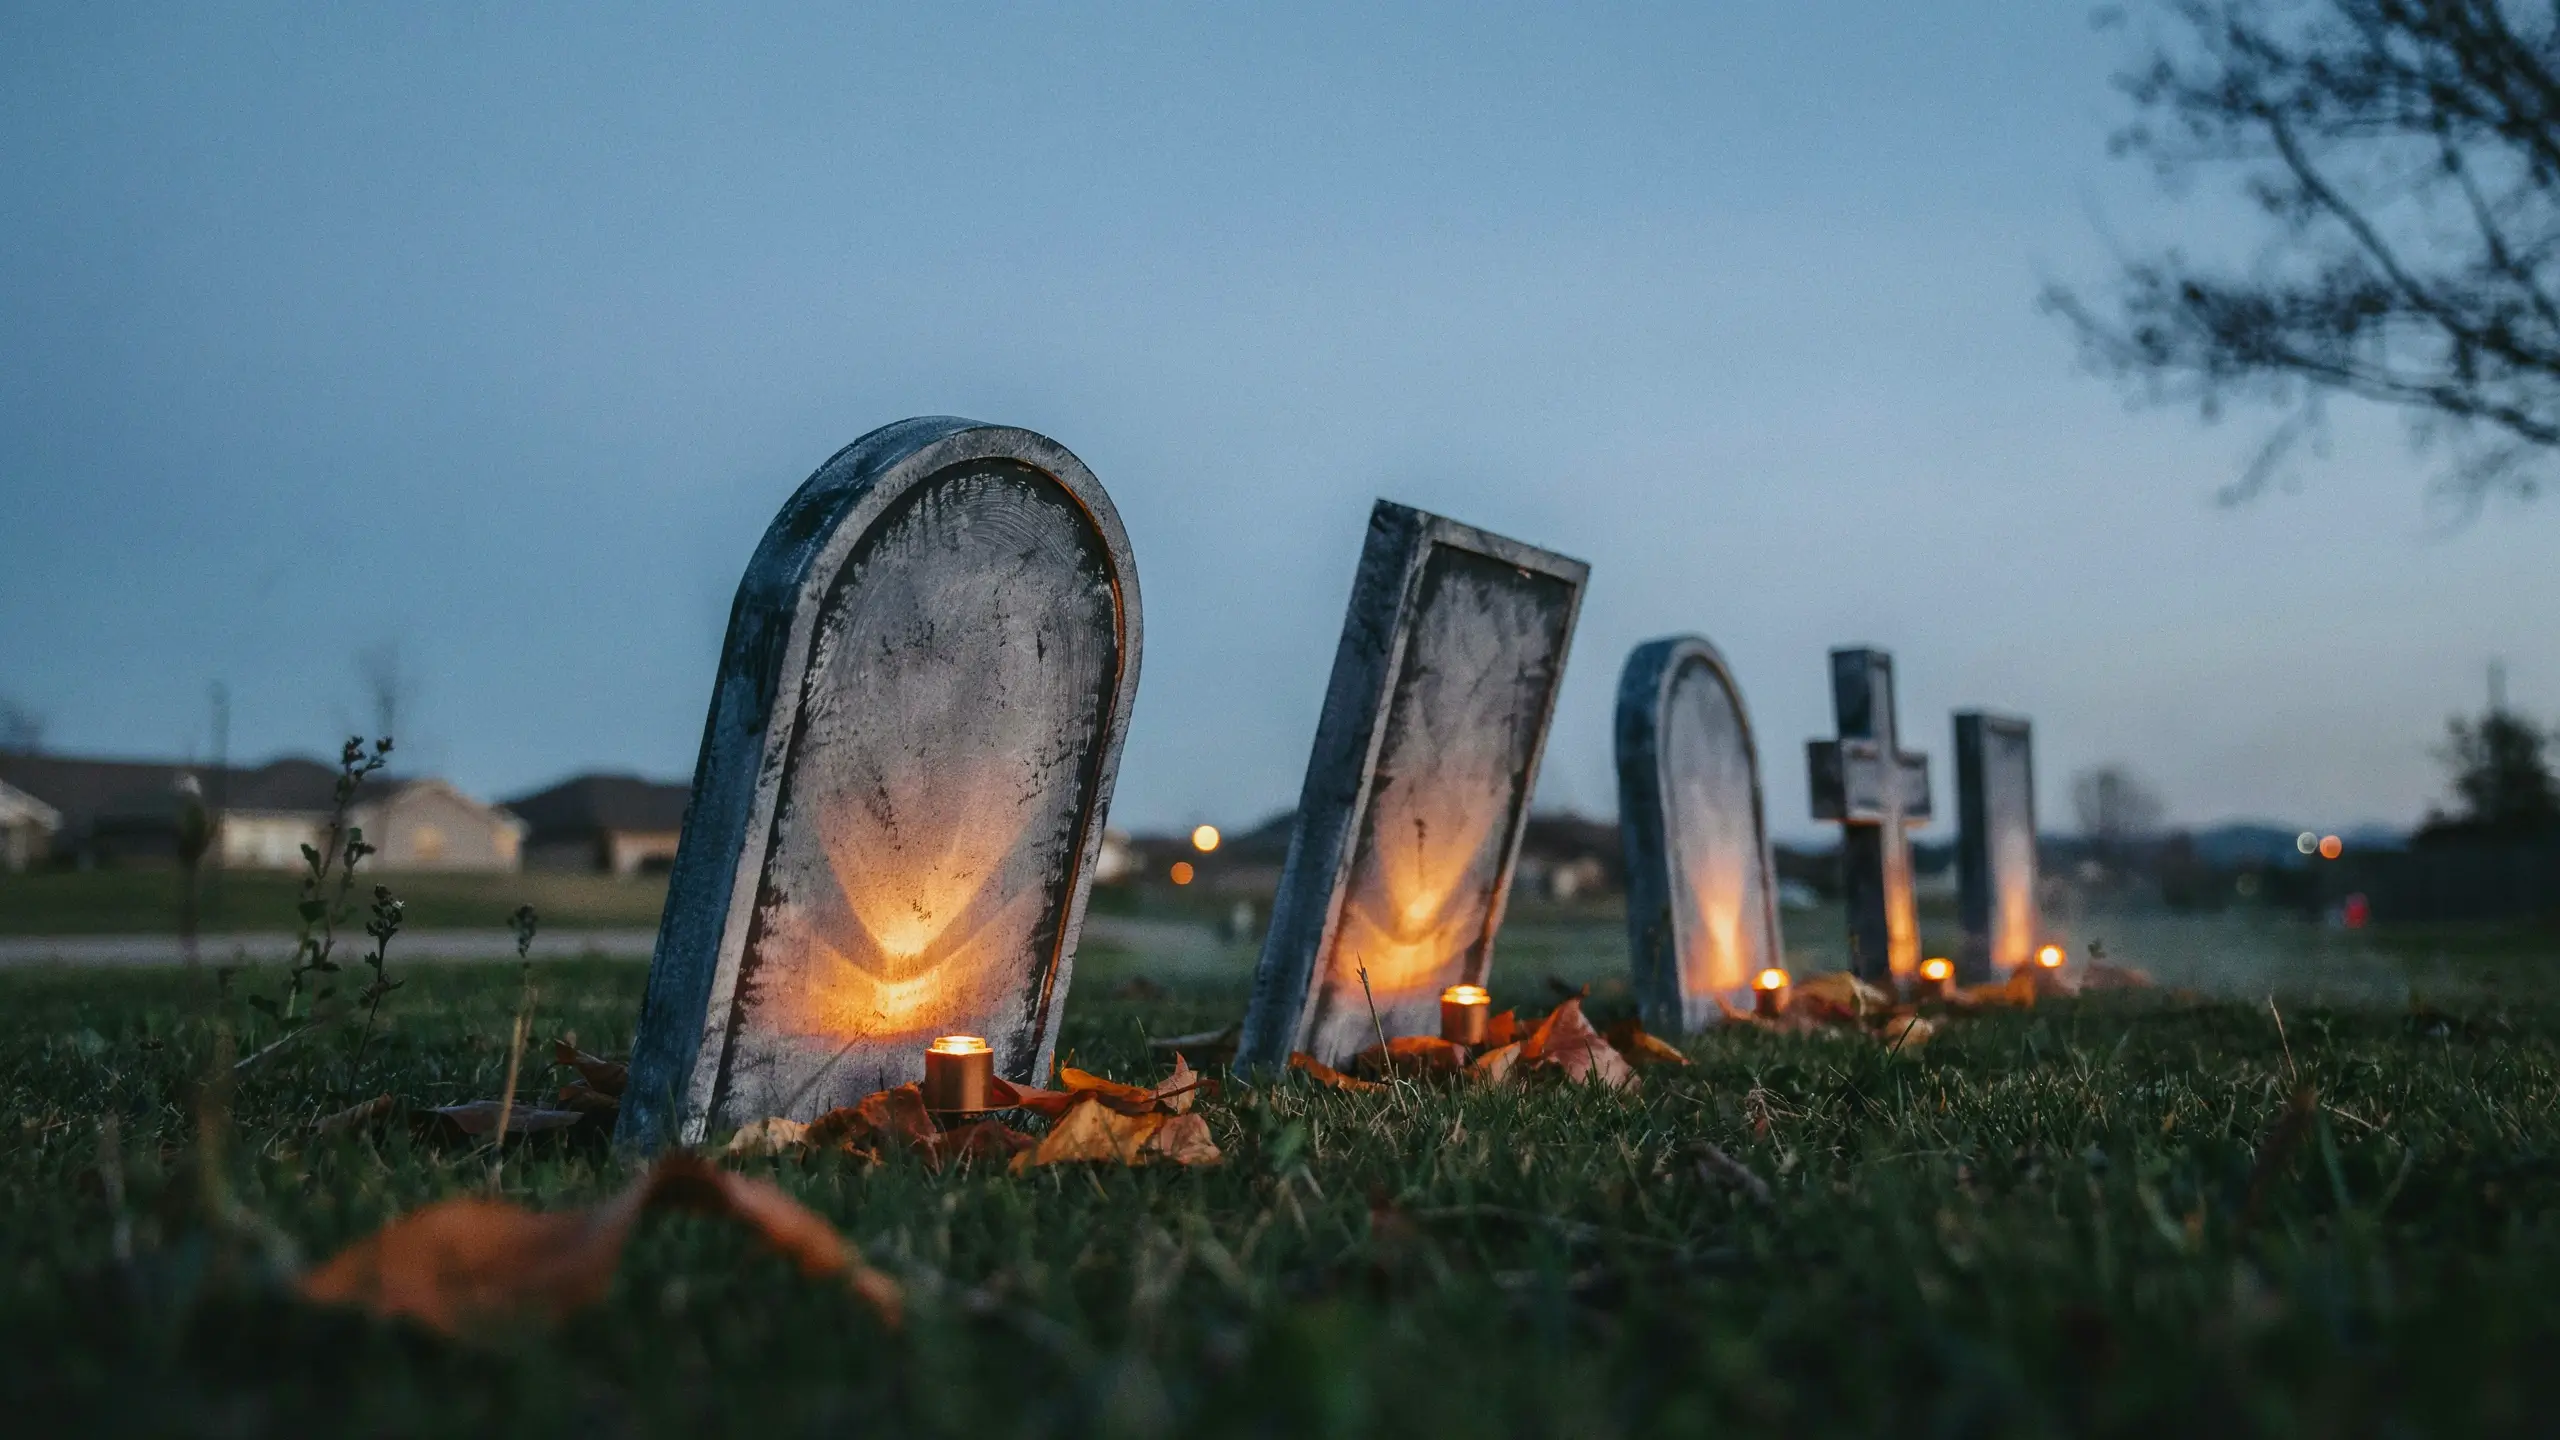
Buy a sheet or two of foam insulation board from a home improvement store. Sketch tombstone shapes with a marker and cut with a utility knife. Sand the edges lightly. Paint with gray spray paint as a base, then dry-brush with black acrylic paint to add age and shadow. Write phrases in black paint: Here Lies Last Year’s Diet, RIP My Social Life, Gone Too Soon. Stick a wooden dowel or paint stir stick to the back with hot glue to anchor it in the ground.
Cost: About $20-30 for a full graveyard. Time: 2-3 hours including drying. Safety note: Use a utility knife carefully on a stable surface and keep kids back during cutting.
14. Floating Ghost Tree
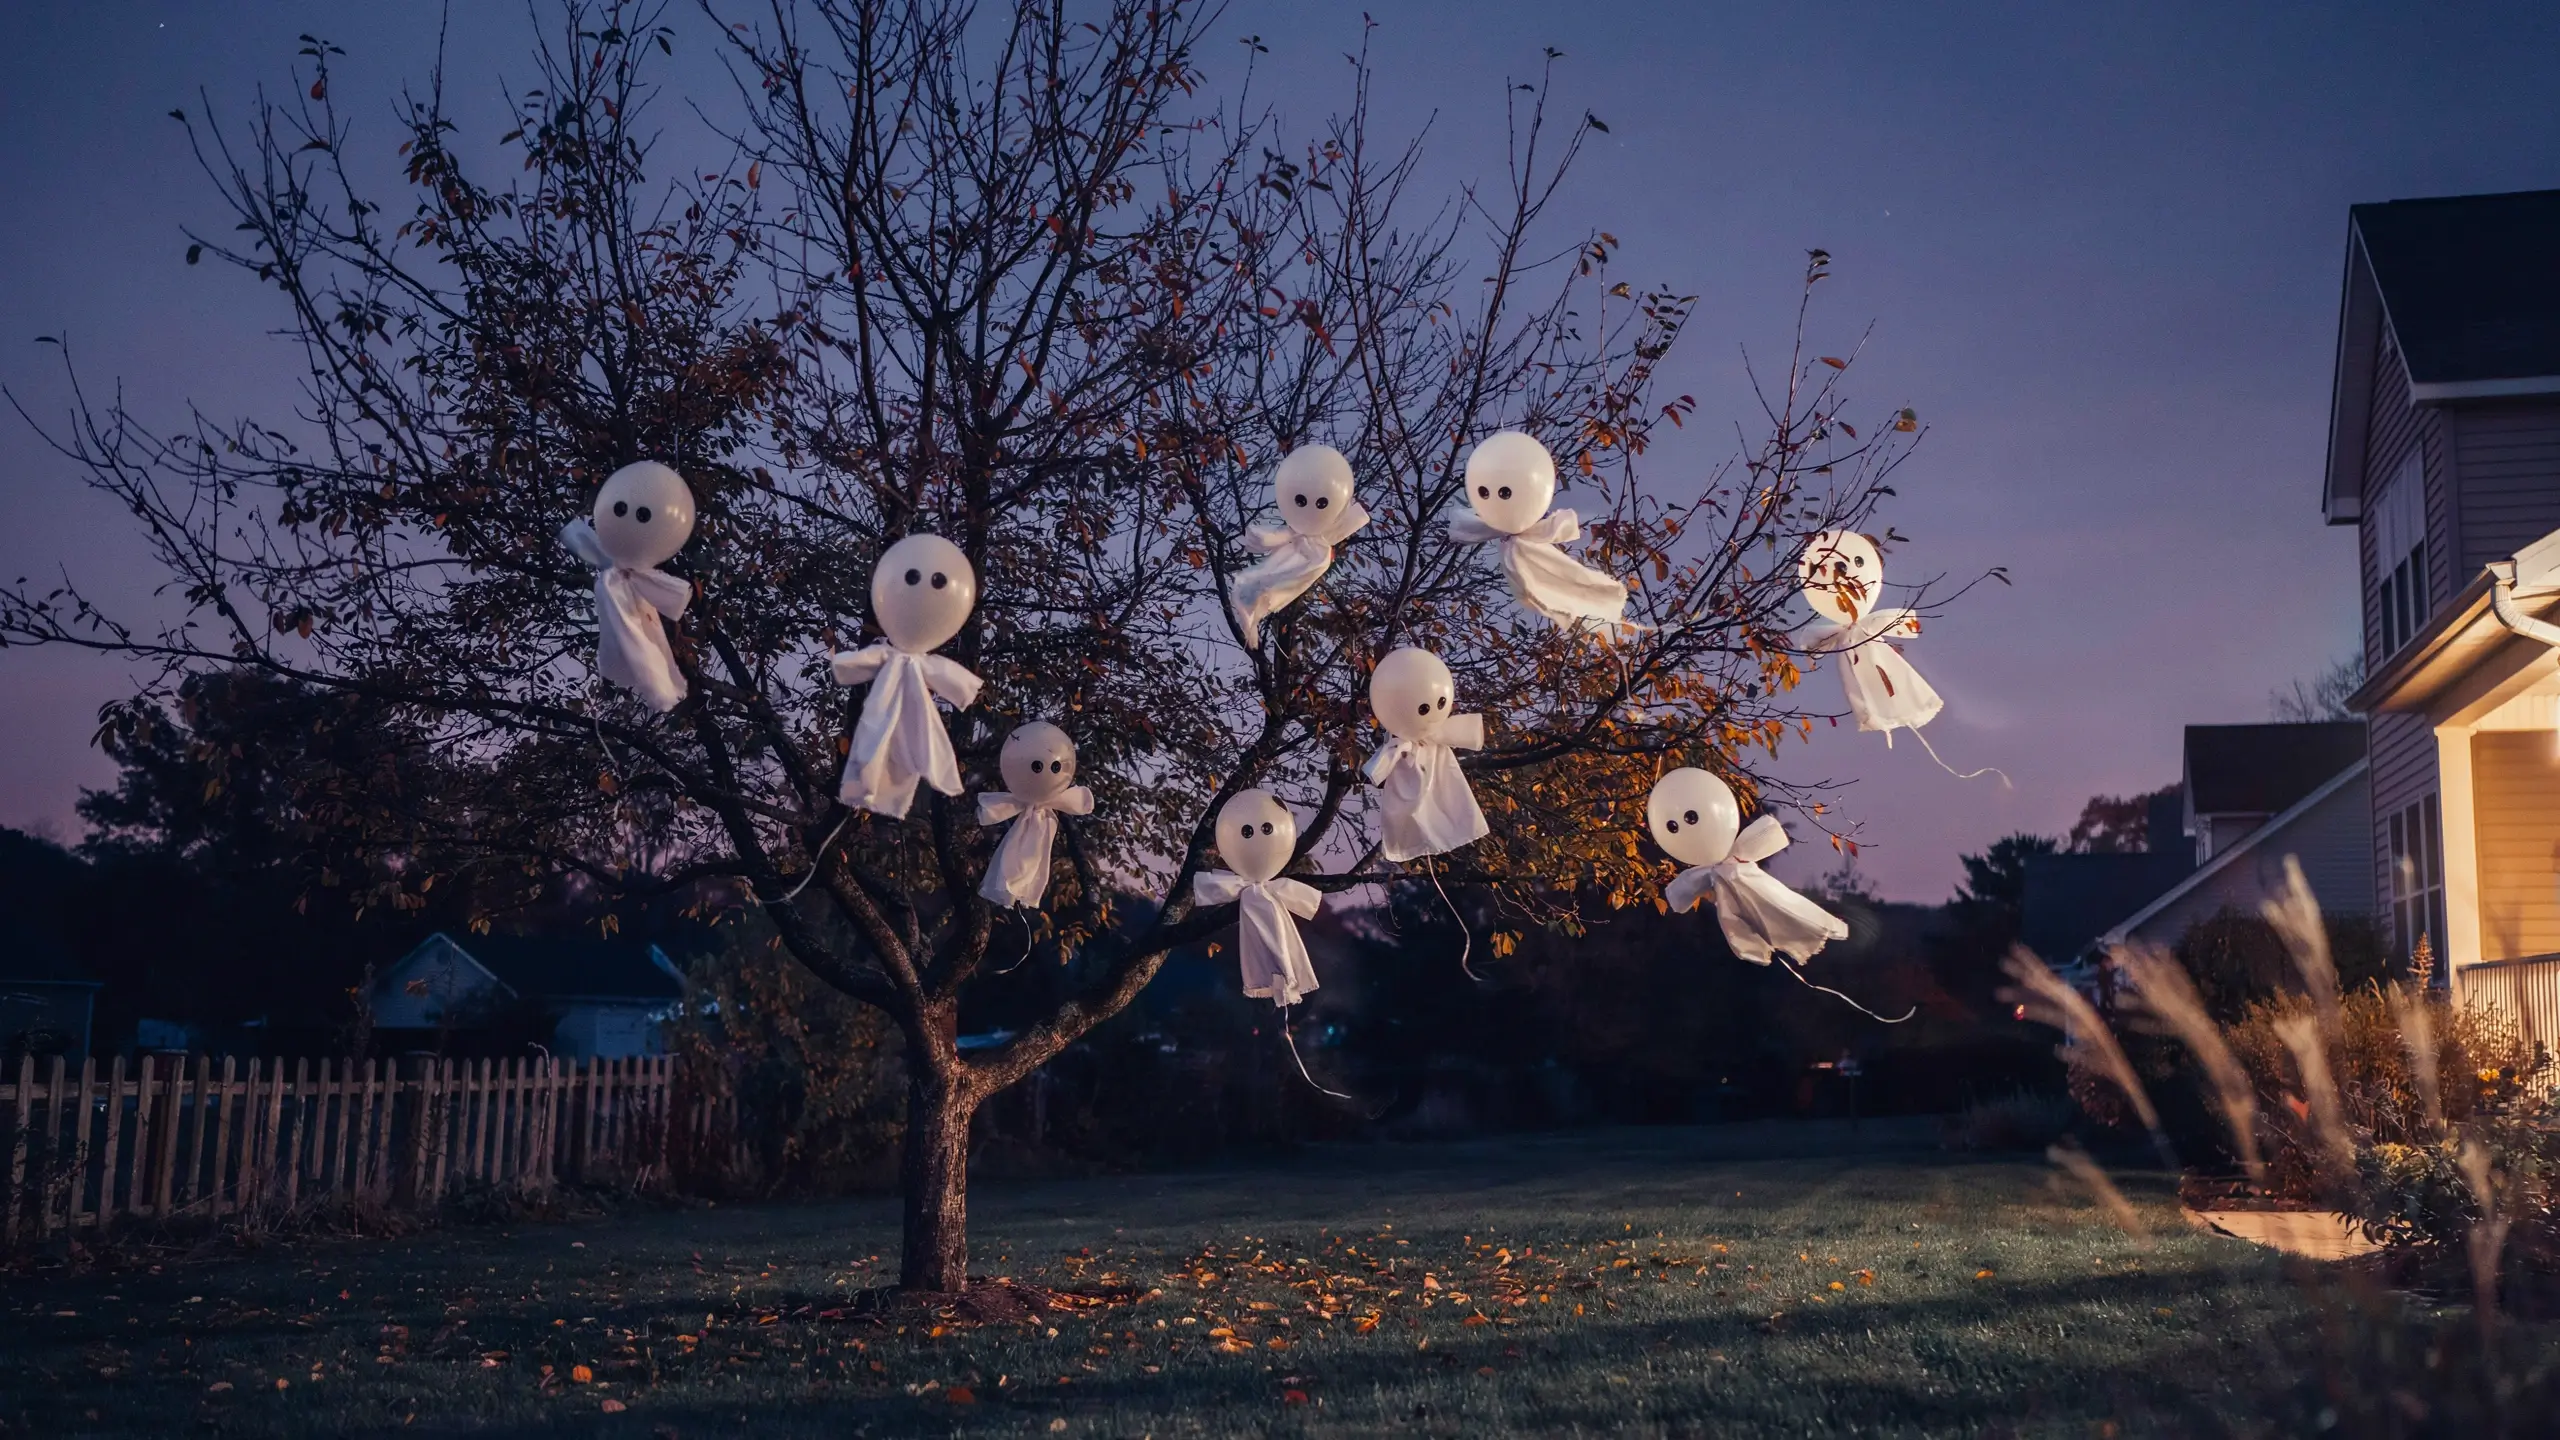
Blow up white balloons and tie each to a length of white ribbon or white string. Cut simple arm shapes from white fabric scraps and tape or tie to the balloon just below the “head.” Draw dot eyes with a black marker. Tie multiple ghosts from the branches of a tree in your yard. They catch the breeze and look genuinely haunting from the street, especially at dusk.
Cost: $5-8.
15. Porch Pumpkin Tower (No Carving)
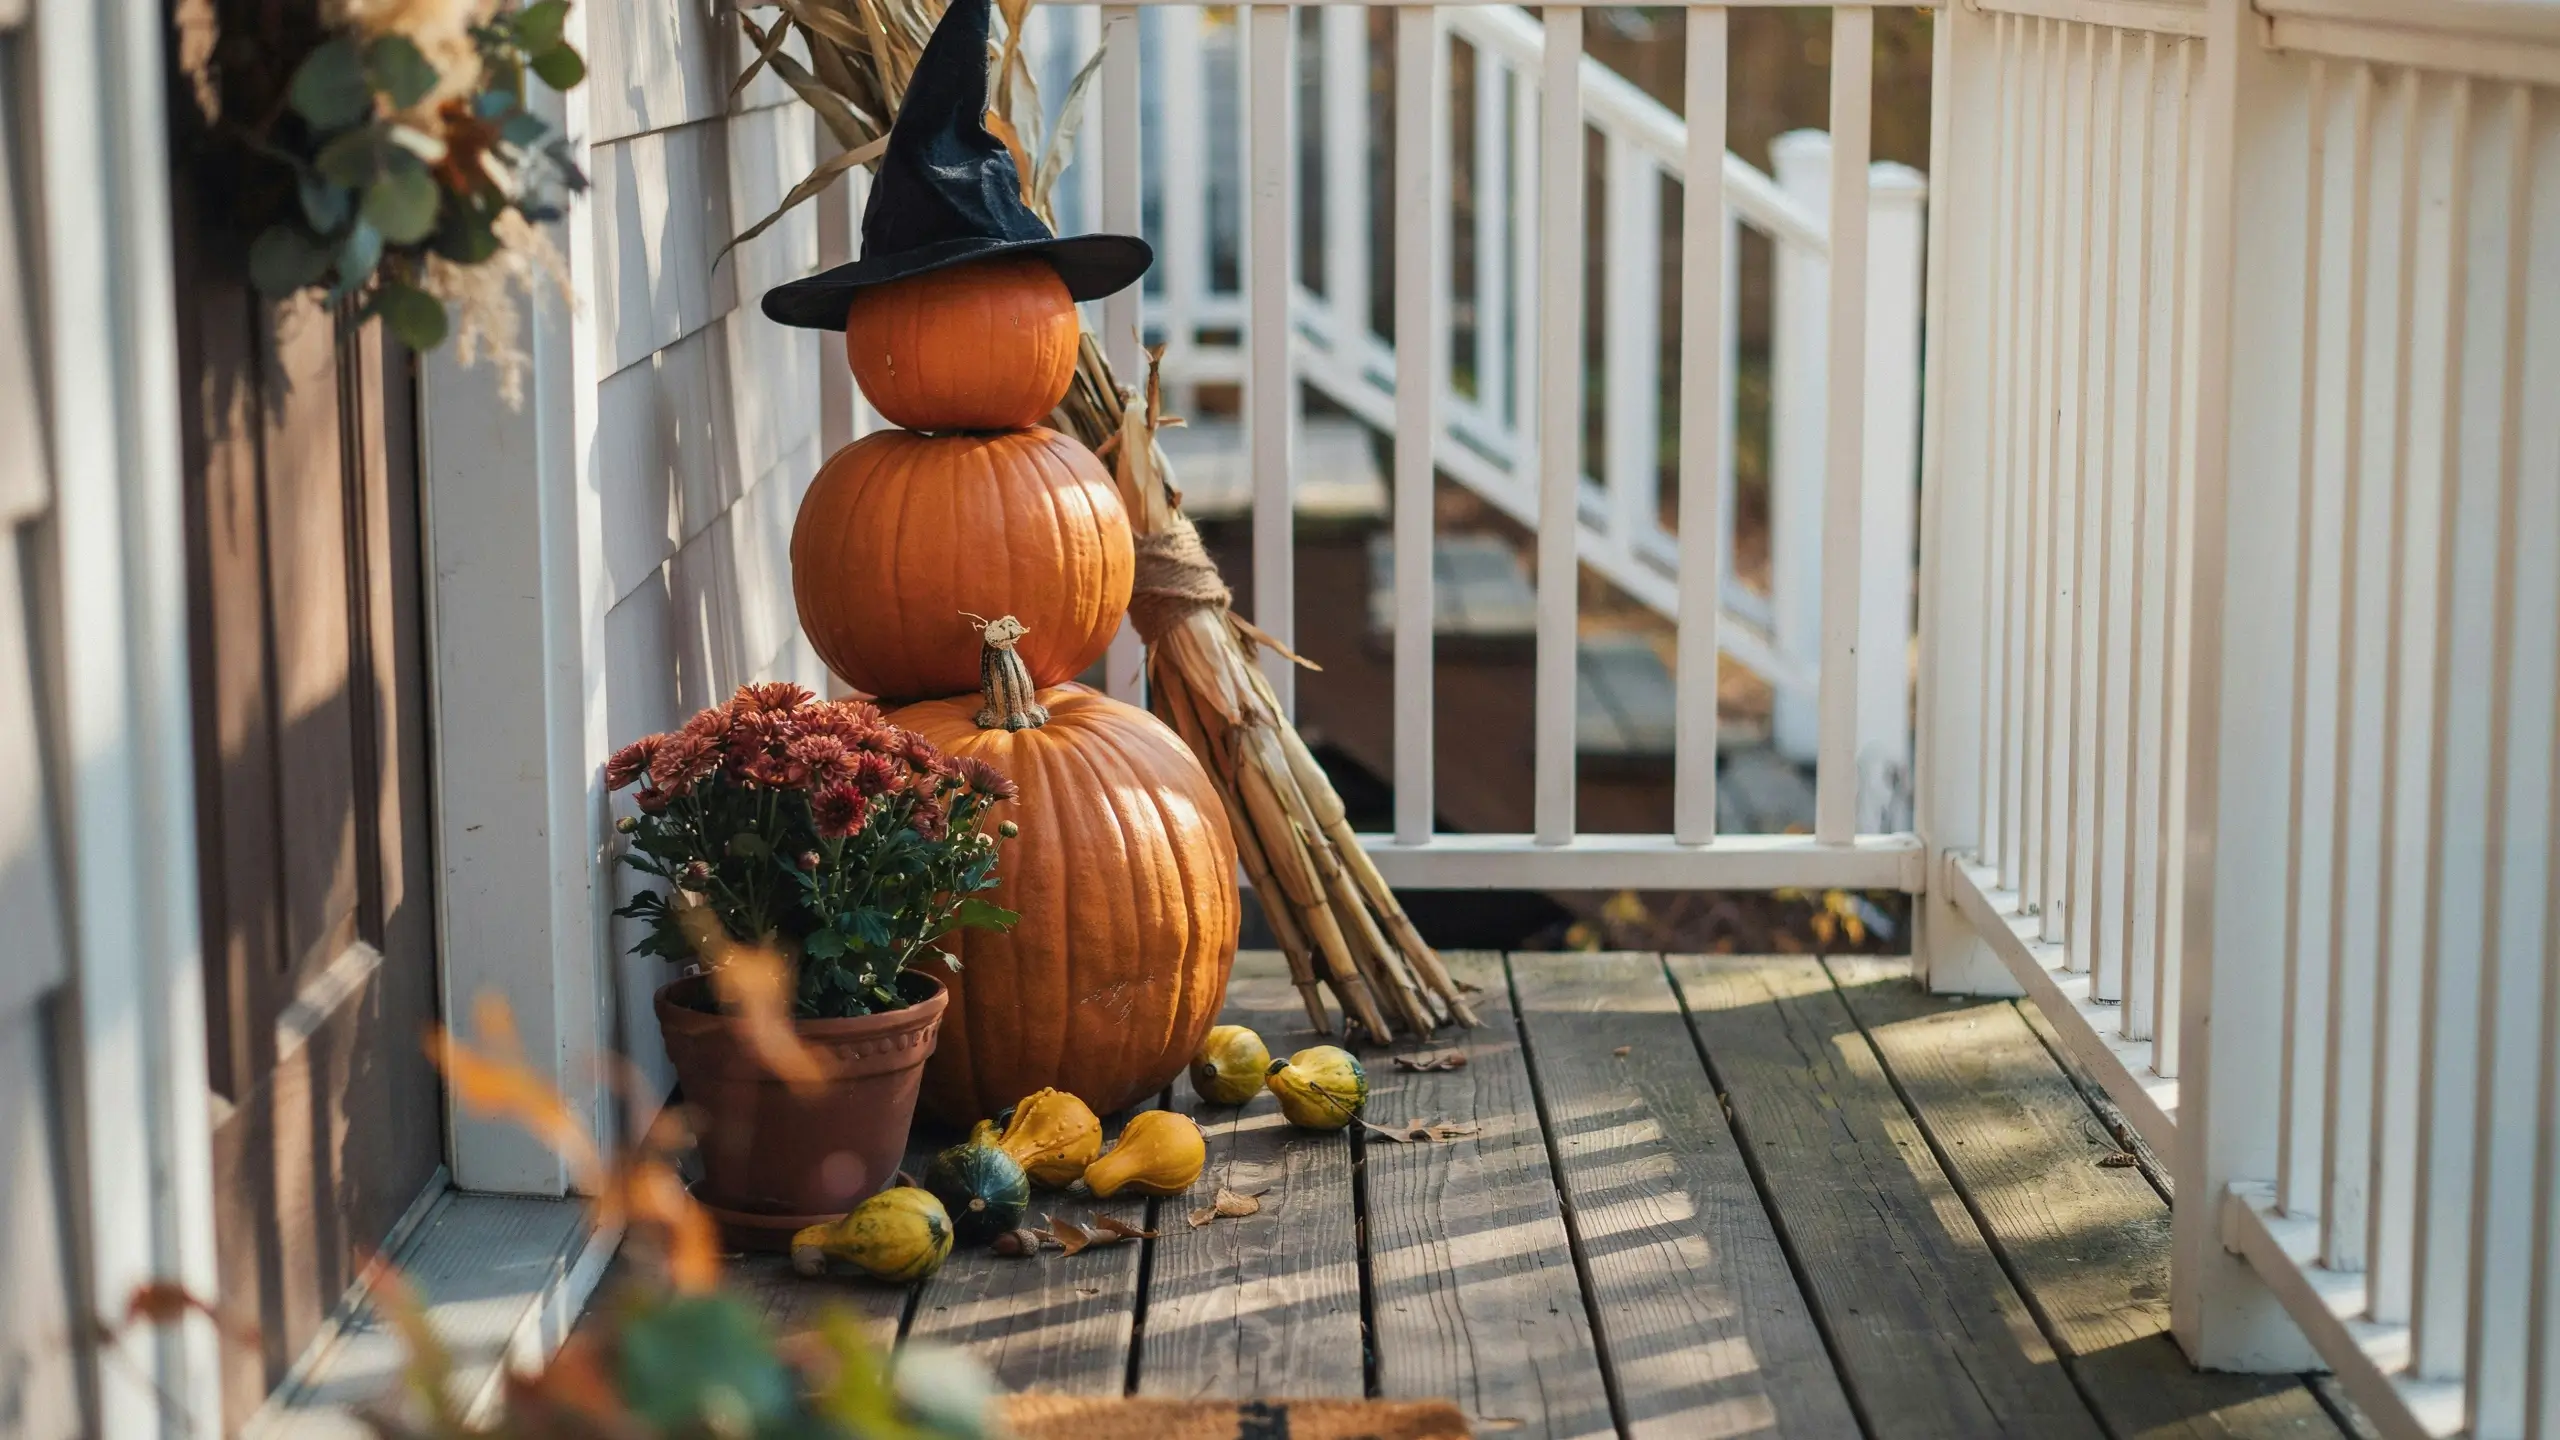
Stack three pumpkins in descending sizes directly on top of each other (small at top, large at bottom). Use wooden skewers or bamboo sticks pushed through the centers to keep them stable. Paint them or leave them natural. Surround the base with dried corn stalks, mums in deep burgundy, or small gourds. Add a witch hat or skull on top.
This is a classic that photographs incredibly well and requires zero carving skill.
16. Glow-in-the-Dark Mason Jar Path Lights
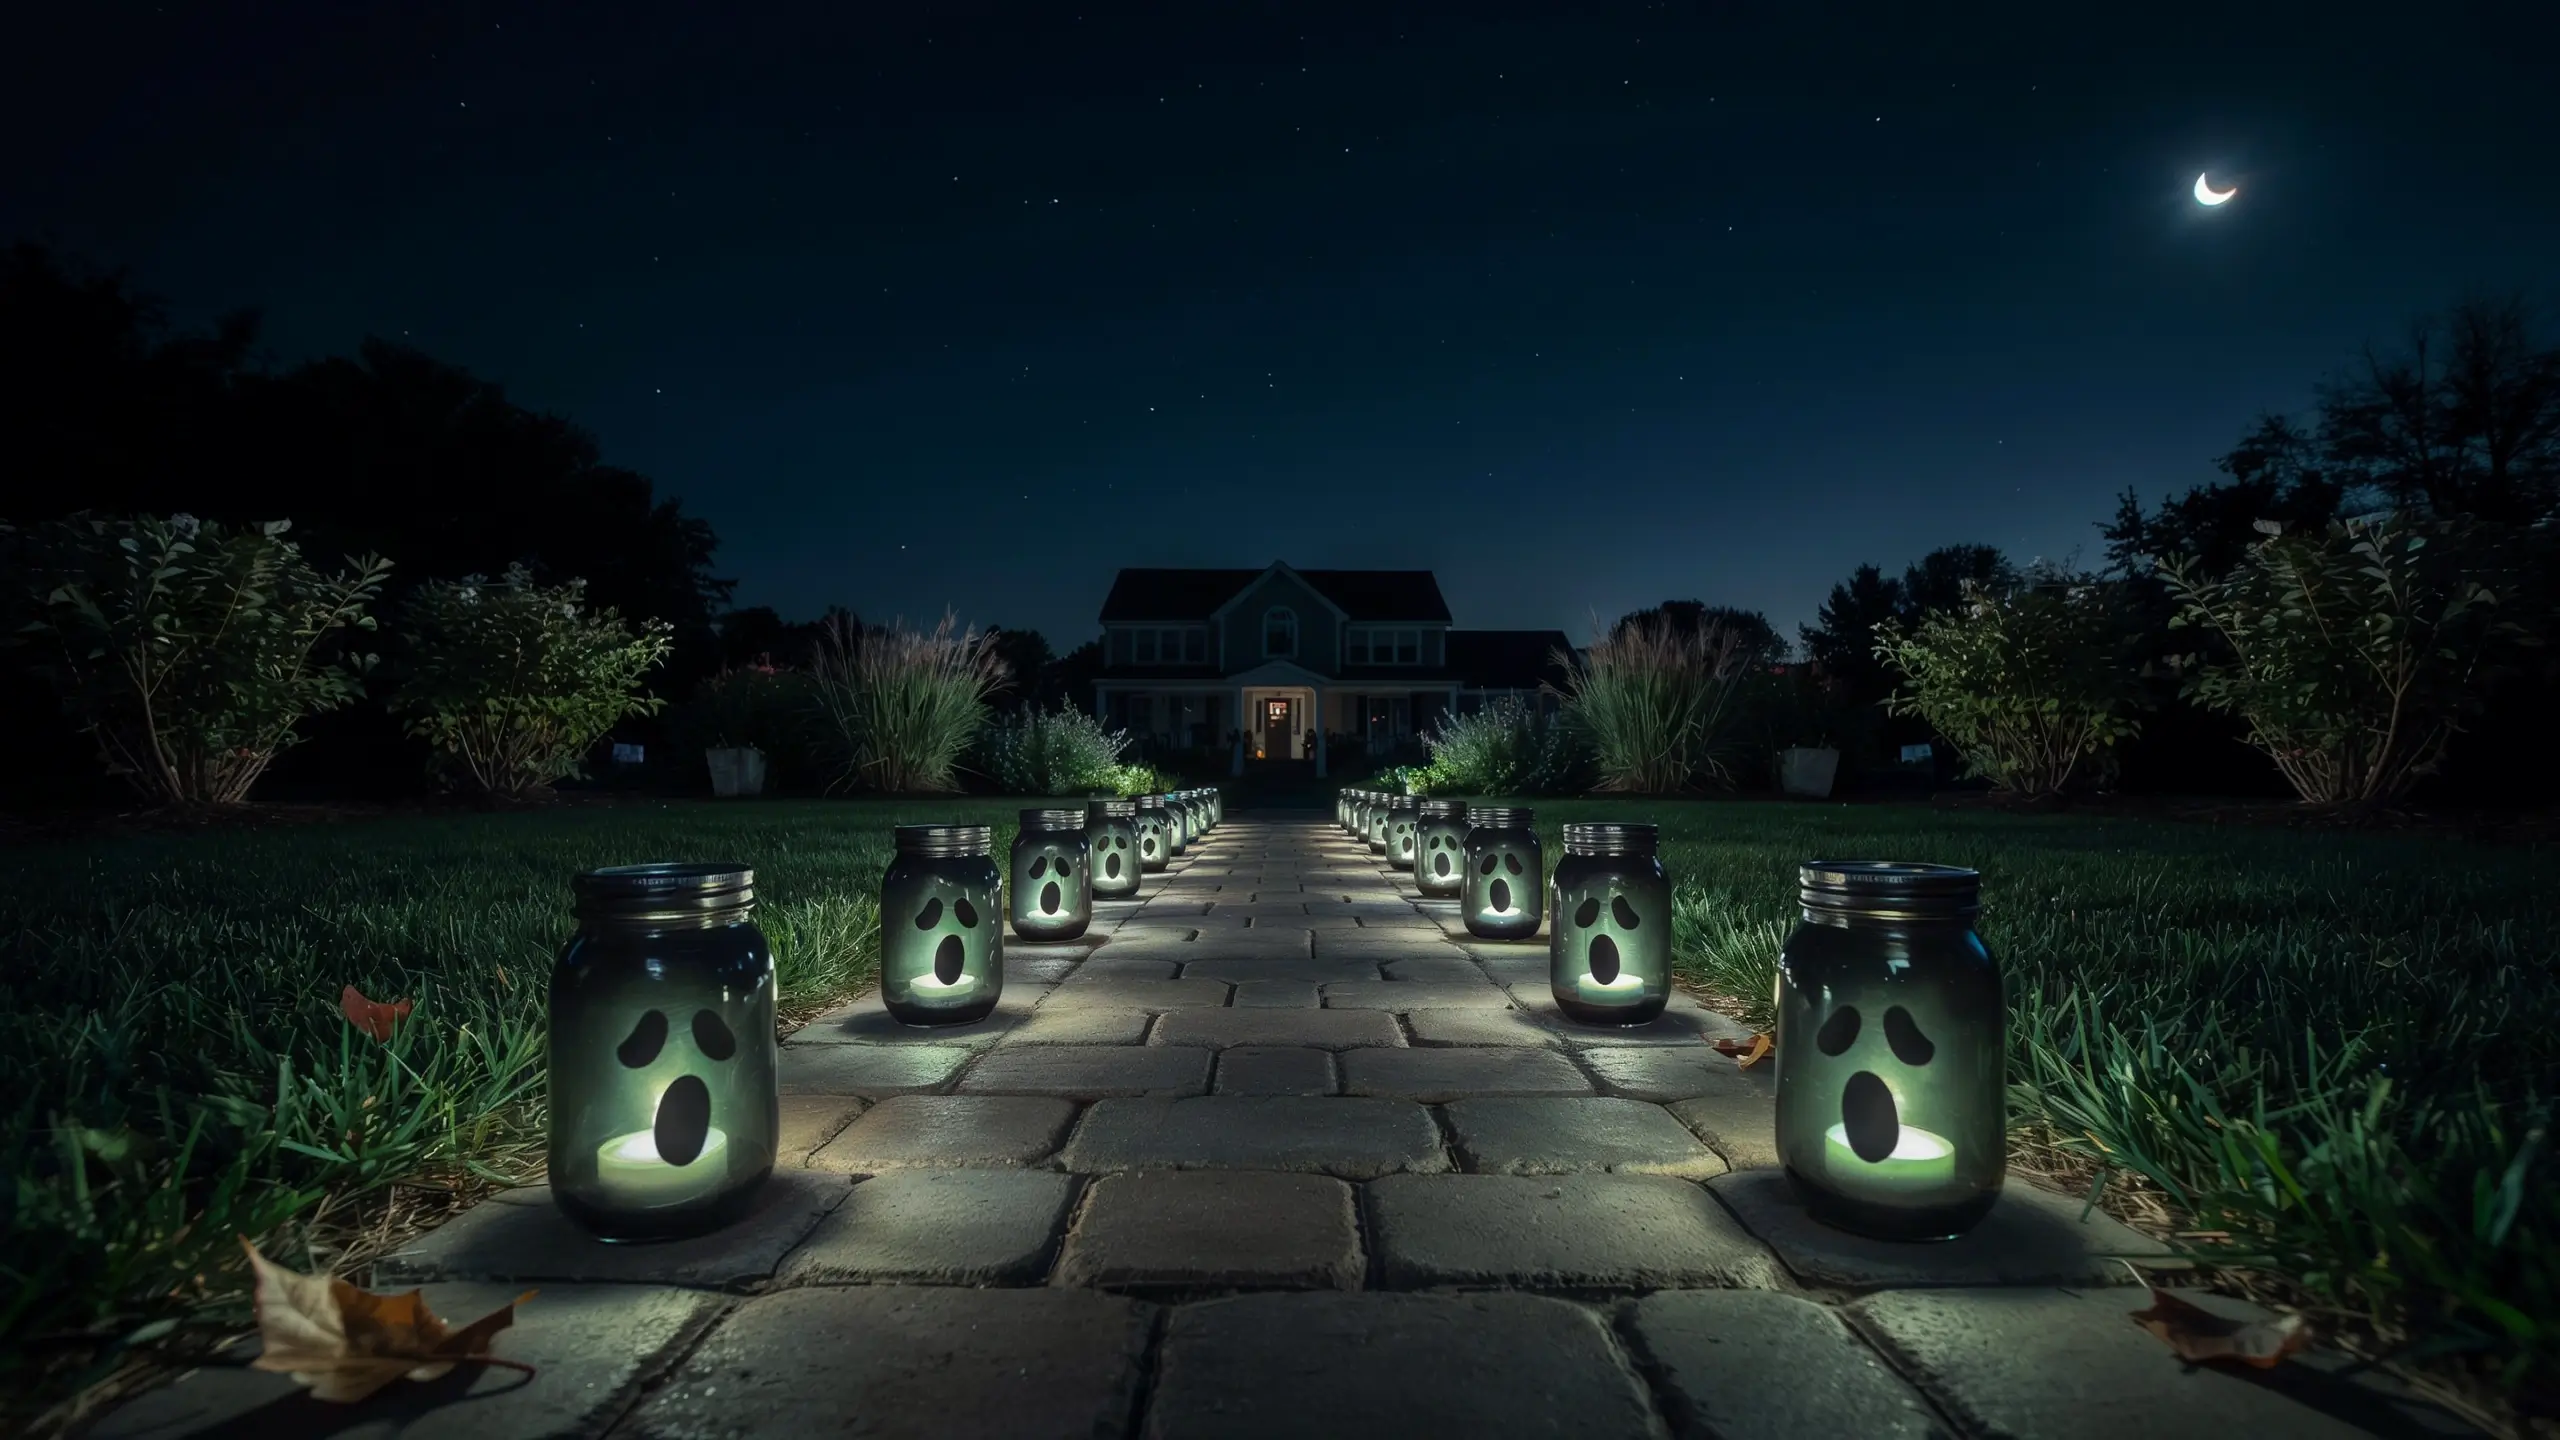
Set painted mason jars along a front walkway with battery-operated tea lights inside. For a ghostly look, paint the jars with glow-in-the-dark paint. In daylight they look matte. At night, they glow green or white without needing power. Decorate with painted ghost faces for extra charm.
Cost: Under $20 for 6-8 jars.
17. Black Cat Pumpkin Stack
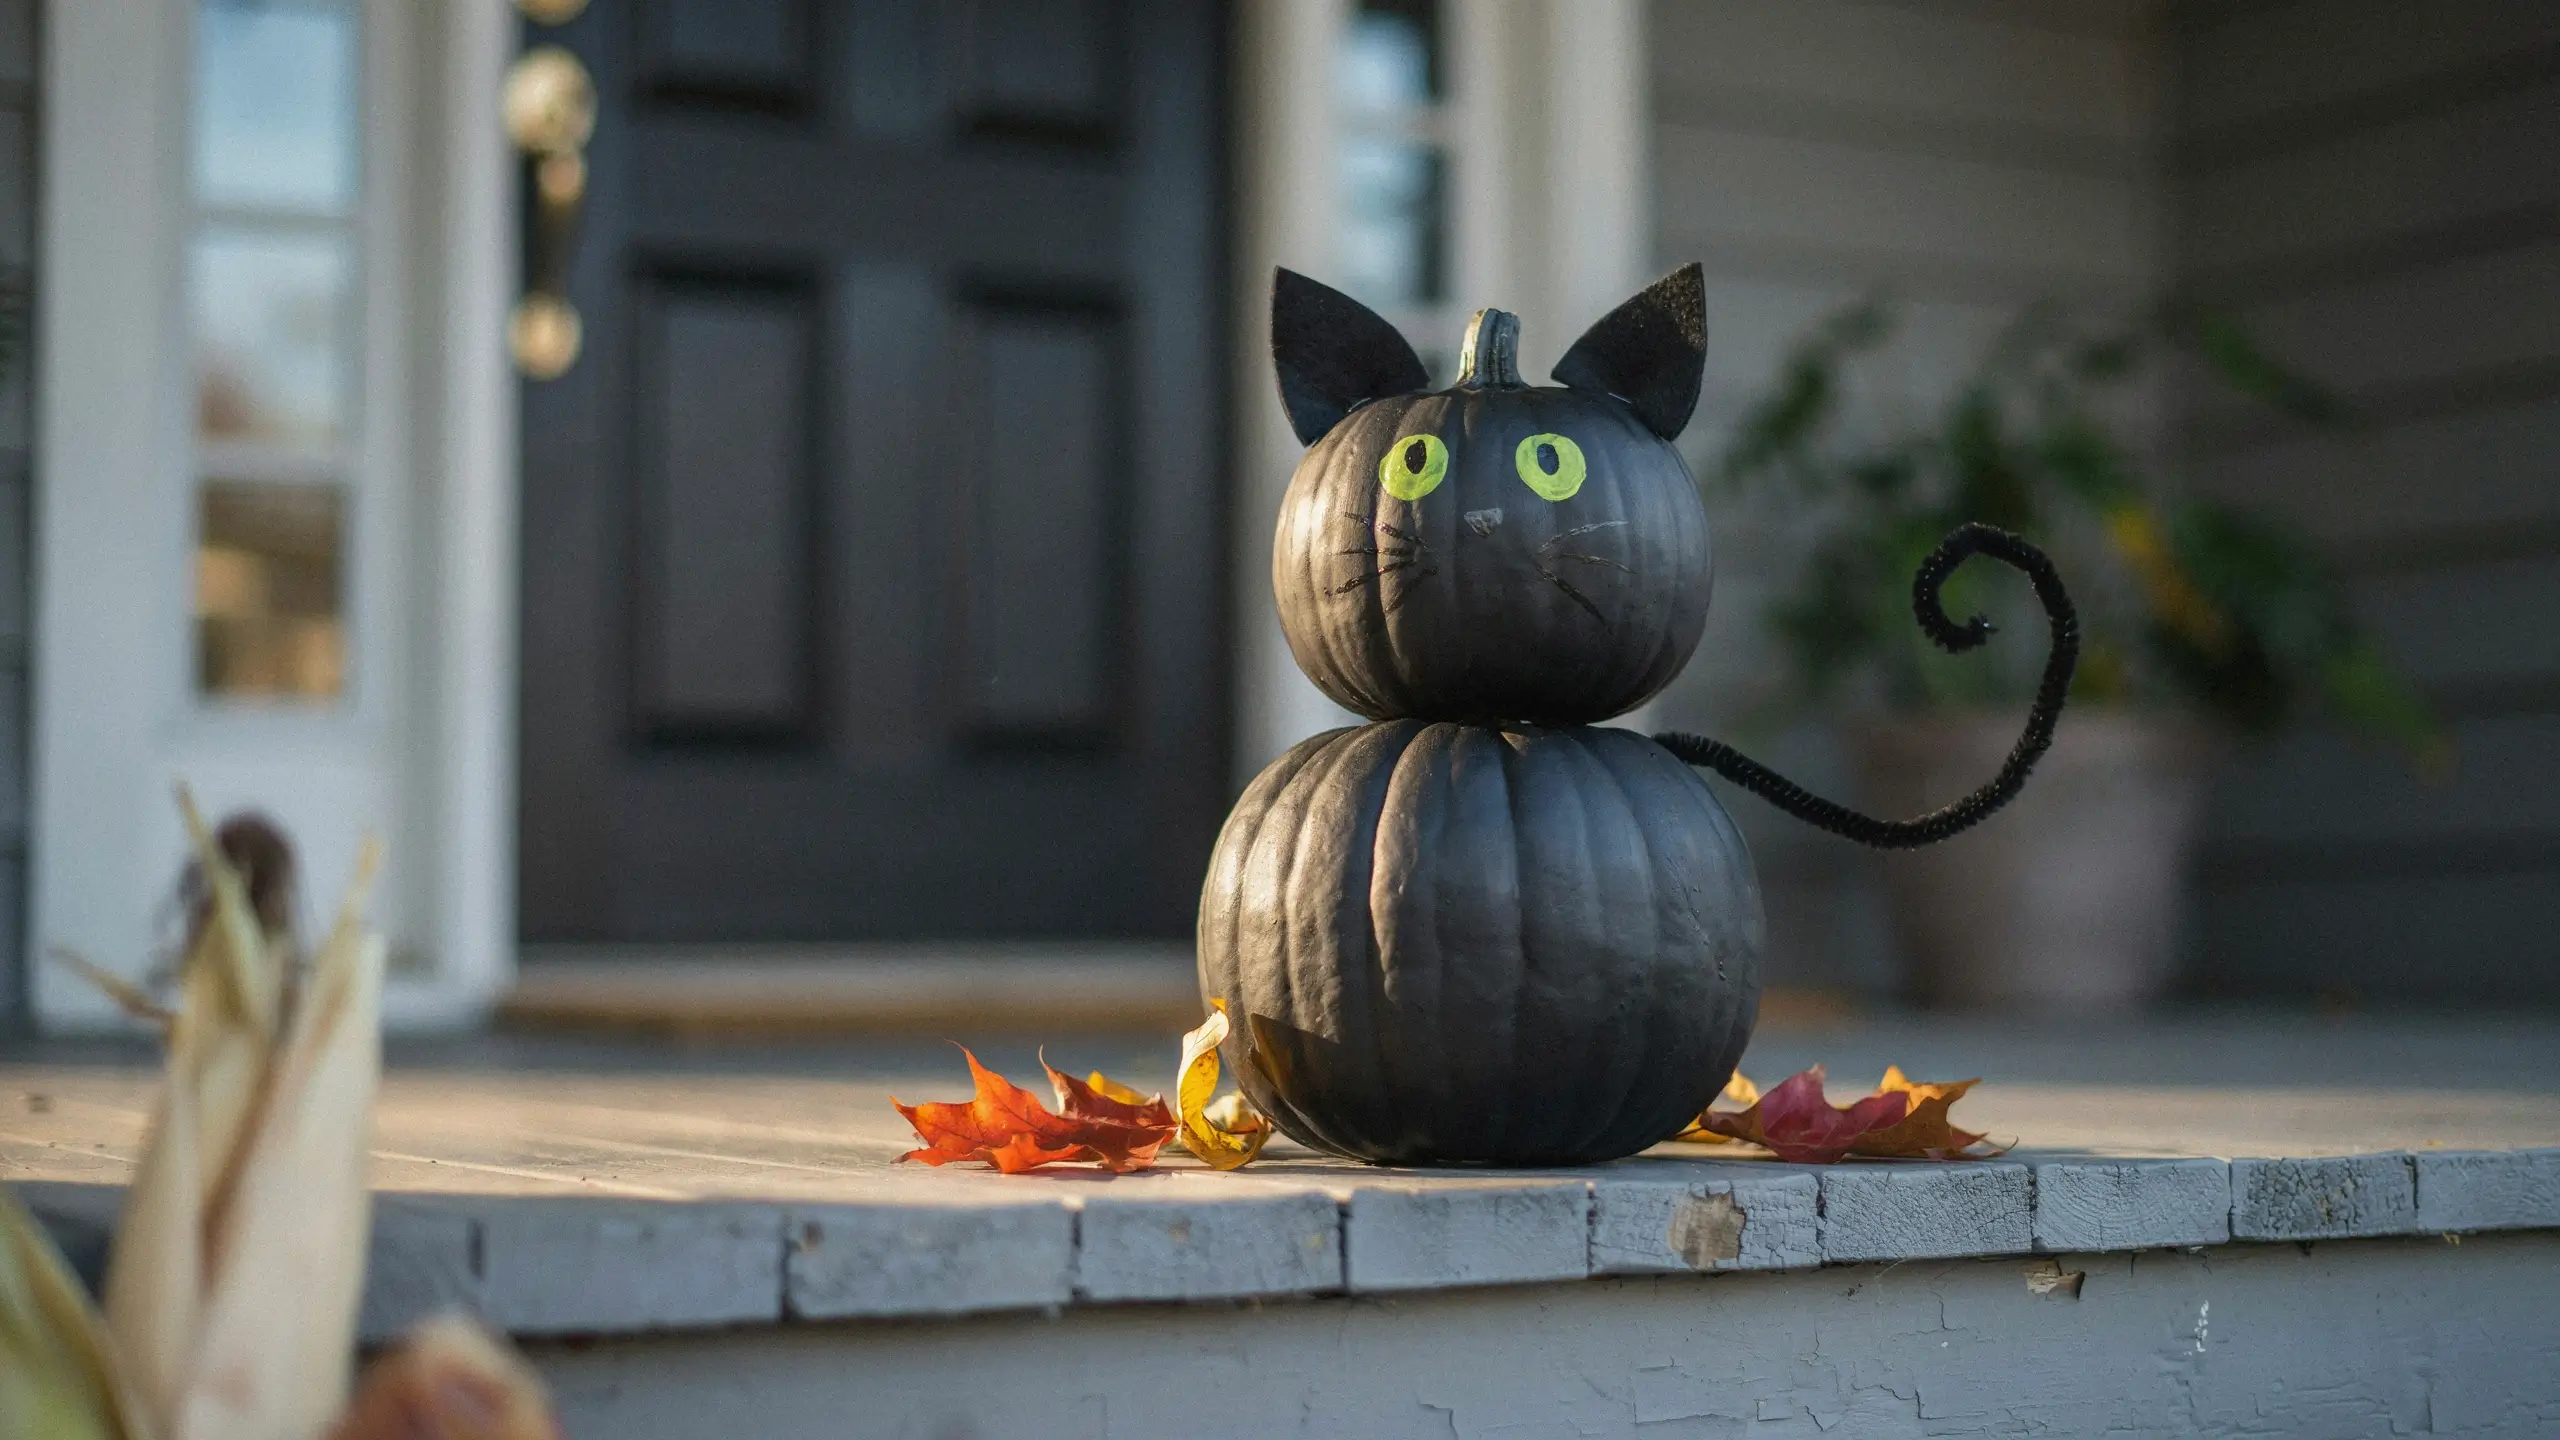
Paint two pumpkins solid black (use acrylic craft paint). Stack the small one on the large one. Cut black felt into pointed cat ears and hot glue to the top pumpkin. Add googly eyes or paint on a face. Curl a black pipe cleaner tail and glue to the back of the large pumpkin. This holds up outdoors for the full season with no rot, since the pumpkins aren’t carved.
18. Cheesecloth Ghost Cluster for Tree Branches
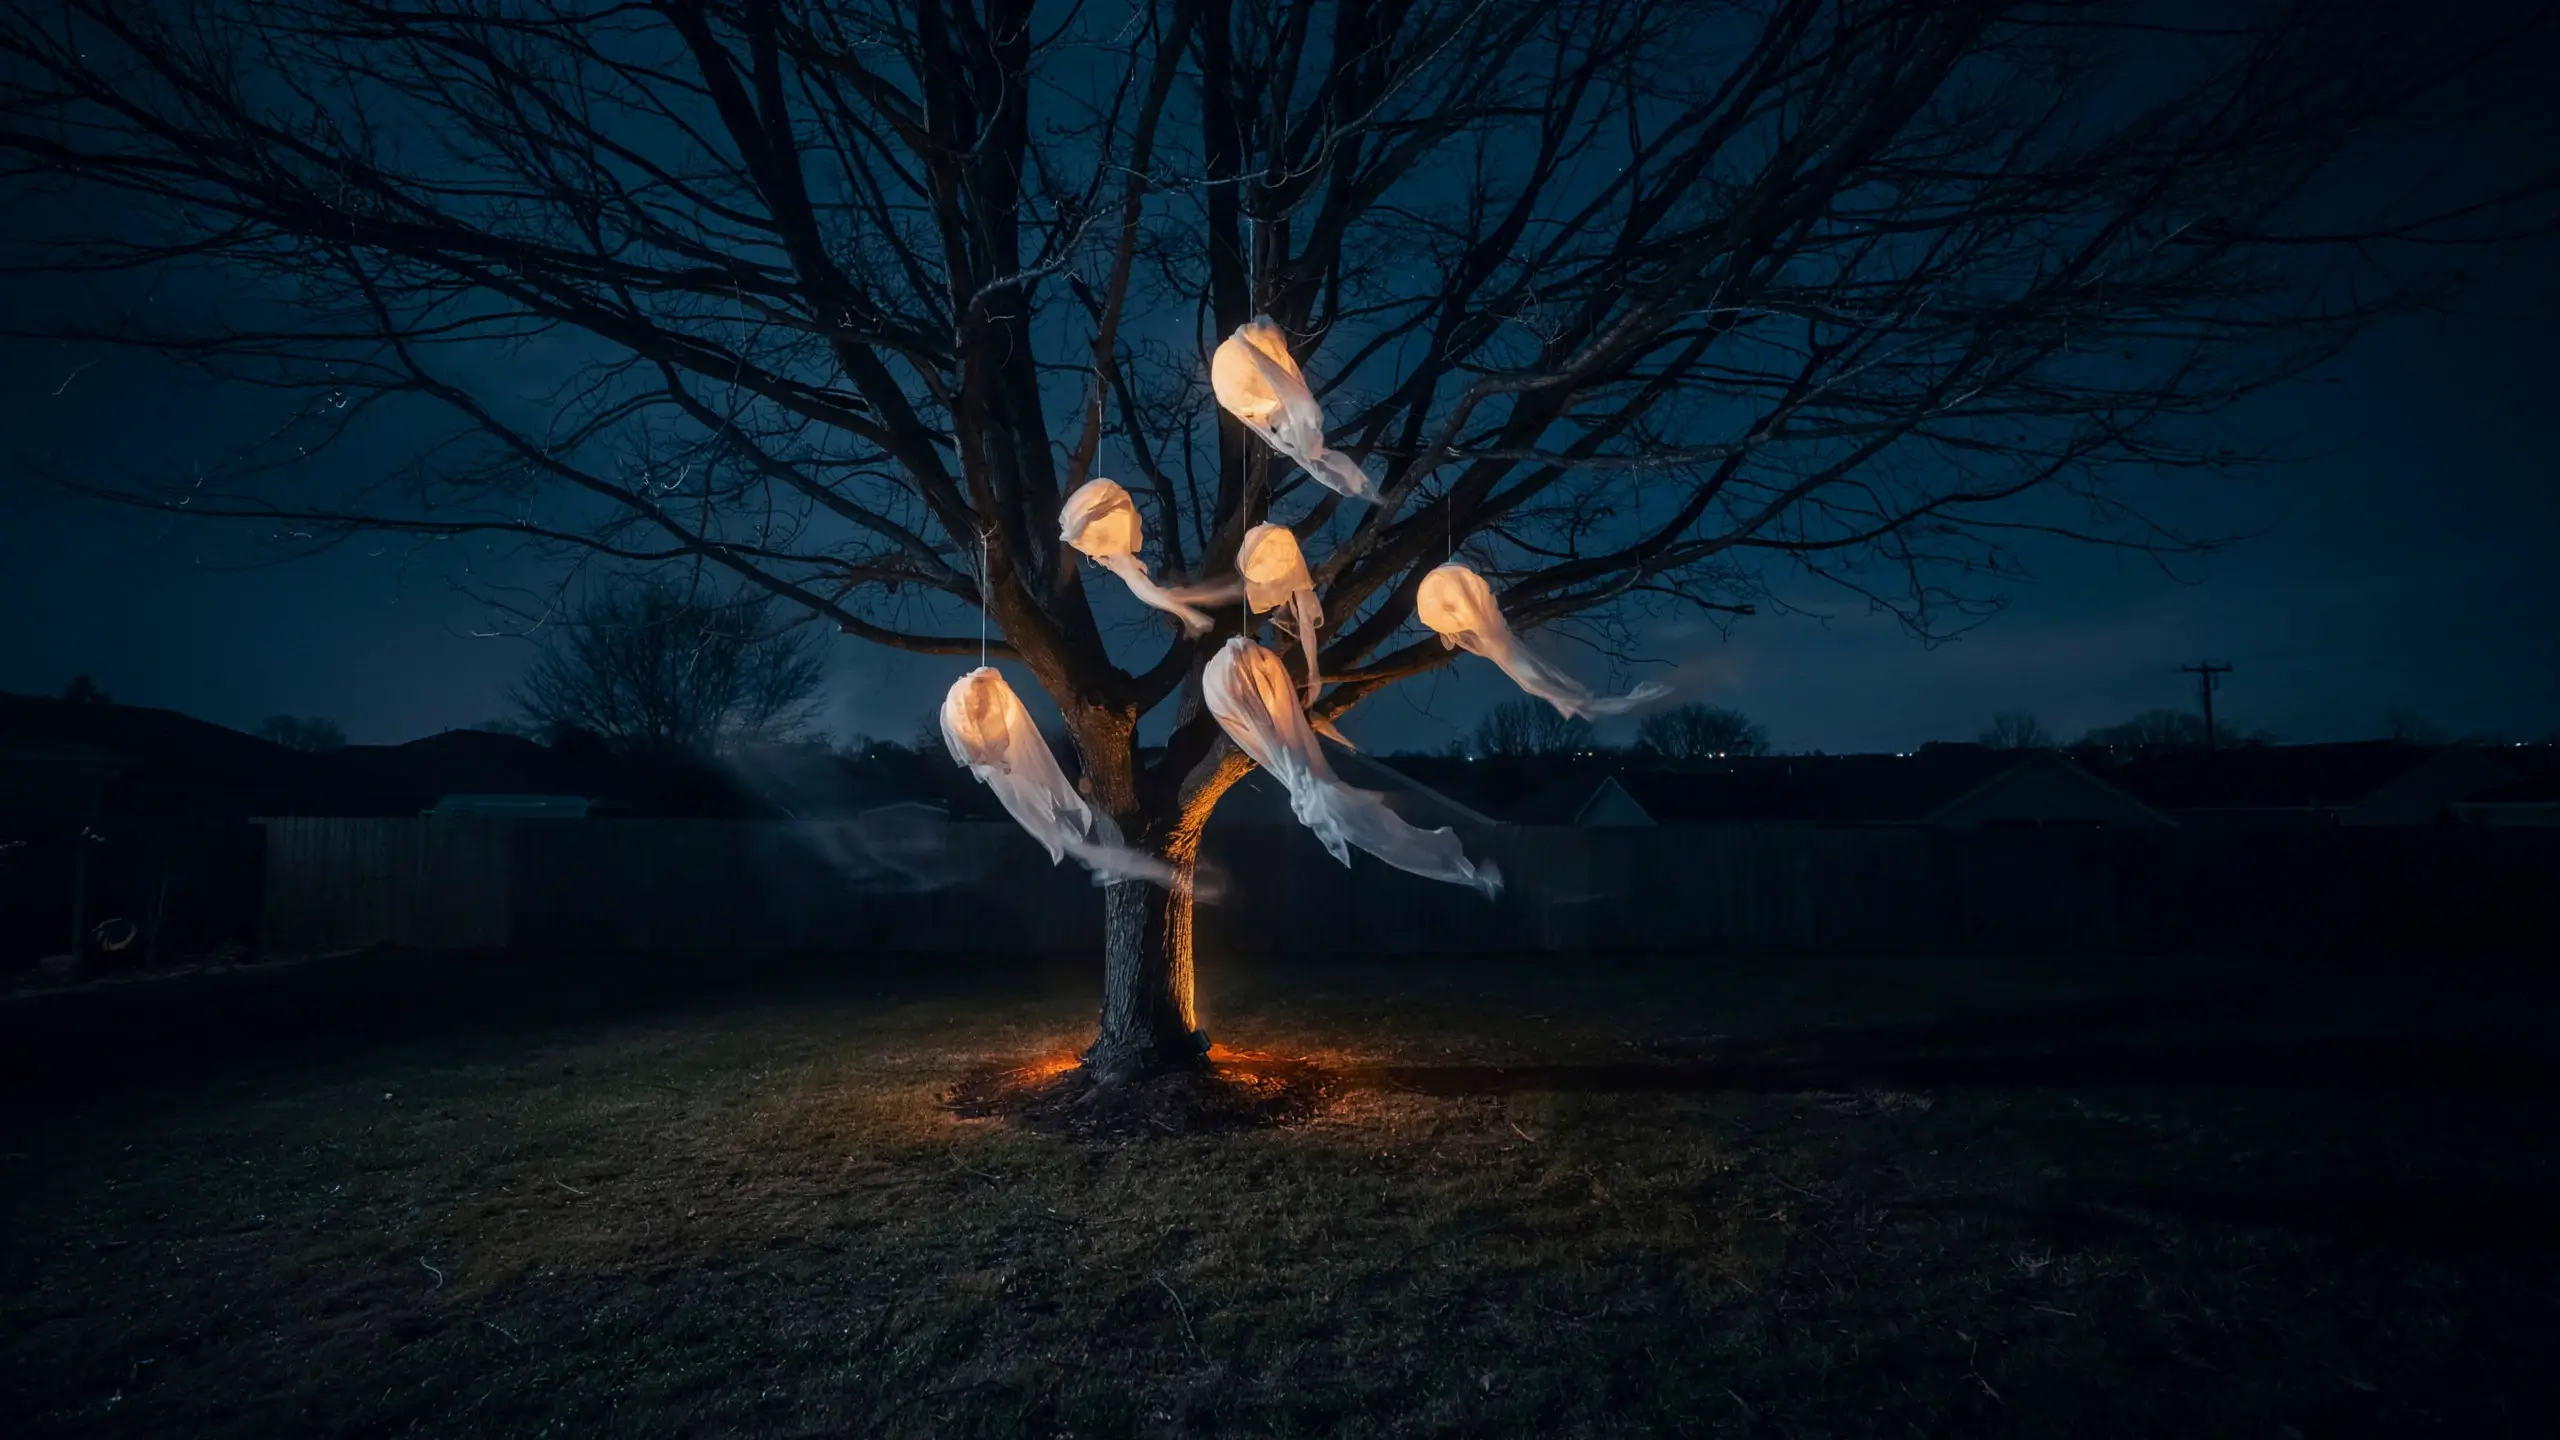
Make several of the cheesecloth ghosts from idea #1, but on a smaller scale using just foam balls and a few lengths of cheesecloth. Hang them from tree branches with fishing line at different heights. At night, shine a white or orange spotlight upward from the ground. The ghosts glow and sway.
19. DIY Scarecrow
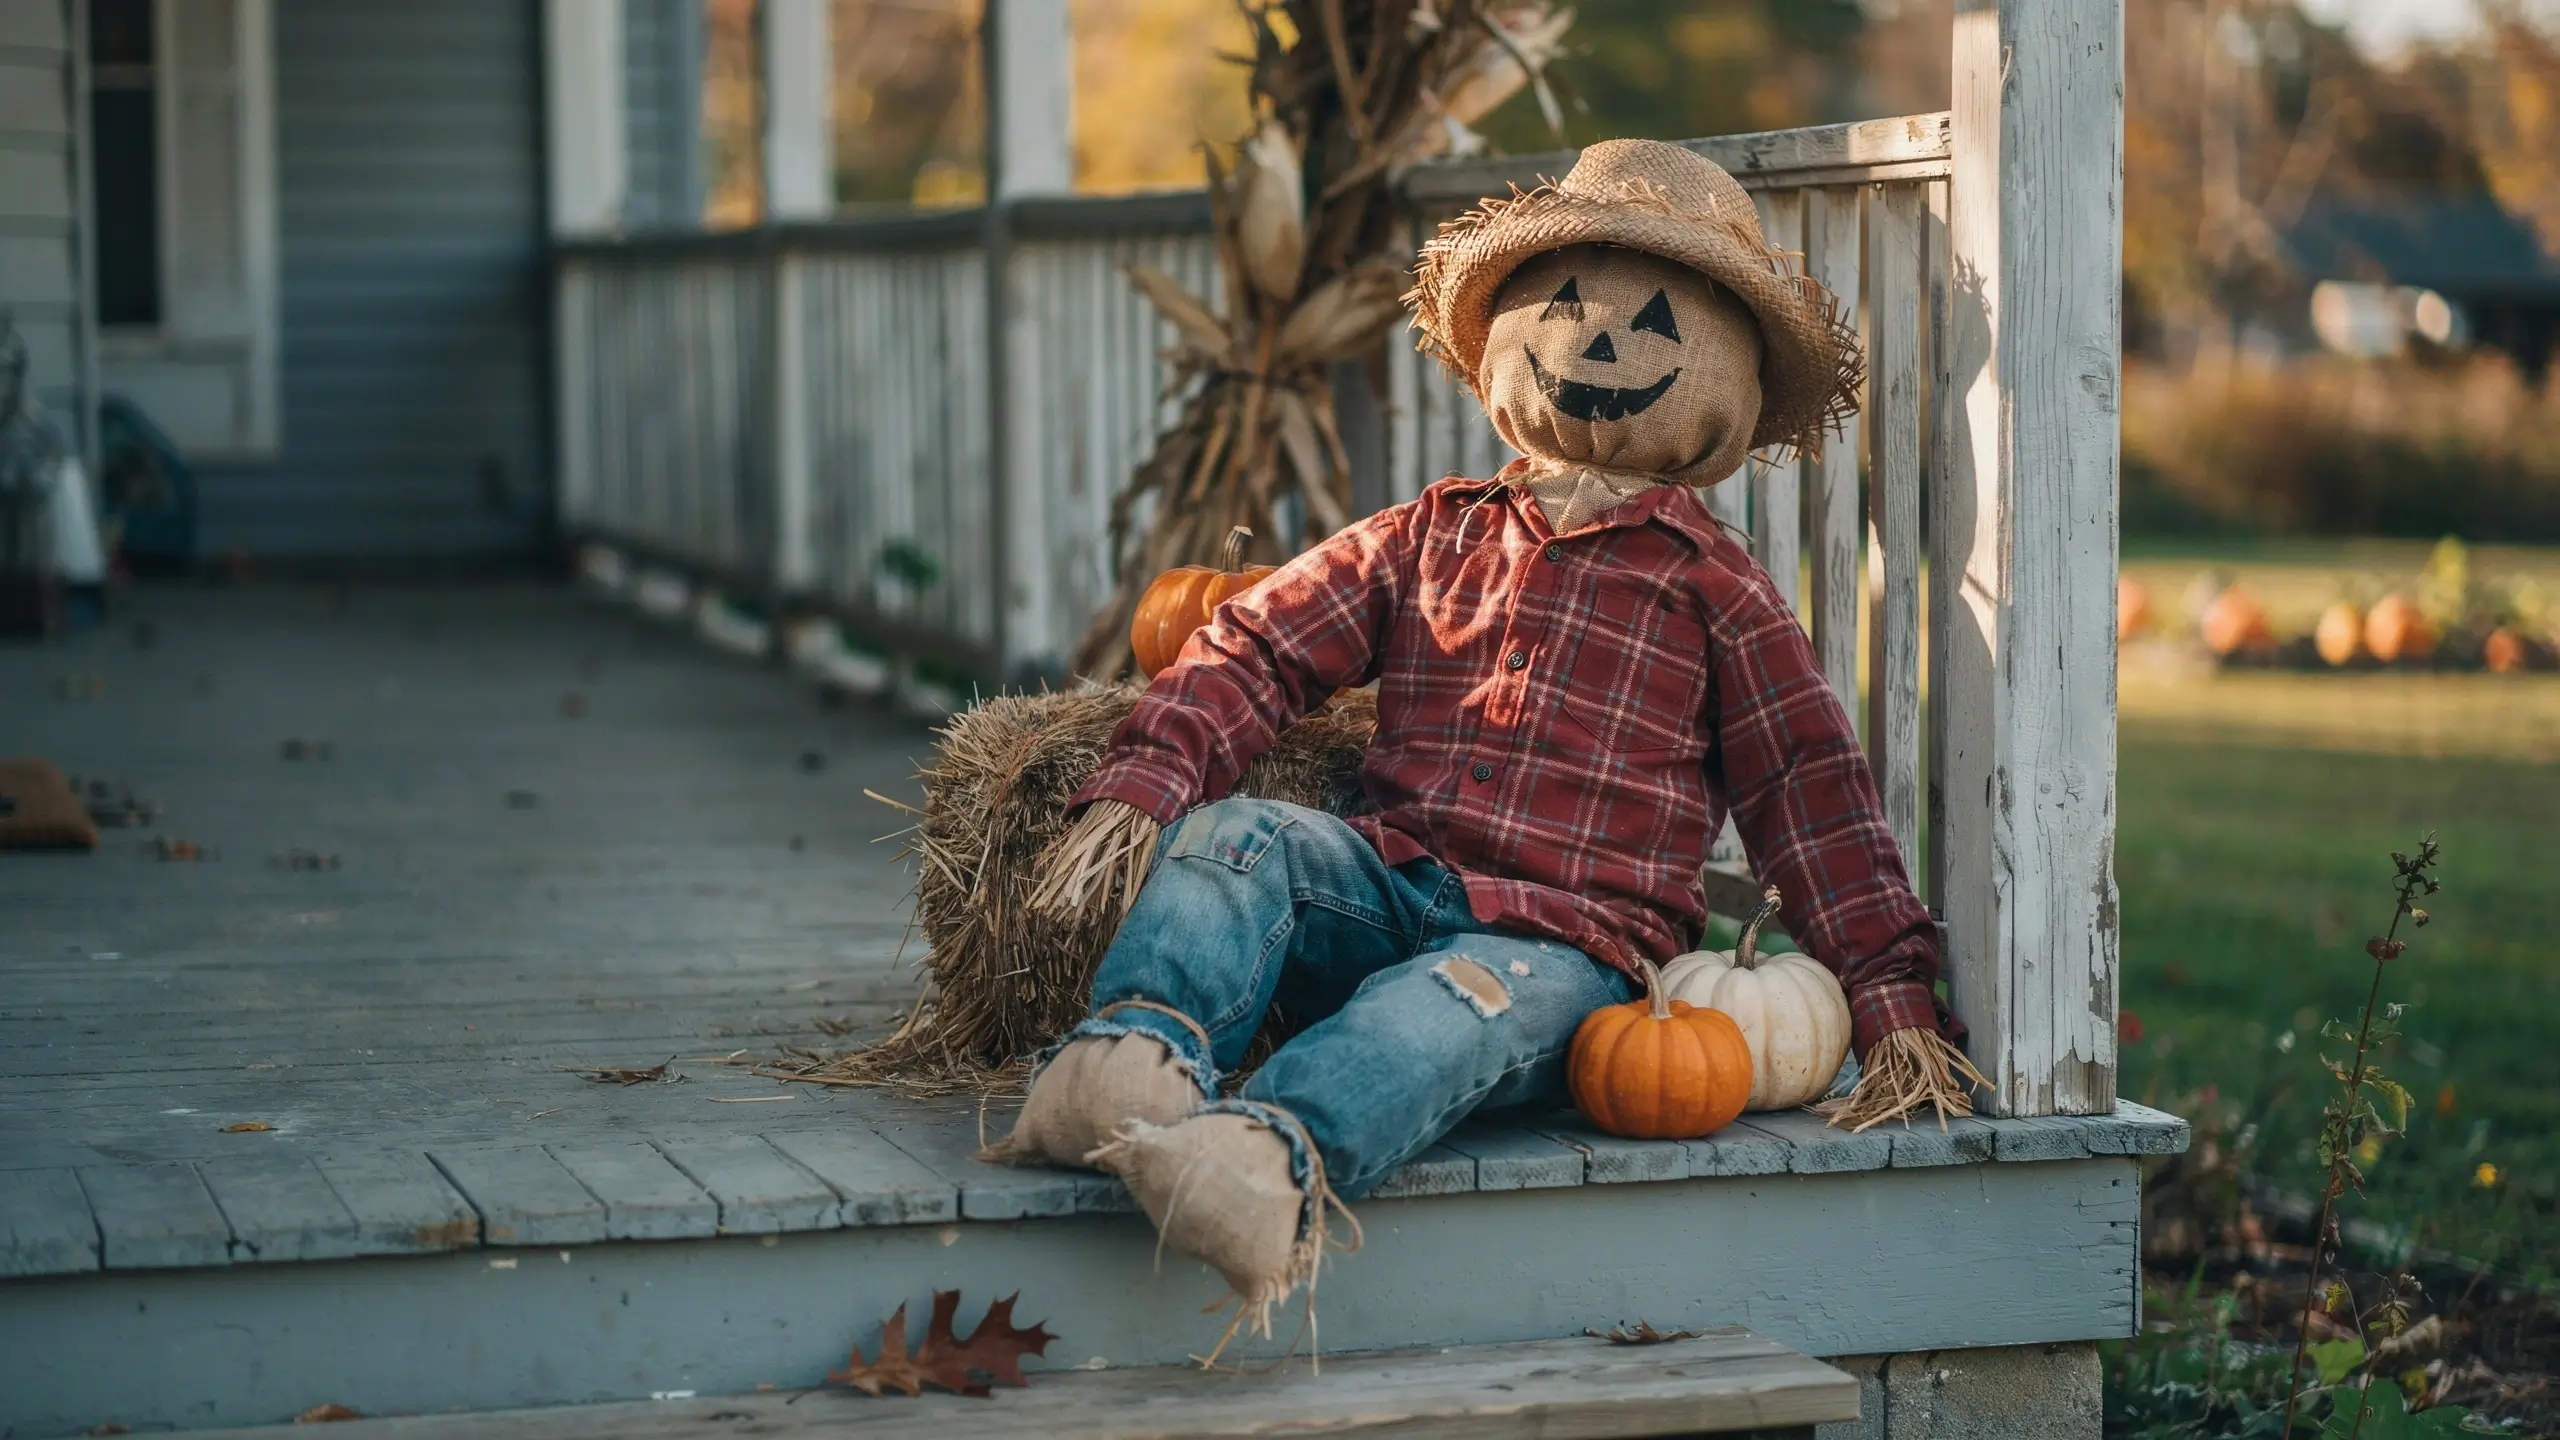
Stuff an old flannel shirt and jeans with newspaper or plastic bags. Tie the ankles and wrists with twine. Attach a foam pumpkin head or stuff a burlap sack into a head shape with a carved or drawn face. Seat the scarecrow on your porch steps with a sign: Welcome, if You Dare. Takes about 20 minutes and uses clothes you’d donate anyway.
20. Eyeball Bushes
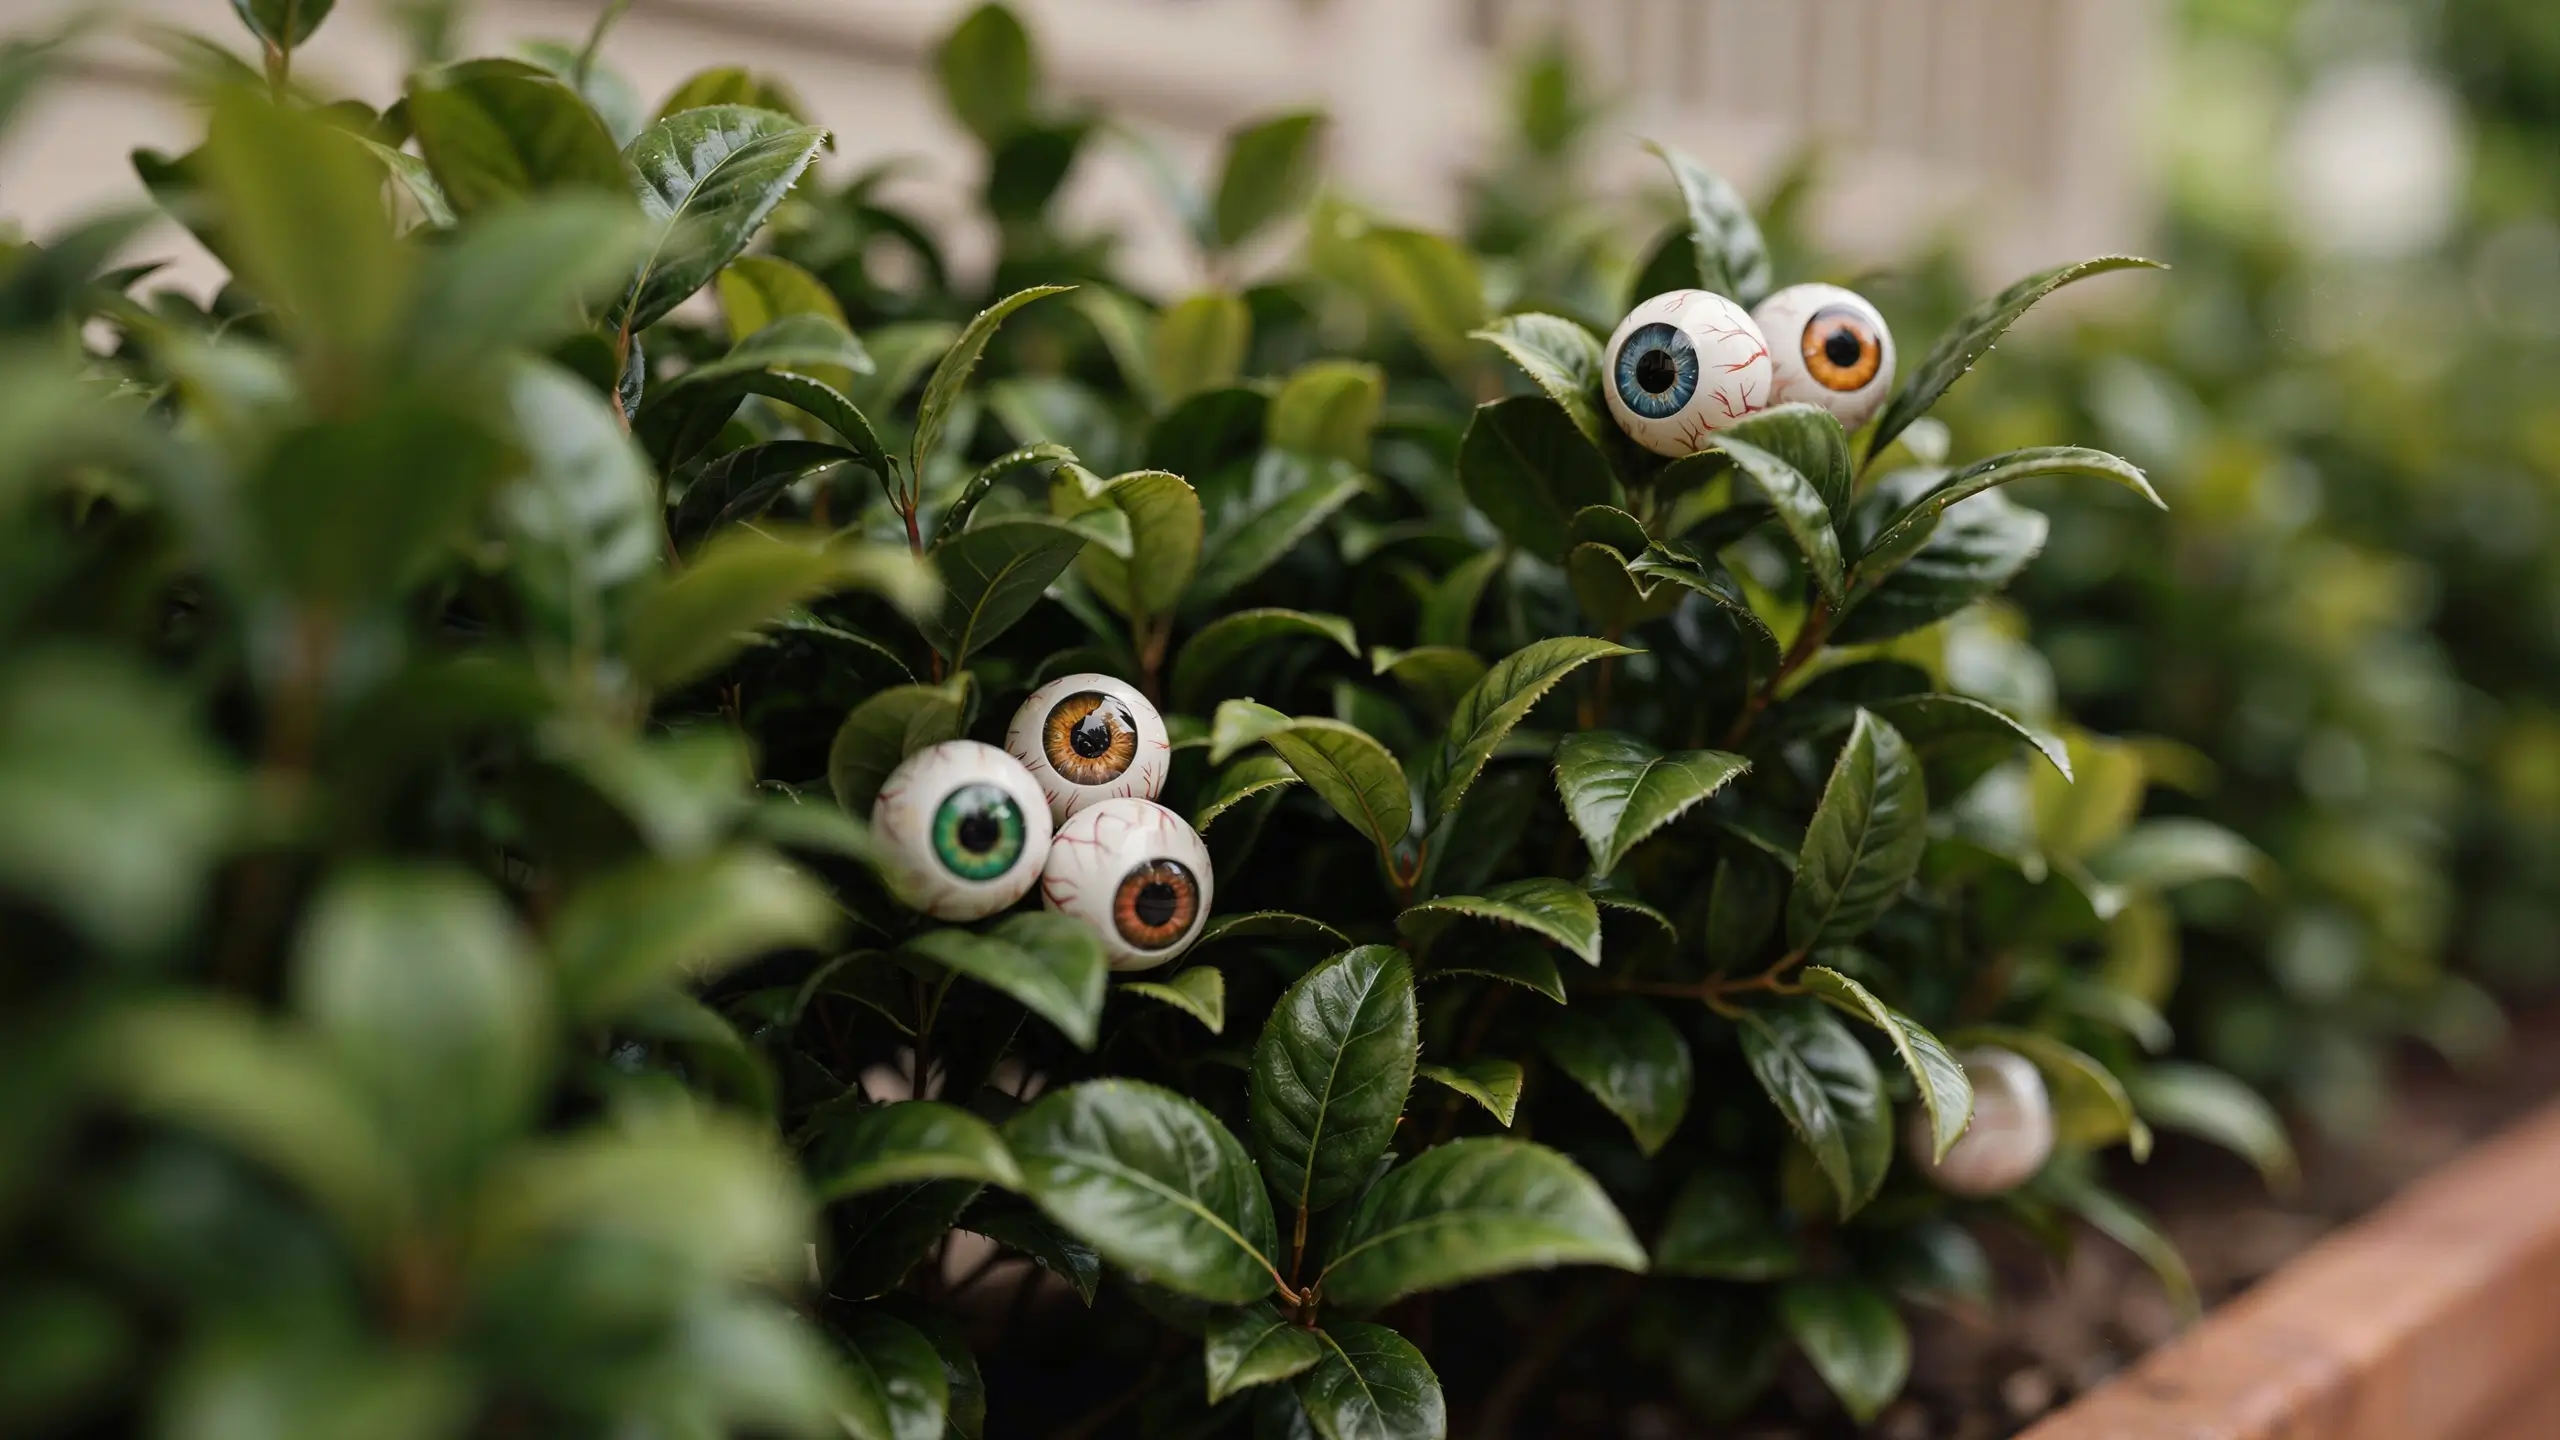
Hot glue ping pong balls together in clusters of three or four. Paint irises in varying colors. Nestle the eyeball clusters into potted mums, bushes, or porch planters so they peer out from the foliage. This is the unexpected detail that stops people on the sidewalk.
Cost: $4-6.
Quick Last-Minute DIY Halloween Decor Ideas
21. Toilet Paper Roll Bats
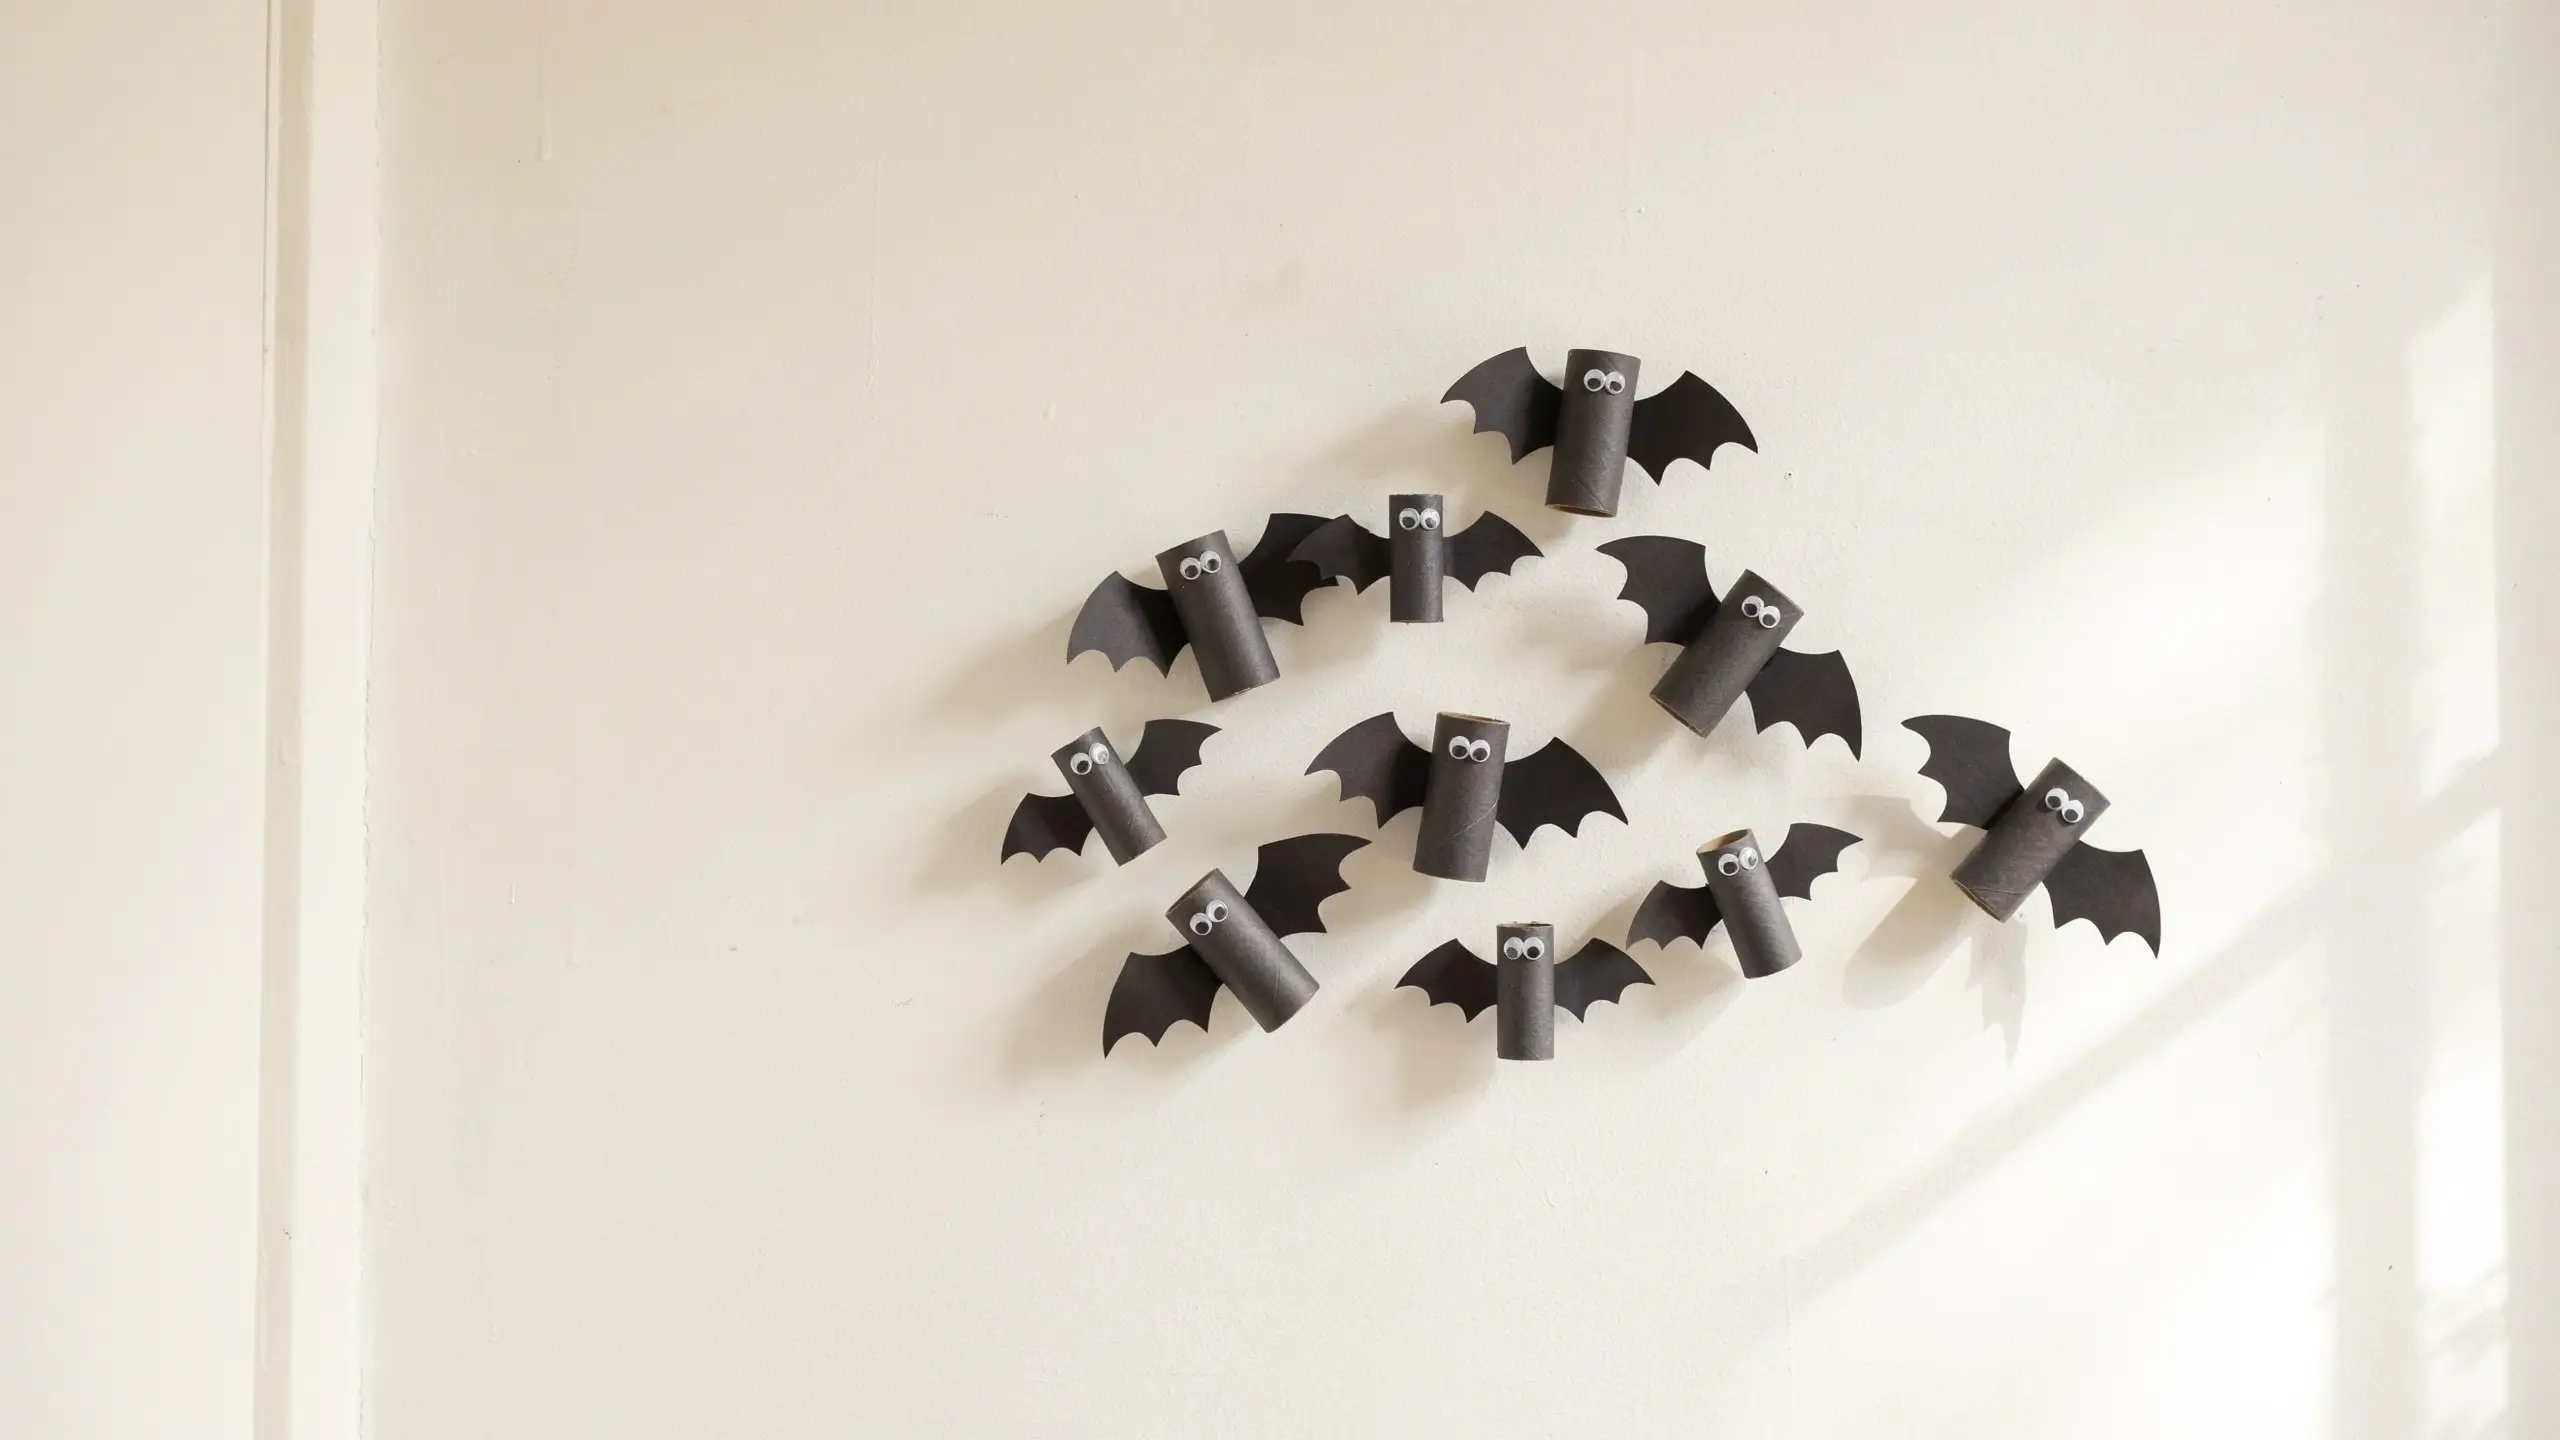
Flatten a toilet paper tube, fold in the sides, and cut a bat wing shape from black cardstock. Glue on googly eyes. Tape to a wall in clusters. Ten minutes, zero dollars.
22. Halloween Chalkboard Sign
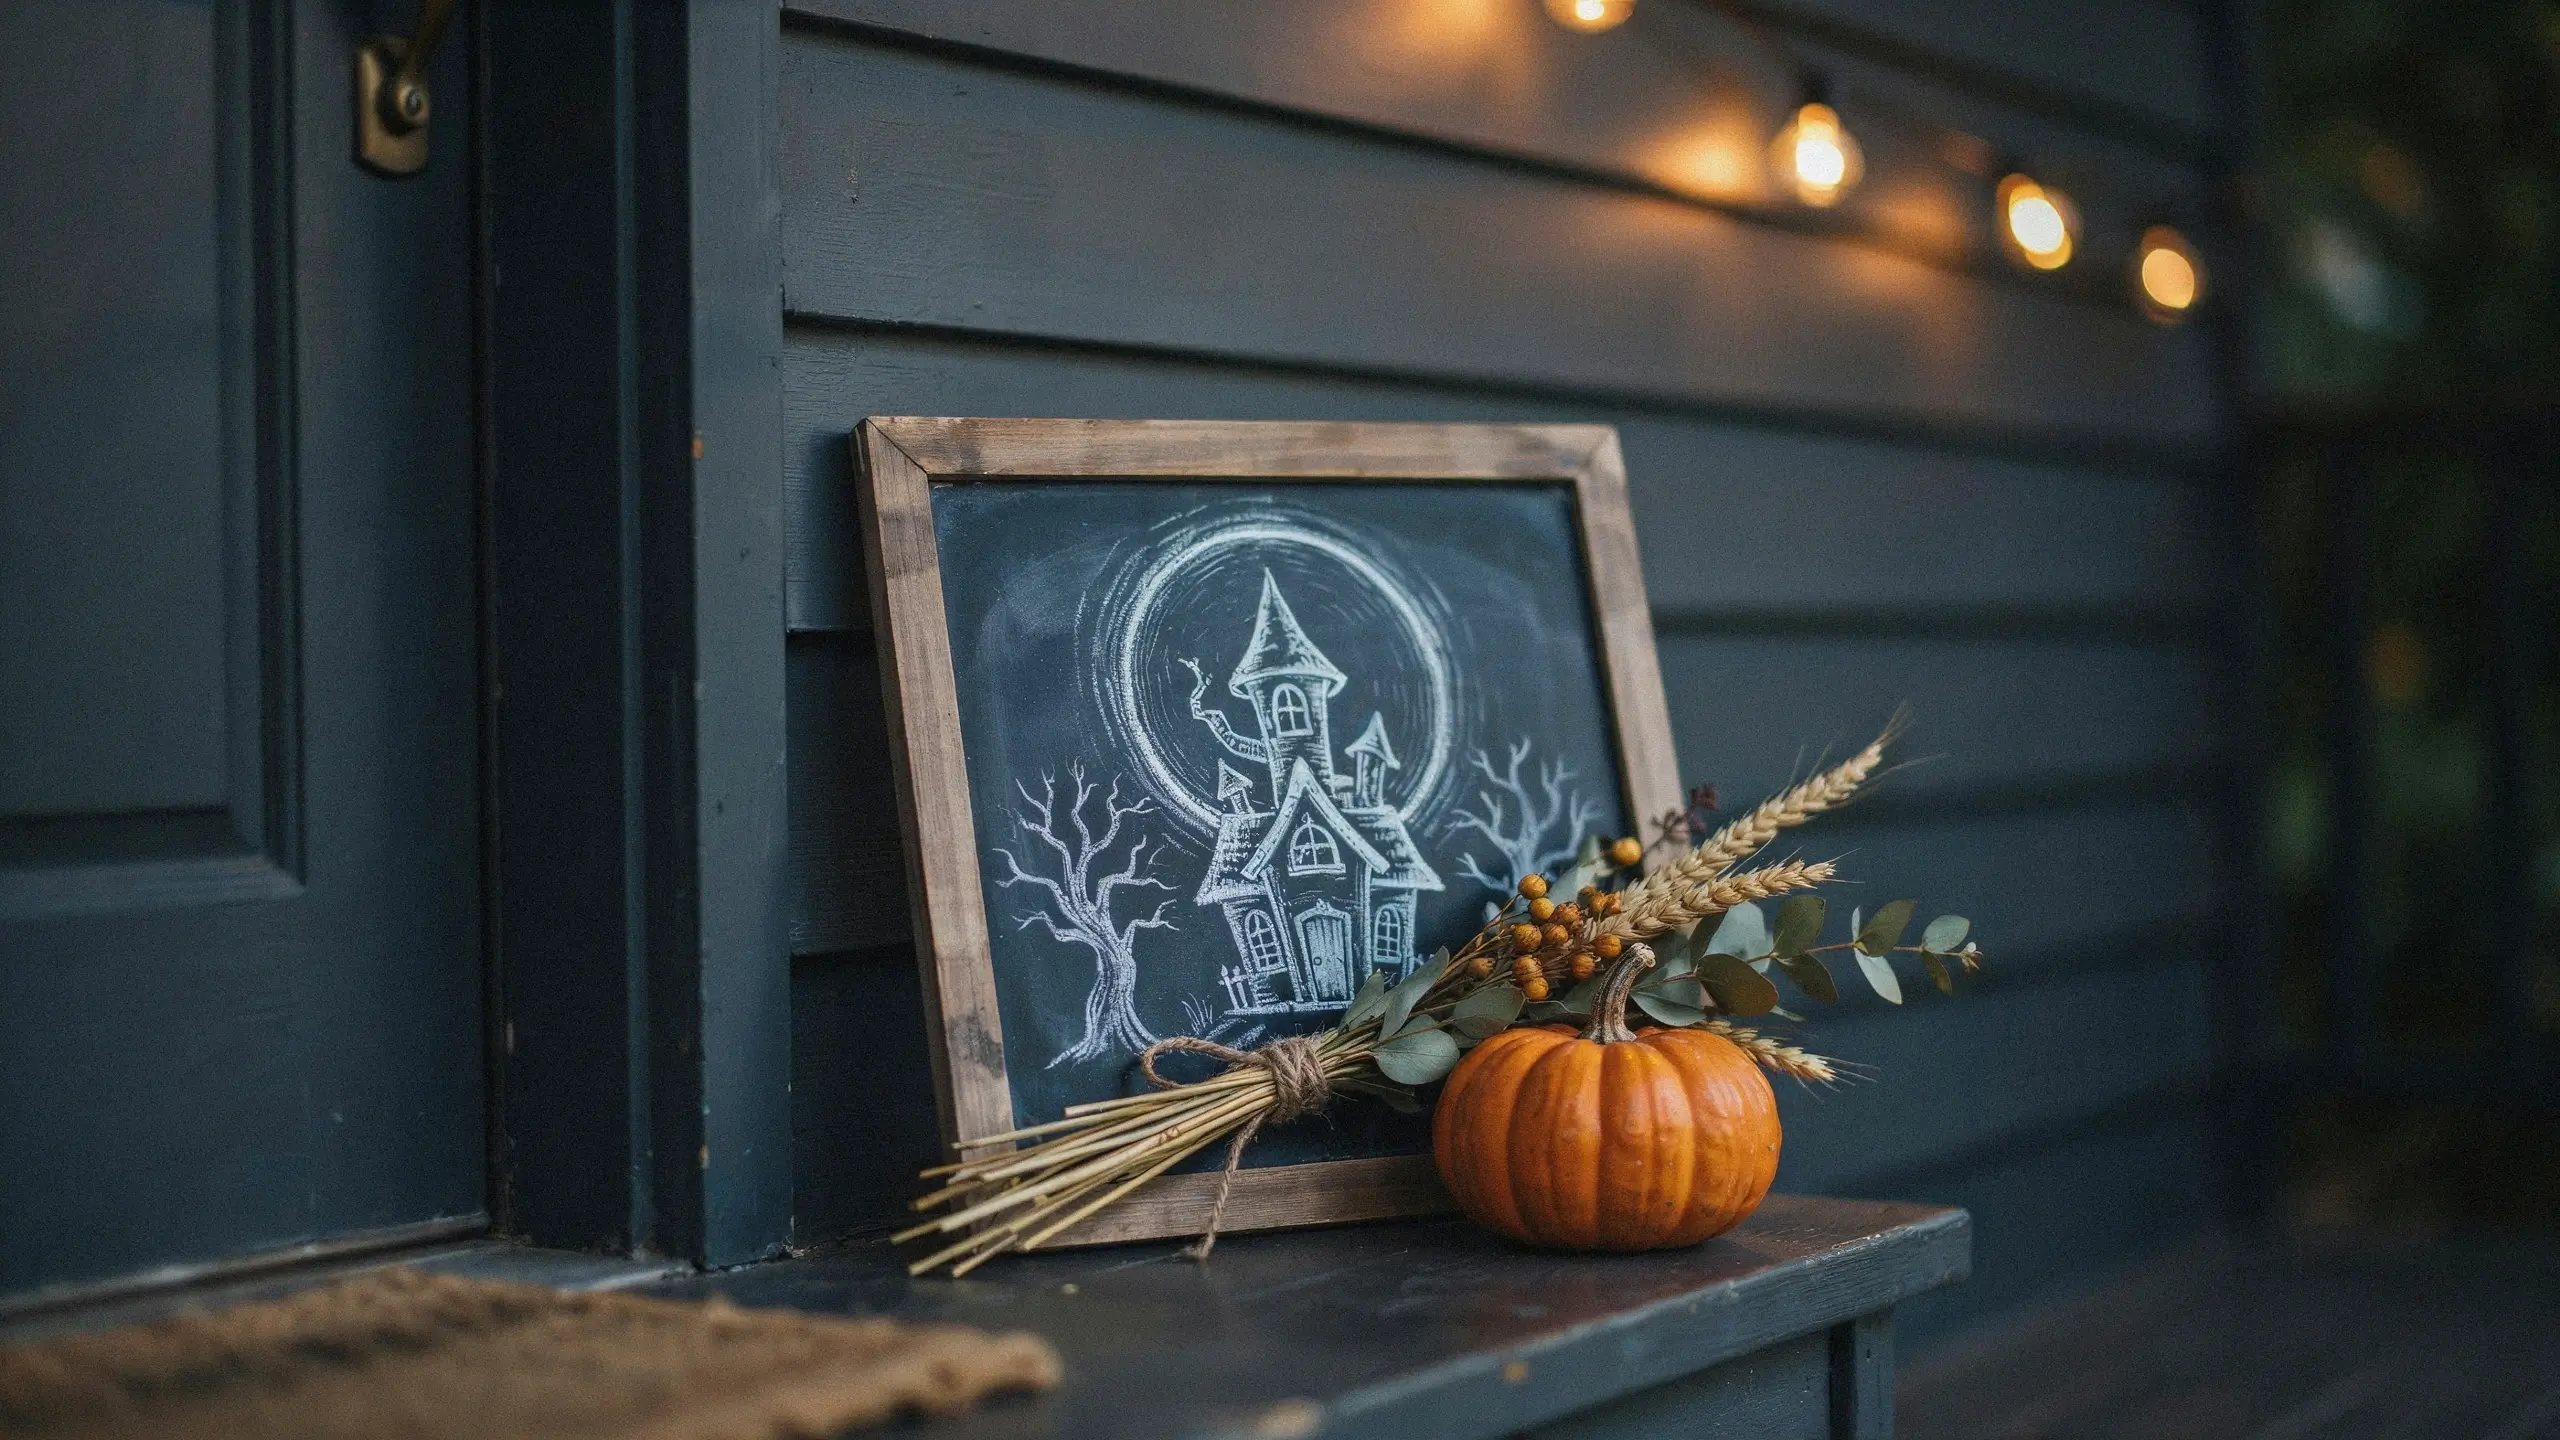
Grab a small chalkboard (dollar store or thrift) and write a spooky welcome message or quote. Prop it on the porch or entryway table and swap the message each week.
23. Orange Light String Swap
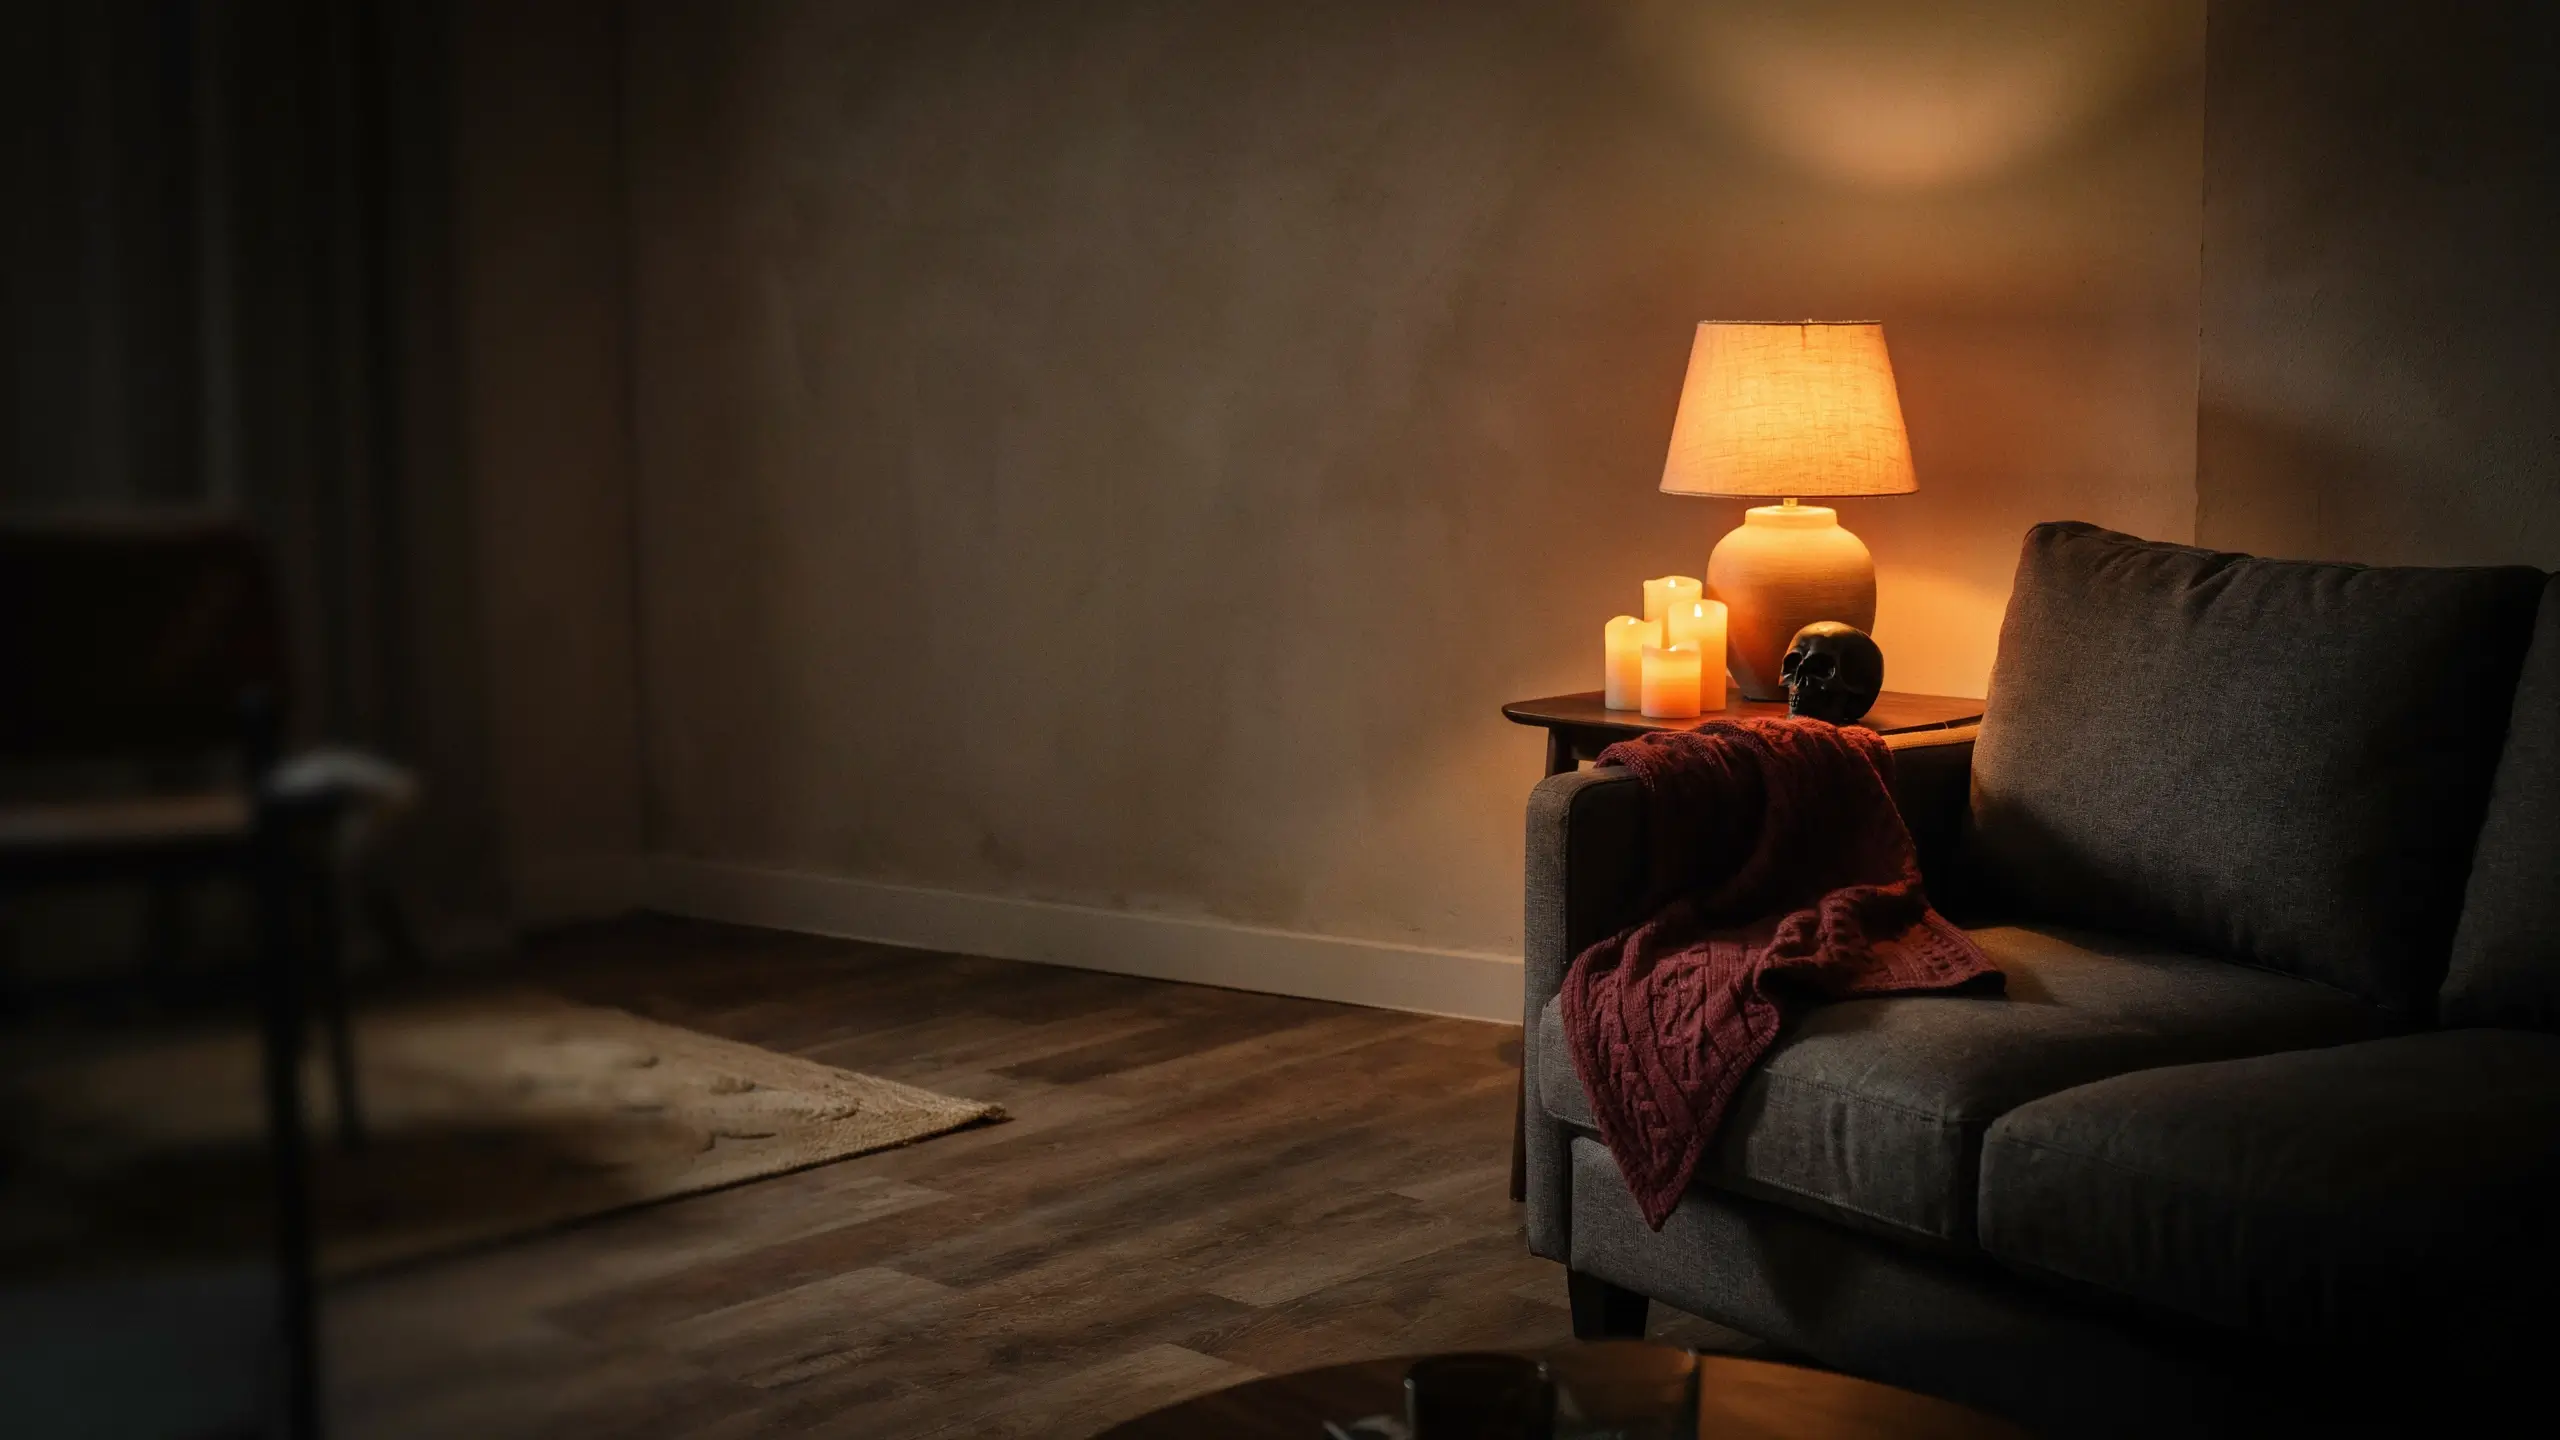
Swap one lamp’s bulb for an orange party bulb. The color change alone shifts the entire mood of a room after dark. Pair with battery candles and the effect is remarkable.
24. Spooky Candle Cluster
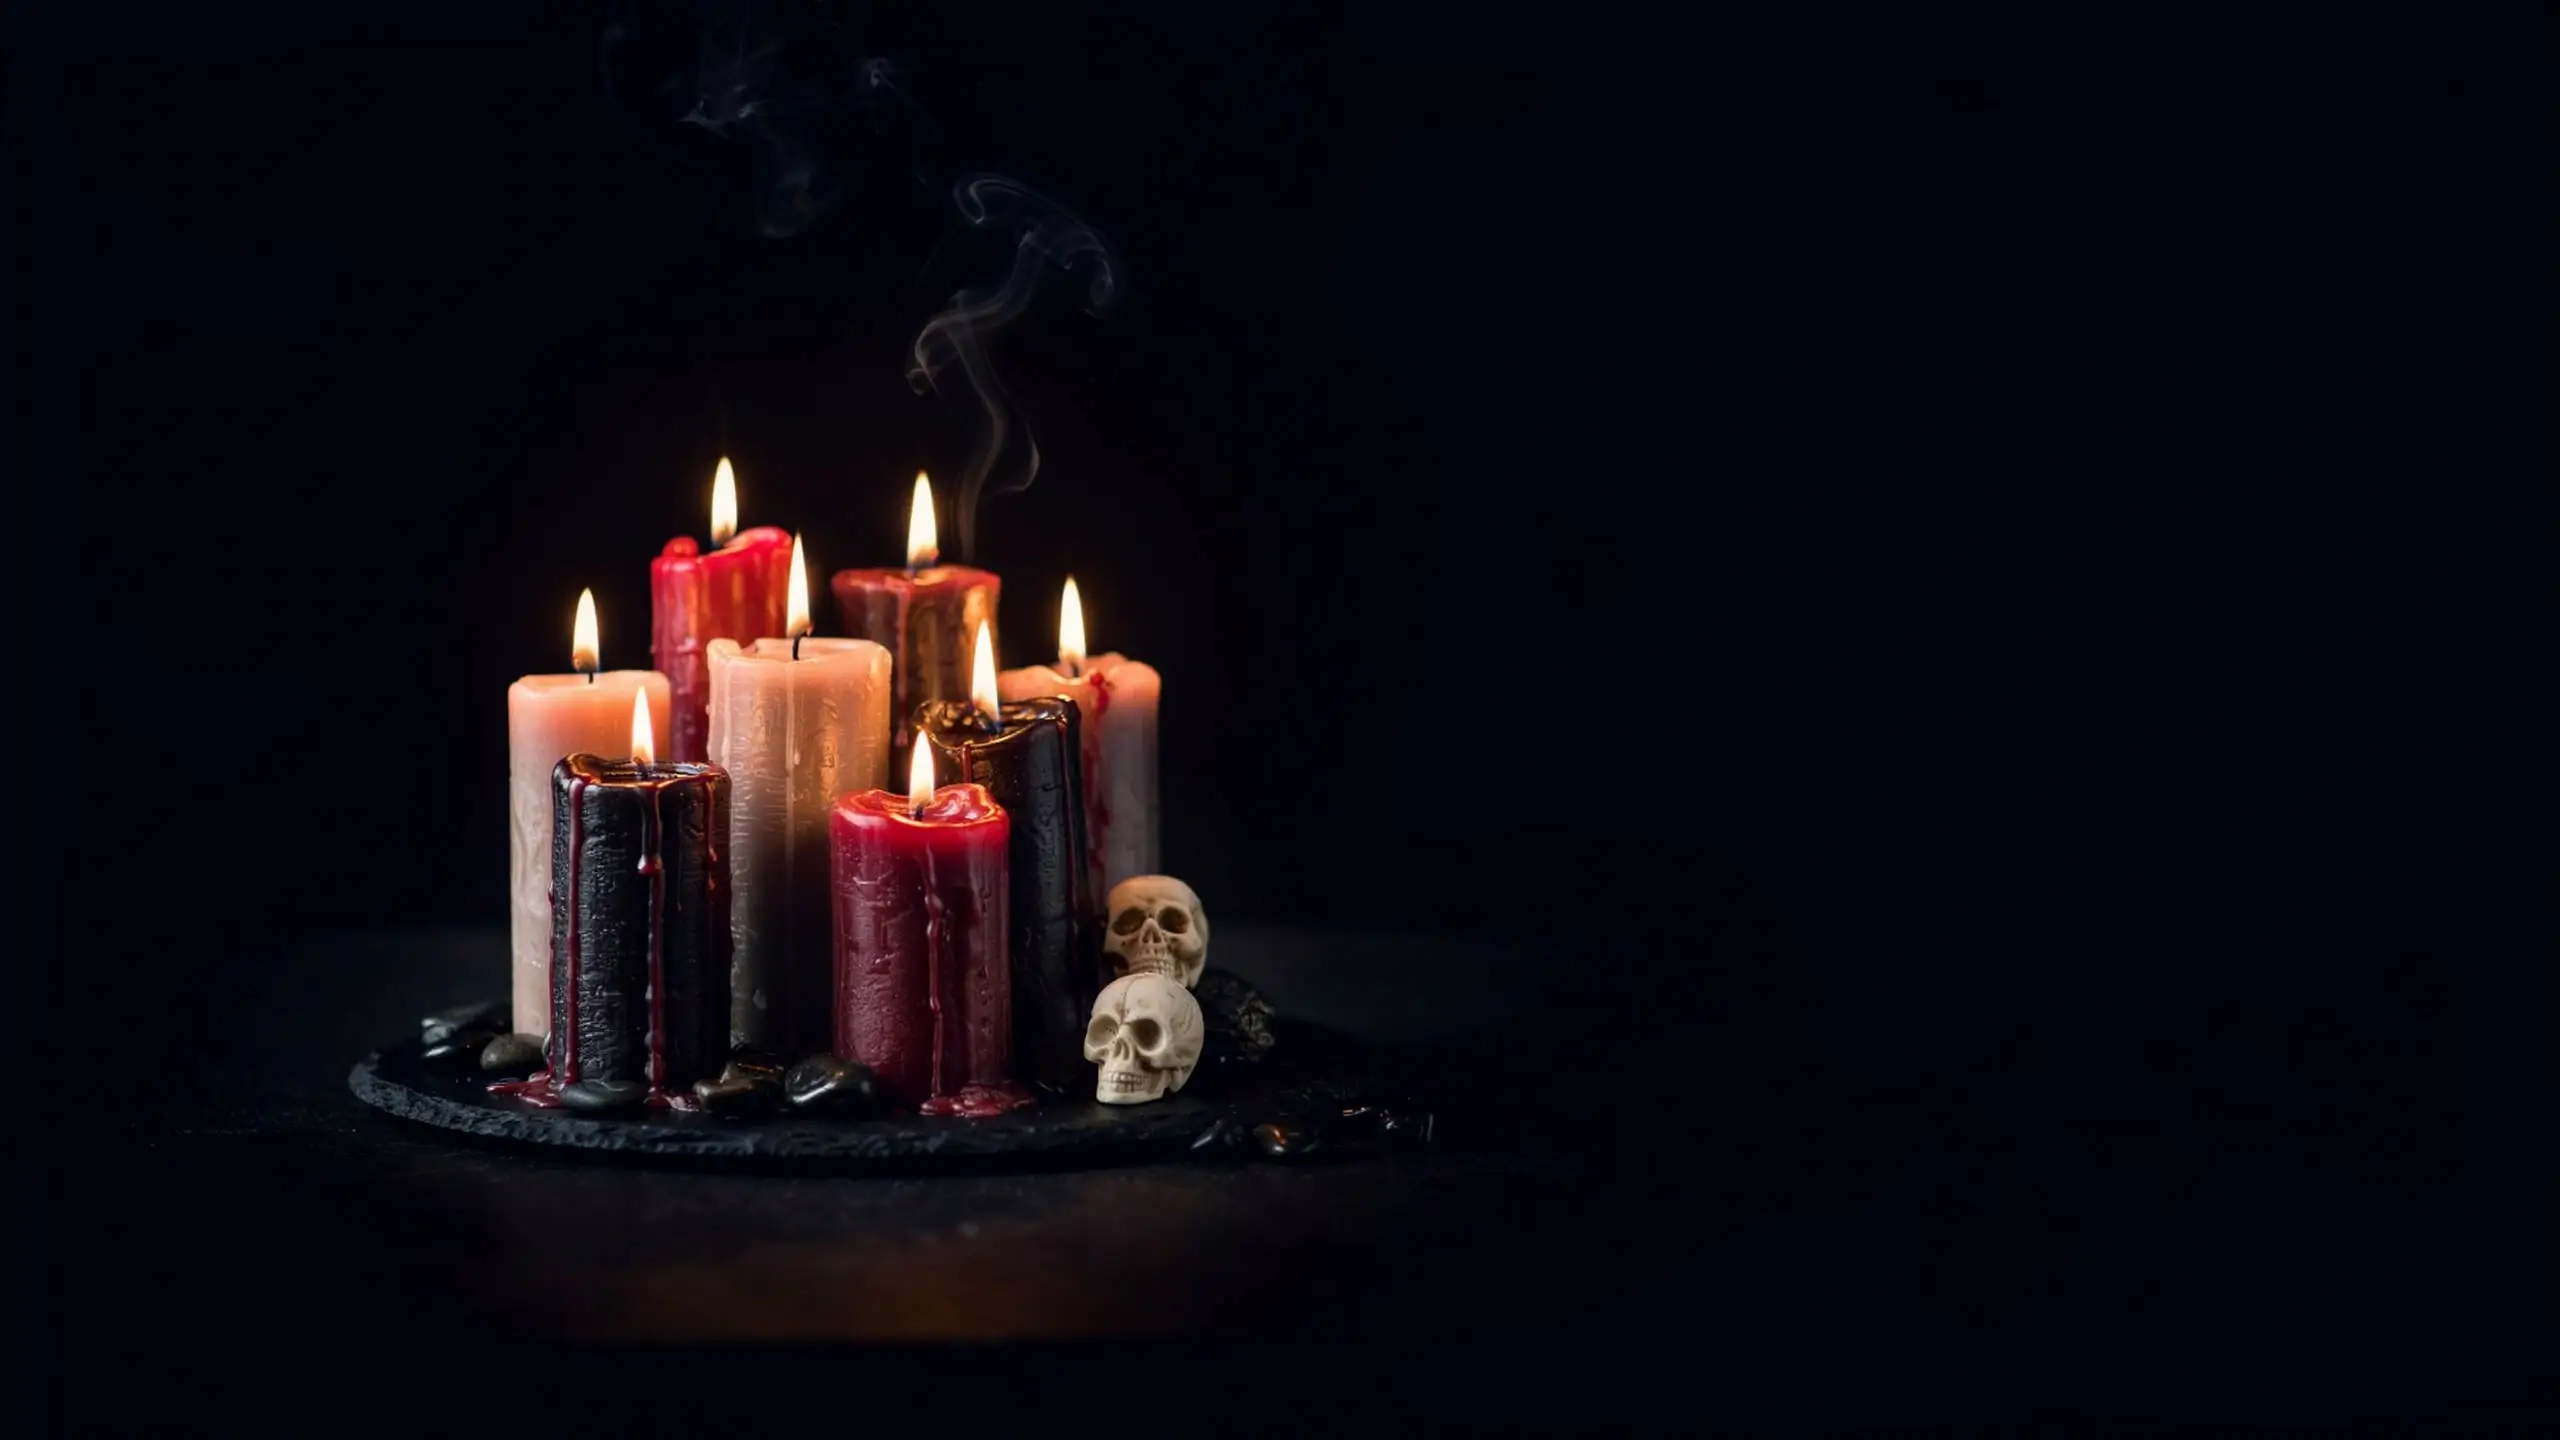
Group five to seven pillar candles of different heights together on a fireproof tray. Melt a red crayon and drip it over the candles before lighting so it looks like dried blood. Add a few fake skulls or black stones at the base. Use flameless LED candles for a renter-safe version.
25. Popcorn Box Ghost Luminaries
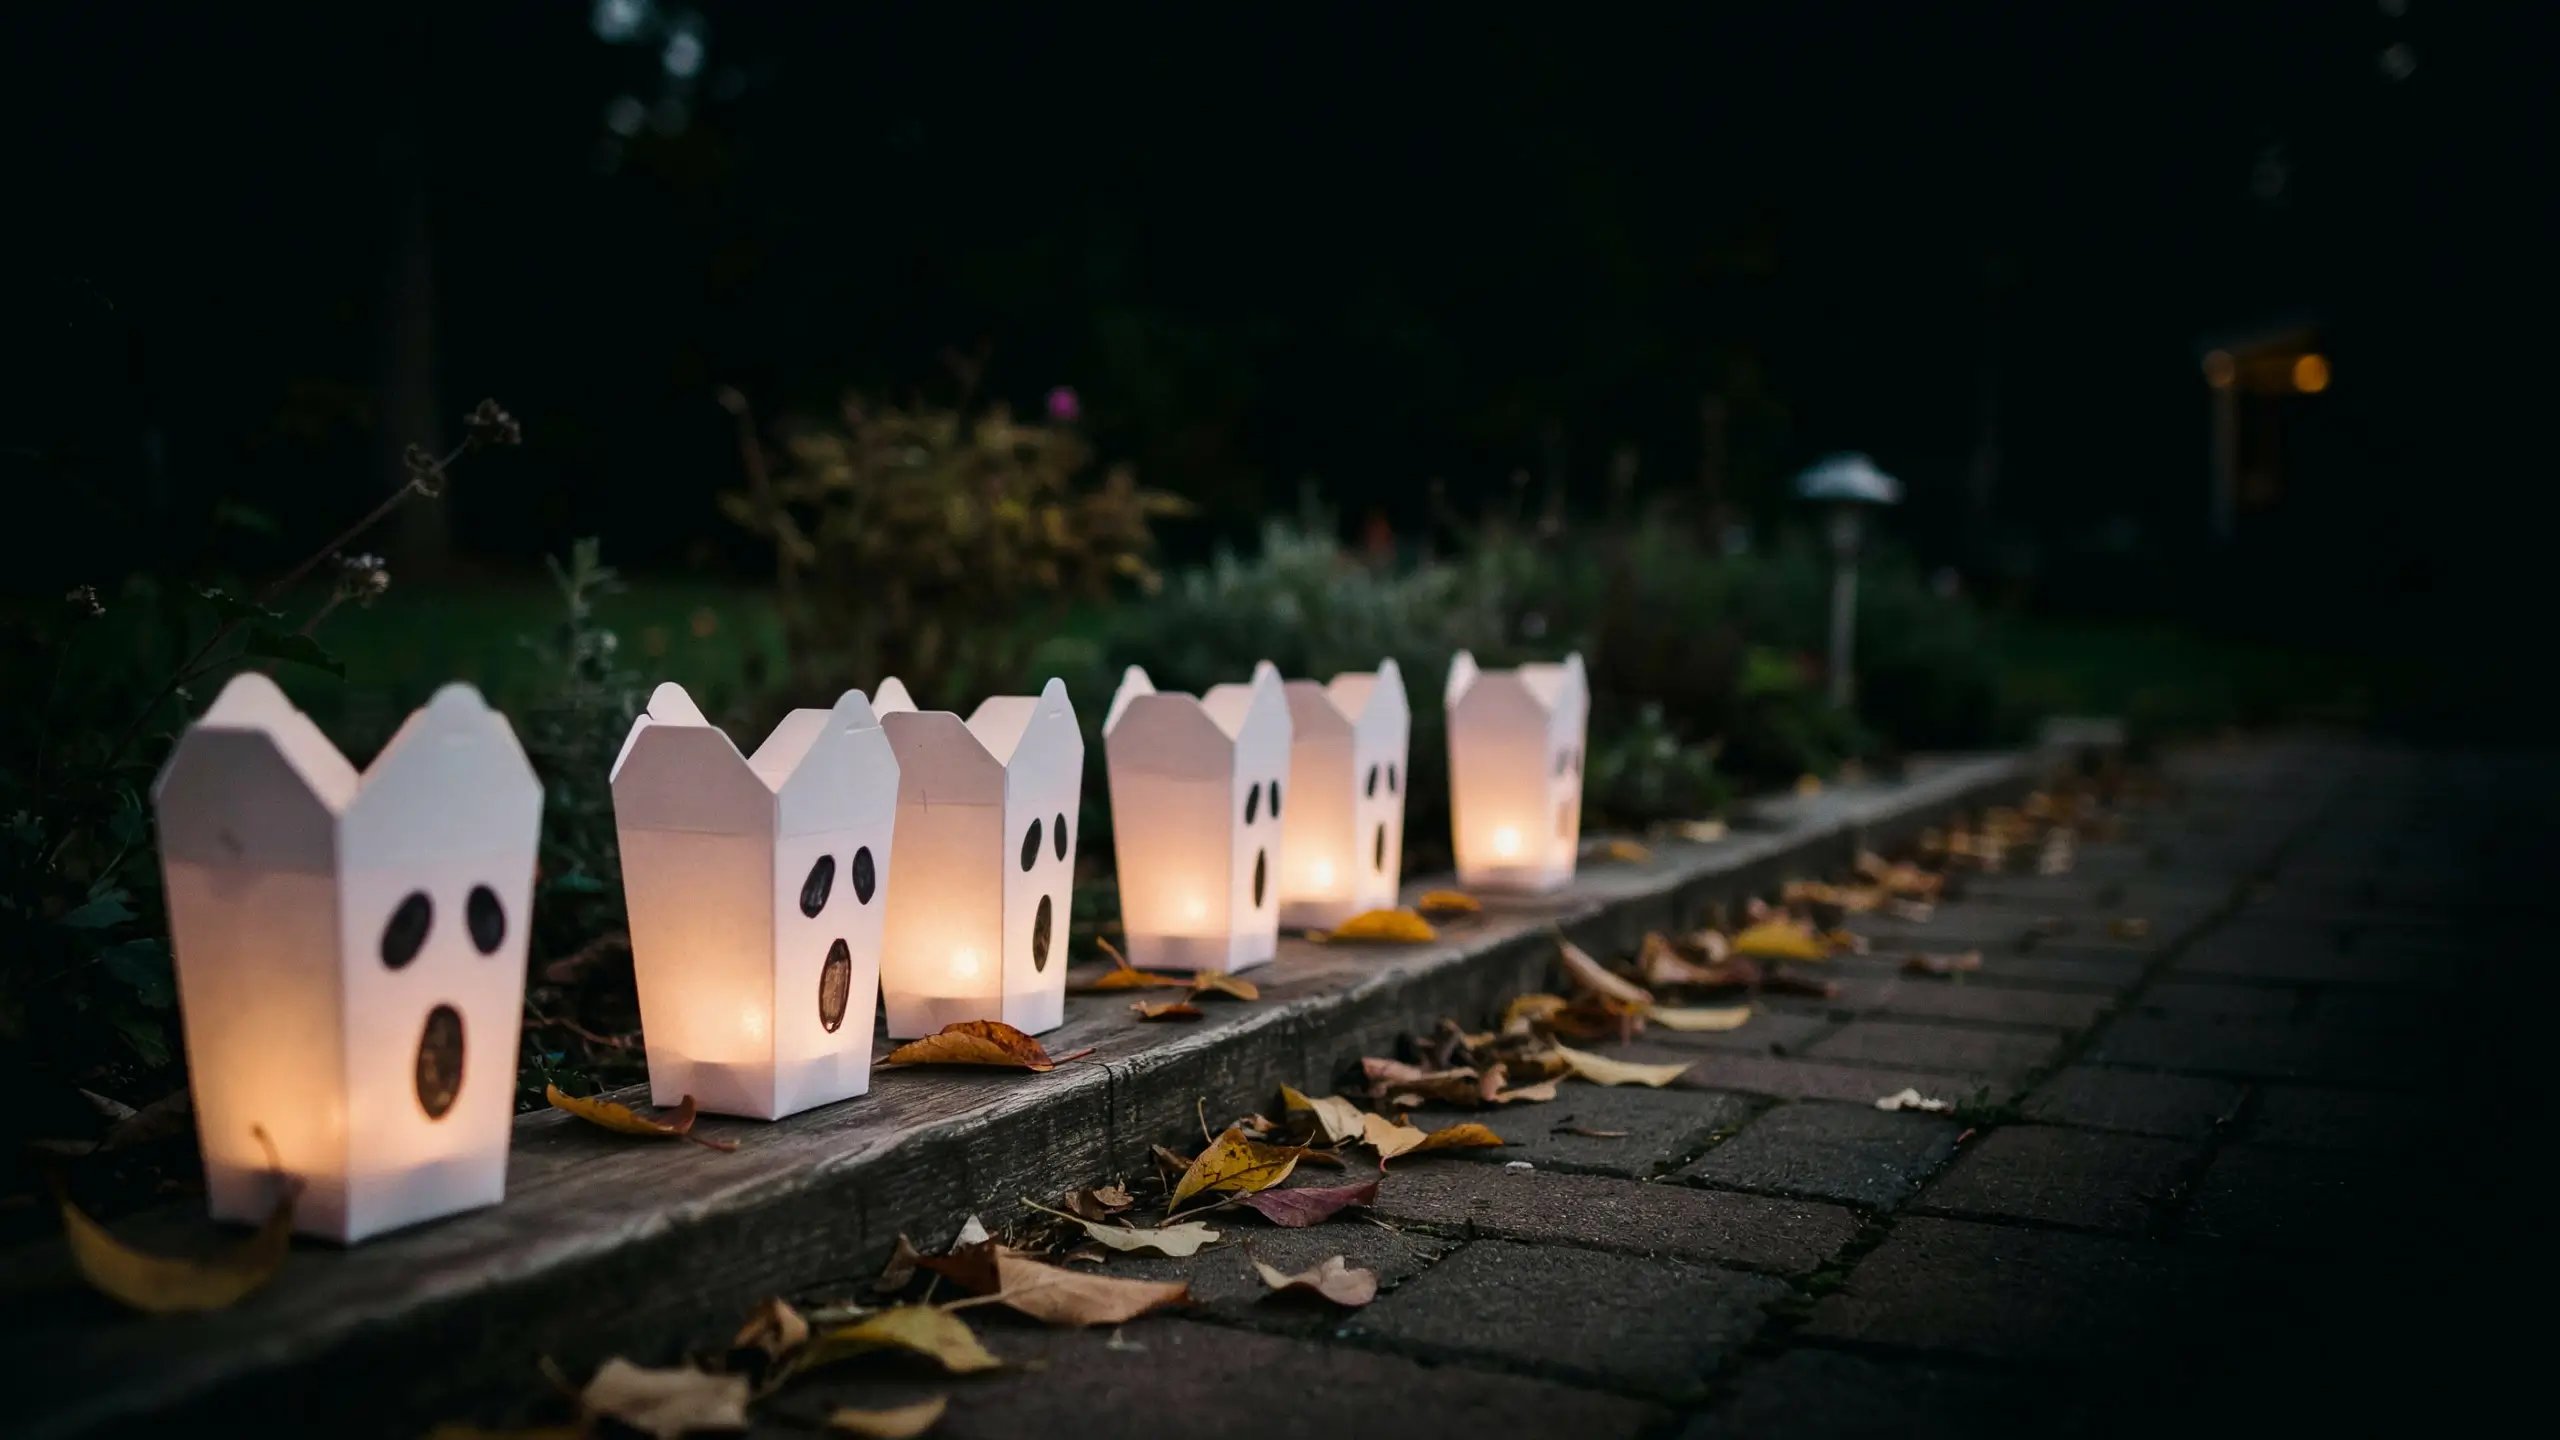
Take white Chinese food takeout boxes (available in packs online for under $10). Draw ghost faces with a black marker. Pop a glow stick or battery tea light inside each one. Line them along a walkway or windowsill. They glow warmly through the paper and look adorable in photos.
Mistakes to Avoid with DIY Halloween Decor
- Using real candles inside paper or fabric crafts. Always use LED tea lights for luminaries, cheesecloth displays, or anything with tissue paper. It’s not worth the risk.
- Spreading spider web too thick. Faux web looks best pulled thin, almost transparent. One bag of web used sparingly looks realistic. Clumped up, it looks like a bag of web.
- Going too random with colors. Orange, purple, black, red, and green all together reads chaotic. Pick two or three and commit.
- Skipping the primer on foam board. If you’re painting foam insulation board, use a water-based paint first. Spray paint with solvents will melt the foam.
- Making everything too small. Outdoor decor needs scale. One large statement piece (a ghost cluster, a tombstone graveyard, a pumpkin tower) reads better from the street than twenty tiny details.
- Forgetting about storage. Before you make something, think about how it stores. Flat things (silhouettes, bats, signs) stack in a bin. 3D projects need care. Cheesecloth ghosts last for years if stored in a box, not a bag.
Make It Your Own
The best DIY Halloween decor is the kind you actually finish. So pick three to five projects from this list that genuinely excite you, gather your supplies in one basket, and set aside an afternoon with good music or a movie playing in the background. You don’t need all 25.
Start small, see what you love, and add to your collection every year. In a few Octobers, you’ll have a box full of handmade decorations that have actual memories attached to them, and that’s something no store display can replicate.
What’s your go-to DIY Halloween decor project? Drop it in the comments. I’m always looking for the next idea to add to the list.

No Comment! Be the first one.