




24 Renter-Friendly Bathroom Hacks That Won’t Cost You Your Deposit
If you’ve ever stood in a rental bathroom staring at brown-and-tan tile from 1987, wondering how you’re supposed to live your best life next to a builder-grade light fixture, you already...

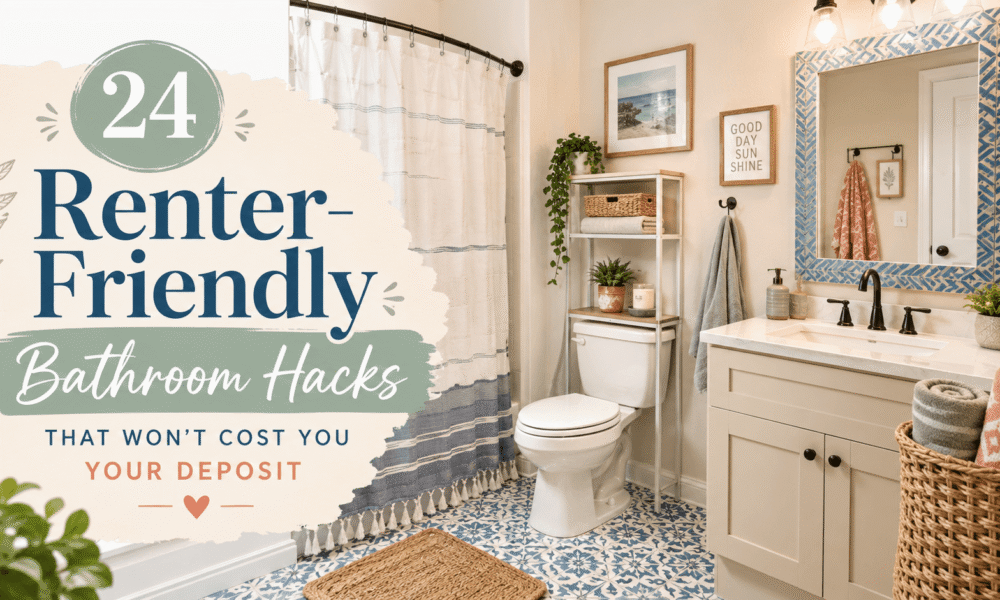
If you’ve ever stood in a rental bathroom staring at brown-and-tan tile from 1987, wondering how you’re supposed to live your best life next to a builder-grade light fixture, you already know the struggle. Rental bathrooms are usually the smallest, most outdated room in the whole apartment, and they’re also the one room you’re not supposed to touch.
Good news. You don’t need to touch anything permanently to make it feel like yours. These renter-friendly bathroom hacks are all reversible, budget-friendly, and designed to leave zero evidence when it’s time to move out. No drilling into tile, no landlord phone calls, no security deposit nightmares. Just a bathroom that finally looks like you picked it on purpose.
Before You Touch Anything: Quick Renter Rules
A few things to sort out before you start swapping fixtures and slapping up contact paper.
- Check your lease first. Some leases specifically call out painting, fixture swaps, or adhesive products, and it only takes five minutes to read that section again before you buy anything.
- Test adhesives on a hidden spot. Peel-and-stick anything (tile, wallpaper, decals) should get a 24-hour test patch behind the toilet or under the sink before you commit to the whole room. Humidity does weird things to adhesive, and you want to know that now, not after you’ve covered the whole floor.
- Keep every original piece. Old showerhead, old faucet, old light fixture, old toilet seat. Box it up, label it, and store it in a closet or under the sink. This is the single biggest thing that separates a smooth move-out from a deposit dispute.
Floors and Surfaces
1. Peel-and-Stick Vinyl Tile for Ugly Floors
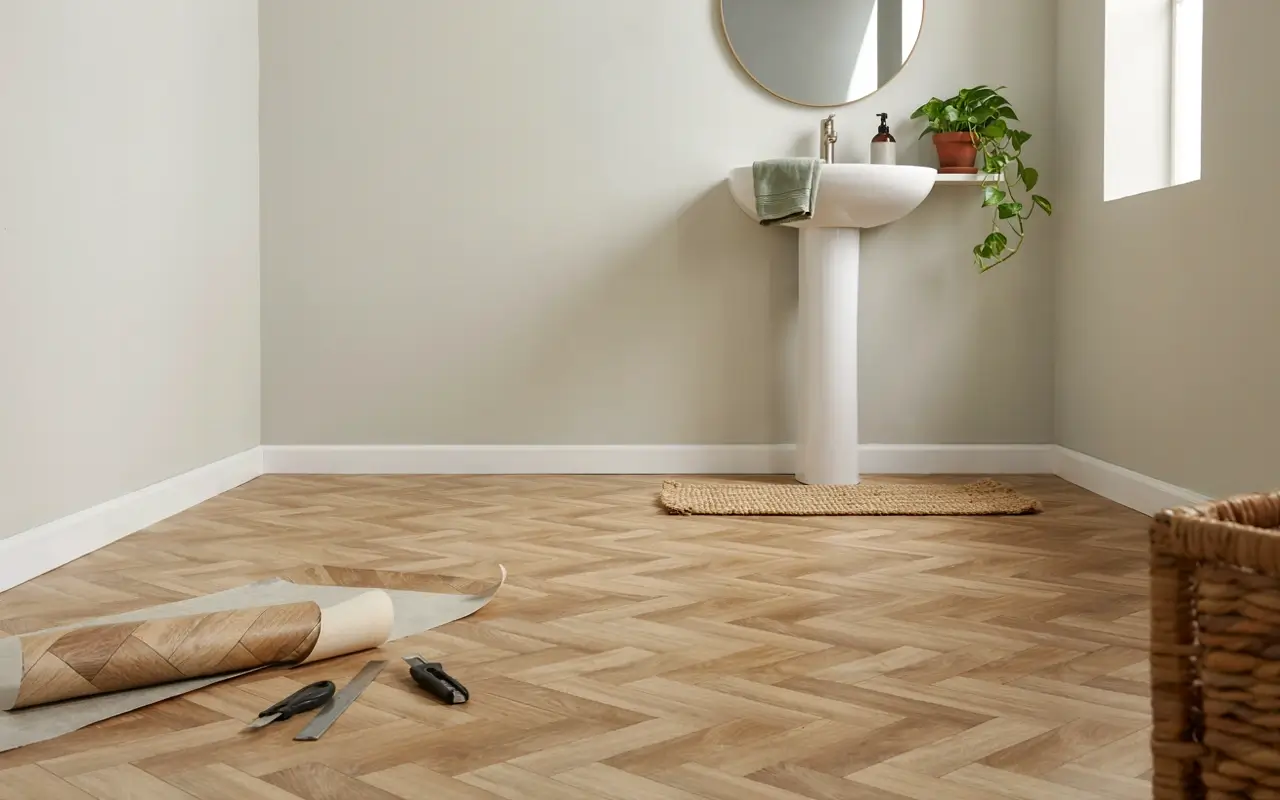
This is the hack that gets pinned the most, and for good reason. Peel-and-stick vinyl tile runs about a dollar or two per square foot and works over most flat, level surfaces like linoleum or old vinyl. It won’t stick well over deeply grouted, bumpy tile, so check your existing floor texture before buying a full box.
Measure twice, then buy about four or five extra tiles for mistakes. Use painter’s tape and paper to trace tricky cuts around the toilet base, then transfer that shape onto the tile before cutting. When you move, it peels up clean.
2. Contact Paper for Tile, Ceilings, and Countertops
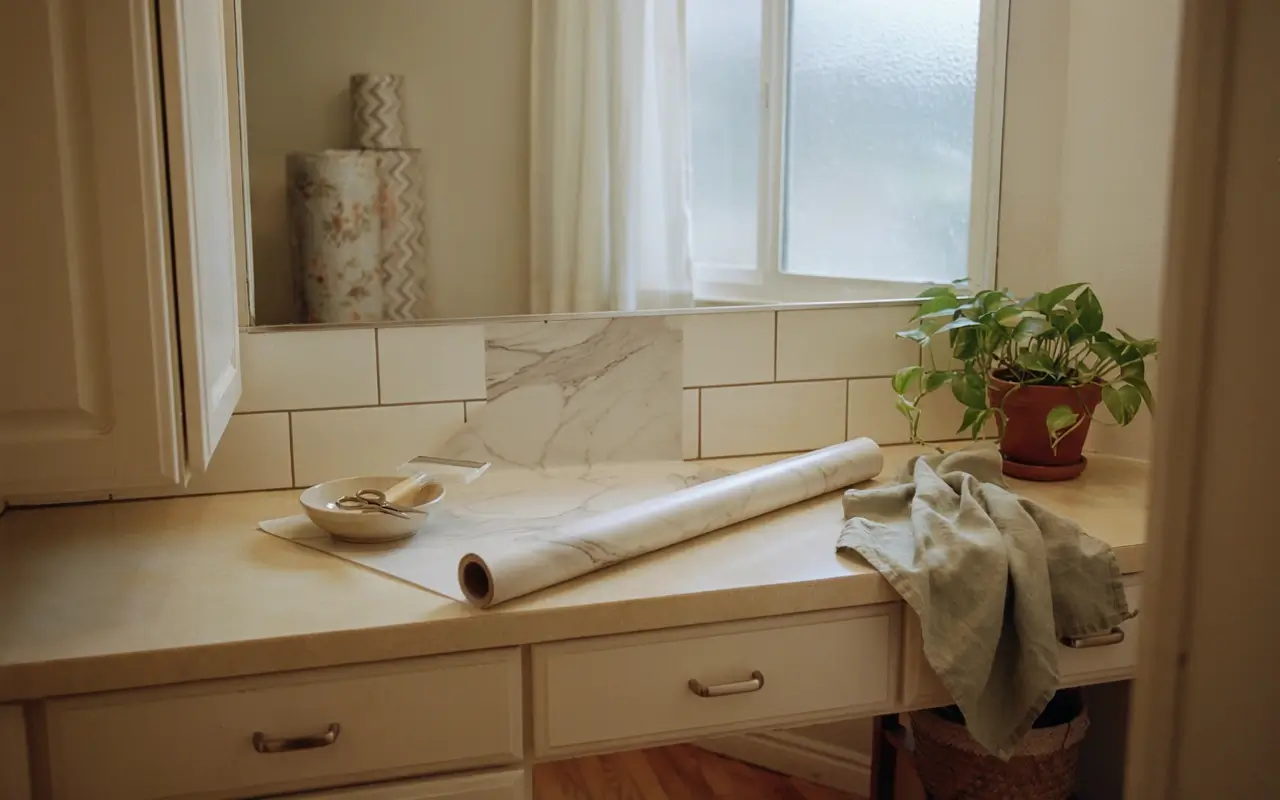
Contact paper isn’t actually paper, it’s a thin vinyl with adhesive backing, and it is shockingly good at disguising dated surfaces. Use it to cover a laminate countertop, camouflage an outdated tile ceiling, or wrap around a tired vanity top.
Wipe the surface with rubbing alcohol first so it sticks properly, then apply from one corner and smooth outward to avoid bubbles. It holds up well even in a humid bathroom, and it peels back off without damaging the surface underneath.
3. Tile Decals for the Backsplash Only
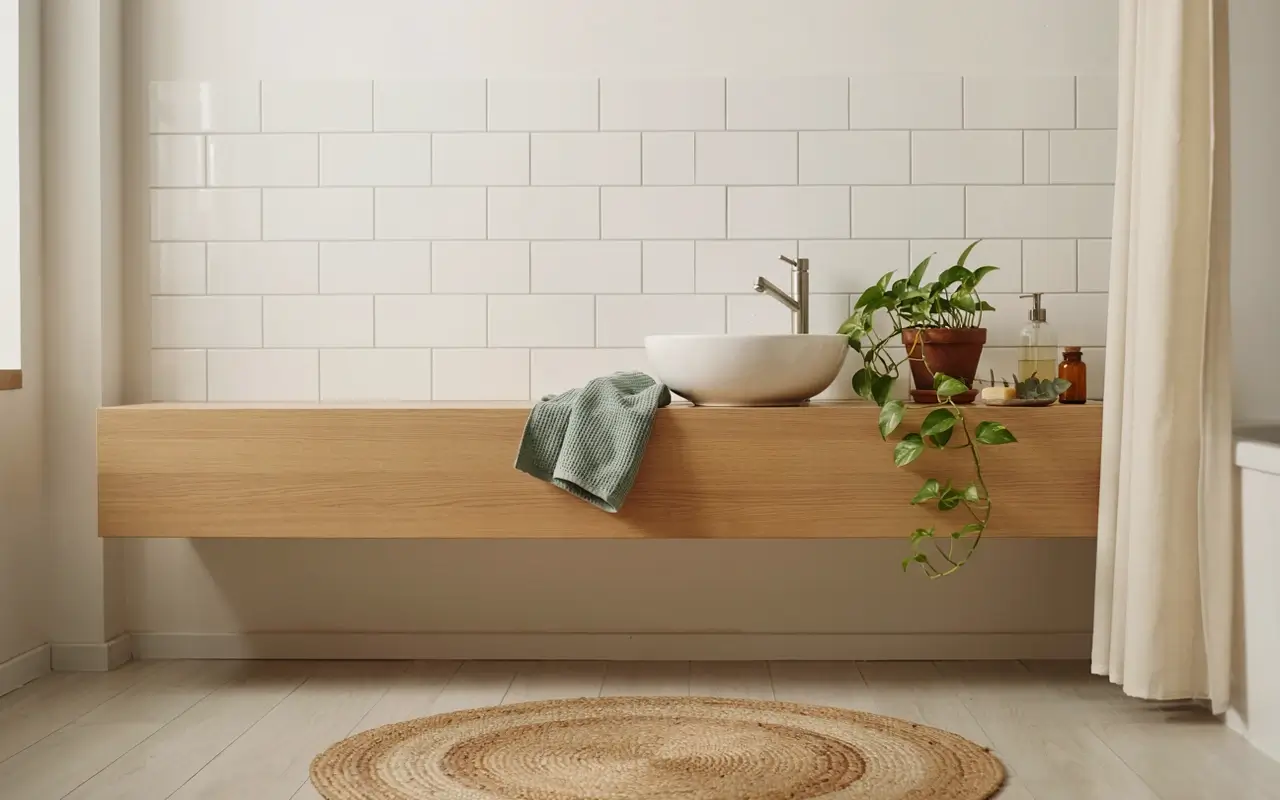
Full-shower tile decals are trendy on Pinterest, but they’re risky in a space that gets soaked daily. Save the tile decals for the sink backsplash or a small accent area instead, where they’ll get occasional splashes rather than constant water exposure. They’re waterproof, come in geometric and floral patterns, and can be cut to size with scissors or a craft knife.
4. Removable Wallpaper on One Accent Wall
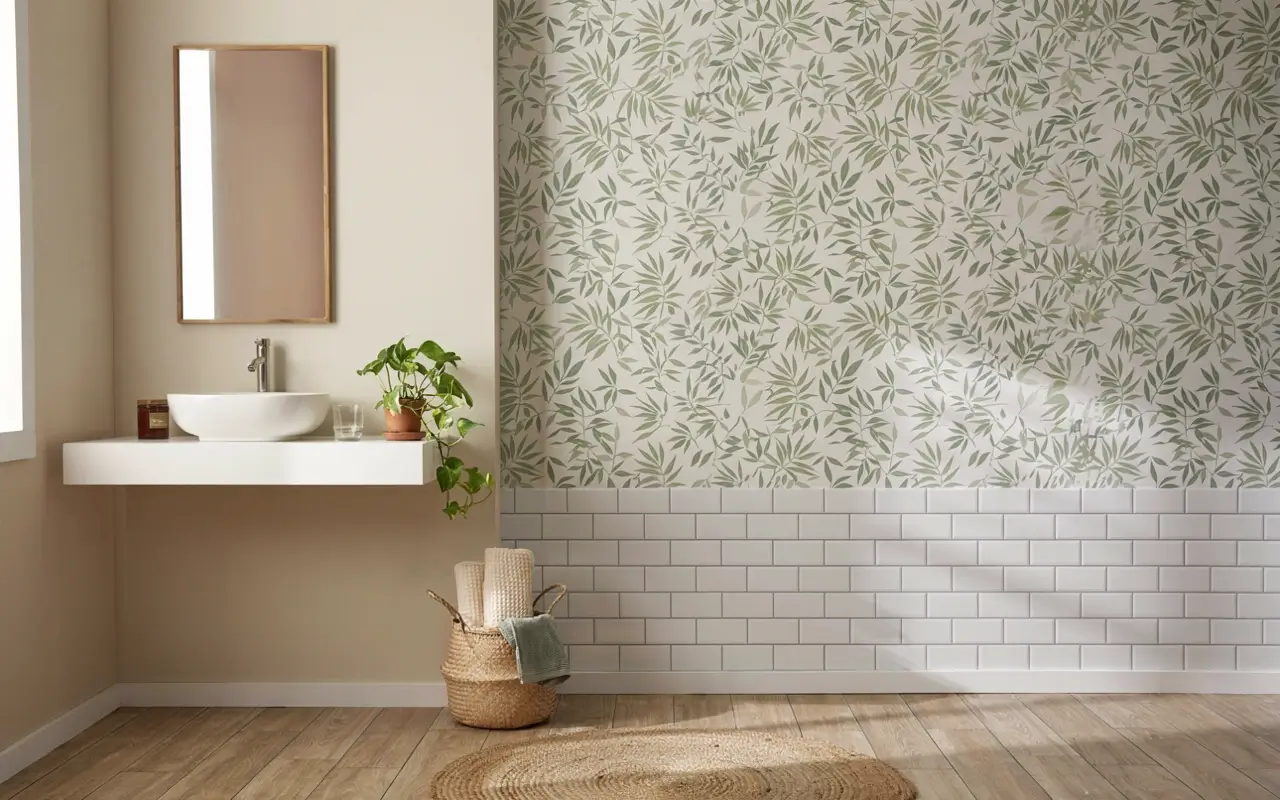
Skip wallpapering the whole bathroom, especially near the shower, since high humidity can cause peeling at the seams over time. Instead, pick one dry wall (usually the wall behind the toilet or opposite the shower) and use peel-and-stick wallpaper there as a bold accent. It gives you all the pattern payoff without the risk.
Mistake to avoid: wallpapering directly on shower-adjacent walls or ceilings. Even “waterproof” peel-and-stick products can lift at the edges in constant steam. Keep it to the driest wall in the room.
Fixtures and Hardware
5. Swap the Straight Shower Rod for a Curved One
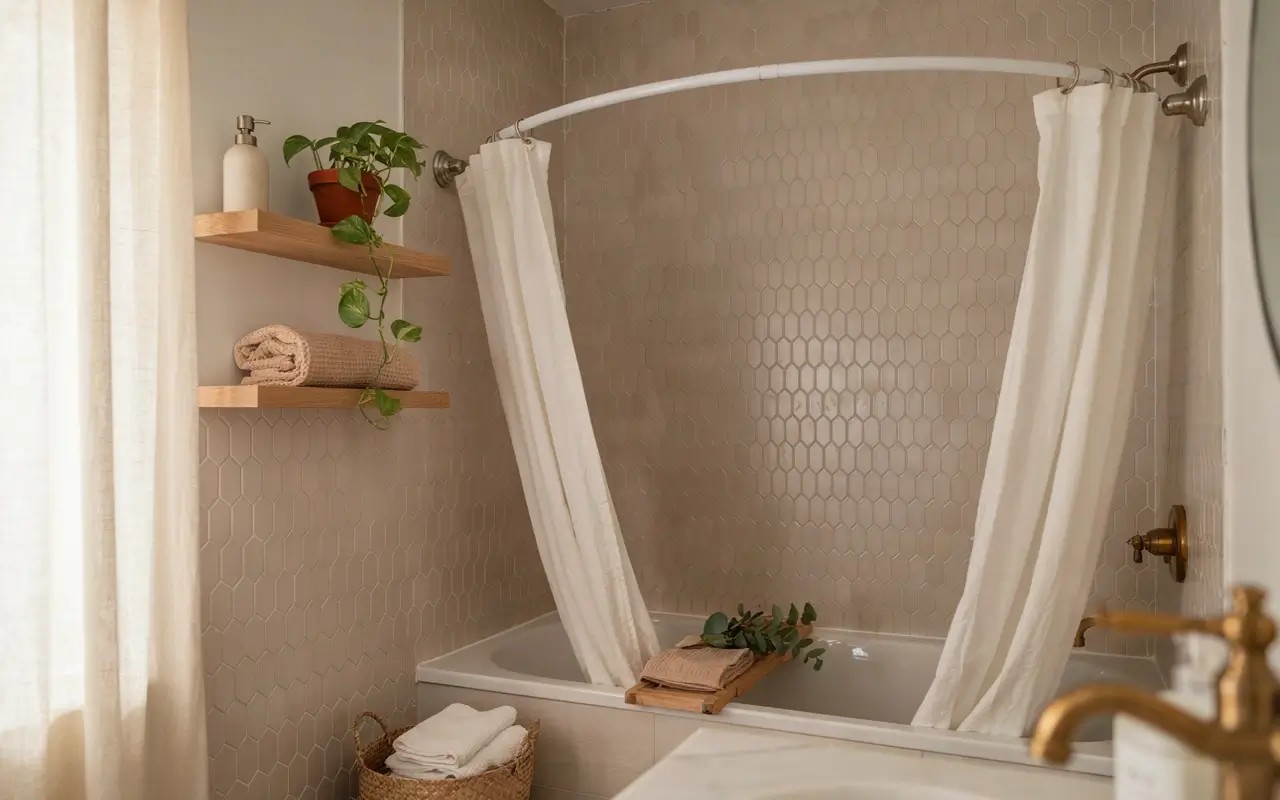
This is one of the fastest visual upgrades you can make. A curved shower curtain rod pushes the curtain outward, which instantly makes a cramped shower feel roomier and stops the curtain from clinging to your arms mid-shower. It installs the same way as a straight rod (tension or same screw holes) and takes minutes to swap back.
6. Replace the Showerhead
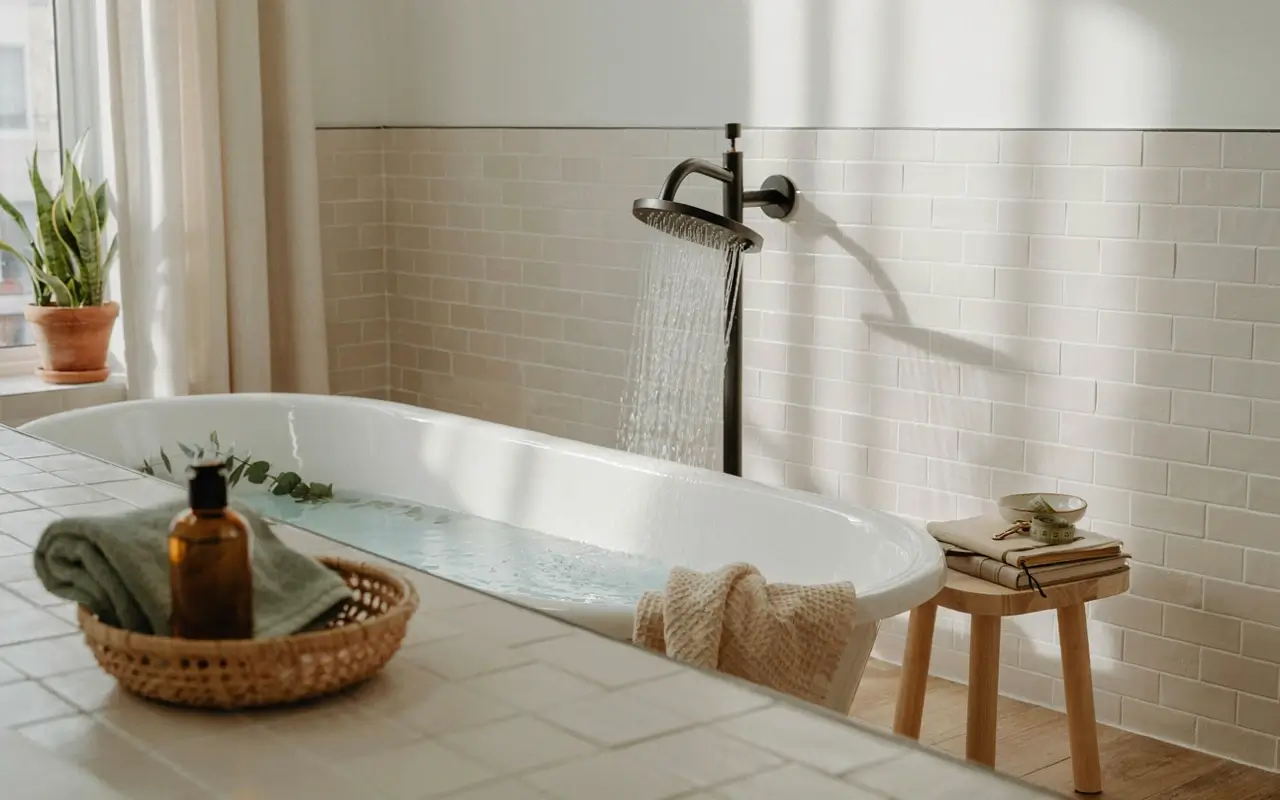
Rental showerheads are often the cheapest option a landlord could find, and they can get worse over time from mineral buildup. Swapping in a new showerhead is a simple twist-off, twist-on job with no tools beyond a wrench and some plumber’s tape. Keep the old one in a labeled bag so you can reinstall it before you move.
7. Update Cabinet and Drawer Pulls
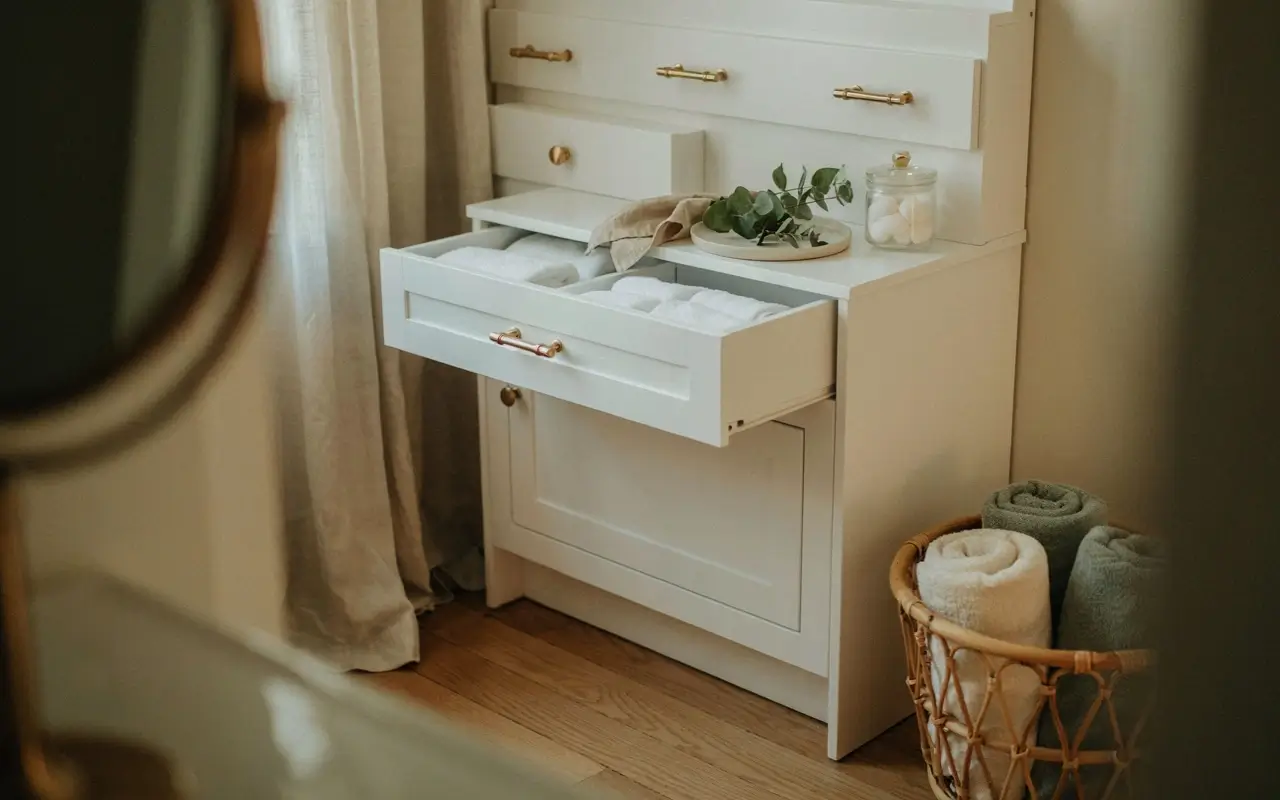
Vanity hardware is an easy, cheap swap that makes a bigger difference than it should. New pulls in matte black, brass, or brushed nickel can modernize an entire vanity for under $50. Keep the original hardware, since most cabinets use the same screw spacing and it’s a five-minute reversal at move-out.
8. Swap Towel Bars and TP Holders for Hooks
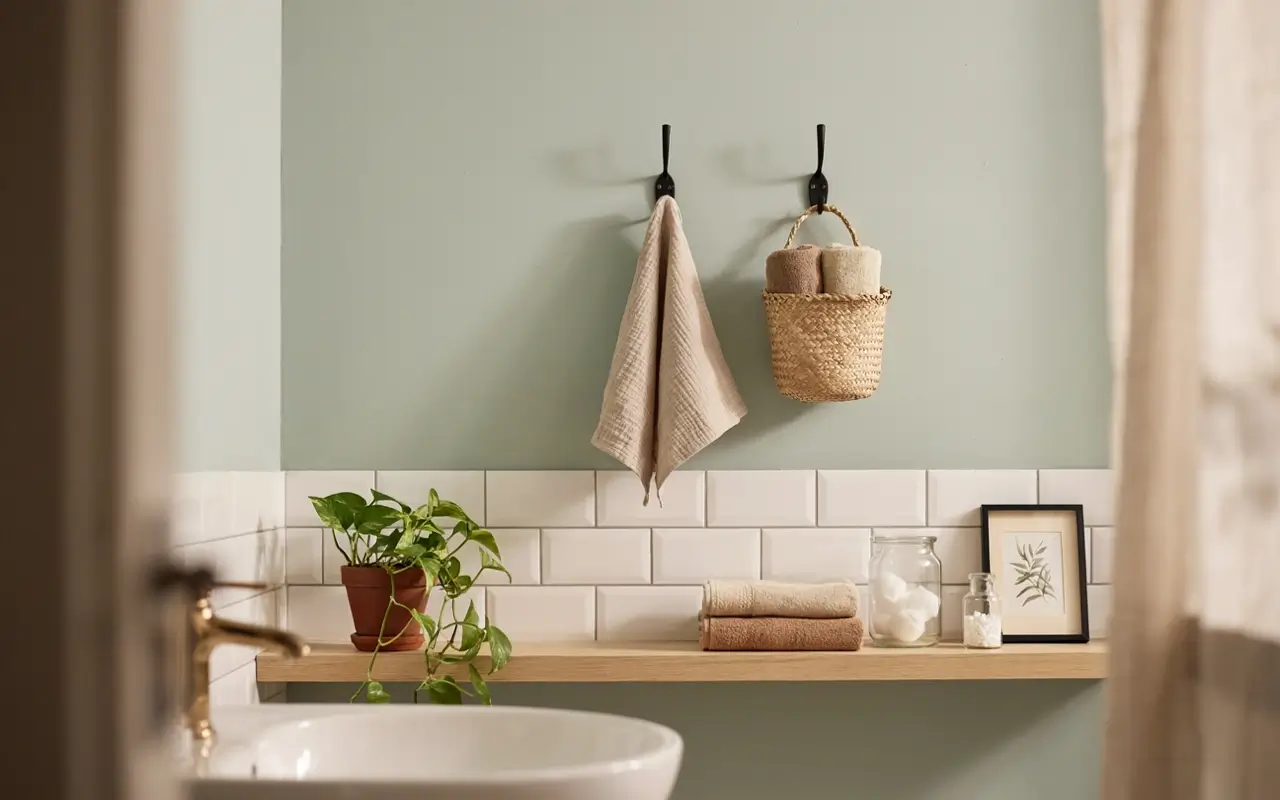
Bulky, dated towel bars can be replaced with sleeker hooks or a slim holder, either using the same mounting holes or with heavy-duty adhesive strips rated for the weight of a wet towel. Hooks also take up less visual space in a small bathroom, which matters when every inch counts.
9. Try a Soft-Close Toilet Seat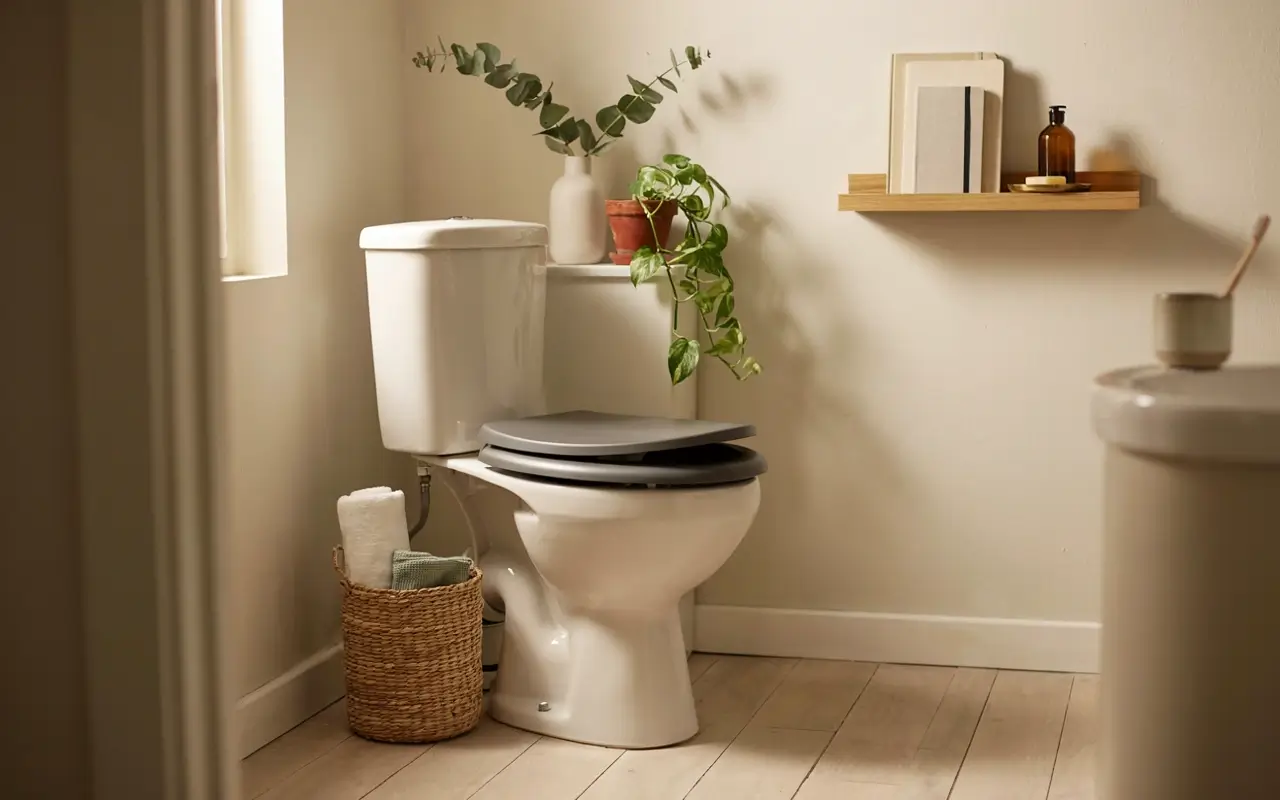
It sounds minor, but a fresh, soft-close toilet seat is one of the most noticeable upgrades in terms of feel, not just looks. It’s a tool-free swap in most cases (just two bolts underneath), and the old seat can go right back on before you leave.
Safety note: any fixture swap involving water lines (showerhead, faucet) should have the water supply shut off first, and if you’re not comfortable with basic plumbing, it’s worth asking the landlord or calling a professional rather than risking a leak.
Lighting
10. Swap the Vanity Light Fixture
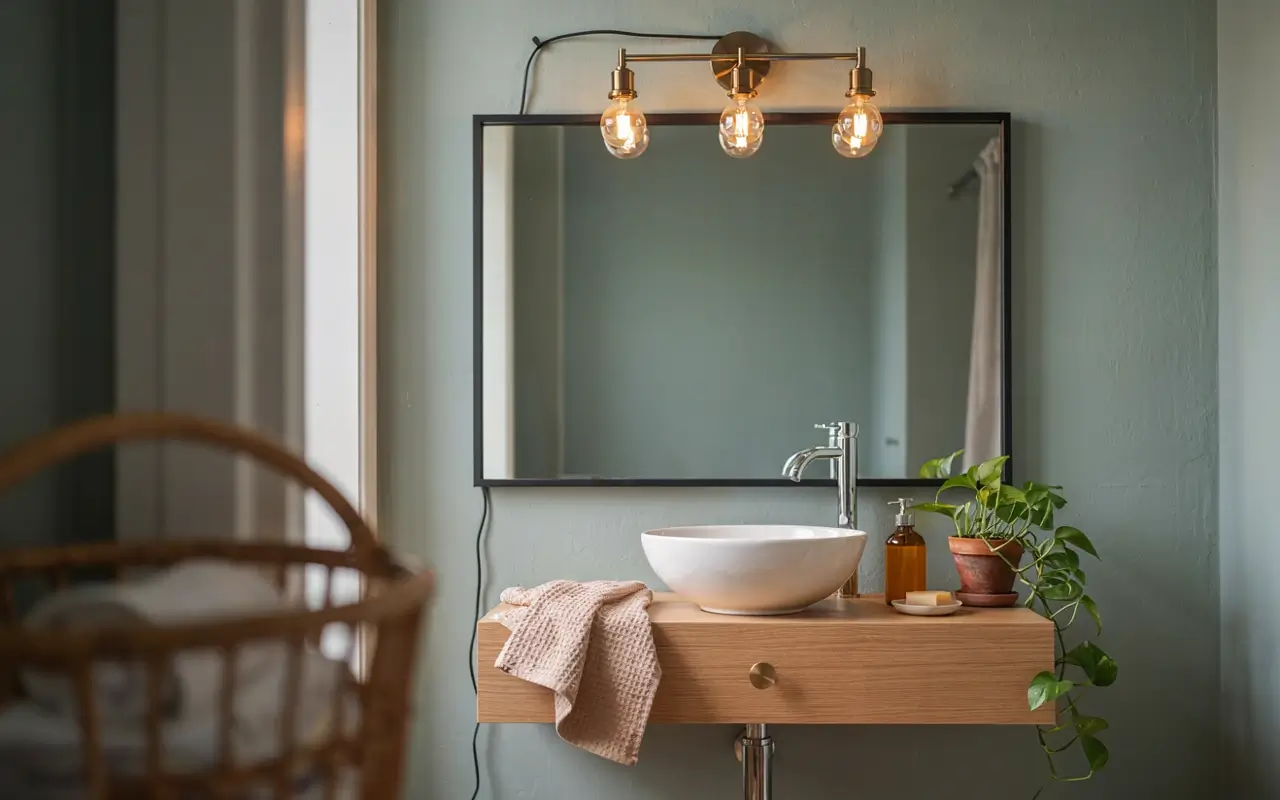
This one requires a bit more confidence, but it’s genuinely one of the most transformative rental bathroom hacks out there. If you’re comfortable with basic electrical work (power off at the breaker, match the wire colors, screw in the new fixture), you can replace a boob light or dated bar light with something that actually looks intentional. Photograph the original wiring setup before you start, and keep the old fixture to reinstall later.
11. The Cordless Puck Light Hack
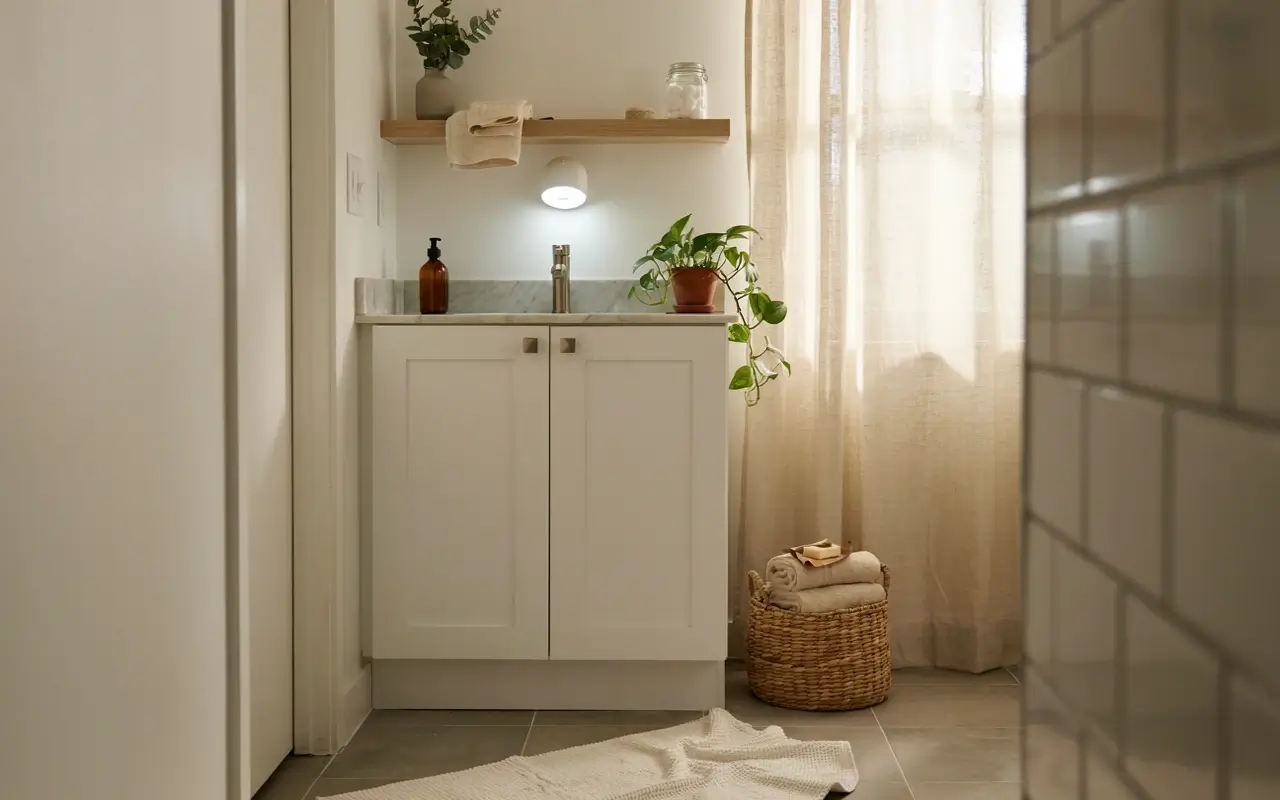
If touching wiring isn’t your thing, there’s a workaround that’s been circulating widely for renters: attach a battery-operated puck light to a PVC screw-top adapter using strong adhesive strips, then screw that adapter into the existing light fixture socket the same way a bulb would go in. You get a cordless, remote-controlled light source without ever touching a wire, and it comes right out at move-out.
12. Battery LED Strip Around the Mirror
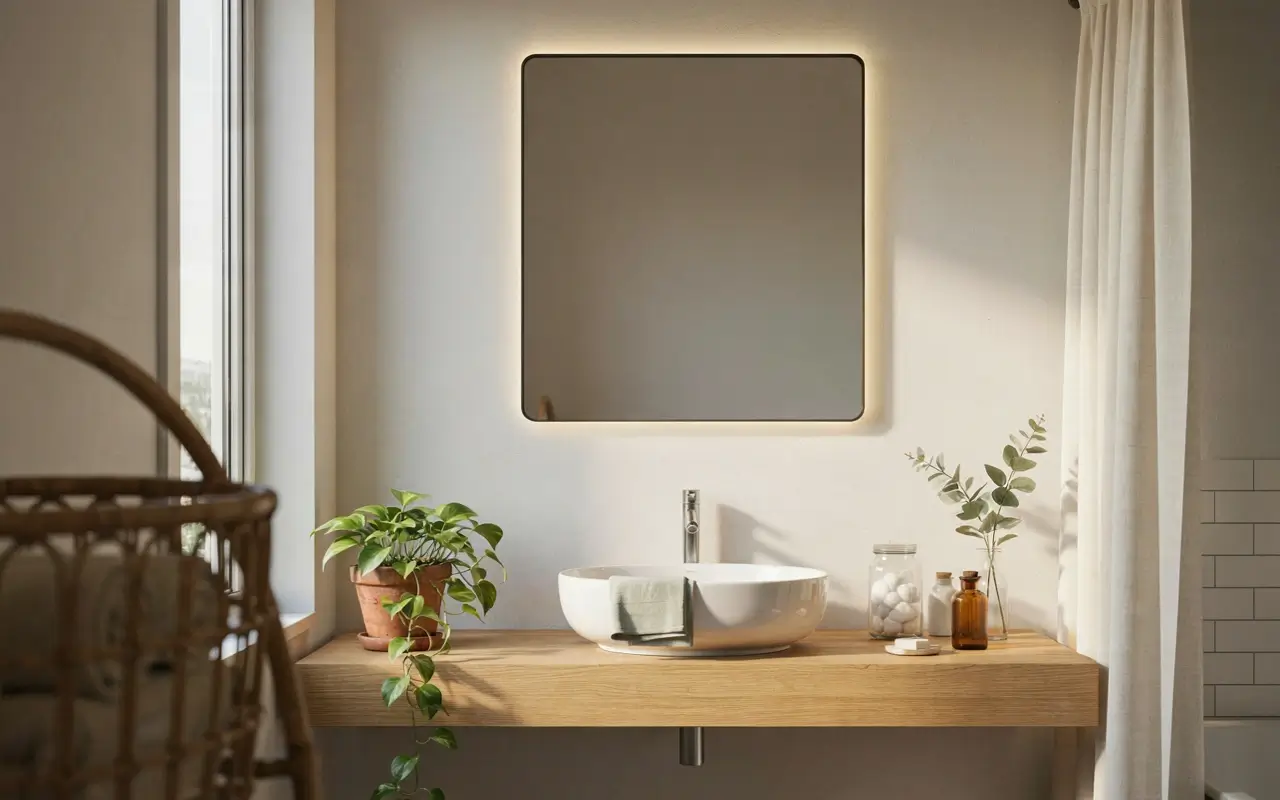
For a soft, hotel-style glow, a battery-powered LED strip run around the edge of the mirror frame adds ambient light without an electrician or a single new hole in the wall. These typically stick on with adhesive backing and run off AA batteries or a small rechargeable pack.
Storage That Doesn’t Require Drilling
13. Freestanding Over-the-Toilet Shelving
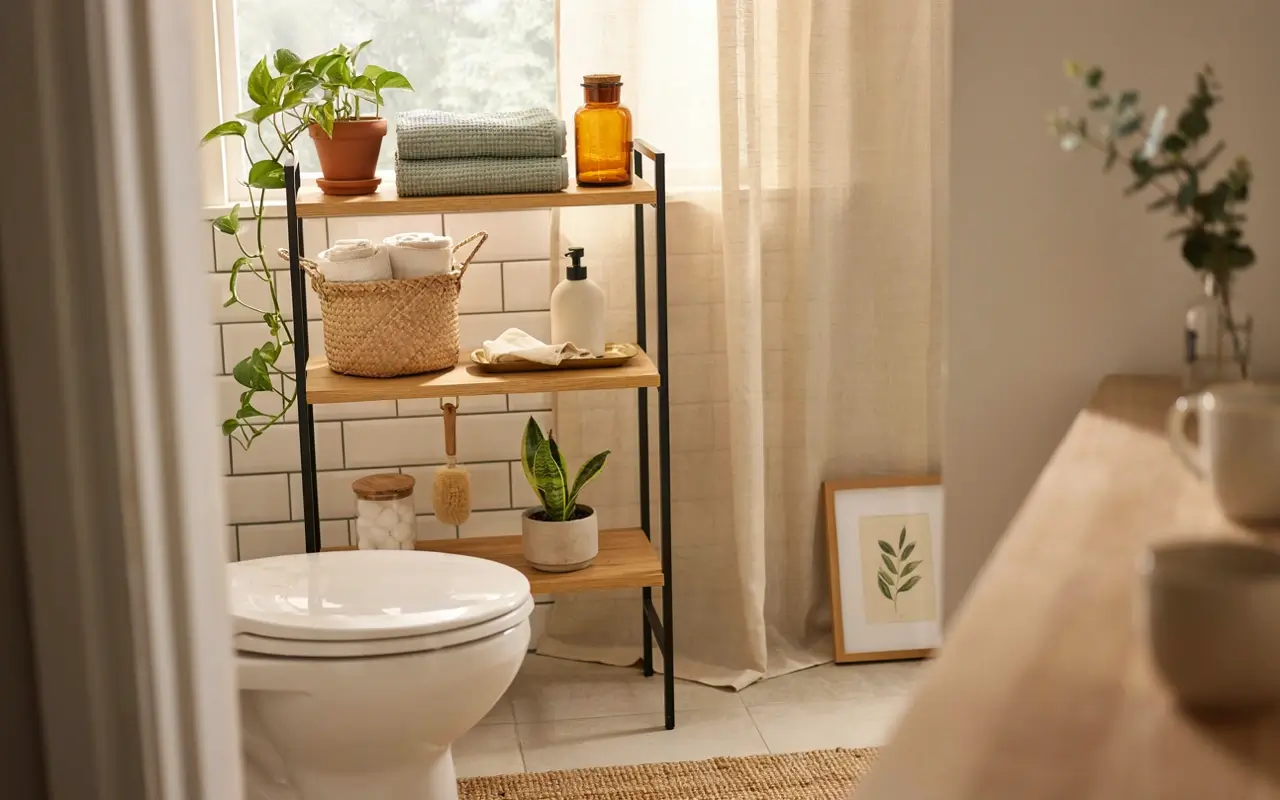
Most rental bathrooms are short on storage, and the space above the toilet is almost always wasted. A freestanding ladder shelf or over-the-toilet étagère solves this without a single screw into the wall, since it straddles the toilet on its own legs.
14. Repurpose Non-Bathroom Furniture
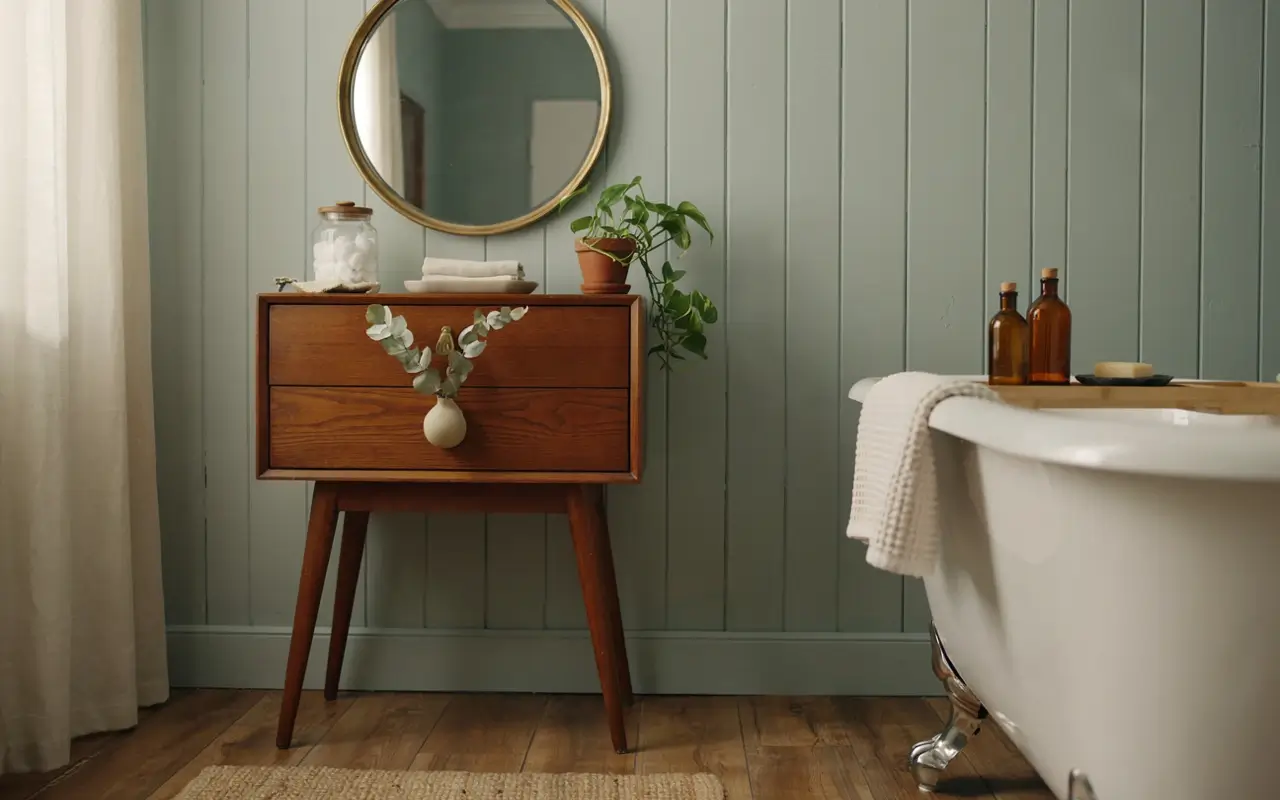
A narrow bookshelf from the living room, a small bar cart, or a vintage rolling cart can slide into a gap beside the sink or toilet and instantly solve a storage problem that bathroom-specific furniture can’t always fix. This is also one of the easiest ways to make a rental bathroom feel more like a real, curated room instead of a generic rental.
15. Tension Pole Shower Caddy
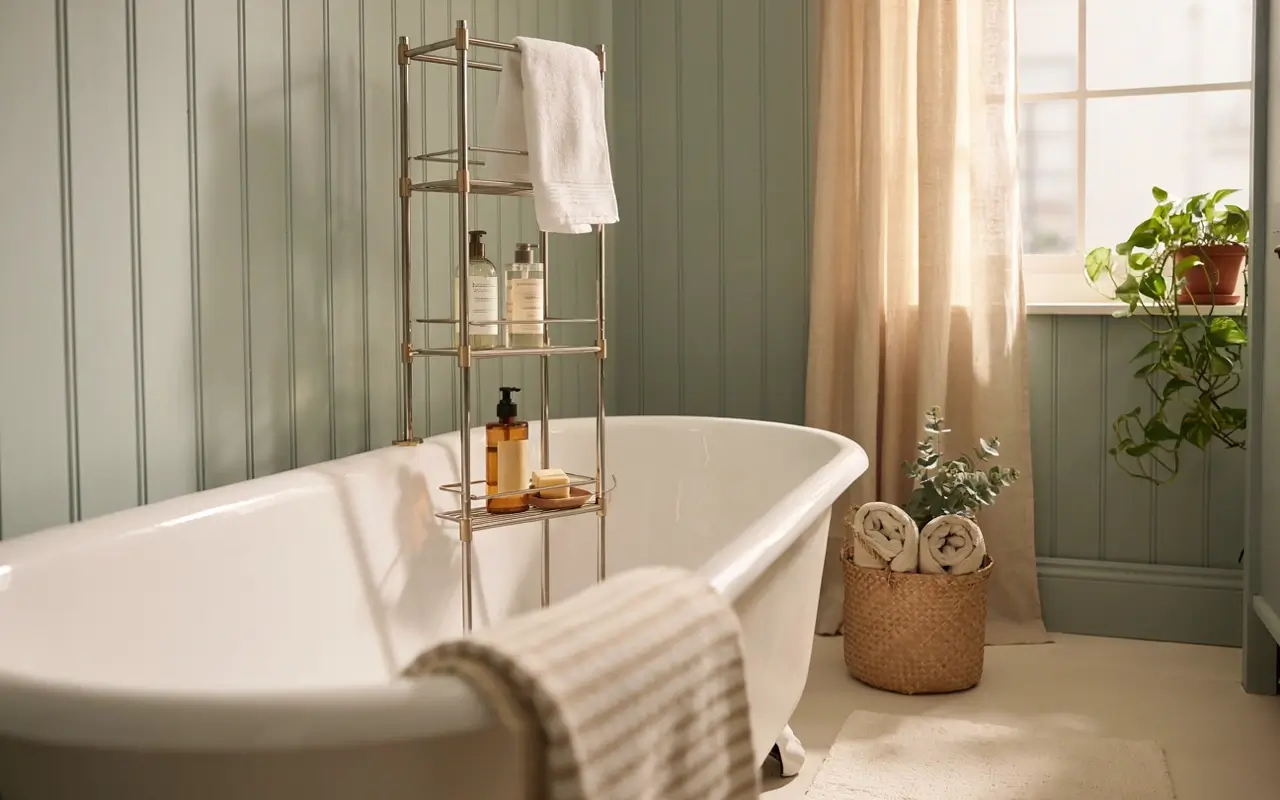
Skip the suction-cup caddies that fall off the wall every other week. A tension pole caddy wedges between the floor and ceiling (or floor and shower wall) using pressure alone, holding shampoo, soap, and extra towels without a single adhesive strip or drill hole.
16. Drawer Organizers and Liners
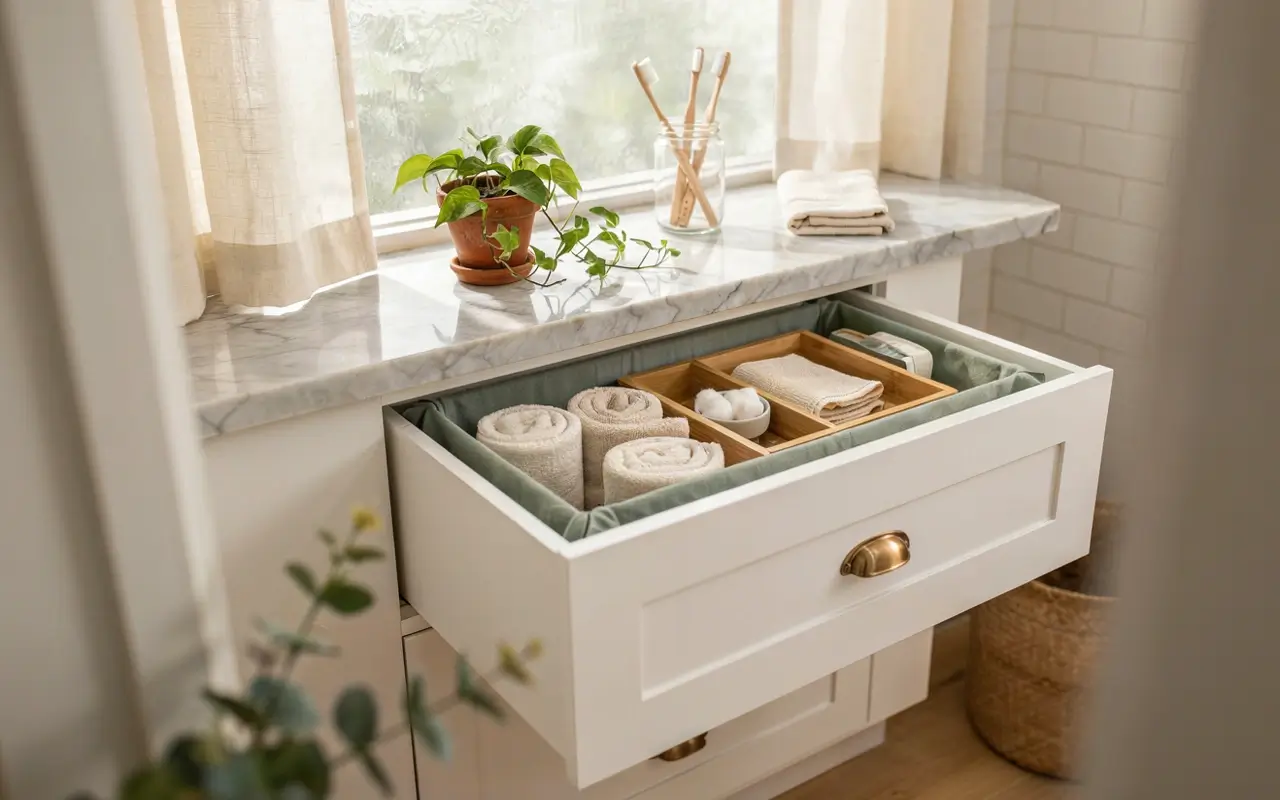
The inside of a rental vanity is usually an afterthought, all bare wood or scuffed laminate. Adding stackable drawer organizers and a peel-and-stick drawer liner keeps everything from rolling around and makes the storage you do have actually usable. This is a small detail, but it’s the kind of thing that photographs beautifully for a “bathroom organization” pin.
Styling and Finishing Touches
17. Let a Bold Shower Curtain Do the Heavy Lifting
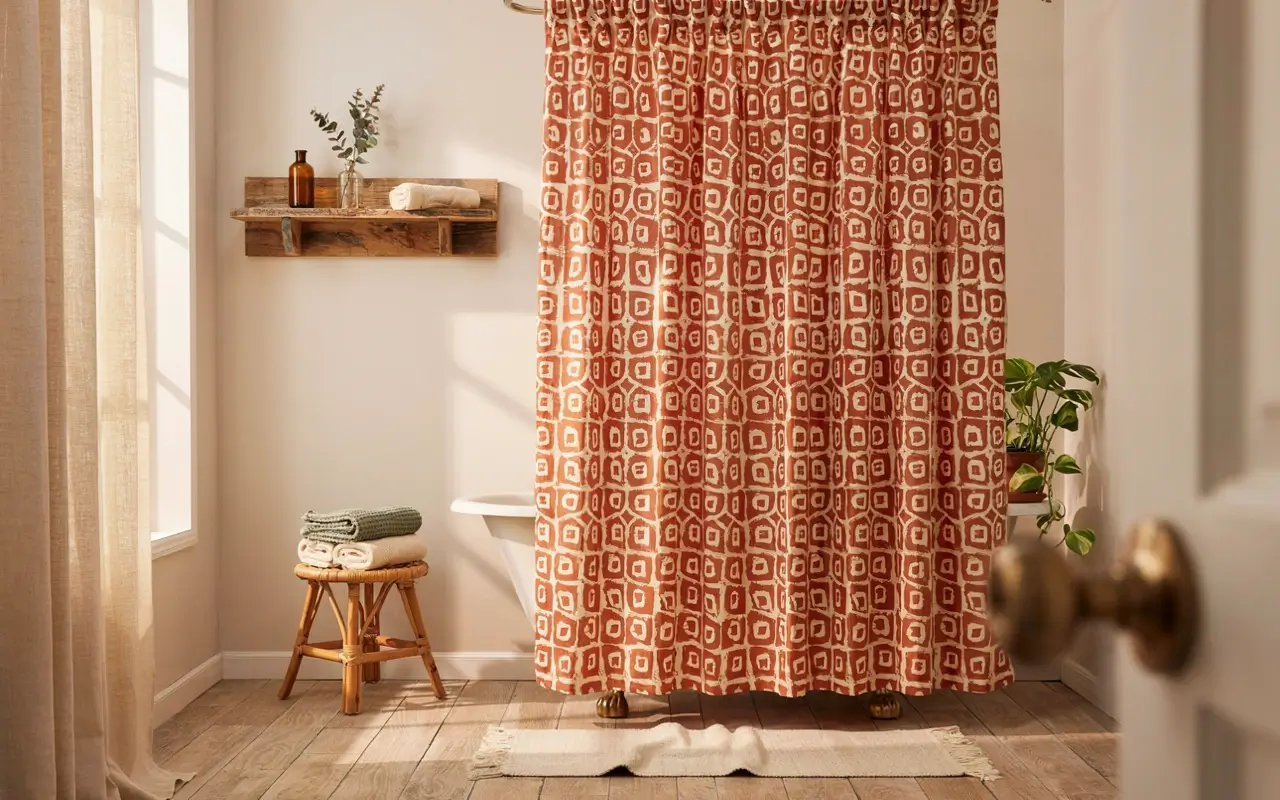
If you only make one purchase from this whole list, make it a great shower curtain. A patterned or richly colored curtain acts as a color anchor for the entire room, meaning your towels, bath mat, and accessories can stay simple and still look pulled together. This is the single highest-impact, lowest-effort change in a rental bathroom.
18. Layer Bath Mats and Rugs for Texture
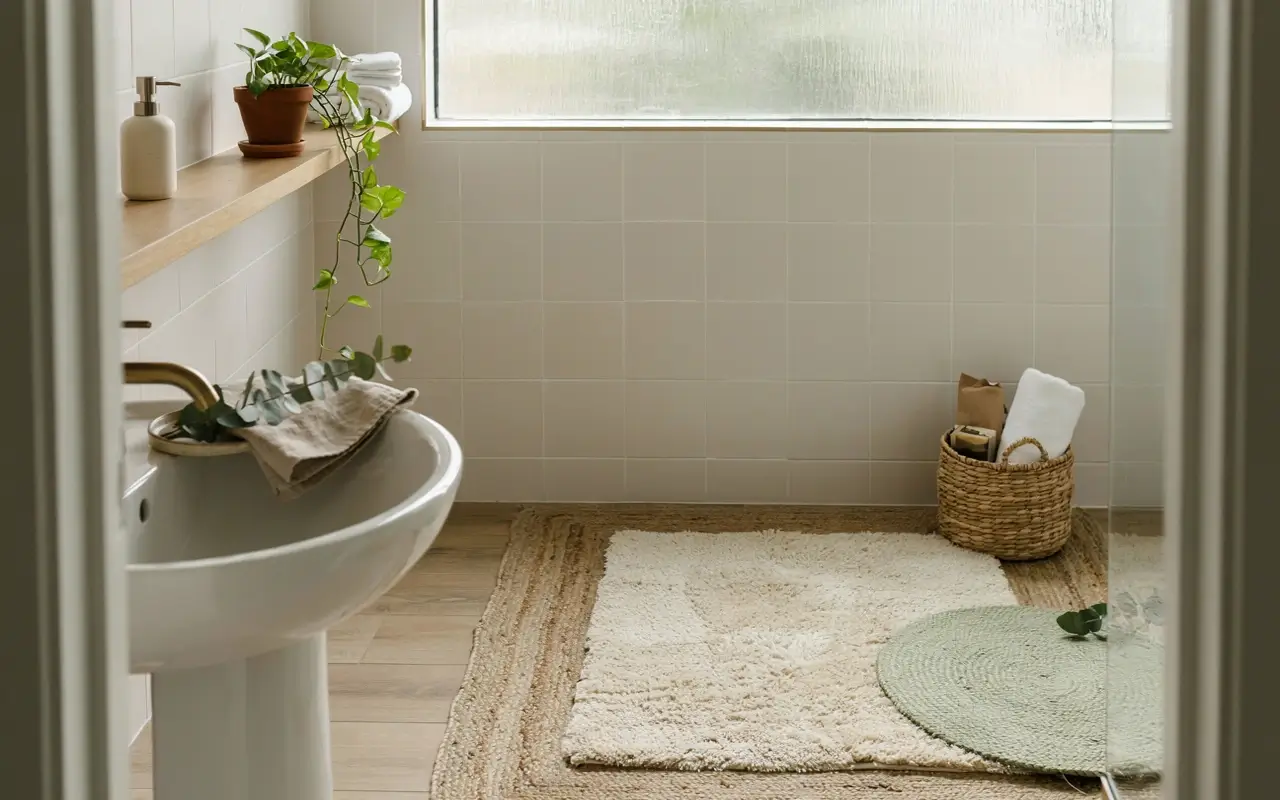
A single flat bath mat can look like an afterthought. Layering a smaller textured mat or runner over a larger woven rug adds depth and warmth, the same trick used in styled bathroom photos that make a small space feel finished rather than sparse.
19. Bring in Plants, Real or Faux
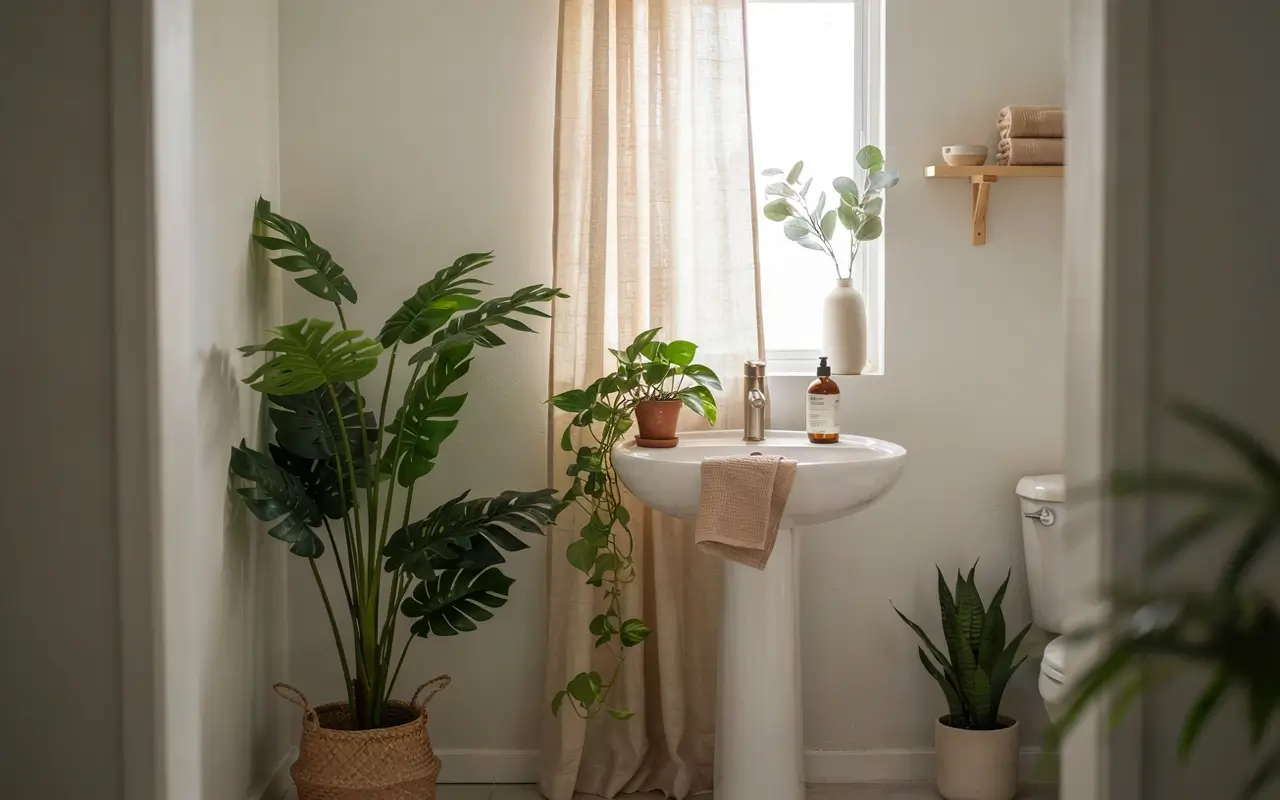
Greenery softens all the hard, cold surfaces that rental bathrooms tend to have. If your bathroom has a window, a pothos or snake plant can tolerate the humidity and low light reasonably well. If there’s no window at all, a good-quality faux plant does the job just as visually, and nobody’s judging.
20. Add or Reframe a Mirror with the Electrical Tape Trick
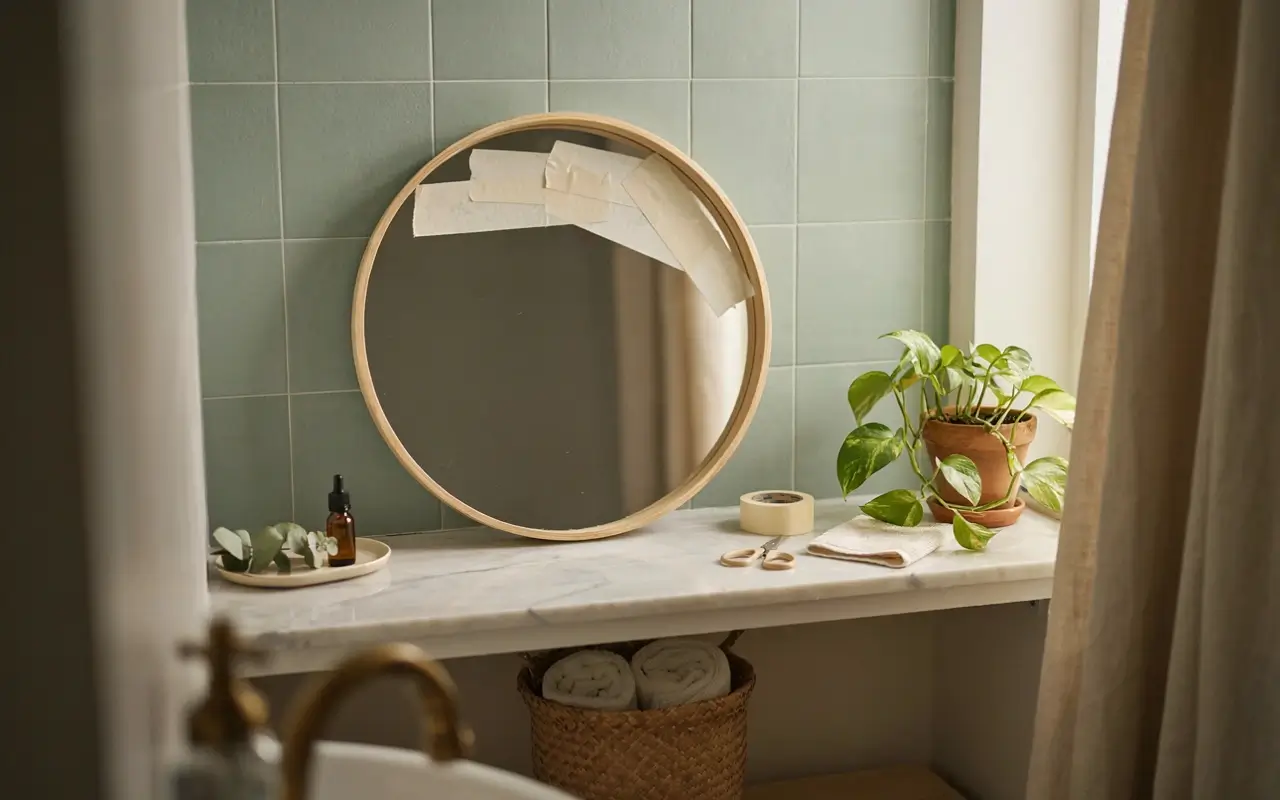
A second mirror makes a small bathroom feel larger and is genuinely useful if you’re sharing the bathroom with a partner or roommate. If your existing mirror is unframed and dated, a strip of black electrical tape run carefully around the edge (without stretching it as you apply) mimics a framed look for next to nothing. It also works on old shower doors to hide dated edges.
21. Gallery Wall with Removable Adhesive Strips
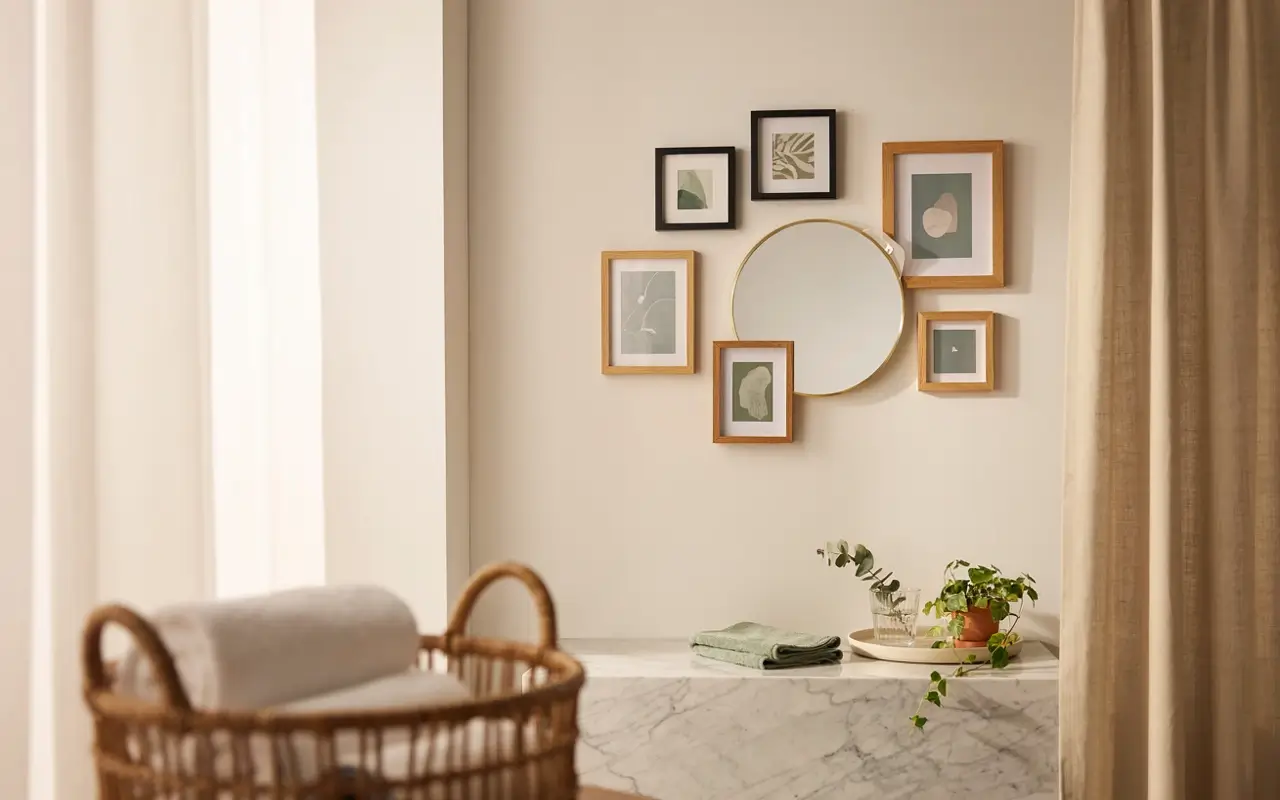
Small art prints, a woven wall hanging, or a few framed botanical prints hung with removable adhesive strips (rated for the frame weight) bring in personality without a single nail hole. Keep everything on the driest wall, away from direct shower spray.
22. Removable Window Privacy Film
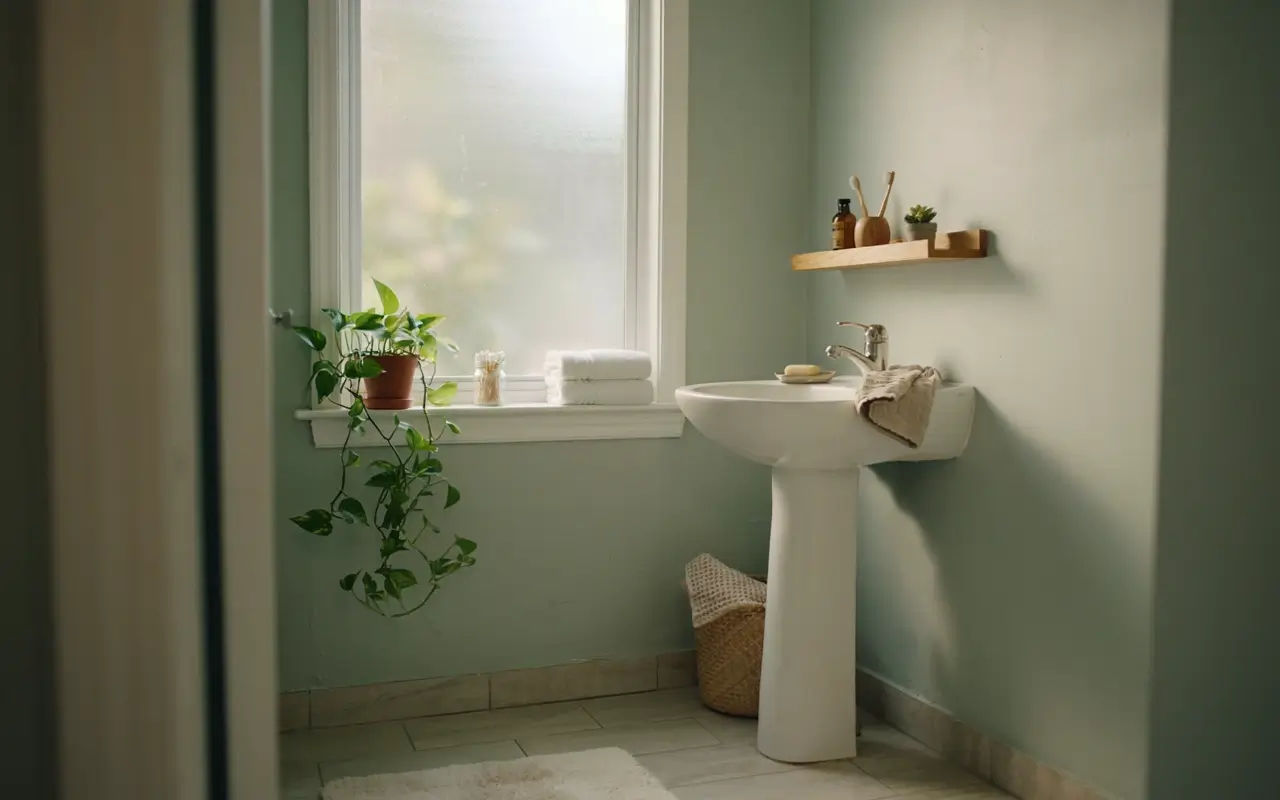
If your bathroom window faces a street, hallway, or neighbor, a static-cling or adhesive privacy film lets light through while blocking the view in. It applies with water (no glue in most cases) and peels off clean, which makes it one of the most underrated renter bathroom hacks out there.
Cleaning and Freshening Up
23. Whiten Grout Without Harsh Chemicals
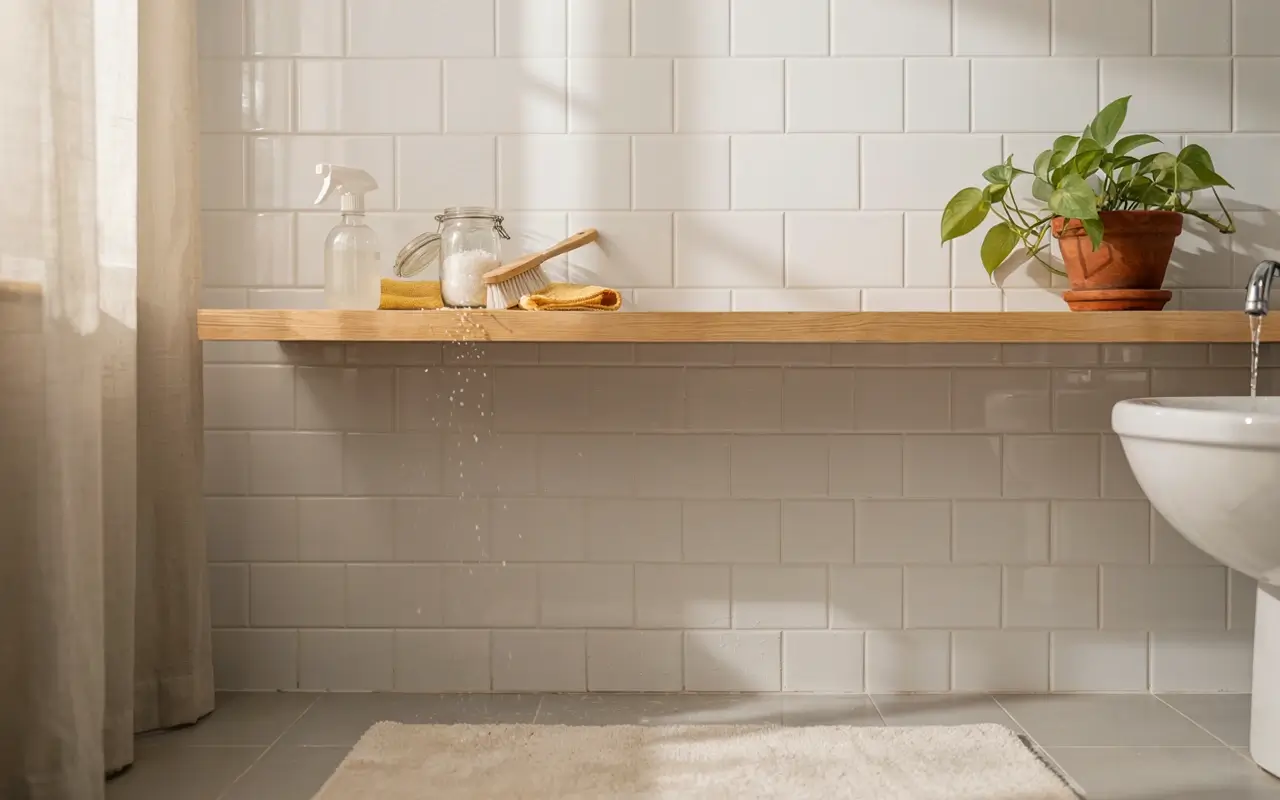
Grubby grout lines drag down even a nicely decorated bathroom. A paste of baking soda and a little water, scrubbed in with an old toothbrush and left for ten minutes before rinsing, brightens grout without the fumes of a bleach-heavy product. For tougher stains, a dedicated mold and mildew remover works fast, but open a window or run the fan and wear a mask, since these formulas are strong.
24. Prevent Mold and Mildew Before It Starts
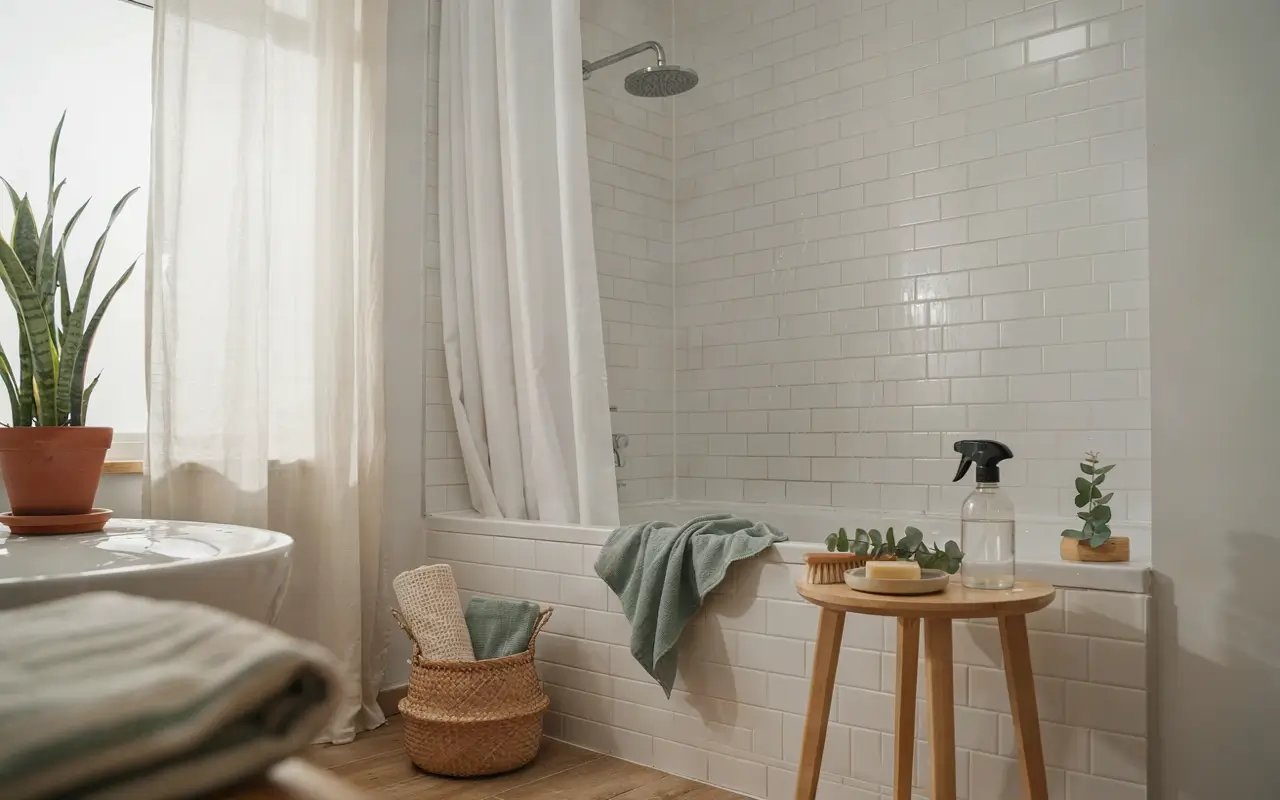
This is the hack nobody puts on their vision board, but it’s the one that actually protects everything else you’ve done. Run the exhaust fan for at least 20 minutes after every shower, squeegee the glass or curtain liner after use, and wipe down the caulk line at the tub weekly. Rental bathrooms are especially prone to mildew because ventilation is often original to the building and not great. A few seconds of habit prevents hours of scrubbing later.
Mistake to avoid: removing and replacing old caulk yourself without checking with your landlord first. A thin bead of clear caulk applied directly over an existing line is a safe, reversible refresh. Full removal down to the tub can affect the waterproofing seal, and it’s worth a quick text to your landlord before you get out the caulk gun.
Renter Bathroom Mistakes to Avoid
A quick recap of the mistakes that come up again and again in rental bathroom projects:
- Skipping the adhesive test patch, then discovering the peel-and-stick tile won’t release cleanly from your specific floor.
- Painting without checking the lease, especially in bathrooms where landlords are more particular about moisture damage.
- Tossing the original fixtures instead of storing them, which turns an easy move-out into an argument about the security deposit.
- Wallpapering or tiling directly inside the shower stall, where constant water exposure causes peeling within months.
- Drilling into tile for towel bars or shelving when an adhesive-mounted or freestanding option would have done the same job with zero risk.
Final Thoughts
A rental bathroom doesn’t have to stay stuck in the year your lease started. With the right combination of peel-and-stick surfaces, swappable fixtures, smart storage, and a few styling details, you can build a bathroom that actually feels like yours, and take almost all of it with you when you go. Start with one or two changes rather than all twenty-four at once. Even a bold shower curtain and a new showerhead can change how the whole room feels.
Which of these renter-friendly bathroom hacks are you trying first? Drop a comment below, I’d love to know what your rental bathroom struggle is so I can help you hack it.


No Comment! Be the first one.