



How to Make DIY Decorated Flower Pots: 10 Easy Ideas Anyone Can Try
Plain flower pots do the job, but they don’t exactly make you stop and look twice. And once you’ve priced out “designer” planters at the garden center, you already know the...

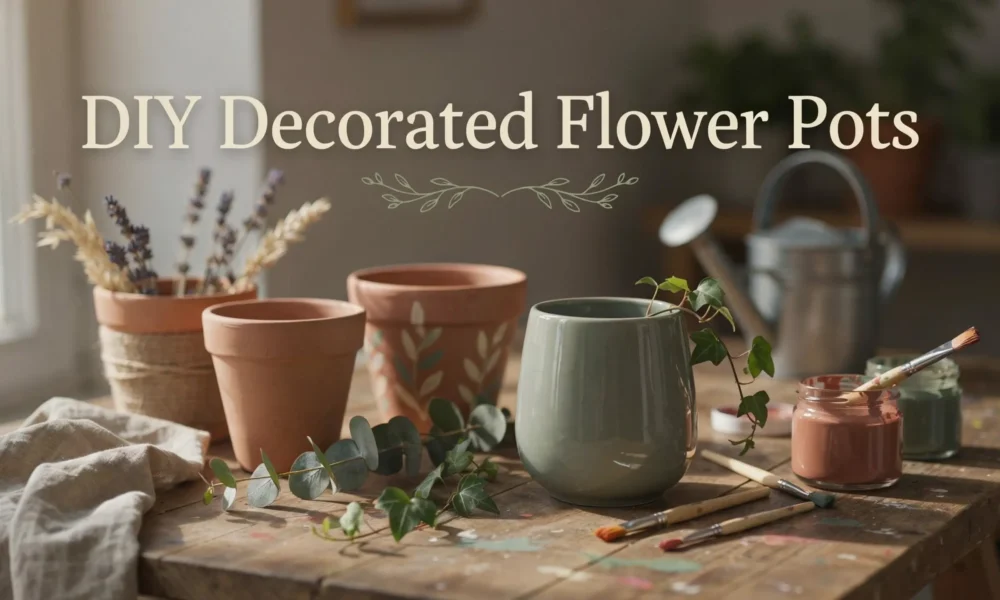
Plain flower pots do the job, but they don’t exactly make you stop and look twice. And once you’ve priced out “designer” planters at the garden center, you already know the markup is wild for what’s basically a painted piece of clay.
Here’s the good news. Learning how to make DIY decorated flower pots is one of the easiest ways to upgrade your porch, windowsill, or garden without spending much at all. Most of these projects use a plain terracotta or plastic pot, a few dollars of craft supplies, and less than an hour of actual hands-on time.
This guide walks you through everything, starting with how to prep a pot so your paint actually sticks, then moving through ten decorating techniques that range from five-minute beginner projects to slightly fancier ones worth gifting. There’s something here whether you’re decorating for spring, prepping teacher gifts, or just tired of looking at the same boring pots on your patio.
What You Need Before You Start
You don’t need a huge craft stash for this. Most of these projects pull from the same small pool of supplies, so it’s worth grabbing a few extras of each so you’re not running back to the store mid-project.
Basic Supply List
- Terracotta, ceramic, or plastic pots (thrifted or dollar store pots work great)
- Acrylic craft paint in a few colors
- Outdoor-rated spray paint (for a faster, more even base coat)
- Paintbrushes in a couple of sizes, plus a small detail brush
- Painter’s tape
- A clear waterproof sealant (matte or gloss, your call)
- Rubbing alcohol and a cloth, for cleaning
- A pencil, for sketching designs before you commit to paint
Beyond that, each idea below has its own short list, so you can just grab what you need for the one you’re trying.
Prepping Your Pot the Right Way
This is the step most tutorials skip, and it’s exactly why some painted pots peel within a season while others hold up for years.
Clean it first.
Wipe the pot down with a damp cloth to remove dust, then go over it again with rubbing alcohol. This strips away any oils or residue so your paint has something to grip.
Let it fully dry.
Terracotta especially holds moisture, so give it a few hours, or overnight if it’s humid where you live.
Seal raw terracotta before painting.
Unglazed clay is porous, which means it soaks up paint unevenly and can flake later. A light coat of clear sealer or a terracotta sealing spray before you start gives you a smoother surface to work on.
Add a base coat if your design needs one.
White or a light neutral works well under most colors, especially if you’re going for something bright or pastel. Skip this step for techniques that use the pot’s natural terracotta color as part of the design.
1. Two-Tone Dipped Terracotta Pots
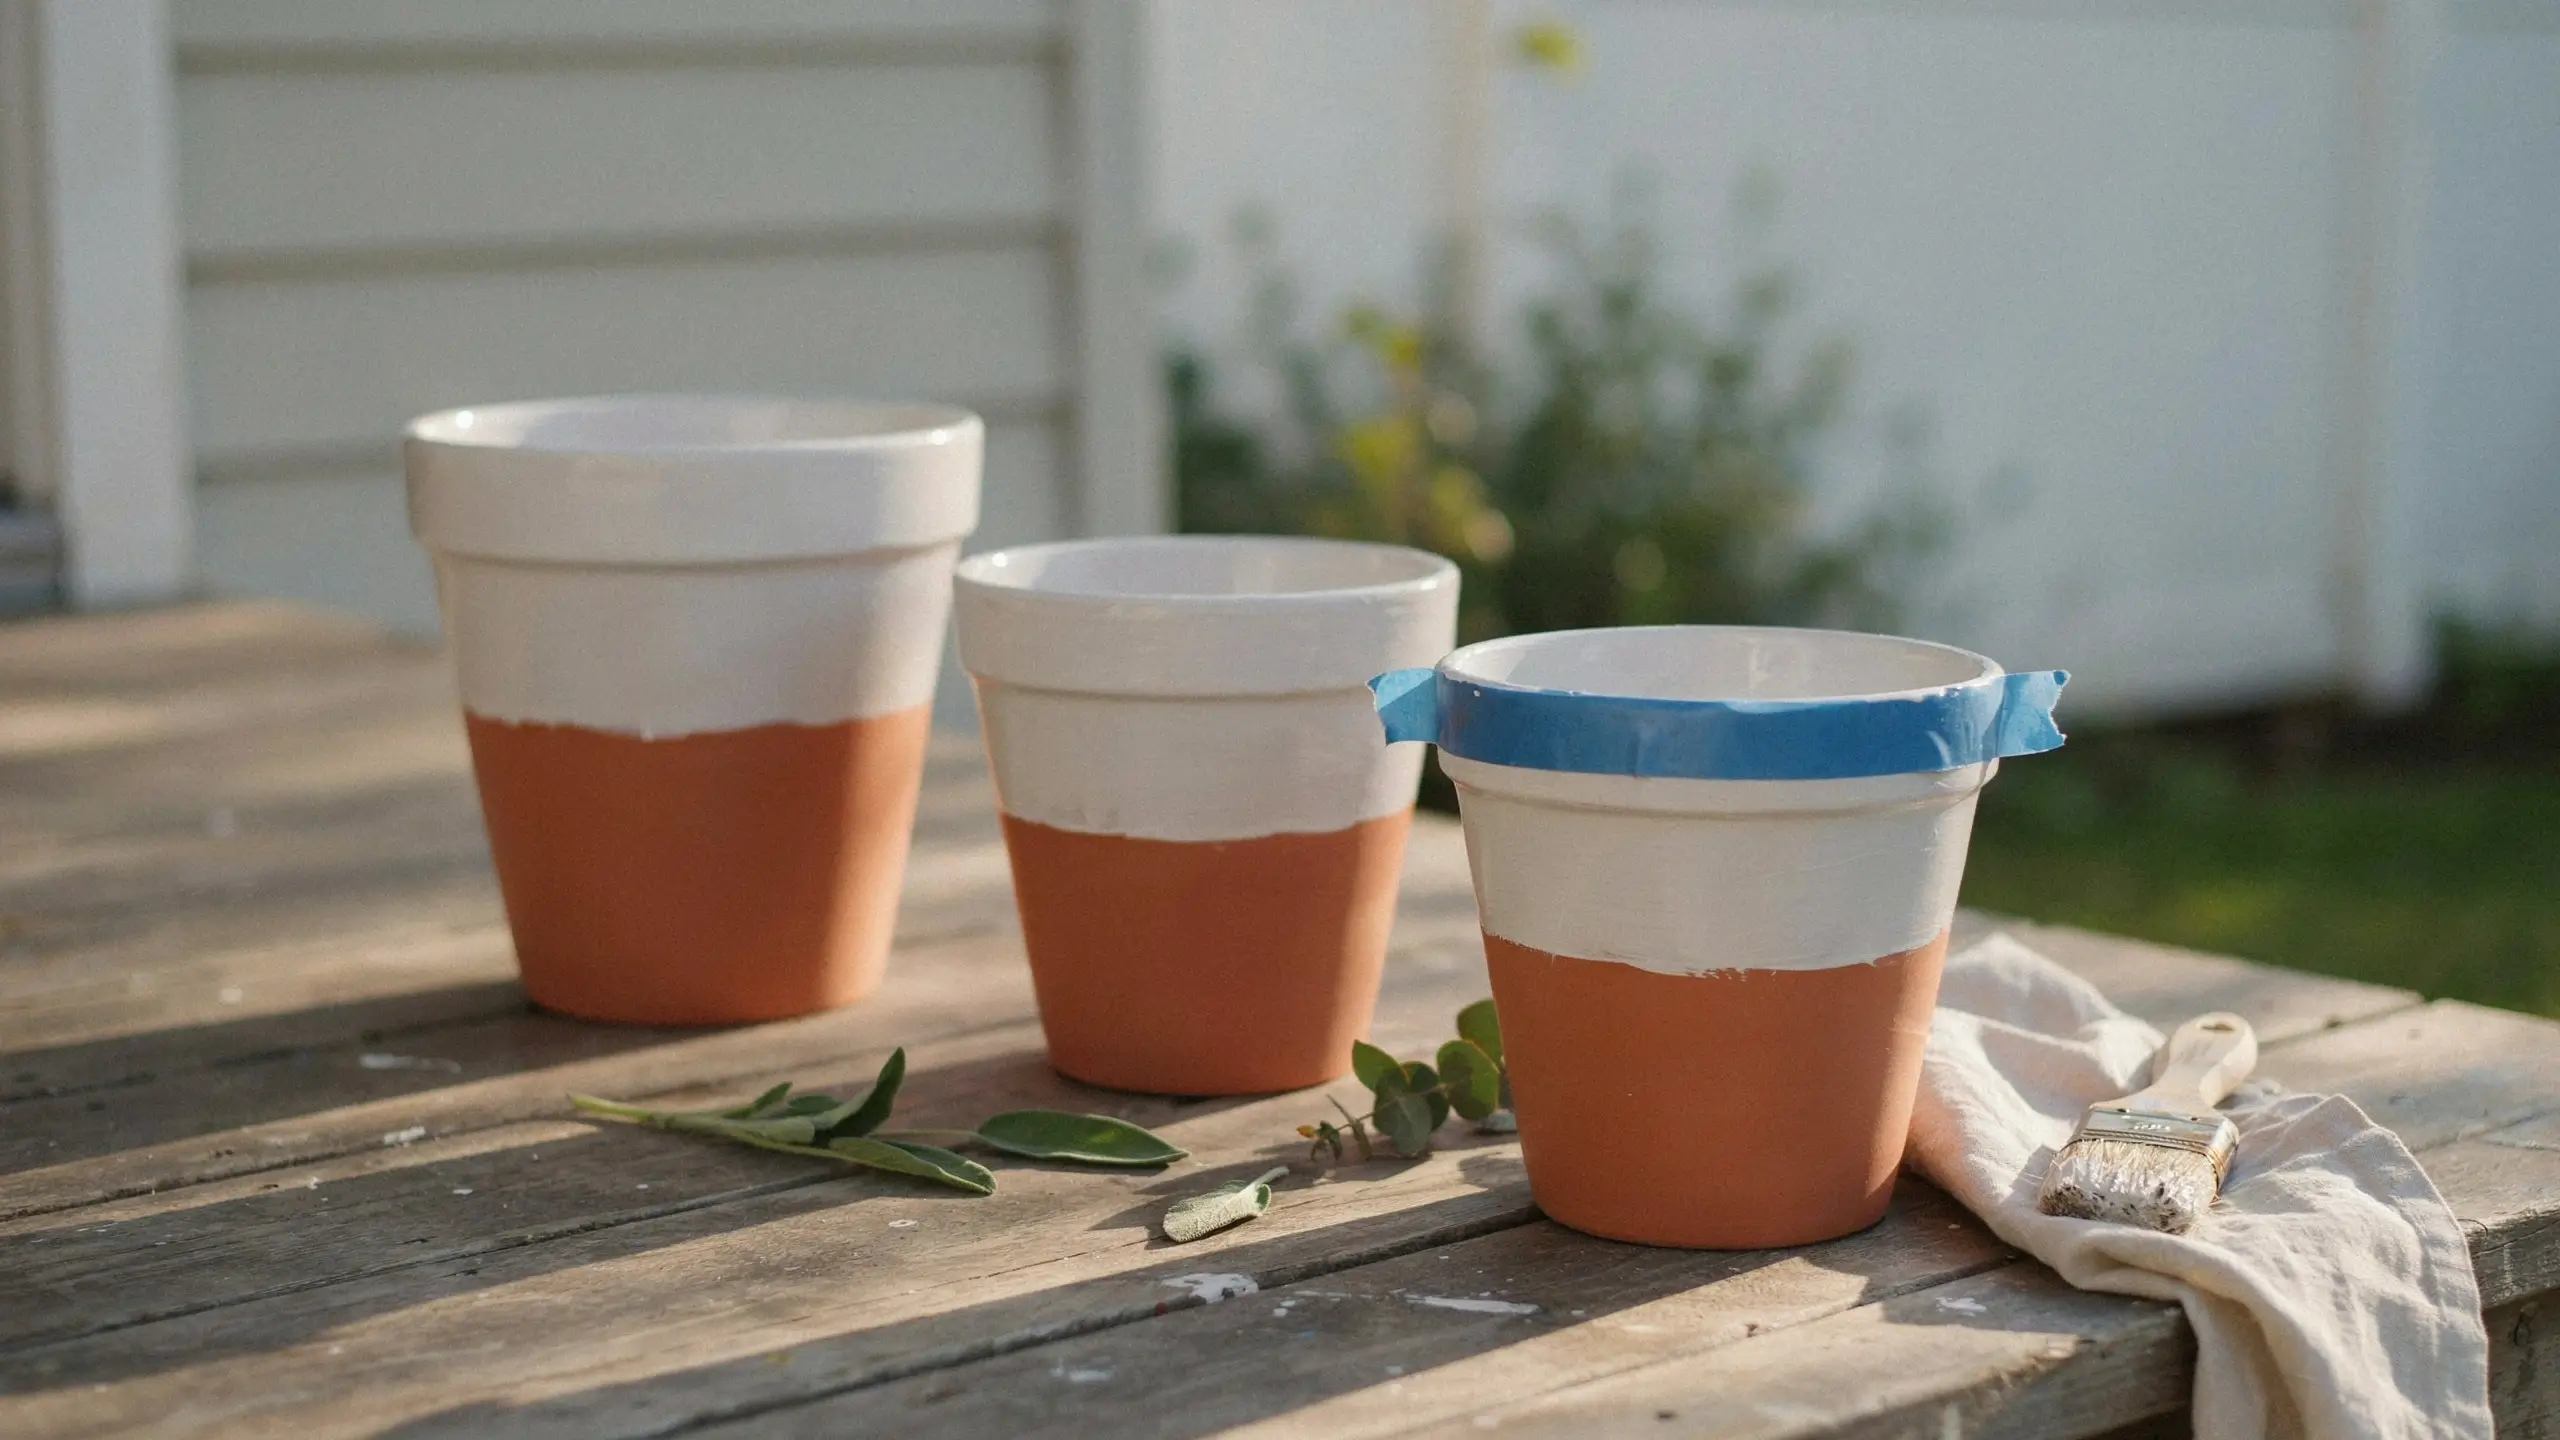
This is the easiest one on the list, and it’s the project to start with if you’ve never painted a pot before.
You’ll need:
- A terracotta pot
- Painter’s tape
- Acrylic or outdoor paint
- A paintbrush
Steps
- Wrap painter’s tape around the pot at whatever height you want the color to stop. Press the edges down firmly so paint can’t sneak underneath.
- Paint below (or above) the tape line in your chosen color, using two thin coats rather than one thick one.
- Let it dry completely, then peel the tape off slowly at an angle.
A crisp white top with a natural terracotta bottom looks clean and modern. Swap in blush pink, sage green, or navy for something more personal. This is also the fastest project to batch if you’re making a matching set for a porch or windowsill.
2. Sponge-Dabbed Ombre Pots
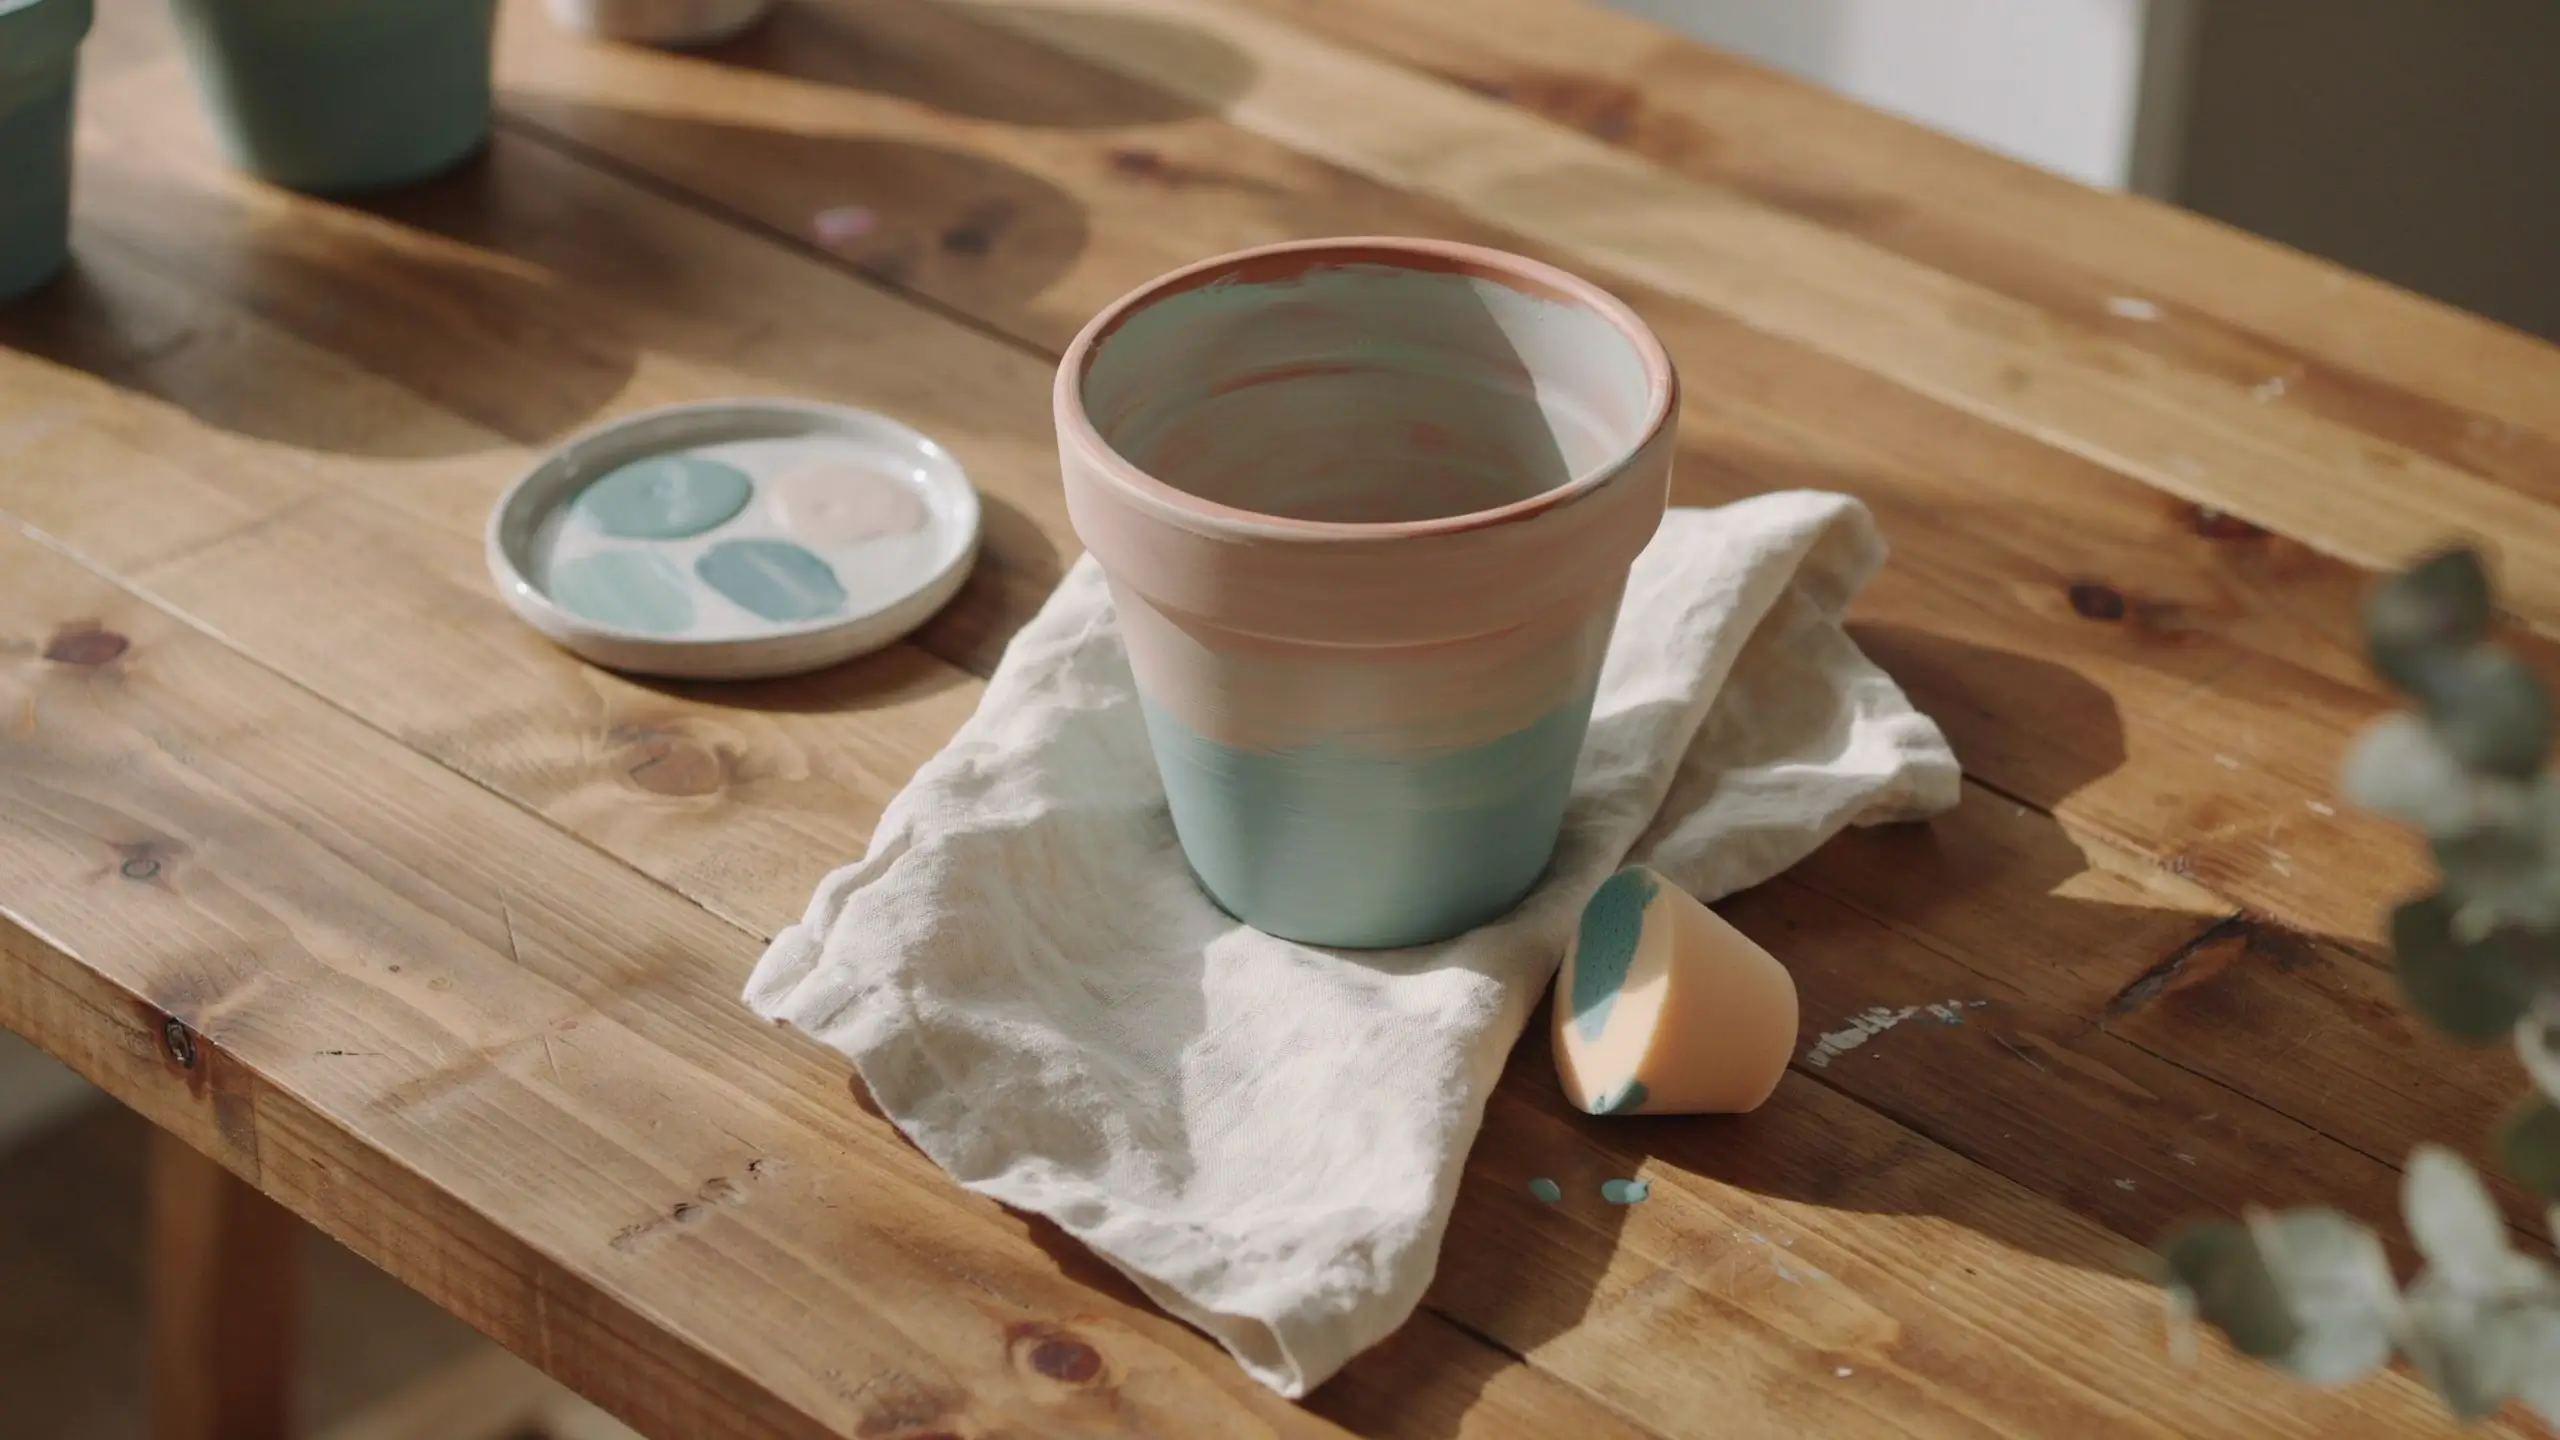
If you like the idea of a color gradient but don’t trust yourself with a paintbrush, this technique is far more forgiving.
You’ll need:
- A pot
- A base coat color
- 2 to 3 shades of one paint color (light to dark)
- A makeup sponge or craft sponge
Steps
- Paint your base coat and let it dry.
- Dip the sponge in your darkest shade and dab it along the bottom third of the pot, fading the pressure as you move upward.
- Switch to your medium shade and blend it into the middle section, overlapping slightly with the darker color.
- Finish with your lightest shade near the top, blending where the colors meet.
The dabbing motion hides brush strokes completely, which is exactly why this technique keeps showing up on Pinterest boards for beginner-friendly pot ideas. Pastel ombre in mint, lavender, and cream reads very spring. Terracotta, rust, and gold reads more fall.
3. Eraser-Stamped Polka Dot Pots
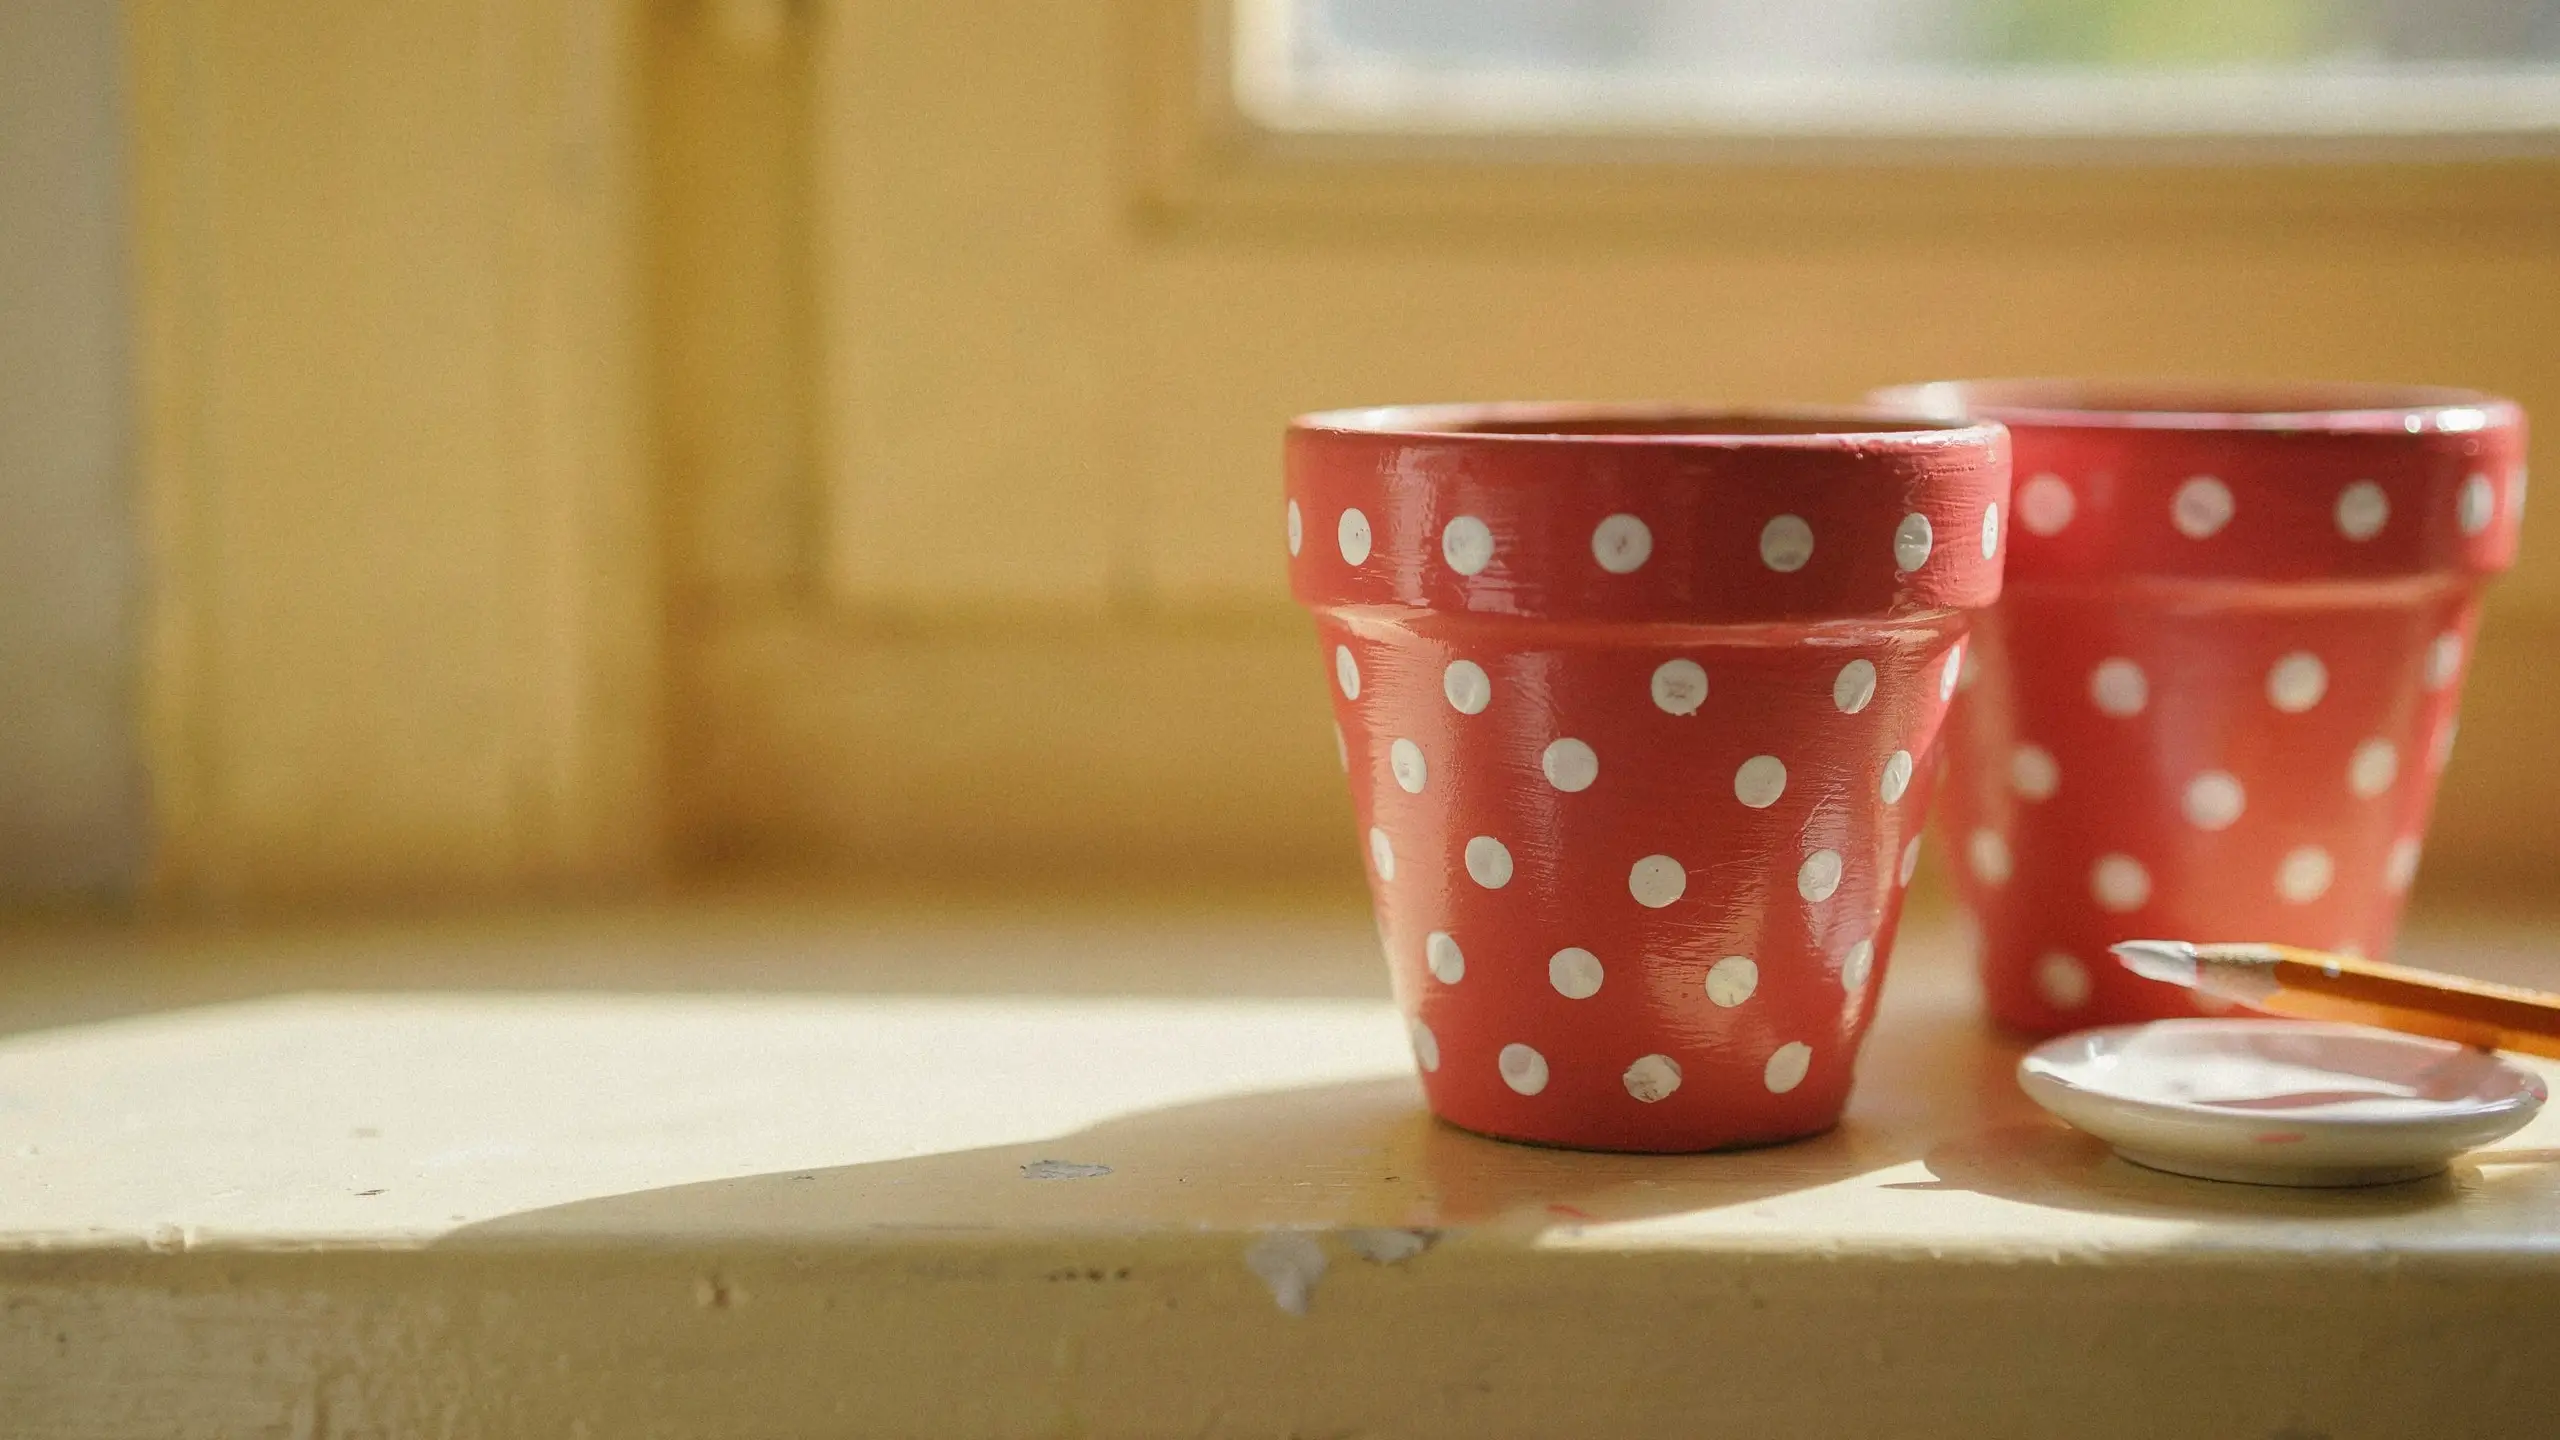
This one sounds almost too simple to work, but the pattern reads as intentional and put-together once it’s finished.
You’ll need:
- A painted or bare terracotta pot
- A pencil eraser (the round end works best)
- Acrylic paint
- A small dish for the paint
Steps
- Dip the flat end of the eraser into paint, tapping off any excess so it doesn’t blob.
- Press it straight down onto the pot, lifting cleanly without dragging.
- Space your dots evenly, or scatter them randomly for a more playful look.
- Let each color dry before adding a second dot color on top or nearby, if you’re layering.
Try white dots on a solid color pot, or a rainbow mix of dots on plain terracotta for a kid’s room windowsill. This is a genuinely good kid-friendly craft since there’s no brush control needed.
4. Nail Polish Marbled Pots
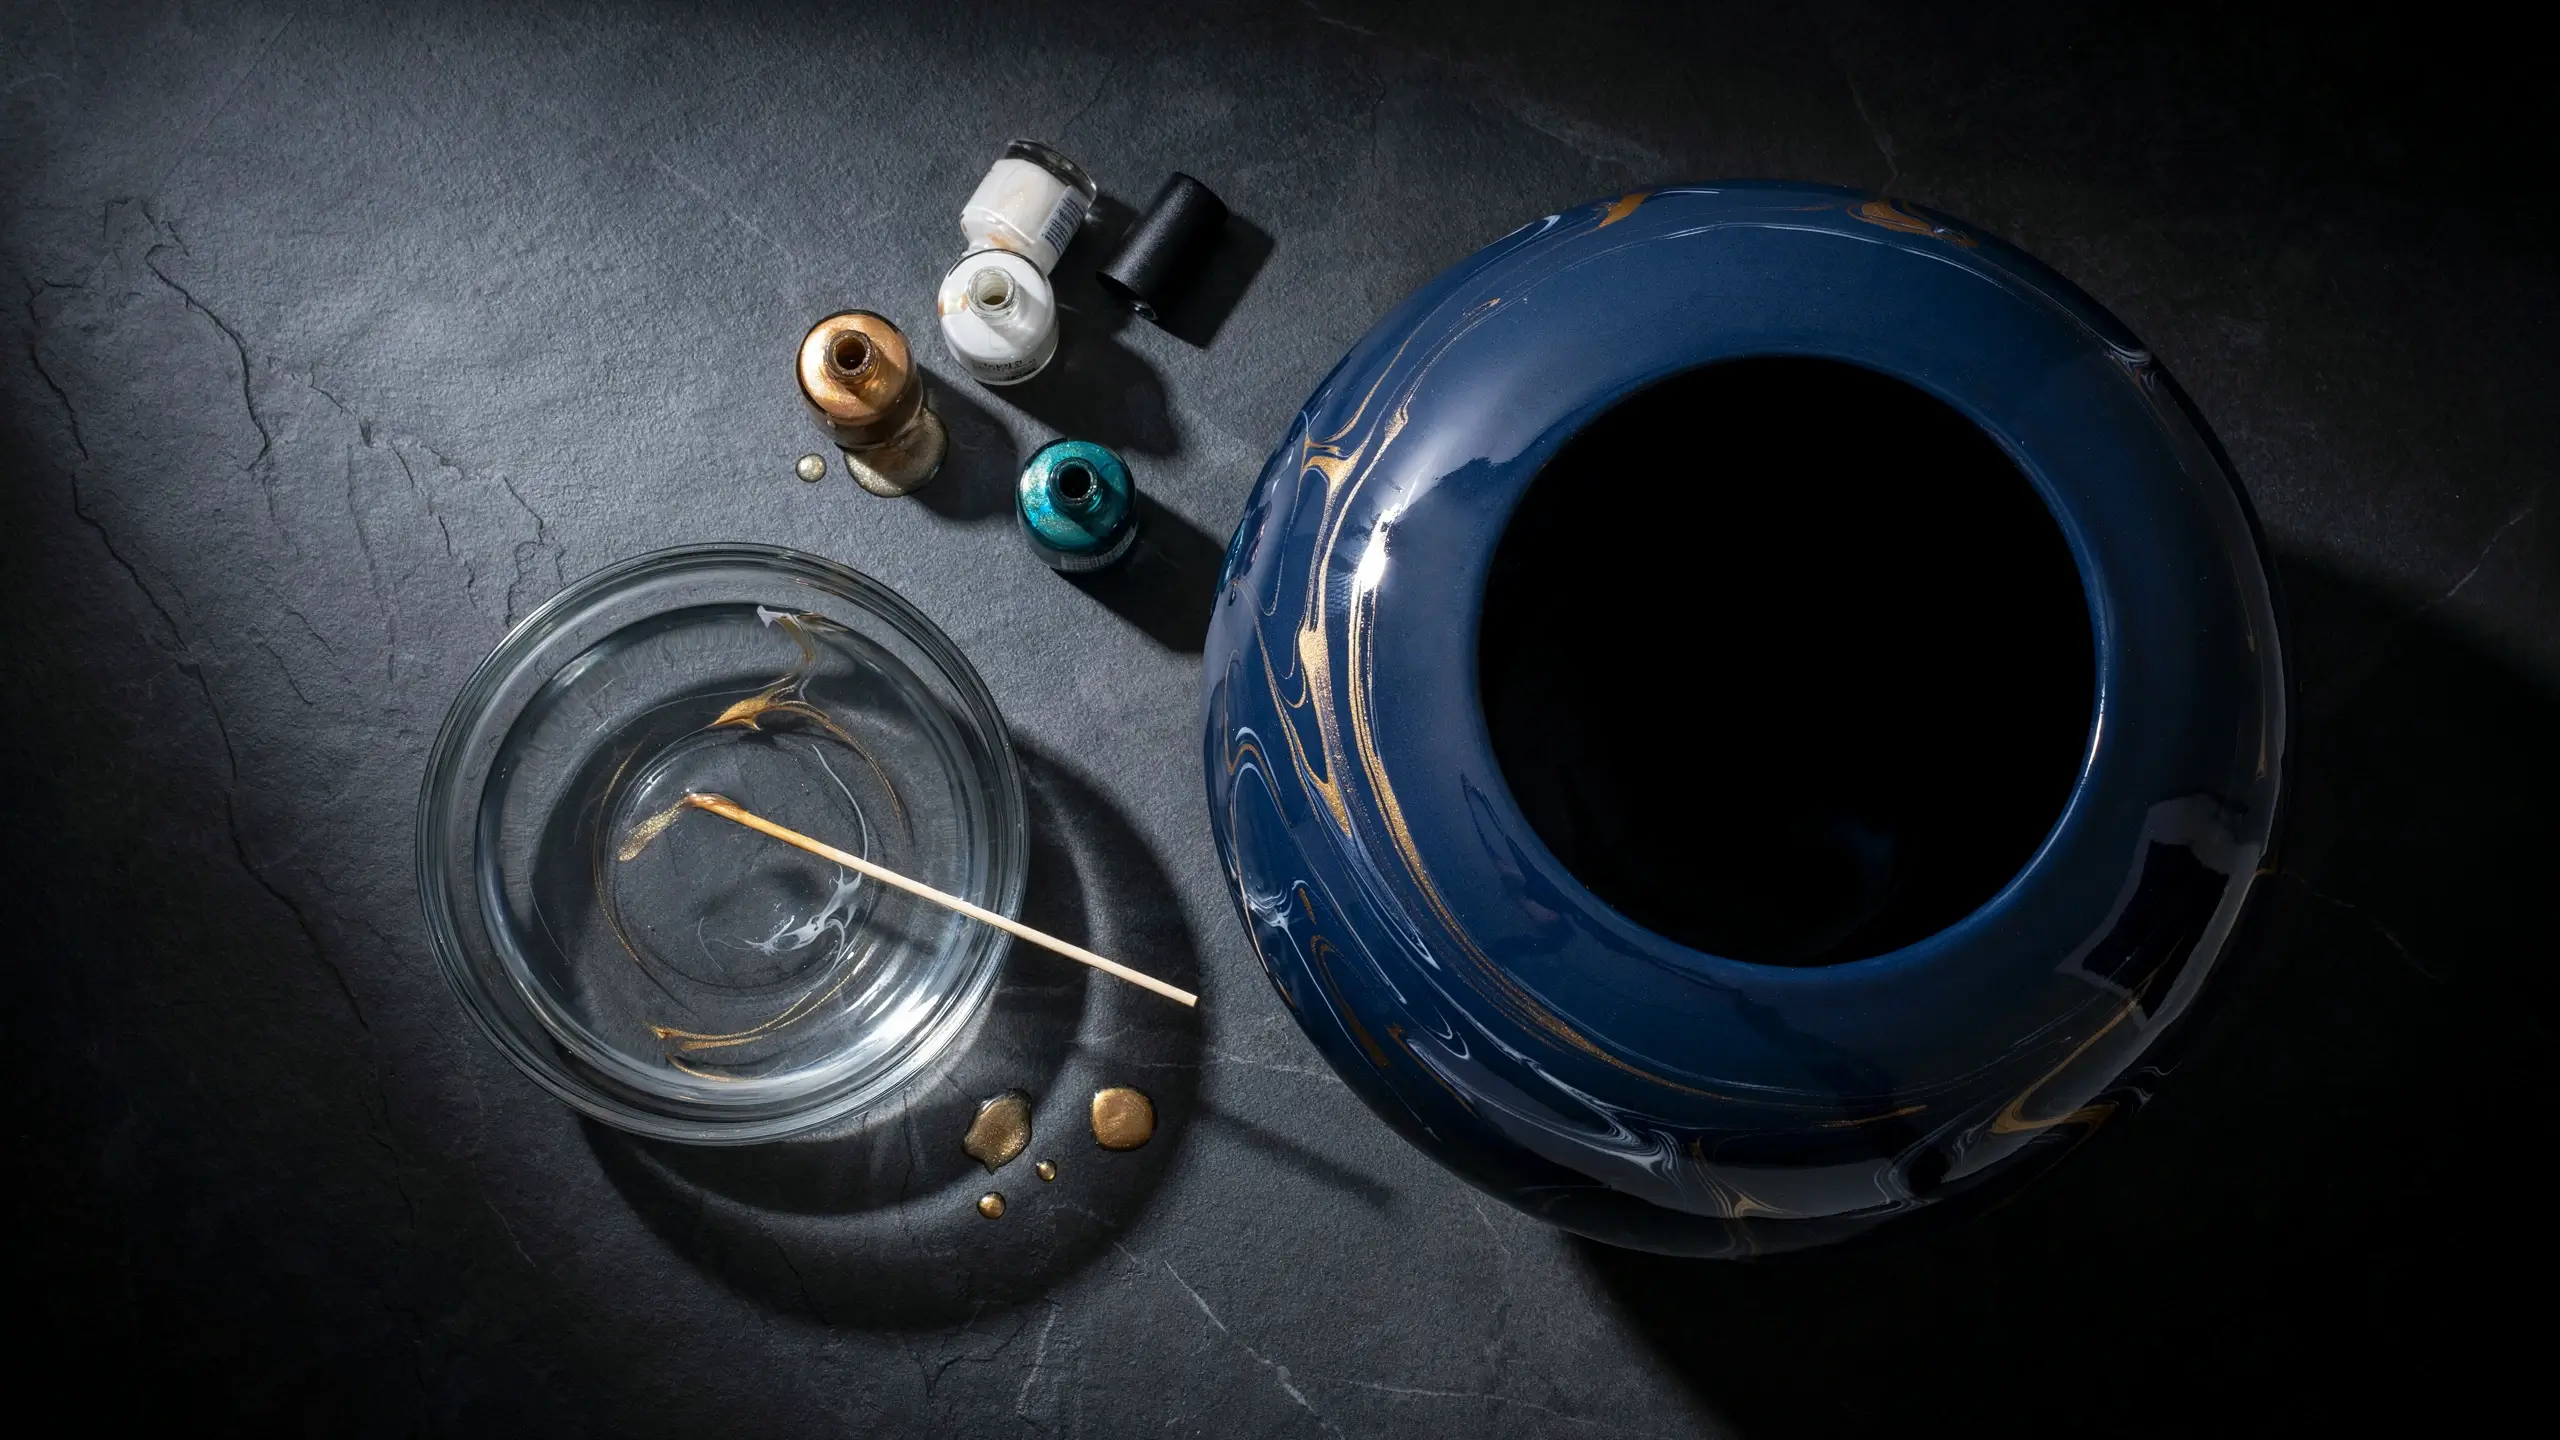
This is the technique that surprises people the most, and it’s a great way to use up half-empty nail polish bottles that would otherwise get tossed.
You’ll need:
- A painted base-coat pot
- 2 to 3 colors of nail polish
- A container of room-temperature water
- A toothpick or skewer
Steps
- Paint your pot a solid base color and let it dry fully.
- Drip a few drops of nail polish onto the surface of the water, letting each color spread into a thin film.
- Swirl the colors gently with the toothpick to create a marbled pattern.
- Tilt the pot and touch just the section you want marbled against the water’s surface, or use a brush to lift the pattern and paint it on in sections.
- Let it dry, then seal well since nail polish can be more brittle outdoors than acrylic paint.
The marbling effect looks genuinely high-end, closer to what you’d see on a $40 ceramic planter. This one works best for indoor pots or covered porches, since nail polish doesn’t hold up as well to direct rain and sun as acrylic paint does.
5. Botanical Stencil Pots
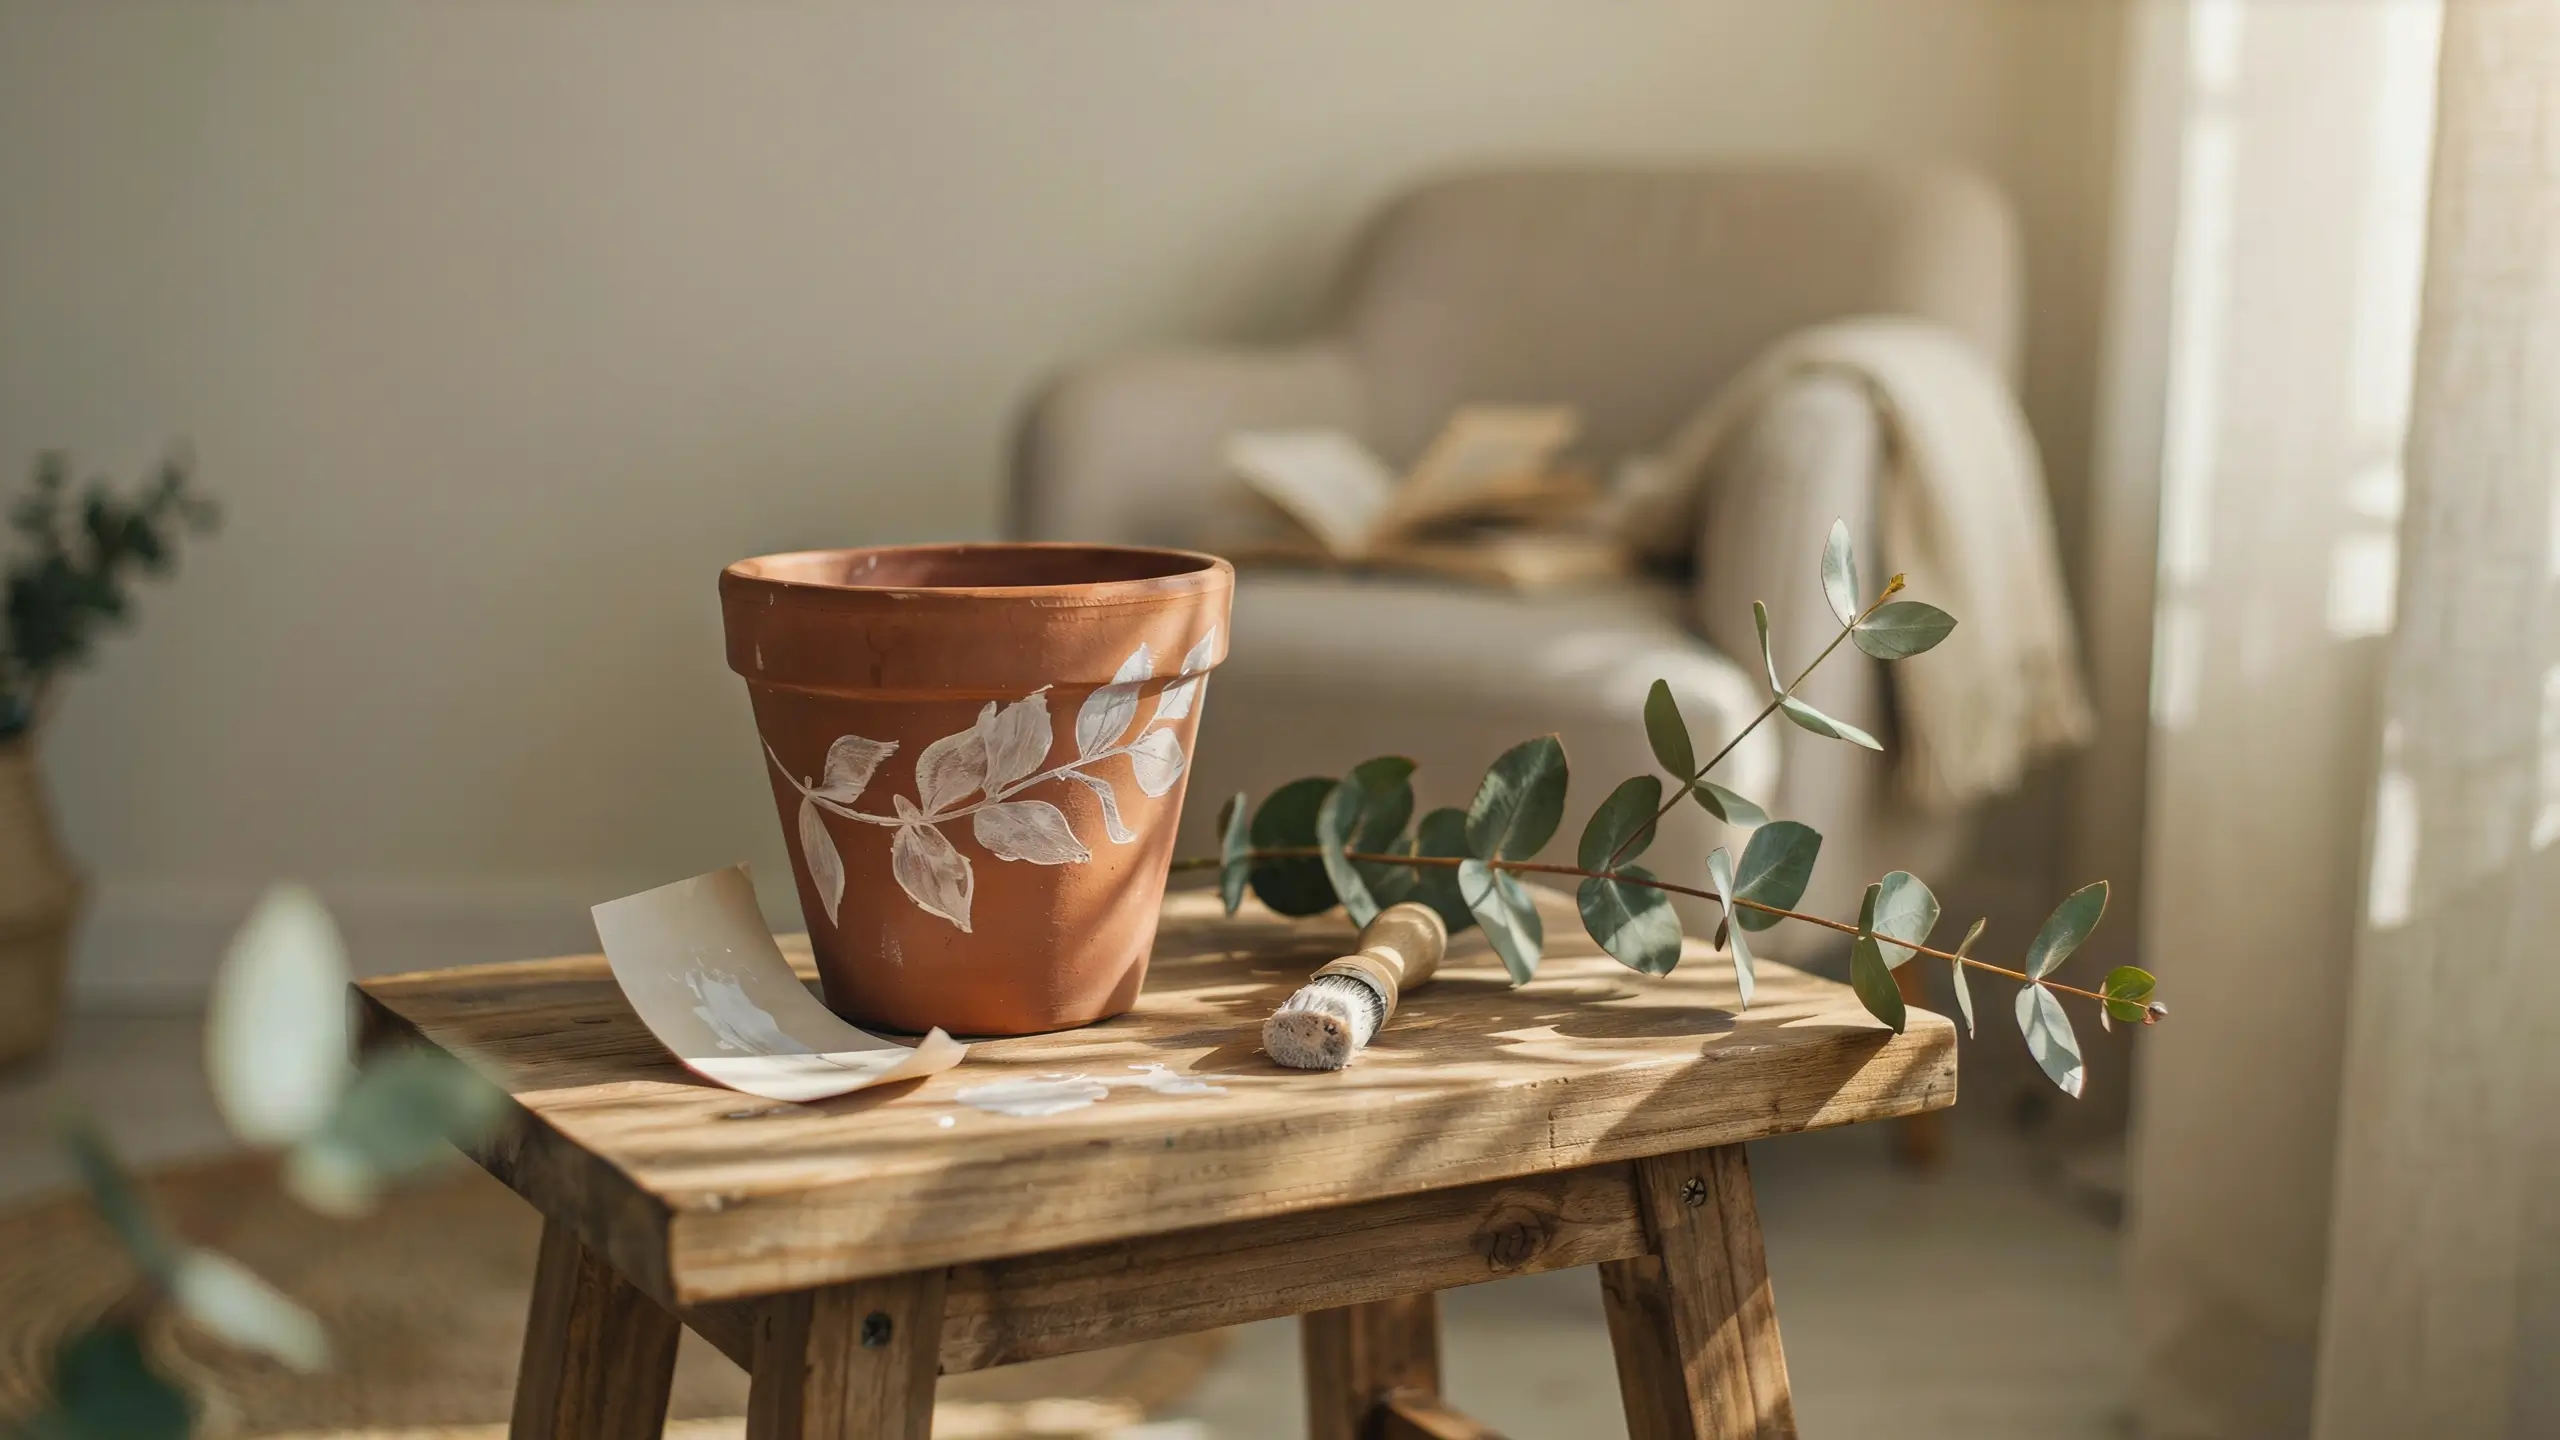
If you want something that looks like it came from a boutique home shop, stenciling gets you there without needing to freehand a single leaf.
You’ll need:
- A pot
- A base coat
- A botanical or leaf stencil
- Painter’s tape
- A stencil brush or sponge dauber
- Acrylic paint
Steps
- Paint and dry your base coat.
- Position your stencil where you want the design, then tape it firmly in place so it doesn’t shift.
- Dab paint through the stencil using a mostly-dry brush. Less paint is better here, since too much can bleed under the edges.
- Peel the stencil away carefully once you’ve built up enough coverage, then let the paint cure before adding any detail lines by hand.
A single sprig of eucalyptus or a simple fern silhouette in white on a terracotta base is a design that never goes out of style. This is one of the best options if you’re making a gift, since it looks polished without requiring real painting skill.
6. Broken China Mosaic Pots
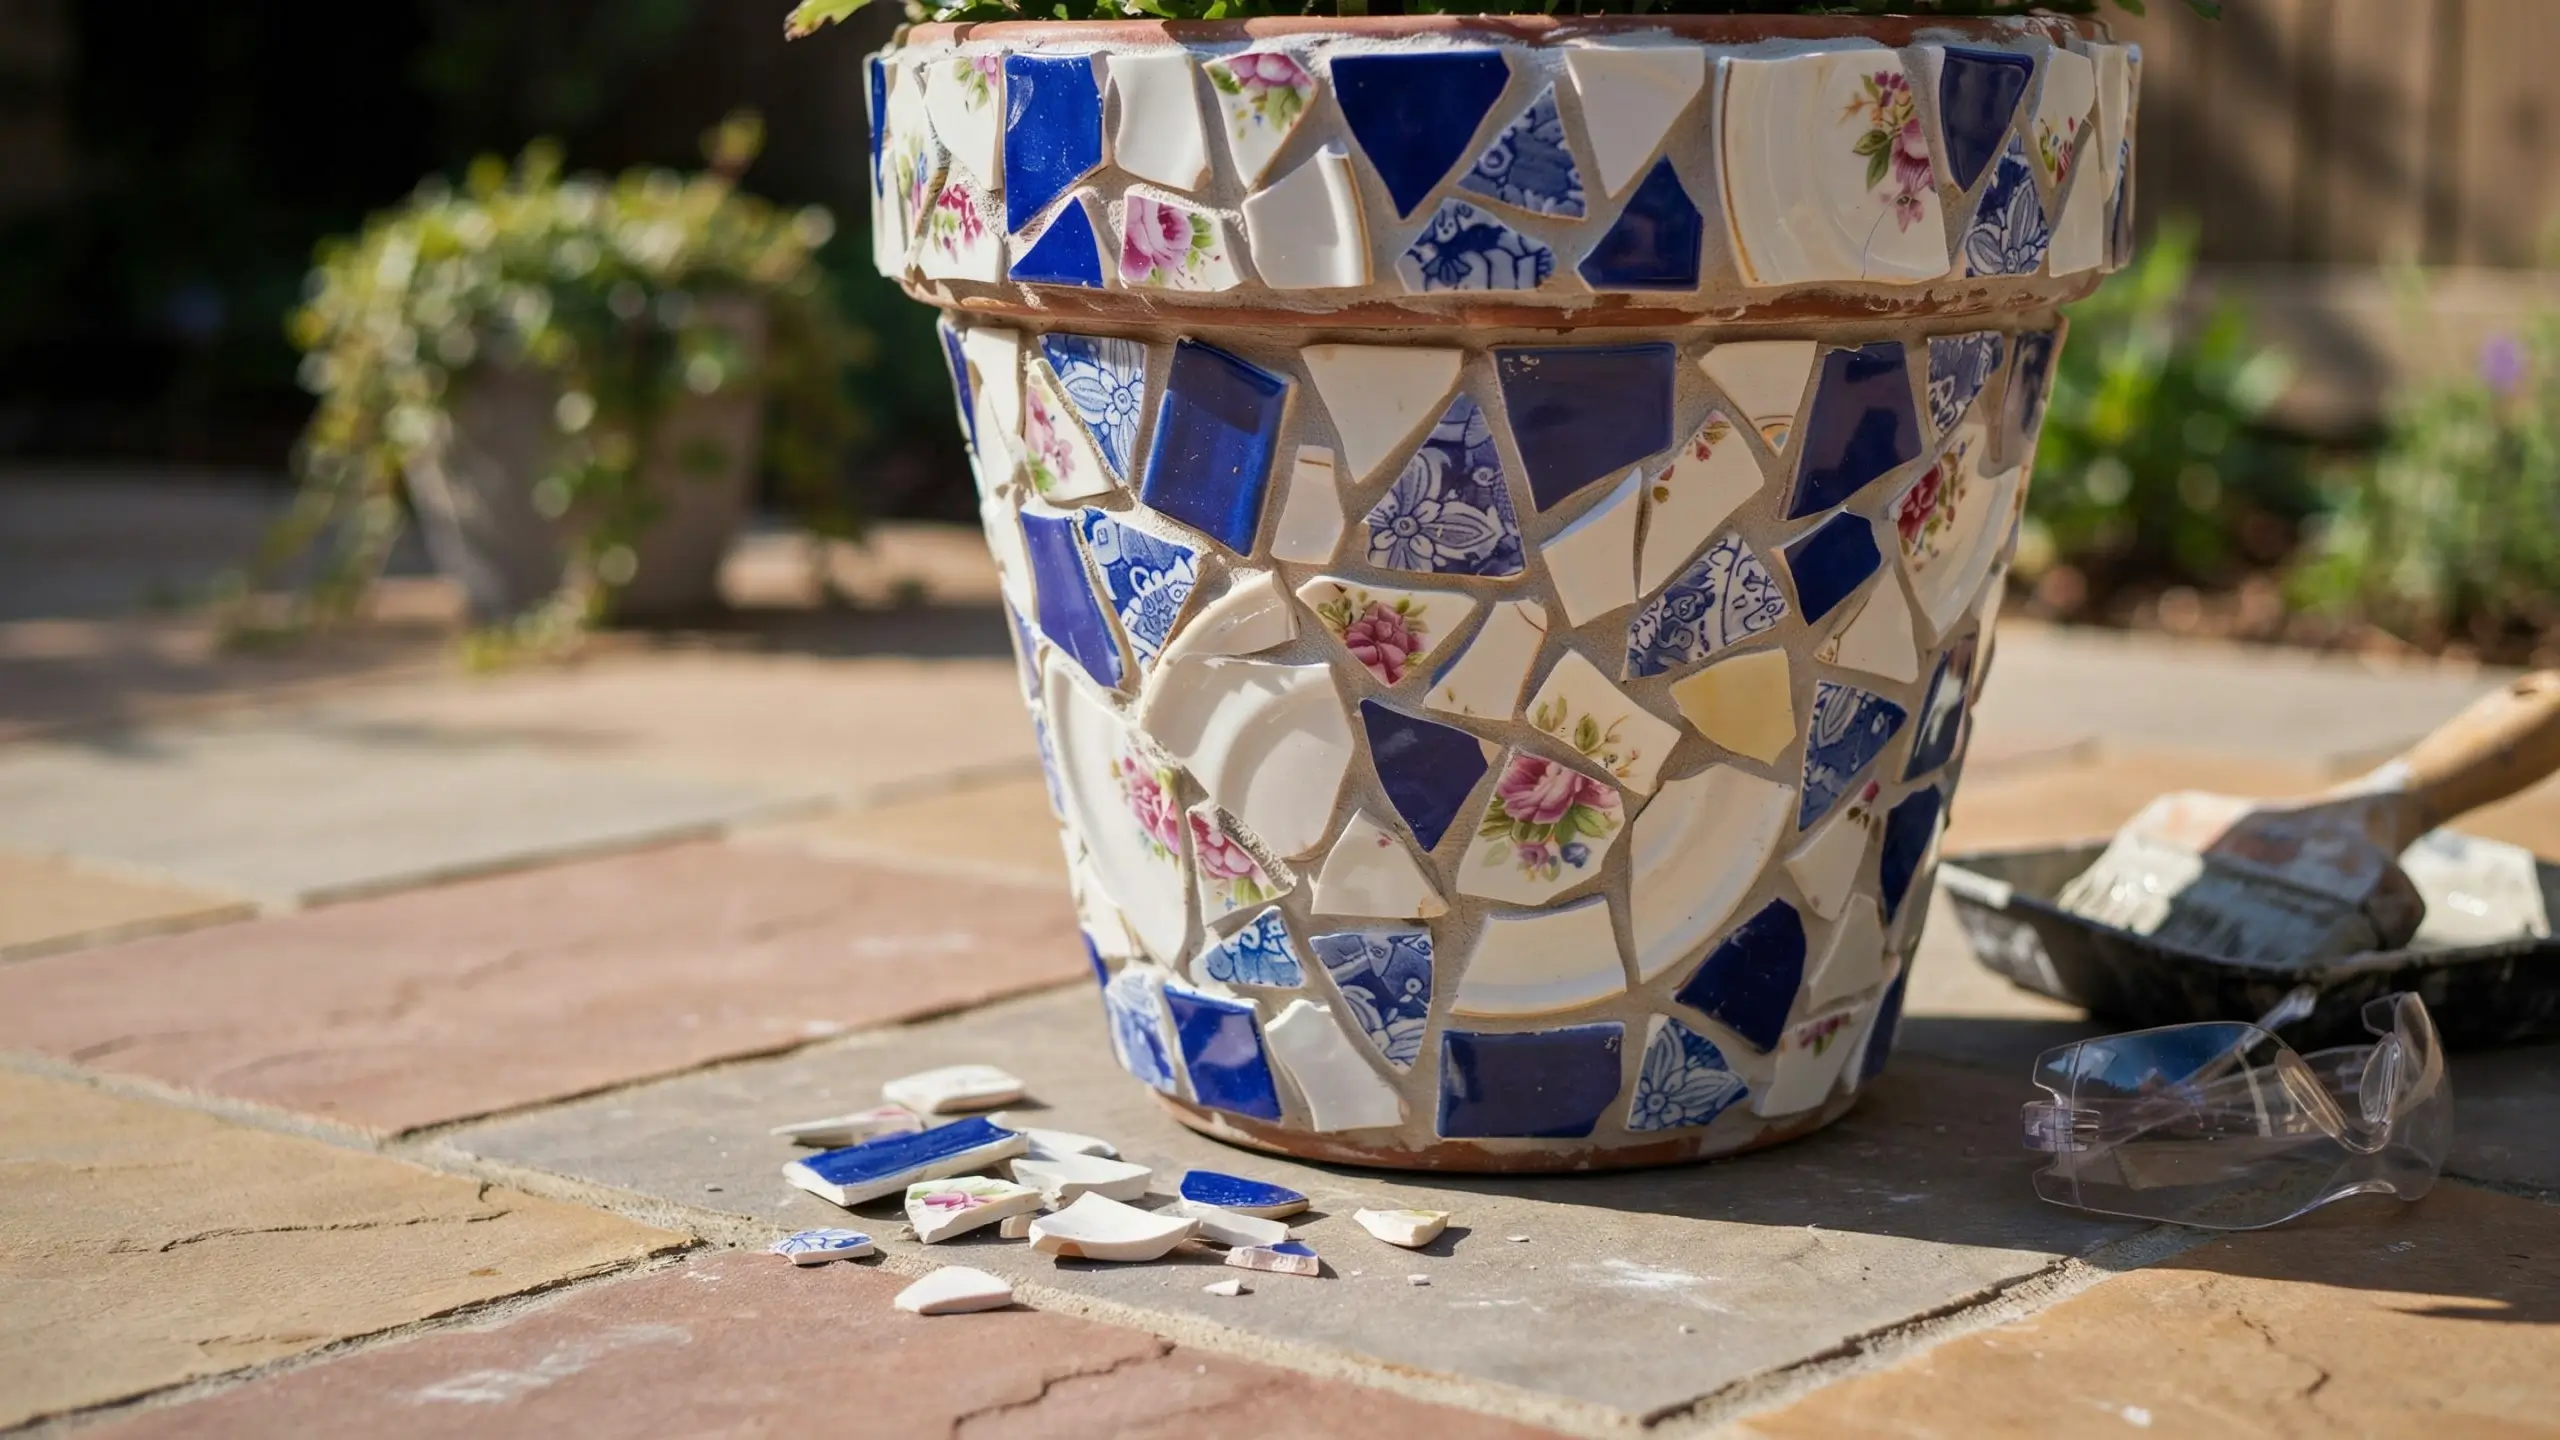
This is the most advanced project on the list, but it’s also the most durable and the one with the biggest wow factor outdoors.
You’ll need:
- A pot
- Broken ceramic plate pieces or a mosaic tile kit
- Tile adhesive
- Grout
- A grout float
- Gloves
- Safety glasses
Steps
- Break plates into small pieces if you’re using thrifted china (wrap them in a towel and tap with a hammer, wearing safety glasses).
- Arrange the pieces on the pot before gluing anything, so you can plan your pattern.
- Apply tile adhesive to the back of each piece and press it onto the pot, leaving small gaps between pieces for grout.
- Once the adhesive cures, spread grout over the whole surface, pushing it into the gaps, then wipe away the excess with a damp sponge.
- Let it cure fully, usually 24 to 48 hours, before it goes outside.
This technique holds up beautifully to sun and rain since you’re working with actual ceramic and grout instead of paint. It’s a great way to use plates with sentimental value, like a chipped piece from a set that can’t be donated anymore.
7. Hot Glue 3D Flower Pots
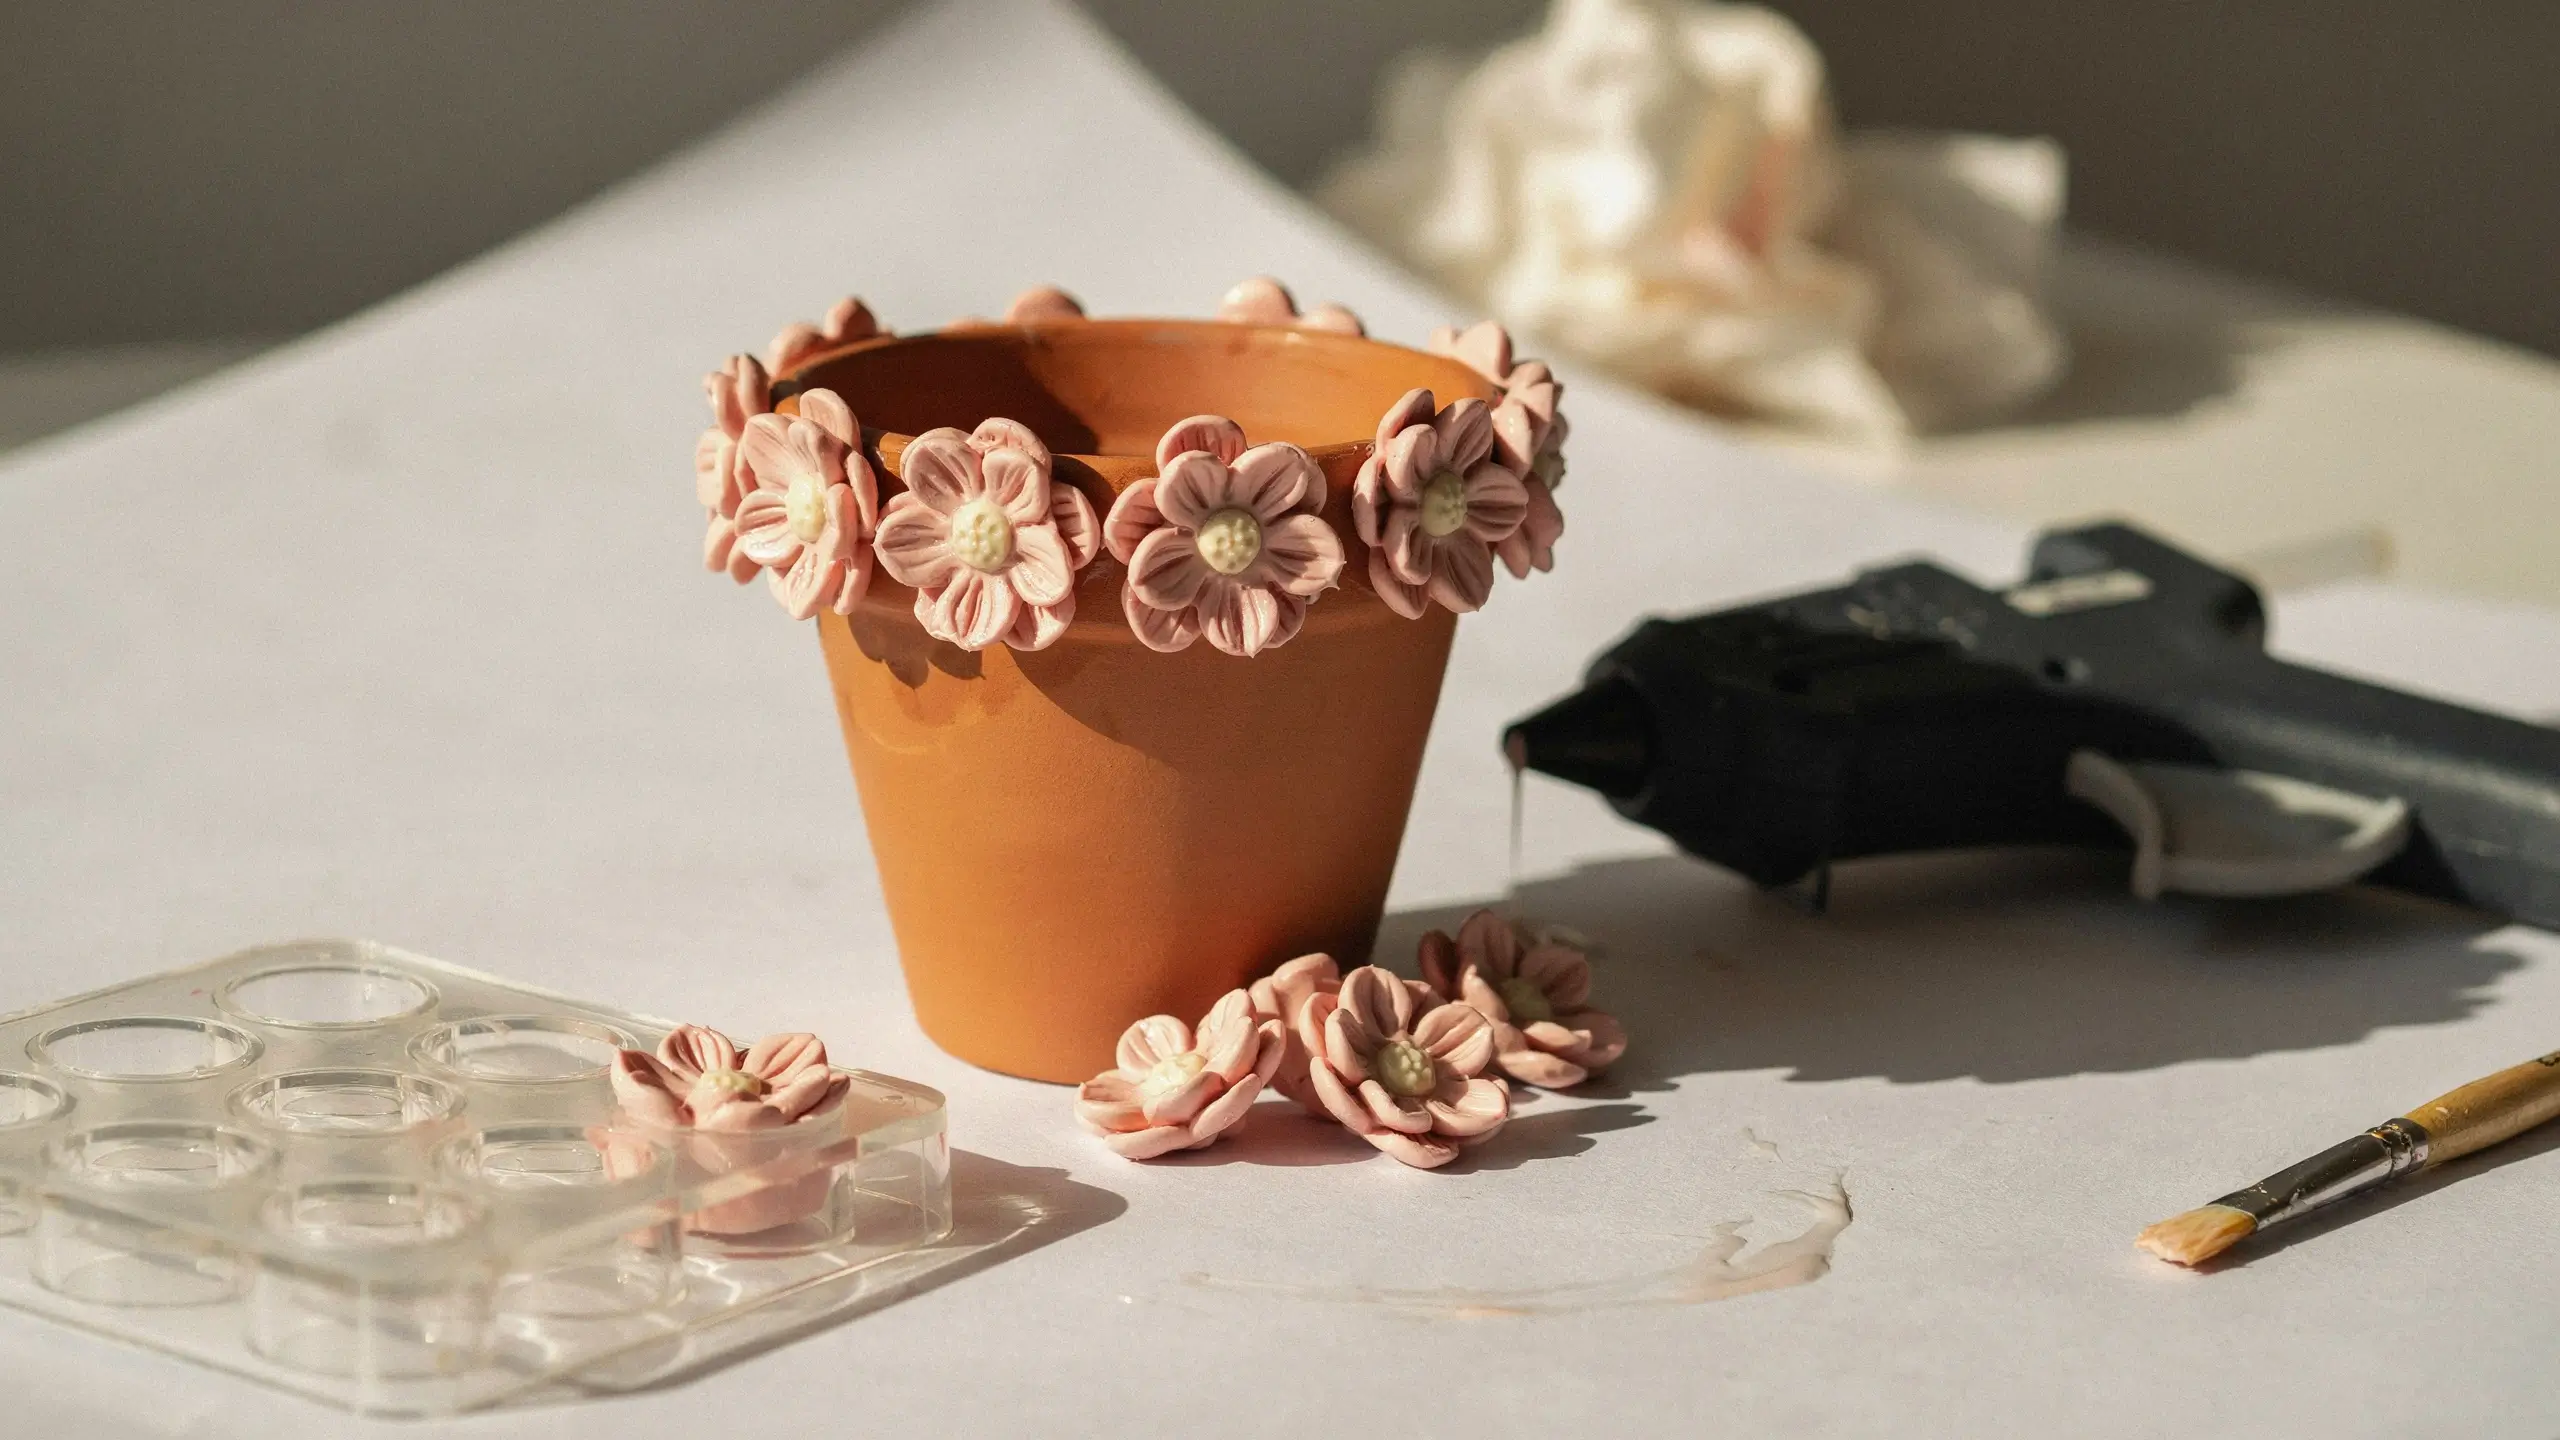
This one has been showing up everywhere lately, and it’s a genuinely clever way to get a raised, textured design without any sculpting skill.
You’ll need:
- A pot
- A hot glue gun
- Silicone flower or leaf molds (sold at most craft stores)
- Acrylic paint
- A paintbrush
Steps
- Heat your glue gun on high and fill the mold cavities completely with hot glue.
- Let the glue cool and firm up, then pop the shapes out of the mold.
- Attach the shapes to the pot using a small amount of fresh hot glue, pressing firmly to secure them to the curved surface.
- Once everything is attached and cooled, paint the raised design in your chosen colors.
Small clay pots work best for this since the glue shapes need a manageable surface to wrap around. A ring of glue flowers around the rim looks like an expensive textured ceramic pot, for a fraction of the price. Keep hot glue pots away from strong direct sun in hot climates, since the glue can soften.
8. Rope and Twine Wrapped Pots
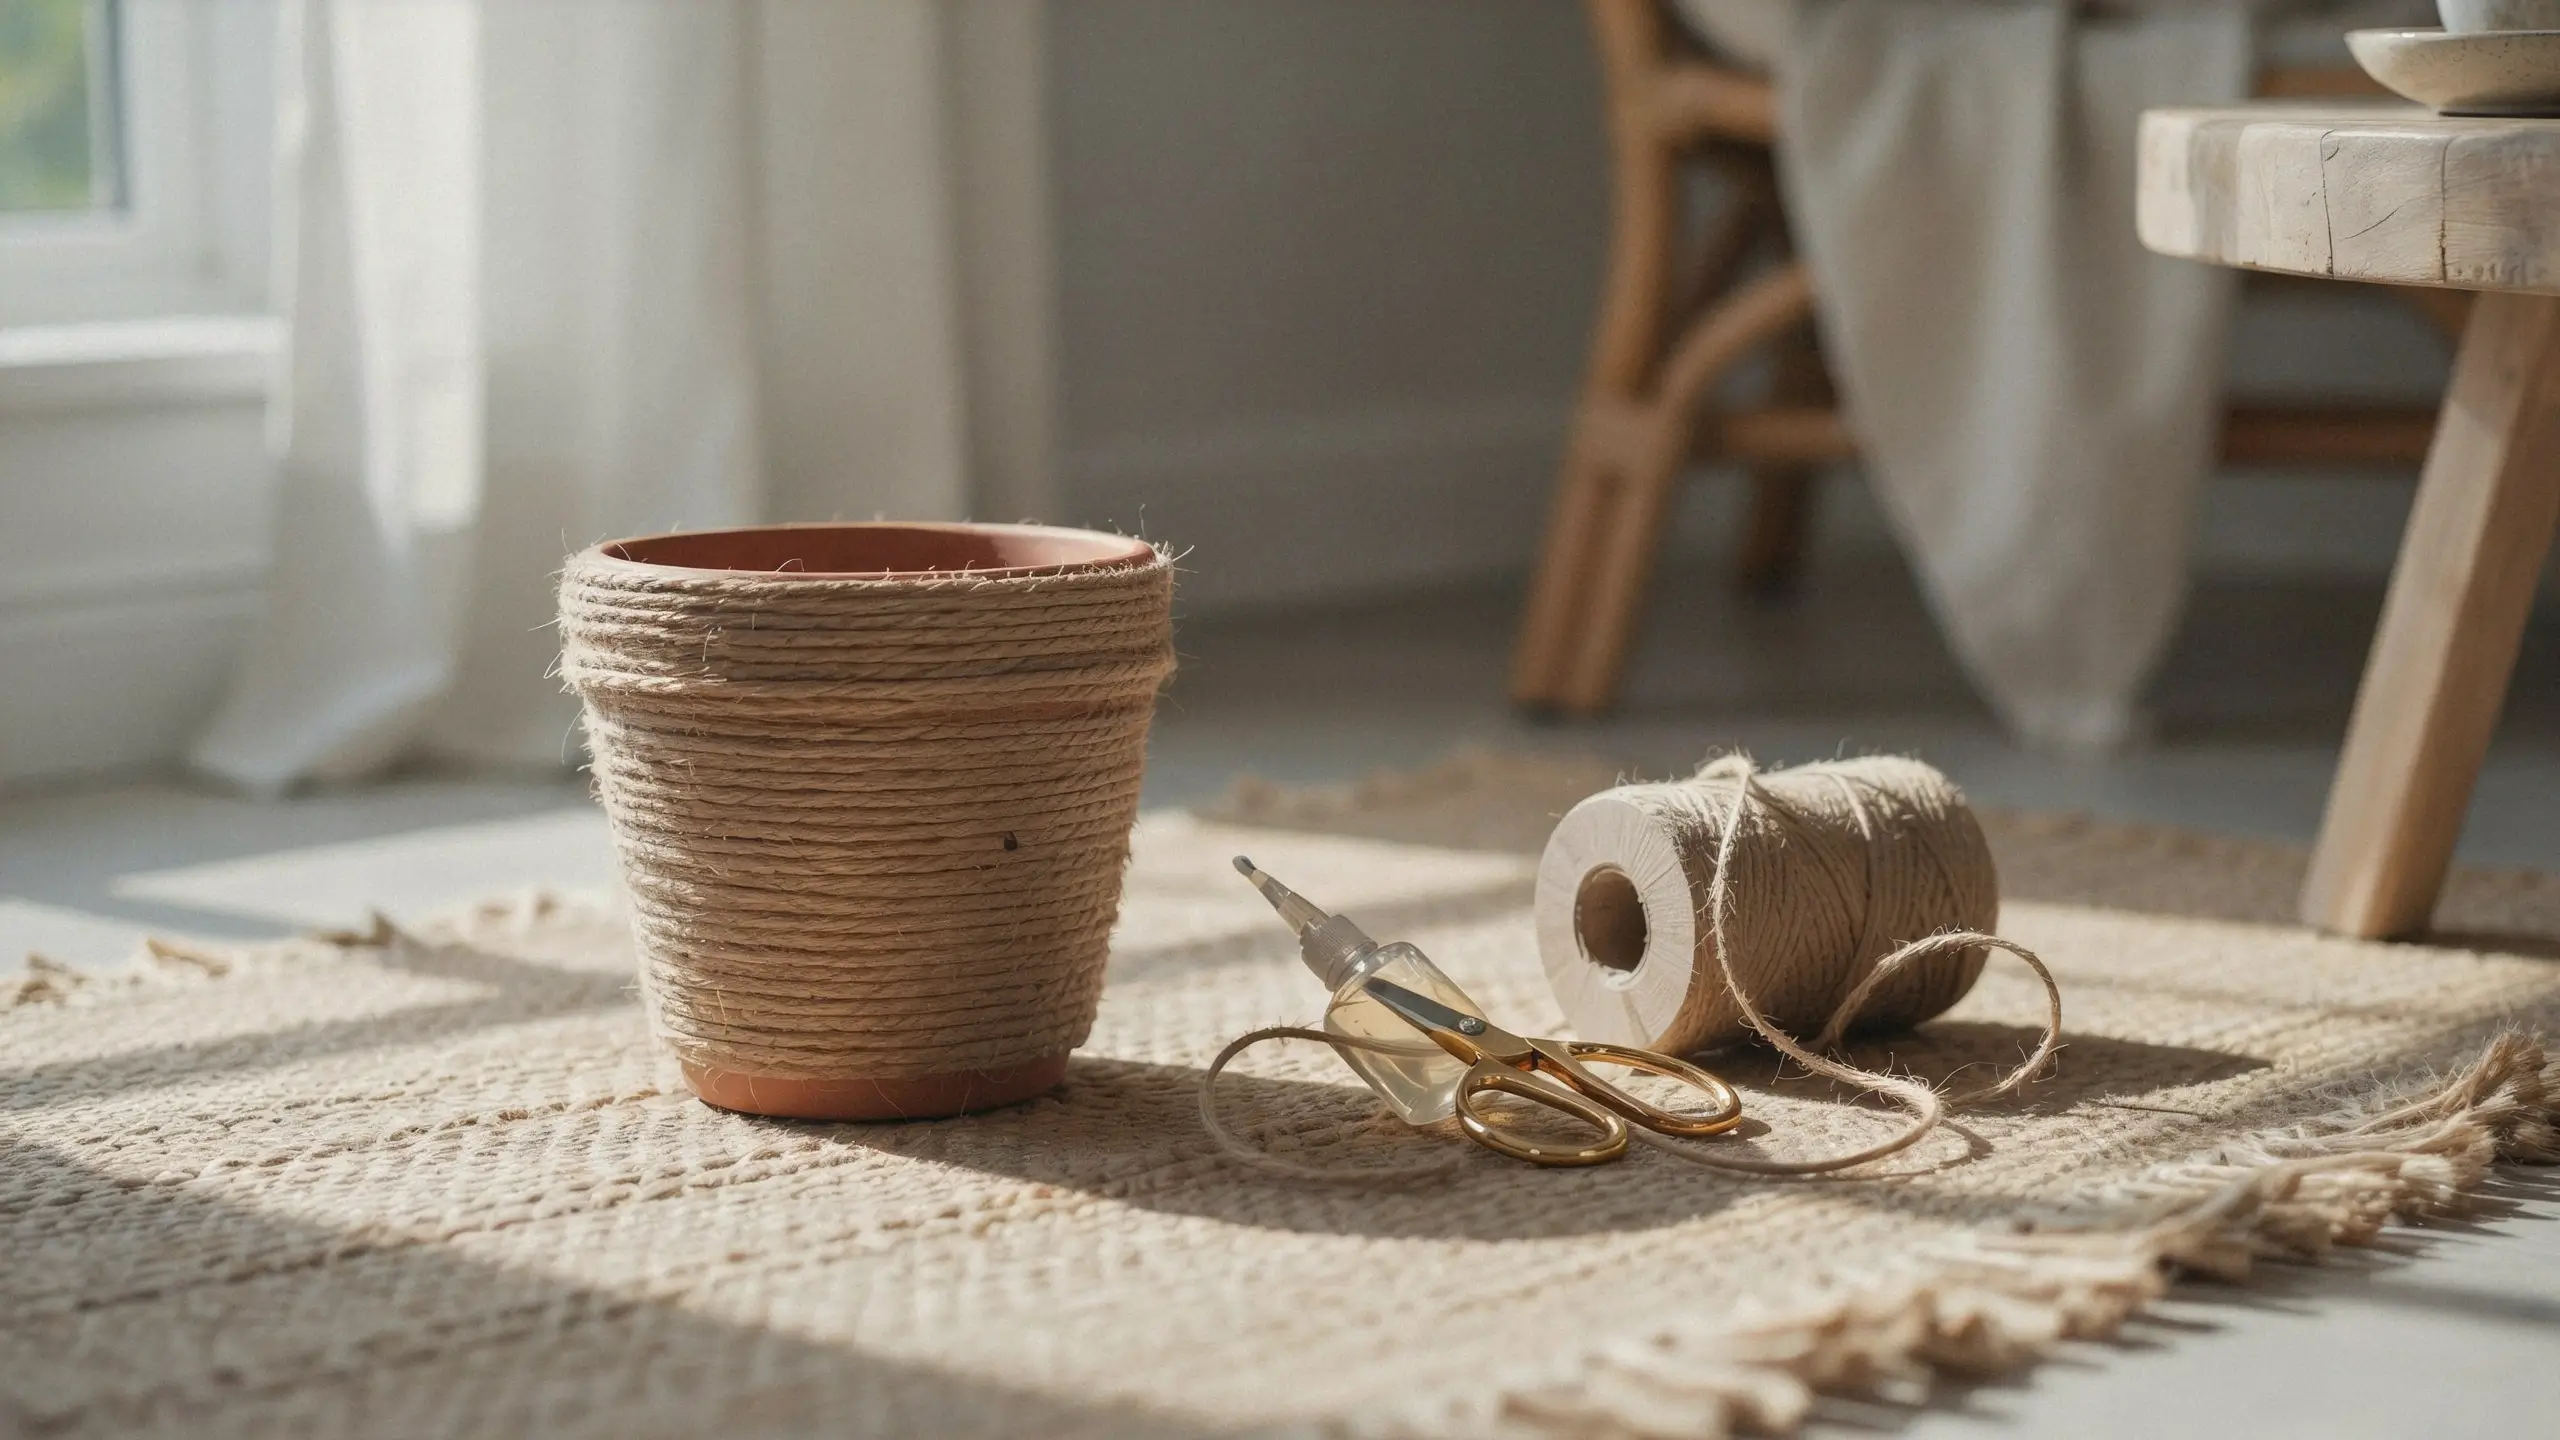
If you’re decorating a rental and can’t risk paint that might not come back off, this is your move. No paint, no mess, fully reversible.
You’ll need:
- A plain pot
- Jute twine or thin rope
- Hot glue or strong craft glue
Steps
- Starting at the bottom of the pot, add a small dot of glue and press the end of the twine into place.
- Wrap the twine snugly around the pot, adding glue every few wraps to keep it secure, working your way up.
- Tuck the end of the twine under the last wrap and secure it with a final dot of glue.
This gives you a natural, coastal or farmhouse look with almost zero skill required. It’s also one of the few techniques on this list that’s fully renter-friendly, since you can remove the twine later without damaging the pot underneath.
9. Fabric Decoupage Pots
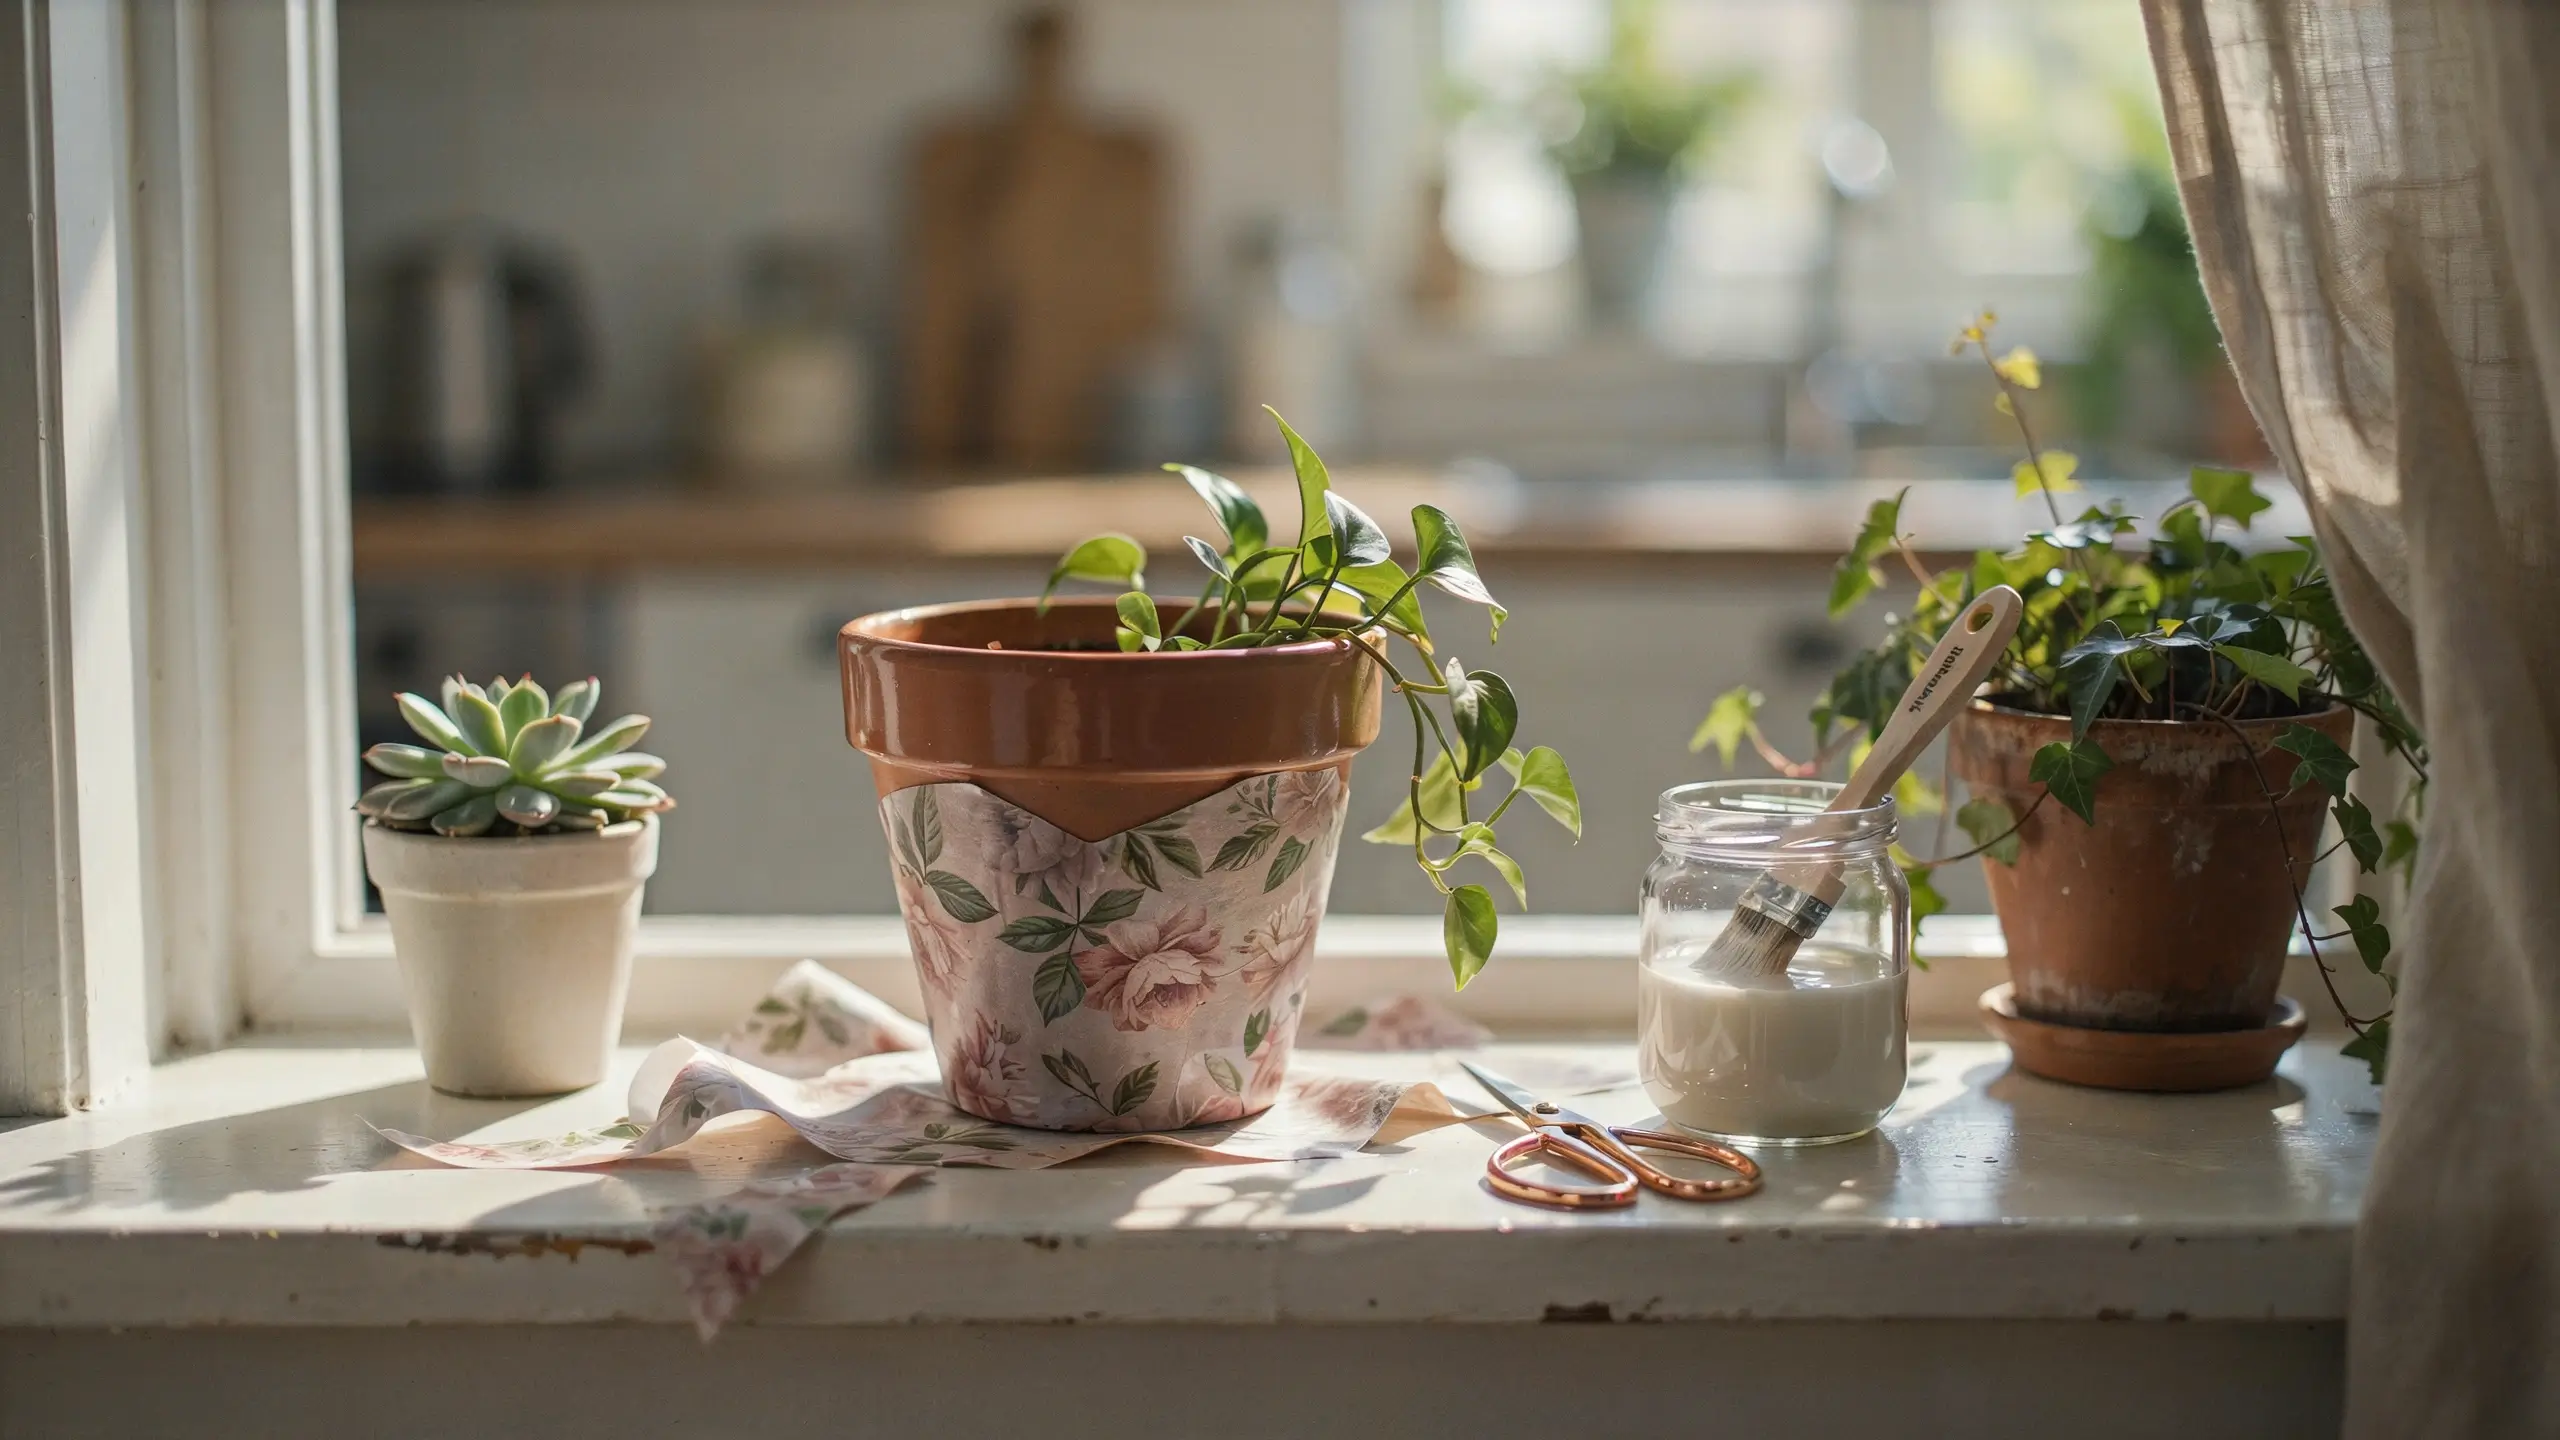
This is the project to raid your fabric scrap bin for. Leftover quilting cotton, an old bandana, or even wrapping paper all work.
You’ll need:
- A pot
- Fabric or paper scraps
- Mod Podge
- A foam brush
- Scissors
- A clear waterproofing spray
Steps
- Cut your fabric into a shape that roughly wraps around the pot, or into smaller pieces if you’re patchworking a few prints together.
- Brush a layer of Mod Podge onto the pot, then press the fabric into place, smoothing out any air bubbles as you go.
- Brush another layer of Mod Podge over the top of the fabric to seal it down.
- Trim any overhanging edges once dry, then finish with a waterproofing spray if the pot will live outdoors.
This is one of the most customizable ideas here since the fabric print does most of the design work for you. A busy floral print wrapped around a plain pot instantly looks curated, not thrown together.
10. Painted Word or Monogram Pots
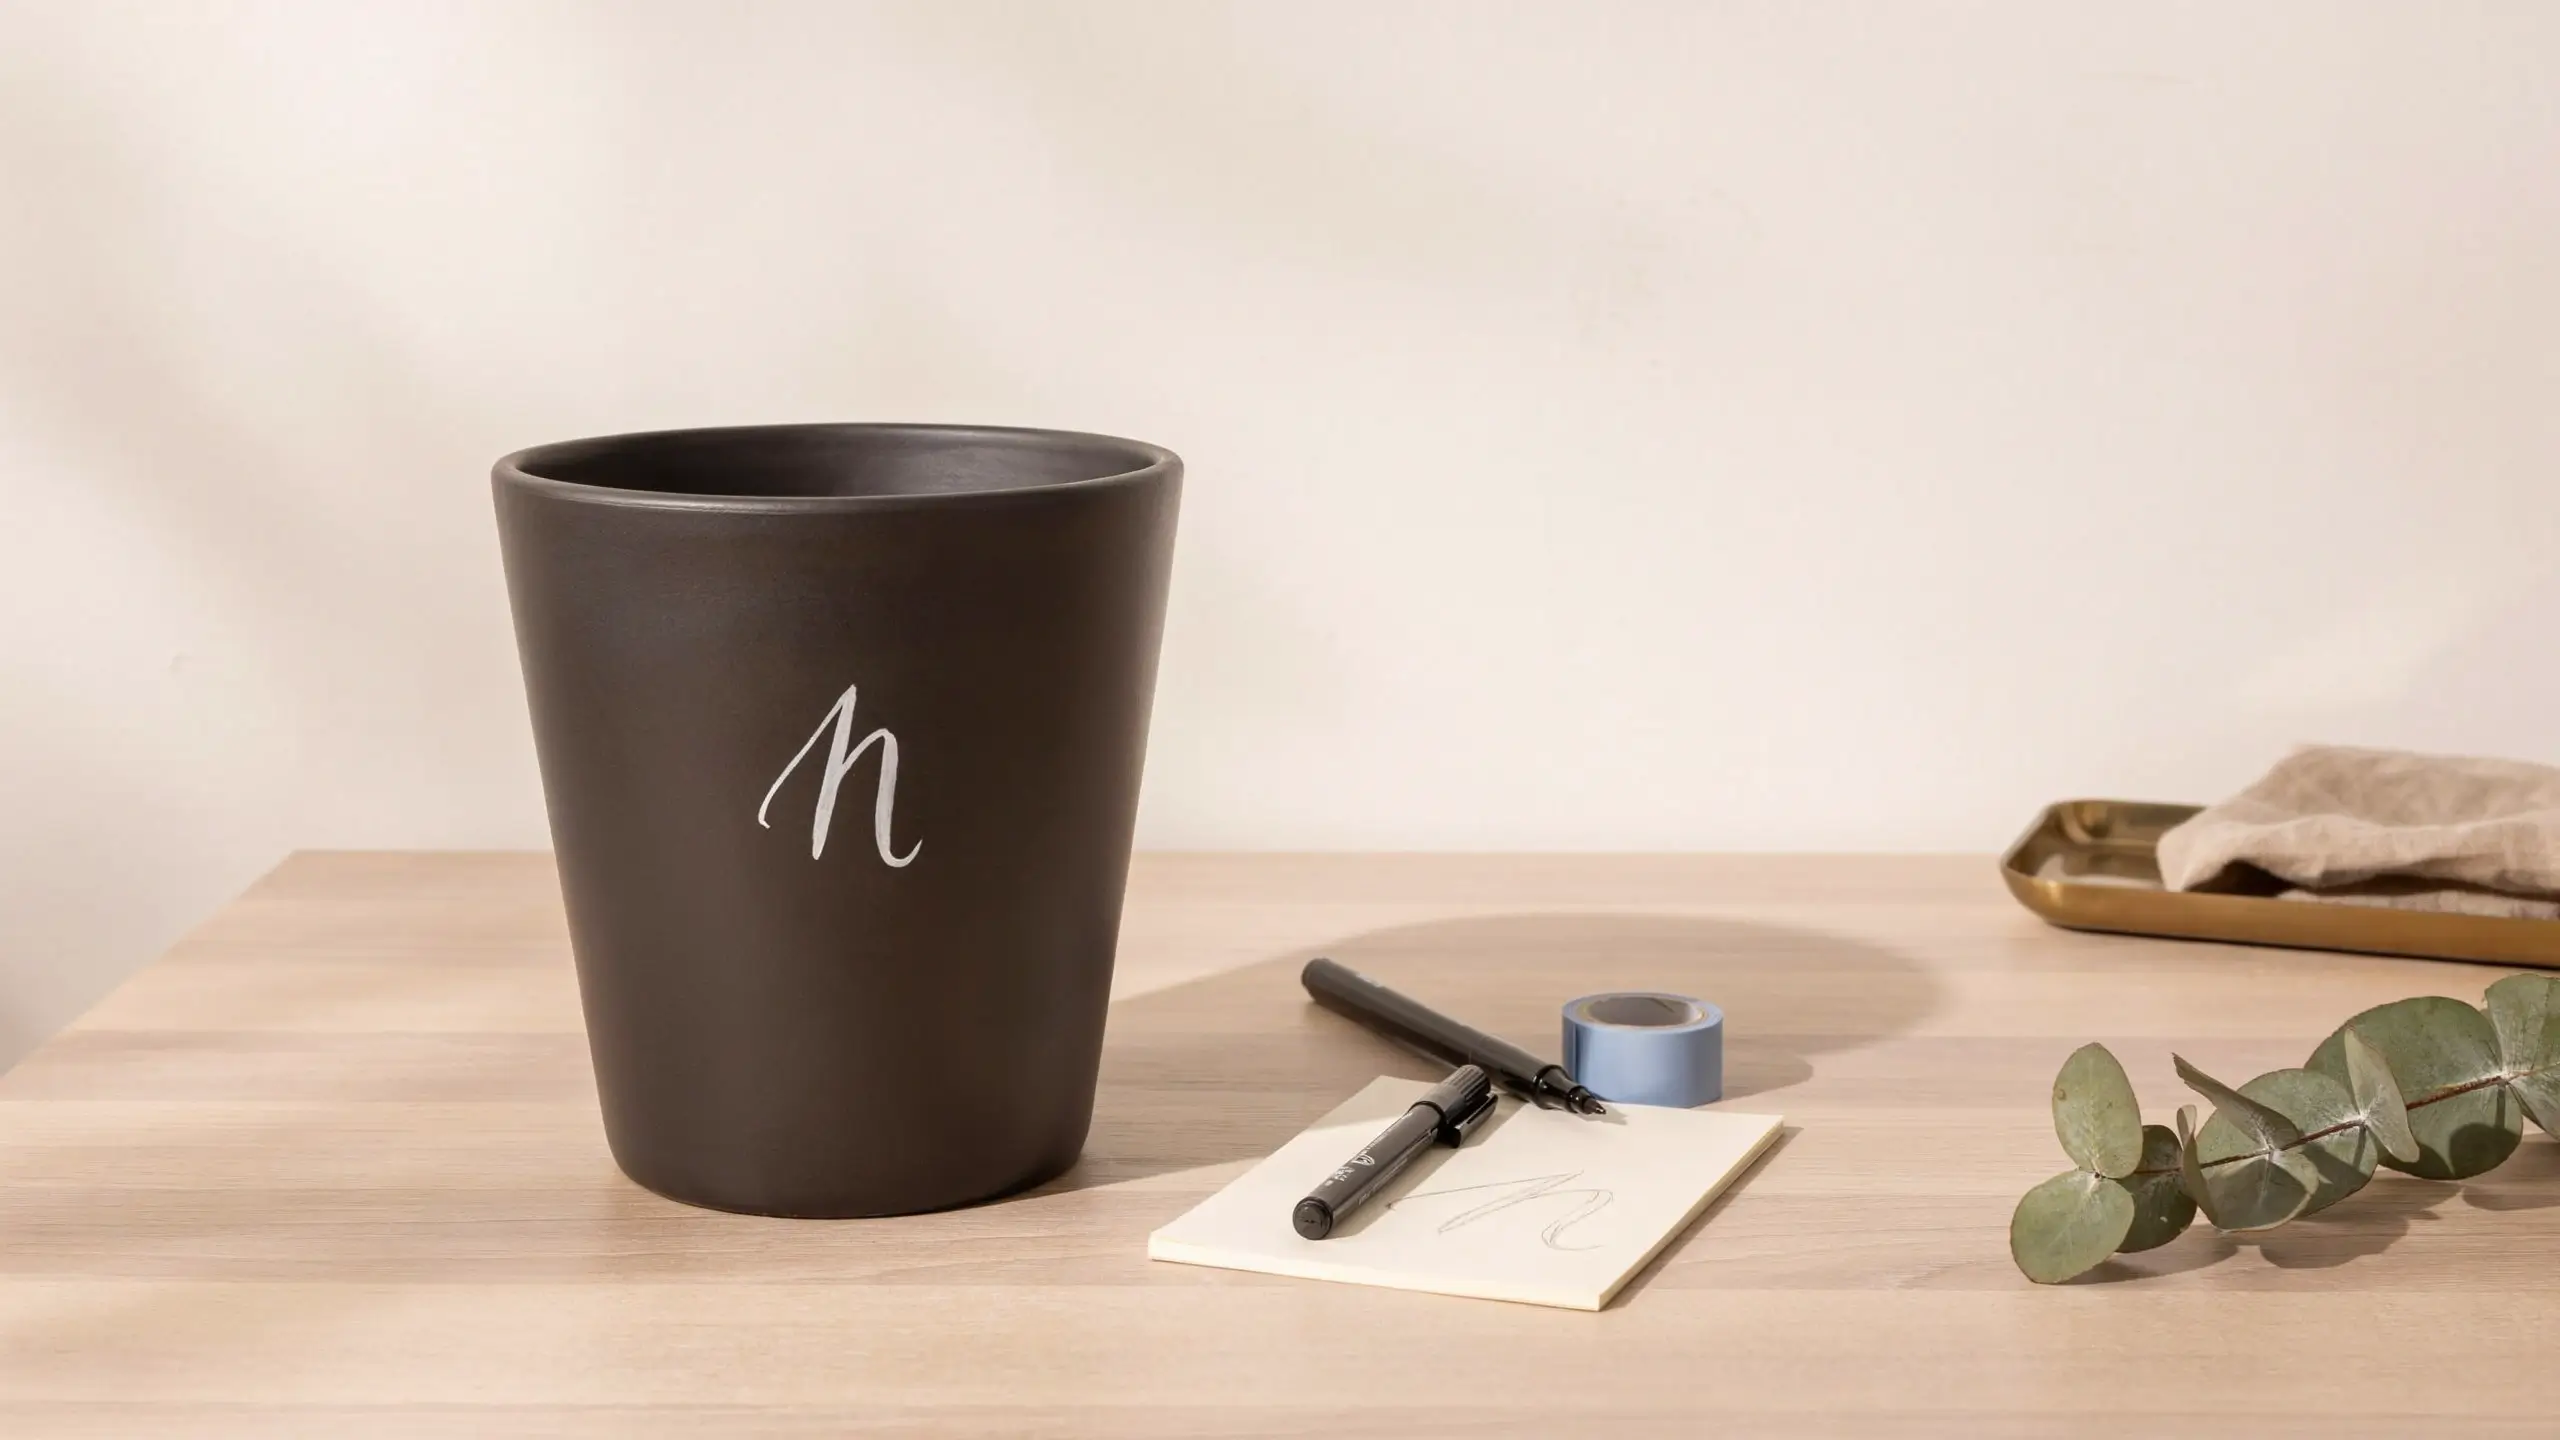
Simple, a little bit trendy, and genuinely one of the easiest gift ideas to personalize.
You’ll need:
- A pot painted white or black
- A paint pen or fine paintbrush
- Painter’s tape (optional, for straight lines)
Steps
- Paint your base coat and let it dry completely.
- Lightly pencil your word, initial, or short phrase onto the pot so you can fix any spacing issues before committing to paint.
- Trace over your pencil lines with a paint pen for clean, controlled lettering.
- Let it dry fully before sealing.
A single initial, a plant’s name, or a short word like “grow” or “bloom” all work well. This is the fastest gift-worthy idea on the list, and it’s easy to batch for teacher gifts, bridal shower favors, or neighbor gifts around the holidays.
How to Seal and Weatherproof Your Painted Pots
This step matters more than people realize, and skipping it is the number one reason painted pots fade or peel within a few months.
For pots that will live outside, use a spray sealant made for outdoor use, ideally one labeled UV-resistant so the colors don’t fade in direct sun. Two thin coats beat one thick one, since thick coats can drip or cloud over.
For indoor pots, a matte or gloss Mod Podge finish is usually enough protection, since they won’t deal with rain or temperature swings.
Always let paint cure fully, generally 24 hours, before sealing. Sealing over paint that’s still slightly tacky can trap moisture underneath and cause peeling later.
If your pot will hold a live plant with regular watering, consider sealing the inside of the pot too, not just the outside. This helps prevent water from seeping through the clay and lifting your paint from behind.
Mistakes to Avoid When Decorating Flower Pots
Skipping the cleaning step.
Dust and oils left on the pot are the main reason paint doesn’t stick well long-term.
Painting terracotta without sealing it first.
Raw clay drinks up paint unevenly, which leads to patchy color and a rougher finish than you probably wanted.
Using interior craft paint on outdoor pots.
It’s not weather-rated and will fade or wash off faster than you’d expect, sometimes within one heavy rain.
Rushing the drying time between coats.
Painting a second layer before the first is dry usually drags color and ruins clean lines, especially with taped designs.
Forgetting drainage.
If you’re painting or sealing the inside of the pot, keep the drainage hole clear so water can still escape once you plant something.
Displaying and Gifting Your Decorated Pots
Grouped pots almost always look better than a single one sitting alone. Try clustering three different sizes of the same technique together, like a set of two-tone dipped pots in varying heights along a porch step.
For gifting, pair your decorated pot with a small houseplant, a packet of seeds, or a bundle of fresh herbs. Wrap the whole thing in brown kraft paper with a bit of twine for a finished, giftable presentation without needing an actual box.
Mixing techniques across a windowsill, like one stenciled pot next to a polka dot one, can look more curated than you’d expect, as long as you keep the color palette consistent across all of them.
Final Thoughts
Learning how to make DIY decorated flower pots really comes down to picking one technique, gathering a handful of cheap supplies, and giving yourself permission for the first one to not be perfect. Some of the best-looking pots I’ve made started as “practice” pots that I almost didn’t bother finishing.
Start with the two-tone dip or the sponge ombre if you’re brand new to this. Once you’ve got one or two finished pots you’re happy with, the mosaic and stencil projects get a lot less intimidating.
Which idea are you trying first? Drop a comment below and let me know, or tell me what you’re planting in yours once it’s done. I’d love to see how it turns out.


No Comment! Be the first one.