




How to Upgrade Your Kitchen on a Budget (Without a Full Renovation)
If you’ve ever stood in your kitchen wishing it felt newer, brighter, or just a little more “you,” but a full remodel isn’t in the cards, you’re in good company. The...

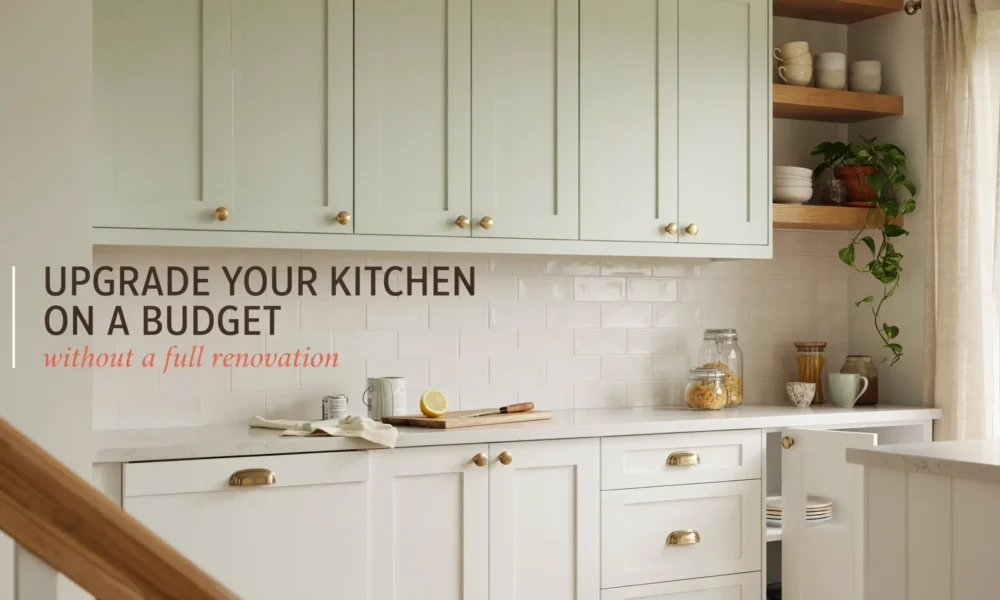
If you’ve ever stood in your kitchen wishing it felt newer, brighter, or just a little more “you,” but a full remodel isn’t in the cards, you’re in good company. The average kitchen renovation costs well over $20,000, and most of us don’t have that kind of cash sitting around, especially if you’re renting, saving for something bigger, or just trying to be smart with money right now.
The good news is that a kitchen doesn’t need a gut renovation to feel brand new. Some of the most dramatic kitchen transformations come from small, affordable changes stacked on top of each other. Paint, hardware, lighting, and a little styling can do more for a kitchen than most people expect.
This guide walks through real, doable upgrades you can tackle on a weekend budget, a one-paycheck budget, or a slow-and-steady-over-a-few-months budget. Whether you own your home or you’re working around a lease, there’s something here you can actually use.
Start Here: Plan Before You Spend a Dollar
Before you buy a single can of paint, walk through your kitchen and get honest about what’s actually bothering you. Is it the color? The clutter? The dated hardware? The lighting? Most people jump straight to a countertop upgrade when the real problem is just visual noise and outdated finishes.
A few minutes of planning saves you from buyer’s remorse later.
- Make a list of what bothers you most, ranked from “drives me crazy” to “meh, I could live with it.”
- Set a real number for your budget, then split it into phases if needed.
- Take a few “before” photos in good daylight. You’ll want these later, and they help you see the space more objectively.
- Note anything you rent versus own, since that changes what upgrades are even on the table.
Mistake to Avoid
Buying materials before measuring. Cabinet hardware, peel-and-stick tile, and shelf brackets all depend on exact measurements. A tape measure and five minutes now can save you a return trip to the store later.
1. Paint the Cabinets (or Just the Bottoms)
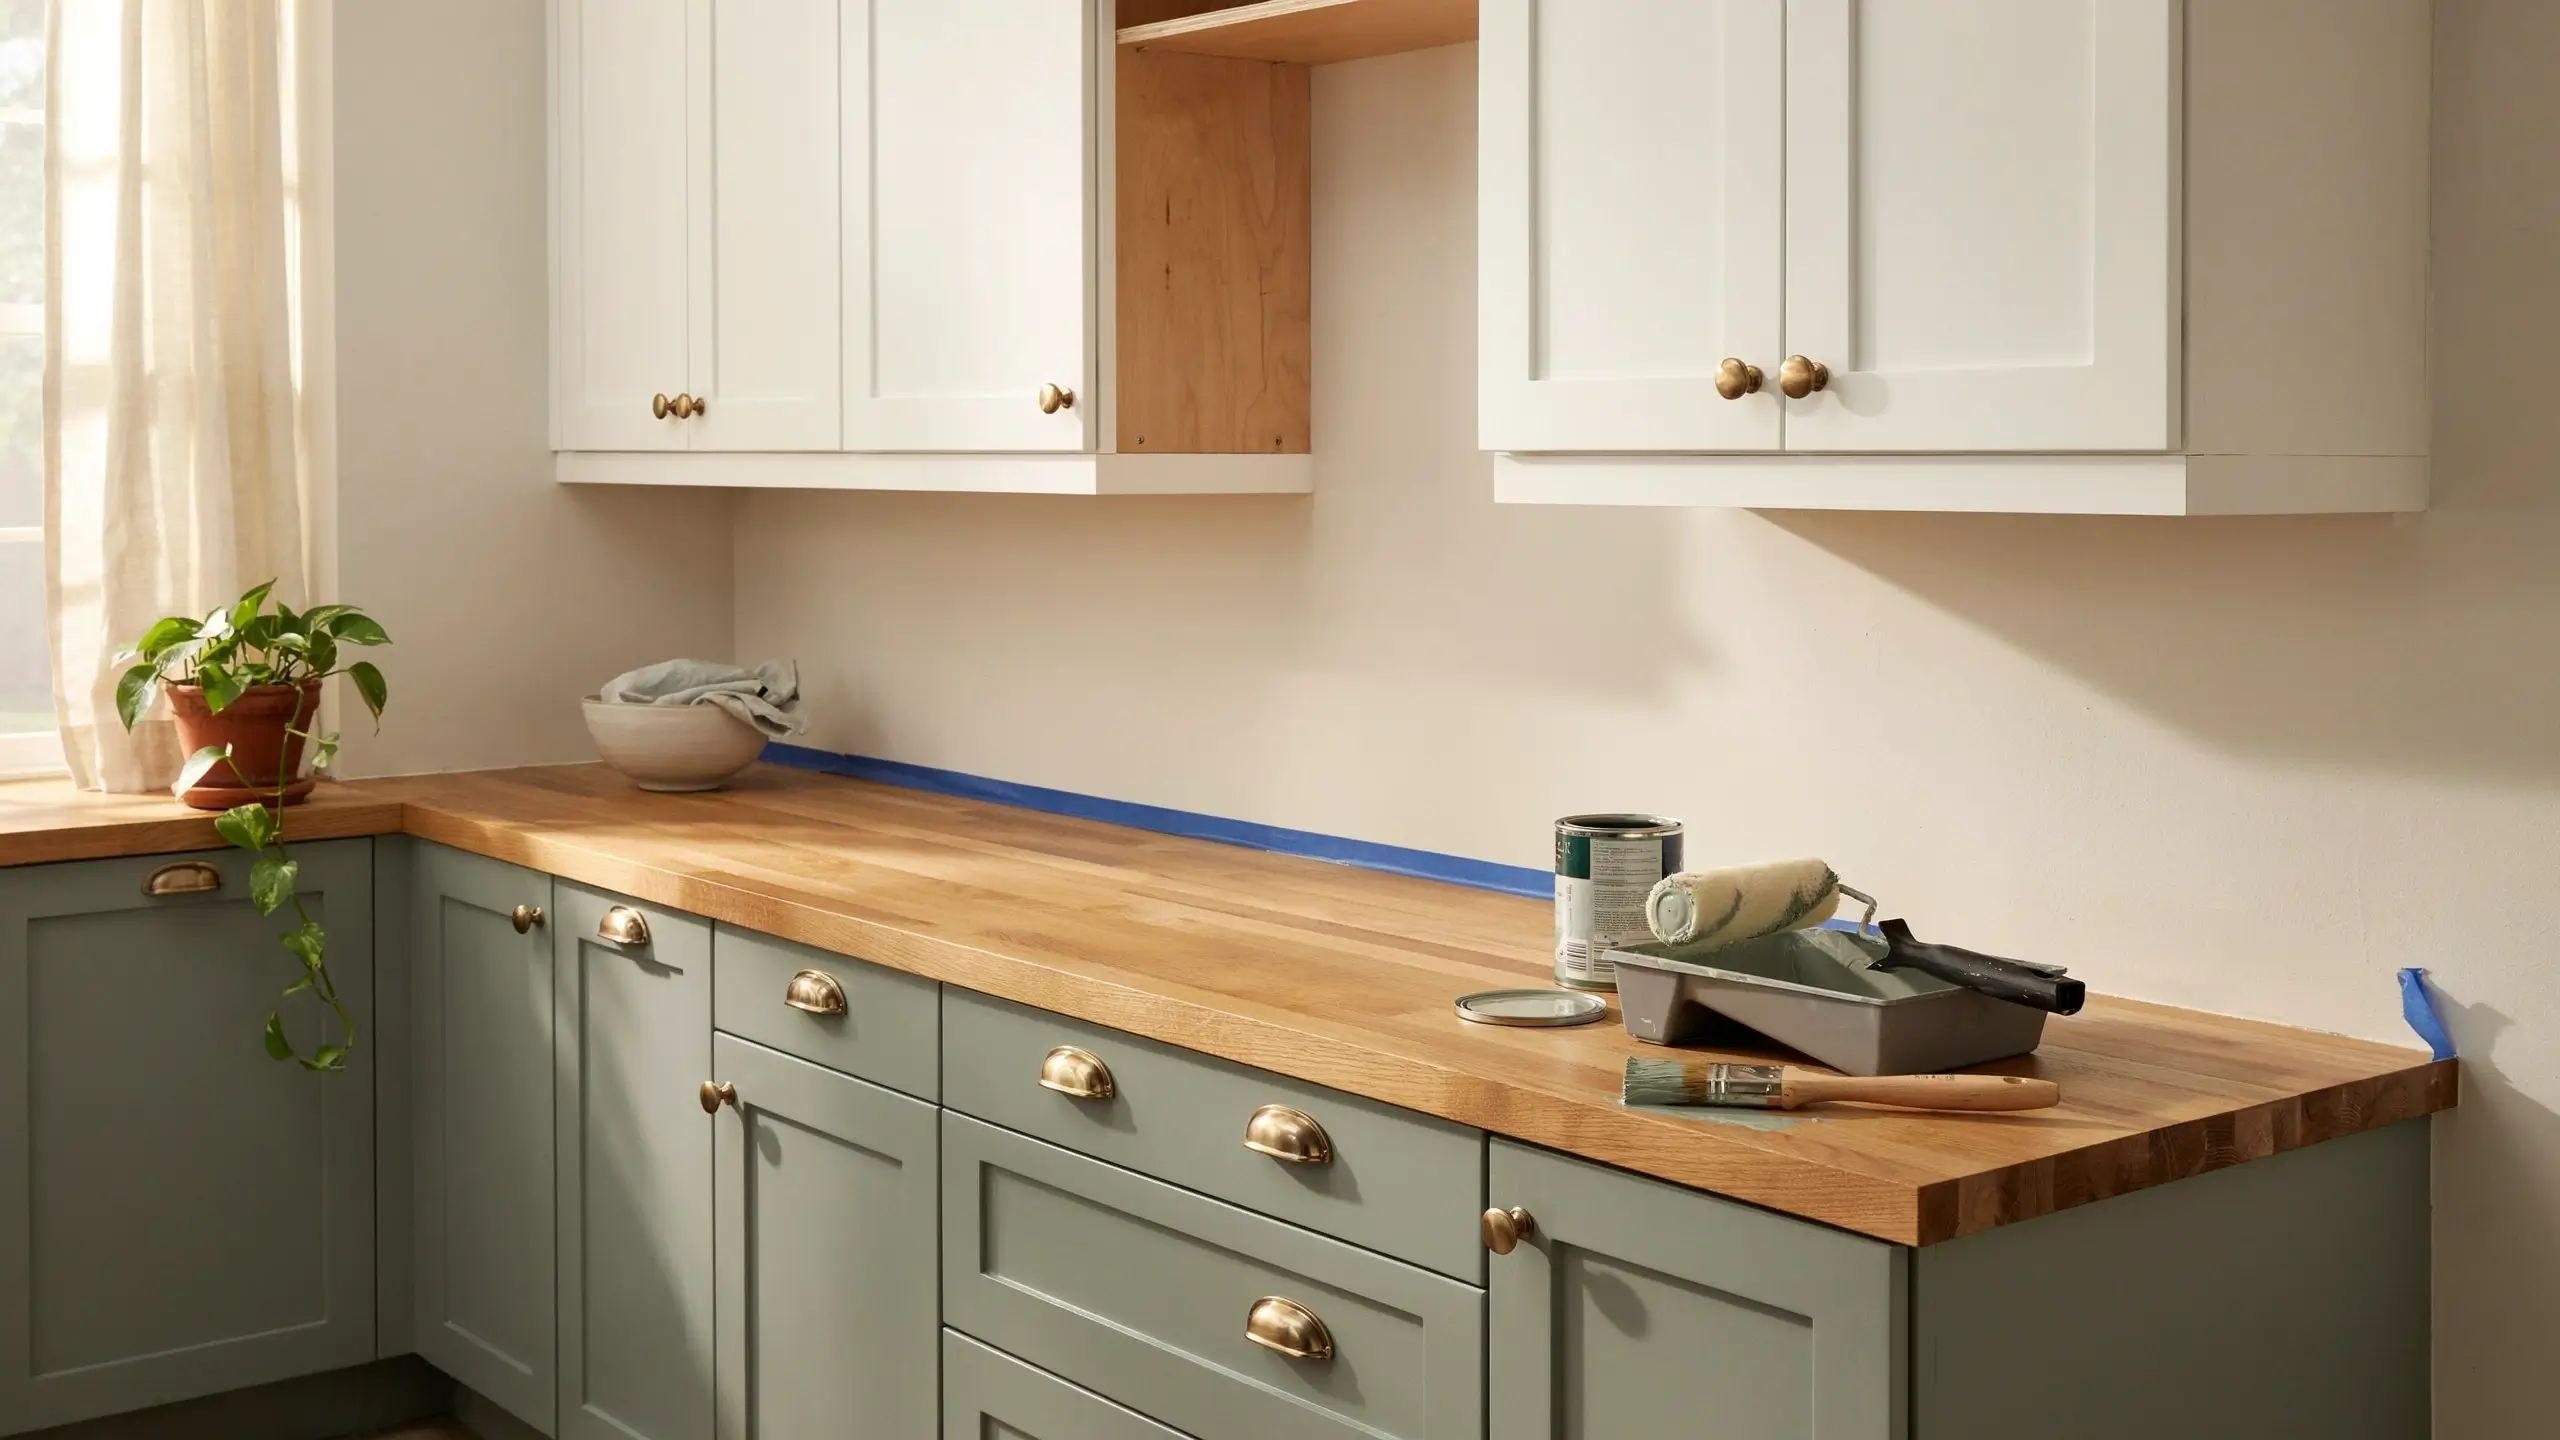
Cabinet painting is still the single highest-impact, lowest-cost kitchen upgrade there is. A full cabinet repaint typically costs a few hundred dollars in materials versus several thousand for replacement cabinets.
You don’t have to paint everything either. A popular and budget-friendly trick right now is painting only the lower cabinets a rich color, like sage green, navy, or terracotta, and leaving the uppers white or a light wood tone. It gives you a two-tone kitchen for the cost of one gallon of paint.
What You’ll Need
- A cabinet-specific paint or a bonding primer plus cabinet-grade enamel
- A foam roller
- An angled brush
- Painter’s tape
- Liquid deglosser or fine sandpaper
Mistakes to Avoid
- Skipping the degreasing step (kitchen cabinets collect cooking grease you can’t see)
- Not letting coats cure fully before closing doors, since rushed paint jobs peel and chip within months
2. Swap the Hardware
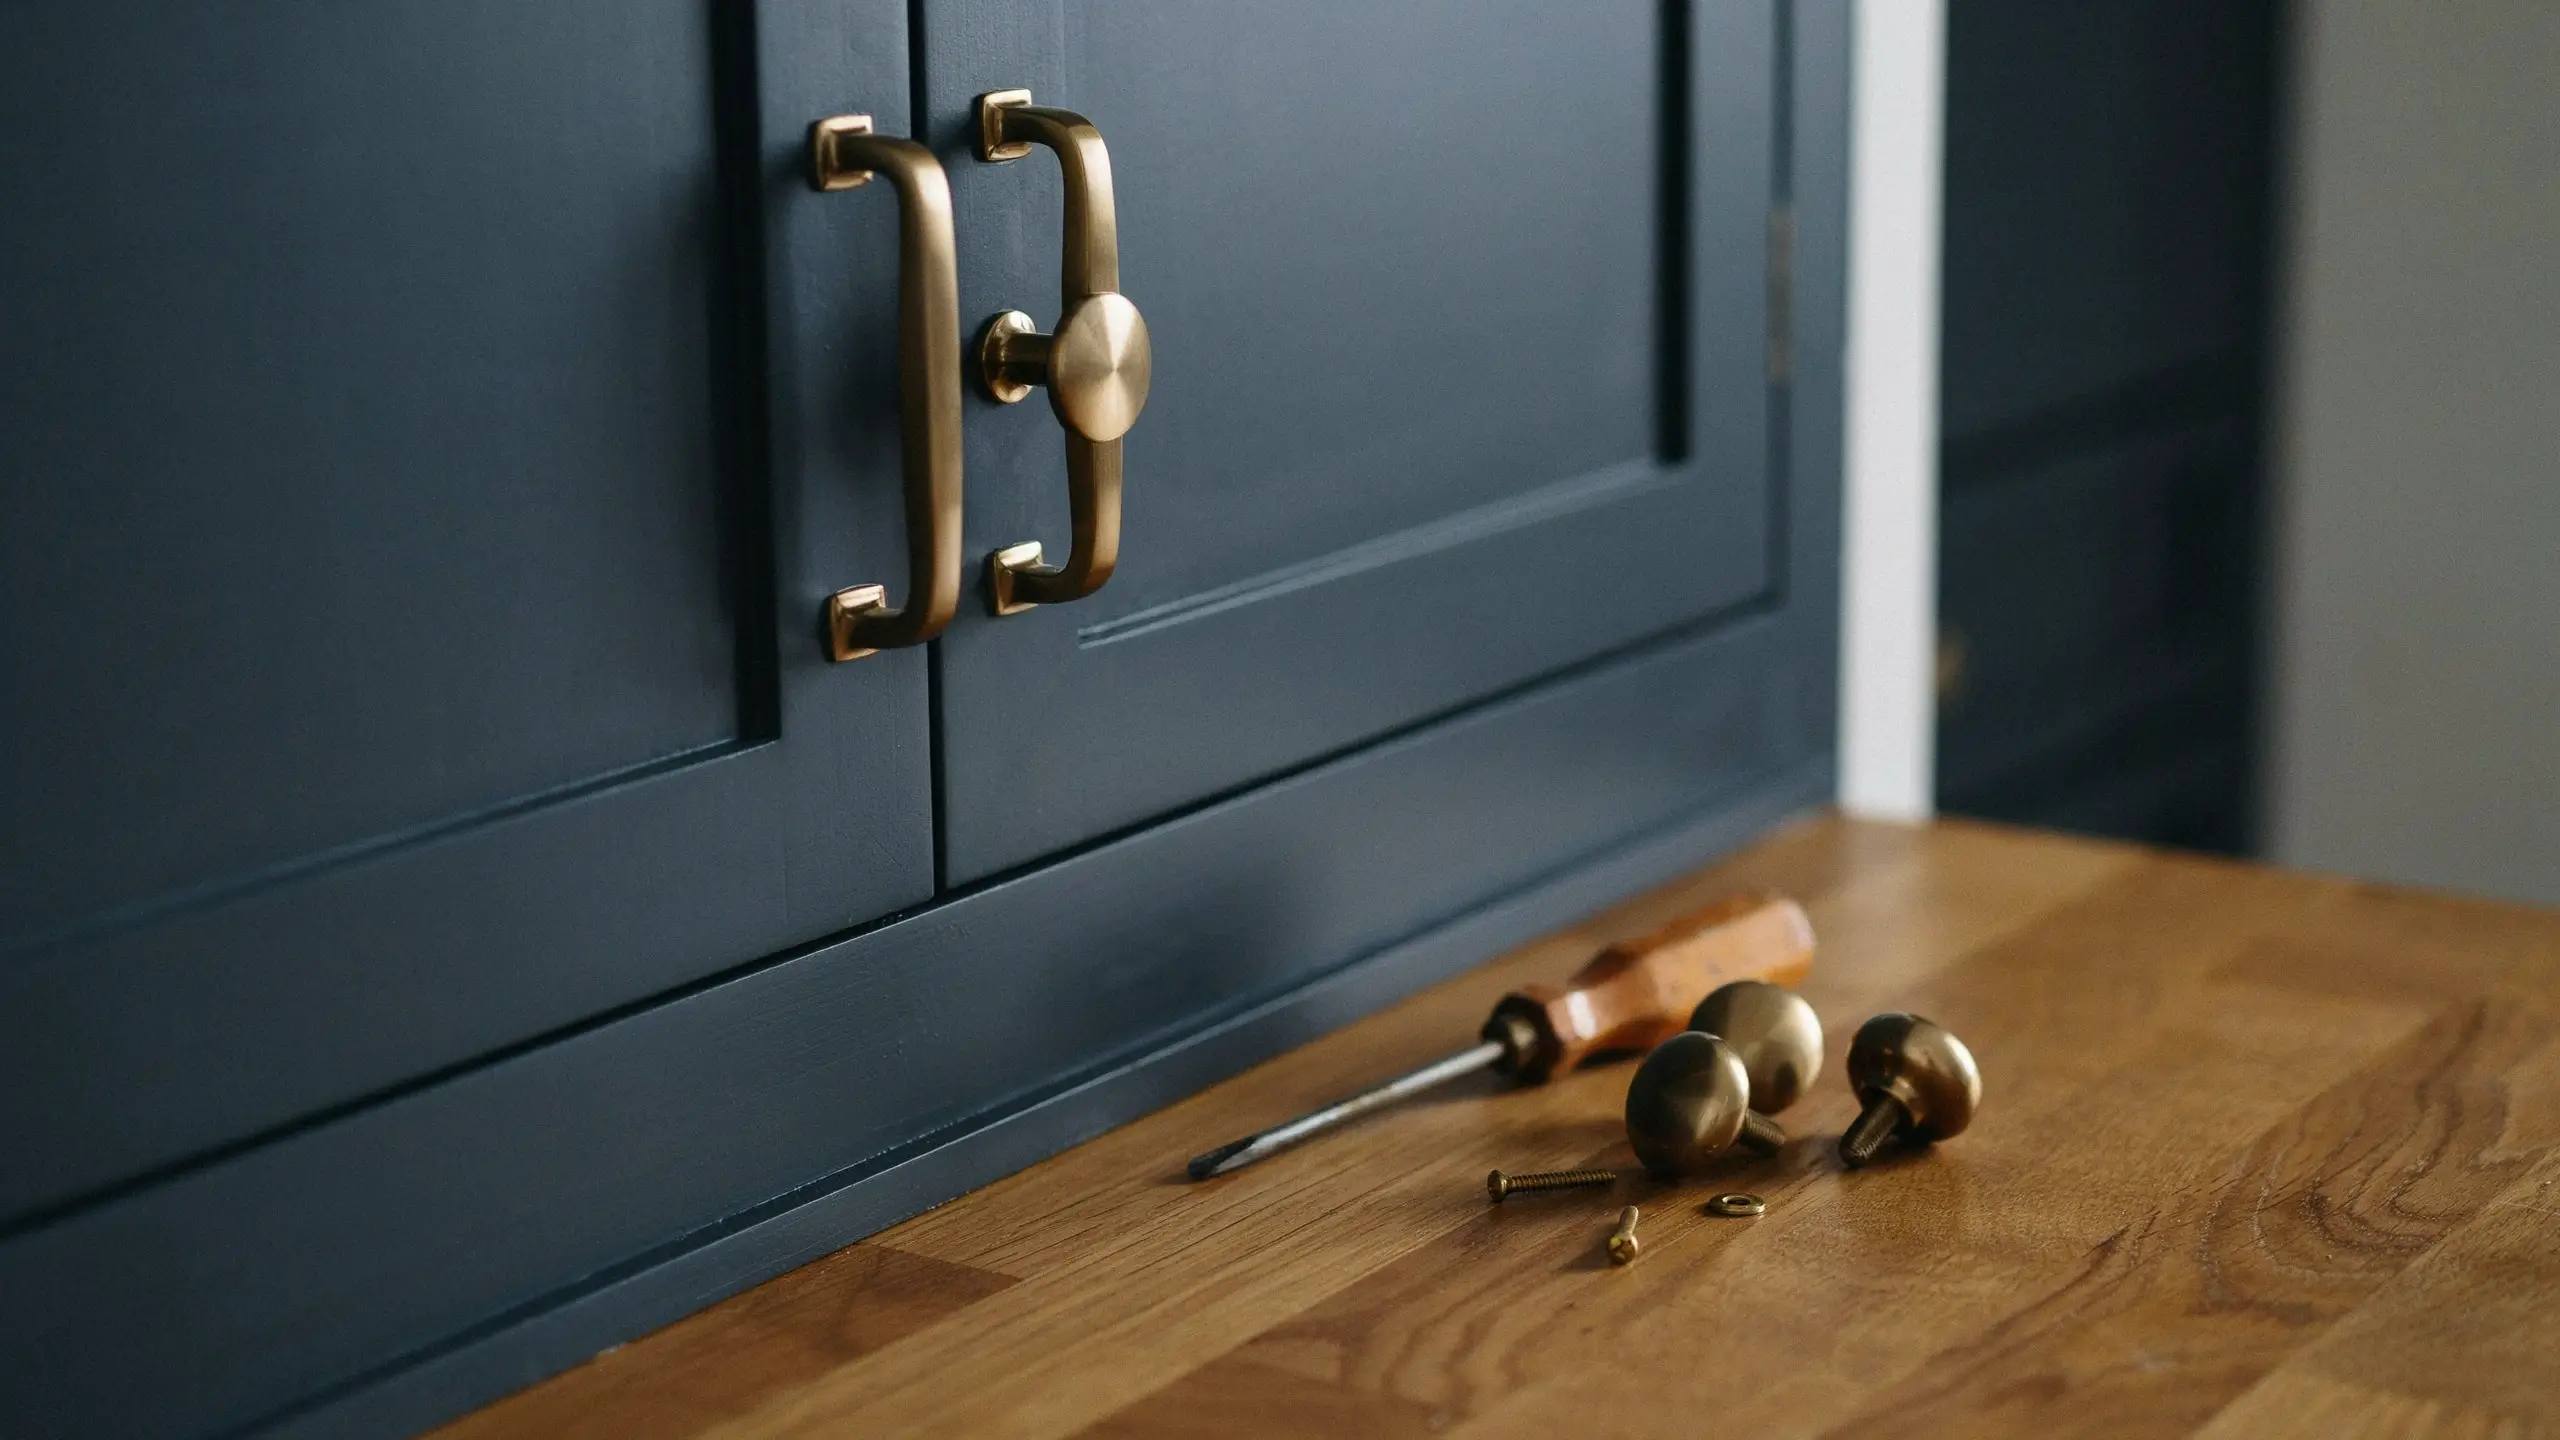
New knobs and pulls are one of the cheapest updates you can make, and they photograph beautifully for a “before and after” pin. Brushed brass, matte black, and unlacquered brass are the finishes showing up most in kitchen inspiration right now, especially paired with white or dark green cabinets.
Before you order anything, measure the “hole spacing” on your existing pulls, meaning the distance between the two screw holes, so your new hardware lines up without extra drilling.
3. Add a Peel-and-Stick or Removable Backsplash.
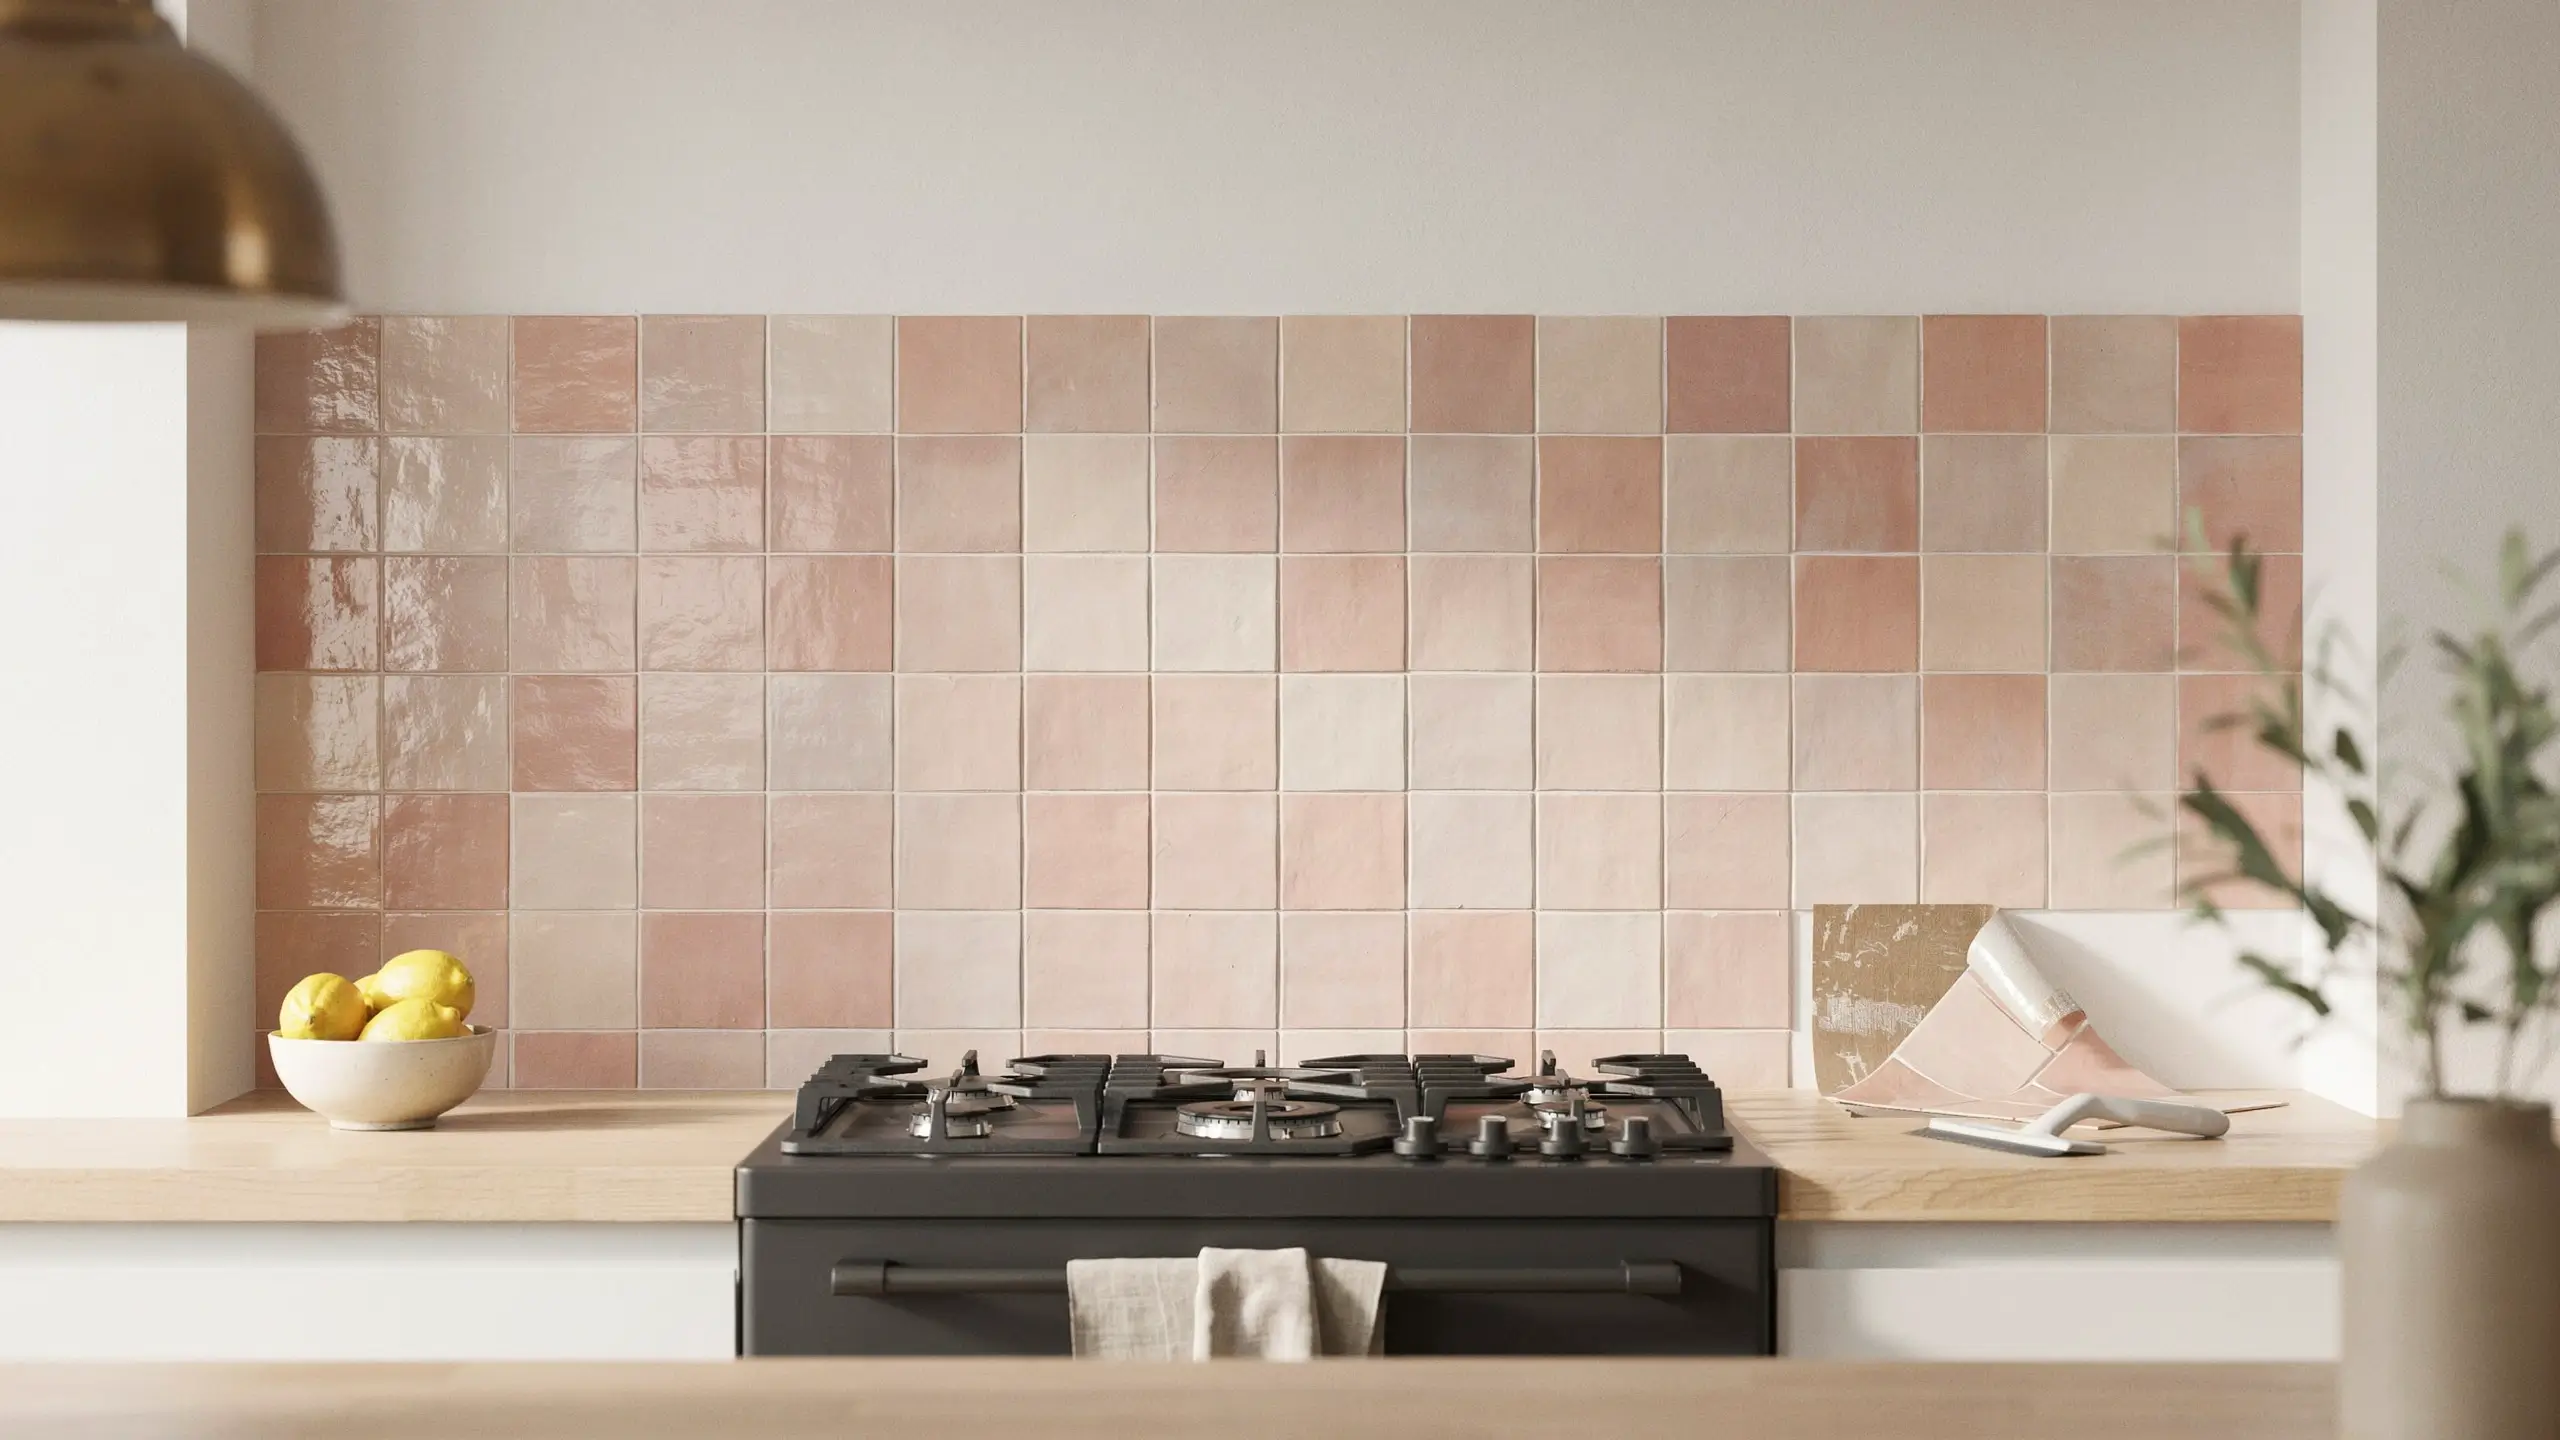
A backsplash is one of the most photographed parts of any kitchen, and it’s also one of the easiest upgrades to do in an afternoon. Peel-and-stick tile, smart tile panels, and even wallpaper-style backsplash sheets now come in convincing marble, subway tile, and zellige-inspired patterns.
How to Do It Well
- Clean and dry the wall completely, removing any grease film.
- Measure your space and buy roughly 10 percent more material than the exact measurement, to account for cuts around outlets.
- Start from the center of your focal point (often above the stove) and work outward so patterns stay even.
- Use a smoothing tool to press out air bubbles as you go.
Safety Note
Keep peel-and-stick materials at least a few inches from direct heat sources like stovetop burners, and check the packaging for heat-safe ratings if you’re installing it directly behind a range.
4. Refresh the Countertops Without Replacing Them
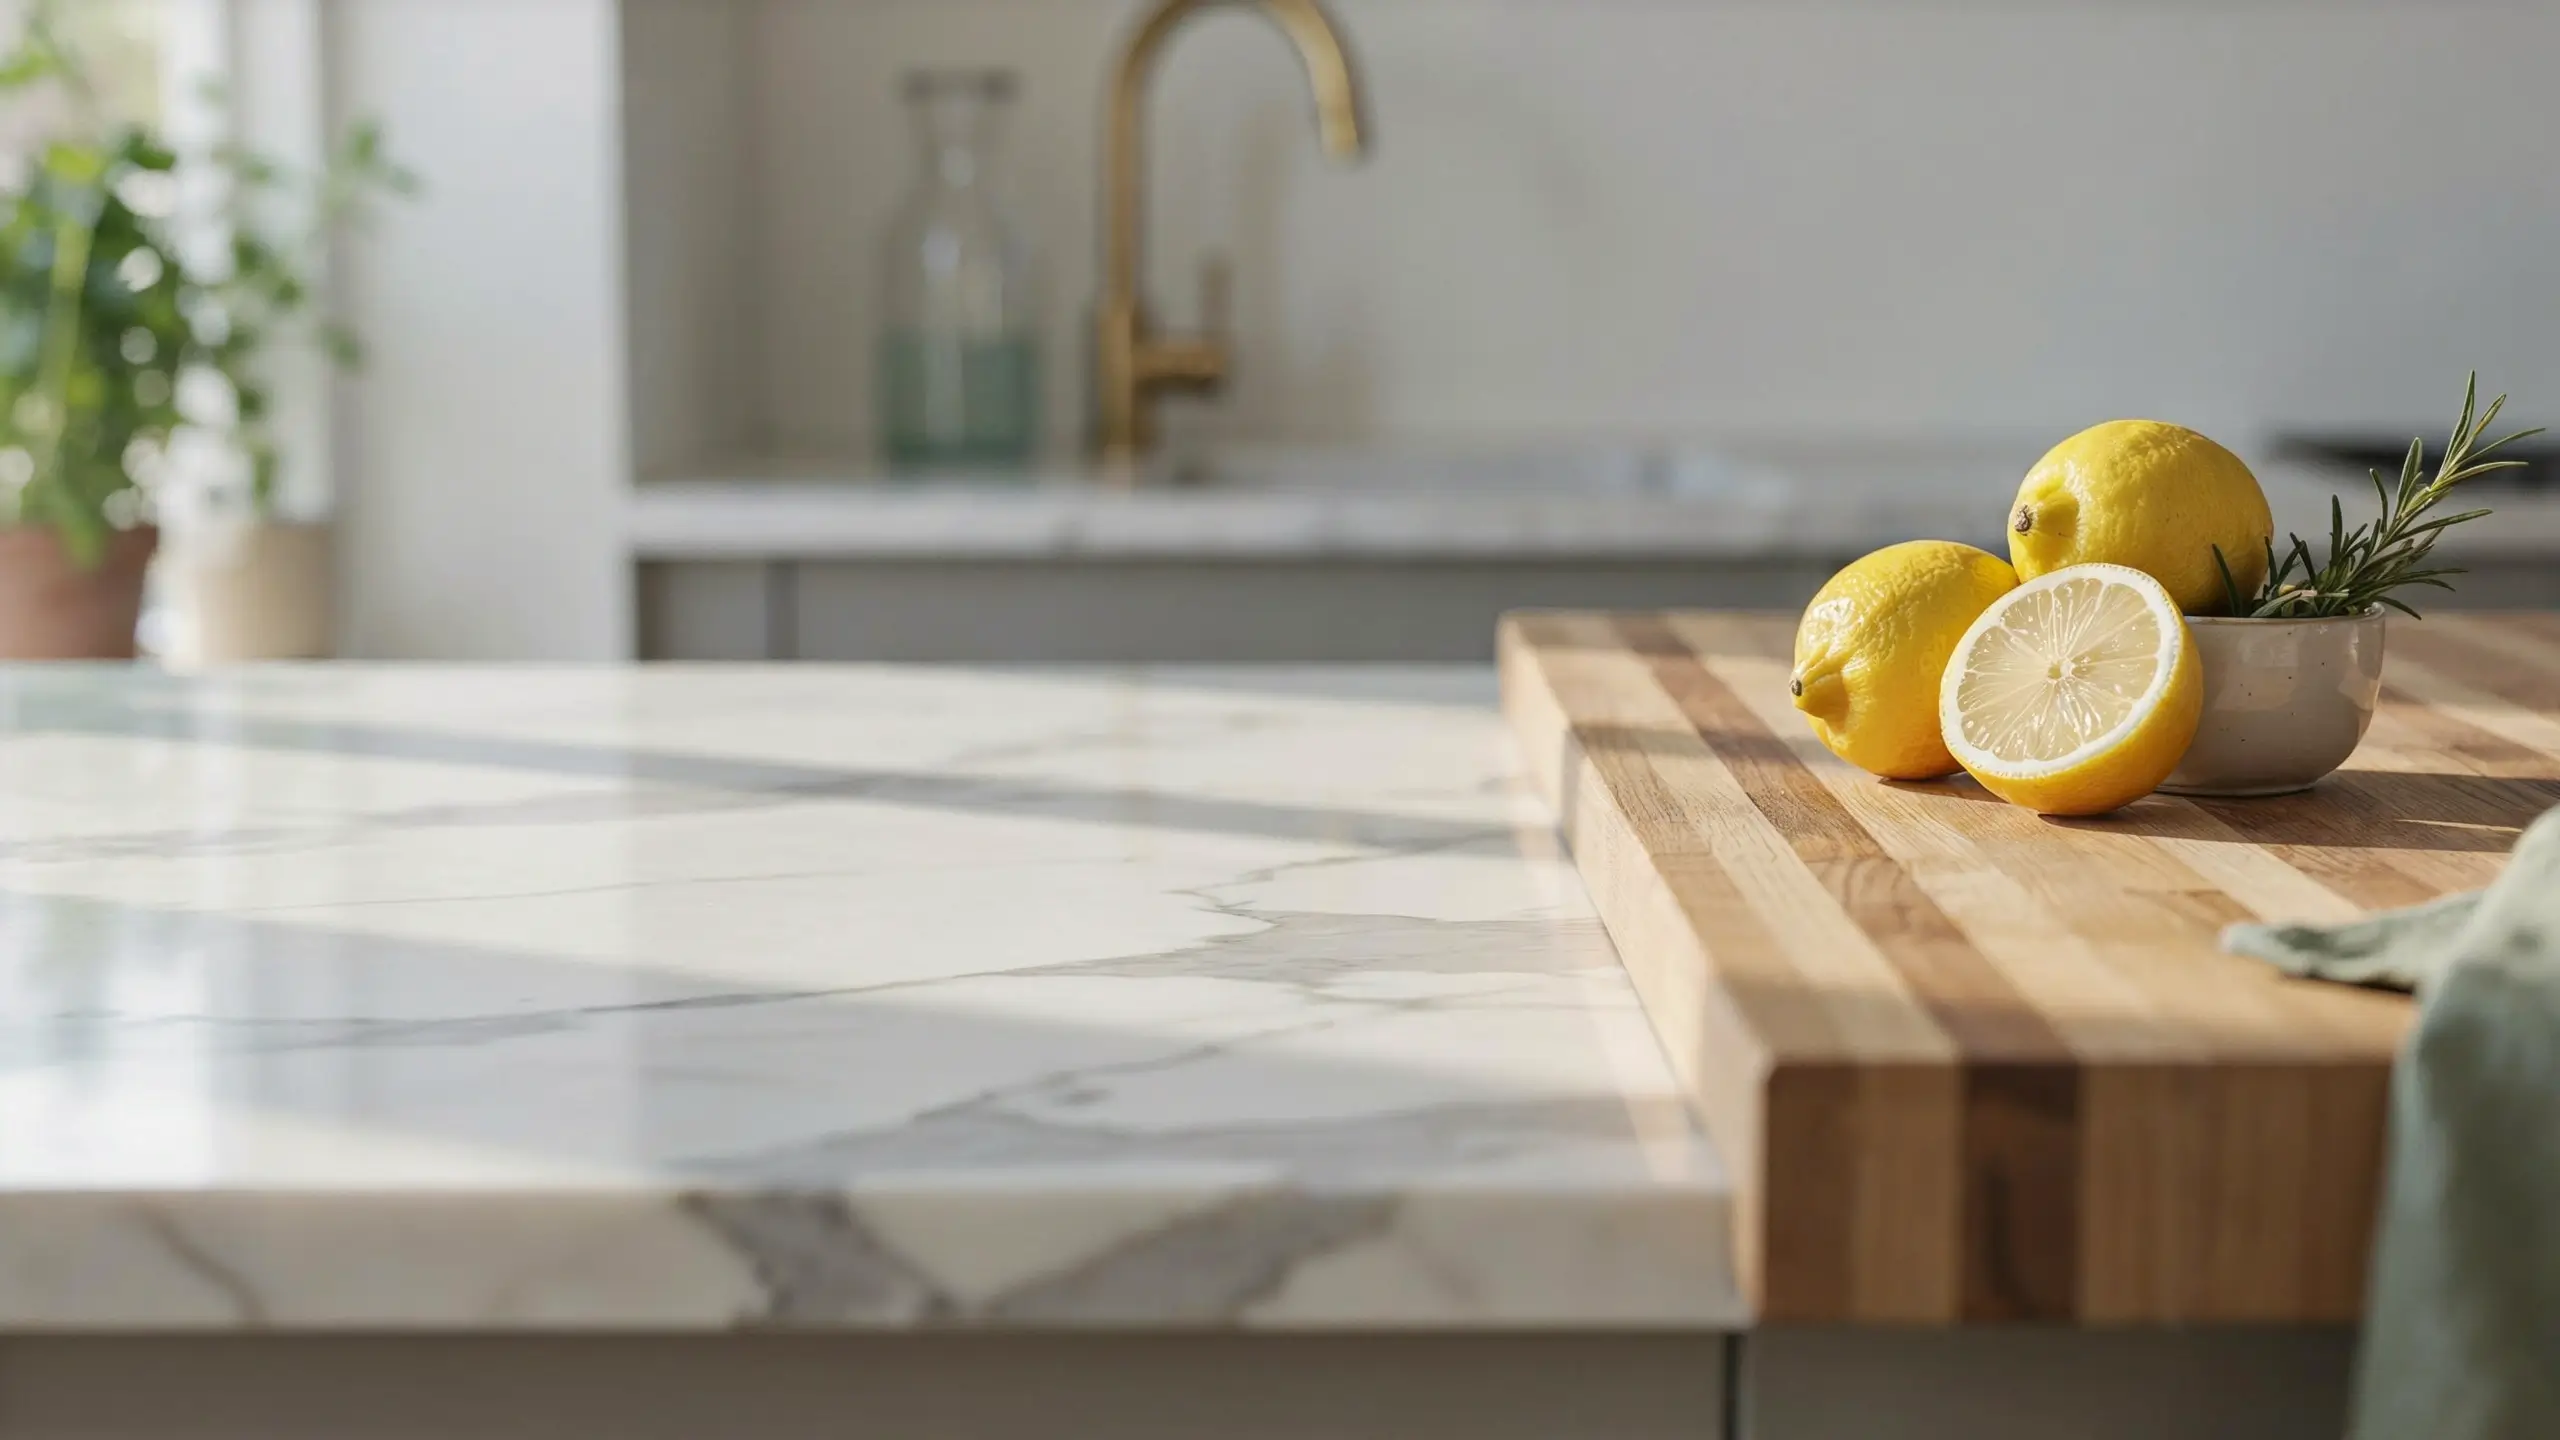
Full stone countertops are one of the priciest parts of any kitchen remodel, but there are ways to get a similar visual impact for a fraction of the cost.
- Countertop contact paper or vinyl wrap in marble or quartz patterns can transform laminate counters for the cost of a few rolls.
- Countertop paint kits use epoxy or specialty paint to mimic granite or marble, best for a weekend project if you’re comfortable with a slightly more involved process.
- Butcher block sink cutting boards or a small butcher block section can add warmth to one section without replacing the whole counter.
Mistake to Avoid
Skipping a sample test on a hidden section first. Countertop wraps and paints react differently depending on your existing surface, and you don’t want your first test run to be the whole kitchen.
5. Add Floating Shelves
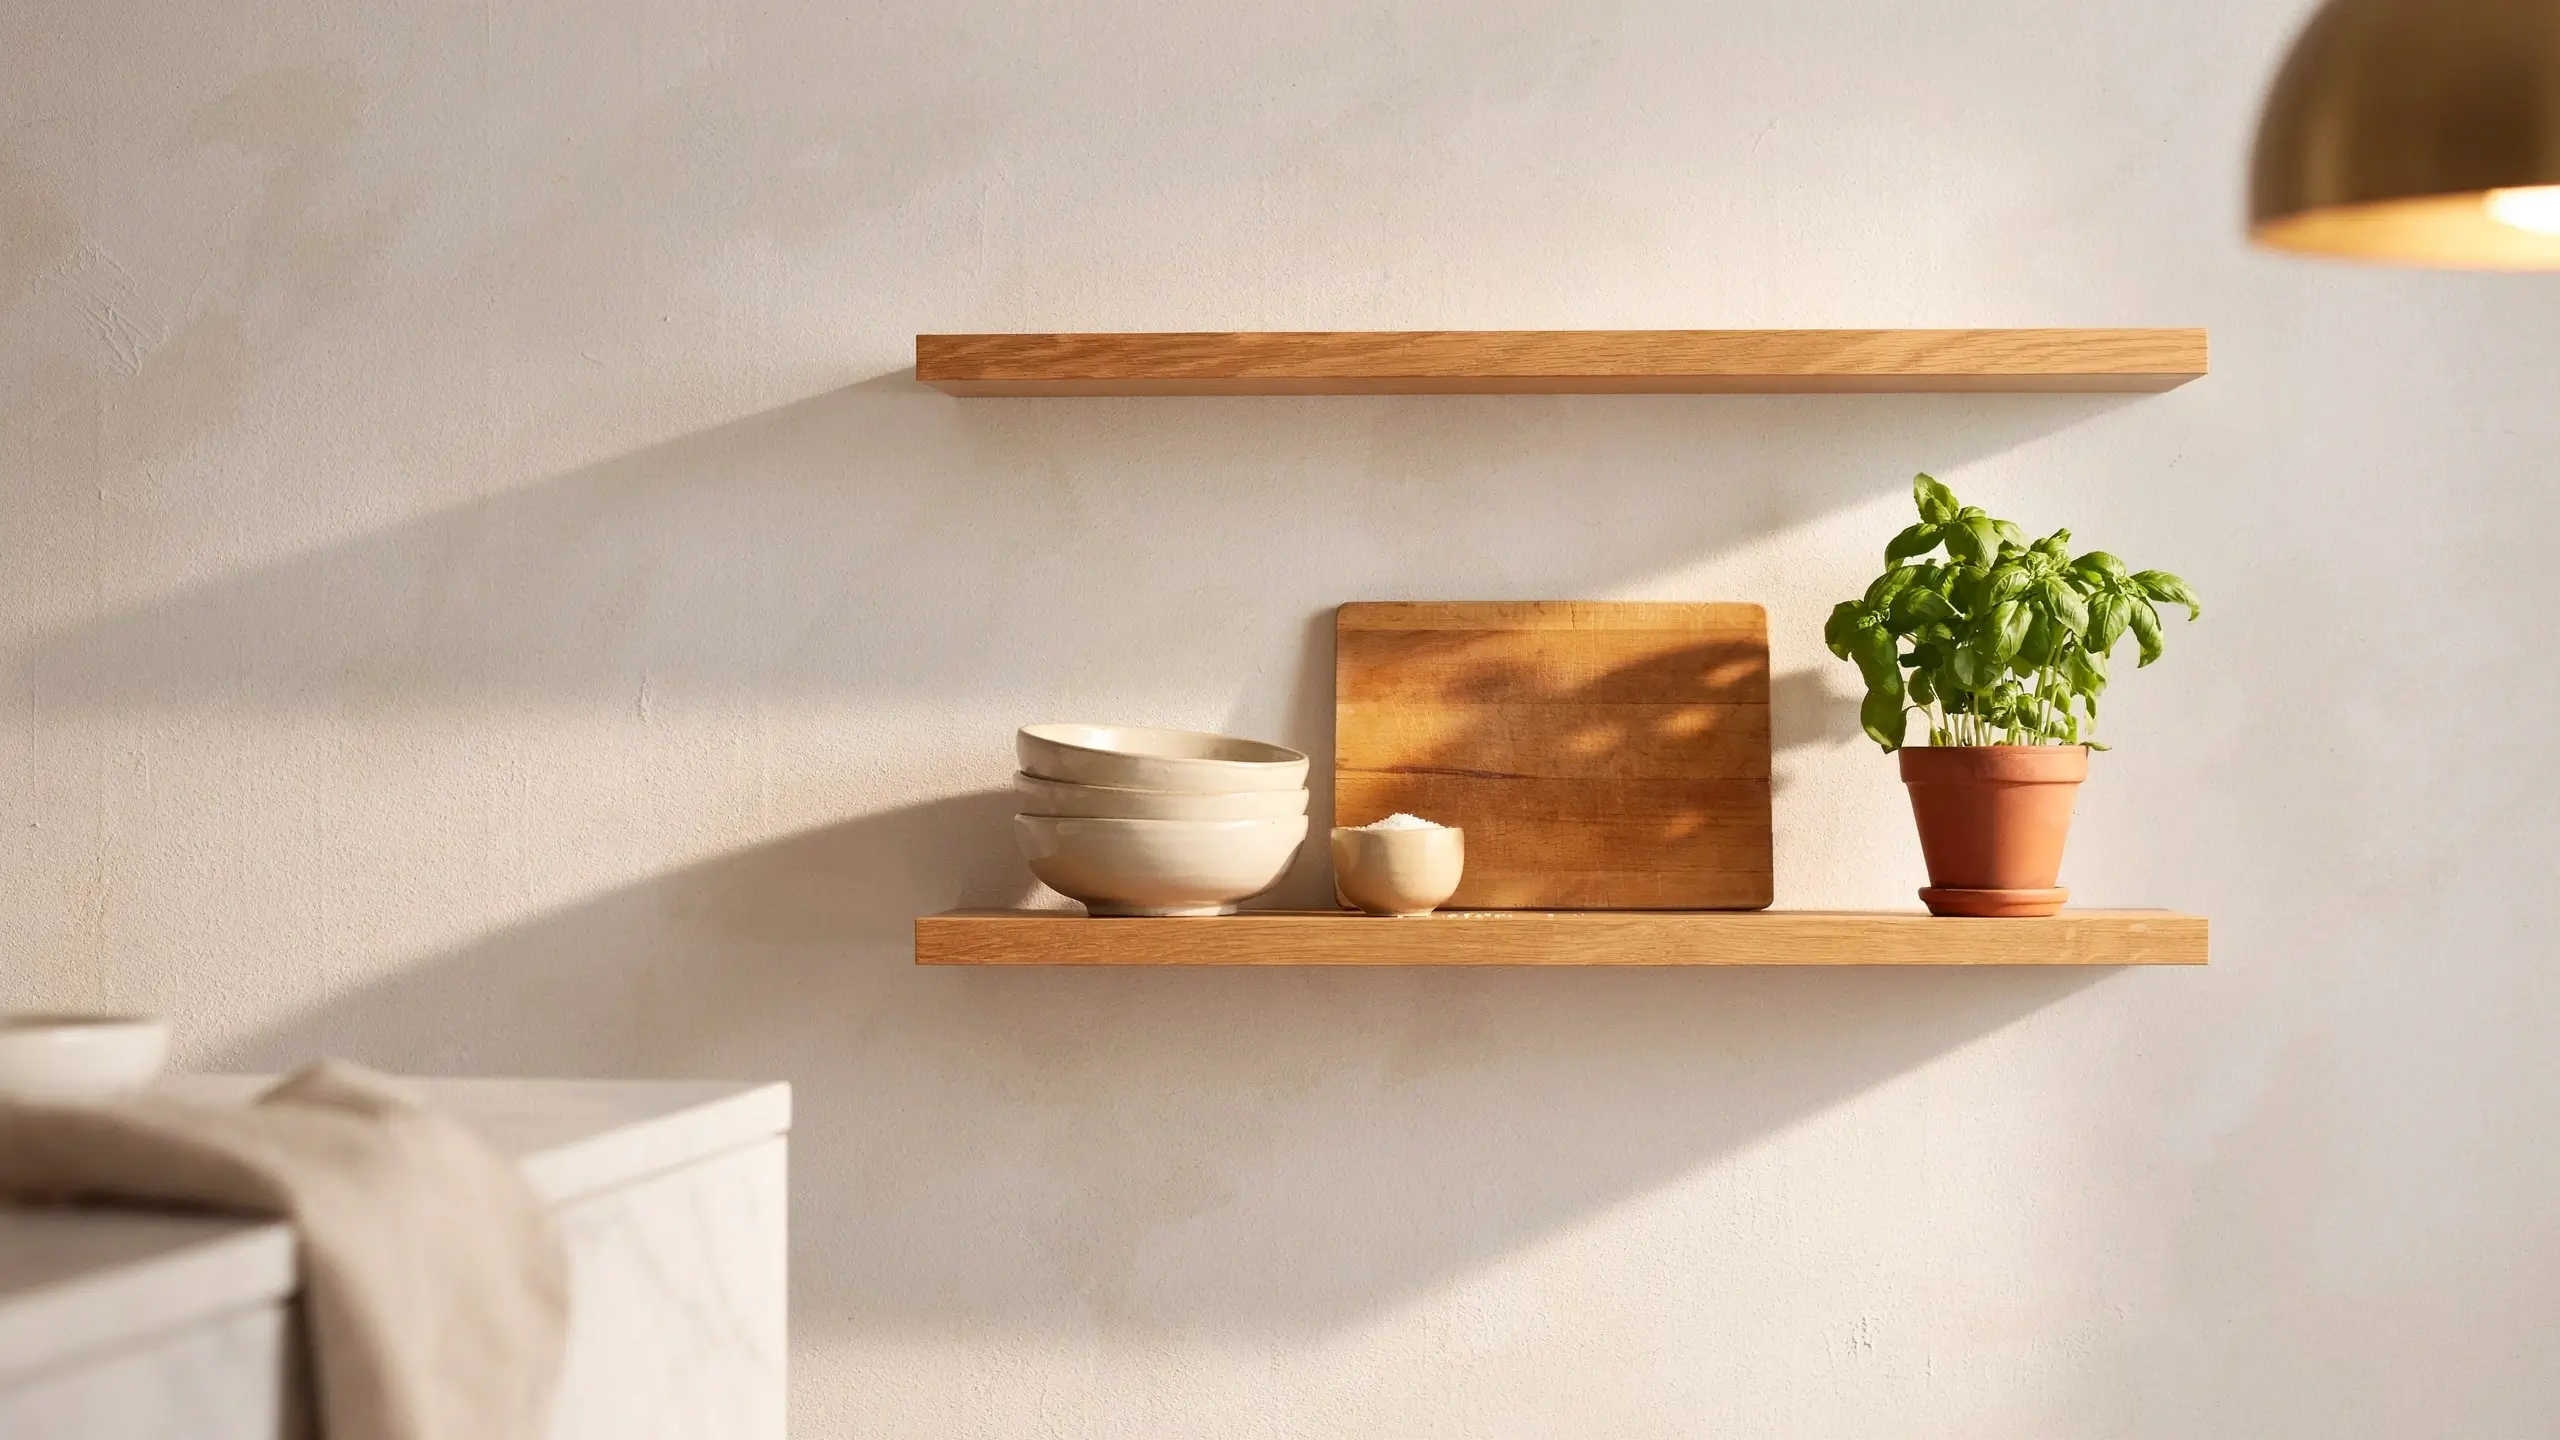
Floating shelves are having a real moment in kitchen decor, and it’s easy to see why. They’re inexpensive, they open up the visual space, and they give you a spot to style your favorite dishes, plants, or cookbooks.
A simple wood or MDF floating shelf with hidden brackets can be installed in under an hour if you’re working with a stud, or with heavy-duty drywall anchors if you’re not.
Styling Tip for a Pinterest-Worthy Shelf
Group items in odd numbers, mix heights (a stack of bowls, a small plant, a wooden cutting board leaned upright), and leave some breathing room. A shelf packed edge to edge photographs cluttered, not curated.
6. Update the Lighting
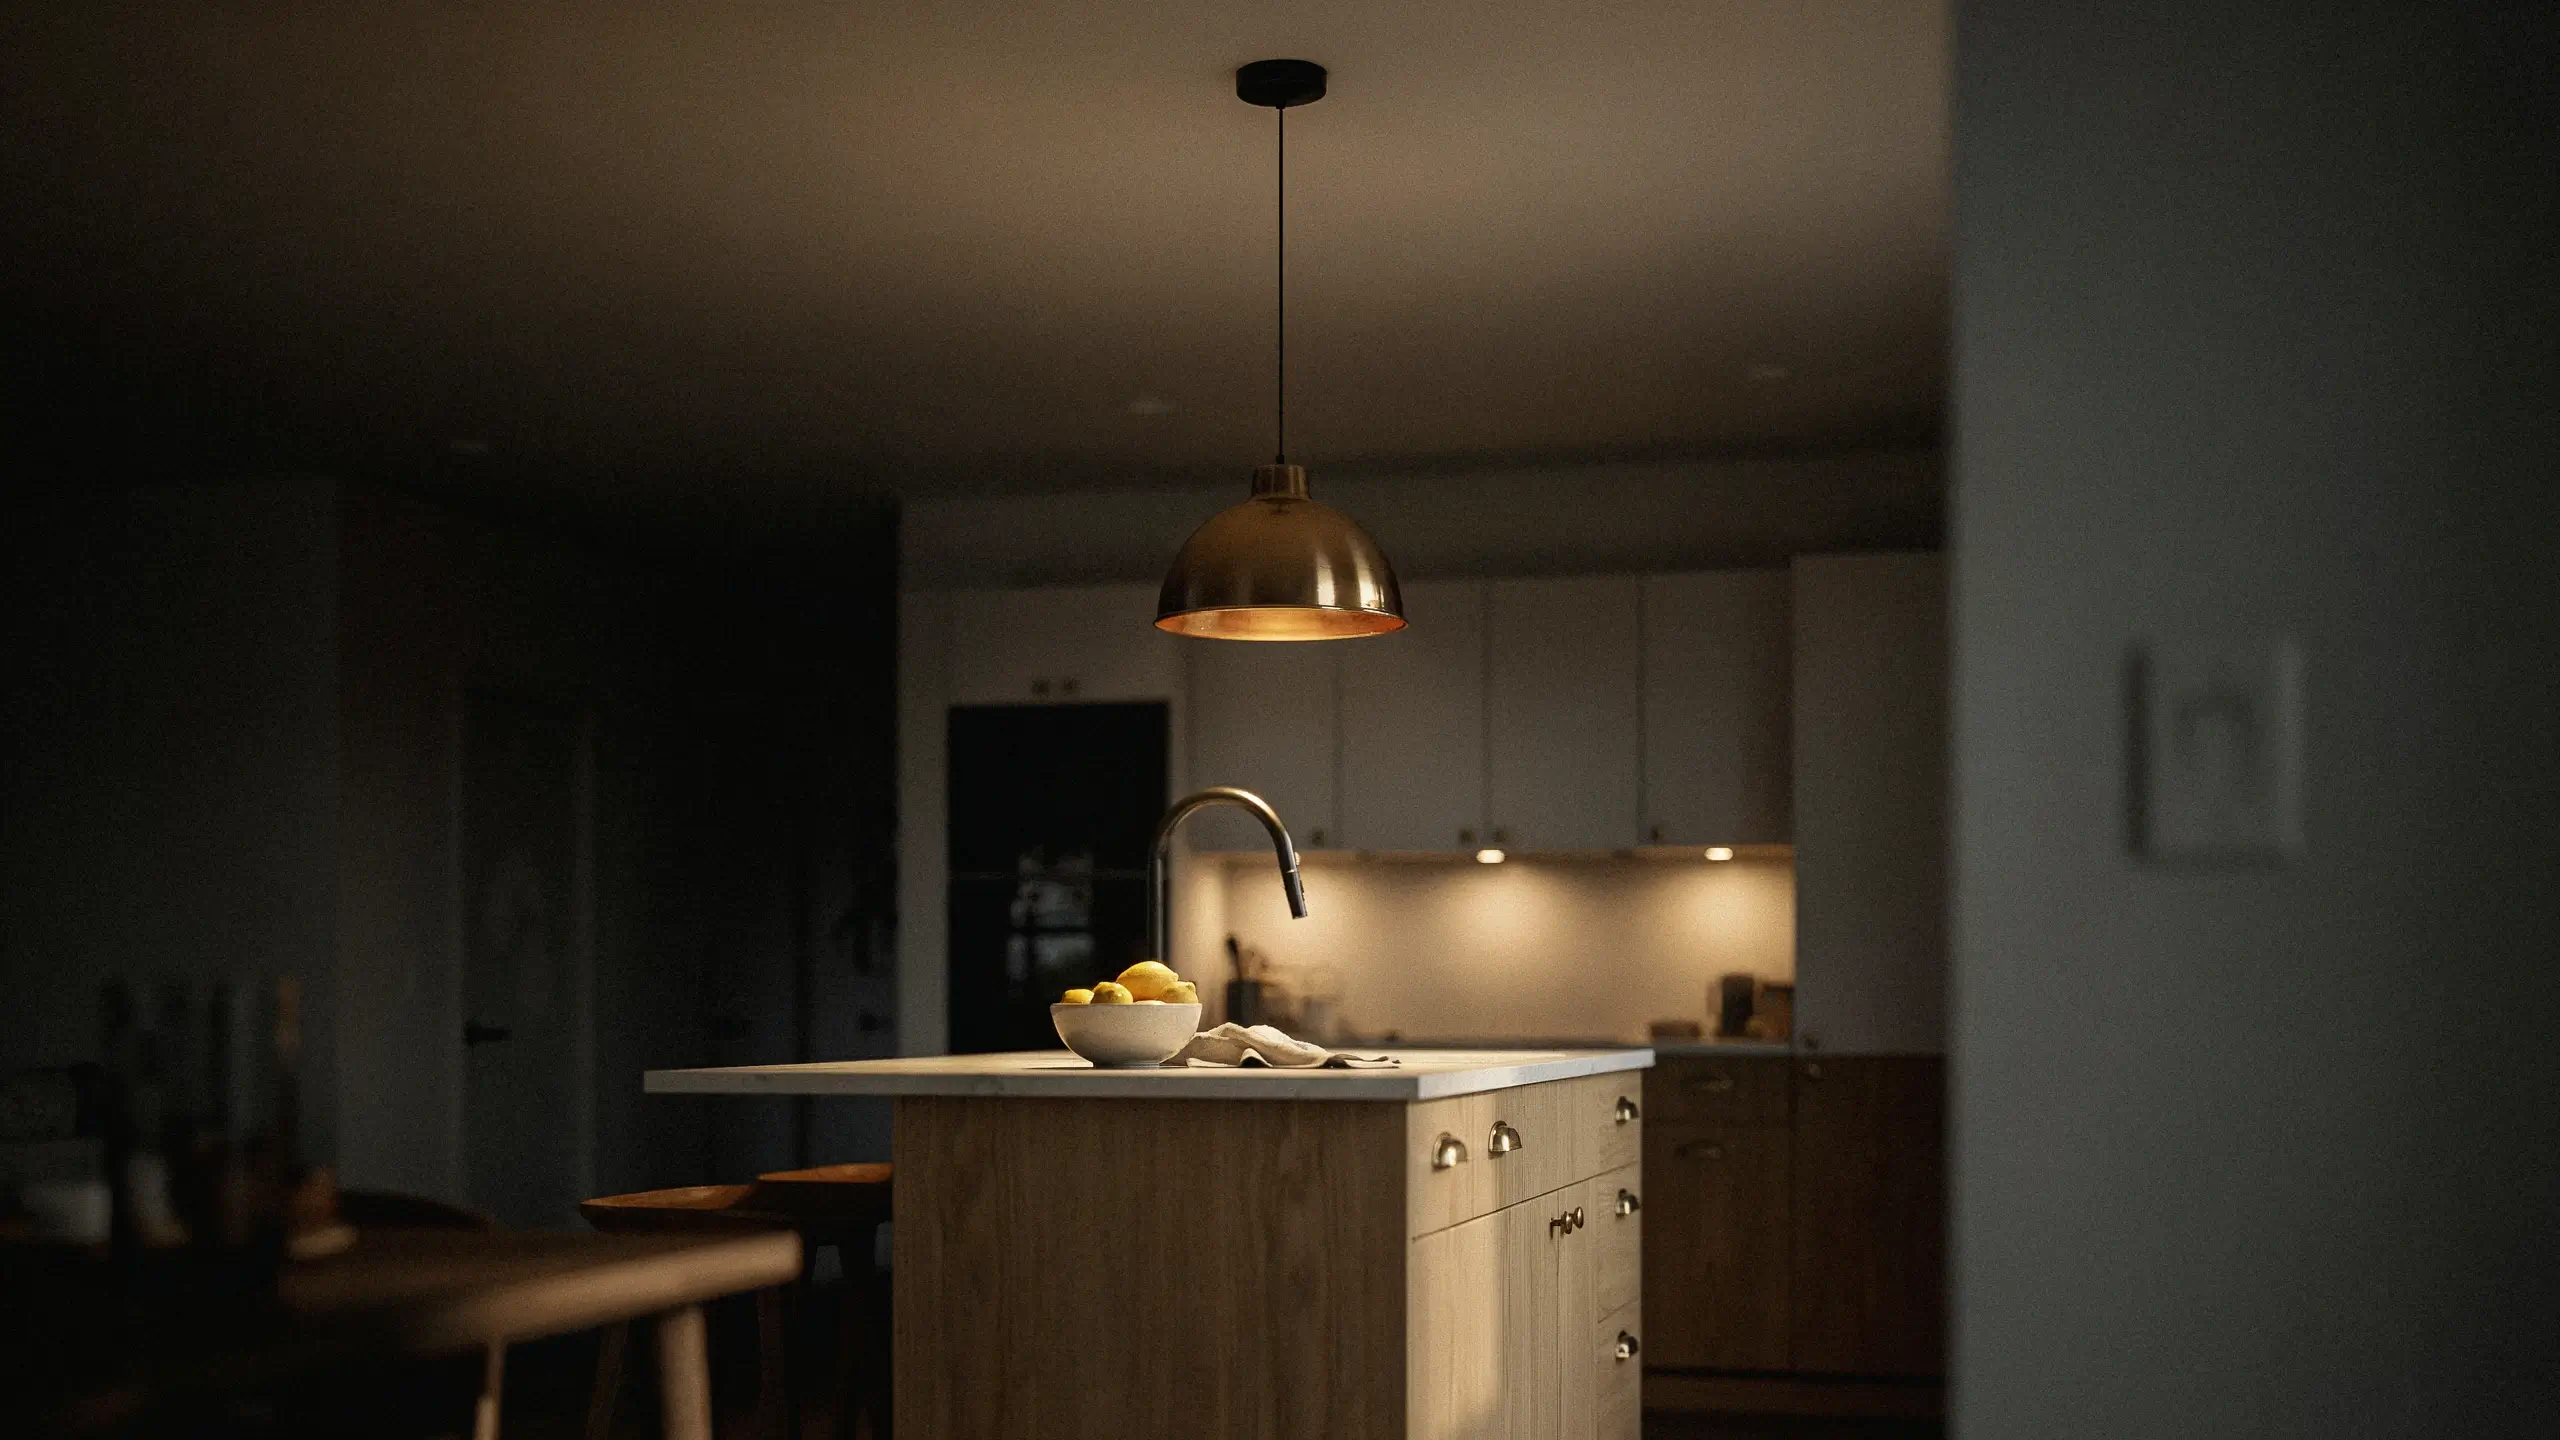
Lighting changes the entire mood of a kitchen, and it’s often the most overlooked upgrade. If your kitchen still has a builder-grade flush mount or a single harsh overhead light, swapping it for a pendant light or a small chandelier over the sink or island can make the whole room feel intentional.
For renters or anyone not comfortable with electrical work, plug-in pendant lights and battery-operated puck lights under the cabinets are an easy, no-wiring alternative that still make a visible difference in photos and in person.
Safety Note
Always shut off power at the breaker before touching any hardwired fixture, and if you’re not fully confident with wiring, hire a licensed electrician for that one piece. It’s usually a small cost compared to the rest of the project.
7. Declutter and Reorganize First
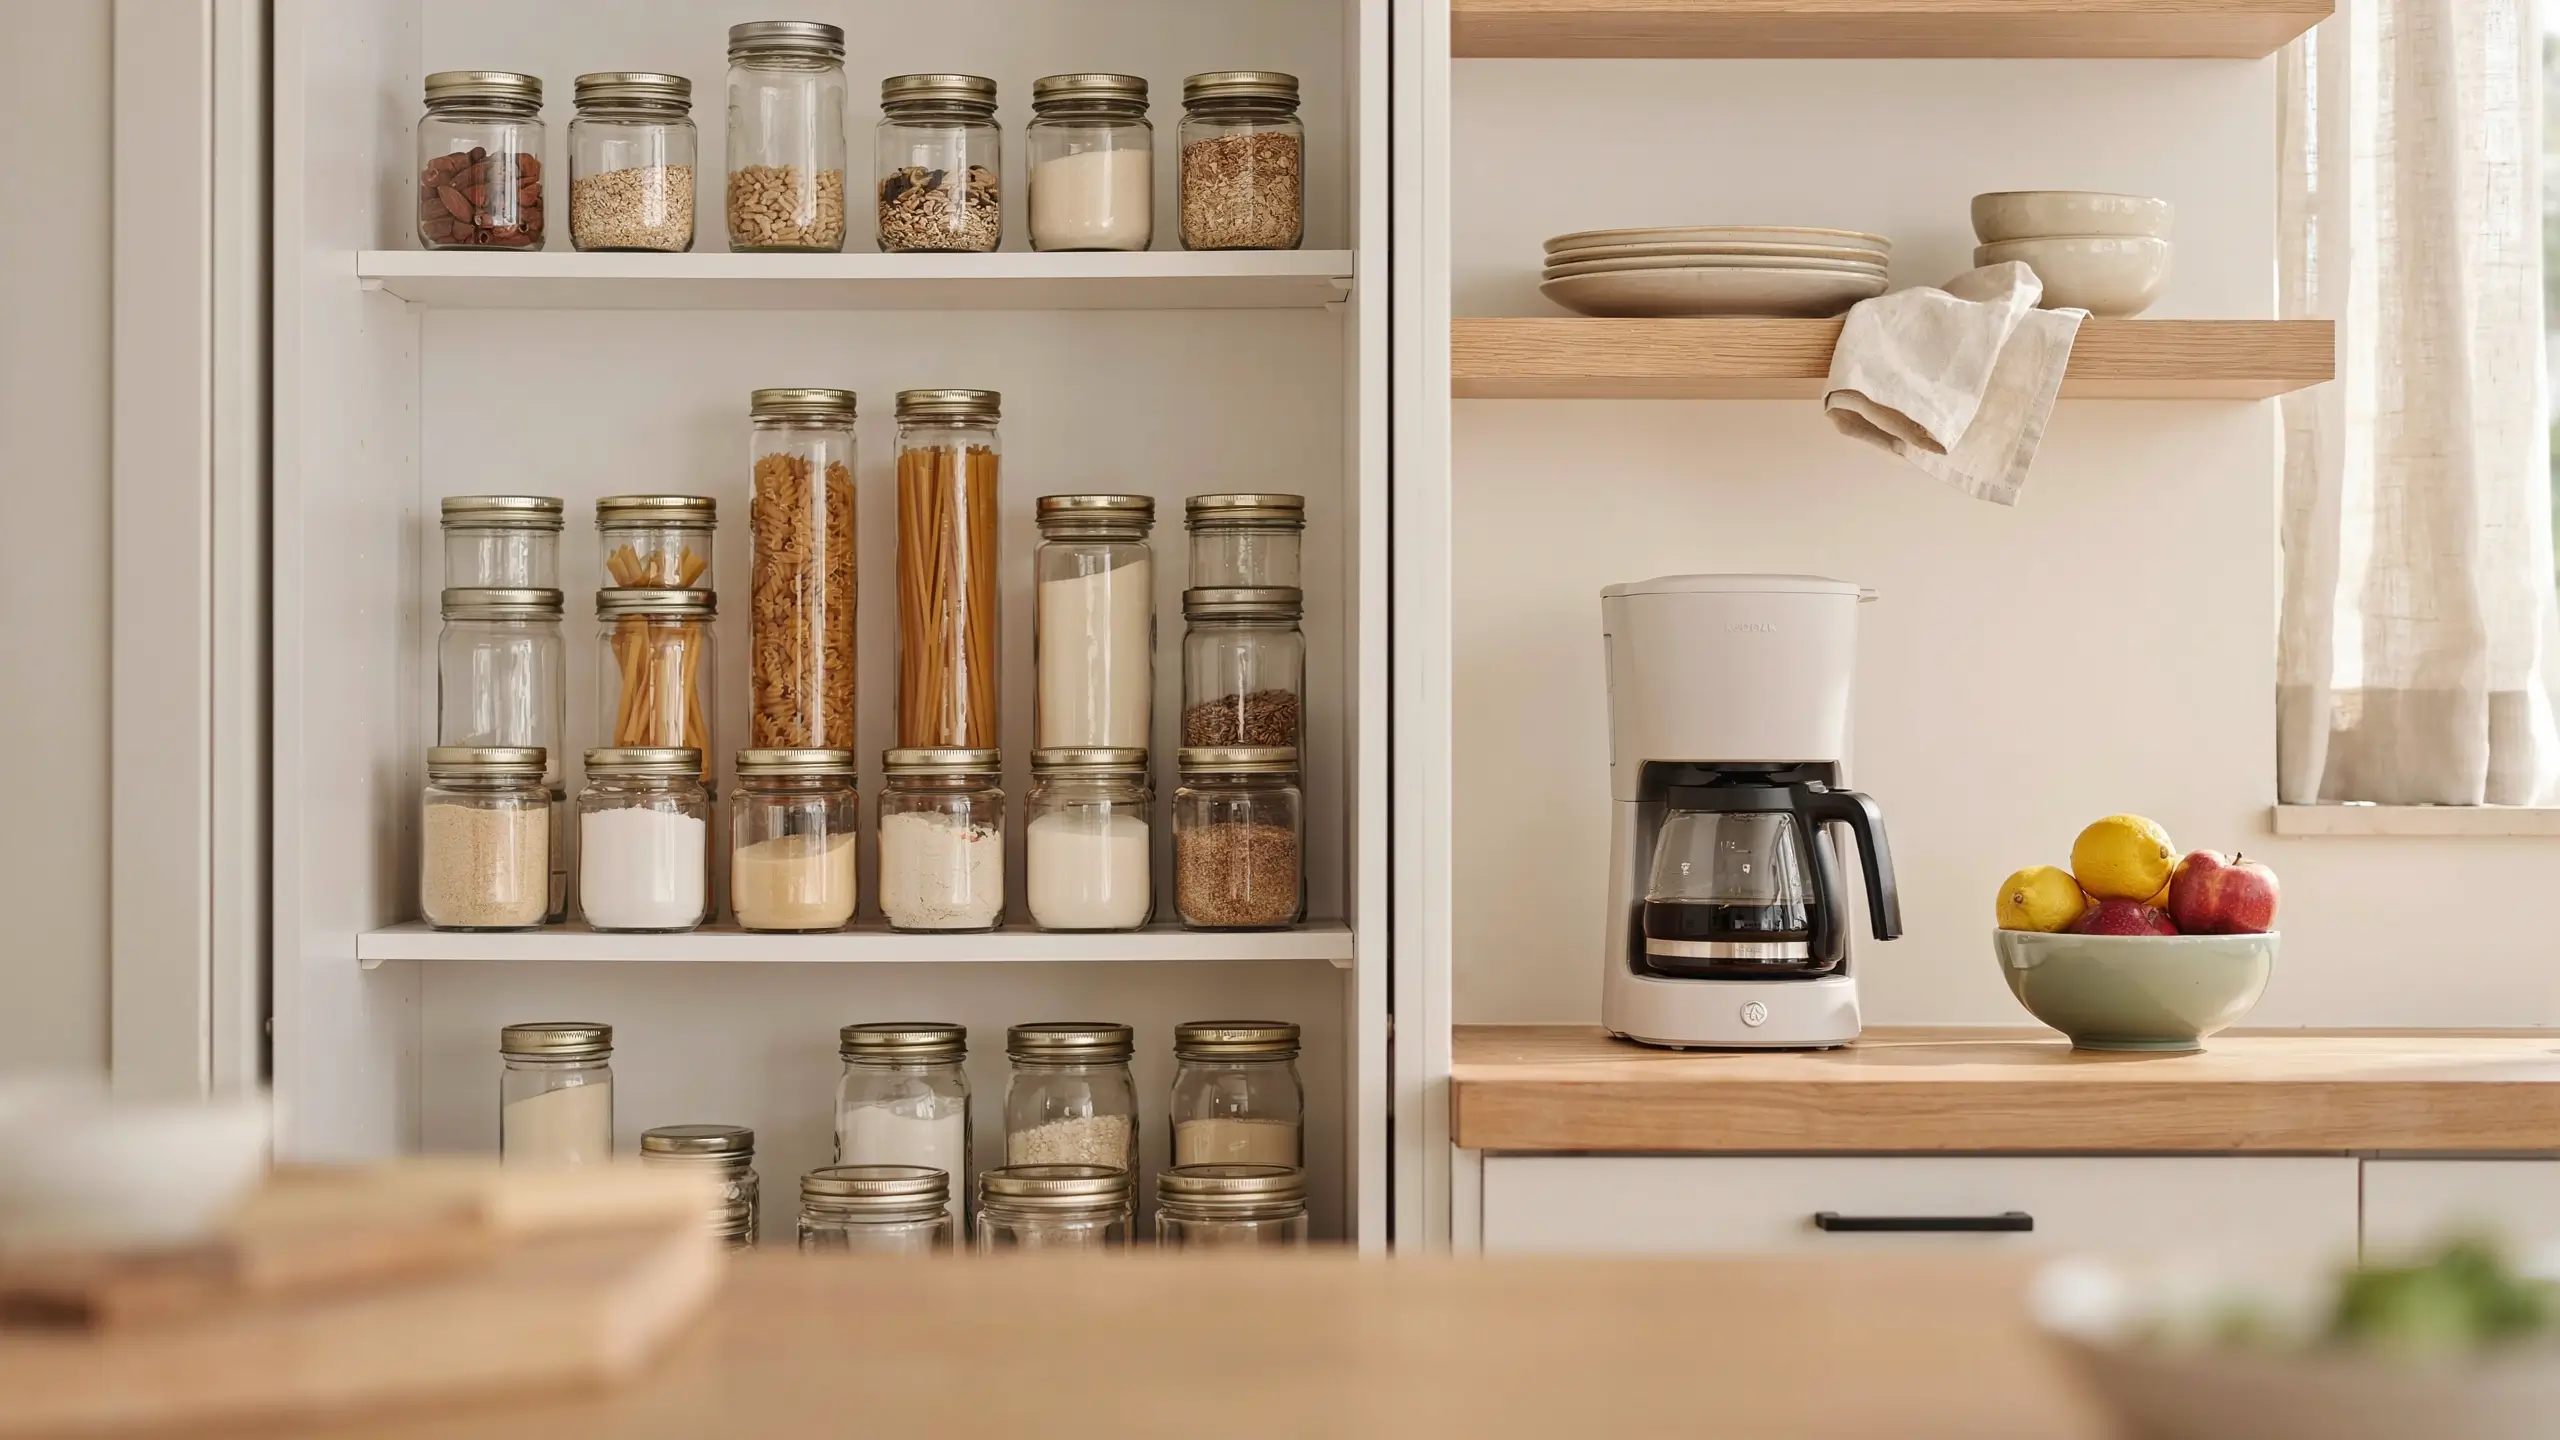
This is the step most articles skip, and it’s often the one with the biggest visual payoff for zero dollars. A kitchen can have beautiful cabinets and still look messy simply because counters are crowded and drawers are chaos.
- Clear counters down to only what you use daily (coffee maker, one crock of utensils, maybe a fruit bowl).
- Use matching bins, baskets, or clear containers for pantry items so open shelves and cabinets look curated, not cluttered.
- Add a drawer organizer for utensils and a lazy Susan or pull-out bin for corner cabinets.
This step alone photographs incredibly well for Pinterest, since “kitchen organization before and after” content consistently performs because it feels achievable to anyone, regardless of budget.
8. Style the Small Details
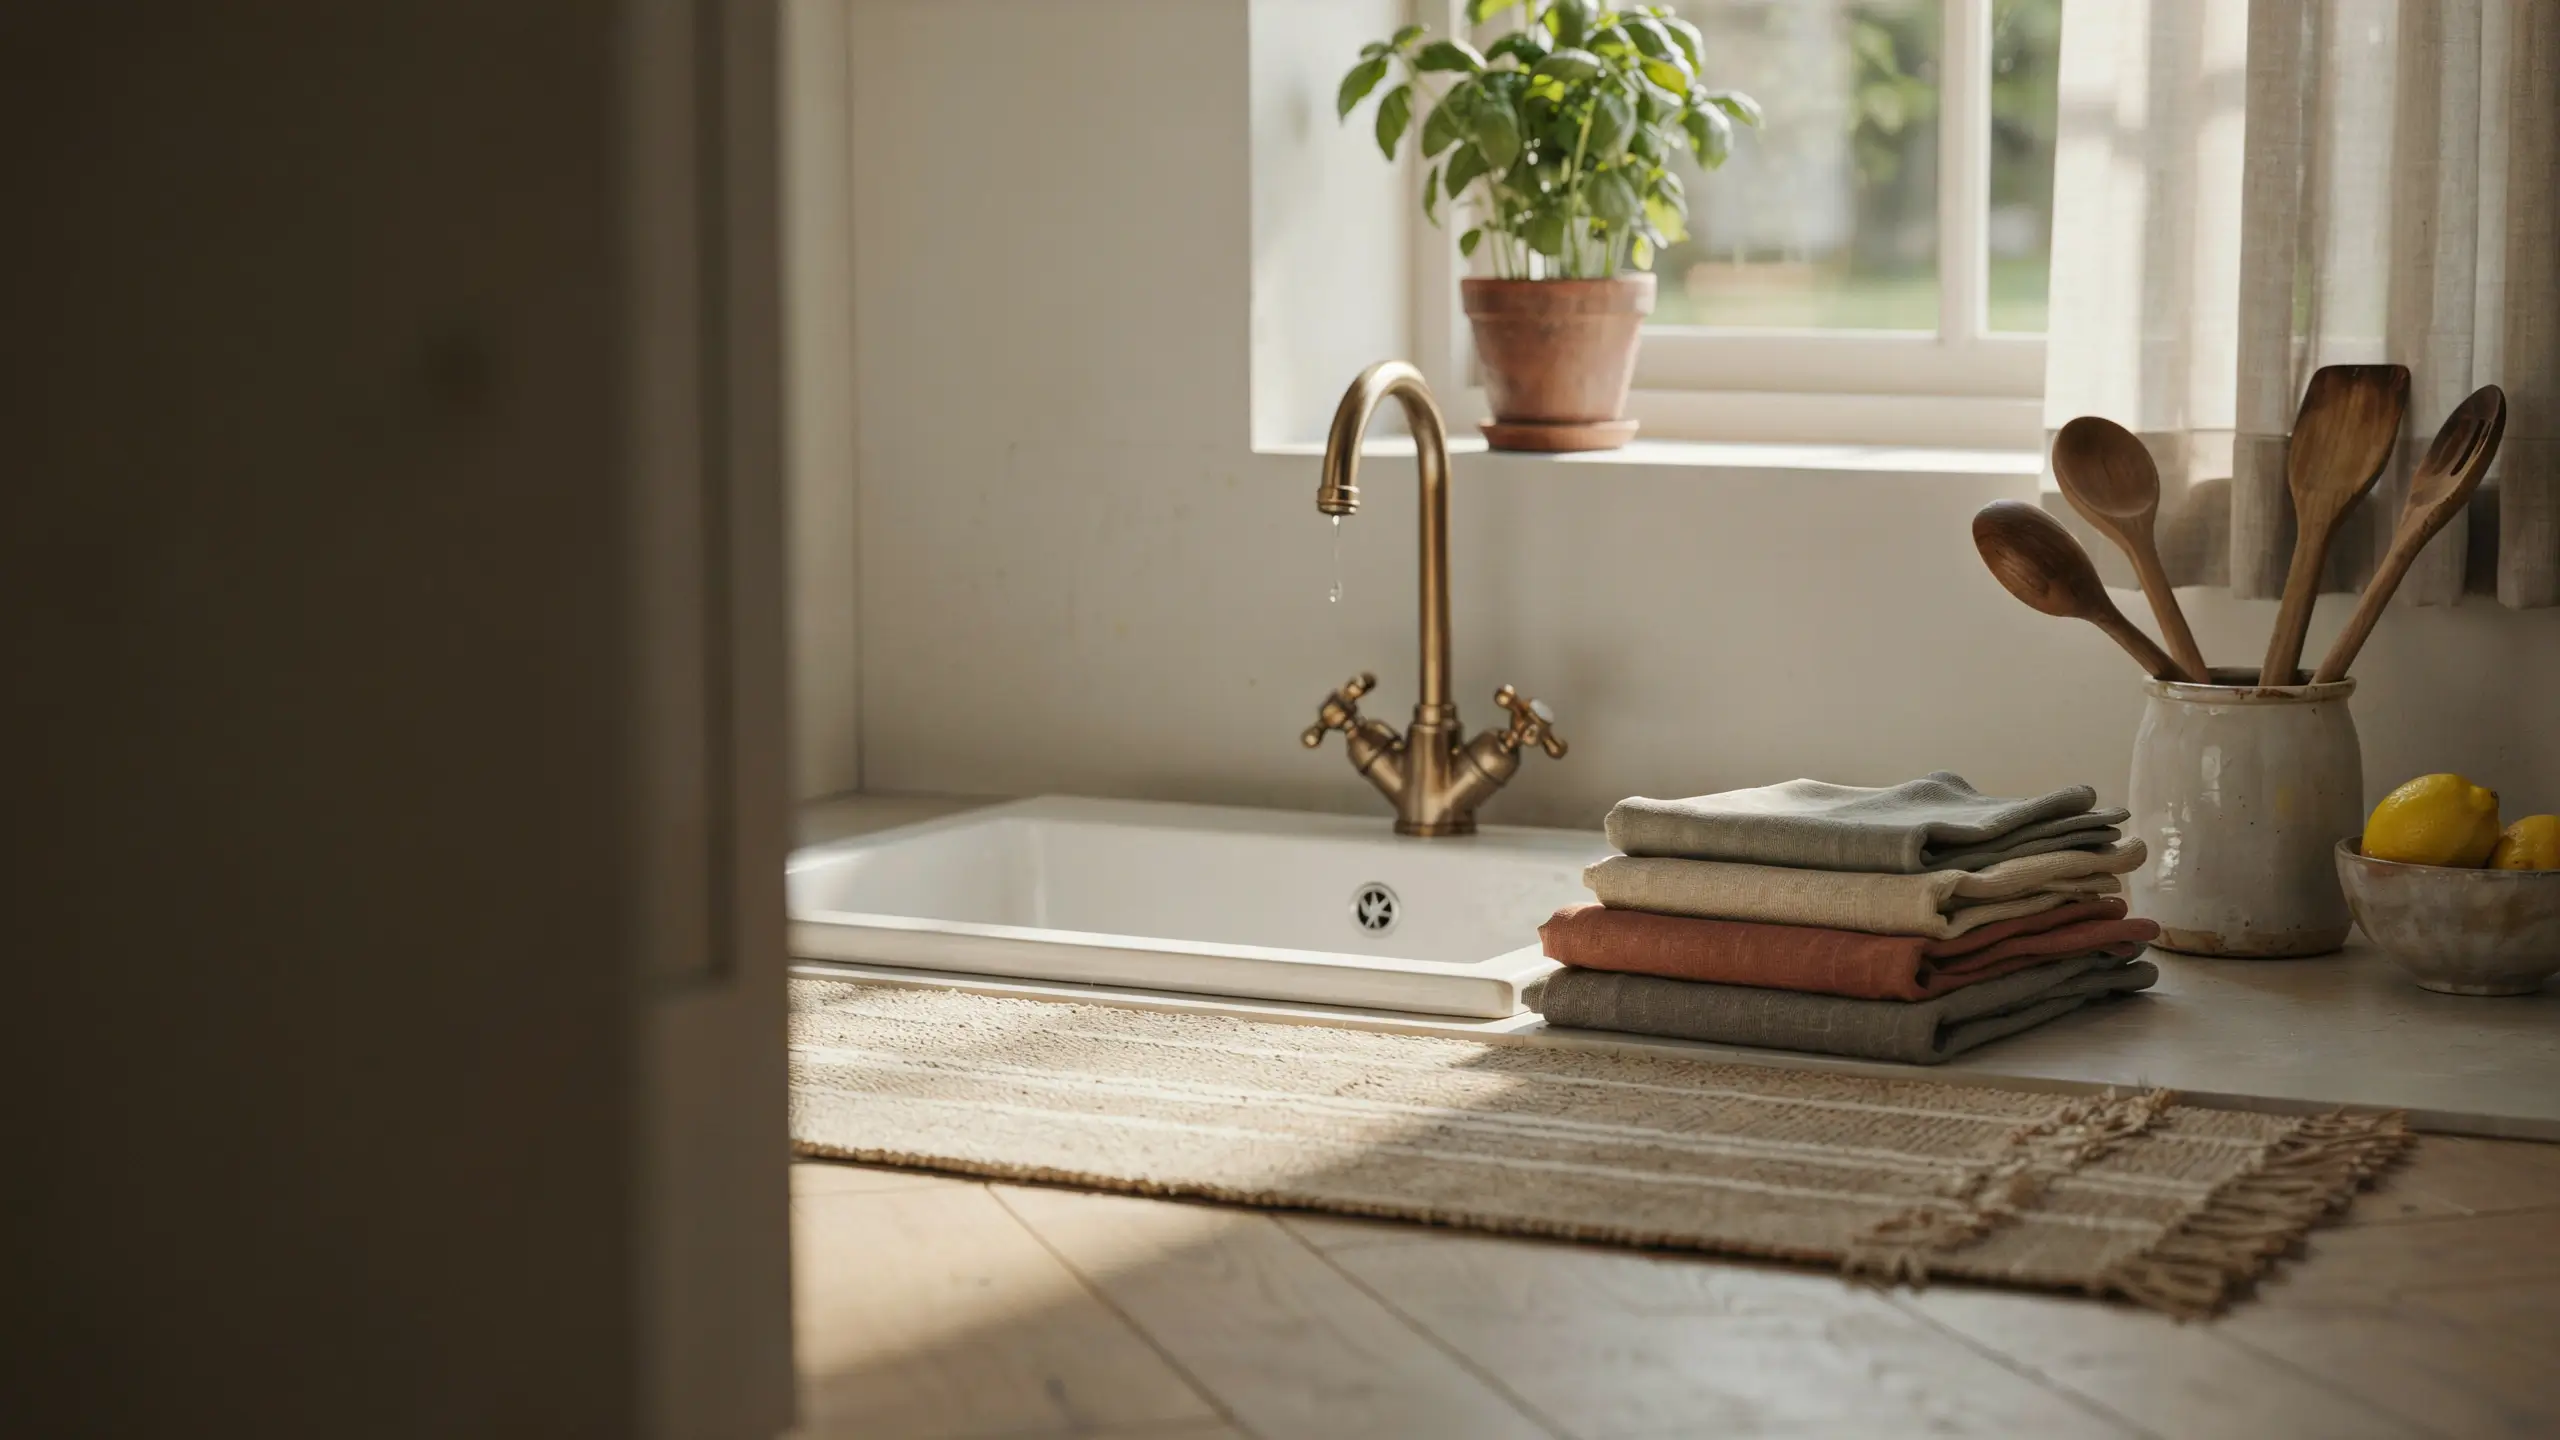
Once the bigger pieces are in place, the finishing touches are what make a kitchen feel finished instead of half-done.
- A woven rug or a washable runner in front of the sink adds warmth and softens the space.
- Open a cabinet or shelf for one curated display of your prettiest dishes or glassware.
- Add a small plant, like a potted herb on the windowsill, for a lived-in, fresh feeling.
- Swap out mismatched dish towels and oven mitts for a coordinated set in a color that ties the room together.
- Layer in a wood cutting board, a ceramic utensil crock, or a stack of cookbooks as counter styling, not just storage.
These details cost very little but they’re what make “after” photos feel like a real transformation rather than just a paint job.
Renter-Friendly Kitchen Upgrades (No Drilling, No Damage)
If you’re working within a lease, focus on changes that are fully reversible:
- Peel-and-stick backsplash tile (removable versions exist specifically for renters)
- Contact paper on countertops or cabinet fronts
- Magnetic knife strips instead of drilled ones
- Command-strip hooks and shelves for lightweight storage
- Swappable cabinet hardware, saving your original knobs to reinstall before move-out
- Area rugs and furniture instead of anything permanent
Always check your lease for specific restrictions, and photograph the original state of everything before you start so you have a clear reference to restore it later.
Budget Breakdown: What to Expect
| Budget | Projects |
|---|---|
| Under $50 | Hardware swap, decluttering and organizing, styling with items you already own, a fresh coat of paint on one accent wall |
| $50 to $300 | Cabinet paint, peel-and-stick backsplash, floating shelves, a plug-in pendant light, a new faucet |
| $300 to $1,000 | Countertop refinishing kits, a full cabinet repaint with new hardware, hardwired lighting update, vinyl plank flooring in a small kitchen |
Doing even two or three of these in combination, like painting cabinets, swapping hardware, and adding a backsplash, can transform a kitchen for a few hundred dollars total.
Final Thoughts
Learning how to upgrade your kitchen on a budget really comes down to prioritizing the changes that touch the most surface area for the least money. Paint, hardware, lighting, and styling will always outperform a full renovation in terms of cost versus visual impact. Start with one project, see how it feels, and build from there. Most people find that once they finish the first upgrade, the momentum (and the motivation) carries them straight into the next one.
Which of these are you trying first? Let me know in the comments, I’d love to hear what your kitchen needs most right now.




No Comment! Be the first one.