




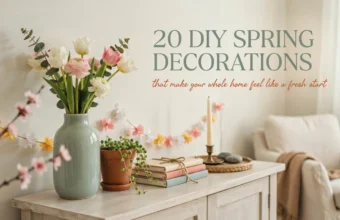
20 DIY Spring Decorations That Make Your Whole Home Feel Like a Fresh Start
There’s this specific feeling that happens every year, right around the time the days start getting longer and you notice something green pushing up through the dirt in the yard. It’s...

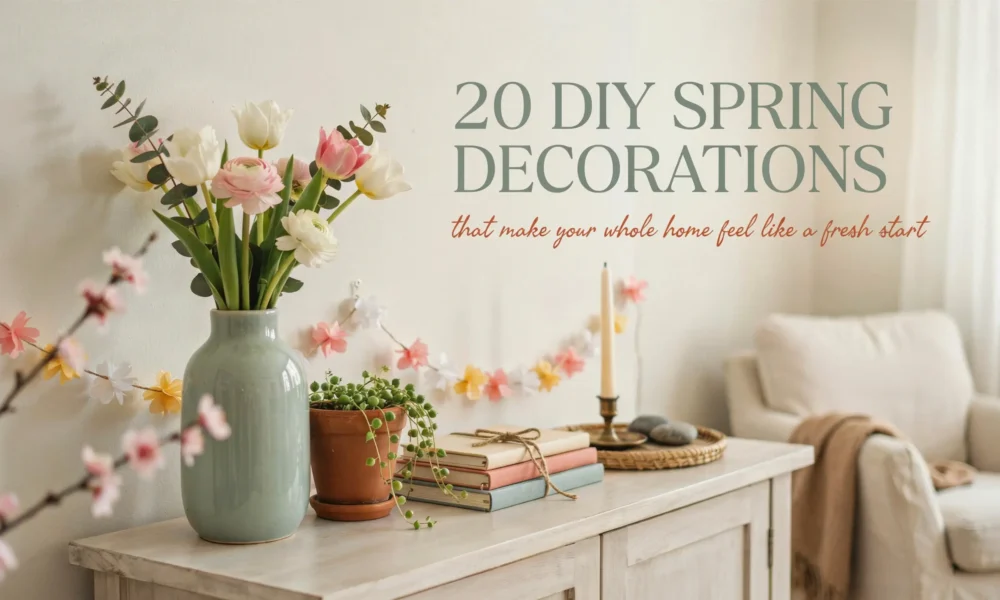
There’s this specific feeling that happens every year, right around the time the days start getting longer and you notice something green pushing up through the dirt in the yard. It’s that mix of restlessness and excitement where you walk through your own house and every throw pillow and heavy curtain starts to look like a remnant from another season you’re done with.
That’s exactly when the urge to make something hits hardest.
DIY spring decorations are special because they don’t require a big budget or a total room overhaul to feel meaningful. A handmade wreath on your front door, a little nest tucked into a vase of twigs, painted terracotta pots clustered on a windowsill, and suddenly your whole home exhales. It feels lighter. It feels like you.
This list covers 20 genuinely doable spring decoration projects, from five-minute refreshes to afternoon crafts worth putting on the table. Whether you’re in a house, an apartment, a rental, or a camper, there’s something here for you.
First, a Word on Spring Colors This Year
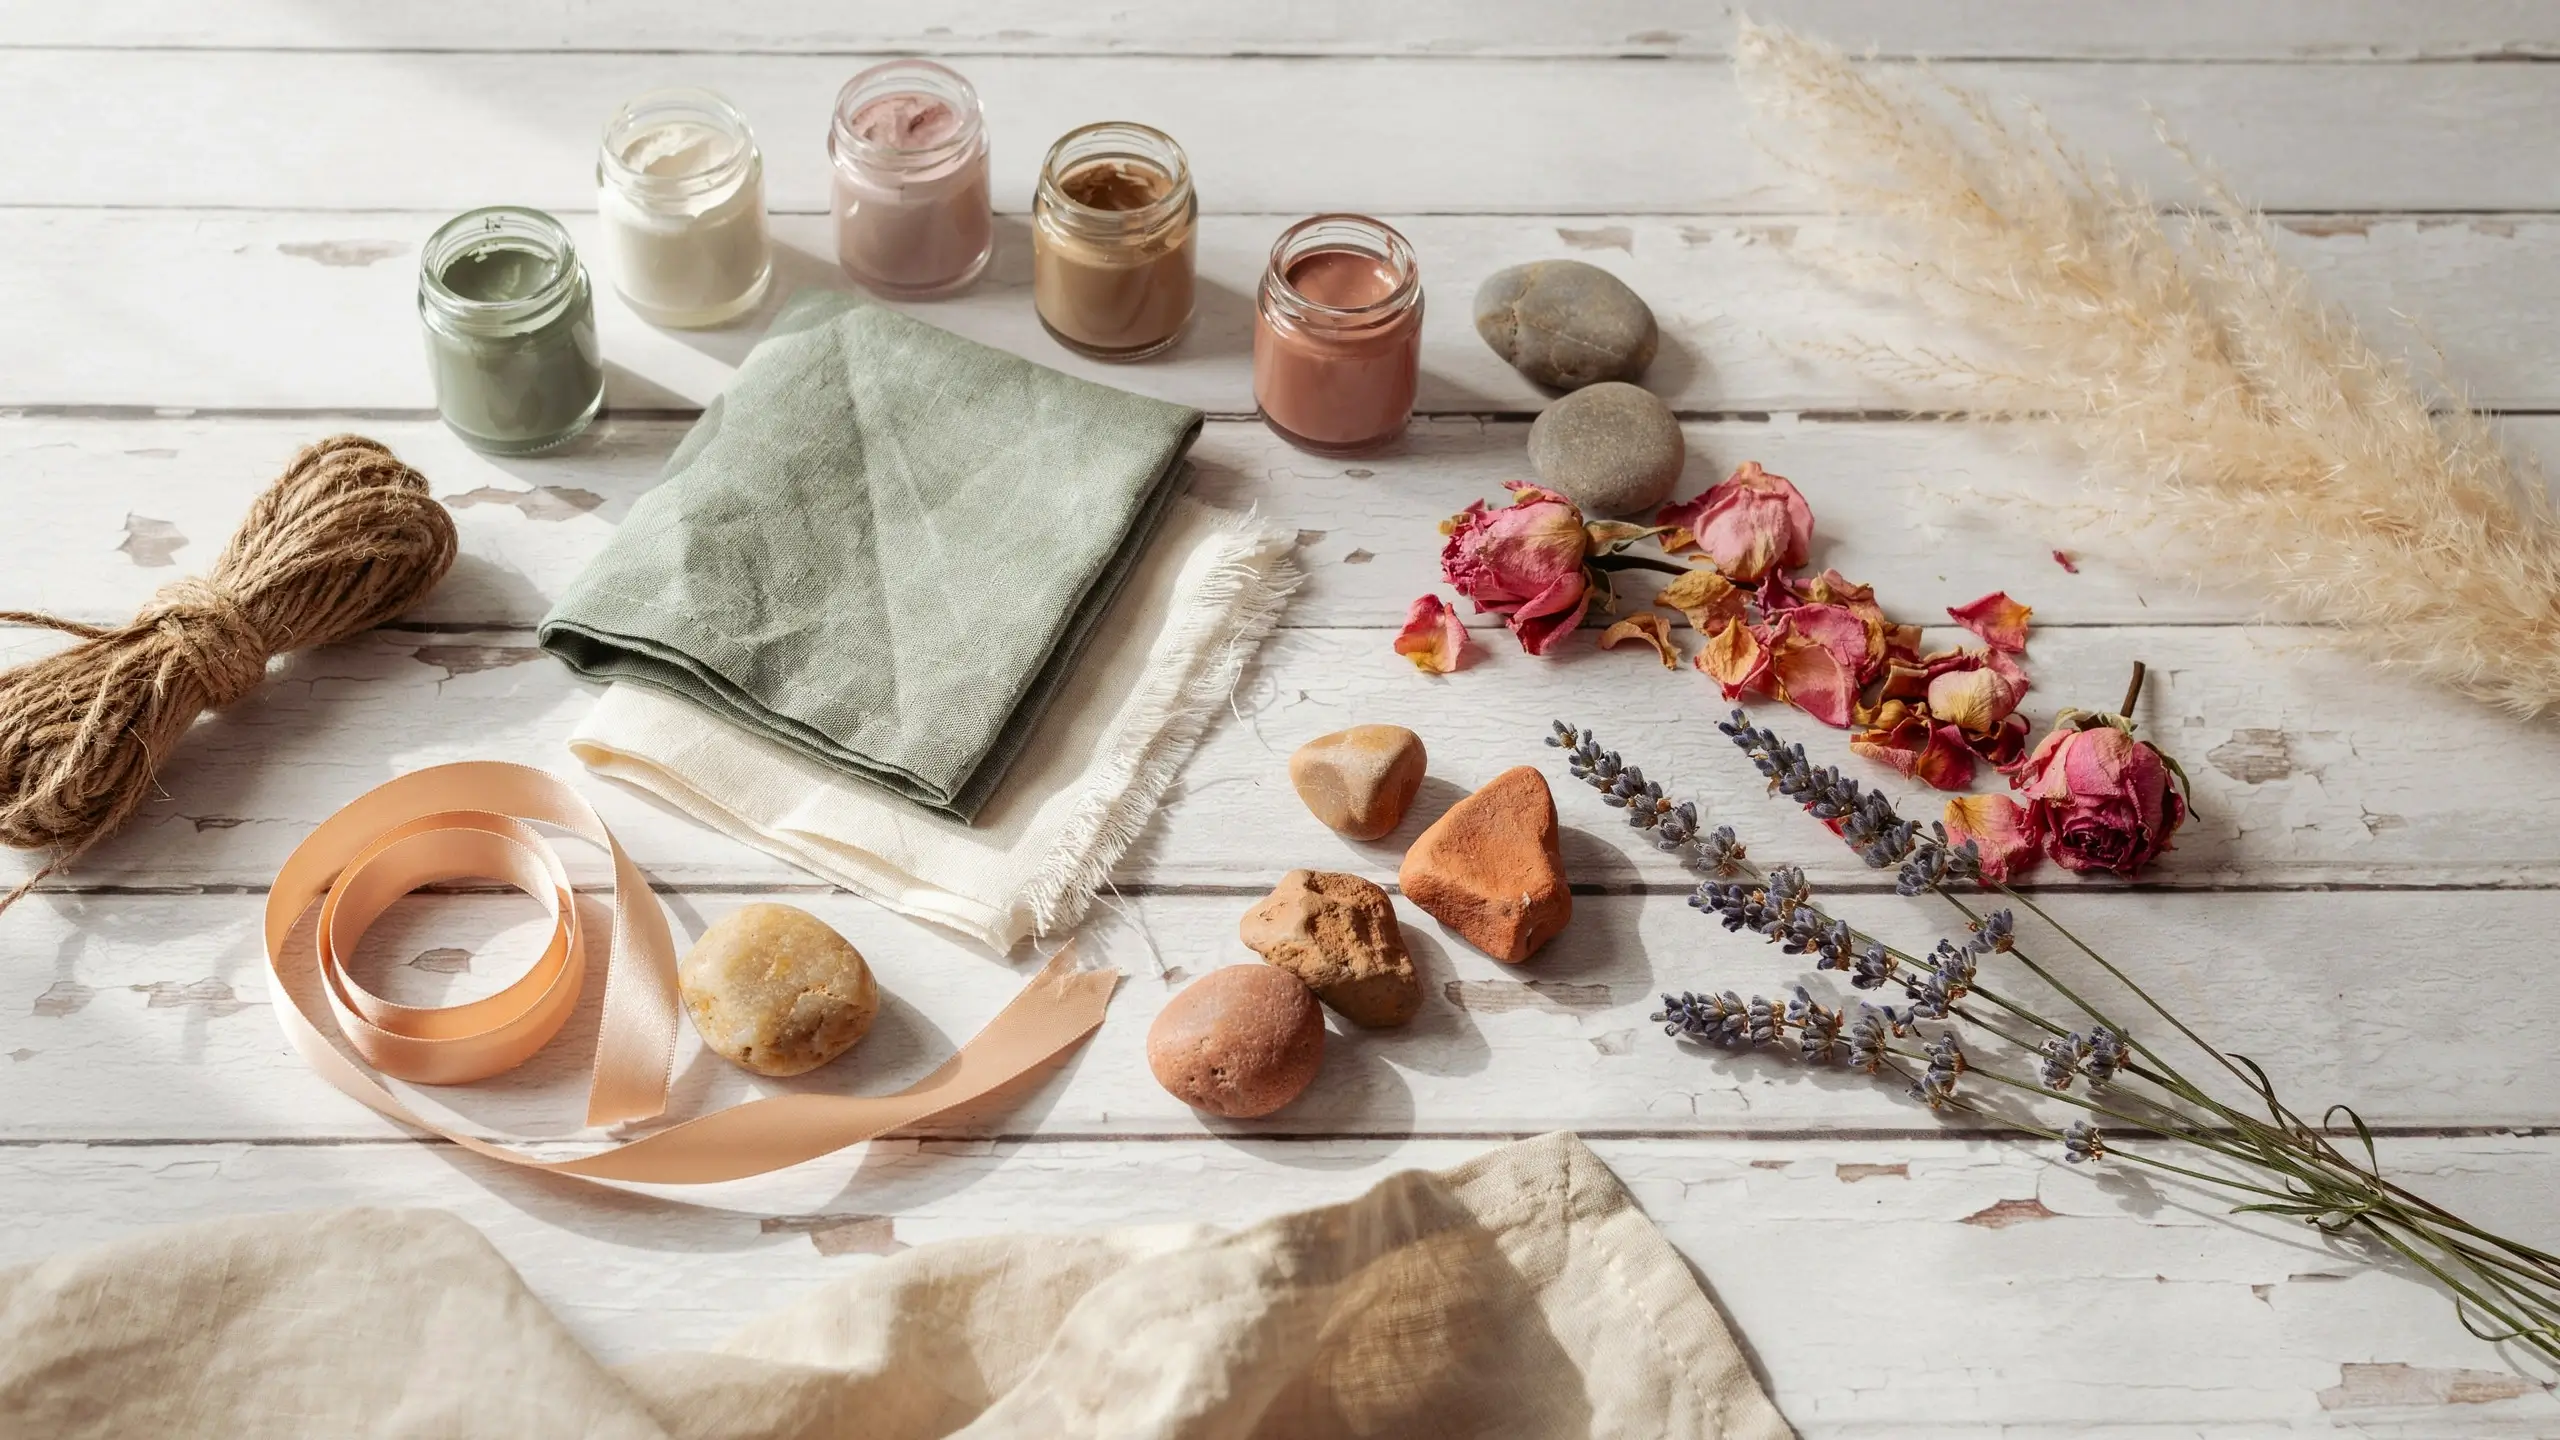
Before you head to the craft store, it helps to know which colors are feeling right for spring. Right now, the palettes getting the most traction are soft and earthy at the same time: think sage green paired with creamy white, blush pink next to warm terracotta, and dusty lavender with pale peach. These aren’t the candy-bright pastels of years past. They’re a little more muted, a little more grown-up, and they work beautifully with natural materials like dried grasses, linen, wood, and jute.
If you love bold color, goldenrod yellow and coral are having a big moment, and both look stunning with greenery and white.
Keep these palettes in mind as you choose florals, paints, and ribbons. They’ll tie everything together even if the projects themselves are totally different.
Front Door and Entryway DIY Spring Decorations
Your entry is the first thing people see, and it’s the first thing you see when you come home. Getting it right makes everything feel more intentional.
1. The Organic Grapevine Wreath with Layered Greenery and Soft Florals
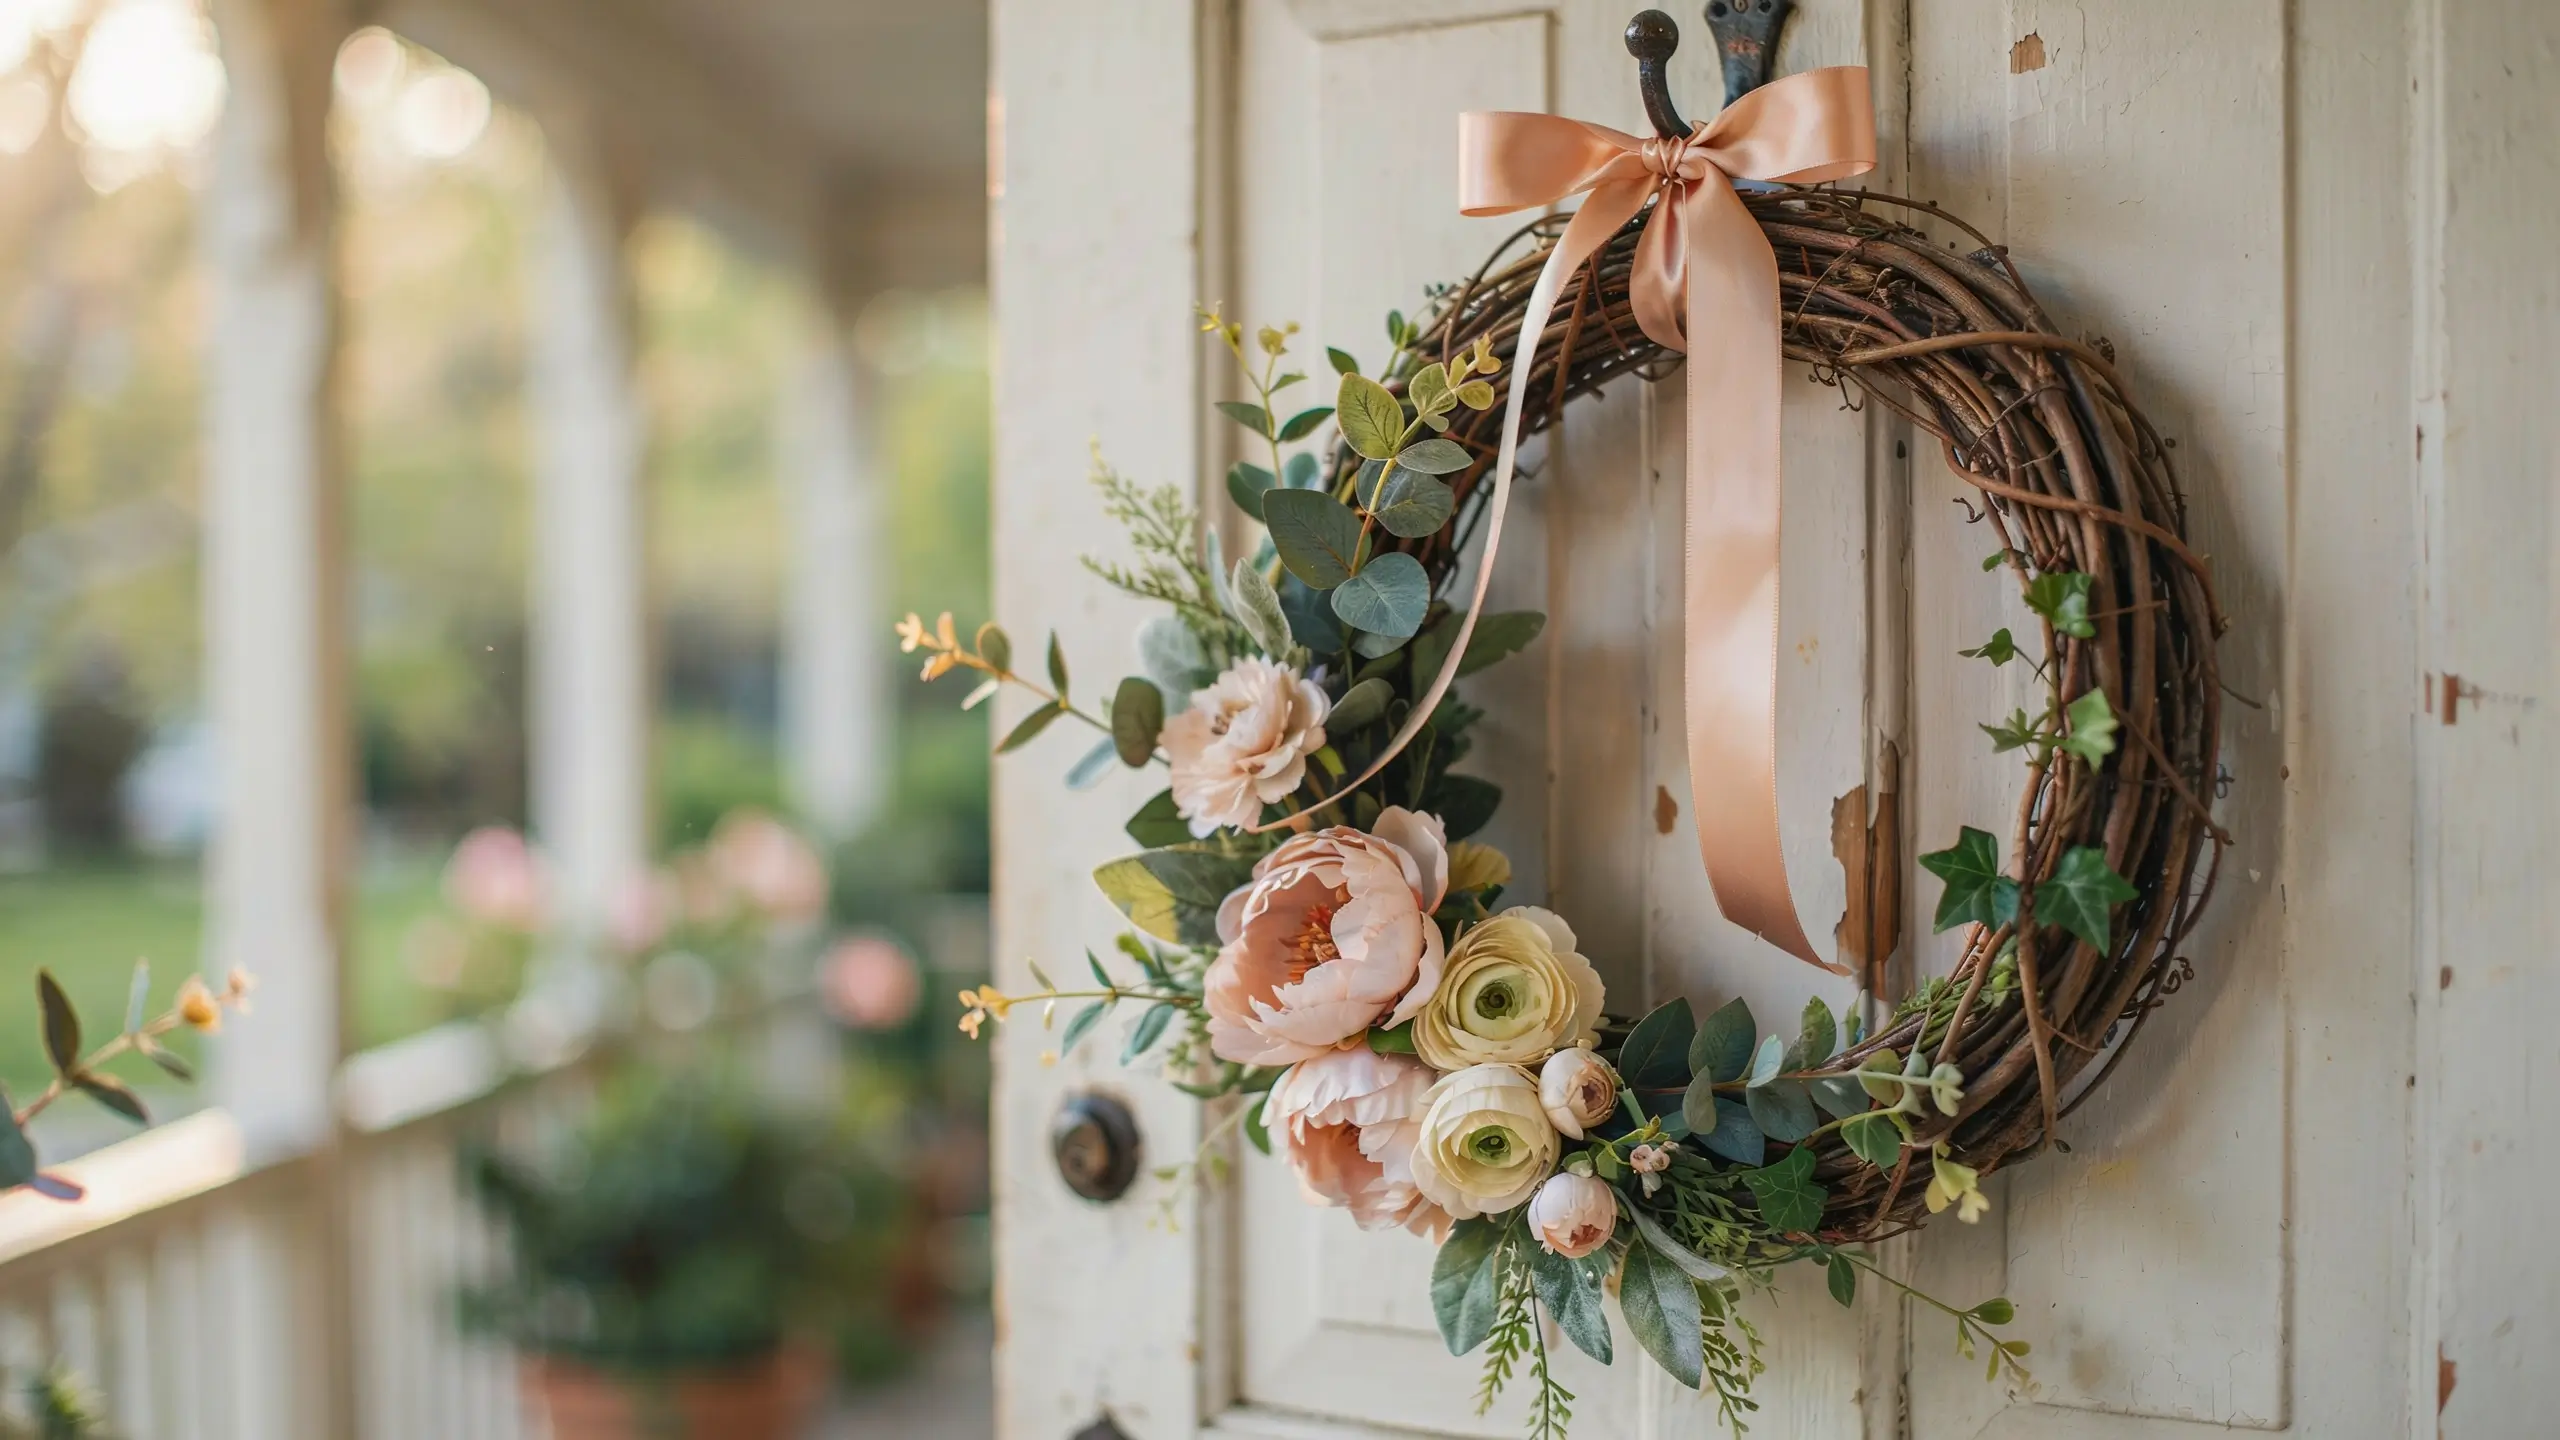
This is the DIY spring wreath that always looks more expensive than it is, and it’s genuinely beginner-friendly.
What you need:
- 1 grapevine wreath form (14–18 inches, from any craft store)
- Faux eucalyptus or lamb’s ear stems (about 3–4 bunches)
- Faux floral stems in soft colors: blush, cream, pale lavender, or peach (about 2–3 bunches)
- Floral wire and wire cutters
- Hot glue gun
How to make it: Cut your greenery stems into 4–6 inch sprigs. Start by layering these into the grapevine base, tucking stems in and securing with wire or a dot of hot glue. Work in one direction so the leaves flow naturally. Once the greenery is done, add your flowers in clusters rather than evenly spaced. A heavier cluster at the bottom or one side gives that airy, asymmetrical look that’s all over Pinterest right now. Finish with a single ribbon bow in a complementary color, or leave it clean.
Beginner tip: The prettiest wreaths have slightly uneven shapes. Don’t stress about making it perfectly round.
2. A Fresh Herb Wreath That Smells as Good as It Looks
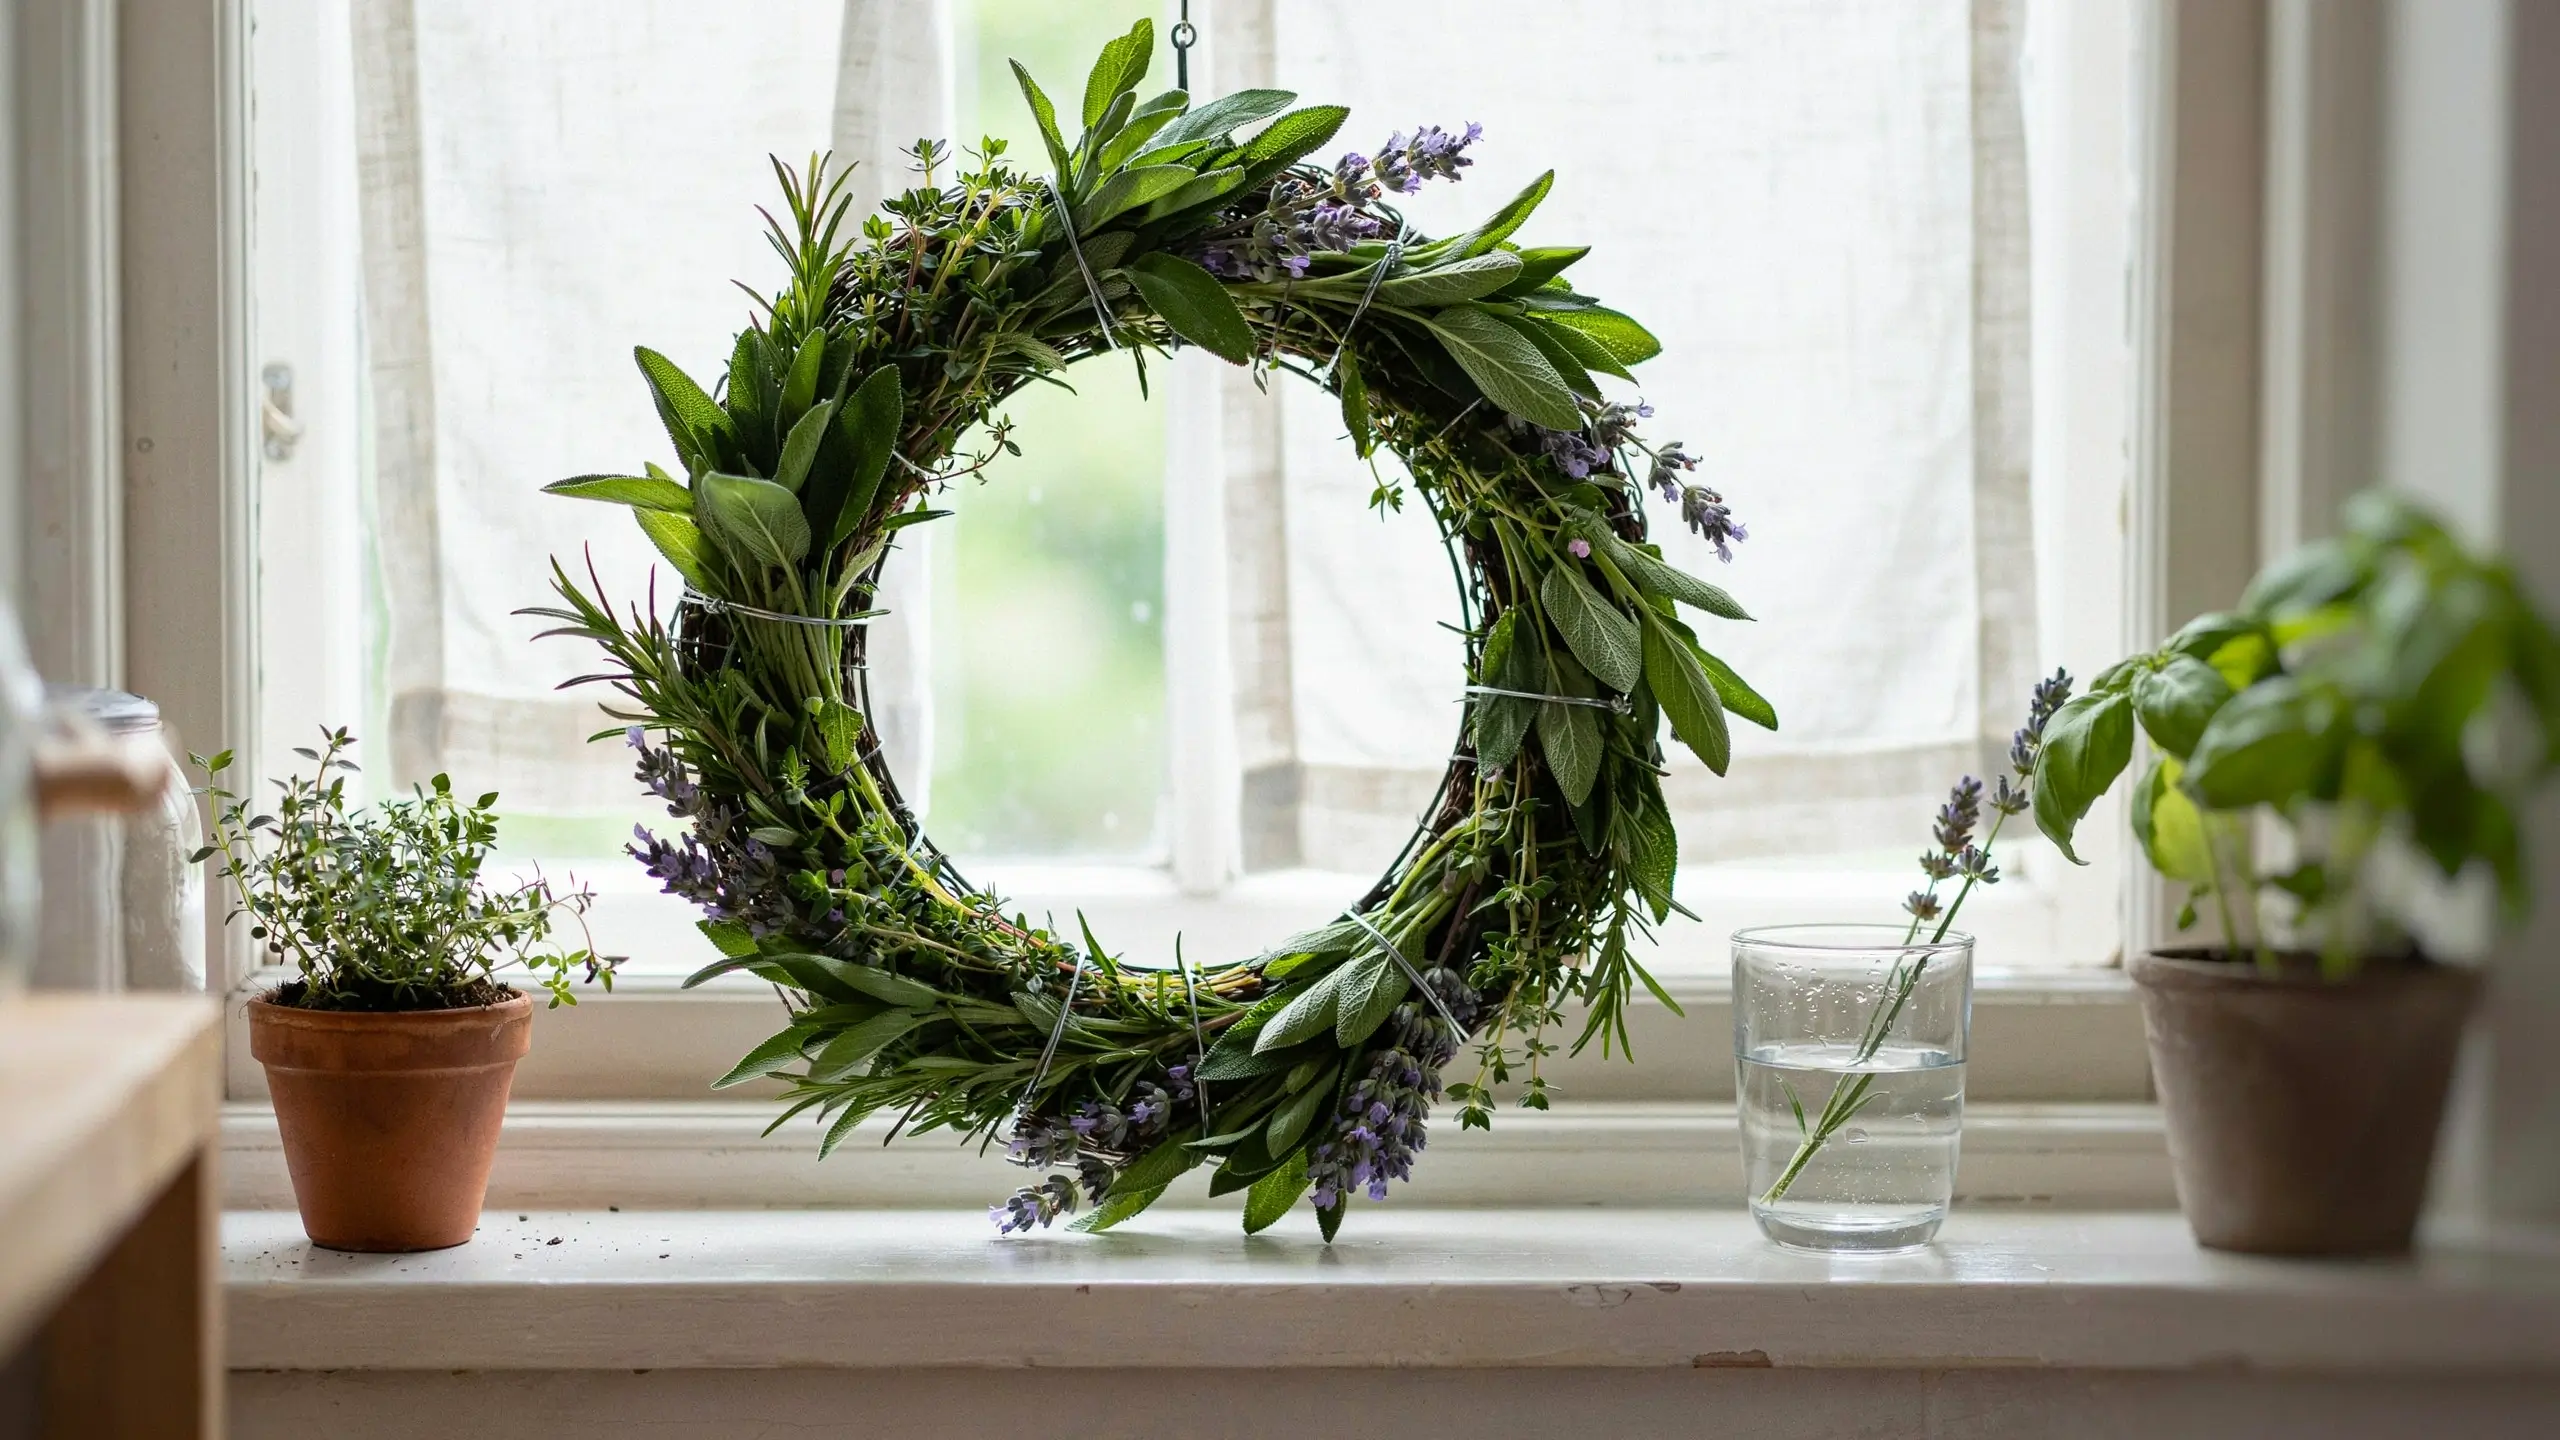
If you want something that feels truly natural and earthy, skip the faux florals and head to the grocery store or your garden.
Fresh rosemary, sage, thyme, and lavender bundled together onto a wire wreath form makes a stunning piece that dries beautifully and fills your entryway with the gentlest fragrance. Use floral wire to attach small bundles around the frame, overlapping as you go. The whole wreath takes maybe 30 minutes.
As it dries over the following week or two, the colors deepen and the texture becomes even more interesting. A fresh herb wreath is also unexpectedly great in the kitchen, hung near a window.
3. A Spring Door Hanger Using a Wooden Sign Blank
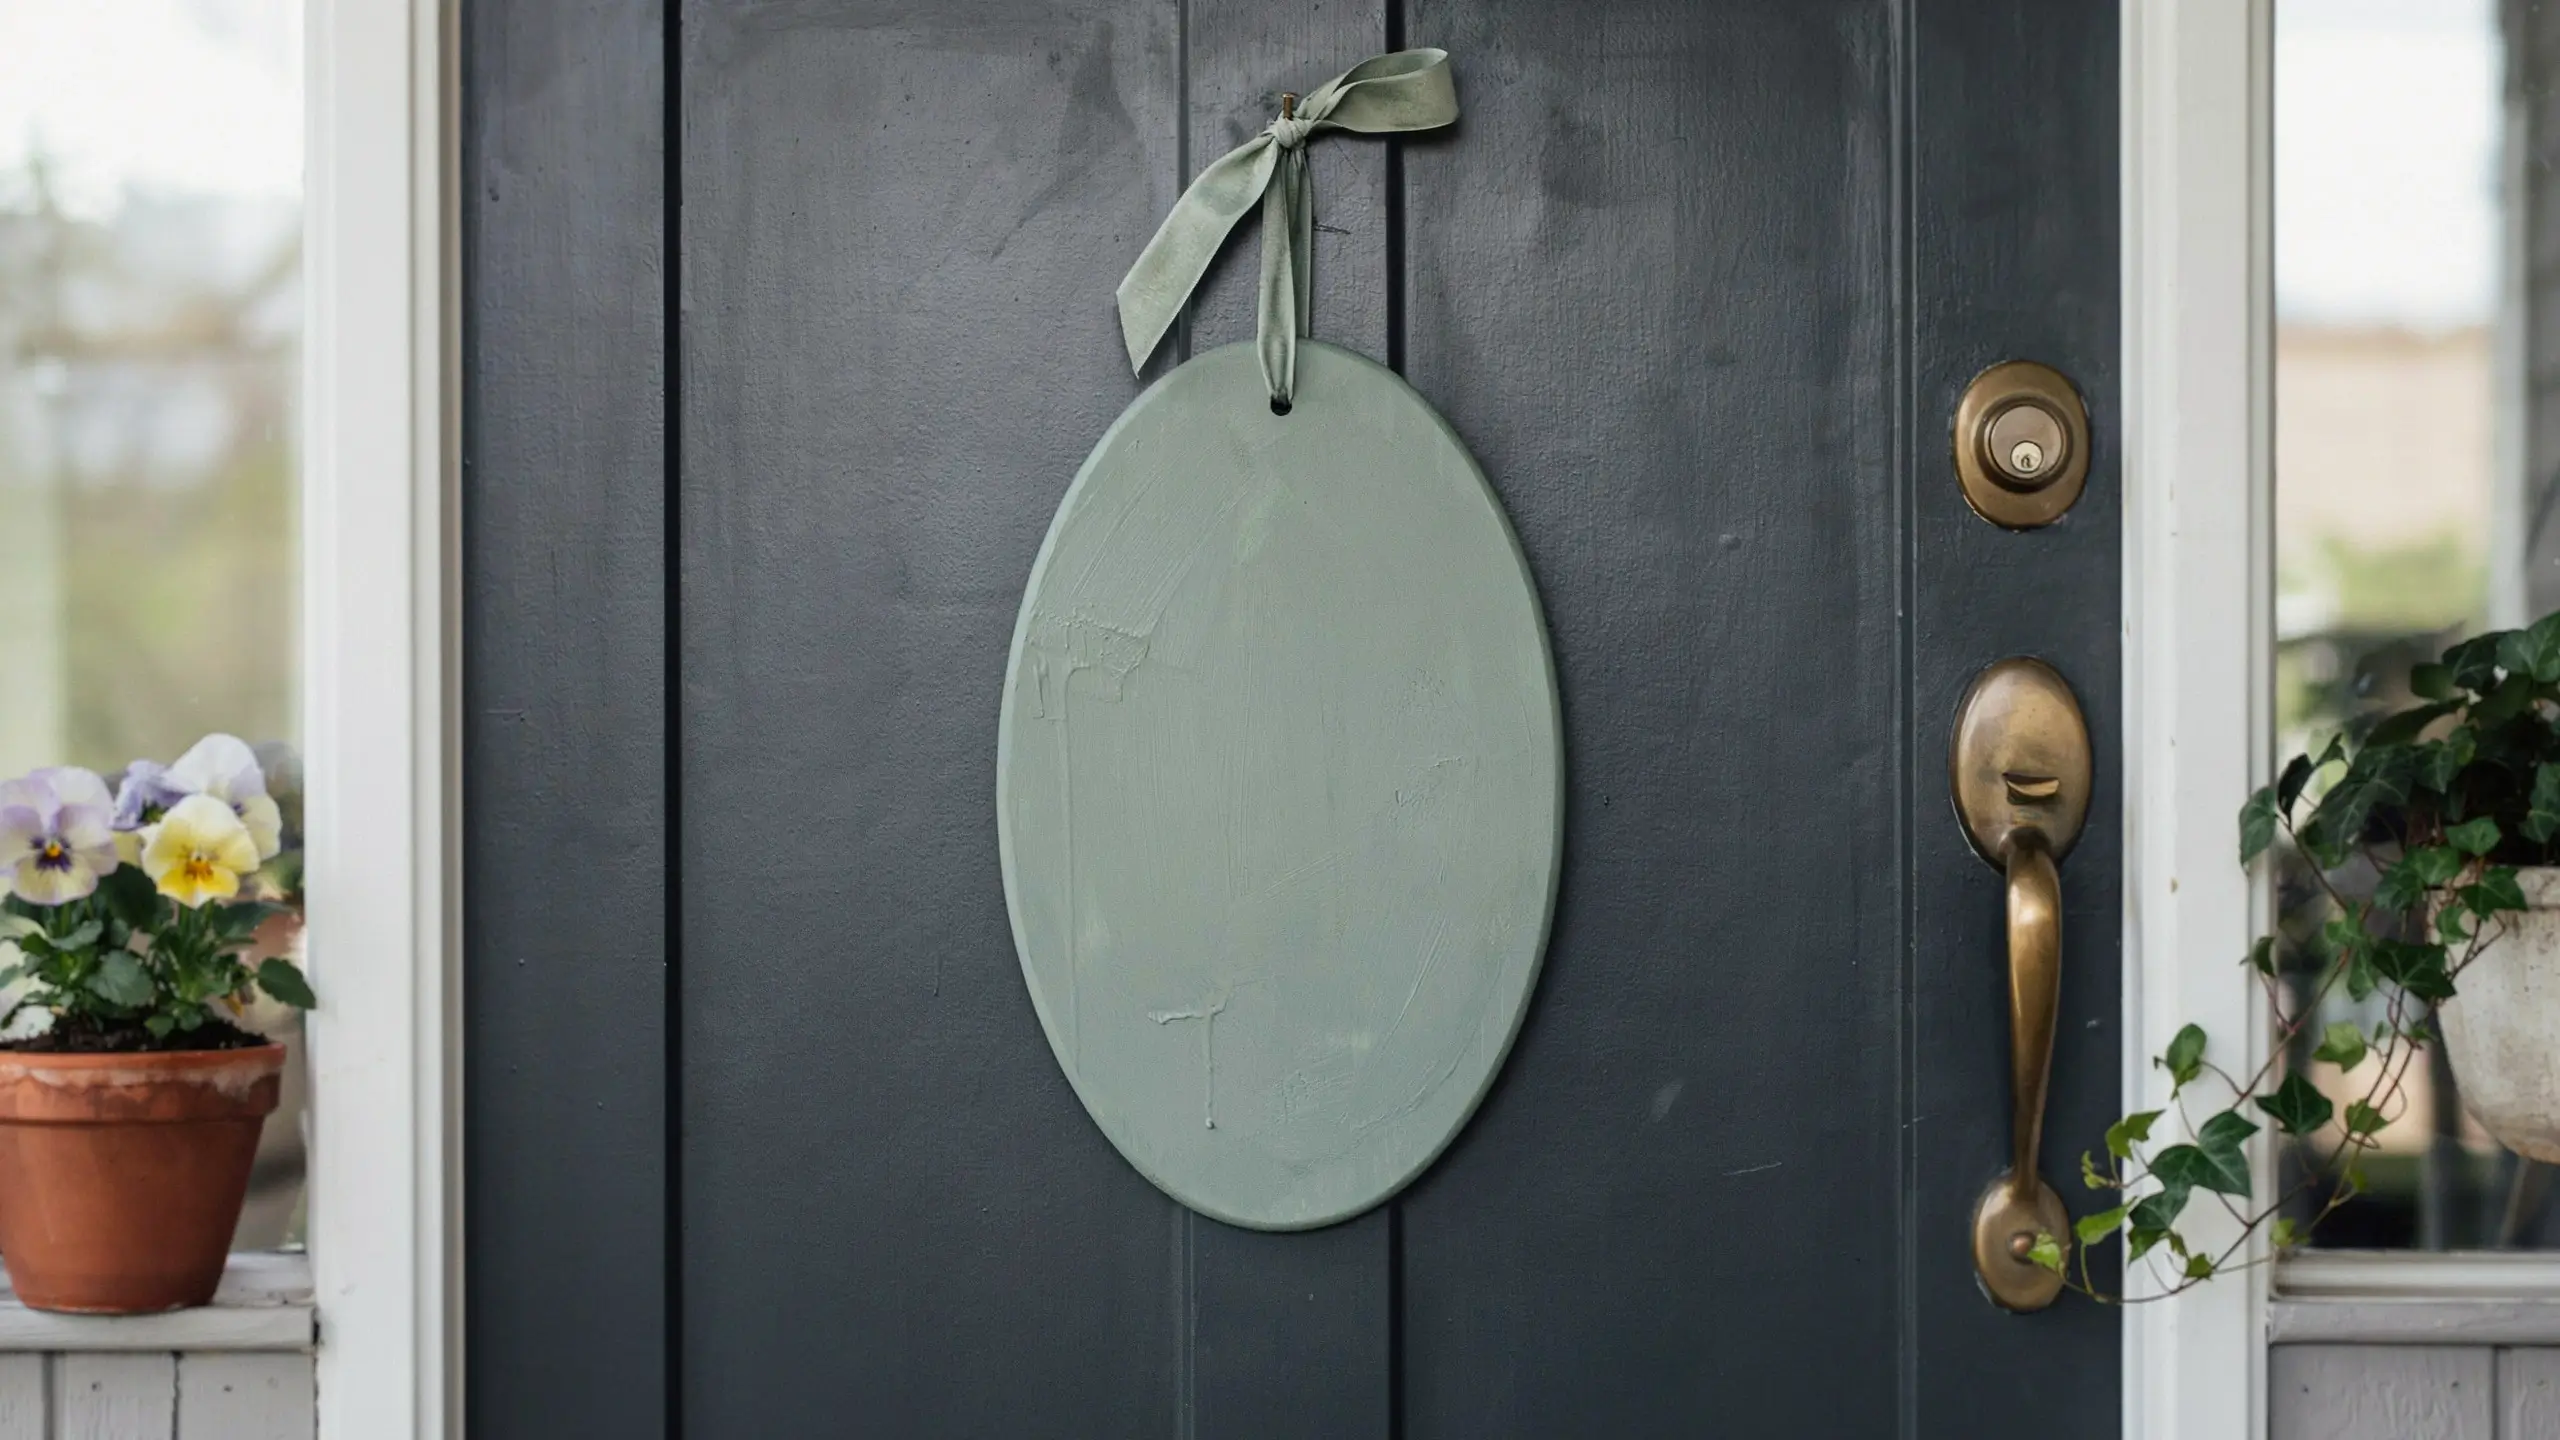
Wooden blanks (the flat, unfinished wood shapes from craft stores) are underused in spring decor. A simple oval, rectangle, or circle painted in sage green and stamped with a word like “Hello Spring” or “In Bloom” makes a door accent that feels custom without a lot of effort.
Use acrylic craft paint, let it dry completely, then add lettering with a fine-tip paint pen or a foam stamp. Hang it with a ribbon looped through a screw eye hook at the top. This is also a great project to personalize for your house number or last name if you want something that stays up beyond spring.
Living Room DIY Spring Decorations
4. A Spring Mantel That Takes Under an Hour to Style
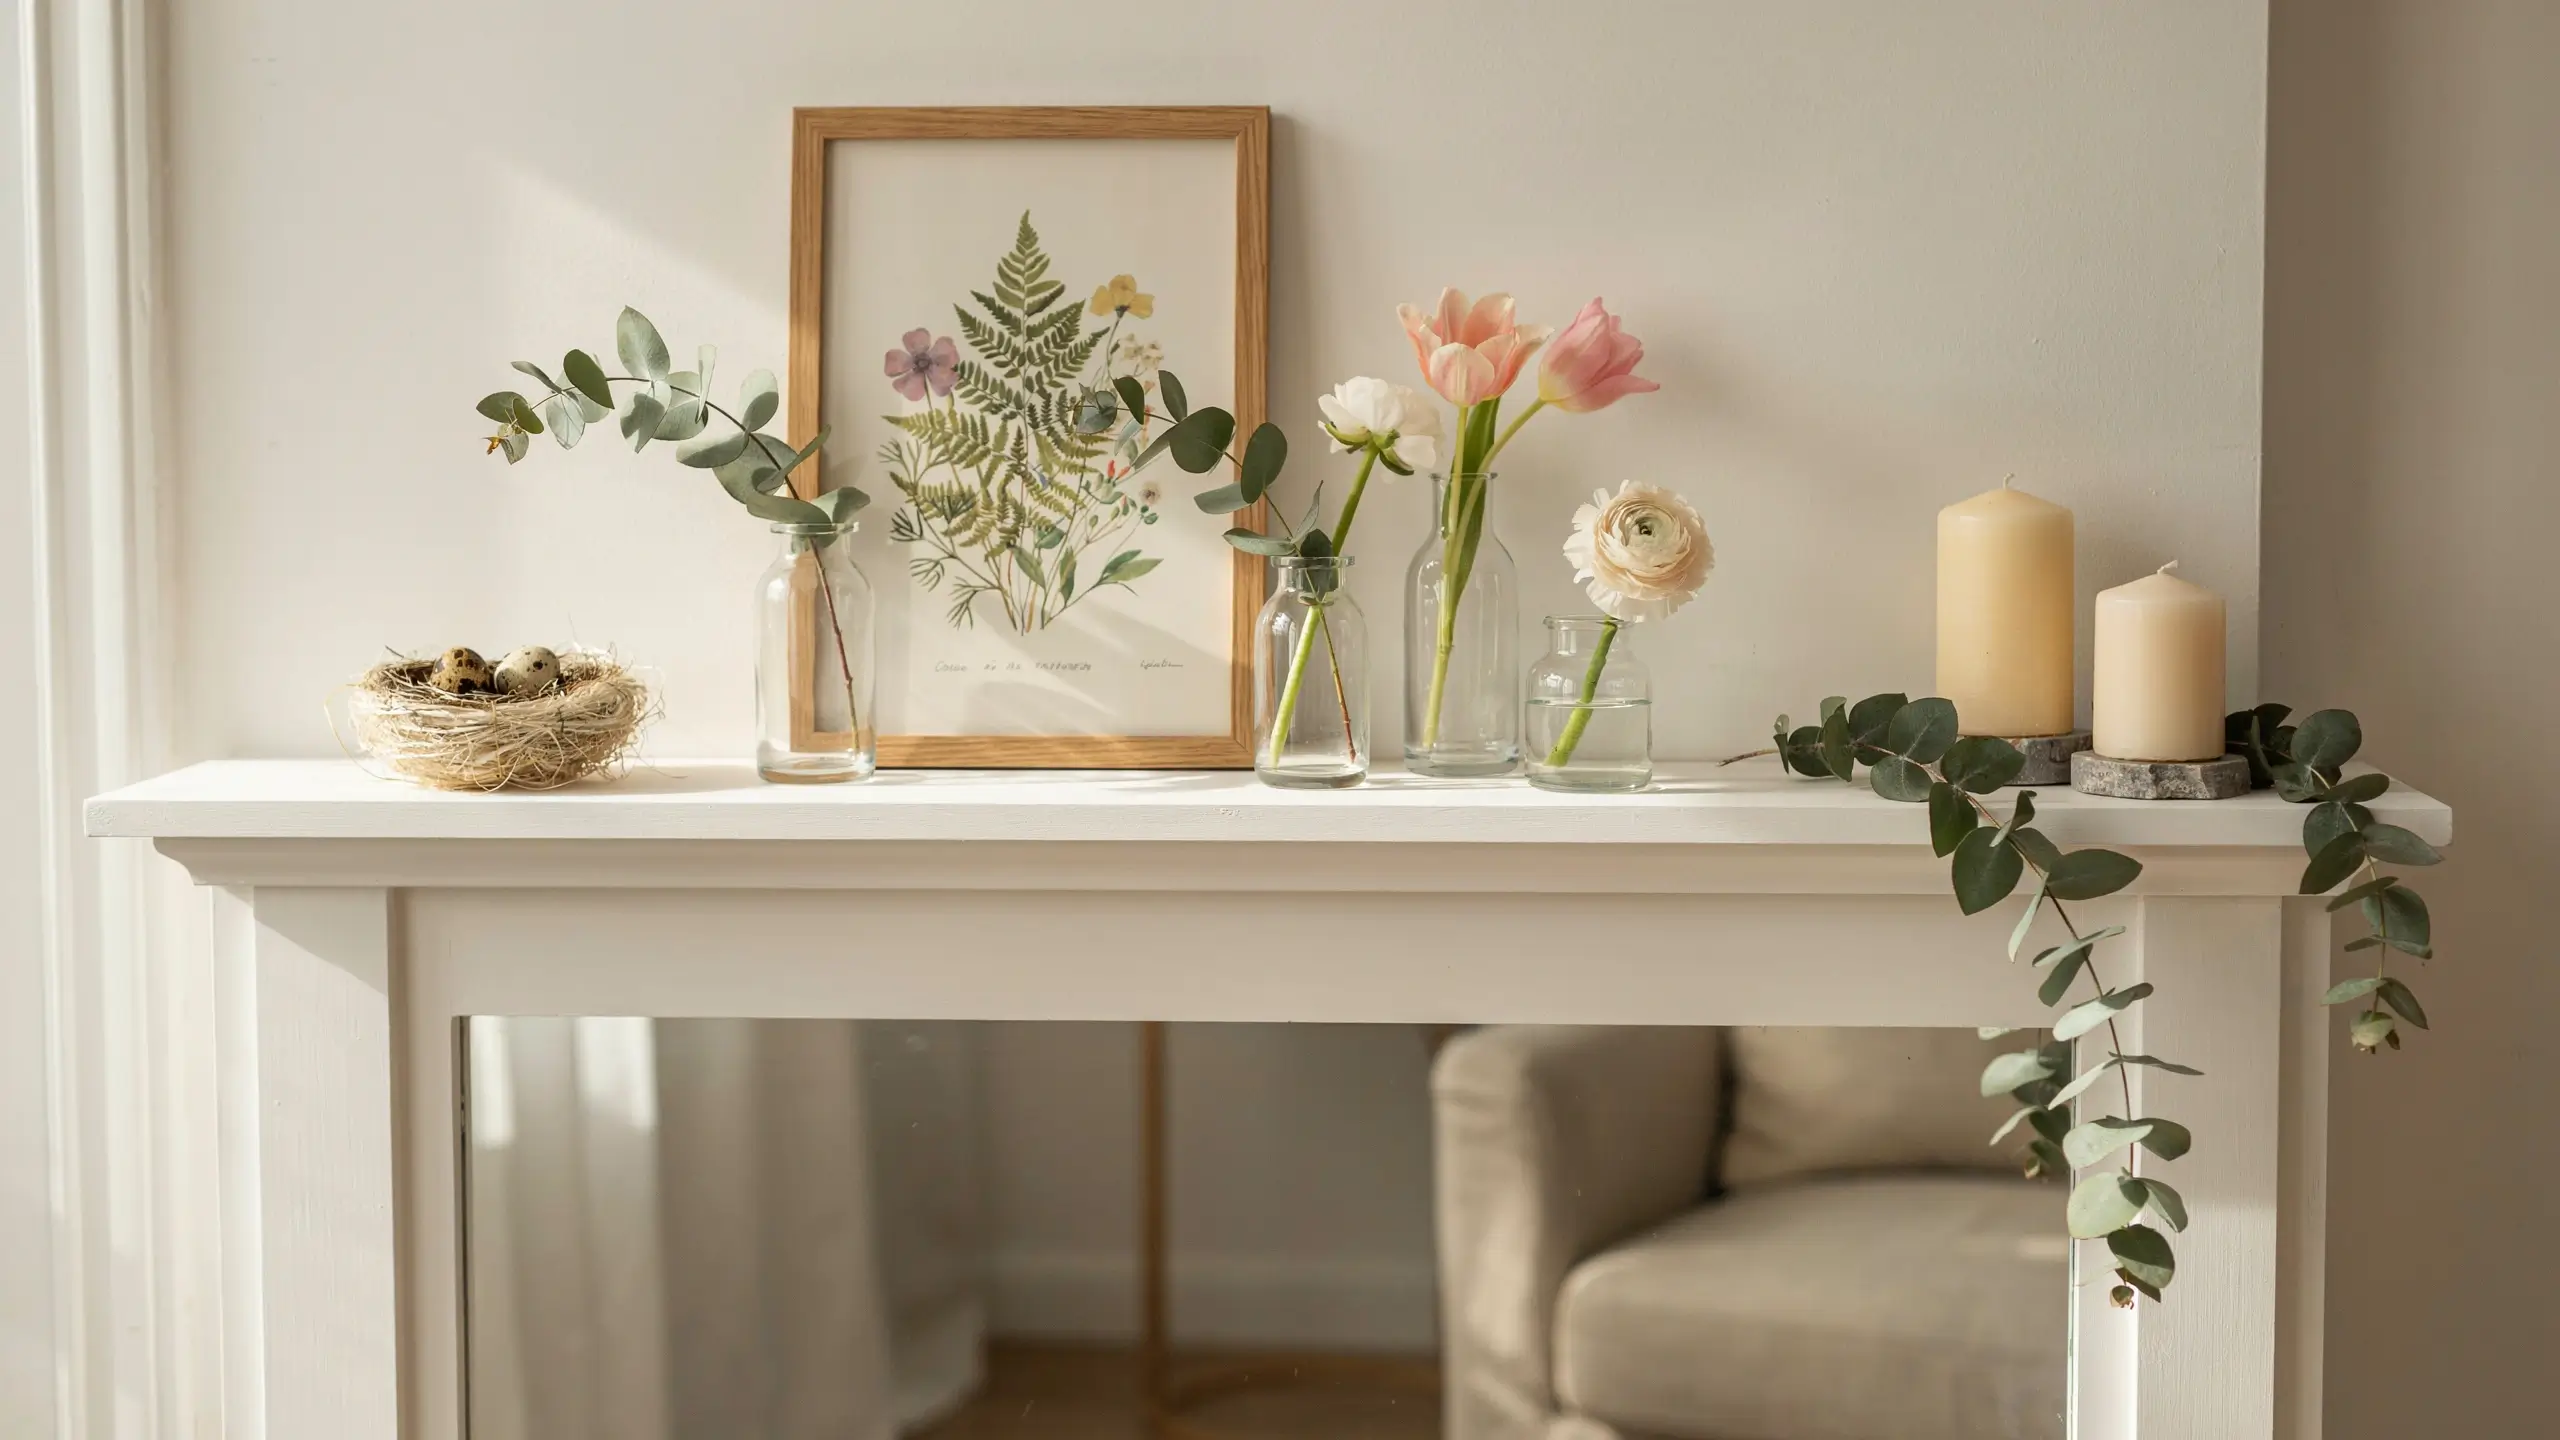
If you have a fireplace, the mantel is your seasonal canvas. For spring, the goal is lightness and nature.
Start by clearing everything off it. Then build back in layers:
- A large botanical print in a simple frame as the background anchor
- A few small bud vases with a single stem each (a tulip, a sprig of eucalyptus, a ranunculus)
- A bird’s nest tucked on one side, either a real found nest or a craft-store version with a few speckled eggs inside
- A candle or two in a soft spring color: cream, sage, or pale pink
- A trailing greenery stem that drapes slightly off one side
The secret is odd numbers and varying heights. Three vases at different levels look intentional. Two feel accidental.
5. Pillow Cover Swap with Dollar Store or Thrifted Fabric
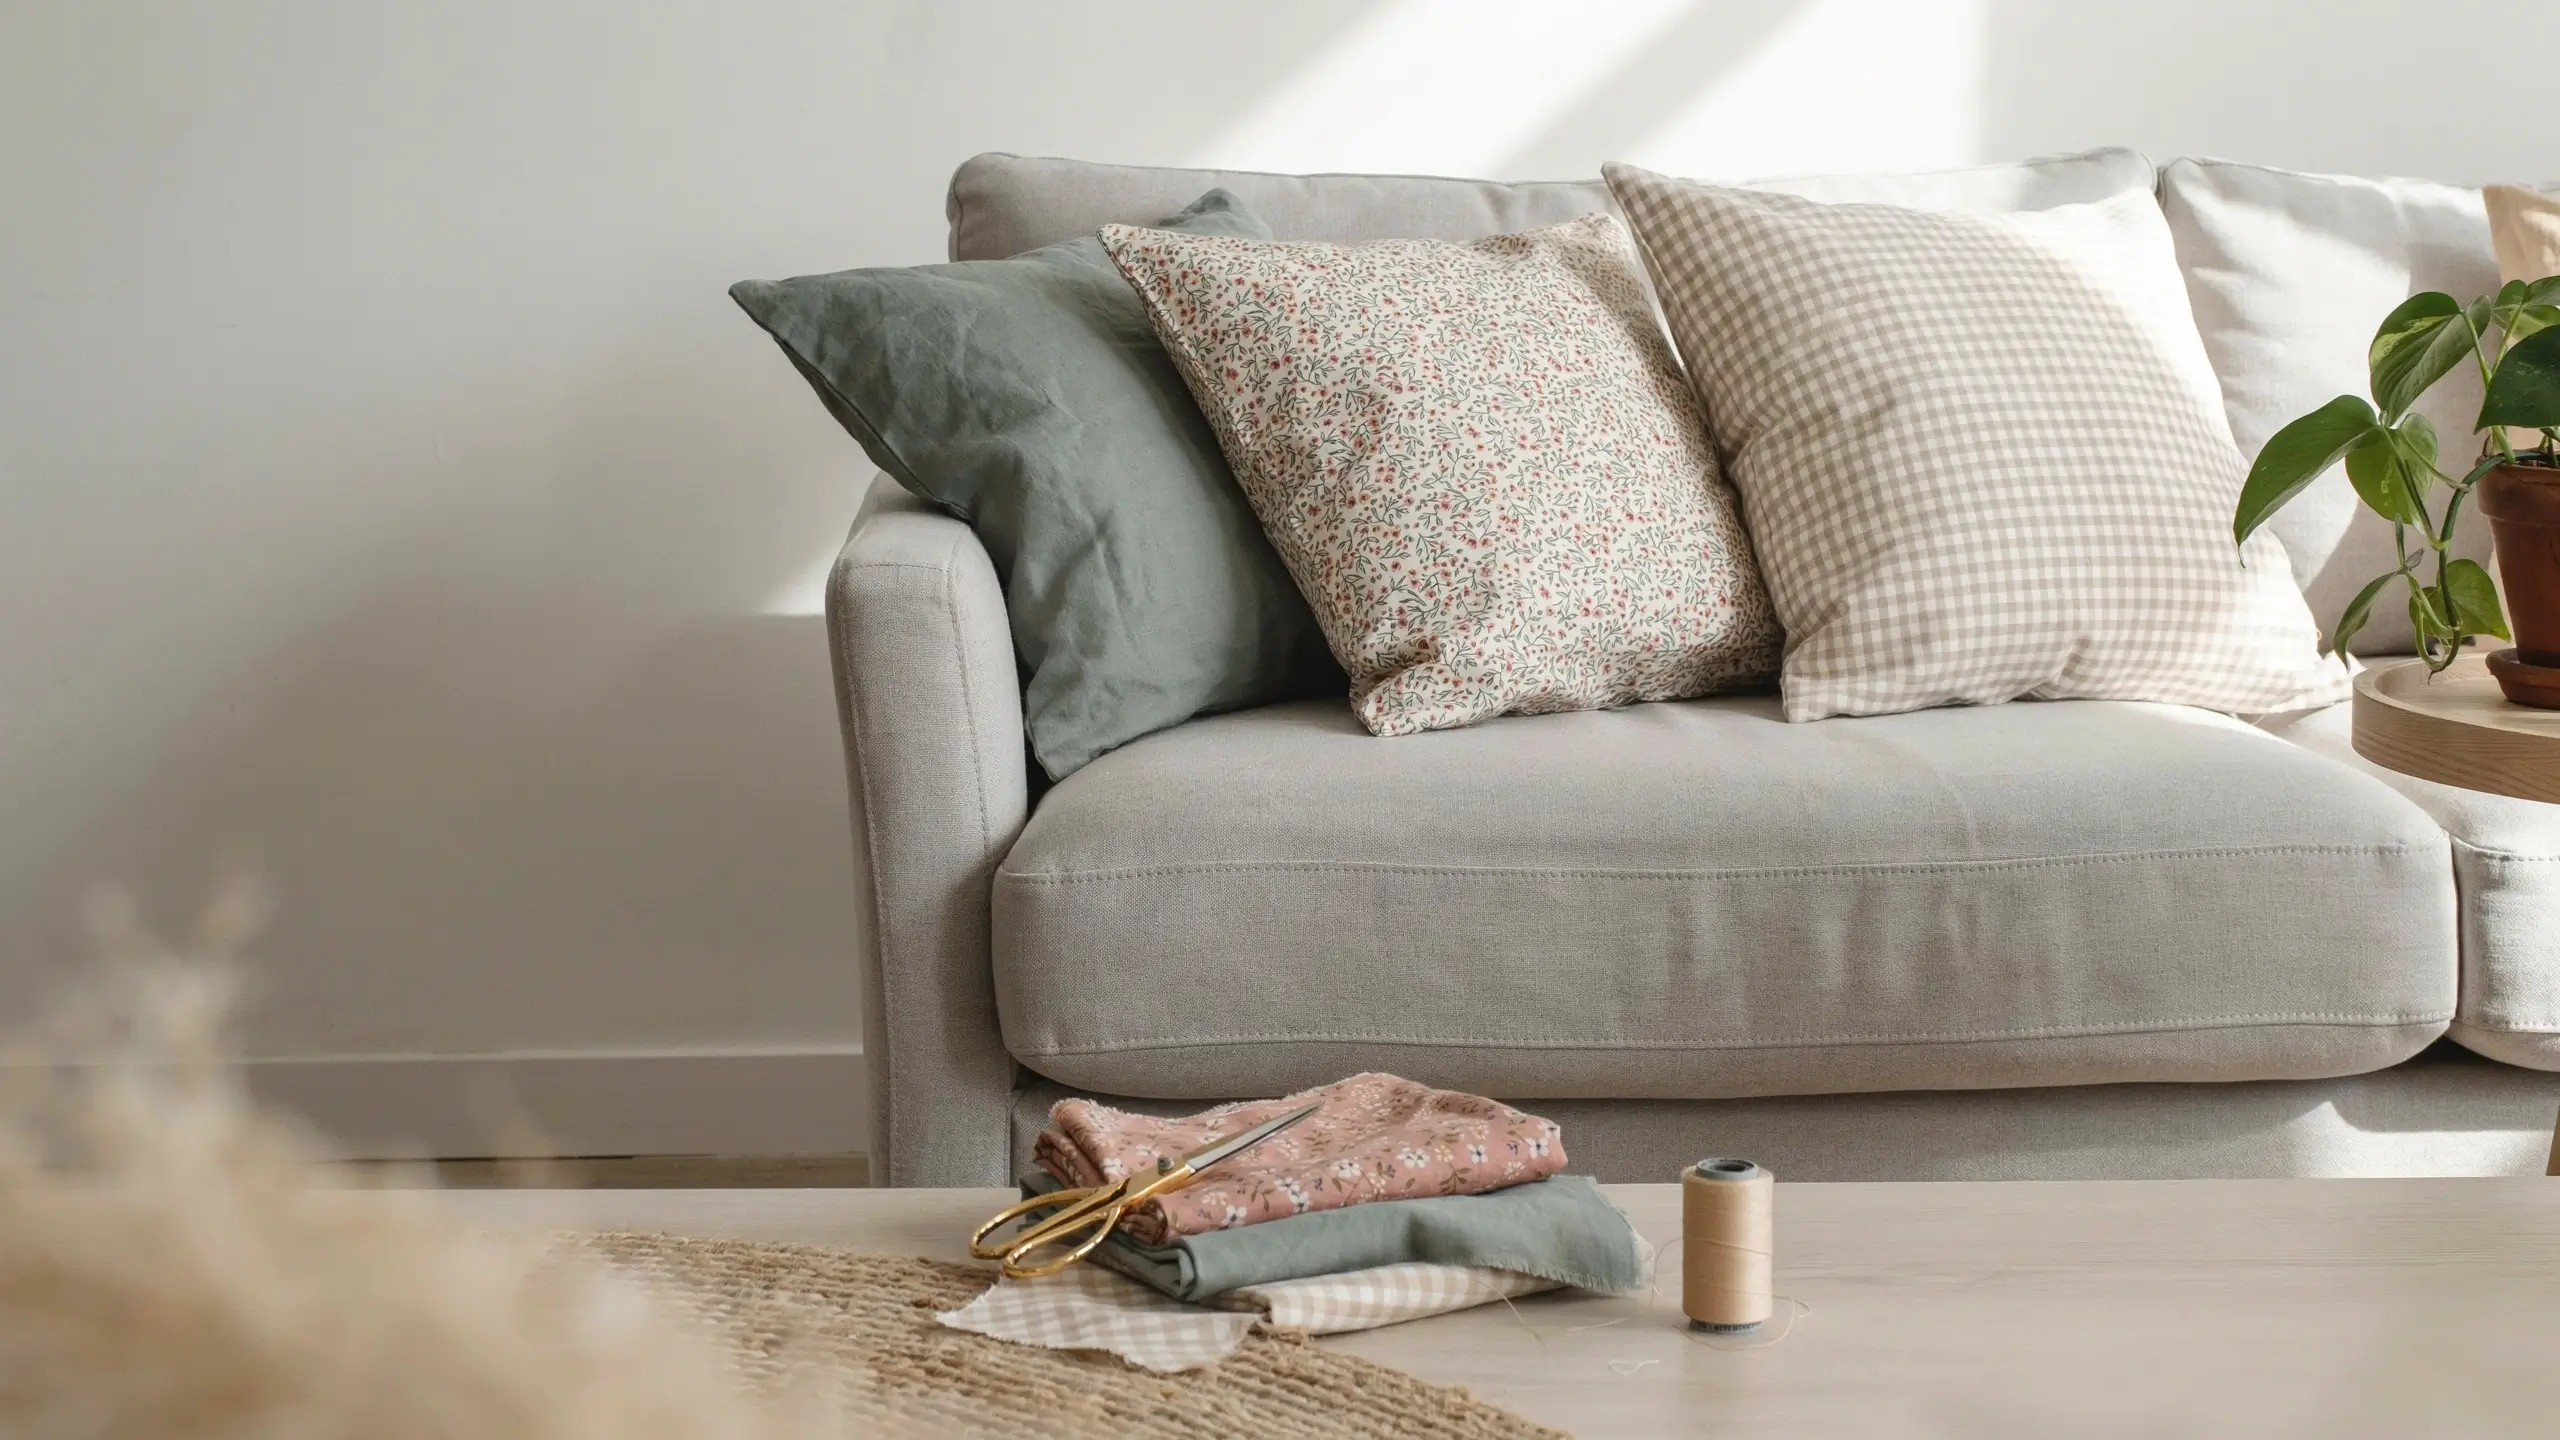
This is the fastest living room refresh that exists, and it costs almost nothing. Swap out your heavy winter pillow covers for lighter ones in a spring palette. Fabric print options that work well: simple florals, gingham, linen solids in sage or blush, or subtle botanical prints.
If you’re handy with a needle and thread (even a little), you can sew simple envelope-style pillow covers in an afternoon using fabric from the remnant bin. If you’re not, pillow cover sets at discount stores or Amazon often come in multipacks for well under $30.
Renter tip: This is one of the best changes you can make in a rental because it’s completely removable and costs almost nothing.
6. A Spring Gallery Wall Using Pressed Flowers and Simple Frames
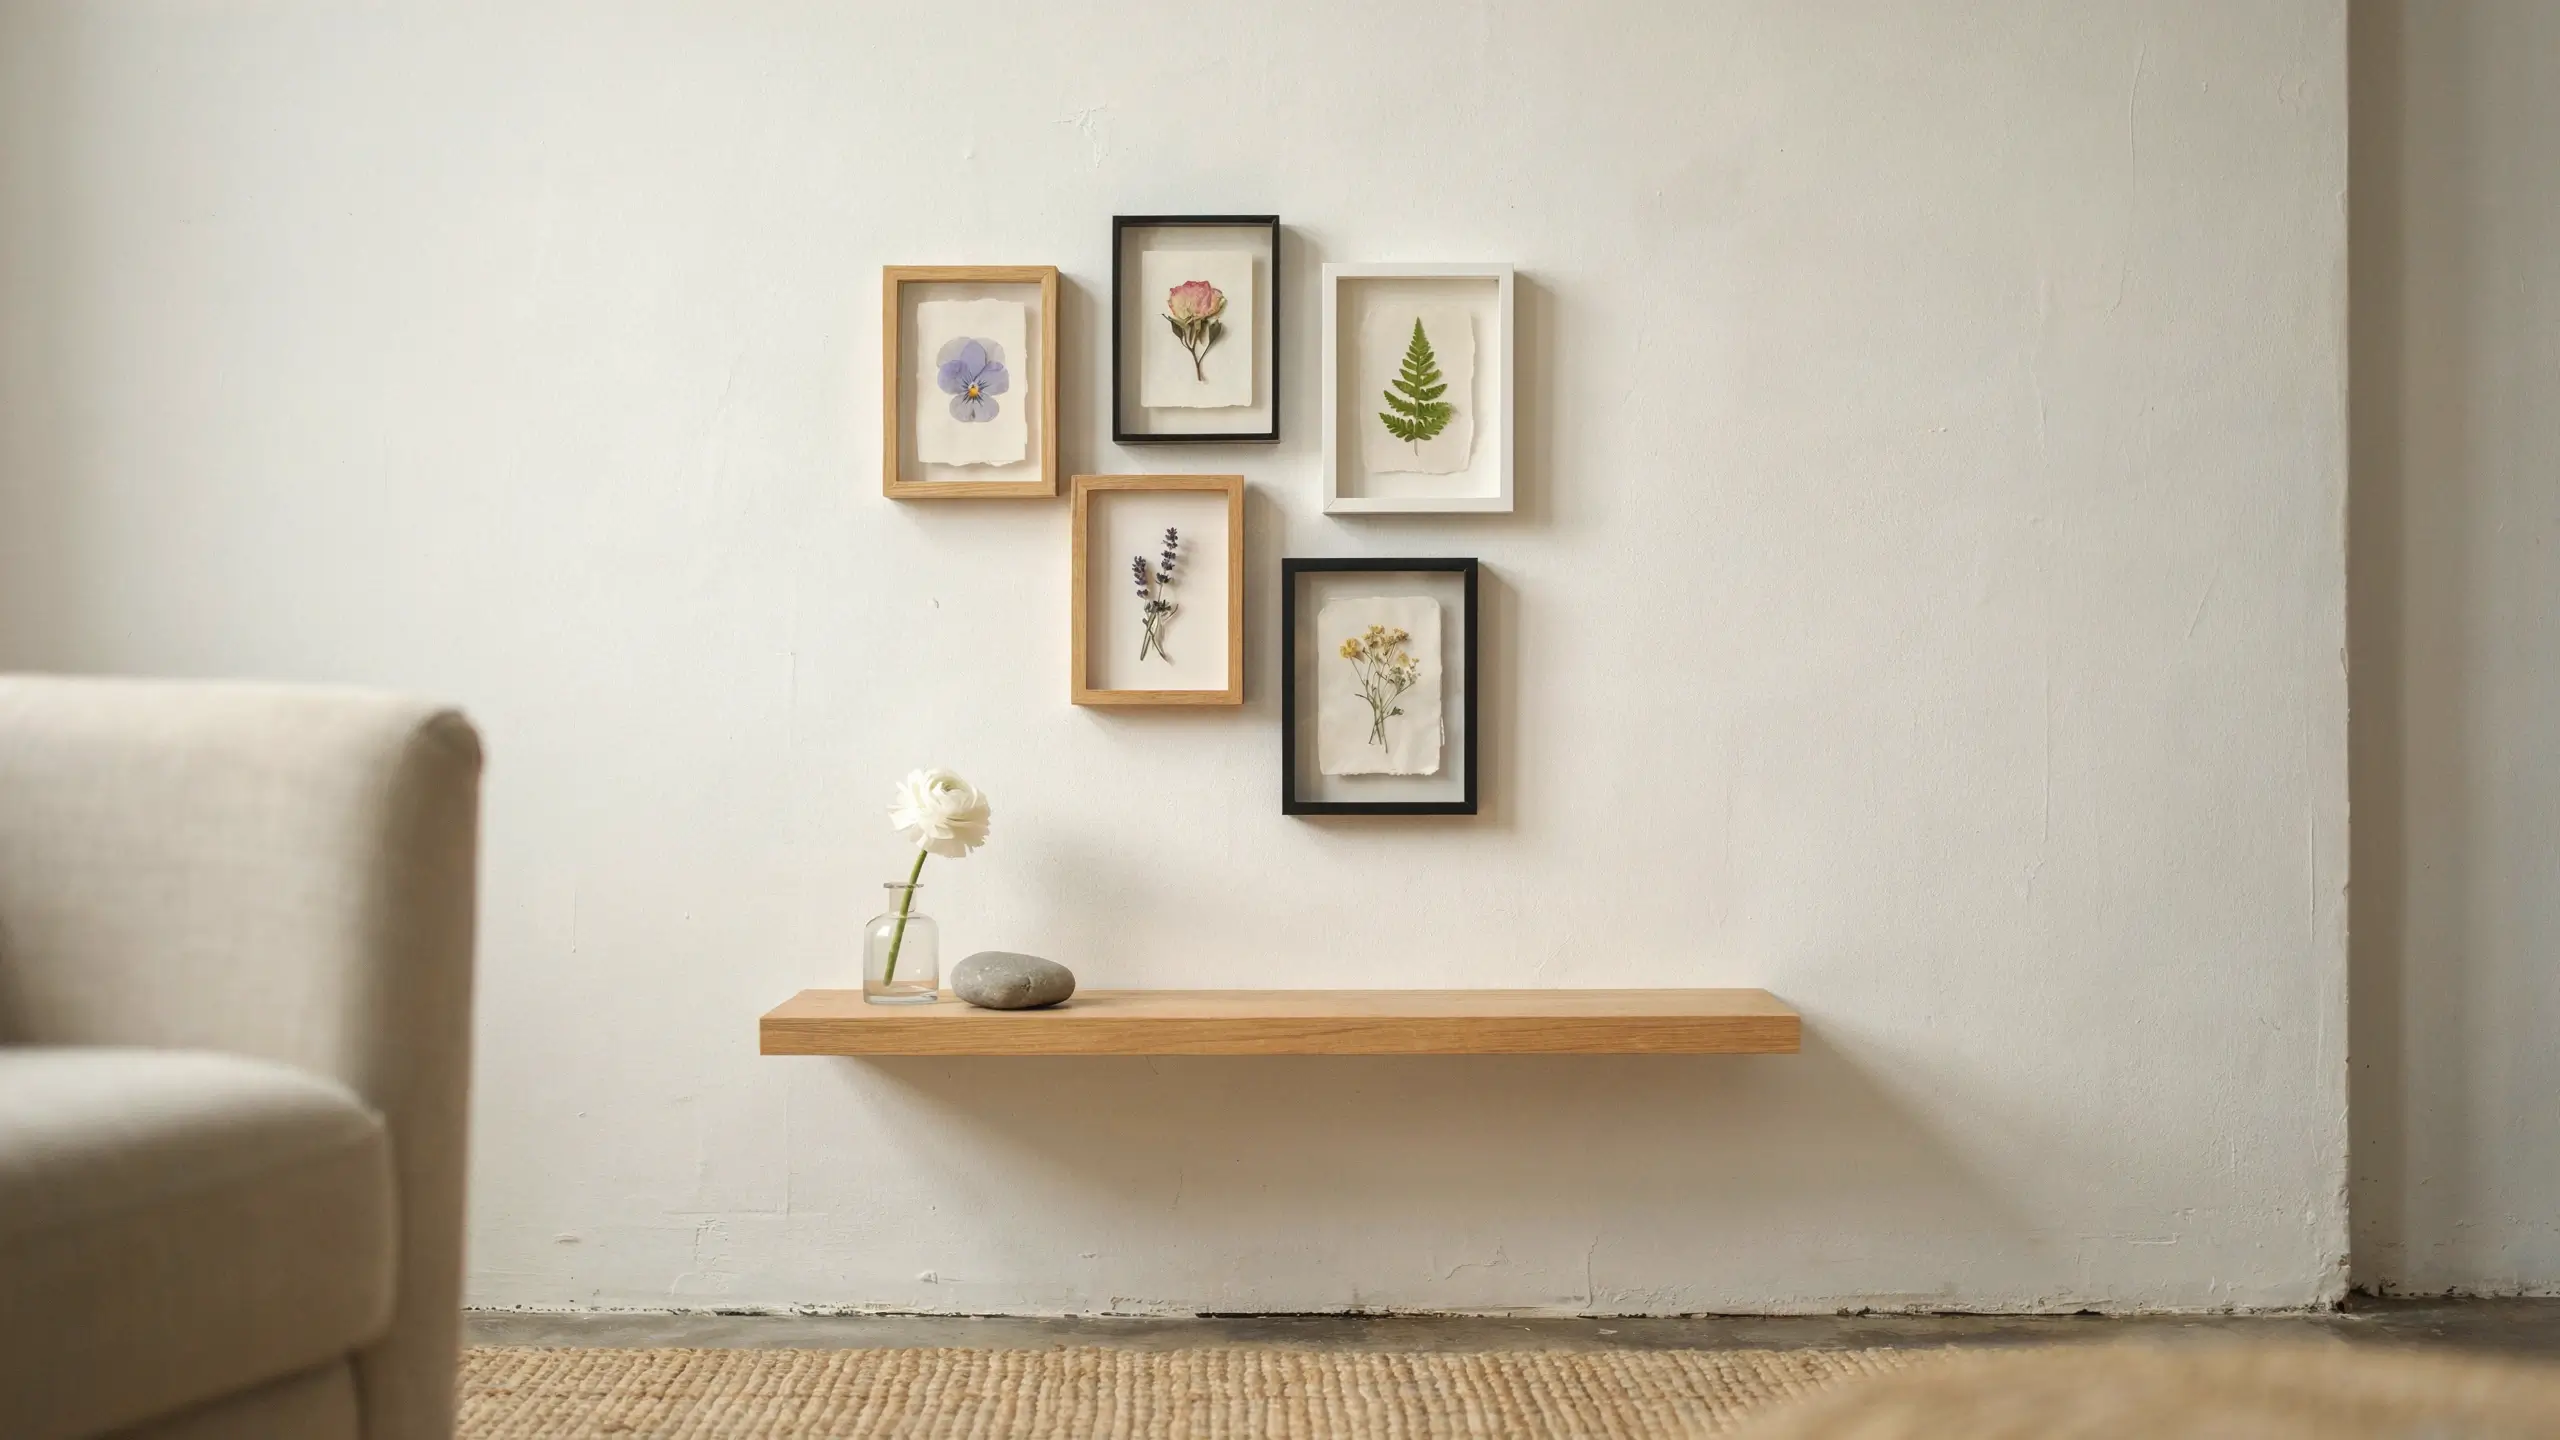
Pressed flower art is having a real moment, and making your own is far easier than it looks.
Collect small flowers from your yard, a farmers market, or even grocery store blooms: pansies, small roses, lavender sprigs, ferns, and wildflowers all work well. Press them between the pages of a heavy book with a sheet of parchment paper on each side. Leave them for 2–3 weeks.
Once dry, arrange them on watercolor paper or cardstock and glue lightly with a small brush and a tiny amount of craft glue. Frame in simple 5×7 or 4×6 frames and hang in a cluster. Three to five frames in mismatched but coordinating styles looks intentional and collected.
This is one of those projects that looks like it came from a boutique and costs under $15.
7. Spring Vignette Styling with Thrifted Bottles and Grocery Store Stems
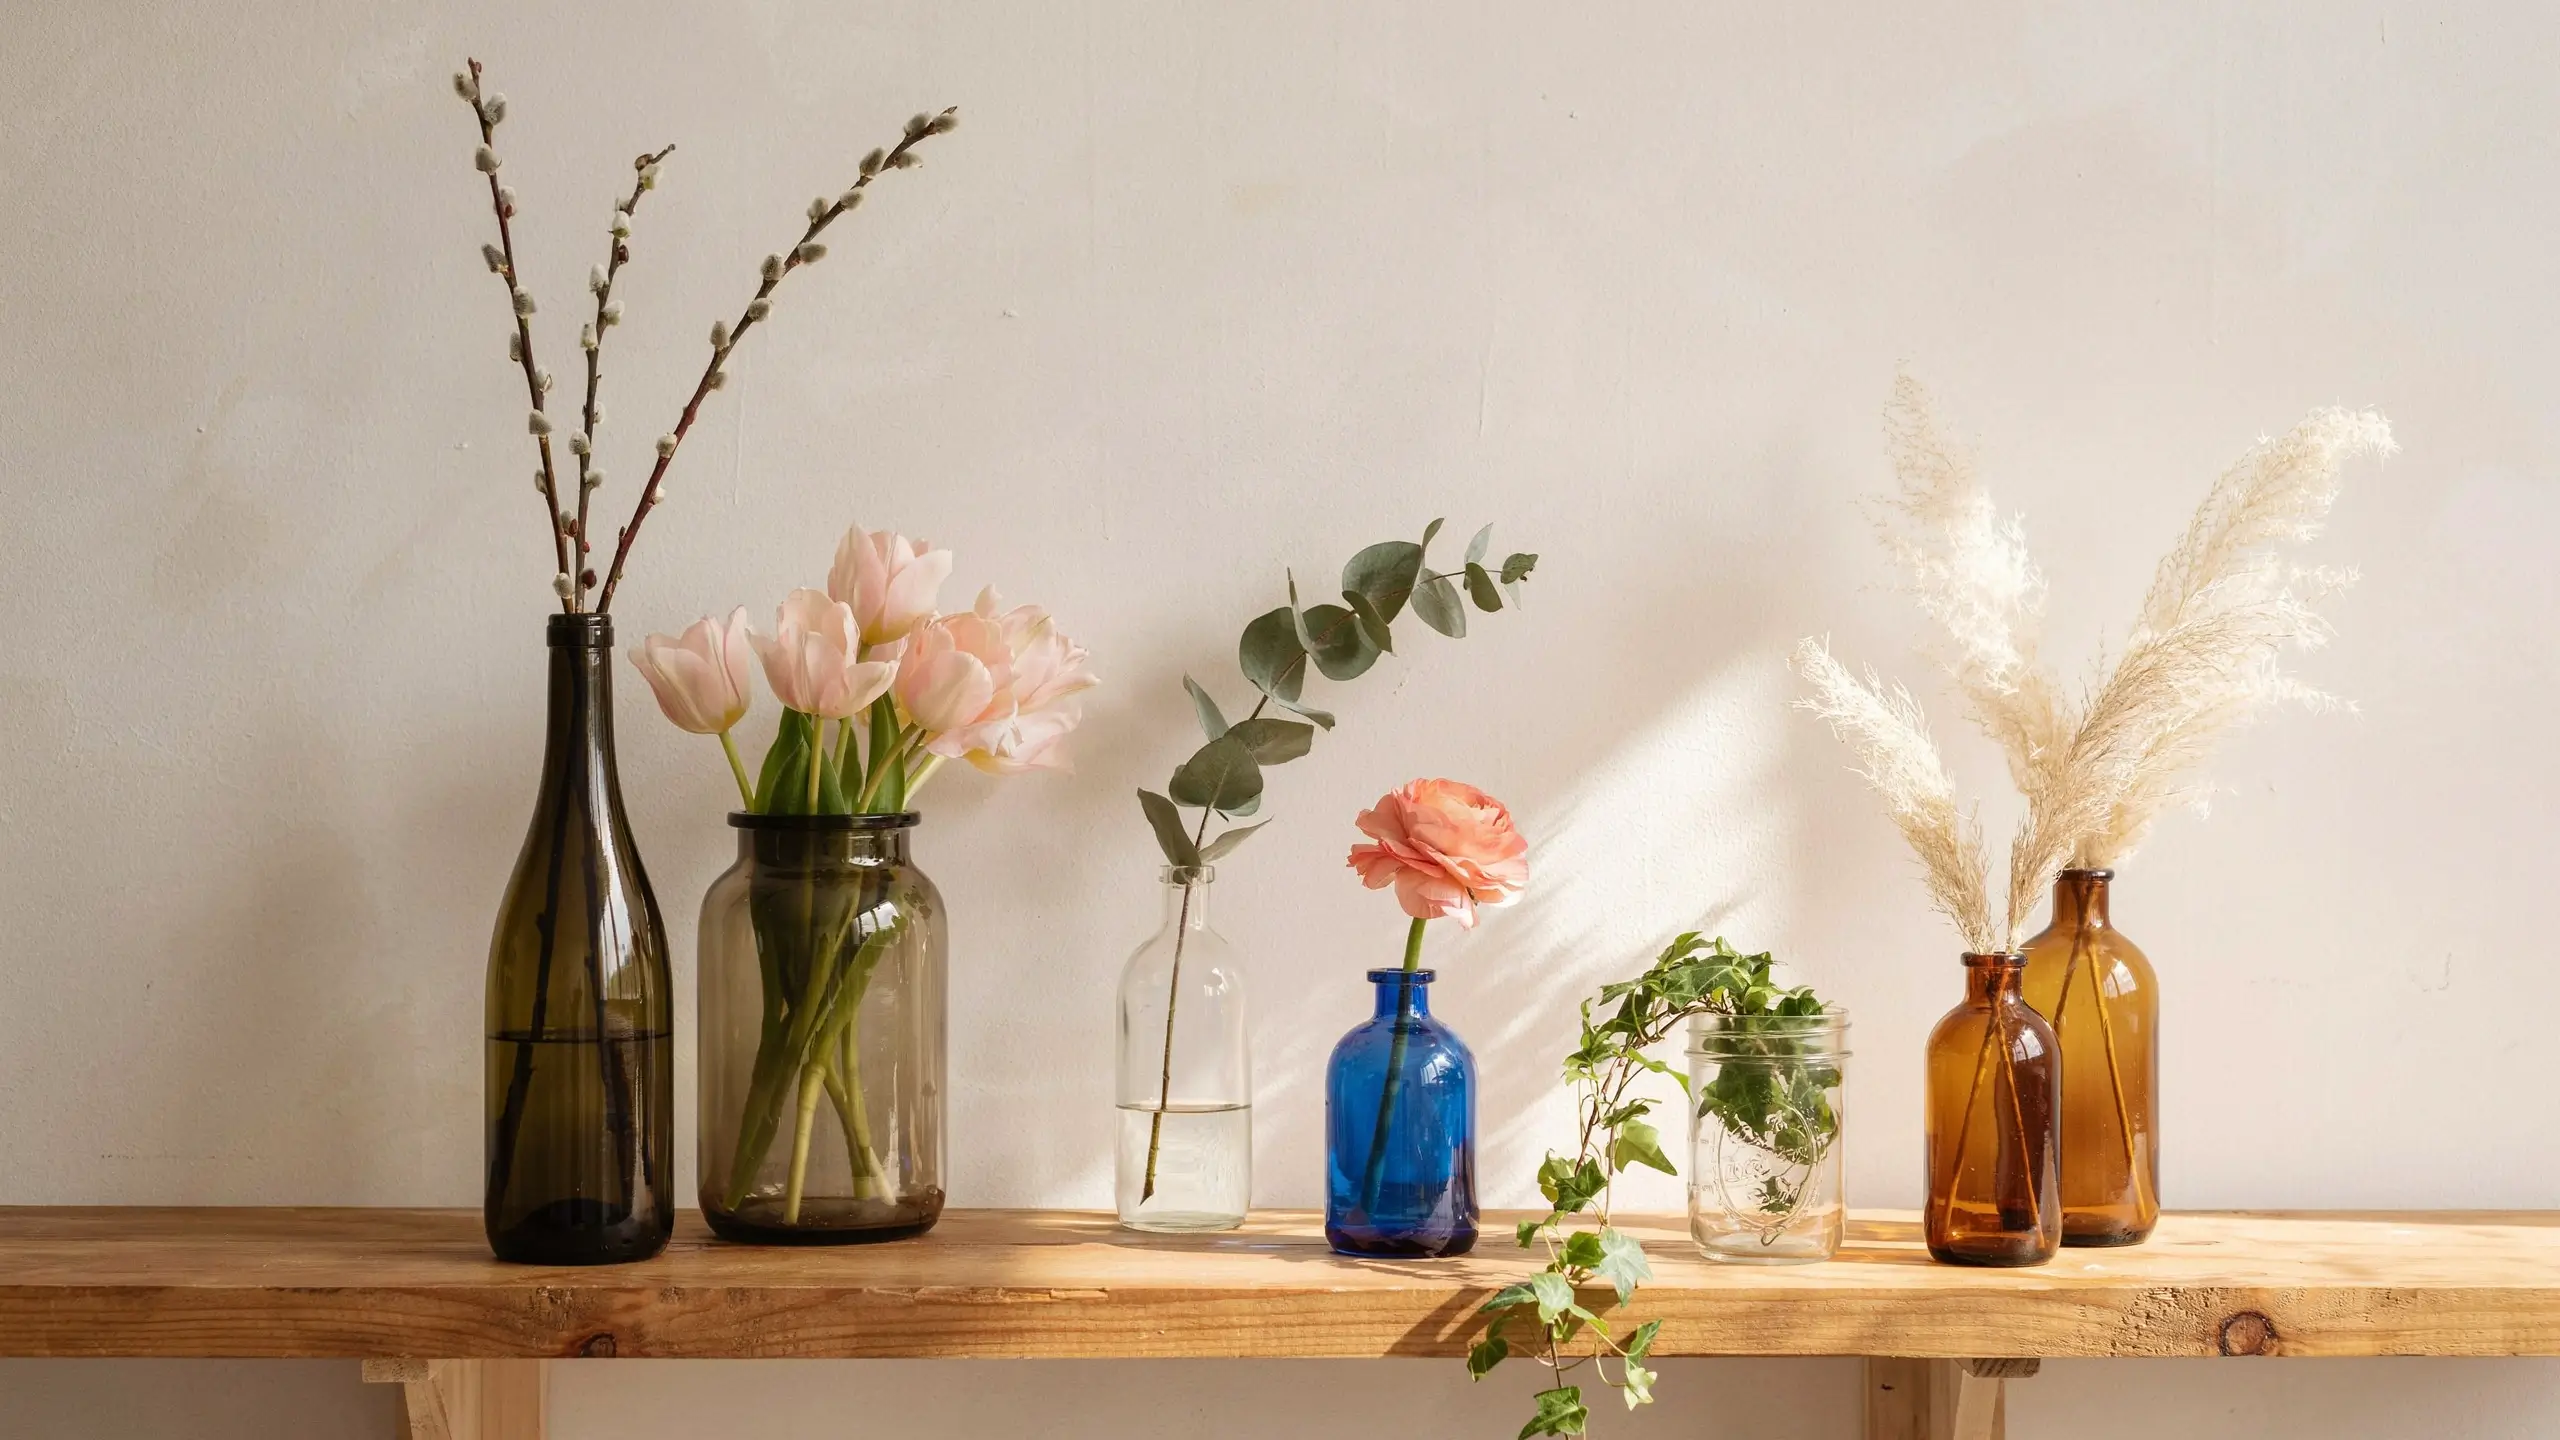
You don’t need to buy a thing from a home decor store for this one. A cluster of glass bottles and jars in varying heights, filled with simple stems, is one of the most photographed spring decor setups on Pinterest for a reason: it’s endlessly adaptable and genuinely beautiful.
Raid your recycling bin and thrift stores for interesting glass shapes. Think wine bottles, olive jars, apothecary bottles, bud vases, and Mason jars. Group them together on a tray, a book stack, or directly on a shelf. Add stems like tulips from the grocery store ($5 a bunch), pussy willow branches, simple greenery, or dried pampas grass if you prefer something that doesn’t need water.
The styling trick: Vary the heights of both the vessels and the stems. The tallest stem in the shortest jar, the shortest stem in the tallest jar, and everything in between.
Tabletop and Dining DIY Spring Decorations
8. A Spring Table Centerpiece with a Floral Hoop
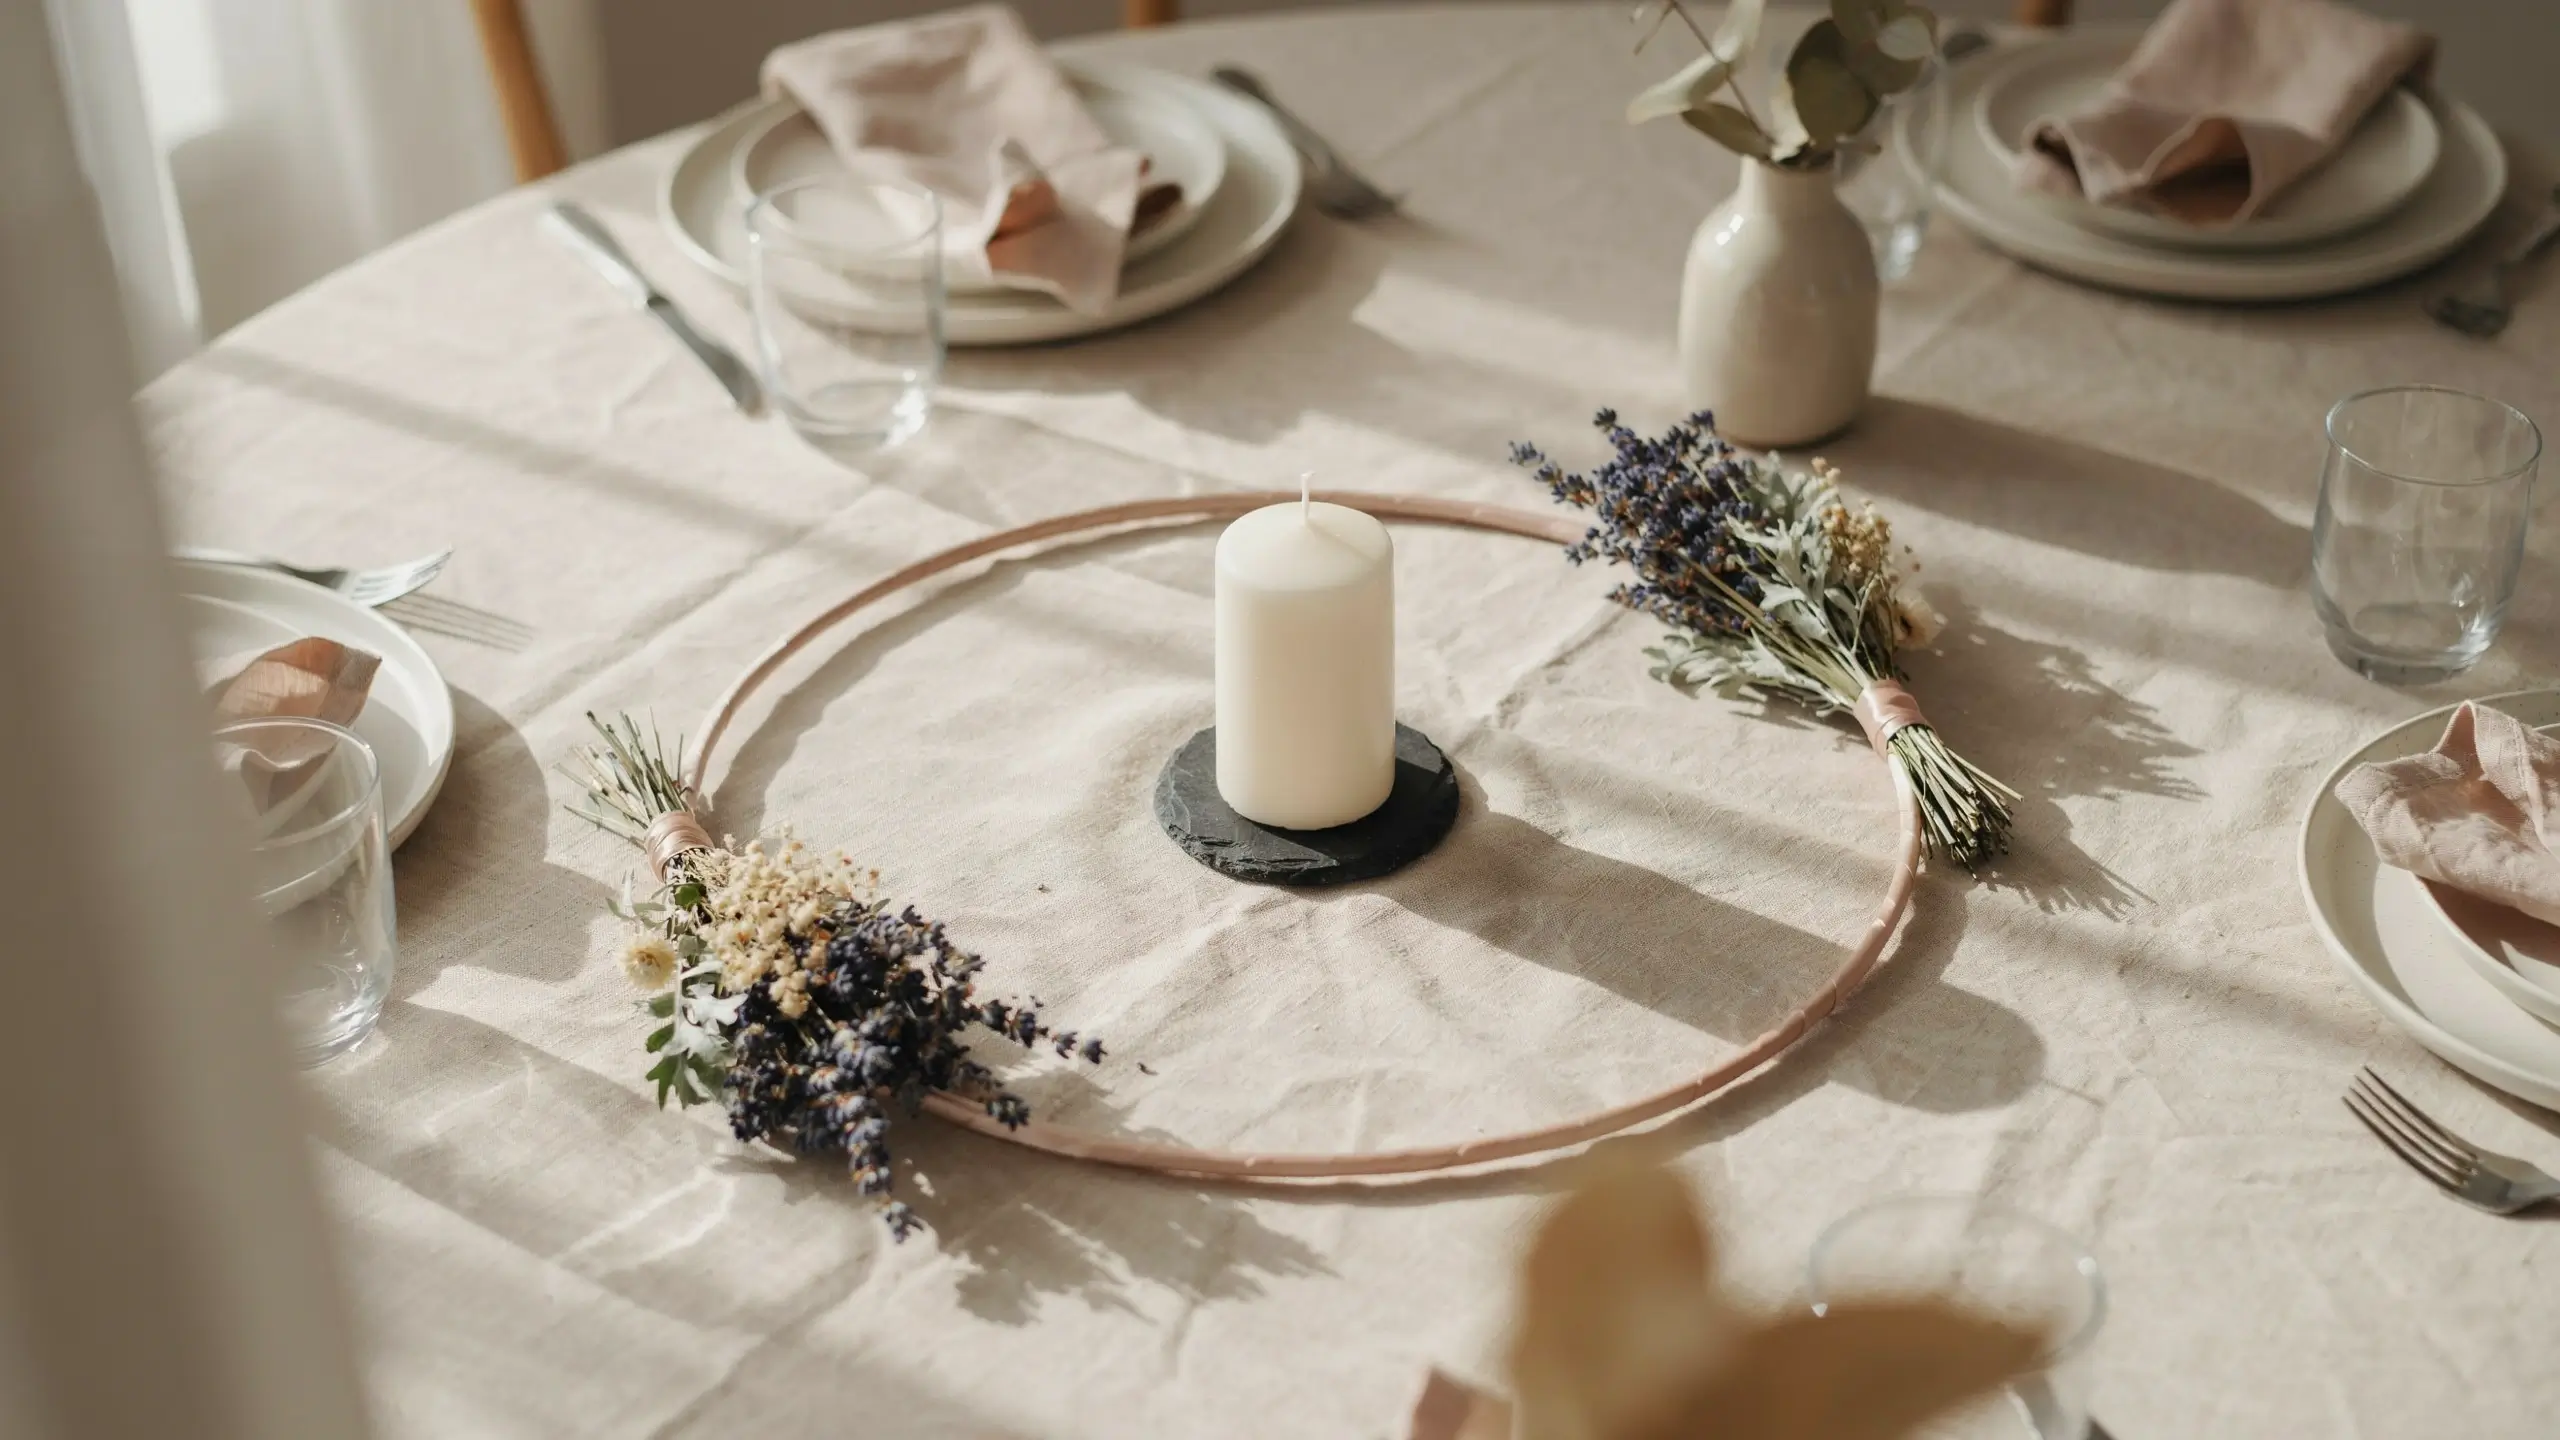
Wire hoops from the craft store (often sold as macramé or embroidery hoops) make beautiful modern centerpiece bases that look completely different from a traditional arrangement.
Wrap the hoop with soft ribbon or twine. Then attach small bundles of dried flowers, faux florals, or fresh-cut herbs at one or two spots on the circle using floral wire. Lay the hoop flat on the table or prop it slightly using small stones as feet. Place a candle or small vase in the center of the hoop. It takes 20 minutes and creates a table centerpiece that reads as genuinely design-forward.
9. A Painted Terracotta Pot Cluster for the Table or Kitchen Windowsill
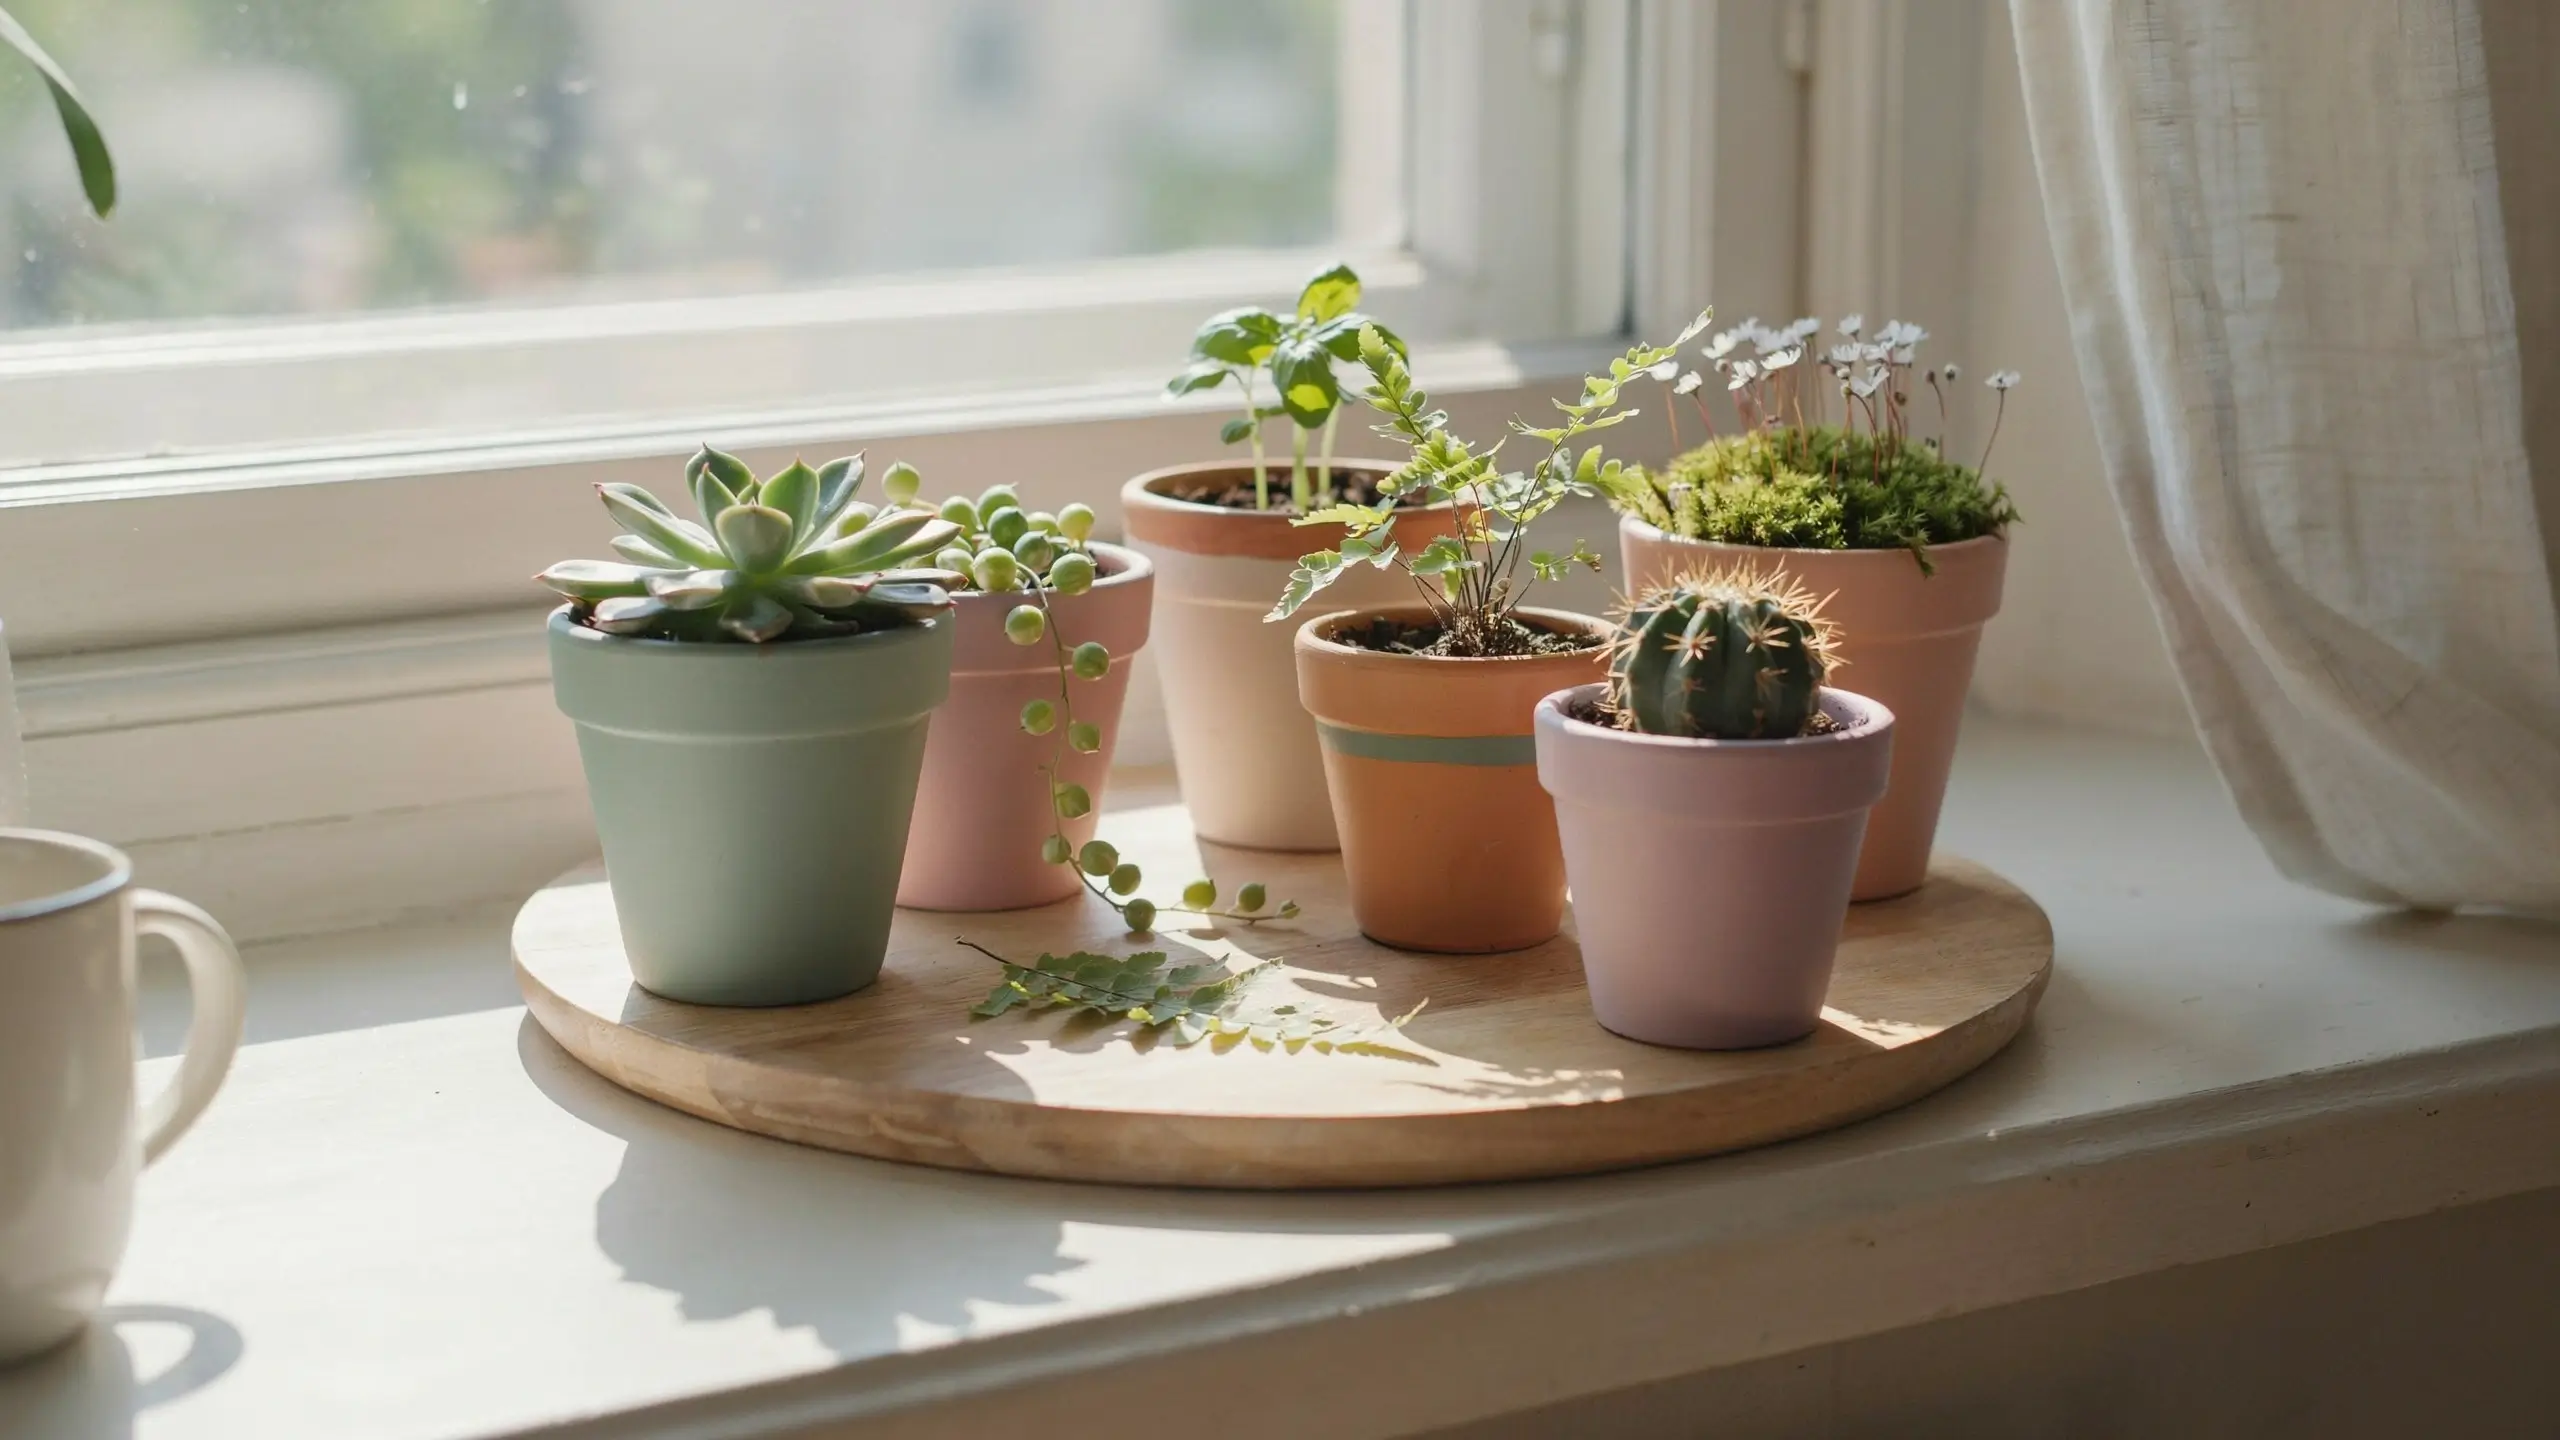
This might be the most satisfying spring DIY per minute spent, because the before and after is so dramatic.
Buy small terracotta pots (the 2–4 inch size works beautifully for a cluster). Sand lightly, wipe clean, and paint in a wash of your chosen spring palette colors: one in sage green, one in dusty blush, one in cream with a terracotta rim, one left natural with just a simple stripe. Use chalk paint or regular acrylic. Let dry, seal with a light spray of matte varnish, and plant each one with a small succulent, herb, or trailing plant.
Cluster four to six of these together on a small wooden tray and you have a centerpiece, a windowsill decoration, a kitchen counter accent, or a gift. They work in every room.
10. Cloth Napkins with a Spring Stamp Print (No Sewing Required)
Plain white or cream cotton napkins become something special with a simple stamped border. Use a carved rubber stamp or a foam stamp in a floral or botanical shape, fabric ink in a soft color, and press along two edges of the napkin. Let dry and heat-set with an iron.
This is a great project for the whole family since kids love stamping and the results are charming even if they’re slightly imperfect. A set of four stamped napkins makes a beautiful hostess gift too.
Wall and Window DIY Spring Decorations
11. A Paper Flower Garland for a Window or Mantel
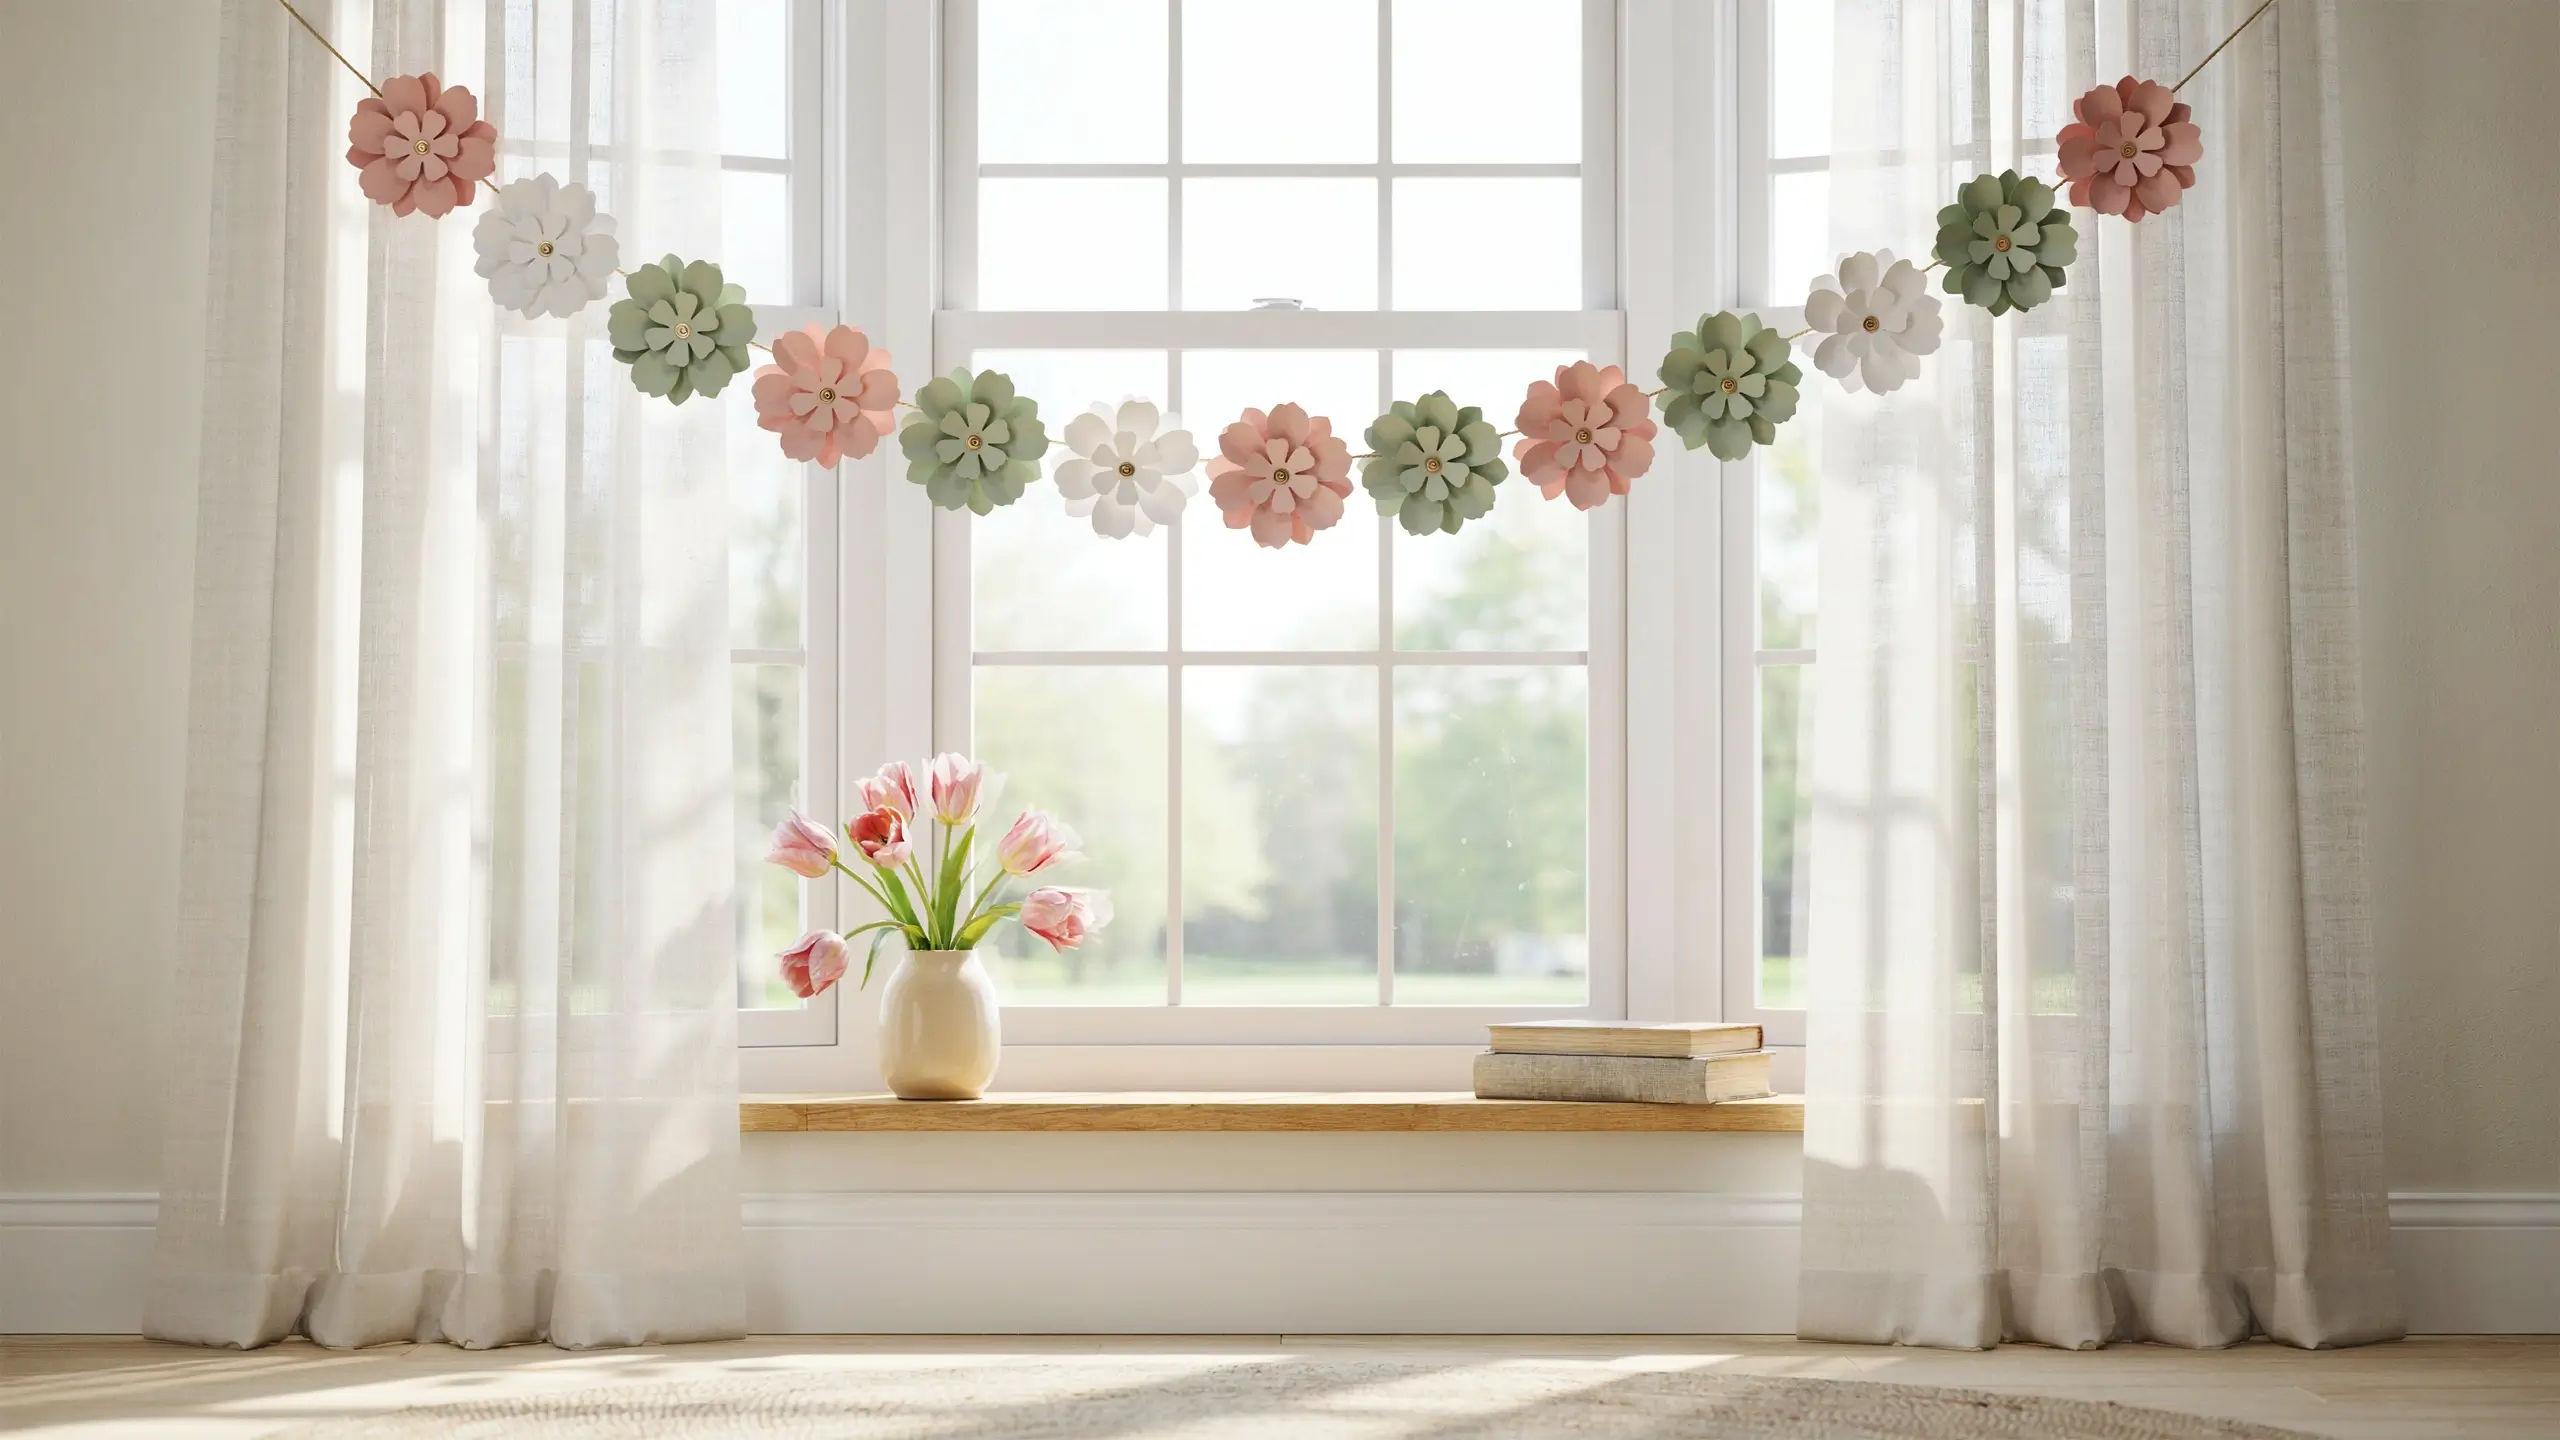
Paper flowers sound basic until you actually see a full garland of them in a room. Done well, they look sculptural and unexpected.
Use cardstock in two or three coordinating spring colors. Cut petal shapes freehand or with a simple petal punch. Layer 5–7 petals together, pinch the center, and secure with a brad or a twist of wire. Make 15–20 flowers, then string them onto twine or ribbon with a needle. Hang across a window frame, above a mantel, along a bookshelf edge, or draped above a headboard.
The whole project costs under $10 and takes a couple of hours. It makes an enormous visual statement.
12. A Spring Fabric Banner from Fabric Scraps and Ribbon
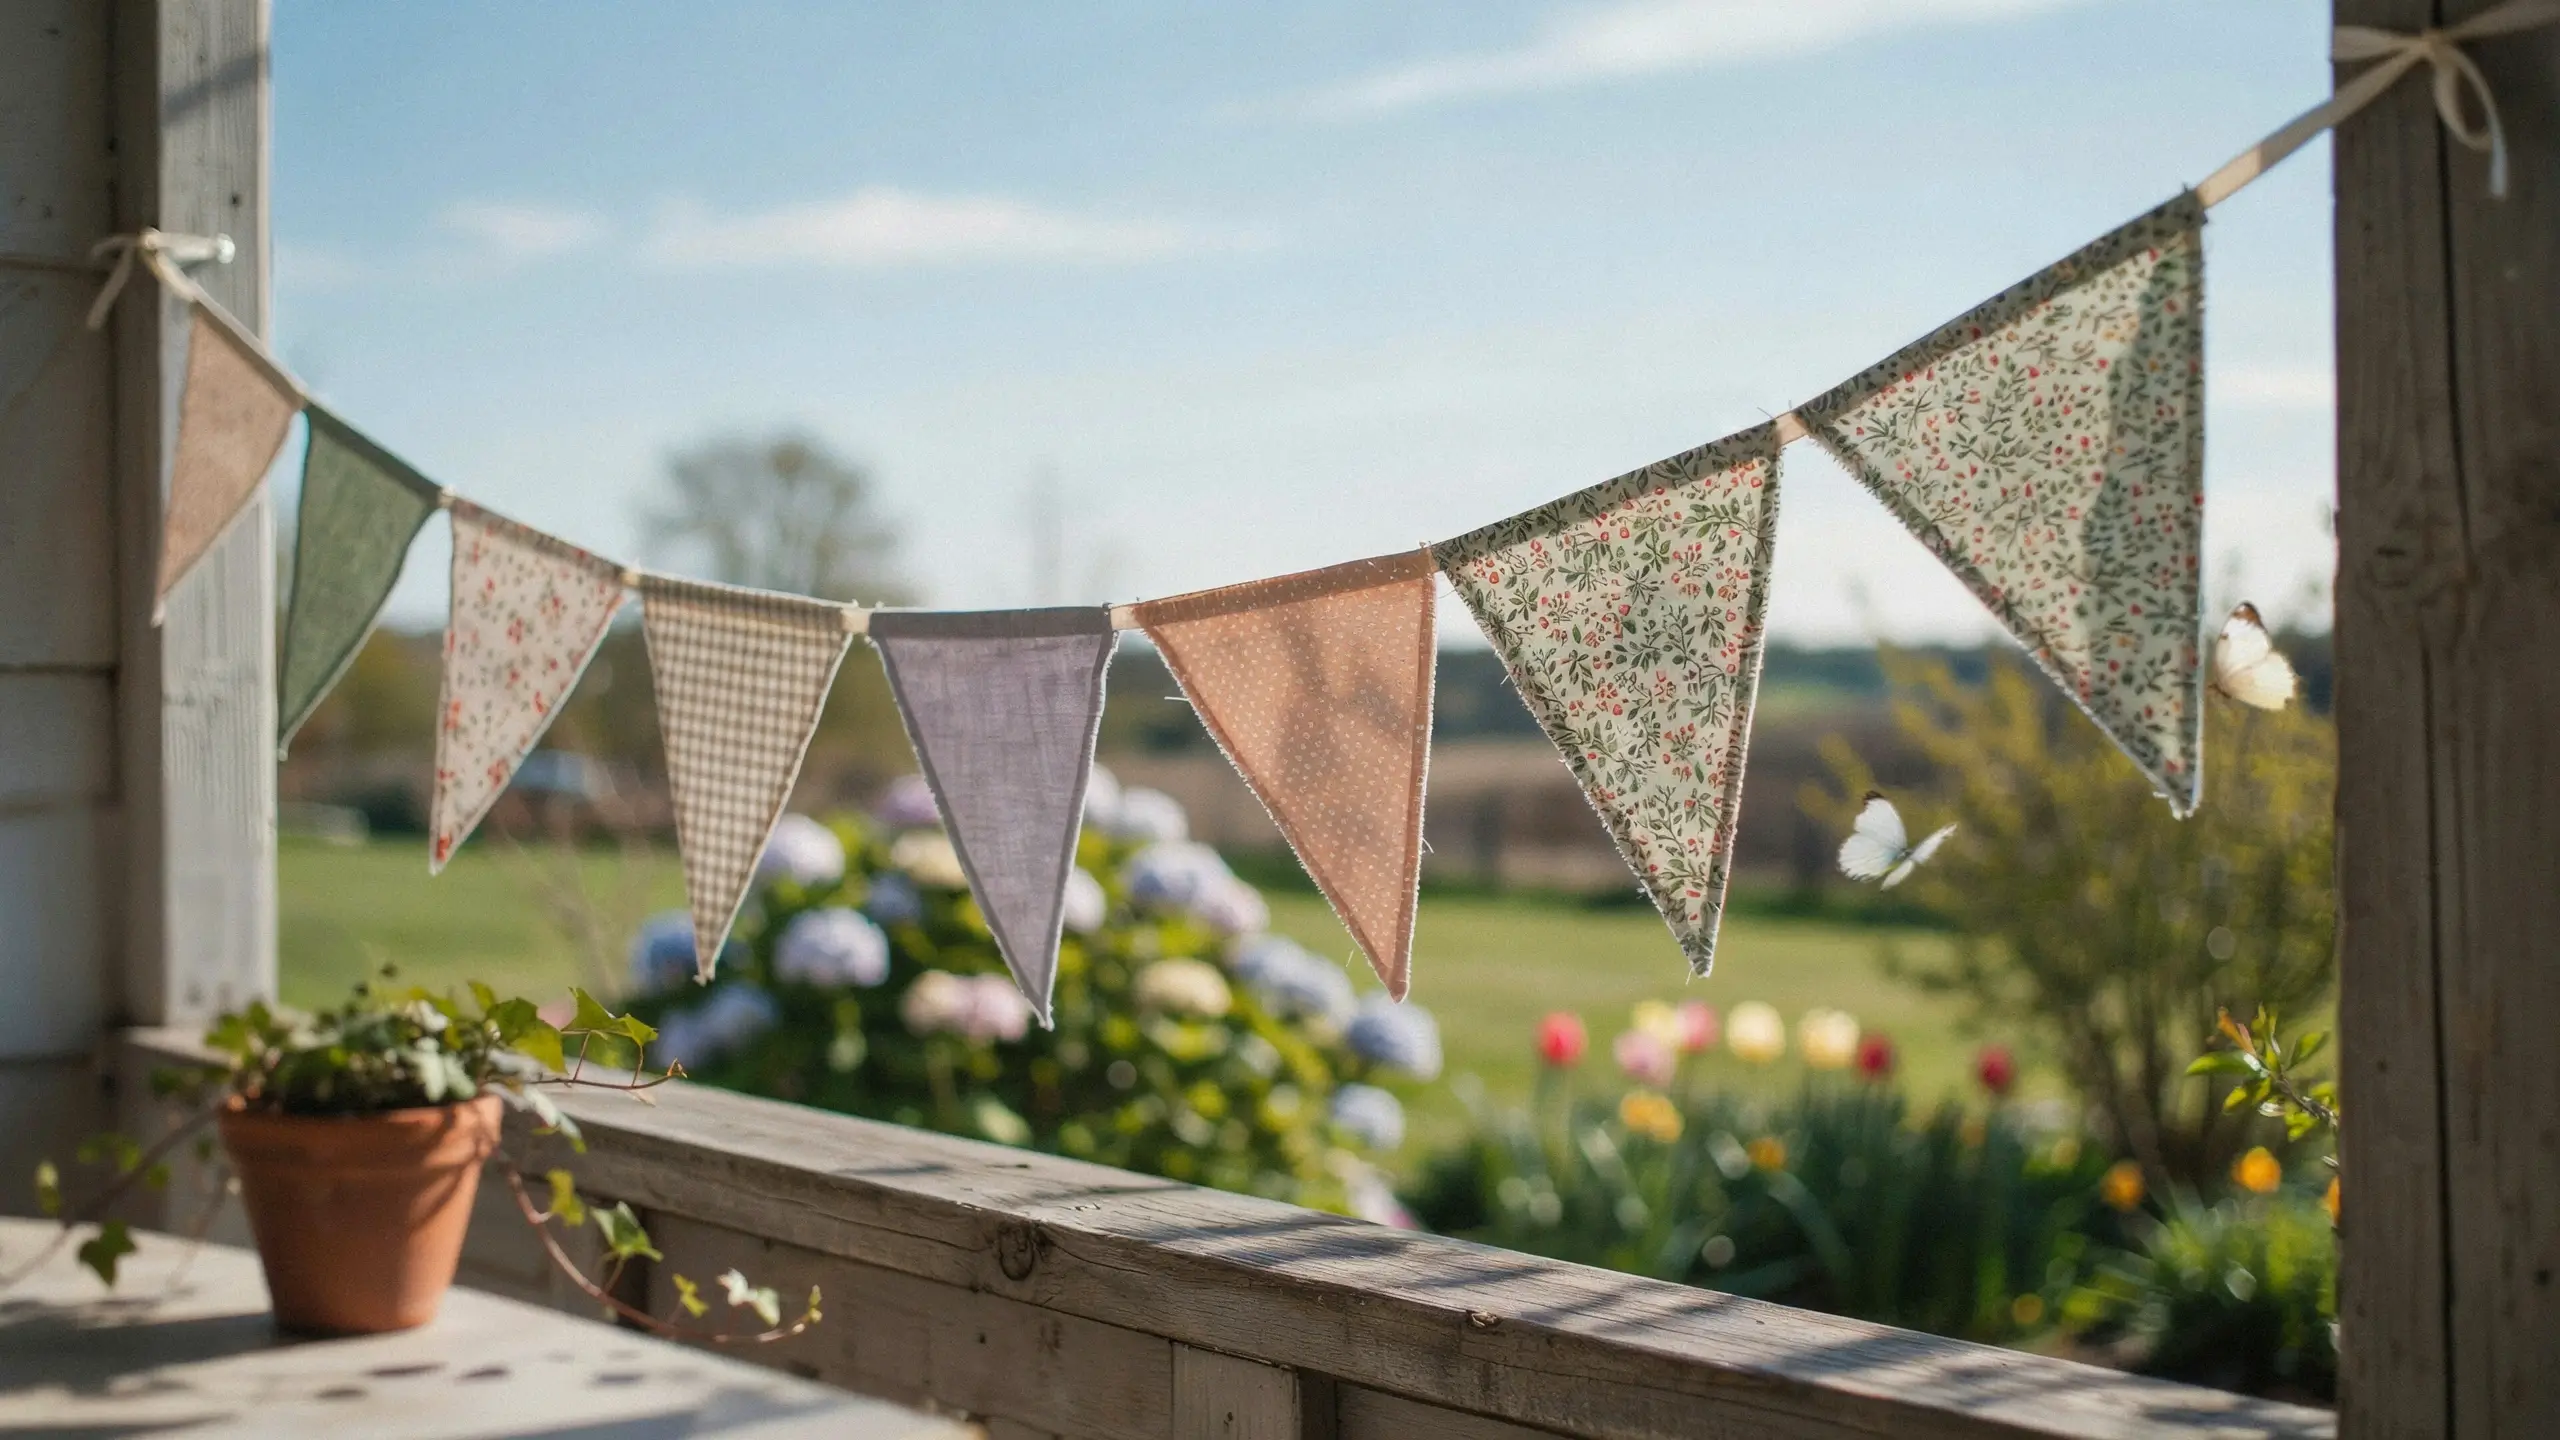
Cut triangles of spring-colored fabric from old shirts, fat quarters, or remnants. Fold the top edge over a length of twine or ribbon and stitch or glue it down. Alternate colors and patterns as you go. You end up with a soft, handmade banner that can hang across a porch railing, fireplace, window, or mirror.
For a more polished look, use pinking shears to cut the triangle edges so they don’t fray. Or let them fray slightly for a more rustic, cottagecore feel.
13. Peel-and-Stick Botanical Wallpaper Accent Panel
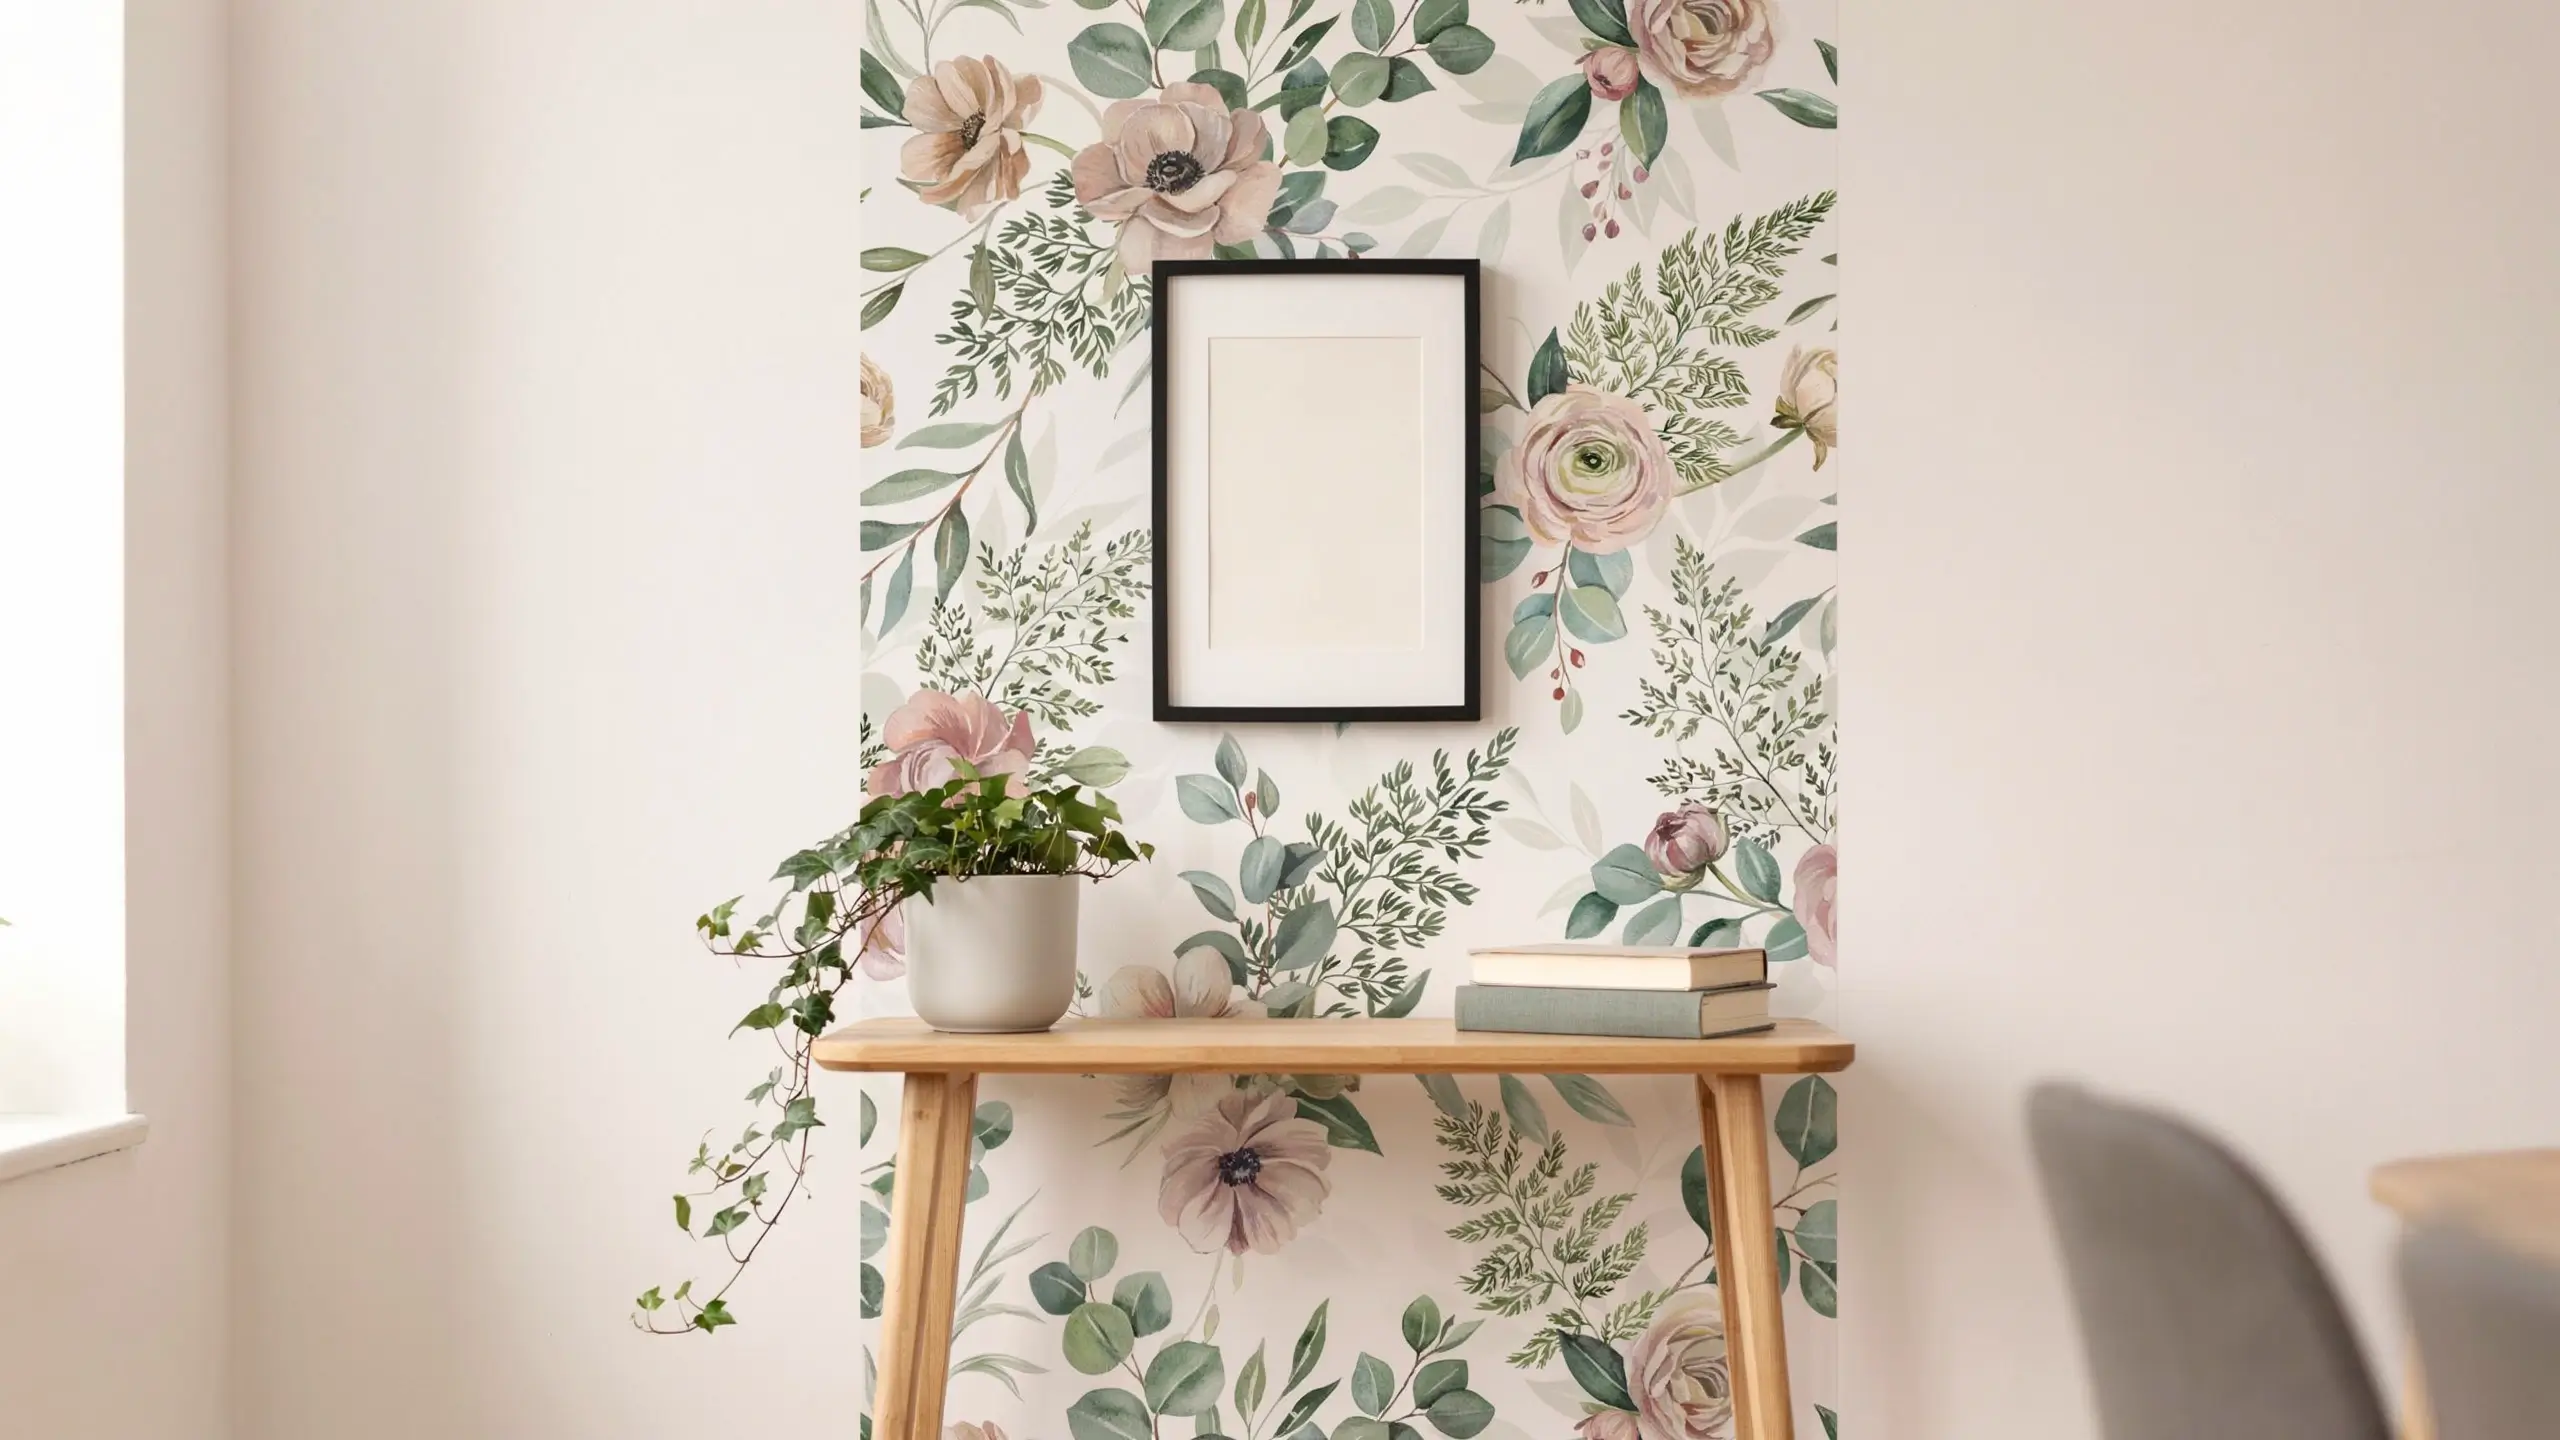
This one is perfect for renters and apartment dwellers. A single panel of peel-and-stick wallpaper (about 2 feet wide and as tall as your wall) in a botanical or floral print can completely transform a dining nook, hallway wall, or space behind open shelving.
It goes up in under an hour, peels off cleanly when you move, and looks like a designer detail. Pair it with a single simple frame hung over part of it and a little plant below, and you have a focal wall that looks completely intentional.
Small Accent DIY Spring Decorations (Quick and Easy)
14. A Spring Terrarium with Moss, Stones, and Succulents
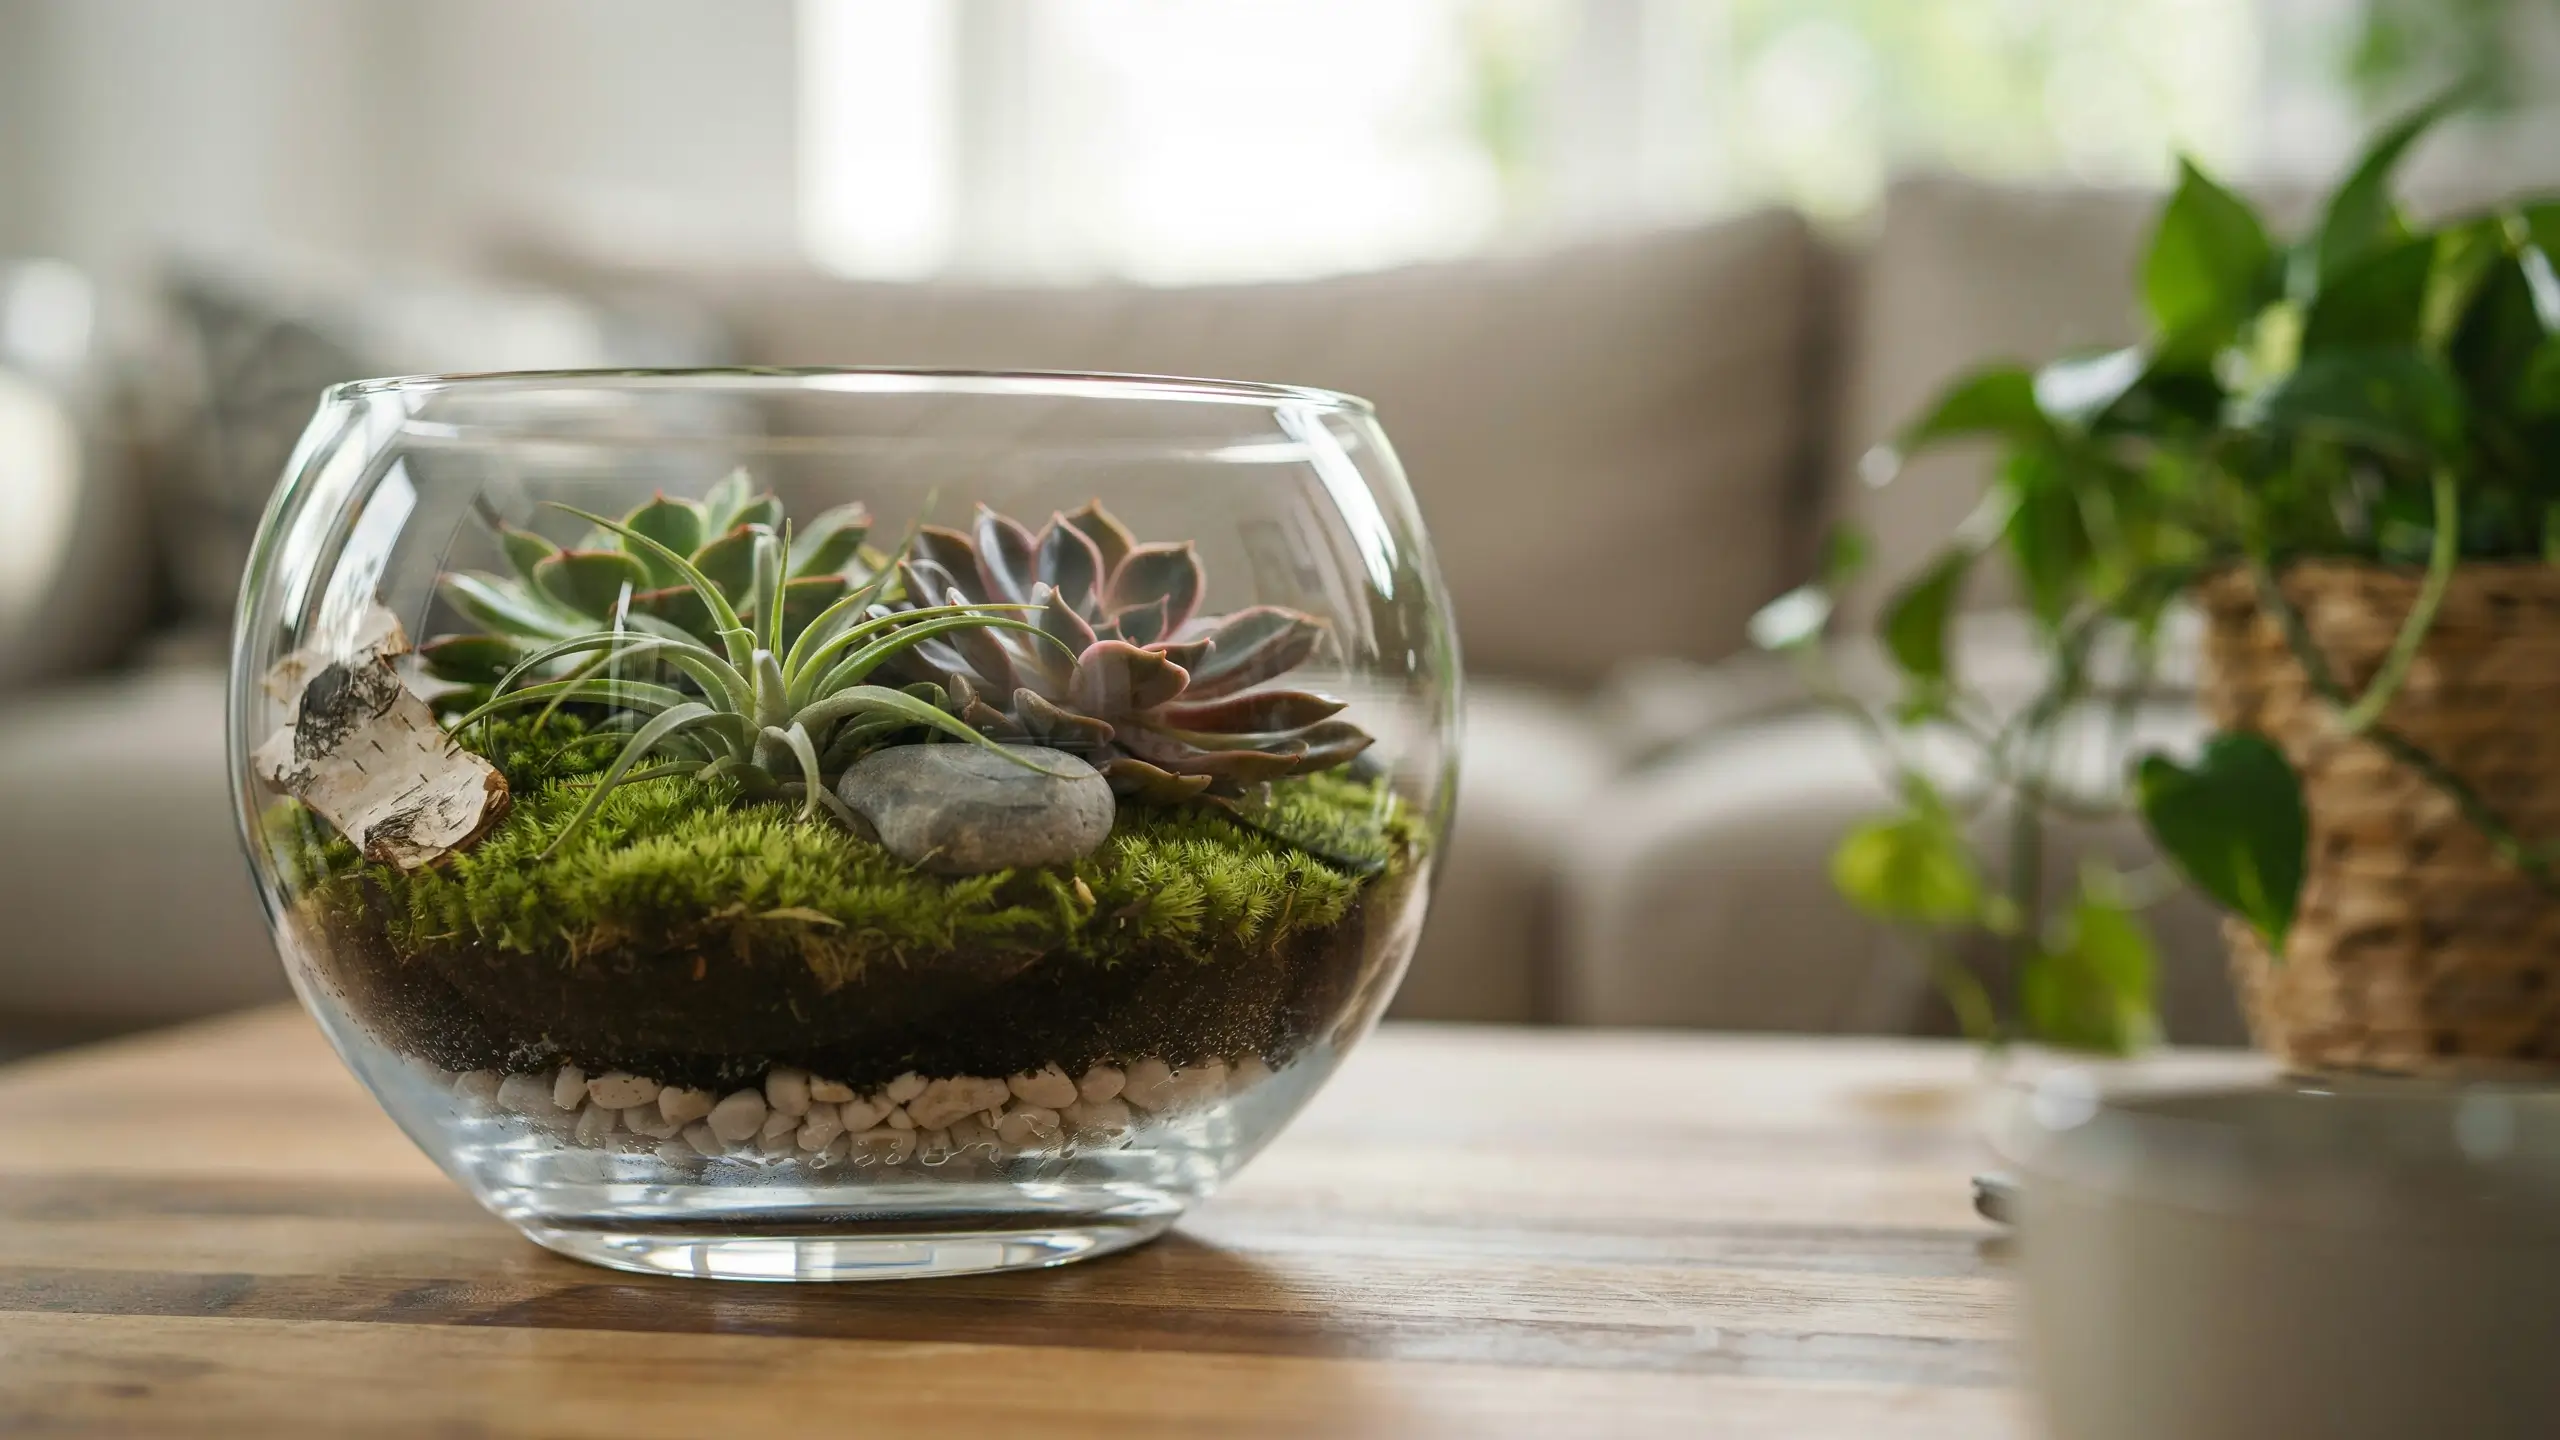
Glass containers filled with a layered ecosystem of rocks, activated charcoal, soil, and small plants have been popular for good reason. They’re low-maintenance, they last months, and they look beautiful on a coffee table, bookshelf, or windowsill.
You can use any glass container: a large Mason jar, a fish bowl, an old lantern with the candle removed, a geometric glass planter, or even a clear cake stand dome. Layer about an inch of small stones at the bottom for drainage, a thin layer of activated charcoal to prevent mold, then a few inches of potting mix. Plant small succulents, moss, or air plants. Add a tiny decorative element if you like: a small stone animal, a piece of birch bark, or a smooth river rock.
15. Bird’s Nest Decoration Using Natural Materials
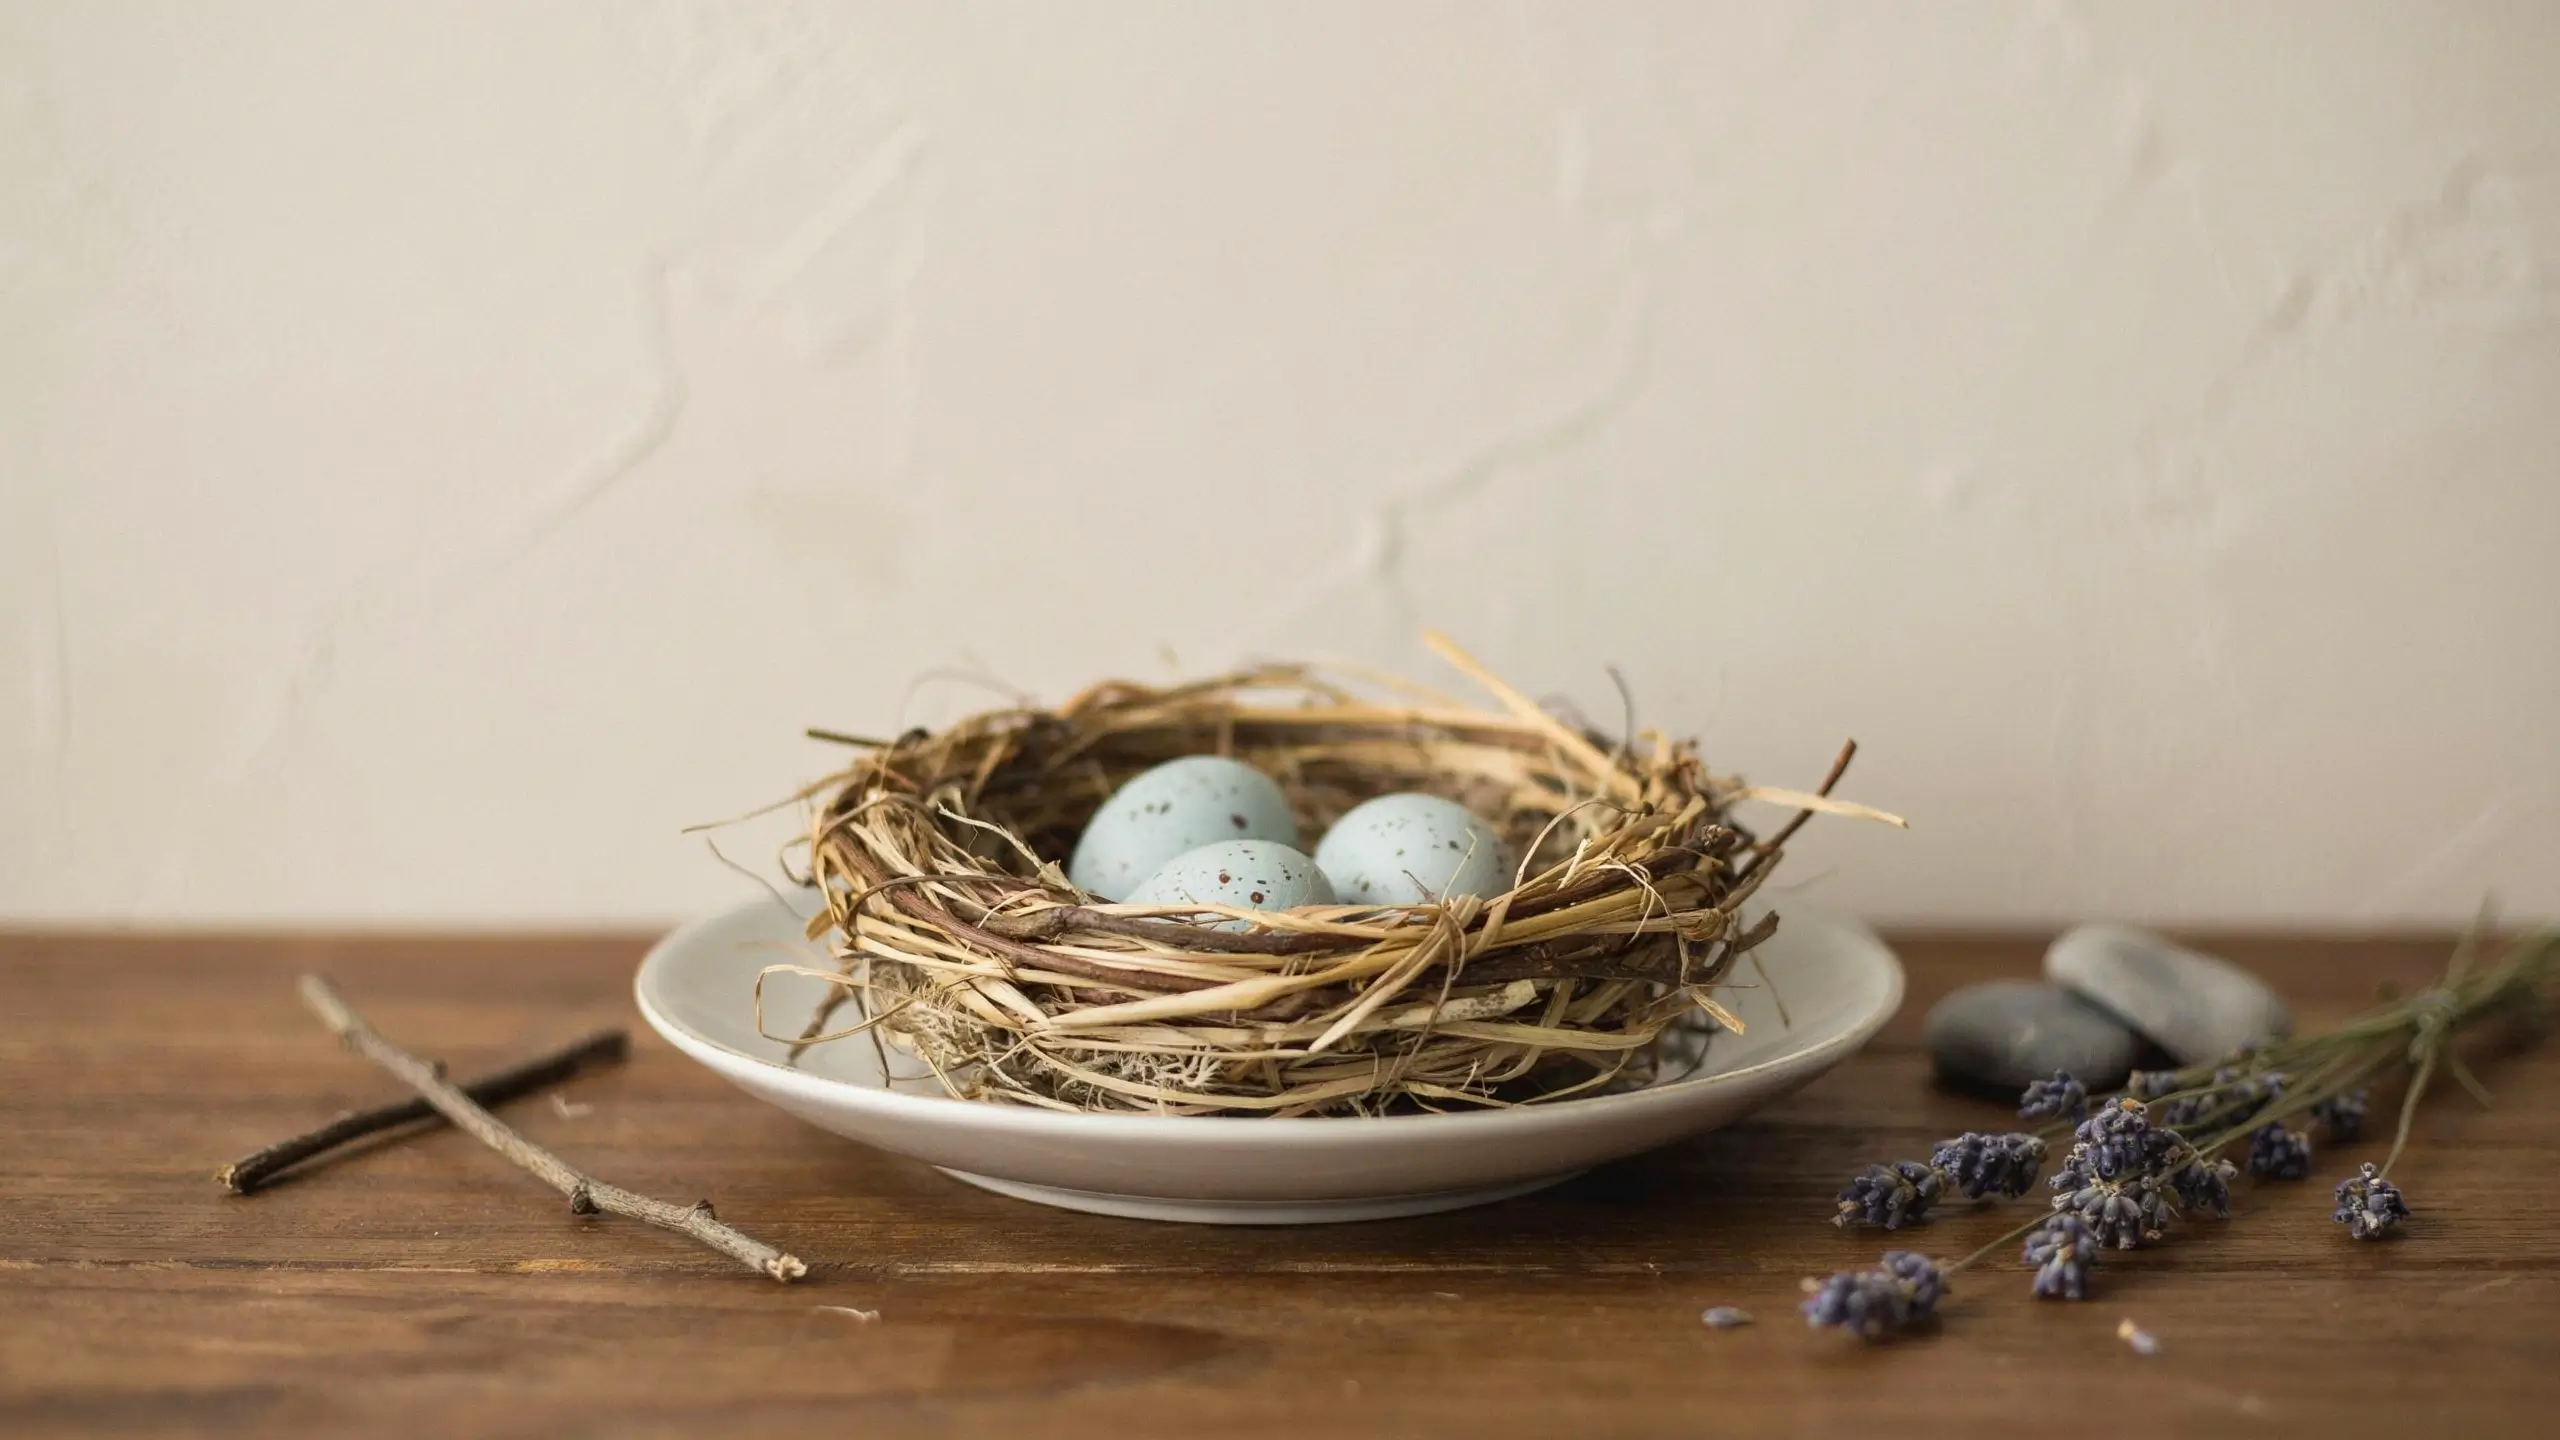
A simple bird’s nest made from natural materials is one of those spring accents that looks completely at home in a modern, farmhouse, traditional, or boho space, which is rare.
Gather thin, flexible twigs, dried grass, and Spanish moss. Weave them loosely together by bending them into a circle and layering in. Tuck a few speckled craft eggs inside (or real blown eggs if you want a project within a project). Place it in a shallow dish, on a stack of books, or nestled into a wreath for an instant spring moment.
16. DIY Spring Candle Holders with Pressed Botanicals
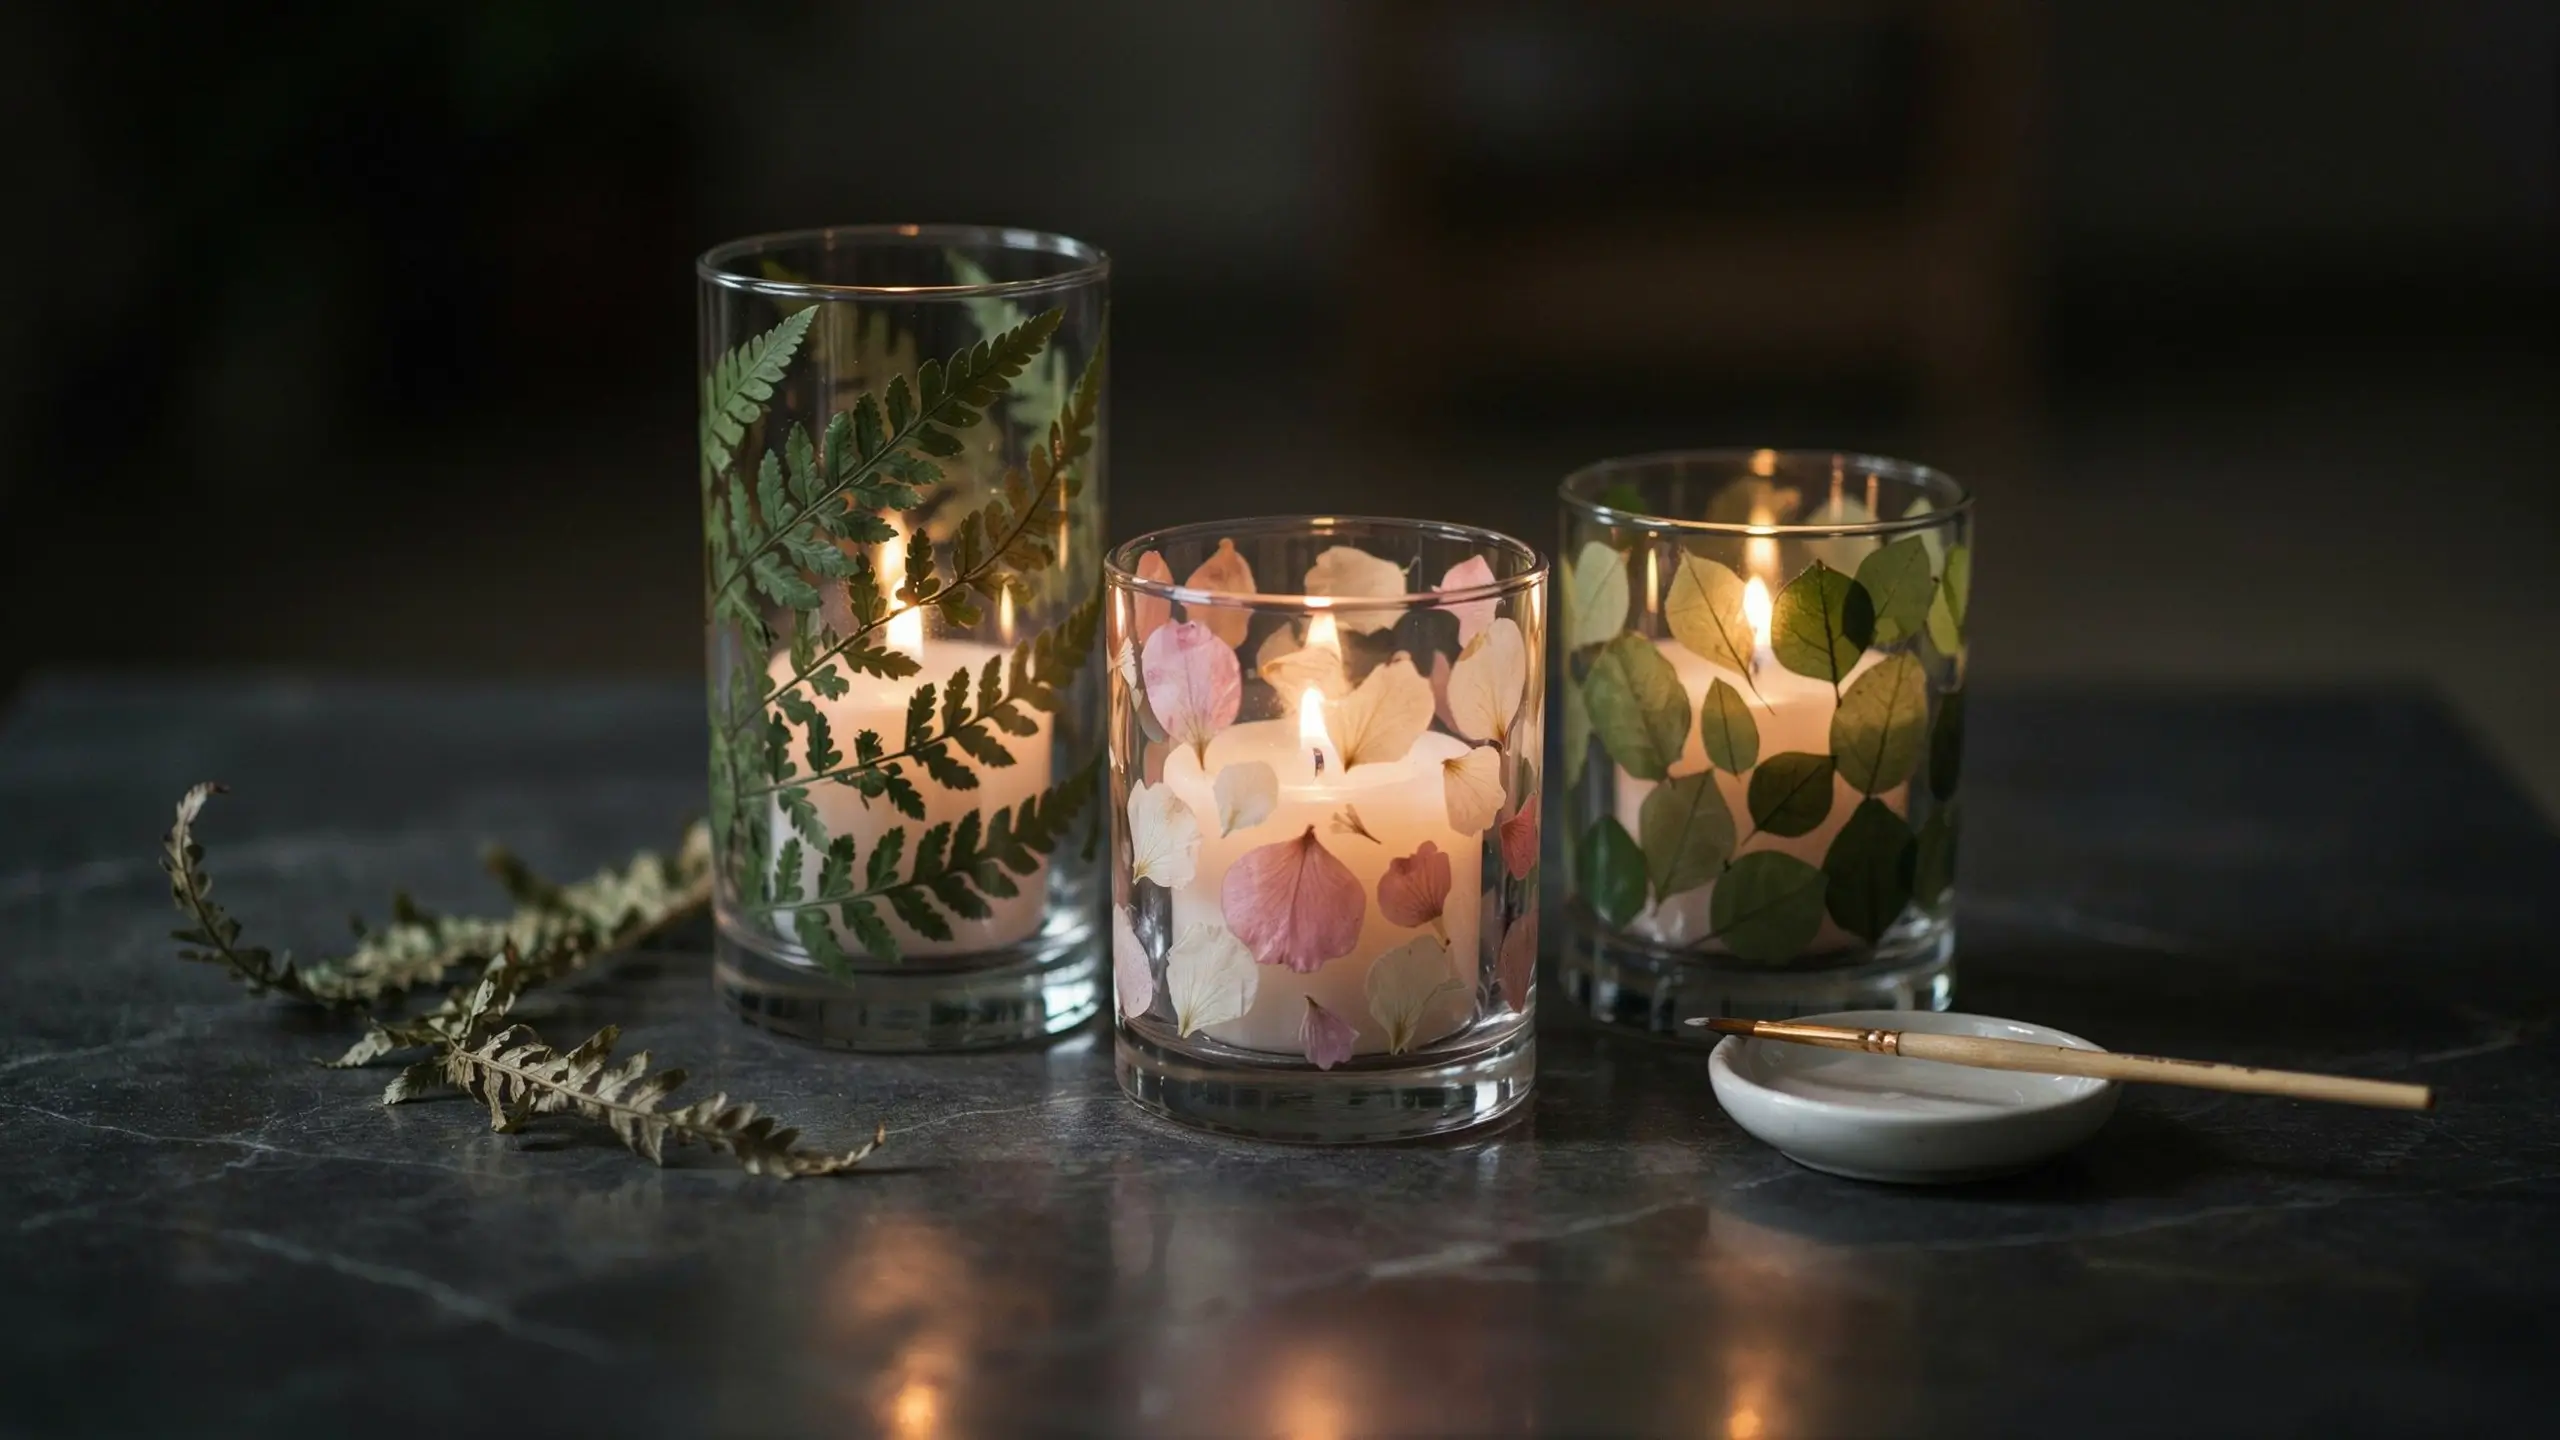
Take a plain glass pillar candle holder or a short cylinder vase and press fern fronds, single flower petals, or leaf shapes onto the outside using découpage medium. Seal with two coats. When a candle inside is lit, the botanical shapes glow softly through the glass. These make beautiful gifts and take about 30 minutes plus drying time.
Outdoor and Porch DIY Spring Decorations
17. A Layered Spring Porch with Graduated Pots and a Spring Wreath
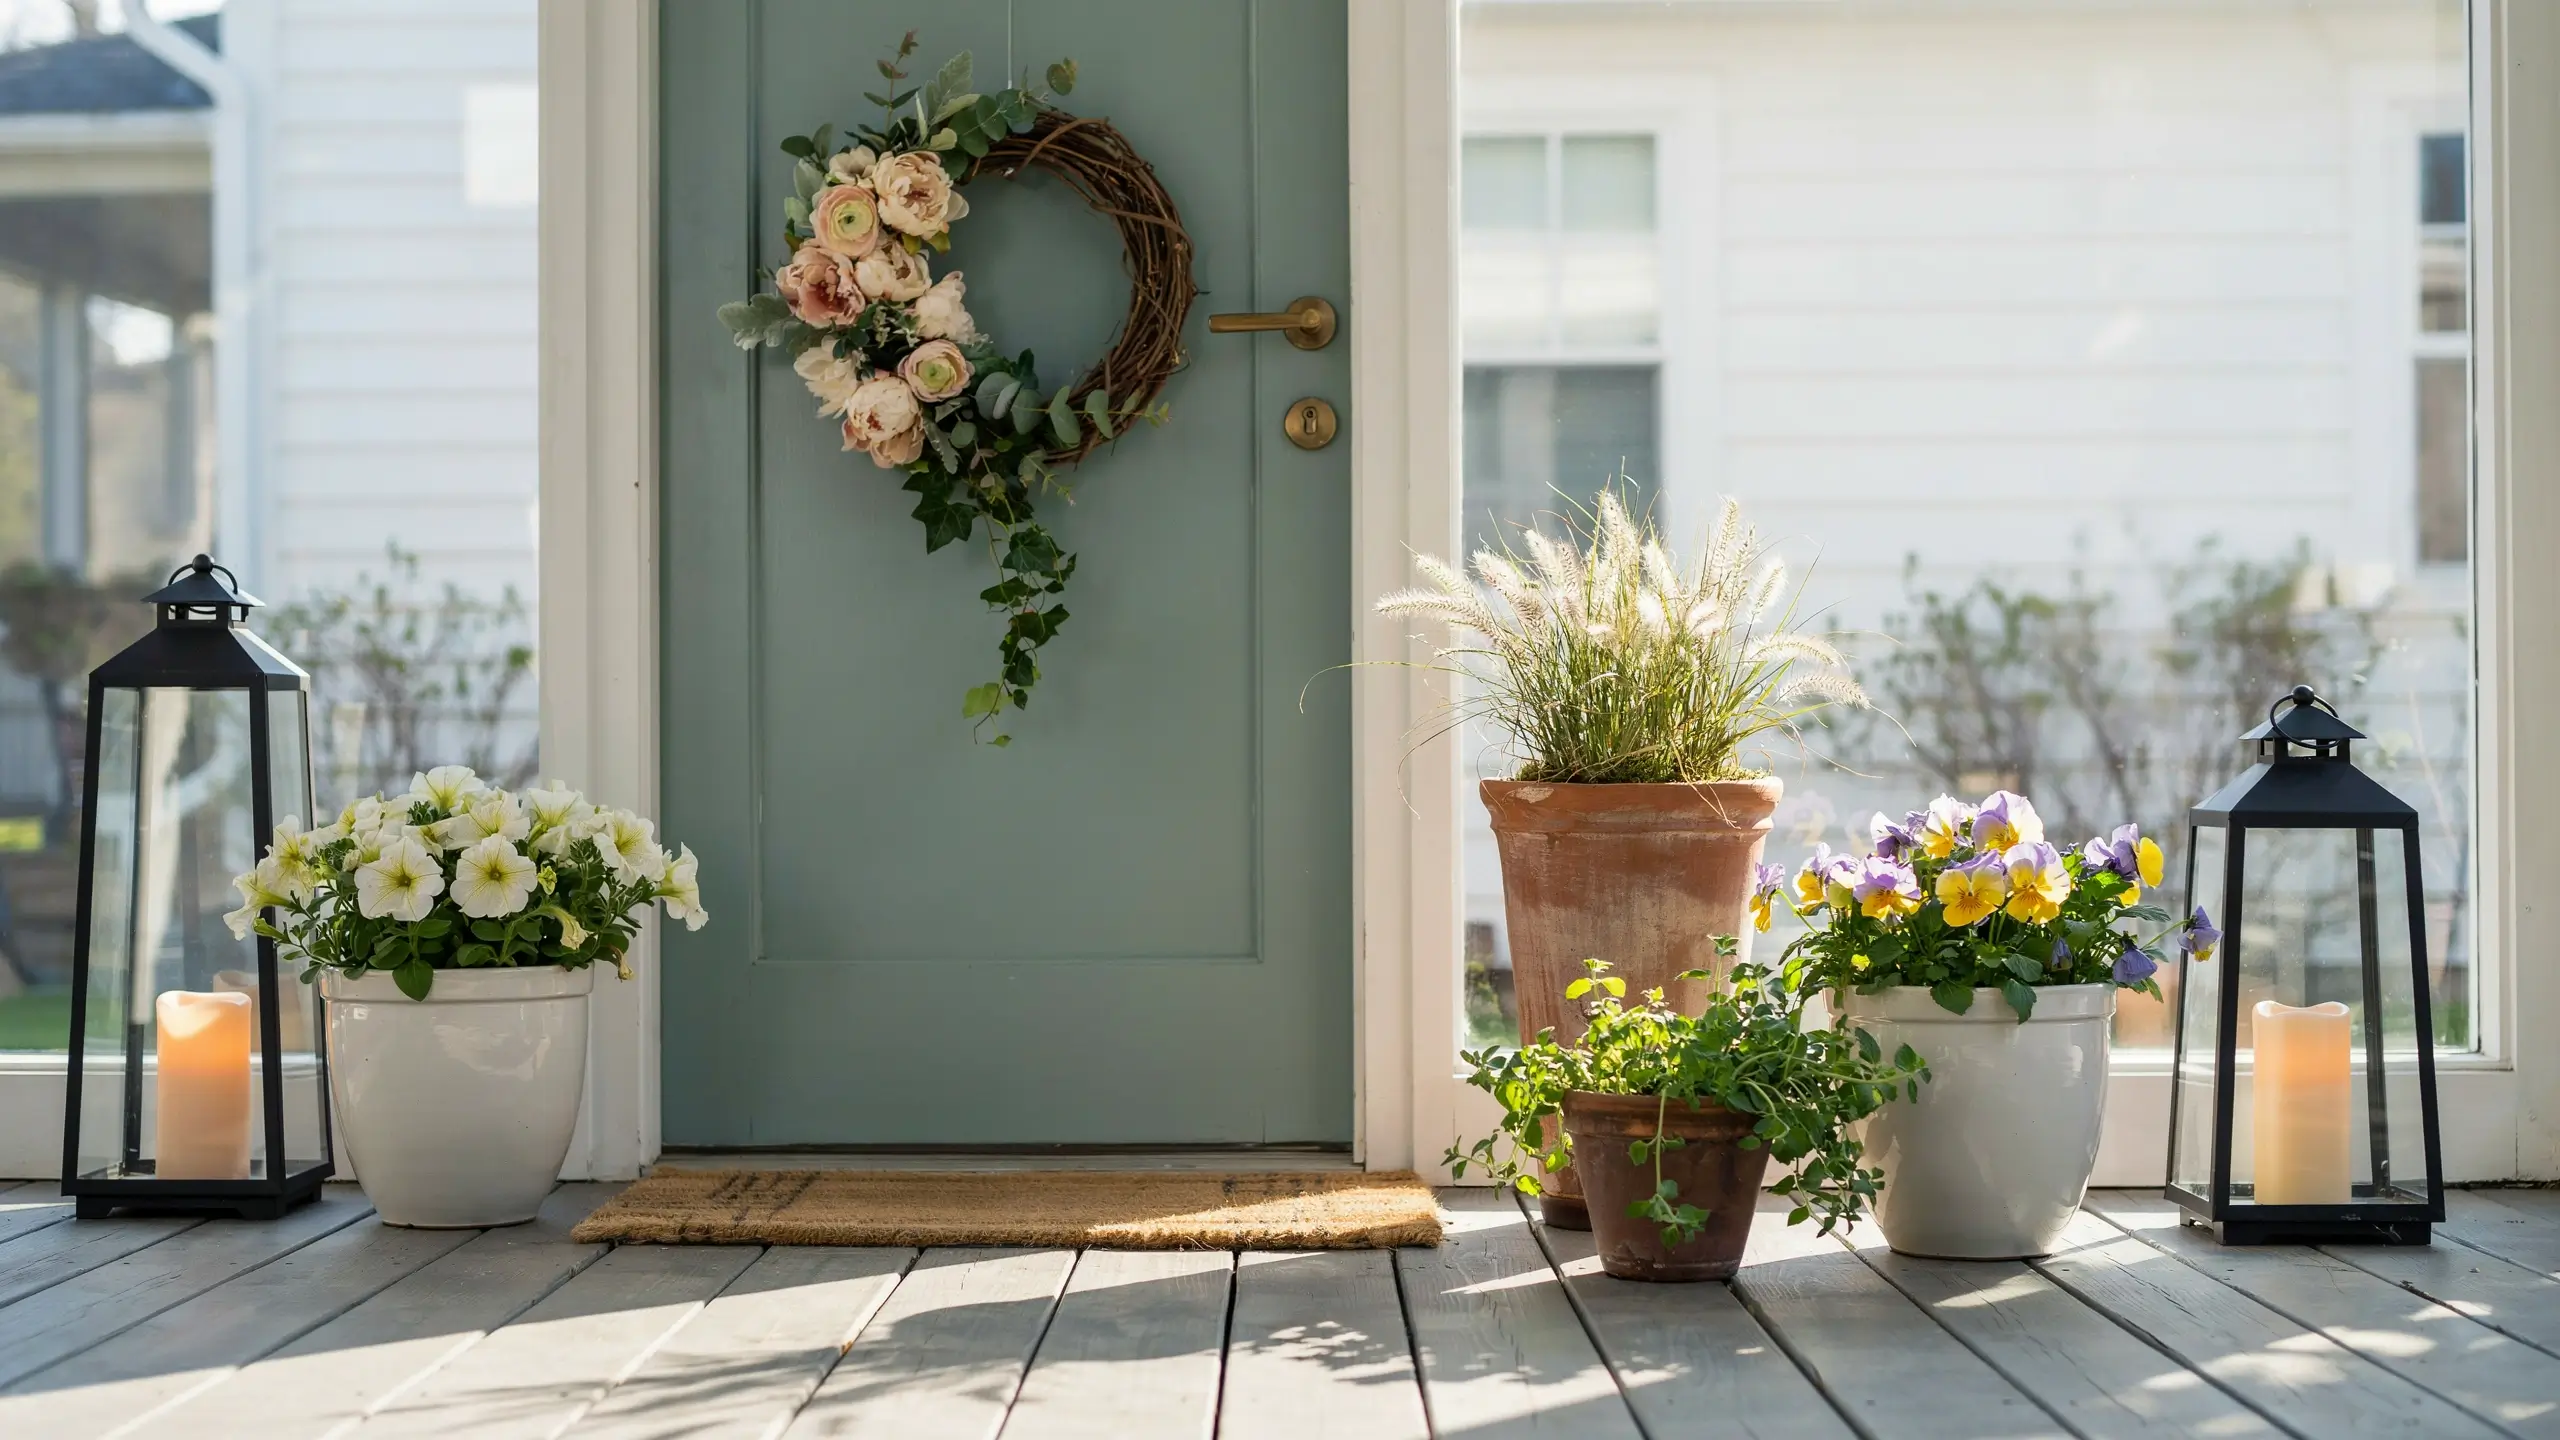
The trick to a spring porch that photographs beautifully (and looks great in person) is layering heights. Start with your spring wreath on the door. Then place a collection of pots at different heights near the door: a tall planter with ornamental grasses or a topiary shape, a medium pot with pansies or petunias, and a small pot with herbs or trailing succulents. Add a simple doormat in a spring color or with a botanical motif, and maybe a lantern or two with battery-operated candles.
You can start small and add to it over the season. Even a single potted plant on each side of the door is a noticeable spring upgrade.
18. Painted Outdoor Plastic Chairs (A Weekend Refresh)
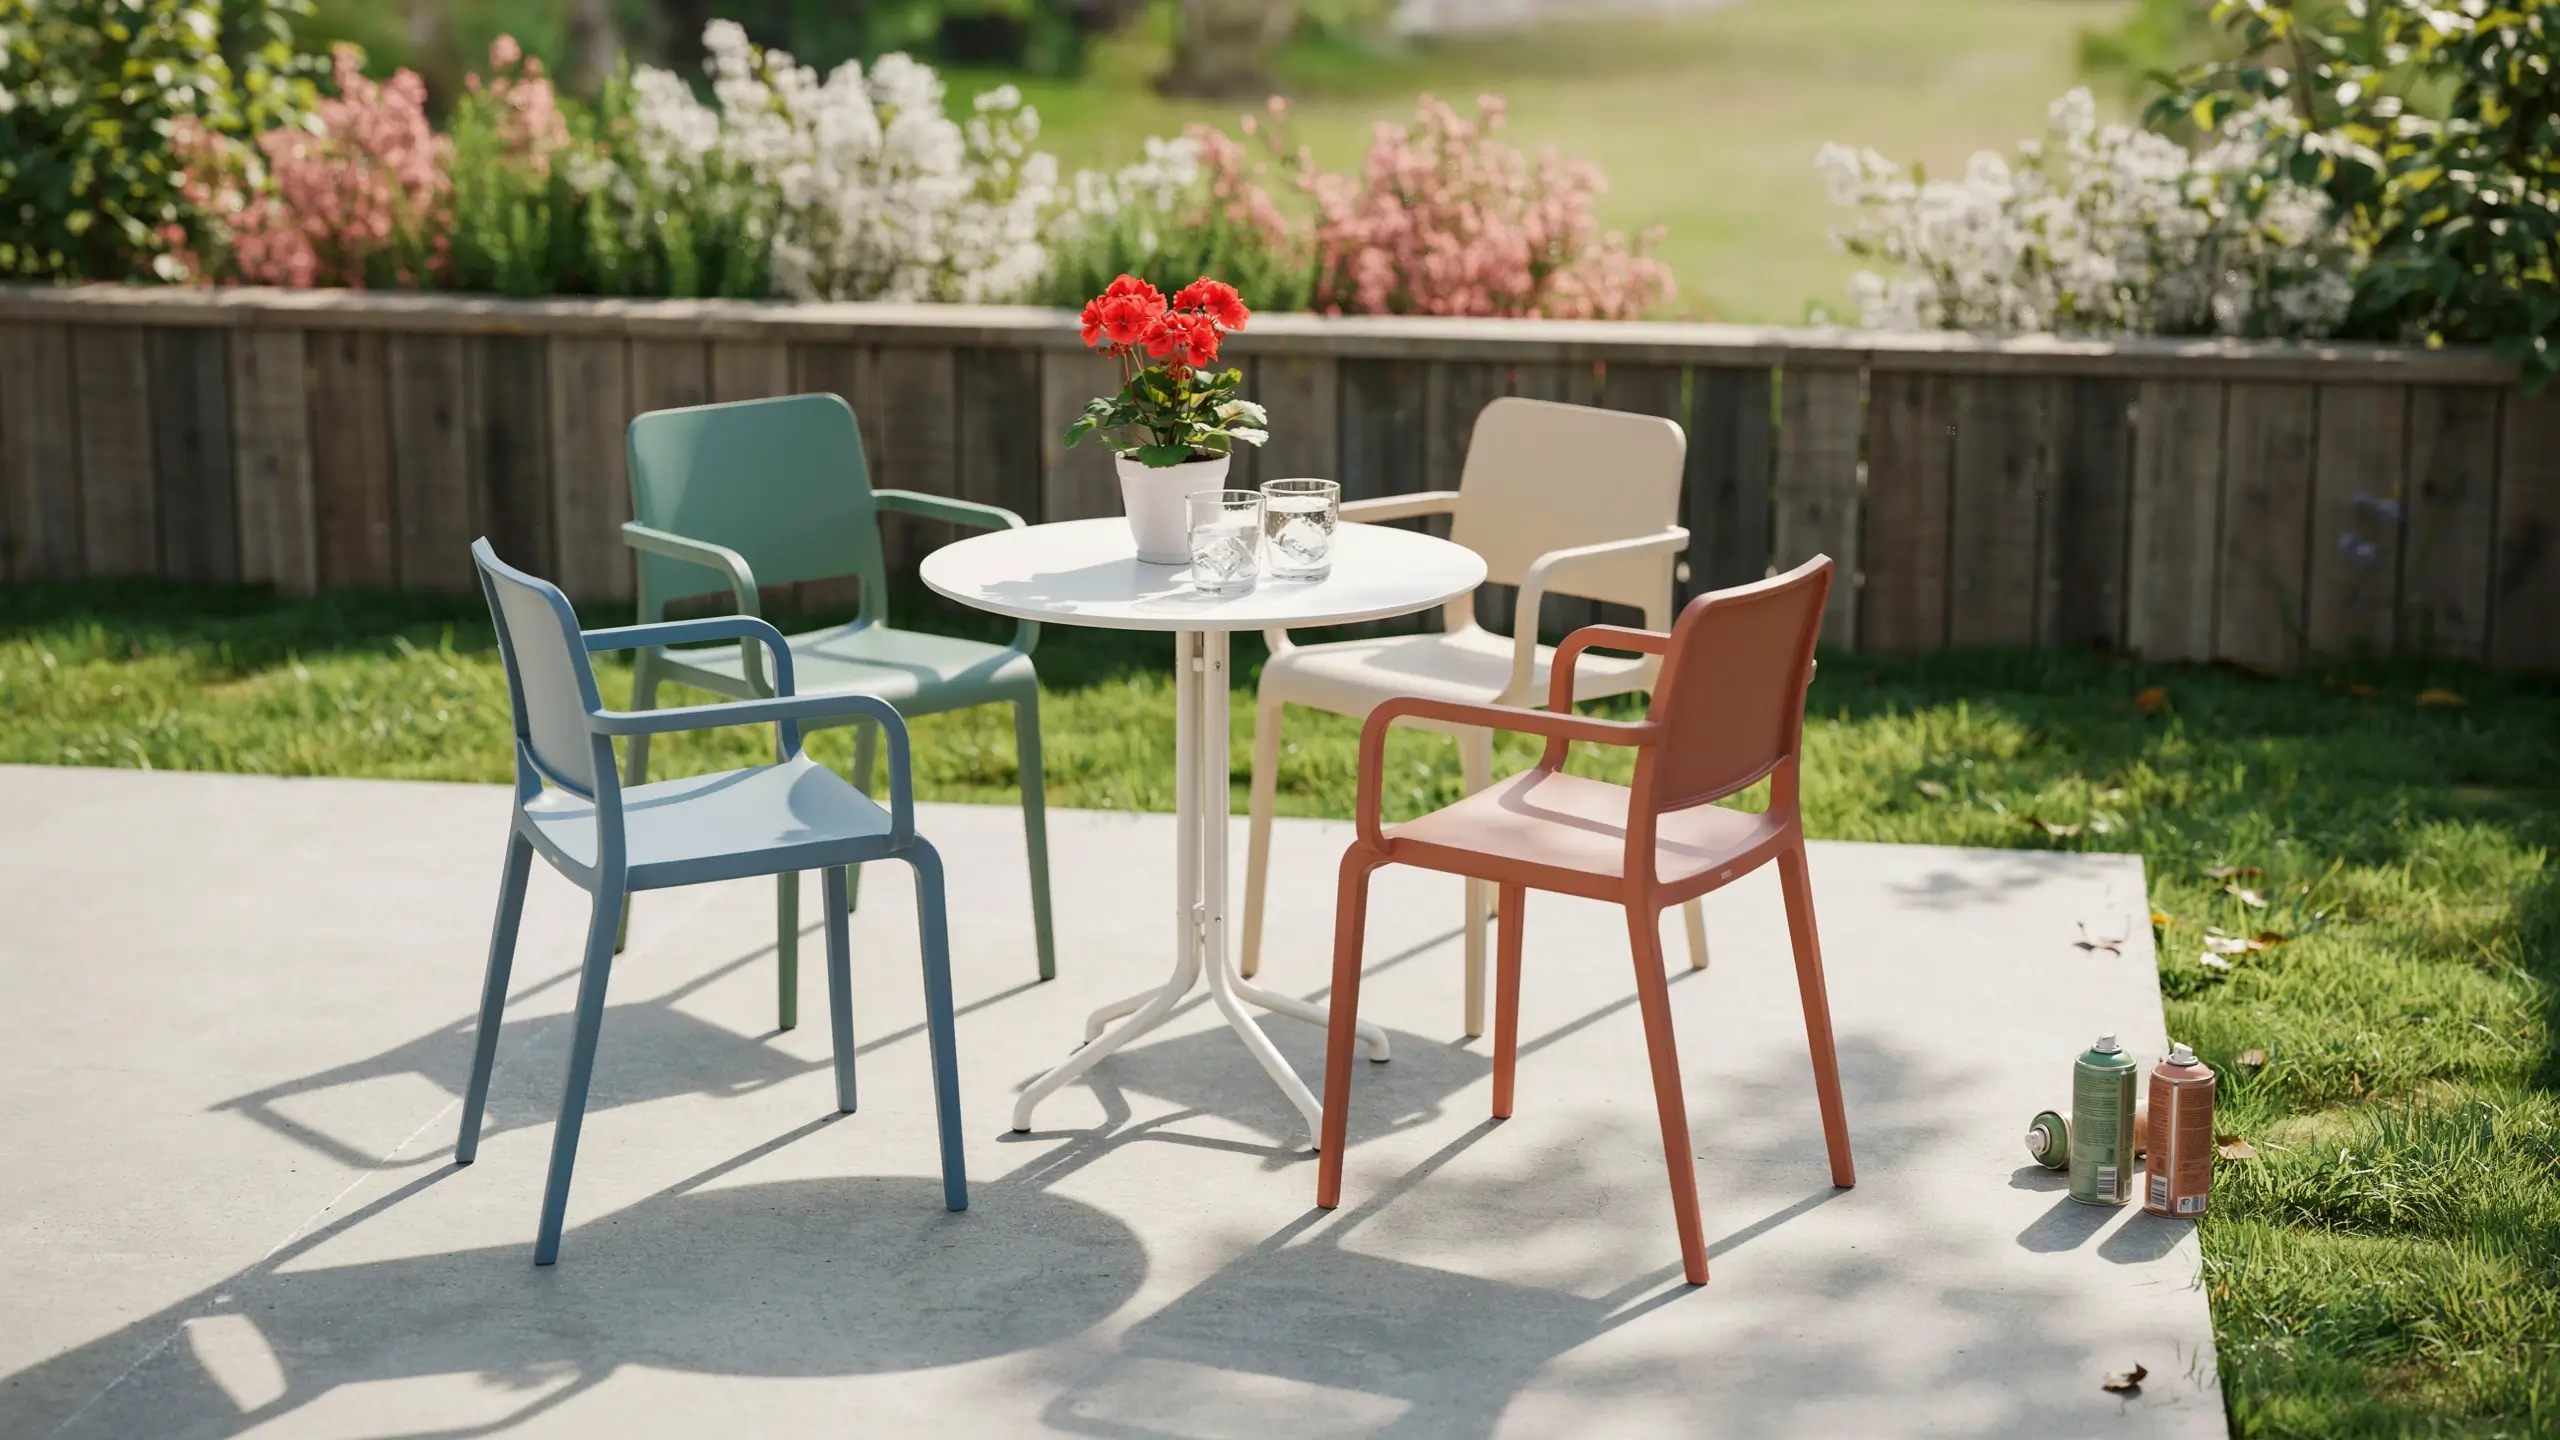
This is the outdoor spring project that gets the biggest results for the lowest cost. Faded, sad-looking plastic patio chairs can be completely transformed with spray paint designed for plastics. Colors that look beautiful outdoors in spring: sage green, cream, dusty blue, and soft terracotta.
Clean the chairs thoroughly, let them dry completely, then spray in light thin coats in a well-ventilated area. Two to three coats is usually enough. Let cure fully before using. A set of four chairs can go from dumpster-bound to gorgeous for about $20 in paint.
19. A DIY Outdoor Floral Sign for the Garden or Porch
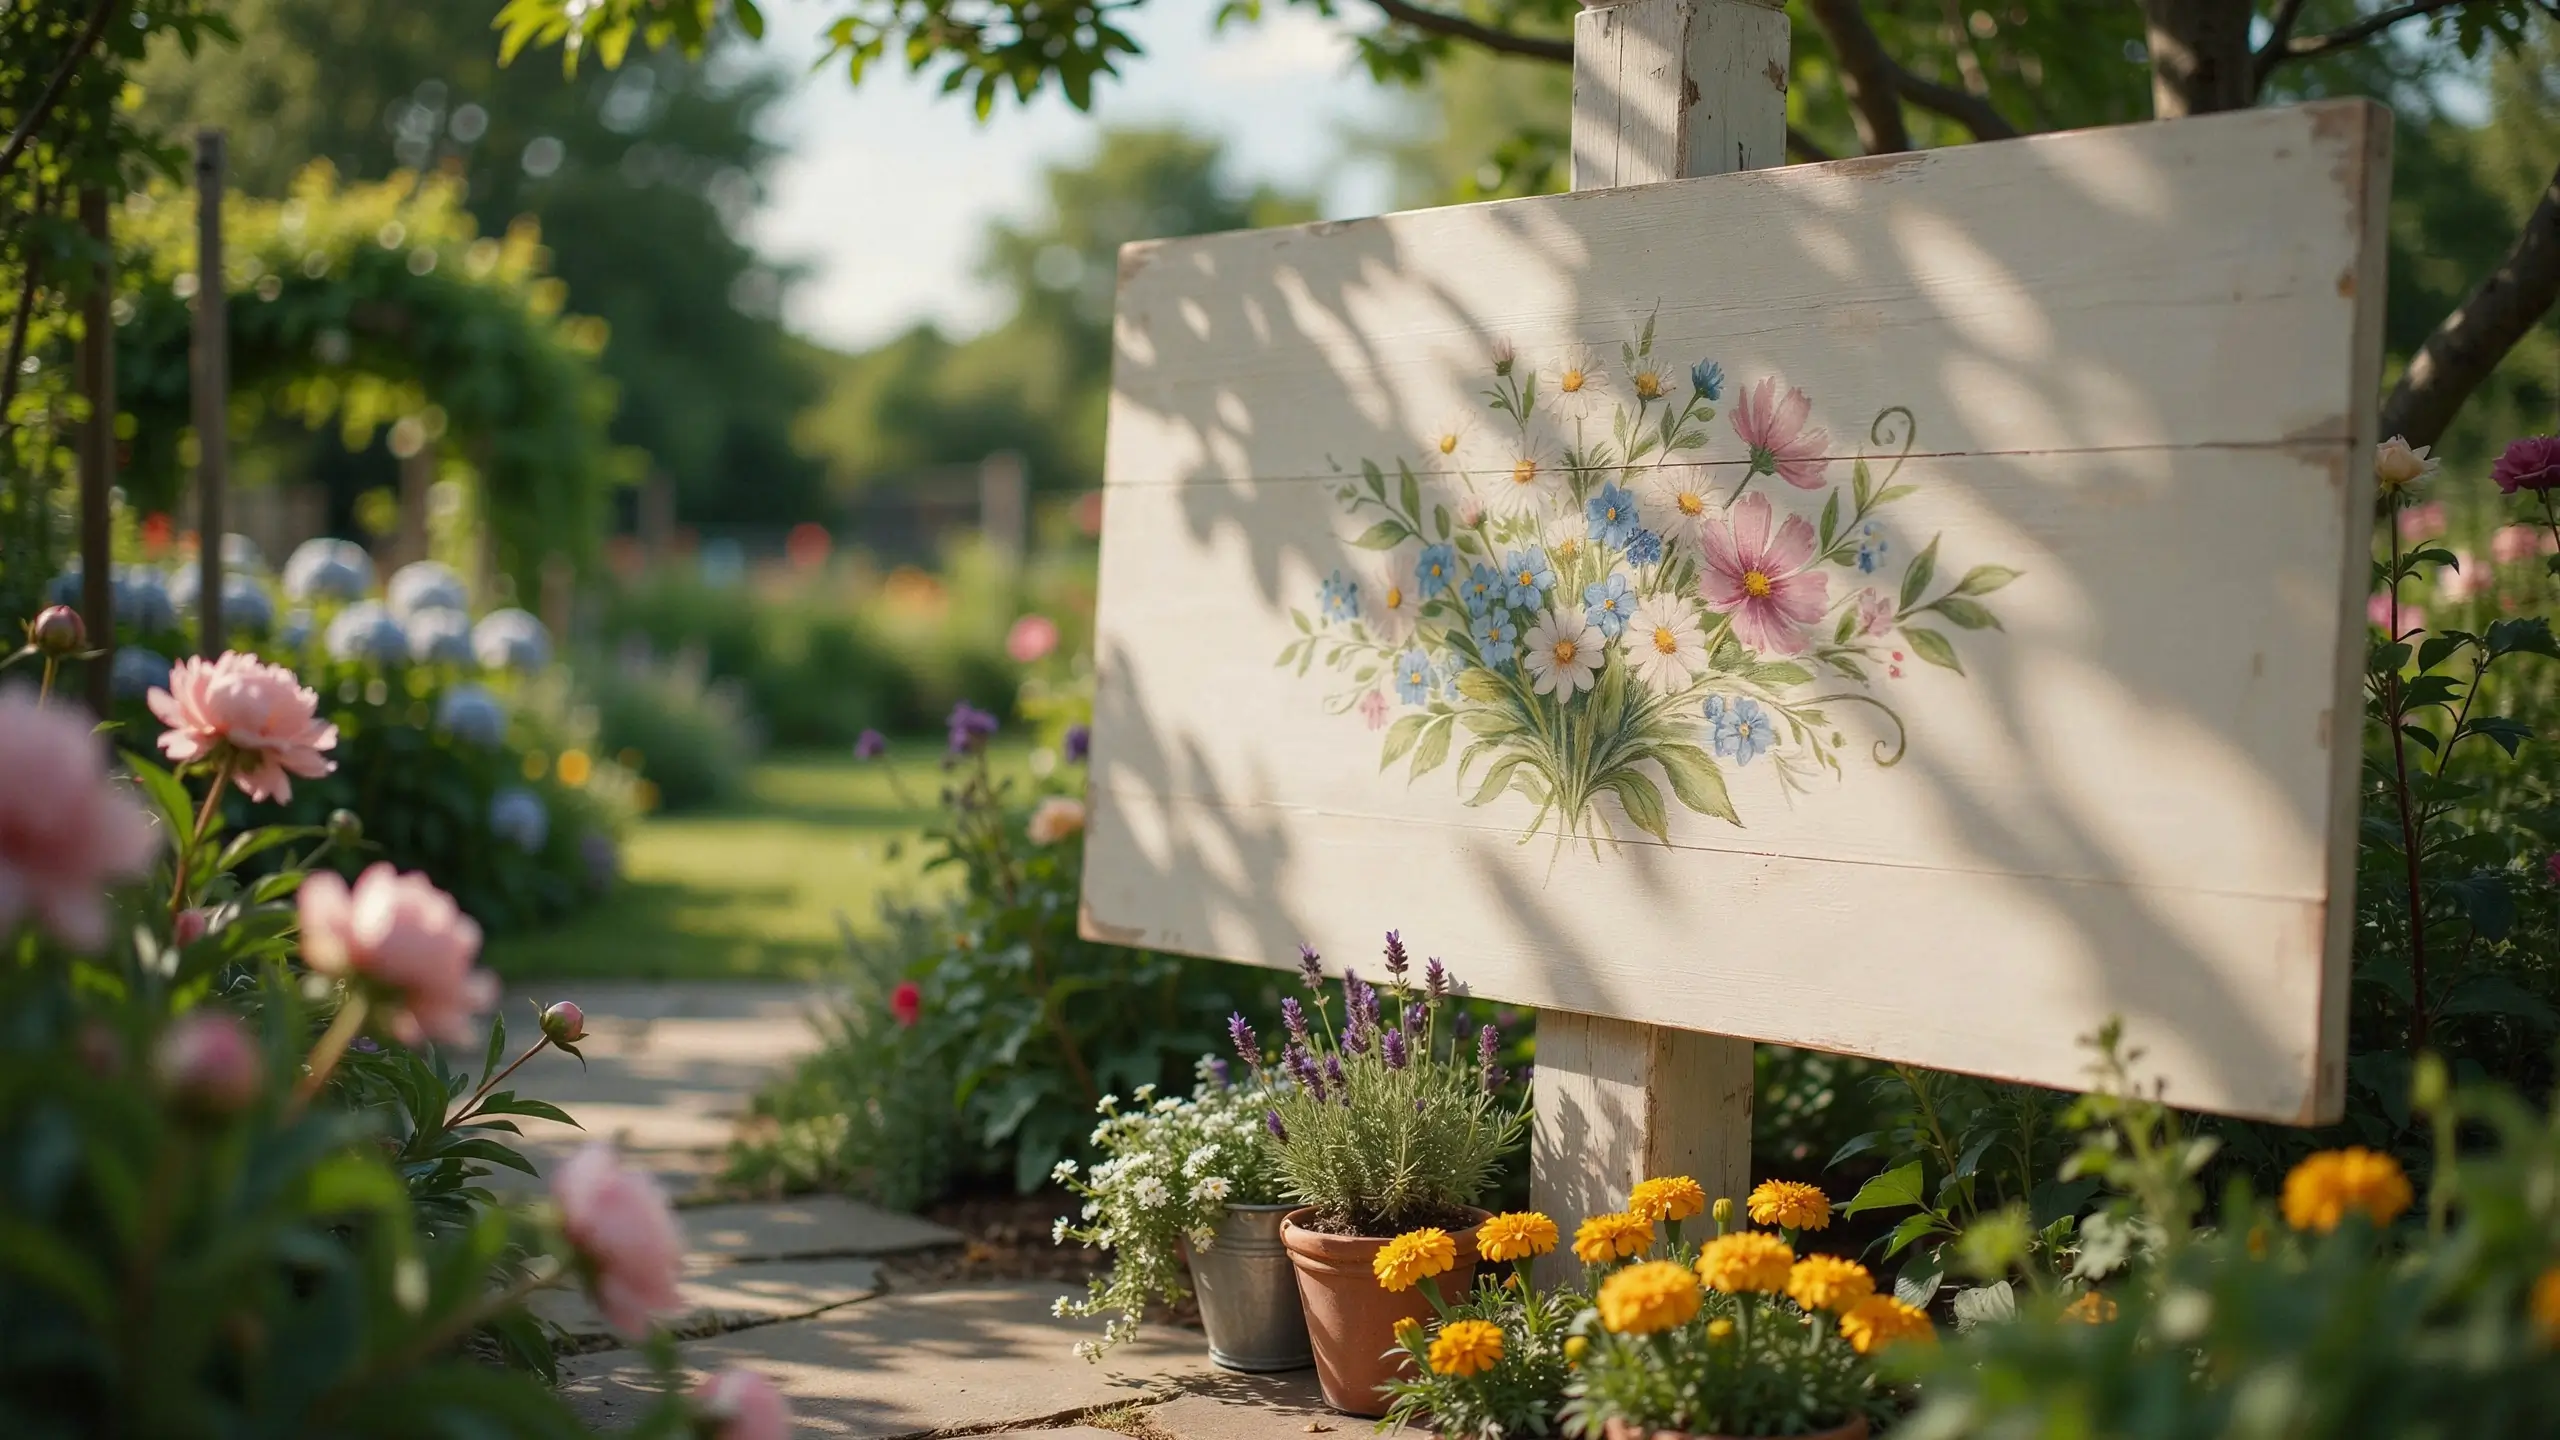
Wooden garden signs have been on every Pinterest feed for a reason: they’re personal and they fill that awkward empty fence or blank garden wall.
Use a piece of cedar board, pine plank, or even a thicker piece of reclaimed wood. Sand smooth, paint a background color, and use a stencil or paint pen to add text: a flower name, a quote about spring, something about growth, or your house number in a pretty font. Seal with exterior sealant so it holds up in the weather.
If you want something even simpler, paint wooden letter shapes from the craft store and lean them against a pot or fence.
A Spring Decor Project Worth Doing with Kids
20. Decoupage Egg Tray with Decorative Napkins
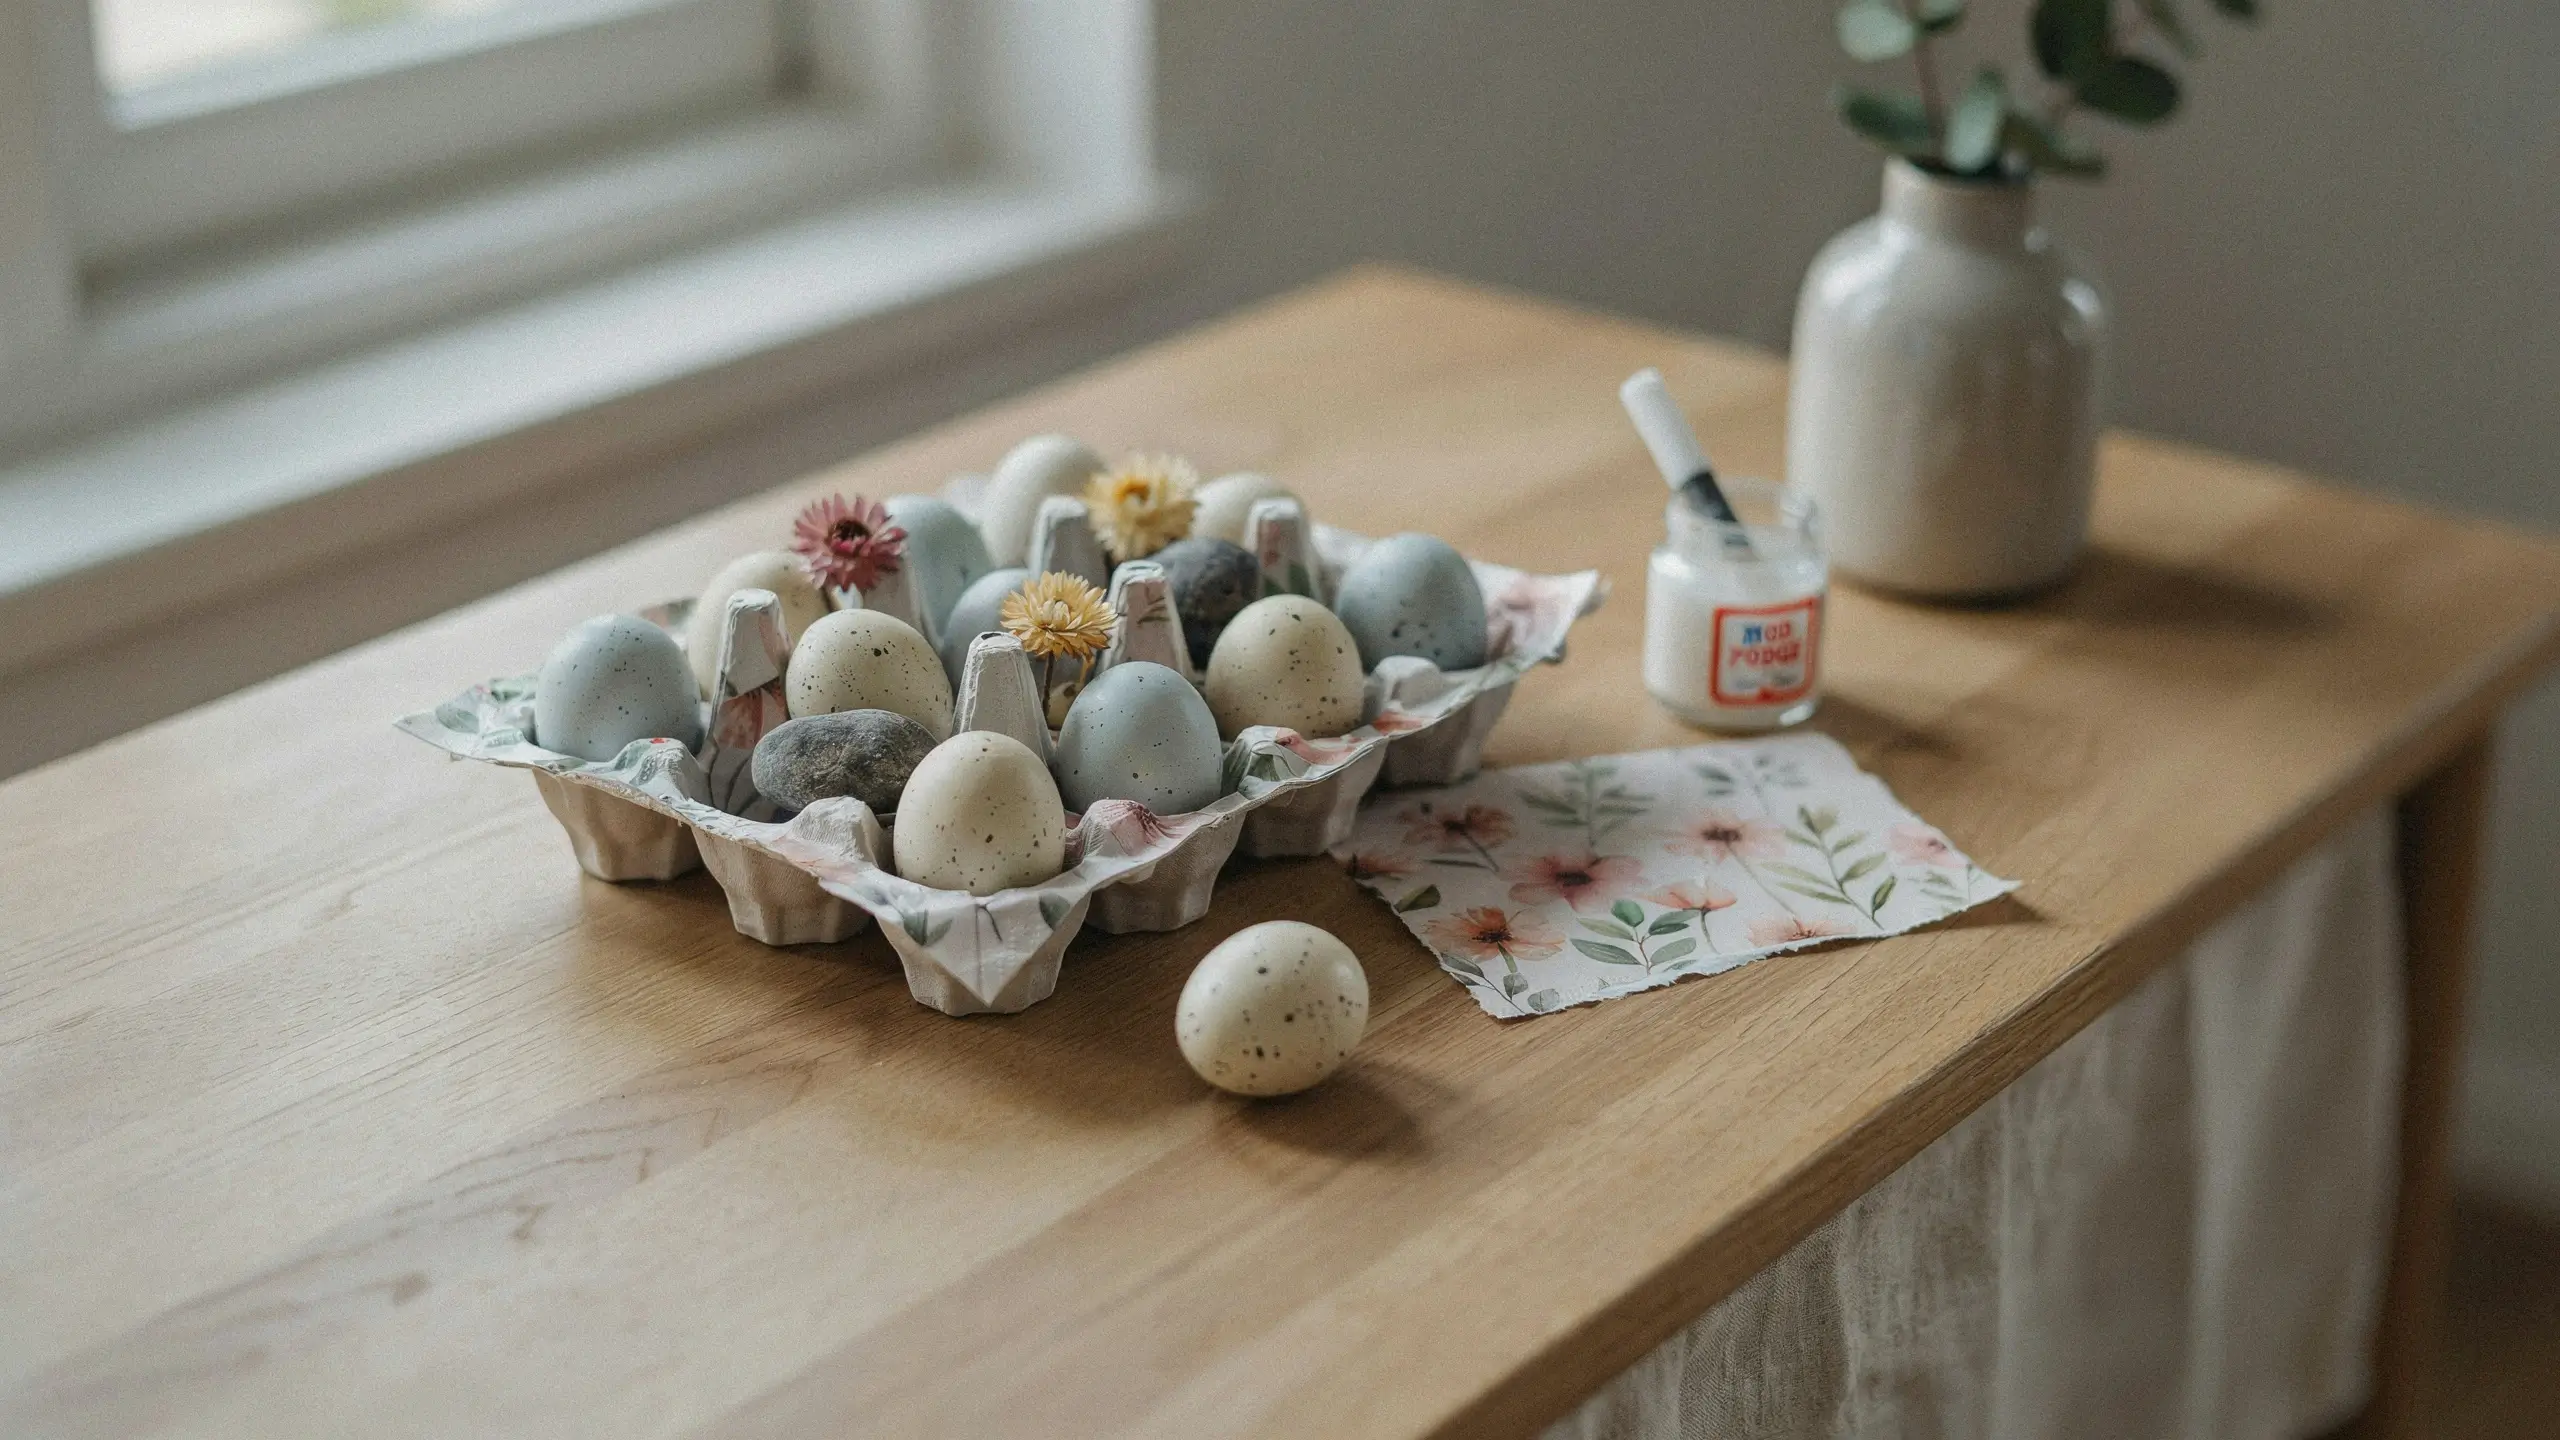
This is the spring project that always gets the best reaction. An egg carton becomes a beautiful decorative tray when coated in layers of découpage medium and decorated with paper napkins featuring floral or botanical prints.
Use a cardboard egg carton as your mold. Layer strips of a pretty paper napkin (separate the layers first so they’re thin) over the outside of the carton, smoothing each piece with a brush loaded with Mod Podge. Let dry between coats. Three or four coats later, it looks like ceramic.
Use the finished tray on your kitchen counter, sideboard, or entry table to hold speckled Easter eggs, rings and small jewelry, or just as a seasonal accent.
Mistakes to Avoid When Making DIY Spring Decorations
- Buying too much before you start. It’s easy to over-buy at the craft store. Start with one project, see what you actually need, and then shop for the next.
- Skipping the prep. Whether you’re painting, gluing, or pressing flowers, prep work matters. Clean surfaces before you paint. Press flowers long enough before framing. Let each coat dry fully. Rushing this step is why DIY projects end up looking messy instead of polished.
- Using colors that don’t connect. If every project is a different color story, the room looks scattered. Pick two or three colors from a coordinated spring palette and repeat them across your projects. The coherence is what makes a home look styled rather than decorated.
- Making everything symmetrical. Perfect symmetry often looks stiff. In spring decor especially, asymmetry, odd numbers, and uneven shapes feel more natural and more alive.
- Forgetting scale. A tiny wreath on a big front door disappears. A huge centerpiece on a small kitchen table overwhelms. Think about the scale of the space before you start.
You Don’t Need to Do All 20
Honestly, pick three. Maybe one for your front door, one for your living room, and one small accent for a surface that feels stale. Do those well, let yourself enjoy them for a couple of weeks, and then maybe make one more.
DIY spring decorations are at their best when they come from a genuine “I want to make that” feeling, not a pressure to overhaul everything at once. Your home doesn’t need to look like a catalog page. It needs to feel like yours, just a little lighter, a little greener, a little more ready for the season.
That handmade wreath with the imperfect blush flowers you tucked in slightly crooked? That’s the one you’ll love most.
Which One Are You Making First?
Drop a comment below and let me know which of these DIY spring decorations you’re trying this season. And if you pin any of these to save for later, I always love knowing which ideas are getting the most love. Happy crafting!


No Comment! Be the first one.