




Your Dream Walk In Pantry: 15 Ideas That Keep It Beautiful and Actually Organized
There’s a moment every home cook knows. You open the pantry door, scan three shelves of cereal boxes and mystery cans, and somehow still can’t find the cumin. You bought two more jars...

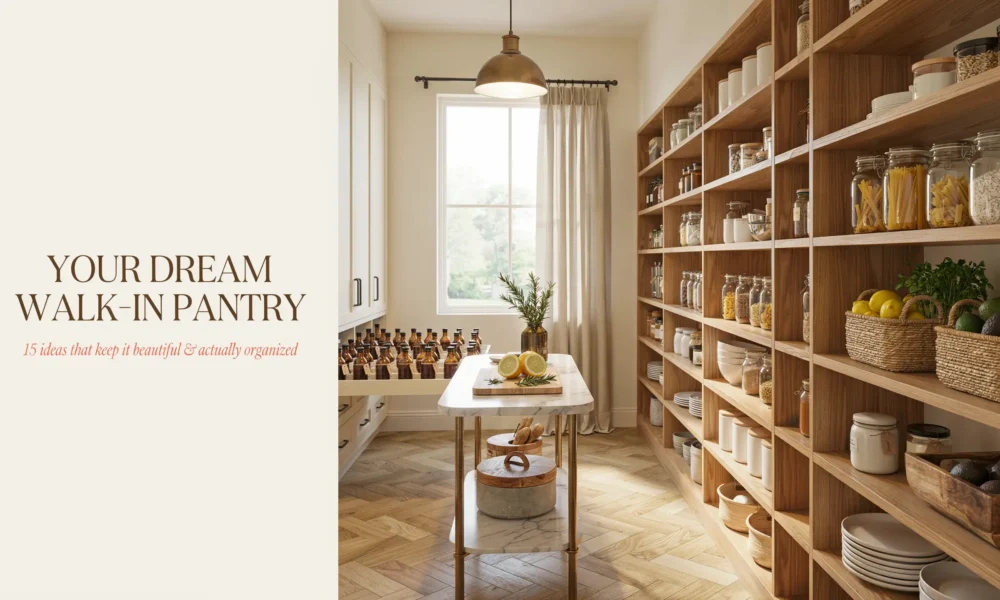
There’s a moment every home cook knows. You open the pantry door, scan three shelves of cereal boxes and mystery cans, and somehow still can’t find the cumin. You bought two more jars last week. They’re in there somewhere.
A well-designed walk in pantry fixes that. Not just for a Tuesday, but for good. It changes the way you cook, shop, and feel in your kitchen. And honestly, it’s one of the most satisfying rooms you can organize, because unlike a living room or bedroom, the pantry has one job. When you set it up right, it just works.
Whether you have a generous walk in already or you’re eyeing an awkward closet near the kitchen with hopeful eyes, this guide covers everything: layout, shelving, zoning, lighting, aesthetics, common mistakes, and how to keep it looking good after week one. Let’s get into it.
Plan the Layout Before You Buy a Single Bin
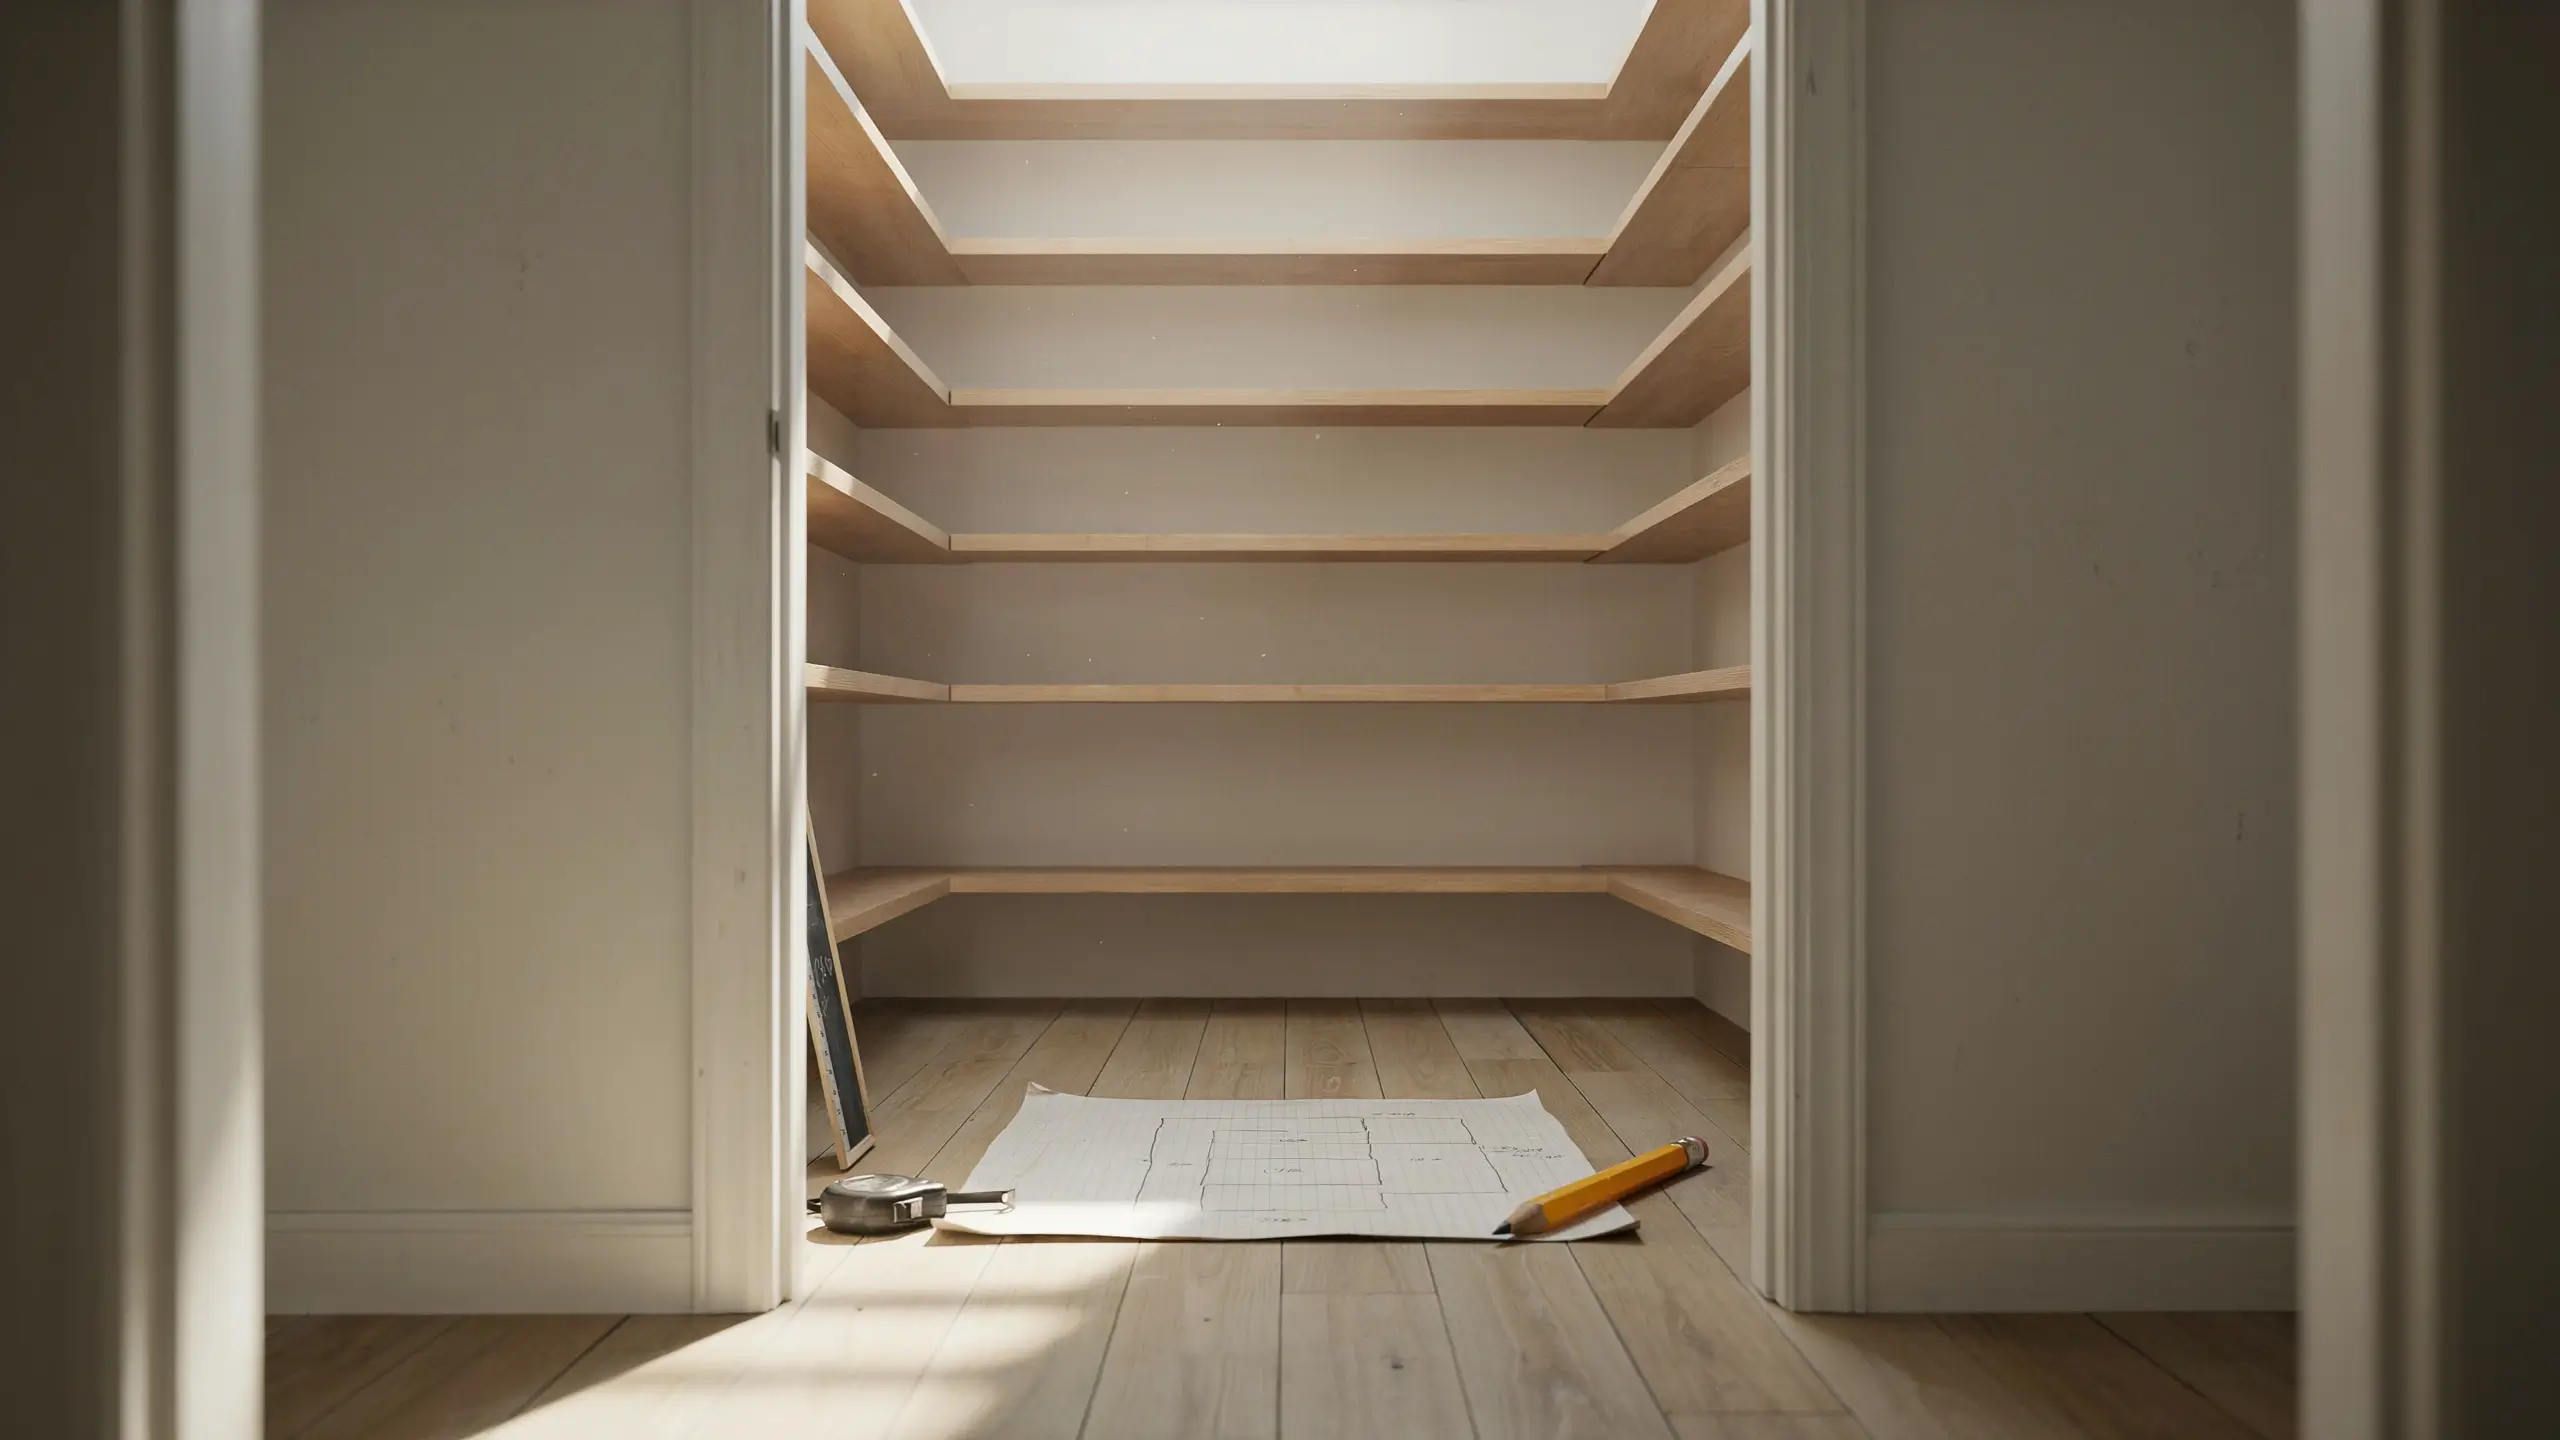
This is the step most people skip, and it’s also why so many pantry makeovers fall apart by month two.
Before ordering containers, installing shelves, or doing anything visible, spend 30 minutes sketching your pantry’s dimensions on paper. Note which walls have outlets, where the door swings, if there are any awkward corners, and how much ceiling height you have to work with.
For a true walk in pantry, you need a minimum of about 4 feet by 4 feet of interior floor space to actually walk in, turn around, and reach shelves on both sides comfortably. Anything smaller functions more like a reach-in pantry, which is still wonderful but organized differently.
The most functional walk in pantry layouts are:
- Galley style: Shelves running along two parallel walls with a center aisle. Works beautifully in narrow rectangular spaces and gives you the most storage per square foot.
- U-shape: Shelves on three walls. Best for larger square spaces. Gives you the highest storage capacity and room for a small counter.
- L-shape: Shelves on two perpendicular walls. A great fit for corner spaces or converted closets.
Once you know your layout, you’ll know what shelving actually fits, how many zones you have room for, and whether you can dream of a countertop.
Choose Your Shelving Style (and Know the Right Depth)
Shelving is where most of the pantry magic happens, and also where some of the biggest mistakes hide.
The depth rule nobody tells you: Most pantry shelves are built or sold at 16 to 20 inches deep. That sounds generous. In practice, it means everything gets pushed to the back, items hide behind other items, and you buy the same can of chickpeas four times. For everyday food storage, 12 inches deep is actually the sweet spot. You can see everything at once. Nothing disappears.
Reserve deeper shelves, around 16 inches, for your upper shelf where you store seldom-used appliances and bulk backup items. The eye-level zone is prime real estate. Keep it shallow.
Open Wood Shelving
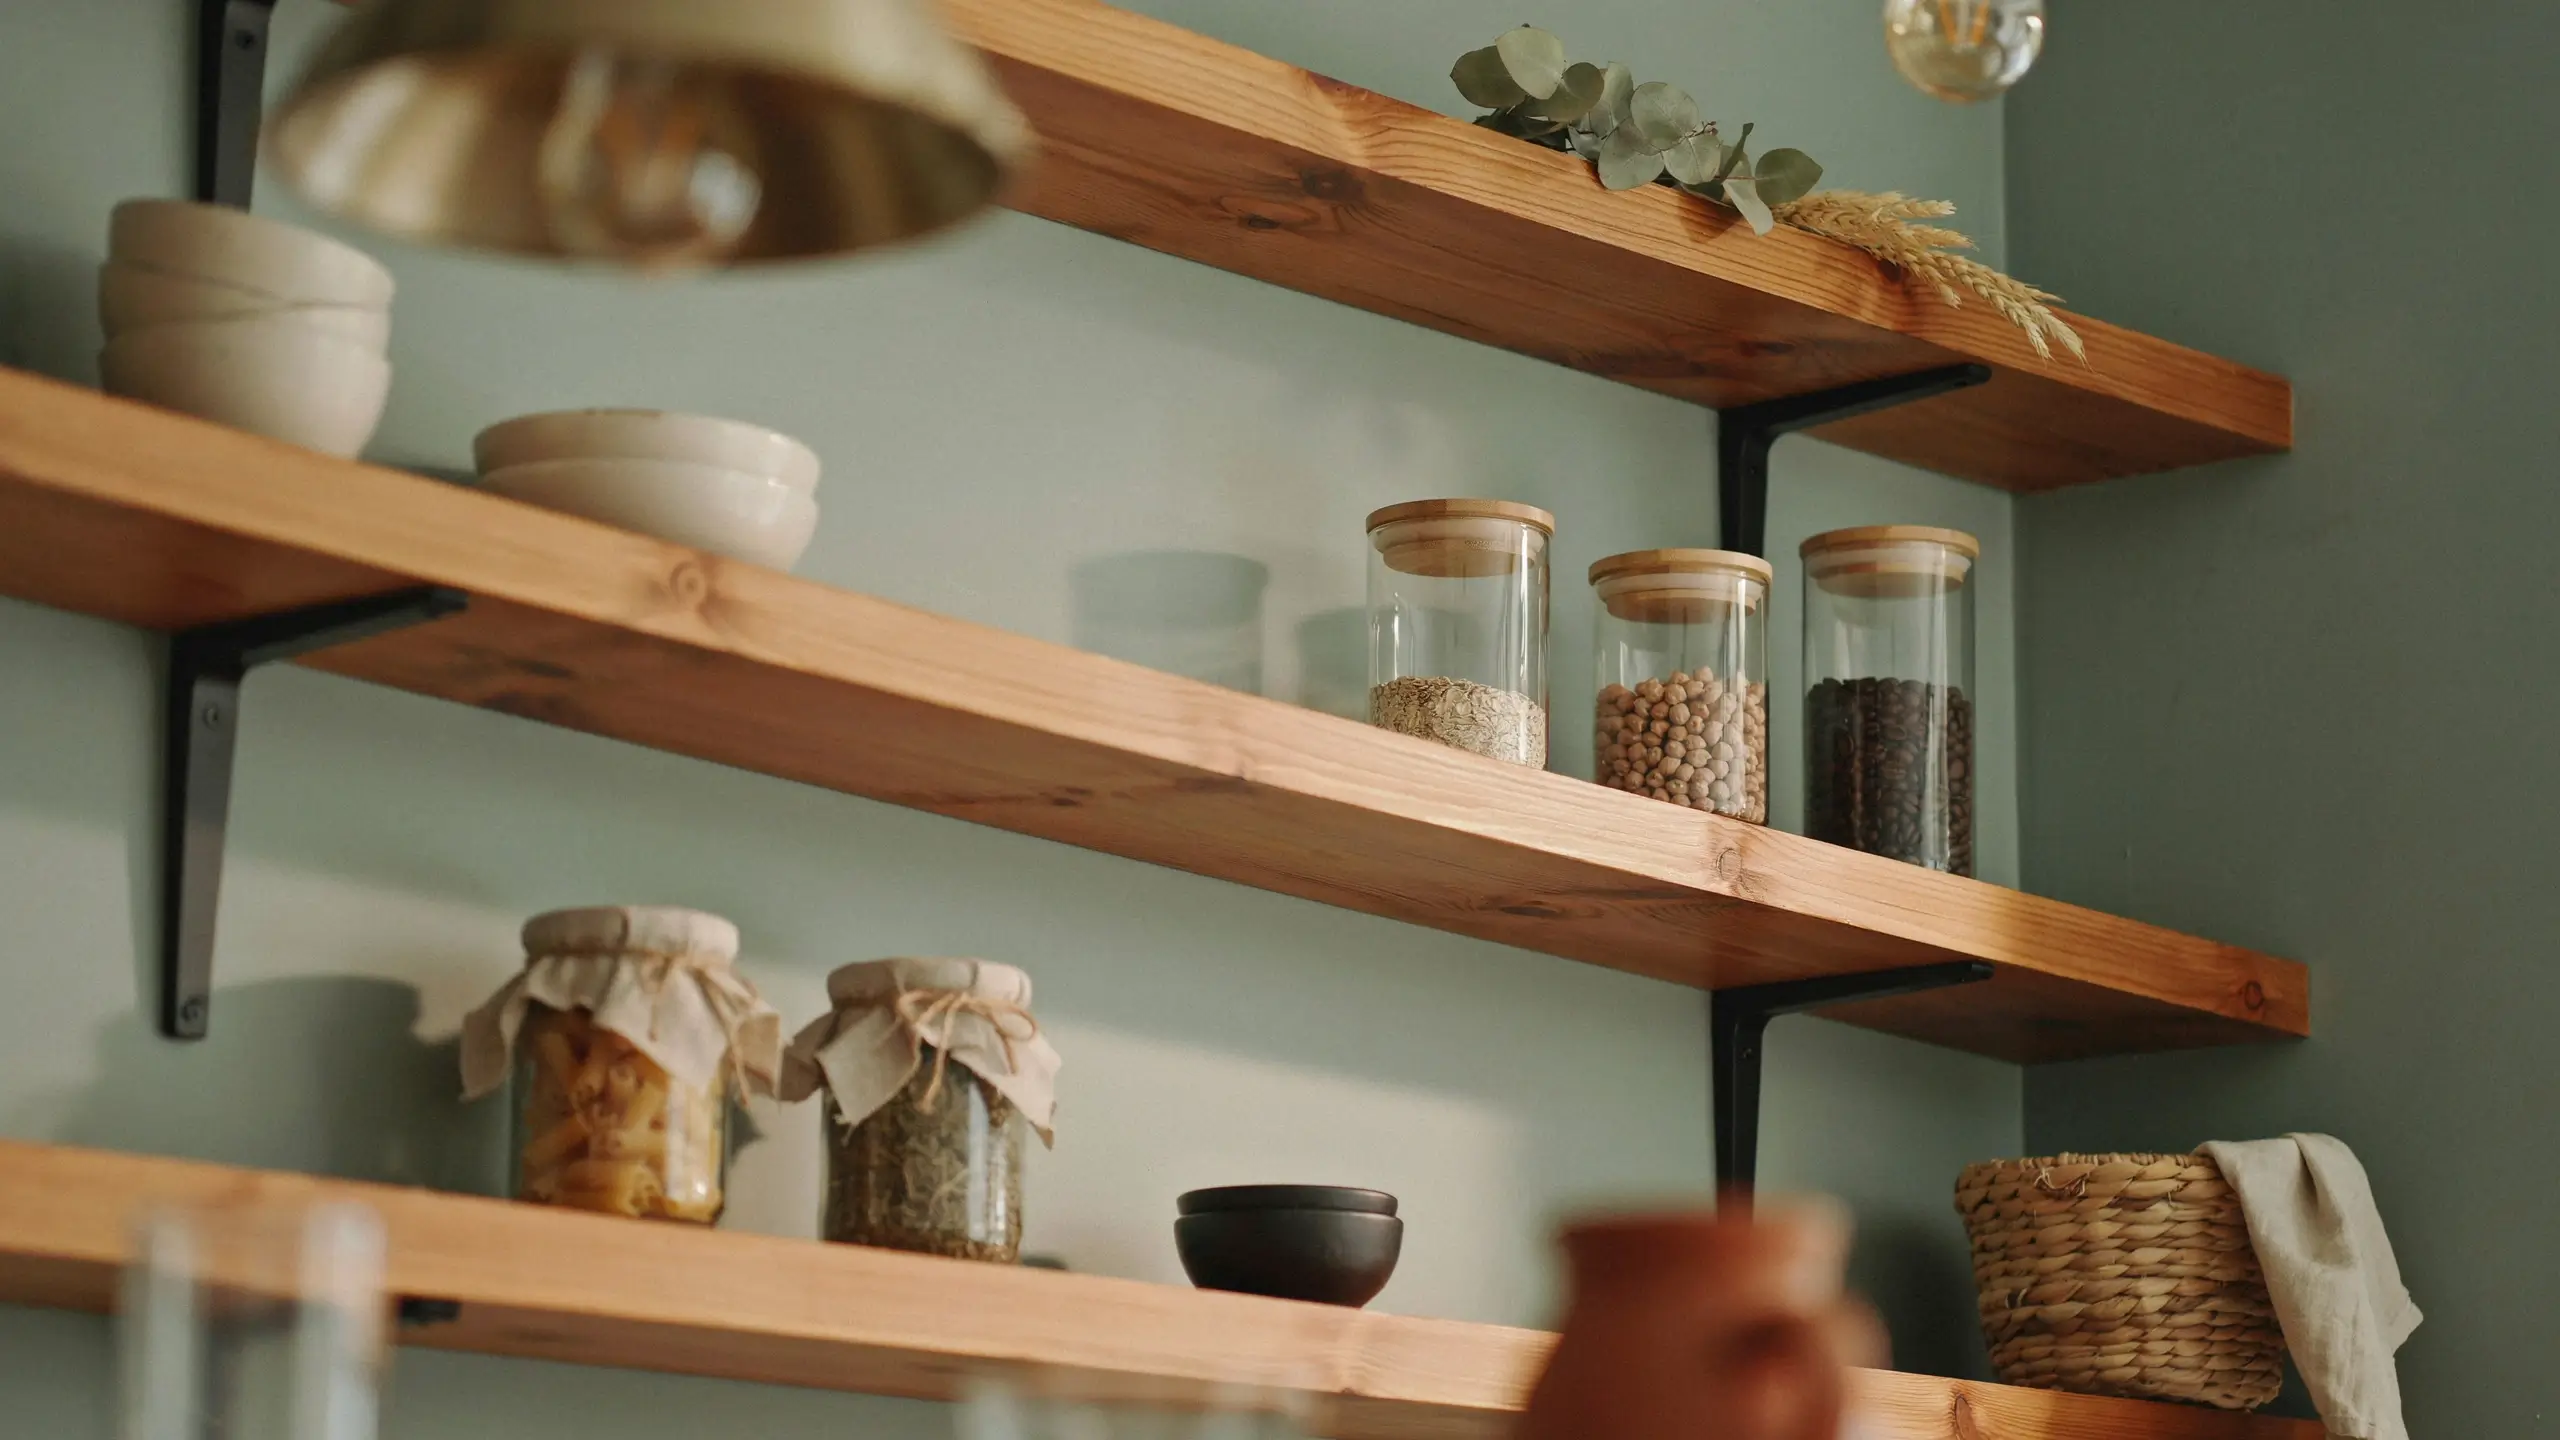
This is the Pinterest favorite for good reason. Warm wood shelves with simple metal or wood brackets feel elevated without being formal. A beginner-friendly DIY version uses 1×10 pine boards (about $2 to $4 per linear foot) cut to width at the hardware store and mounted on sturdy floating shelf brackets. Sand, seal with a water-resistant finish, and install. You get a custom look for a fraction of custom pricing.
If you’re renting, look for freestanding shelving units in a warm wood finish. IKEA’s Ivar and Billy systems are popular options that don’t require wall damage and offer a surprisingly clean look.
Wire Shelving
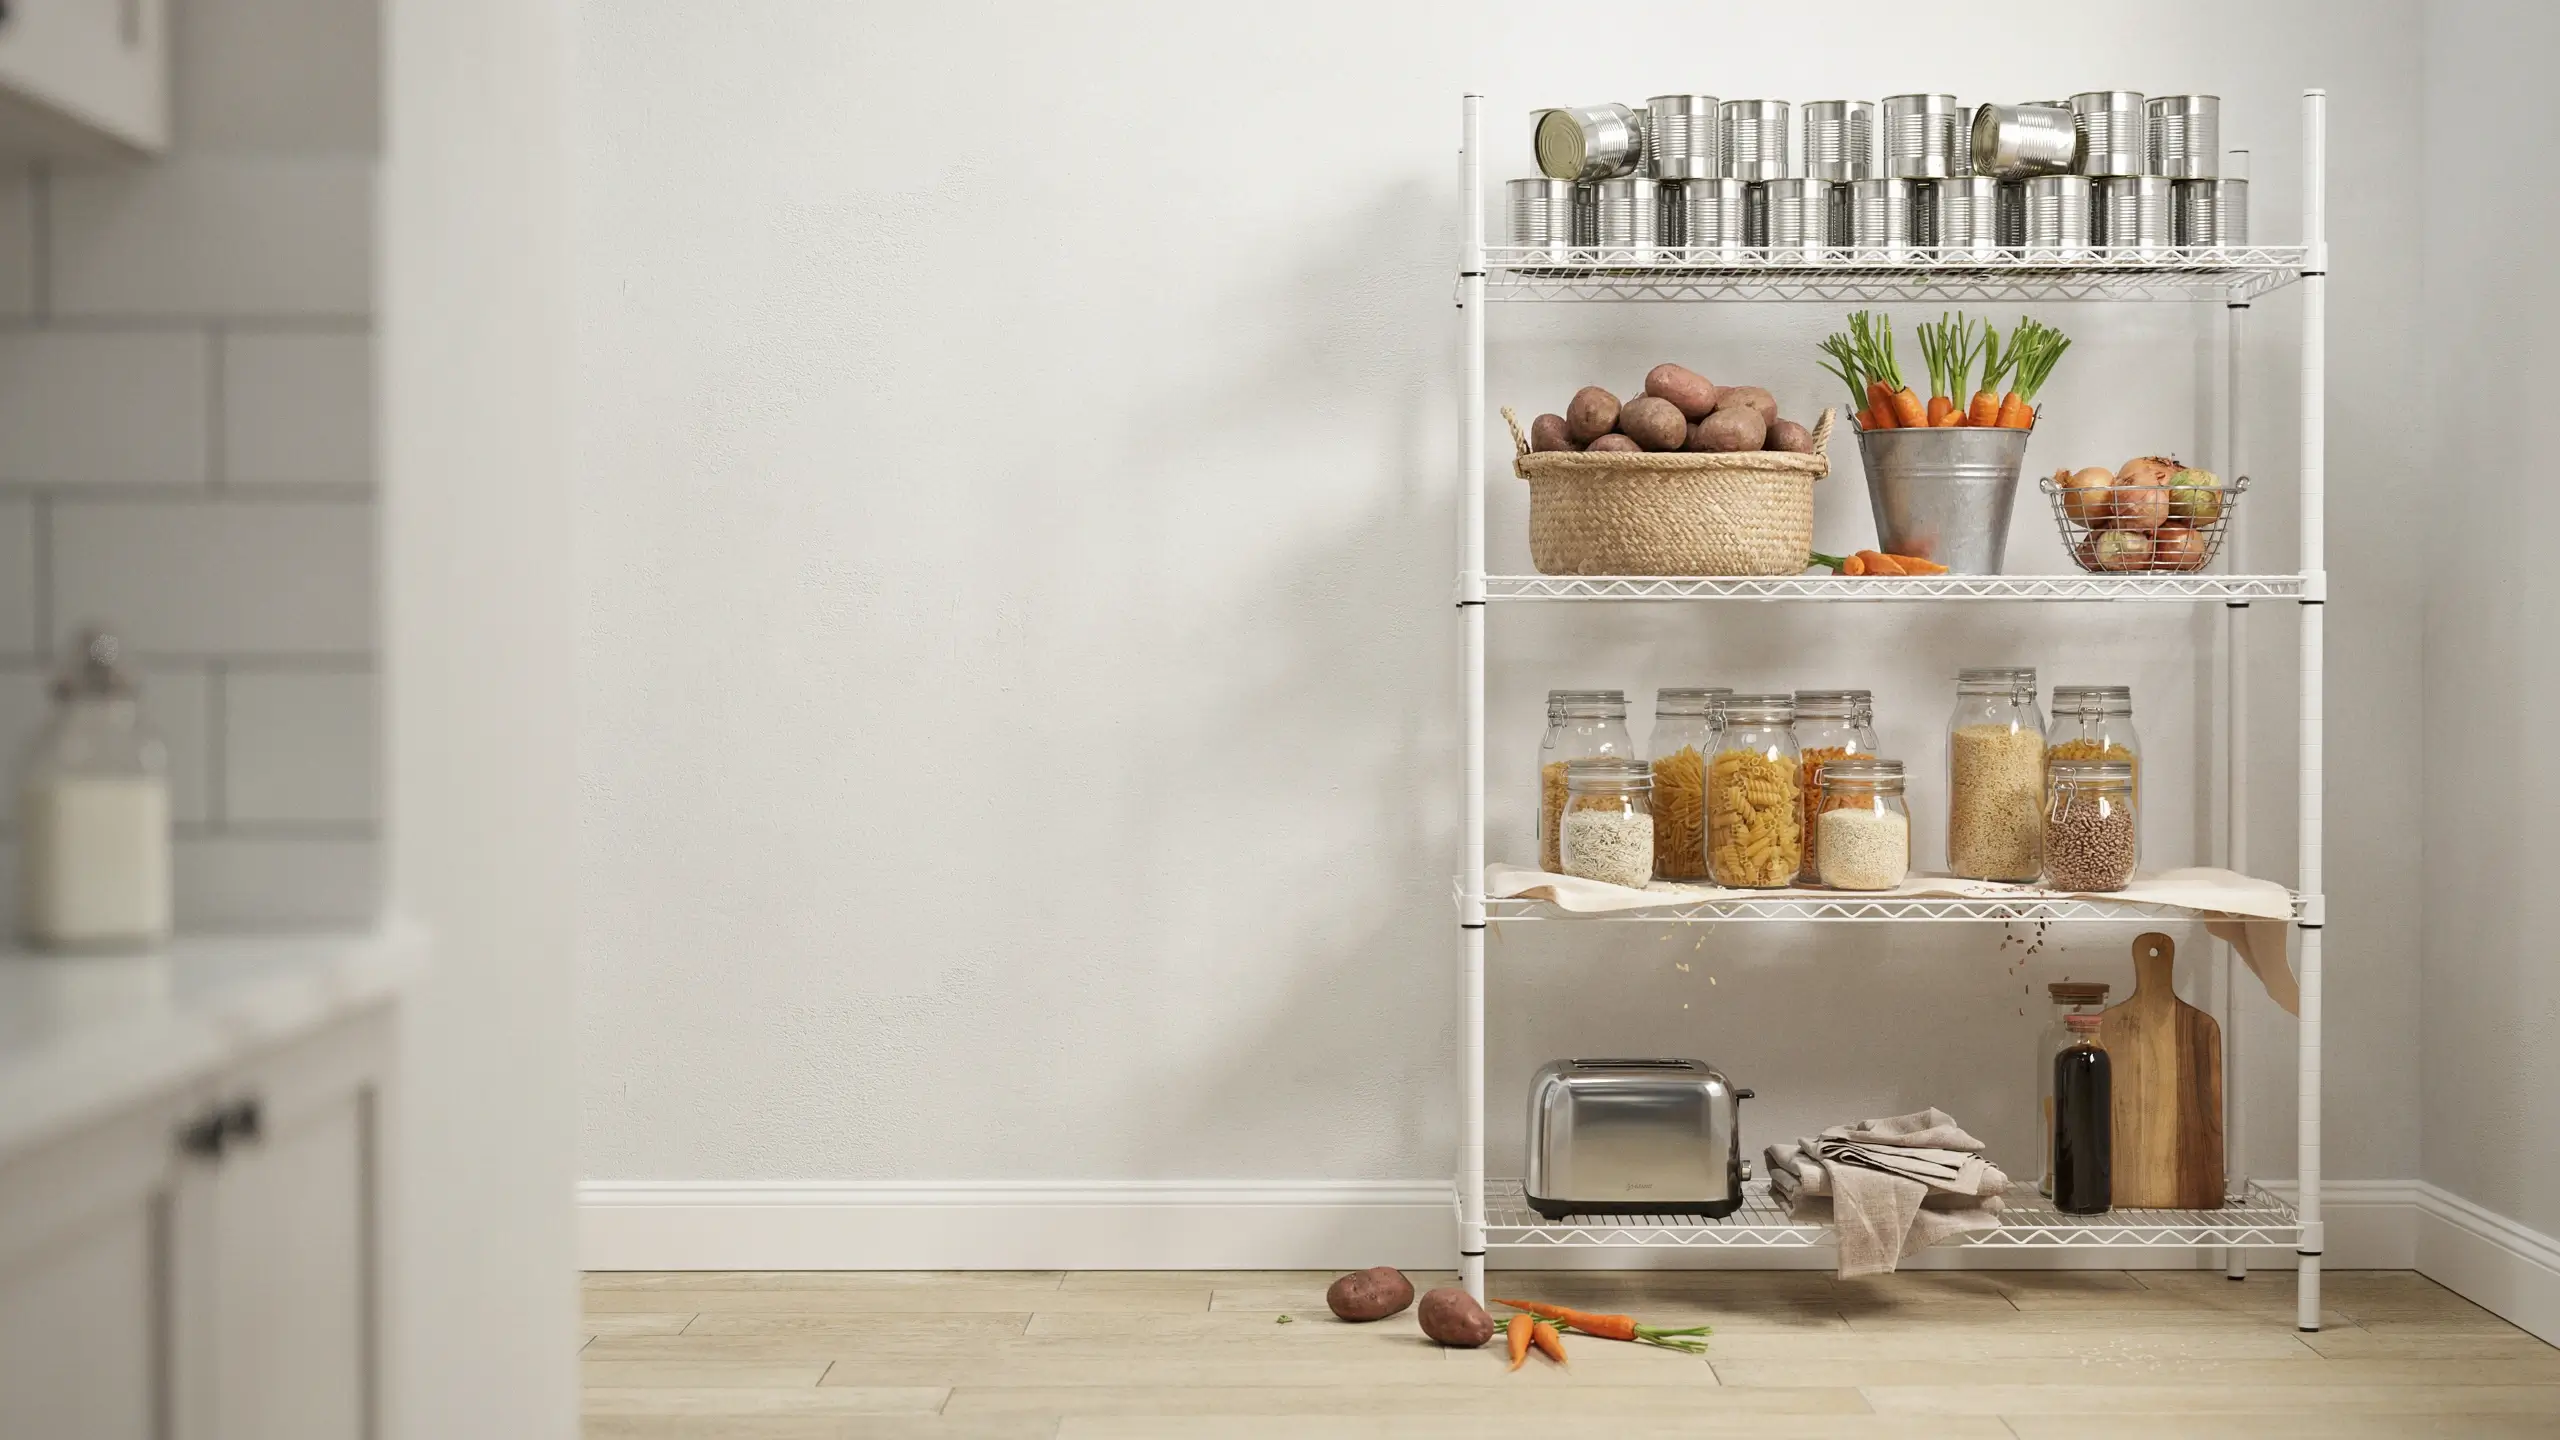
The humble white wire shelf gets underestimated. It’s lightweight, easy to clean (crumbs fall through instead of collecting), holds heavy weight, and costs very little. Add a shelf liner if you dislike the grid feel underfoot. Wire shelving is especially practical for the lower sections of your pantry where root vegetables, heavy canned goods, and small appliances live.
Built-In Cabinetry
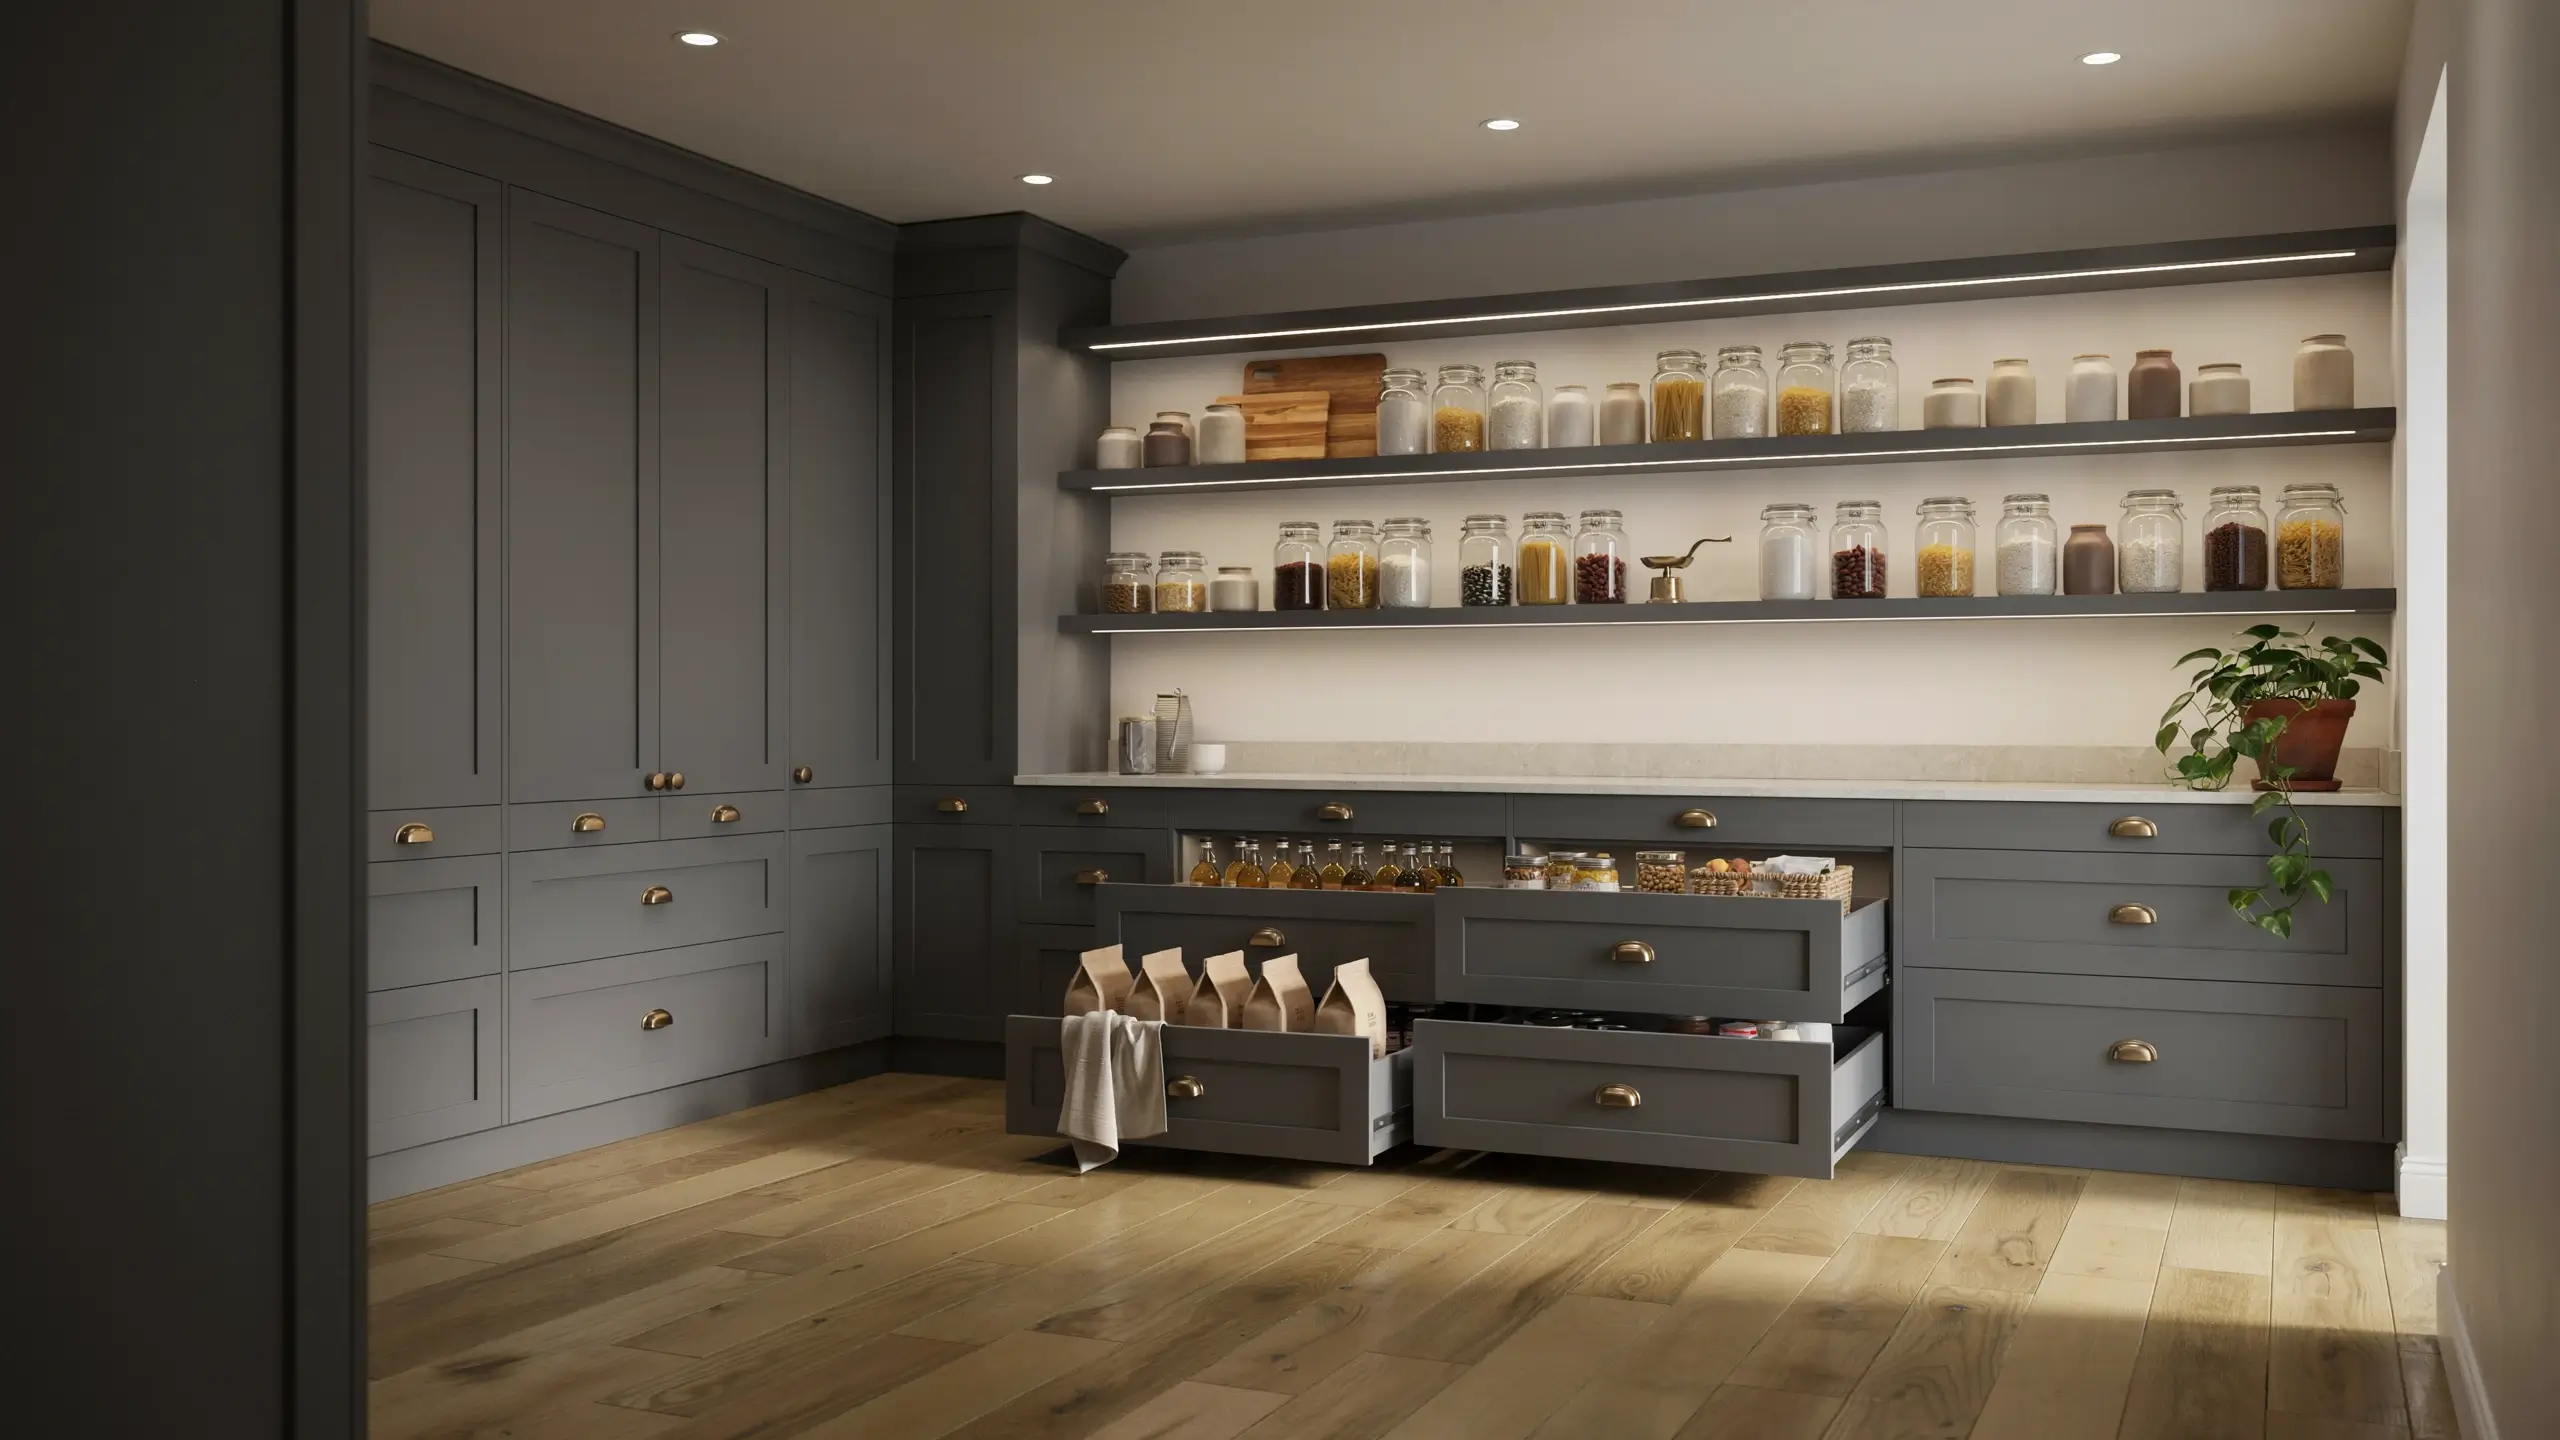
If you’re ready to invest, custom or semi-custom built-ins transform a walk in pantry into something that looks like a boutique. Lower cabinets with drawers provide the best access to awkward items (flour, oils, snacks) while open shelving above keeps everything visible. The combination of closed lower storage and open upper storage is what most professional kitchen designers recommend.
Zone Your Pantry Like a Professional Organizer Would
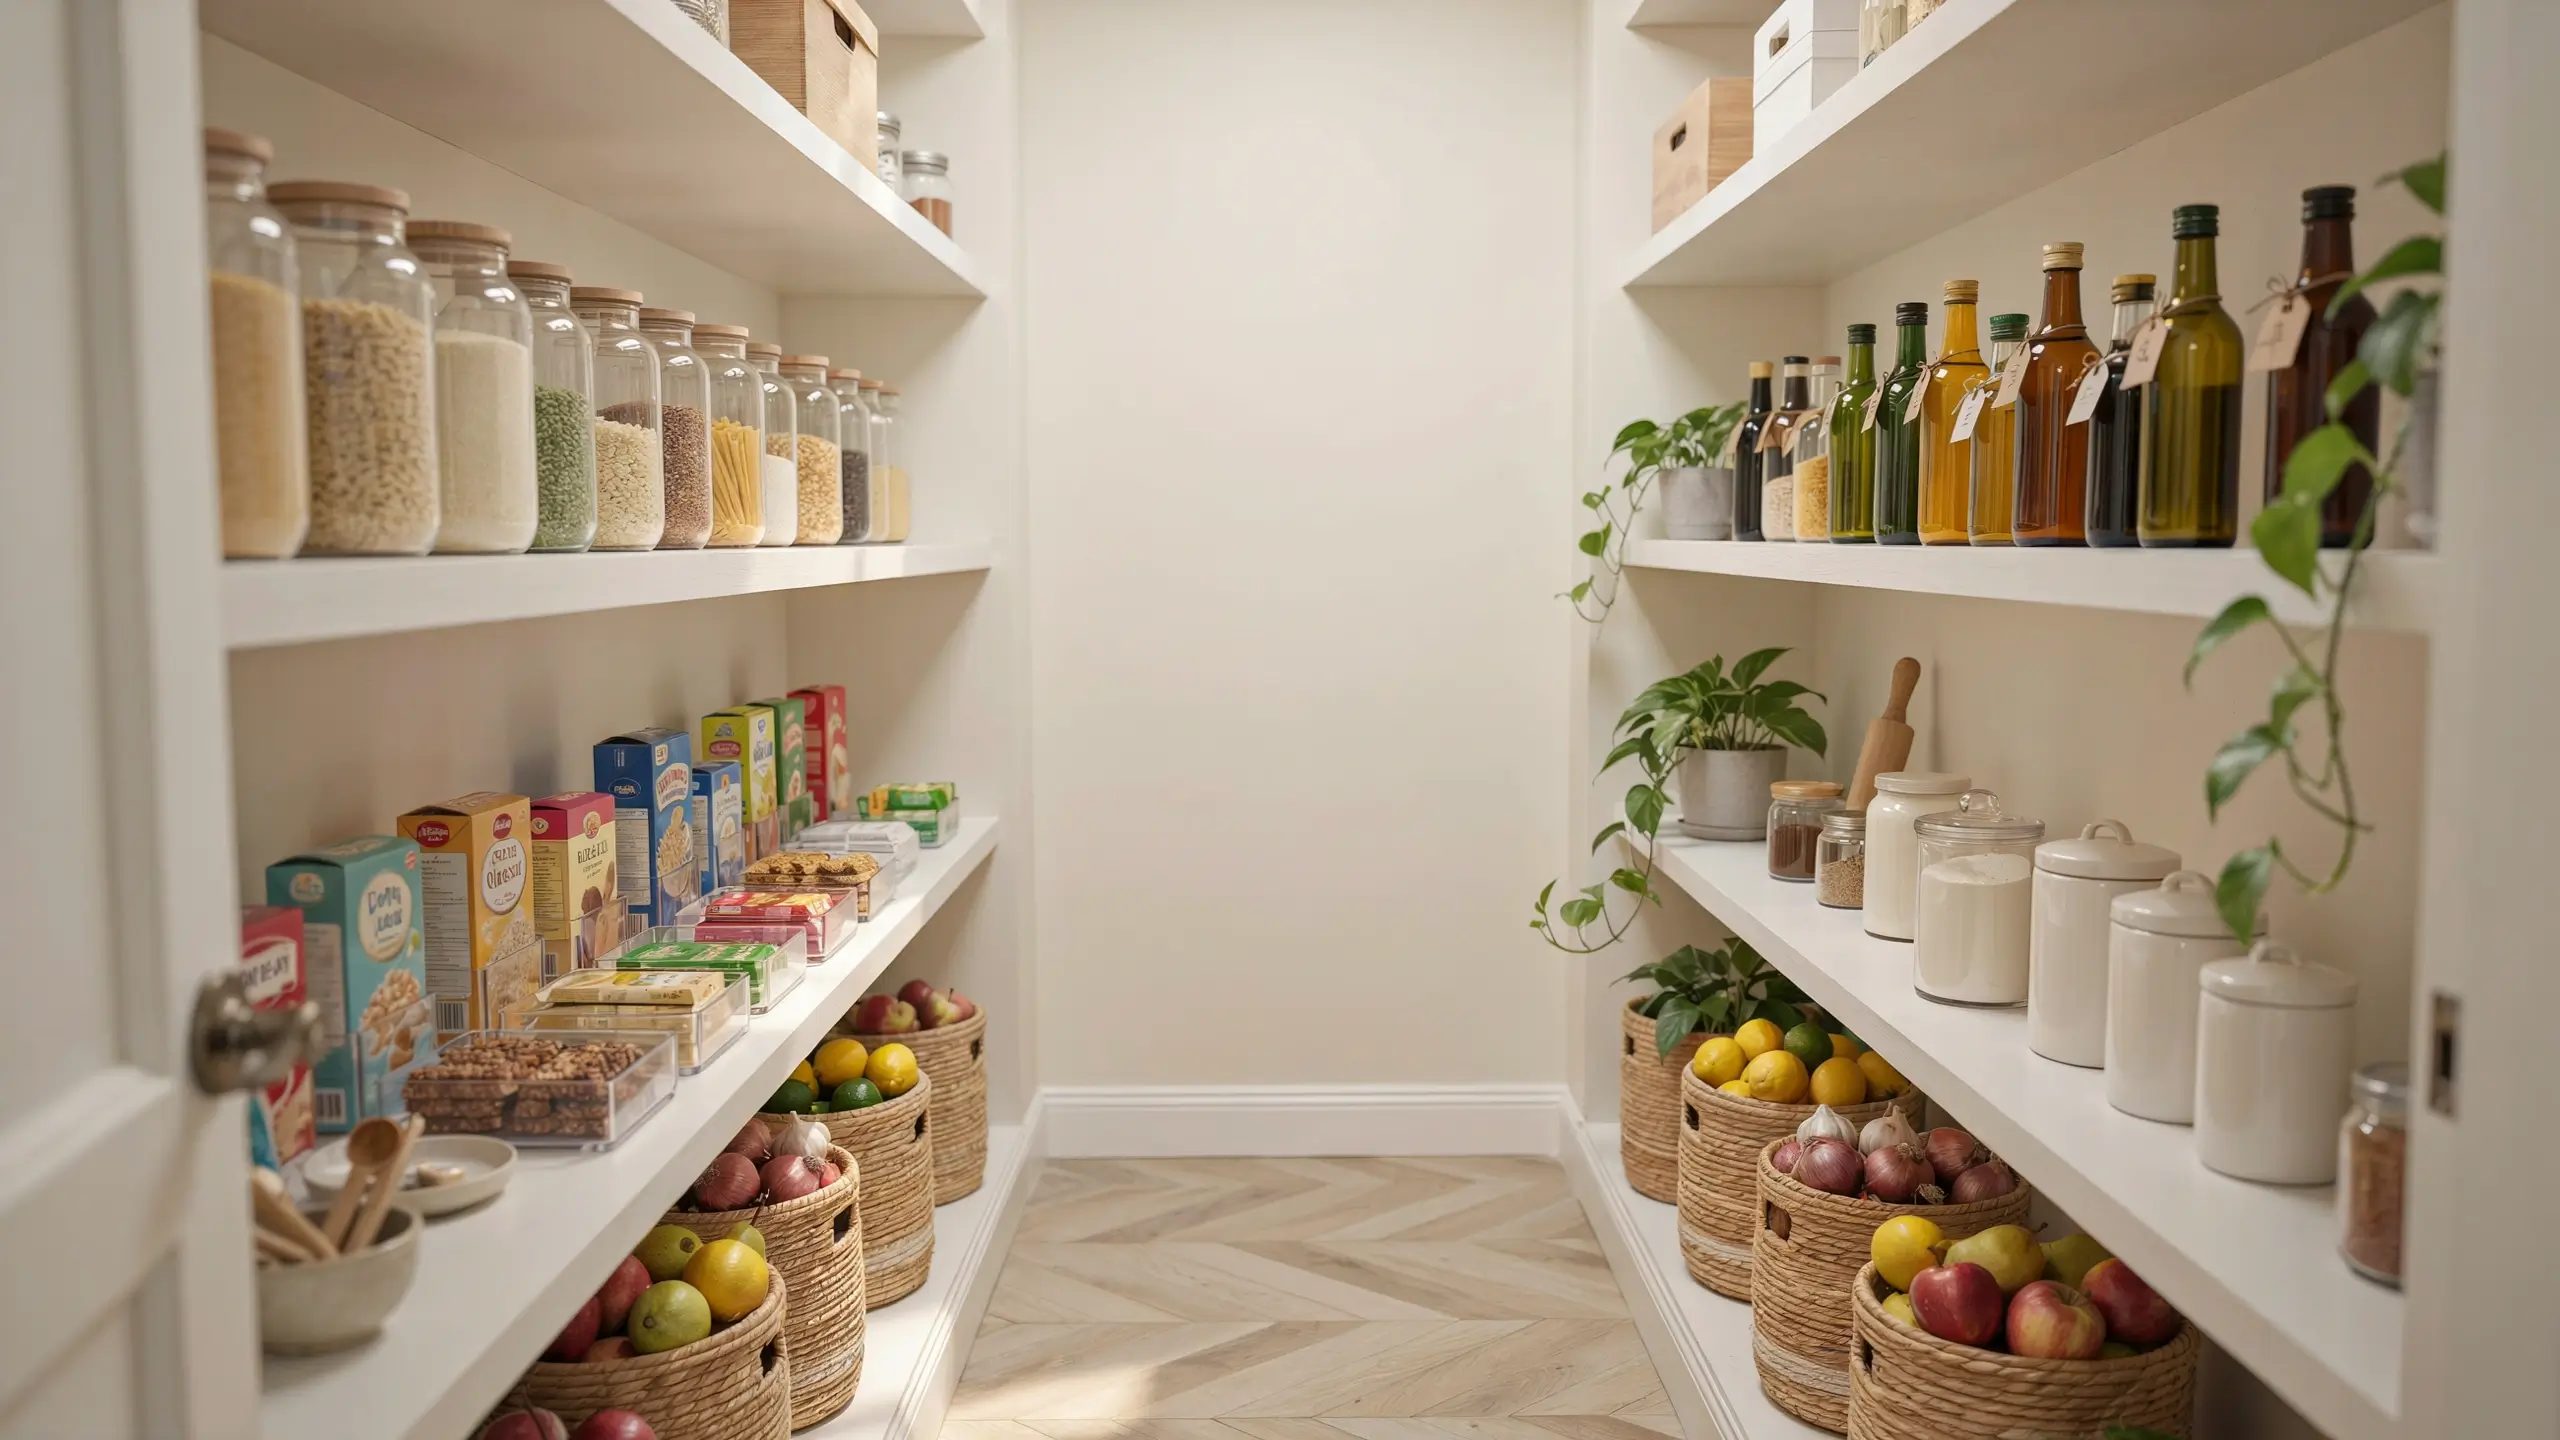
This is the single concept that separates a pantry that works from one that just looks good in photos. Zones are simply groupings of items by how and when you use them, arranged so the most-used things are easiest to reach.
Here’s a practical seven-zone system:
Zone 1 – Everyday Grab-and-Go (eye level, front of shelves) Coffee, tea, breakfast items, the kids’ snacks, anything you reach for daily. This is your most valuable real estate.
Zone 2 – Cooking and Baking Essentials (just below eye level) Oils, vinegars, canned tomatoes, pasta, rice, dried beans, spices. Grouped together so dinner prep becomes a smooth grab-and-go experience.
Zone 3 – Baking Supplies (one dedicated shelf or basket) Flour, sugar, baking powder, chocolate chips, vanilla. Keep these together so baking day doesn’t mean hunting across three shelves.
Zone 4 – Bulk and Backup Stock (upper shelf or lower corner) The extra bottles of olive oil, the backup pasta, the costco-sized oats. Out of the way because you don’t need them daily, but visible enough that you remember what you have before the grocery run.
Zone 5 – Small Appliances The rice cooker, stand mixer, food processor. Give them a home here on a lower shelf or counter surface and reclaim your kitchen countertops completely. This alone changes the entire feeling of your kitchen.
Zone 6 – A Drink Station 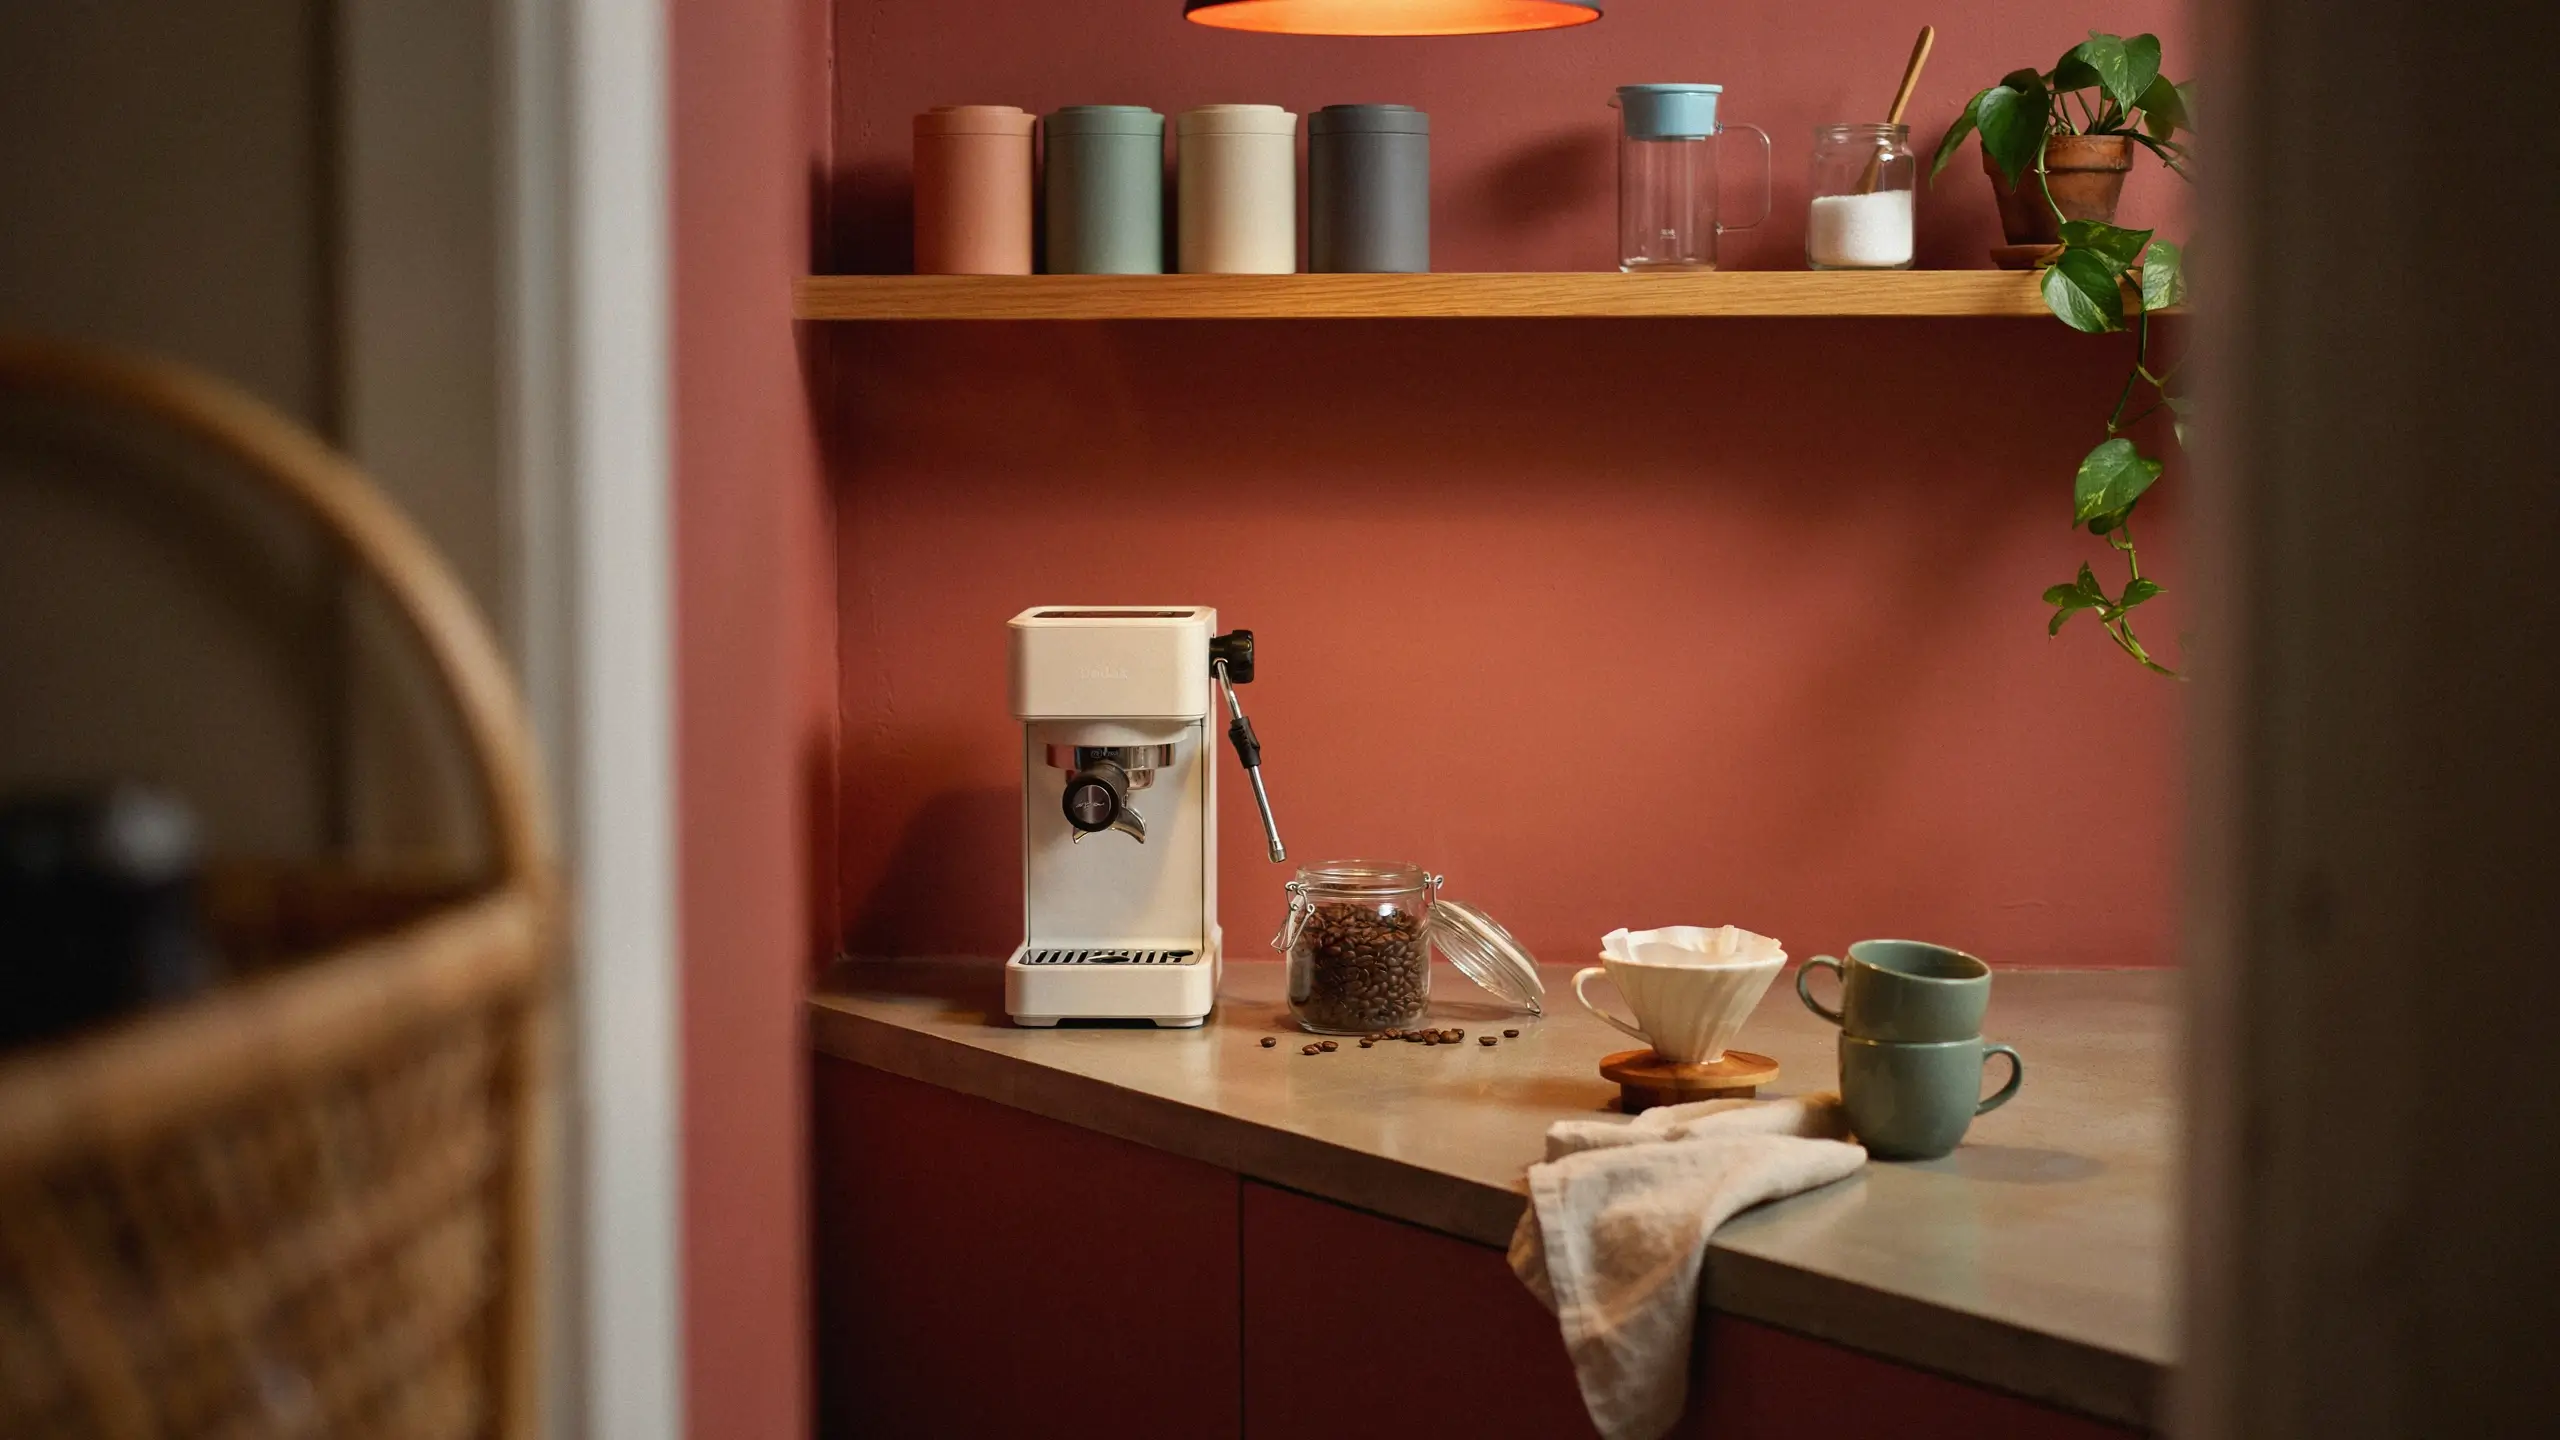 A growing number of people are dedicating one corner or shelf section to a small coffee setup, a water filter, or a bar area. It keeps appliances contained and creates a little functional nook that feels intentional.
Zone 7 – Entertaining and Hosting Supplies Cloth napkins, candles, serving platters, extra tableware. This is a 2026 trend that makes total practical sense. If you host, having a dedicated section means you actually know what you own.
Containers, Bins, and Labels: What’s Worth It (and What Isn’t)
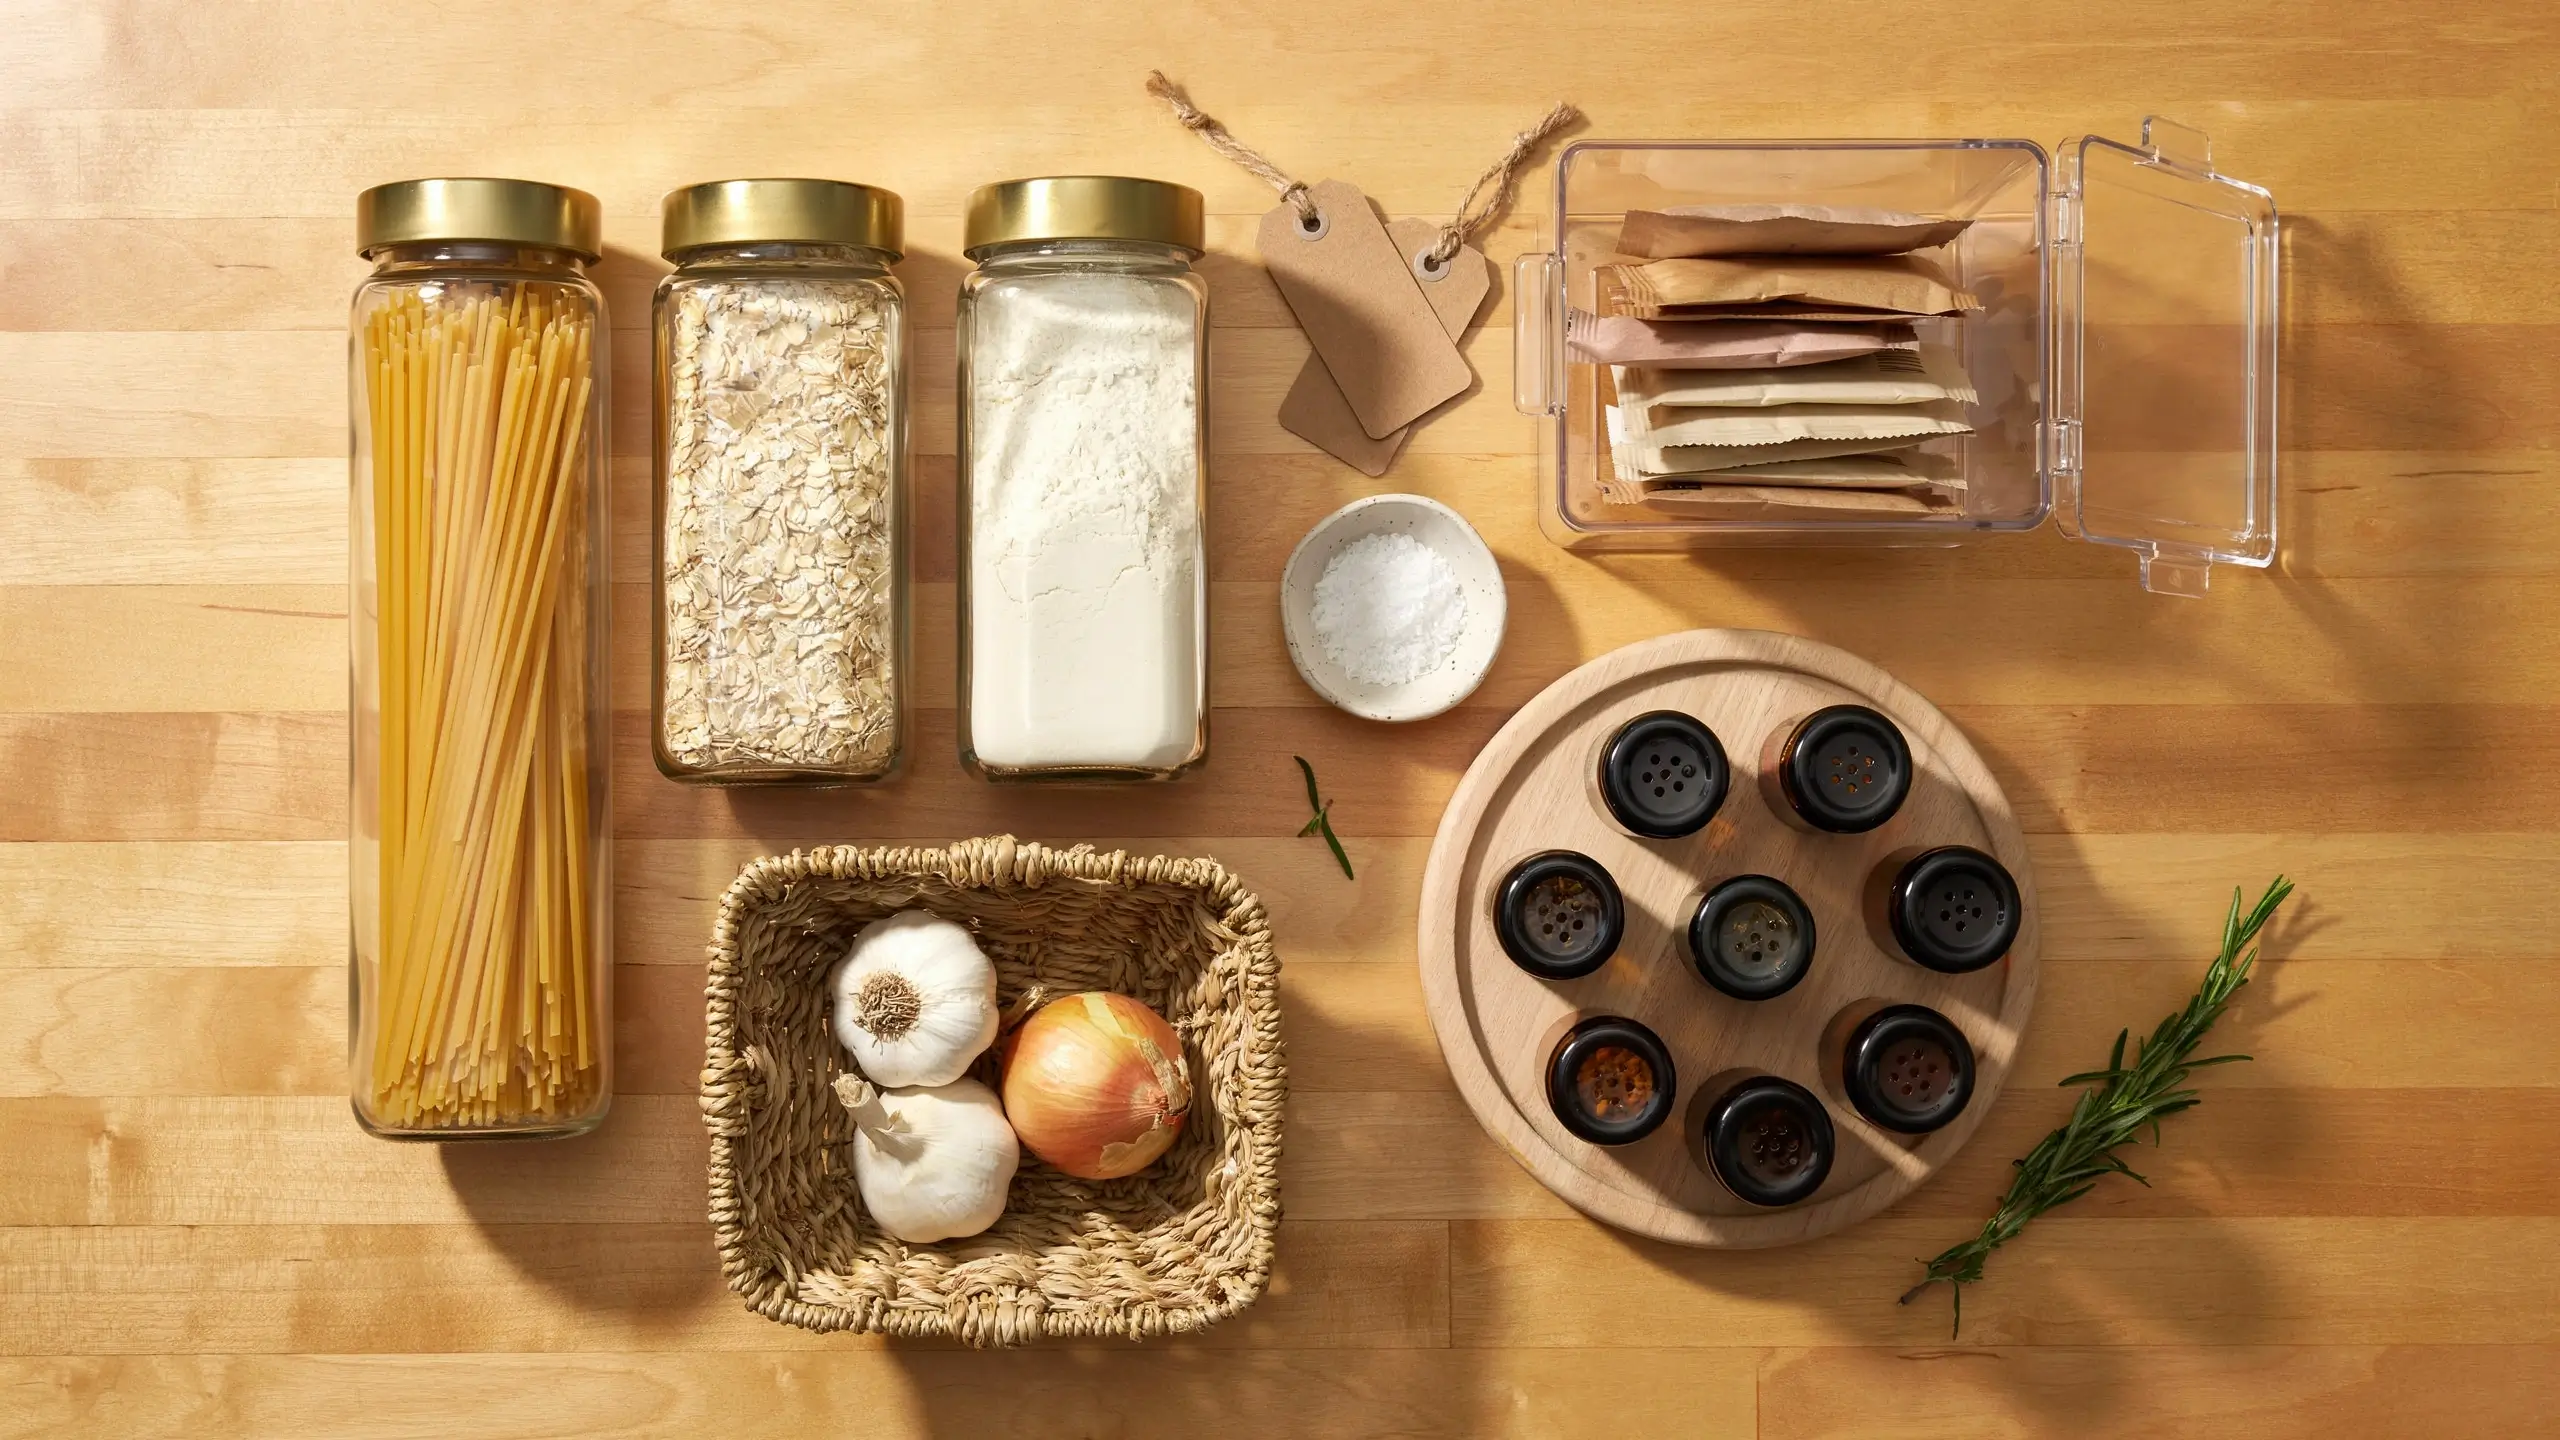
The glass jar pantry look is genuinely beautiful and genuinely functional, but it comes with a caveat: don’t transfer everything into identical containers for aesthetics alone, then lose track of what’s what or let things go stale because the container wasn’t sealed properly.
Here’s what’s actually worth it:
- Glass canisters with airtight lids work perfectly for dry goods you use regularly, flour, sugar, pasta, rice, oats, coffee. The airtight seal keeps things fresh, and being able to see exactly how much you have means fewer surprise empty containers at 7pm on a Wednesday.
- Clear stackable bins are excellent for grouping categories together. One bin for kids’ snacks, one for seasoning packets, one for protein bars. You pull the whole bin out instead of rearranging the shelf every time.
- Woven baskets or fabric bins add warmth and texture. They work best for produce (onions, garlic, potatoes store well in open-weave baskets with airflow), fresh bread, or items with irregular packaging that doesn’t stack neatly.
- Turntables (lazy Susans) belong in corners and deep shelves where items would otherwise disappear behind each other. A two-tiered version is particularly good for spices and oils.
On labels: Professional organizers actually warn against labeling everything too rigidly. Broad category labels work better than specific ones. A label that says “PASTA” is more forgiving and useful than “PENNE” because it survives what you actually buy week to week. Use a simple label maker or hand-write on kraft labels for warmth.
One note: buy your containers after you’ve sorted everything and know your quantities. A common pantry mistake is buying 20 matching canisters, then realizing you only have three things that need them.
Don’t Waste the Door
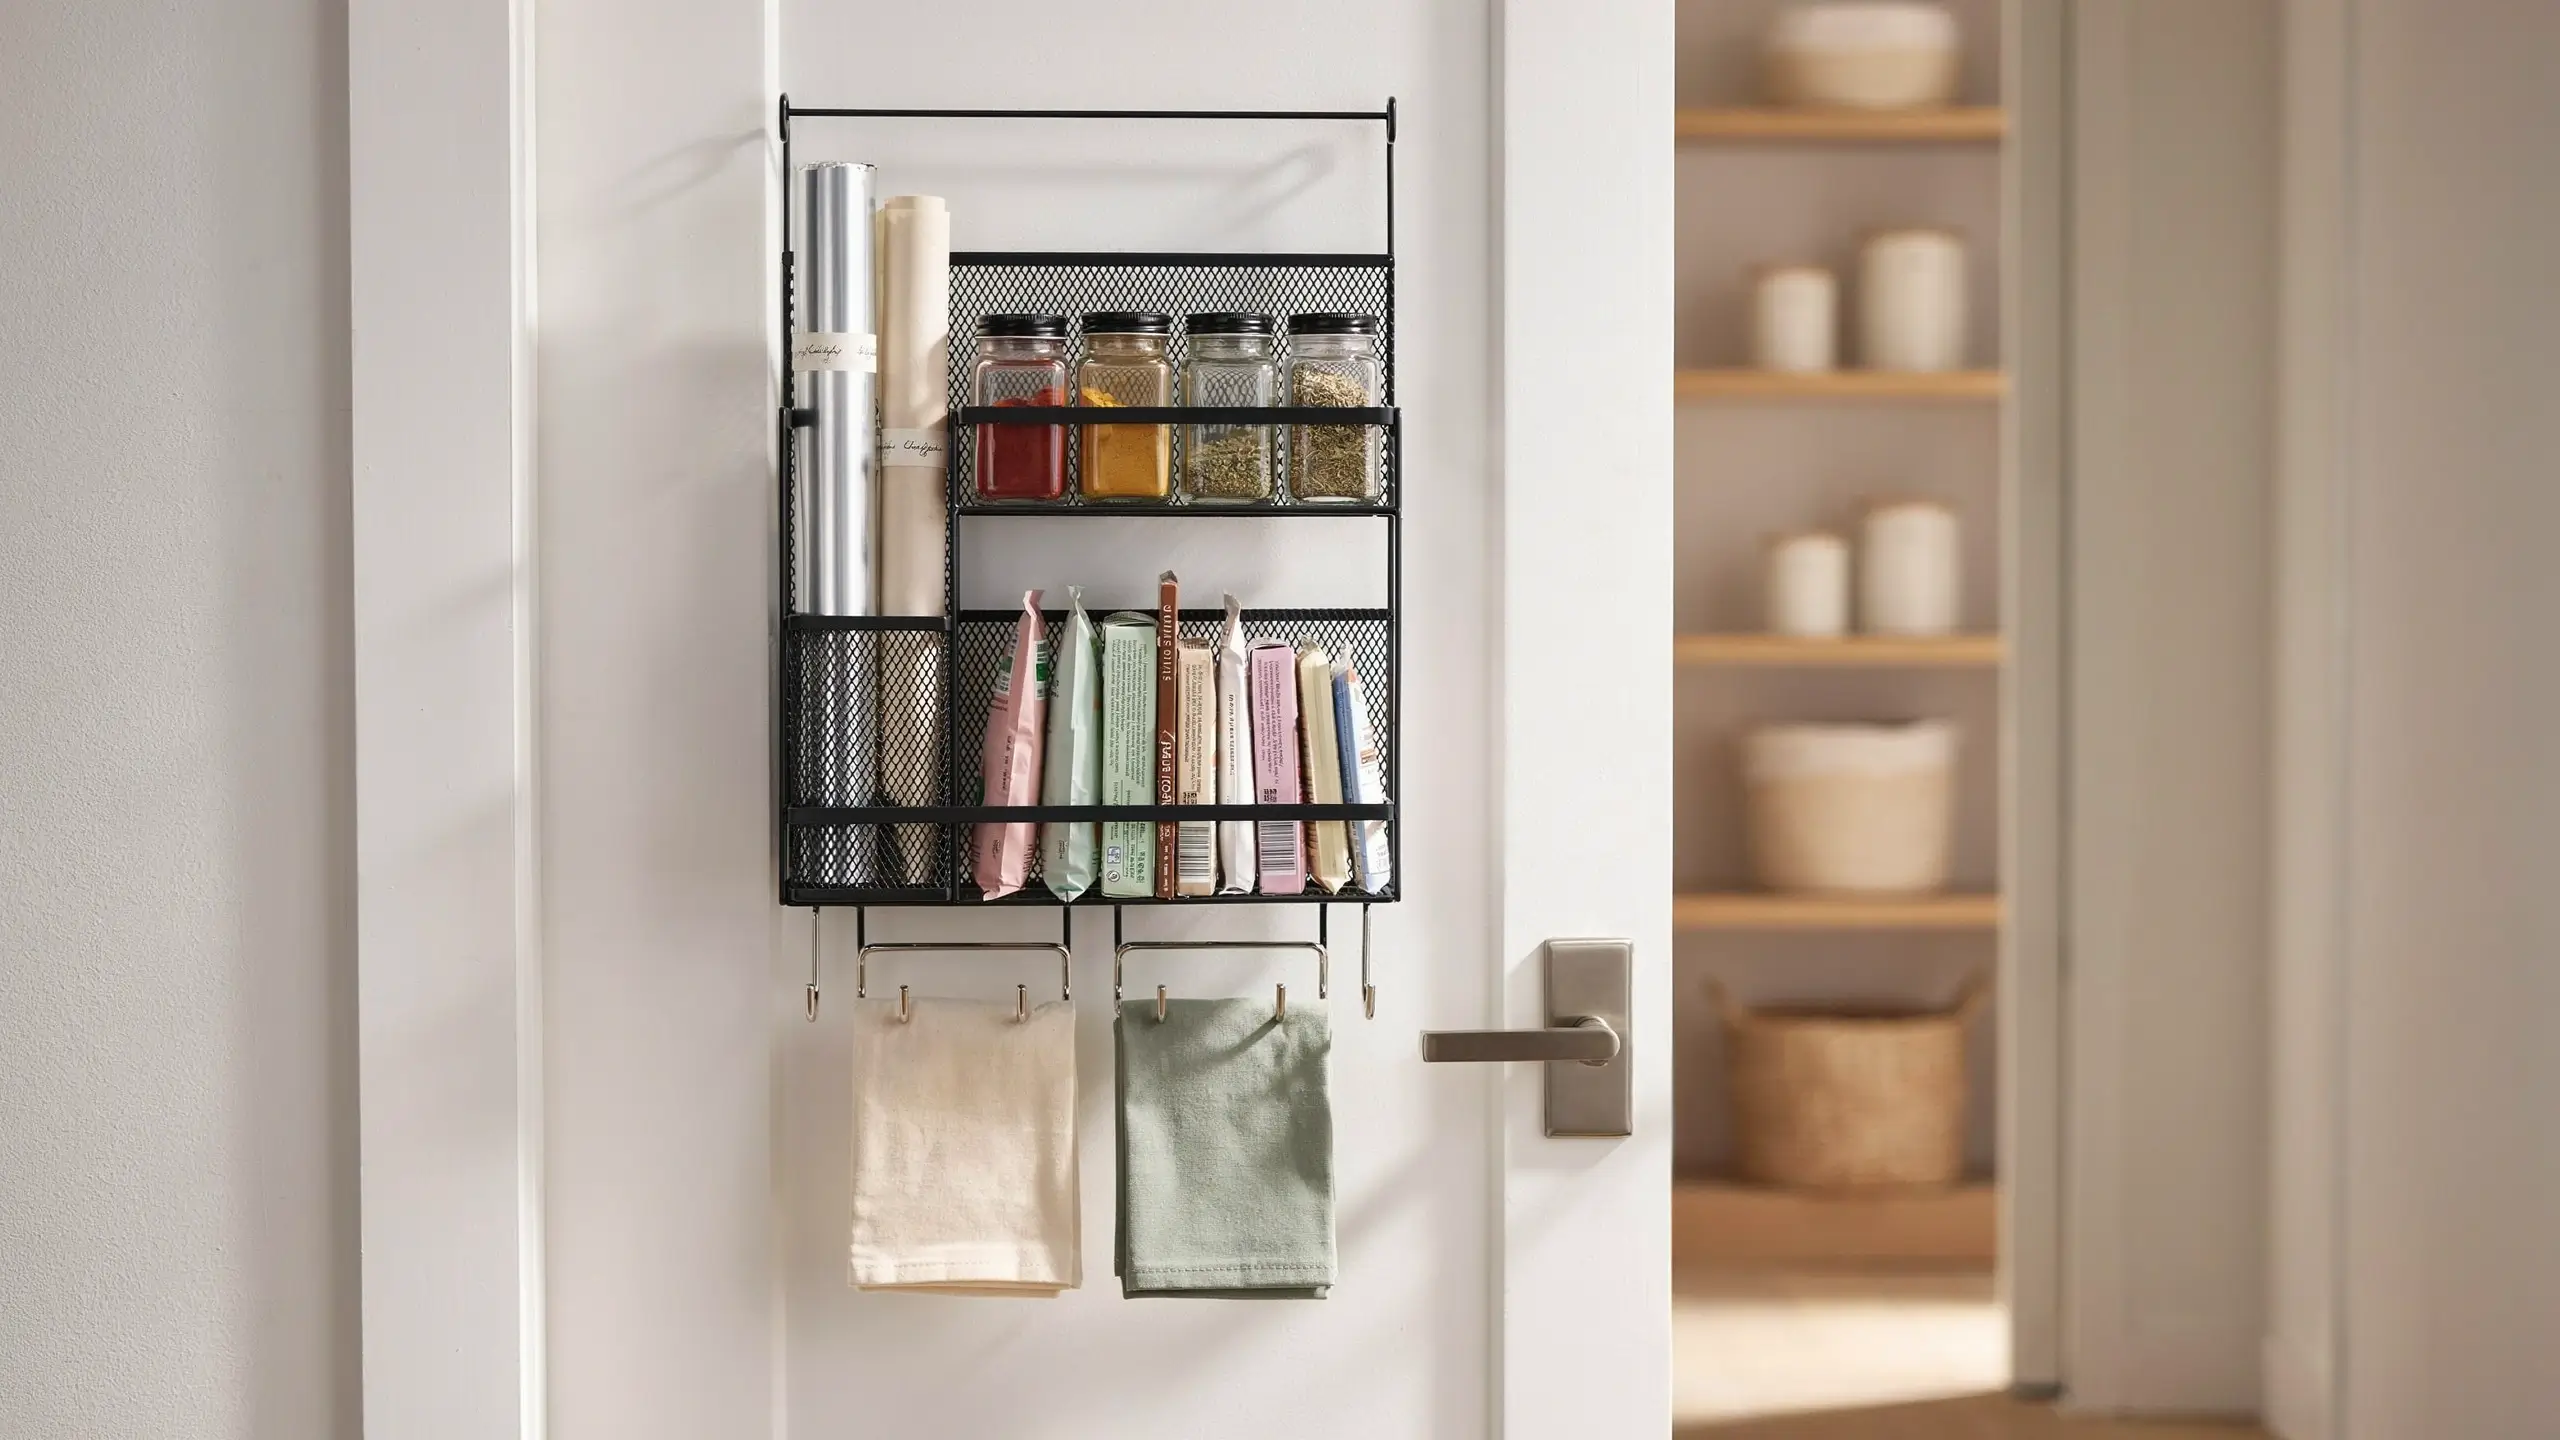
The pantry door is one of the most underused storage surfaces in any home. An over-the-door organizer adds another 15 to 30 item slots without touching a single shelf.
A few smart uses for the door:
- A wire rack for spices, foil, parchment, and small bottles
- Hooks for reusable grocery bags, aprons, or a small broom
- A mounted knife strip for those items that don’t quite belong anywhere else
- A chalkboard or whiteboard surface for the grocery list, meal planning notes, or the kids’ snack requests
If you’re converting a closet, consider whether a sliding or pocket door would serve you better than a standard swing door, especially in tight spaces. A pocket door slides completely into the wall and gives you every inch of that entry space.
Lighting: The Most Overlooked Walk In Pantry Upgrade
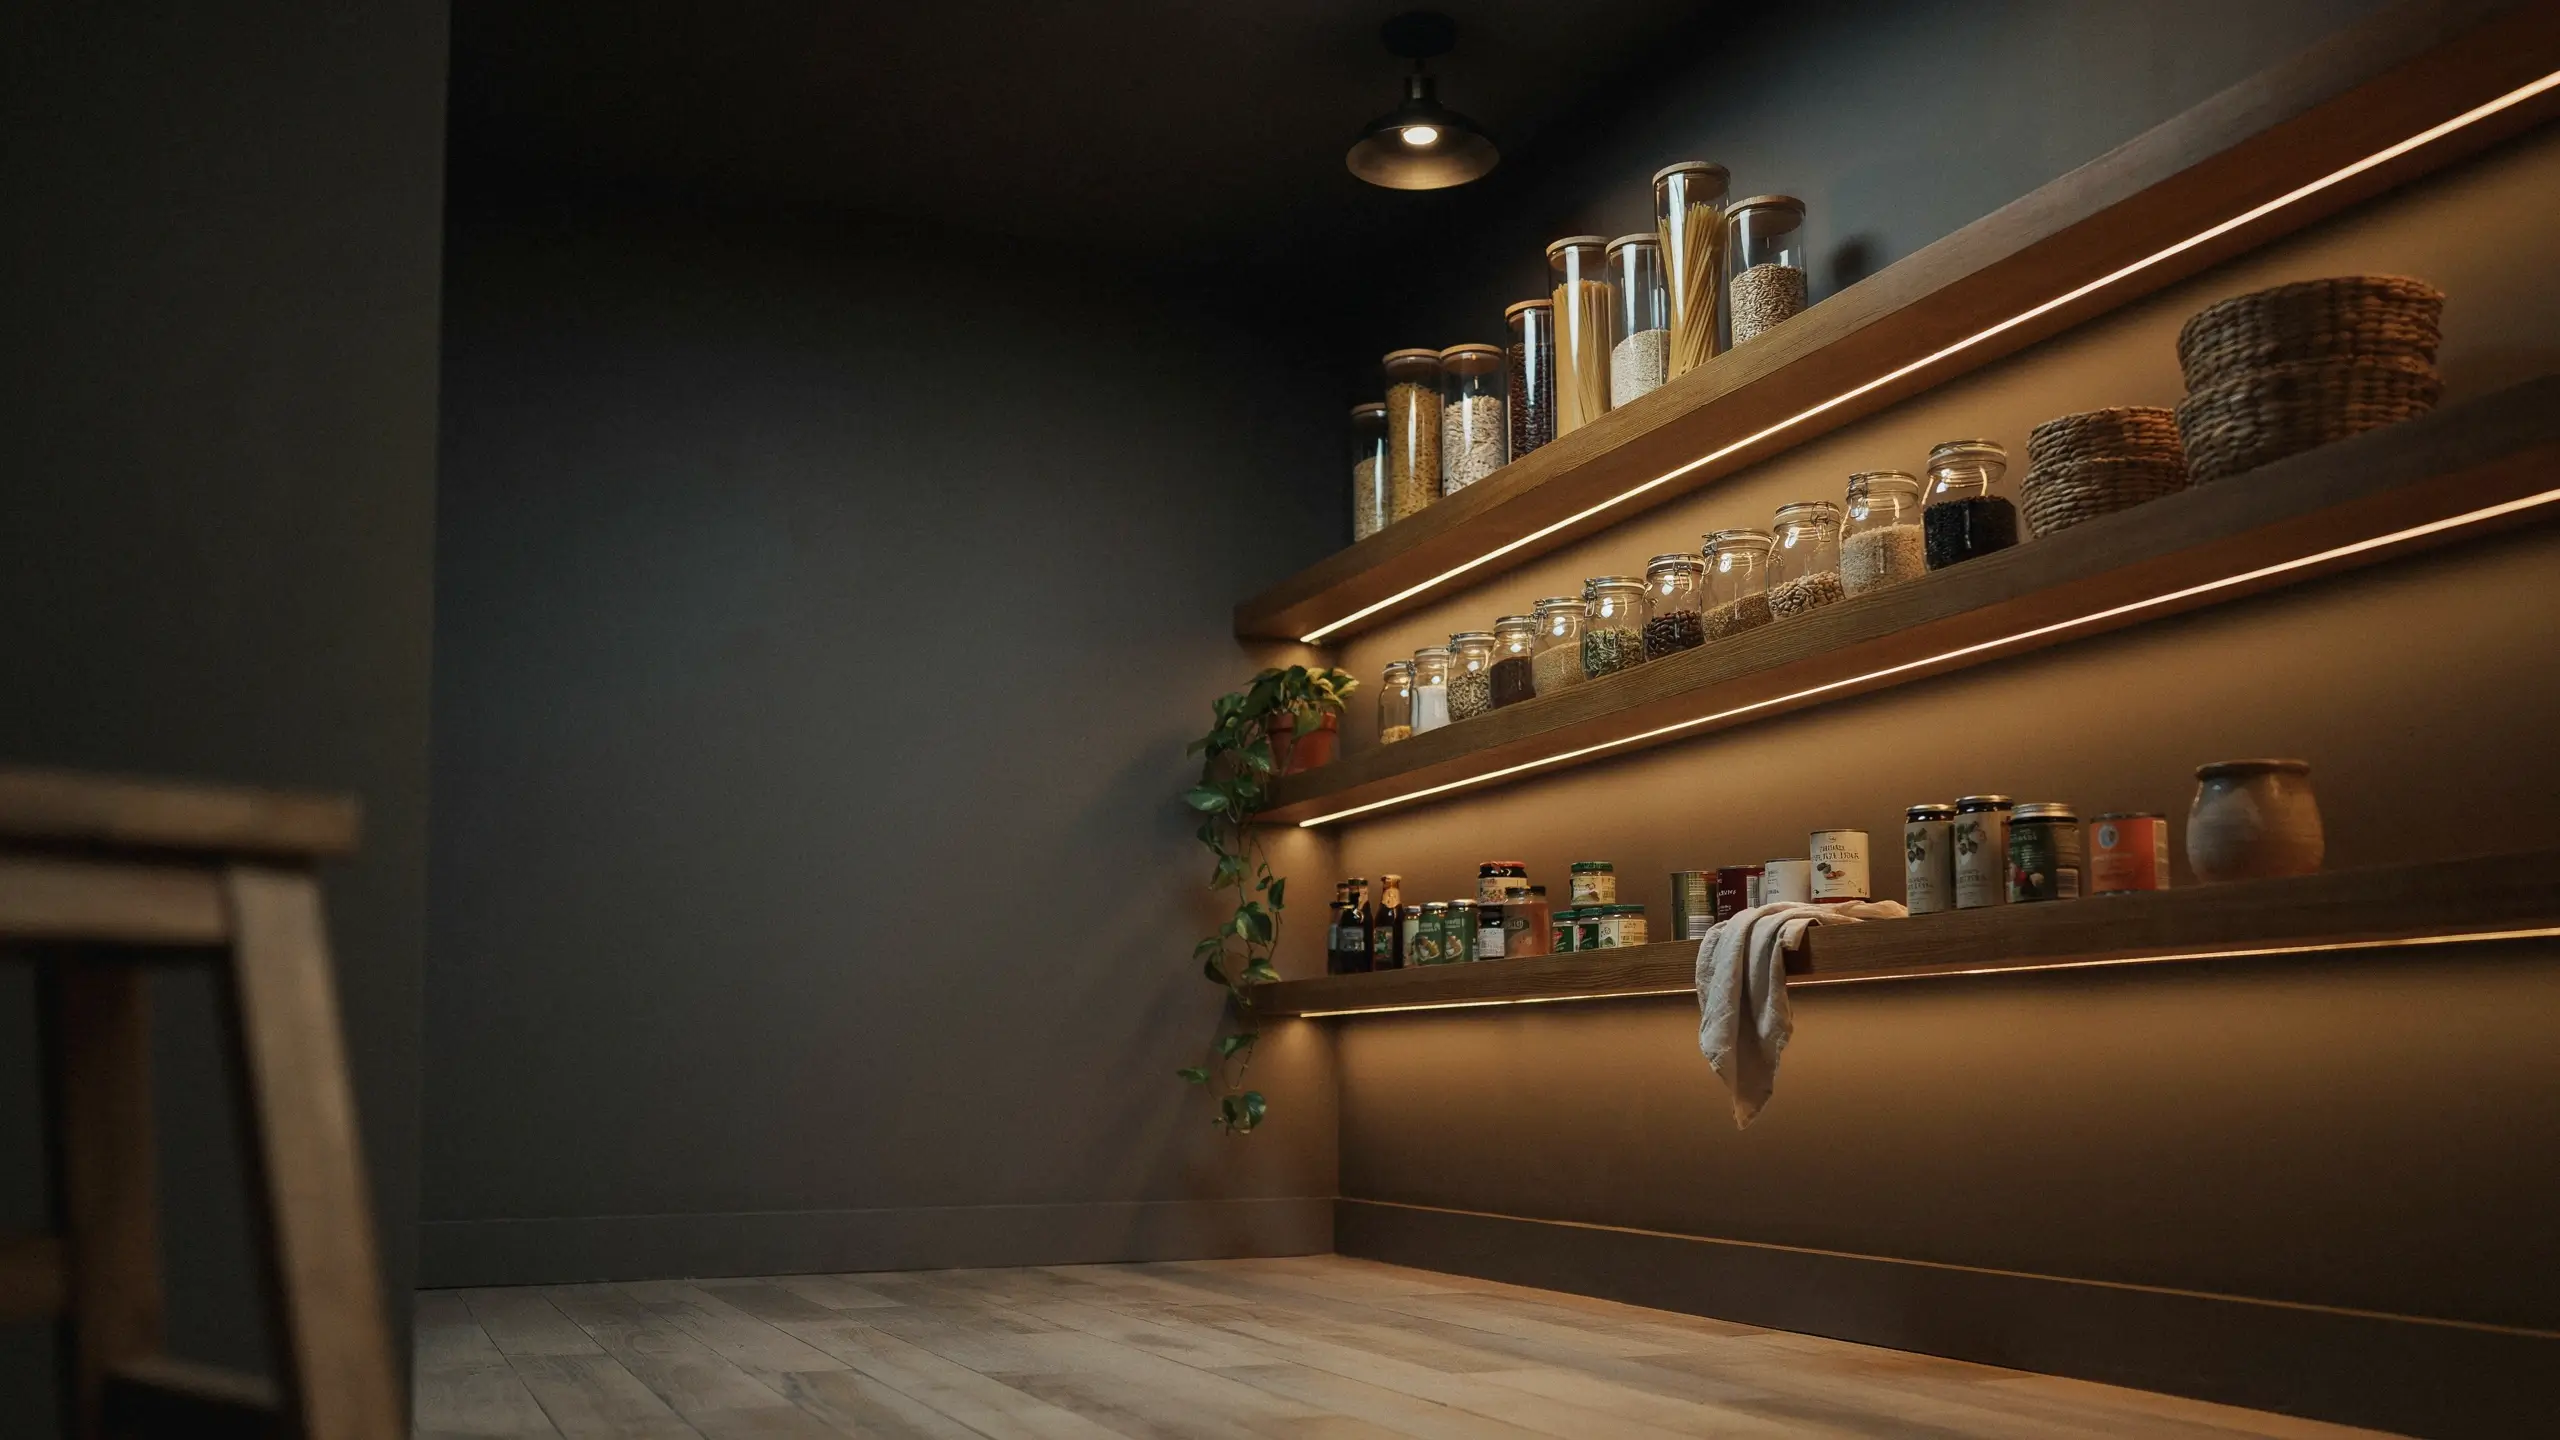
Here’s the quiet truth about most pantries: they’re dark, and darkness costs you. Items disappear in shadows, expiration dates are impossible to read, and the whole space feels like a chore instead of a pleasure.
Good lighting changes everything, and it’s far more accessible than most people realize.
Under-shelf LED strips are the current gold standard. They’re inexpensive (often under $25 for a full pantry kit), plug in or connect via USB, and cast a warm even light across your shelves. The ones with a warm white (2700-3000K) color temperature make everything look beautiful and food-safe, rather than the harsh bluish tones you get from cool white strips.
A flush mount fixture in the center of the ceiling is the right move if your pantry has an overhead light box or junction box. A pretty flush mount with a warmer bulb temperature makes the pantry feel like a real room rather than a utility closet.
Battery-powered puck lights are the renter-friendly solution. You can press them under shelves with their included adhesive, no wiring needed. The rechargeable ones are worth the slight extra cost.
A well-lit pantry isn’t just prettier on camera. It means you use it better, waste less food, and actually enjoy being in there.
The Countertop: A Small Addition That Changes Everything
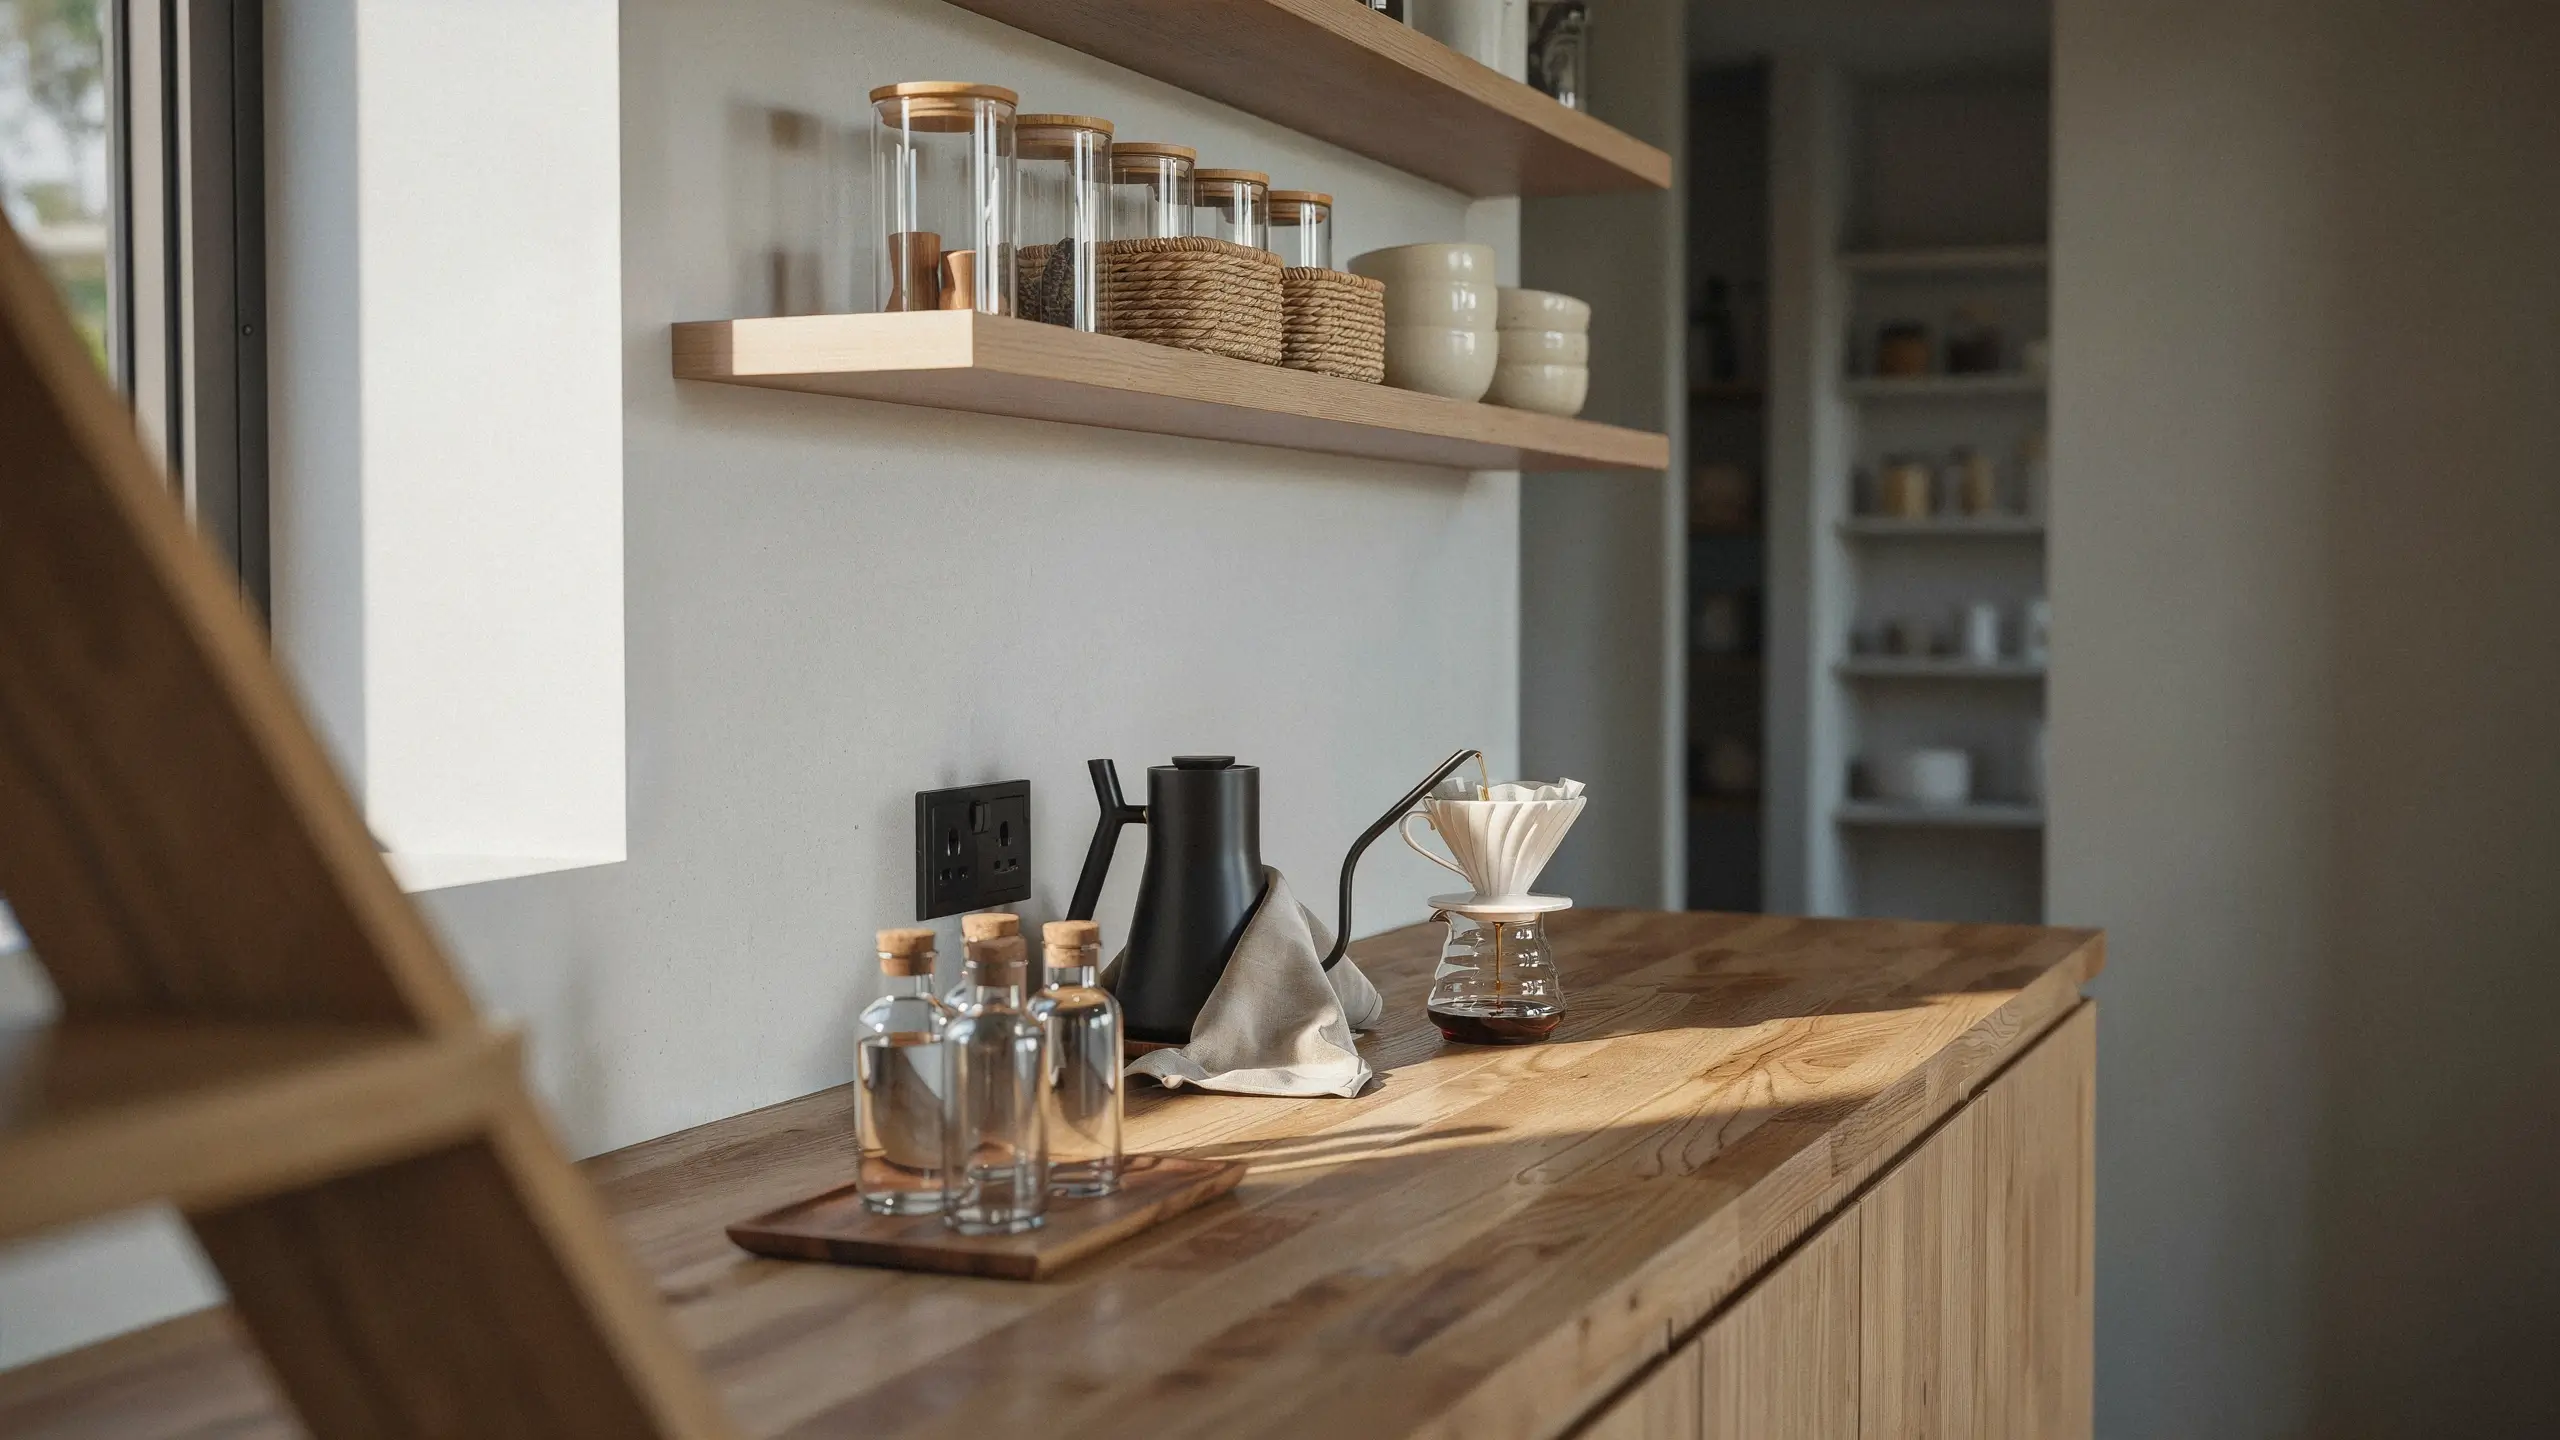
Adding a countertop surface to your walk in pantry is one of the most-requested features in kitchen design right now, and once you have one, you’ll wonder how you lived without it.
A counter in your walk in pantry can hold your coffee station, a small appliance like a toaster or kettle, or simply serve as a prep surface for messy tasks (opening cans, unpacking groceries, staging ingredients before cooking). It keeps the chaos contained to the pantry and off your kitchen counters.
For a DIY version, a butcher block or laminate cut to your shelf depth and mounted on lower cabinetry or brackets gives you a functional surface for well under $200. Add an outlet strip along the back wall and you have a fully functional beverage station or prep zone.
The Aesthetic Details That Make It Pinterest-Worthy
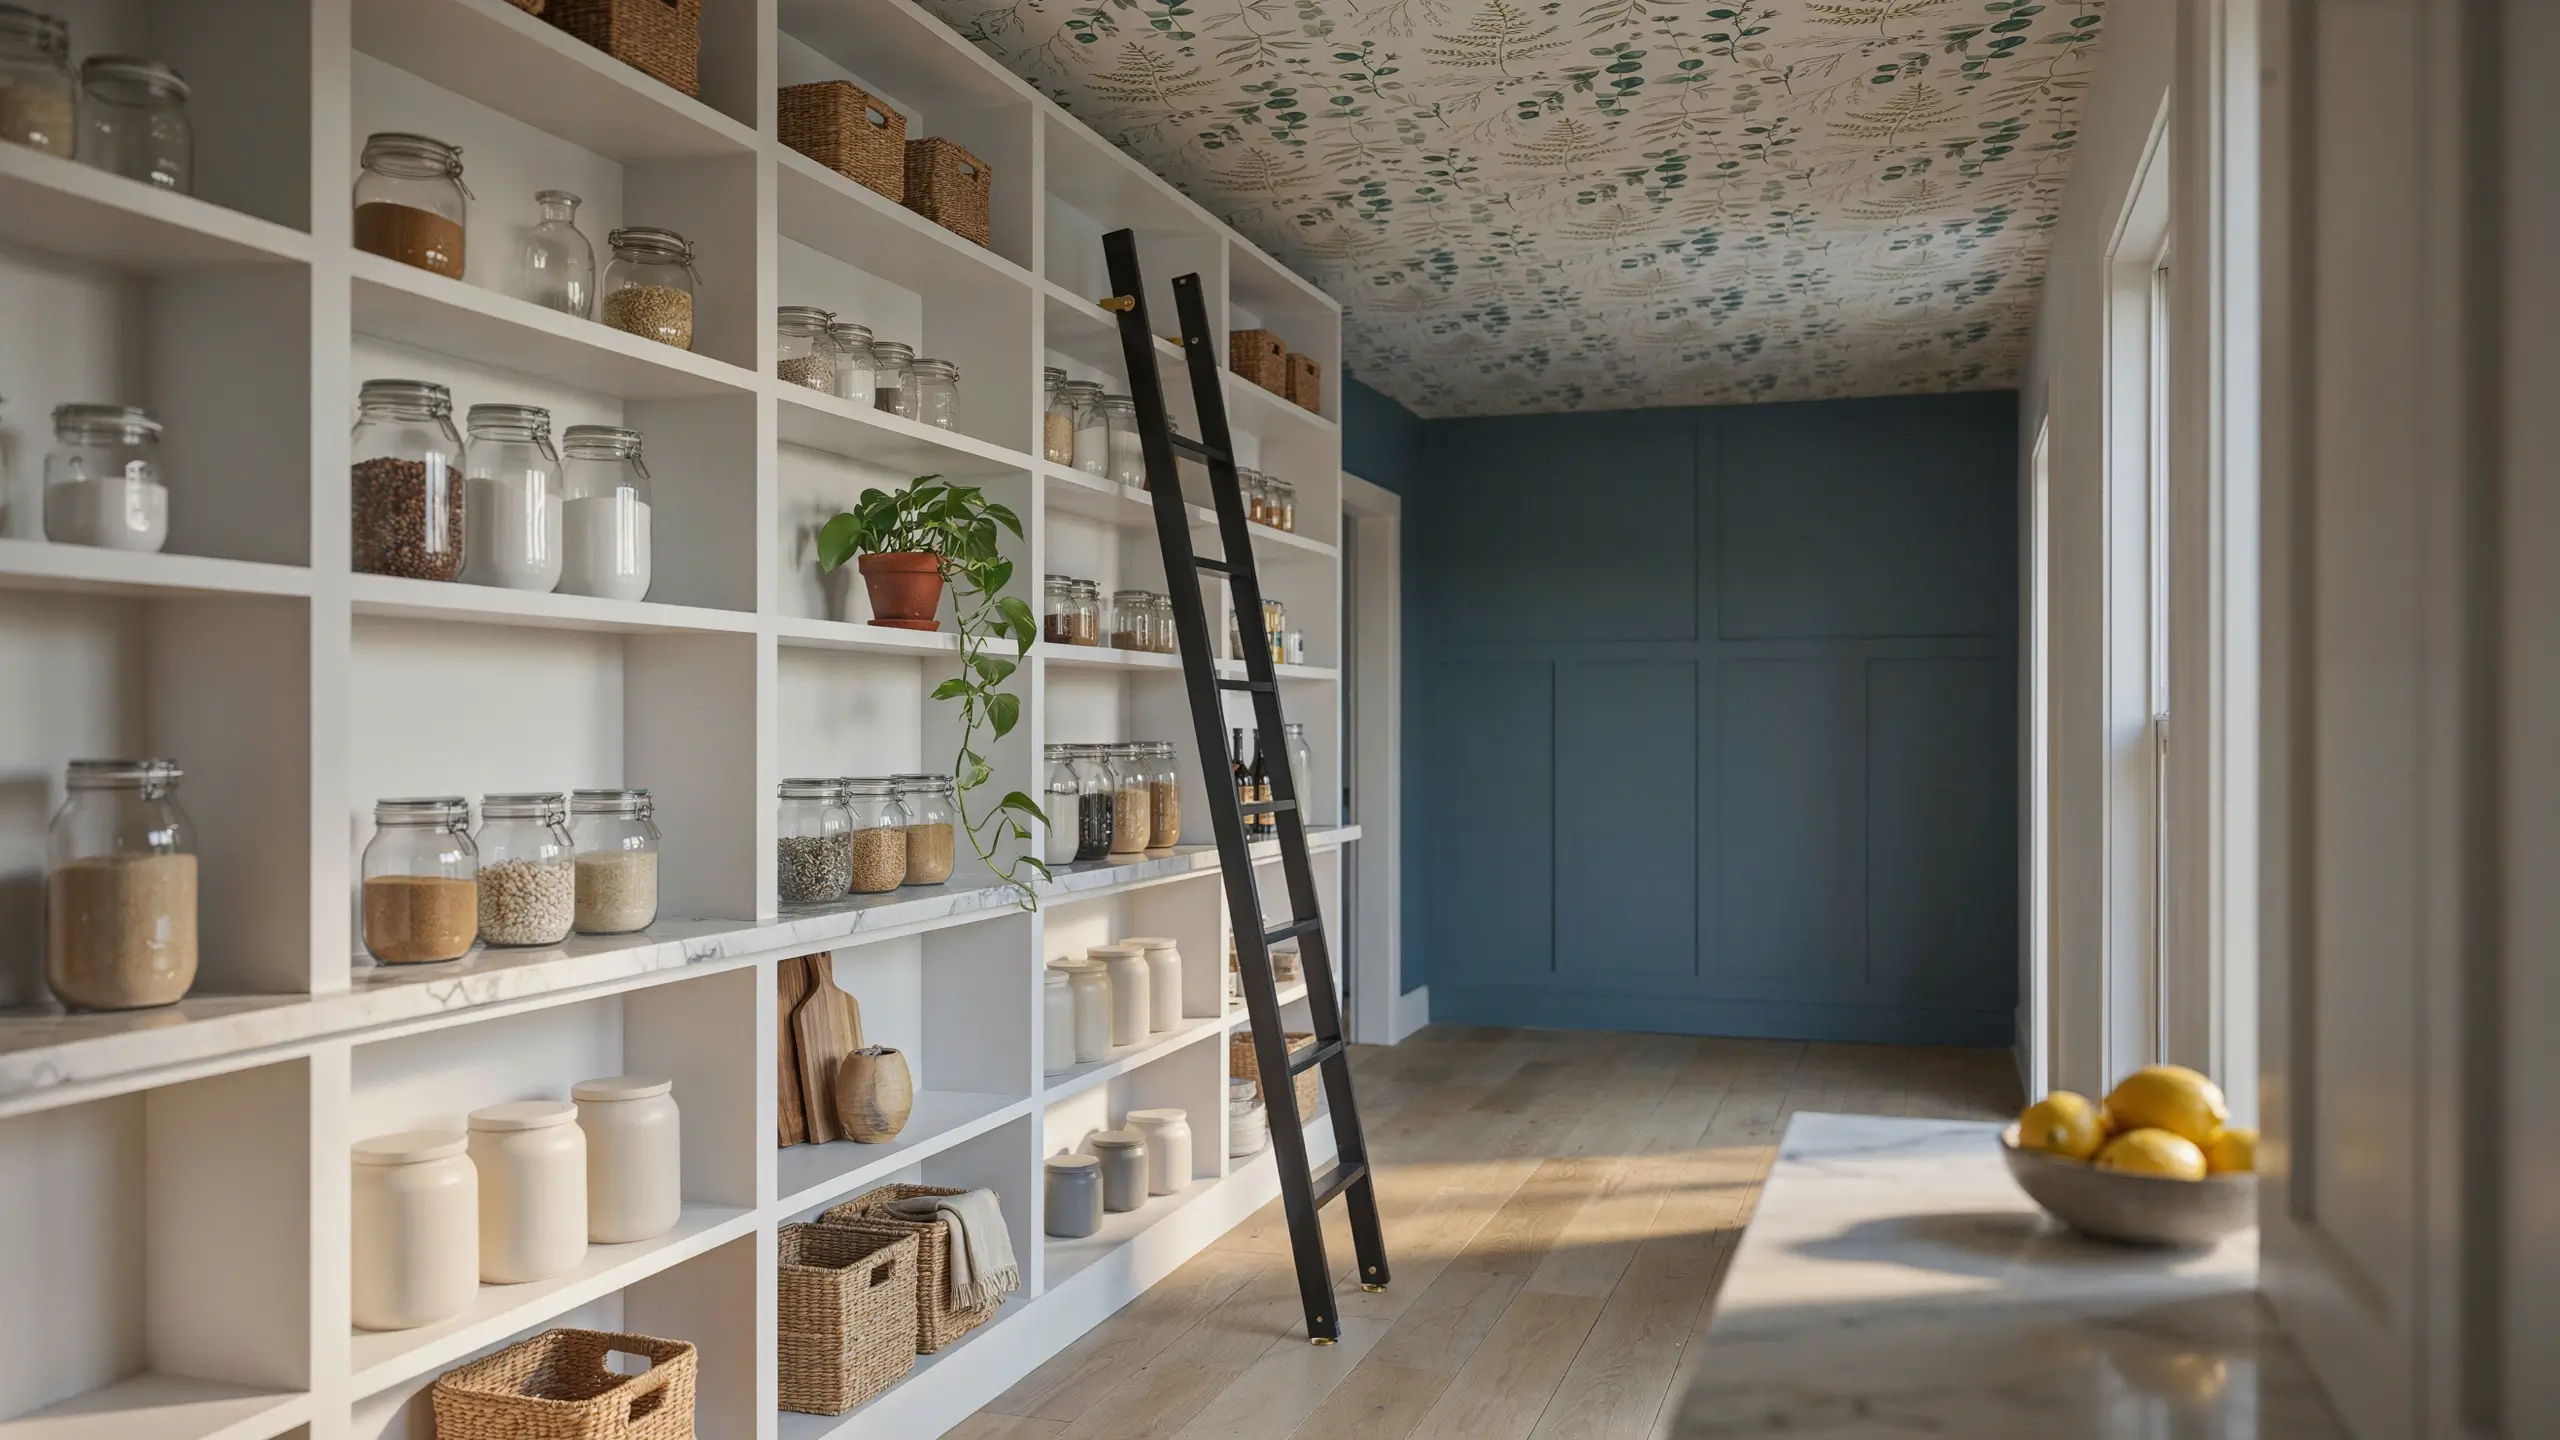
If you want a walk in pantry that people actually want to save and share, the functional bones aren’t enough. The aesthetic layer is what makes it feel finished, personal, and genuinely beautiful.
Paint the back wall or ceiling. A deep neutral (warm white, soft sage, dusty blue, or black) on the back wall of a pantry makes everything pop visually. If your pantry is white top to bottom, it reads as sterile. One accent wall or a painted ceiling changes the mood entirely without a lot of money or effort.
Add wallpaper to the ceiling. This is an unexpected detail that photographs beautifully. A subtle pattern (linen texture, soft botanical, or geometric) on the ceiling of a white pantry gives it a boutique-kitchen quality that feels very deliberate.
Include something living. A small potted herb, a trailing plant on a high shelf, or even a vase of dried stems adds warmth and a sense that the space is cared for. Eucalyptus dries beautifully and smells incredible in a food space.
Layer textures intentionally. The pantries that look truly curated mix textures rather than matching everything. Glass jars next to woven baskets next to wood shelves next to a concrete or marble counter. The variety is what makes it feel styled rather than staged.
A rolling library ladder. For pantries with ceiling heights of nine feet or more, a library ladder isn’t just beautiful. It’s genuinely functional. It turns your highest shelves into usable storage rather than dead space. Choose a matte black or warm brass rail to match your hardware.
How to Convert a Closet Into a Walk In Pantry
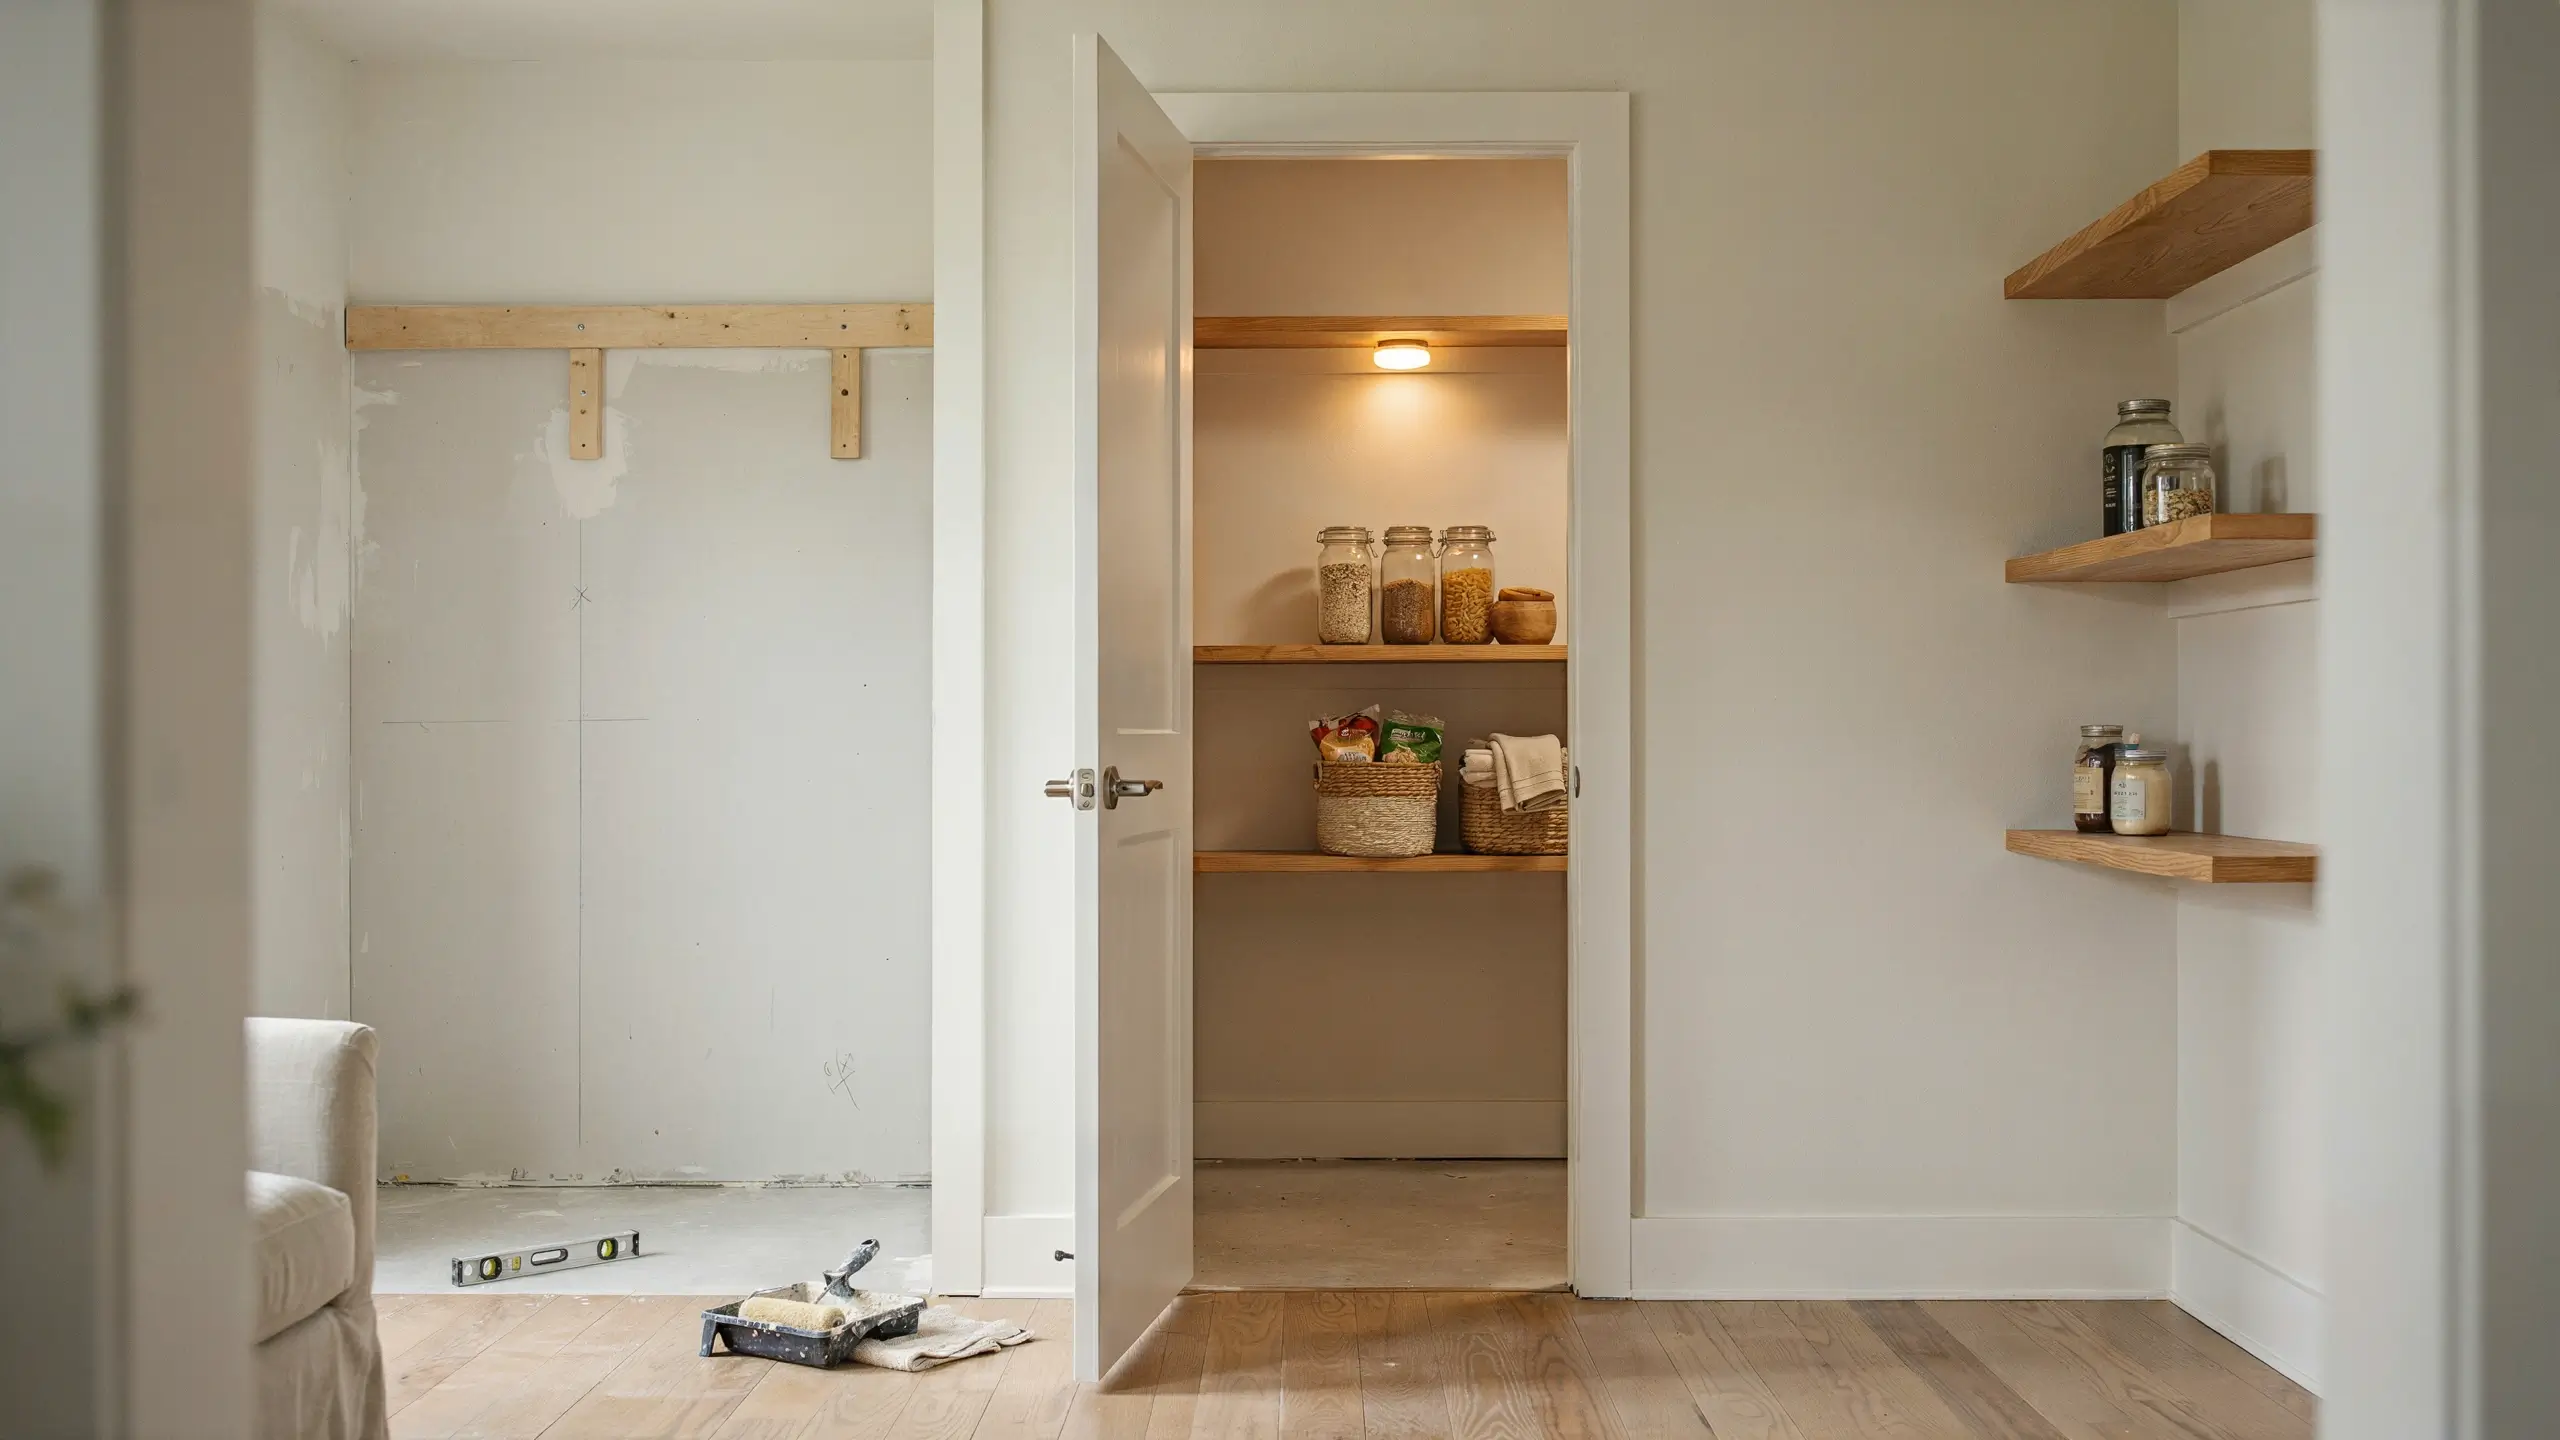
You don’t need to have a purpose-built walk in pantry to have a walk in pantry. Many of the best ones are closet conversions, and the process is more approachable than it sounds.
The minimum space that works as a real walk in pantry is about 4 by 4 feet of interior floor space. A standard coat closet is usually too shallow (around 24 inches deep) for a walk in, but a hallway closet, a guest room closet near the kitchen, or a small room with awkward proportions often converts beautifully.
- Clear it completely. Remove everything. Remove existing shelving and rods if they’re not useful for pantry storage.
- Address the lighting first. If there’s no overhead light, add one before shelving goes in. Hardwired is ideal; battery-powered is fine for renters.
- Plan your shelf layout. Mark the wall where you want each shelf in pencil. Use a level.
- Install shelving. For a beginner-friendly DIY, floating shelf brackets with 1×10 lumber is the most forgiving installation. Use drywall anchors if studs aren’t where you need them (always anchor at least one bracket point into a stud per shelf for safety).
- Paint before filling. A coat of paint makes everything look intentional and is infinitely harder to do once the shelves are full.
- Add the door detail. An over-the-door organizer or a simple curtain panel (hung on a tension rod) to replace or soften a closet door gives the space a finished look.
The cost to convert a closet to a walk in pantry with DIY shelving typically runs $100 to $400 depending on materials. Pre-built shelving systems from IKEA or ClosetMaid can be installed for similar cost with less woodworking.
Walk In Pantry Mistakes Worth Knowing Before You Start
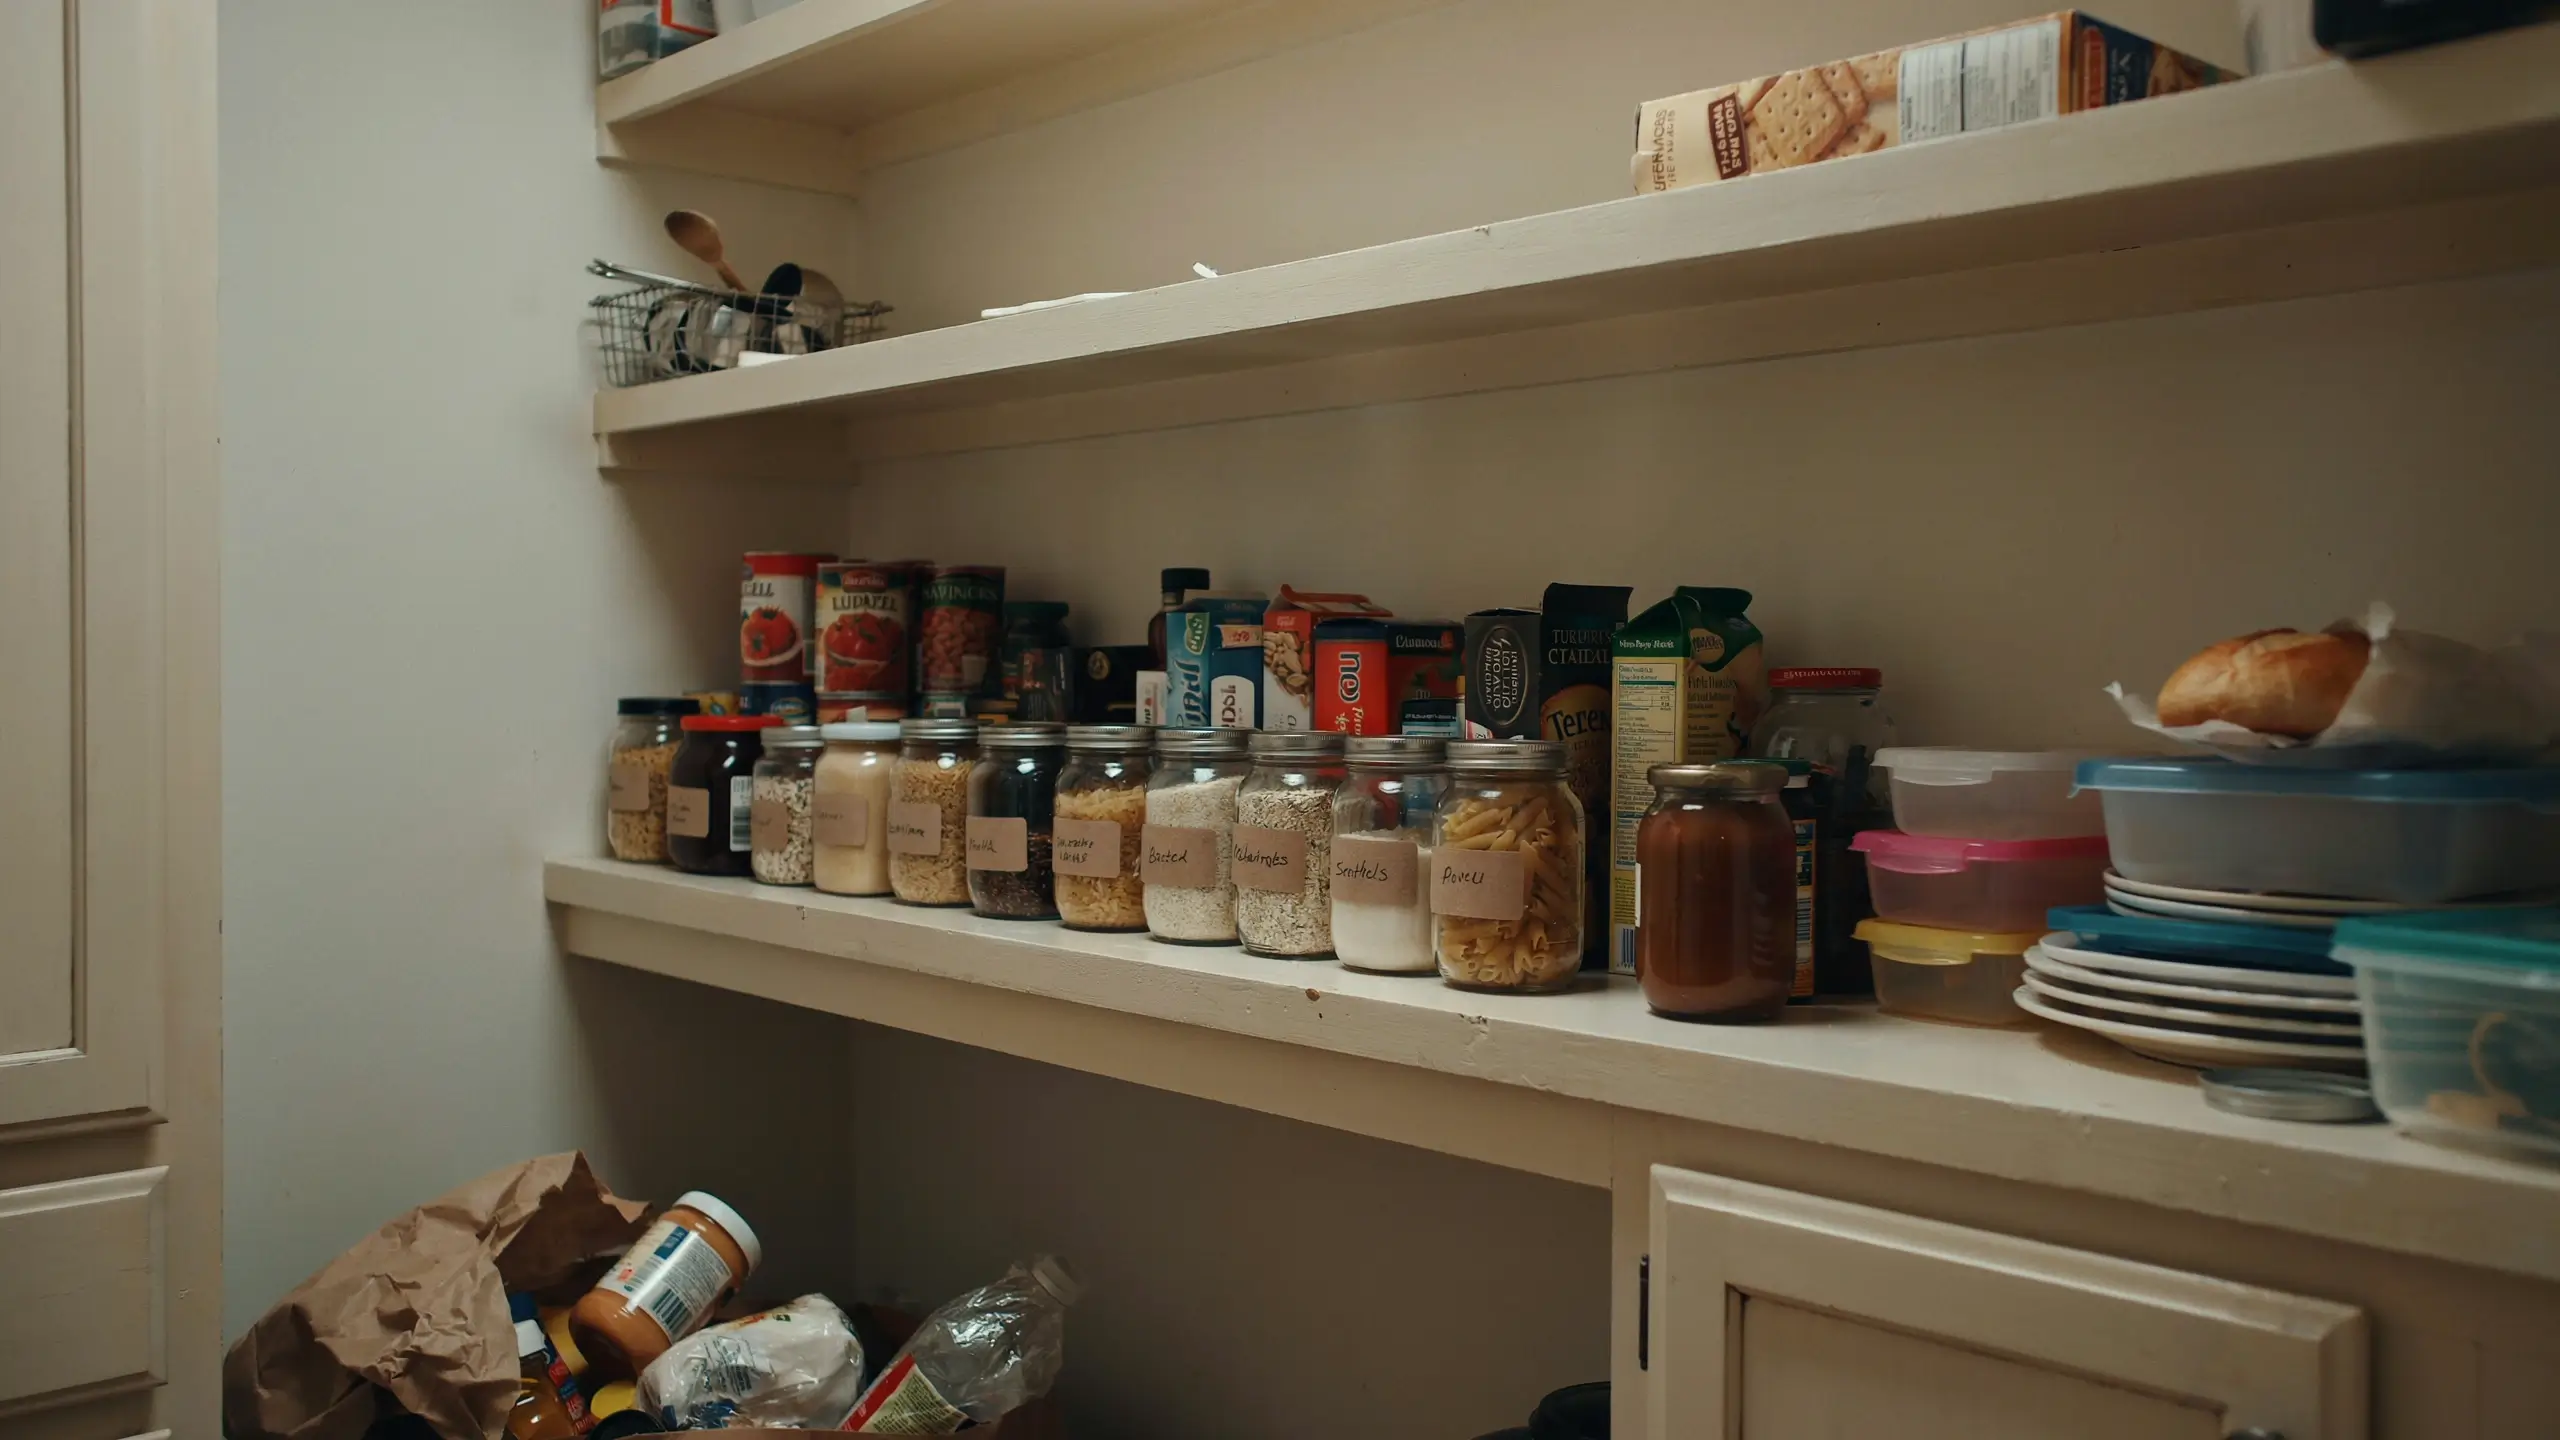
Some of these are common. Some are things you wouldn’t expect. All of them are worth knowing before you invest time and money.
- Shelves that are too deep. Anything over 14 inches for eye-level and mid-level shelves leads to items disappearing at the back. Go shallower than you think you need.
- Buying all your containers first. This is the most common pantry mistake and it costs people hundreds of dollars. Organize and sort everything first. Then buy containers for what you actually have.
- Grouping by container type instead of use. A pantry where all the glass jars are together looks cohesive but functions poorly. Your zones should be organized around how you cook, not how things look.
- Storing cleaning products with food. Professional organizers call this out consistently. Cleaning supplies belong in a completely separate space, not tucked on the bottom shelf near the flour.
- No system for rotation. FIFO (first in, first out) is the grocery store’s approach for a reason. New items go behind older ones so nothing expires at the back.
- Neglecting the restock step. The pantry doesn’t maintain itself. A quick 10-minute refresh on grocery day, where you pull items forward and move new purchases to the back, is what keeps it functional long-term.
- Too-rigid labeling. If your container says “ELBOW MACARONI” and you buy a different pasta shape, the system breaks. Use category labels. Save yourself the perfectionism.
How to Keep Your Walk In Pantry Organized (Without Starting Over Every Six Months)
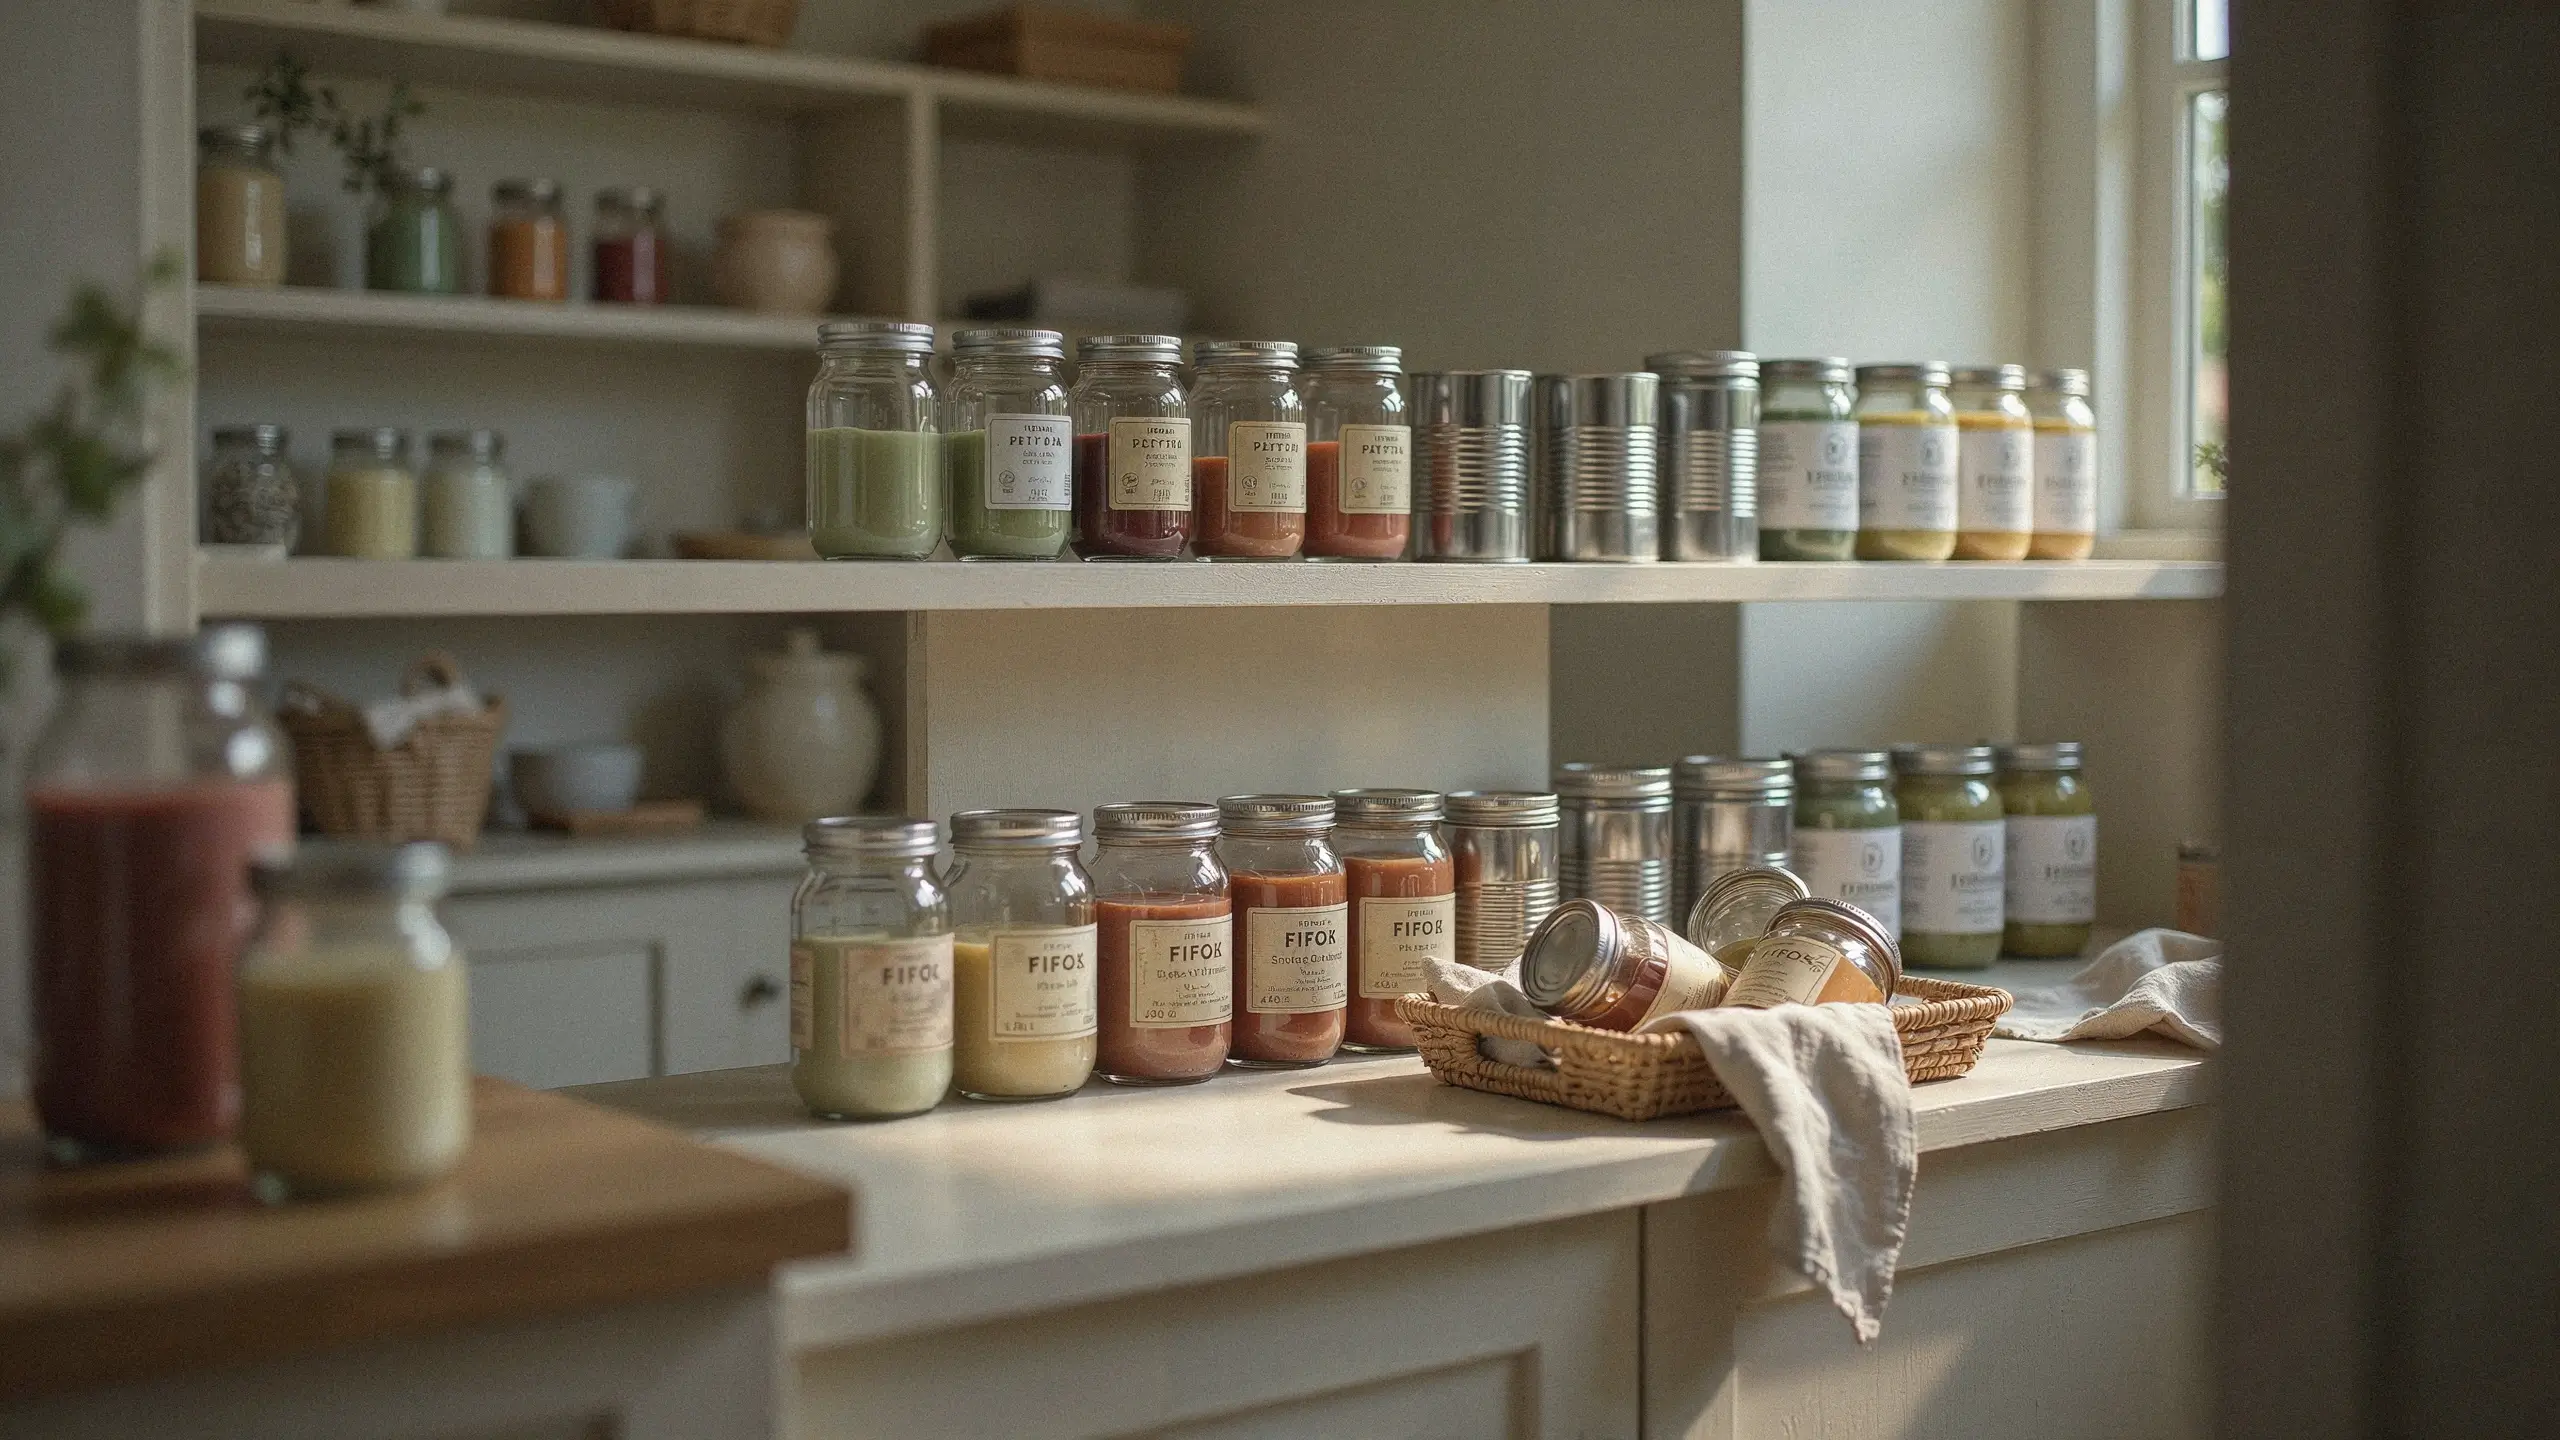
The most beautifully organized pantries aren’t the result of a single marathon session. They’re maintained with small, consistent habits.
A realistic maintenance routine:
Weekly (5 minutes): When groceries come in, pull older items forward and stack new ones behind. Wipe any shelves with crumbs or spills.
Monthly (15 minutes): Check for expiring items. Look at what’s accumulating (usually the zone that’s not working well). Adjust as needed.
Seasonally (30 minutes): Pull everything off one or two shelves. Wipe them down. Assess if your zones still match how your family eats. Seasons change, pantry needs change.
The pantry that stays beautiful is one that gets small regular attention, not a dramatic reorganization every spring.
Final Thoughts
A walk in pantry is one of those spaces that genuinely earns its square footage every single day. When it’s done well, organized with intention and finished with care, it quietly makes your whole kitchen work better. You cook more. You waste less. You stop buying things you already have.
Whether you’re starting from scratch with a purpose-built walk in, converting a coat closet on a weekend budget, or finally tackling the shelves that have needed attention since you moved in, the ideas here give you a real place to start.
The goal isn’t a perfect pantry that photographs well once. It’s a pantry that makes daily life a little smoother. Those happen to photograph well too.
What’s the first thing you’re tackling in your walk in pantry? Drop a comment below and let me know! If you’re working with a really small space or converting a closet, I’d love to hear what layout you’re going with.




No Comment! Be the first one.