




How to Make Outdoor Curtains for Privacy (Easy DIY Guide for Any Budget)
If you can see your neighbor’s grill from your porch, they can probably see your morning coffee routine too. That’s usually the moment people start searching for outdoor curtains. Between...

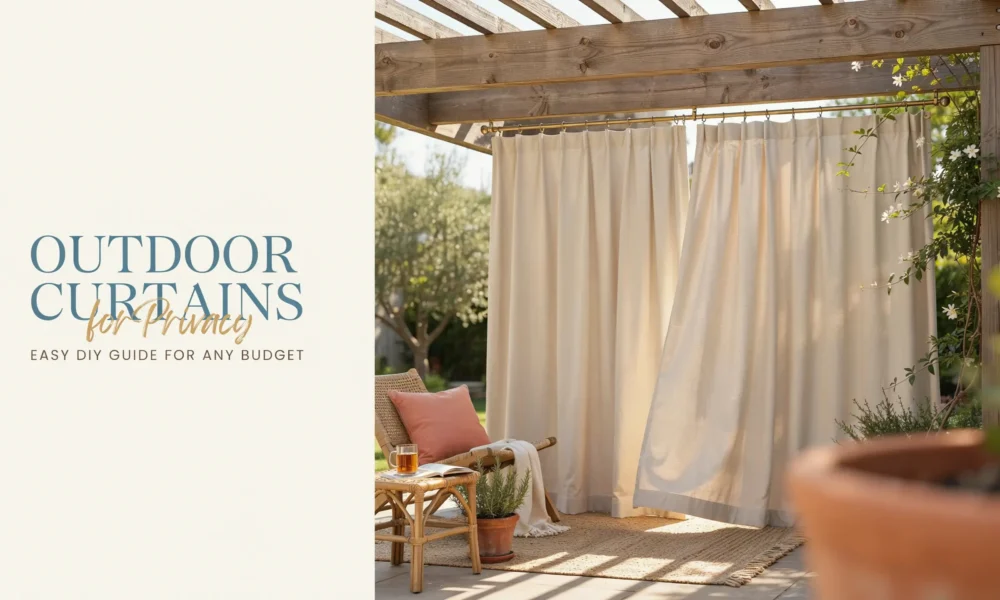
If you can see your neighbor’s grill from your porch, they can probably see your morning coffee routine too. That’s usually the moment people start searching for outdoor curtains. Between store bought panels running $40 to $100 each and the sheer number of windows, doors, and patios most of us are trying to cover, the DIY route just makes more sense.
The good news is that making your own outdoor curtains for privacy is one of the more forgiving DIY projects out there. There’s no perfect stitch required, no fancy tools, and plenty of no-sew options if a sewing machine isn’t in the picture. This guide walks you through the whole process, from picking a fabric that actually blocks a view (not all of them do) to hanging your curtains in a way that survives wind, rain, and nosy neighbors.
Privacy Levels by Fabric Weight
- Sheer or lightweight fabrics (linen blends, lightweight canvas) filter light and soften the view but don’t fully block it, especially at night when your porch light is on and the fabric backlights like a lamp shade. Great for softening a space, not great if you want true privacy from a neighbor’s deck.
- Mid-weight fabrics (7 to 10 oz cotton canvas, drop cloths, densely woven outdoor fabric) block a casual glance during the day and most of the view at night, as long as there’s no bright light directly behind them.
- Heavyweight fabrics (marine grade vinyl, Sunbrella awning fabric, 12+ oz canvas) block the most light and view in both directions, day or night. This is the category to reach for if the goal is genuine privacy from a close neighbor, a busy sidewalk, or a shared fence line.
If privacy is the main goal, aim for mid to heavyweight fabric and hang panels so they overlap slightly at the center when closed, rather than meeting edge to edge.
What You’ll Need
Fabric Options, Ranked by Budget
- Canvas drop cloths (cheapest, roughly $15 to $25 per panel size)
- Twin or full flat bed sheets in a durable poly-cotton blend
- Outdoor canvas by the yard
- Sunbrella or marine grade outdoor fabric (priciest, most weather resistant)
Tools and Supplies
- Fabric scissors or a rotary cutter
- Measuring tape
- Iron (for pressing hems flat before sewing or taping)
- Sewing machine and thread, or fabric glue and hemming tape for no-sew
- Grommet kit, curtain clips, or a coordinating ribbon for ties
- Outdoor fabric protectant spray with UV block
- Curtain rod, tension rod, cable wire, or eye hooks with heavy duty wire
- Washers, lead drapery weights, or small stones sewn into a fabric pouch (for weighing down the hem)
- A drop cloth to protect your work surface if you’re spray painting or sealing fabric
1: Measure Your Space the Right Way
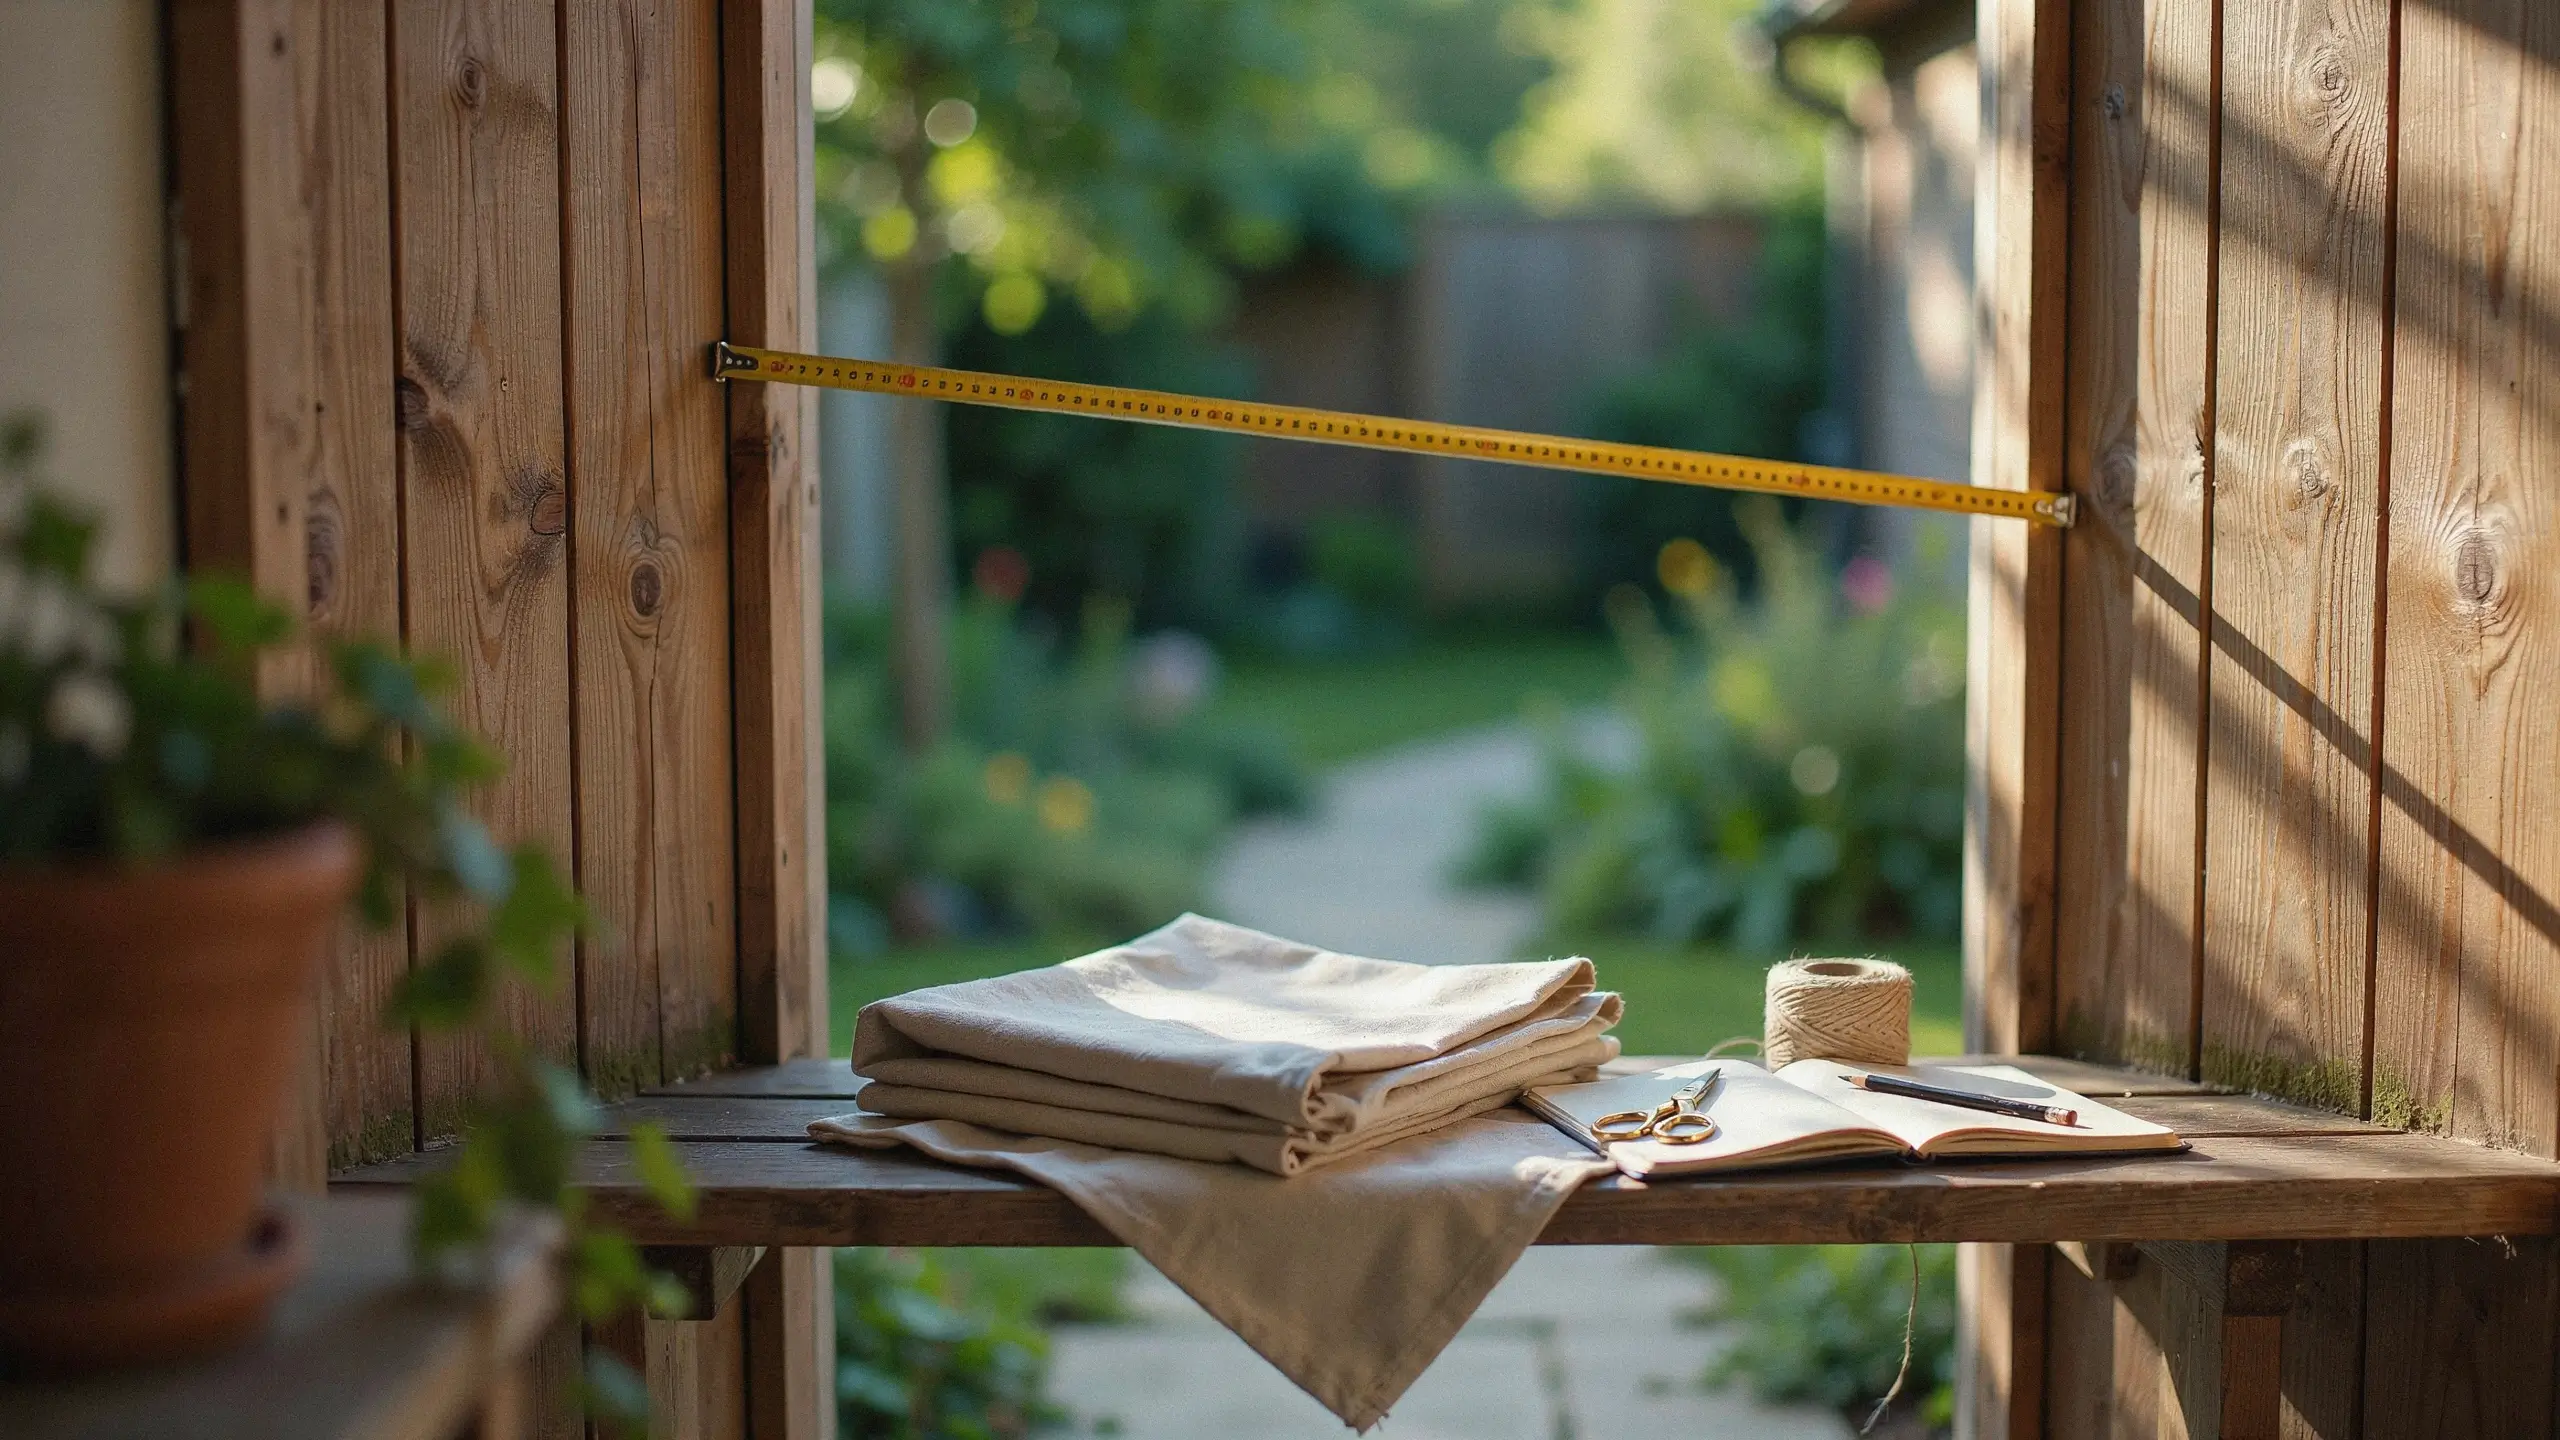
Measure the width of the opening you’re covering, then add extra fullness so the curtain doesn’t hang flat and stretched. For real privacy coverage, aim for panel width that’s about 1.5 to 2 times the width of the space per panel, so the fabric has natural fold and can overlap when closed.
For length, decide where you want the rod mounted first (usually 4 to 6 inches above the opening) and measure down to where you want the curtain to end, whether that’s the floor, just above it, or a puddle length for a more relaxed look.
Add 4 to 6 extra inches to both measurements to account for hems, rod pockets, and shrinkage if you plan to wash the fabric.
2: Choose and Prep Your Fabric
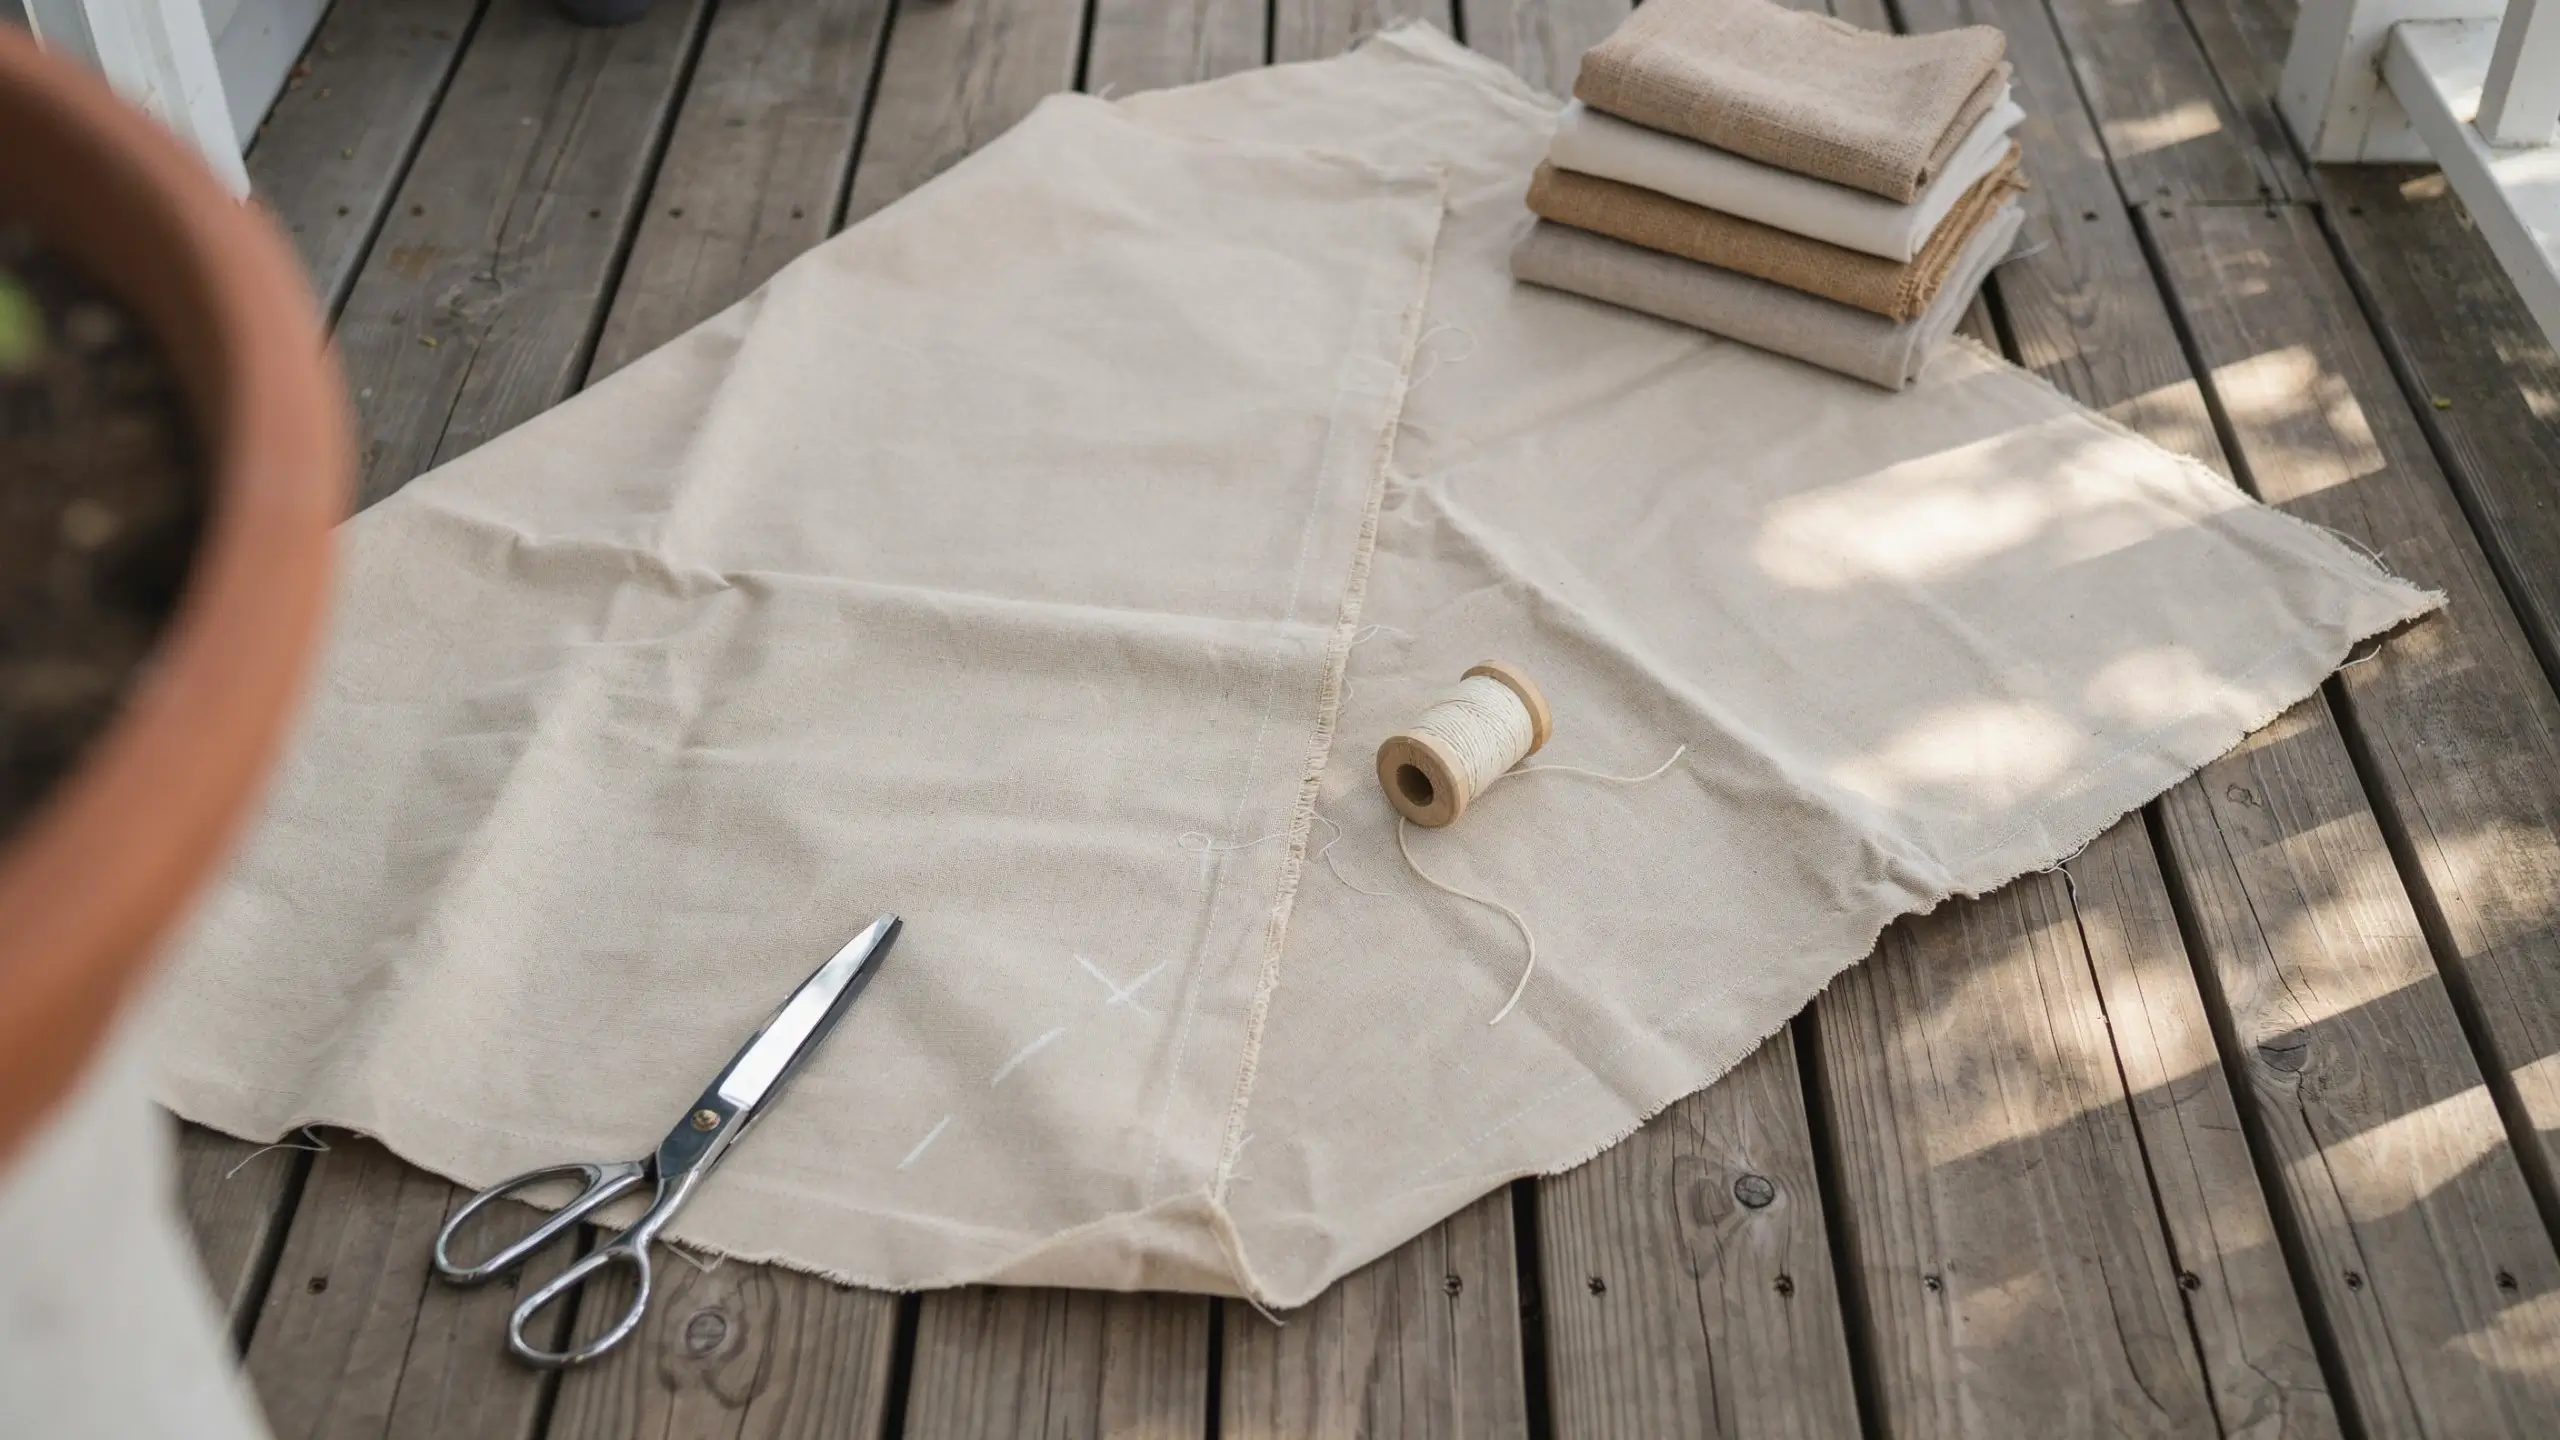
Once you’ve picked a fabric based on the privacy level you need, wash it first if you plan to wash it later. Fabric that shrinks after you’ve already hemmed it to size will throw off your measurements and leave you redoing the work.
Lay the fabric flat and check for a centered seam if you’re using drop cloths, since most come with one running down the middle. Plan your panel layout so the seam falls somewhere unnoticeable, like along a fold line or hidden edge, rather than dead center where it catches the eye.
3: Cut Your Fabric to Size
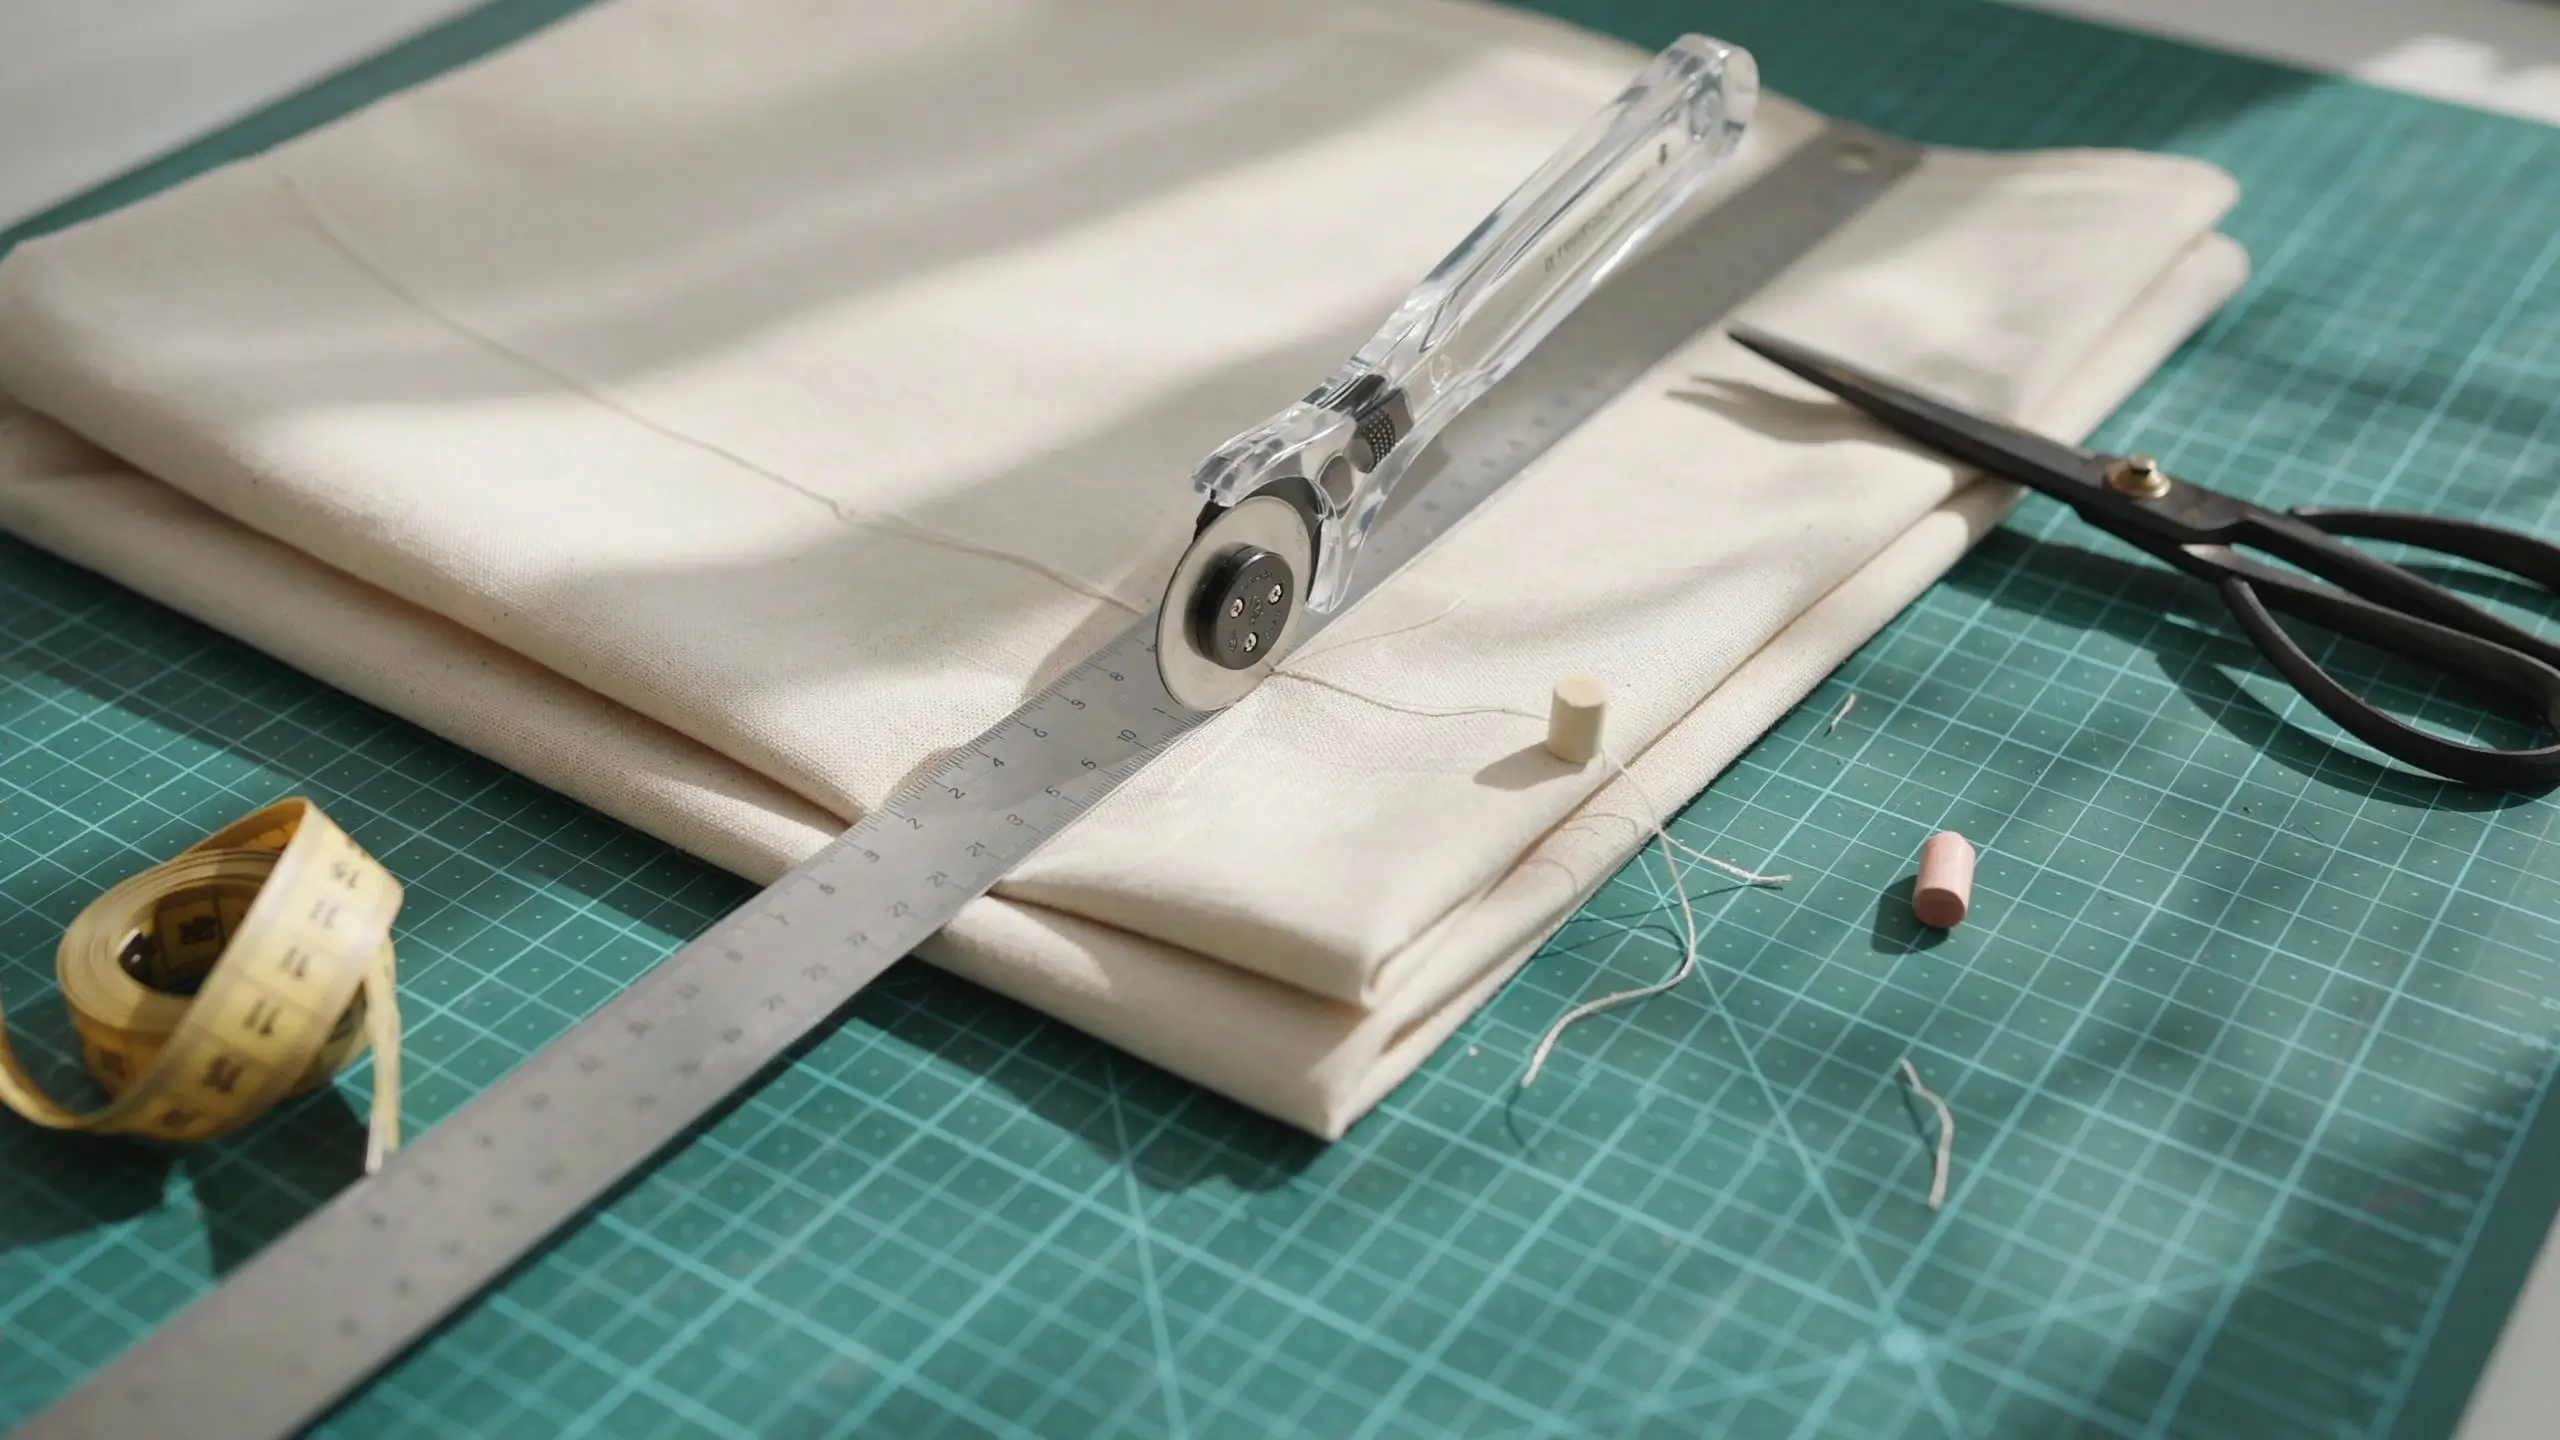
Using your measurements from Step 1, cut each panel. If you’re using bed sheets, you often only need to hem the sides since the top and bottom are already finished. If you’re working with fabric by the yard or drop cloths, plan to hem all four edges.
Cut with sharp fabric scissors or a rotary cutter and a straight edge for the cleanest lines. A crooked cut is hard to fix later, so take the extra few minutes to measure twice here.
4: Hem the Edges
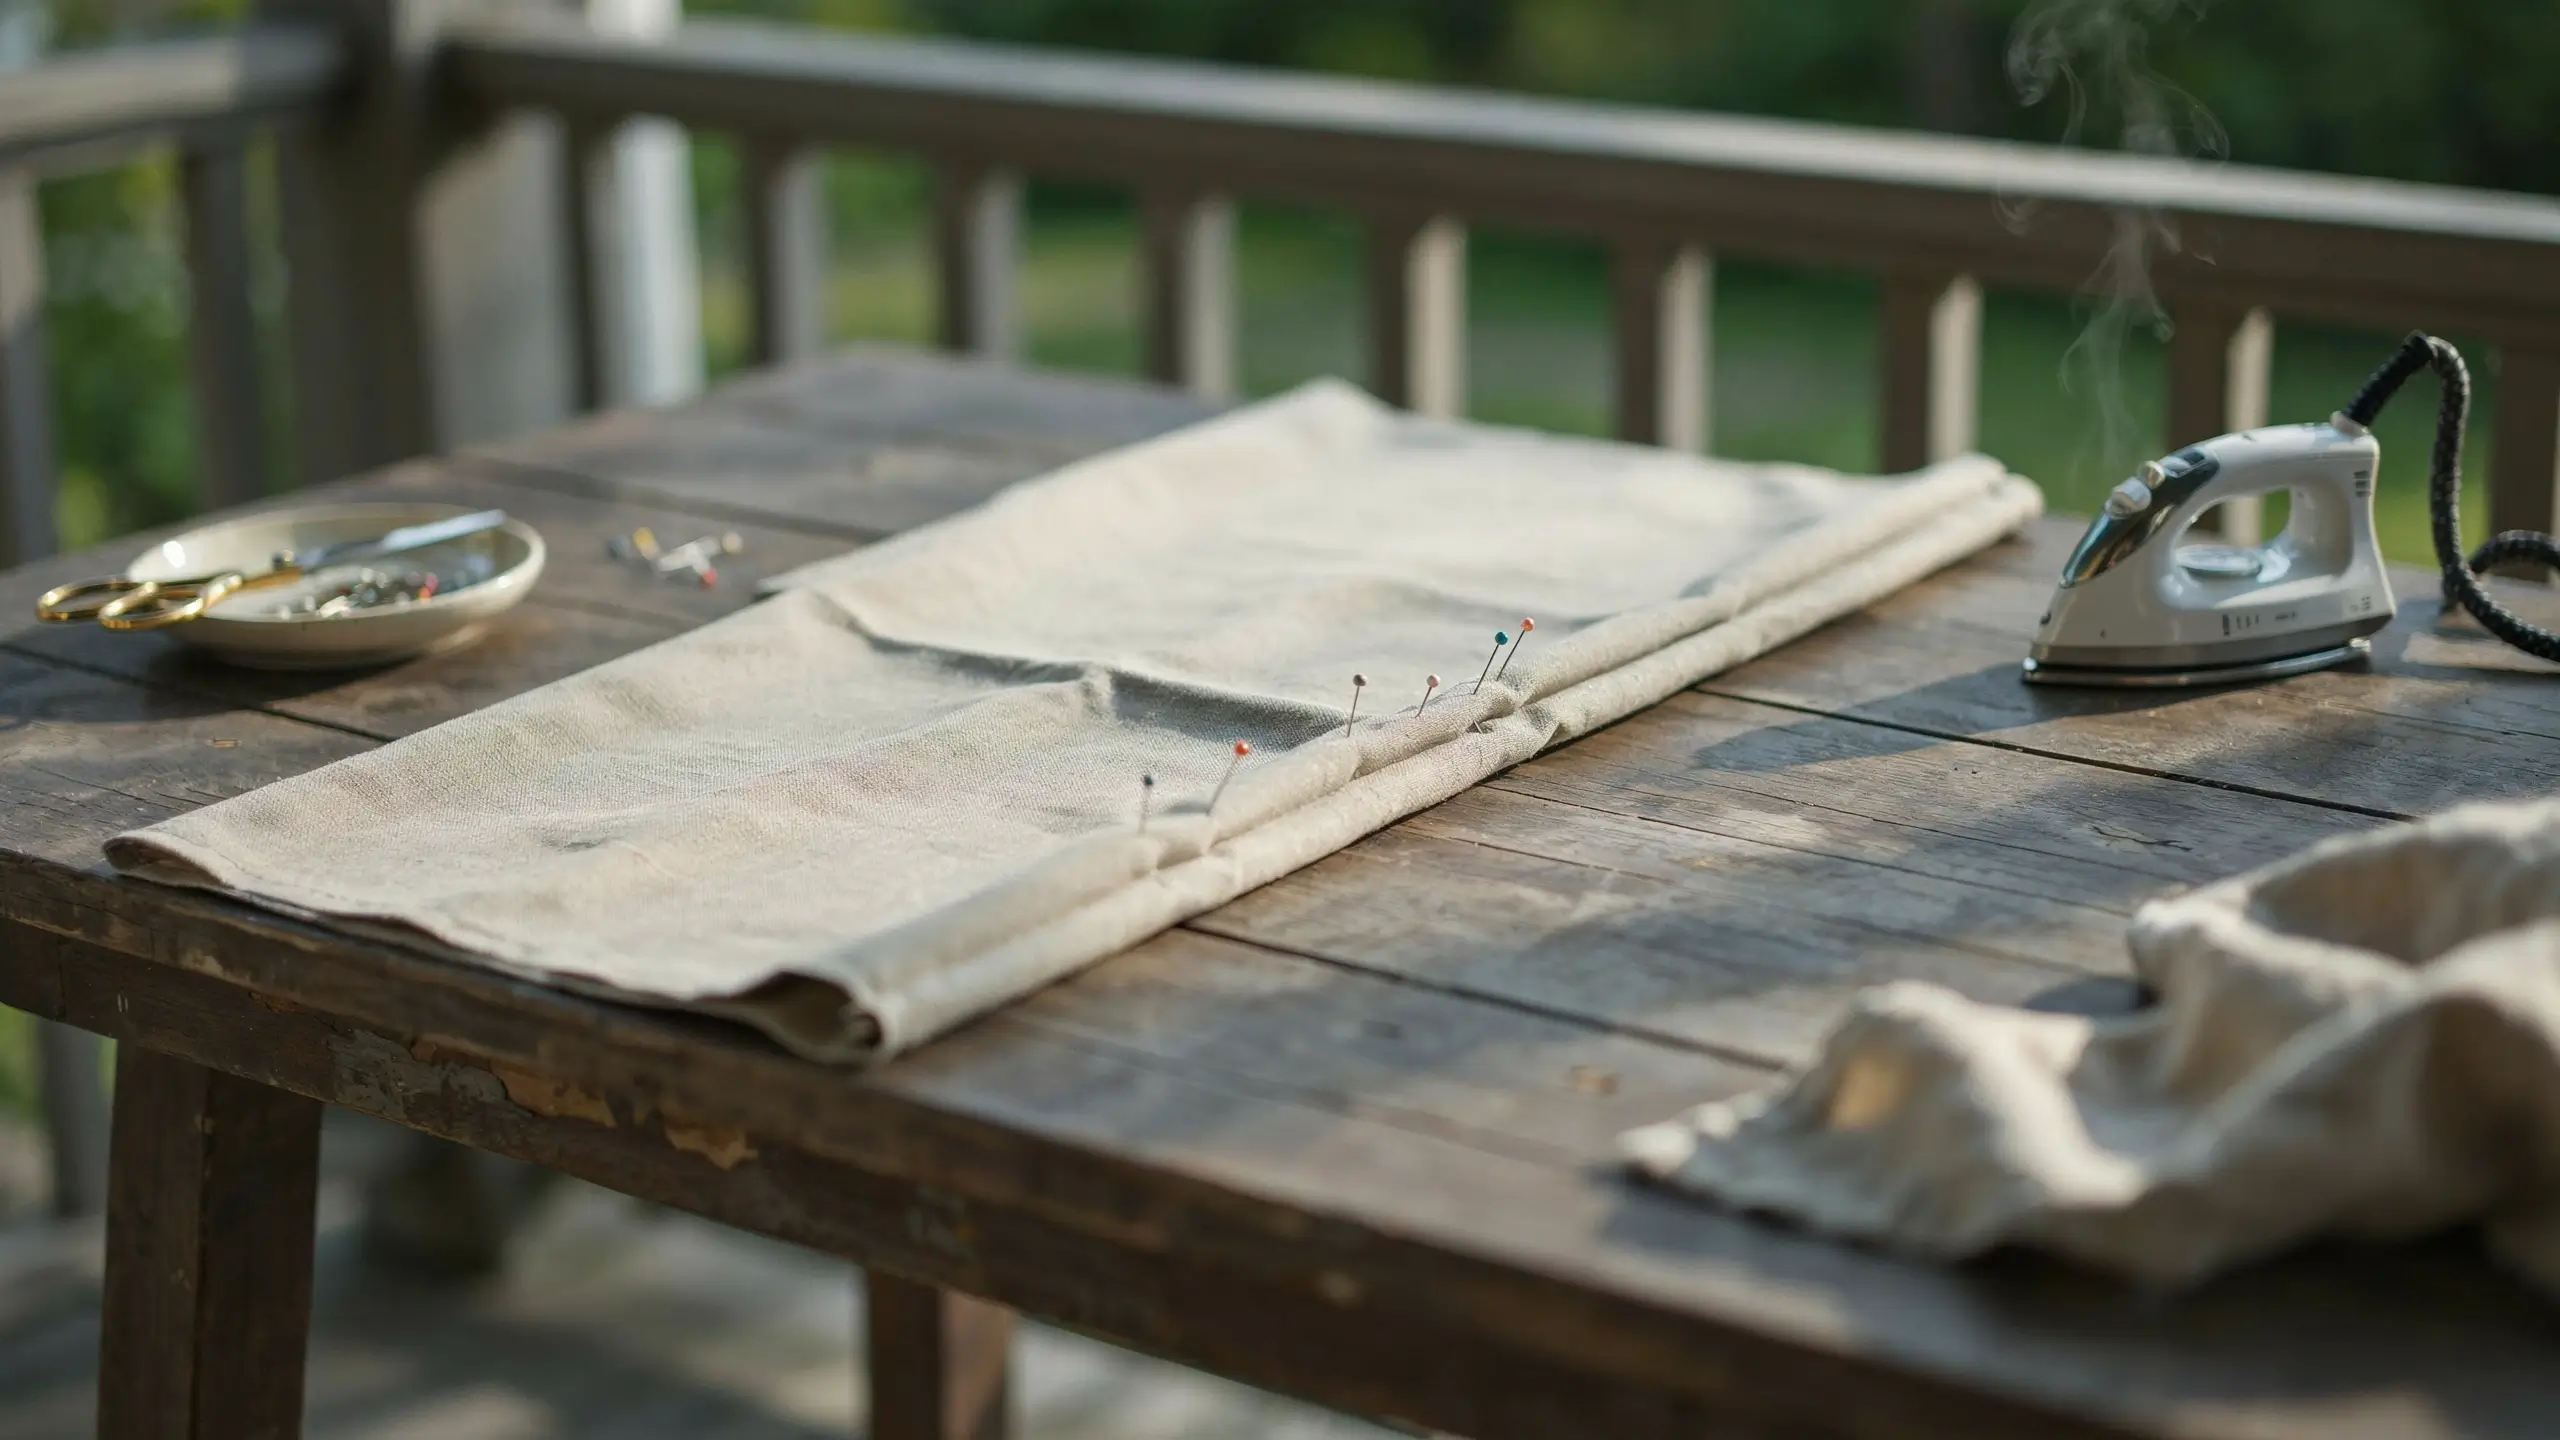
Sewing Method
Fold each raw edge over about 1 inch, press with an iron, fold again to hide the raw edge, press again, then pin and sew a straight line close to the inner fold. It doesn’t need to be perfectly even. Once it’s hanging outside, nobody is inspecting your stitch line.
No-Sew Method
Use fusible hemming tape between the folded fabric layers and press with a hot iron to bond it, or use a fabric glue rated for outdoor use. Let it fully cure before hanging, usually 24 hours, so humidity and rain don’t weaken the bond right away.
If you want a rod pocket instead of clips or grommets, fold the top edge over enough to slide your rod through, and stitch or tape a straight line to create the pocket, leaving both ends open.
5: Add Grommets, Clips, or Ties
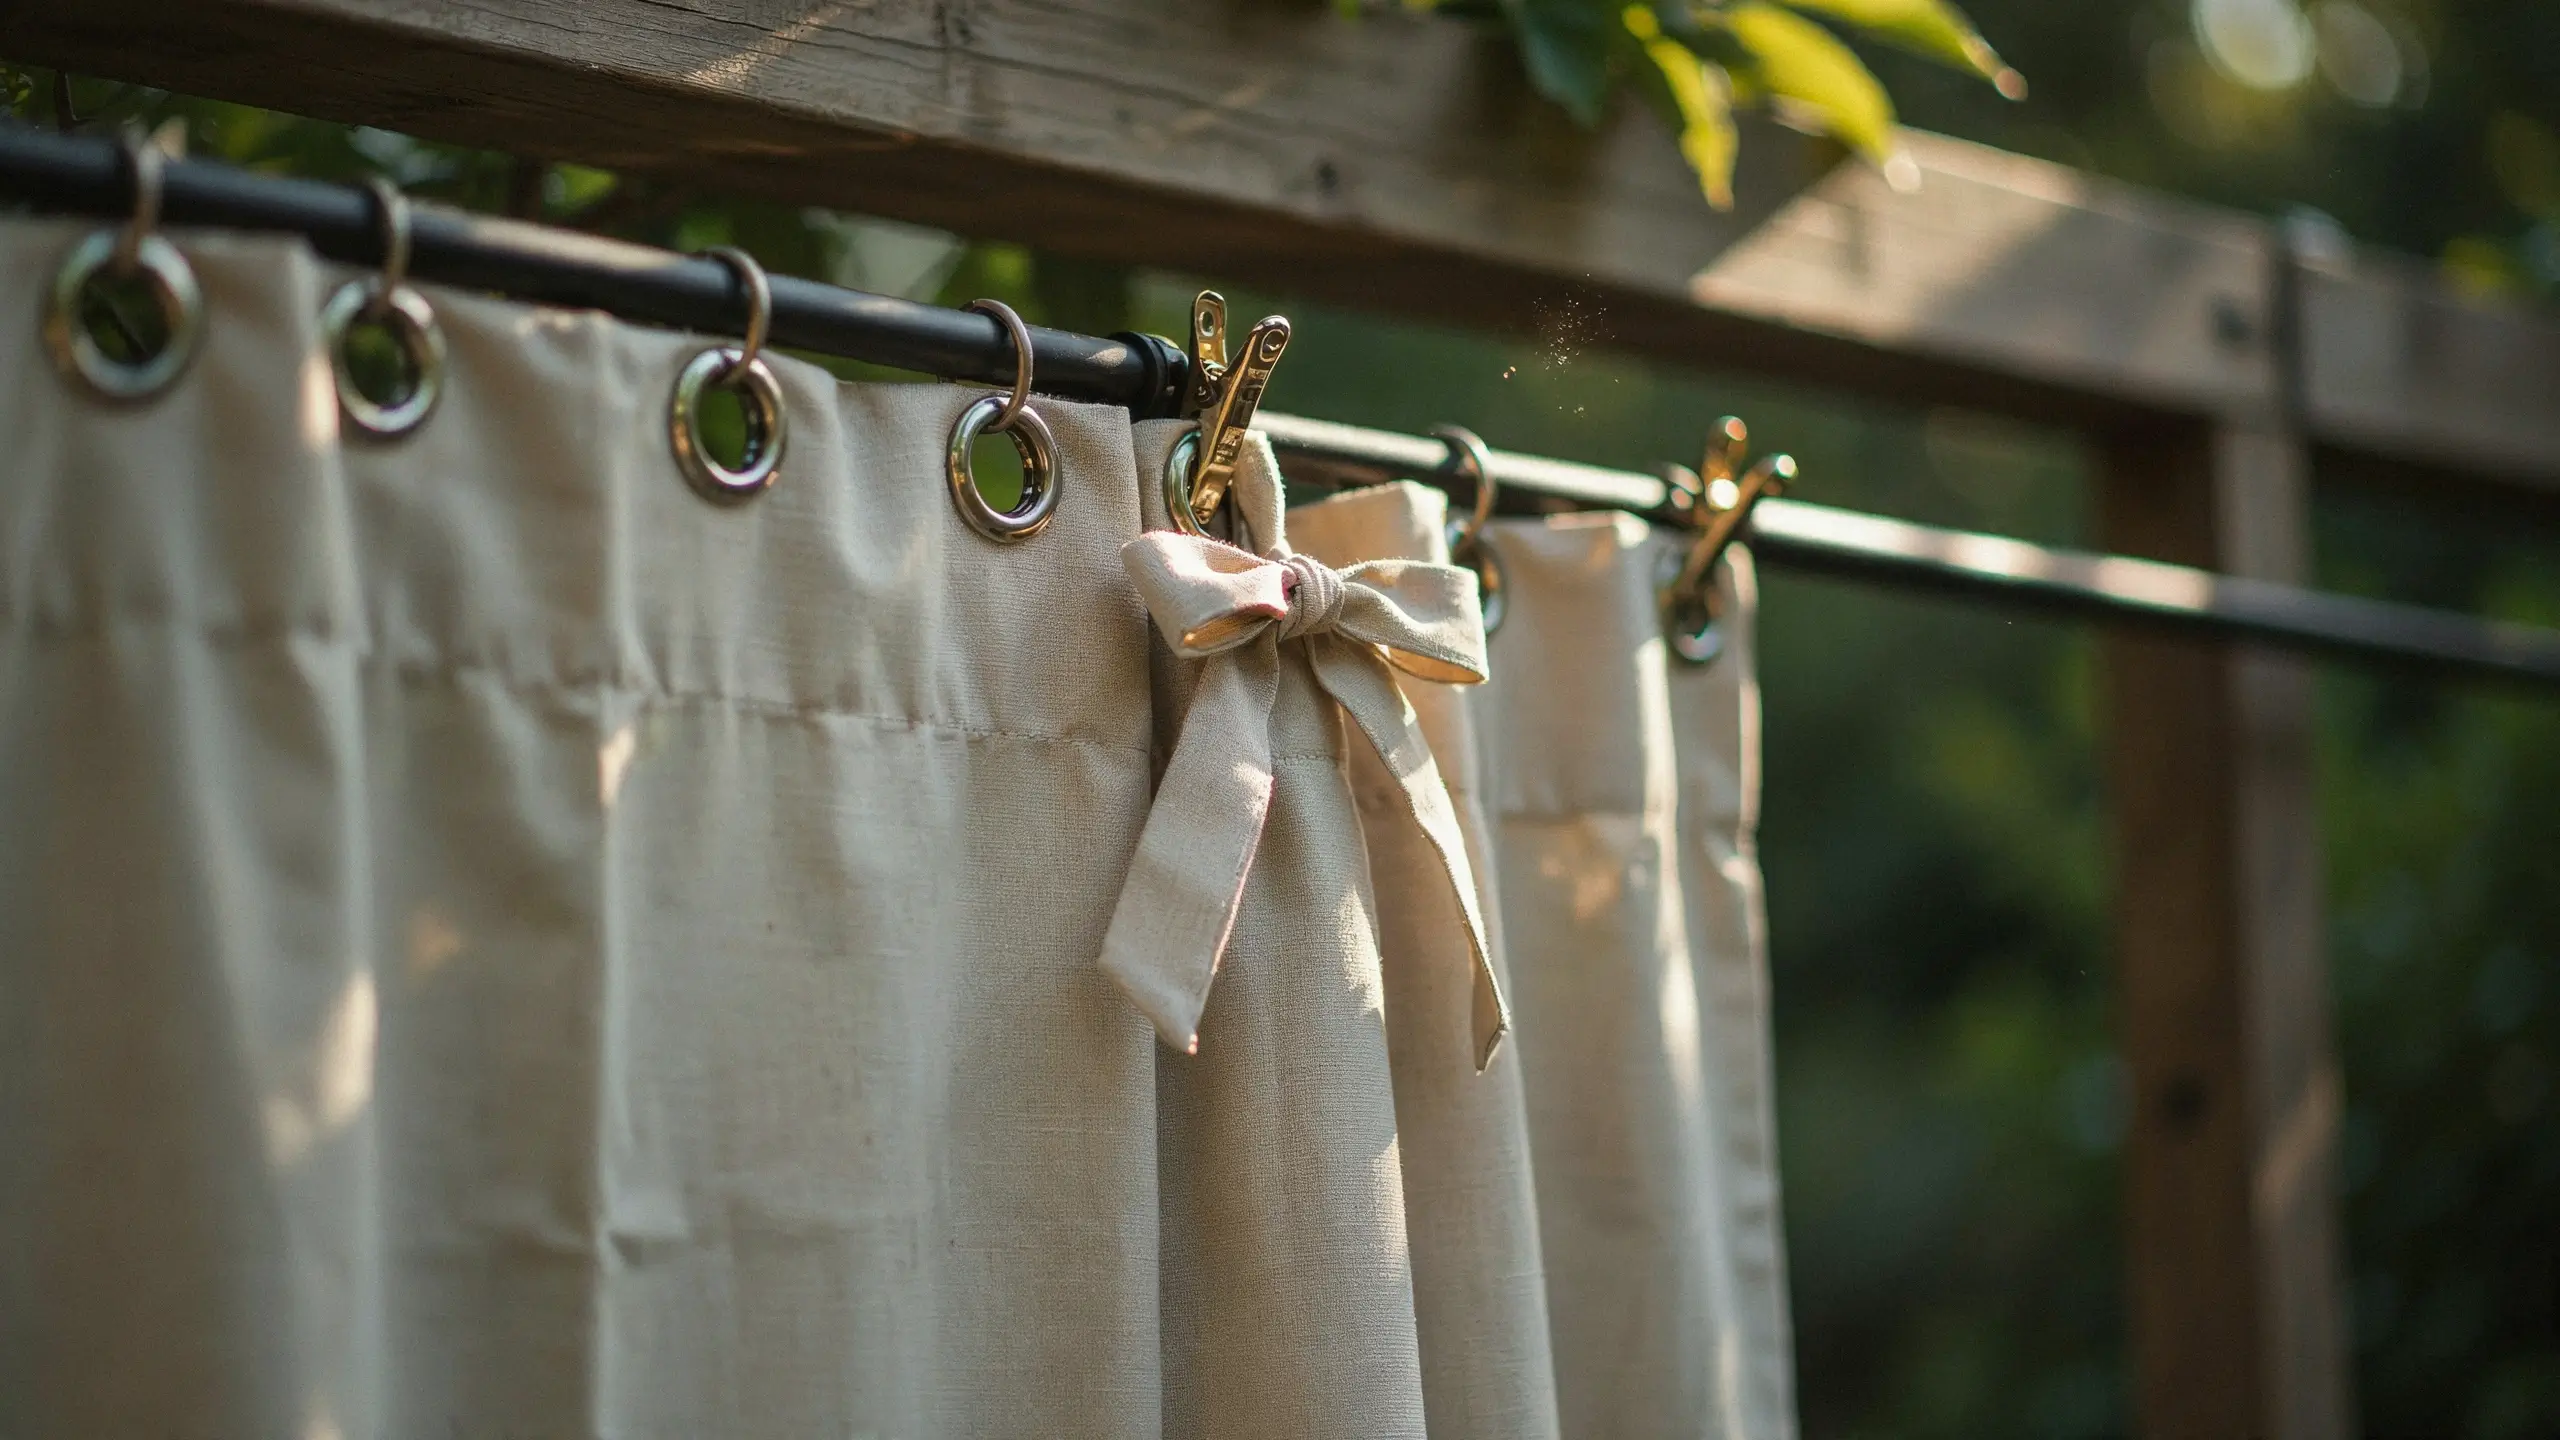
This step determines how easily your curtains open and close, so pick based on how often you’ll actually use them.
Hanging Options
- Grommets give a clean, structured look and glide smoothly along a rod. Best if you’ll open and close the curtains often.
- Curtain clips are the easiest no-sew option. Clip them along the top edge and hang directly on a rod or wire.
- Fabric ties give a relaxed, breezy look and work well for curtains that stay mostly open and get pulled closed occasionally.
Space grommets or clips every 6 to 8 inches for even folds and enough fullness to block gaps between panels.
6: Weight the Bottom Hem So Wind Doesn’t Undo Your Privacy
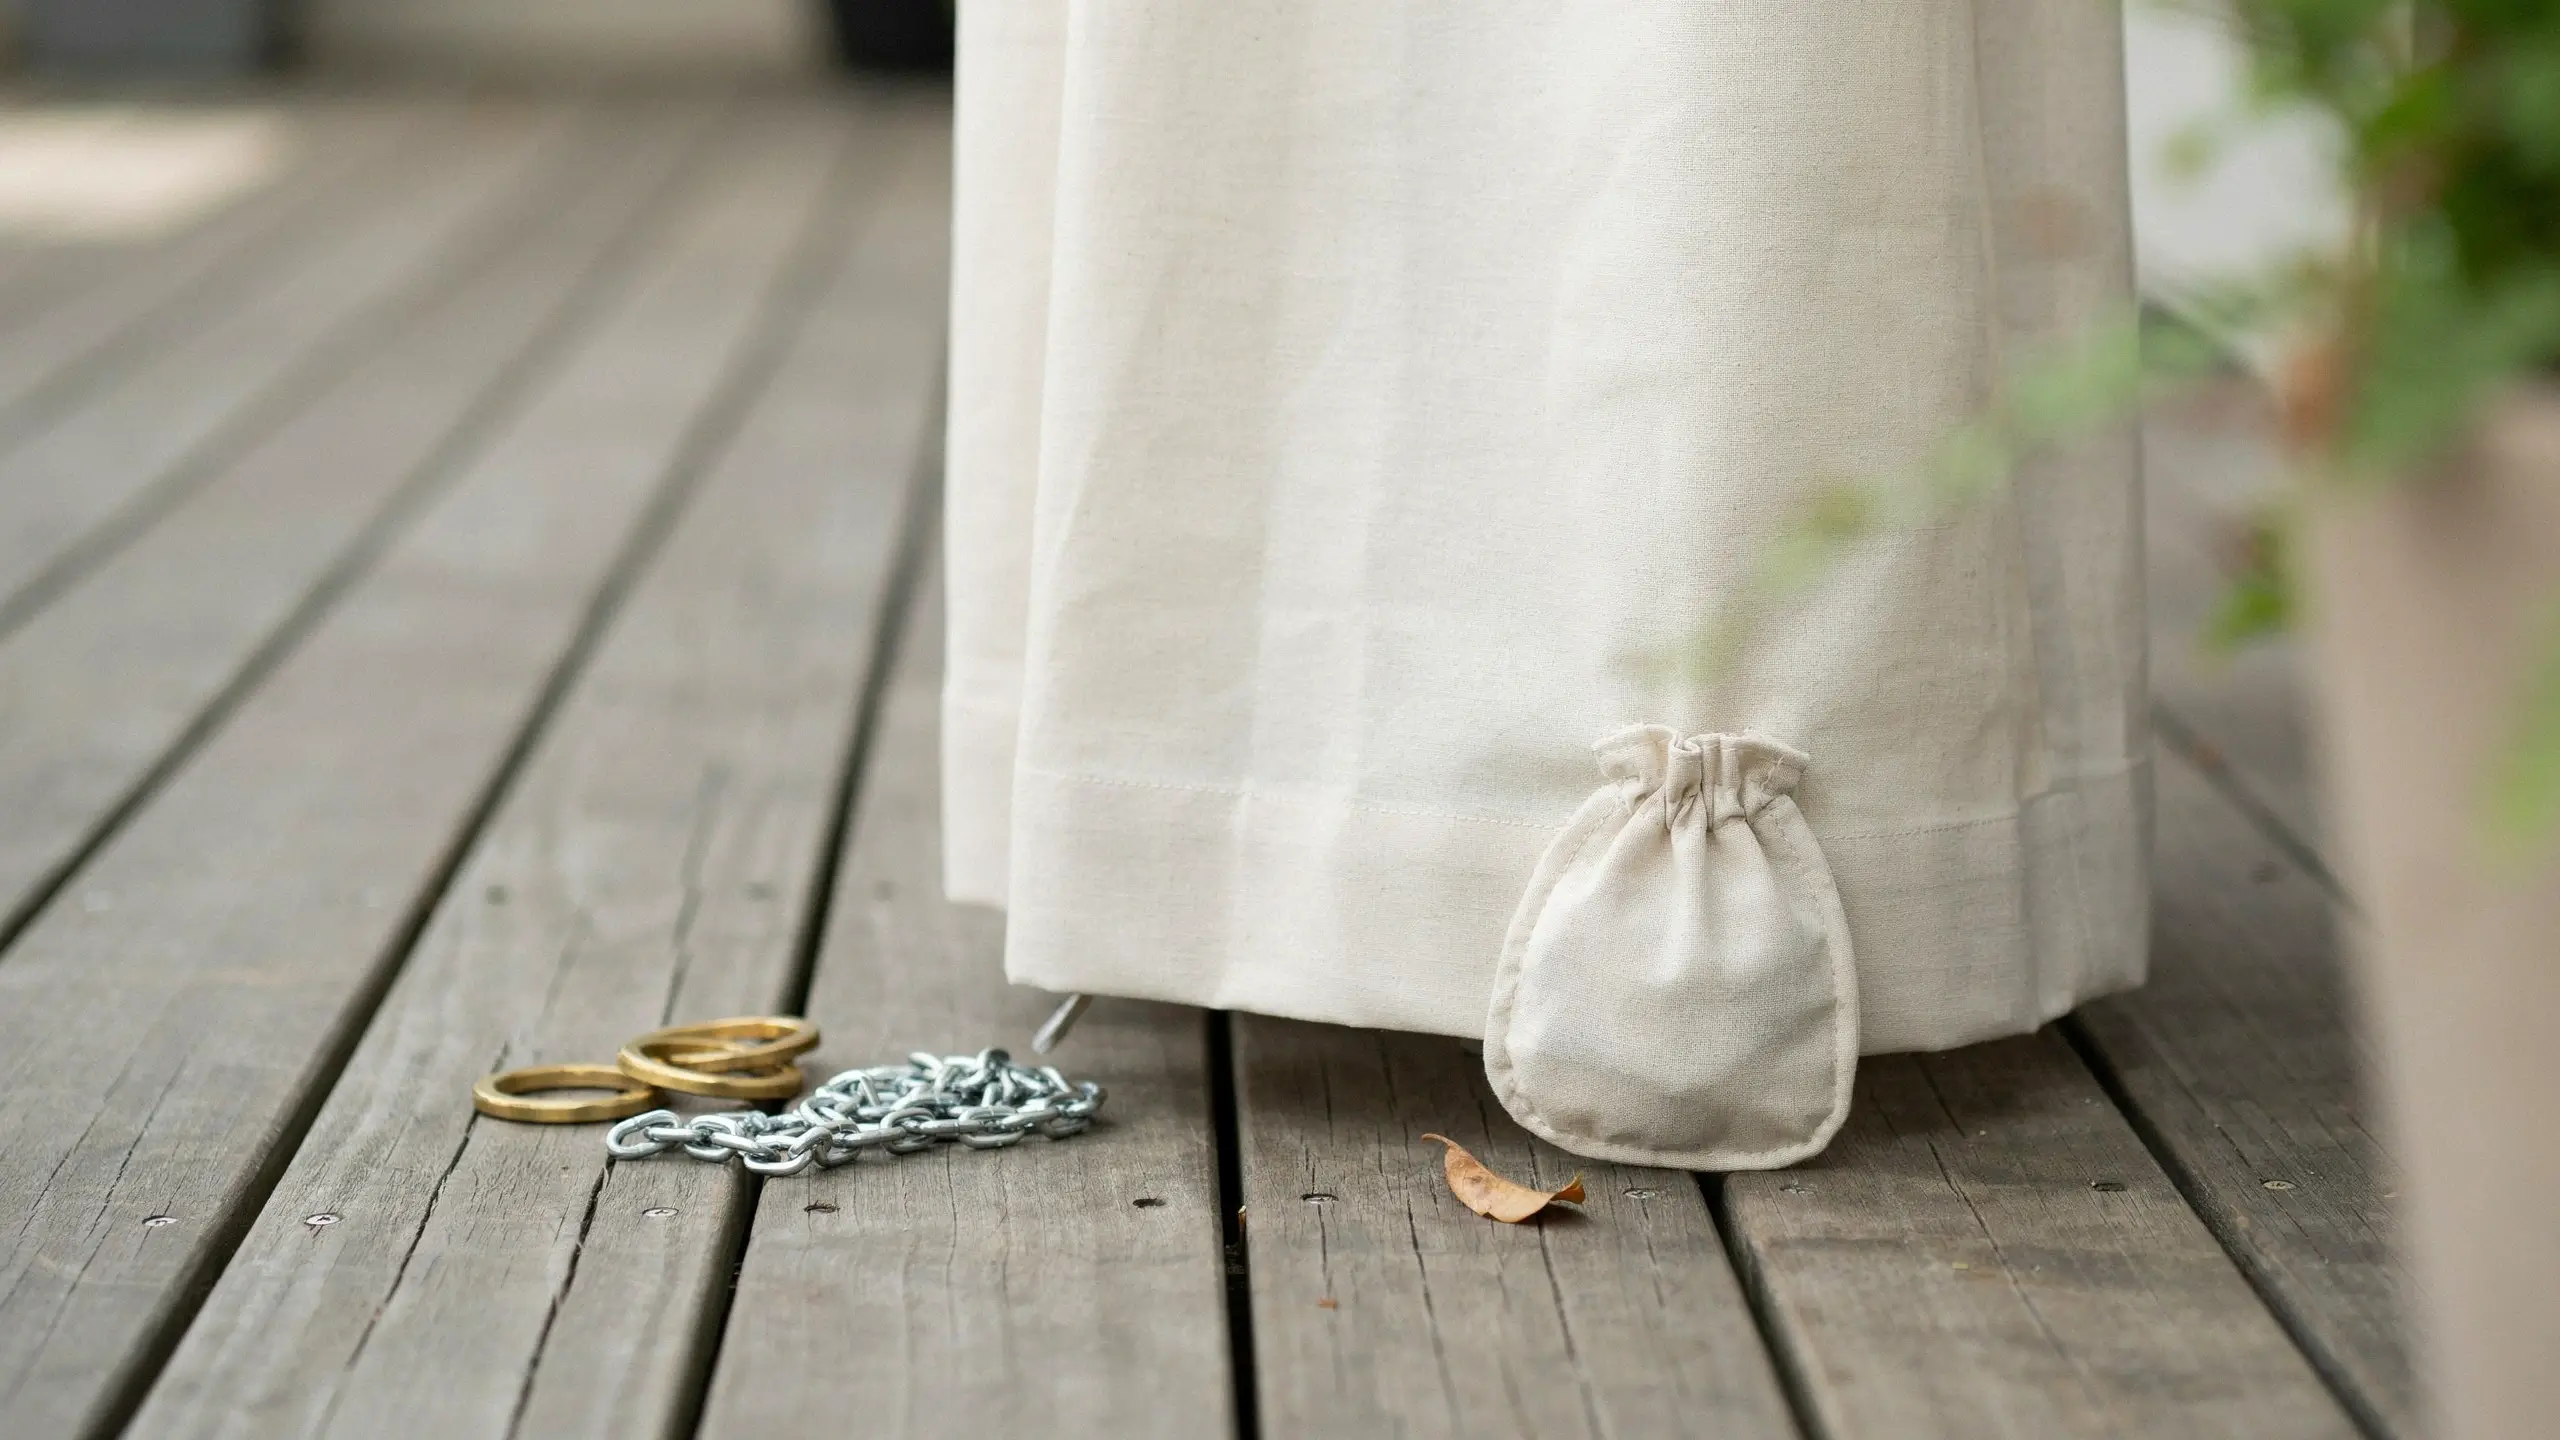
This is the step that separates curtains that actually work from ones that end up wrapped around the porch railing every time the wind picks up. Leave a small opening in your bottom hem and slide in a few flat washers, a length of light chain, or a sewn-in fabric pouch with a couple of smooth stones. Close up the opening or stitch it shut.
Weighted hems keep panels hanging straight and closed, which matters most when privacy is the whole point of the project. Curtains that billow open in a breeze defeat the purpose.
7: Choose How to Hang Them
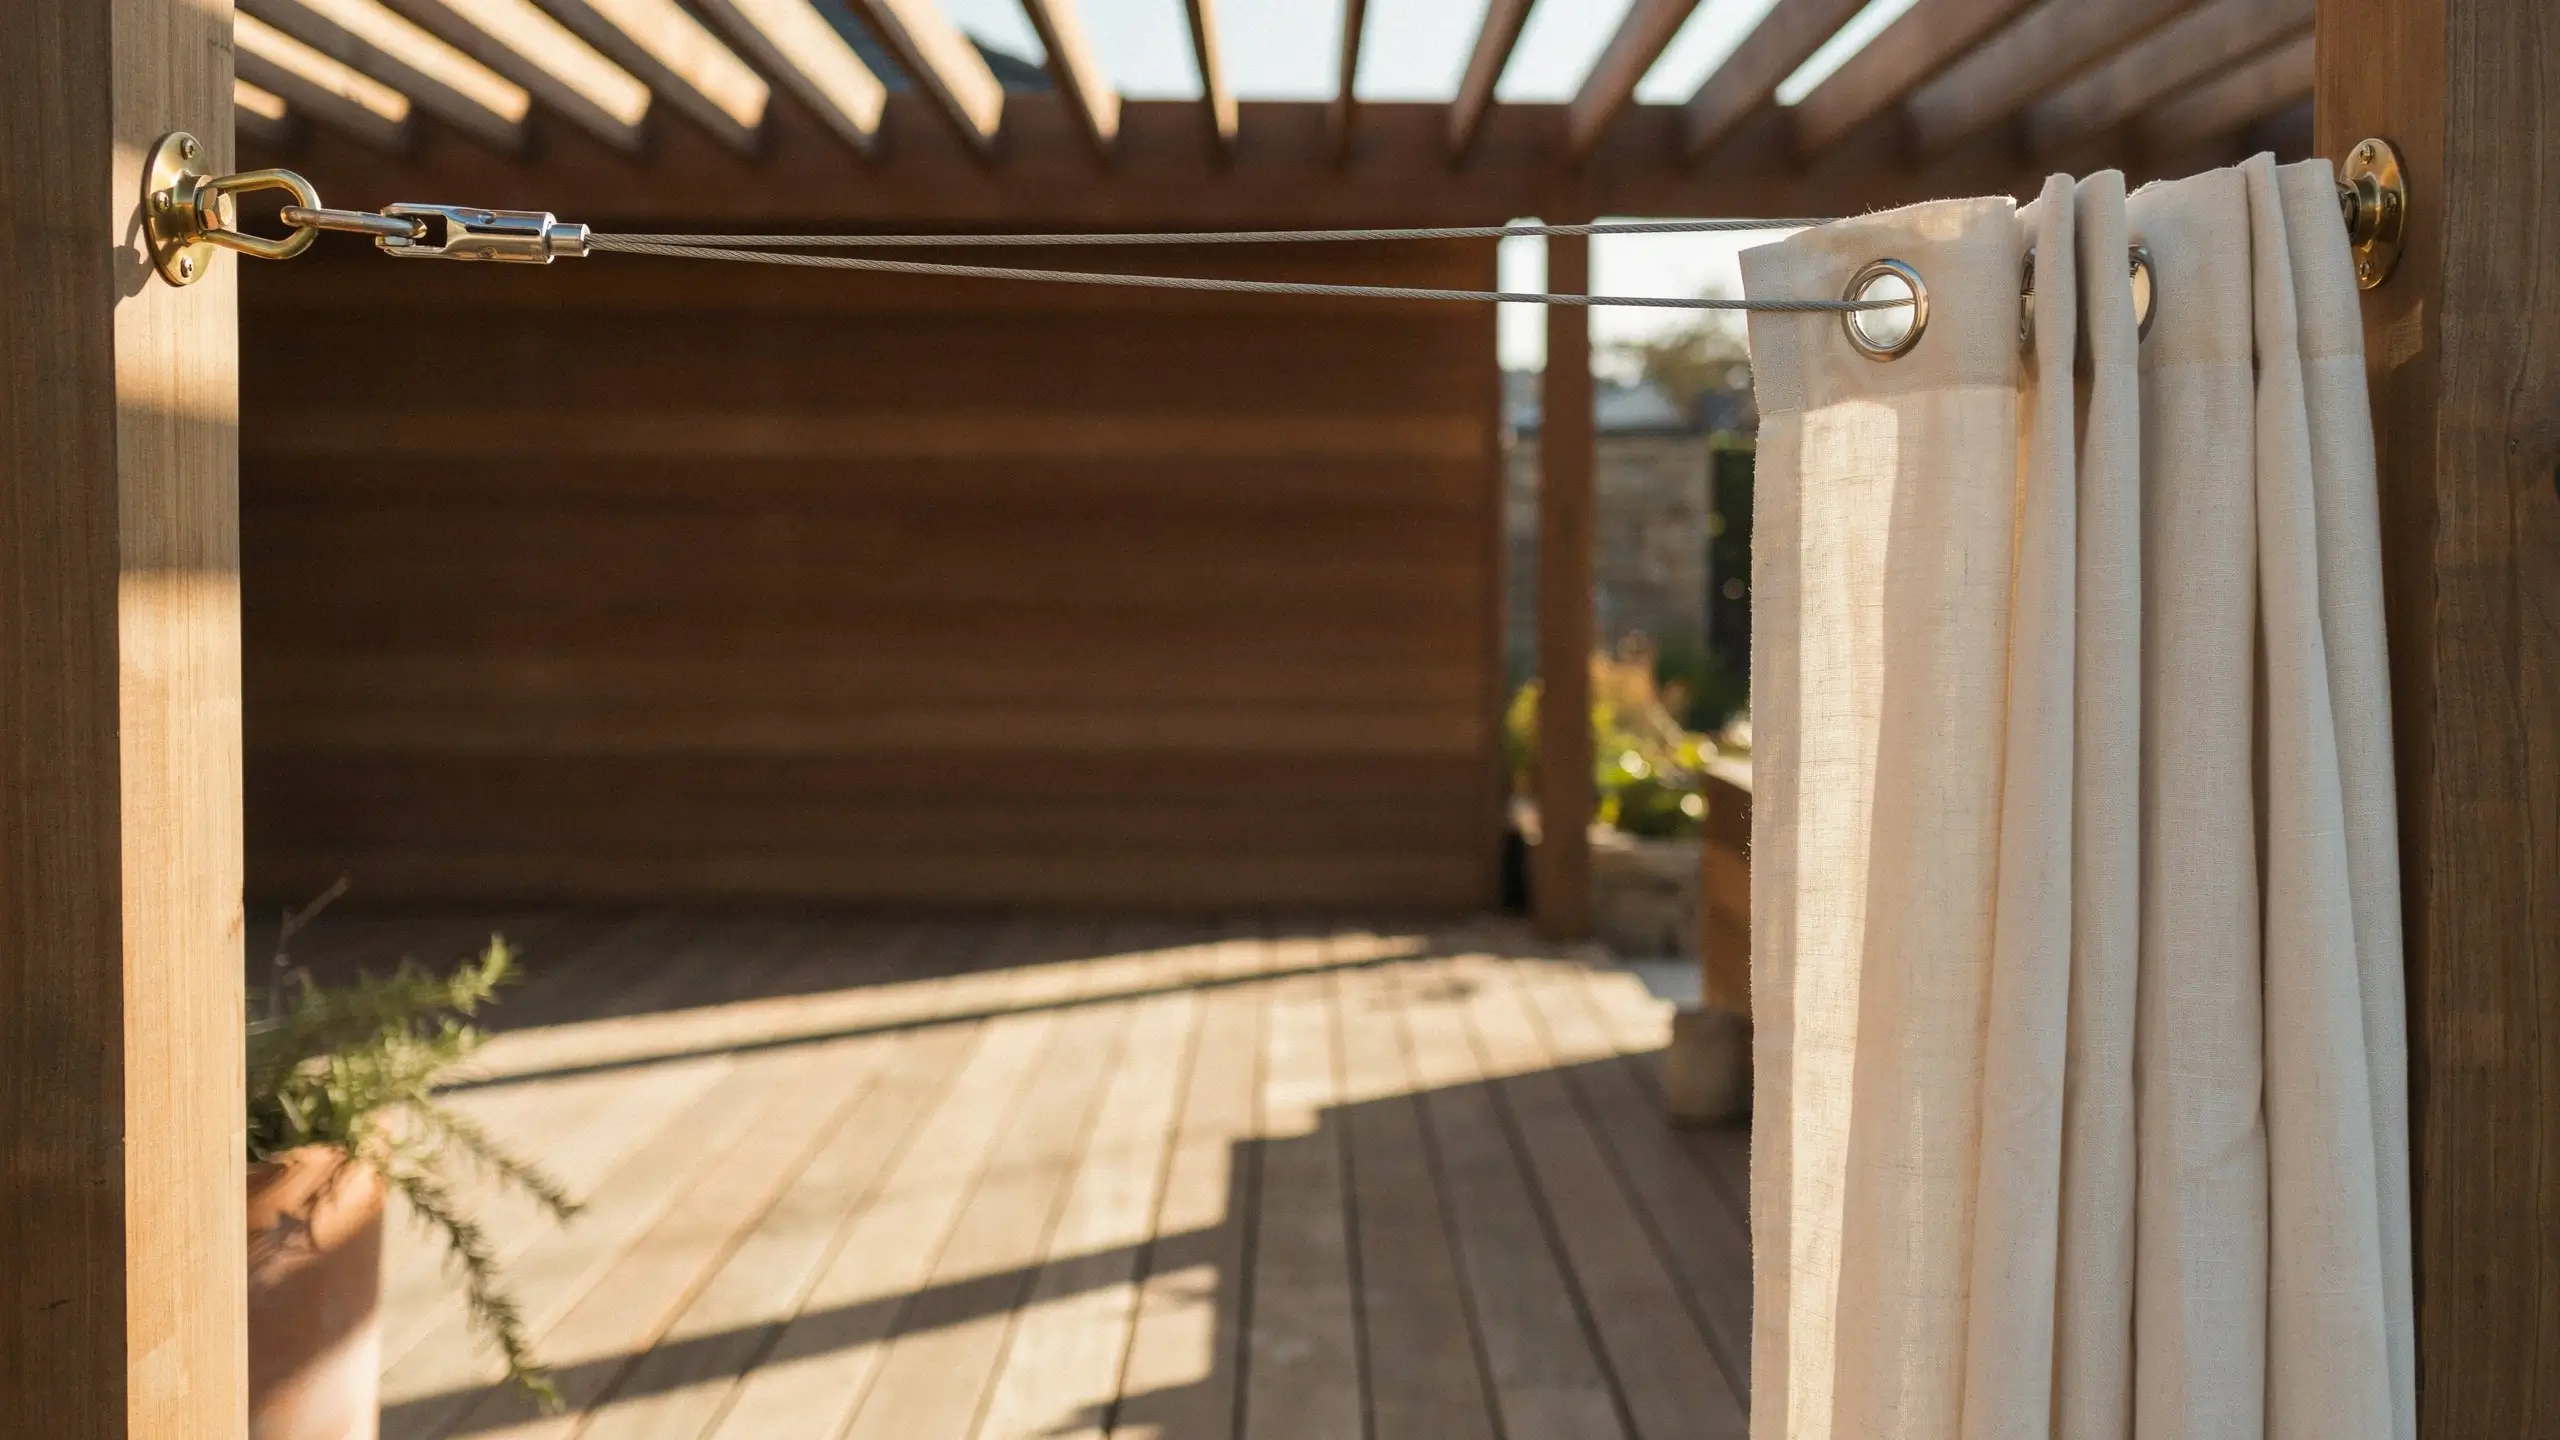
For a Permanent Covered Patio or Pergola
Mount a curtain rod, tension rod, or cable wire using eye hooks and outdoor rated screws. Wire and turnbuckles work well for long spans since wire doesn’t sag the way some rods do over time.
For Decks or Porches Without a Wall to Drill Into
Try a “floating” curtain rod setup using two posts with eye hooks and a stretched wire or cable between them, anchored to the deck posts or railing rather than the house itself.
For Renters or Temporary Setups
Use tension rods inside a covered area, adhesive outdoor hooks rated for exterior use, or clip your curtains to an existing railing with heavy duty curtain clips. All of these come down without drilling or leaving damage behind.
For Campers, Balconies, or Small Patios
Tension rods across a narrow opening, or a simple wire strung between two secured hooks, both work without permanent hardware and pack up easily if you need to store them for the off season.
Mistakes to Avoid
Skipping the Weatherproofing Spray
Even fabric marketed as outdoor ready benefits from a UV and water repellent spray, especially if you want the color to hold up past one summer. Apply several light coats to both sides and let it dry completely before hanging.
Hanging Panels That Don’t Overlap
If your goal is privacy, edge to edge panels leave a gap right in the middle exactly where people tend to stand or sit. Add extra width so panels overlap by a few inches when closed.
Using Cotton Without a Mildew Plan
Cotton fabrics, including drop cloths and cotton sheets, are more prone to mold and mildew outdoors, especially in humid climates. If you’re set on cotton, treat it with a mildew resistant spray and bring panels in during long stretches of rain.
Forgetting About Wind Before You Finish Sewing
Add weighted hems while you’re already sewing or taping, rather than as an afterthought. It’s a five minute step now versus taking curtains back down later.
Choosing a Fabric Based on Looks Alone
A fabric that looks opaque folded on a shelf can turn sheer once it’s stretched flat and backlit by a porch light at night. Test a sample against a light source before committing to yardage.
How to Keep Outdoor Privacy Curtains Looking Good All Season
Take panels down before major storms if they’re not secured with heavy hardware, since strong wind is the most common cause of torn grommets and ripped seams. Give them a light rinse or gentle wash a few times a season to clear dust, pollen, and grime before it sets in. Reapply fabric protectant spray once a season, especially after washing, since the coating wears off over time. If you’re in a climate with real winters, take curtains down and store them dry and folded rather than leaving them to freeze and thaw all season.
Final Thoughts
Making your own outdoor curtains for privacy costs a fraction of store bought panels and gives you full control over the fabric, the length, and exactly how much coverage you need. Start with one panel if you’re not sure about the process yet. Once you see how quickly it comes together, and how much more private your patio feels, you’ll probably be measuring the rest of the space before the first one is even fully dry.
Have you made your own outdoor curtains before, or is this your first try? I’d love to hear what fabric you’re leaning toward or what space you’re covering. Drop a comment below and let me know how it turns out.






No Comment! Be the first one.