




16 Thanksgiving Crafts for Kids That Are Actually Worth the Mess
What You’ll Want on Hand Before you start pulling out glue and scissors, it helps to have a small stash of Thanksgiving craft basics ready to go. Keep these in a bin so you’re not hunting...

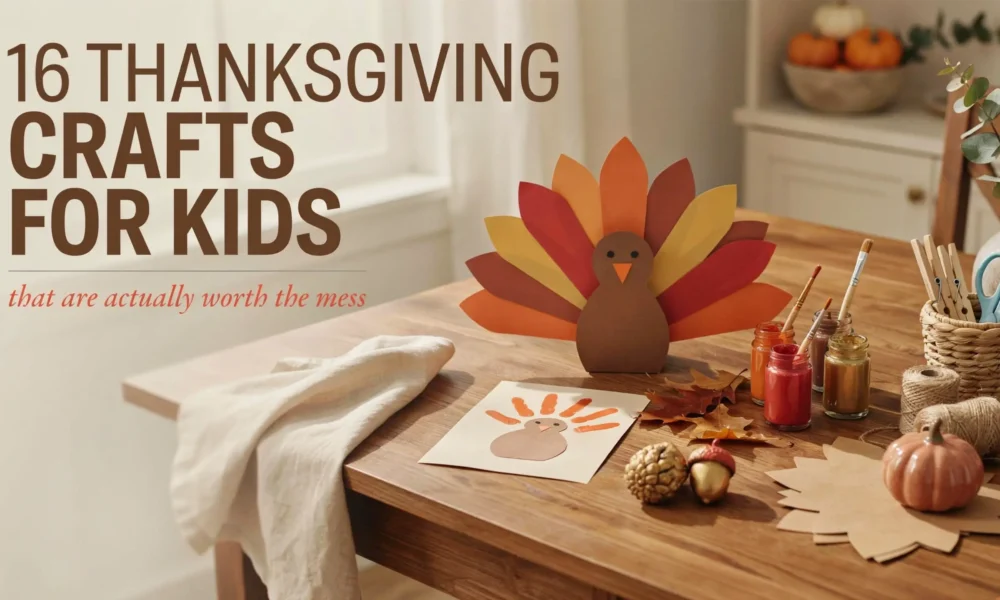
What You’ll Want on Hand
Before you start pulling out glue and scissors, it helps to have a small stash of Thanksgiving craft basics ready to go. Keep these in a bin so you’re not hunting for supplies every November:
- Construction paper in fall colors: red, orange, yellow, brown, and cream
- Washable paint in the same fall palette, plus white and black
- Paper plates (plain white, no coating if you plan to paint them)
- Googly eyes in a few sizes
- Glue sticks and a bottle of white glue for anything heavier
- Child safe scissors
- Pipe cleaners in brown, orange, and yellow
- A handful of pinecones and a few clean toilet paper rolls
- Craft feathers if you have them, though construction paper feathers work just as well
You don’t need all of this for every project. Most of the crafts below use two or three items from this list, which is part of why they work so well for a busy week.
A Quick Note on Ages and Mess
Every craft below includes an age note and a mess level so you’re not caught off guard. Toddlers under three should always be supervised closely around small parts like googly eyes and beads, since those are a choking hazard. Preschoolers can usually handle glue sticks and blunt scissors on their own with some guidance. Kids six and up can typically manage most of these crafts independently, including a bit of cutting and painting cleanup.
Keepsake Crafts You’ll Want to Save Every Year
These are the ones parents tend to pull out of a memory box a decade later. A little more sentimental, a little more worth the extra five minutes.
1. Handprint Turkey
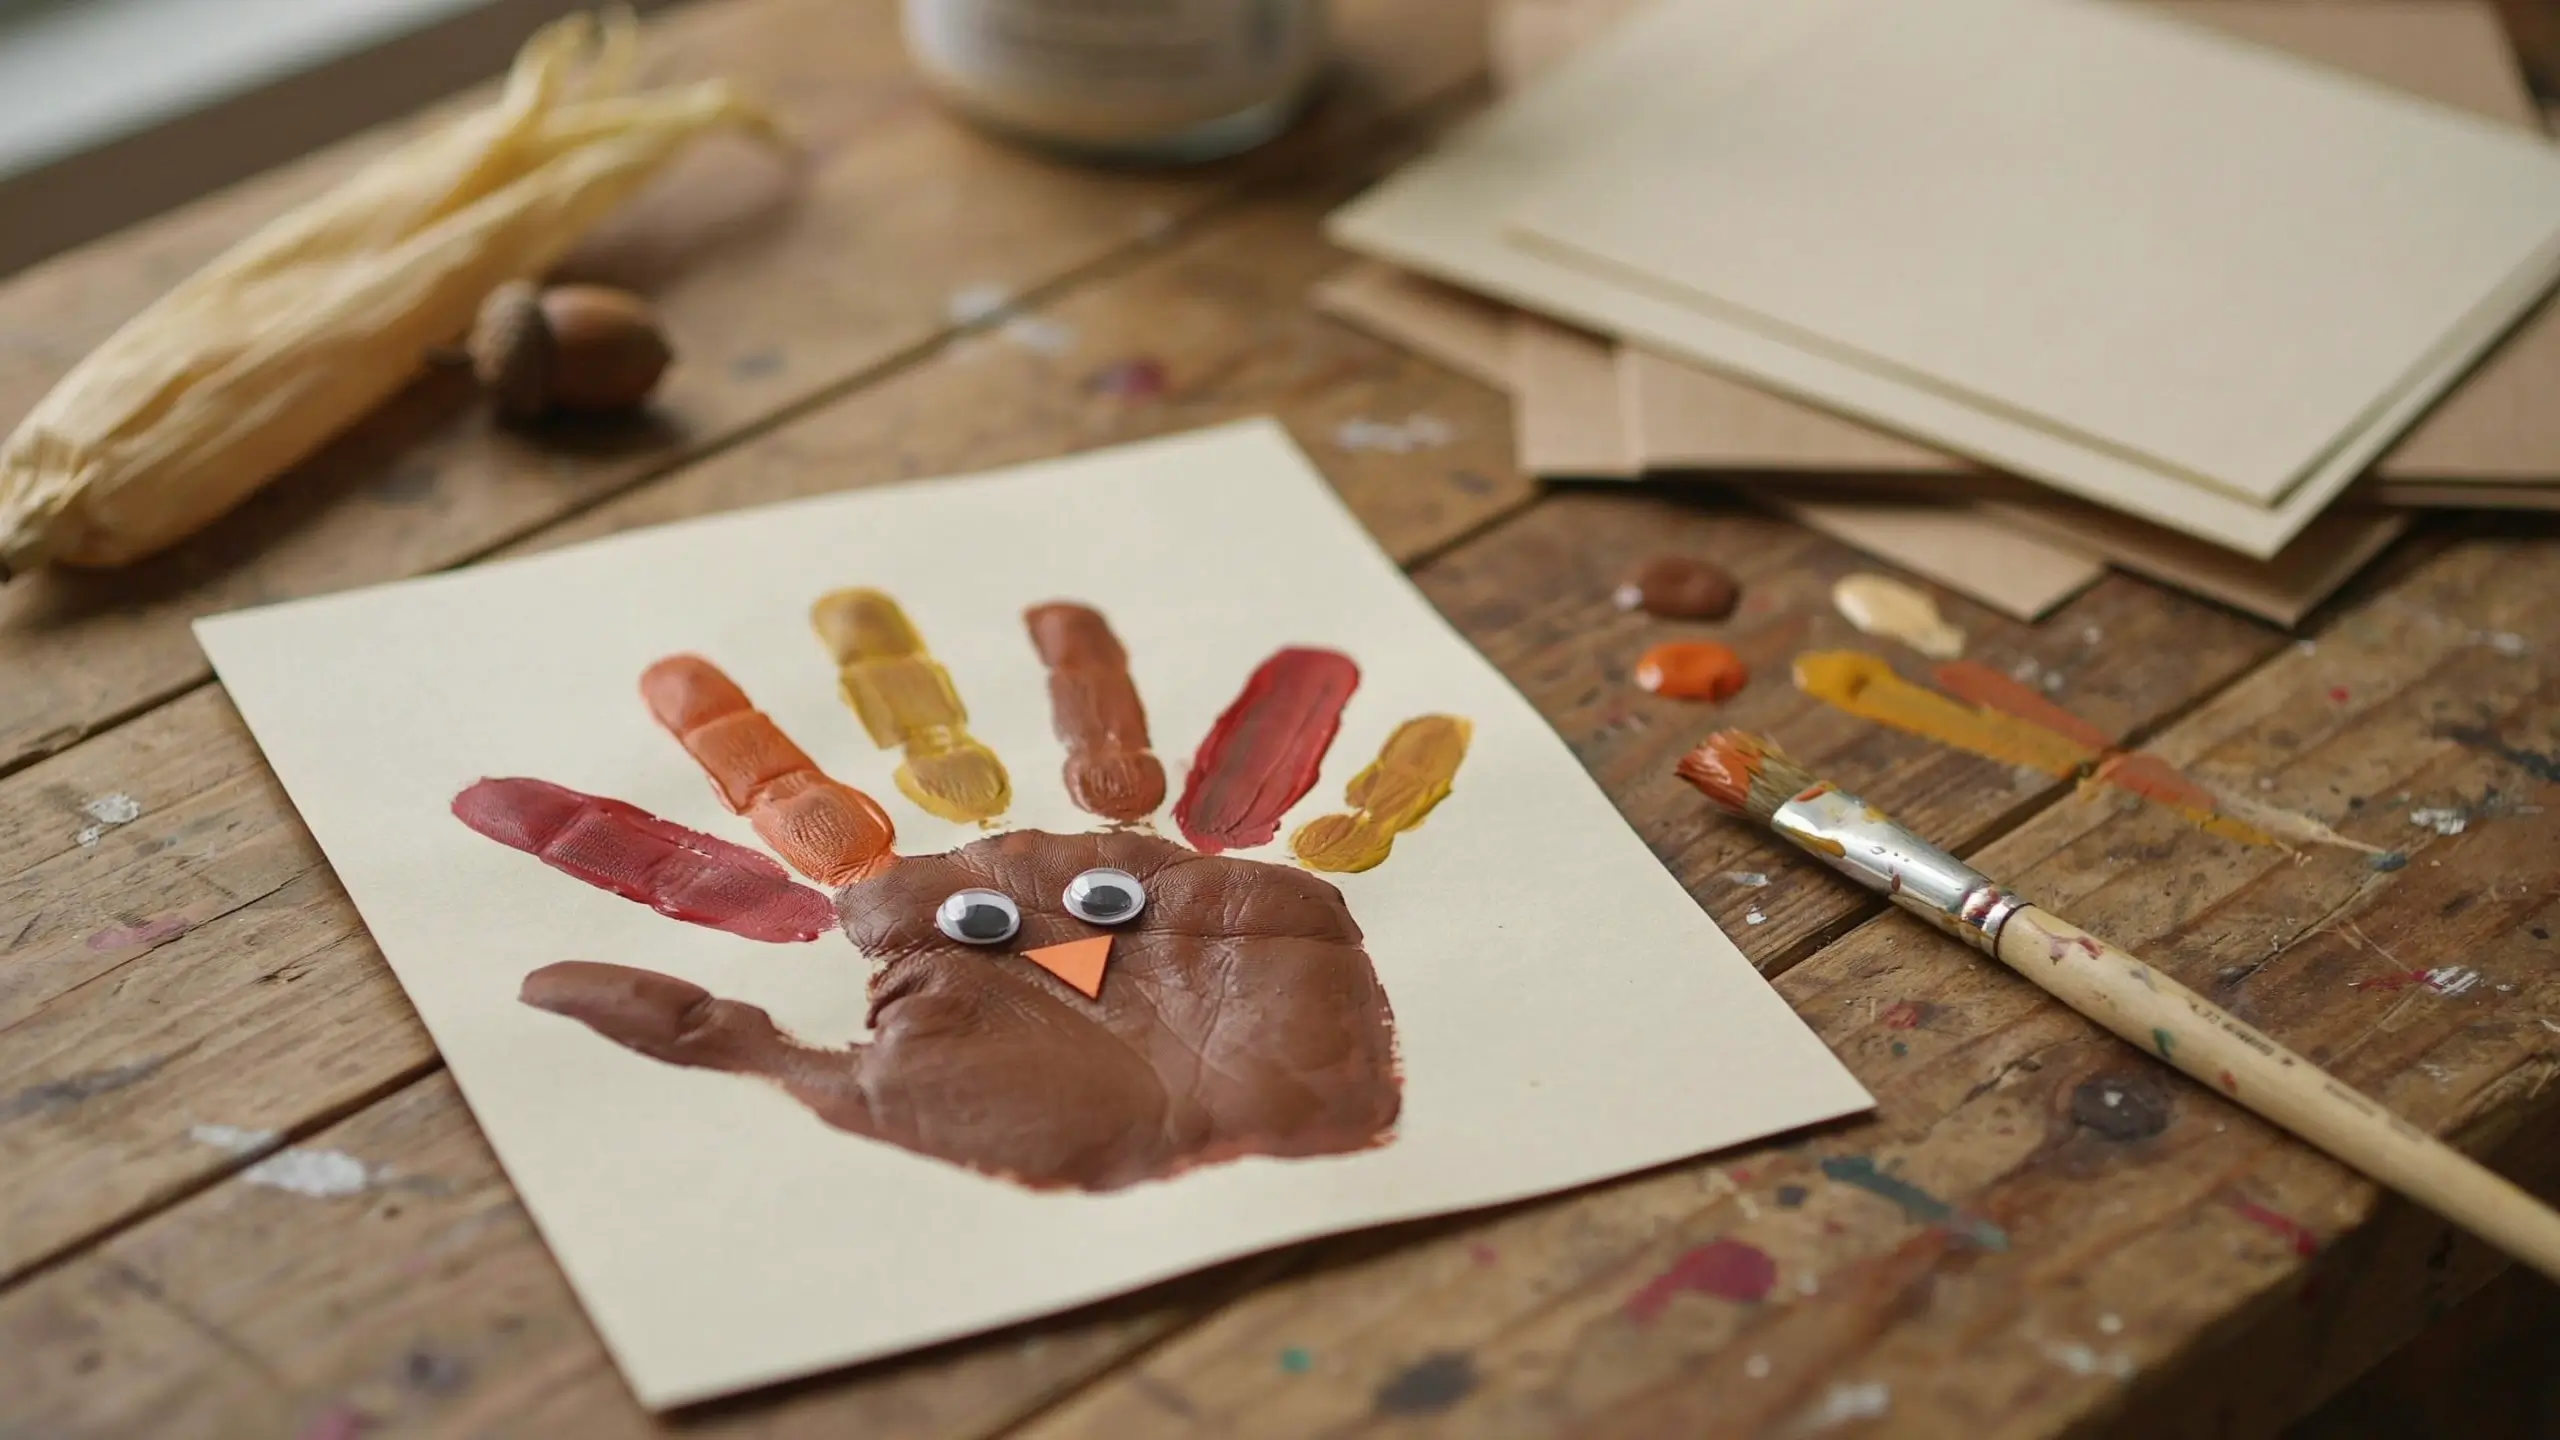
This is the one everyone knows, and it earns its reputation. Press your child’s paint covered hand onto construction paper or cardstock, with the thumb becoming the turkey’s head and the fingers becoming feathers.
| Materials | brown, orange, red, and yellow paint, construction paper or cardstock, googly eyes, orange marker or paper for the beak |
| How to make it | Paint your child’s palm brown and the fingers in fall colors, then press firmly onto paper. Once dry, add googly eyes and a small triangle beak with marker or a glued on paper scrap. Write the date somewhere on the page. |
| Age note | Works for any age, including babies with help holding their hand steady. Ages two and up can usually manage the press themselves. |
| Mess level | Moderate. Have wipes ready. |
| Tip | Do this one on the same weekend every year and keep the pages together in a folder. Watching the handprint size change over the years is the real payoff. |
2. Thankful Handprint Wreath
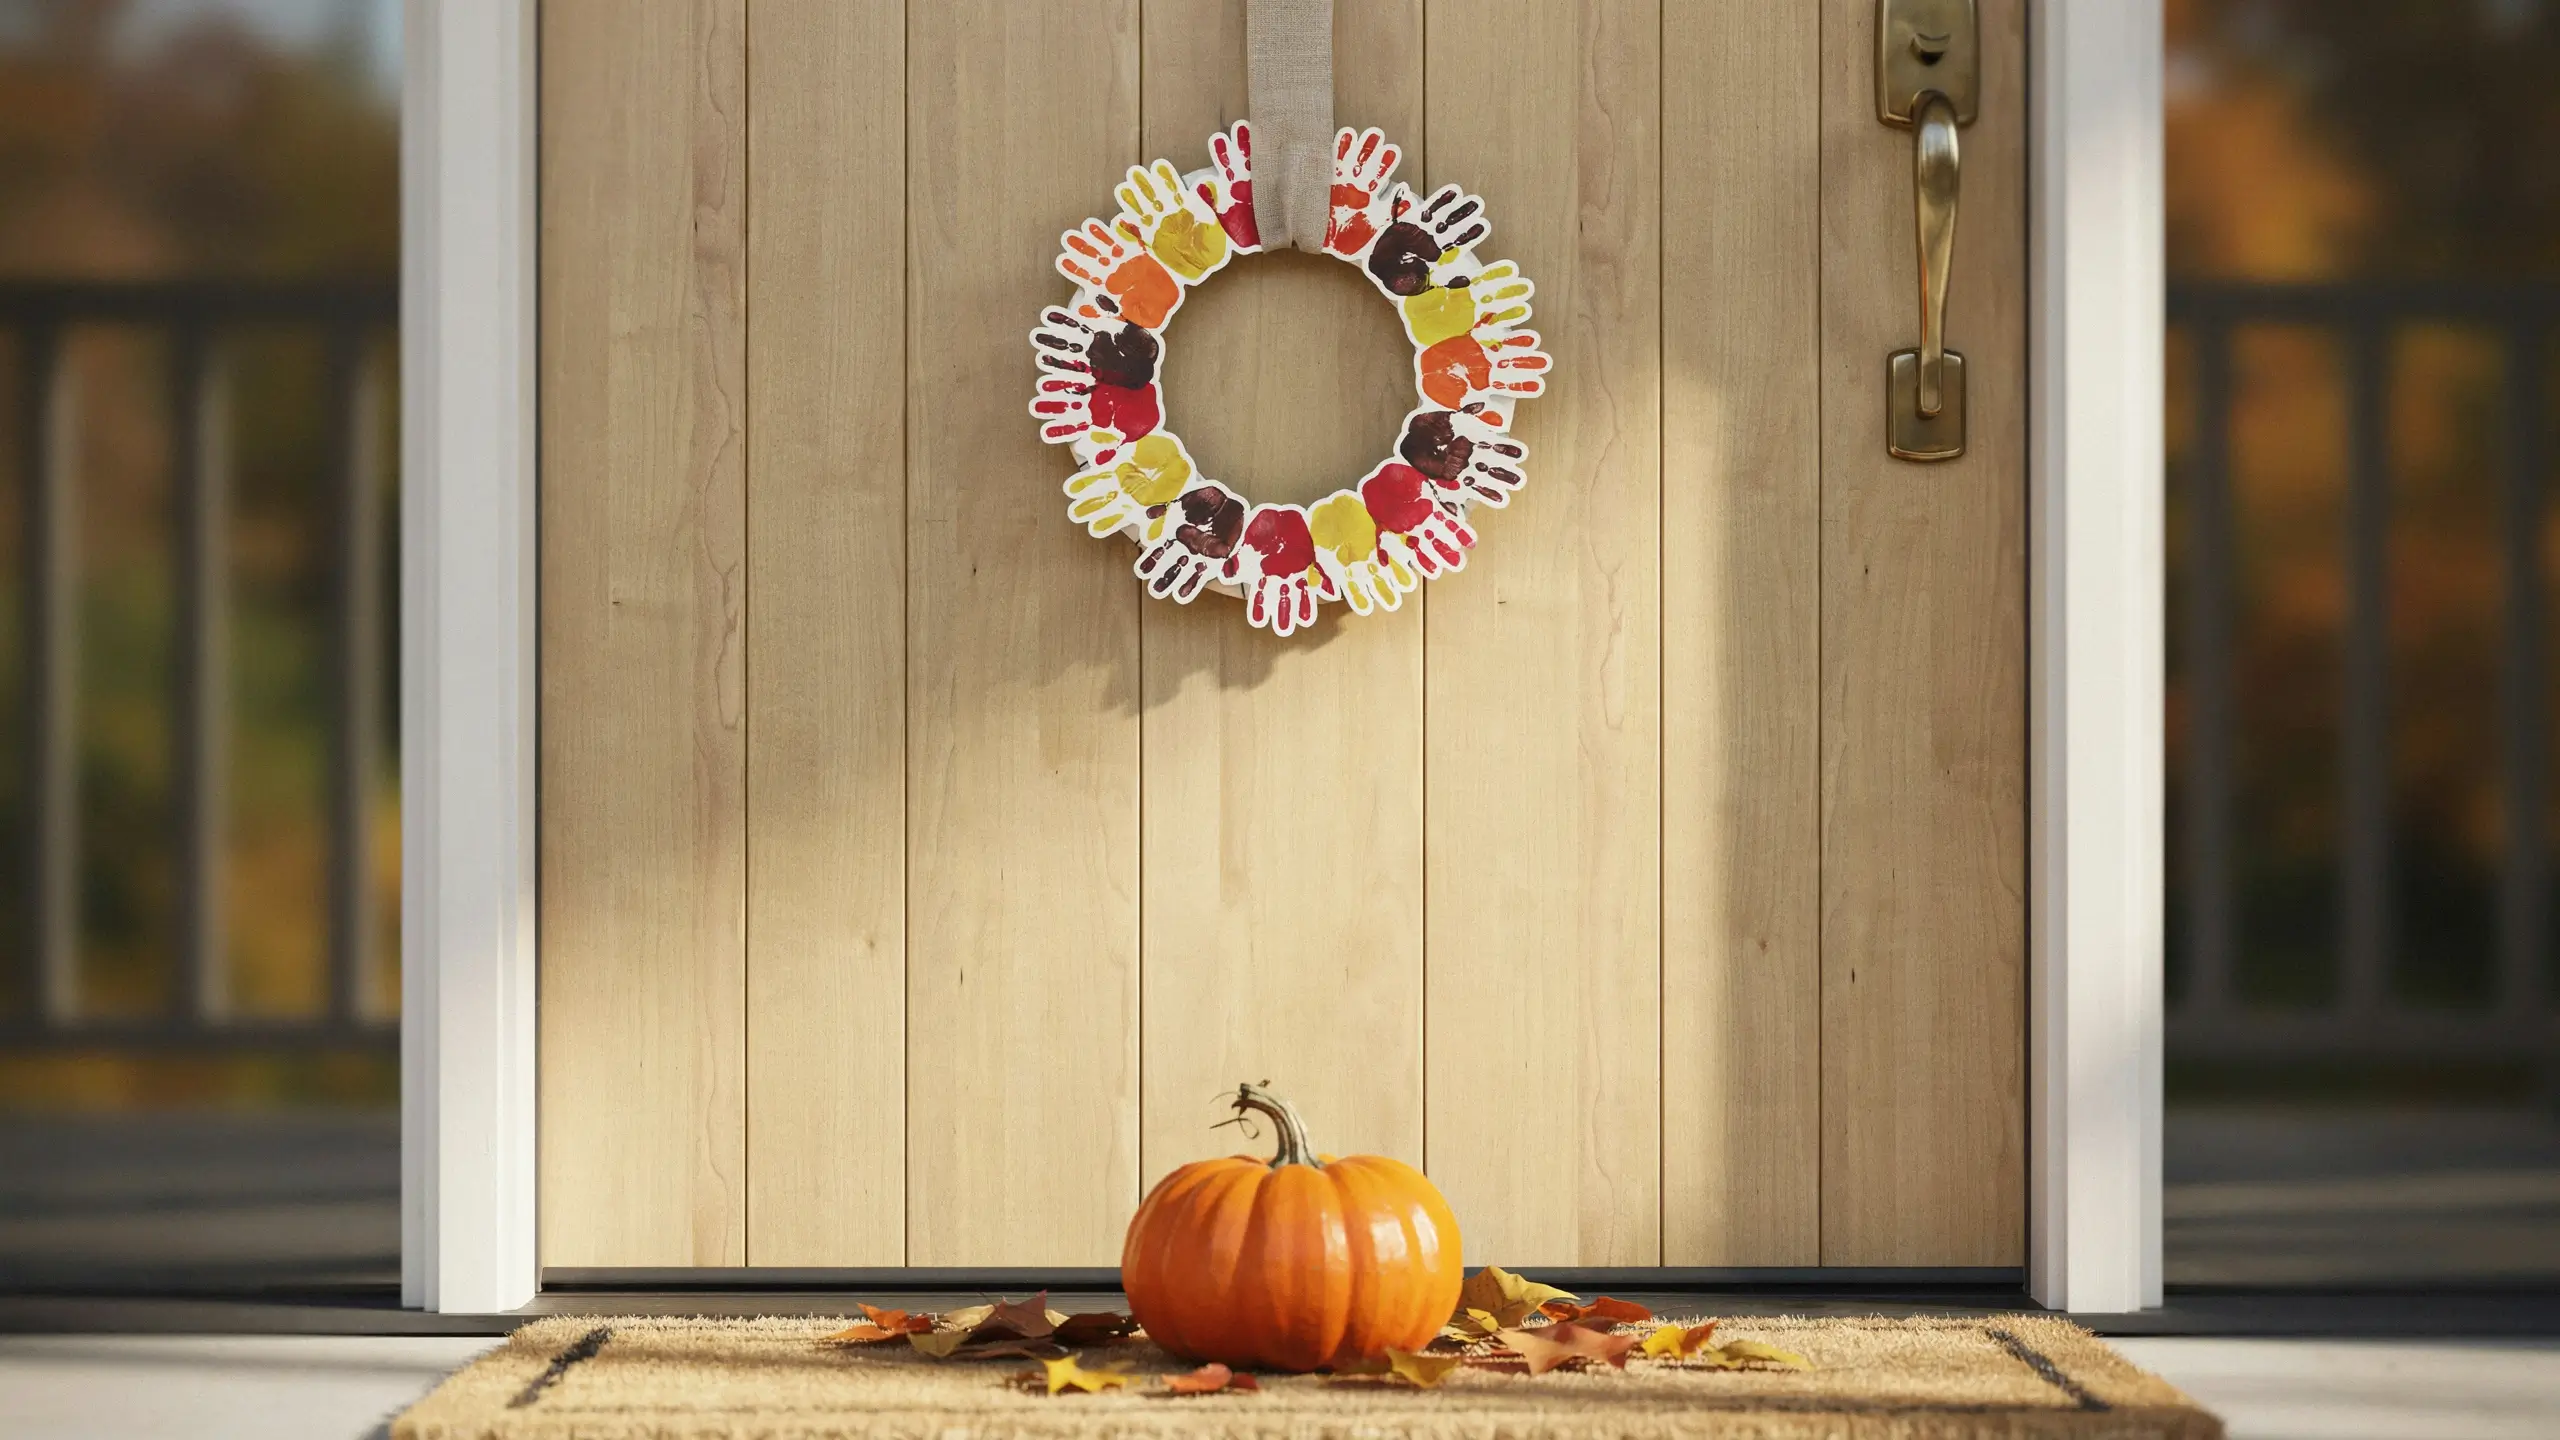
A step up from the single turkey, this one turns a whole family’s handprints into a wreath you can hang on the front door or above the table.
| Materials | a paper plate with the center cut out, fall colored paint, googly eyes optional |
| How to make it | Cut the center out of a paper plate to make a ring. Have each family member press a painted hand around the ring, overlapping slightly so it looks full. Let dry completely before hanging. |
| Age note | Great for a group activity with mixed ages, since younger kids can do a few prints while older kids fill in gaps. |
| Mess level | High, this one is a group paint job. |
| Tip | Have each person write what they’re thankful for on their own handprint once it dries. It turns a craft into a conversation. |
3. Fingerprint Pumpkin Patch Craft
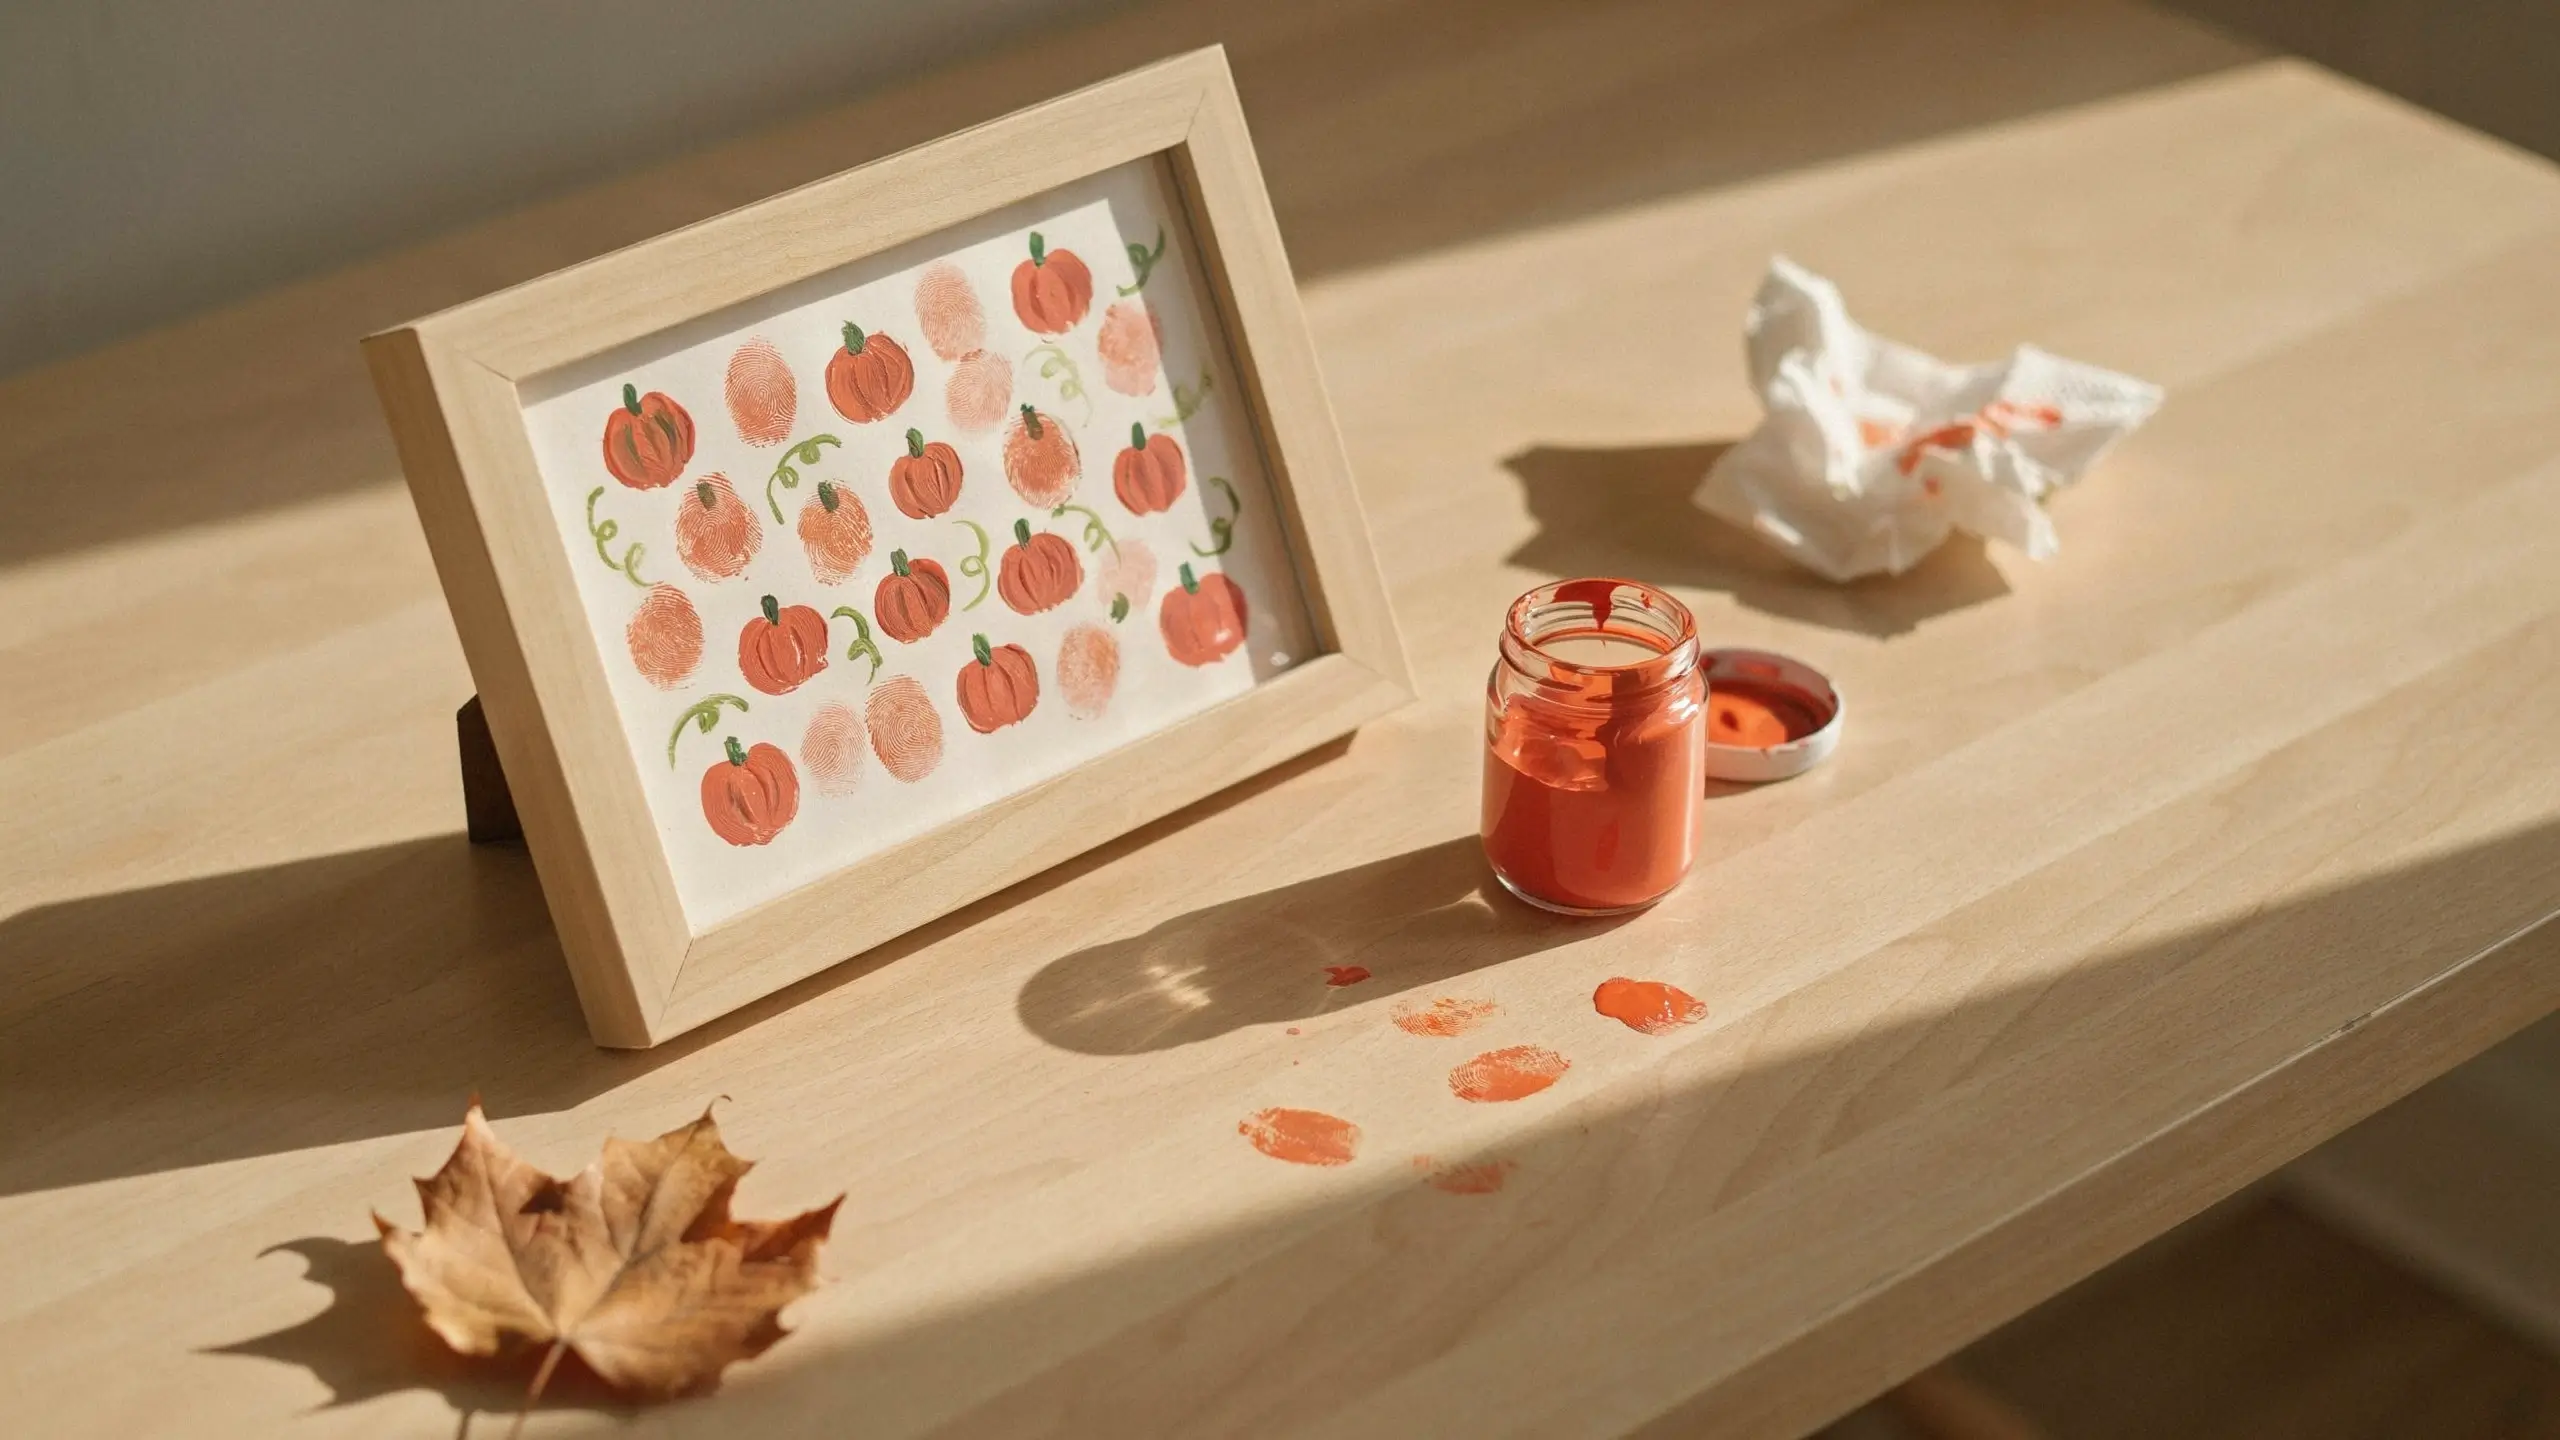
A quieter, less messy alternative to a full handprint project, and a nice one for toddlers who aren’t ready for a full hand press.
| Materials | orange and green paint, white paper, black marker for stems |
| How to make it | Dip a fingertip in orange paint and press it onto paper in small clusters to form pumpkins. Add a green stem with marker or a dab of green paint once dry. |
| Age note | Ideal for toddlers ages one to three, since fingertip dabbing is easier to control than a full palm press. |
| Mess level | Low to moderate. |
| Tip | Frame the finished piece in a simple dollar store frame for an easy handmade gift for grandparents. |
4. Footprint Turkey Ornament
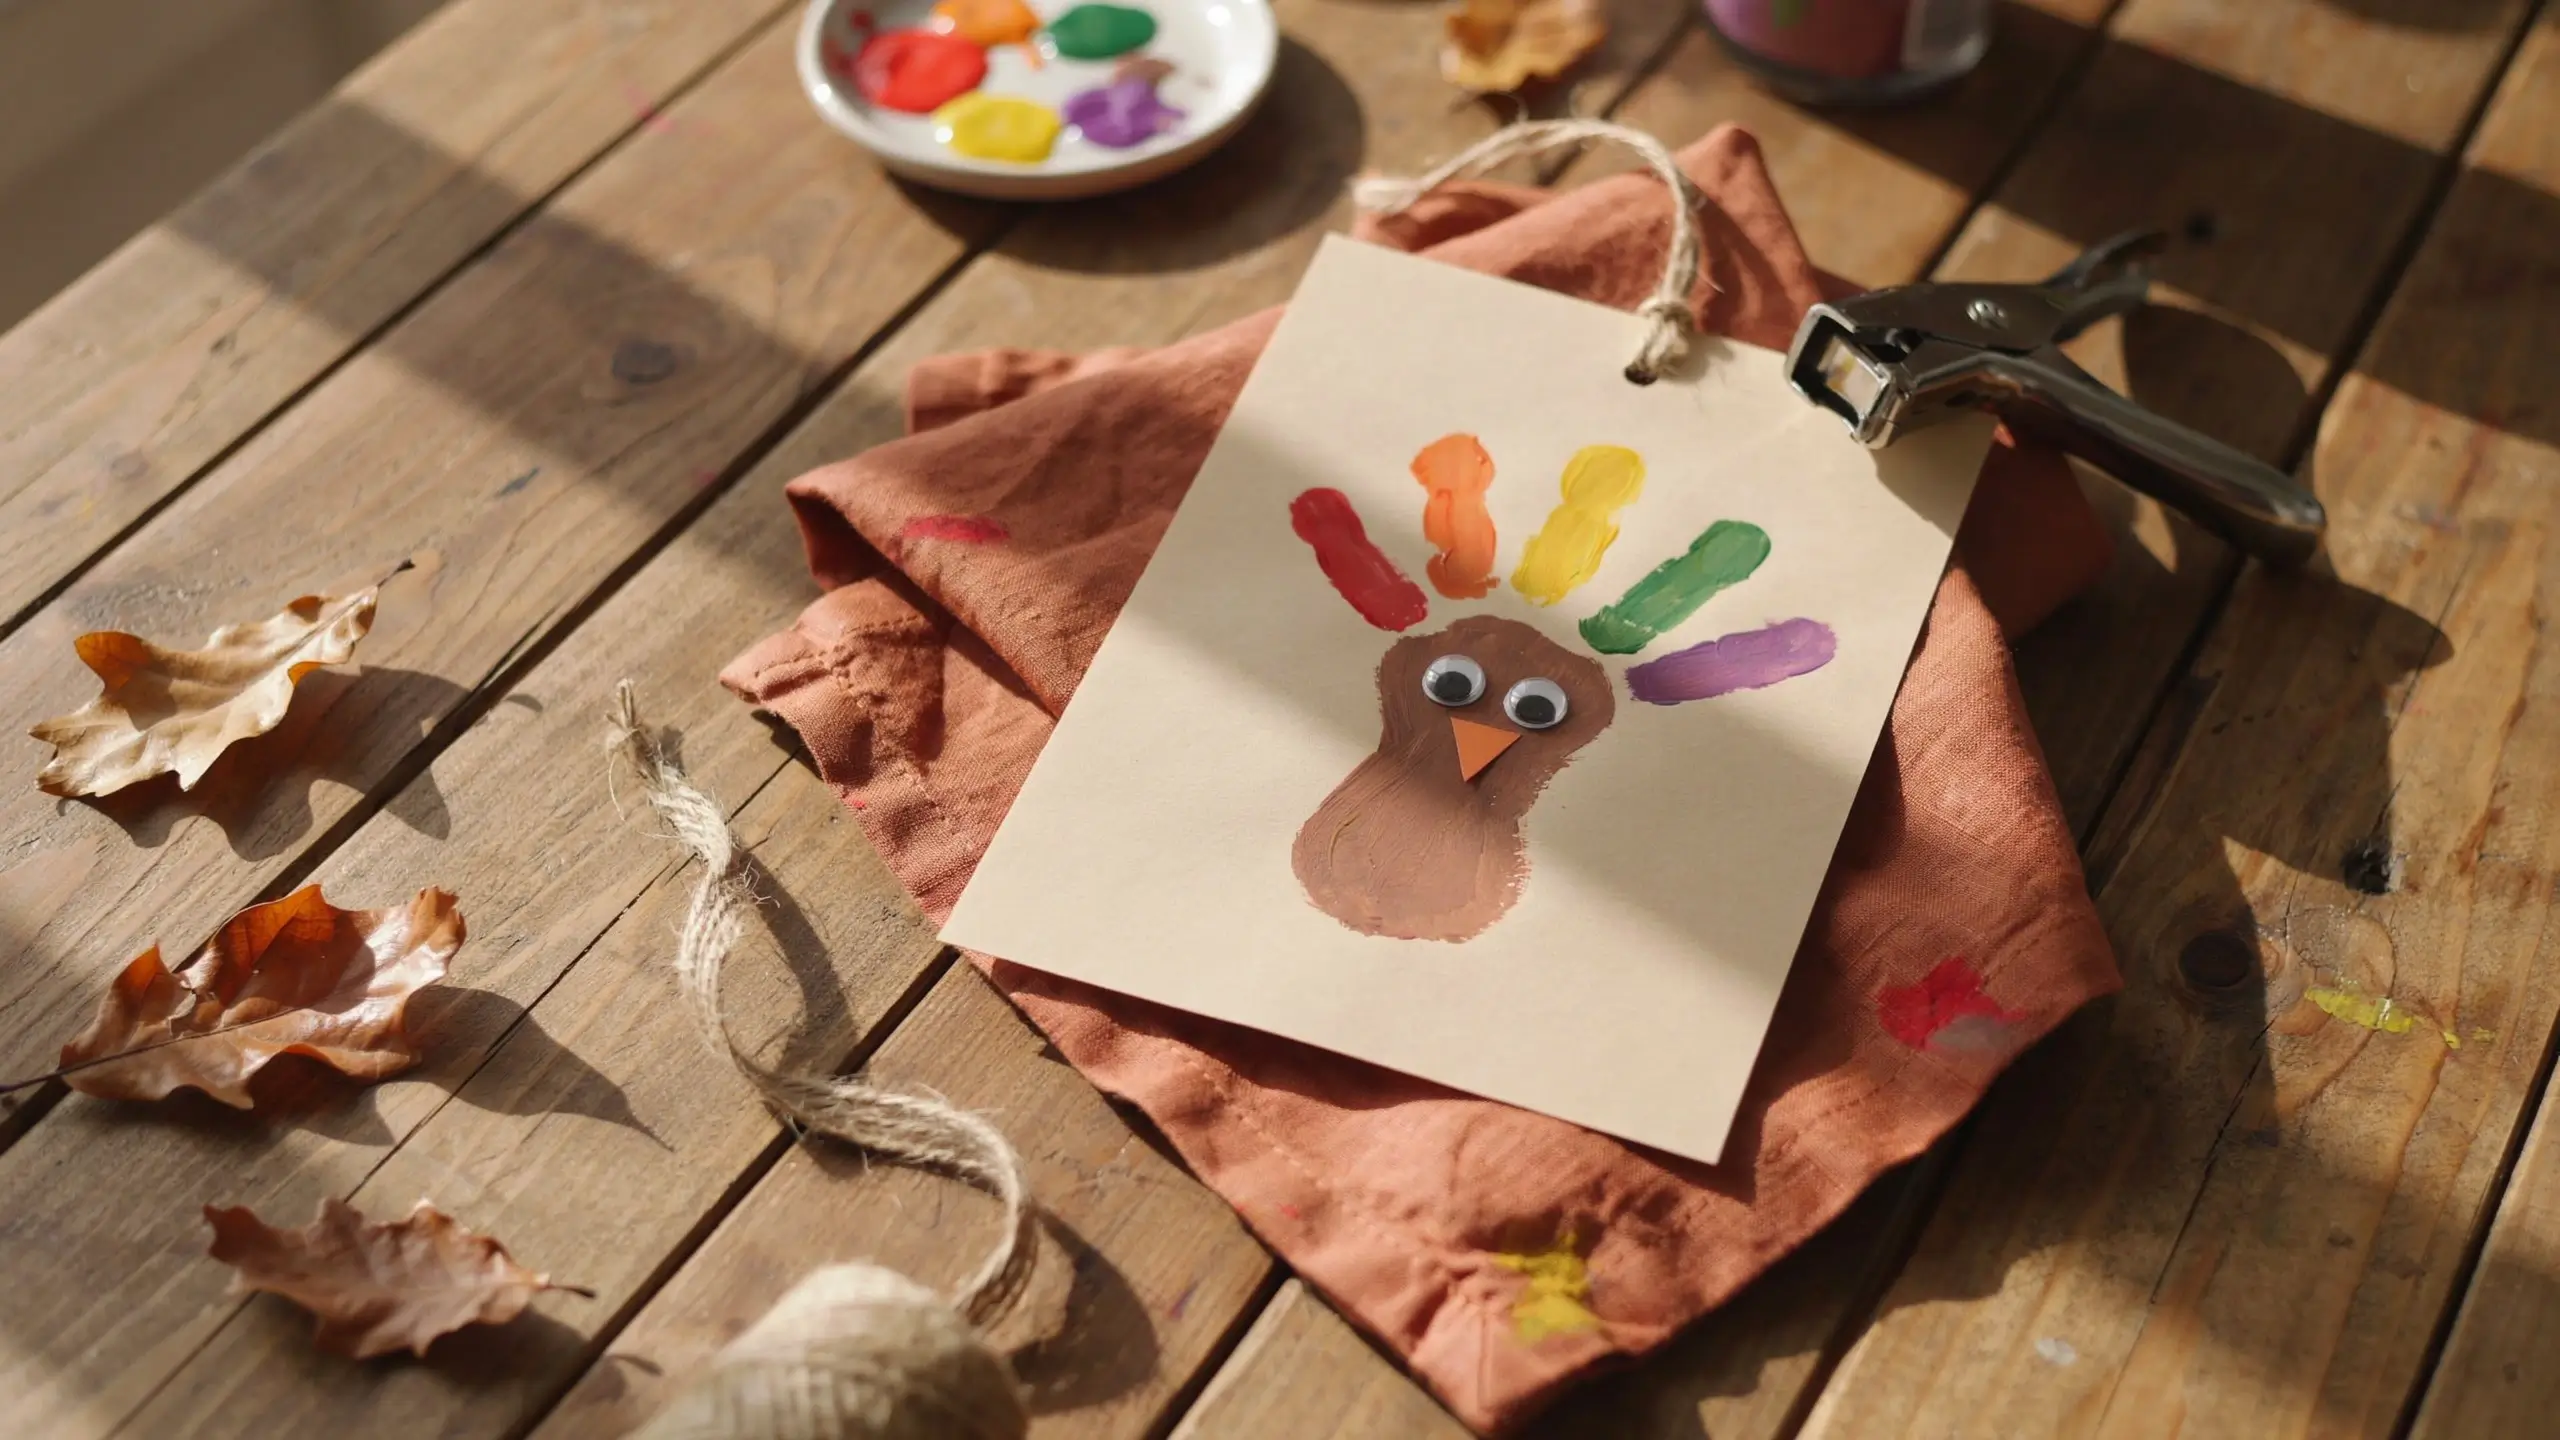
Similar to the handprint turkey but made with a foot instead, which kids find surprisingly funny to do.
| Materials | brown and fall colored paint, cardstock, hole punch and ribbon if turning it into an ornament |
| How to make it | Paint the sole of your child’s foot brown and press onto cardstock, with the toes becoming the tail feathers once colored in. Add eyes and a beak, then punch a hole and thread ribbon through if you want it to hang. |
| Age note | Best for ages two and up, with an adult holding balance for younger toddlers. |
| Mess level | High. Do this one over a towel, not the carpet. |
| Tip | Laminate it or cover it in clear contact paper so it can be reused as a yearly ornament instead of a one time craft. |
Table Decor Crafts Kids Can Help Make
These double as decorations for the actual Thanksgiving table, so the kids get to see their work in use during dinner.
5. Pinecone Turkey Place Cards
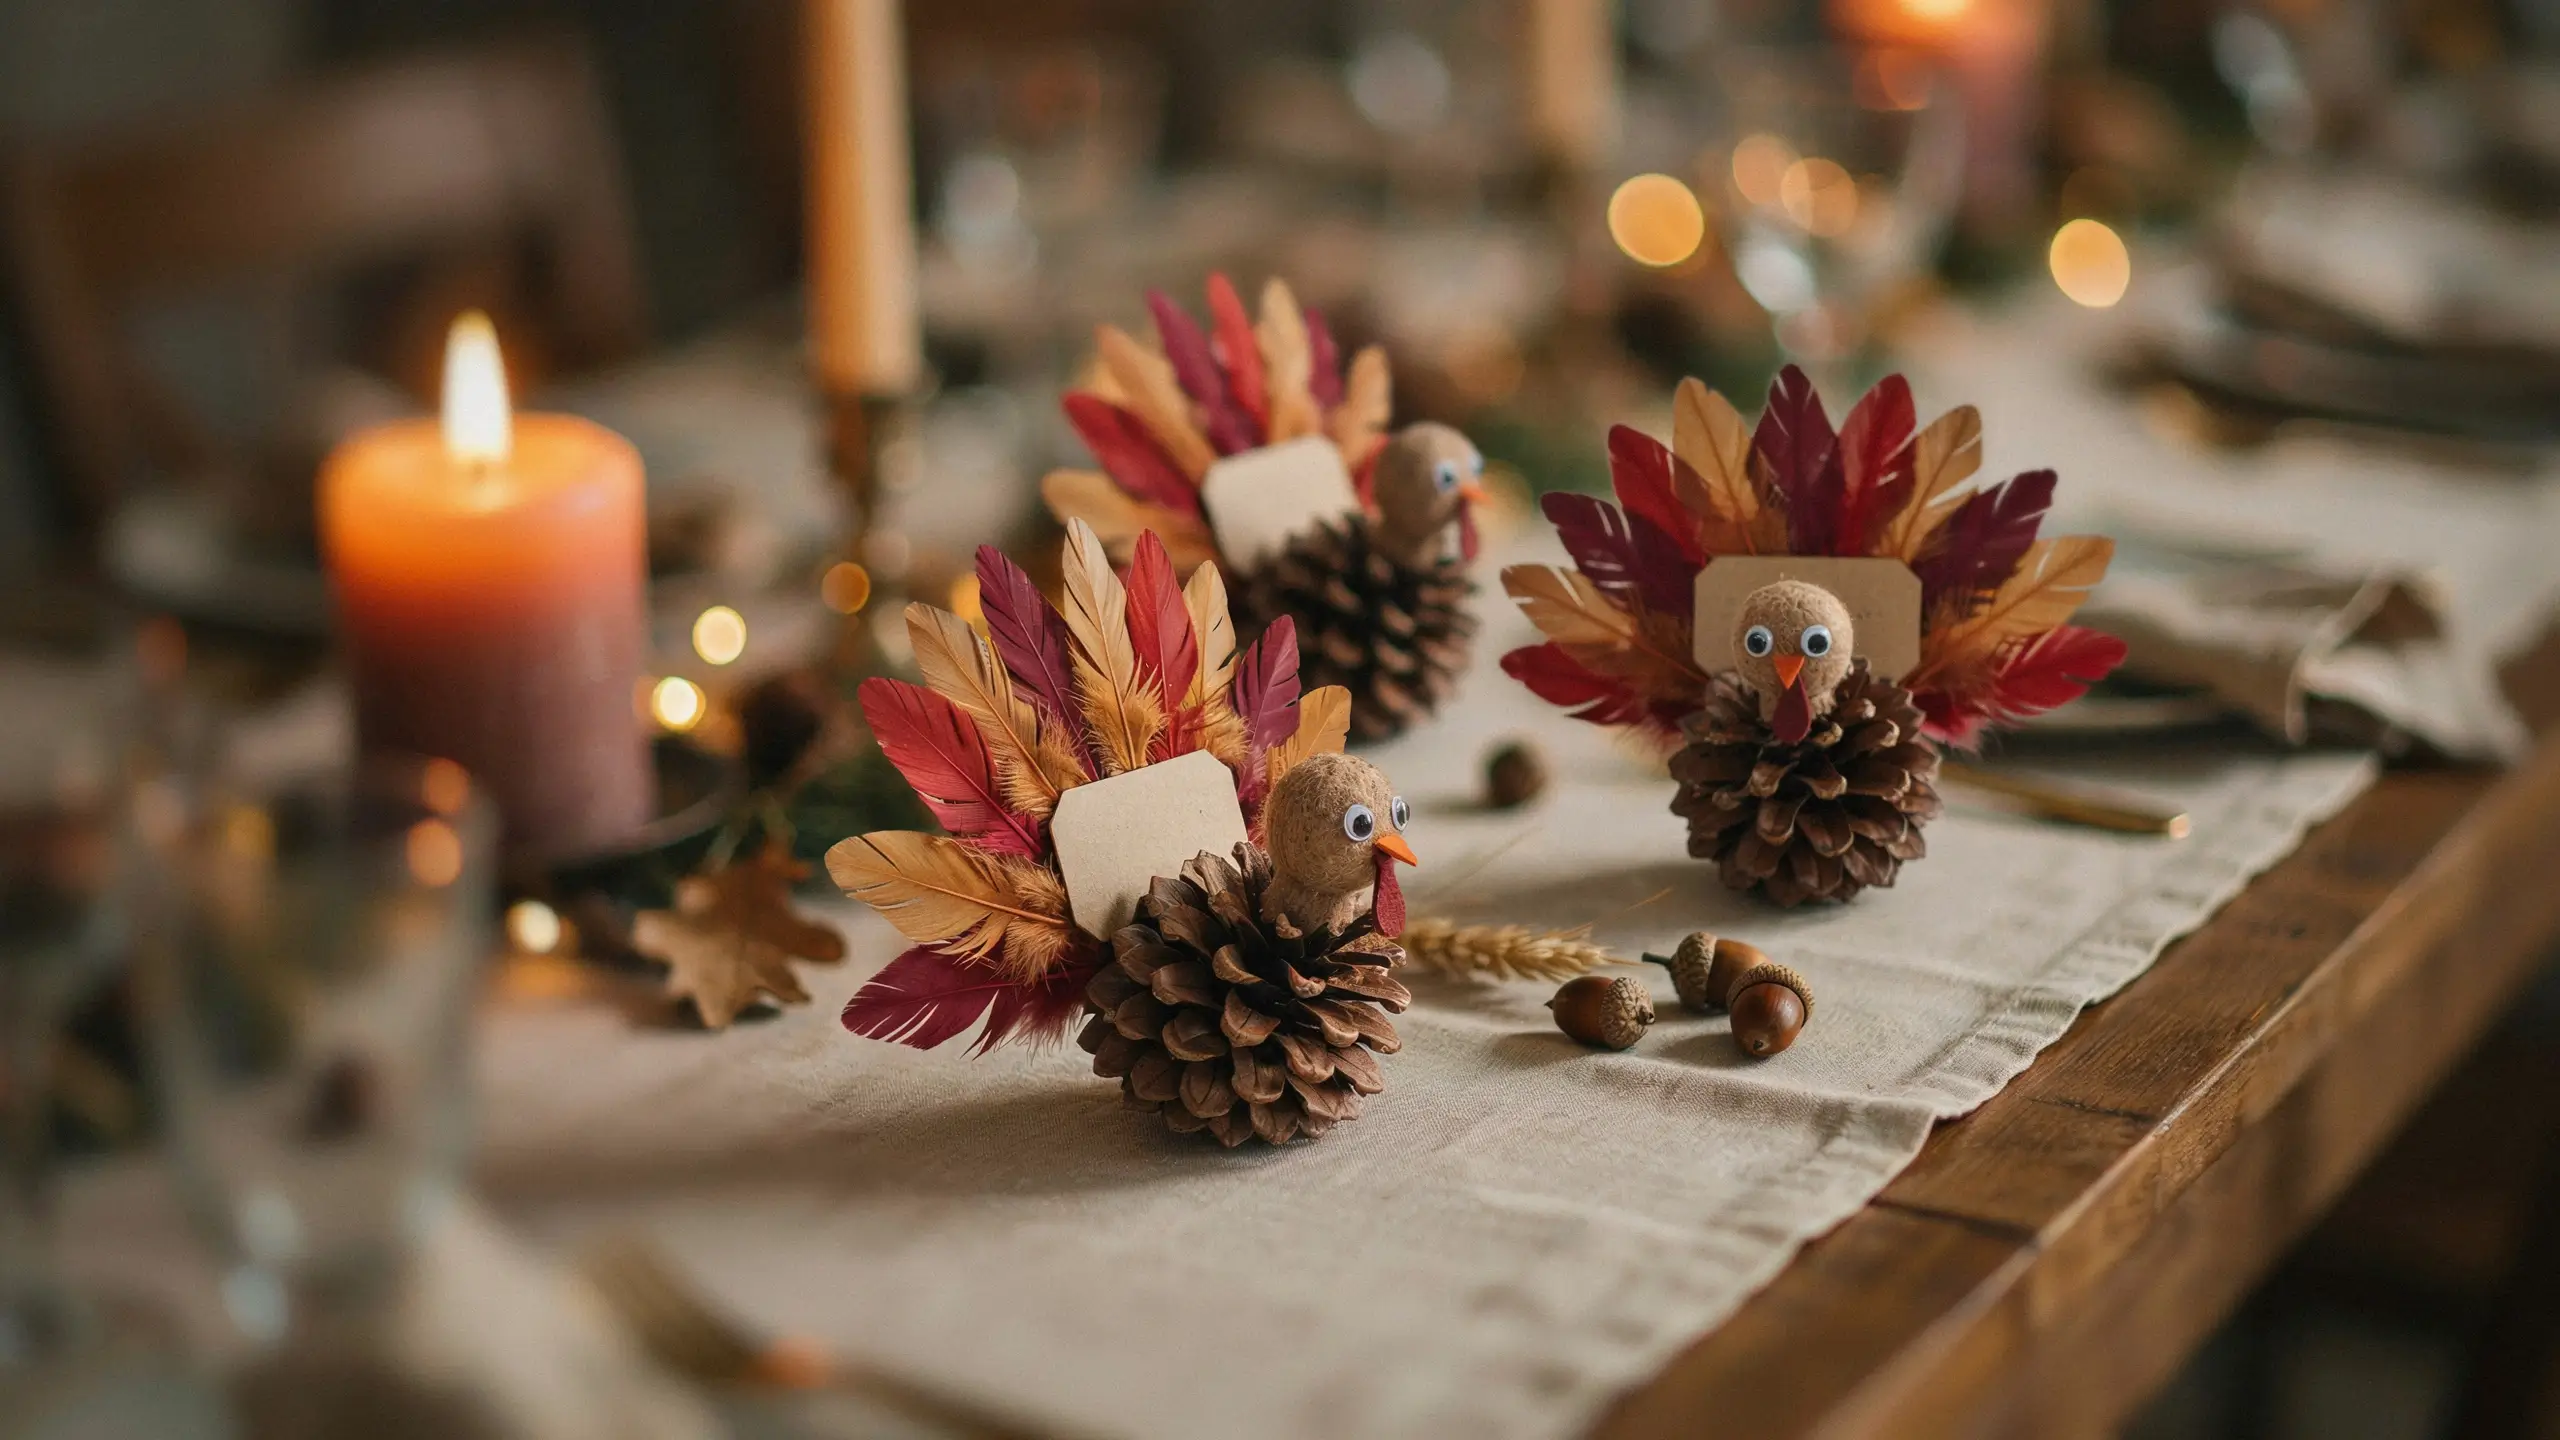
A classic fall nature craft that turns something you can find on a walk into a place card holder for guests.
| Materials | pinecones, craft feathers or construction paper feathers, googly eyes, a small circle of brown felt or paper for the head, glue |
| How to make it | Glue feathers into the back of the pinecone, fanning them out like a tail. Glue a small paper head with googly eyes and a beak to the front. Write a guest’s name on a small tag and tuck it into the feathers. |
| Age note | Ages four and up, since hot glue is often used for the feathers. Use a glue gun yourself if kids are young, or switch to a strong craft glue and let it dry overnight. |
| Mess level | Low. |
| Tip | Send the kids outside to collect the pinecones first. It stretches the activity and gets everyone out of the kitchen for a bit. |
6. Painted Rock Turkeys
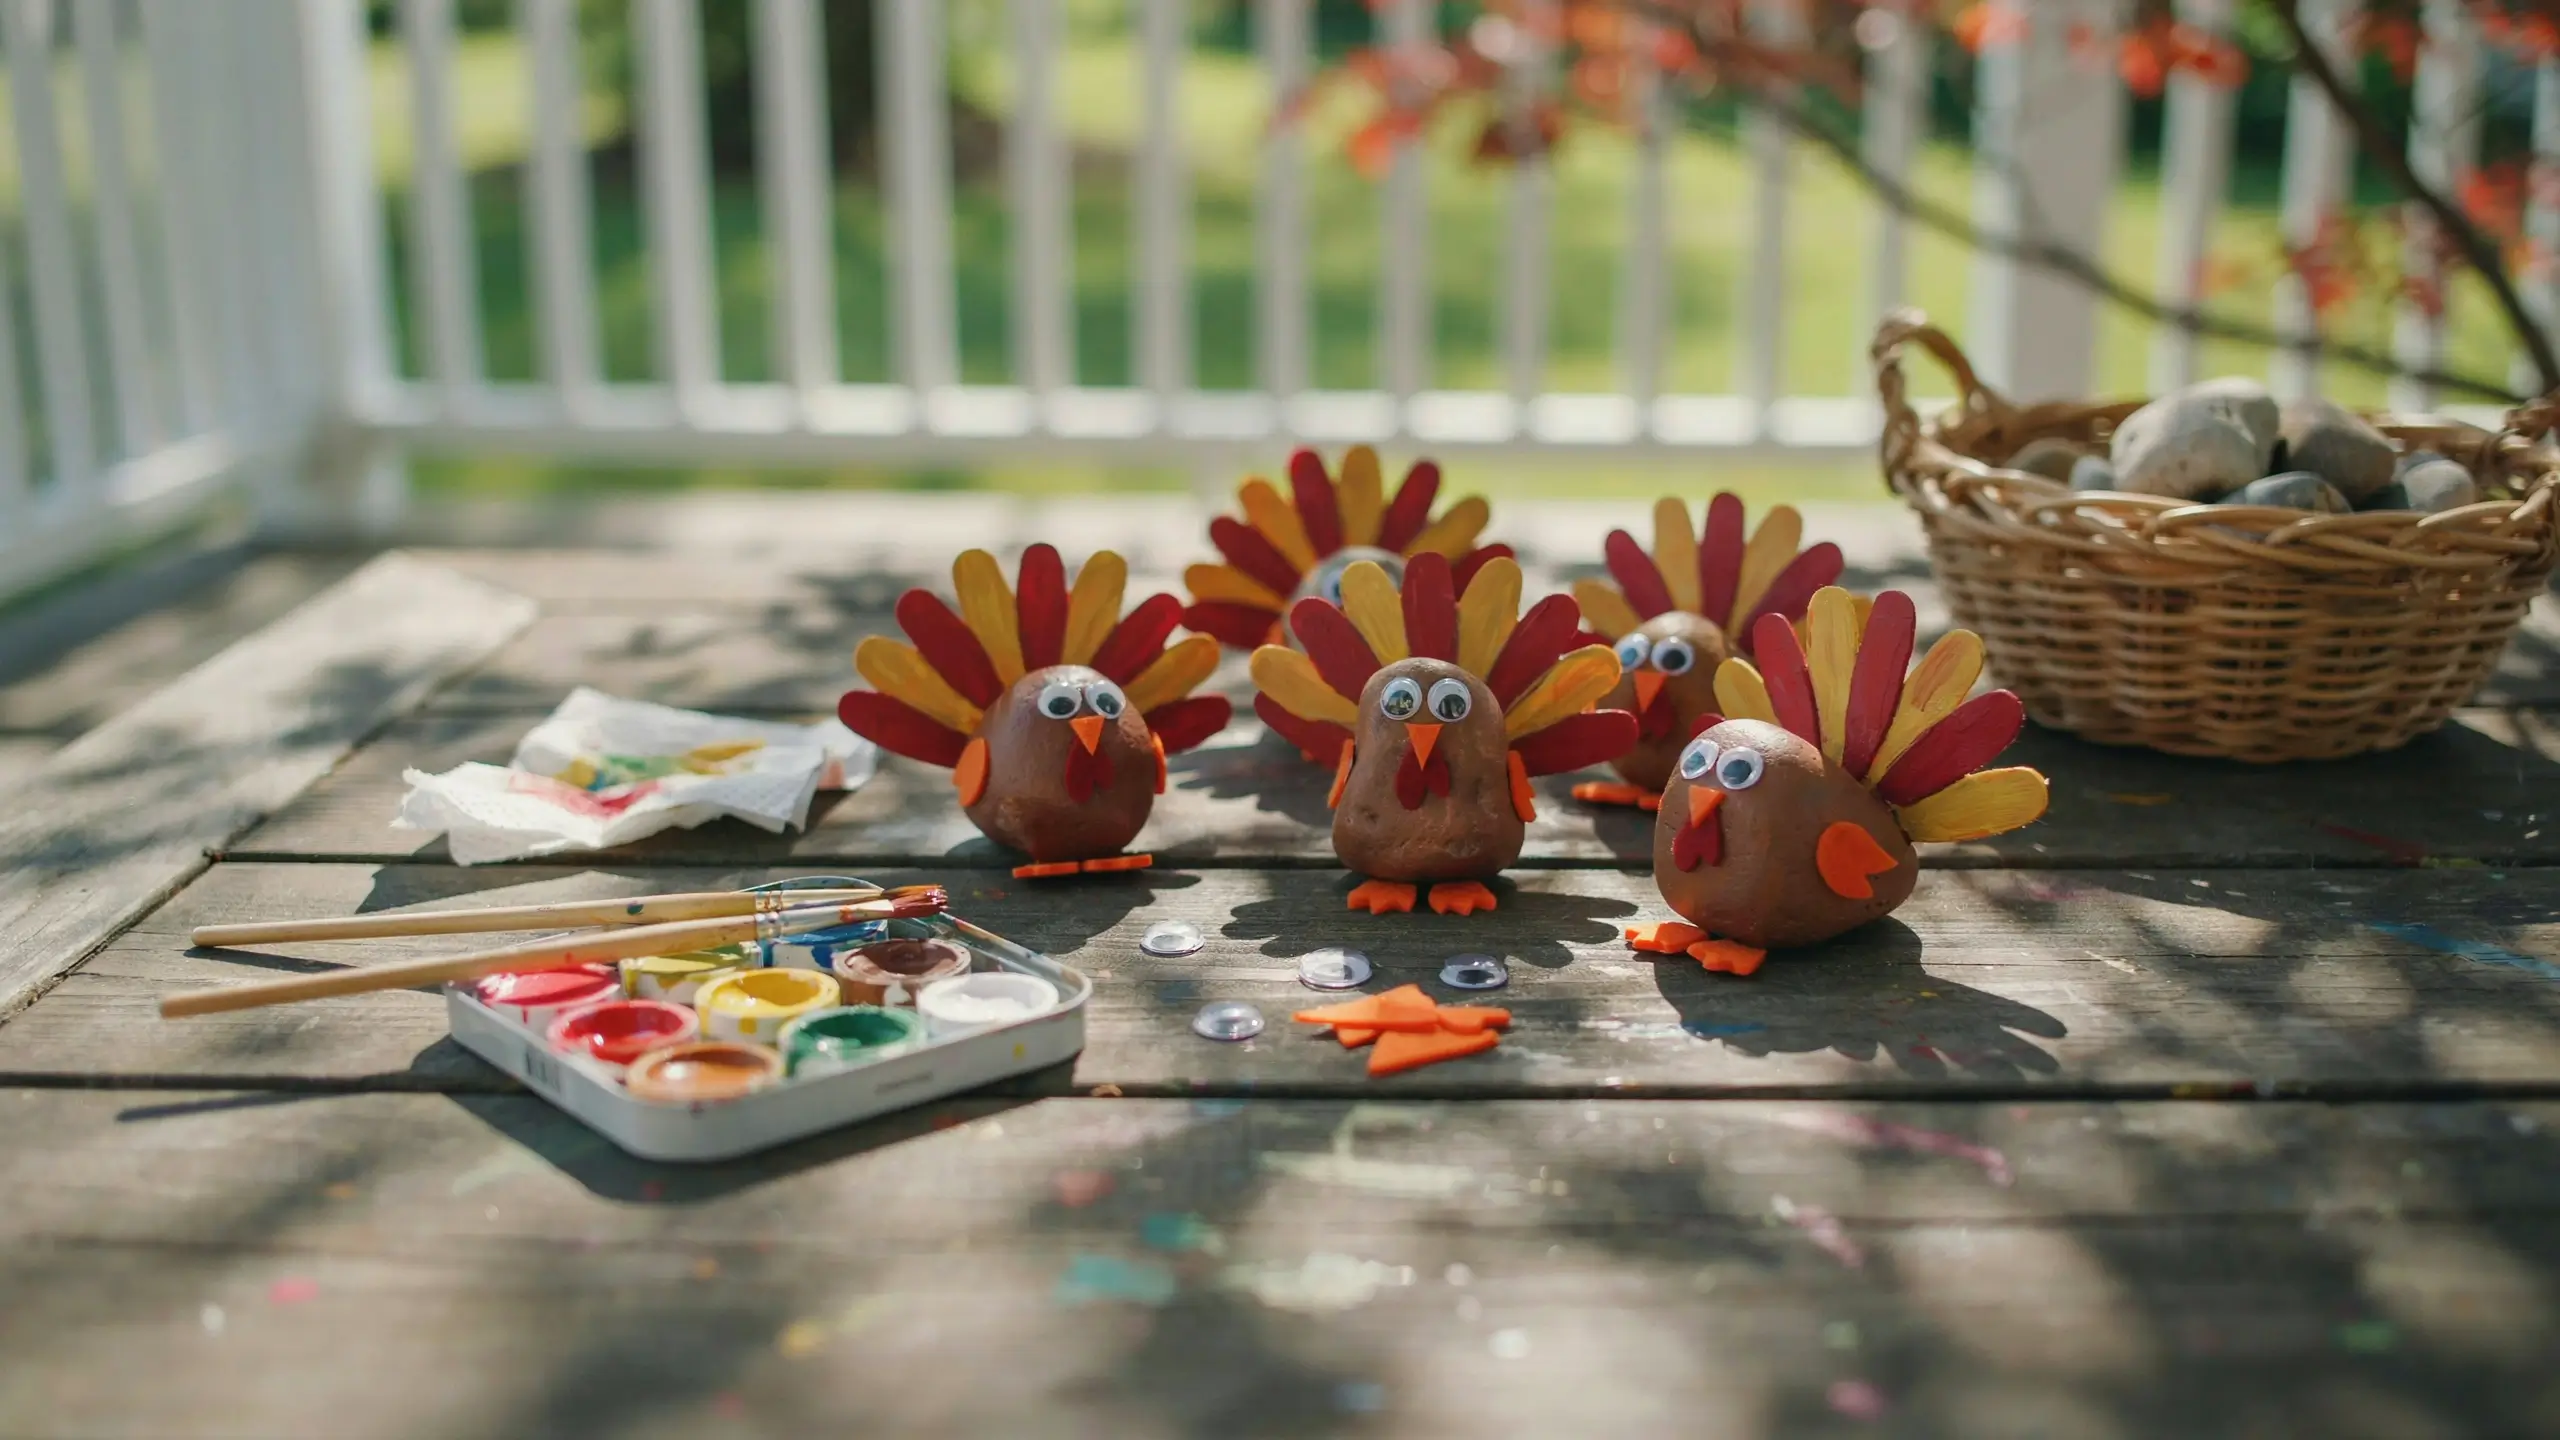
If you don’t have pinecones handy, smooth rocks work just as well and give a nice weighty feel as a table decoration or paperweight gift.
| Materials | smooth rocks, acrylic paint, small paintbrushes, googly eyes, glue |
| How to make it | Paint the rock brown as a base and let dry. Paint on tail feathers in fan shapes using red, orange, and yellow. Glue on googly eyes and a small orange beak once the paint is fully dry. |
| Age note | Ages five and up work best here since acrylic paint on rocks takes a steadier hand than paper crafts. |
| Mess level | Moderate, acrylic paint stains more than washable paint. |
| Tip | Seal with a matte spray sealant if these will live outside on a porch table. |
7. Popsicle Stick Corn on the Cob
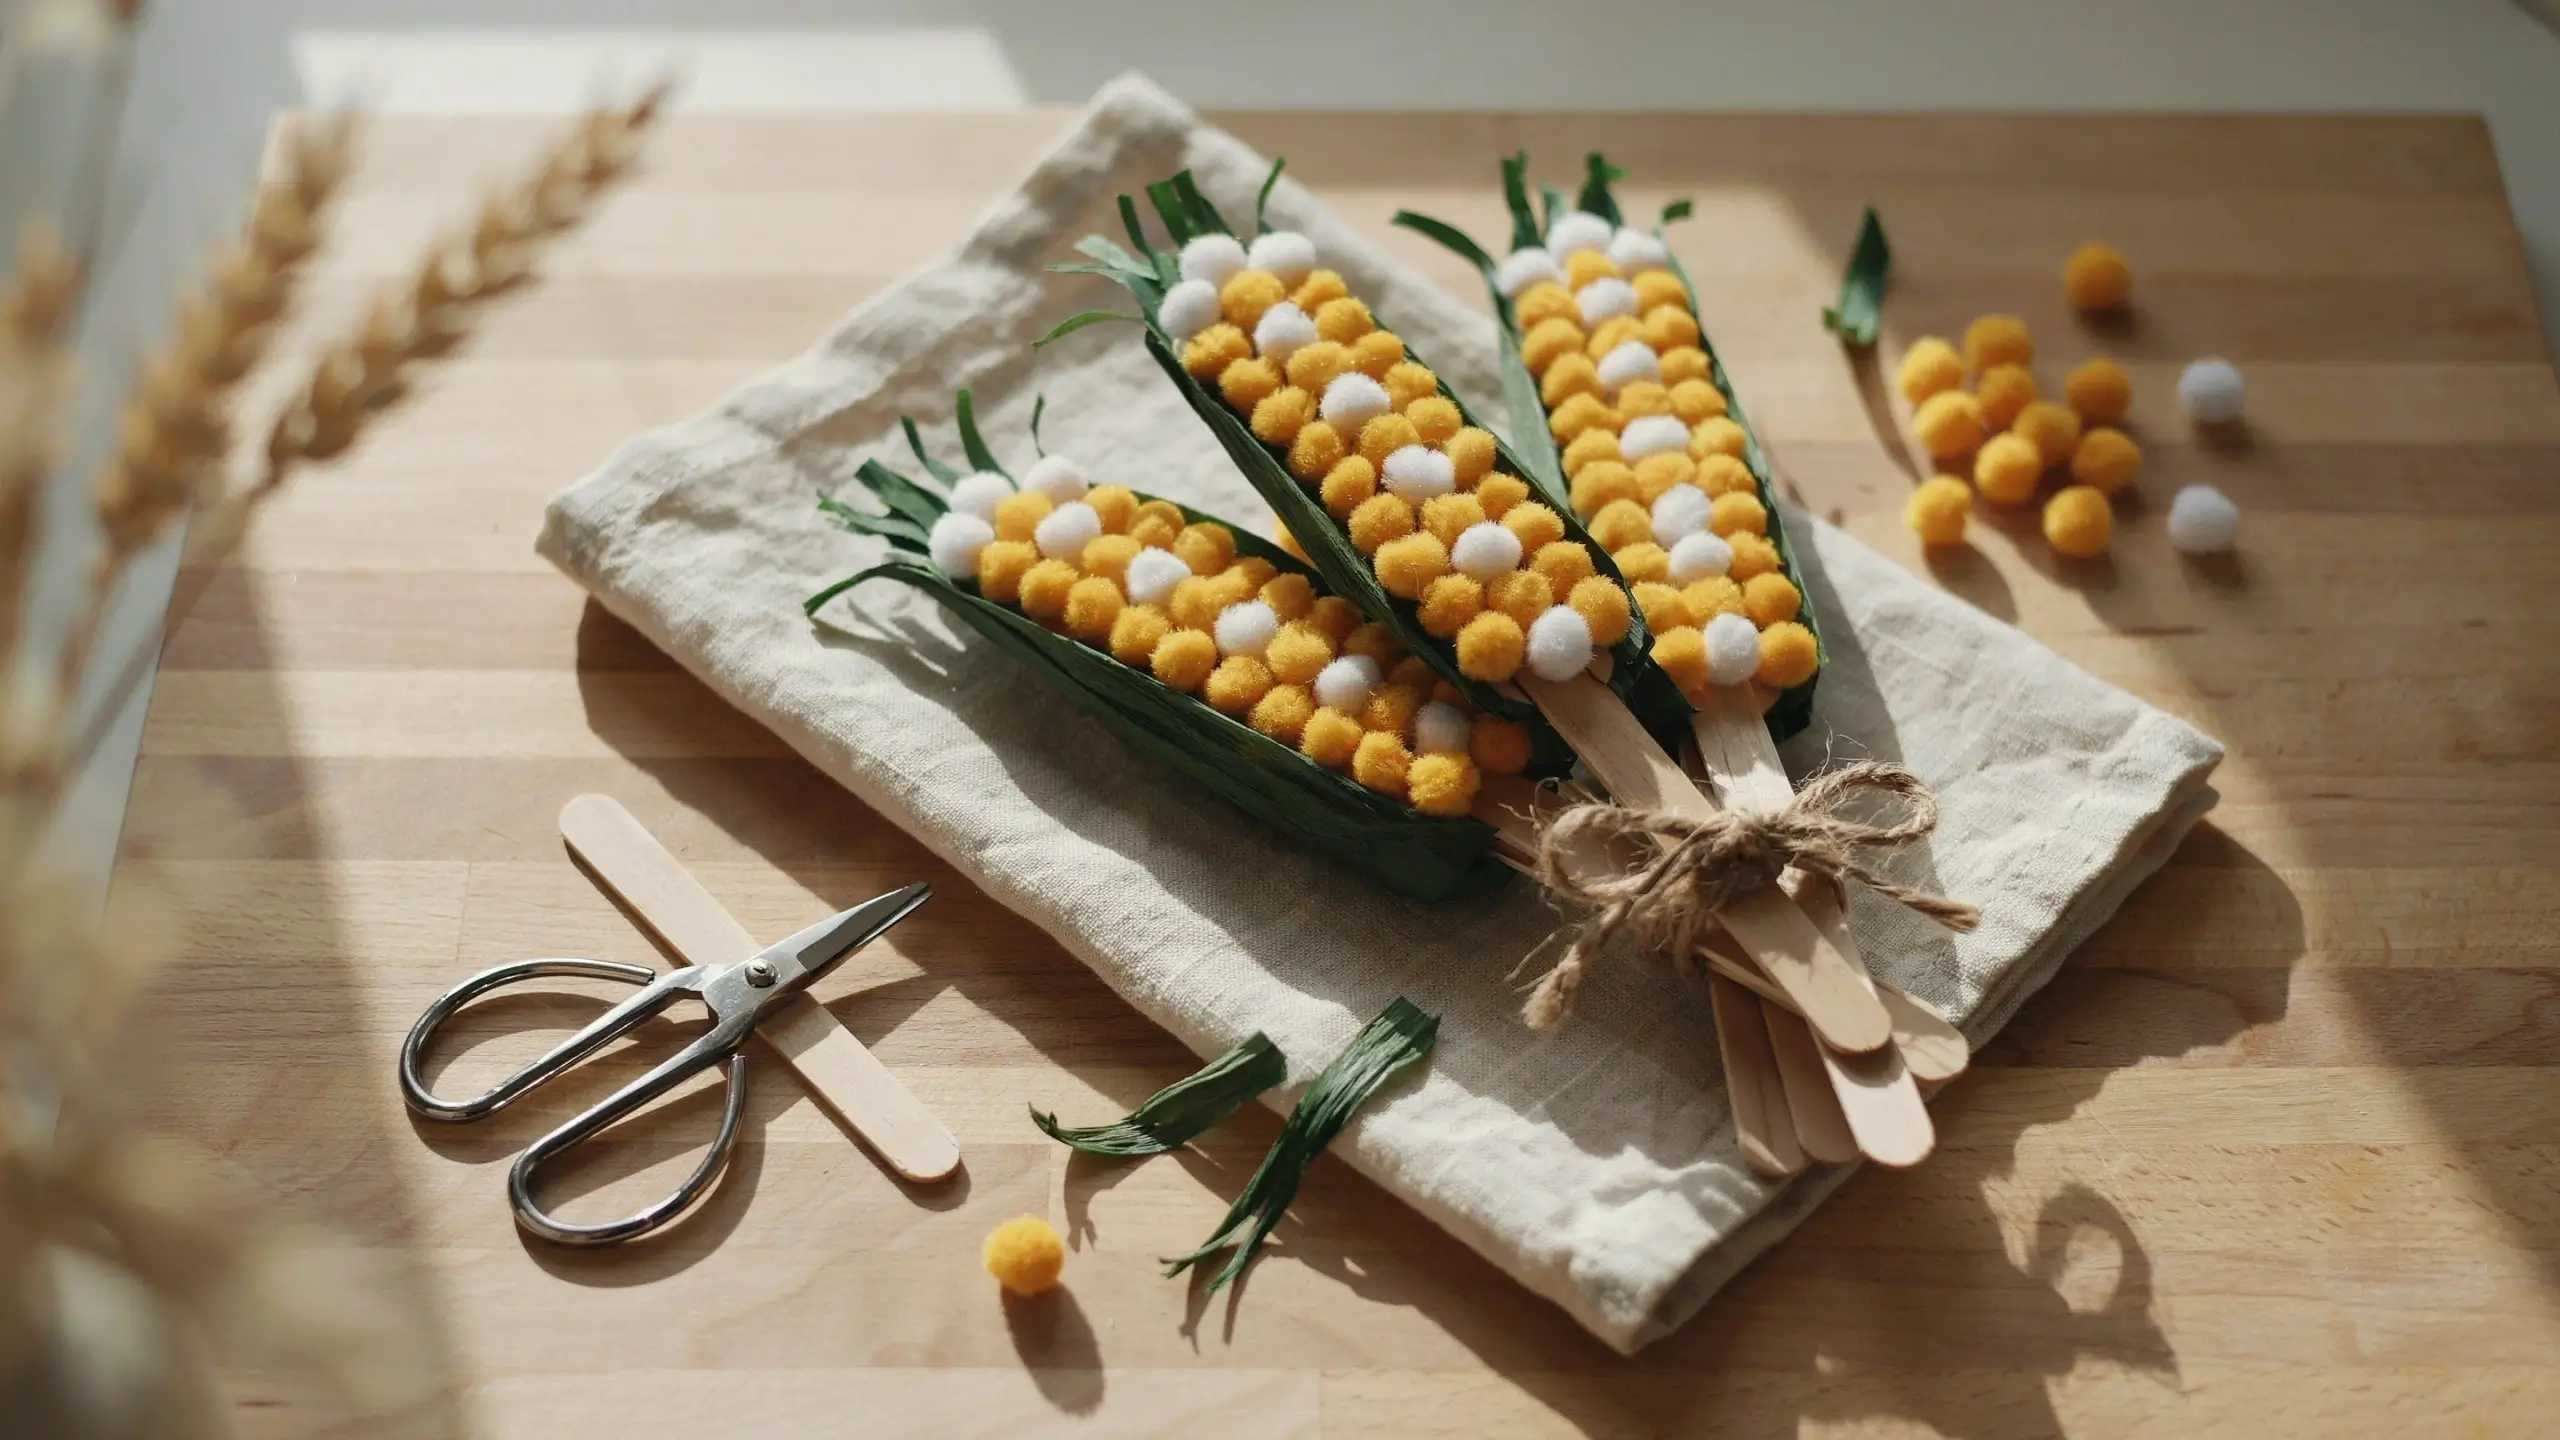
A simple, low prep craft that makes a cute addition to a table runner or centerpiece.
| Materials | popsicle sticks, yellow and white pom poms or dyed dried beans, green construction paper, glue |
| How to make it | Glue yellow and white pom poms or beans onto a popsicle stick in rows to look like corn kernels. Wrap a strip of green paper around the base to look like a husk. |
| Age note | Ages three and up, good for smaller hands since there’s no cutting required. |
| Mess level | Low. |
| Tip | Make a few extra and tie them together with twine for a rustic napkin bundle at each place setting. |
8. Thanksgiving Napkin Rings
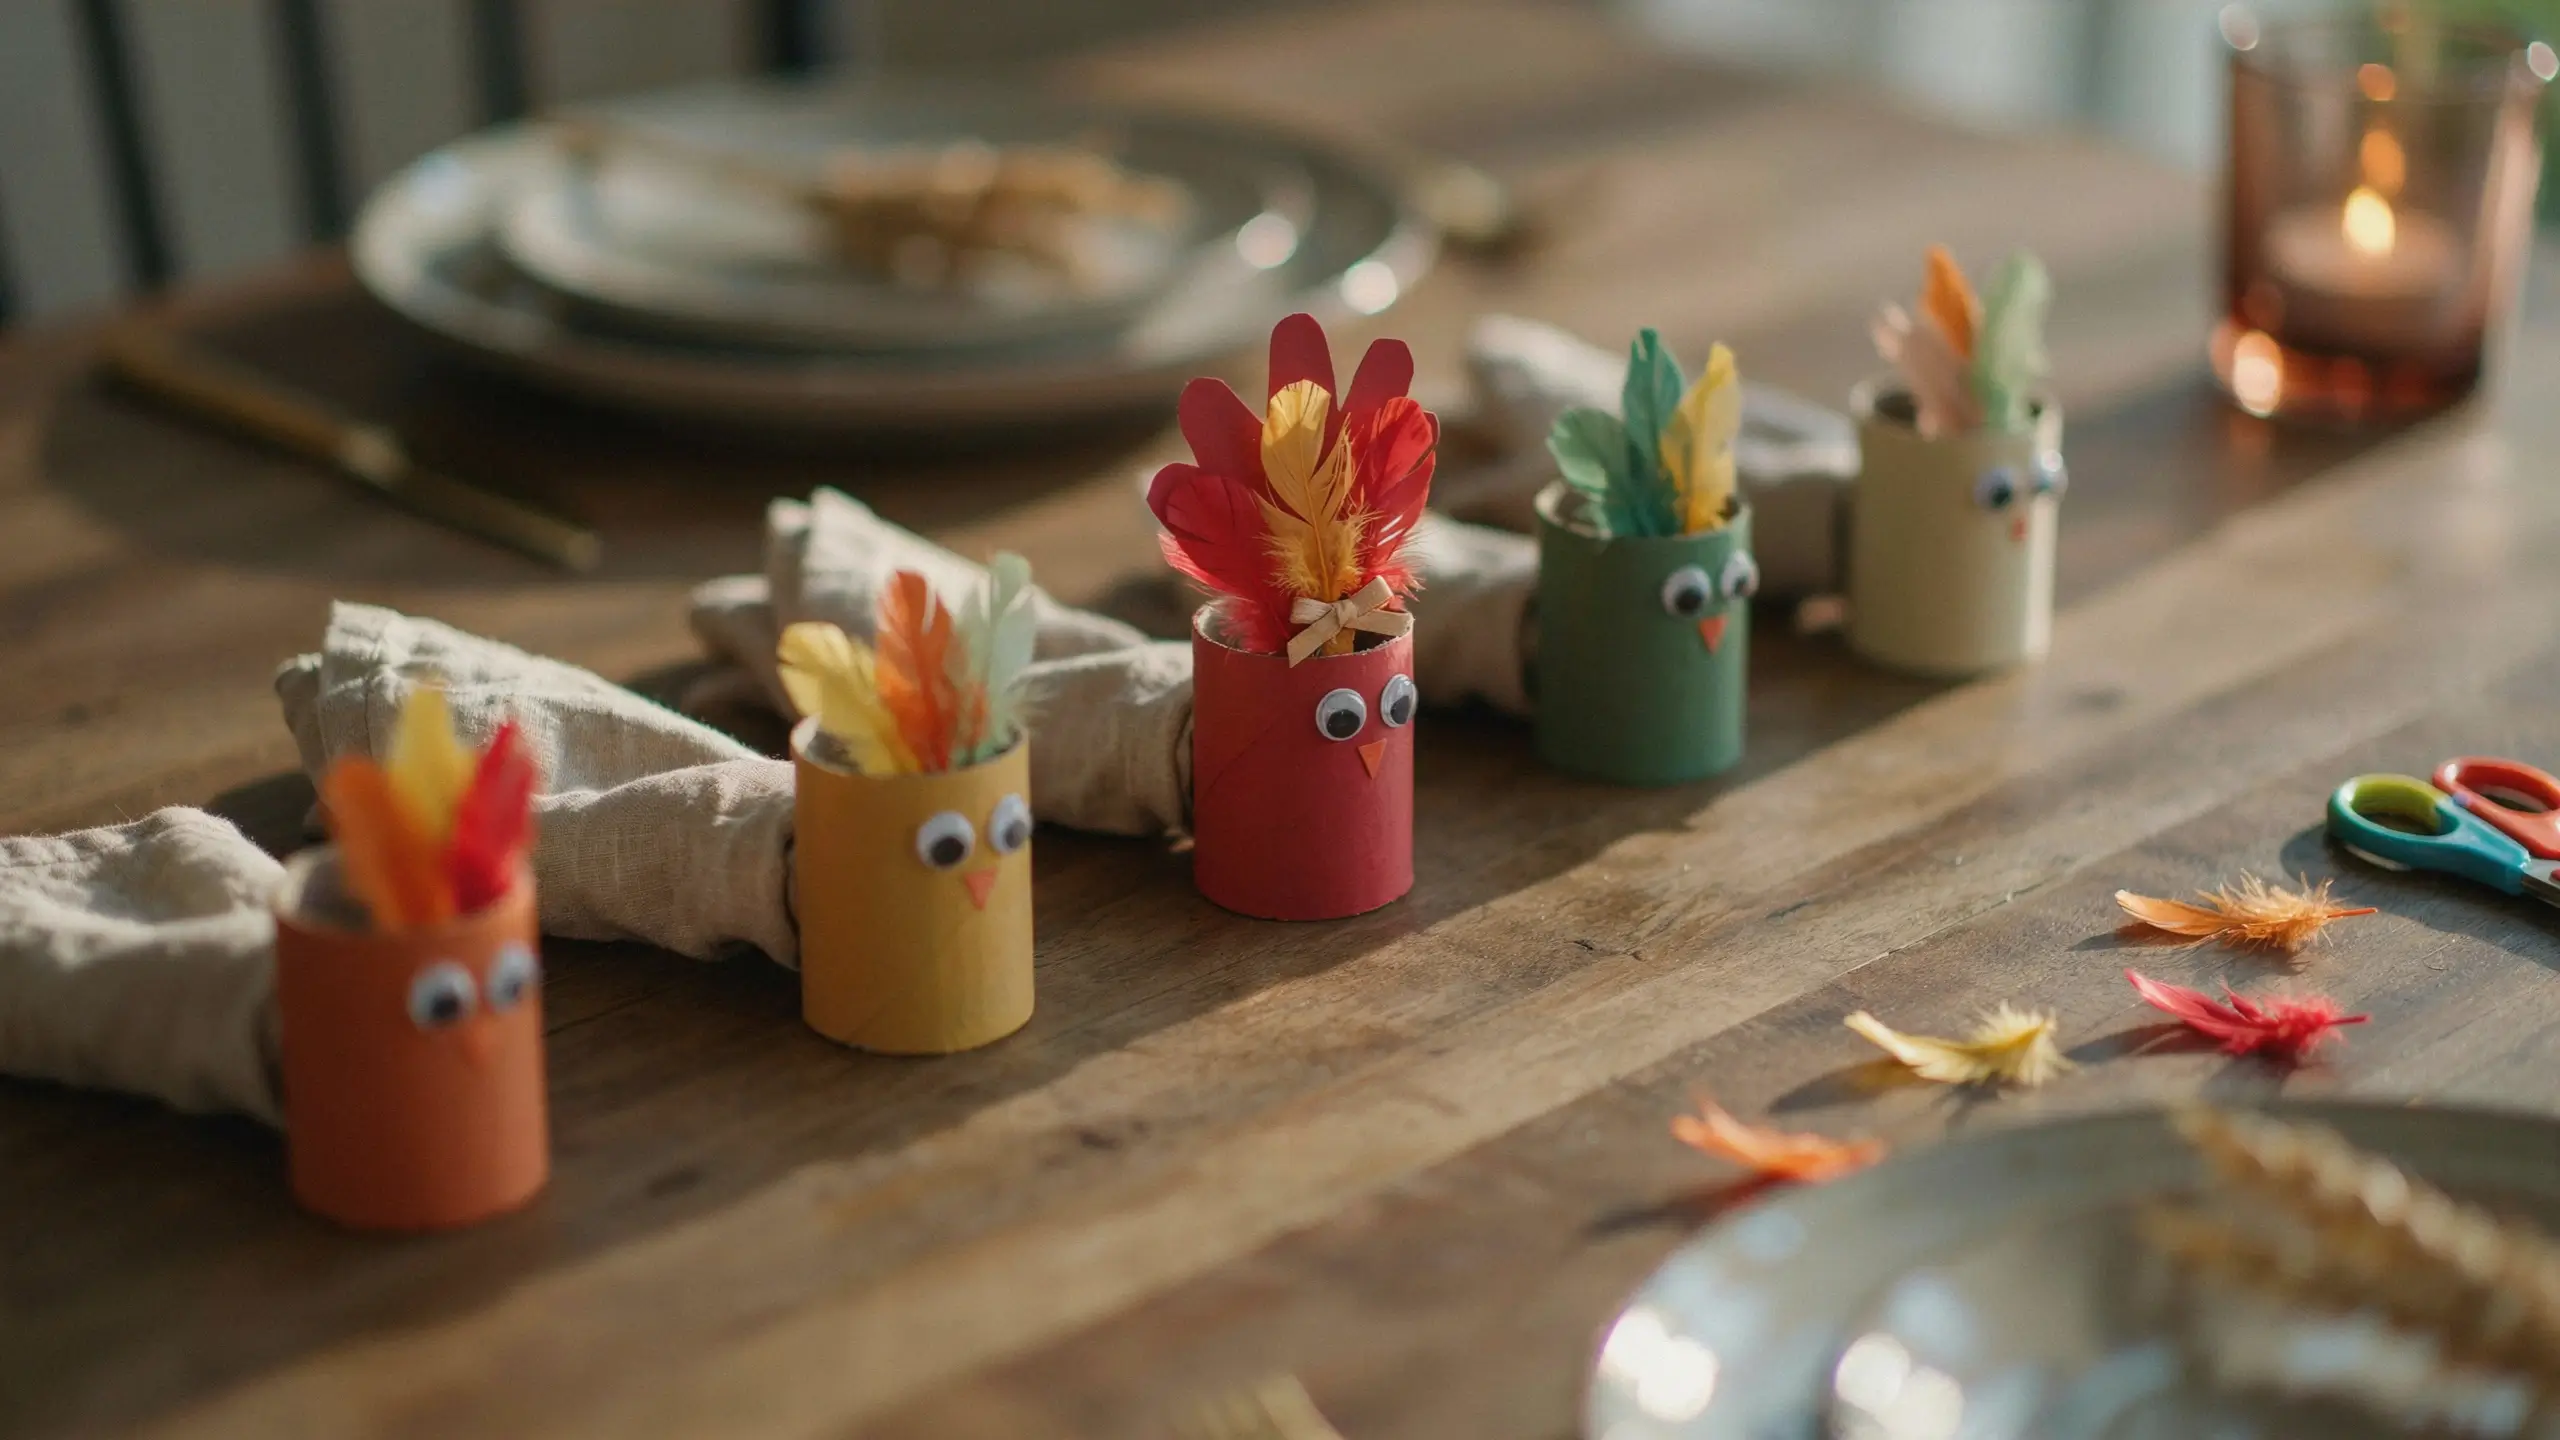
A functional craft that kids genuinely enjoy seeing used at the actual dinner table.
| Materials | empty toilet paper rolls, construction paper, feathers or paper feather cutouts, glue |
| How to make it | Cut a toilet paper roll into rings about one and a half inches wide. Wrap or paint each ring in a fall color, then glue on a few small paper feathers and googly eyes to turn it into a mini turkey napkin holder. |
| Age note | Ages four and up, since cutting the cardboard ring usually needs an adult. |
| Mess level | Low. |
| Tip | Make one per guest and let each child decorate their own ring with a different personality, some silly, some fancy. It becomes a natural conversation starter at the table. |
Gratitude Crafts That Bring Some Meaning Into the Day
These slow things down a little and give kids a way to think about gratitude that’s more concrete than just being told to say thank you.
9. Thankful Tree
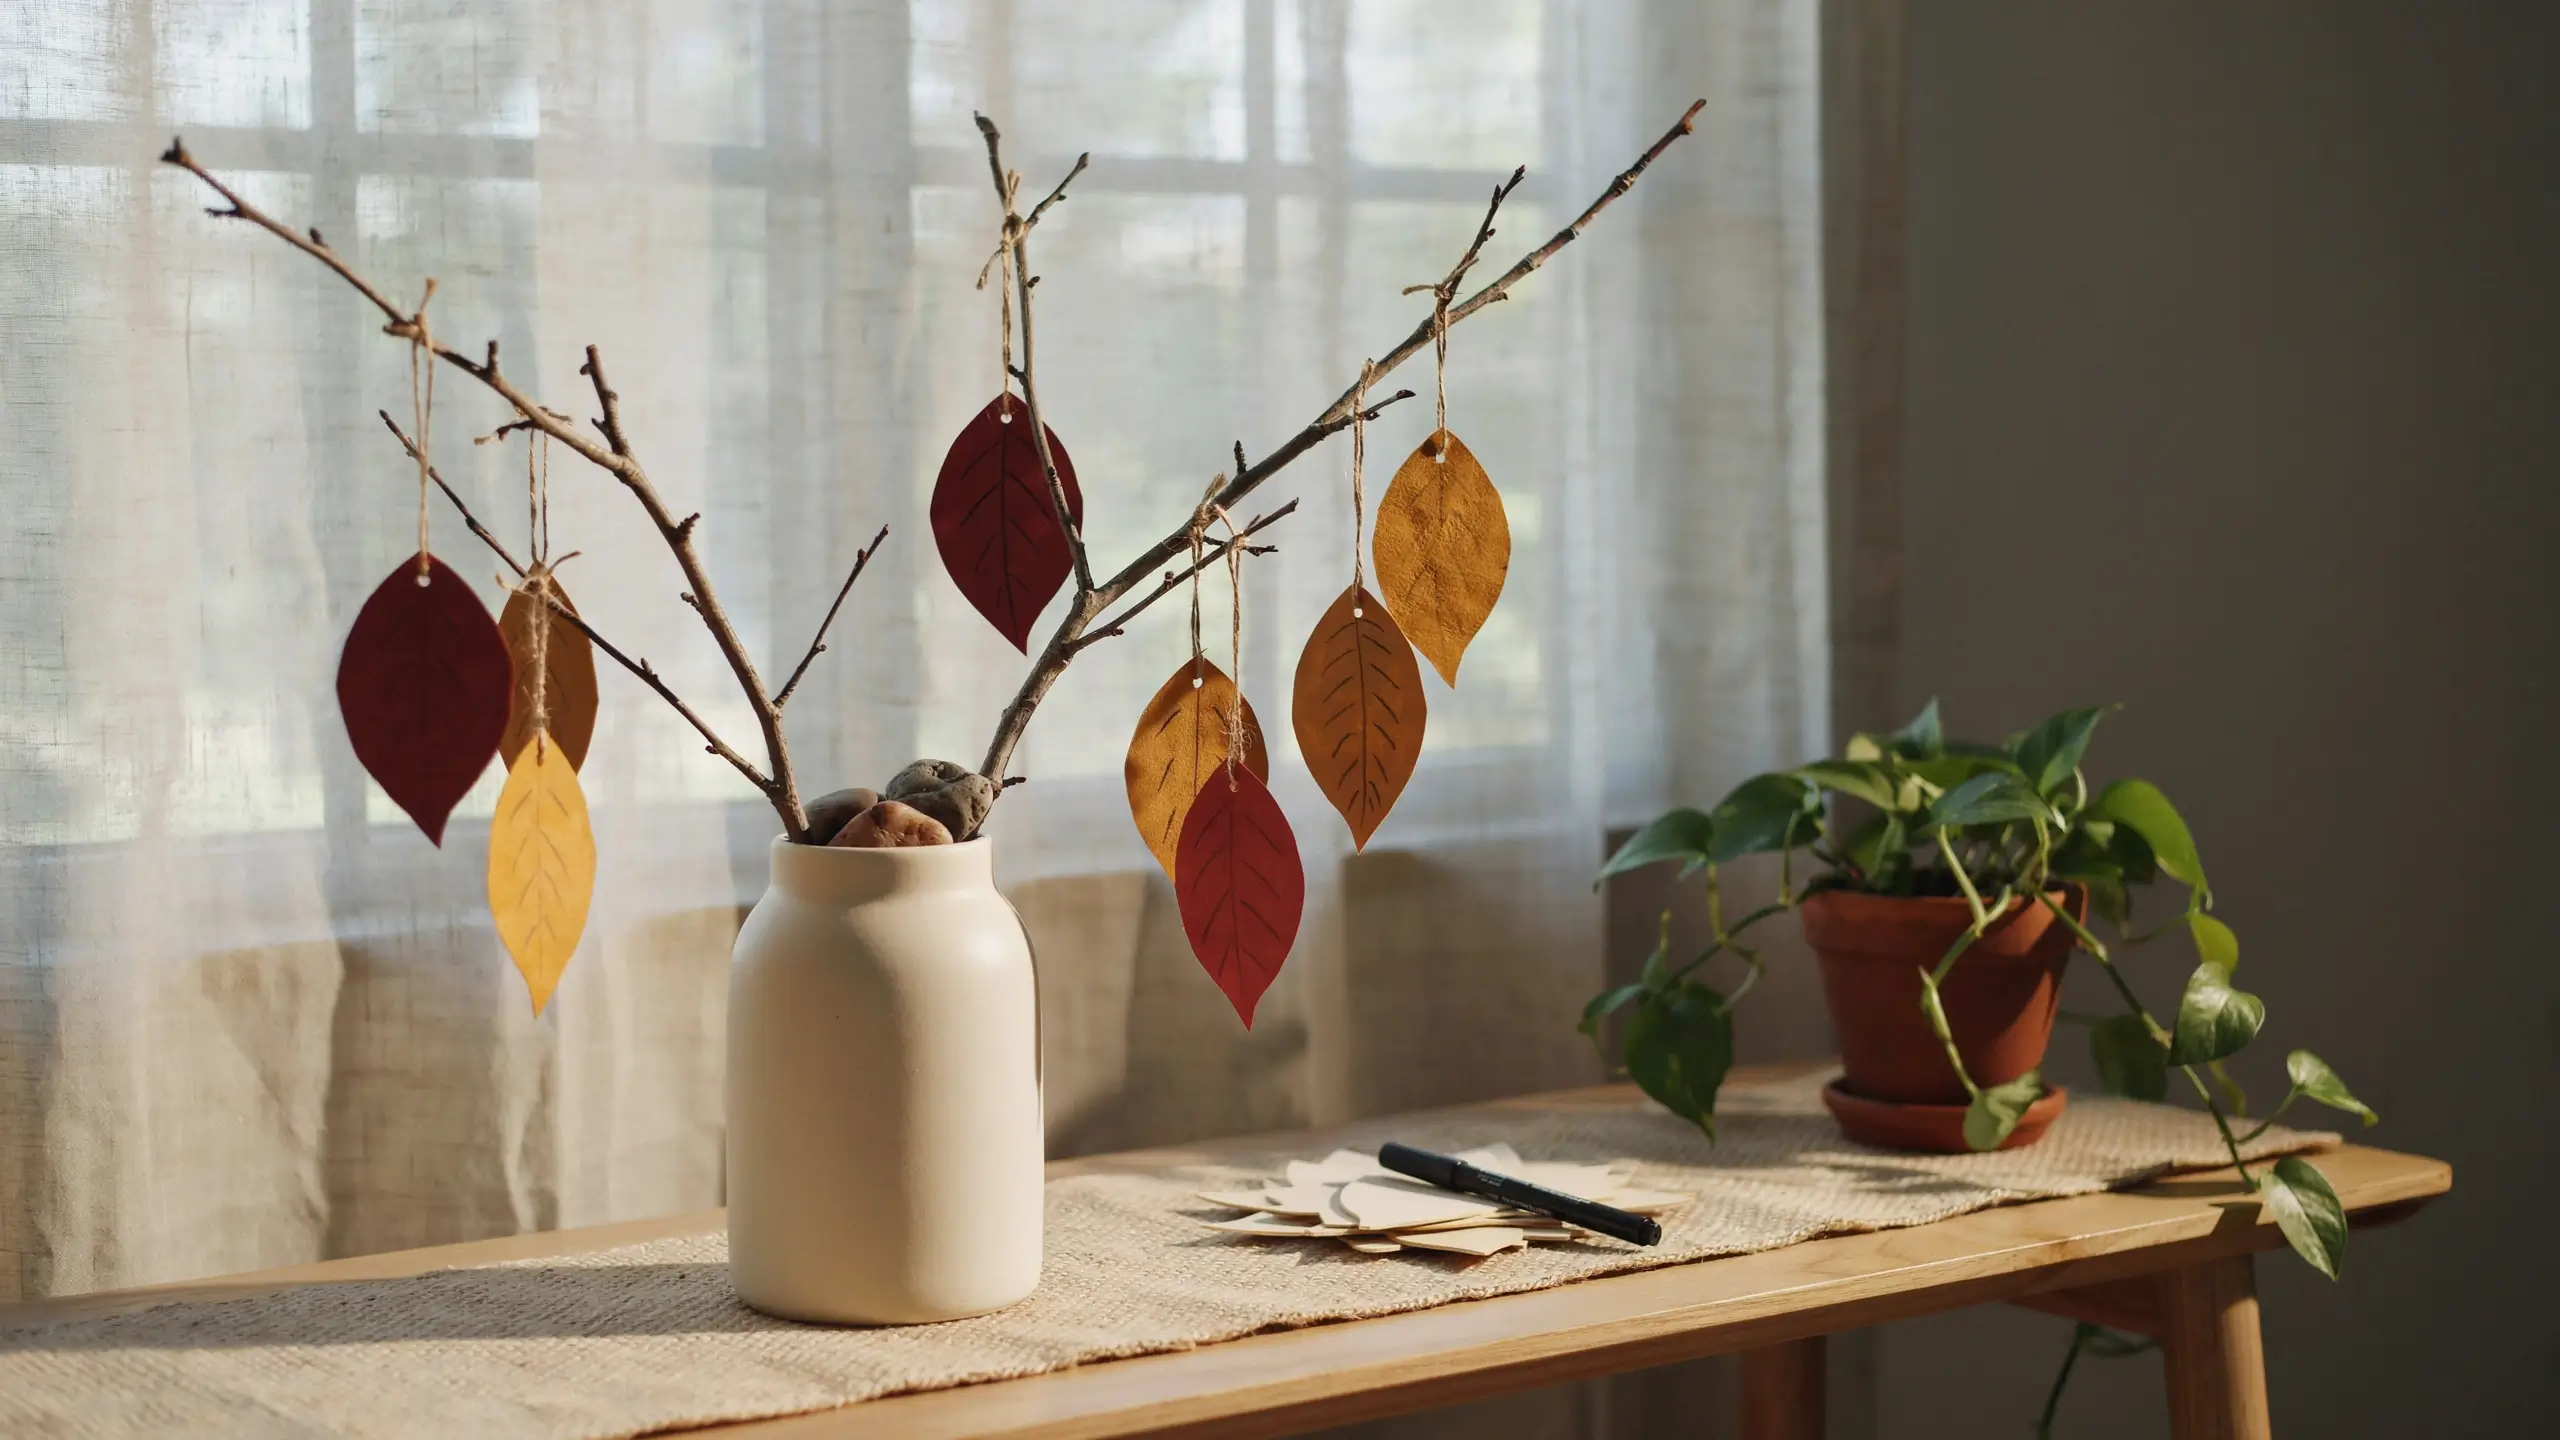
A branch turned into a small tree that fills up with paper leaves as the family adds what they’re grateful for, right up through Thanksgiving Day.
| Materials | a fallen branch, a vase or pot with rocks or sand to hold it upright, construction paper cut into leaf shapes, string or a hole punch, markers |
| How to make it | Anchor the branch in a vase. Cut leaf shapes from red, orange, and yellow paper ahead of time. Each day leading up to Thanksgiving, have a family member write something they’re thankful for on a leaf and tie or hang it on the branch. |
| Age note | Works for any age. Younger kids can dictate while an adult writes. |
| Mess level | Low. |
| Tip | Go on a walk to find the branch together. It becomes part of the tradition instead of something you just set out. |
10. Gratitude Jar
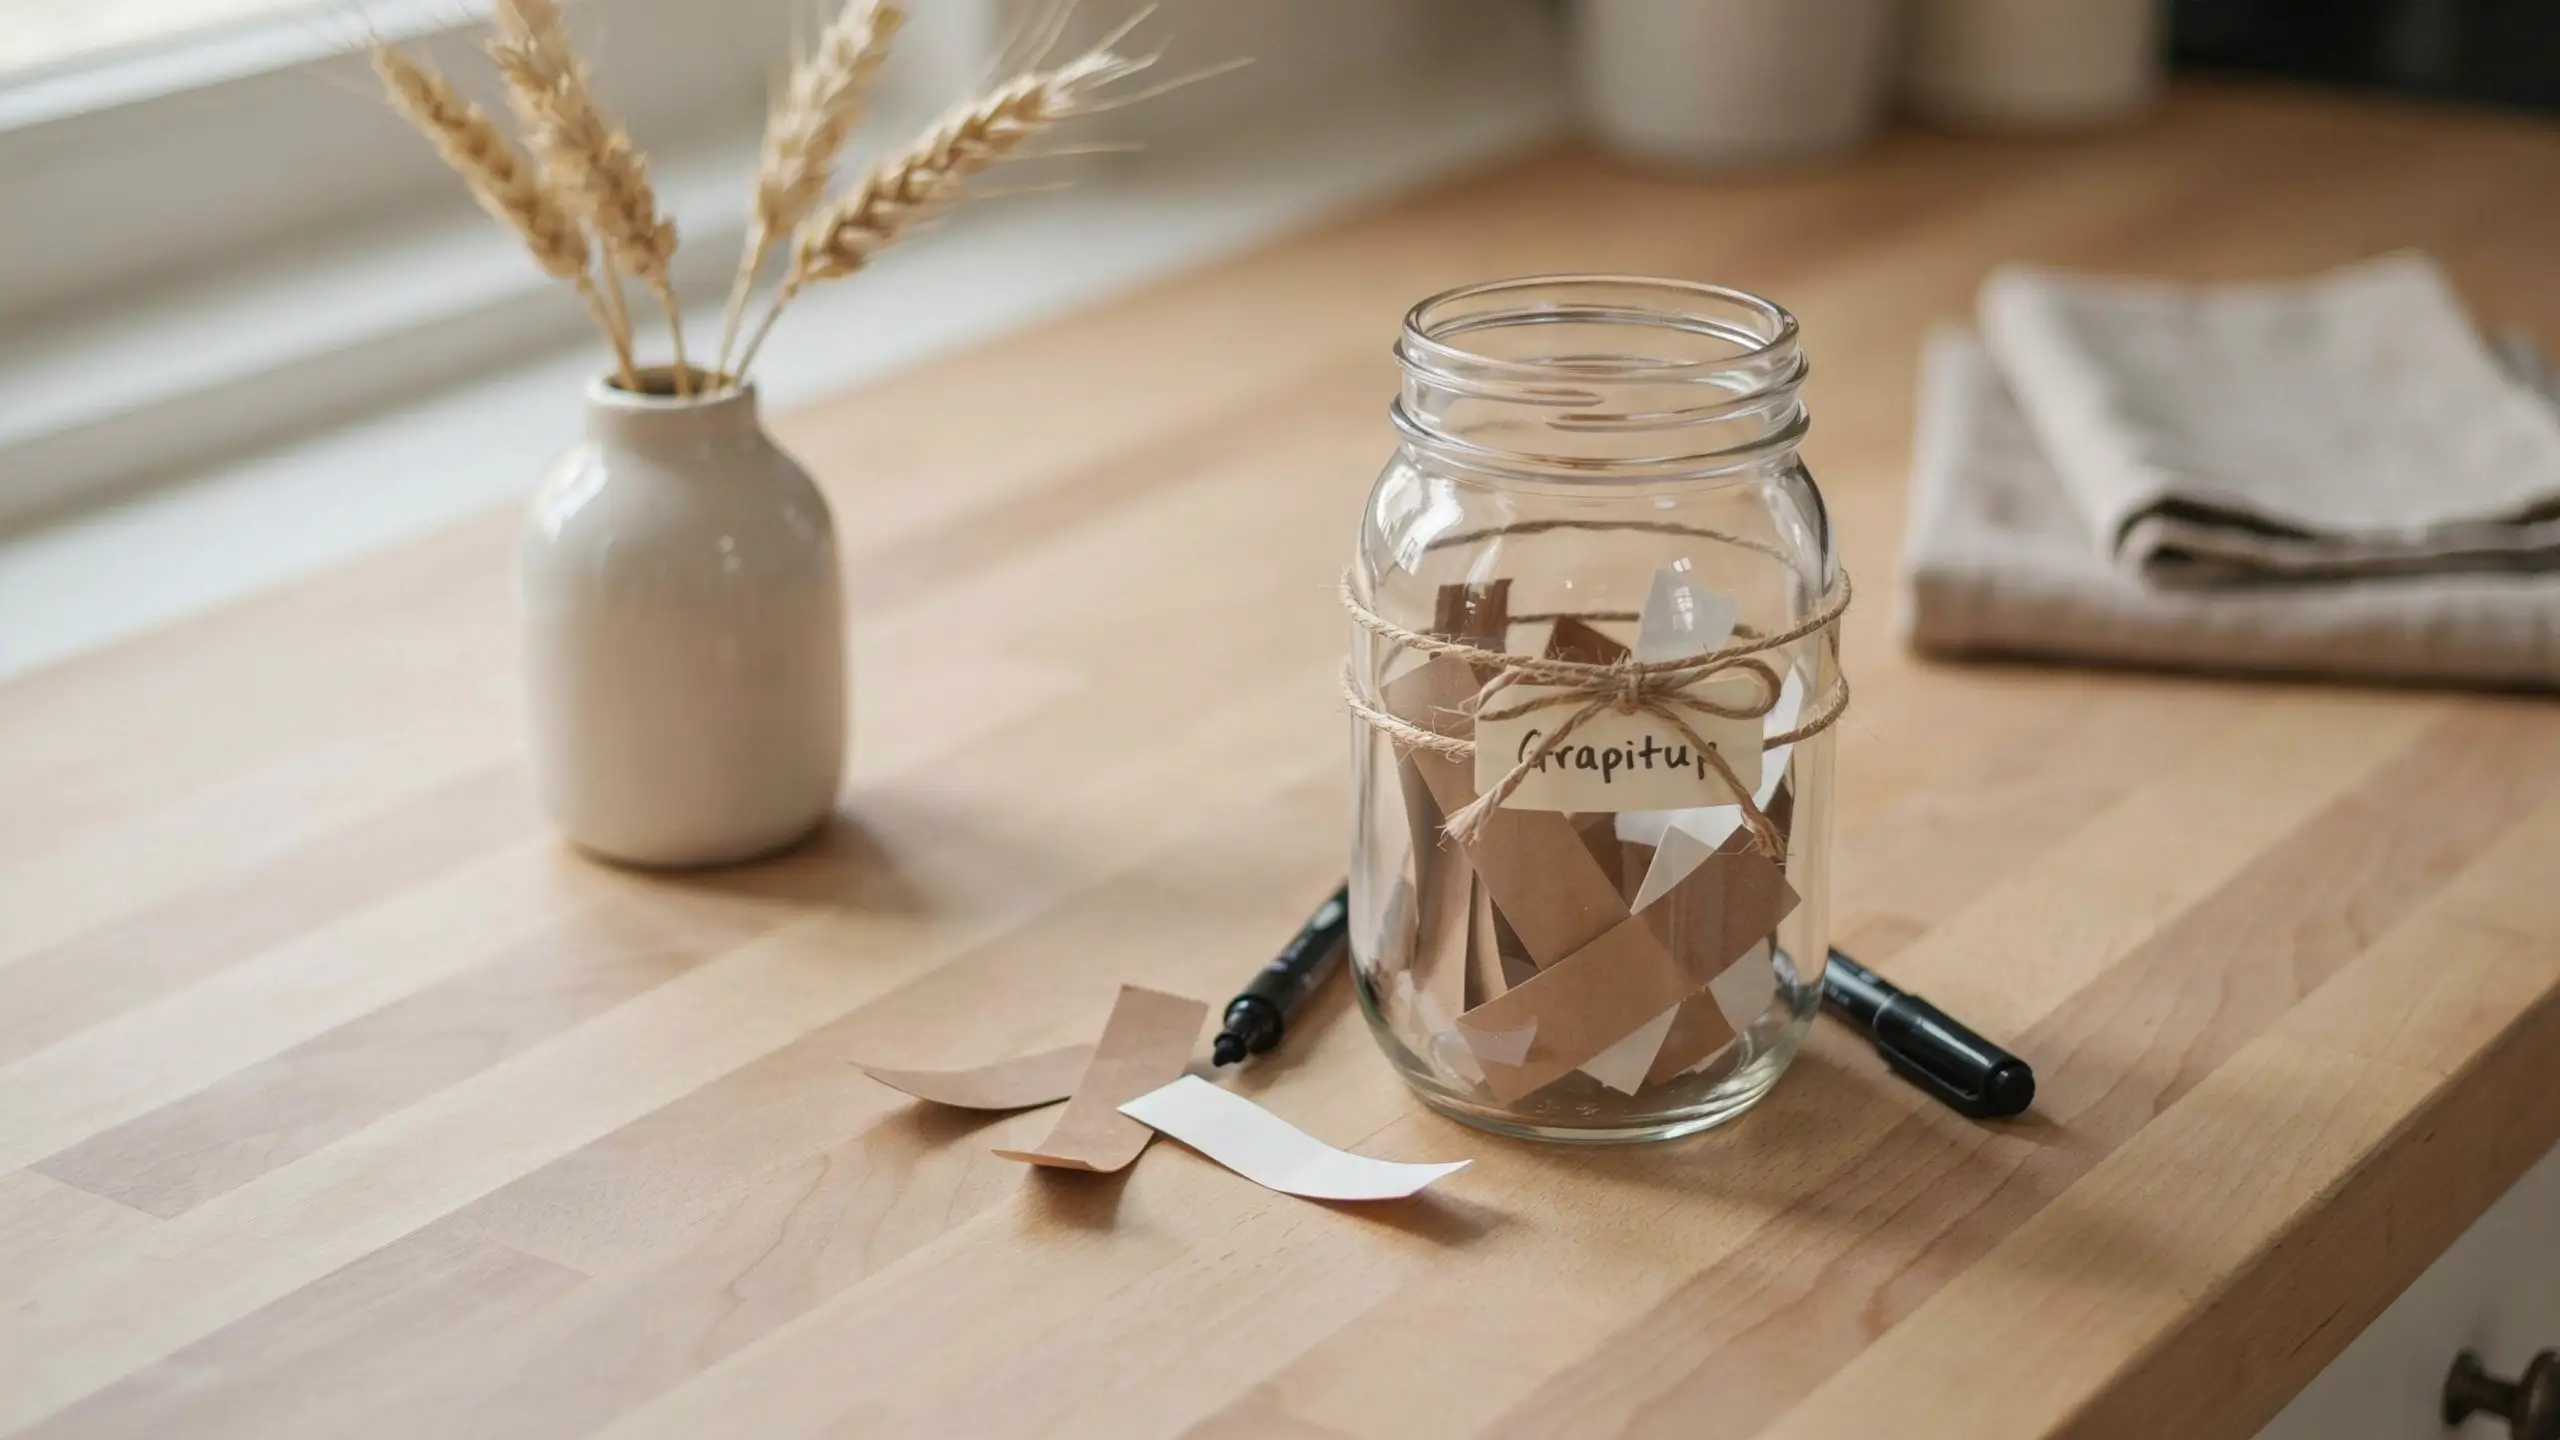
A simpler, smaller version of the thankful tree that fits nicely on a kitchen counter or as part of a table centerpiece.
| Materials | a mason jar or any clear jar, small strips of paper, markers, ribbon or twine for decoration |
| How to make it | Decorate the outside of the jar with ribbon or a painted label. Each day, have kids write or draw one thing they’re grateful for on a paper strip and drop it in. Read them together on Thanksgiving Day. |
| Age note | Works well for preschool through early elementary, since younger kids can draw instead of write. |
| Mess level | Very low. |
| Tip | Keep the jar going past Thanksgiving. Some families turn it into a year round habit that gets read on New Year’s Eve. |
11. Gratitude Paper Chain Countdown
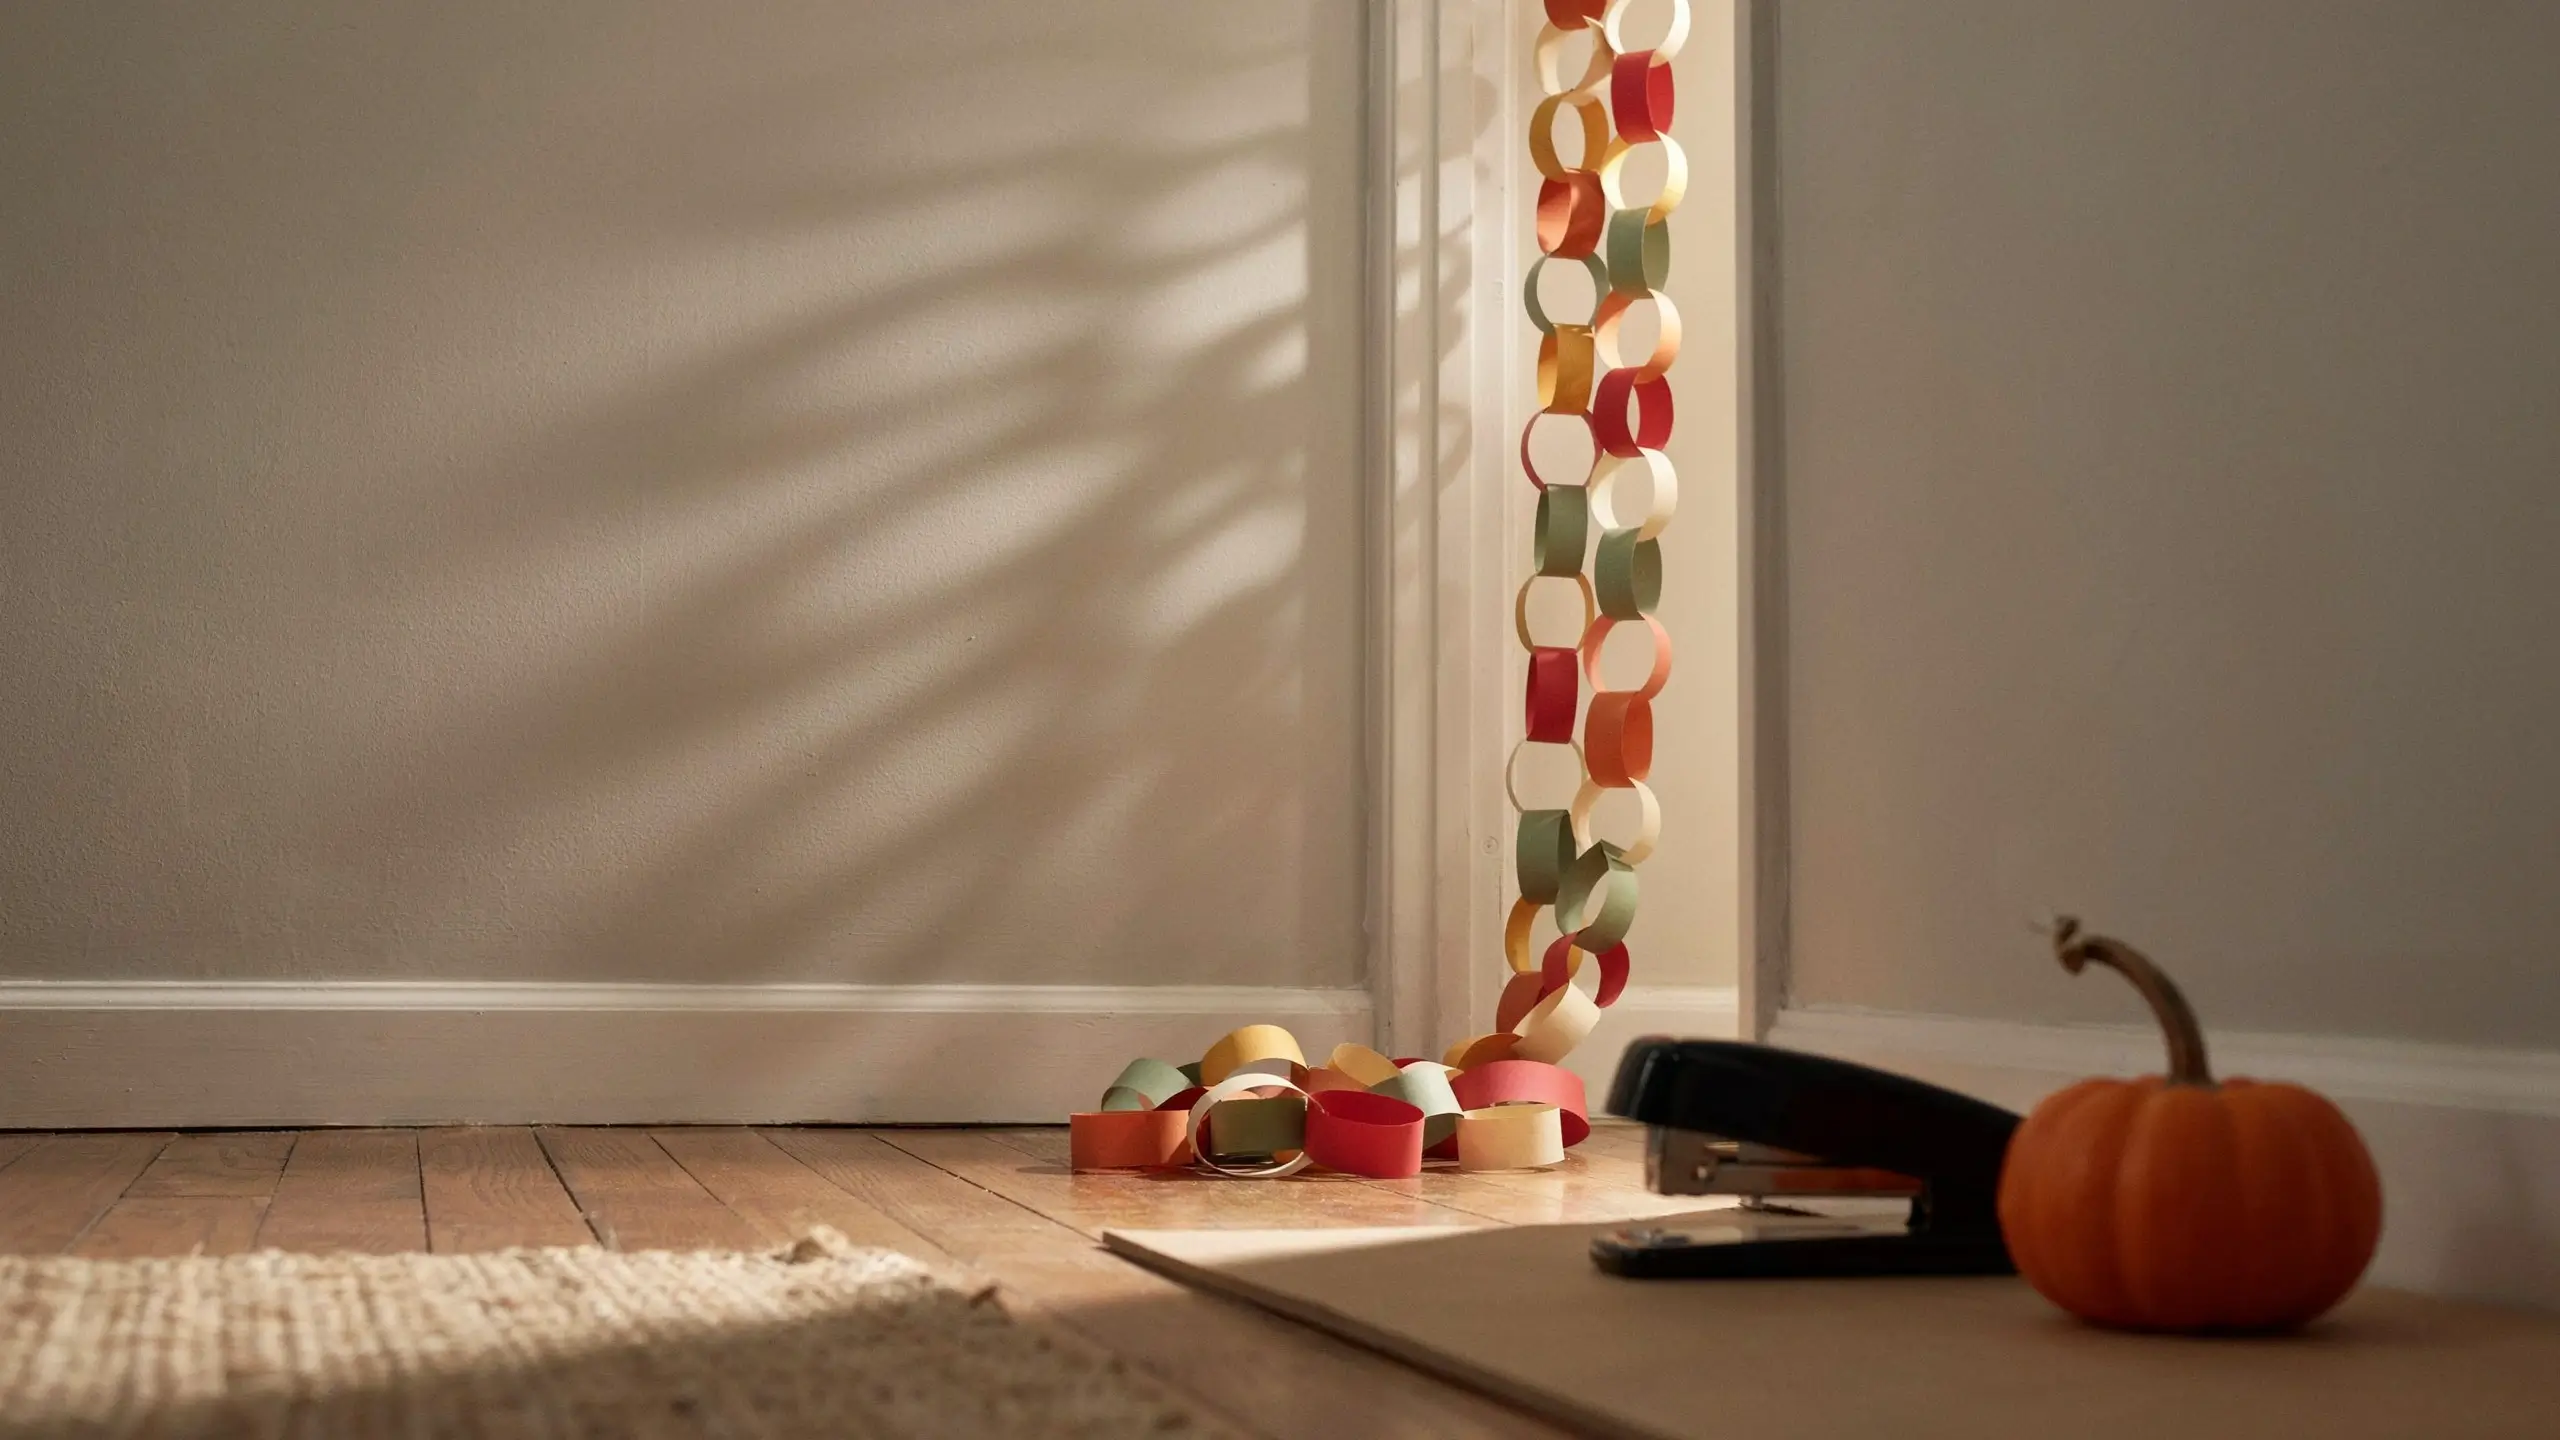
A daily countdown to Thanksgiving that builds anticipation while giving kids a small gratitude practice each day.
| Materials | construction paper strips, glue or a stapler, marker |
| How to make it | Cut about 20 to 25 strips of paper. Each day starting in early November, write one thing you’re thankful for on a strip and loop it through the last link in the chain, gluing or stapling the ends together. Remove and read one link a day, or add one a day, depending on which direction feels more fun for your family. |
| Age note | Ages three and up. Younger kids can decorate the strips while older kids handle the writing. |
| Mess level | Very low. |
| Tip | Hang the chain somewhere visible, like a doorway, so it becomes a daily ritual instead of something forgotten in a drawer. |
12. Thankful Feather Turkey

A hands on way to combine the classic turkey craft with a gratitude activity, perfect for a classroom or a family gathering with cousins.
| Materials | a large paper turkey body cutout, construction paper feather shapes, markers, glue or tape |
| How to make it | Cut out a large turkey body without feathers and pin or tape it to a wall or poster board. Cut a stack of feather shapes from fall colored paper. Have each guest write what they’re thankful for on a feather and add it to the turkey before or during the meal. |
| Age note | Works well as a group activity for mixed ages, including extended family. |
| Mess level | Low. |
| Tip | Set this up near the entry so guests can add their feather as soon as they arrive. It’s a nice icebreaker before dinner starts. |
Quick, Low Mess Crafts for Busy Cooking Days
When you need the kids occupied fast and don’t have time for a big cleanup, these are the ones to reach for.
13. Paper Plate Turkey
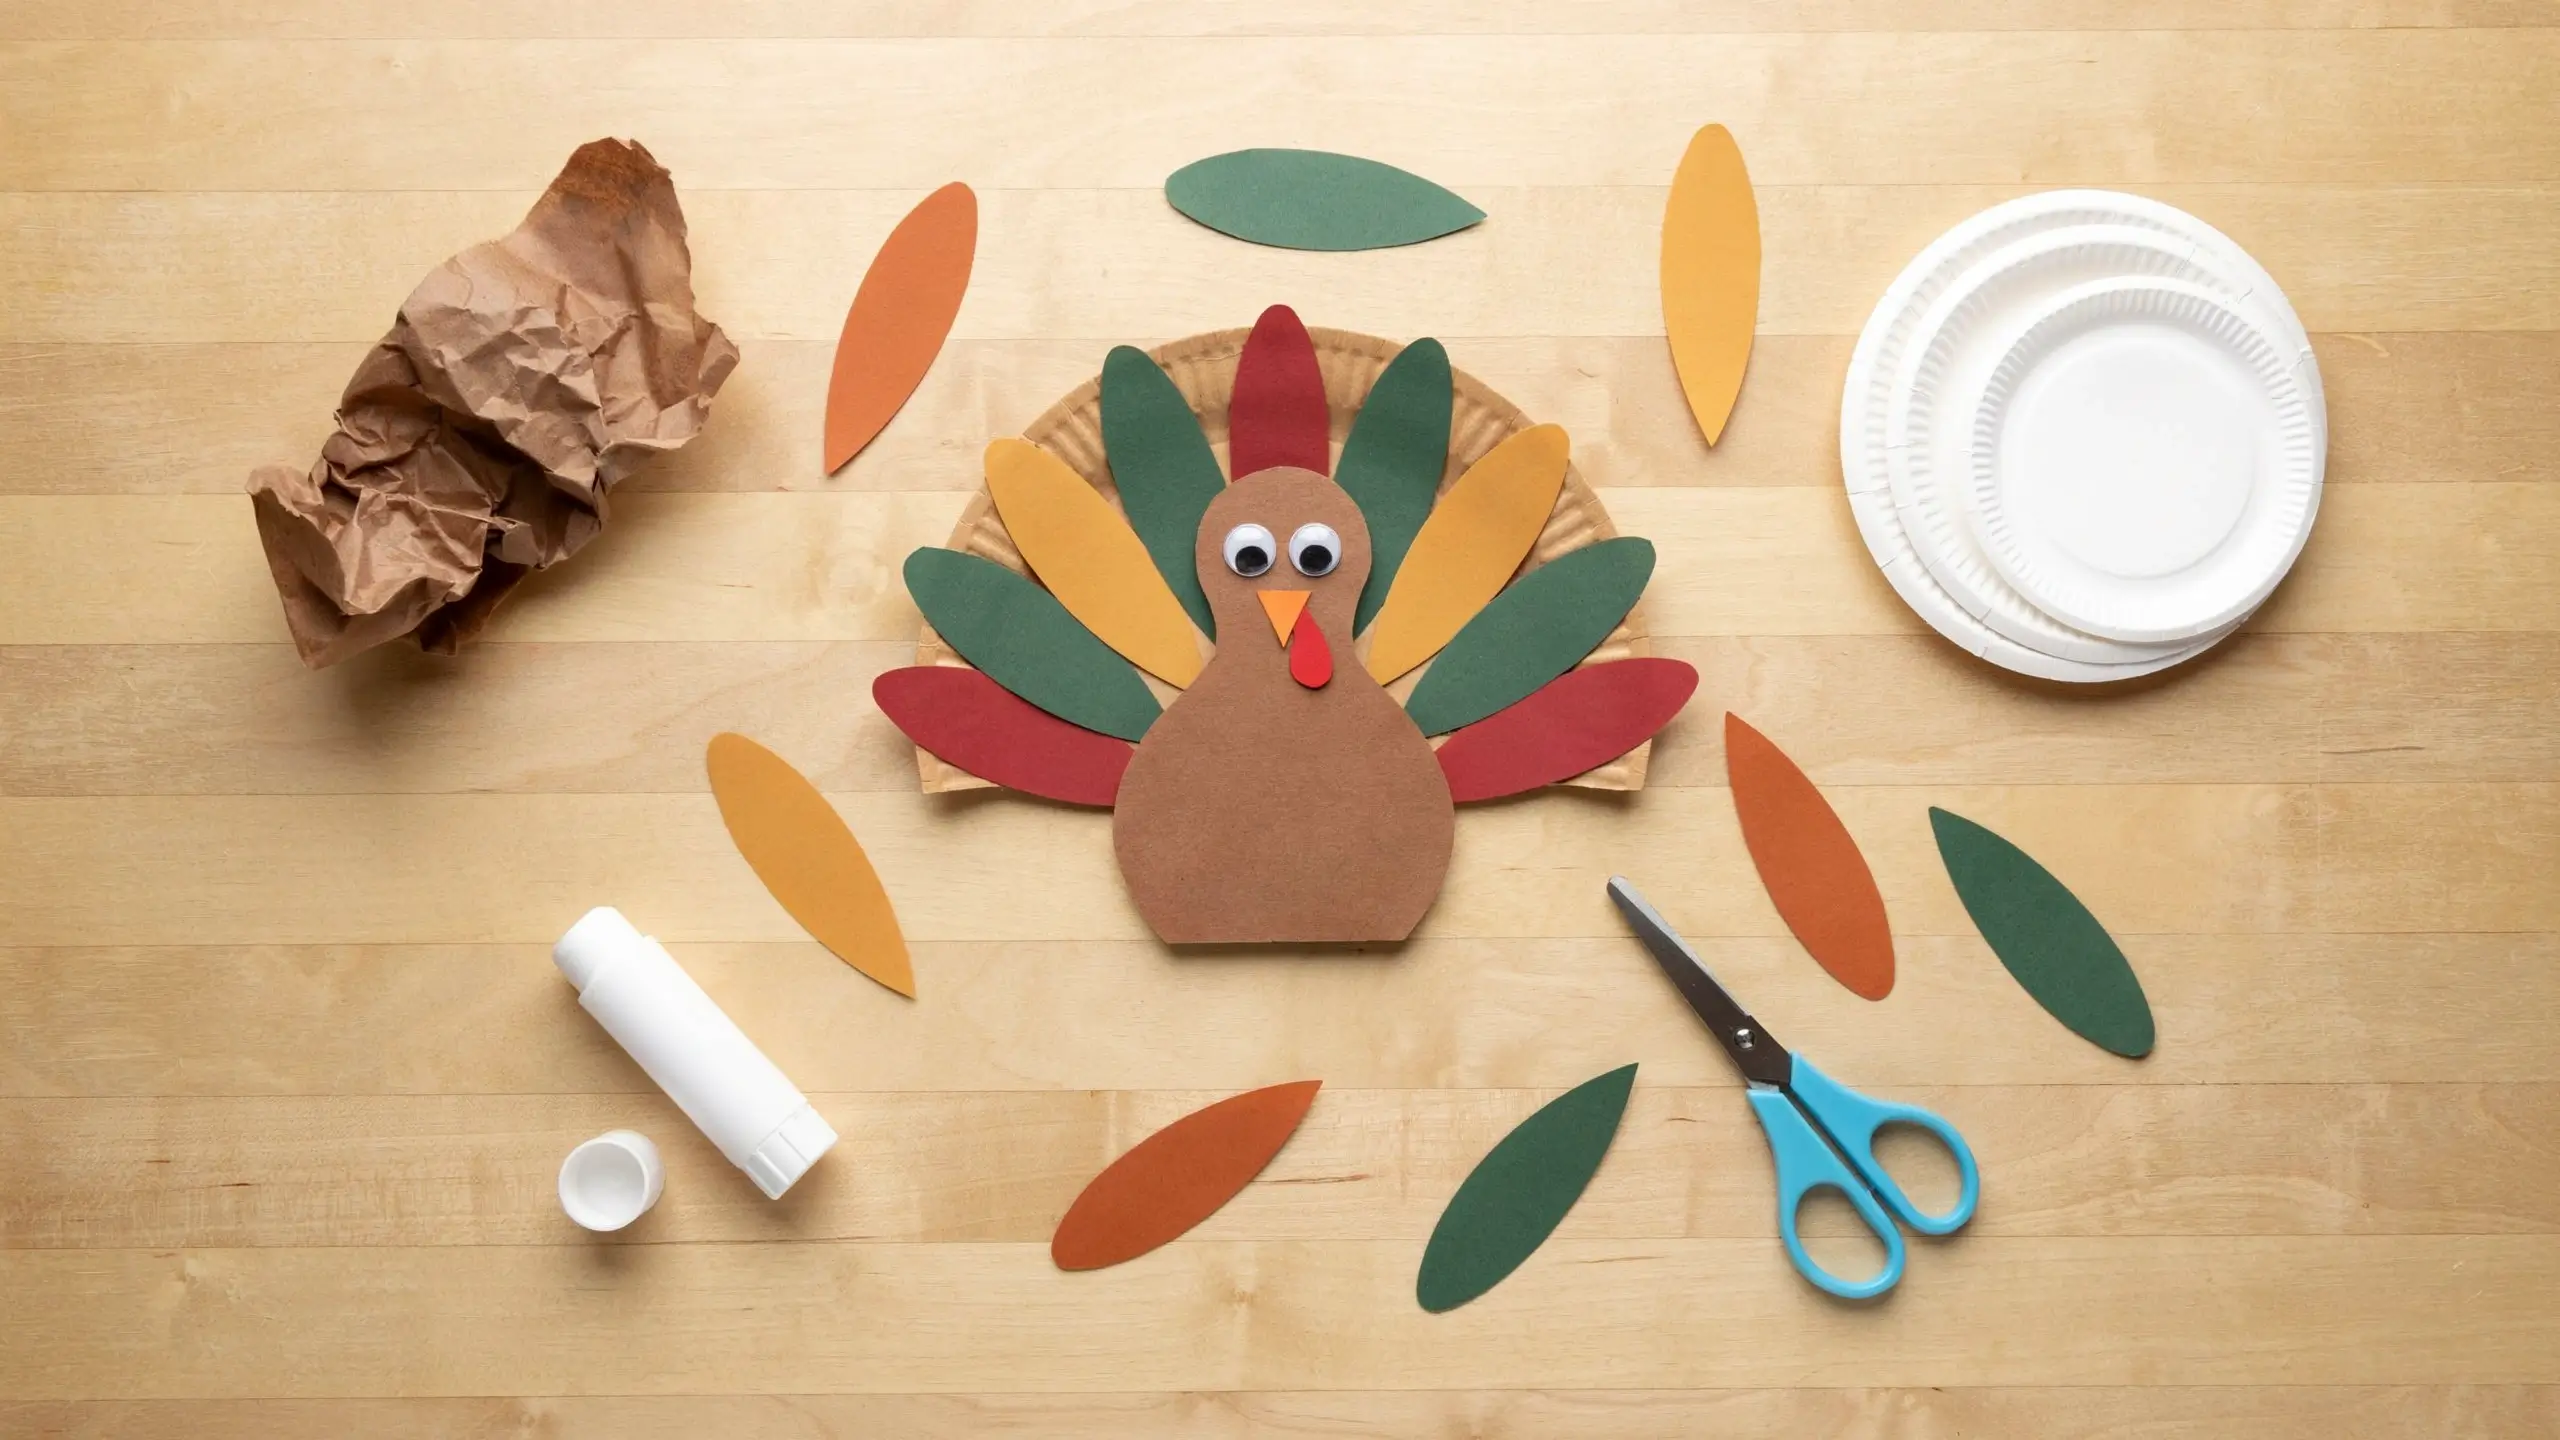
An easy, no fuss craft that comes together in about ten minutes with almost no cleanup.
| Materials | a paper plate, construction paper feathers, googly eyes, orange paper for the beak, glue |
| How to make it | Paint or color the plate brown, or skip painting and glue brown paper over it for a faster version. Glue paper feathers around the back edge, then add googly eyes and a beak to the front. |
| Age note | Ages three and up, very manageable independently for kids five and older. |
| Mess level | Very low, especially if you skip the paint step. |
| Tip | Keep pre-cut feather shapes and eyes in a bag so this becomes a five minute grab and go activity. |
14. Toilet Paper Roll Turkey
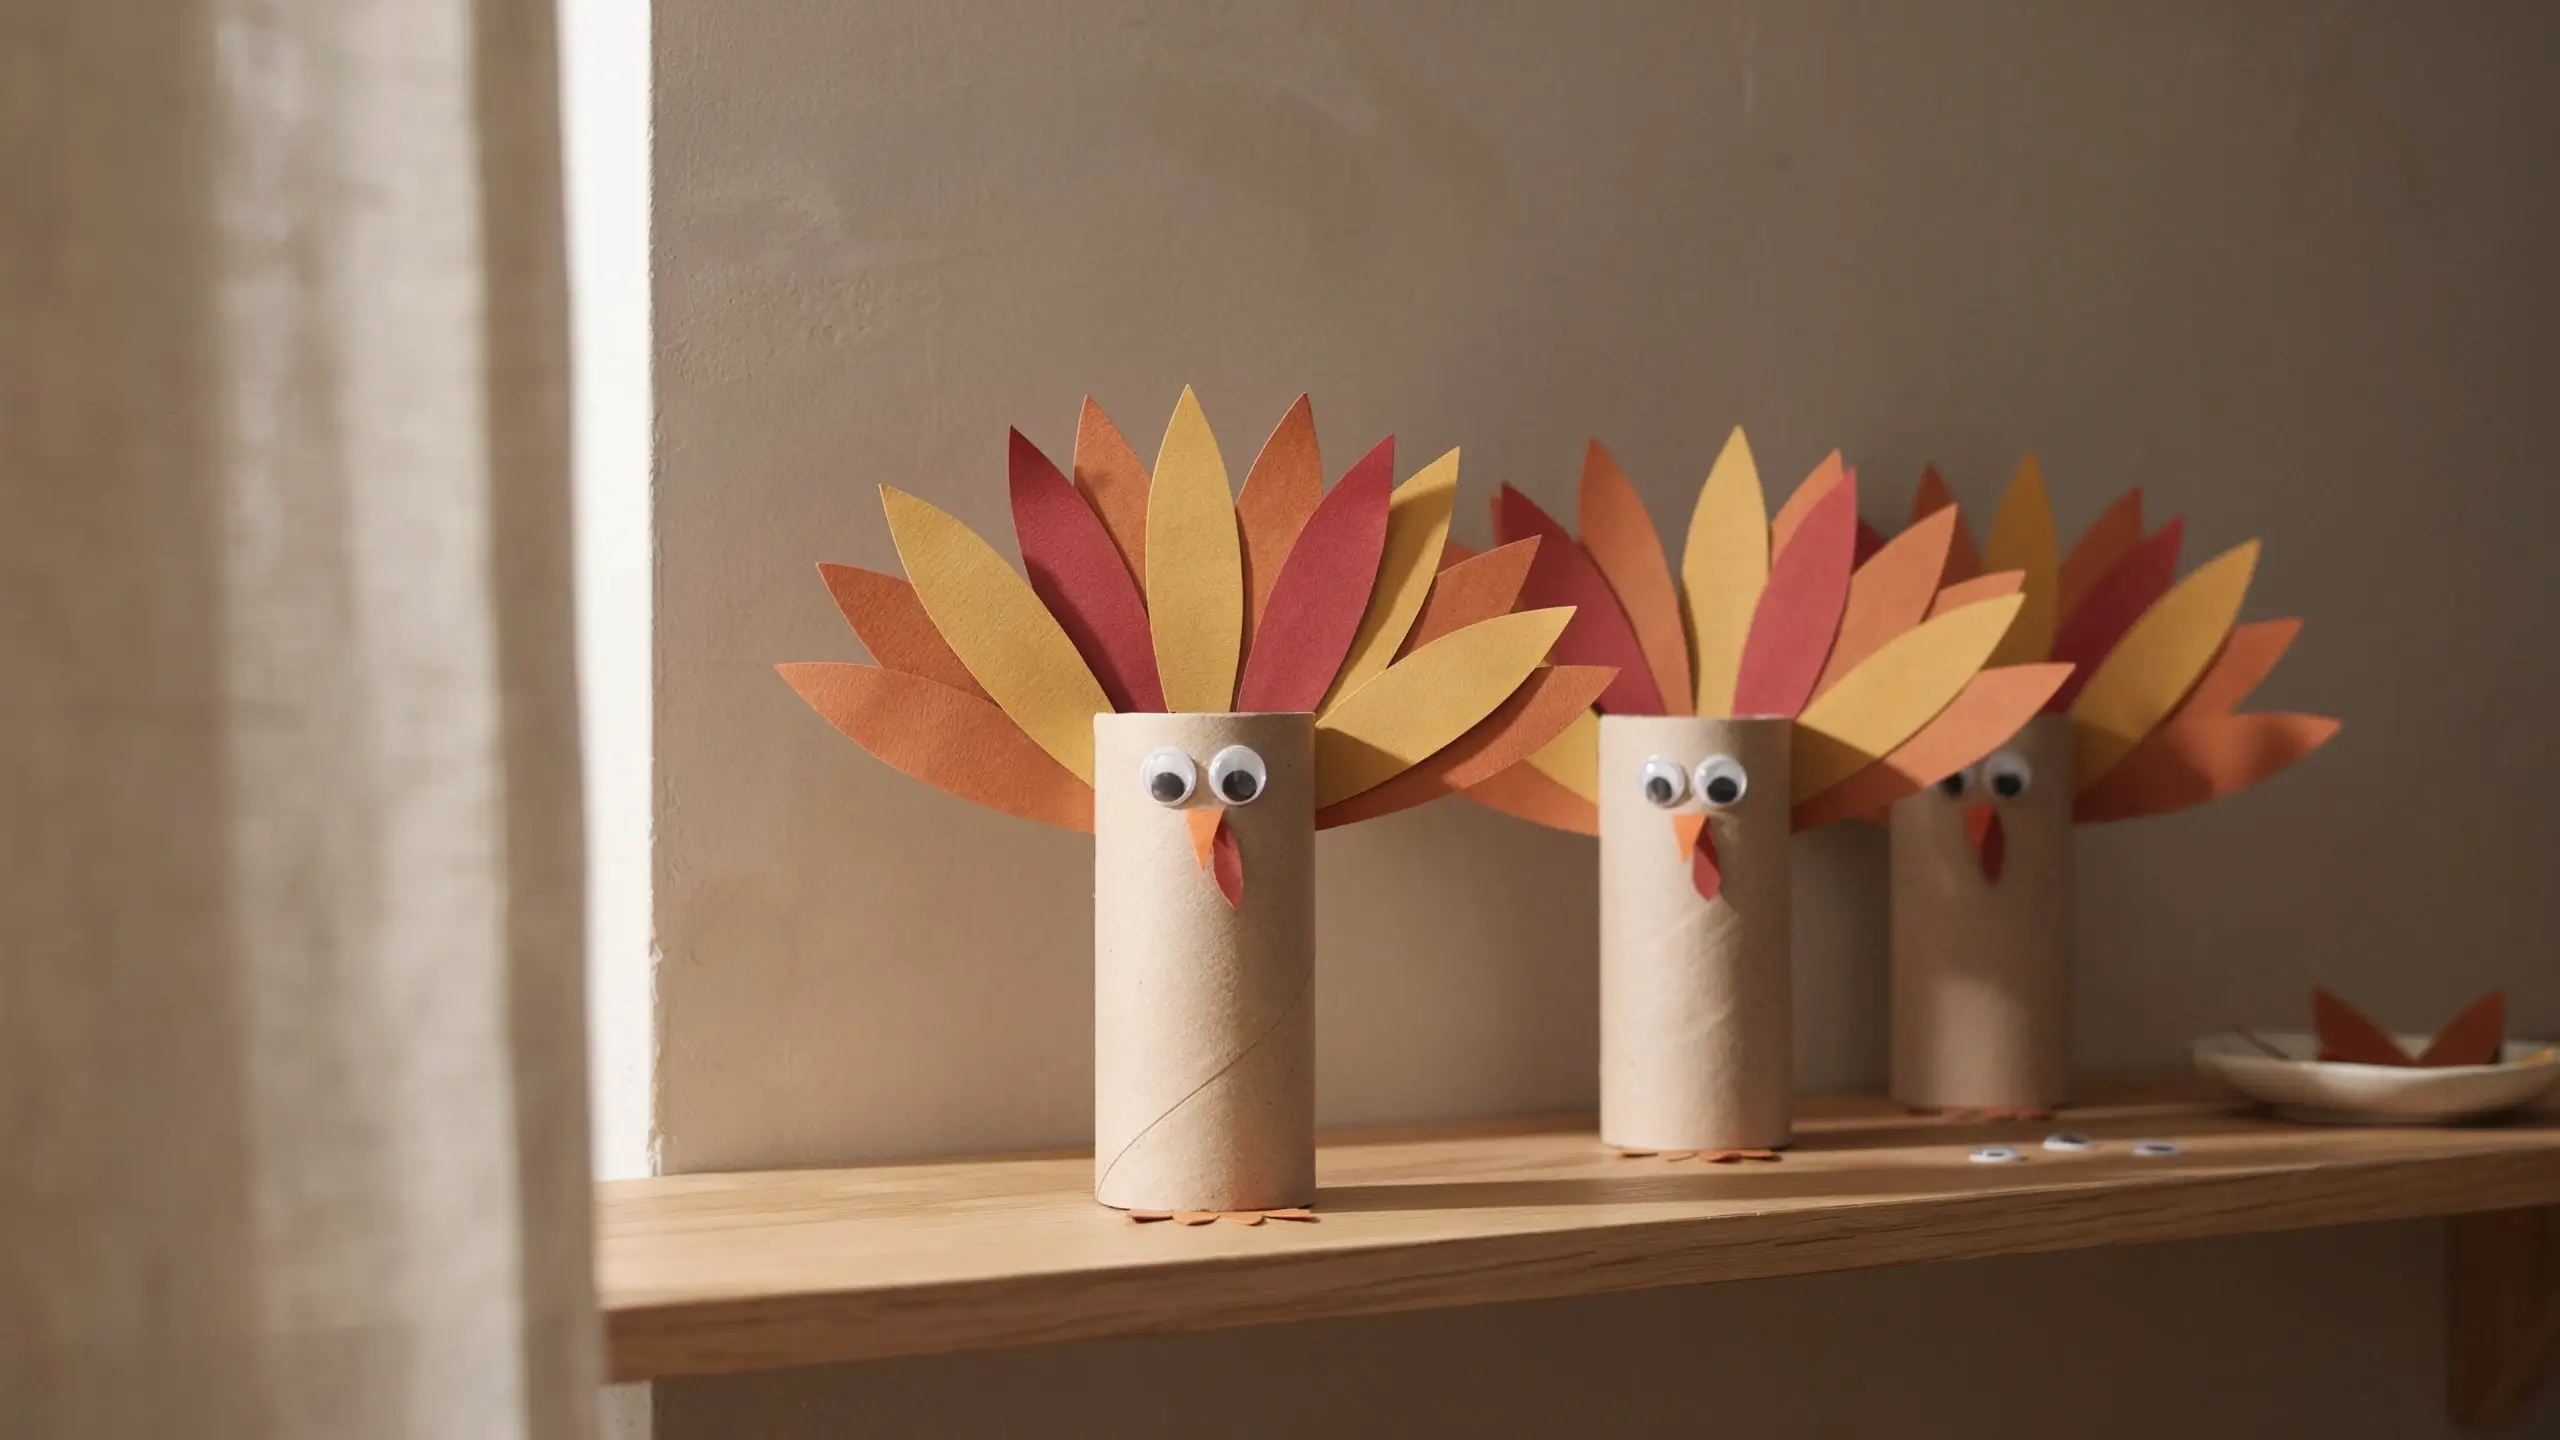
A simple standing turkey that works well as a small table decoration and uses something you likely already have on hand.
| Materials | an empty toilet paper roll, brown paint or paper, feather cutouts, googly eyes |
| How to make it | Cover the roll in brown paint or paper. Cut a fan of feathers from construction paper and glue them inside the back of the roll so they stand up. Add googly eyes and a beak to the front. |
| Age note | Ages four and up. |
| Mess level | Low. |
| Tip | Let it dry standing up so the feathers keep their shape instead of flopping over. |
15. Turkey Feather Headband
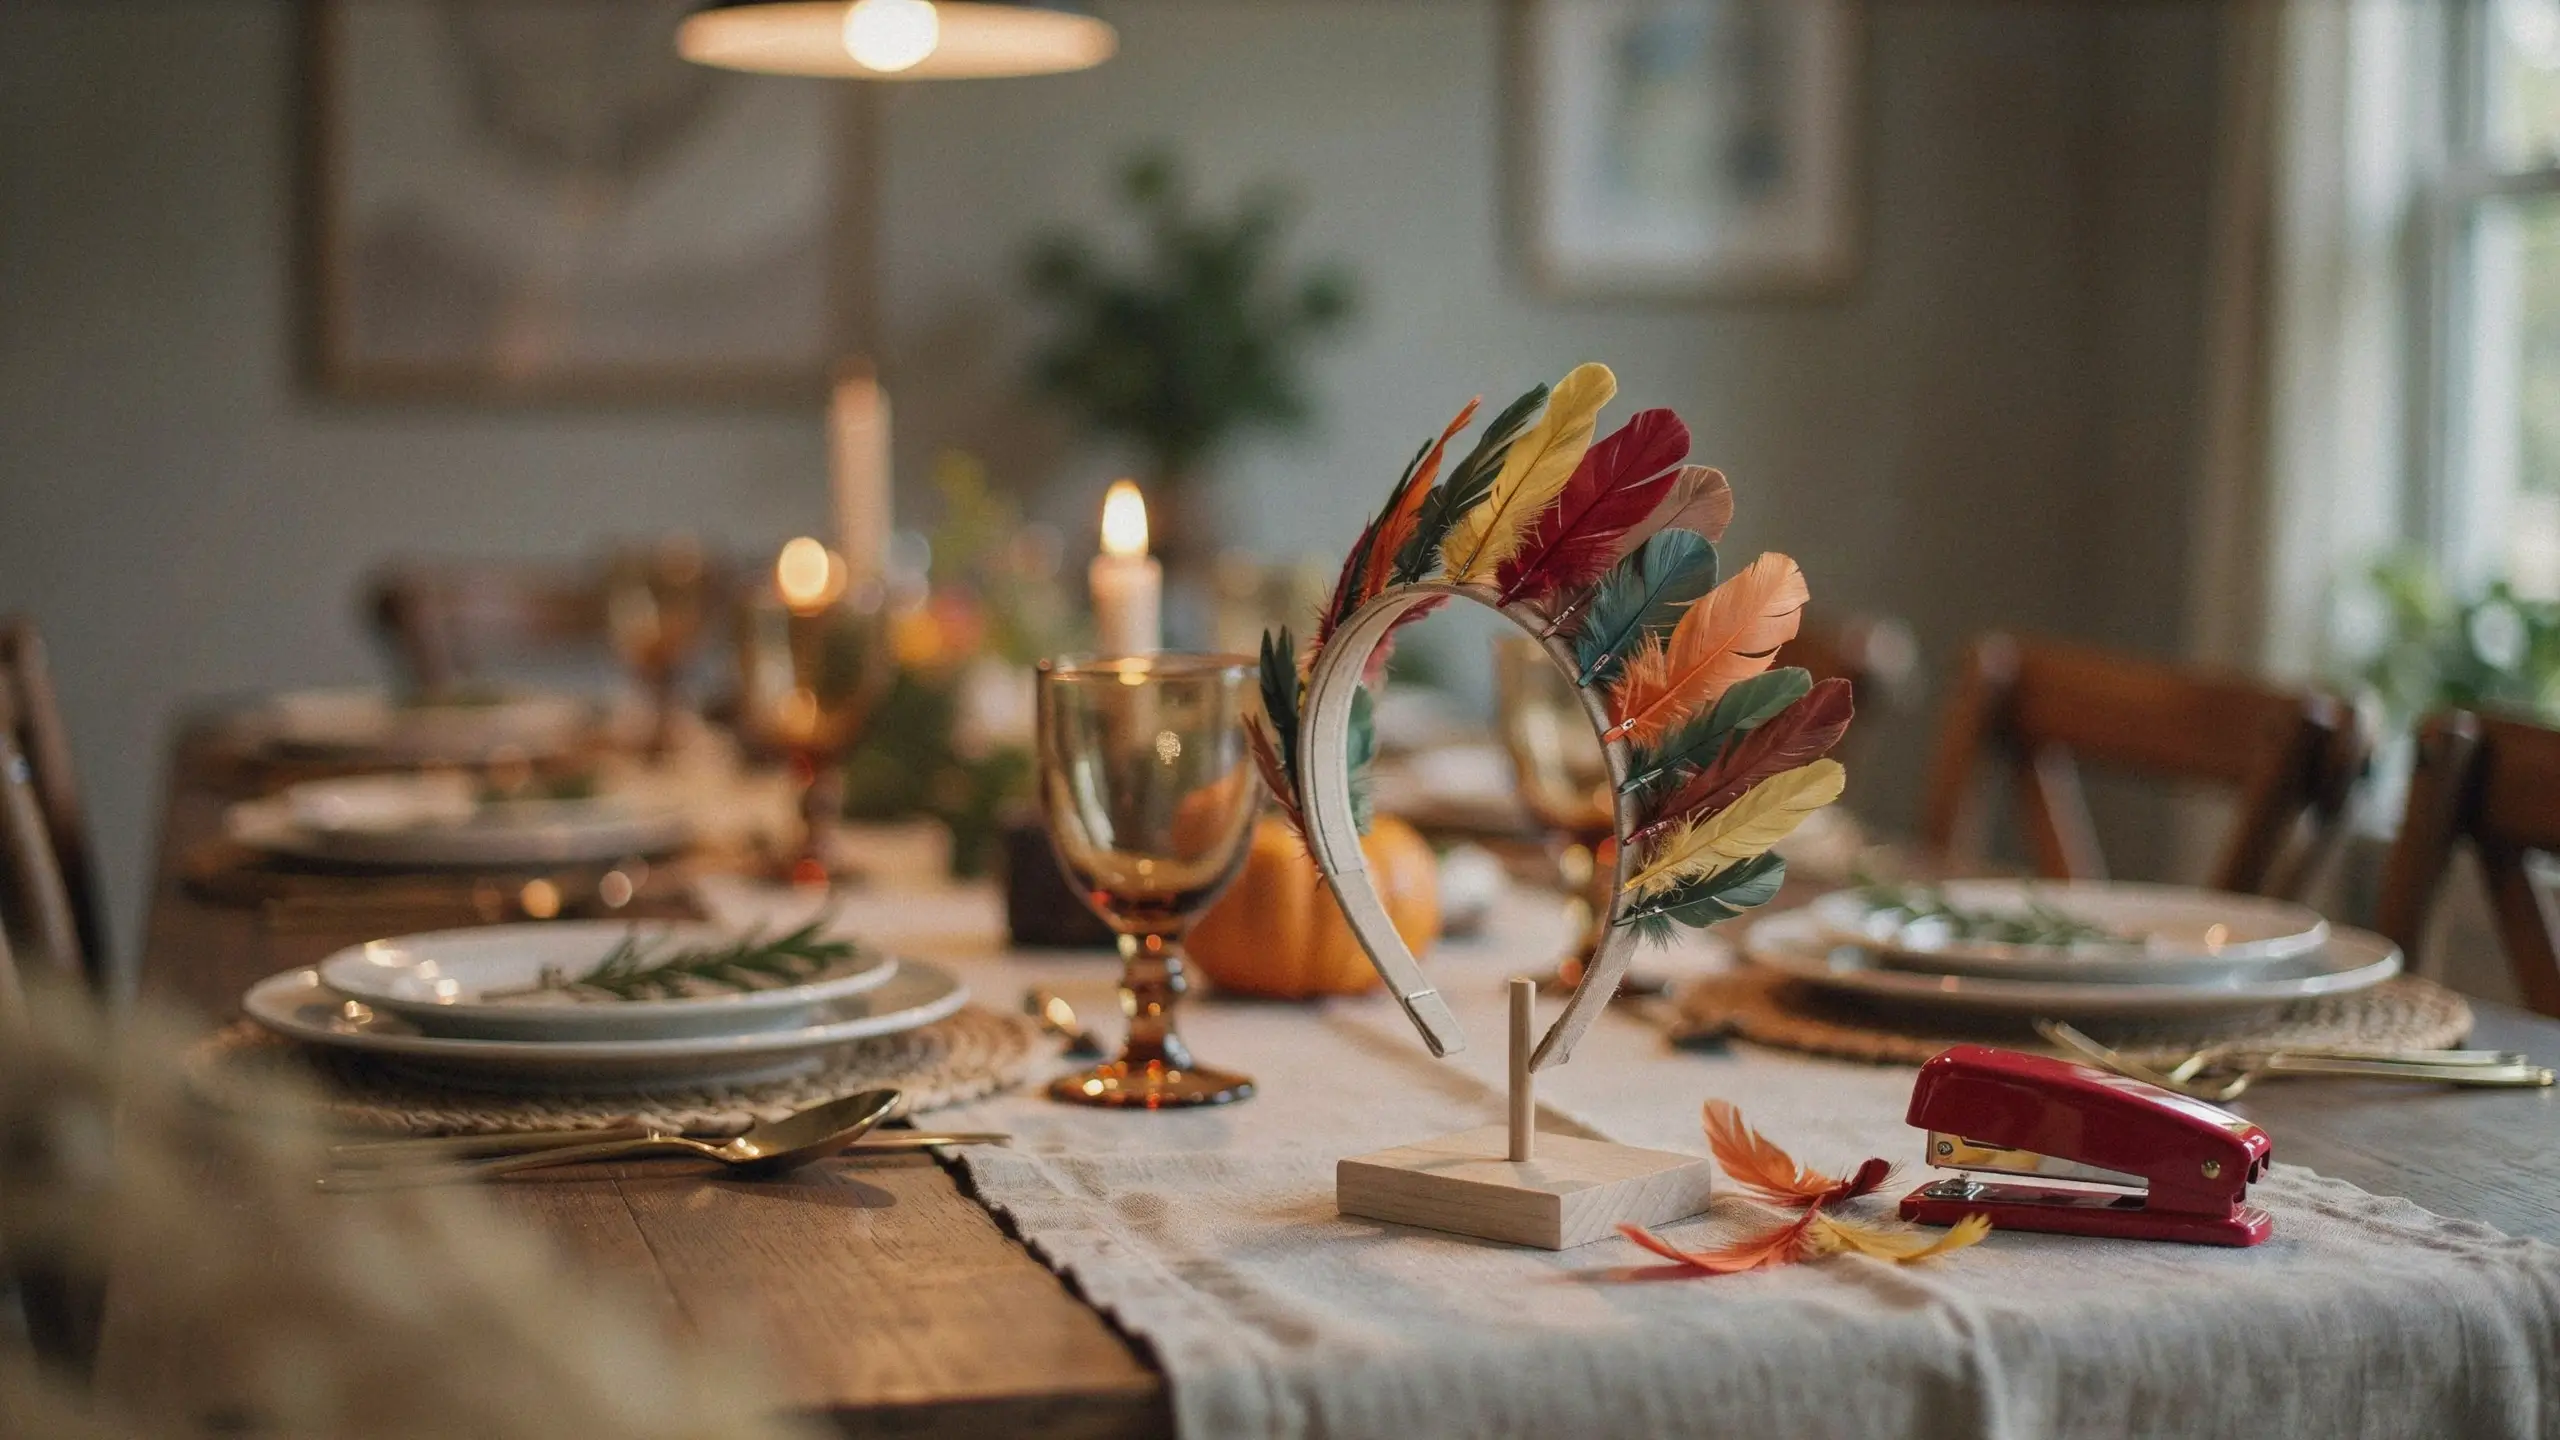
A wearable craft that keeps kids entertained through the actual meal, not just during craft time.
| Materials | a strip of construction paper sized to fit around a child’s head, feather cutouts, glue, stapler |
| How to make it | Measure and staple a paper strip to fit around your child’s head like a crown. Glue feathers, cut from paper or real craft feathers, along the front and sides. Add a small paper turkey face in the center if you like. |
| Age note | Ages three and up. |
| Mess level | Very low. |
| Tip | Make a batch ahead of time for a Thanksgiving class party or for cousins arriving for dinner, so everyone has one waiting. |
16. Coffee Filter Turkey

A pretty, low mess craft that uses color bleeding to create a soft, watercolor style tail without needing real paint.
| Materials | white coffee filters, washable markers, a spray bottle with water, brown paper for the body, googly eyes |
| How to make it | Color a coffee filter heavily with markers in fall colors, then lightly mist with water from a spray bottle and let the colors bleed together. Once dry, fold or scrunch the filter into a fan shape for the tail and glue it to a simple brown paper turkey body. |
| Age note | Ages four and up, since the marker and spray step benefits from some patience. |
| Mess level | Low, though the water can make things drippy on a table without a mat underneath. |
| Tip | Do the coloring and spraying the night before so the filters have time to dry flat before assembly. |
Mistakes to Avoid
A few things that trip people up every year, even with easy crafts like these:
- Skipping the drying time. Handprint and footprint crafts especially need a full hour or more to dry flat before you handle them, or the paint smears.
- Using regular acrylic paint on little hands. Stick to washable, non-toxic paint labeled safe for children, since it comes off skin and fabric far more easily than craft store acrylics.
- Forgetting to date keepsake crafts. Write the year somewhere on handprint and footprint pieces right away. It’s easy to forget later and hard to guess once a few years have passed.
- Overplanning for toddlers. A craft that takes an adult ten minutes to explain will lose a two year old’s attention in about ninety seconds. Keep instructions to one or two steps for the youngest kids and let them lead the rest.
- Not prepping supplies ahead of time. Precut feathers, leaf shapes, and turkey bodies the night before if you’re doing this with a group. Cutting takes longer than the actual craft for most kids.
Safety Notes
Googly eyes, beads, and other small pieces are a choking hazard for children under three. Use larger craft eyes or skip them for toddlers, and supervise closely with any small parts. If a craft calls for a hot glue gun, handle that step yourself and let kids do the placement and decorating instead. Scissors should be child safe with rounded tips for kids under six, and any craft using real branches or pinecones from outside should be given a quick rinse or a few minutes in a low oven to knock out any bugs before bringing them inside.
Final Thoughts
The best Thanksgiving crafts for kids aren’t the ones that look perfect on a shelf. They’re the ones that get made again next year because everyone actually had fun doing them. Start with one or two from this list depending on how much time and cleanup energy you have that day, and let the kids get a little messy with the rest. A decade from now, those slightly crooked handprint turkeys are going to be the ones you’re glad you kept.
Which one is going on your Thanksgiving craft table this year? Let me know in the comments, and if you make one, I’d love to hear how it turned out.



No Comment! Be the first one.