




25 Man Cave Ideas That Actually Feel Like Your Space (Not a Sports Store Clearance Section)
There’s a moment every man eventually reaches. You’re scrolling through the house looking for somewhere to breathe, somewhere to put your stuff, somewhere that doesn’t have a throw...

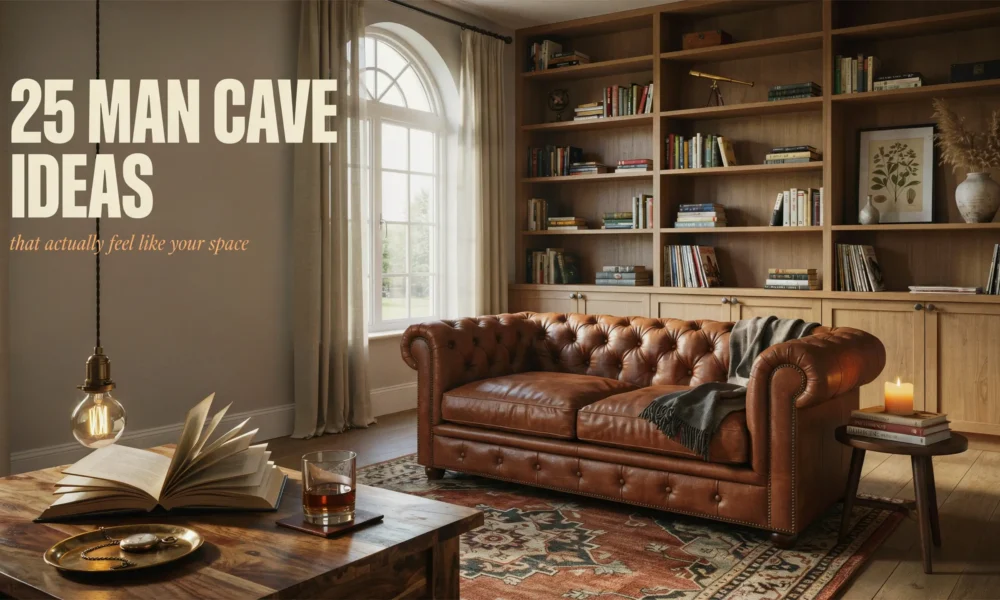
There’s a moment every man eventually reaches. You’re scrolling through the house looking for somewhere to breathe, somewhere to put your stuff, somewhere that doesn’t have a throw pillow on it, and you realize: there is no such place.
That’s what a man cave is supposed to fix.
But here’s the thing most man cave inspiration articles get wrong. They show you leather recliners, neon beer signs, and a pool table, and call it done. The result looks like someone ordered a “man cave starter pack” from Amazon and stopped thinking after that. Generic. Forgettable. Not you.
The best man caves feel personal. They reflect your actual hobbies, your real taste, and the specific way you want to unwind. Whether you’re working with a two-car garage, a finished basement, an 8×10 shed in the backyard, or just a spare bedroom with good bones, these man cave ideas will help you build a space you genuinely want to be in.
First: Where Does Your Man Cave Actually Go?
Before you buy a single piece of furniture or hang a single thing on the wall, you need to nail down your space. Each location has a different set of advantages and limitations.
Basement: The classic choice for good reason. More square footage, natural privacy, easy to soundproof, and already separated from the rest of the house. The biggest issues are moisture, low ceilings, and lighting. Get a dehumidifier running before you do anything else, especially if the floor is concrete.
Garage: Perfect for louder hobbies like woodworking, car projects, band practice, or serious game-watching setups. Garages are harder to heat and cool, so insulation matters more here than anywhere else. Epoxy floor coating ($150-$400 for a two-car garage as a DIY project) does more for the look of a garage man cave than almost anything else.
Backyard Shed: Increasingly popular and surprisingly affordable. A new 10×12 shed runs $2,500-$5,000. A used one found on Facebook Marketplace or Craigslist can be under $500. You handle the electric and insulation yourself, or hire it out. The payoff is total separation from the house, which has a psychological effect that’s hard to overstate.
Spare Bedroom: The easiest space to work with because it’s already finished, climate-controlled, and has outlets in the right places. The constraint is size, usually 10×10 to 12×14 feet. Choose your ideas accordingly.
Bonus Space or Corner: Don’t overlook a finished attic, a wide hallway with a dead end, or a bonus room above the garage. Even a large closet with the doors removed can become a compact gaming alcove if you approach it right.
What Kind of Man Cave Do You Actually Want?
This question matters more than budget or square footage. The man caves that look great on Pinterest but never get used all made the same mistake: they picked a theme based on what looked cool rather than what the person actually does.
Ask yourself what you’d realistically be doing in this space on a Tuesday night. Watching sports alone with a cold drink? Gaming? Building something? Playing guitar? Reading? Once you can picture the activity, the design decisions almost make themselves.
25 Man Cave Ideas to Steal, Adapt, or Build From
The Sports Bar Man Cave
- Build a Real Bar Counter, Not Just a Cart
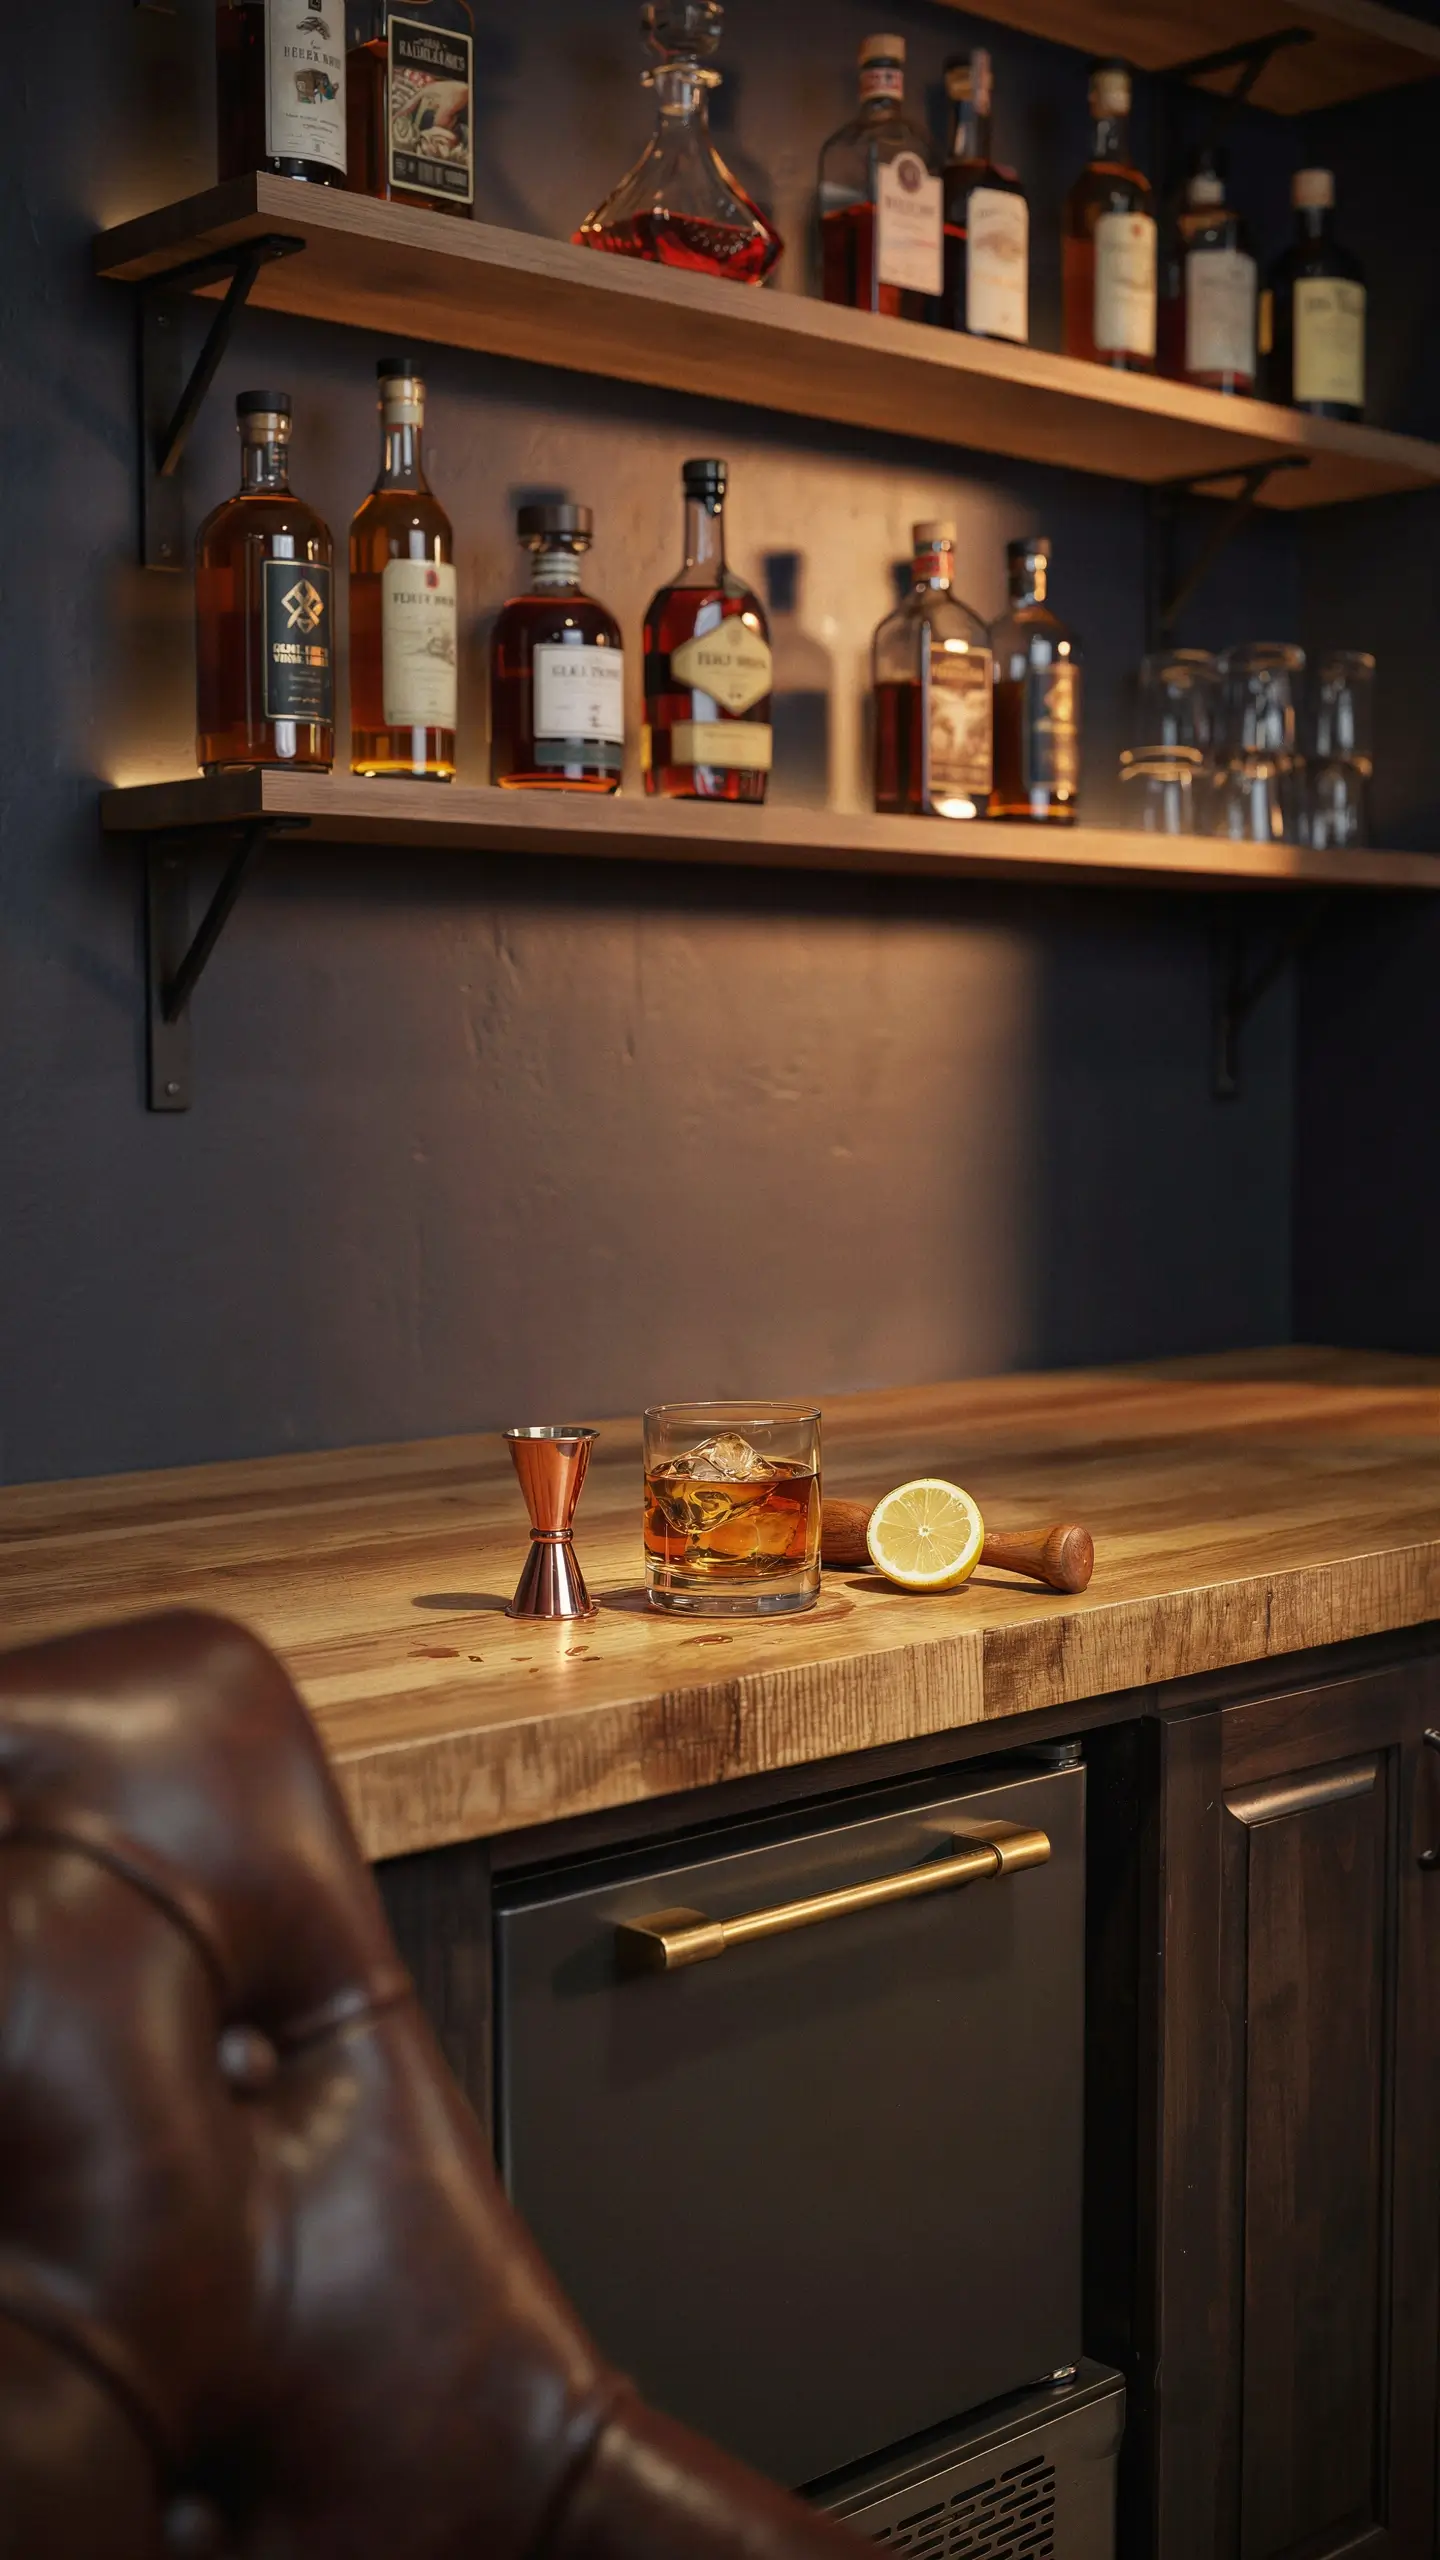
A bar cart is fine as a starting point, but a built-in bar counter is the difference between a room with a cart in it and an actual sports bar feel. You don’t need to be a carpenter. A solid base cabinet from IKEA (the SEKTION line works well) with a butcher block or concrete-look laminate top costs $400-$700 installed, including a mini fridge underneath. Mount open shelving above it for bottles and glasses, and add a strip of LED lighting underneath the upper shelf to get that warm bar glow. It photographs beautifully and functions even better.
- Install a Multi-Screen TV Wall
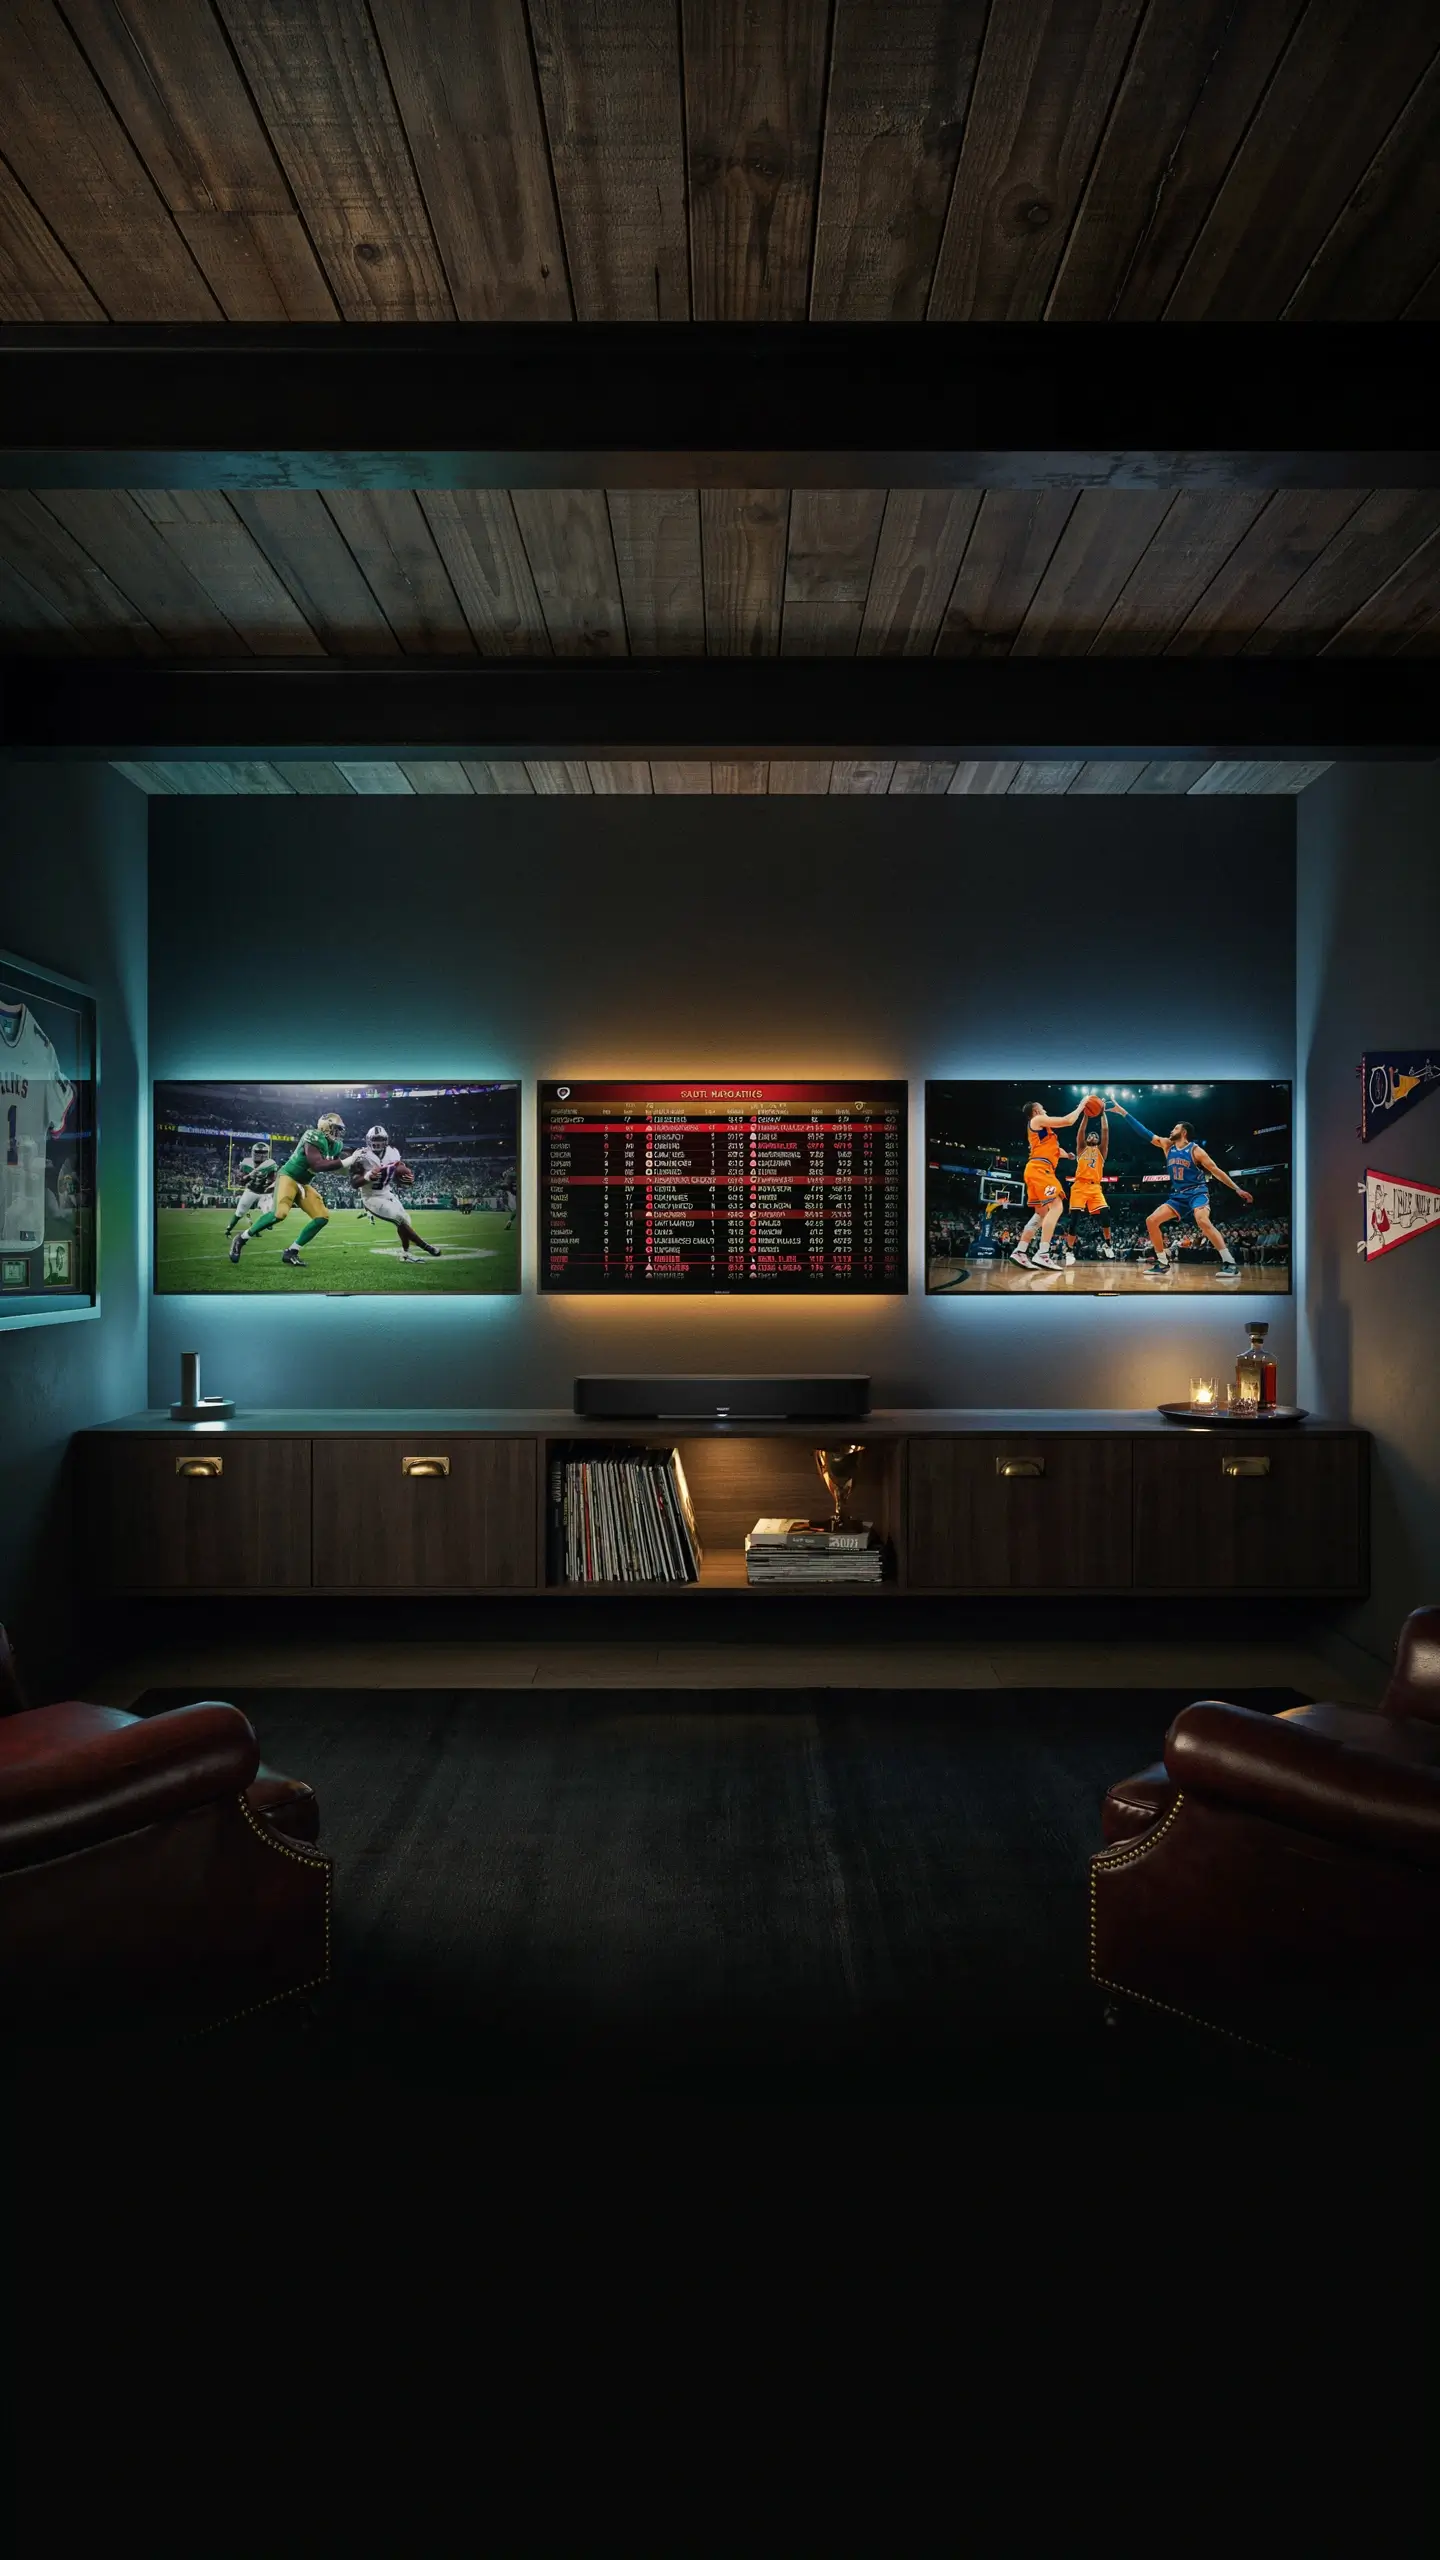
One TV is a living room. Three TVs side-by-side on a mounted panel is a sports bar. This doesn’t require professional installation. Wall-mount brackets for three screens run $60-$120, and most modern 65-inch TVs can be found for $400-$600. If budget is a concern, start with a 75-inch single screen at seated eye level and mount a smaller 43-inch screen at an angle for a secondary game or score ticker.
- Add Stadium Seating with a Platform
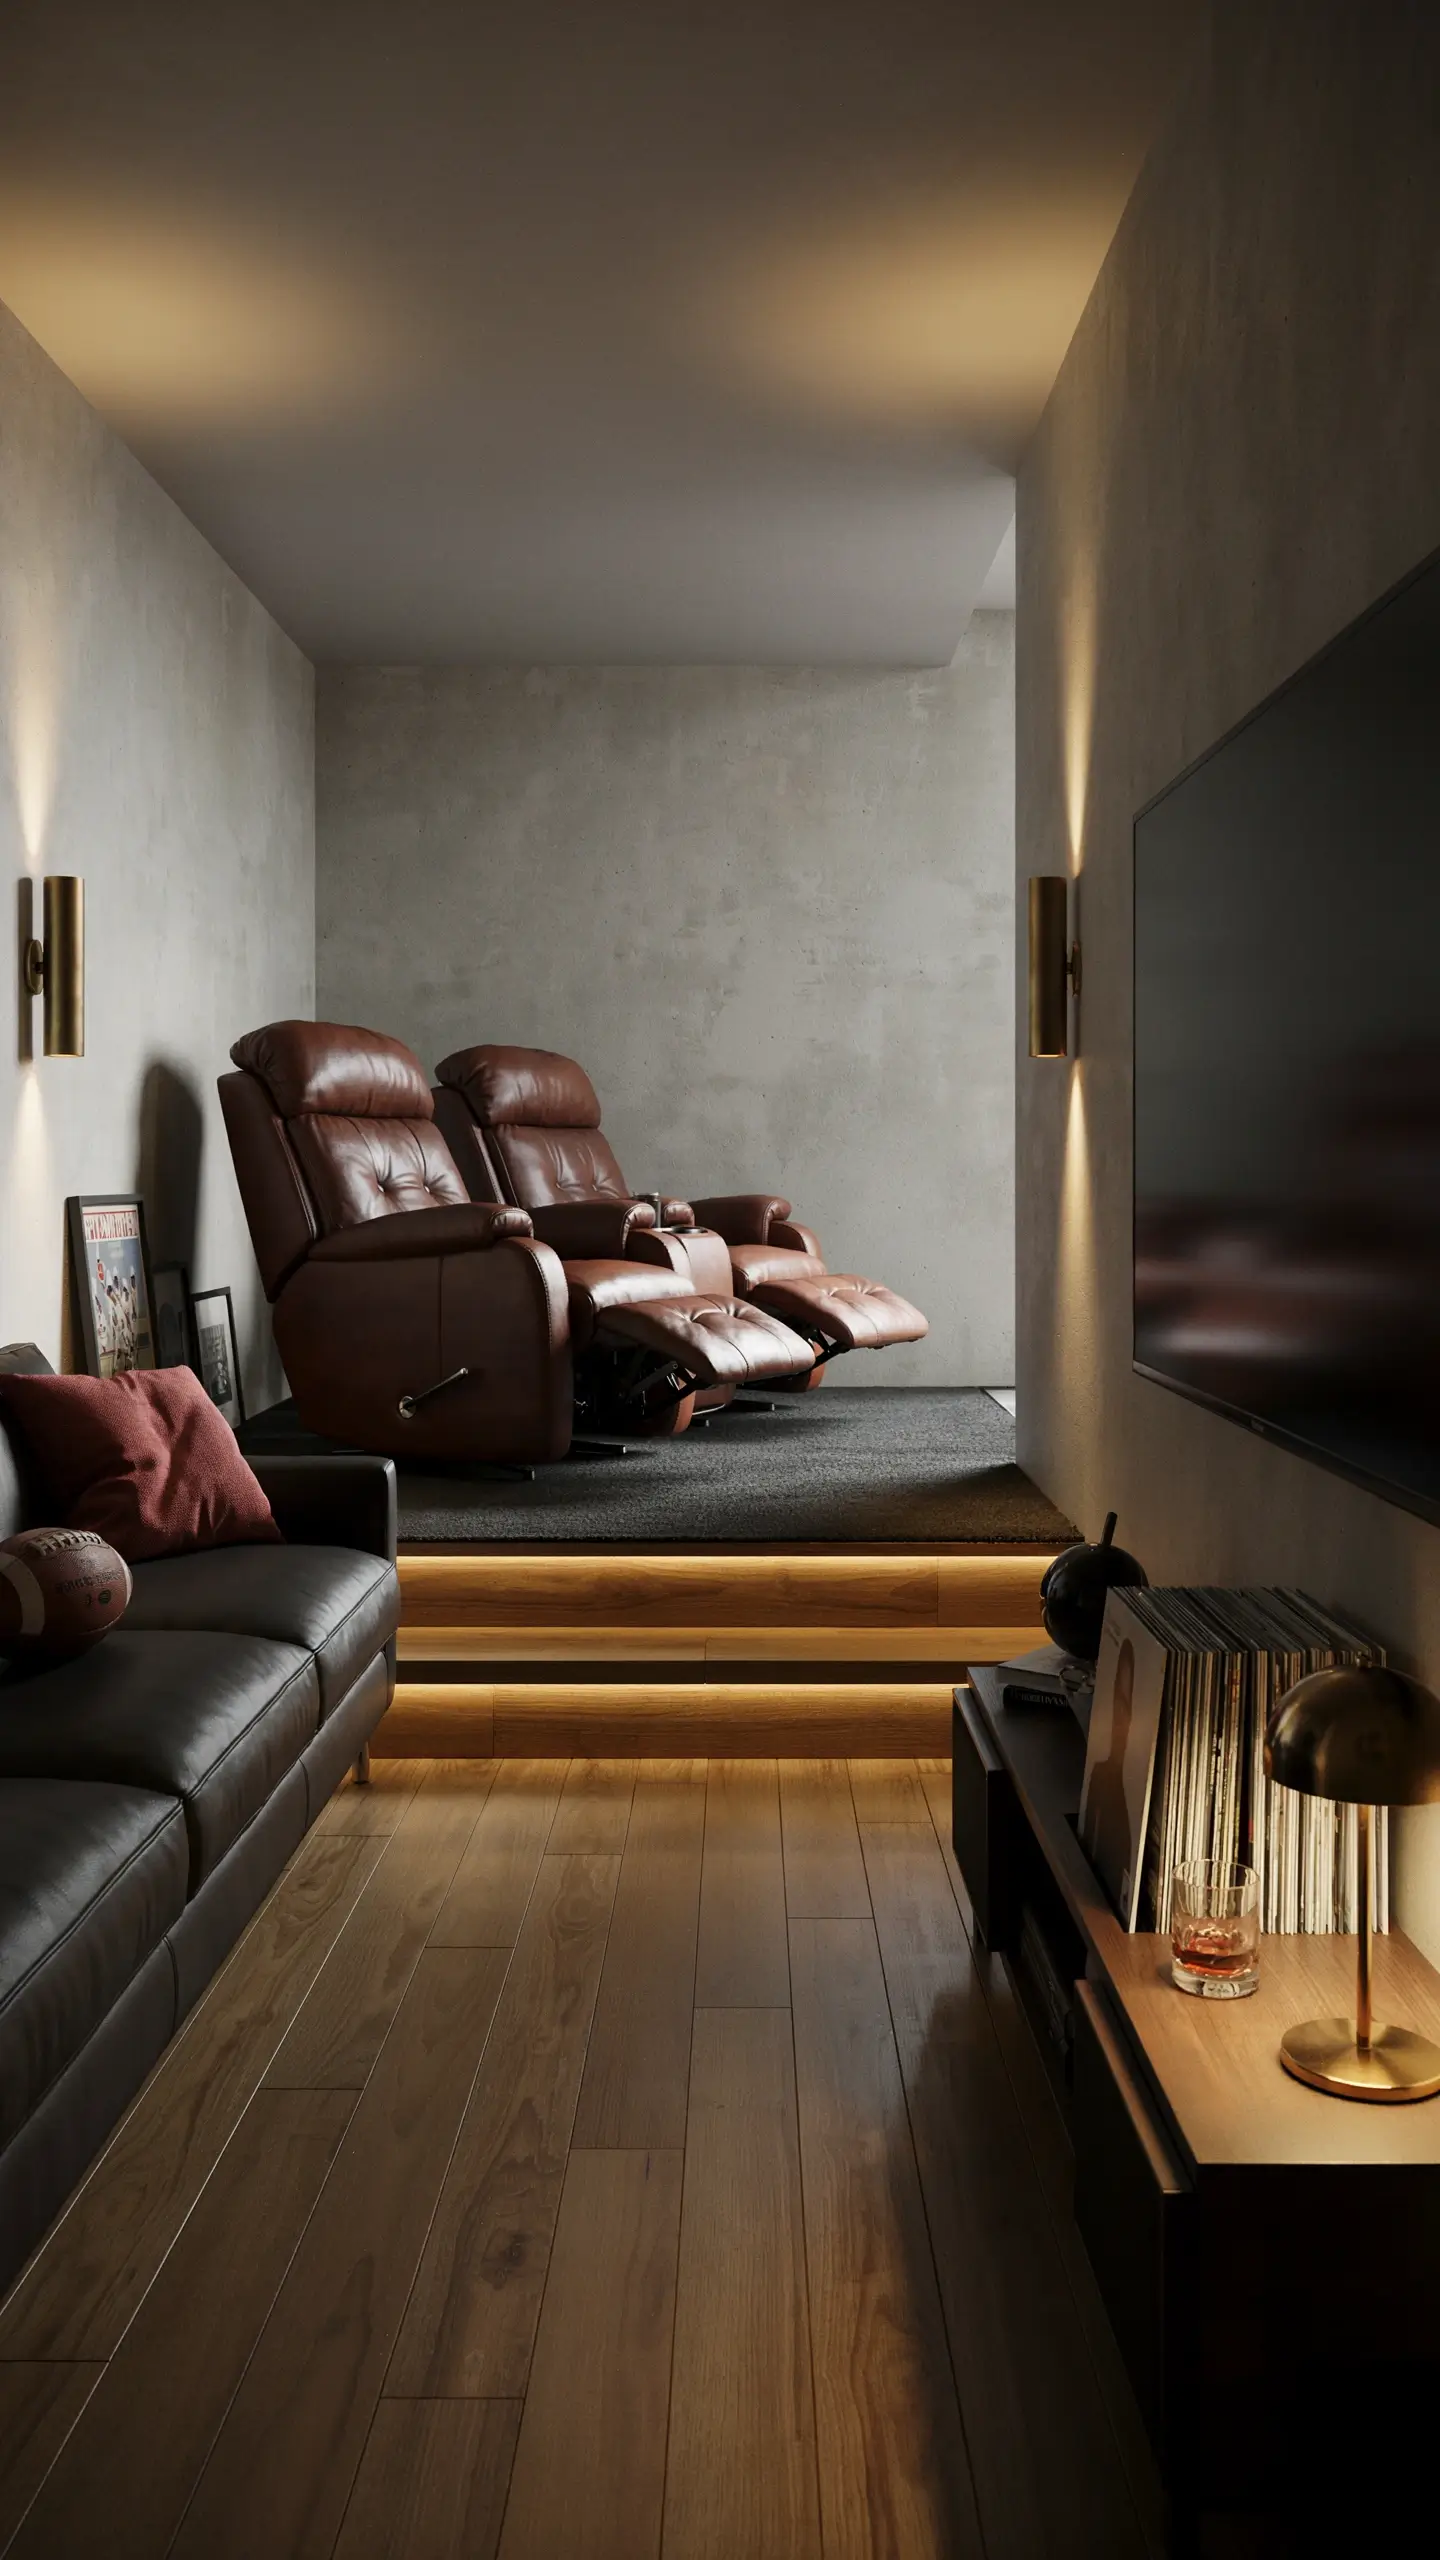
This one takes a weekend and about $300 in lumber, but the visual payoff is massive. Build a simple 8-inch platform at the back of the room and place your secondary seating there, whether it’s a pair of recliners or bar stools along a counter. Suddenly you have actual stadium-style depth in the room, and everyone has a good sightline. Cover the platform in the same flooring as the rest of the room or use a contrasting carpet to define the zone.
The Gaming Man Cave
- Create a True Gaming Corner with Acoustic Panels
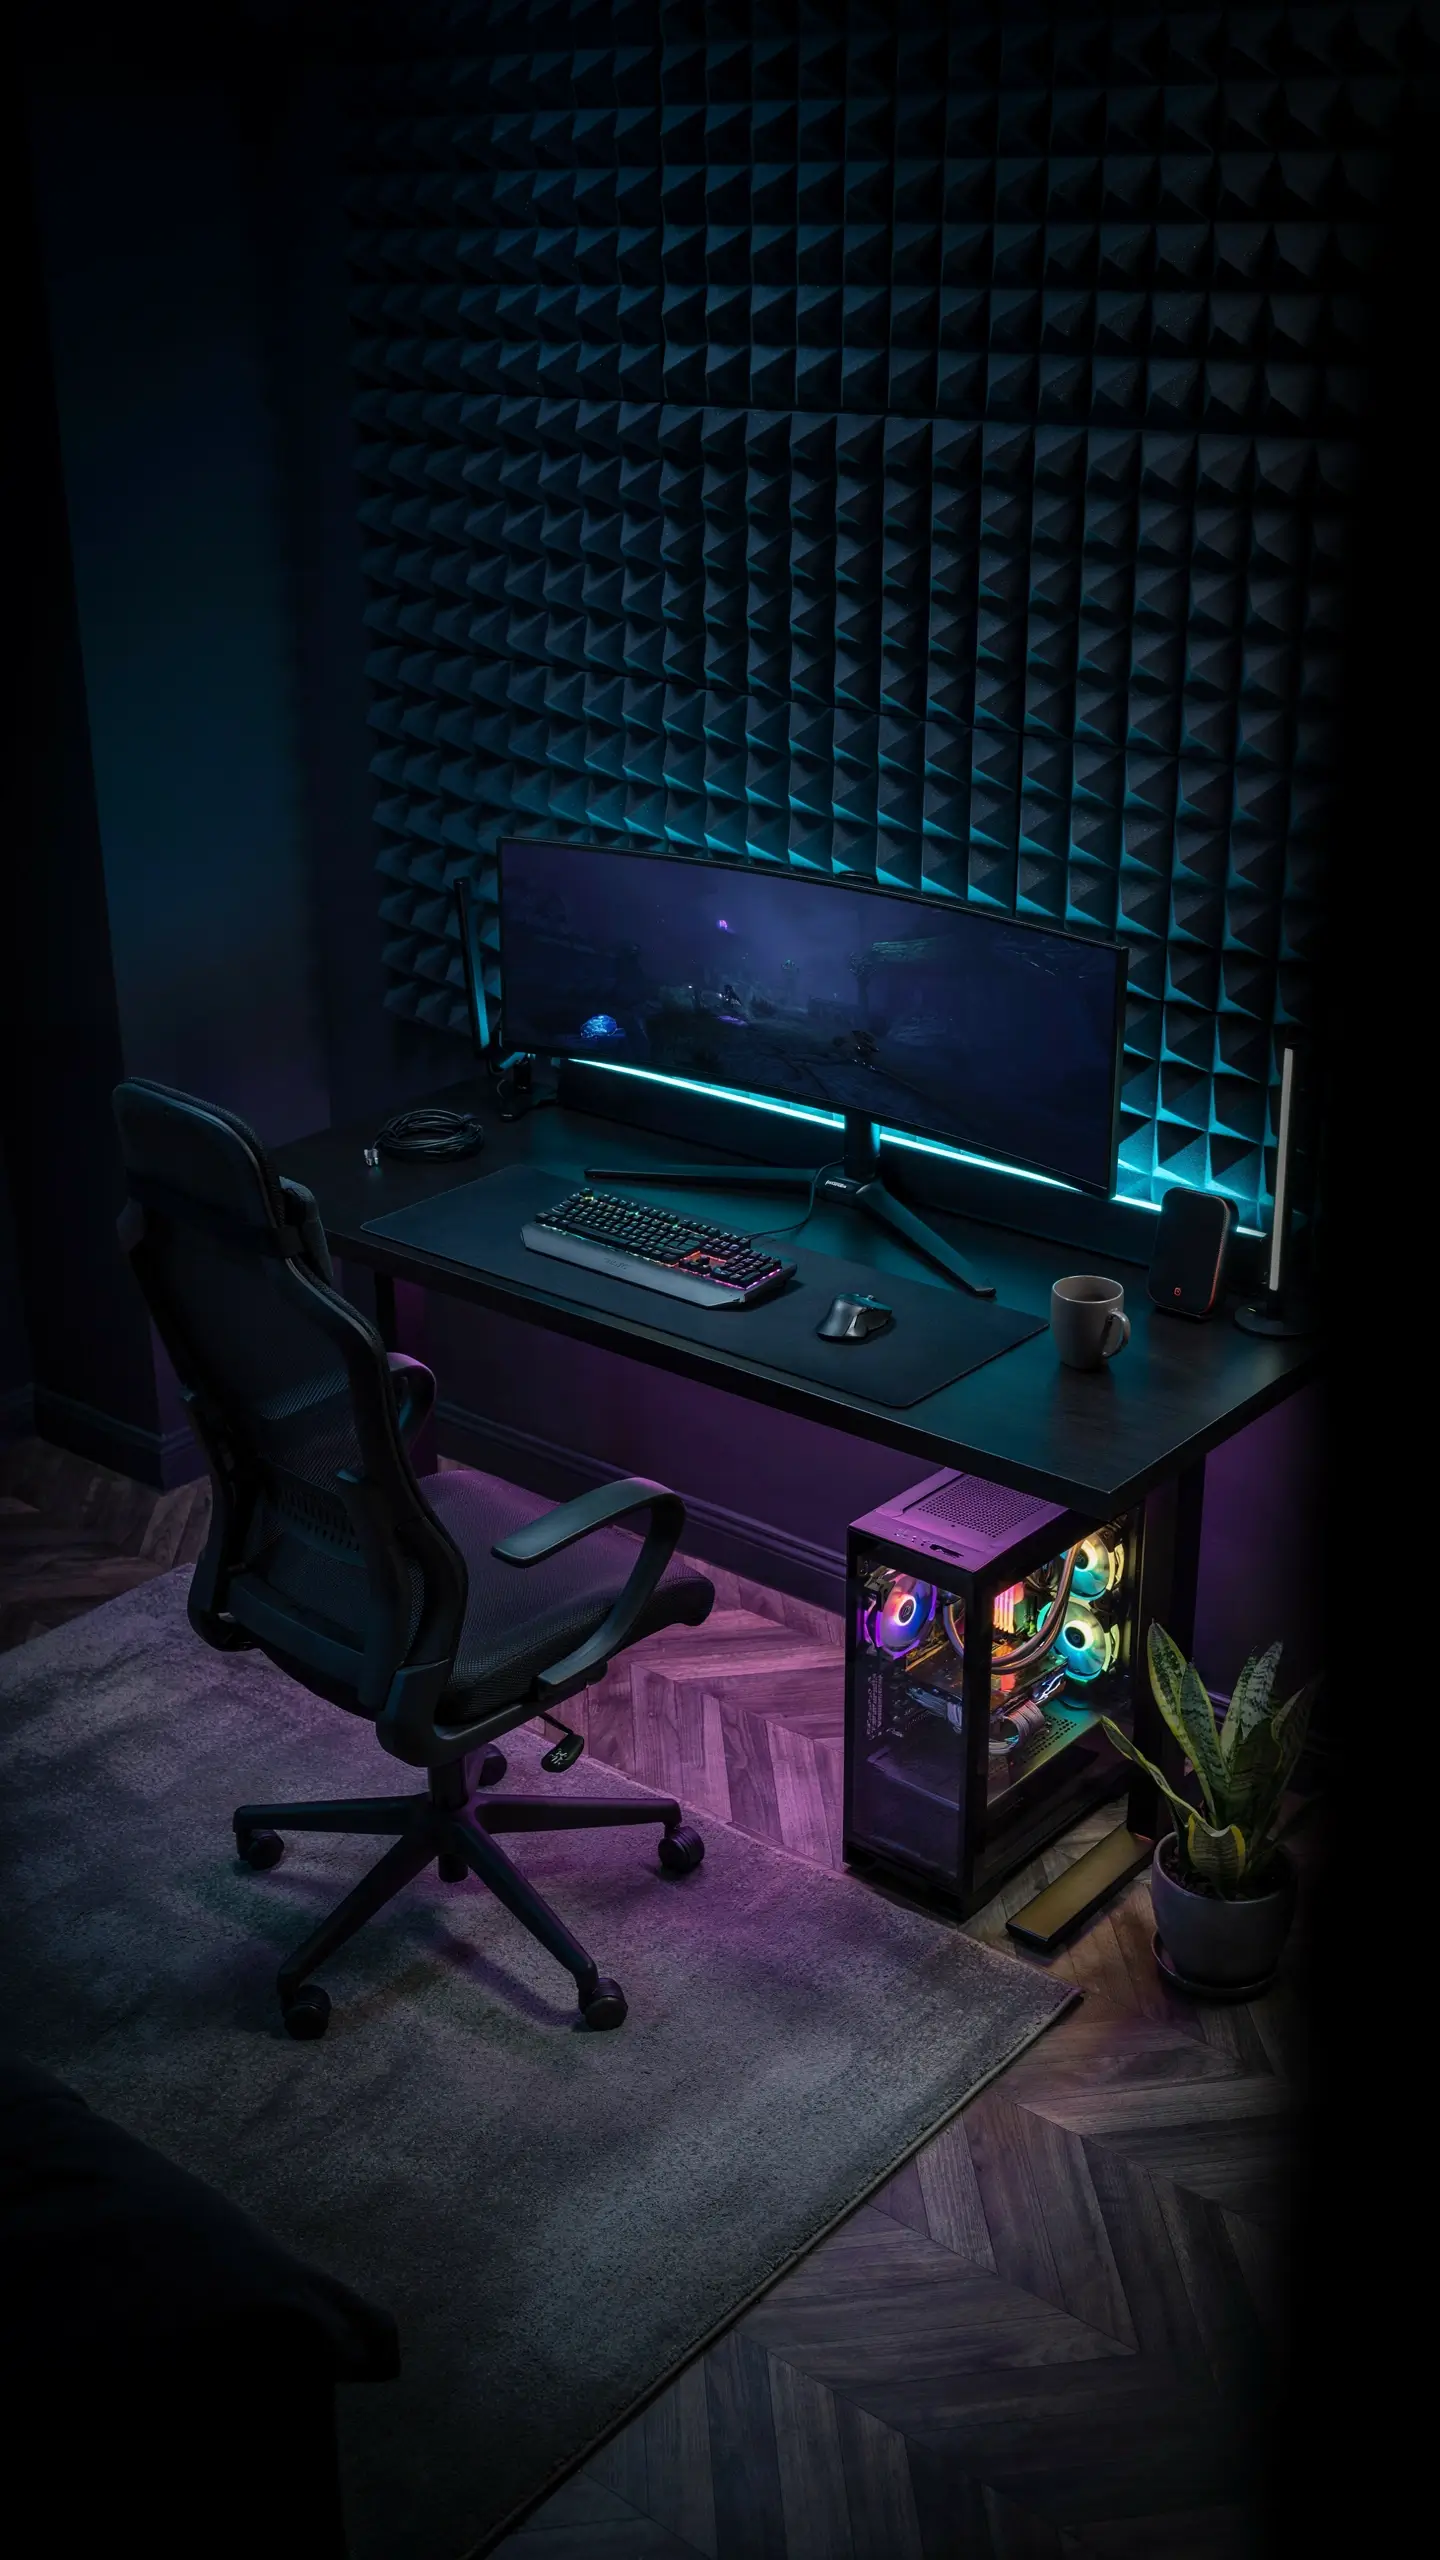
Most gaming rooms look unfinished because they’re loud and echo badly. Acoustic foam panels (the pyramid or wedge style) run $30-$80 for a pack that covers 12 square feet. Mount them on the wall behind your main screen and on the side walls. They kill echo, improve game audio noticeably, and, in dark colors like charcoal or navy, they look like intentional design rather than an afterthought. Pair this with a good gaming chair (budget-friendly Respawn and Mavix chairs start around $150-$200 and are more comfortable than most $400 “gamer” chairs) and a monitor arm to free up desk space.
- Build a Retro Arcade Corner
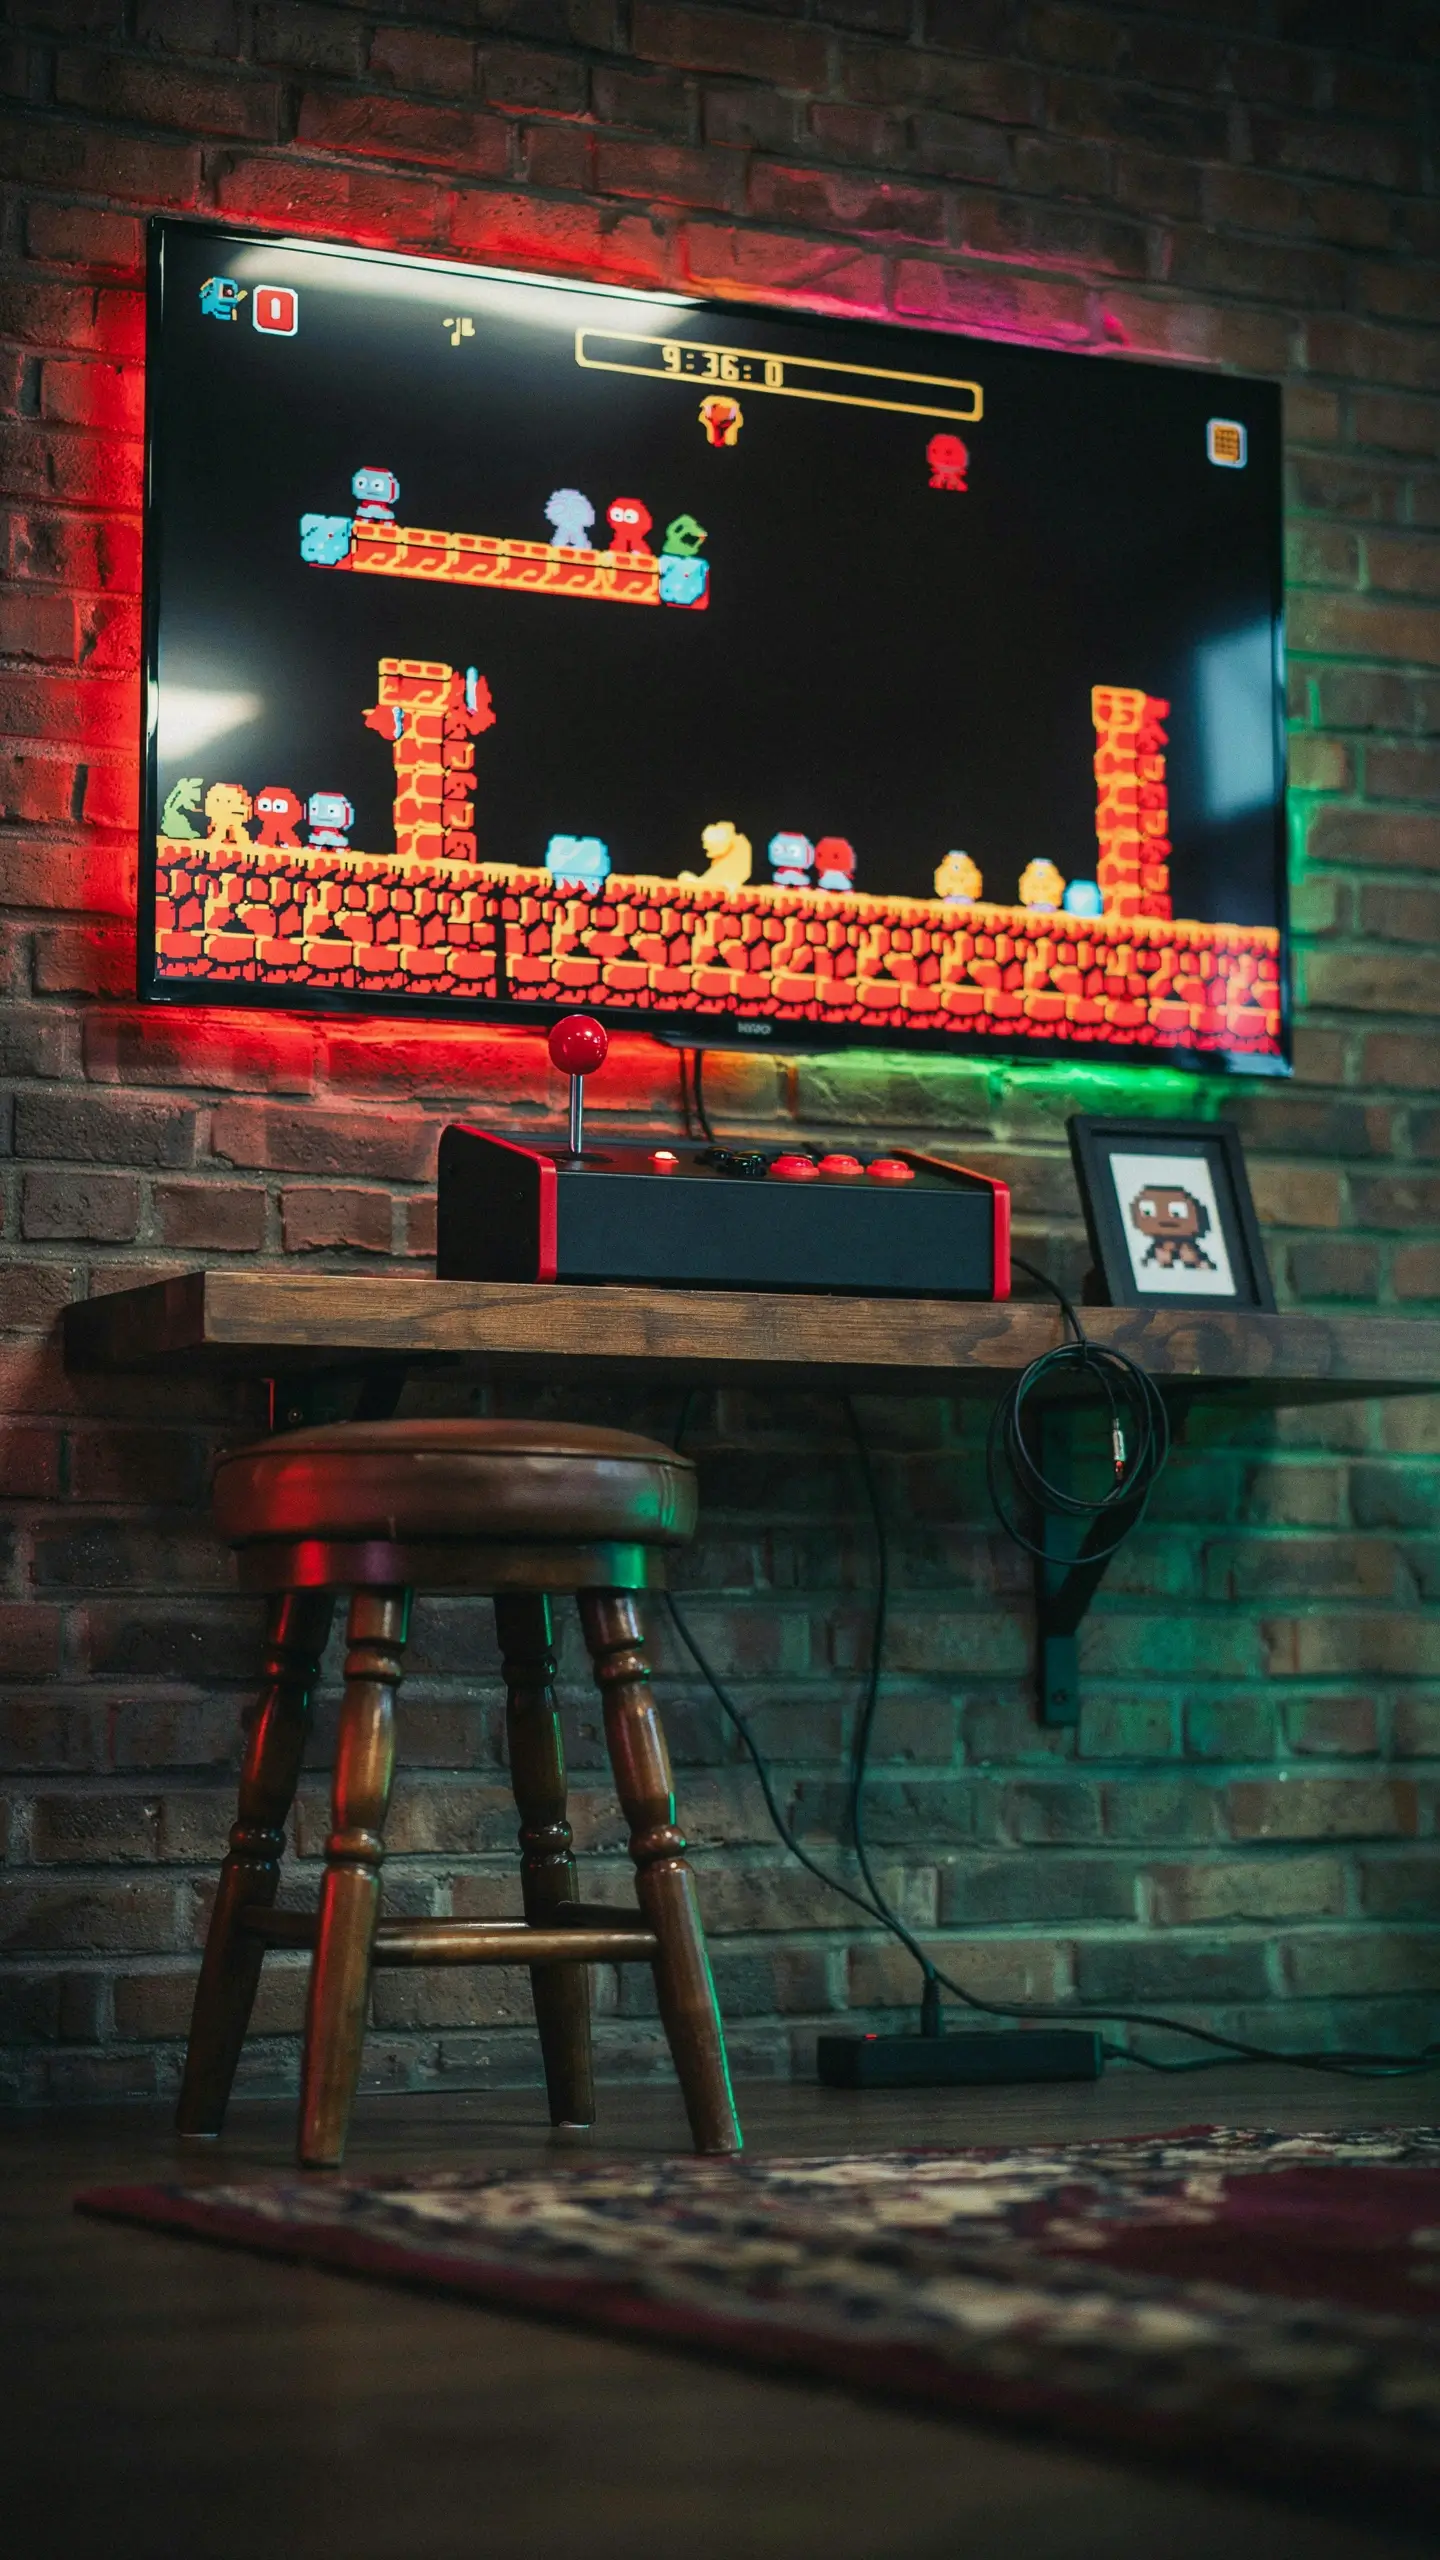
You don’t need a full arcade cabinet (though they’re satisfying if you have the room and $200-$400 for a used machine). A much cheaper and more flexible option: a 43-inch wall-mounted screen with a USB bartop arcade stick loaded with emulator software. This can be set up for under $100 if you already have a spare screen, and it gives the same visual energy as a full arcade cabinet. Add a strip of LED lighting around the screen and a stool in front of it, and you have a dedicated retro corner that’s one of the most pinnable spots in any man cave.
- Use LED Bias Lighting Everywhere
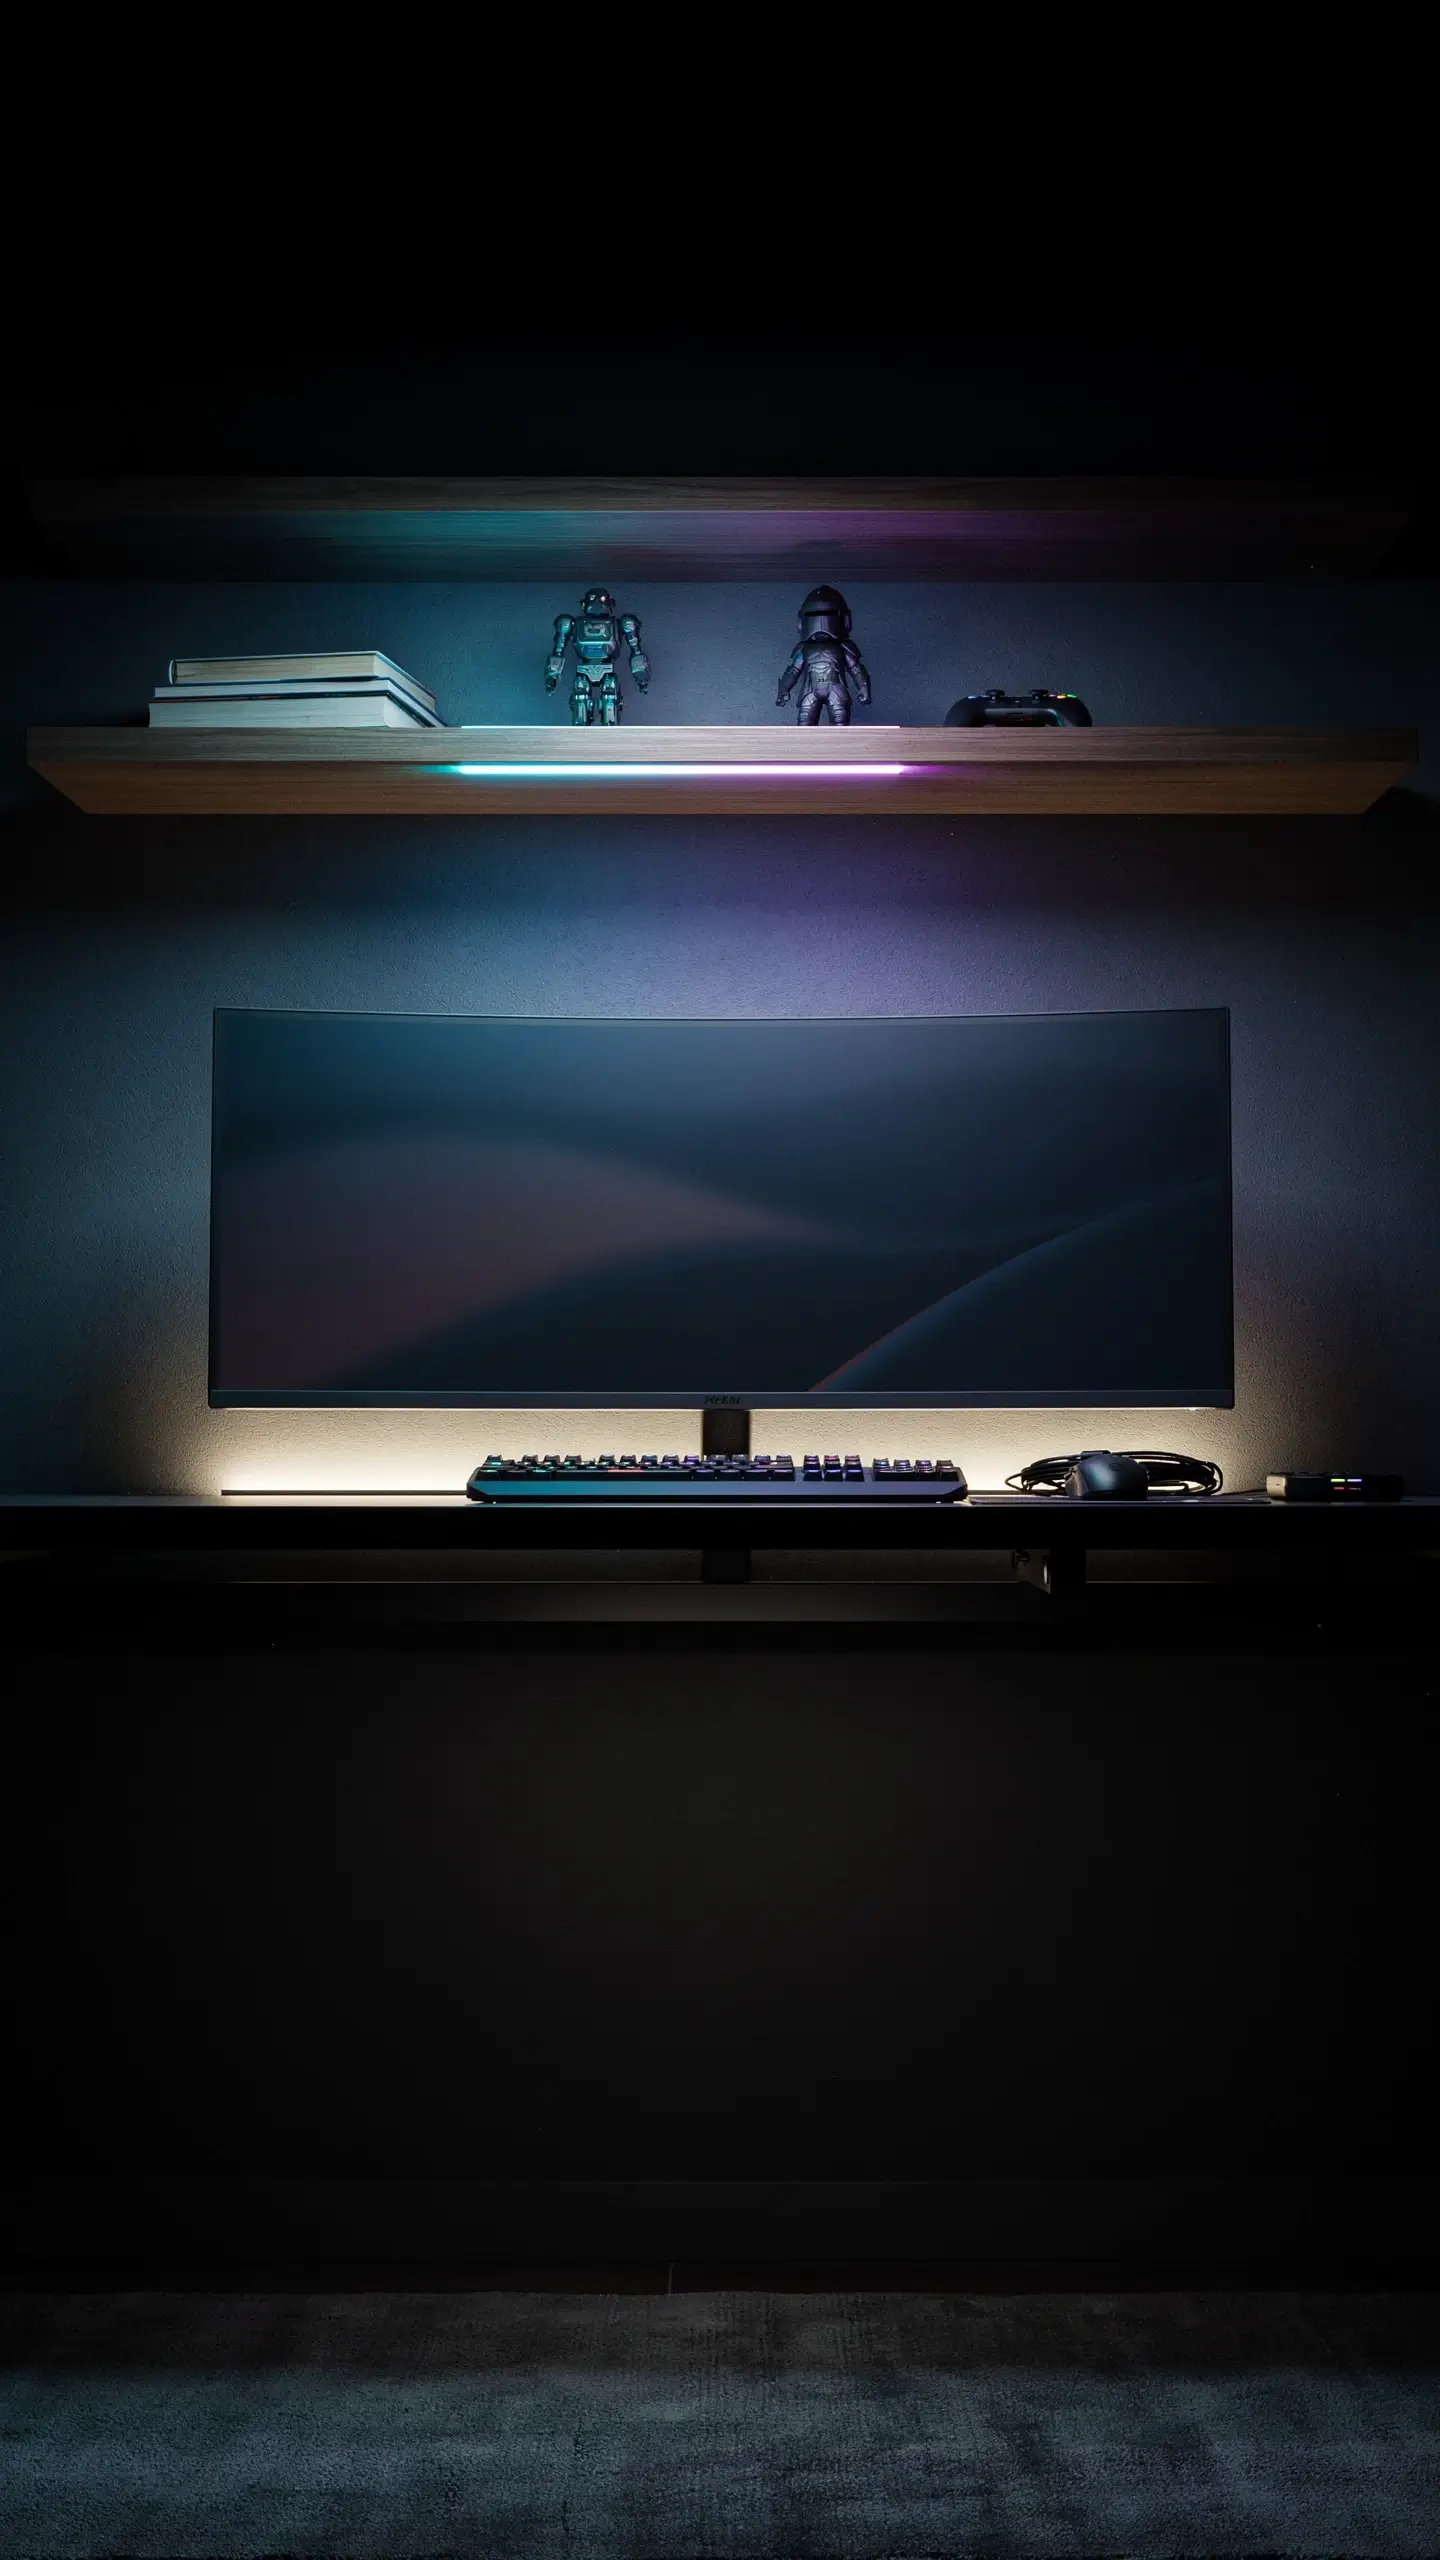
This is the single cheapest upgrade that makes a gaming room look like something from a YouTube setup tour. LED strip lights ($10-$20 per strip) mounted behind your TV, gaming monitor, shelving, and desk create a halo effect that looks expensive and reduces eye strain during long sessions. Warm white (2700K) throughout the room, and a color-changing strip (look for Govee or Philips Hue Play) behind the screen. The effect in photos is genuinely stunning.
The Home Theater Man Cave
- Go Projector Instead of TV
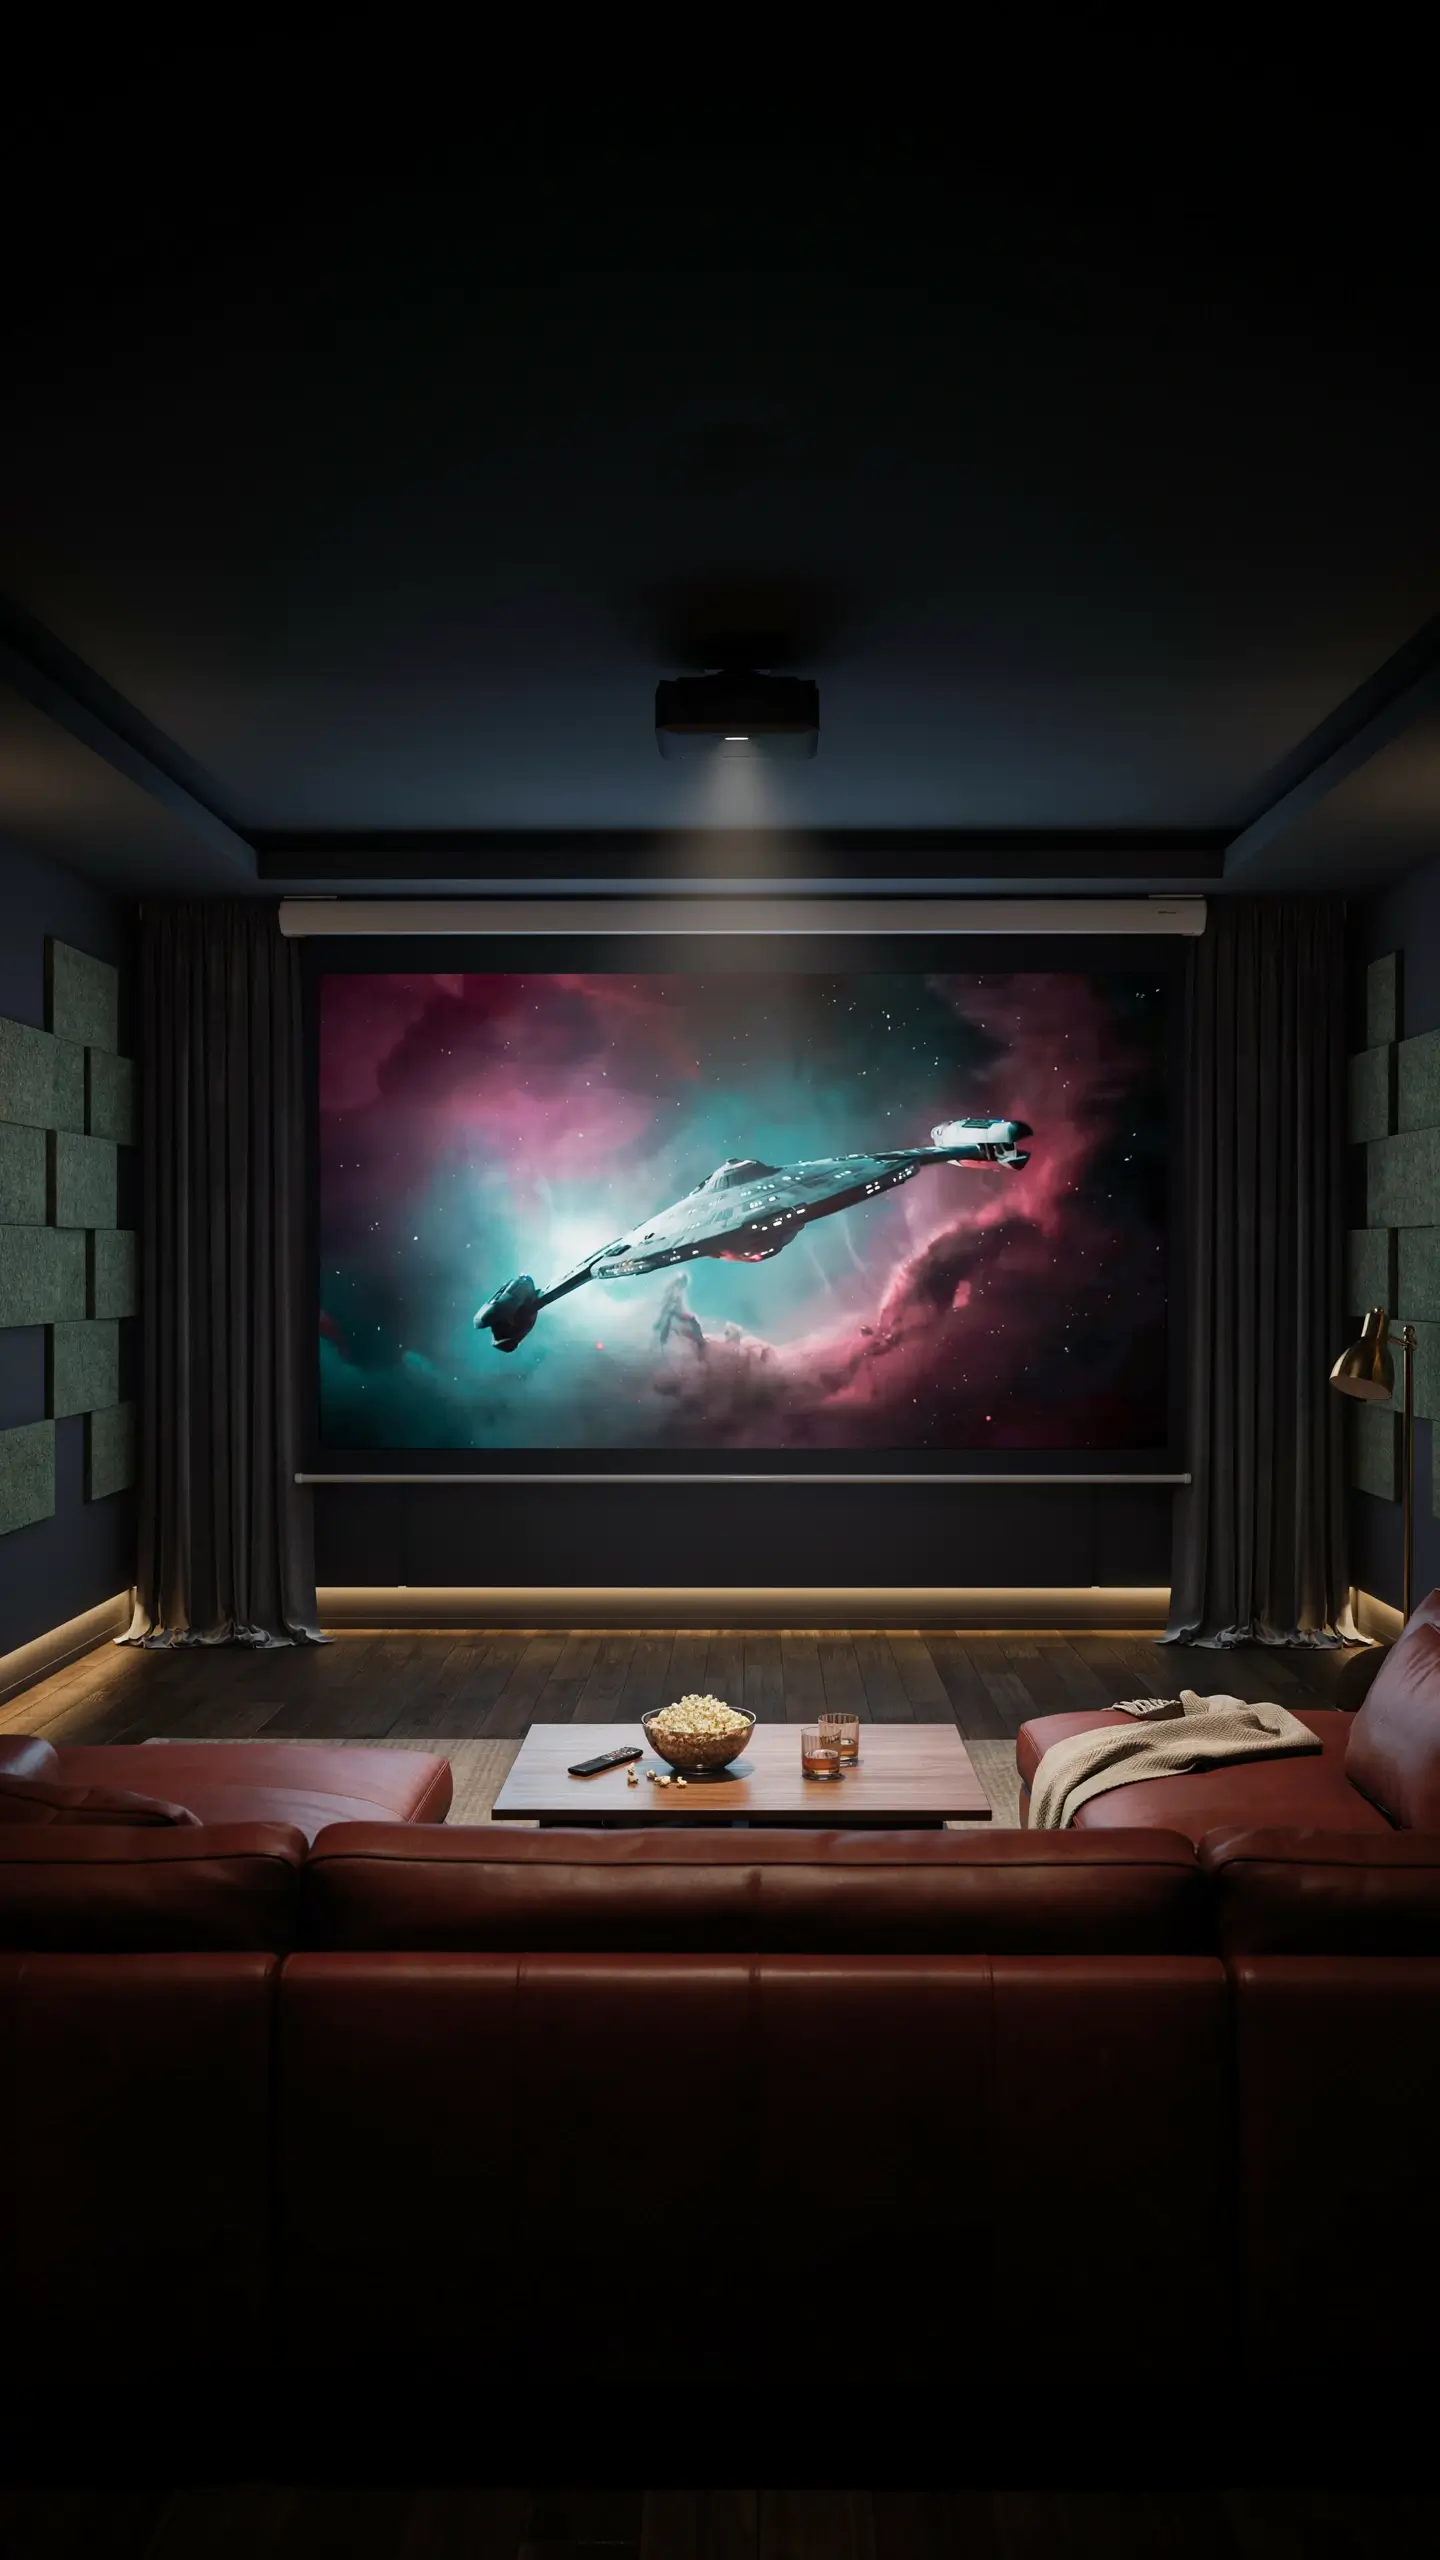
A 120-inch wall or projector screen ($80-$200 for a pull-down screen, or just paint a wall with projector screen paint) paired with a 1080p projector ($350-$600 for a budget model) creates a movie theater experience that no TV can match at the same price point. The catch: projectors need controlled light. Blackout curtains on any windows are non-negotiable. Get those right and your basement or windowless spare room becomes a legitimate home cinema.
- Add a Snack Bar Station Behind the Seating
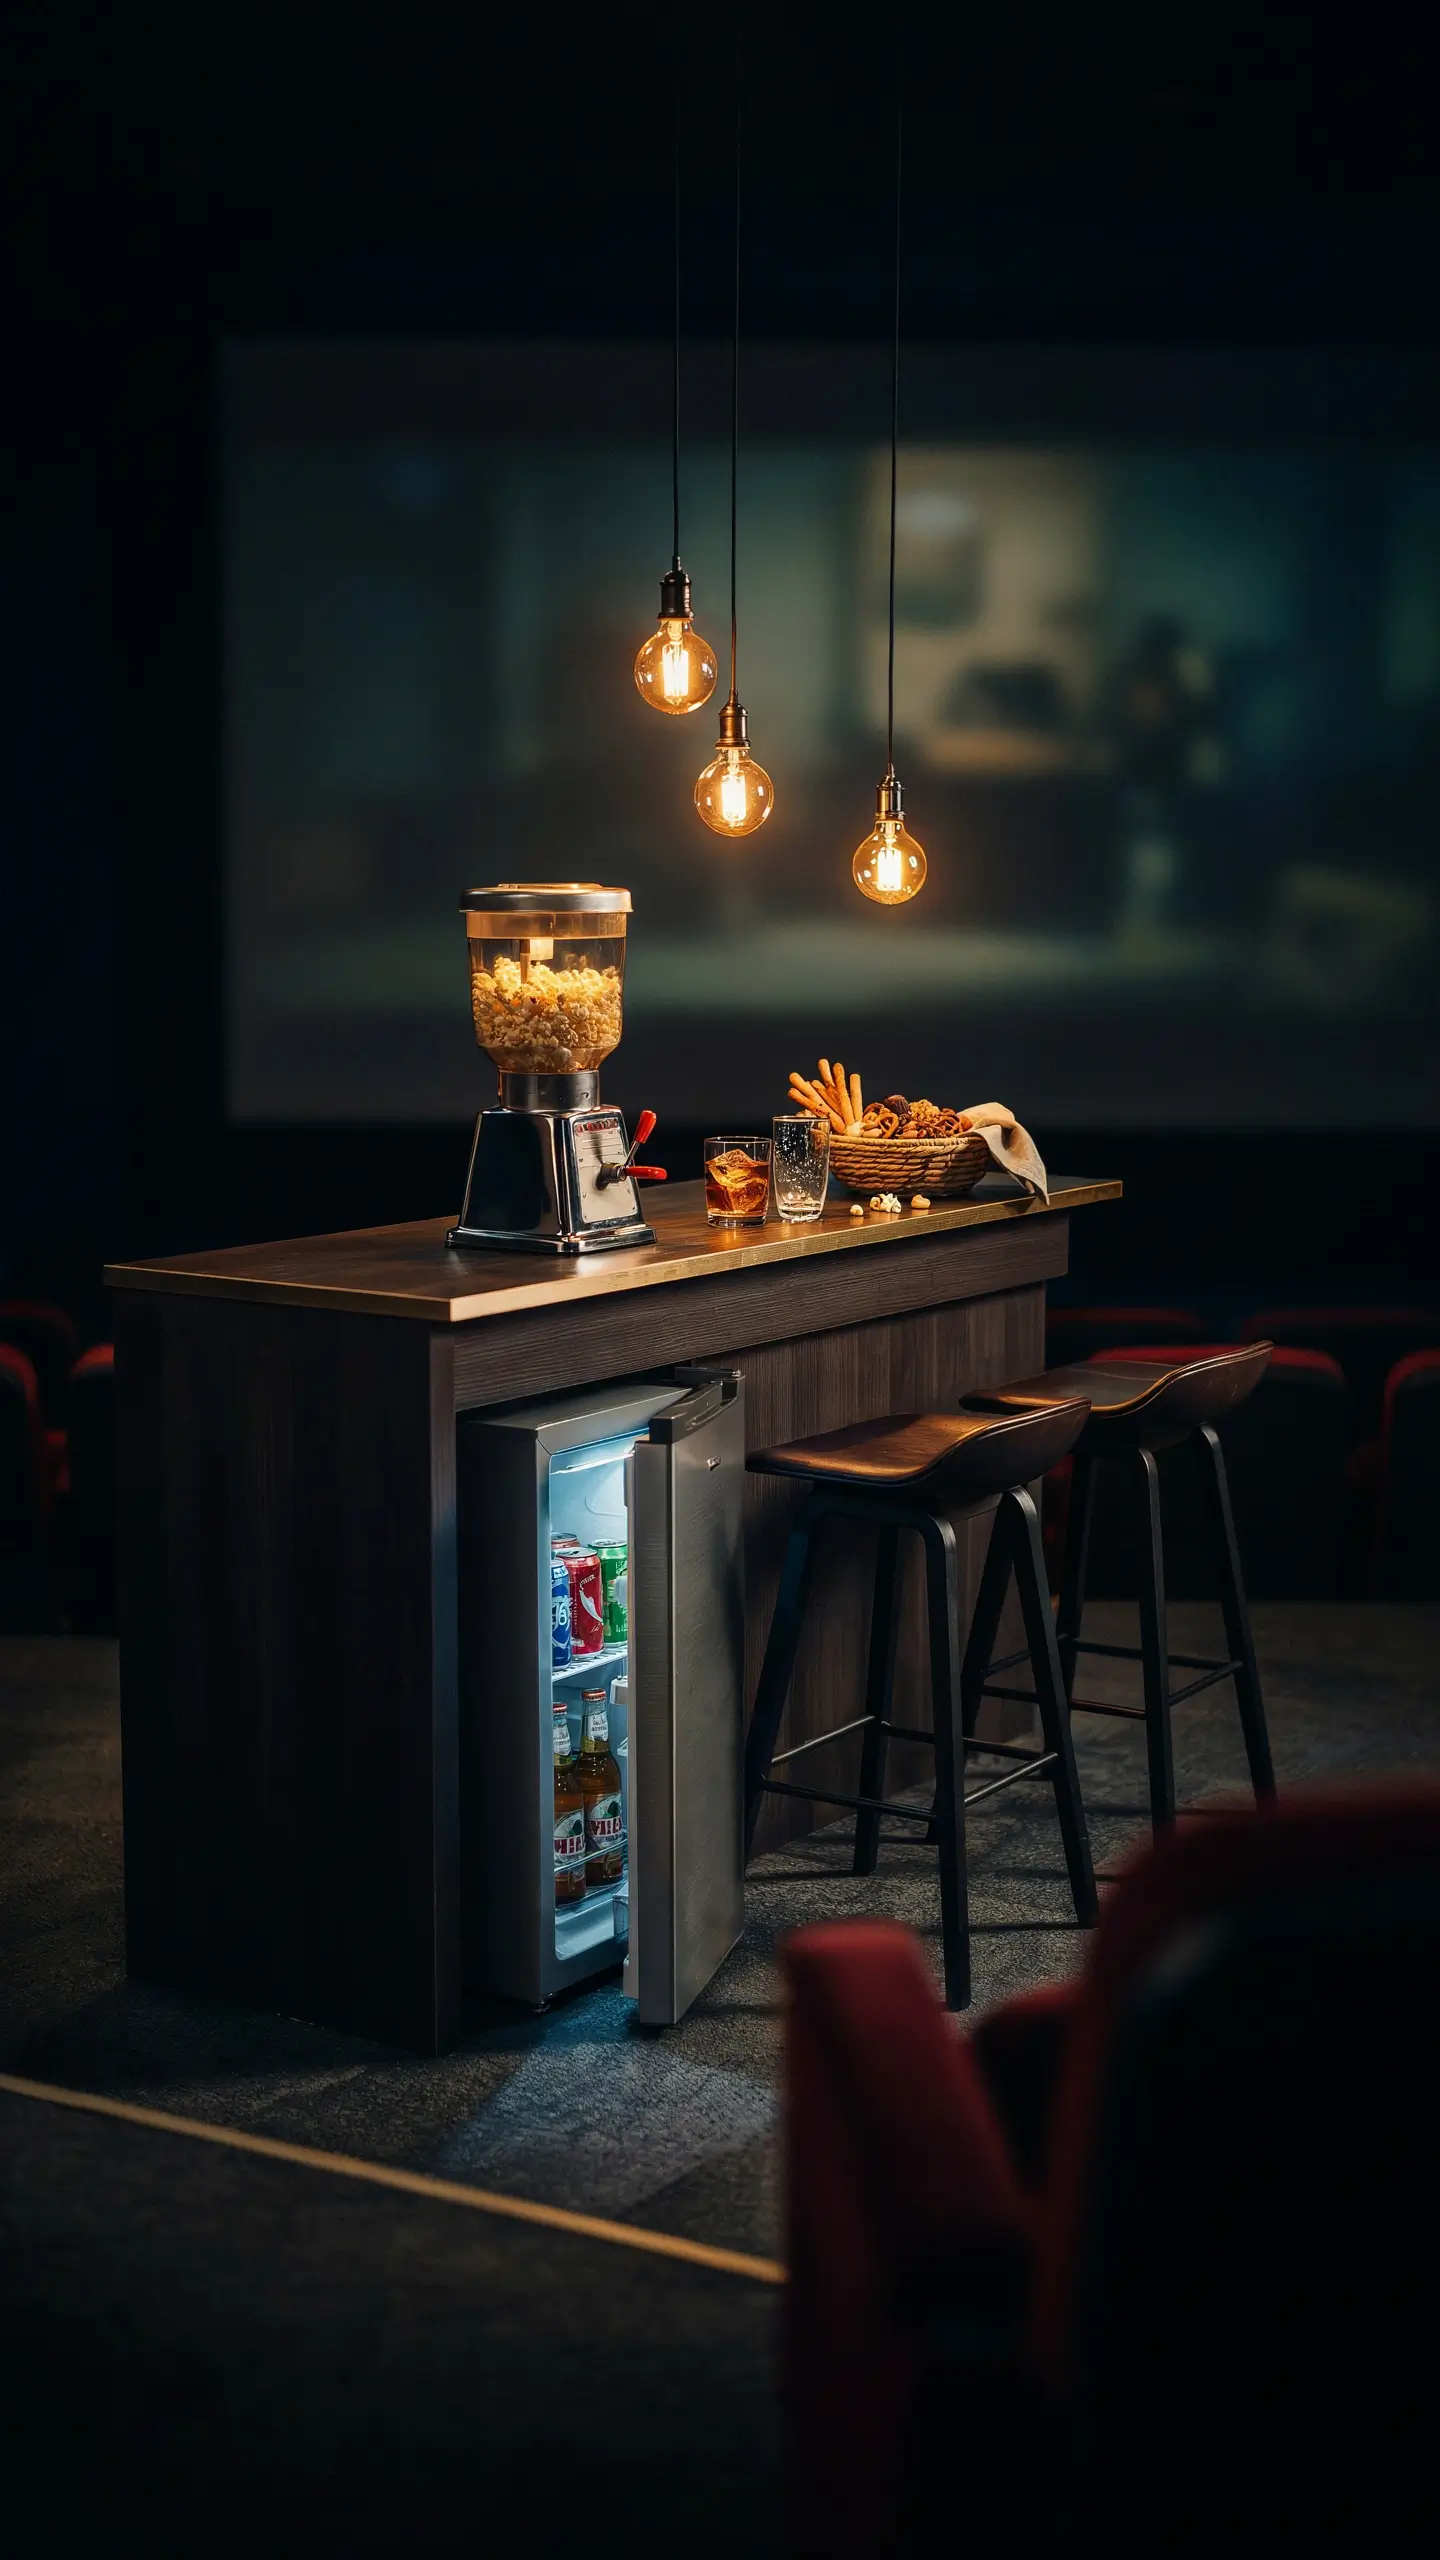
Position a small countertop or shelf at the back of the room with a popcorn machine ($40-$80 for a stovetop-style countertop model), a mini fridge, and a couple of bar stools. Guests can grab drinks without walking in front of the screen. It’s a small thing that makes the space feel thought-through rather than thrown together.
- Layer Your Seating Instead of Lining It Up
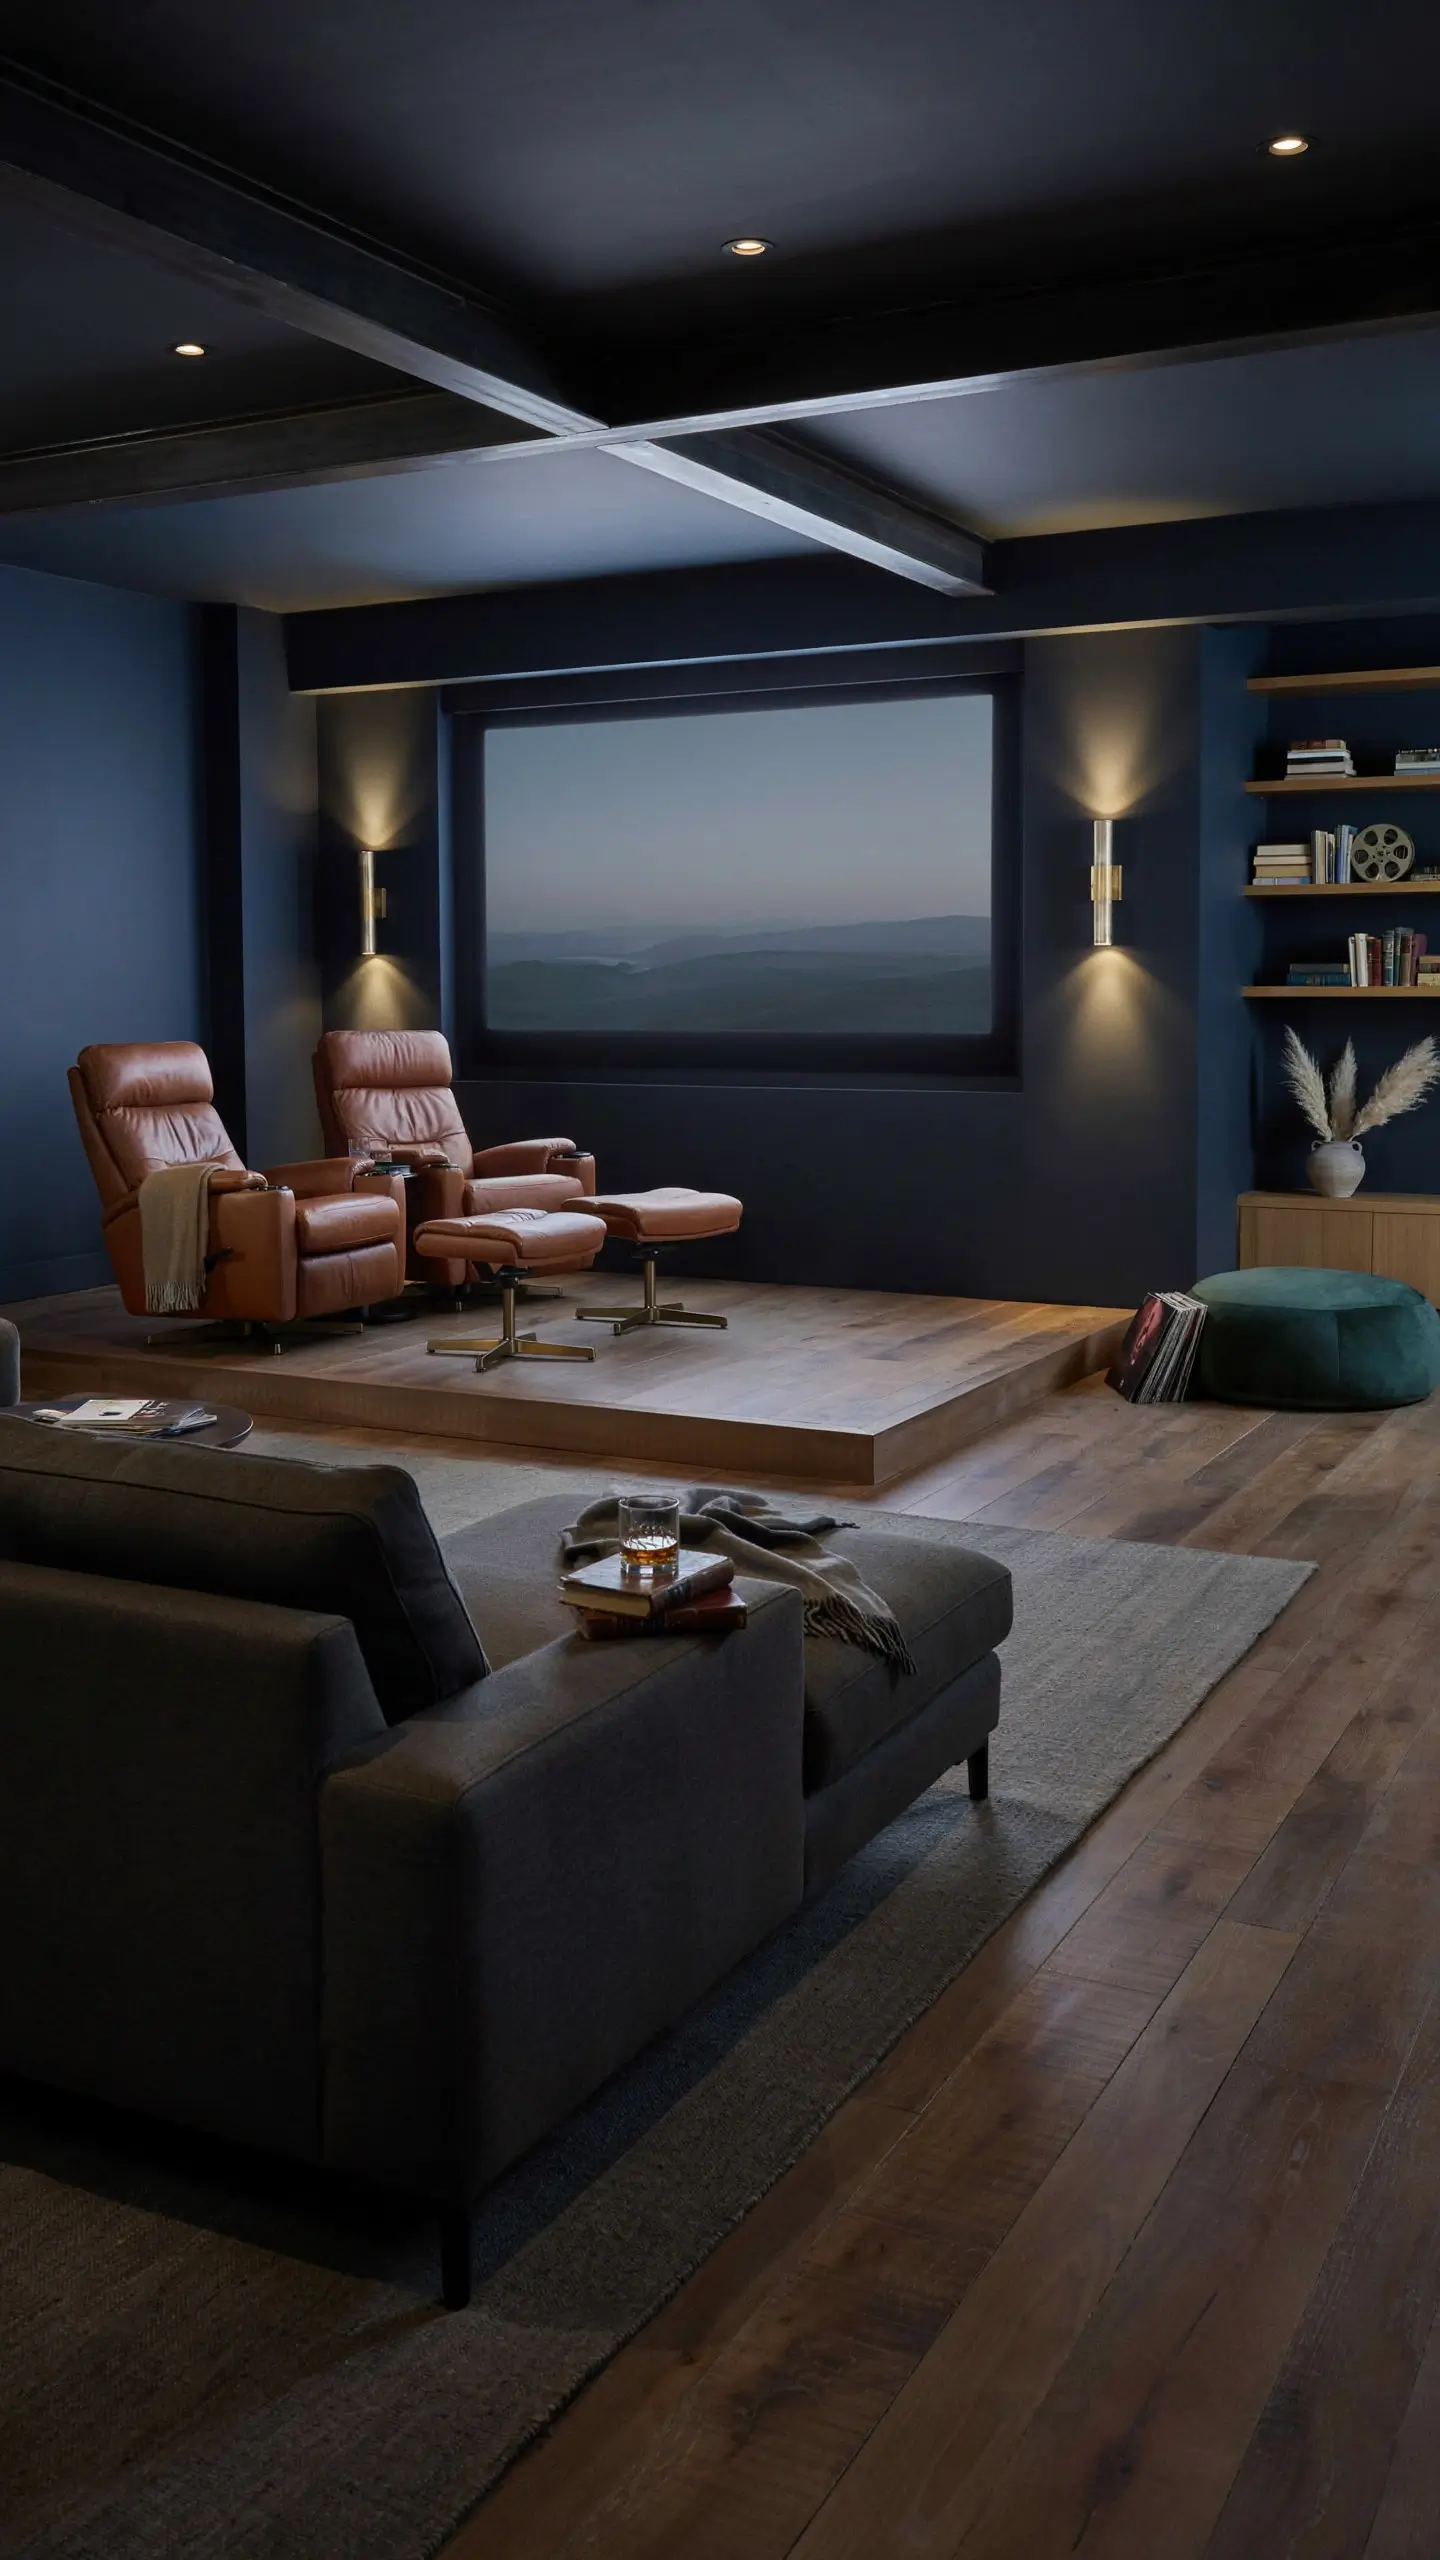
The most common home theater mistake is arranging all the seats in a single row against the back wall. Instead, use a sectional sofa at the front, a pair of recliners behind it at a slightly elevated level, and a bean bag or oversized floor pillow in the corner for the person who always wants to lie down. The different heights and textures make the room feel like a real space rather than a waiting room.
The Home Bar Man Cave
- Theme Your Bar Around a Specific Drink

Generic bars look like bar supply stores. The ones that stop you in your tracks are committed to something. A whiskey lounge with dark walnut shelving, leather stools, and Edison bulb pendants. A tiki bar with bamboo cane accents, woven pendant lights, and a grass skirt bar front. A classic Irish pub with dark wood paneling, vintage beer mirrors, and a chalkboard menu. Pick one thing and go all the way with it. The commitment is what makes it look designed rather than decorated.
- Build a Kegerator Station
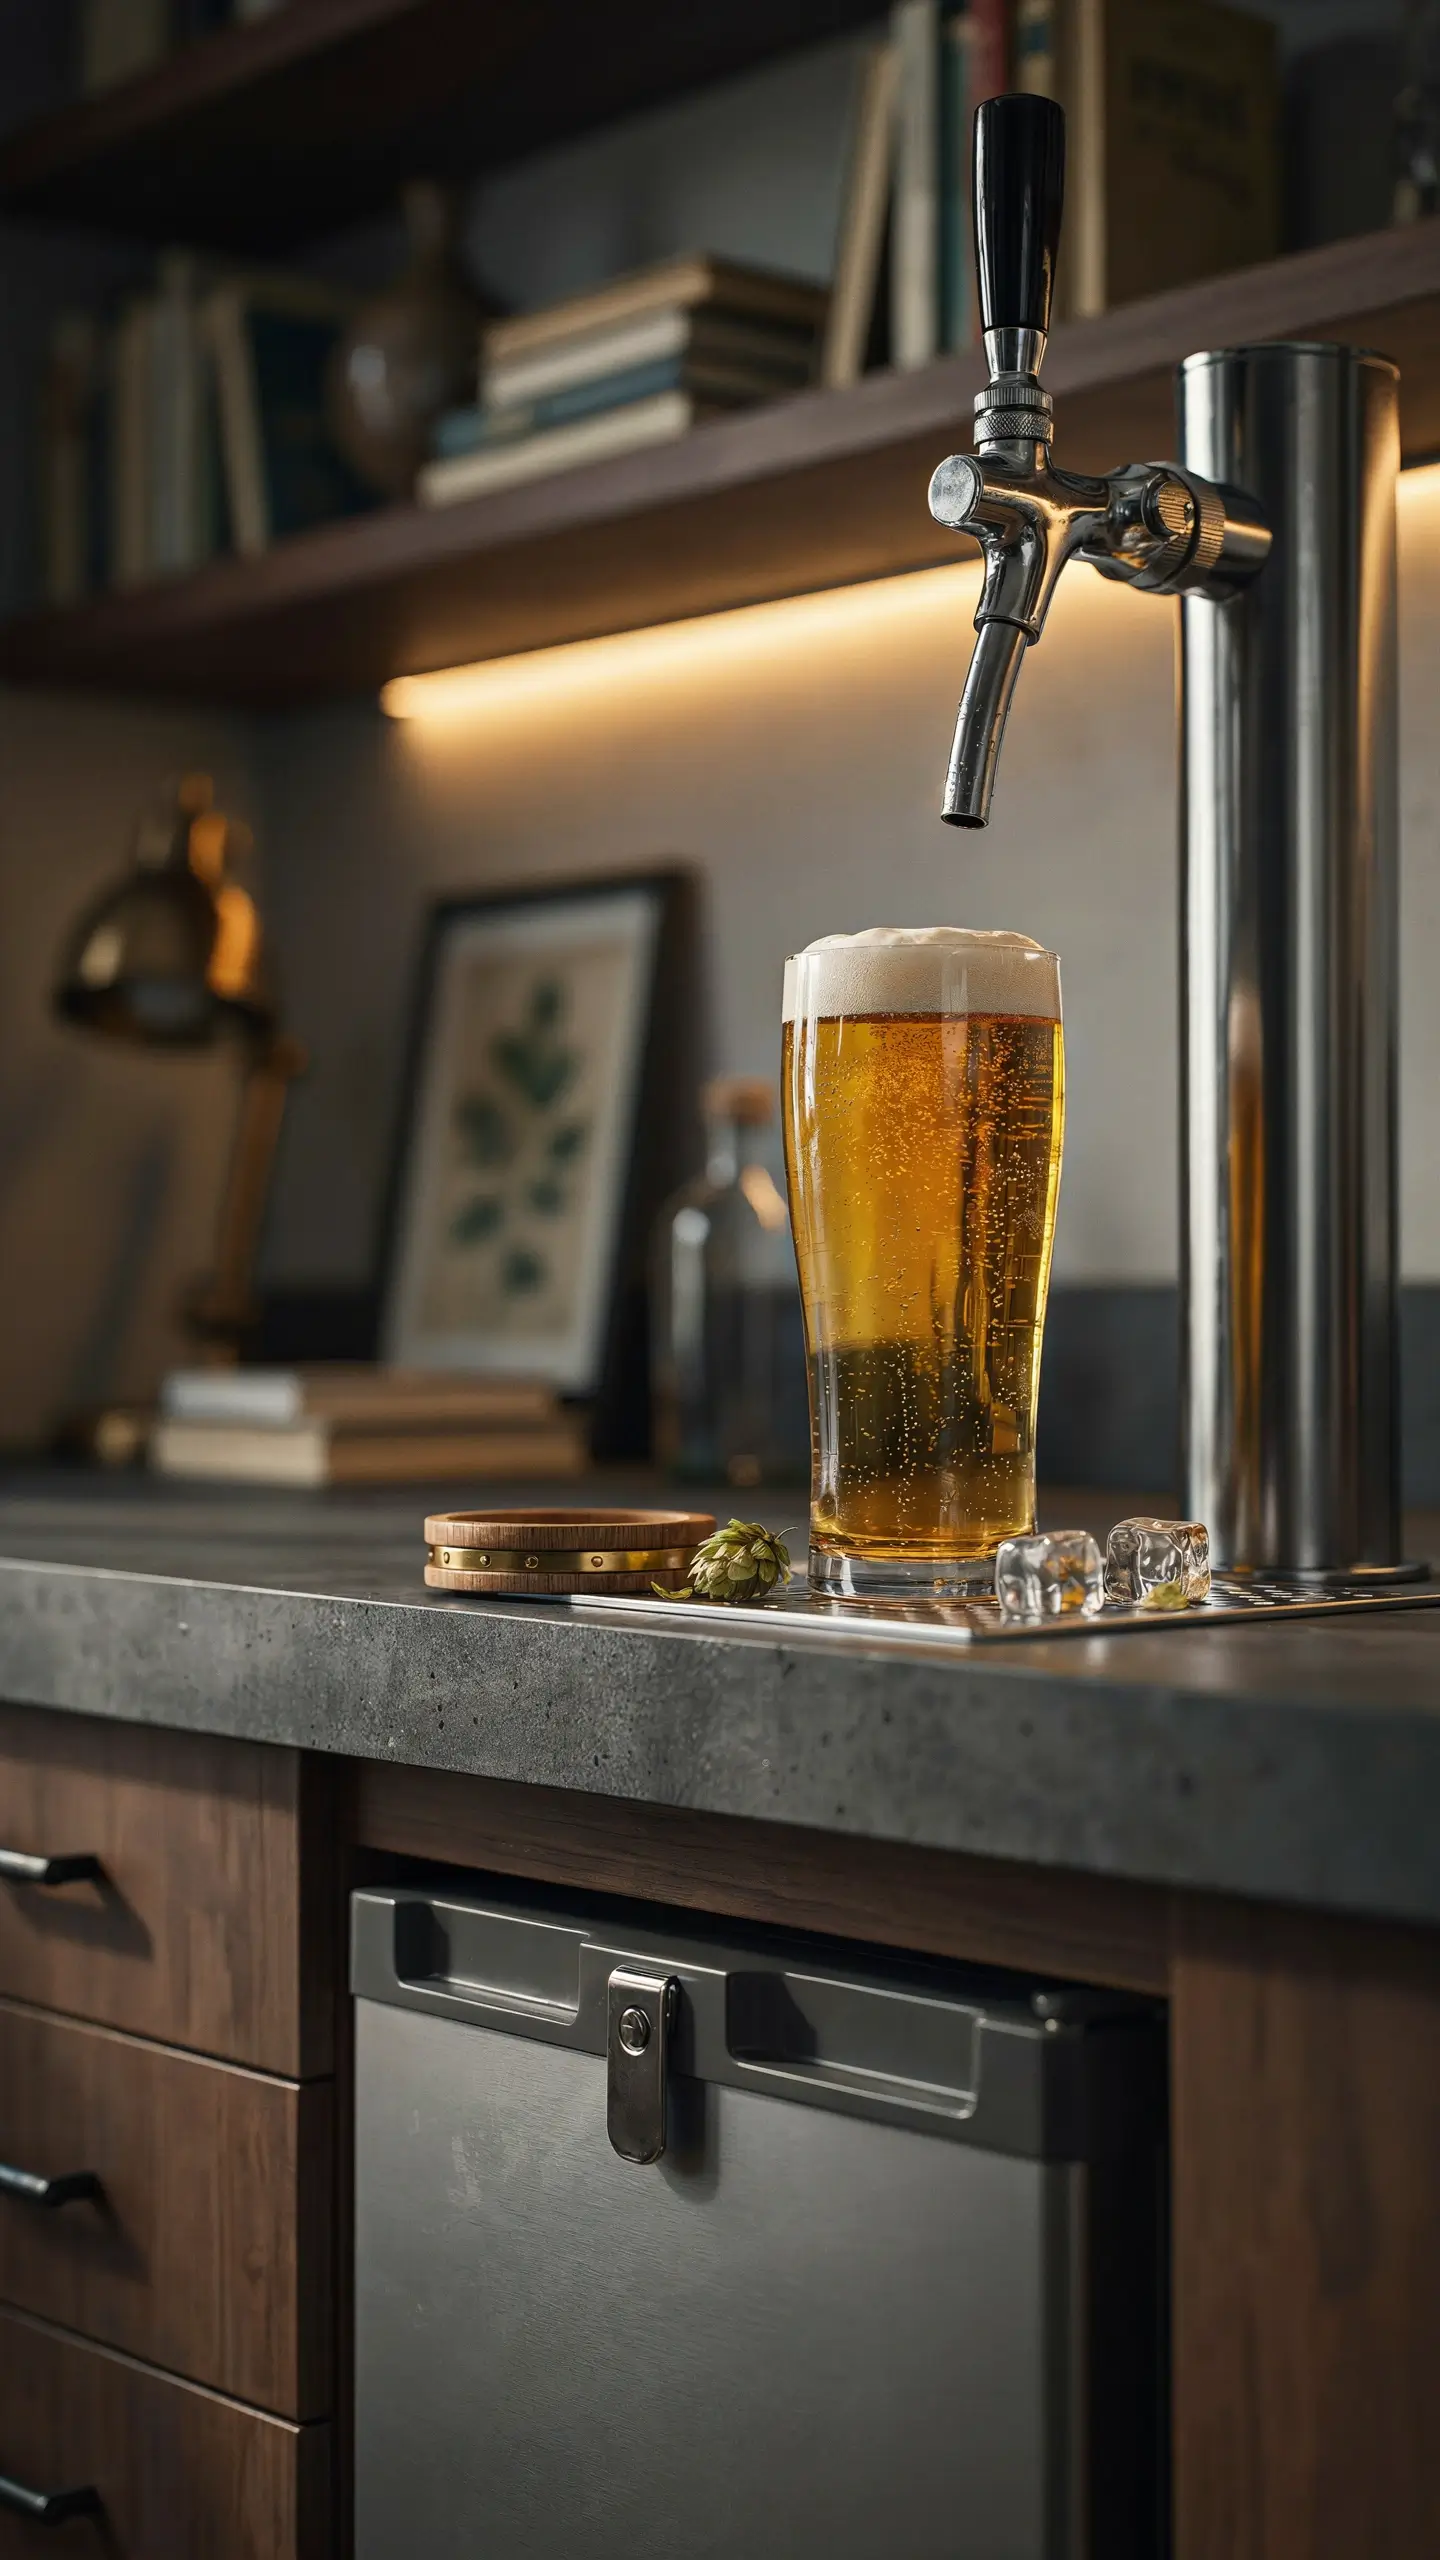
A chest freezer kegerator conversion ($150-$200 for the chest freezer, $80-$150 for the keg conversion kit) is one of those projects that sounds complicated but takes an afternoon. The result is a dedicated tap setup that makes any bar corner feel legitimate. Mount it under the bar counter and run the tap line through the countertop. Cold draft beer on tap in your own space is one of those things that sounds like a luxury until you have it, and then it becomes something you can’t imagine not having.
- Use Open Shelving to Display Your Collection

Floating shelves in a staggered arrangement, maybe three at different heights and lengths, turn a collection of bottles into a display wall. Backlit with LED strips, they glow like a high-end bar at night. Add a few interesting vessels you’d never actually drink (vintage decanters, an unusual bottle shape, a few cocktail books) to fill out the look. The styling principle is the same as bookshelves: vary the height, layer items in front of each other slightly, and don’t line everything up perfectly.
The Workshop / Maker Man Cave
- Build a Proper Workbench First
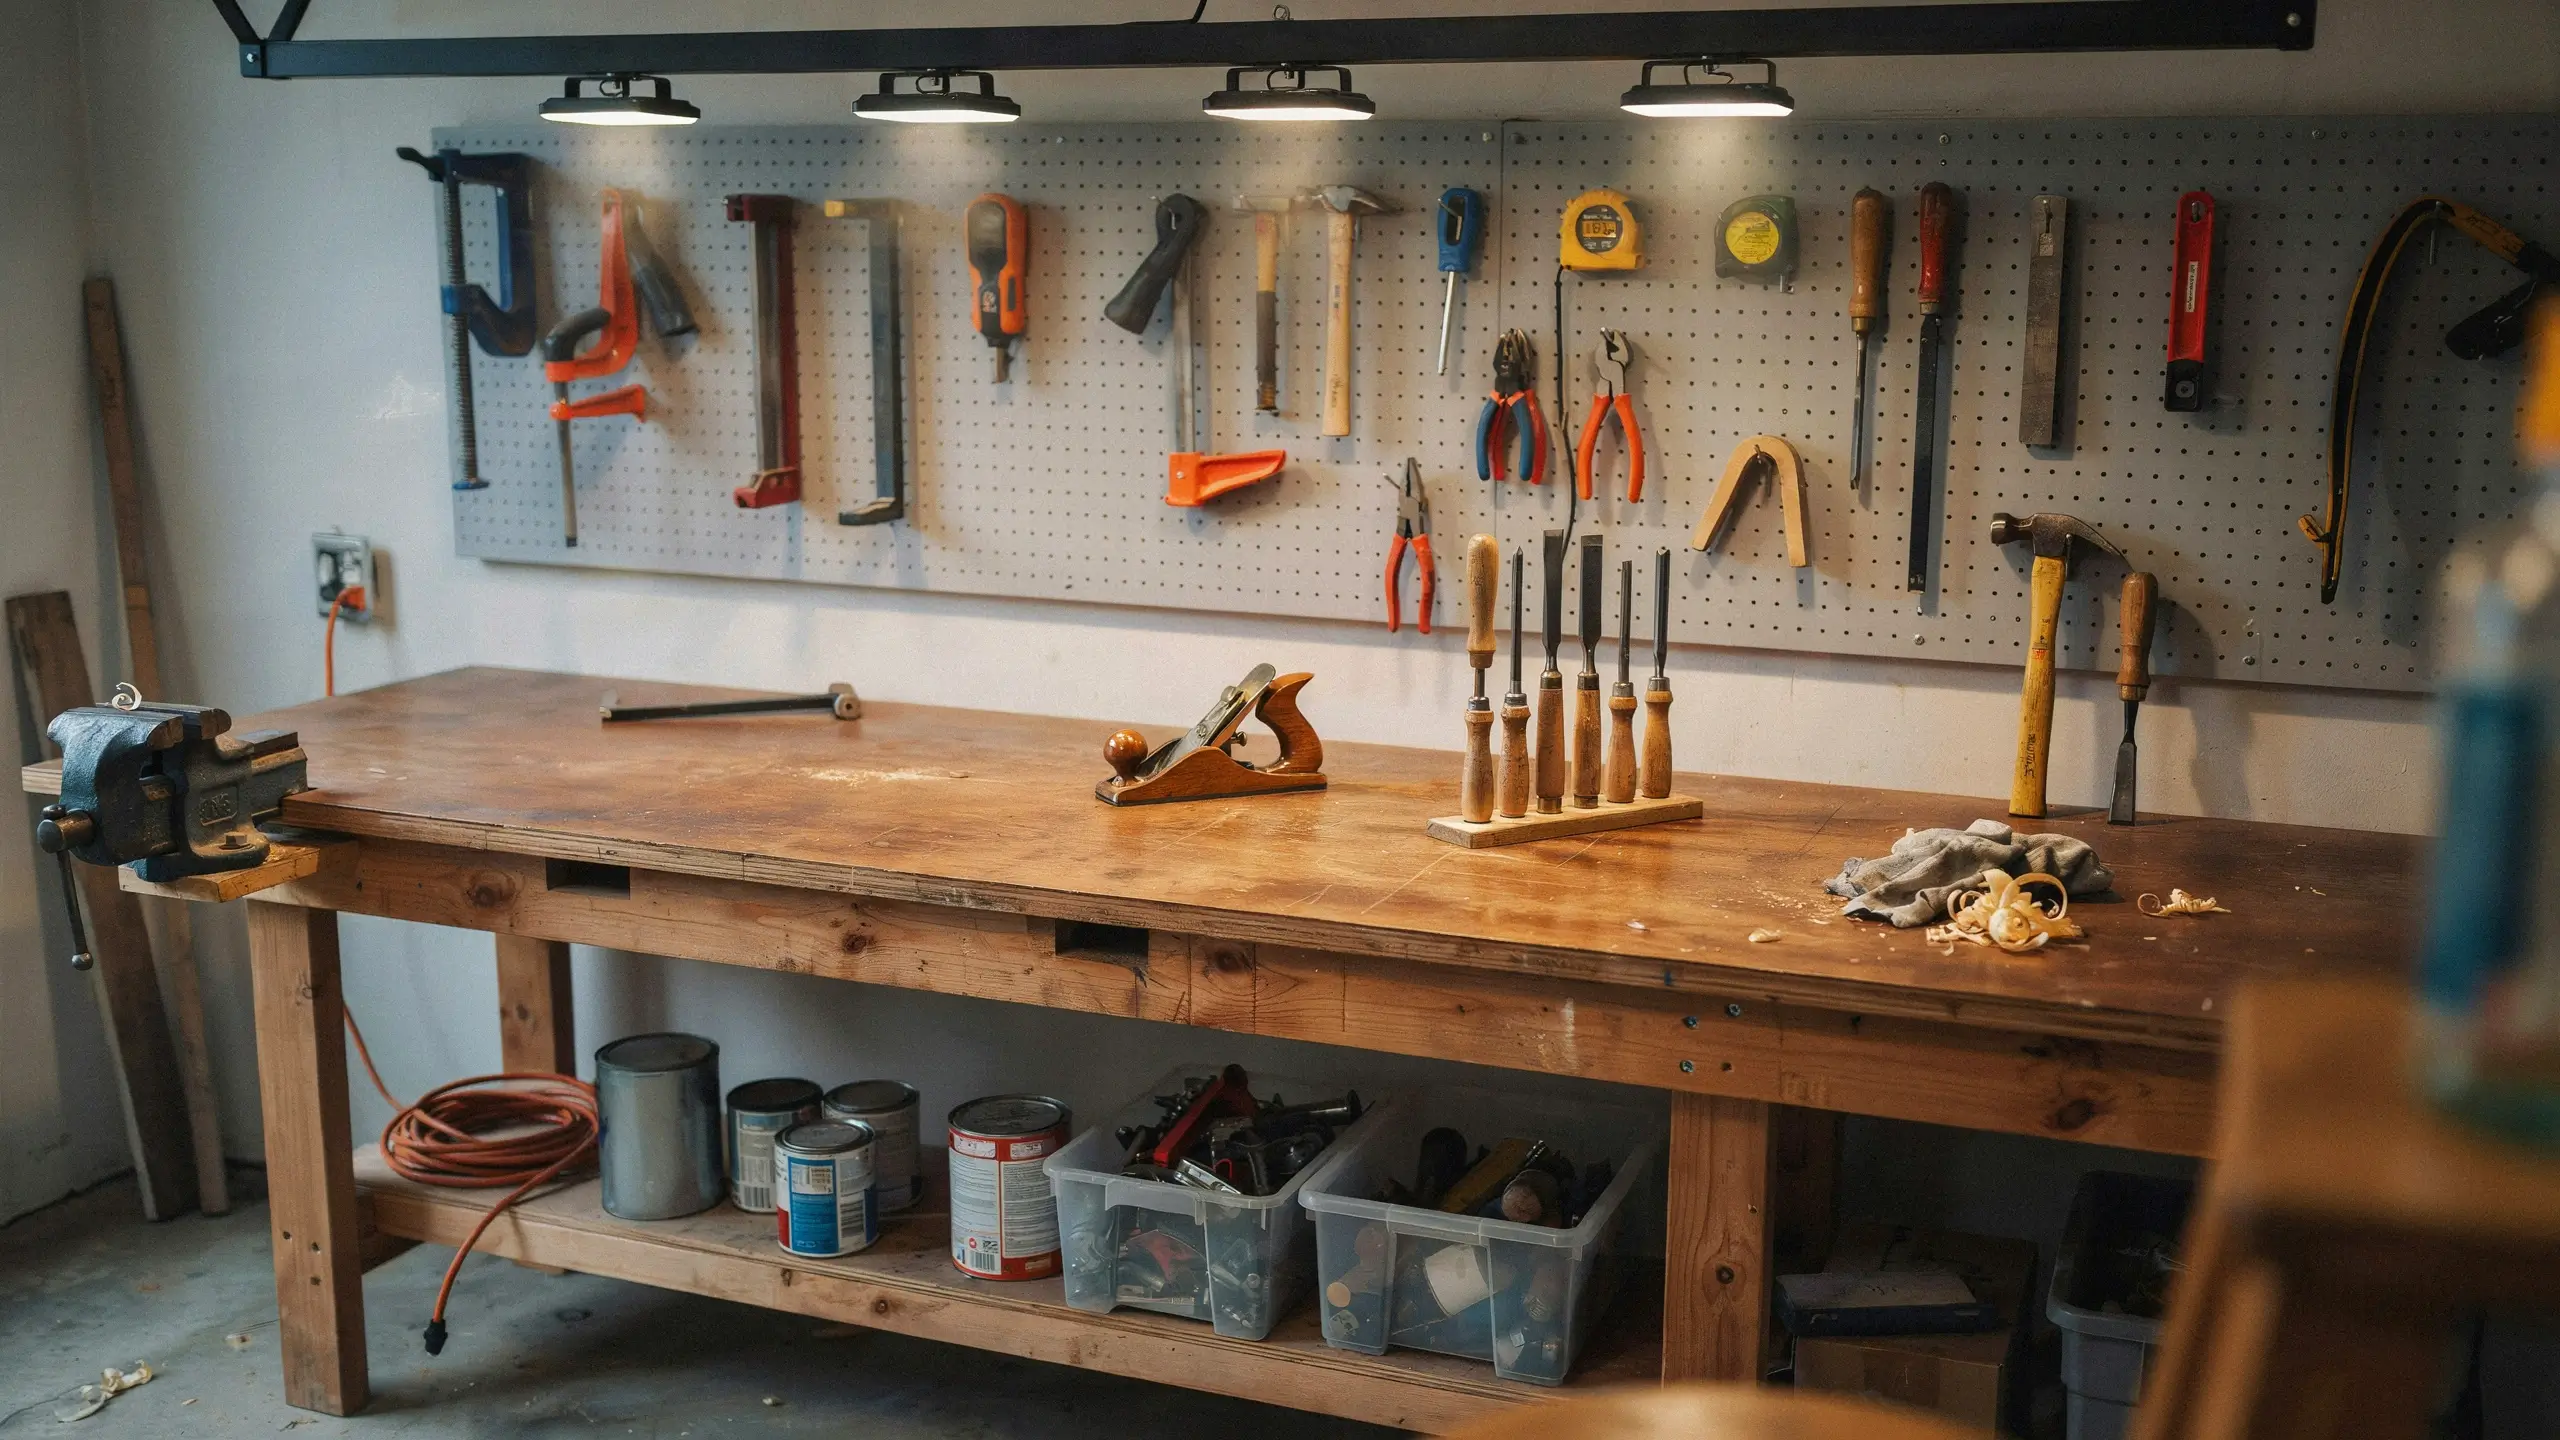
Everything else in a workshop man cave depends on the workbench. A solid workbench is 34-36 inches tall (standing work height), at least 24 inches deep, and as long as your wall allows. Build it from 2×4 lumber and a ¾-inch plywood top for about $80-$120 in materials, or buy a pre-built heavy-duty workbench from Harbor Freight for $200-$350. This is the piece that makes the space feel intentional and functional rather than like a cluttered garage.
- Use a Pegboard Wall for Tools
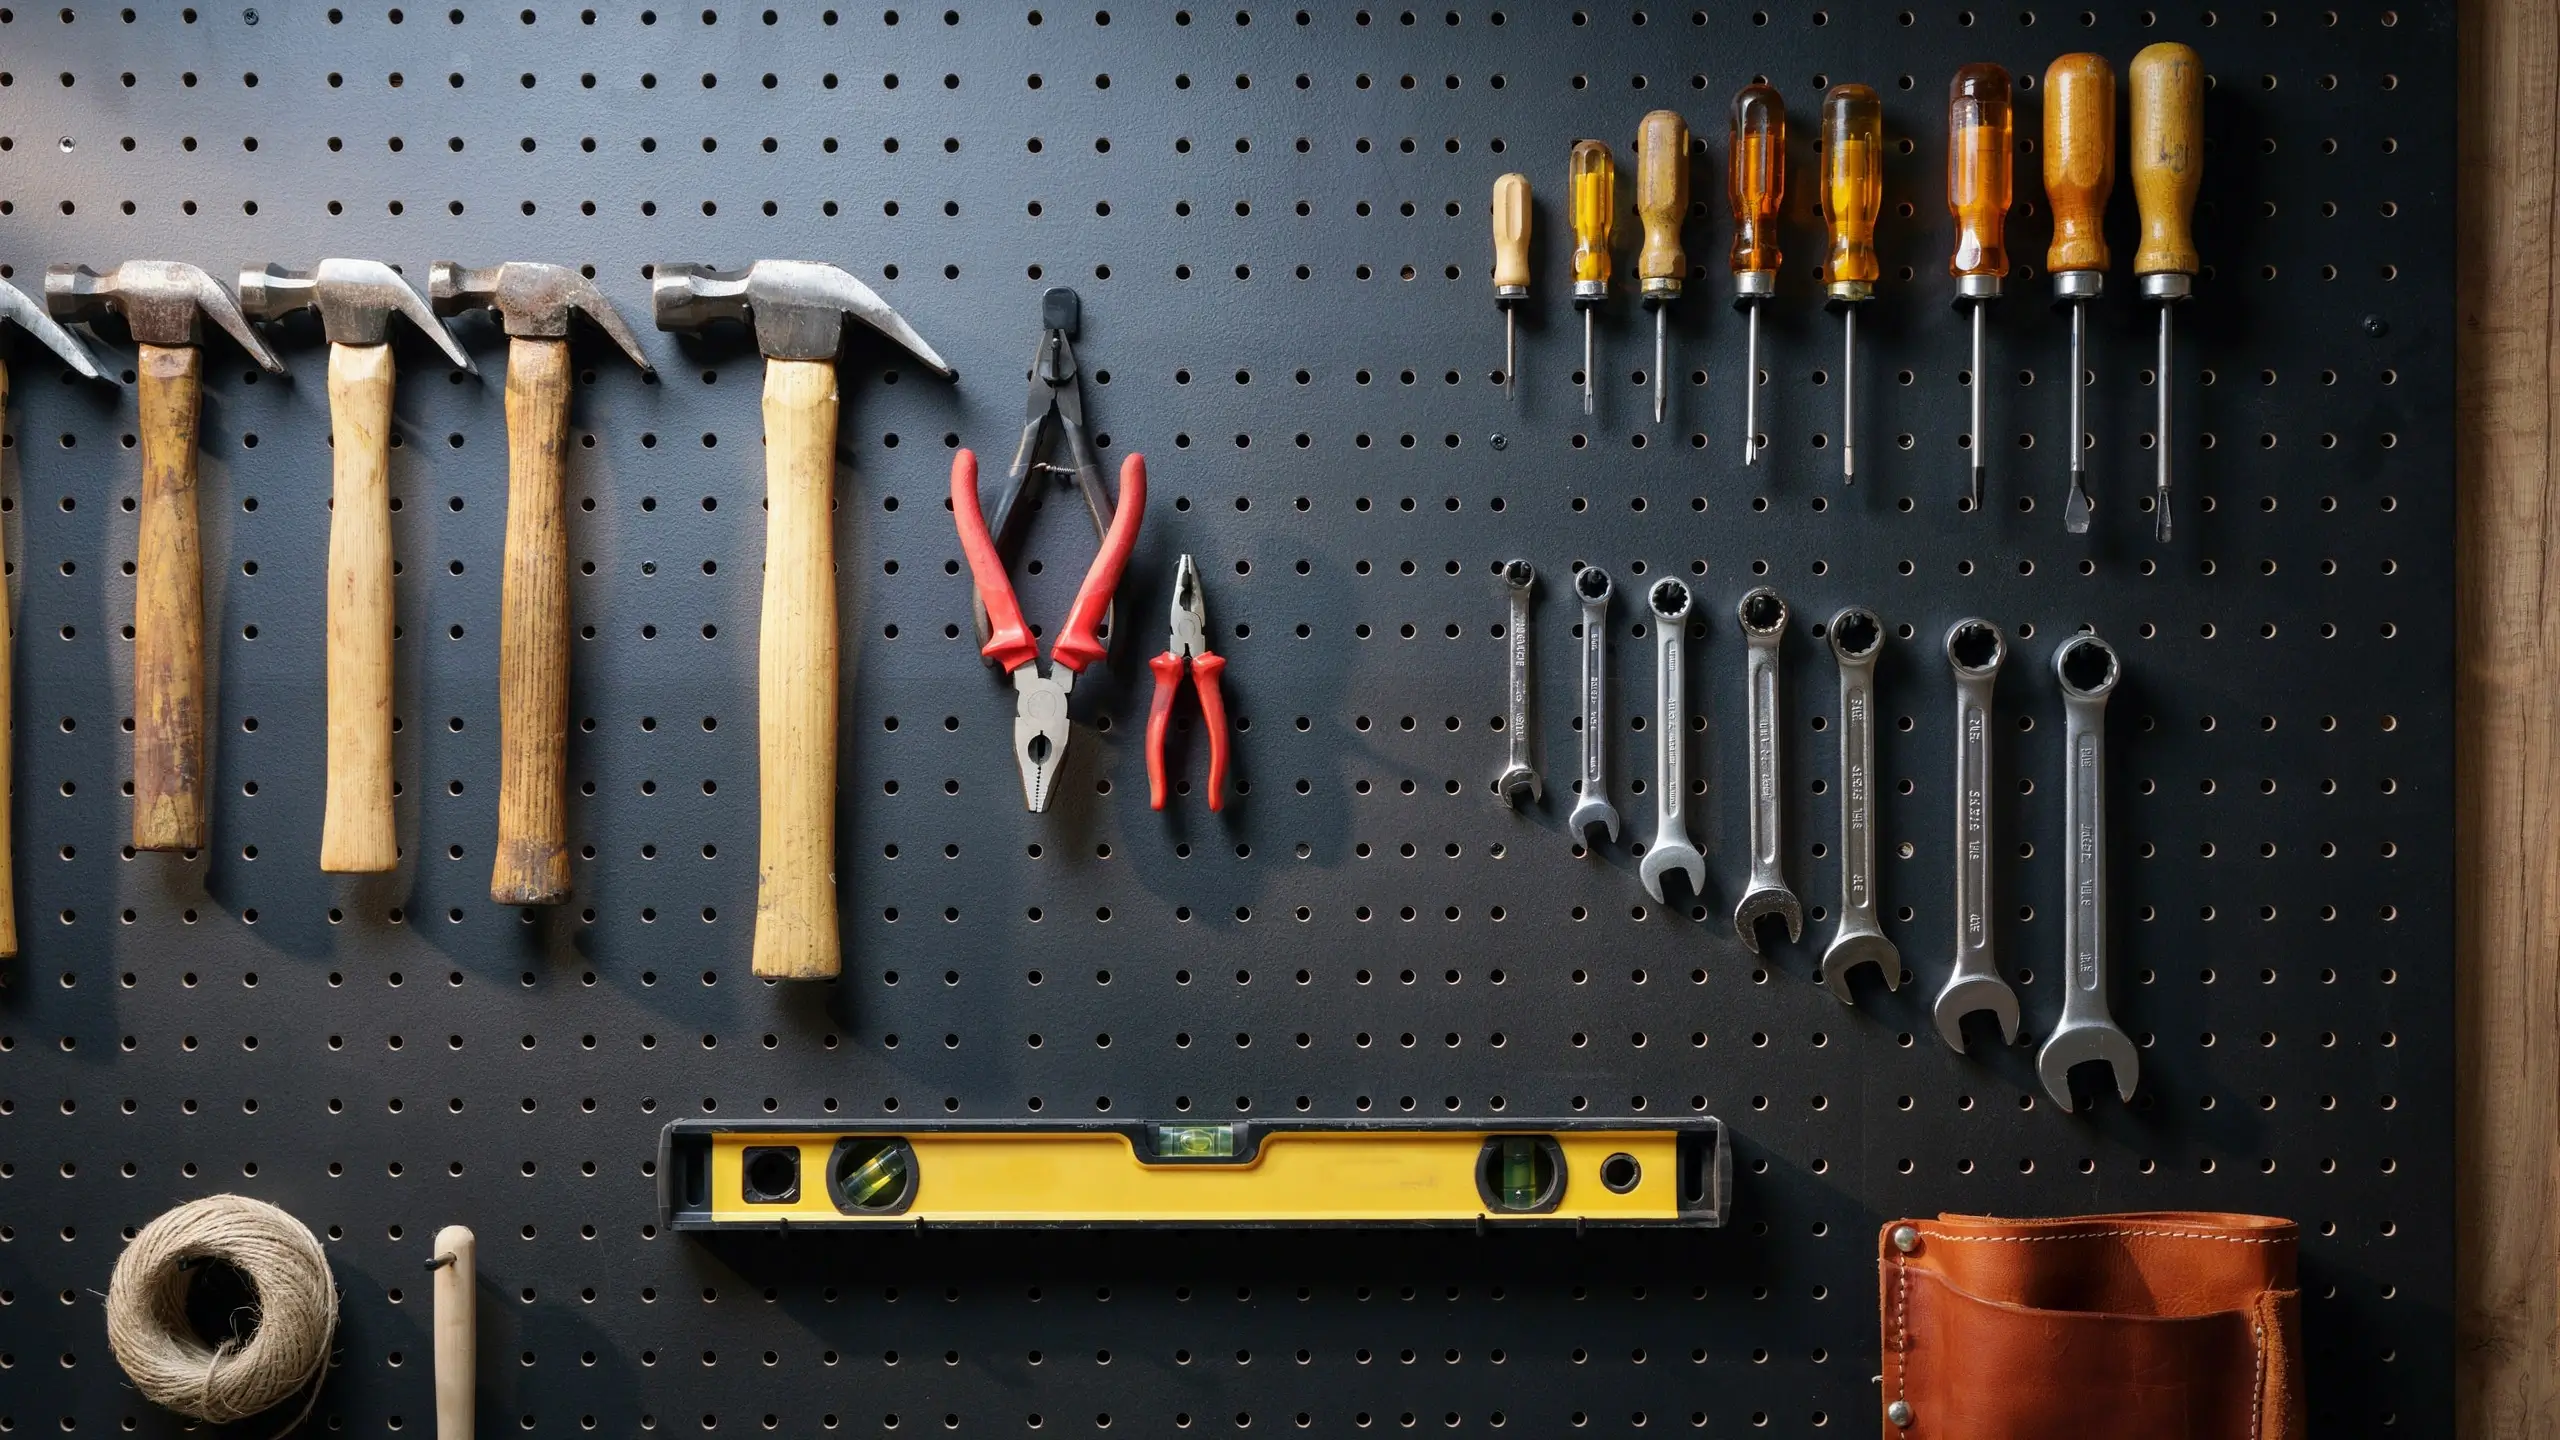
A 4×8-foot sheet of standard pegboard costs about $25. Paint it any color you want (black is a dramatic choice; it makes tools look like art), mount it to the wall with ½-inch spacers so hooks have room to seat properly, and hang your tools in organized rows. This is one of those things that photographs beautifully on Pinterest because you can see every item clearly. It’s also genuinely useful for a workshop: everything is visible and within reach without digging through a drawer.
- Add a Docking Station for Cordless Tools
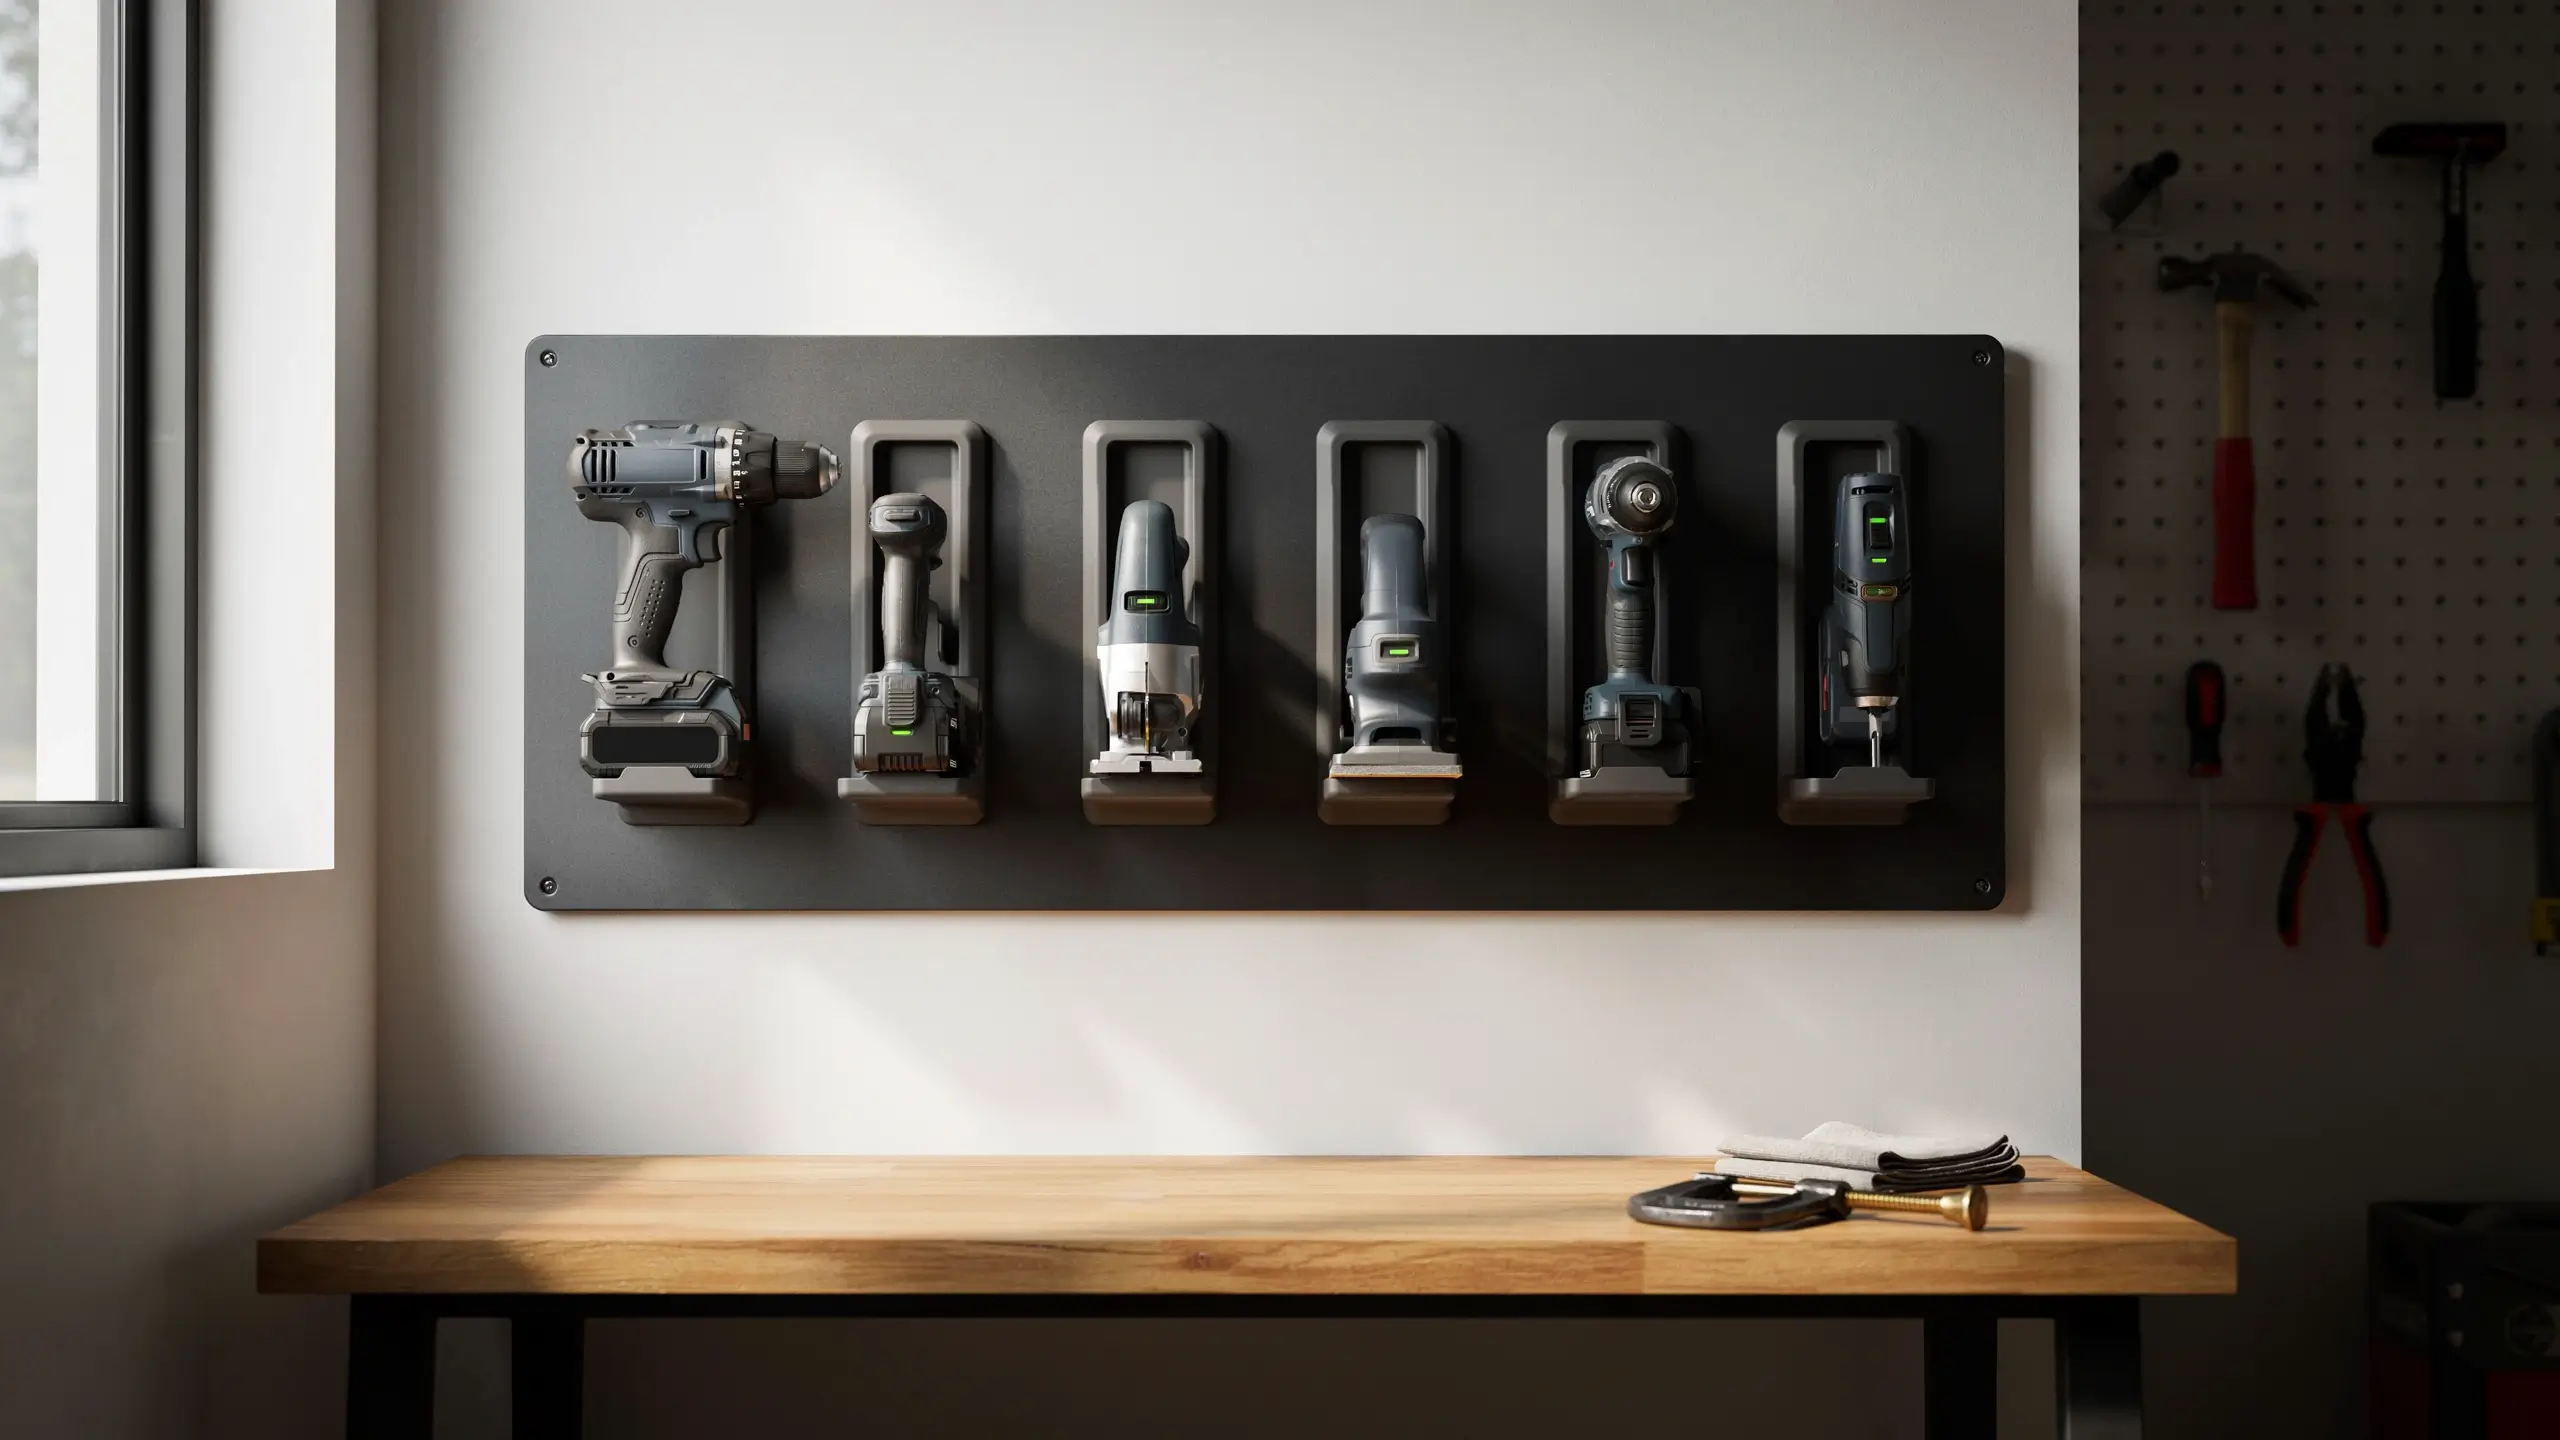
A row of charging docks for your cordless tool batteries, mounted on the wall near the workbench at chest height, sounds like a minor detail. In practice it changes how organized the whole space feels. Every tool has a home. Every battery is charged. It’s the kind of small decision that shows someone actually thought about how this space gets used, not just how it looks.
The Music Man Cave
- Turn a Wall into a Guitar Display

Guitar wall mounts ($8-$15 each) arranged in a staggered pattern on a single wall make instruments look like art. Mix acoustic and electric guitars, add any basses, and vary the heights. If the guitars are hung on a brick-effect wall, a reclaimed wood panel, or even a dark painted surface, the visual contrast is striking. The bonus is that displayed guitars get played more often than guitars in cases.
- Soundproof It the Smart Way
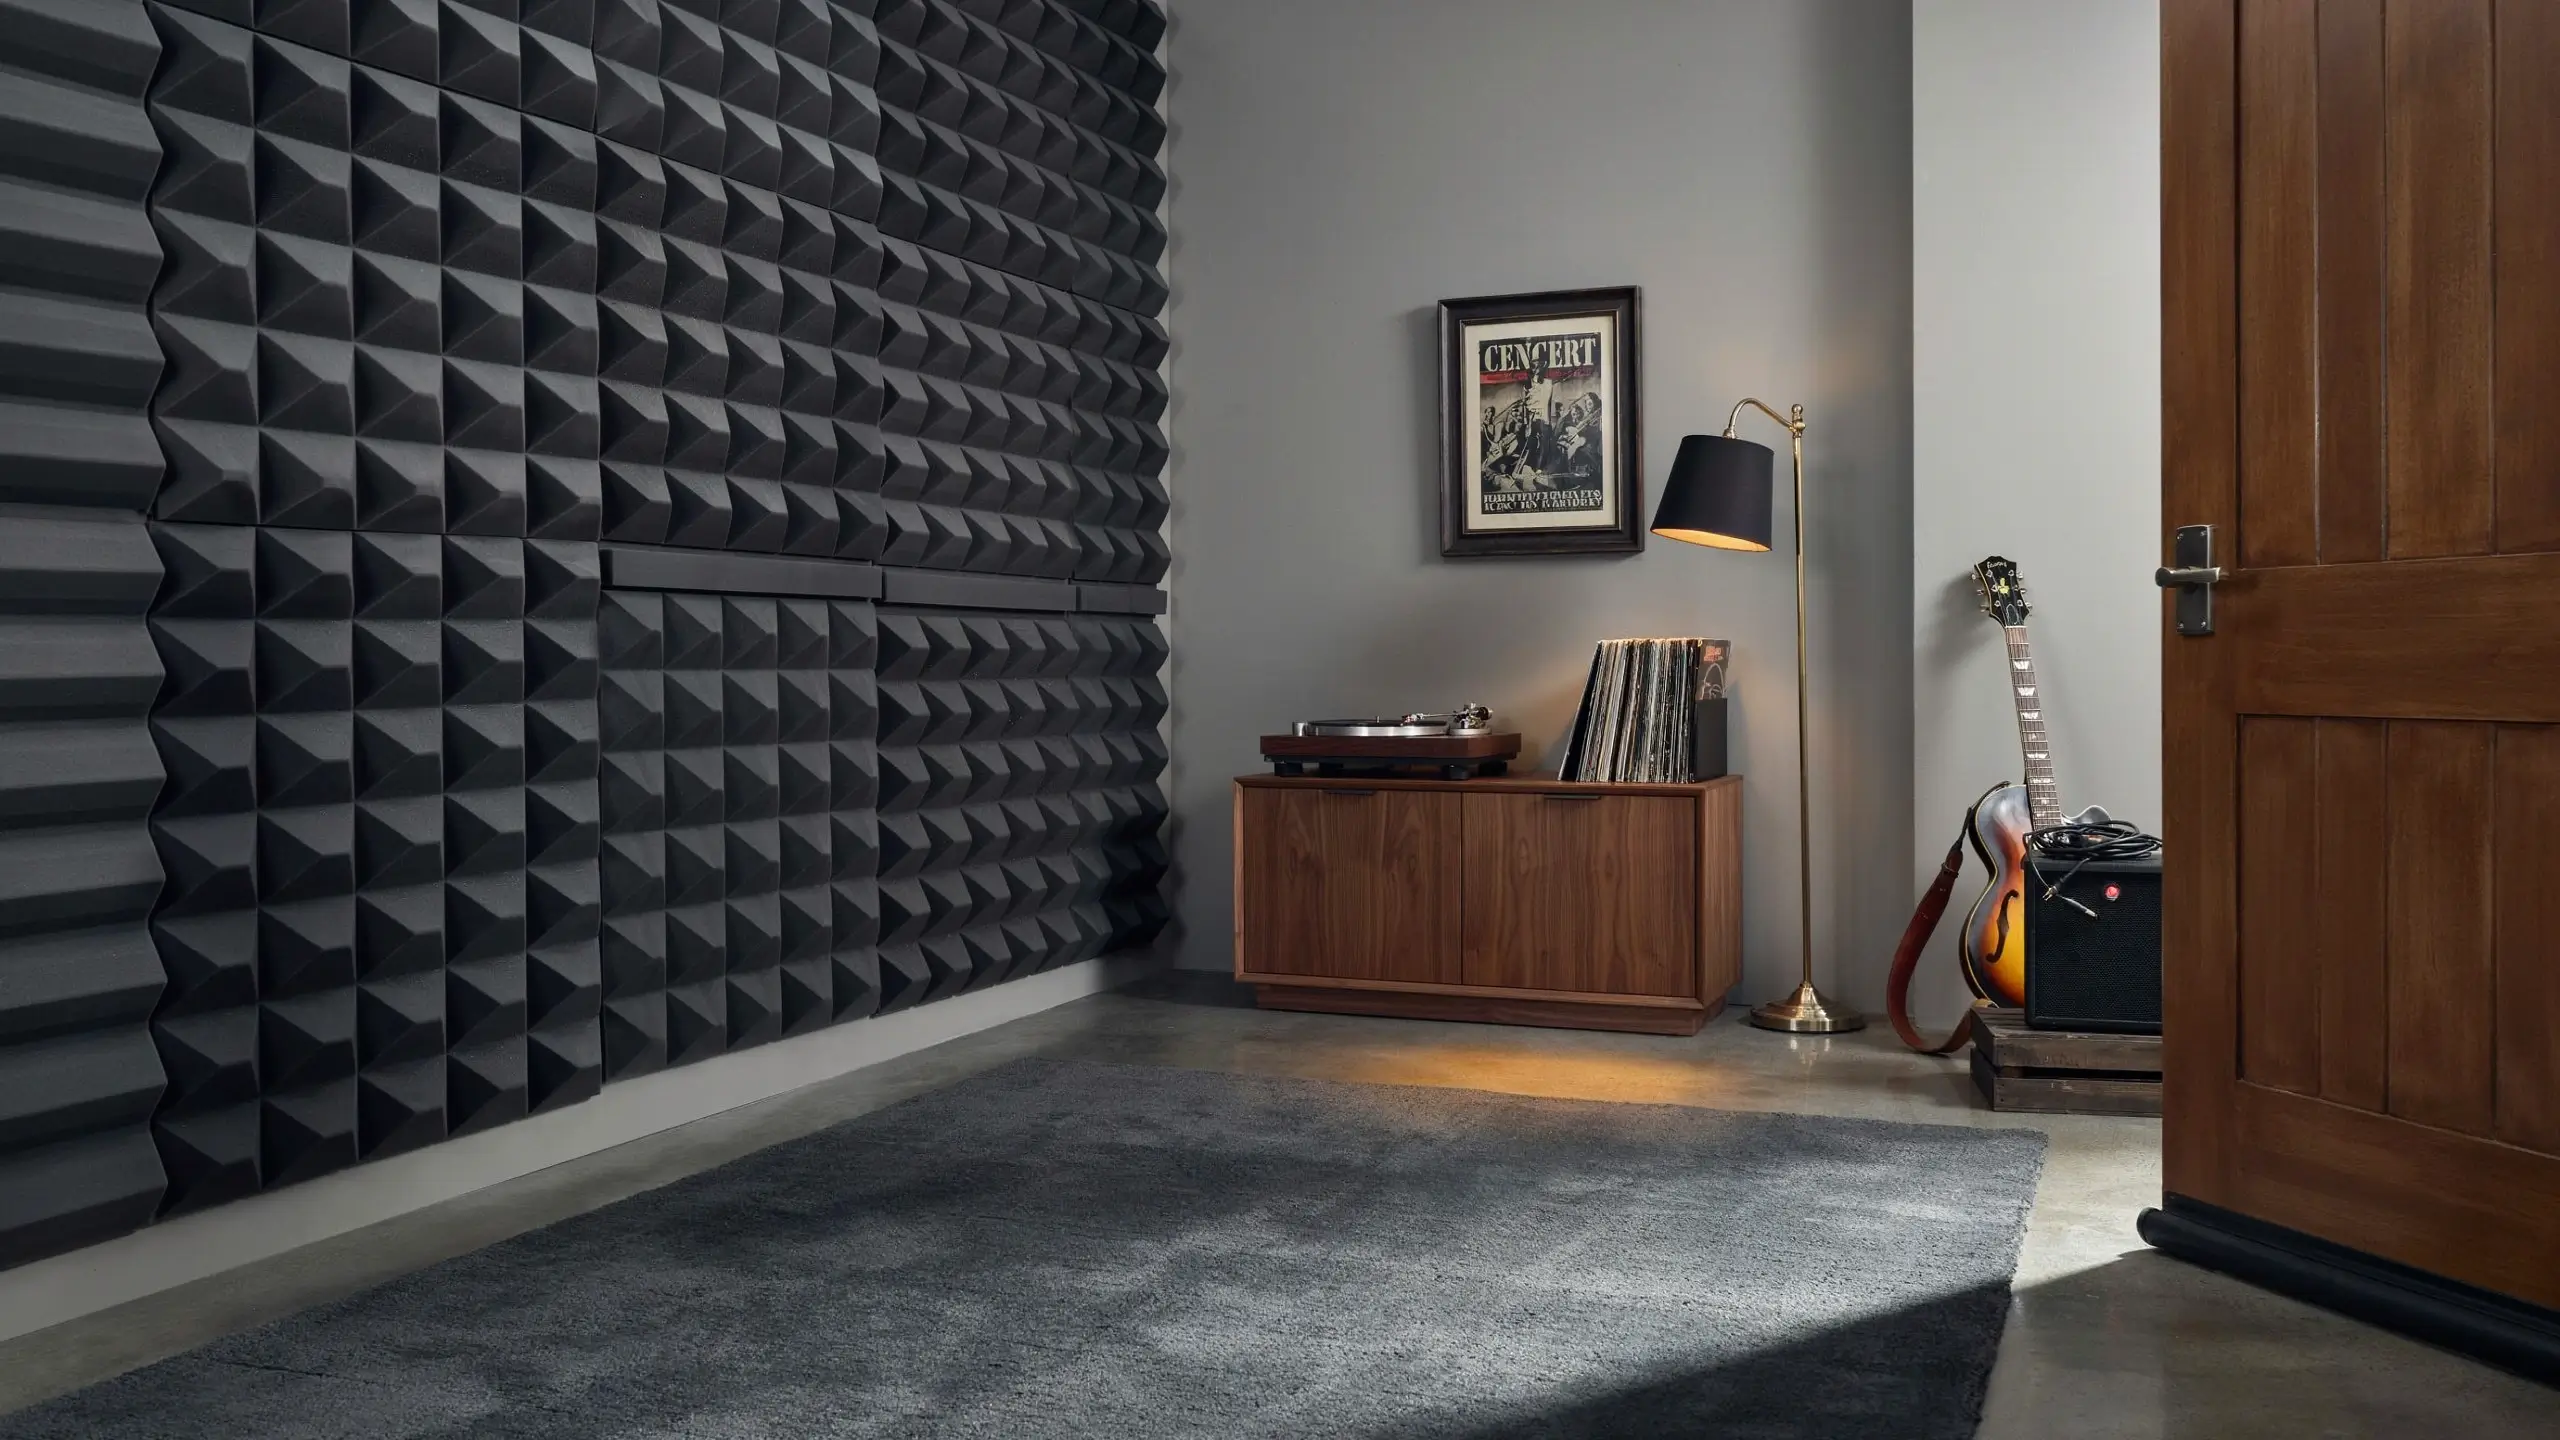
Full soundproofing is expensive and complicated. But you can get 70% of the benefit for much less. Start with mass-loaded vinyl ($50-$80 for a 4×10-foot sheet) stapled to interior walls before your drywall or paneling goes up. Add door sweeps and weatherstripping to seal the door gap. Put a thick area rug on the floor. These three things together reduce sound transmission significantly without a major construction project.
- Build a Recording Corner with a Portable Vocal Booth
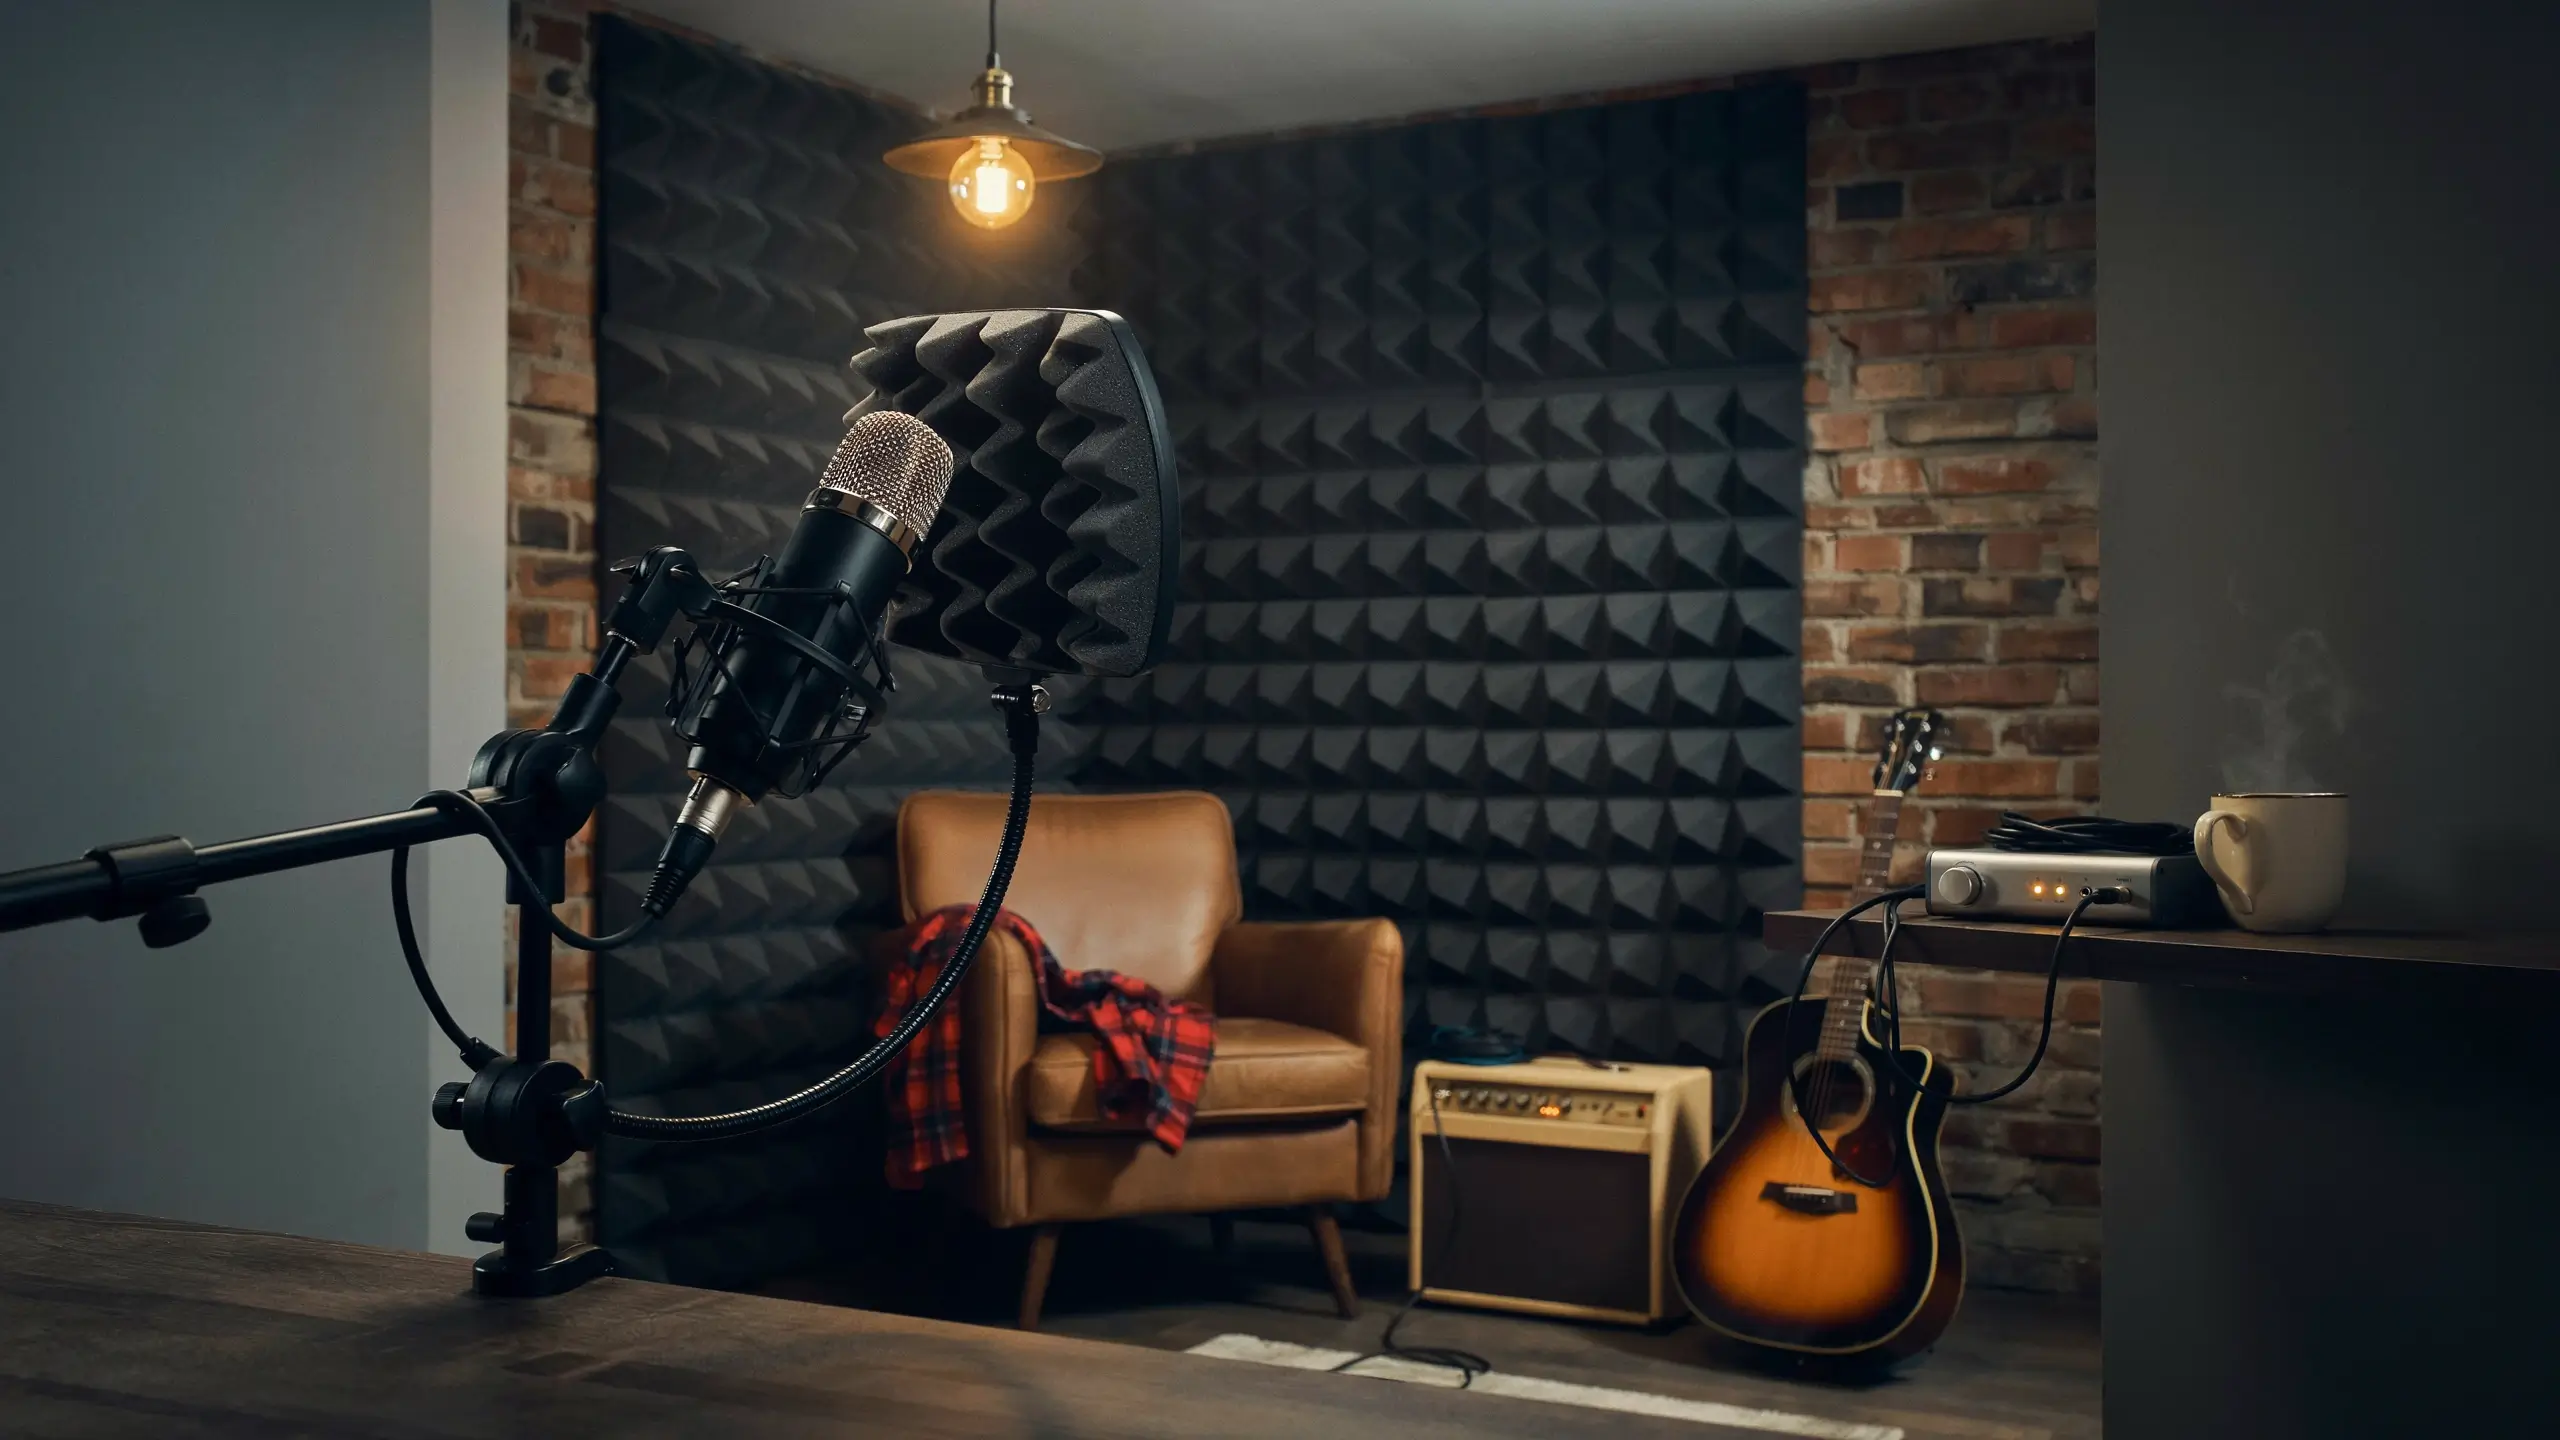
Even if you’re not recording professionally, a small acoustic corner changes how music sounds when you play back recordings on your phone. A reflection filter ($50-$100) mounted on a mic stand behind a condenser microphone, paired with acoustic panels on the two walls behind it, creates a dead-sounding recording space that costs under $200 and takes up about 3 square feet. The rest of the room can stay lively.
The Outdoors-Inspired and Rustic Man Cave
- Use Reclaimed Wood for Everything Horizontal
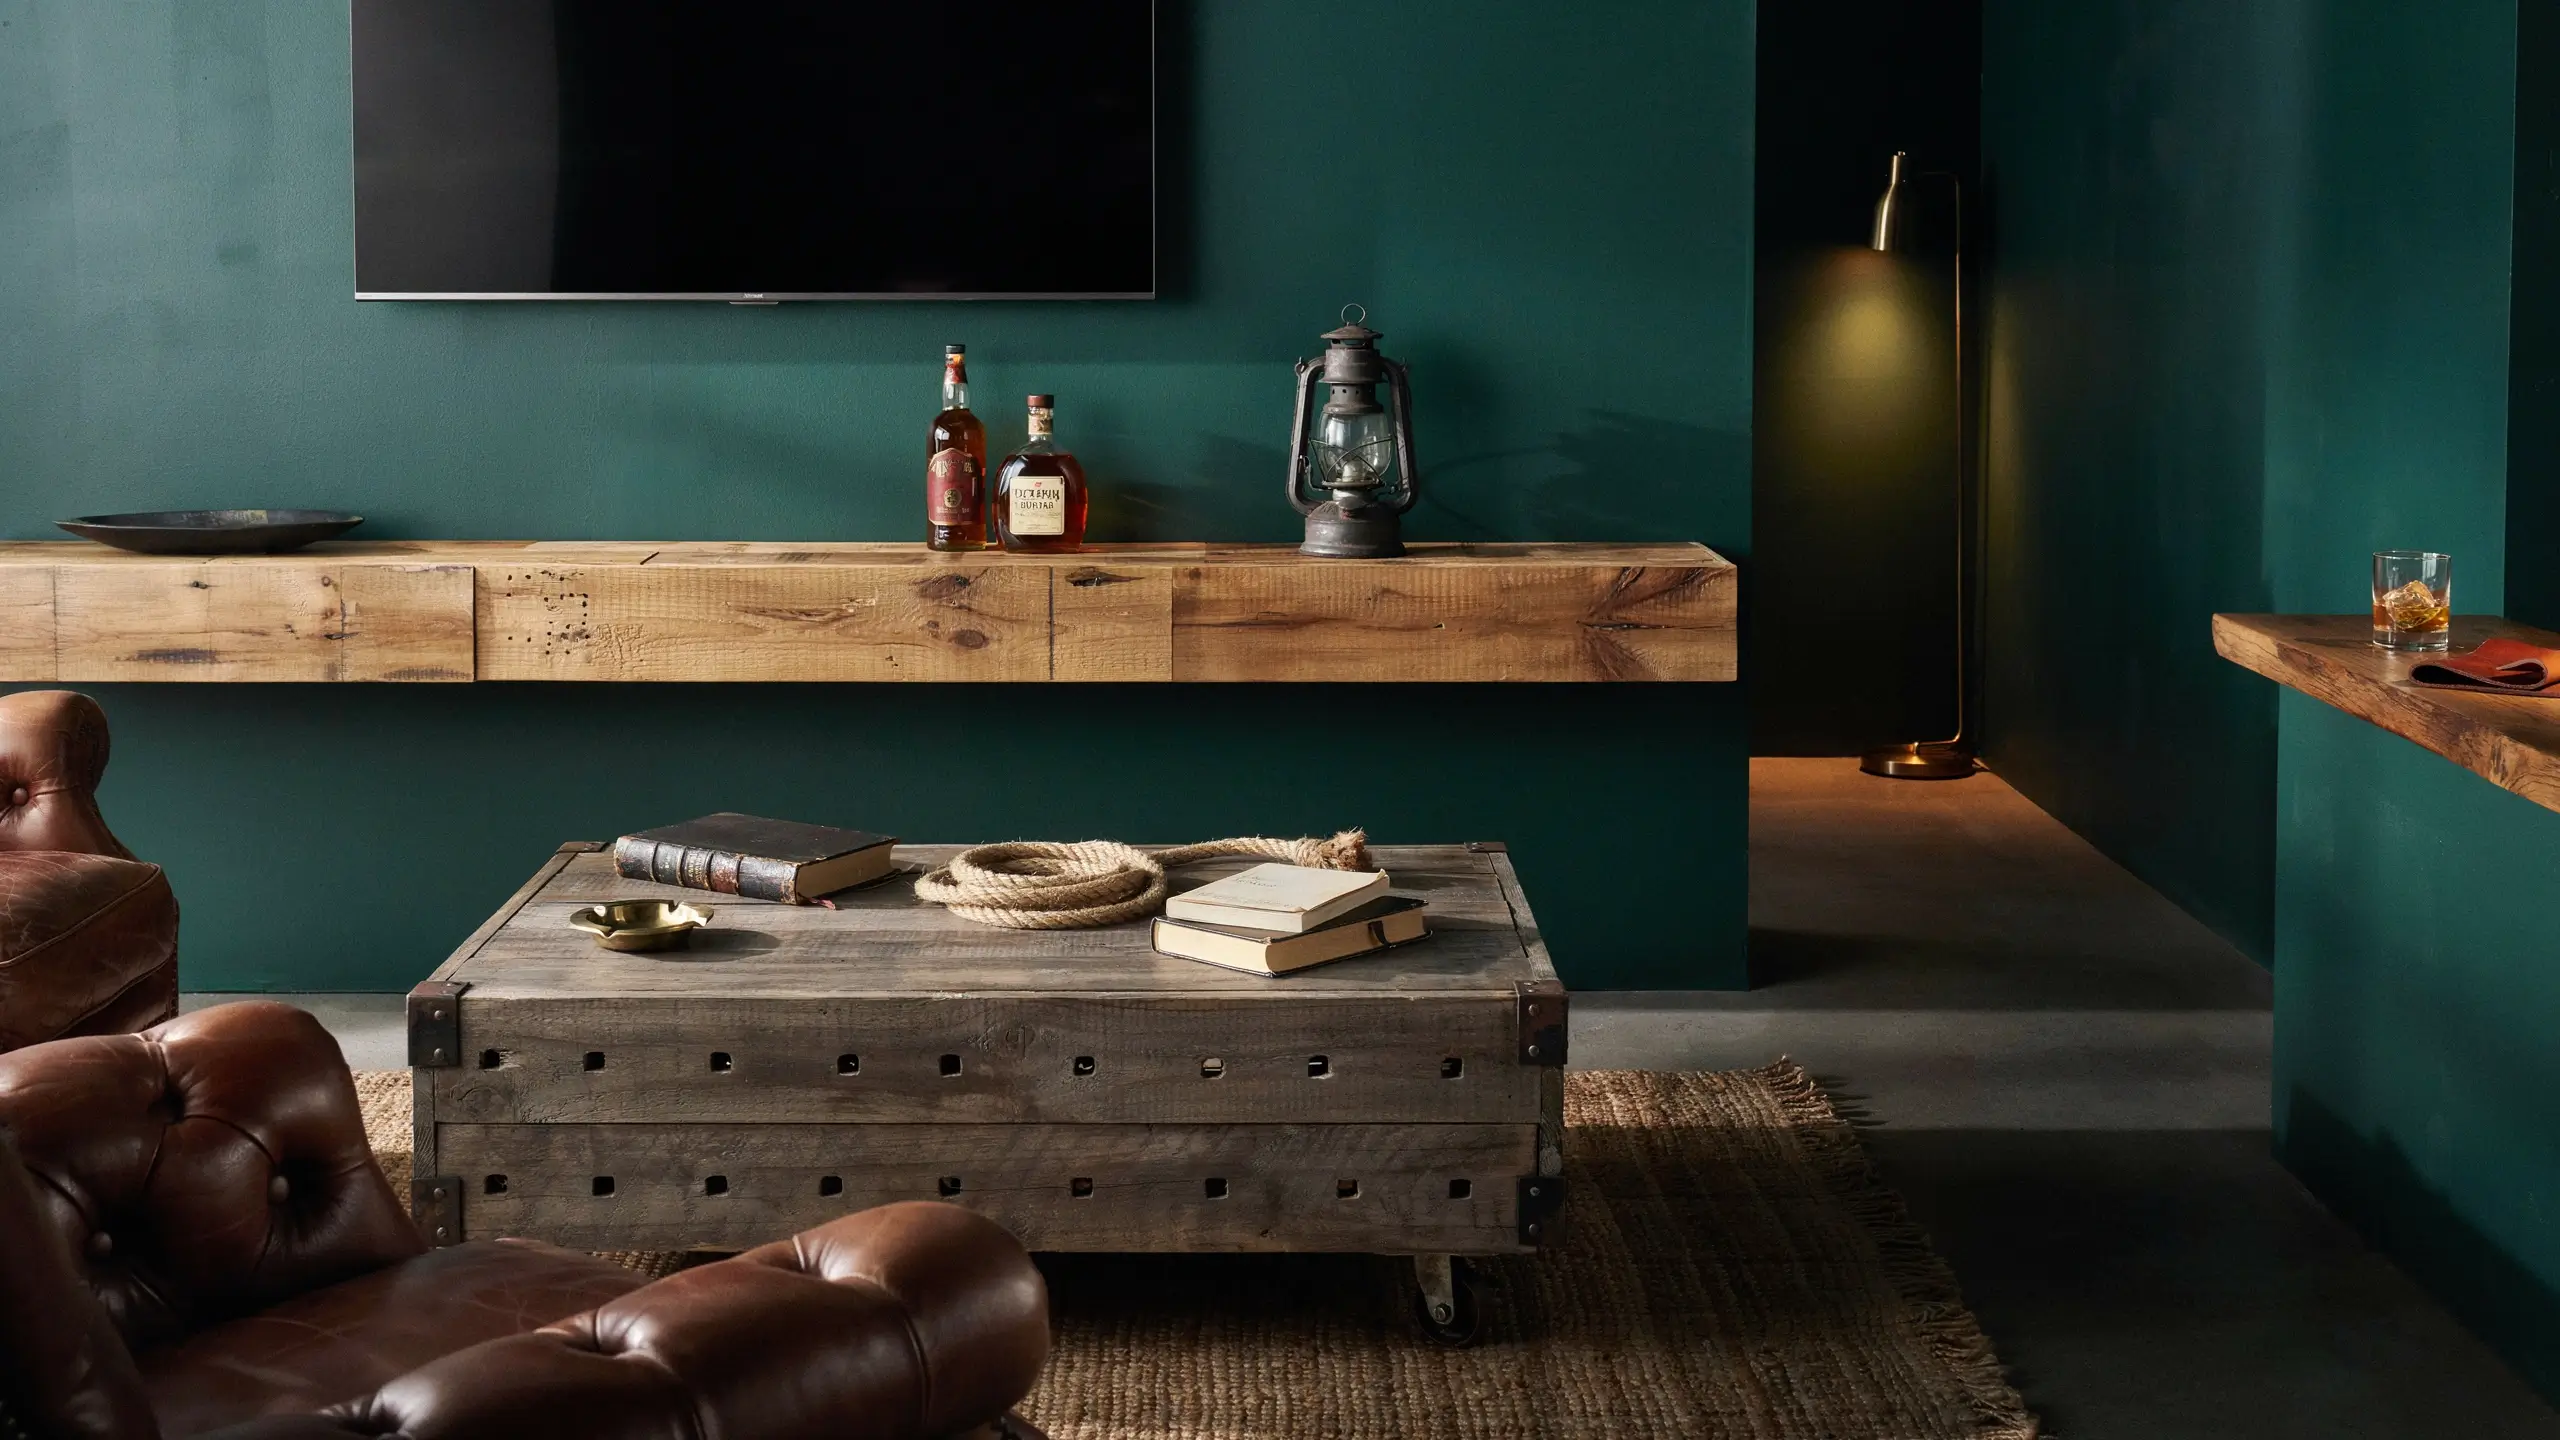
Barn wood, pallet wood, and reclaimed lumber are common choices for man caves because they’re cheap (often free from construction sites, Craigslist, or deconstructed pallets), they look great against dark paint colors, and they age well. Use them for floating shelves, a bar top, a coffee table surface, or a decorative plank wall behind the TV. Sand lightly, seal with matte polyurethane, and you get a warm, textured surface that costs almost nothing.
- Build a Man Cave in the Backyard Shed
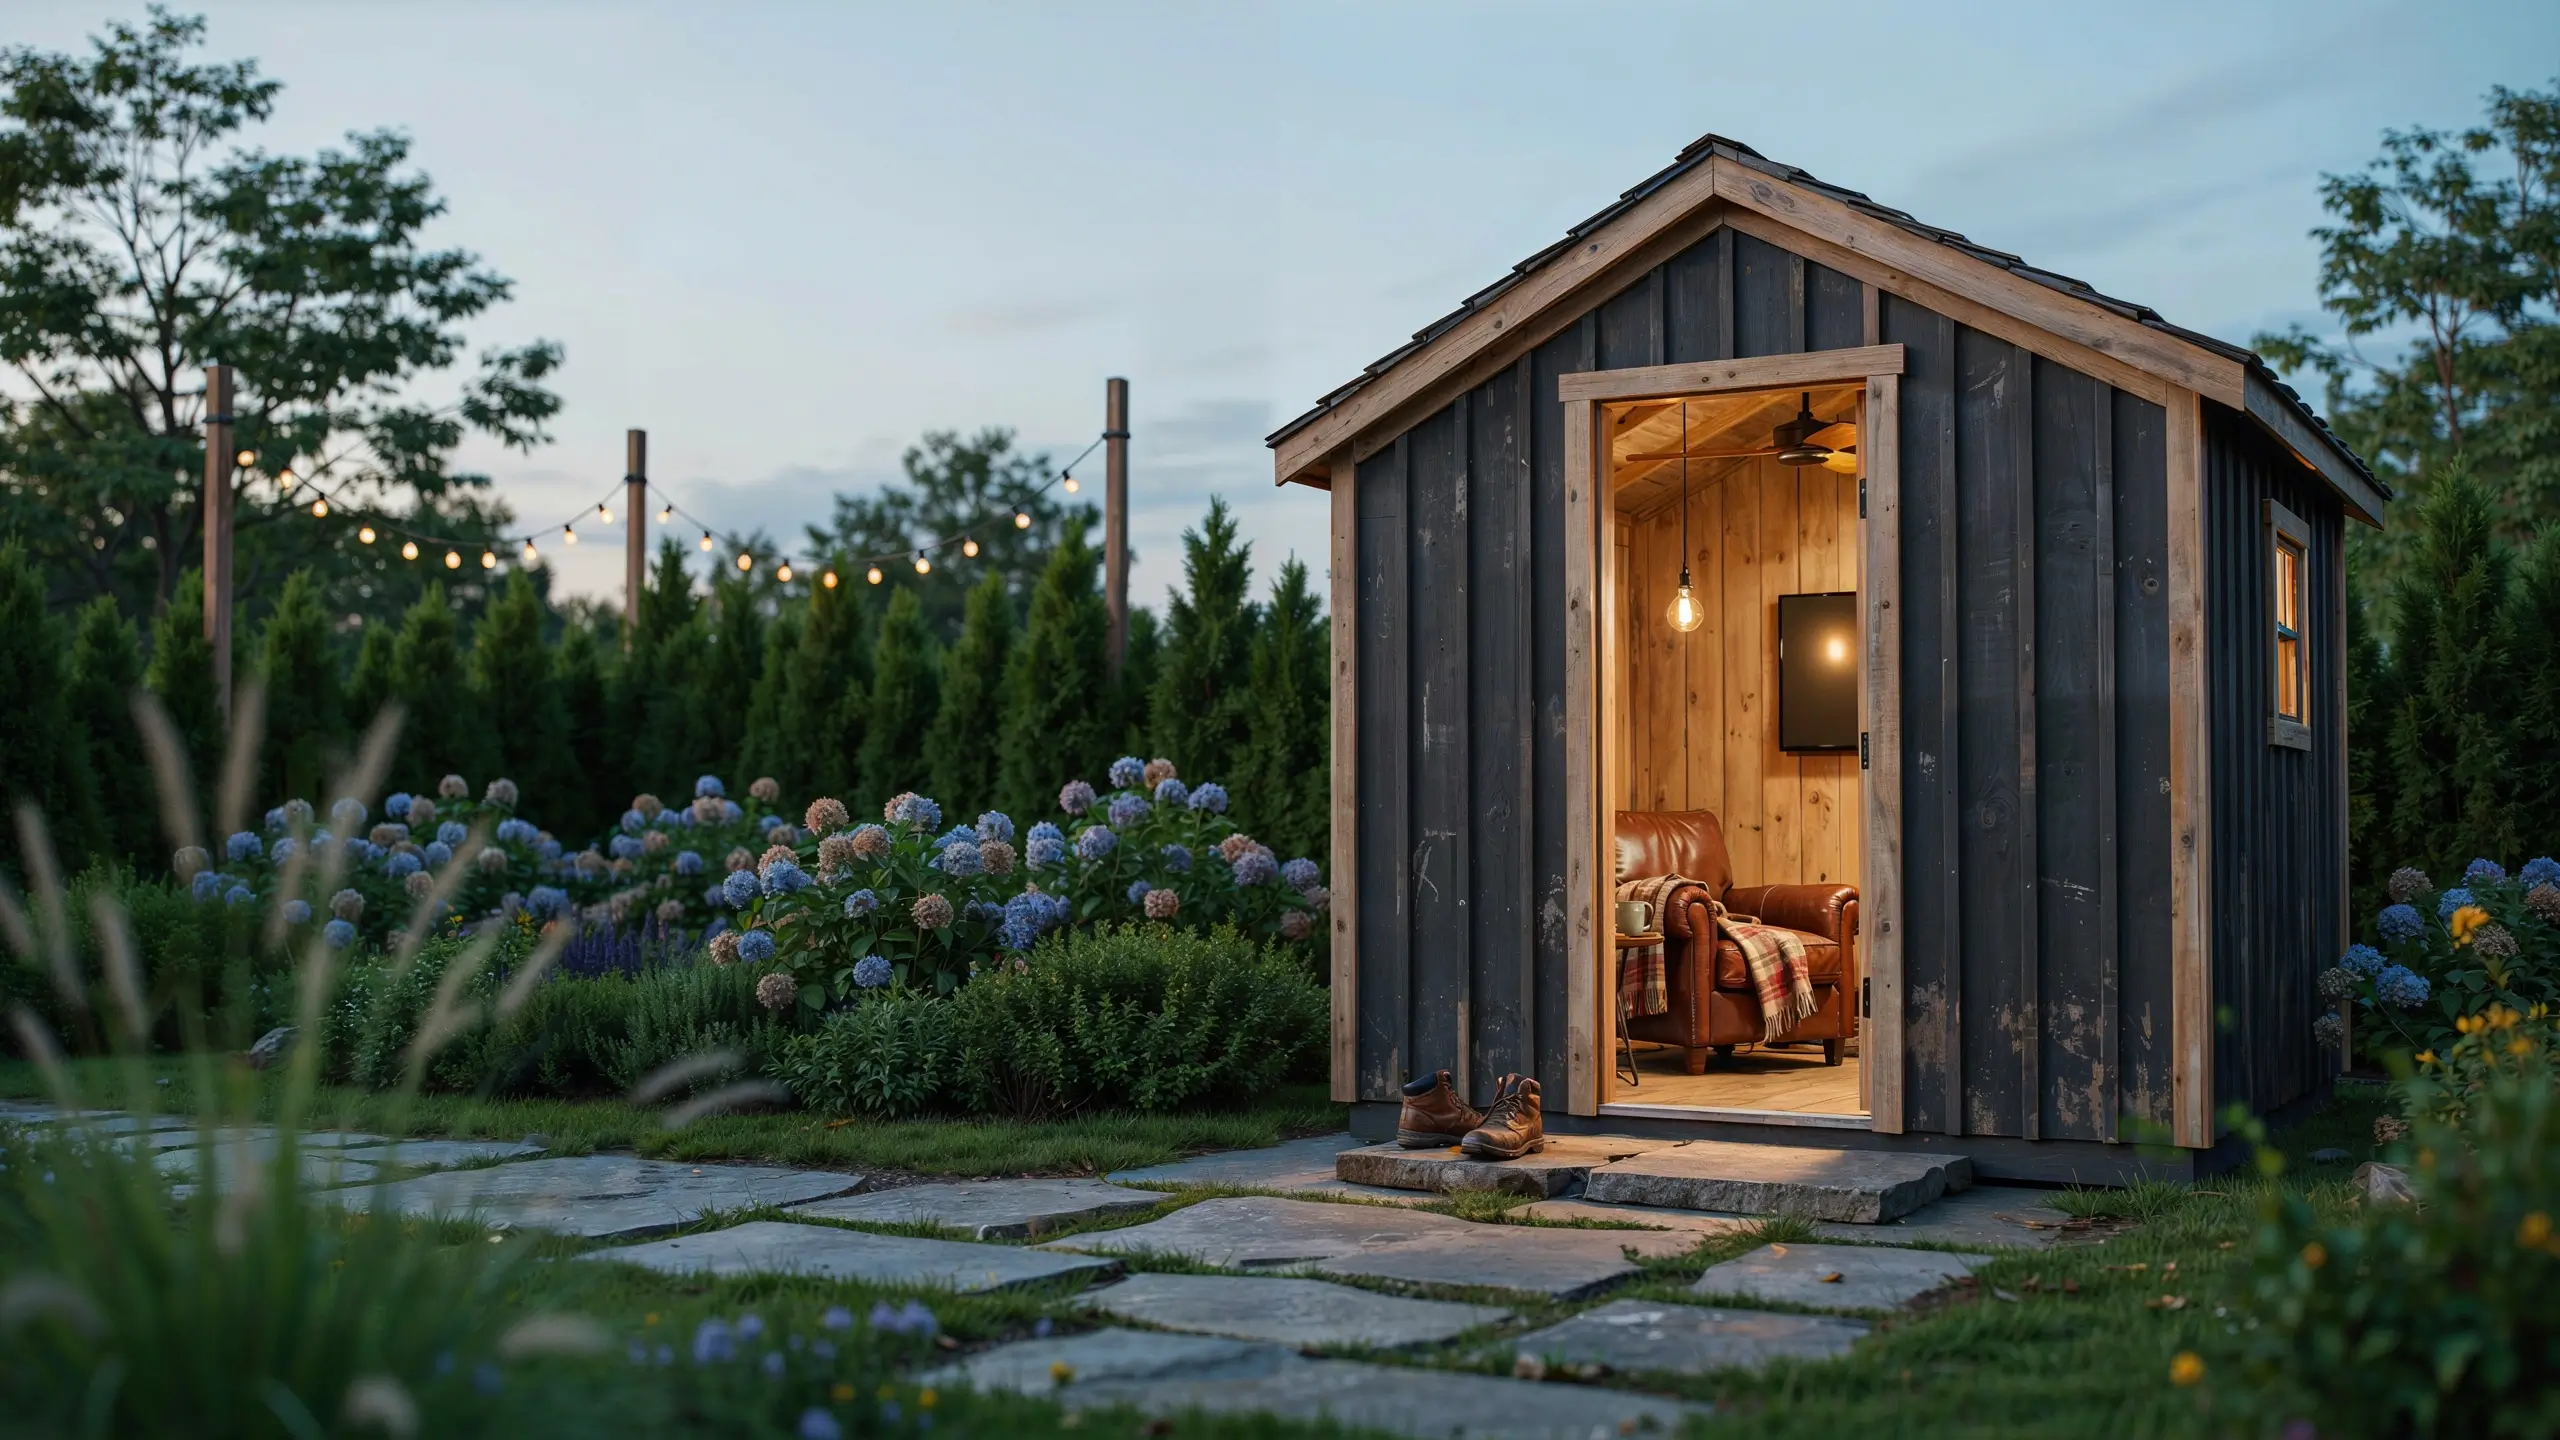
This deserves its own point because it’s genuinely underestimated. A 10×12 or 12×16 shed in the backyard, insulated and with one dedicated circuit run from the house, becomes a fully private retreat. The key is treating the interior like a room, not a storage unit. Frame the walls with 2×4s and add R-13 insulation before putting up paneling or drywall. Add a ceiling fan for air circulation, one good overhead light, and one outlet per wall. At that point you have a functioning room that just happens to be in the backyard, with a door you can close and forget the house exists.
Small Space and Budget Man Cave Ideas
- Turn a Spare Bedroom Corner into a Mini Cave
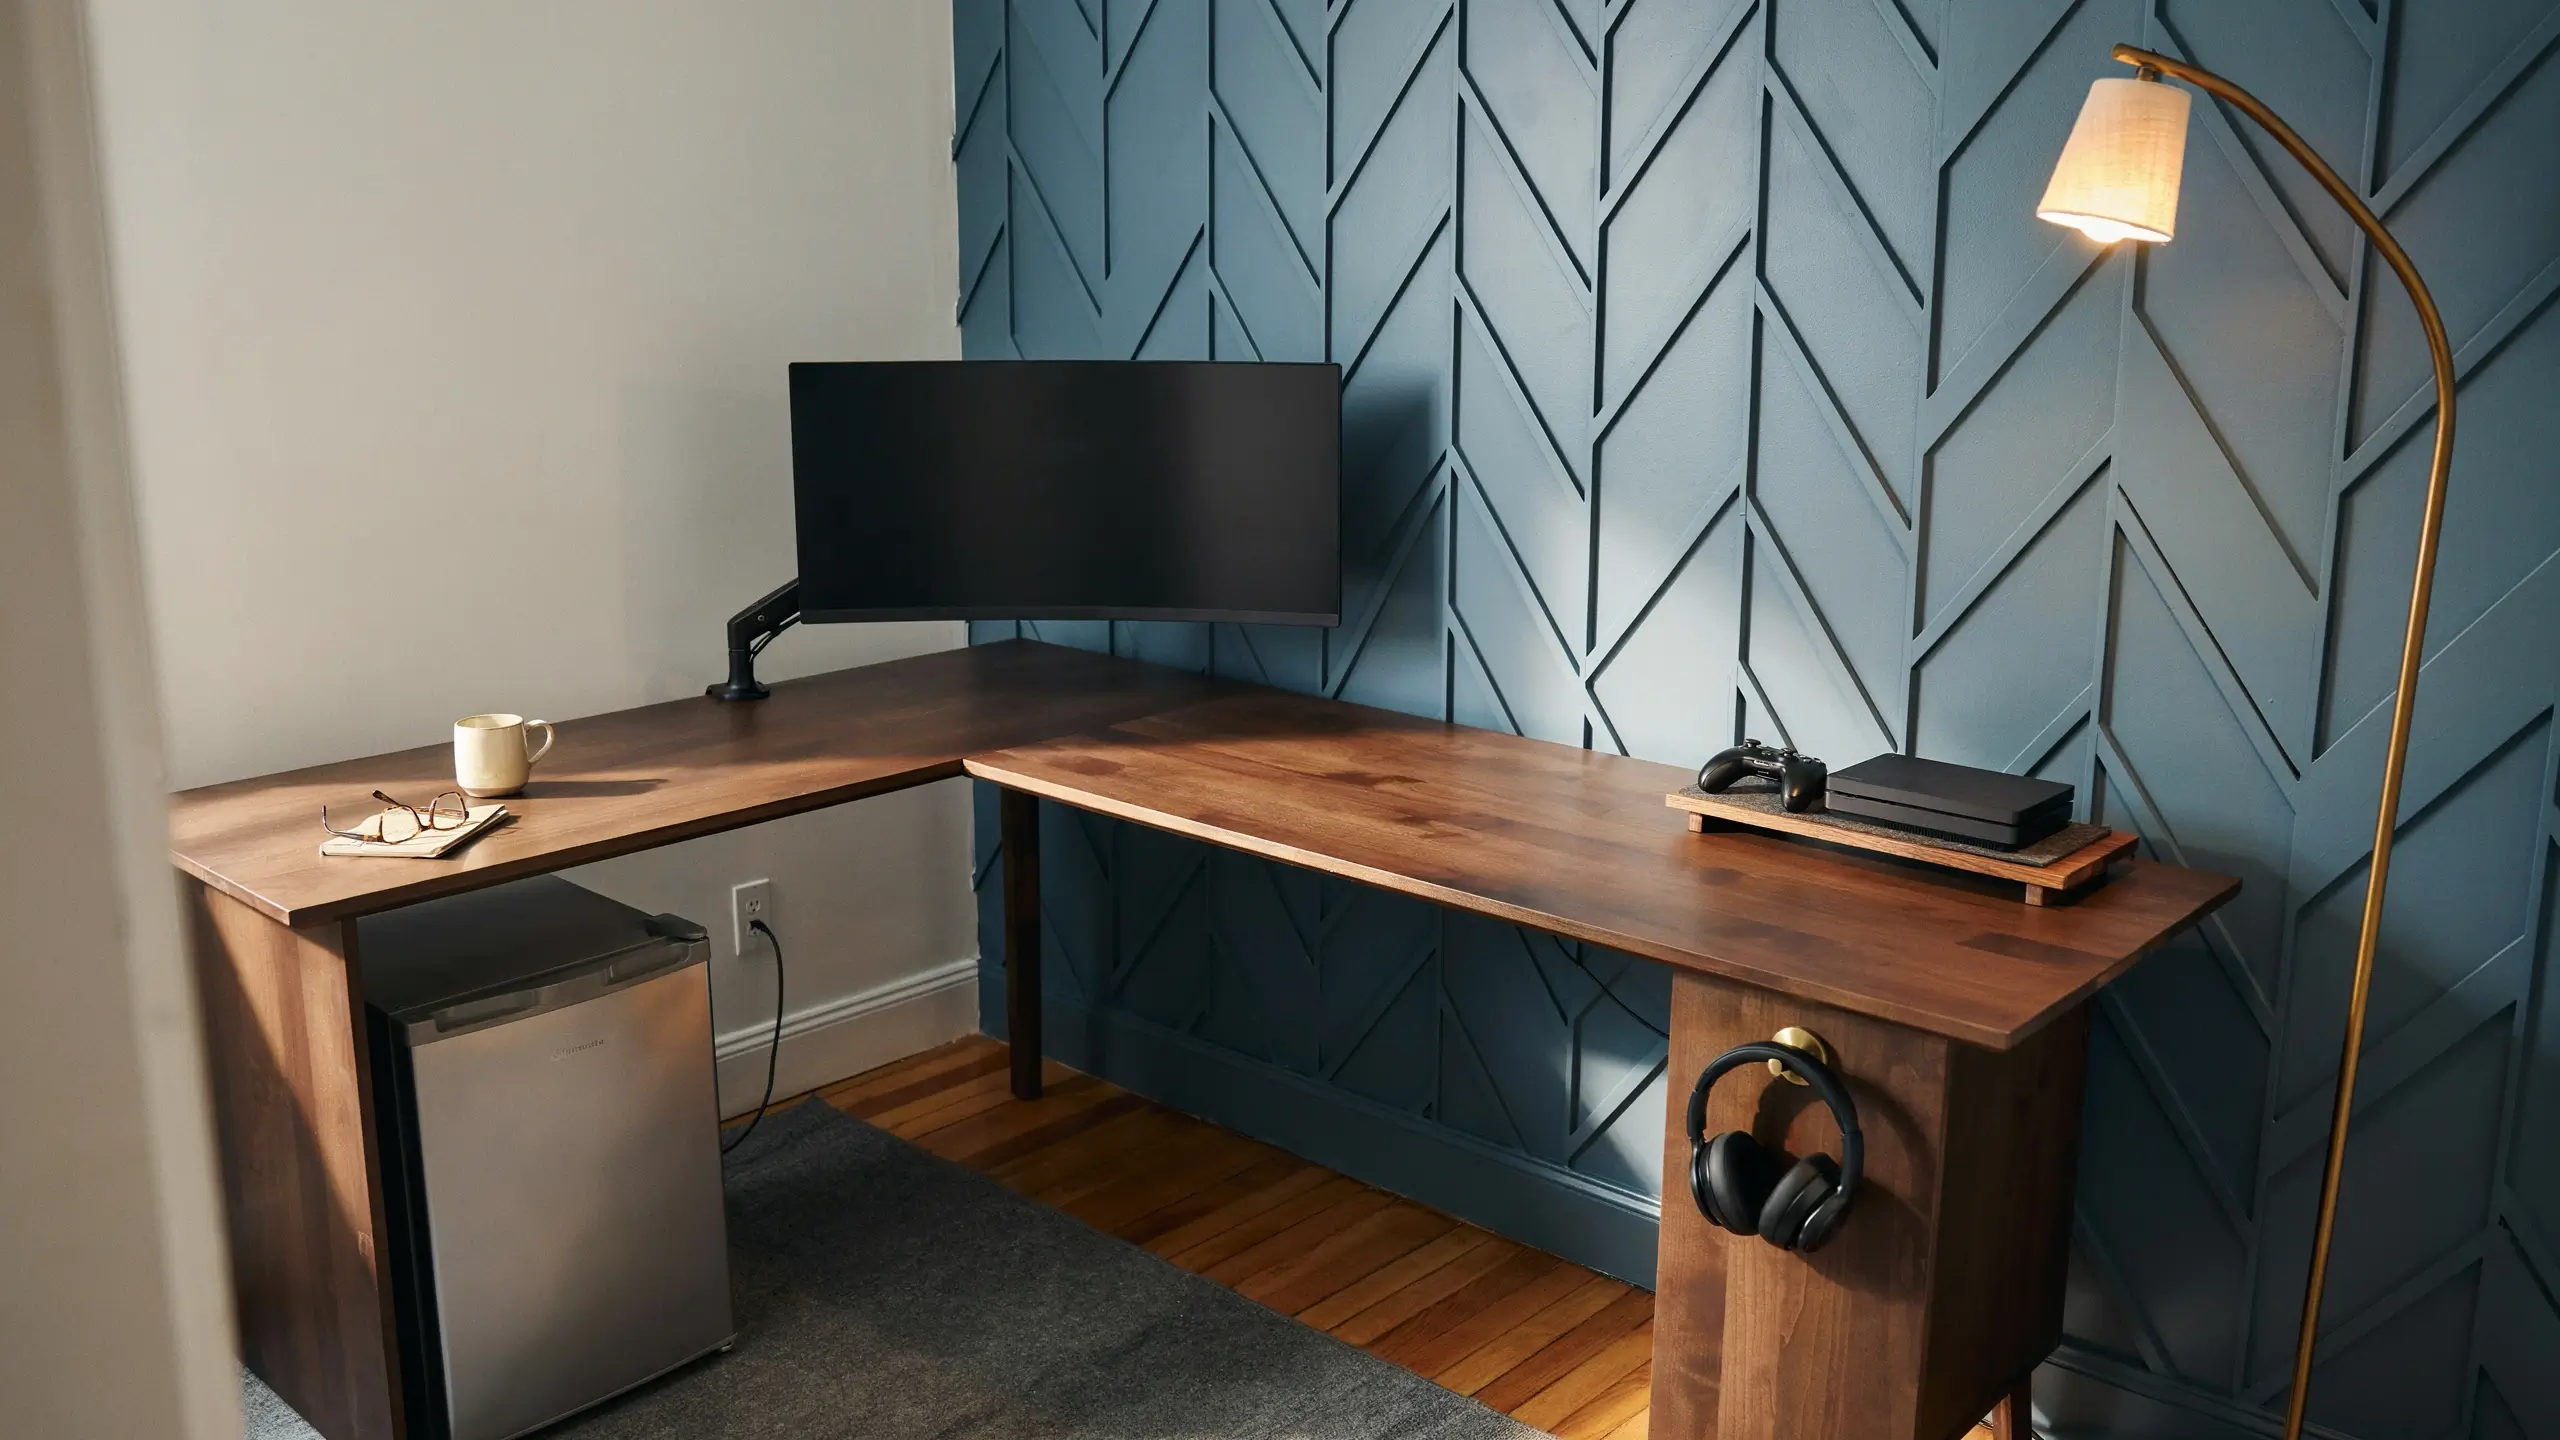
You don’t always need an entire room. If space is tight, claim one corner of a spare room as your dedicated zone. An L-shaped desk with a gaming monitor and console, a floor lamp overhead, a mini fridge tucked underneath, and a noise-cancelling headphone hook on the side of the desk. Define the zone with a 5×7-foot rug. Add a dark accent wall behind the desk using peel-and-stick wallpaper (landlord-safe, removable, and $30-$60 for the wall) and you have a man cave corner that photographs as well as any dedicated room.
- Use a Curtain to Divide a Larger Space
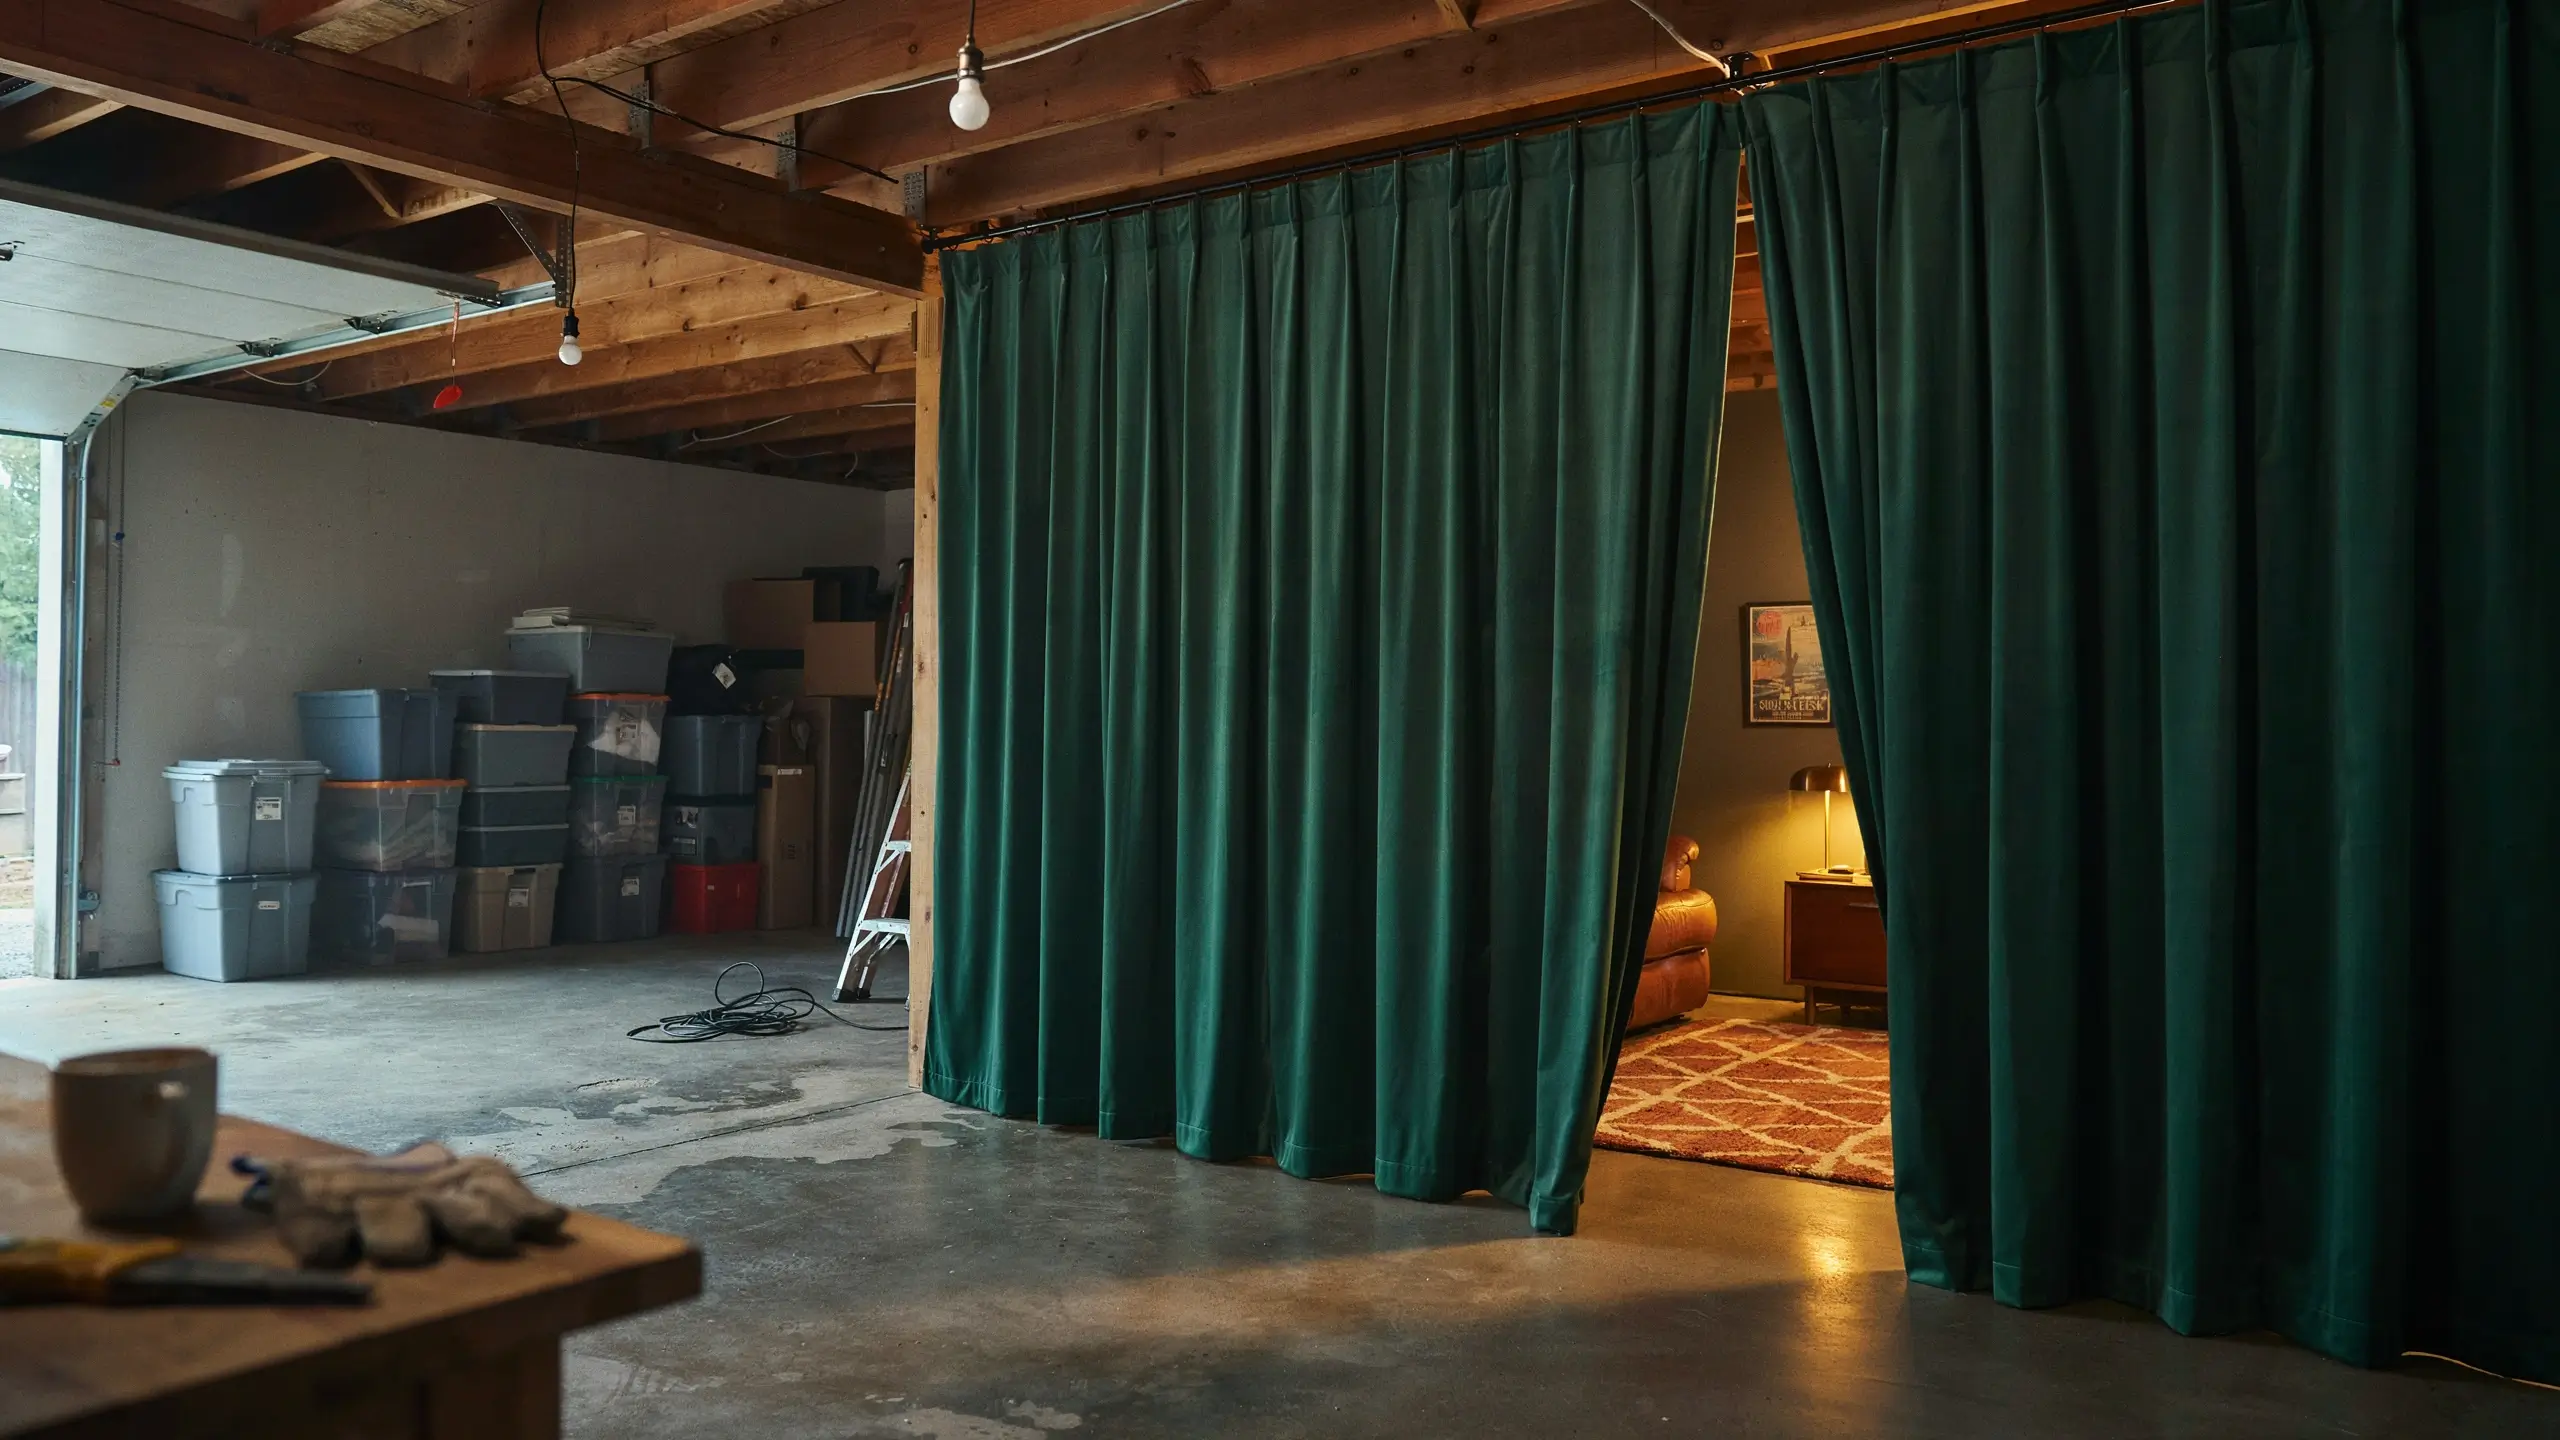
A tension rod and a floor-to-ceiling curtain panel ($20-$40) can section off one side of a garage or basement into a private zone without building walls. Choose a heavy canvas or velvet curtain in dark charcoal or hunter green for a substantial feel. The separation is physical and psychological. It’s surprisingly effective at making a “zone” feel like an actual room.
- Light It Like a Bar, Not a Garage
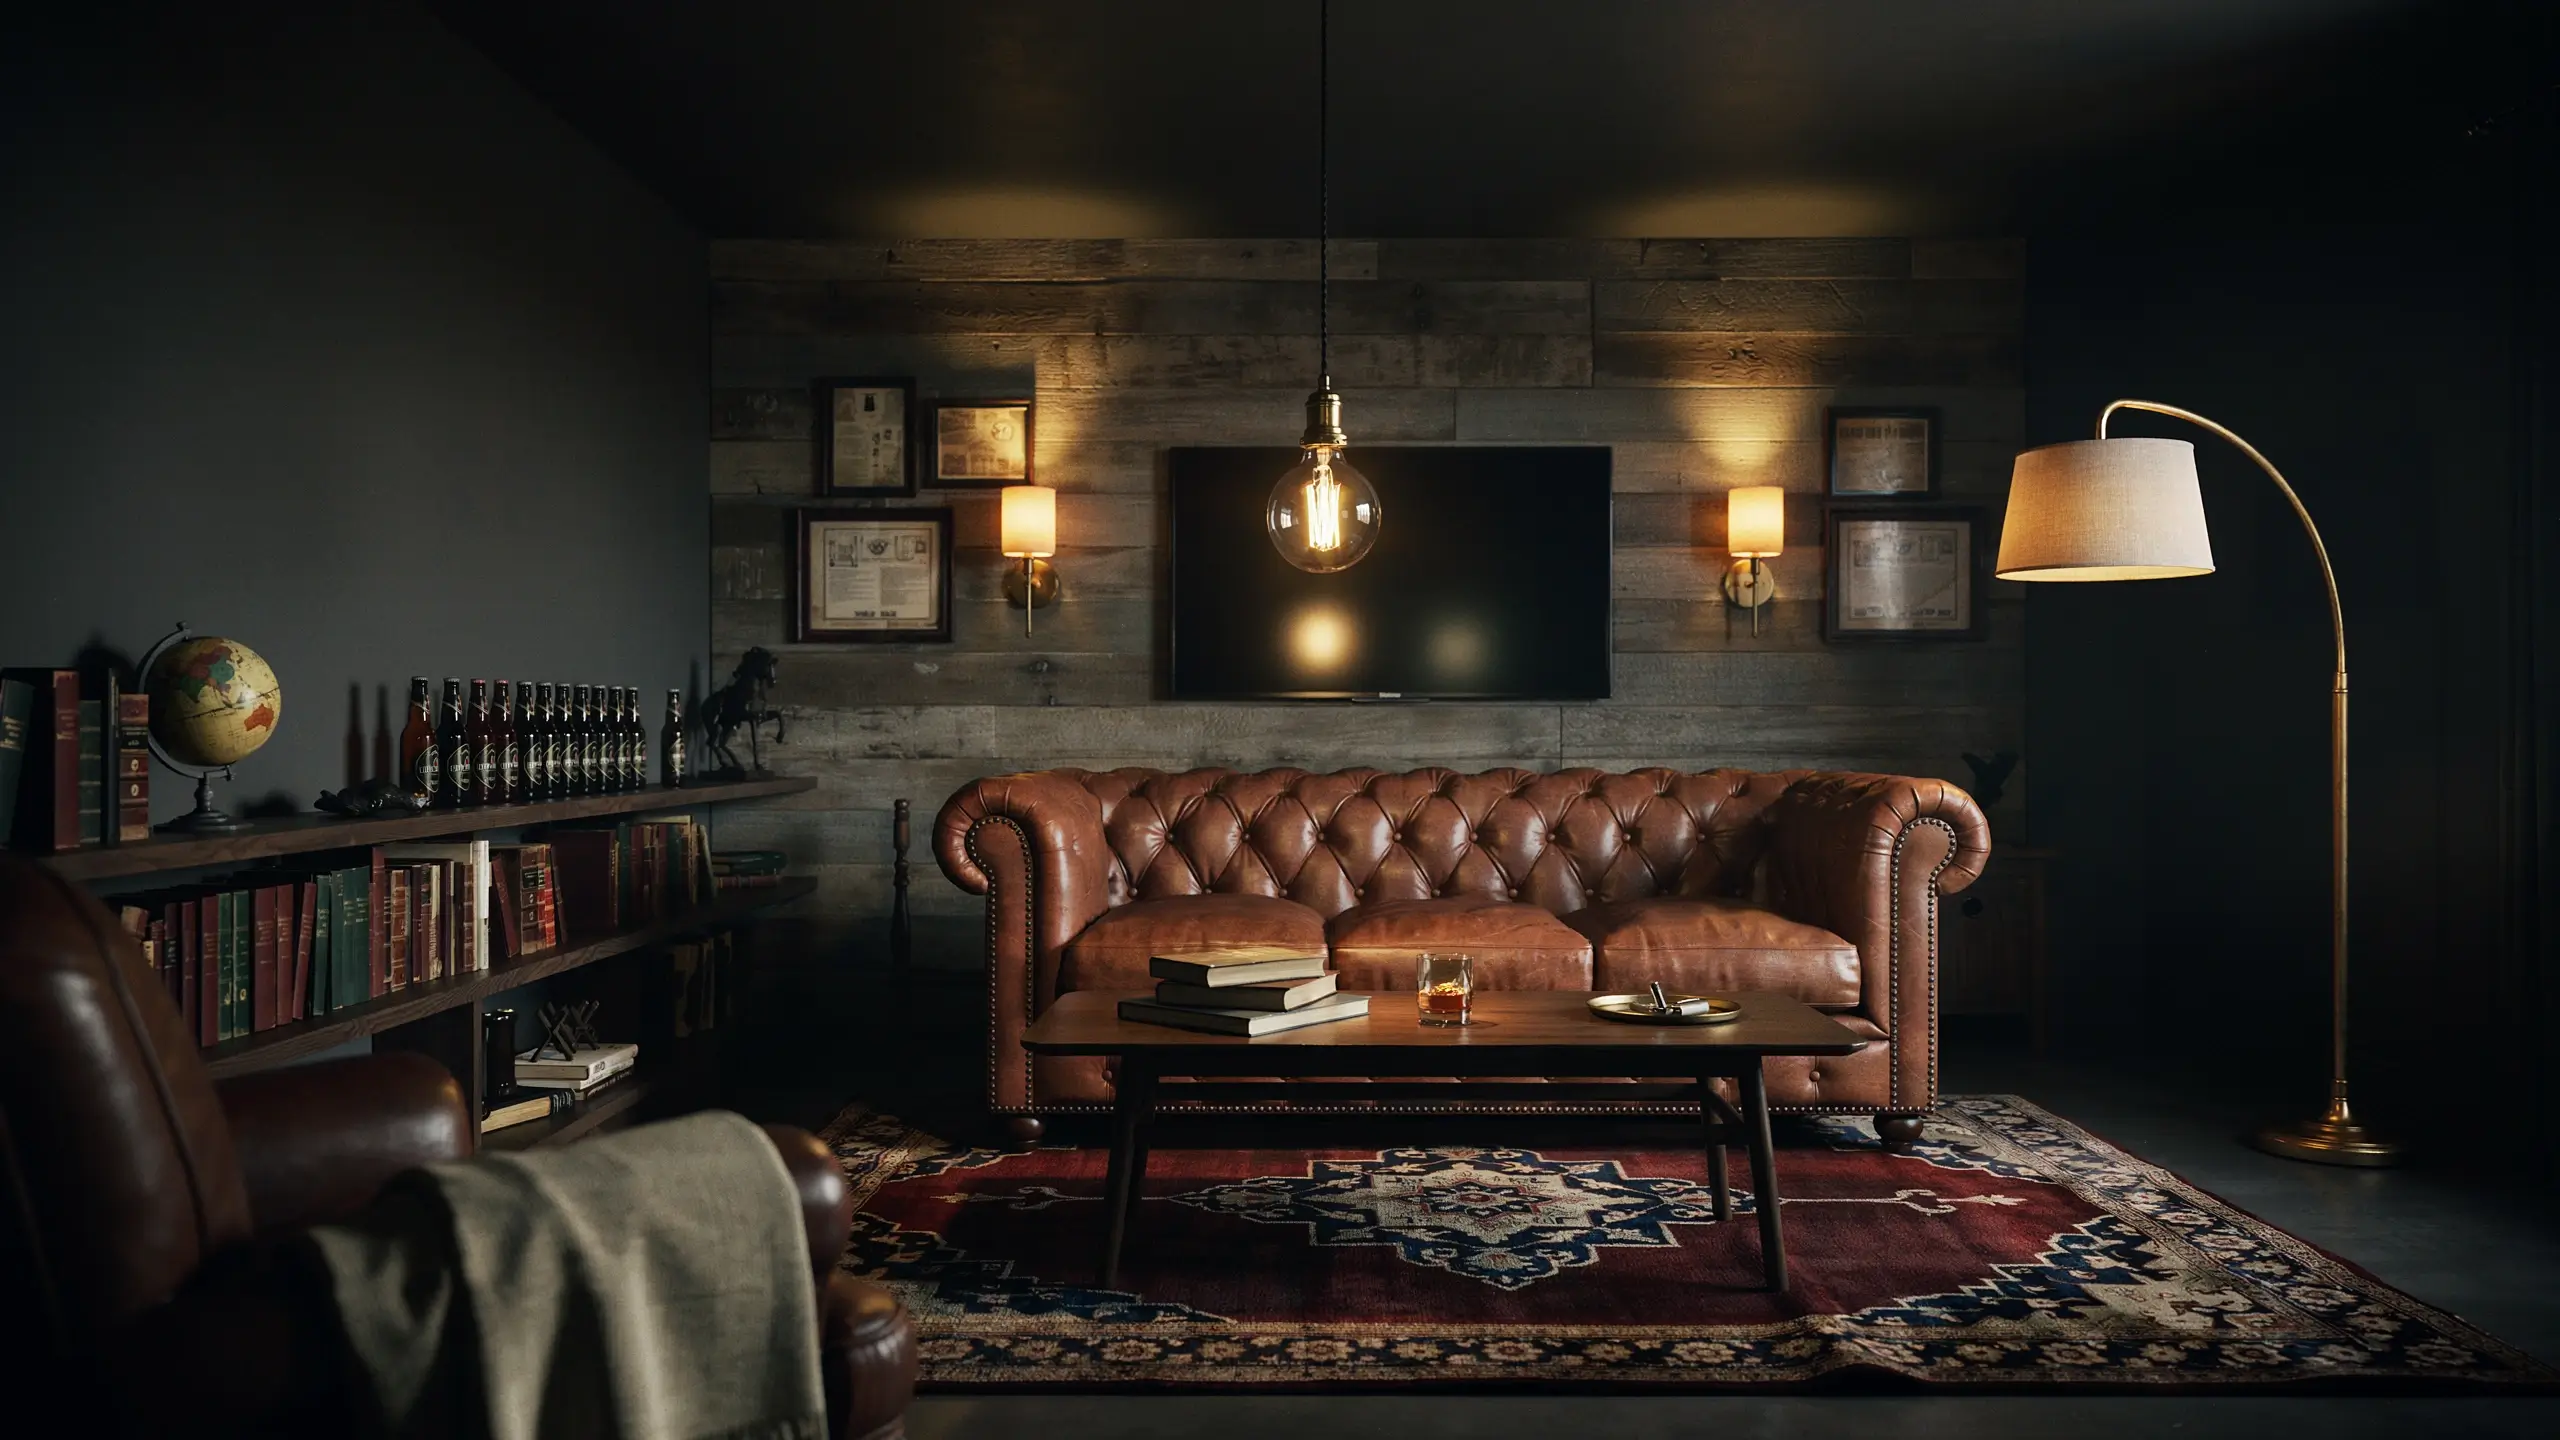
Overhead fluorescent lighting kills the mood in any man cave faster than anything else. Replace it (or supplement it) with warm-toned light sources: an Edison bulb pendant light ($25-$60) over the main seating area, plug-in wall sconces on either side of the TV, and a floor lamp in the corner. Set them all on smart bulbs ($8-$12 each from Govee or Wyze) so you can dim to 20-30% during movies and game-watching. The transformation from harsh overhead light to layered warm lighting is one of those upgrades that makes every photo look 10 times better and every visit more enjoyable.
Decor and Finishing Details That Elevate Everything
- Create a Focal Feature Wall
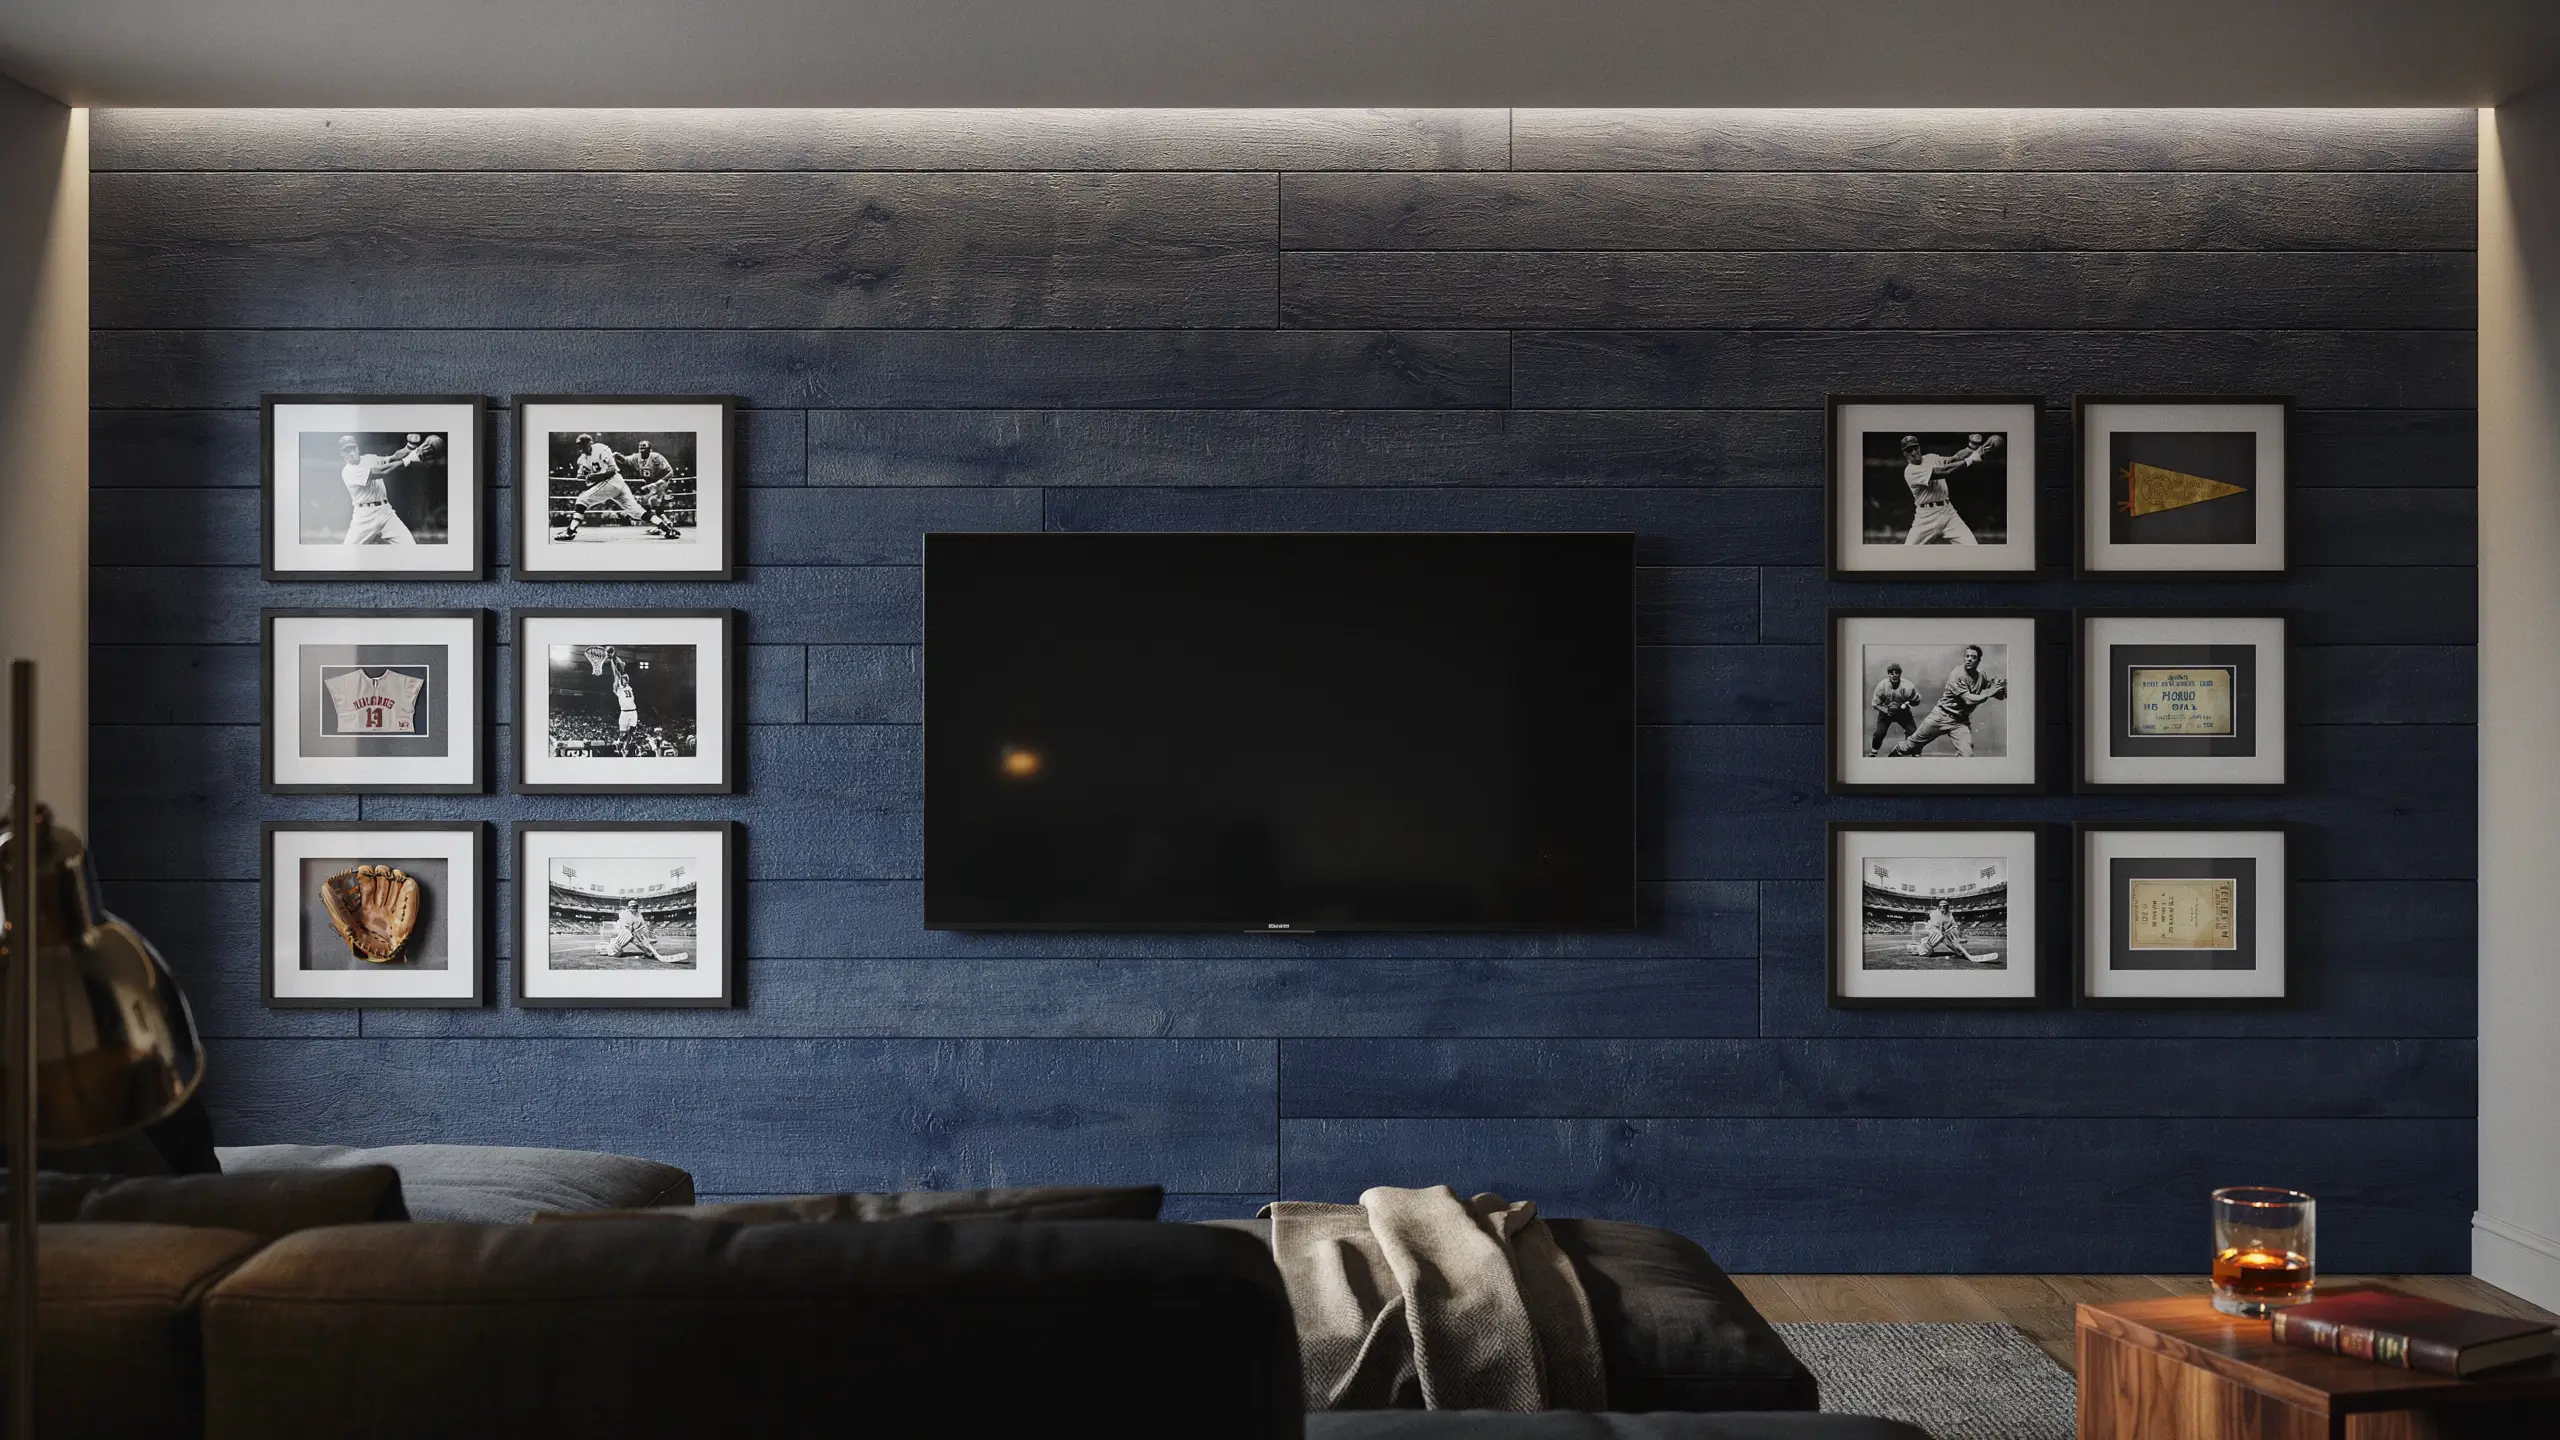
Every well-designed man cave has one wall that does the heavy lifting. It could be the wall behind the TV, the wall behind the bar, or the wall you face when you first walk in. Choose one and commit to it: exposed brick wallpaper, reclaimed wood planks, dark paint in a moody shade like deep navy, charcoal, or forest green, or a gallery wall of framed prints, jerseys, and memorabilia arranged in a grid. The rest of the walls can stay simple. One strong feature wall is worth ten walls of scattered decor.
- Display Collections Like They’re Meant to Be Seen
Most man cave collections end up in piles, stacked in corners, or crammed onto shelves without any order. Shadow boxes with UV-protecting glass ($15-$40 each) are the right way to display signed memorabilia, vintage items, sports cards, or patches. Wall-mounted display cases with LED accent lighting ($100-$400) work for sneakers, helmets, or graded collectibles. Open floating shelves work for books, Funko Pops, records, and bottles. The rule is simple: if you’re proud enough to own it, display it in a way that shows you’re proud of it.
Mistakes to Avoid in Your Man Cave
- Skipping insulation in garage or shed spaces. You will use the space three days in summer and then abandon it because it’s a sauna. Insulate first. Everything else second.
- Buying furniture before measuring. A sectional that looked reasonably sized online becomes a room-eating monster in a 12×14 spare bedroom. Tape out the footprint on the floor before you buy anything.
- Trying to do everything at once. The man caves that feel the most put-together were built in stages. Start with the seating, the screen, and the lighting. Get those right. Then add the bar, then the decor, then the finishing details. Rushing all of it at once leads to a space that feels busy and incomplete at the same time.
- Prioritizing looks over how you’ll actually use the space. If you’re going to be in here with two or three friends watching football, you need enough seating for that. If you’re going solo most of the time, a single recliner in exactly the right spot is better than a sectional that eats the room.
- Ignoring moisture. Basements and garages both have moisture issues that will destroy furniture, cause mold, and make the space smell bad. A dehumidifier in a basement ($150-$250 for a good one) is non-negotiable.
A Simple Man Cave Budget Breakdown
| Setup Level | What You Get | Rough Cost |
| Basic | Recliner, TV, mini fridge, LED lighting, rug | $500-$1,200 |
| Solid | Seating, mounted TV, bar cart, décor, shelving | $1,500-$3,500 |
| Full Build | Bar counter, multi-screen setup, themed décor, acoustic panels | $4,000-$10,000 |
| Premium | Custom bar, home theater, full insulation, premium furniture | $10,000+ |
The good news: most of the visual impact in a man cave comes from the cheap stuff. Lighting, paint, a strong focal wall, and organized display of your stuff. Those things done well will outshine a $3,000 leather sofa sitting under bad overhead lighting every single time.
The Man Cave That Actually Gets Used
Here’s the thing nobody tells you when you’re in the inspiration phase: the man caves people actually use aren’t always the most impressive ones. They’re the ones that are comfortable, functional, and feel like the person who built them.
The goal isn’t to recreate a photo you saved on Pinterest. It’s to build a space that you walk into at 8 PM on a Friday night and immediately feel like you’re exactly where you want to be.
Start with one good chair and good lighting. Add your stuff in a way that makes sense. Layer in the rest over time. That’s how you build a man cave that still gets used years later instead of slowly turning back into a storage room.
What does your dream man cave look like? Are you converting a garage, claiming a spare bedroom, or thinking about a backyard shed? Share your setup in the comments below. I love seeing what people are actually building.





No Comment! Be the first one.